Awesome build dude, really cool seeing something this nice so local!
Announcement
Collapse
No announcement yet.
E39 Build: 6.0 LS. Coils. Burnouts.
Collapse
X
-
Awesome build. Bought my E39 wagon with every intention of performing an LS swap.
Mine is definitely underpowered with only having the 2.5 in it.
Most people use the aluminum blocks. Have you noticed any problems (weight wise) by having the iron block in your car?
I'm not looking to upset the handling abilities of the car but the cost / availability of the iron block LS motors are definitely more plentiful.01 325iT ZSP - Koni - Hotchkis
01 525iT - stock for now
04 Chevy Suburban - Modded - My Daily
08 Chevy Suburban - Modded - Wife's Daily
Comment
-
That's what I was going for. I am hoping to get deep into the 12s this summer with some more serious rubber.Originally posted by Earl View PostUltimate sleeper=)
Originally posted by bsweitzer99 View PostAwesome build dude, really cool seeing something this nice so local!
Originally posted by fire730 View PostAwesome build. Bought my E39 wagon with every intention of performing an LS swap.
Mine is definitely underpowered with only having the 2.5 in it.
Most people use the aluminum blocks. Have you noticed any problems (weight wise) by having the iron block in your car?
I'm not looking to upset the handling abilities of the car but the cost / availability of the iron block LS motors are definitely more plentiful.
The E39 platform is already close to 4000 lbs to begin with, so you're not going to have a Lotus-like platform even if you stick a block made of foam under the hood. The iron LS only weighs 80lbs more than the aluminum counterpart which is fairly negligible in my opinion, especially when 1 average passenger going for a ride with you weighs twice that. Add in the fact that the iron stuff is FAR cheaper and more plentiful (and makes the same power) and it's a no brainer. If I were starting with a much lighter chassis (E36, Miata, etc) I would definitely have considered an aluminum block.
The Ultimate Burnout Machine.Originally posted by Tuning Geek View PostHard work friend, I think the driving pleasure is the synonim to your car.
Comment
-
I figured the difference between the iron and aluminum block wasn't enough to worry about but I just wanted to hear someone else say it. Lol.01 325iT ZSP - Koni - Hotchkis
01 525iT - stock for now
04 Chevy Suburban - Modded - My Daily
08 Chevy Suburban - Modded - Wife's Daily
Comment
-
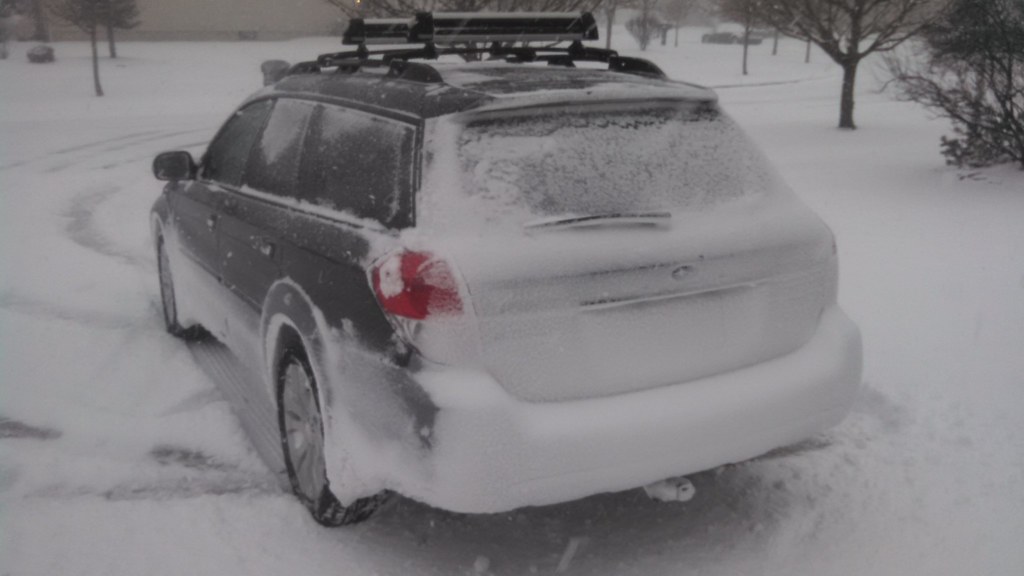
Traditional Buffalo Subaru hooning

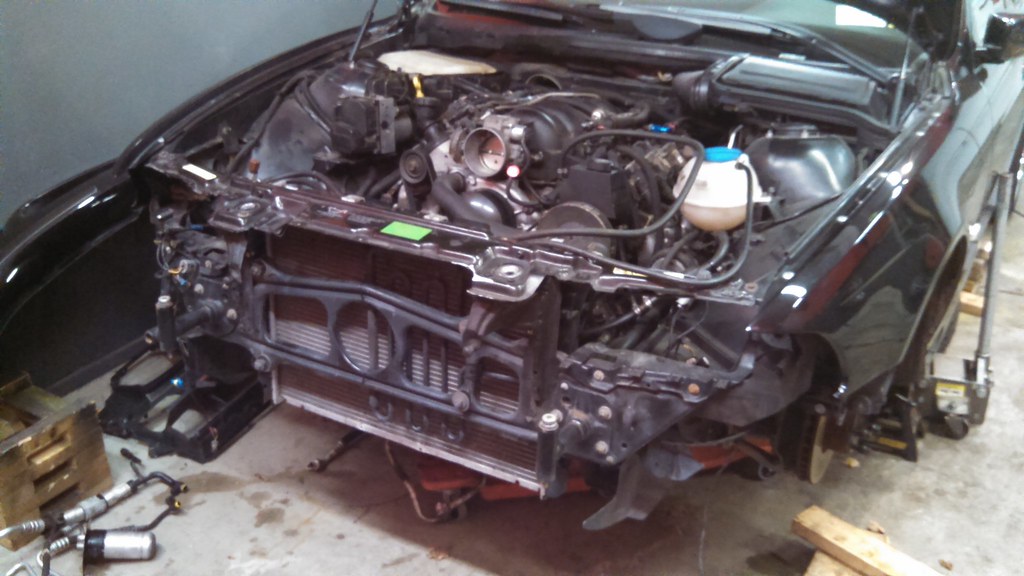
naturally, need to take apart a working car
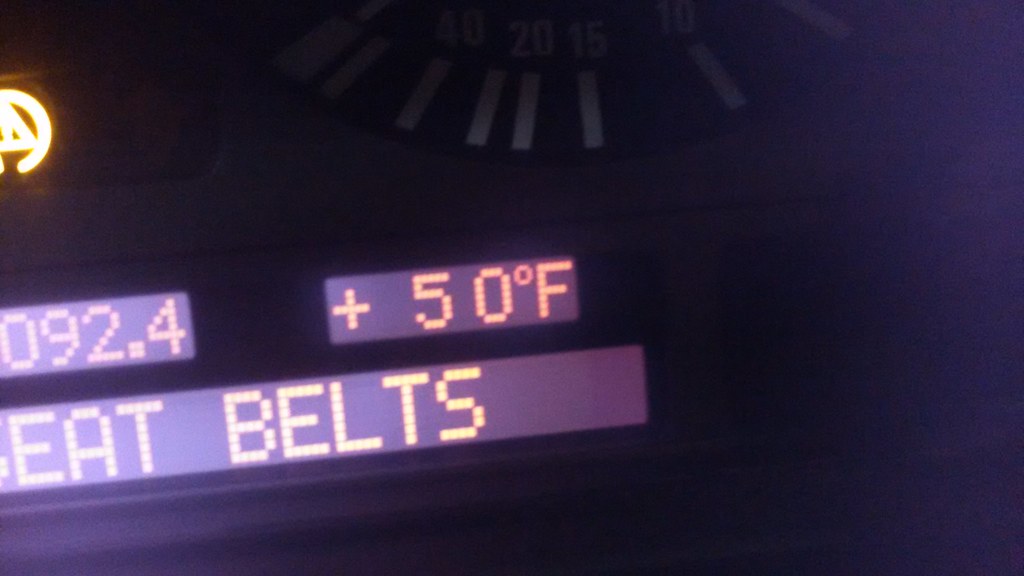
My buddy Tim graciously donated a spare ambient temp sensor, which had been broken since before when I bought the car in '11
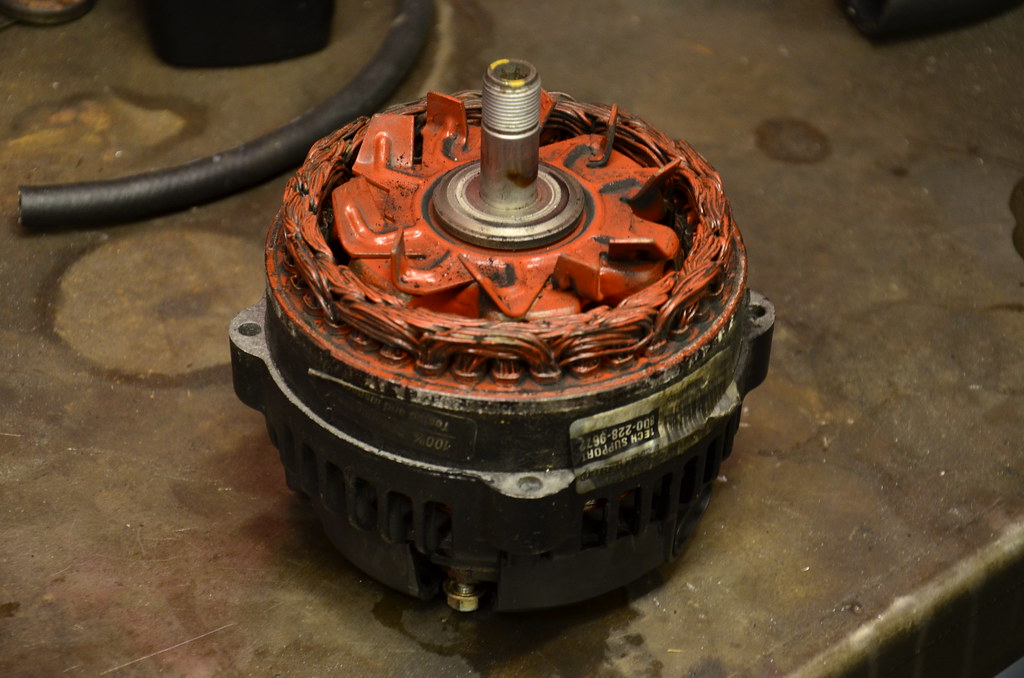
The mantra I had always held while building the car was "get it on the road, work out the bugs, and enjoy it". Safe to say most of the bugs are worked out so it was time to turn some attention to the generally ratty engine bay. I removed all the front accesory drive parts and started to refinish them. The whole setup definitely had a junkyard Joe Dirt feel to it. All parts were scrubbed, soaked in a degreaser, cleaned and dried, and then silver engine enameled + clearcoated
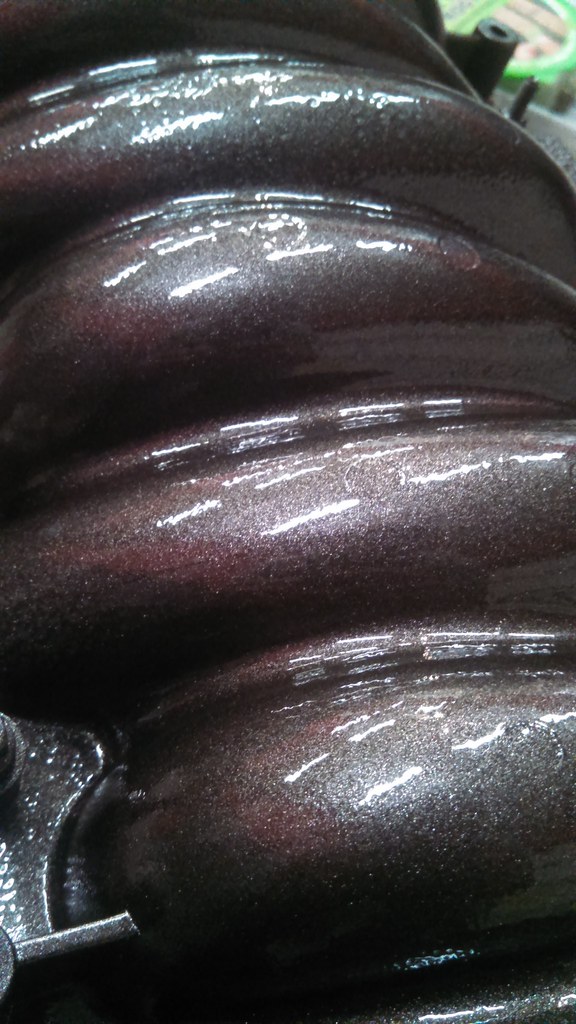
LS6 Intake manifold and throttle body disassembled, painted
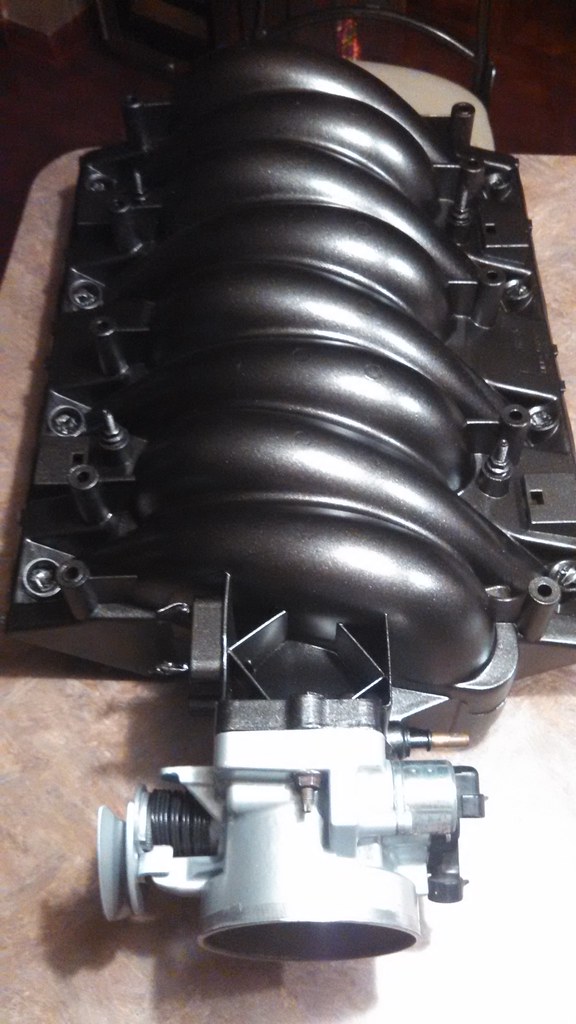
during paint process- thankfully dried without the gloss finish, but retained the metallic. The paint is a dark gray metallic Rustoleum. I took a gamble on it as I didn't know how it would come out but it looks great.
Engine covers, even after a cleaning, were still faded and stained 10 year old parts, so they got paint too. Still tossing around ideas for a final scheme
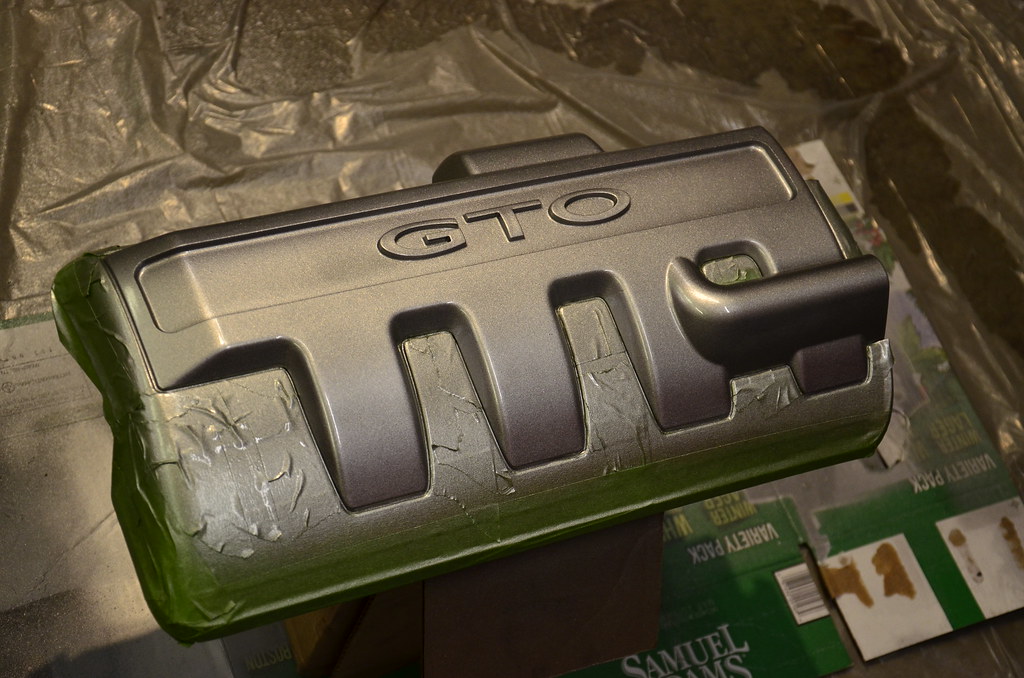
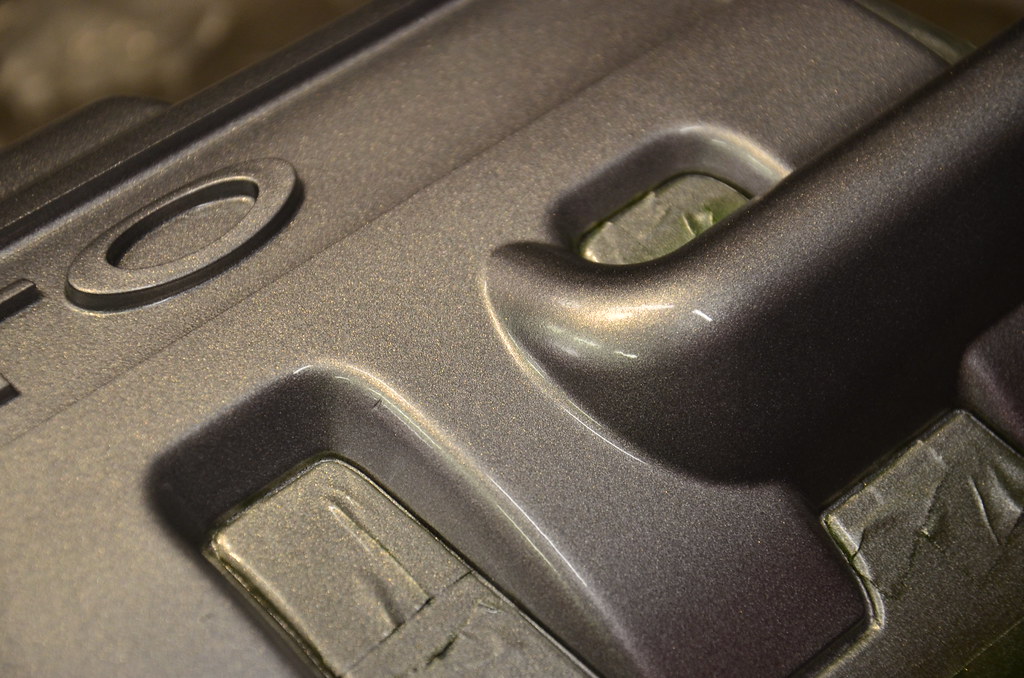
only the finest downdraft ventilated paint booth
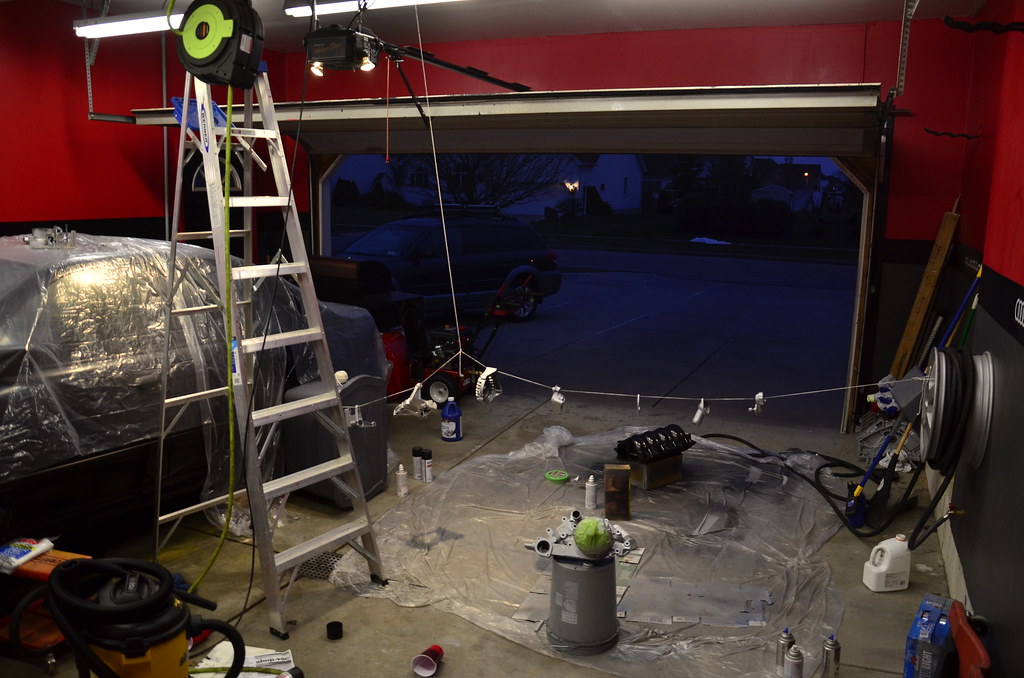
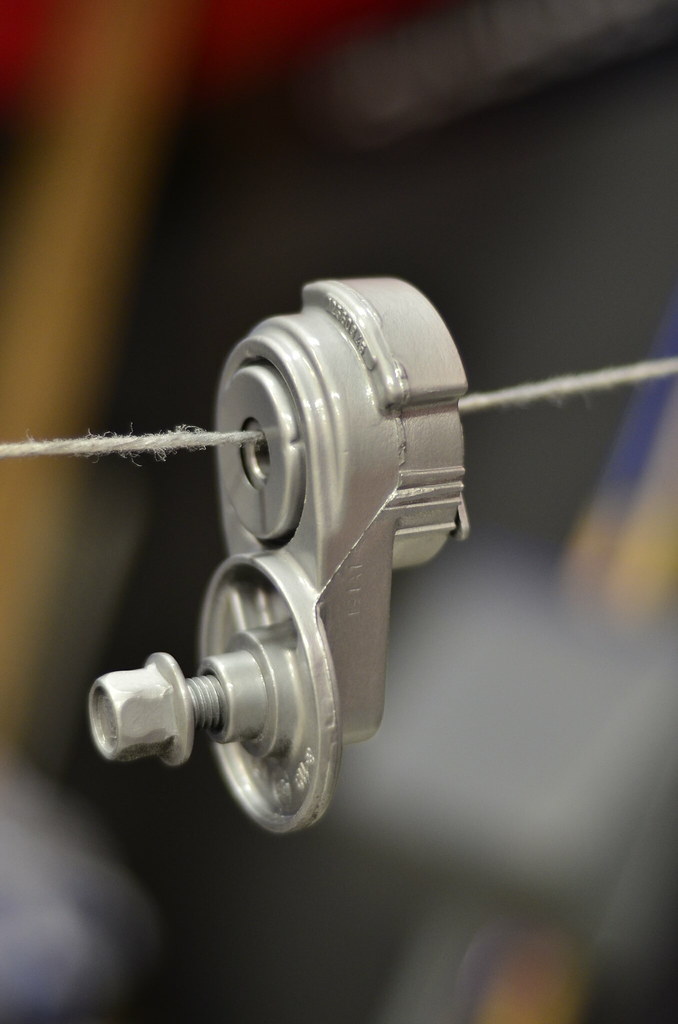
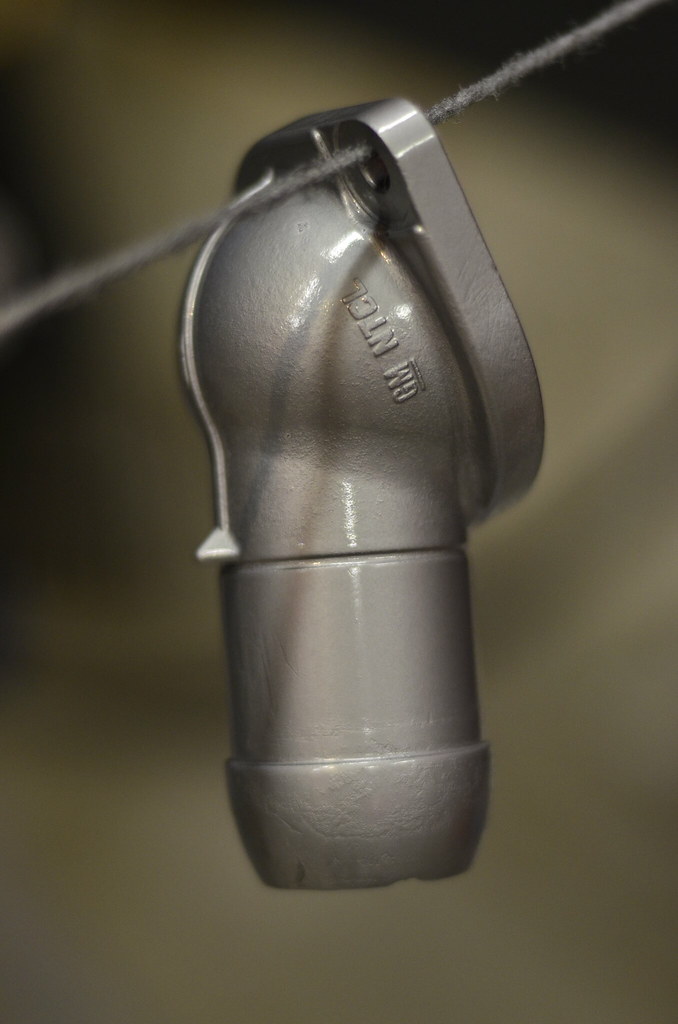
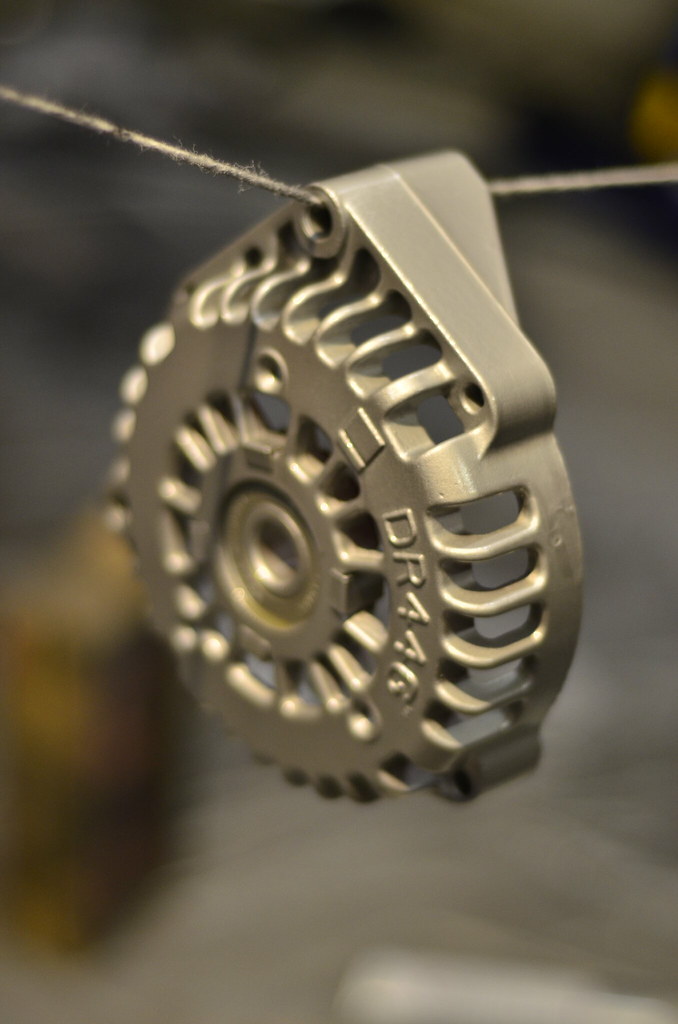
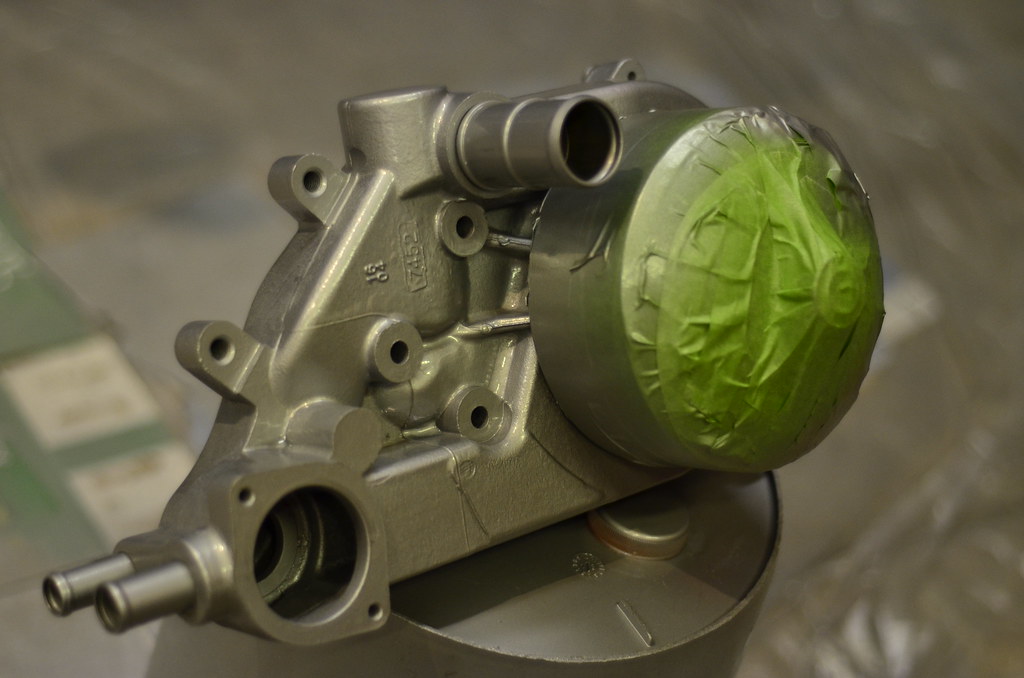
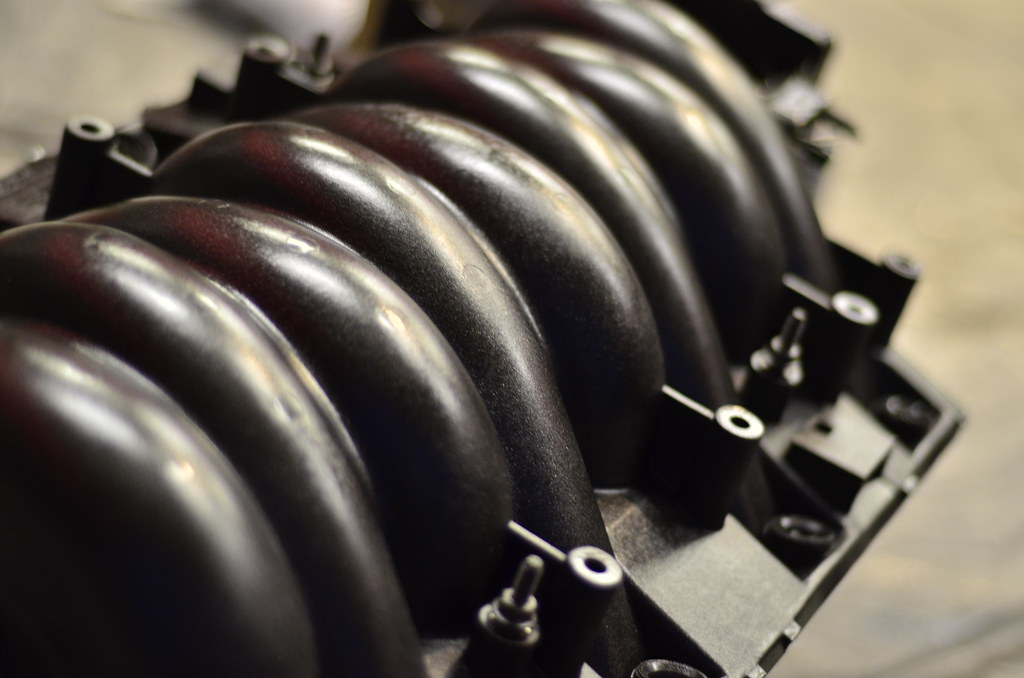
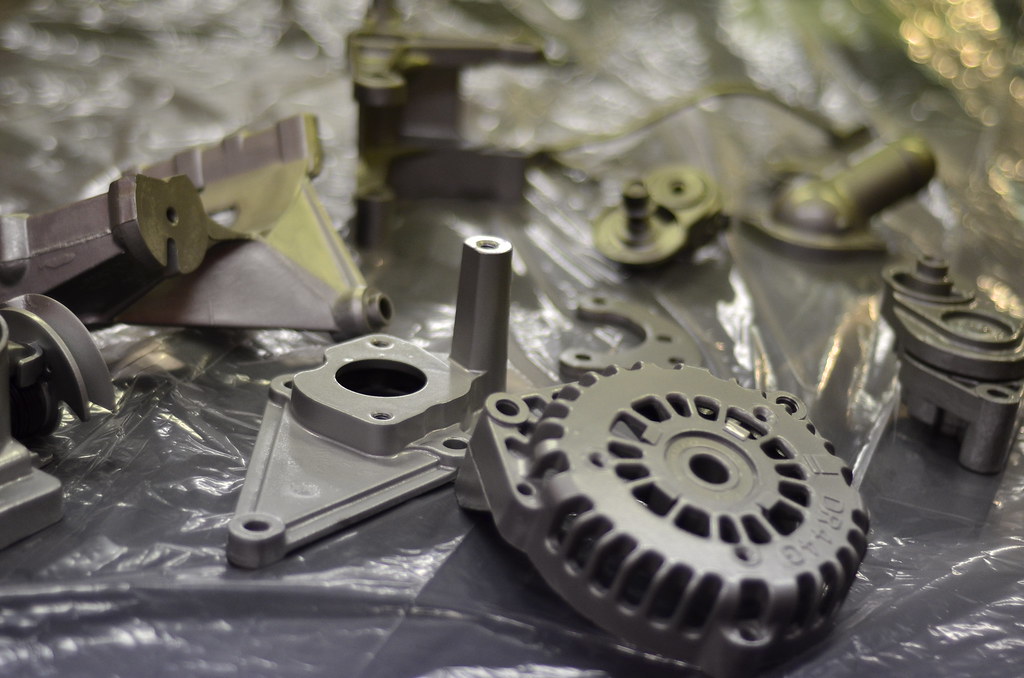
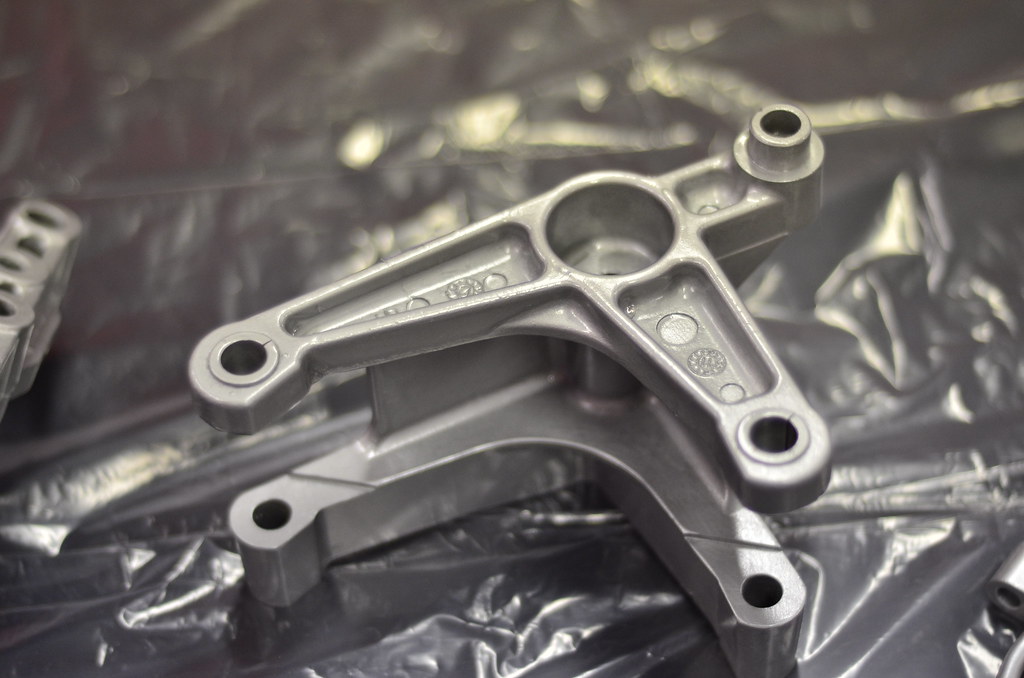
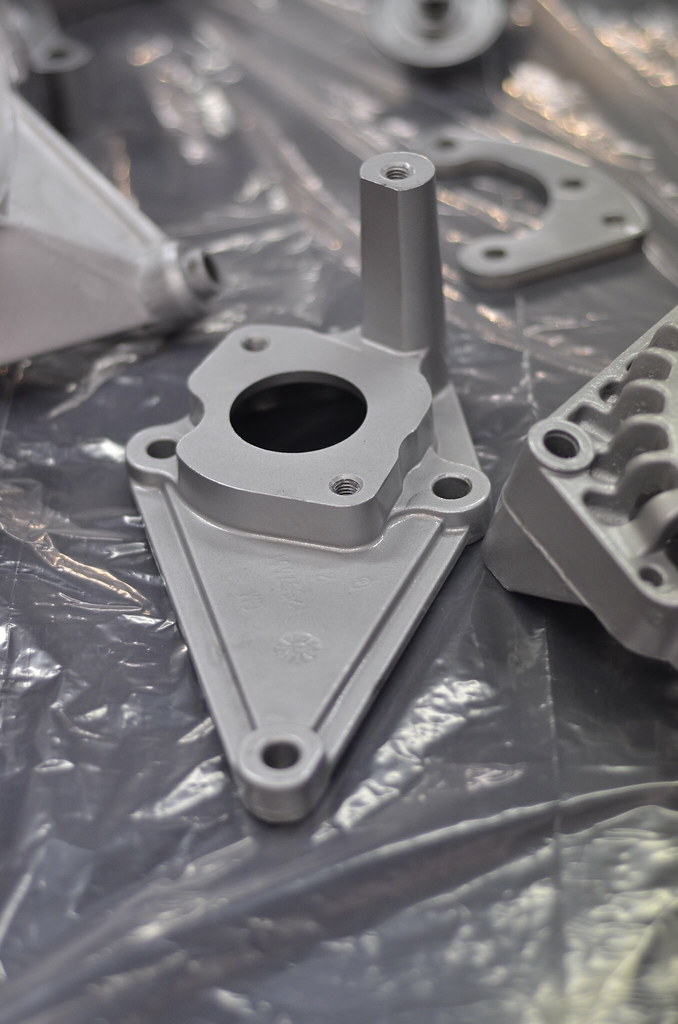
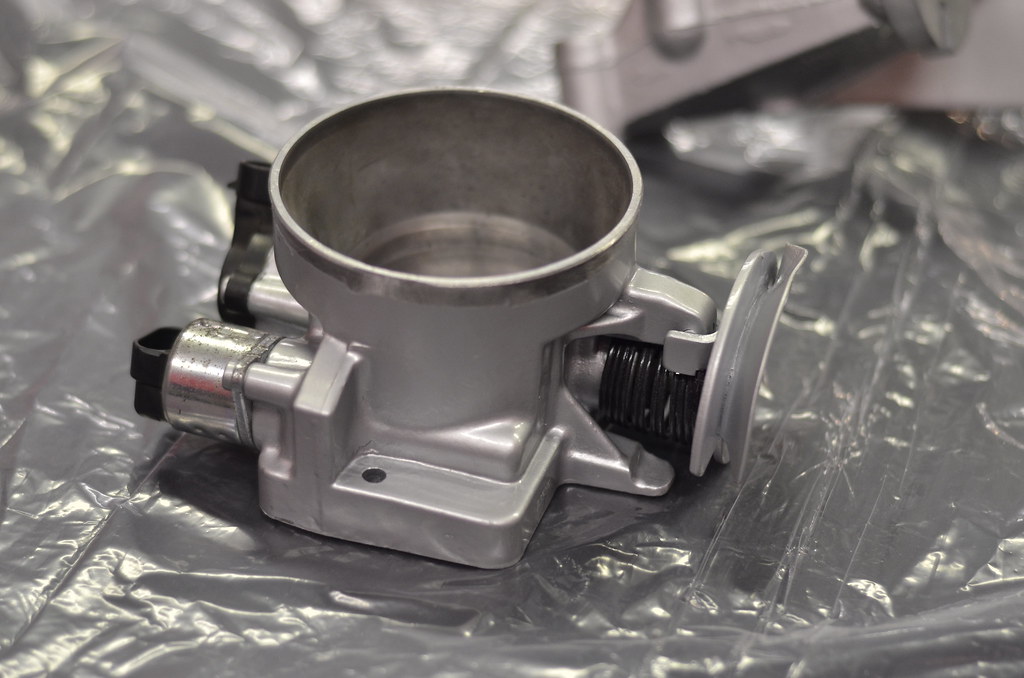
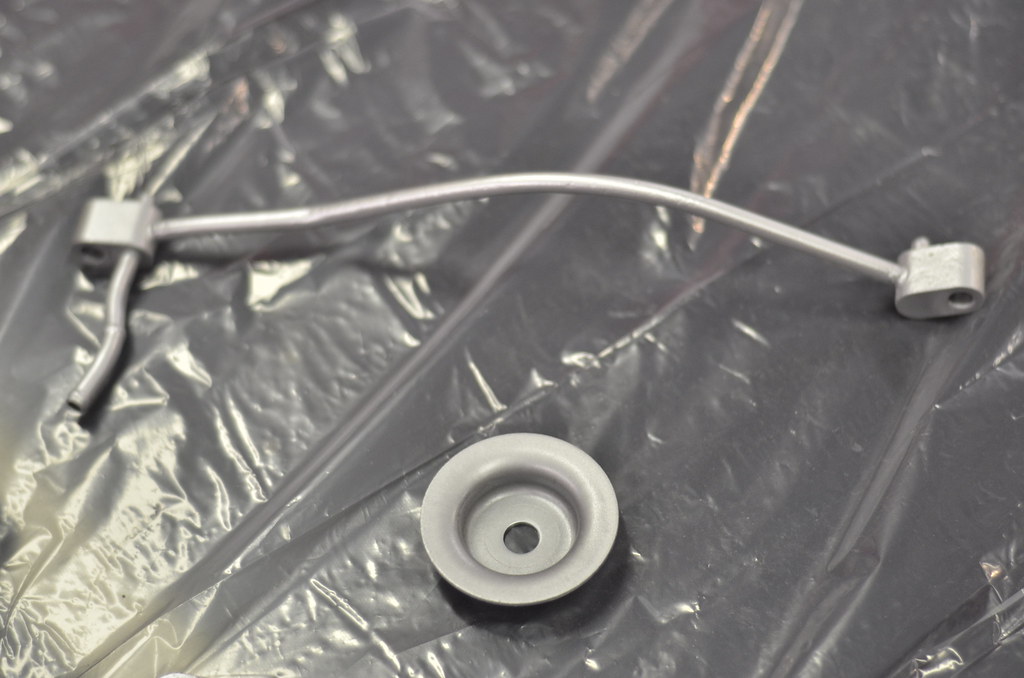
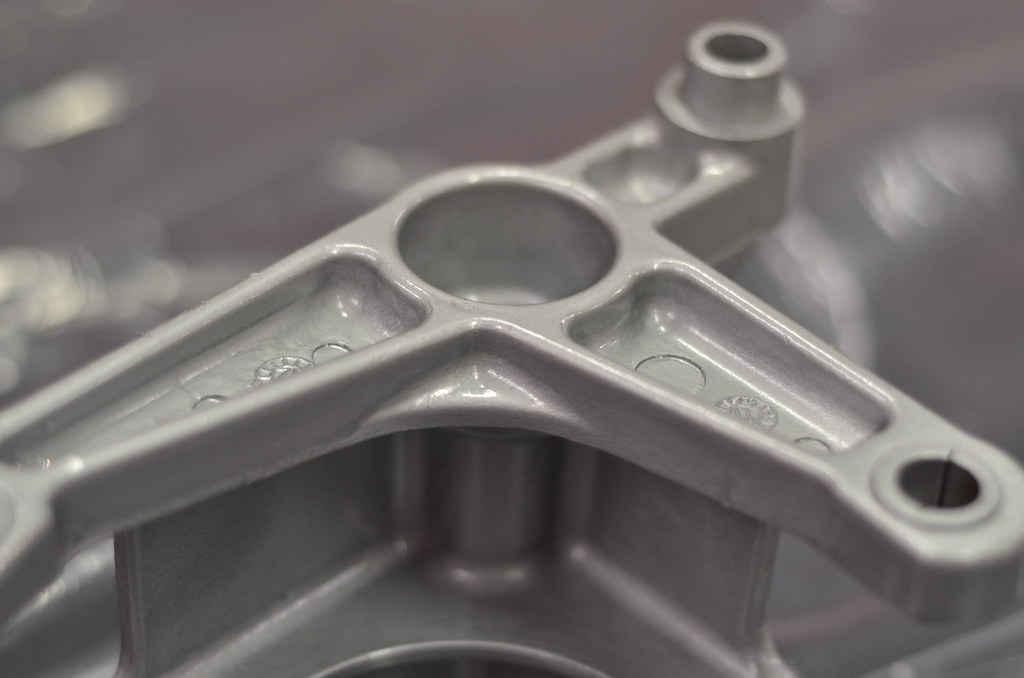
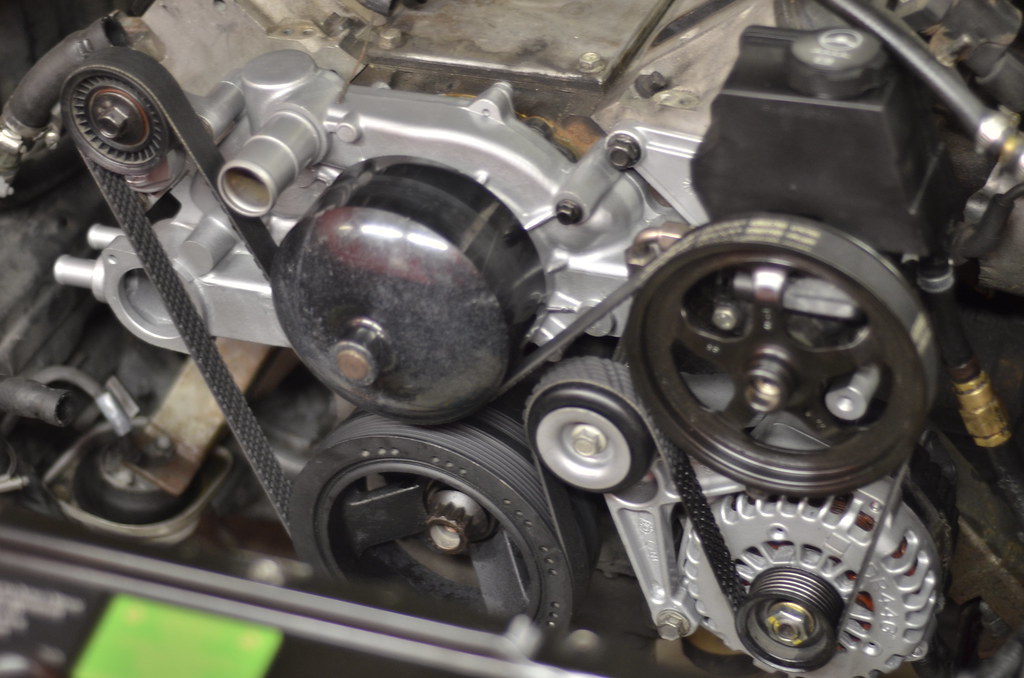
All this started because I wanted to mount the condenser to begin putting together AC, but the OEM power steering cooler was in the way. So I chucked that guy in the trash and bought a nicer finned Derale unit, which can be mounted out of the way. Removed the pump to change up the lines and realized the bracket looked like junk, so it was a snowball effect from there.
Comment
-
Thought about 560i, but it just looks so much better with no badge. 99% of people wouldn't know that a 560i doesn't exist.Originally posted by MrViicc View PostYou're just amazing.
I've been following this for so long and I just love how you made it work all work and the detail you've put into it.
Great job.
Thoughts on changing it from 540i to 560i? :P
Comment
-
-
found a fun photo from Fall '14, after a night of booting it around the streets with buddies in an M5 and a V8 A6

More NVH fixes. Due to the weird offset shifter I never really came up with a way to close up the hole I made so I was always getting a lot of gear noise (from trans), fumes when sitting still, exhaust sound, etc. Wasn't unbearable by any means but just enough to be annoying.
Here we go:

Problem solved, right?

Few minutes later:

I ended up removing the duct that feeds the rear vent since nobody ever sits back there, and making up a blockoff for the that HVAC outlet so it's not pissing air inside the center console. Still have to put some new sheetmetal in there to cover the shifter hole partially - it's a weird shape that doesn't really fit the rubber boot I bought. No pics of that
Moving on to the front end of the car - mounted up my new power steering cooler. I initially used the OEM one with no problems but since I no longer have the factory condenser tray in place, the condenser needs to be mounted in a way that gets in the way of the OEM cooler. So I tossed that guy and installed this nice Derale unit. Since the condenser fittings will be on the passenger side, I decided to mount the cooler on the driver's side right behind the kidney grill for ideal airflow. The kit came with those thru-style zip ties that mount the cooler directly to the radiator, but I didn't really like the idea of those two rubbing against each other - plus they look crappy and have the potential to break. So, I used the old aux fan mounting studs to mount the cooler directly to the core support.
OEM Aux Fan mount studs

Smash em out and you get this. Drilled 1 new hole to comfortably mount the cooler.

Put a longer bolt in and insulate against vibration

Trimmed some of the spacers that originally held the fan and voila

The included cooler return line (rubber) goes directly to the GM LS1 power steering reservoir and was a perfect fit for it. On the supply side (low pressure steering box -> cooler) I needed to adapt from the BMW line to the Derale line, so I reused some brass fittings I had used in the past to adapt these lines to the OEM cooler. Filled the system and no leaks, but I'll have to double check once I fire it up since the system still needs to be bled.

In the theme of cleaning things up I decided to revise my upper rad hose. I used a generic hose (forgot when kind) but had to cut it to orient the one end correctly. No big deal, I used a plumbing style barb hose splicer which worked fine but looked cheap and rigged. I also found it annoying when filling the cooling system since the VW coolant bottle is routed down to the heater lines through a fairly small diameter hose and took forever to fill and burp. Killed two birds with one stone by finding "Radiator Hose Fillers" on good ole Summit and adding a traditional radiator cap as well. If I had known these existed I would have used them in the first place

Installed:

I tied the bleed vent on that fill neck into the coolant line that connects the steam vent on the heads and the small nipple on the C5 radiator.

Comment
-
Not sure what your question is. I sold the BMW motor and trans in late 2012
Comment
-
Another midwinter update on little things.
Picked up an indoor/outdoor digital thermometer for the garage, the heater is fighting Buffalo cold fairly well.
 IMG_20150110_113841_253 by nogiba, on Flickr
Was picking away at details the last few weeks and rather enjoying it, but had an unfortunate skiing accident that put a damper on things.
 IMG_20150114_112720_717 by nogiba, on Flickr
Luckily no breaks but a severe sprain has left me one handed for the next 2 weeks.
 _DSC3567 by nogiba, on Flickr
Never one to sit still for long I got bored after 2 days, packed up my tools on a chilly Saturday and headed to a big salvage yard 90 minutes away just east of Rochester.
 IMG_20150114_073308_767 by nogiba, on Flickr
I was on the hunt for a few odds and ends but mostly wanted to get my hands (correction: hand) on a pair of 15" aluminum wheels for drag duty. The website listed a half dozen 6 cylinder E39s, so chances were good, but since they don't do individual parts inventory, I went for a ride.
Quickly found the moneypit section with a fairly clean example in burgundy
 IMG_20150117_145534_116 by nogiba, on Flickr
Just 2 rear wheels remaining on that one, great shape, no rash, no bends, great, let's get to it. Removed one after struggling with one hand but once the last nut came off a swift kick made her fall right off. Went around to the passenger side, removed nuts again, and no amount of stomping would have it come off. With the yard closing fairly soon and the wife complaining that I was going to be late for our dinner with friends, I was about to say screw it but noticed a silver wagon close by, wearing just one 15" wheel.
 IMG_20150117_145554_643 by nogiba, on Flickr
 IMG_20150117_145542_474 by nogiba, on Flickr
Unfortunately the other 15 was nowhere to be found, so again I was about to throw in the towel (with my good hand) but noticed that there were loose Volvo wheels littered everywhere around the wagon. The wagon was surrounded by Volvos anyhow, so on a hunch I trudged around kicking snow off loose wheels.
 IMG_20150117_145600_232 by nogiba, on Flickr
Sure enough, about 6 cars away, found the other one laying on the ground and rolled her back. The wheel on the wagon was held on by just one loose bolt, so after 2 trips back to the parking lot we were good to go.
Yee haw. The kid working the desk at the yard was pretty nice and I was able to talk him into including both tires and all my other bits and pieces for free
 IMG_20150117_145628_372 by nogiba, on Flickr
Thawed out on the way home and unpacked all the junk. Style 31s are fairly rare it seems (not that it really matters but just something cool), it's fitting that they'll live on having a set of wide drag radials wrapped around them
 _DSC3570 by nogiba, on Flickr
They look awesomely bad. I cannot wait to put the radials on there, going to look badass.
 _DSC3572 by nogiba, on Flickr
In keeping with the tire theme I jumped on local CL for a set of 2 rear tires in 275/35/18 for daily use on the M-Parallel wheels. The current set on there was originally on my buddy Tim's M5, mounted up front, in a 245/40/18 - they were camber worn on the outside so I promptly ruined the insides all last summer.
 _DSC3566 by nogiba, on Flickr
 _DSC3564 by nogiba, on Flickr
Jesus take the wheel - alignment this spring!
 _DSC3565 by nogiba, on Flickr
Comparison for fun:
left - Potenza Pole Position 275/35/18
center - corded 245/40/18
right - junkyard 225/60/15. Yes, I will ruin them first few weeks it's warm
 _DSC3571 by nogiba, on Flickr
Few parts came in
 IMG_20150112_181411_986 by nogiba, on Flickr
Few steps closer to AC
 _DSC3560 by nogiba, on Flickr
Off a 2003 525i in Texas. $100 shipped on ebay for a condenser cassette, condenser, AT cooler, and PS cooler. I initially bought all this just for the cassette and condenser but since I now had a provision for mounting the OEM PS cooler in the factory location I got rid of the aftermarket external cooler I had and put this together in no time.
 _DSC3562 by nogiba, on Flickr
Time will tell if the condenser is in good shape, we'll see.
 _DSC3562 by nogiba, on Flickr
I also wanted to revise my throttle cable. Since I had gone through the trouble of refinishing all the front accessories and intake, it was a shame to keep a cable end that looked like this:
 _DSC3543 by nogiba, on Flickr
So he got chucked in the trash and I went back to the same bicycle shop that I originally bought the first bike brake cable from. Nearly 2 years later exactly, to be exact. 5.99 later...
 _DSC3544 by nogiba, on Flickr
The round crimped on cable end doesn't fit in the universal end that hooks to the pedal, so chuck it up in the expensive 5 axis mill
 _DSC3546 by nogiba, on Flickr
And shave her down with ol' faithful
 _DSC3547 by nogiba, on Flickr
Like a glove. Throttle body spring keeps tension on it at all times and now looks as decent as it works. No more frayed ends.
 _DSC3549 by nogiba, on Flickr
Since I misplaced the original cable mount it was off to the store for a box of assorted ones. The OD was fine but cable hole needed to be opened up. I later found the original cable end sitting inside one of the shelves of my toolbox
 _DSC3551 by nogiba, on Flickr
 _DSC3552 by nogiba, on Flickr
 _DSC3554 by nogiba, on Flickr
Next up is re-mounting the C5 radiator and filling the system. I need to pick up a barb fitting for the PS line but hopefully will be able to start the motor in the next week or so...
Comment


Comment