Announcement

Collapse
No announcement yet.

E36 M3 Shaved, LSx swap

Collapse
X
 
  • Filter
  • Time
  • Show
Clear All
new posts

  • HellrotM3
    replied
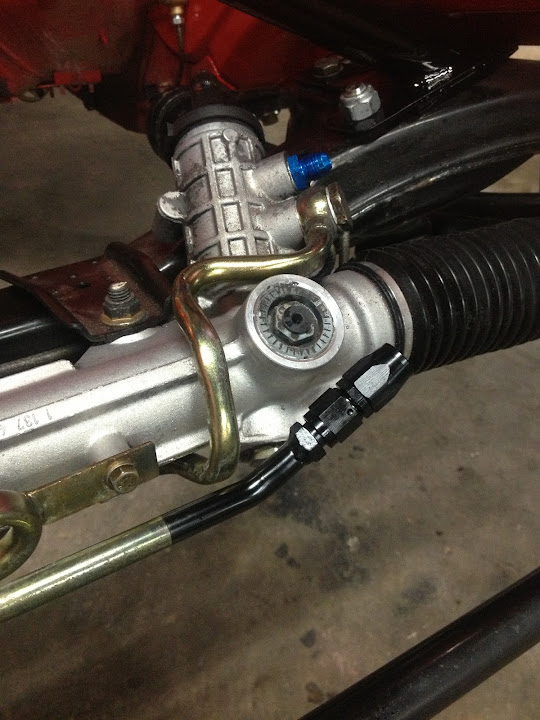
    I got my steering setup all finished up and installed, tightened up all my brake lines, and hopefully will be bleeding the system tomorrow. I also got my euro cluster in and the oil temp gauge wired up, very simple and easy. I got the bottom end of the engine all buttoned up, hopefully the fly cutting tools will be here tomorrow or Thursday, this thing is almost ready!


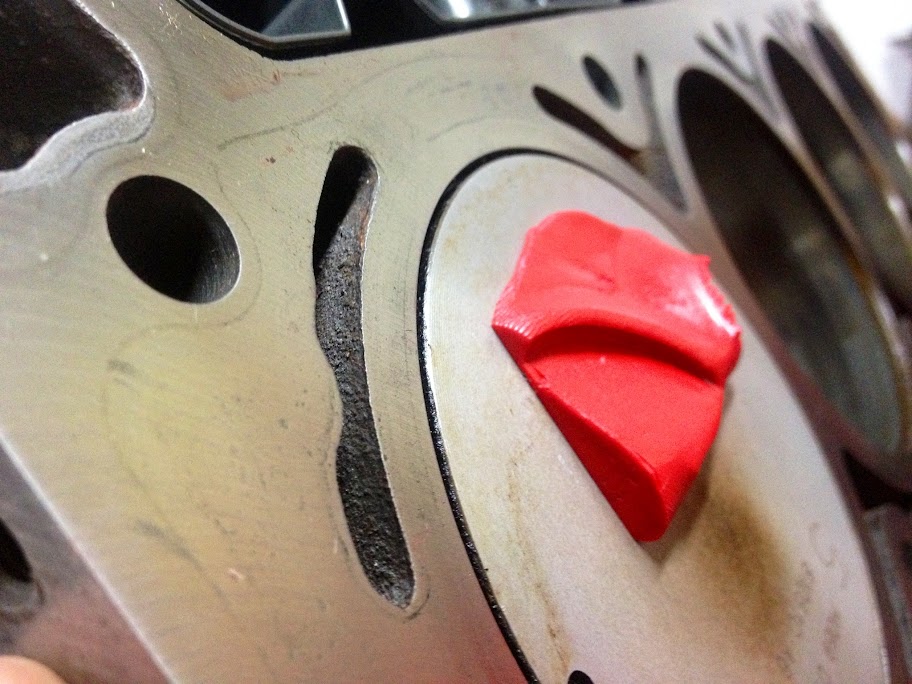
    I received the flycutting tool I rented in the mail today. It's an LS3 head with the valve seats removed so the cutting head will fit in there. A shaft connects it through the valve guide and you use a tap handle to turn it and cut the piston. There's a collar on the shaft to set the depth on how far you want to cut. I'm running my clearances tight, but I still needed to take .050 off. Turned out great, so this thing is about ready to go in. Just need to torque the heads down and put the rockers in.




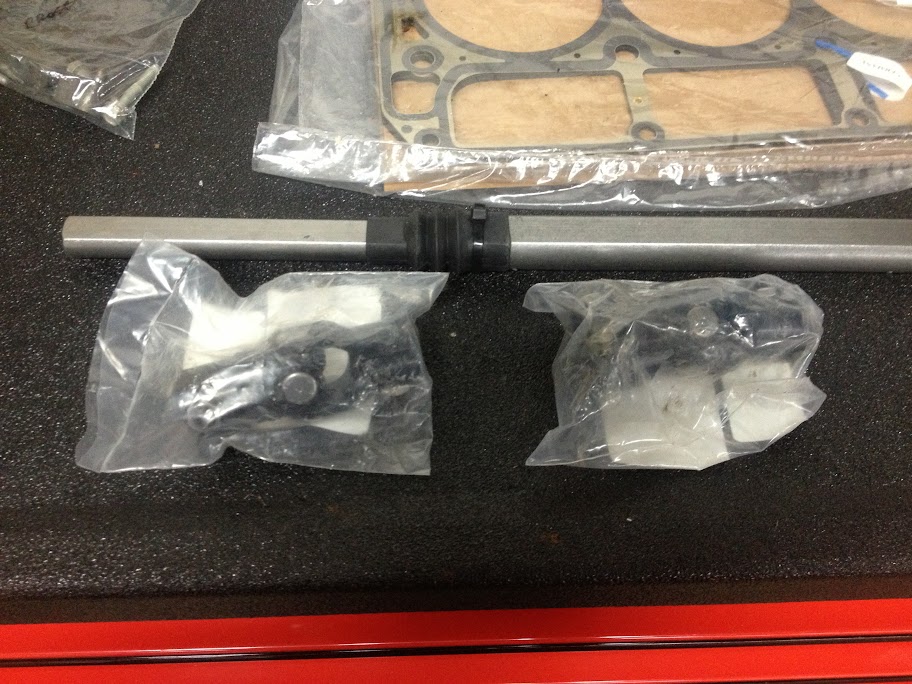
    he factory GM trunion bearings are needle bearings on a shaft enclosed by a pressed in metal race on each side. These are prone to failure on LSx engine with higher lift cams as well as higher revs, thus puking them out into the engine which can be catastrophic. A cheap insurance policy is Comp's trunion upgrade. It uses 2 separate enclosed bearings for each side, a shaft in the center, and C clips lock rings on each end, virtually failure proof if installed correctly.

    Pressing the old, (well brand new) bearings out


    This is the mess that comes out
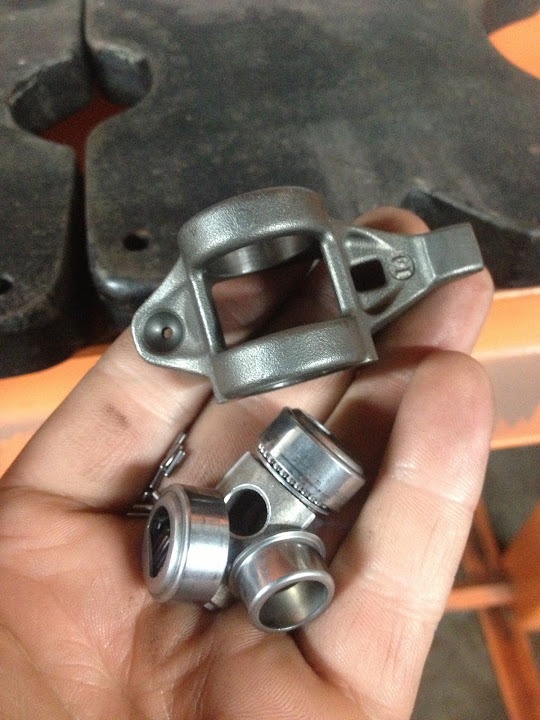


    All stripped


    The Comp components


    All assembled


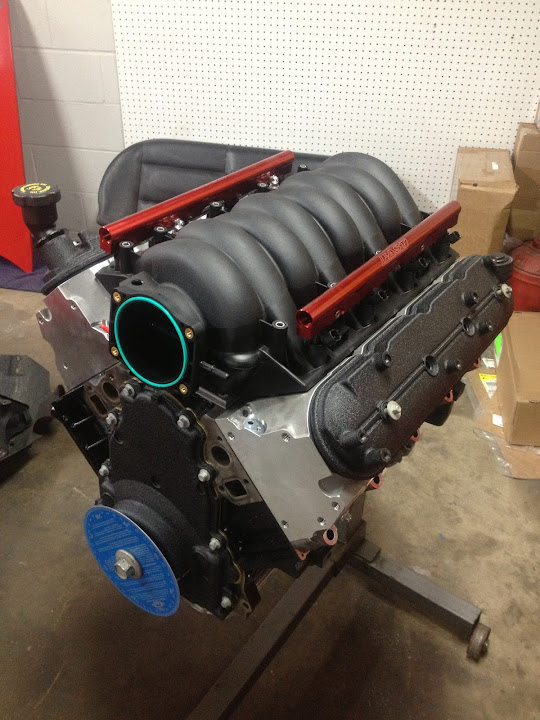
    Heads torqued with ARP fasteners, TB on, rockers in, ready to go in

    Leave a comment:


  • HellrotM3
    replied
    Time to finish off the brake lines. I had to make a custom bracket to mount the Tilton proportioning valve since ABS is gone. I wanted it in an easy to reach location, yet still be tucked away. It'll be taken off and powder coated this week. I made all new hardlines in the engine bay, nothing was reused from the original lines, it's time consuming, but it's the right way to do it. It's hard to tell in the pictures, but the prop valve, master cylinder and front brake tee all run on the same center line. My OCD kicks in very hard with these types of things.


    I got the subframe and suspension all back in and buttoned up. Engine mounts installed, and power steering cooler made up for the AN lines. I TIG'd a -6AN bung on and shot a little paint on it to keep it from rusting on me. Fender liners are back in, new Bimmerworld stainless brake lines are in as well. Hopefully the engine will be going in this weekend! It's starting to look like a car again


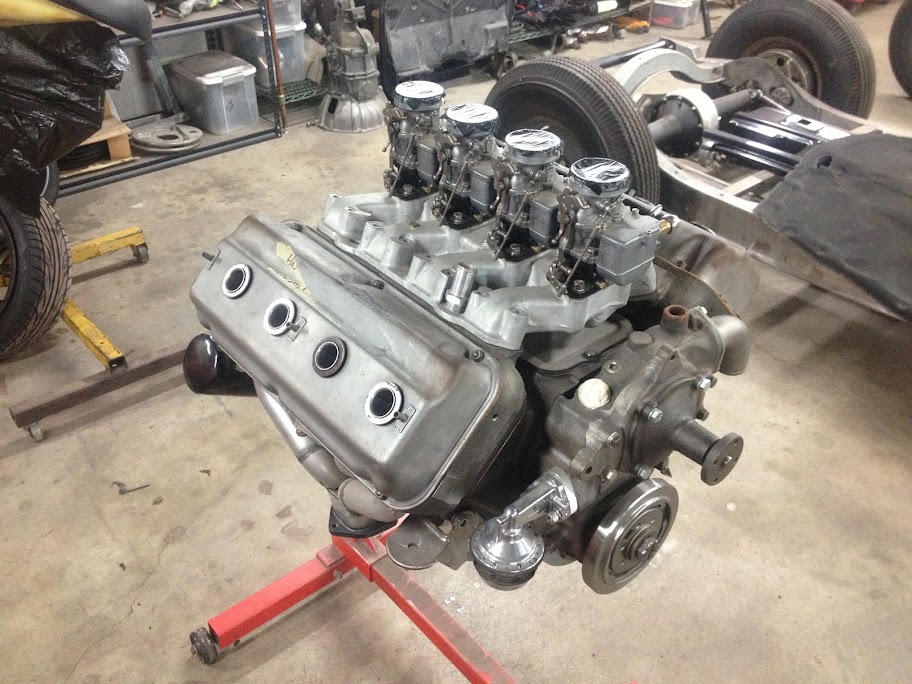
    And just because, the DeSoto hemi going in my '32 Ford you can see behind it. 401hp out of 291 cubes. This thing sounds AMAZING, partly due to the .630 lift solid roller cam

    Leave a comment:


  • HellrotM3
    replied
    Made some more progress. It's all prepped now, once the engine goes it, there's not much left to do!

    I wanted to have it done for Import Alliance to go call some people out haha, but I'm not rushing it to get it done. As soon as it's running, it's going on the dyno.

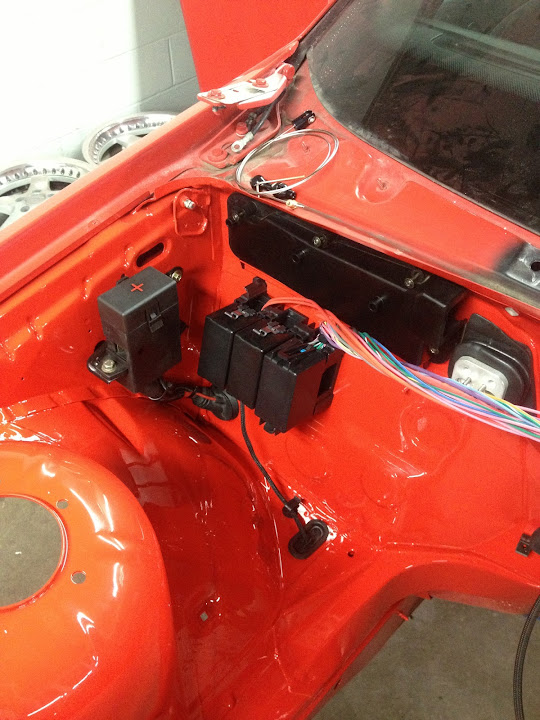
    I finished all the wiring, sleeved anything bare in T6 Tech-Flex and mounted up my Current Performance stand alone fuse/relay box. The engine, fan, A/C, etc will be controlled by the GM PCM, the BMW fuse box only has chassis components left in it, 4 relays and a handful of fuses. Also only 1 main harness plug, no more X69 or X6031. All circuits removed were fully removed, no cut or dangling wires. TIME CONSUMING

    I also put the pedal assembly back in, new OEM BMW clutch master, new bushings, amd tracked down a travel-sensorless booster. That was actually a pain in the ass, but I did find one, clean it up and get it in. The Lokar throttle cable was installed as well.

    All the grommets, clips, heater connections, etc are all new, I want to be a thorough as possible. I just need to finish my front brake lines and tie in my Tilton prop valve to the rears.


    I went ahead and mounted the transmission up so I could make my modifications to the tunnel for clearance of the reverse lockout solenoid and for shifter clearance. Went very simple and easy.


    The interior went back together shortly after, I love the shifter placement.


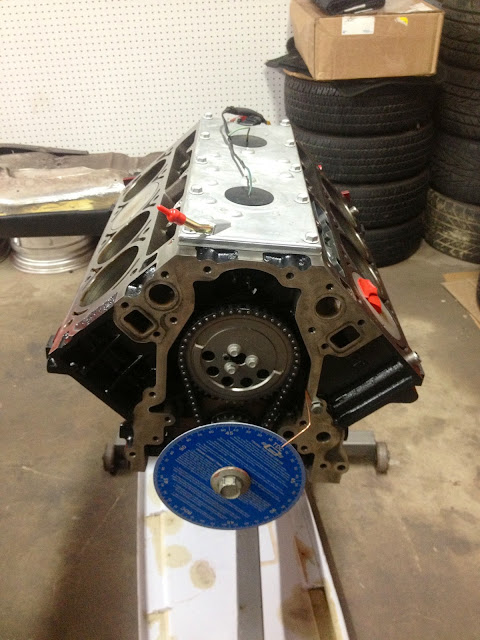
    The engine is finally about to go together, I just had to degree the cam in to find the centerline. It's an advertised 109 degree centerline, it came in a 108.5, I'm happy with that.


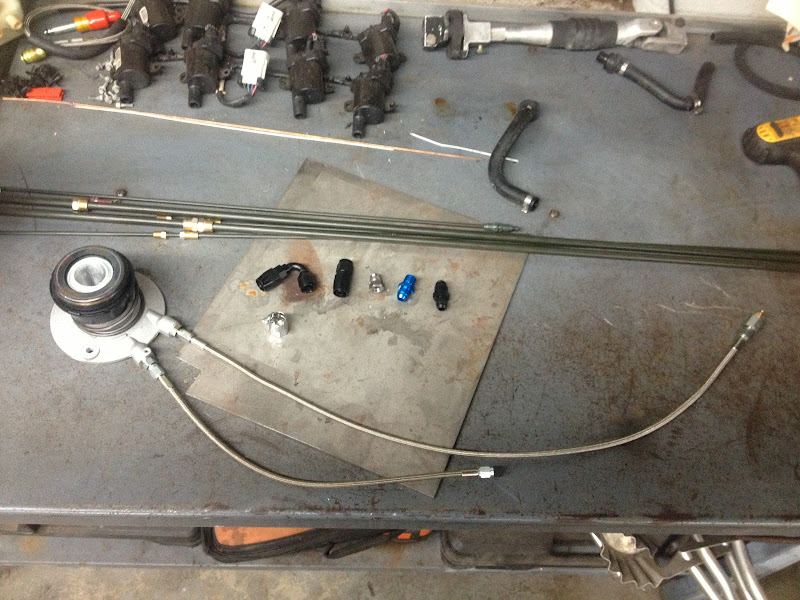
    Got a few more things done. Picked up the fittings I needed for power steering as well as made my clutch line and remote bleeder.


    I dropped the gas tank and removed all bits of EVAP and OBDII nonsense. Ran 1/4" line for a balance vent on the tank and then ran 3/8" fuel injection hose from the pump to the new 3/8" fuel feed. I also ran a new 5/16" return line. I have an Aeromotive 340 pump on the way, should be good to around 700hp.


    Finally, the best tool investment I have ever made. A hydraulic flaring tool. I have had this thing for probably 3 years now, and it has paid for itself 10x's over. It's a little pricey, but as much as I use it, I can't even think to ever use a clamp and crank one again!

    Leave a comment:


  • HellrotM3
    replied
    New style GM water pump, nothing off brand here, all GM or AC Delco


    Brand new Fbody oil pan, pickup, dipstick tube, windage tray


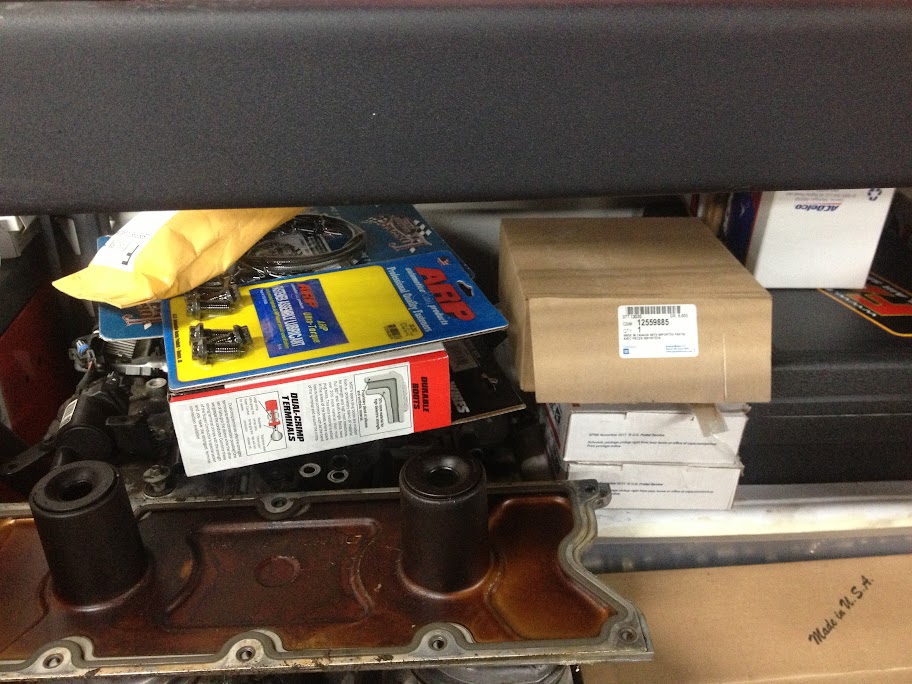
    Random parts on the shelf, pulleys, ARP flywheel bolts, extra LS parts, MSD wires, etc...


    Steering shaft, Borgeson double D shift with Flaming River U joints. Same thing the "other companies" sell.


    SLP SFI Spec balancer


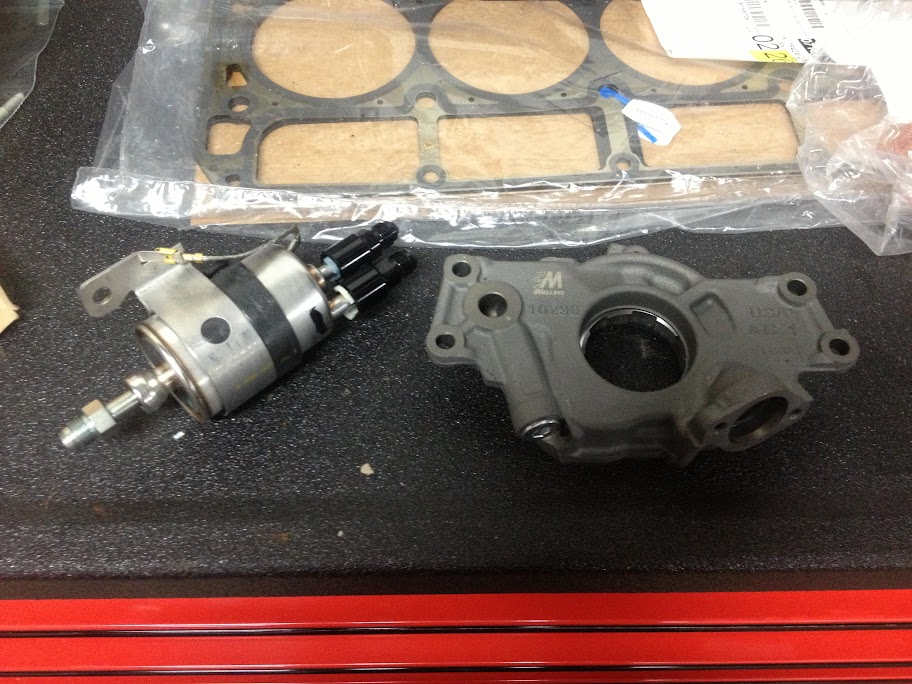
    Melling High Volume oil pump and Corvette C5 fuel filter/reg with the new fittings.


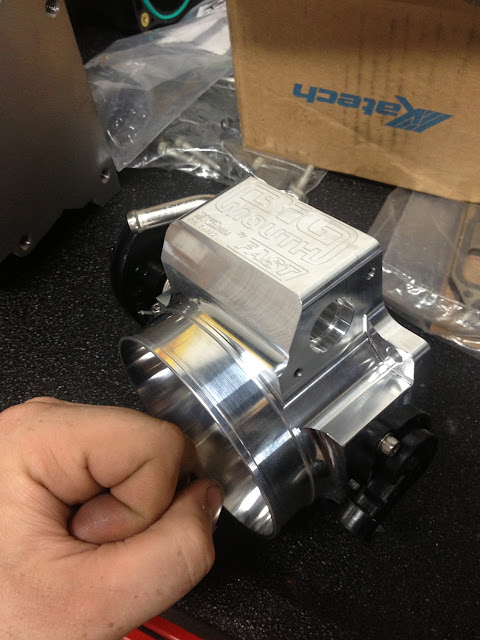
    FAST 92mm TB and Katech tensioner, SUPER nice pieces.


    Large


    Parts for the brake setup, metric fittings and Tilton proportioning valve


    LS9 headgaskets, notice Germany


    7 layer of goodness


    Some of the powdercoated pieces, very nicely done, match the tool box perfectly lol


    This thing should handle the power of the engine and some spray, McLeod RST Twin Disc


    Finally, a shot of the work space for engine assembly and storage


    Next up I'll be dropping the tank, removing ALL the EVAP garbage, making a custom anti-siphon rollover setup and getting the new lines and pump in. Also will be making the standalone harness, seamlessly conjoining the LS and S52 harness. No extra crap, and unnecessary wiring will be gone.

    Leave a comment:


  • HellrotM3
    replied
    I picked up a local T56, that was SUPPOSED to be good. I don't trust anyone buying transmissions so I knew I was going to rebuild it anyways. I put new 1-4th gears and blocker rings in, steel bearing spacers, steel shift forks and brass shift pads, as well as shimming the input shaft to .001 play.


    All back together.


    New cam came in, I set it up, measured my piston to valve clearance and degreed it in. Pistons are going to need to be flycut as I thought, no big deal. I'll get to it this week. Got the new LS6 valley cover on, it has the PCV built into it.


    .029" clearance. .080" is considered "safe" .100 is optimal


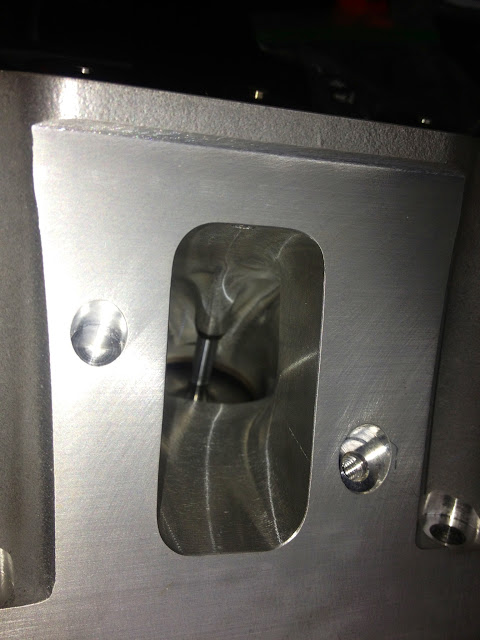
    CNC ported LS3 heads, brand new GM Performance, Lunati dual valve springs added that will handle .675 lift.


    Great looking out of the box.


    2000 Camaro SS engine harness and PCM came in, probably the only used parts on this build lol


    Vorshlag mounts came in. Nice quality, some things I want to change. I'm going to make a fixture from these and make some of my own that I can also produce.


    Euro E36 M3 cluster, oil temp where the pointless MPG gauge was. This will all be functioning on the LS.


    All new rockers, rocker shafts, Comp 7.4" pushrods, LS7 lifters and ARP head bolts


    Empty box pile haha

    Leave a comment:


  • HellrotM3
    started a topic E36 M3 Shaved, LSx swap

    E36 M3 Shaved, LSx swap

    Subject at hand.


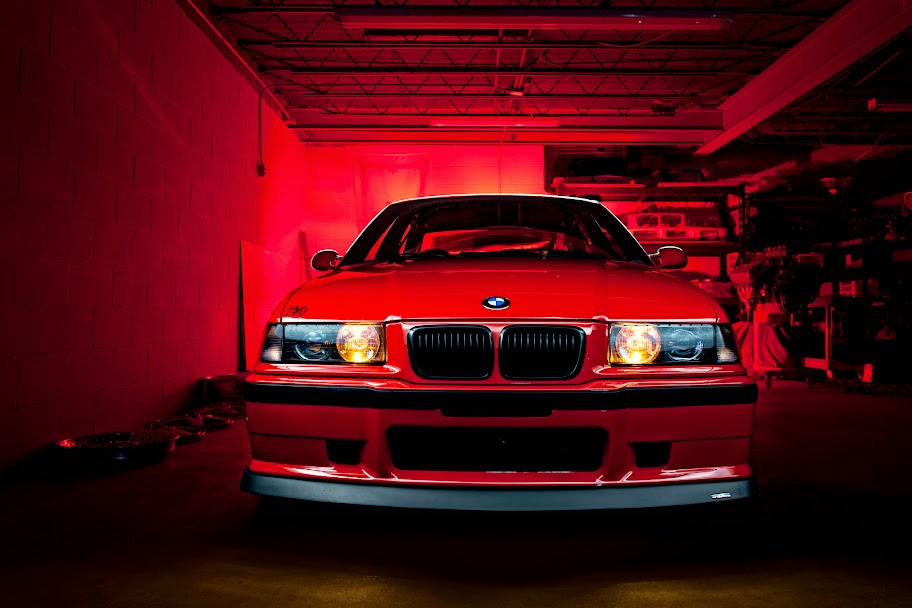
    I've been wanting to do this swap for quite some time now, especially with my background of building V8 cars and hot rods, it was just something I needed to do! I already have a turbo S50 E30, so this car needed something different. I went back and forth selling this car for a while, but I've had it 6 years now, bought from the original owner, and I know I would kick myself in the ass, especially with everything I've done over the years, this car is basically new from the top to bottom.

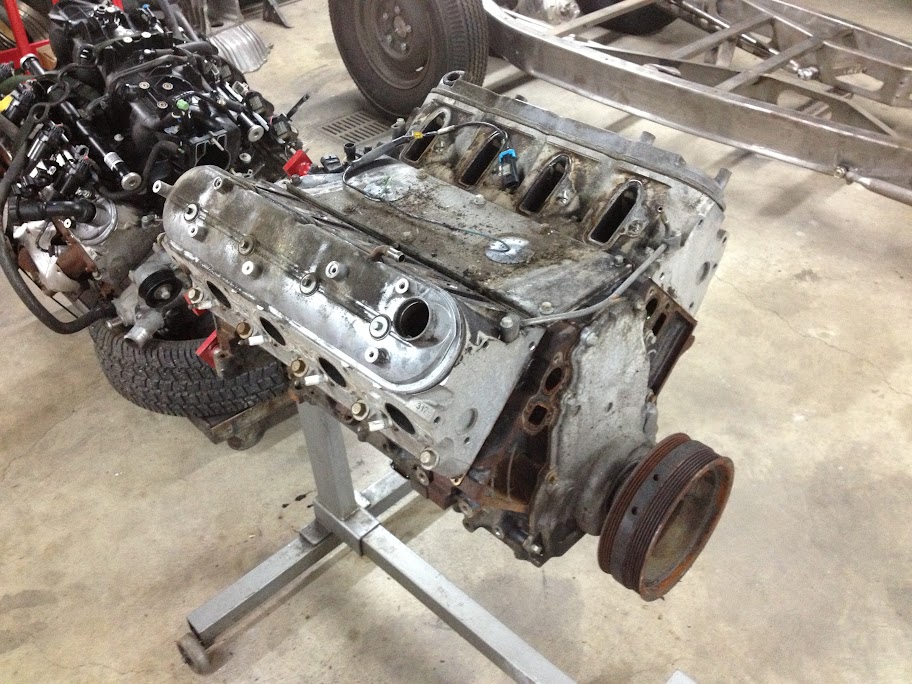
    WHile I was at the yard one day picking up an M54 for a customer car at the shop, I asked if they had an LQ9s sitting around. I wanted an iron block LS engine, I plan to spray this thing once I have it all together. I didn't want an LQ4 with the lower compression, and luckily they had one in stock from a 2003 Escalade with 79k miles. I bought the M54, the LQ9 and a SUPER CLEAN 5.3 they had for a hell of a deal. I guess buying in bulk does work.


    I stripped all the accessories and unwanted parts off the LQ9 and it didn't seem to shabby. I knew I was only using the shortblock from the get go. I want to make at least 450whp on just the engine.


    I cleaned up the block, masked it, and shot some fresh satin black on it. Also cleaned off the gasket surfaces and the tops of the pistons. No scrubbing was needed, just some lacquer thinner.


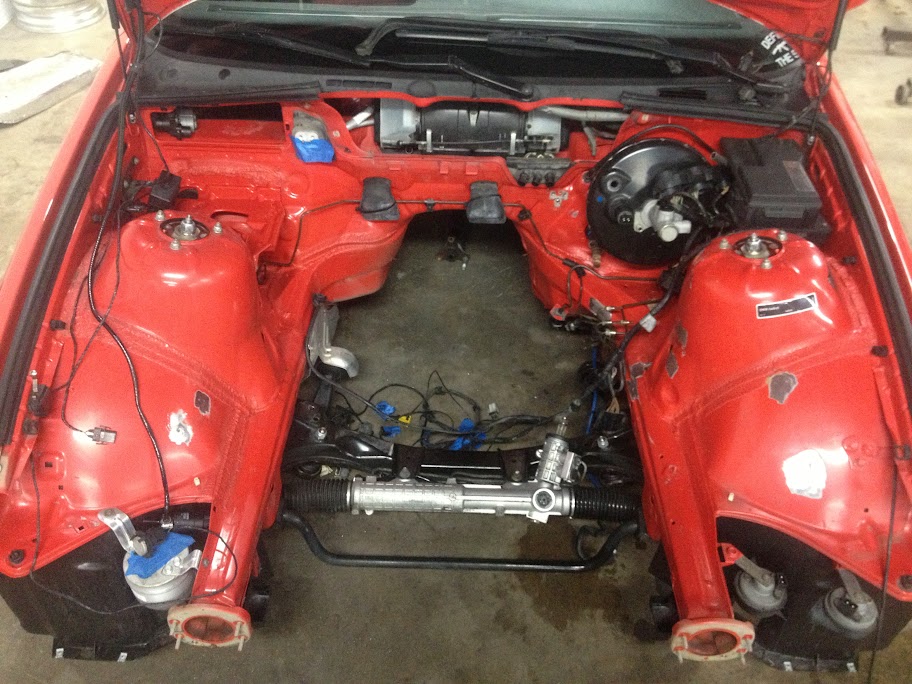
    A few days later, I started stripping the M3 to prepare it for its heart transplant.


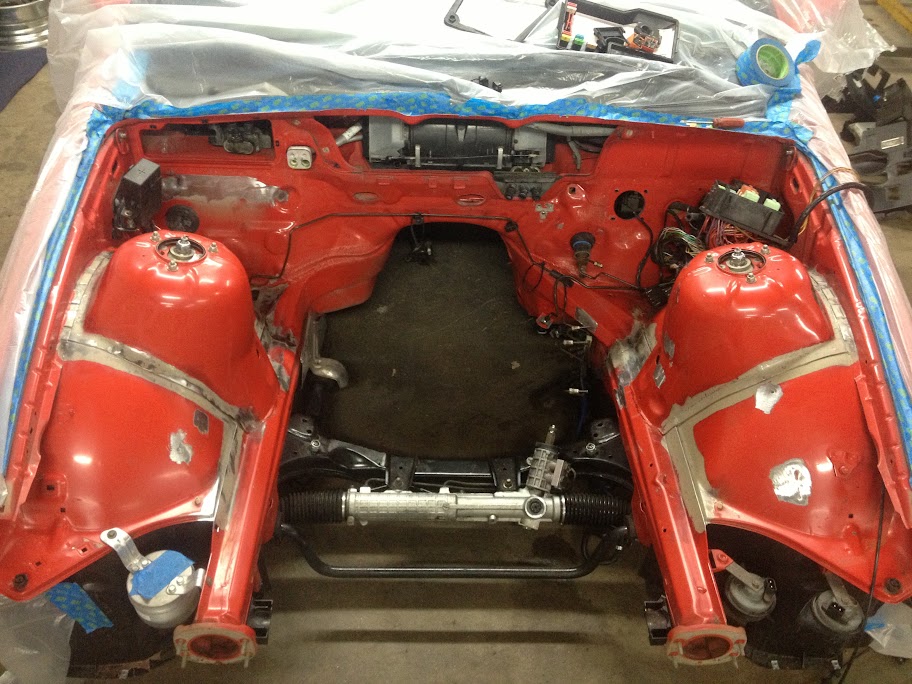
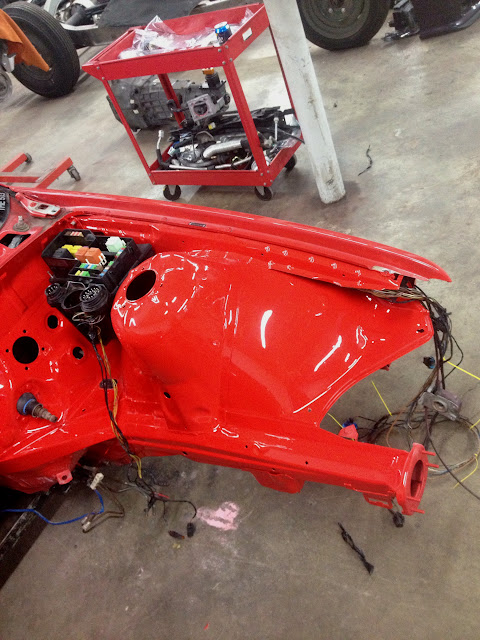
    On a lot of my past builds, I shaved the engine bays pretty extremely, but with this car, I wanted to have the fusebox in the bay so I could access everything readily and not clutter up under the dashboard. I plan to have all accessories on the engine, but no ABS, no cruise, nothing that would make the bay aesthetically unappealing. The A/C lines will be custom made and tucked down low. More on that as I get there. Brakes are handled by a Tilton proportioning valve with custom lines, etc...

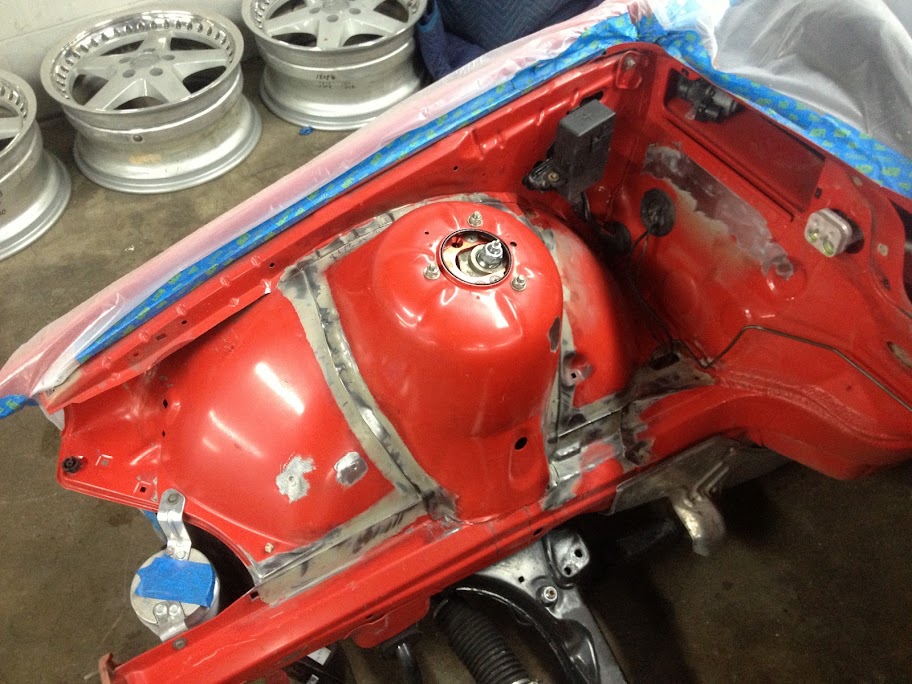
    I started by removing all seam sealer, cutting off all tabs, removing the real shelf that the secondary air pump sat on, and all wiring, grommets, and pieces that would interfere with the new paint.


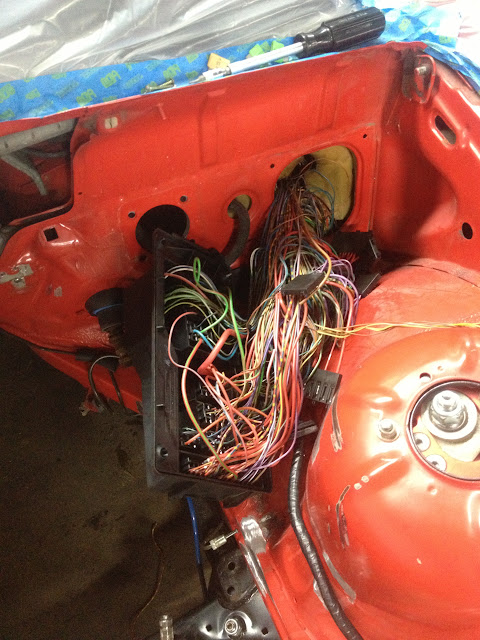
    Wiring rats nest that BMW stuffs in the fusebox


    Wiring that was not needed was cut out.


    All prepped at this point


    Epoxy primer


    Primed


    Color laid


    Cleared


    And untaped


    I started on getting the fusebox and wiring back in the car. I ran the wiring that run on the core support through the fenderwell out of the side of the fusebox. No wiring cluttering the bay here.


Working...
X