-
Shame my masterpiece will be gone.
But like all great things. They never last.Leave a comment:
-
I'll try update this once a week since Tom and Toli keep breaking my balls. They think editing and uploading photos along with writing this stuff only takes 5 minutes.
So at the start of last week Toli pulled the old tunnel off which consisted of some thin alloy that he originally pop-riveted on and sealed up with silicone.

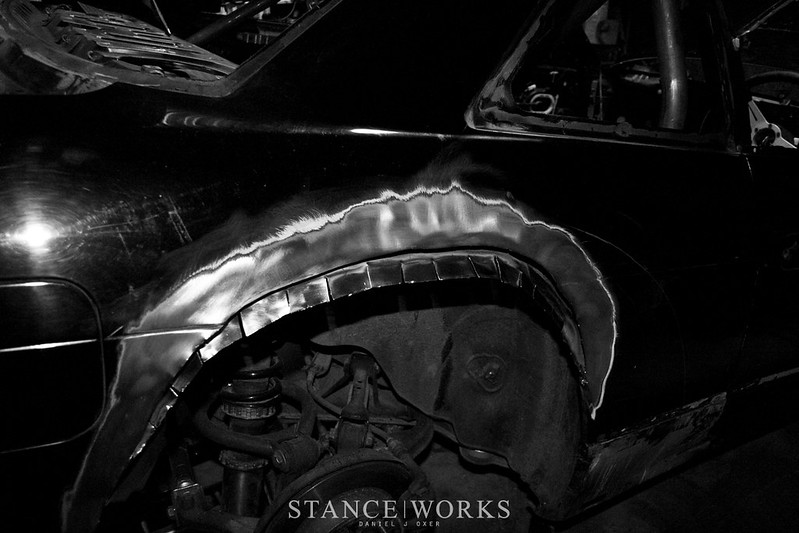
He also brought the rear quarters to bare metal. I originally told him the idea of cutting and folding the inner skin over the outter, so he did it whlie it was still painted. Made him do it all over again
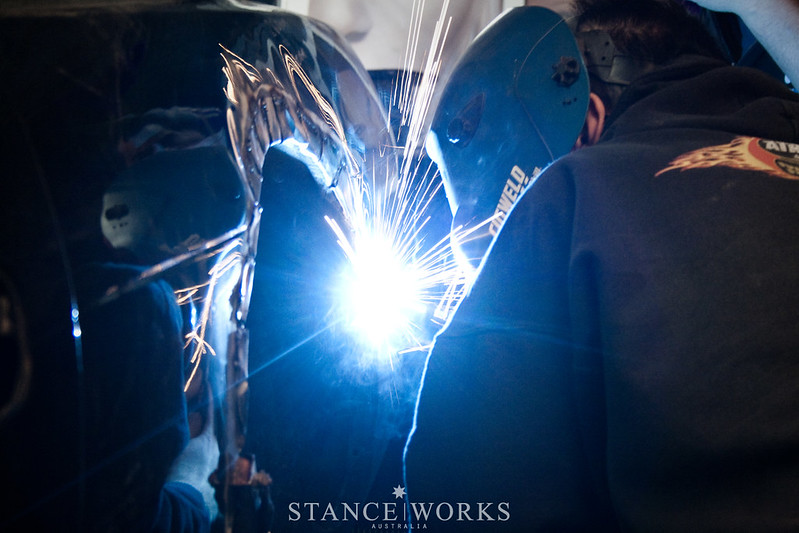
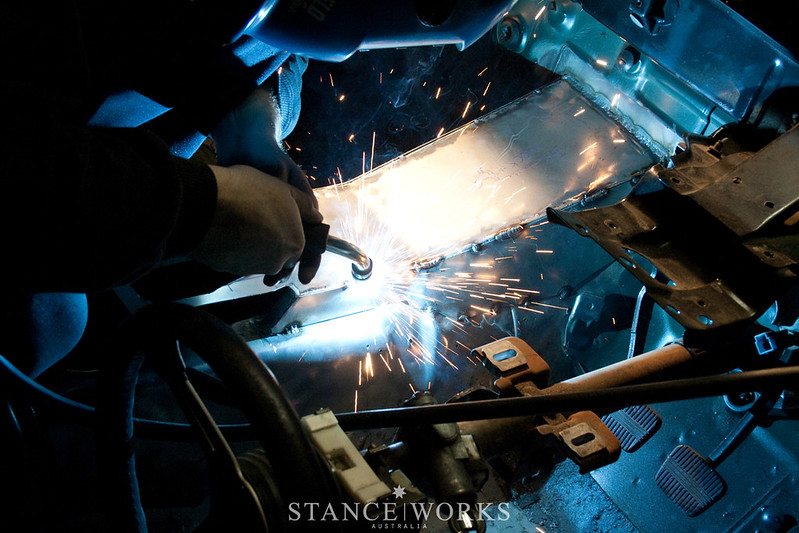
yours truly welding the rears up, photo thanks to Tranz.
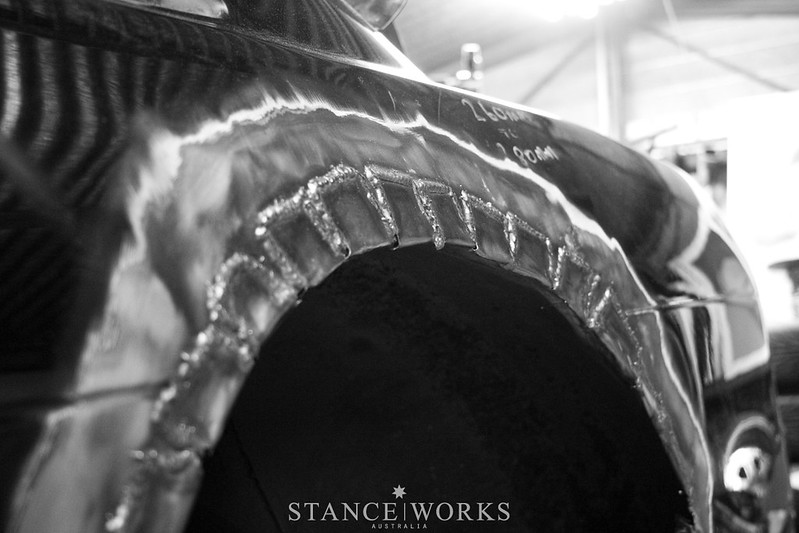
all welded, the remainging holes will be filled with seam sealer. Photo by Tranz.
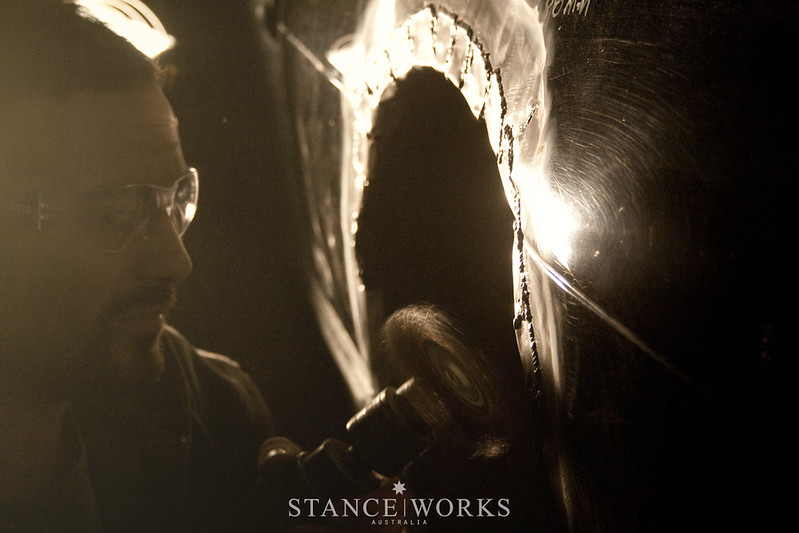
Toli cleaning the welds up and prepping it for etch primer. Photo by Tranz
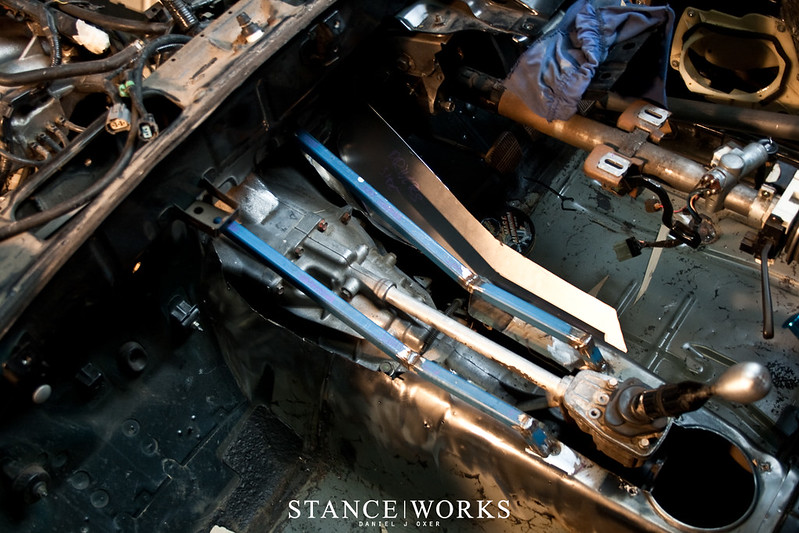
Then next was to start fabrication the new tunnel. I decided to make the main part of it with a tube frame to add a little more strength. Initially there was a whole lot of flex through the tunnel having such a large section being cut out. Ideally I would have liked to have folded up aht whole tunnel from one large sheet, but since I no longer have access to the sheet metal tools I once had, and am doing this in my garage, I have to make do with what I have.
To make the sheet sections up, I made a makeshift sheet folder. Improvisation; The key to all great builds.
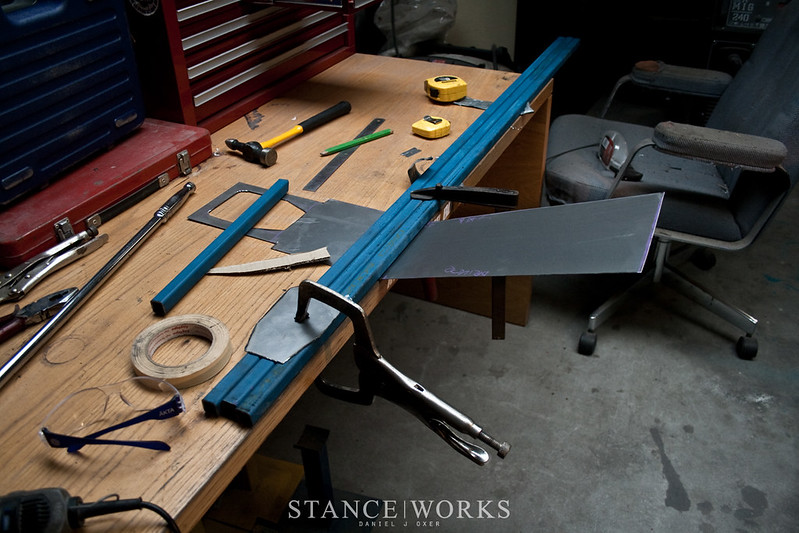
For the sides, a little more metal work was in order. To try match the shape of the factory floor/firewall, I tapped up a section with a hammer and dolly on the floor. Toli said that night I should have just folded a section. Part of the reason for doing it this way which takes a little longer was to make sure I still had it. I havent done any serious fabrication for quite a few years, but to be honest, its like riding a bike. If I had the proper tooling and an english wheel, it would have come out better, but considering no one will ever see it apart from here, Im not worried in the least.


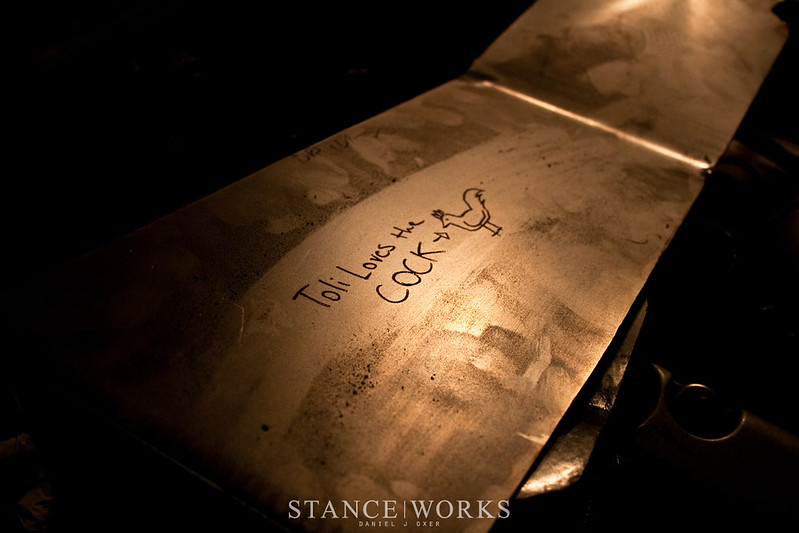
Mohsen came past, this was his contribution
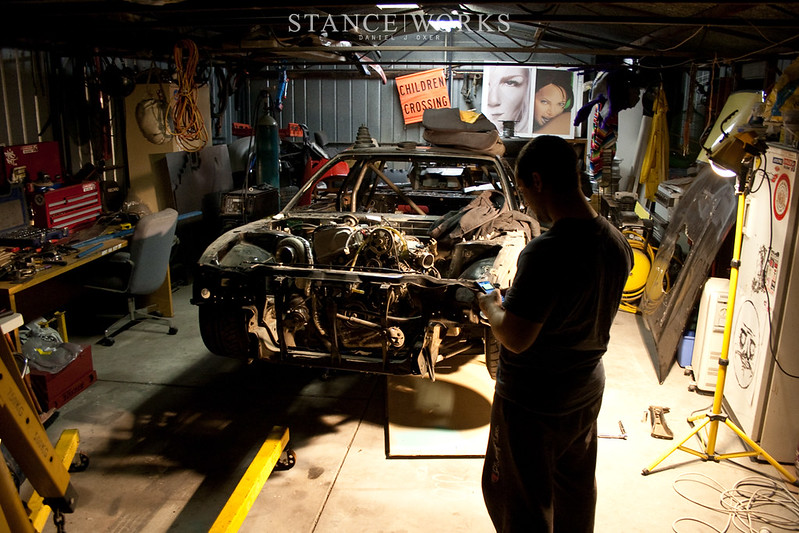
Then Toli arrived and we decided it was time for the motor to come out. We went to our friends to pick up my engine crane. The crane itself has been through a hard life, having bein lent to a supposed mate, and sitting in the weather for years on end.
the release valve used to have little tabs on it to assist the release of the hydraulic fluid. Over the years though, somewhere along the line, someone stripped it.
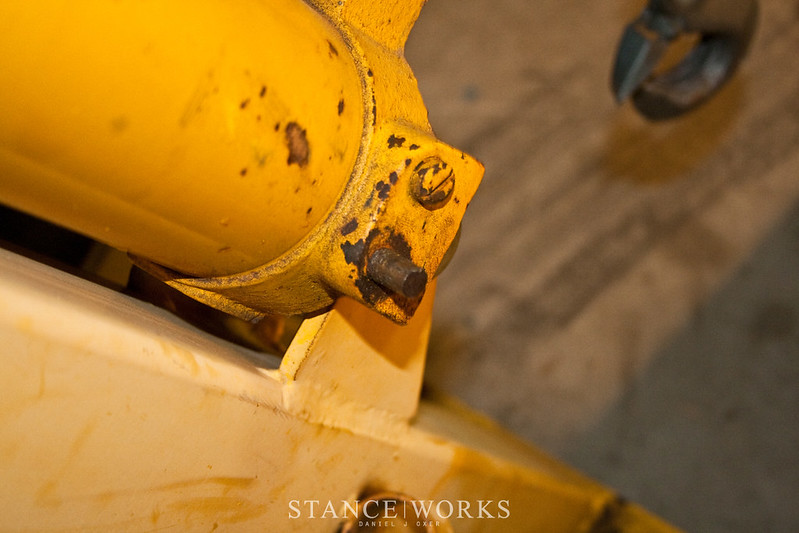
so I fixed it.

Meanwhile, Toli was doin work strapping the engine up.
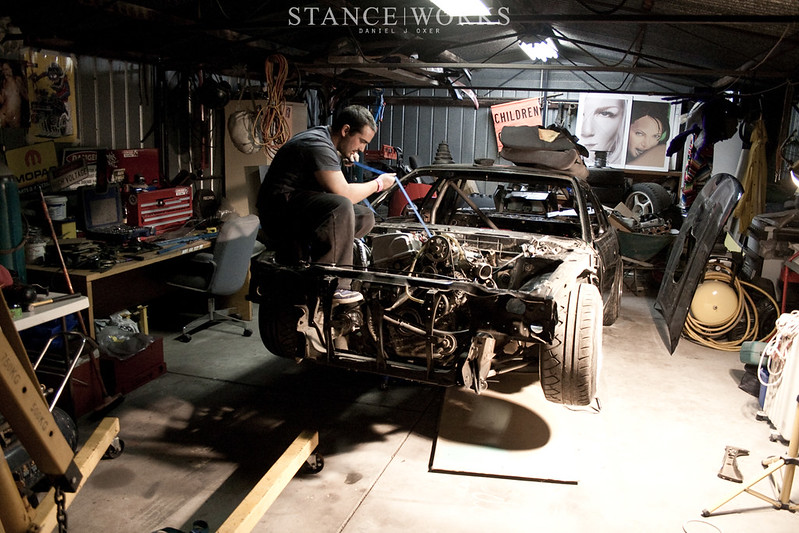
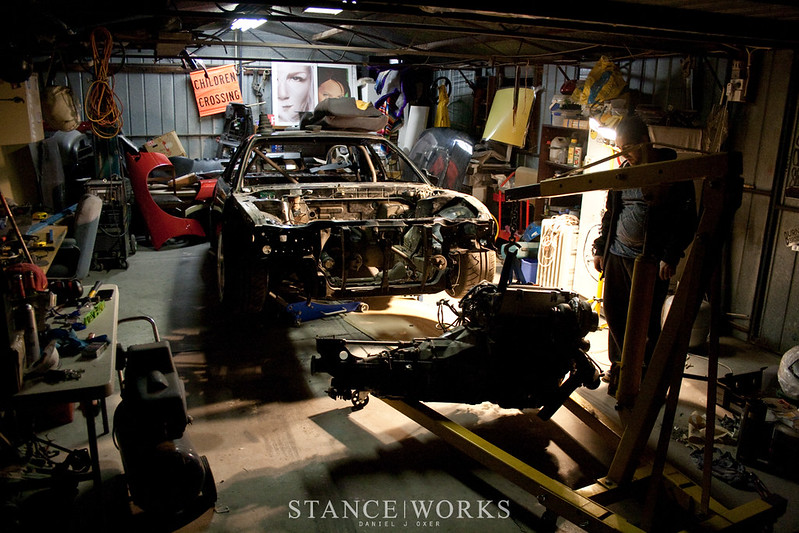
so we pulled it.


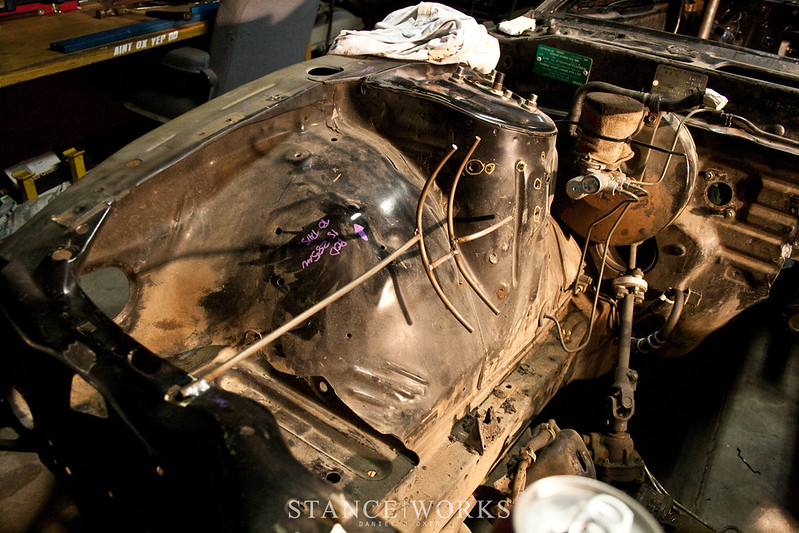
Before the motor came out, I made up a guide so I know where the Turbo sits in the engine bay. Because we are tubbing it, when I do the sheet metal in the bay I'm going to have to modify this side to make clearance for the turbo. That means ill get to tap up more sheet, I dont know why, but theres something satisfying about shaping a piece of metal with a hammer and dolly. Its soothing, no matter how long it takes, its enjoyable.
.
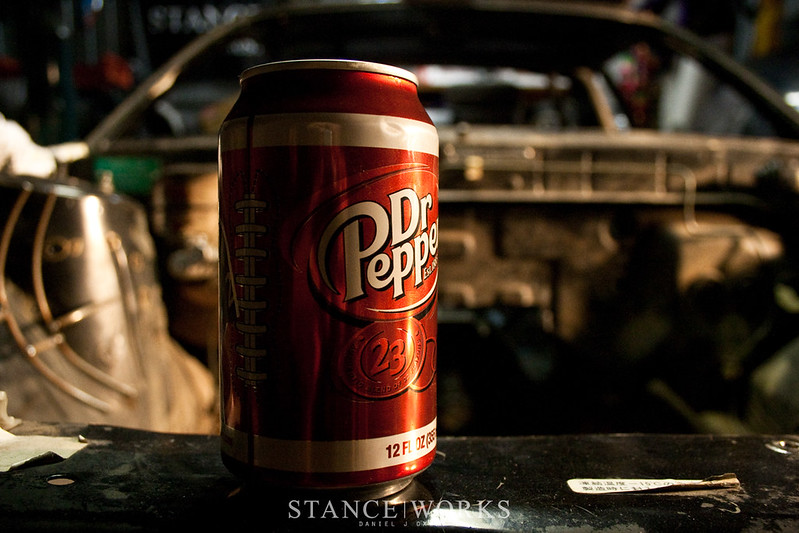
Since the motor was out, we decided it was time for a break, as we reminisced about 'Murica.
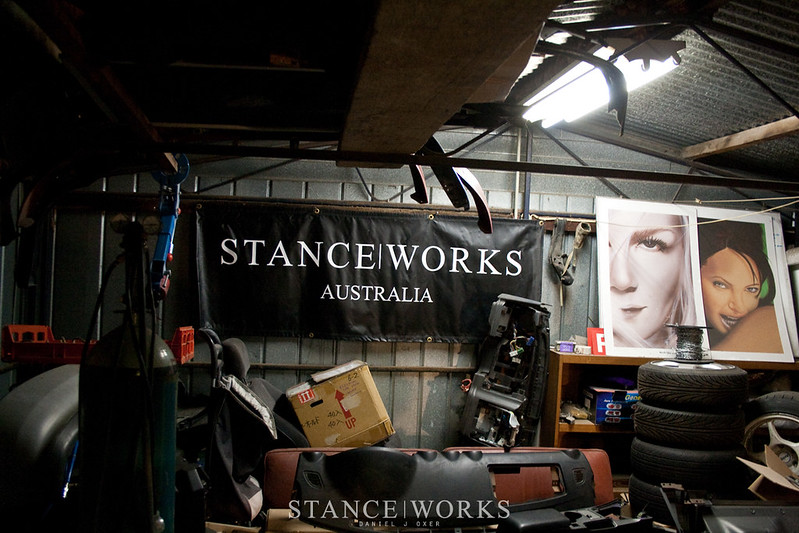
And we hung this up.
Then I wire wheeled under the tunnel and started welding in the sheets I had made up. Photos by Toli.
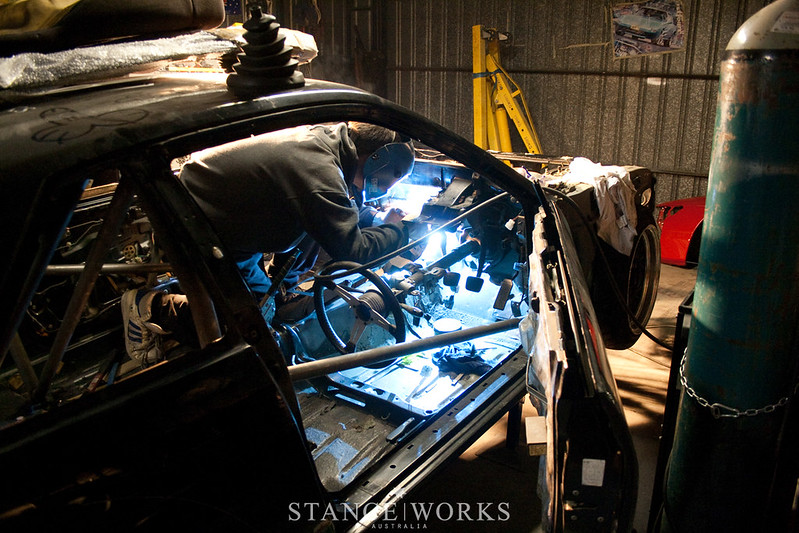
Welding is also like riding a bike.


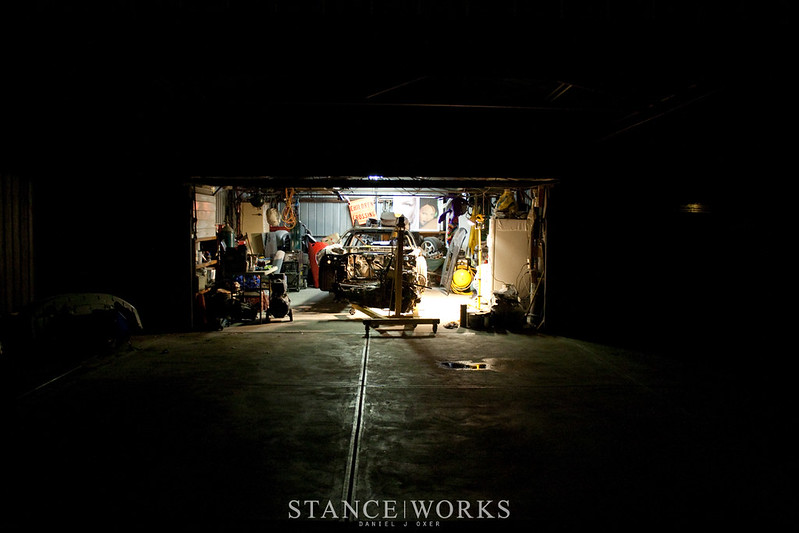
At that point we called it a night. During this week Ill make up the remainder of the tunnel, finish the welding, etch prime it, seal it up. Then we can start cutting the front tubs out and working in the bay. Until then....Leave a comment:
-
good friggen job. i love seeing different things. what makes this build so much better is the fact that you didnt swap some corvette motor into it. personally i think that seems like a more lazier route. but this is amazing!Leave a comment:


Leave a comment: