If this is your first visit, be sure to
check out the FAQ by clicking the
link above. You may have to register
before you can post: click the register link above to proceed. To start viewing messages,
select the forum that you want to visit from the selection below.
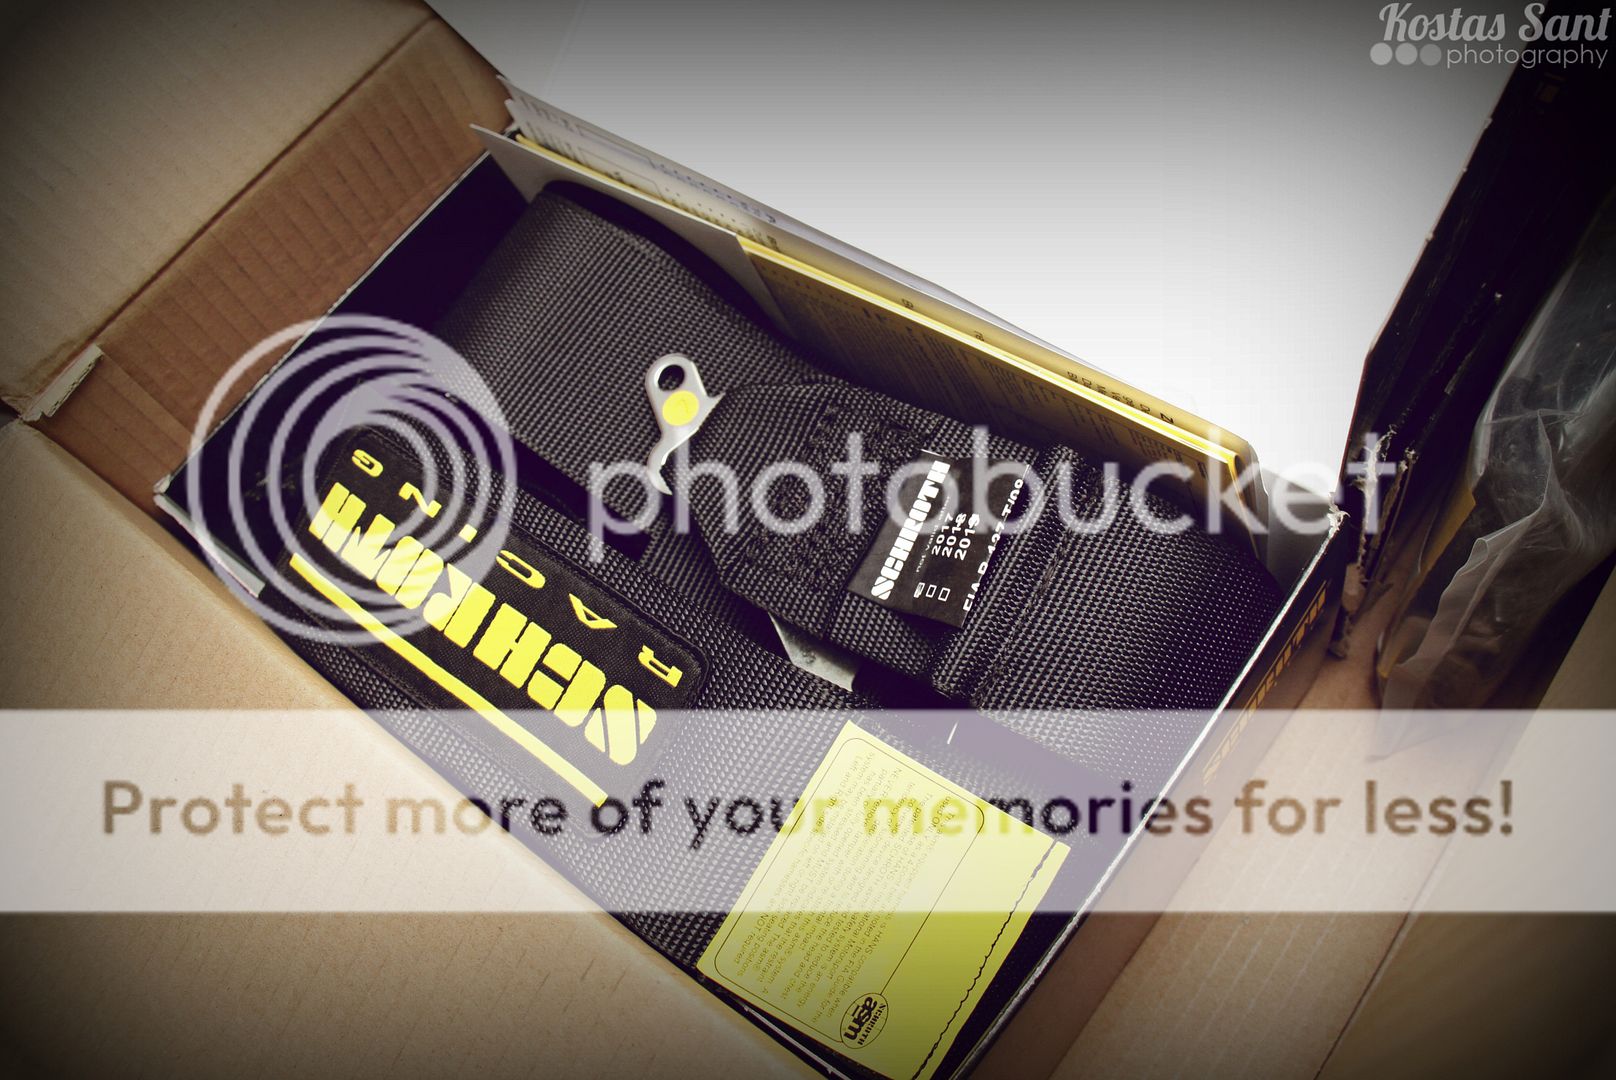
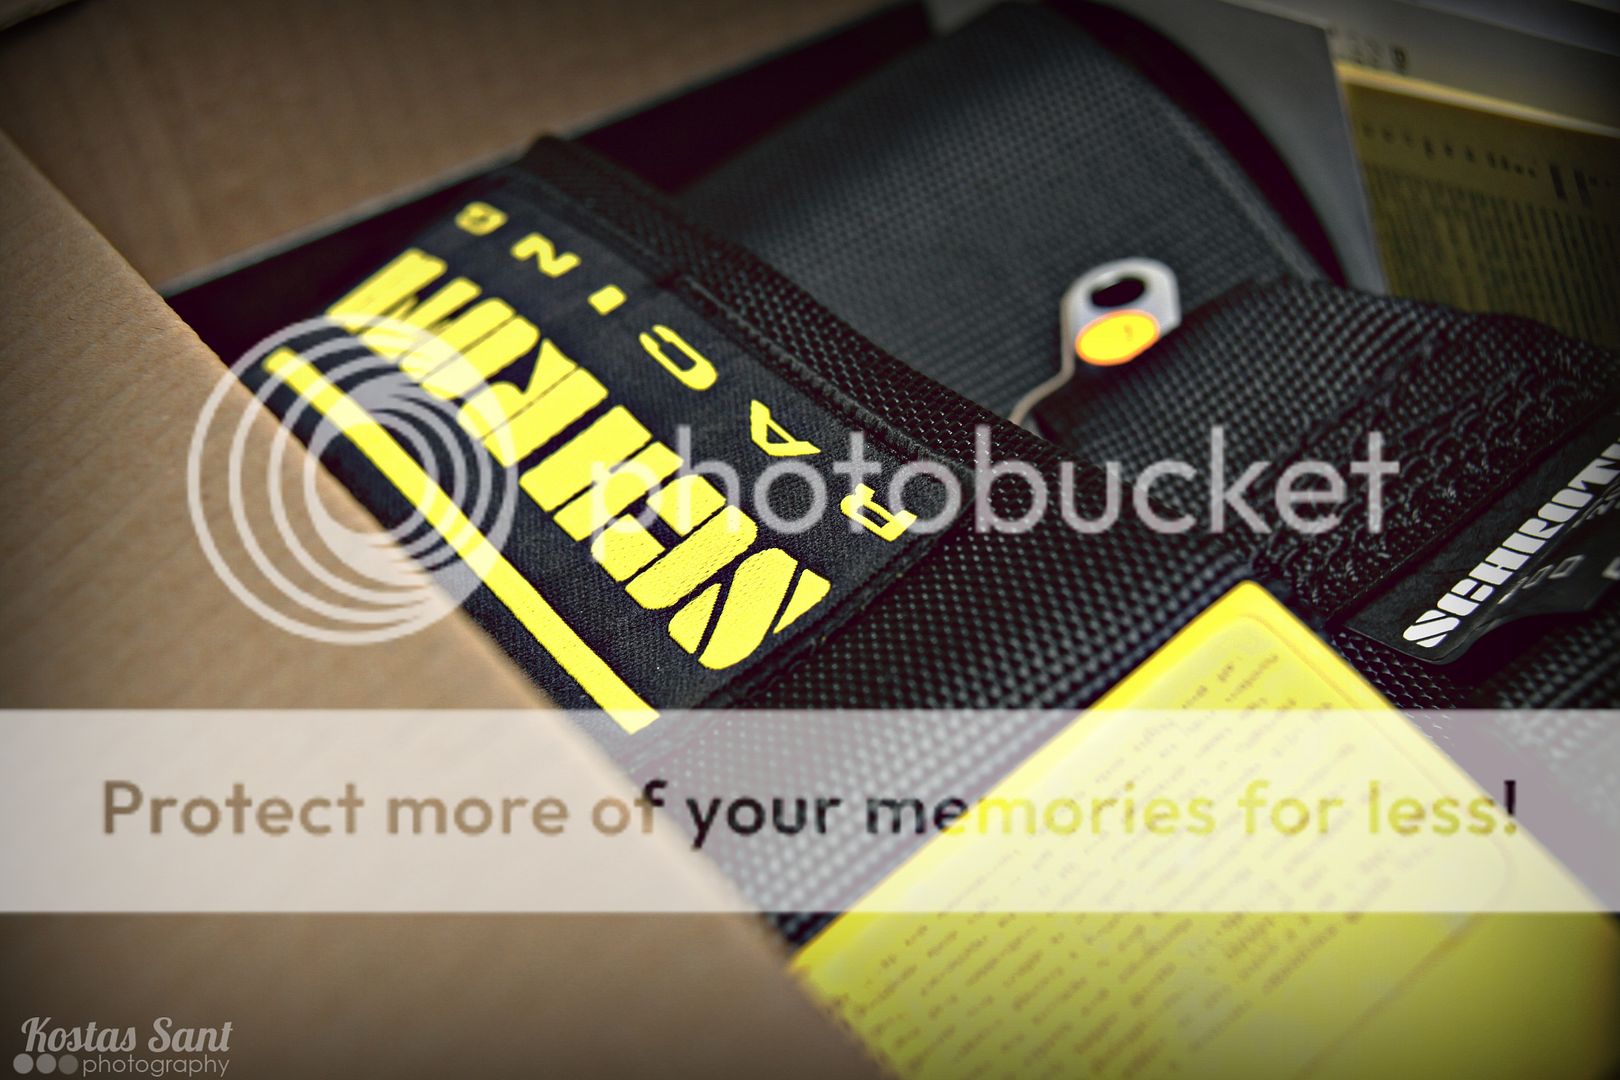
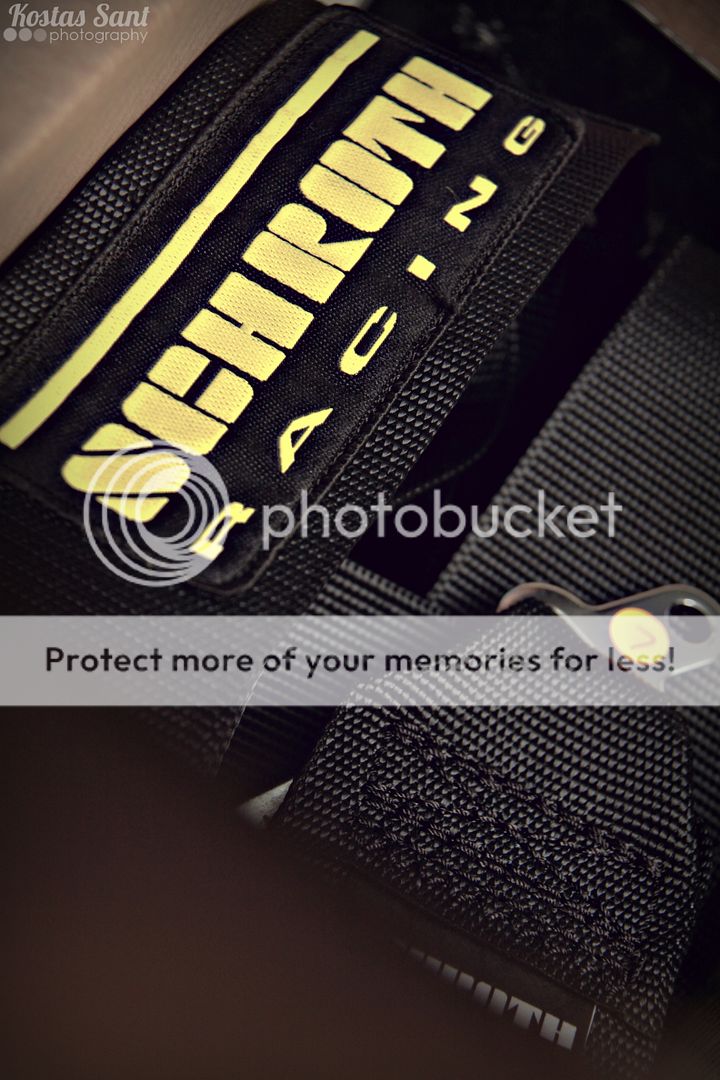
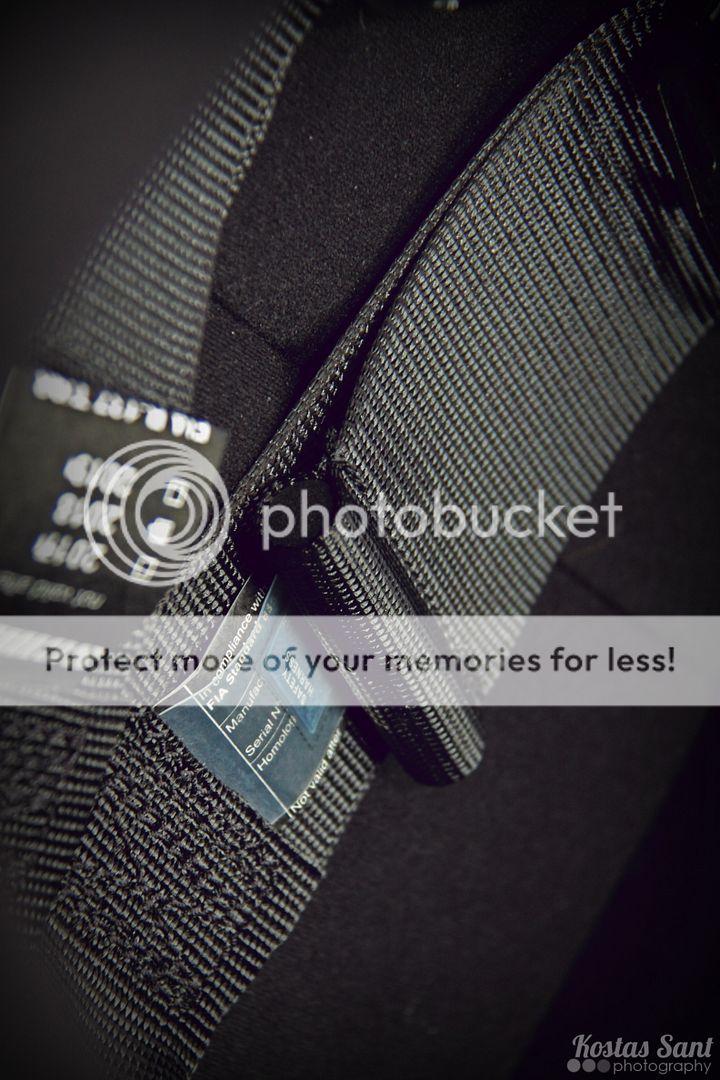
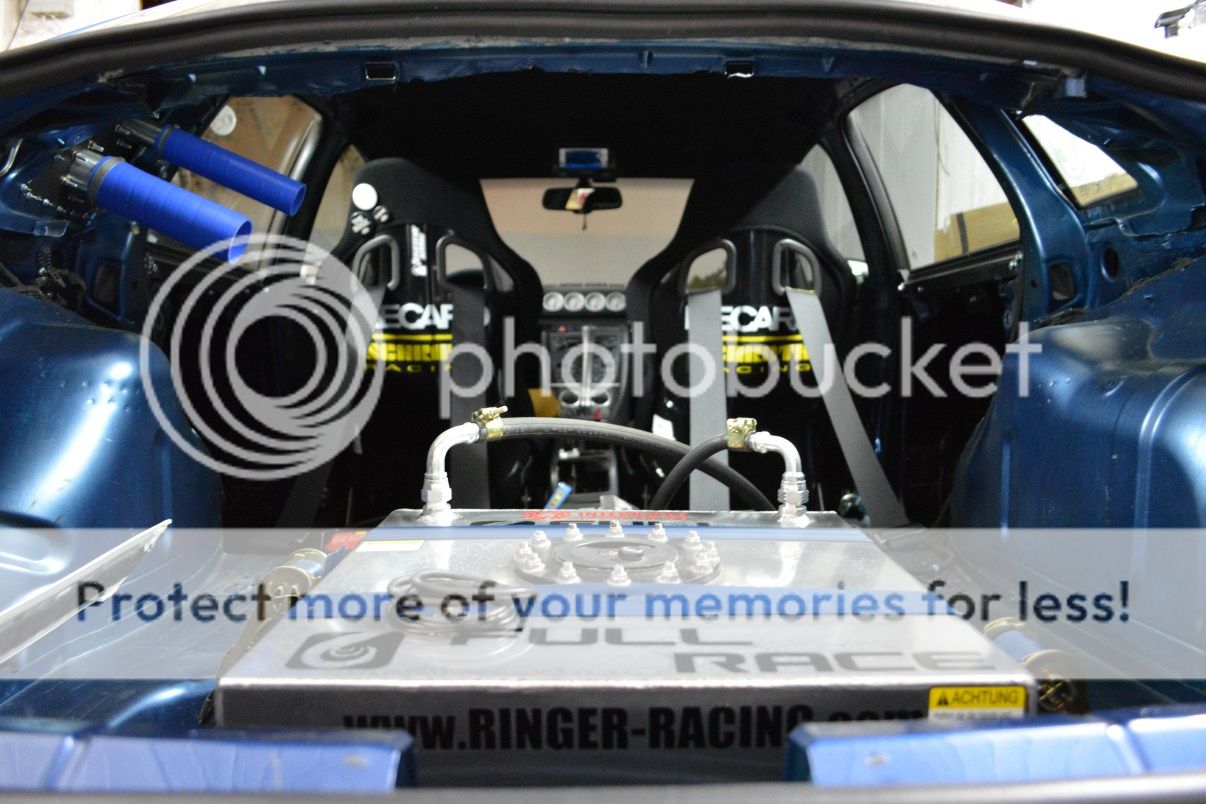
So . Some pics of the installation process of the harnesses . . .
Opened the boxes, nicely put inside, awesome quality to begin with.
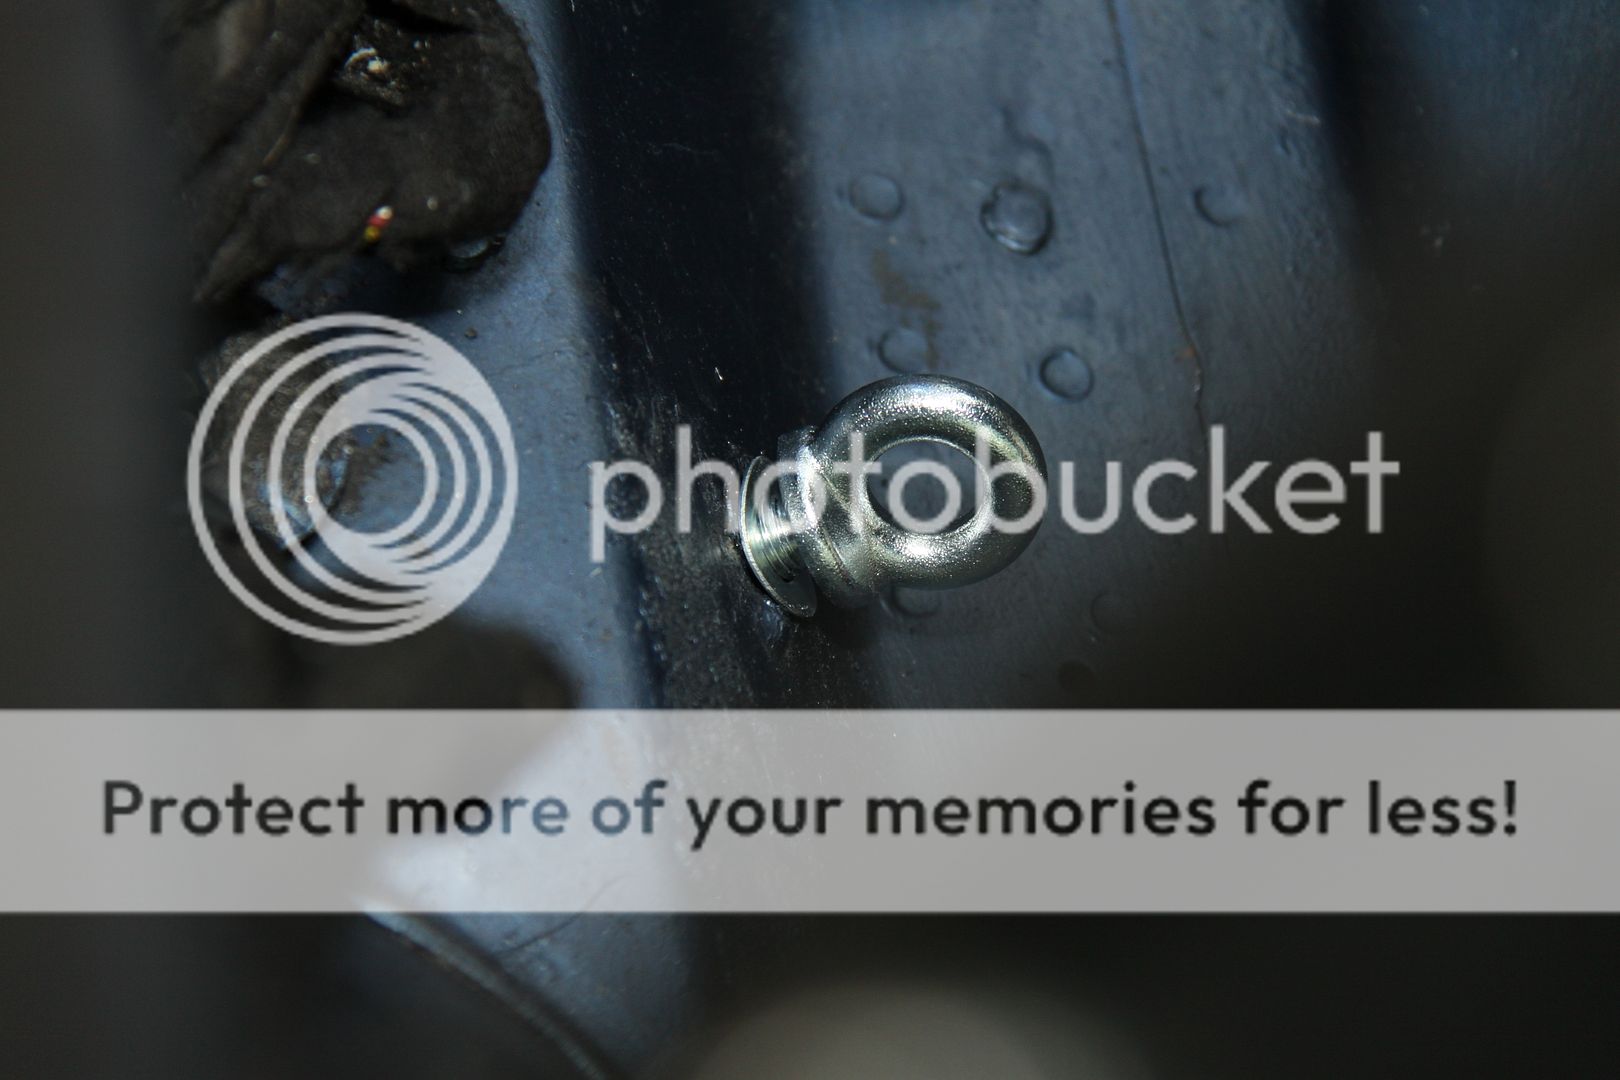
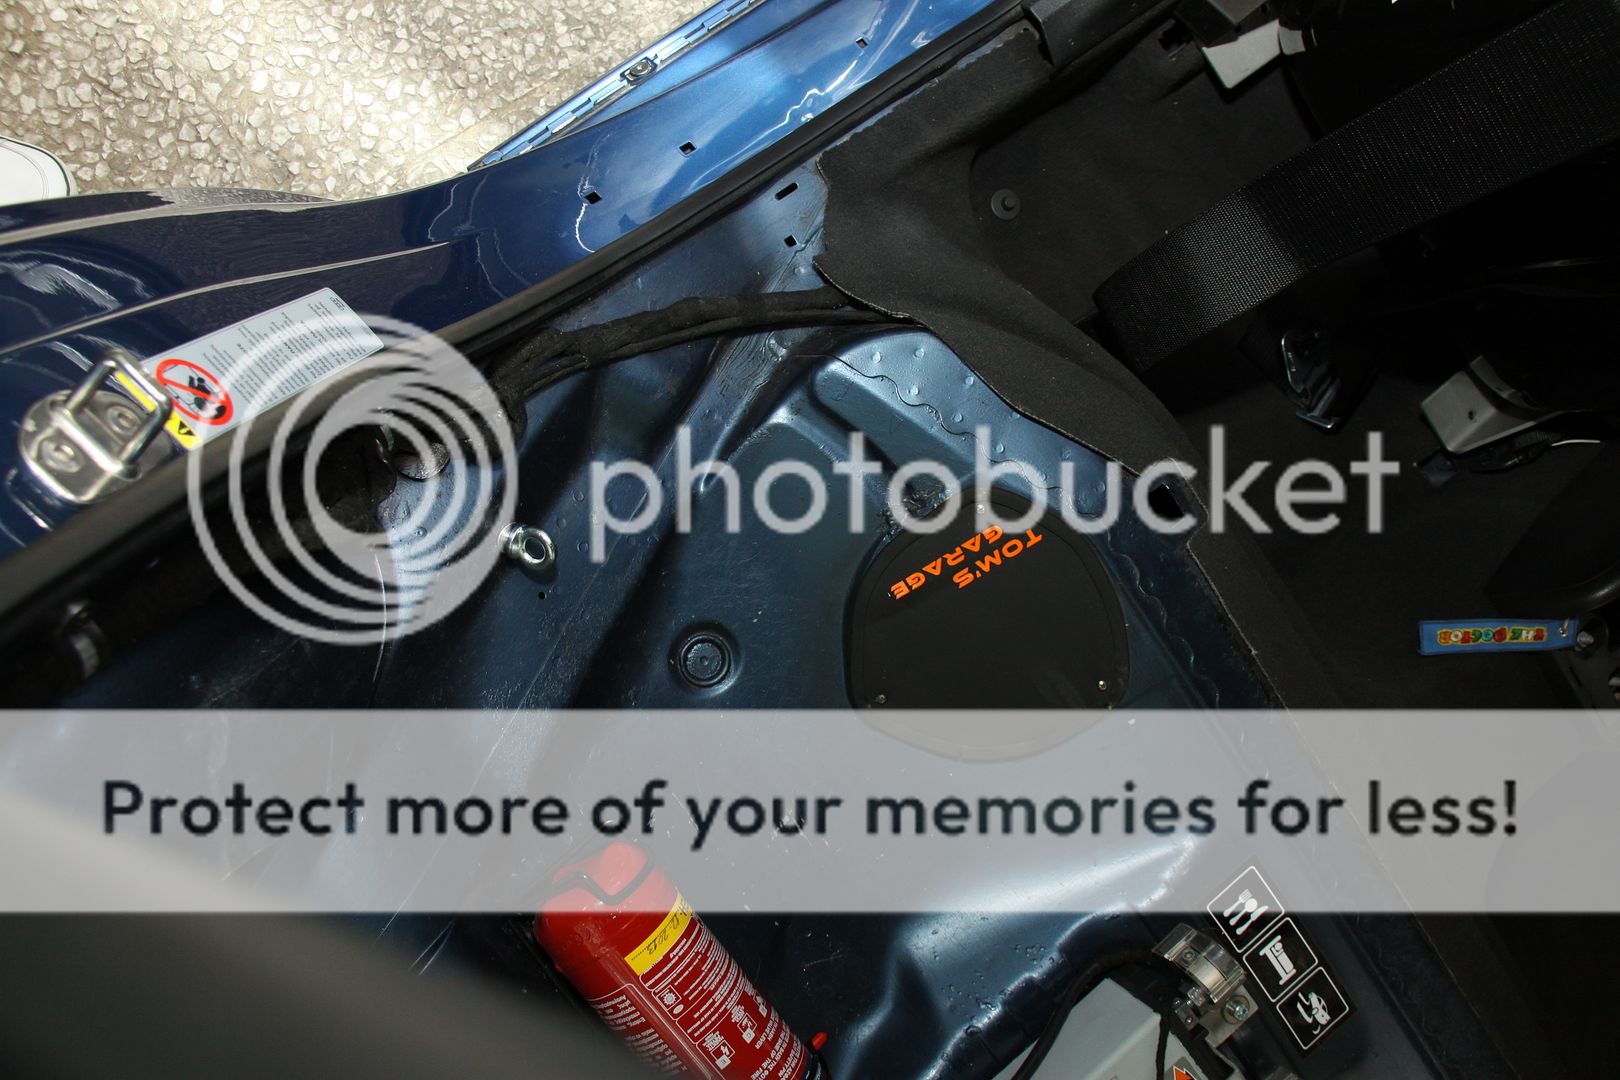
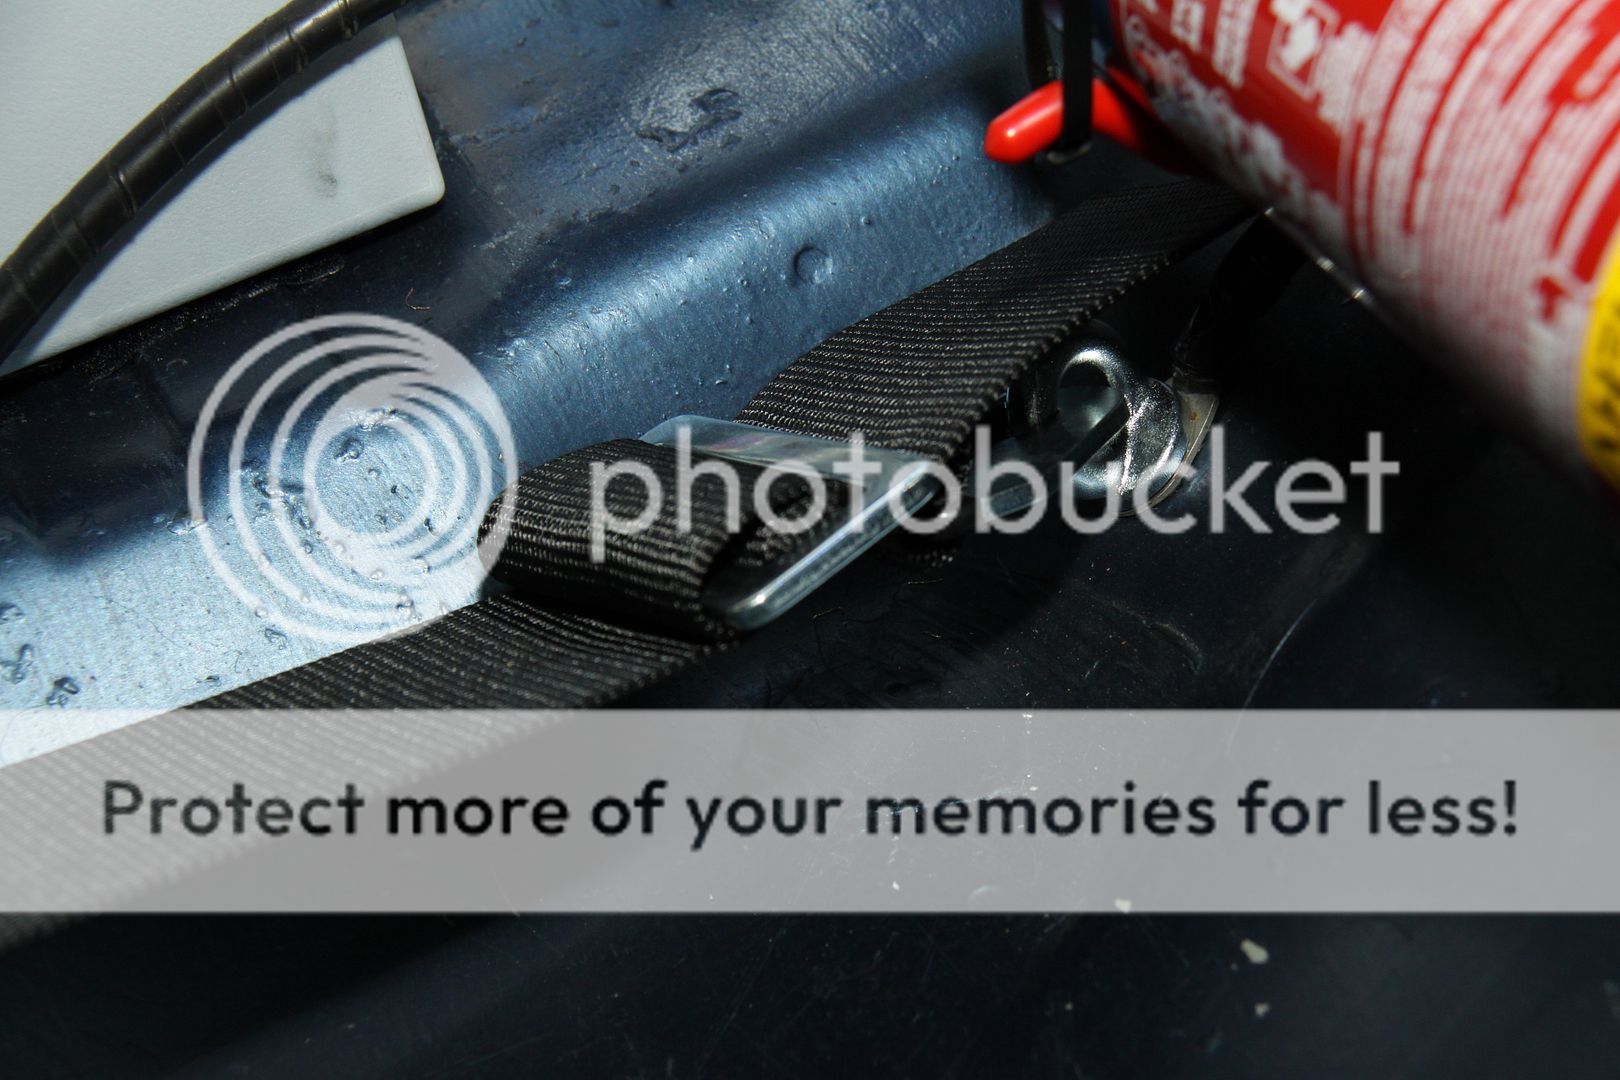
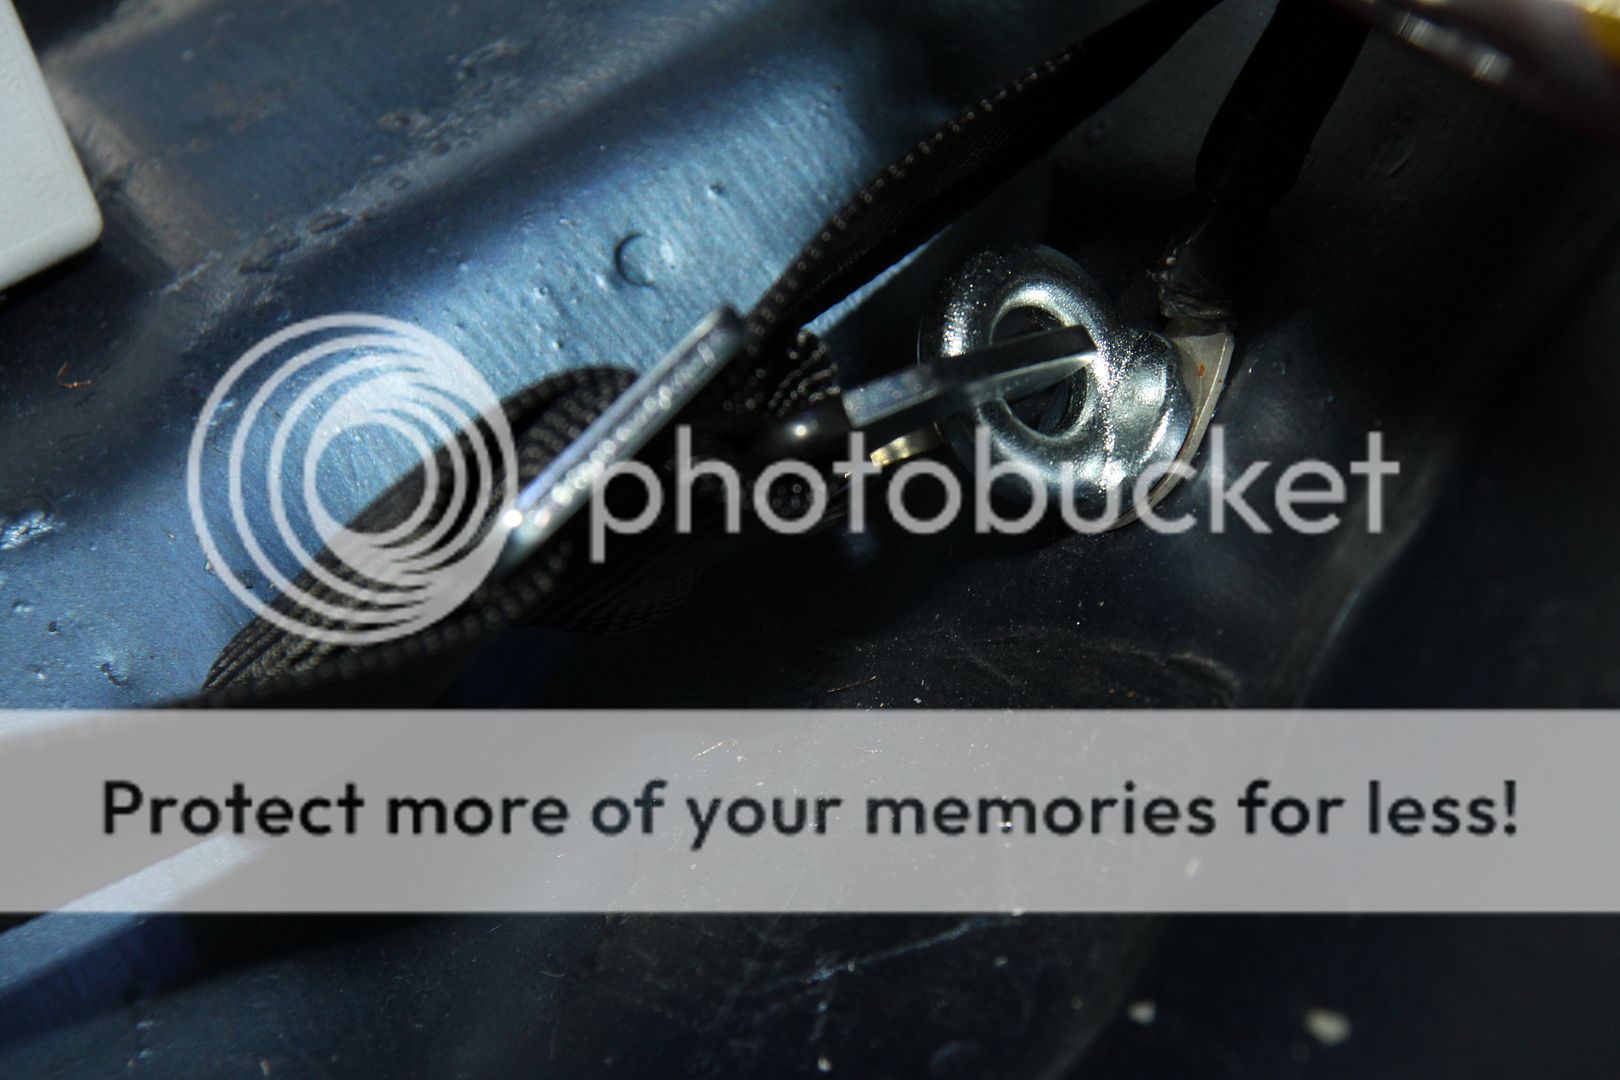
Started bolting down the rear towing points
Replaced this on the battery ground
With this
measured the correct lengths
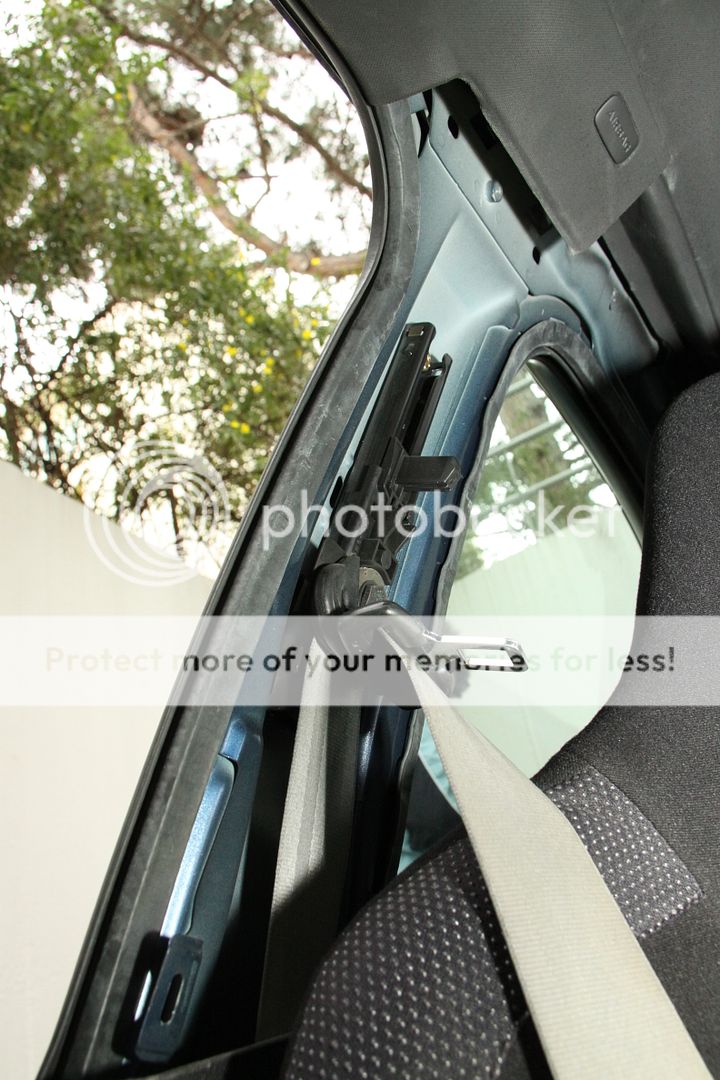
Then, I thought it was time, to remove the last grey part of my initial interior, my front seat belts.
Removed the b-pillars
Before . . .
and after
OEM seatbelt assembly is heavier than the whole Scroth assembly
So, in they went, and for now I left the b-pillars, lower and upper removed. I will see how it goes.
Overall exceptional quality, better than the almost identical Sparcos I used to have back then in 2009, super light, great release-mechanism, and easy installation, despite the 6-point option I went with this time. Totally recommended. What is more, a harness bar will be on the way, once Tom is in the mood for it, LoL.
Hope you liked it too. Cheers.
Audi RS4PRA | VW Golf MKV GT-Y | Audi A1 SportBack
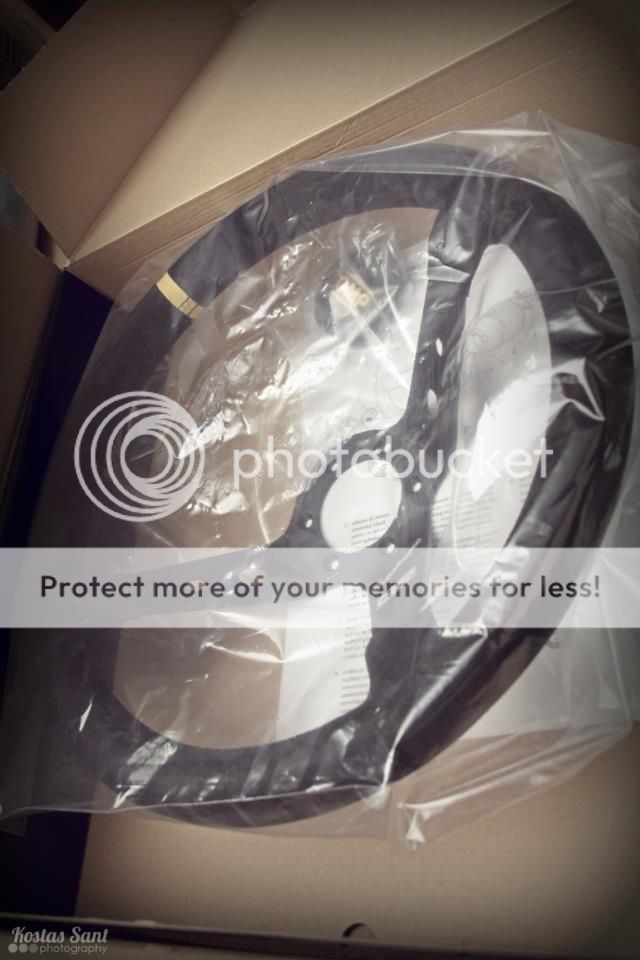
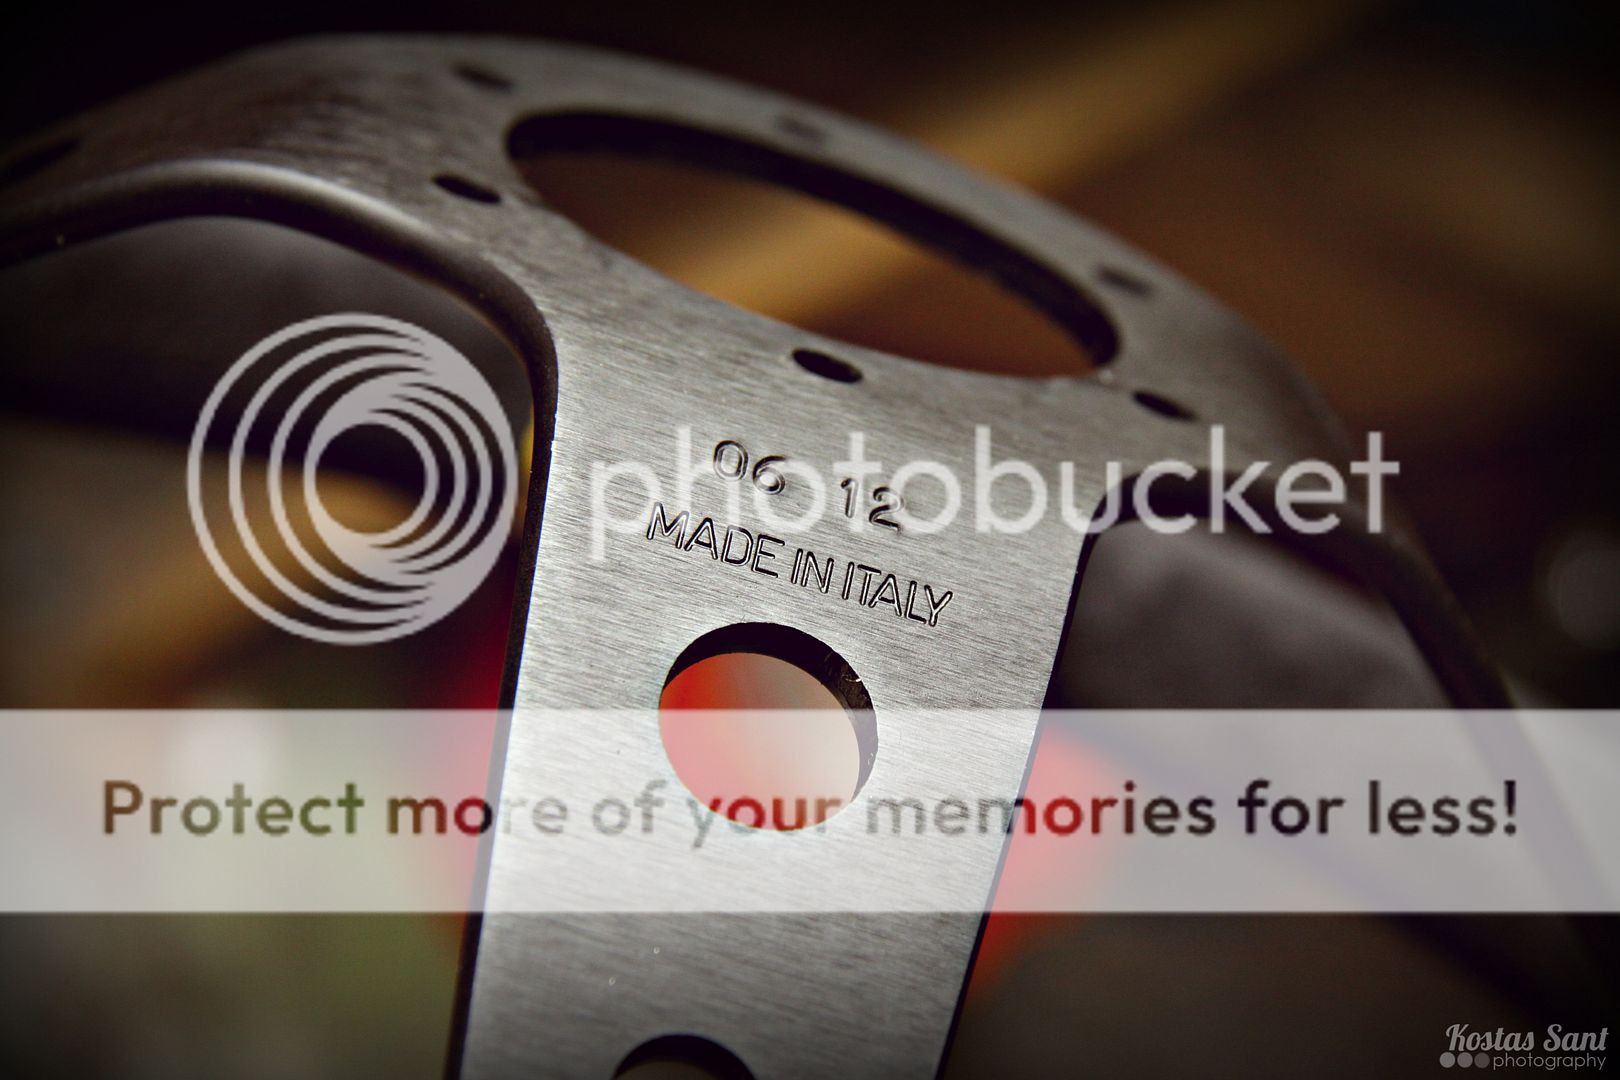
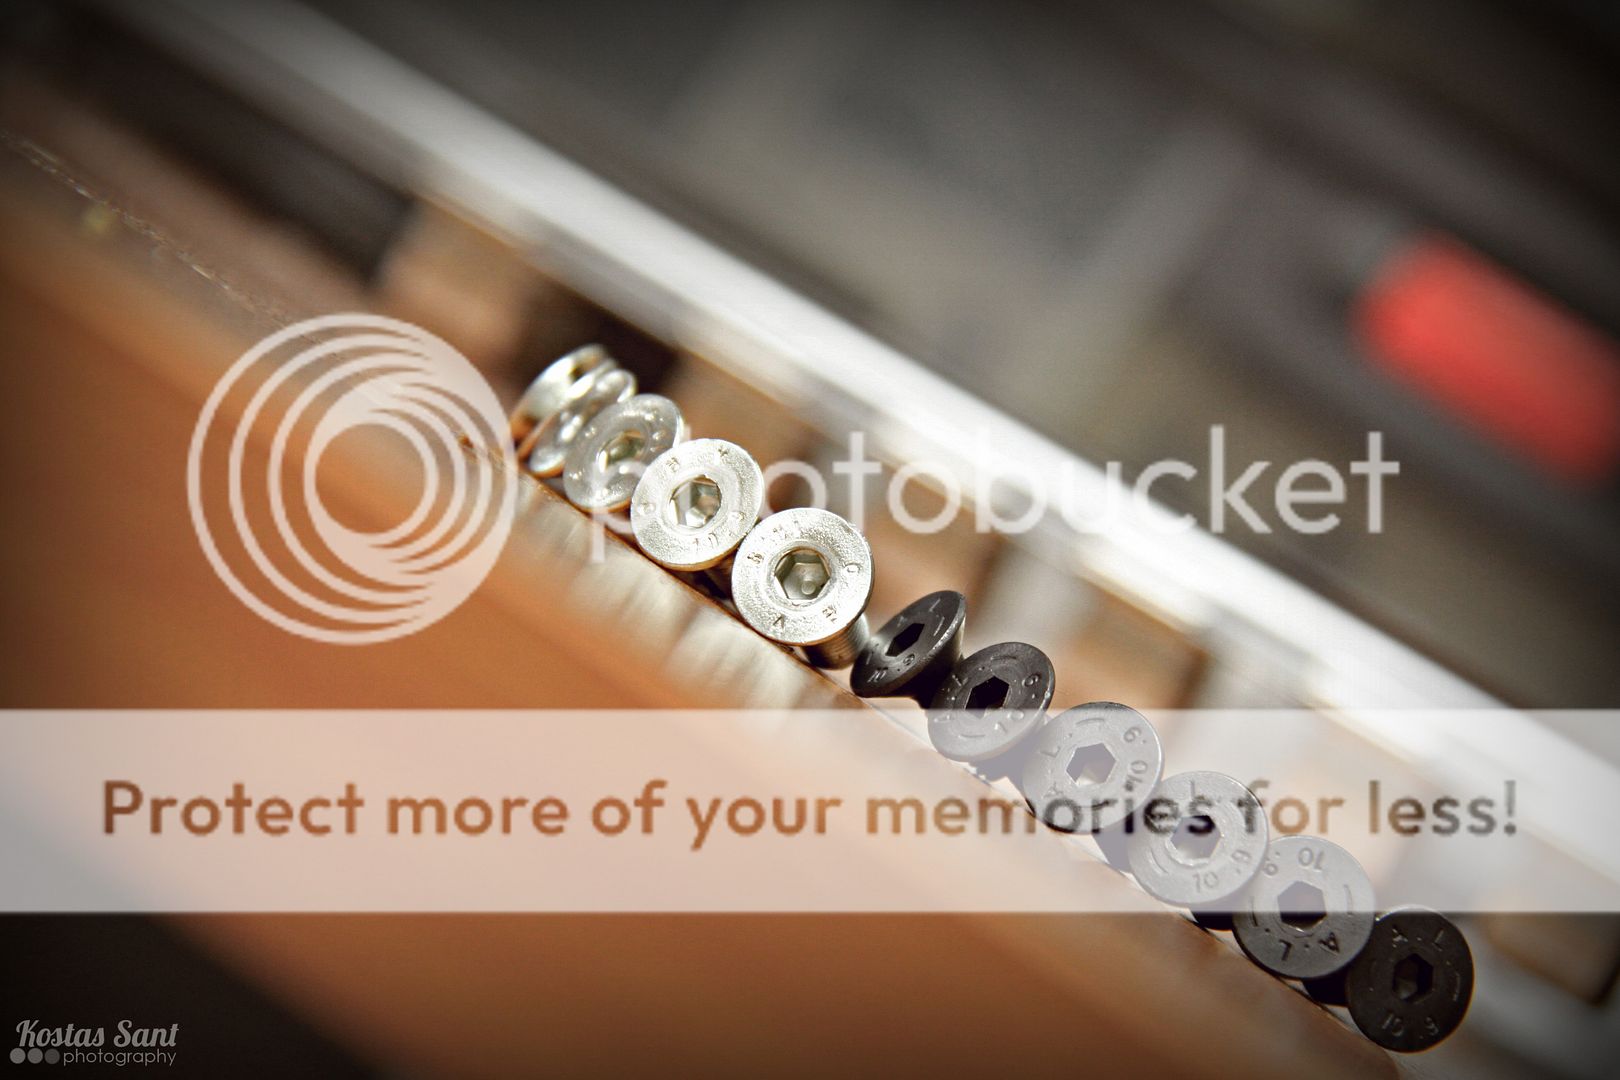
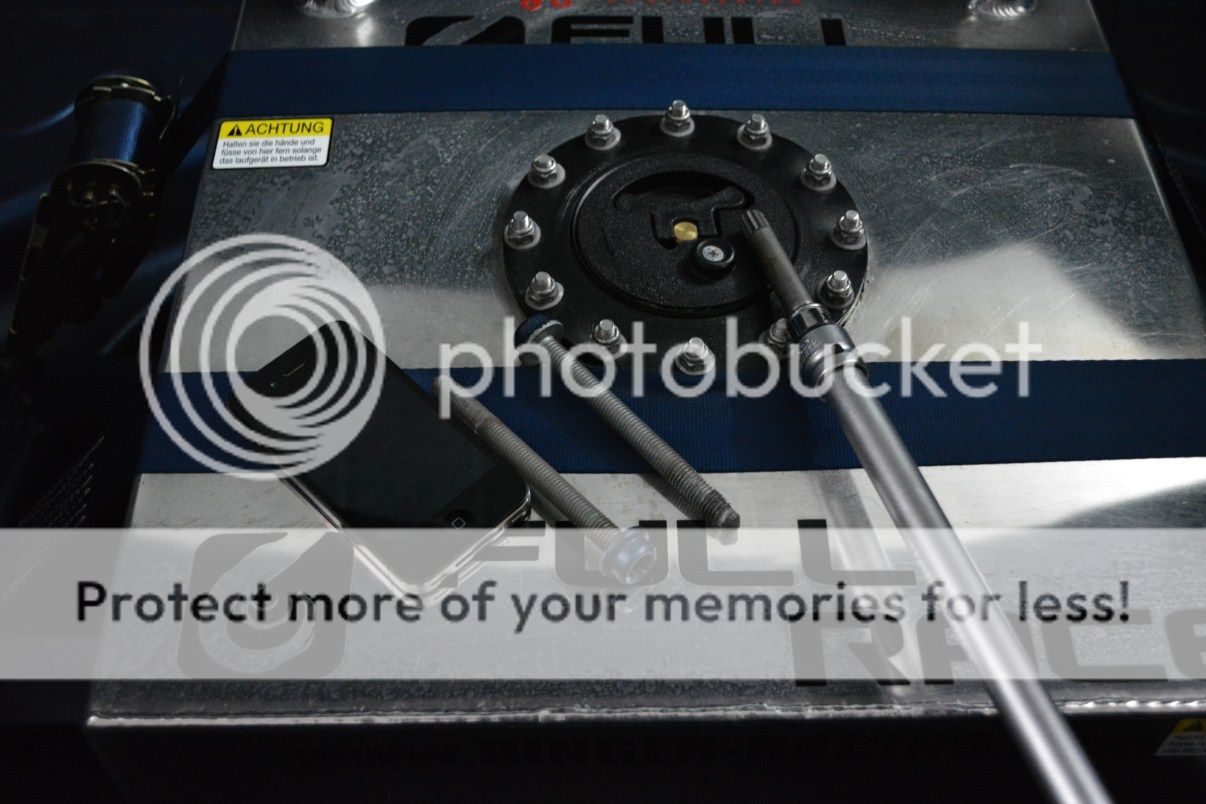
So, I think we have forgotten about another order I made - or havent we . . . Today I was happy to receive this lovely box
Inside it, I found this - so light, I thought the box did not have what I ordered inside it in the first place - Aluminium and Superleggero edition DO make a significant difference I guess
Some details of the quality of the wheel
Time to remove the old wheel which was tired
Side by side
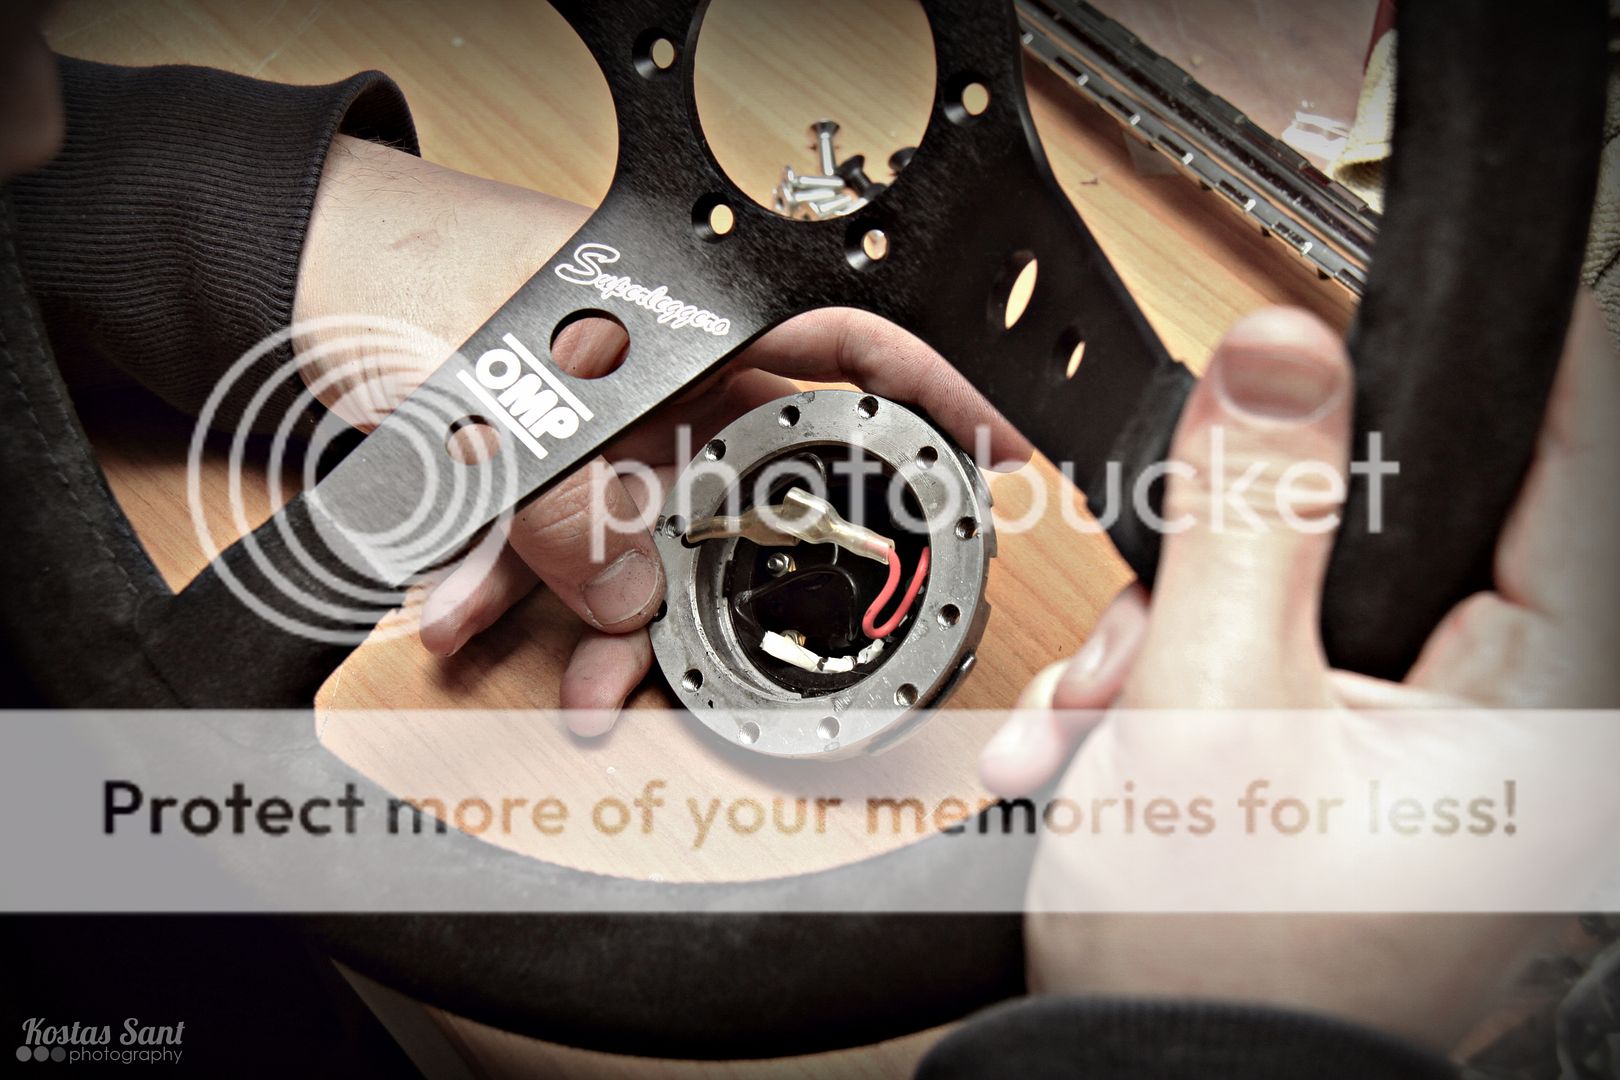
Removing it from the snap-off adapter
New hardware ofcourse, and I went for the black ones
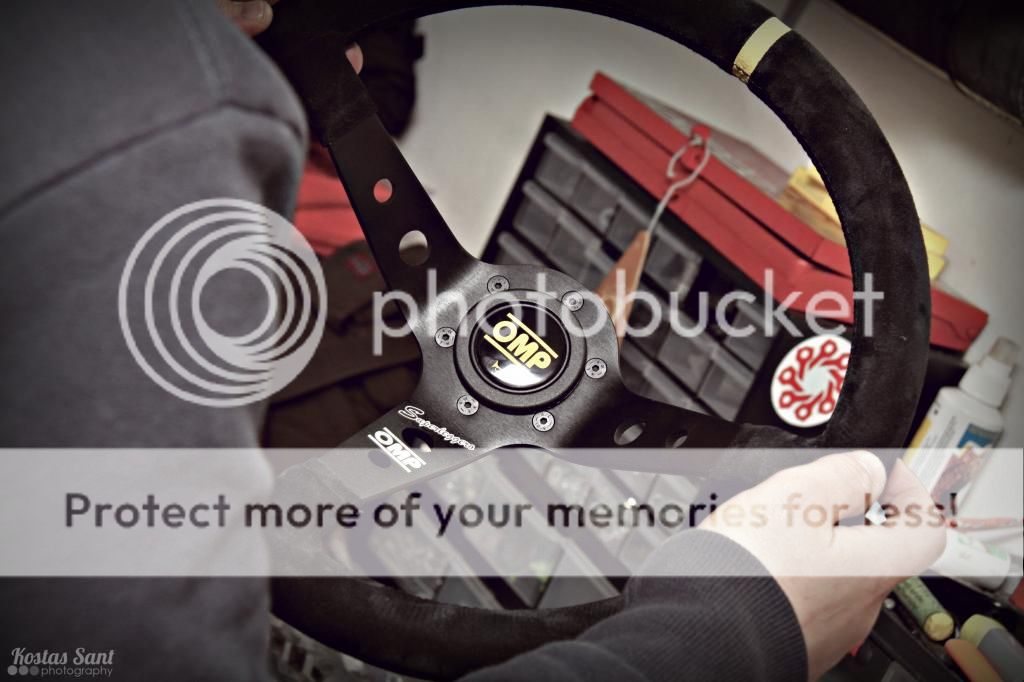
Installed
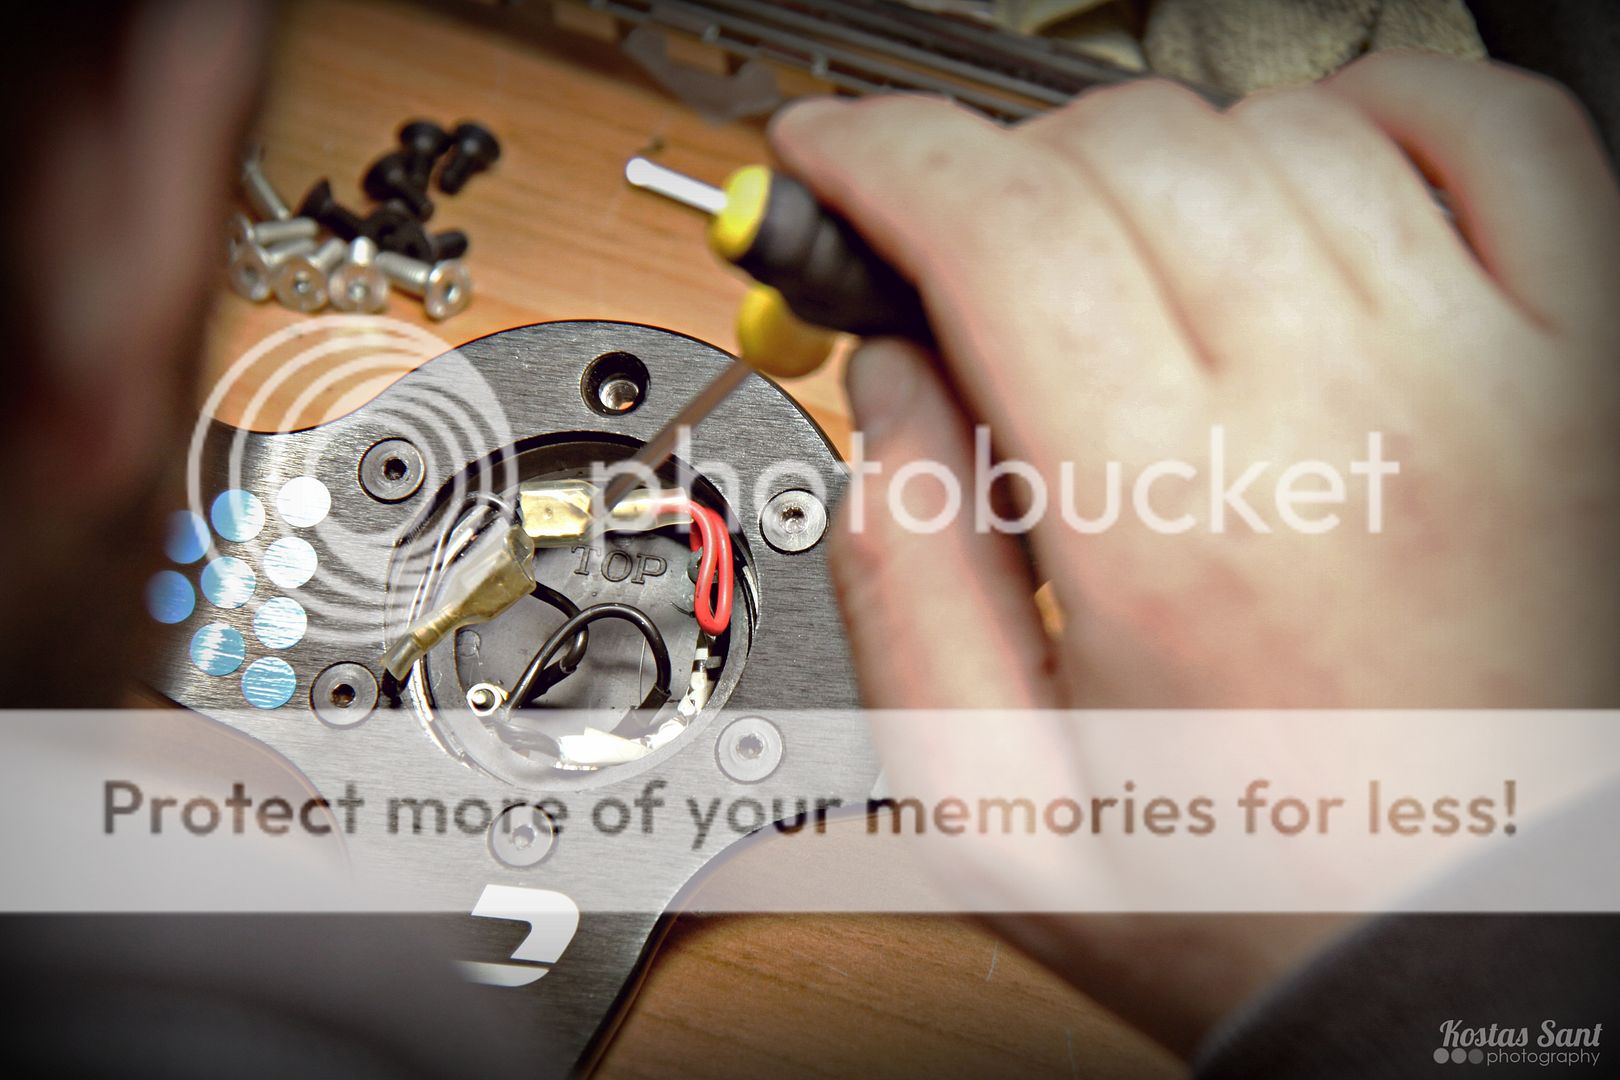
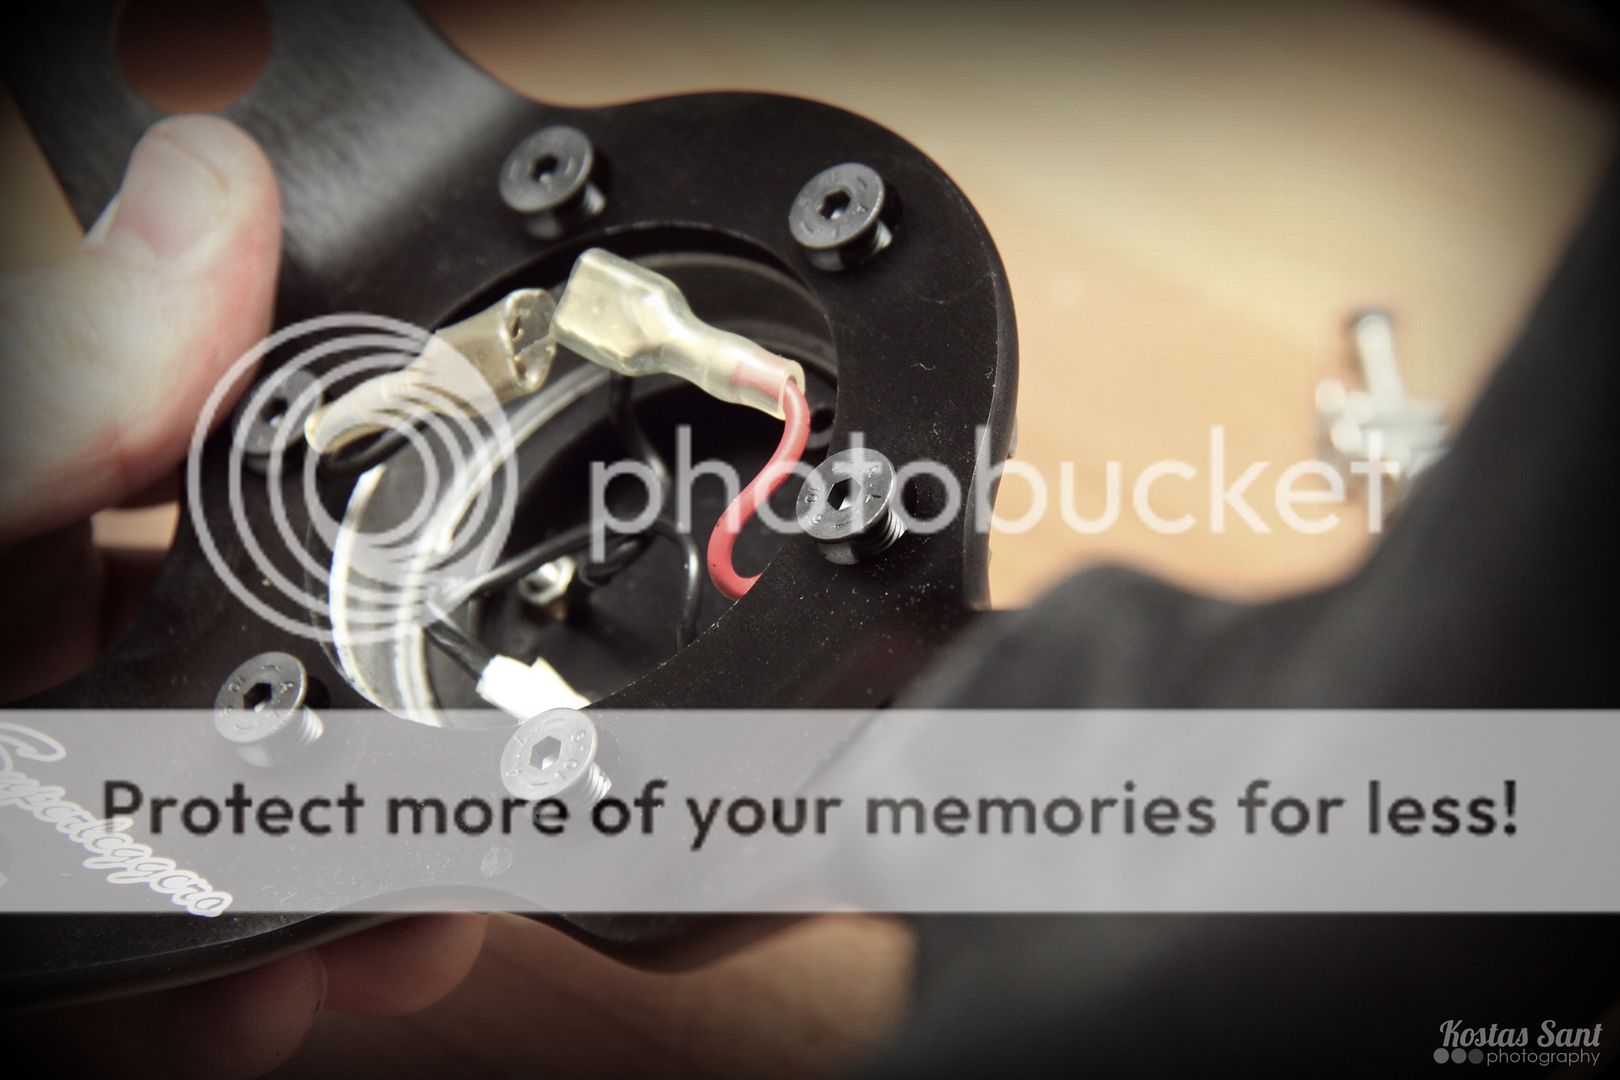
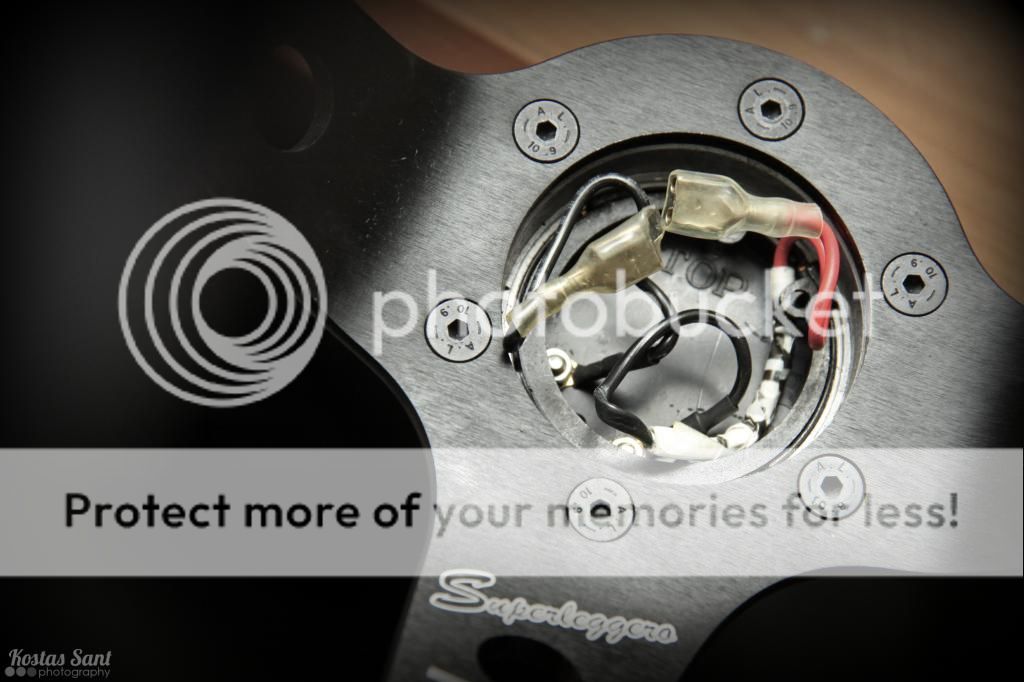
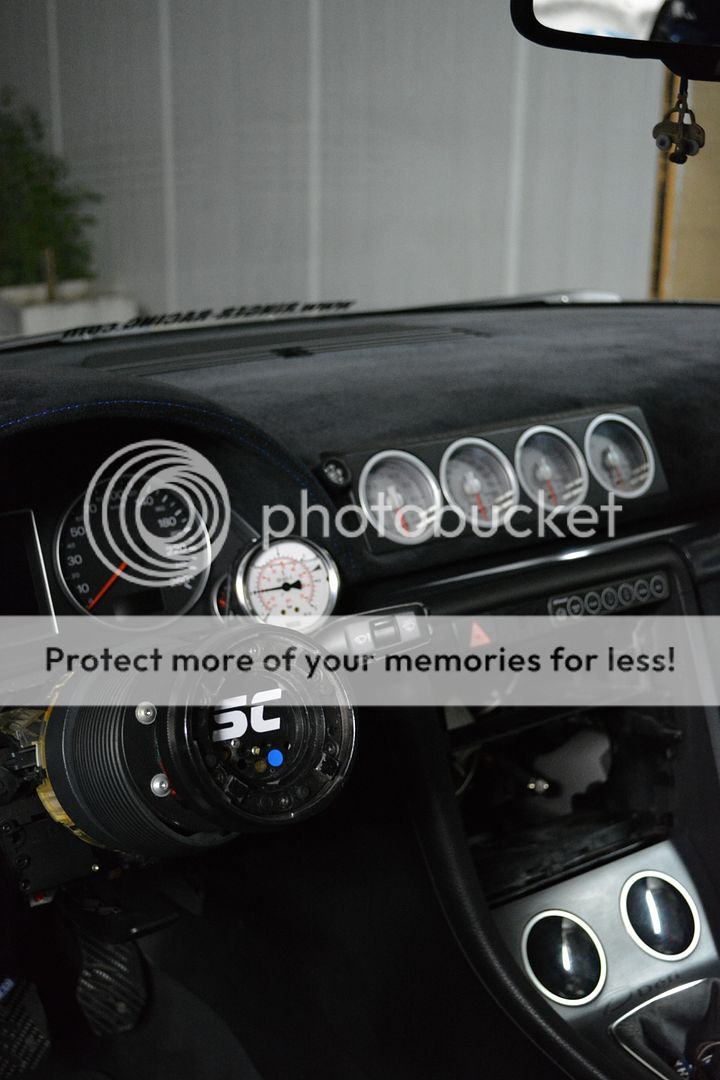
Assembling the horn button
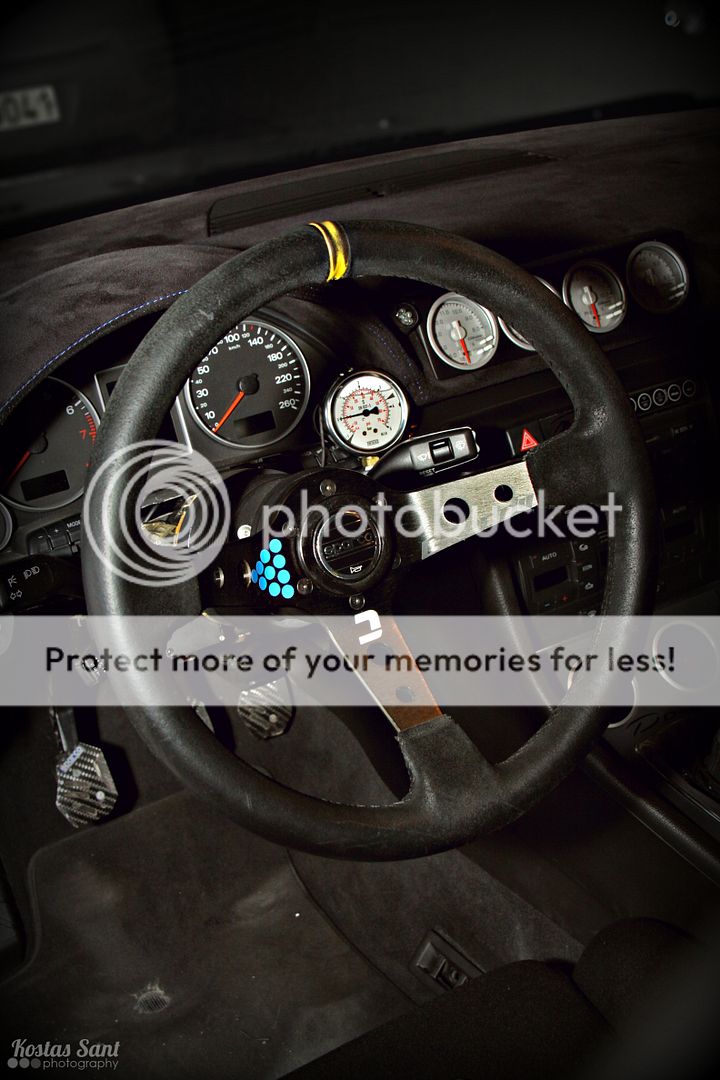
All ready to go in the car
Me likey
And of course, because my steering wheel
Big thanks to Kostas for the photos taken tonight.
Hope you liked it too
Cheers guys
Audi RS4PRA | VW Golf MKV GT-Y | Audi A1 SportBack
First of all, there is track footage shown earlier in this thread.
Both time-attack wise and drag-strip wise
Second, sadly in my country, we only have two race tracks, none of which is the level you imagine, if you are thinking of UK, German, and France circuits. So, all in all, racing is not so easy here
However we make the best of what we have.
Cheers
Audi RS4PRA | VW Golf MKV GT-Y | Audi A1 SportBack
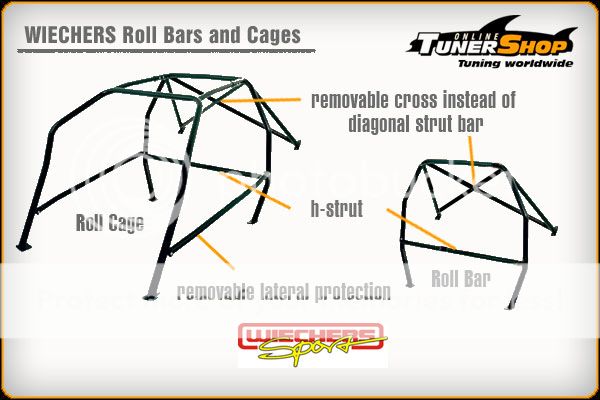
So here is an update I have been looking forward to for years. I made an order two days ago.
The company involved is
I saw the types of cages that were available from the company
Type B and E are available for my car.
I opted for the E type, specs are as below:
Wiechers 6 point roll bar type E, aluminium, unpolished for AUDI A4 B7 (Bj. 2004 - 2007)
Manufacturer: AUDI
Type: A4 B7 (Bj. 2004 - 2007)
Material: aluminium, unpolished
Fia Homologated
Complete Installation hardware
Tube diameter roll bar: 1-3/4 inches
Tube diameter struts: 1-1/2 inches
Wall tubing: 0.118 inches
With these extra options:
one set of upholstery material
removable cross instead of diagonal strut bar
removable h-strut
removable lateral protection
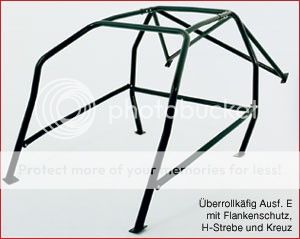
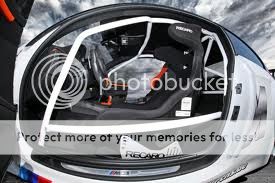
Should look something like these with the options
I chose unpolished finish, cause my plans are to maybe wrap the whole cage in alcantara, same as my dash quality, with blue stitching. We shall see on that. Plenty of time to think about it, as the cage wont be made in less than a 4-8 weeks. Sucks. I know.
Cheers everyone
Audi RS4PRA | VW Golf MKV GT-Y | Audi A1 SportBack
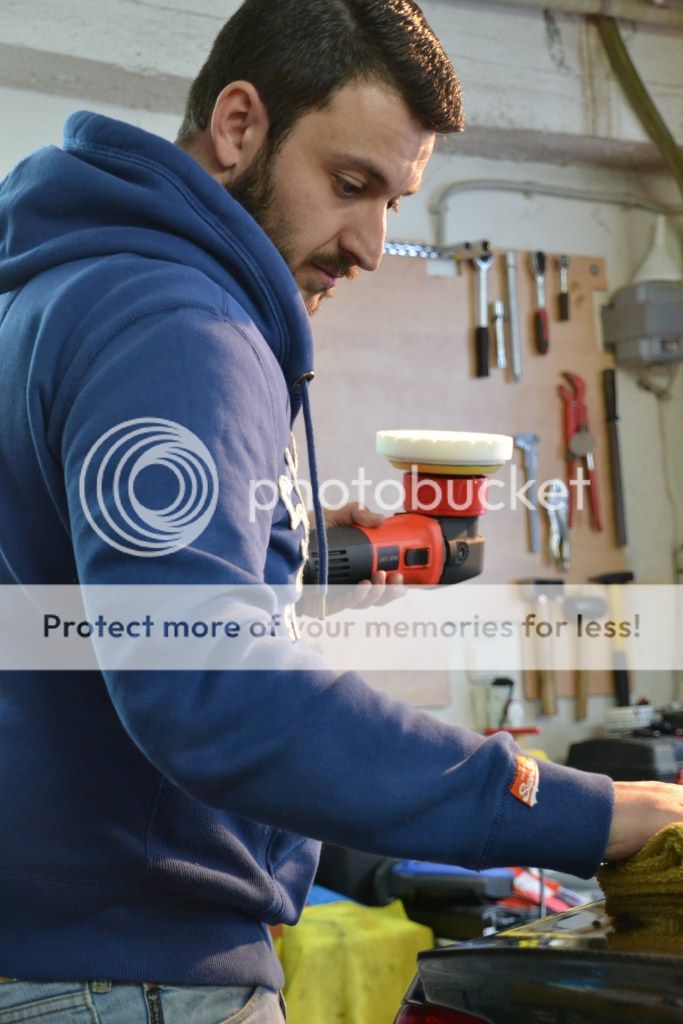
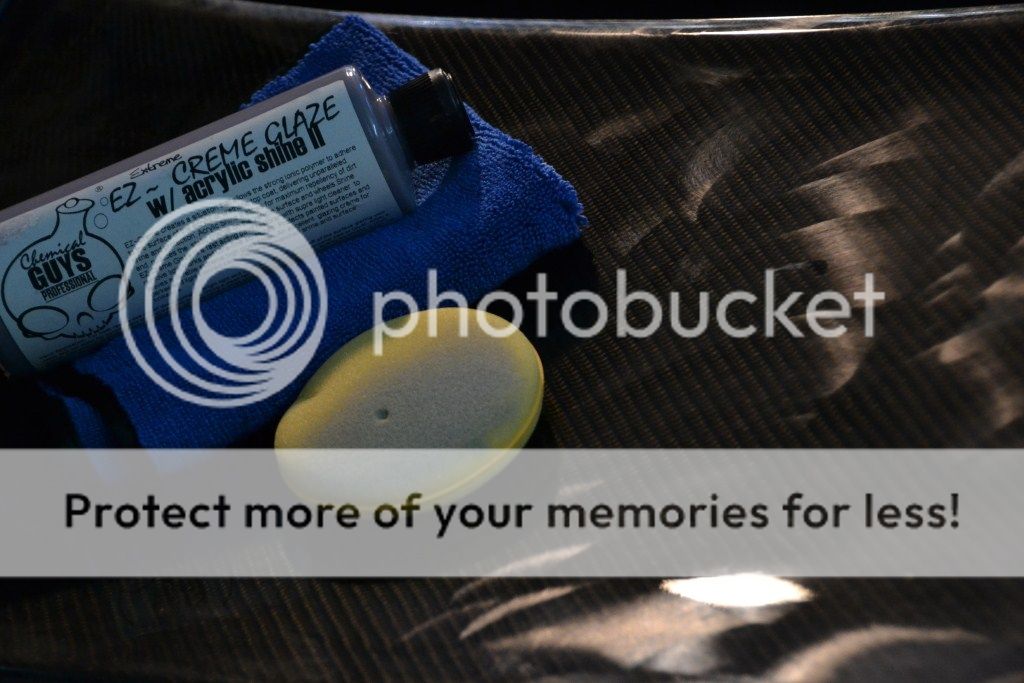
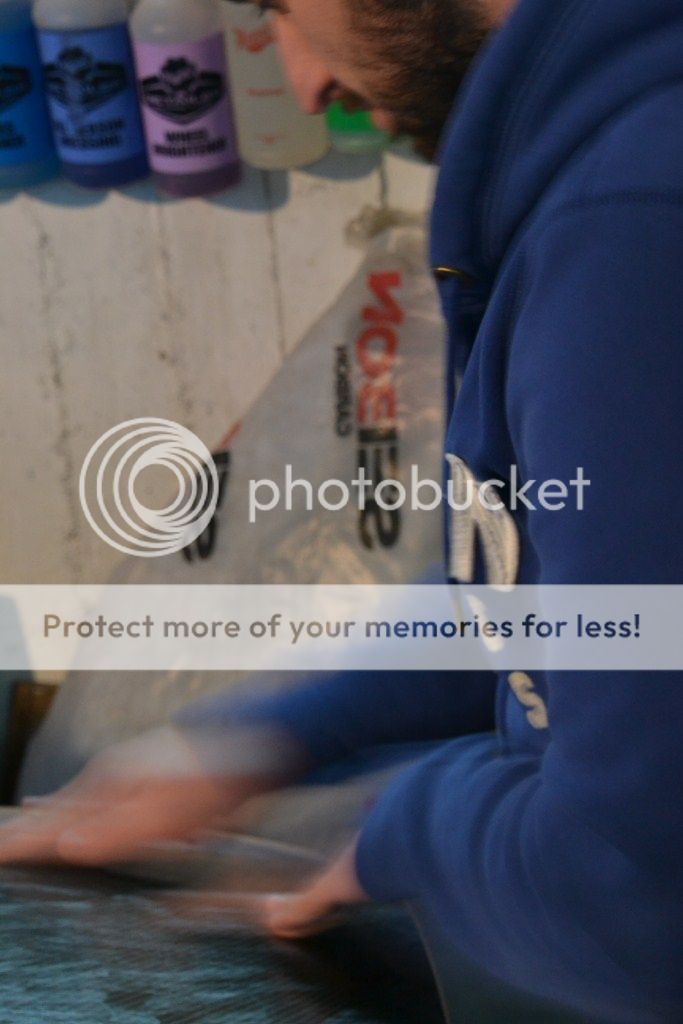
Found some time today to play with my new Kestrel and what better way to do that, other than my carbon fiber parts which are so easy to be scratched when washed, unlike the rest of the normal body which was in perfect condition.
Kostas Sant was with me at the time, and despite the fact that he didnt have his own equipment, he tried to snap some nice shots with my Nikon.So let's see what we did today.
Car was already washed by me
Started like this
Gathering our equipment
Time for some combo-testing
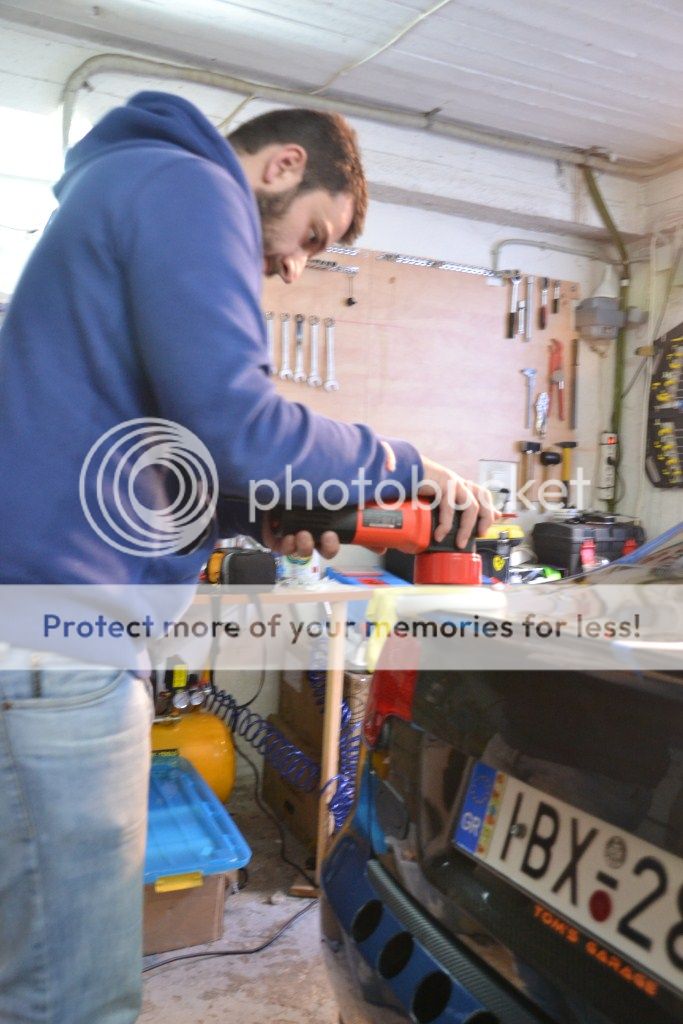
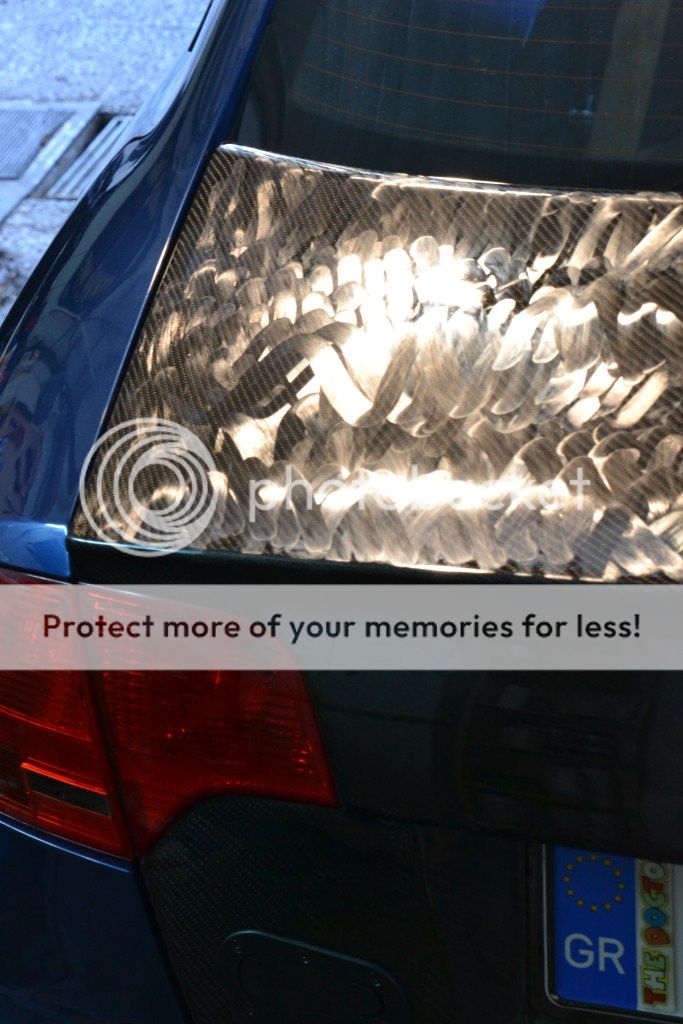
I started with a Finishing Hex pad from CG and the blue 3Μ Ultrafinesse. I saw nothing was happening. Pretty logical. I then put some yellow 3M polishing, and saw that I was getting somewhere. So I finally chose a Polishing Hex pad from CG with the Polishing 3M, which was the winner-combo for the day.
Let's see how we were doing
Before . . .
And after . .
Another one, before . . .
And after
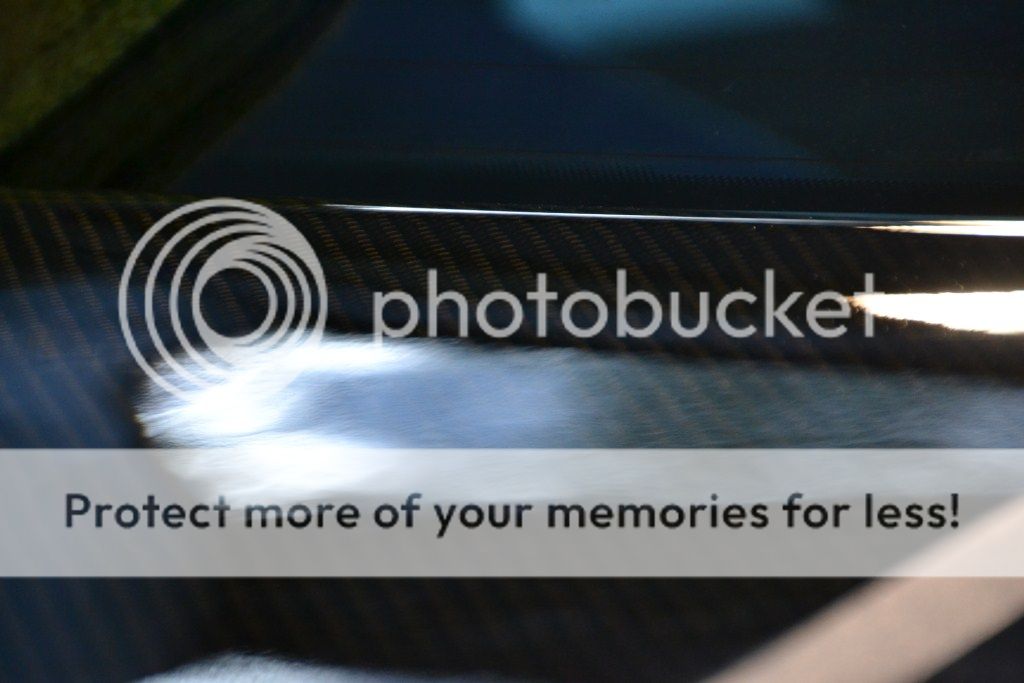
Things were looking quite good actually
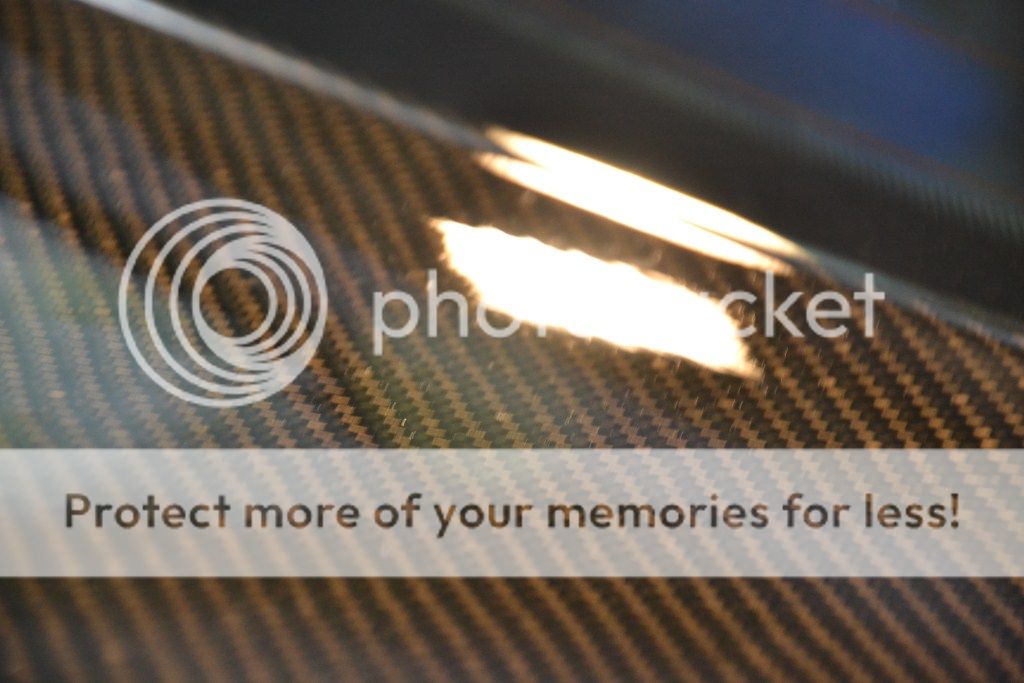
The clear coat on these Seibon parts, is very special to begin with. Very soft. So to see if I was doing everything right, I tested my methods on the rear fender. Saw that everything there was correct in my techniques, and it was all due to the seibon finish.
So, I finished the trunk with CG Finishing Hex pad and blue 3M
Then, it was time for CG Glaze, with Meg's applicator.
Wiped off with CG monster towel
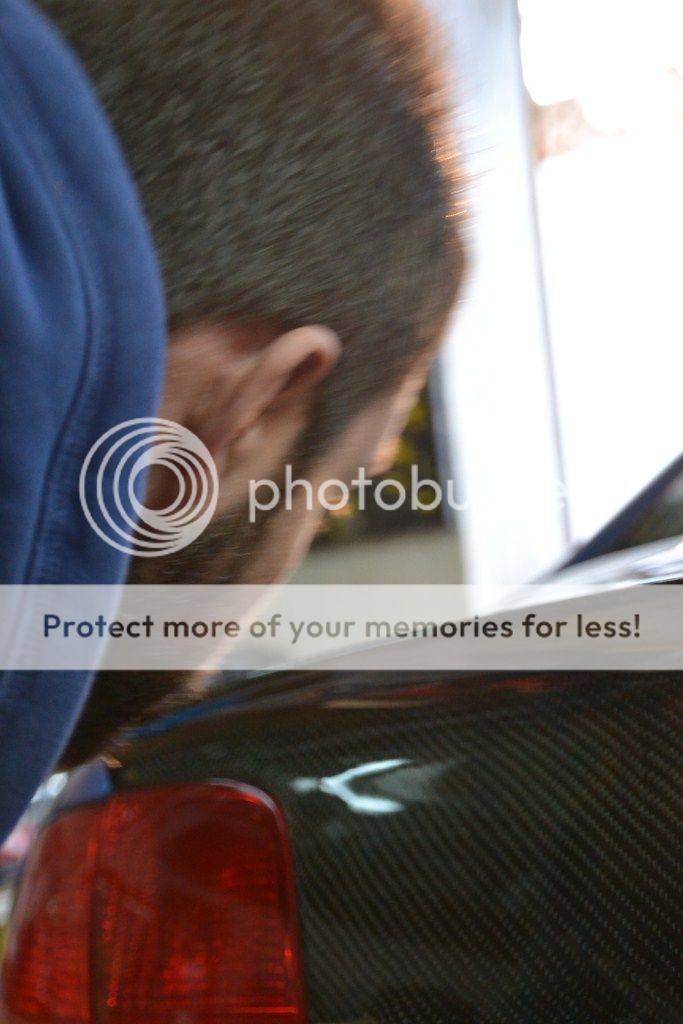
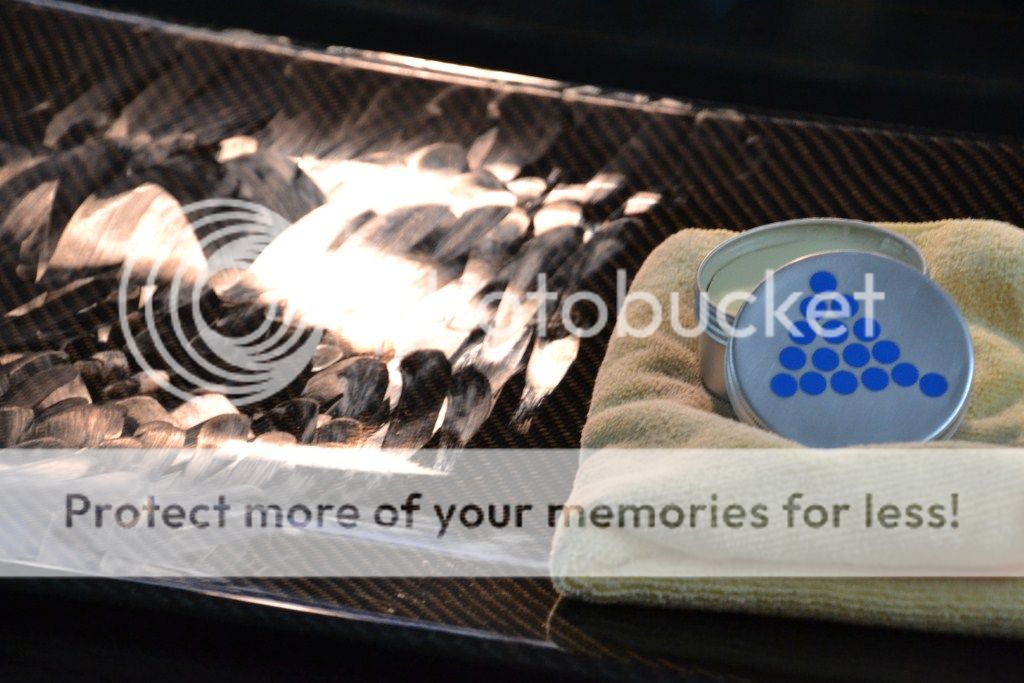
After some time, I decided to try on, my new mystery-packaged wax - lol
Applied . . .
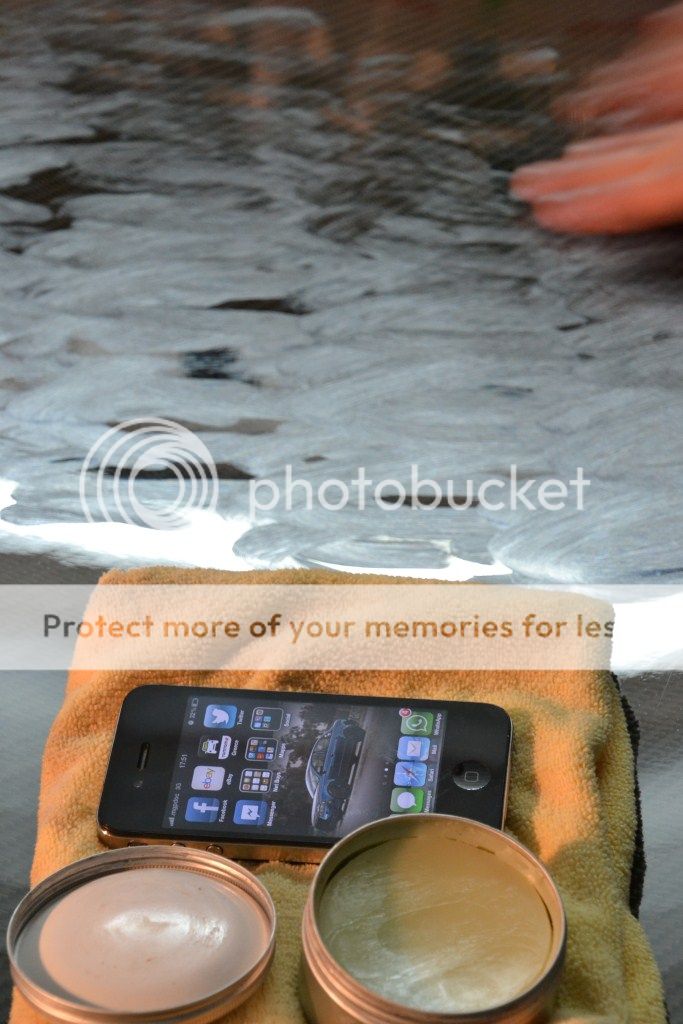
Wiped off quickly, as per directions of the mysterious wax - lol
Then, we ran out of battery on the camera, and Kostas had to go. but as soon as I find the opportunity I will take finished shots. Swirling effect on the carbon fiber is not history, except for some deeper scratches, which in my opinion are best left alone, at least with the current skills I have.
I wish we had managed to capture the nice 50:50 result I had. Never mind, next time, better shots.
Hope you liked it guys
Cheers
Audi RS4PRA | VW Golf MKV GT-Y | Audi A1 SportBack
High performance polycarbonate window kit for the professional competitor.
- Manufactured from high quality Lexan UV protected polycarbonate
- Approximately 50% weight saving compared to glass
- Each window is marked to meet MSA, FIA & ABG regulations
- Windows are thermoformed and CNC profile cut ready to fit
The kit contains
- Thermoformed front door windows
- Thermoformed rear door or rear � windows
- Thermoformed rear screen
- Black borders applied to rear screen and rear � windows
Colour & material options.
Plastics 4 Performance windows are available in the following colours and thicknesses in our standard Lexan polycarbonate
- Clear polycarbonate in 3,4,5 & 6mm thick
- Bronze polycarbonate in 4 & 5mm thick
- Grey polycarbonate in 4 & 5mm thick
Also available in clear hardcoated Lexan Margard which has a super tough abrasion resistant coating that protects against scratching and chemical attacks by many of the fluids used in motorsport – choose from the options below.
And I went for these options after a very good deal I achieved
1. Front Windows in 4mm Hardcoated Option for no scratches
2. Rear Windows + Quarter Windows + Rear Windscreen in 4mm Clear
3. Left Hand Drive car
4. Screen Adhesive option included
5. Basic Care kit included
These will take about 5 weeks to be made, due to racing season and all. Cant wait
Cheers
Audi RS4PRA | VW Golf MKV GT-Y | Audi A1 SportBack
So the last two weeks, I have mostly been ordering things for the daily, new little toys, either for maintenance, or for performance and aesthetics.
However, now that I can enjoy everyday movement, I can turn my attention to the main project with no further delay
So made a list of things, rather long list I guess, LoL . . .
Went down tonight, and car was sleeping . . .
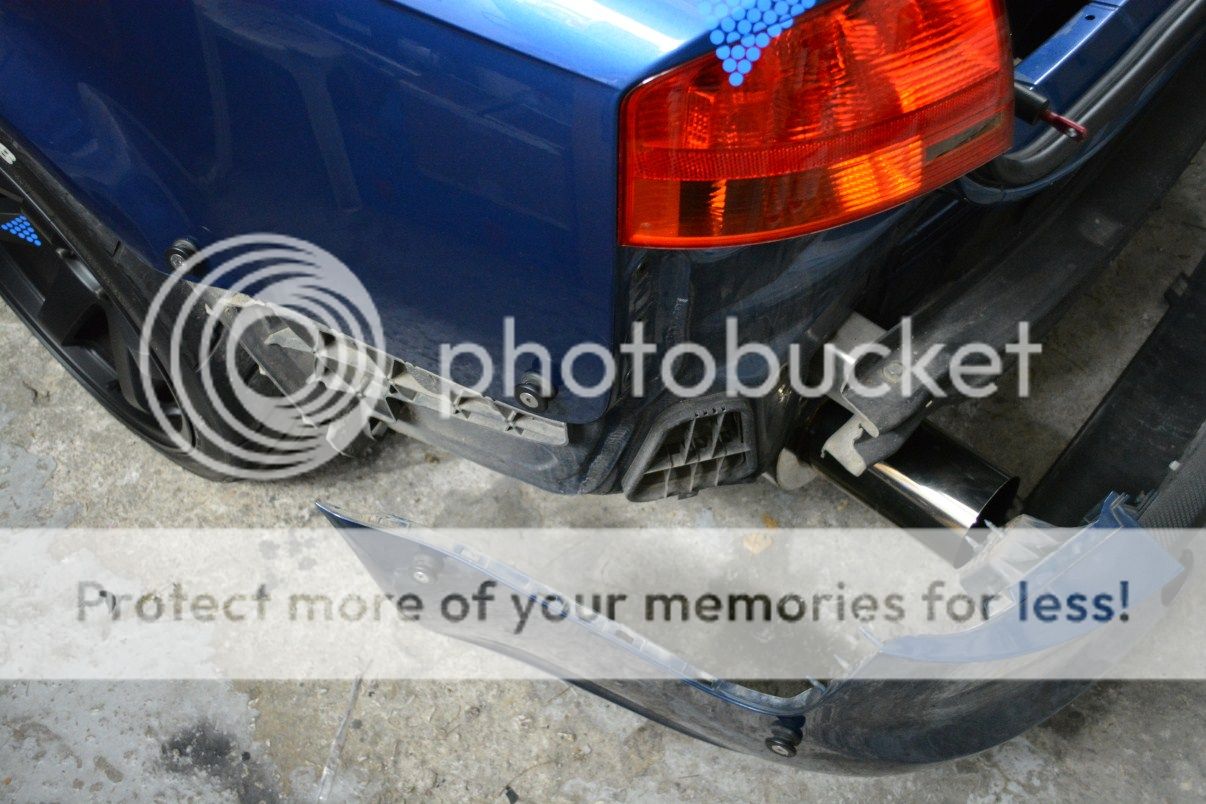
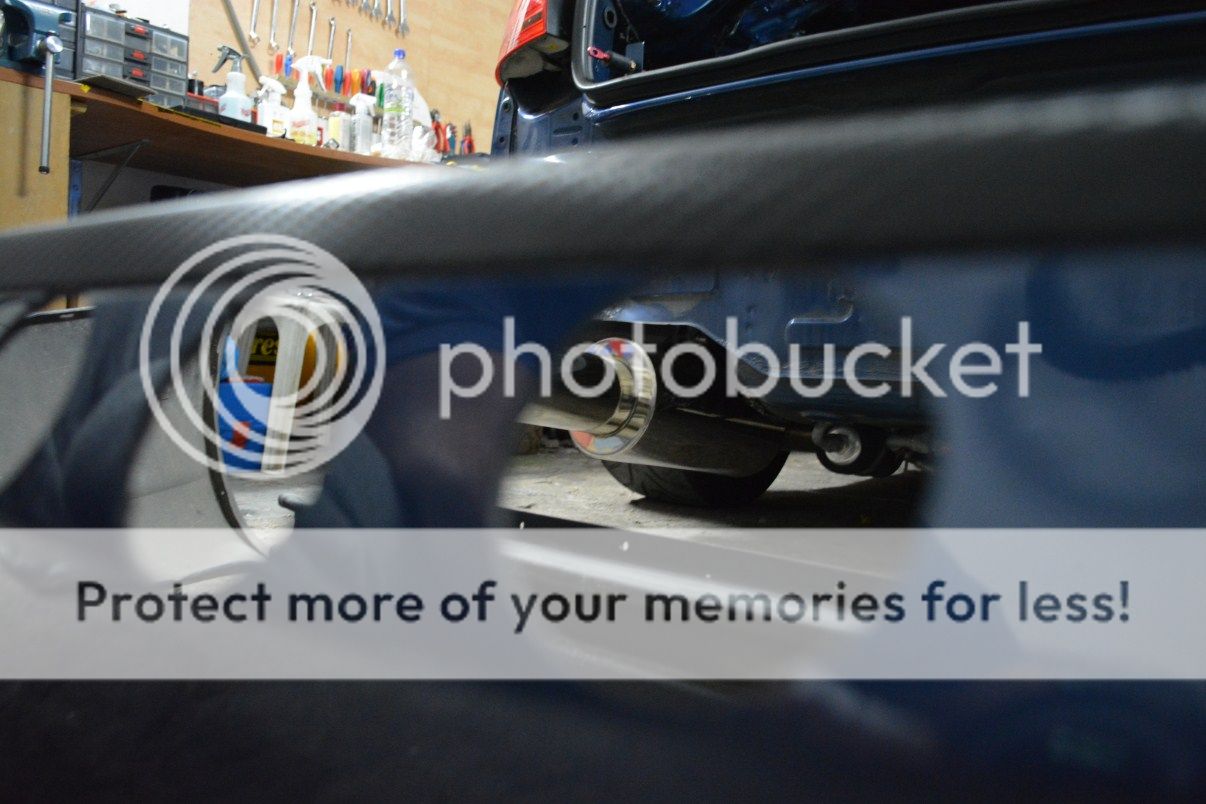
However . . the quick bumper release fasteners, my friend made, made bumper removal so easy . . . i just had to . . .
A pic from the back
Hmmm...two removed bolts . . .
Now I see what has been removed . . .
Given the chance, I gave the area a quick clean
Before
After
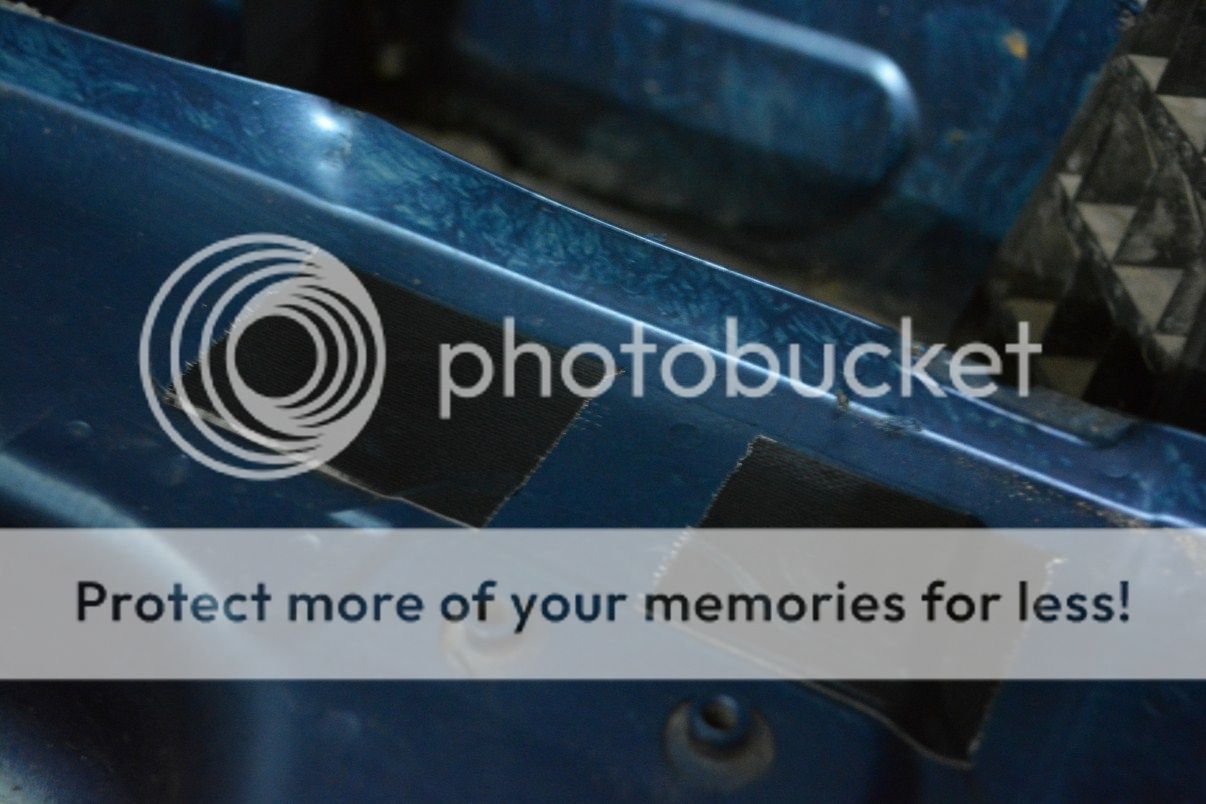
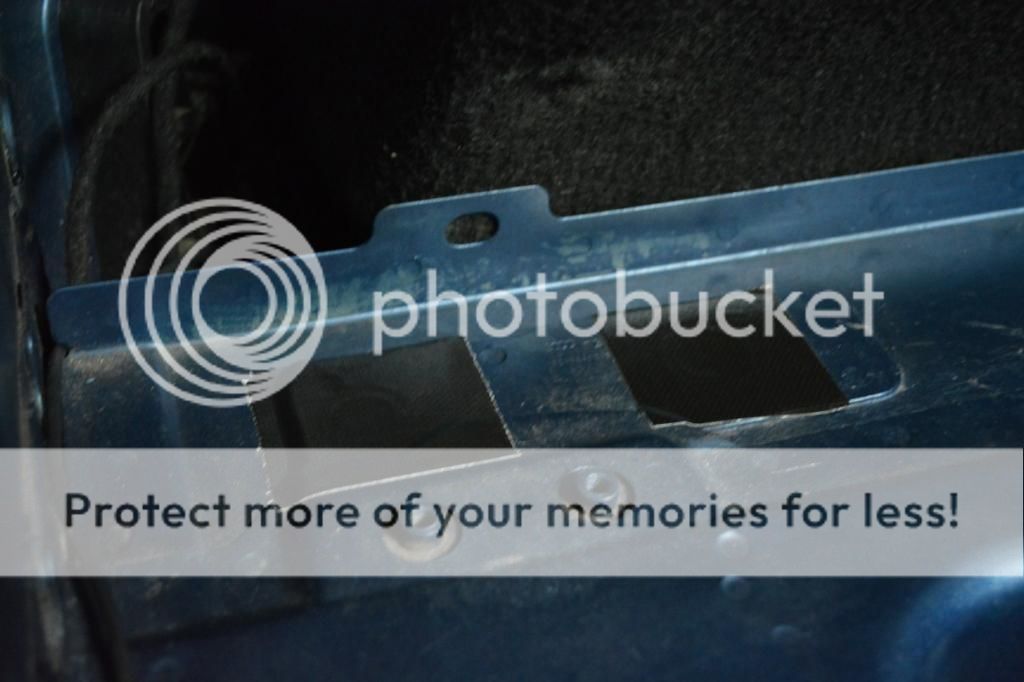
Used Tesa's finest cloth tape
To cover the oem bolt holes - works great actually in terms of seal
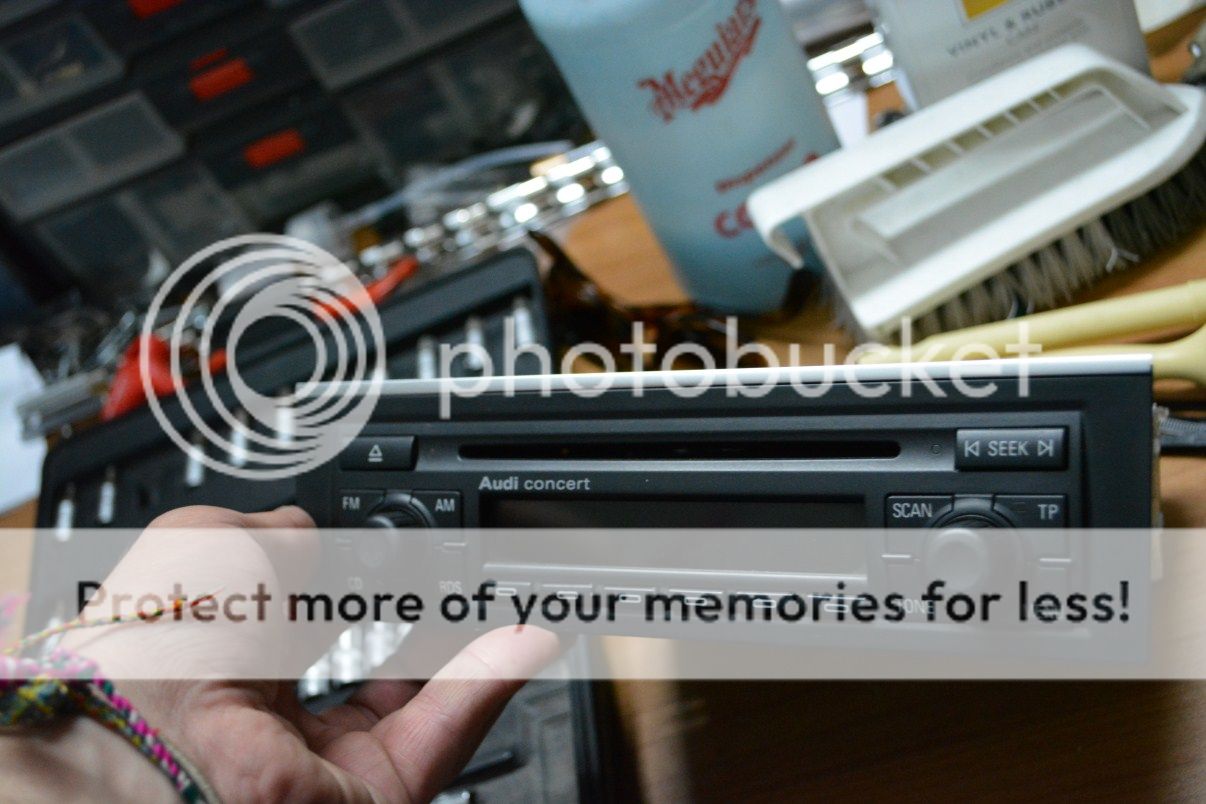
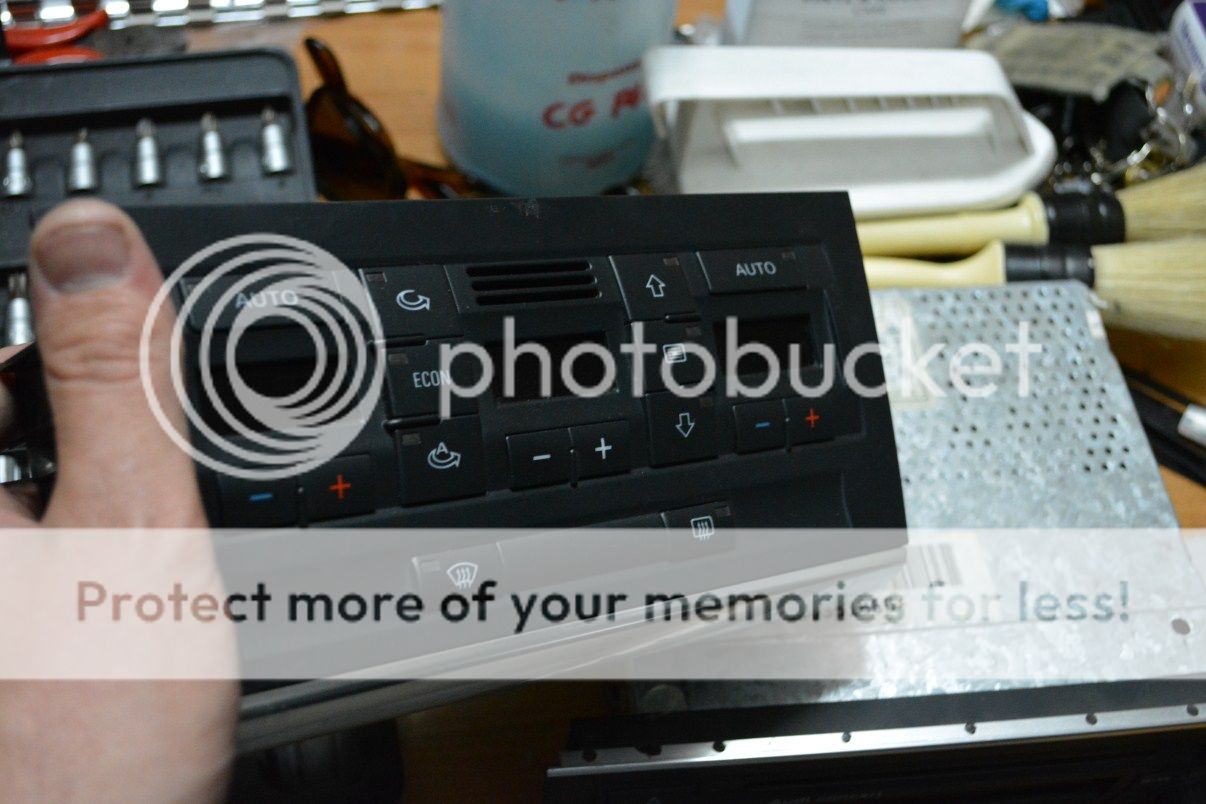
Then, I thought that if the car was to be used entirely for fun, either on the street, or in race events, there is no reason in keeping the Radio system on, nor the Heater controls (cause AC is already removed) . . .
So . . . this happened
And then this
Leaving with something like this . . .for now . .
more to come . . .
Cheers
Audi RS4PRA | VW Golf MKV GT-Y | Audi A1 SportBack
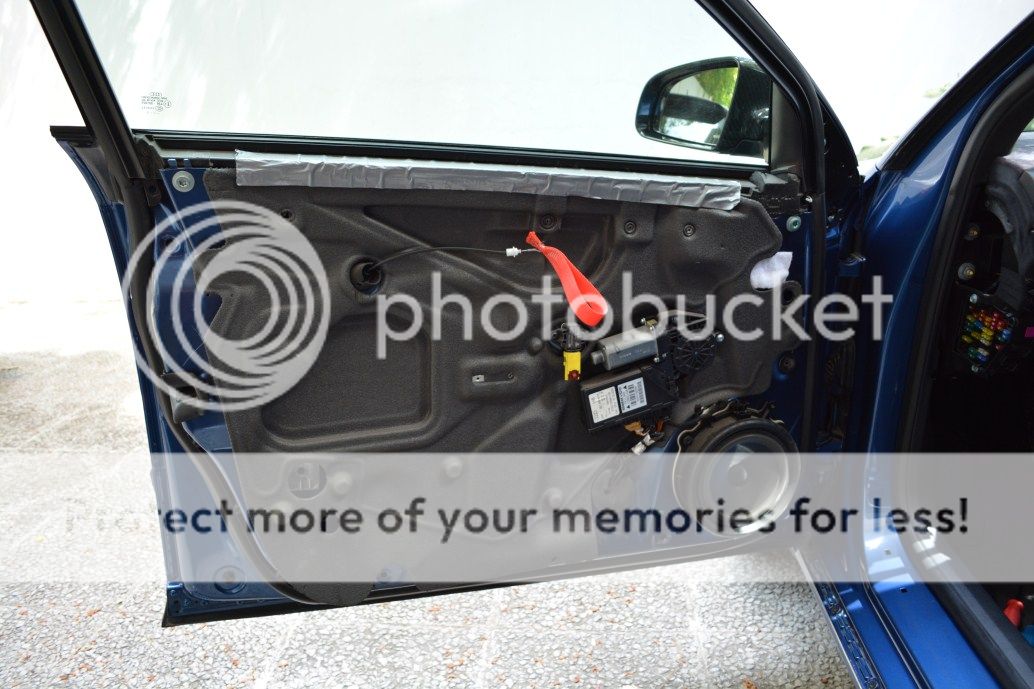
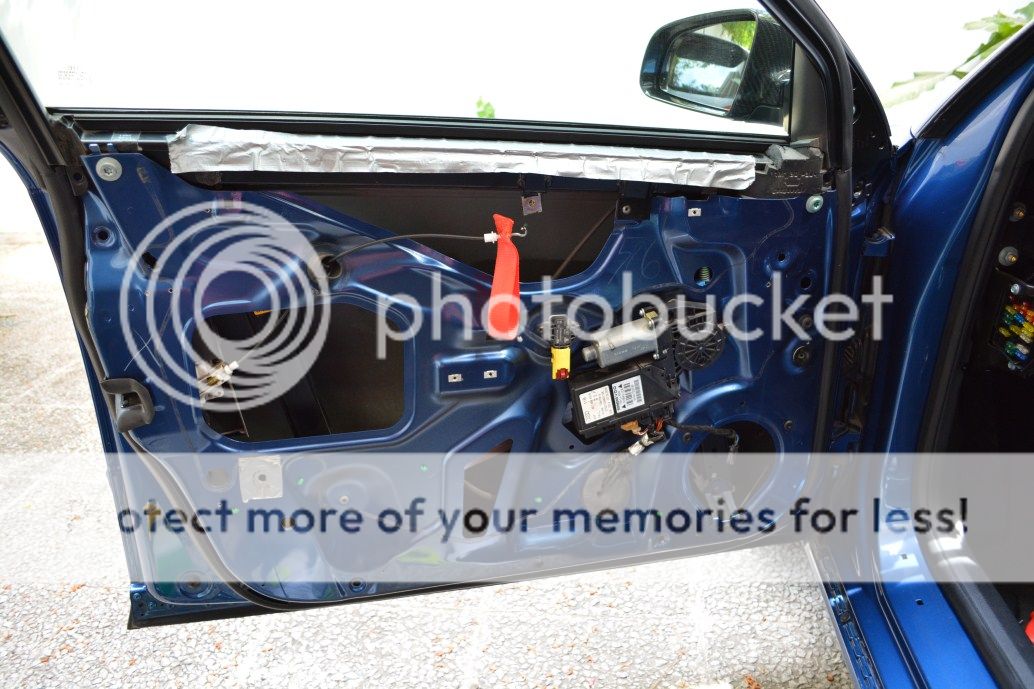
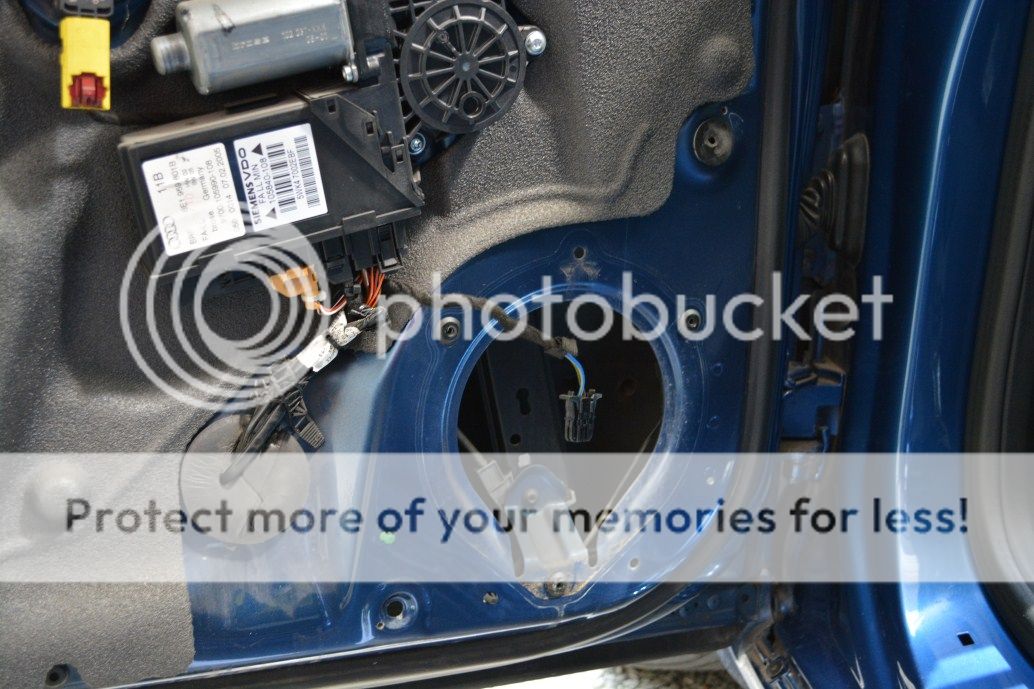
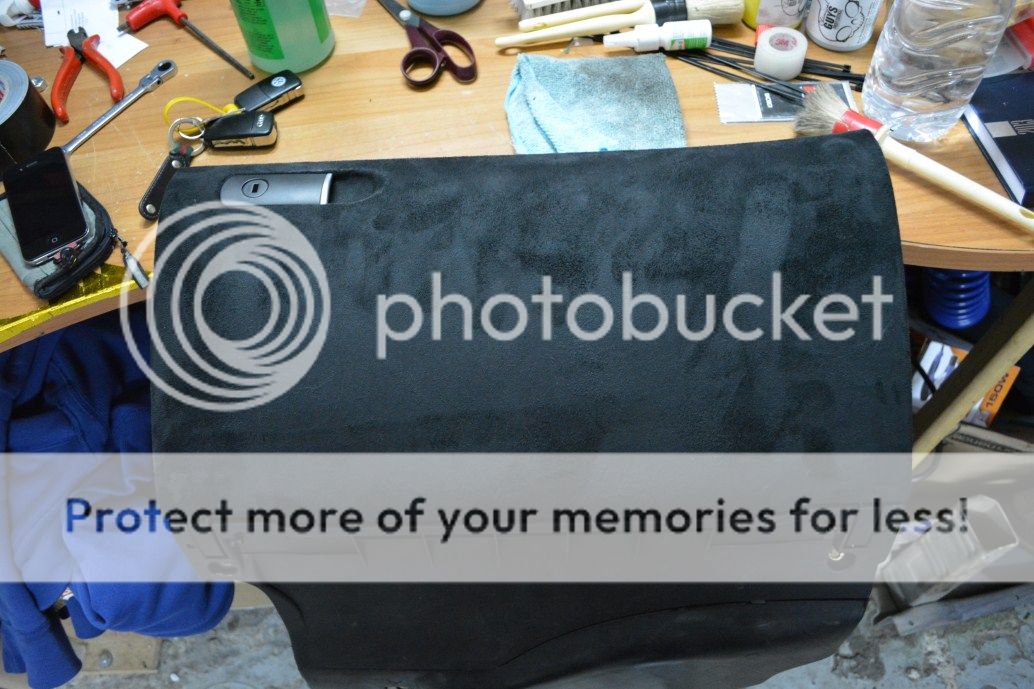
Got some more work done today, but not a whole lot, due to little available time. However. Went for the driver's door.
Started removing parts
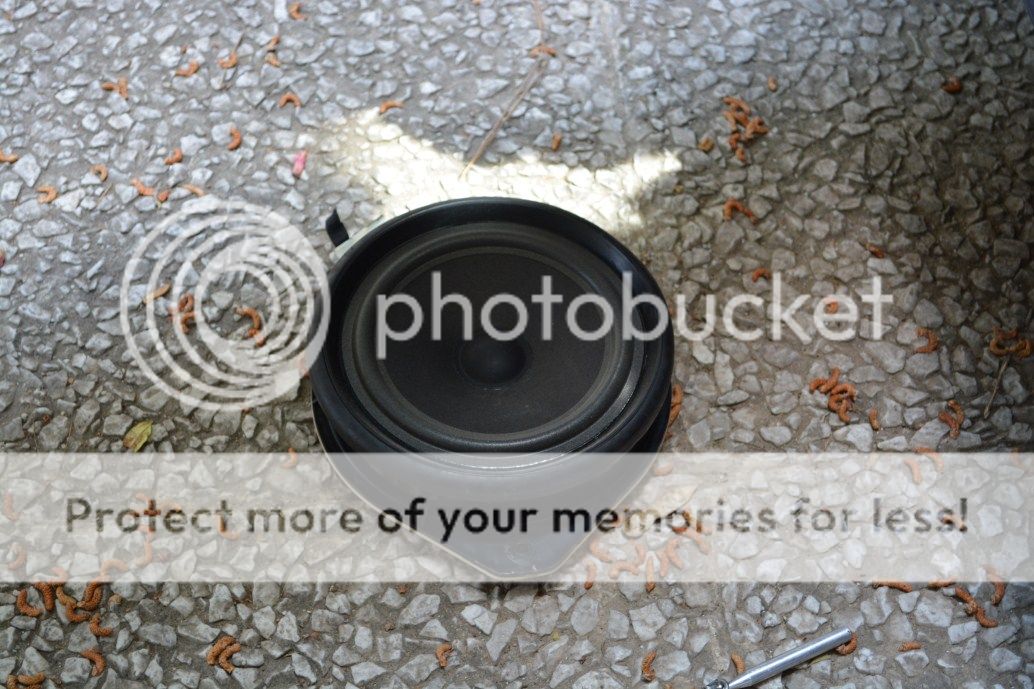
Notice something missing ?
yes, it is the speaker
Off it goes
Then I removed the door's window frame, so as to remove the door's side bar protection - no photos here since I had enough trouble removing it on my own, could not take photos at the same time. I might however take pics on the passenger's side
I then removed the glovebox
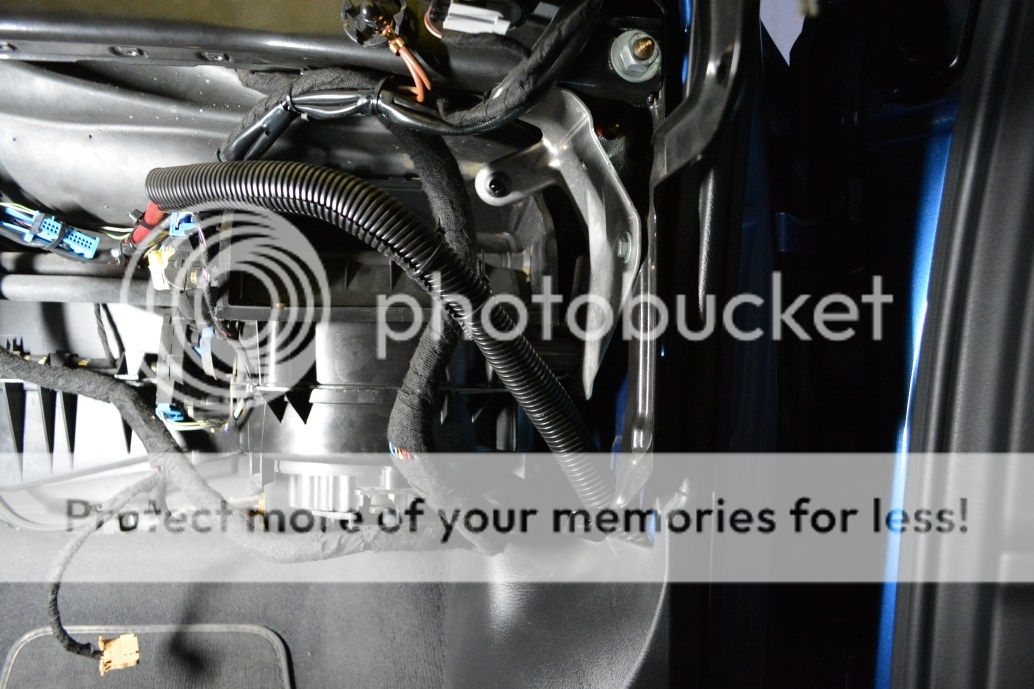
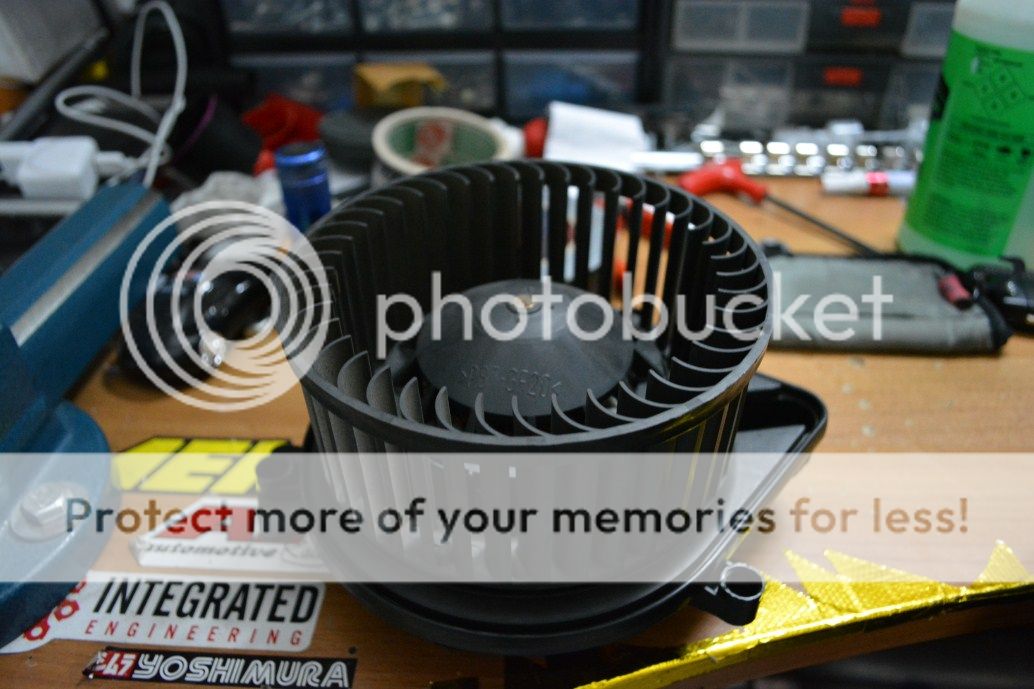
To attack the whole Heater Air System beneath the dashboard.
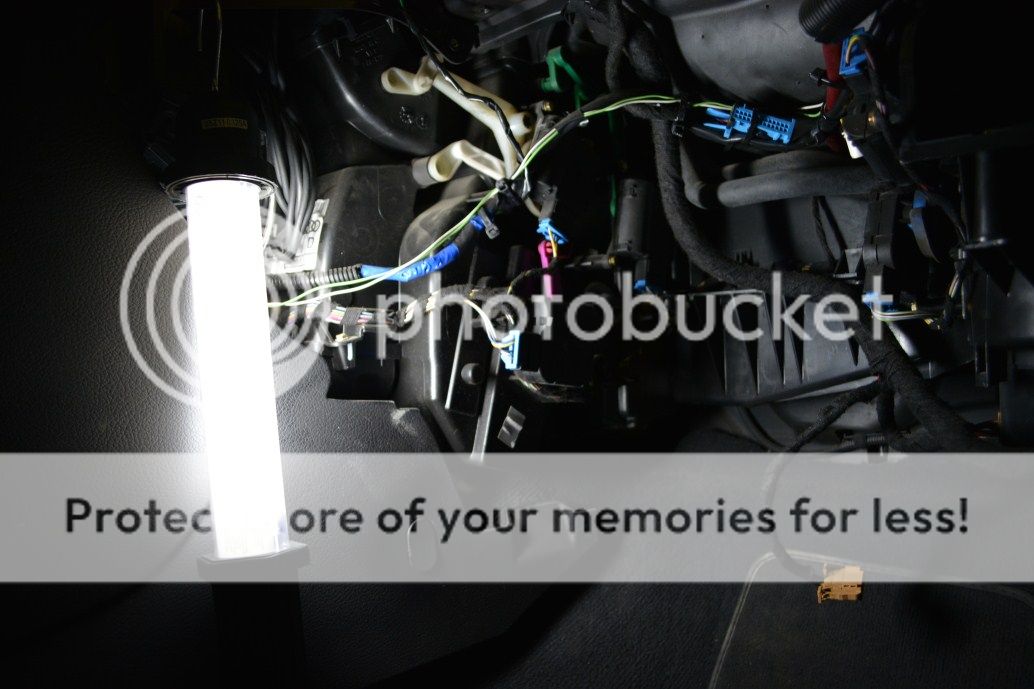
This place is a maze
I was beaten this time, however I wont give up. I took this off though, as a first step
Cheers, more to come :thumb:
Audi RS4PRA | VW Golf MKV GT-Y | Audi A1 SportBack
 Tweet
Tweet


Comment