 Tweet
Tweet
Update from ages ago;
Installed the new gauges and new a-pillar covers, can see the drivers side in the background of one pic


swapped the passenger a-pillar too as it had this scuff on it, no pics of the new one just yet.

also started on something that's been annoying me since I got it, the horn in the slim boss issue. With the slim boss and a standard horn it sticks out like this

so took it all apart to see what I could do about it

decided I'd just grind everything down 5mm ish, shorten the spring and knock in the backing plate with the horn connector to make it sit a little lower, then cut new holes for the holding clip and see if it'd work.
not exactly pretty


but it seems to still function and sits flush now. I cant test whether it actually sounds the horn as I'm missing the 10amp fuse and the horn connection, just another little niggle to sort at a later date.


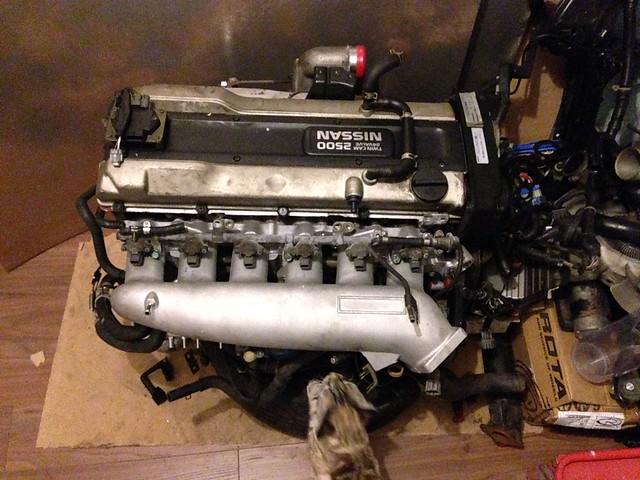
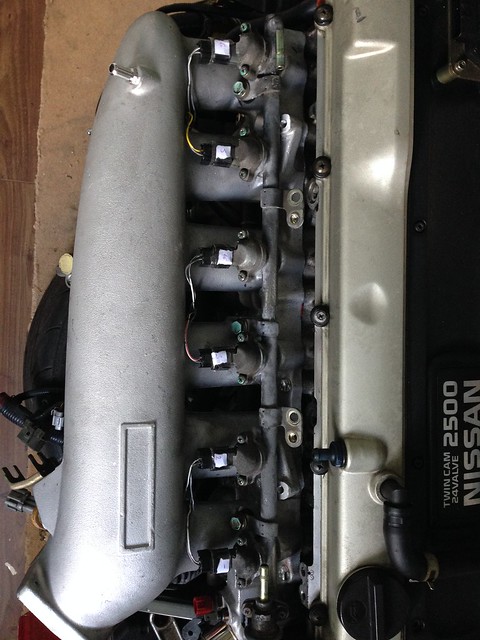
Also lacquered the rocker tops and left them to cure all day


Looks 100000000% better than shiny shit brown.
I decided after a few miles of using the solid engine mounts that they are far too hardcore for me, caused massive booming in the cabin especially when stationary. I think this is mainly down to my engine not running particularly smoothly tbh, so I swapped them out for the originals bar the gearbox which I left uprated. This is a decent solution for me as it tightens up the gear changes I can feel the car a little more and nearly all of the engine movement isn't transmitted to the cabin. Much nicer, I'm just not hardcore.
So solid engine mounts up for sale people. Literally popped in driven 2 miles came straight out again.
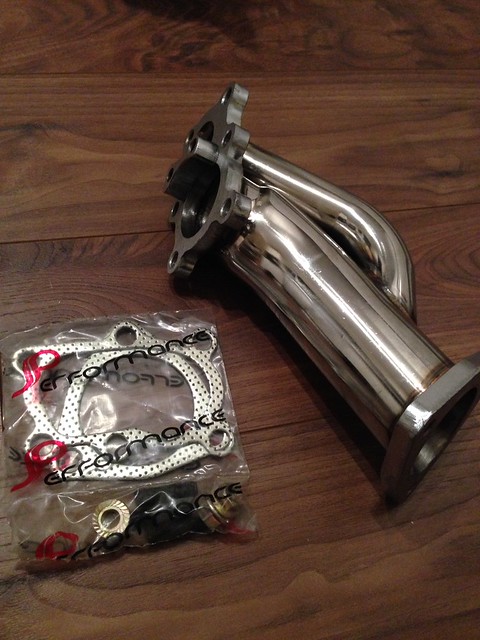
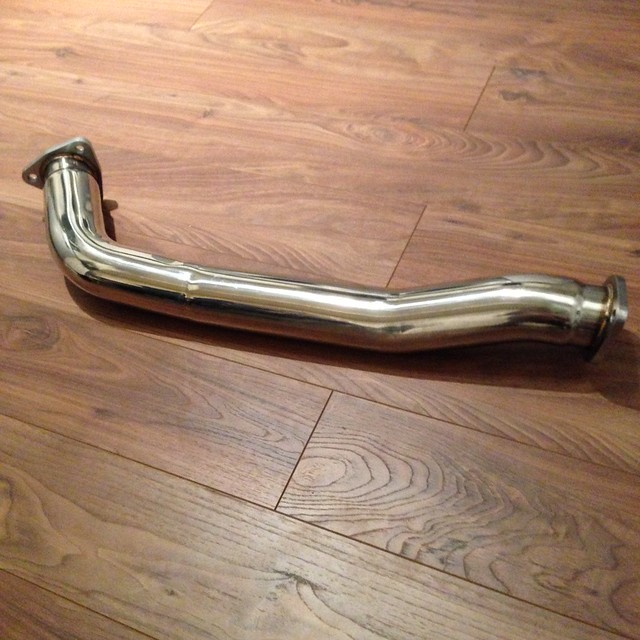
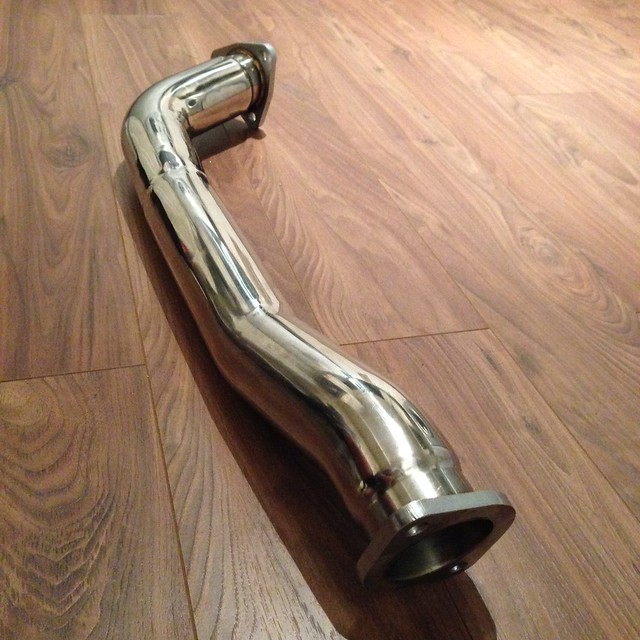
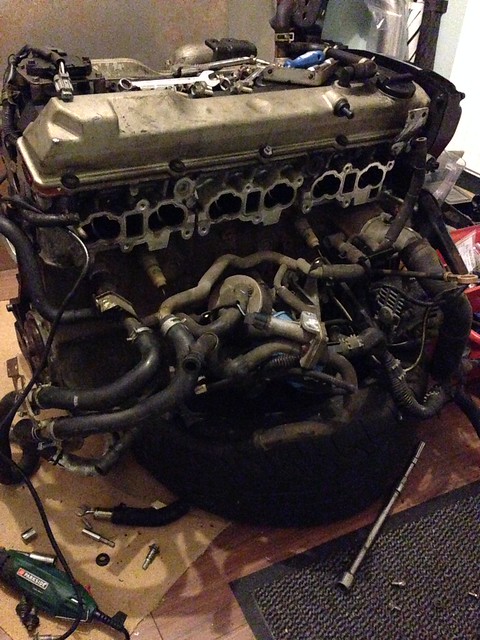
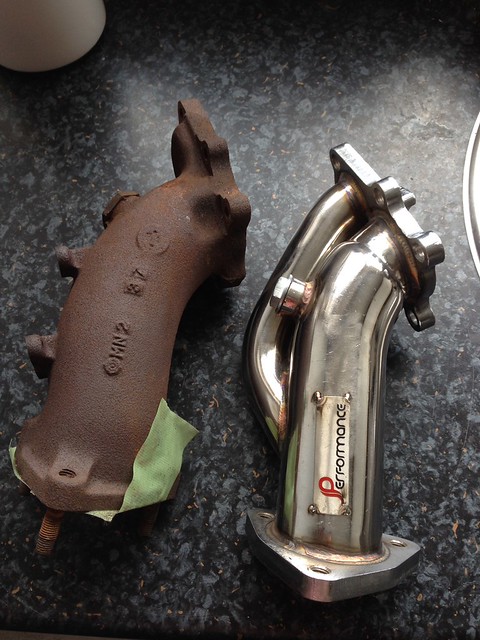
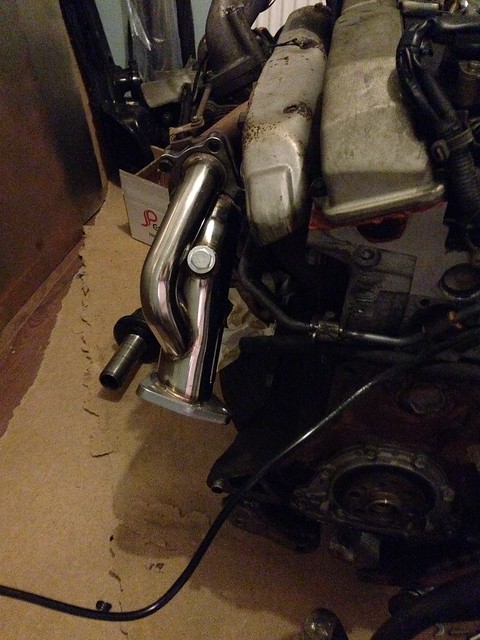
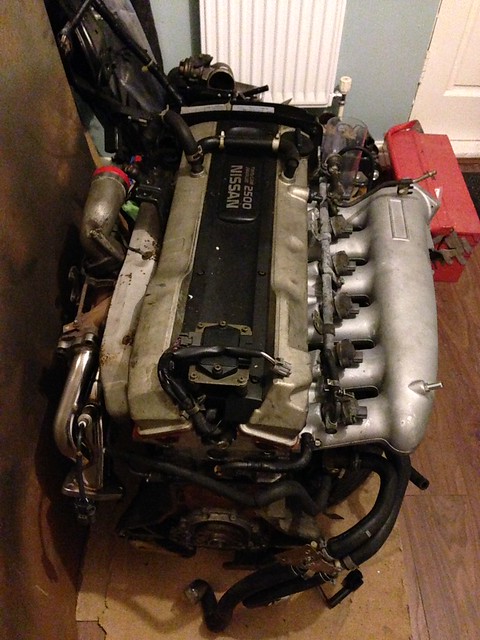
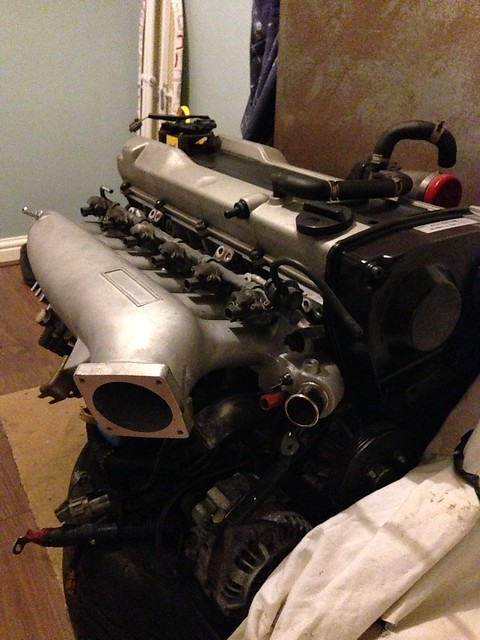
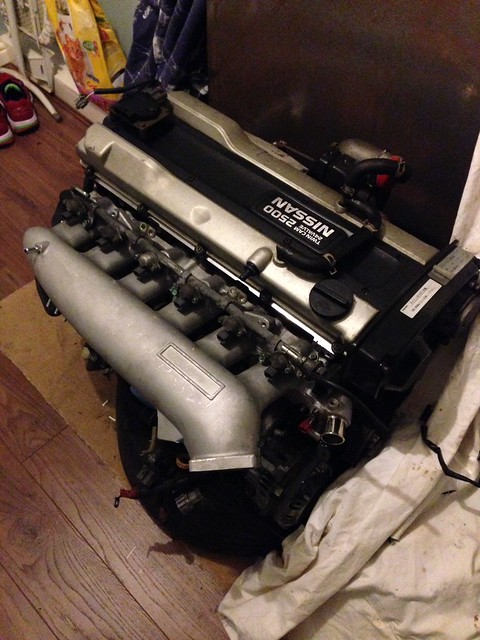
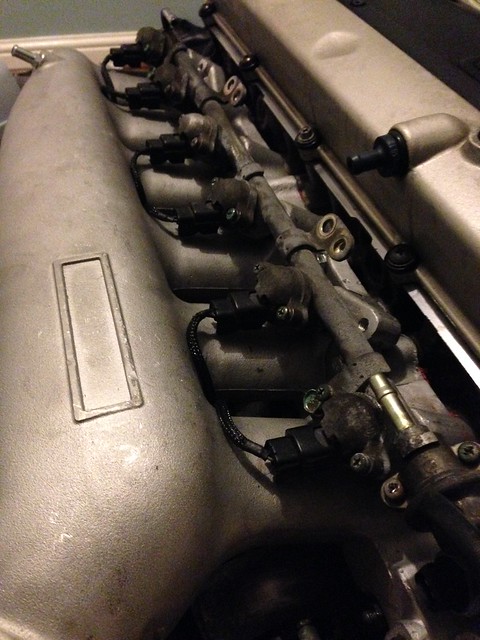
Rocker covers are finished and back in, dented the exhaust around the diff area so that it didn't catch any more, also moved the rear hangar slightly and reattached and secured all the mounting rubbers, as two had fallen off. The exhaust now doesn't hit on anything but I've seem to either have not done up the rear section tight enough, or I've managed to move the flange slightly when I've dented the exhaust tubing, as I now have an exhaust leak around the rear joint.
Went to the SXOC NW rolling road day down at tuning developments in Warrington
Had a few niggles with mine which effected my running a little, boost leak for one which I'd noticed in the last two weeks but didn't think it'd effect it too much, second is an exhaust leak after denting my exhaust to make it not catch the diff its moved the joining flange a few mm and needing to leave the exhaust bung in due to boost spiking to 1bar and hitting fuel cut.
Despite this the car ran a 177hp at the wheels and a 212hp at the fly, dyno chap reckoned if I sorted those issues out it'd be more like 235-240 at the fly

In this printout you can see the super rich top end and the boost drop off after 5k

Video of all three runs
[YT][ame=http://www.youtube.com/watch?v=bZeIr2tXVmI]S13 Ca18det Dyno Run Tuning Developments - YouTube[/ame][/YT]


few photos by others

by Dare
rest by Stone


Things on the list to sort out. Boost leak finding, exhaust leak fixing, body panel fitment all over and body work and sort the power steering line out..
With MOT, Tax and Insurance along with a holiday to Bulgaria this month and being a studentwanker I've had to take her off the road for a while, but don't fret she'll be back later in the year hopefully before winter, as I finish studying and can concentrate on finding a full time job.
I've also sold quite a few parts unfortunately including all my stage 3 mods that where ready to go on to fund Uni, so will have to save up later and buy them back.
I've got a few things lined up that need doing before its MOT time:
Wiper Pivot - Drivers side
Exhaust Leak to fix
New Rear Tyres
Horn Fuse
Power steering line replacement
ABS Removal
Un-seizing all of the brakes as the rears aren't particularly effective and whilst driving home the fronts where pulling to the left then straightening up so giving them a good once over
Front Crank Pulley change
Find Boost Leak
All these things will be done whenever I get time to, she's currently at my parents so I can work on it with all the tools and space I need.
So I'll leave you with a few pictures until my next update when I get to do some work on it again.

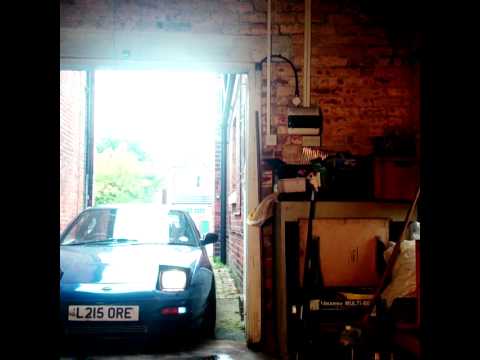
Looking sad not wanting to leave Lincoln

Looking even sadder at being left behind and being filthy


Installed the new gauges and new a-pillar covers, can see the drivers side in the background of one pic
swapped the passenger a-pillar too as it had this scuff on it, no pics of the new one just yet.
also started on something that's been annoying me since I got it, the horn in the slim boss issue. With the slim boss and a standard horn it sticks out like this
so took it all apart to see what I could do about it
decided I'd just grind everything down 5mm ish, shorten the spring and knock in the backing plate with the horn connector to make it sit a little lower, then cut new holes for the holding clip and see if it'd work.
not exactly pretty
but it seems to still function and sits flush now. I cant test whether it actually sounds the horn as I'm missing the 10amp fuse and the horn connection, just another little niggle to sort at a later date.
Also lacquered the rocker tops and left them to cure all day
Looks 100000000% better than shiny shit brown.
I decided after a few miles of using the solid engine mounts that they are far too hardcore for me, caused massive booming in the cabin especially when stationary. I think this is mainly down to my engine not running particularly smoothly tbh, so I swapped them out for the originals bar the gearbox which I left uprated. This is a decent solution for me as it tightens up the gear changes I can feel the car a little more and nearly all of the engine movement isn't transmitted to the cabin. Much nicer, I'm just not hardcore.
So solid engine mounts up for sale people. Literally popped in driven 2 miles came straight out again.
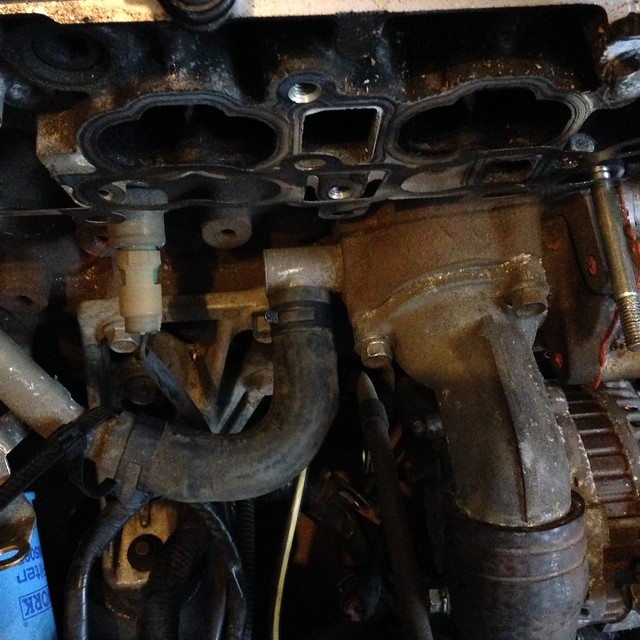
Rocker covers are finished and back in, dented the exhaust around the diff area so that it didn't catch any more, also moved the rear hangar slightly and reattached and secured all the mounting rubbers, as two had fallen off. The exhaust now doesn't hit on anything but I've seem to either have not done up the rear section tight enough, or I've managed to move the flange slightly when I've dented the exhaust tubing, as I now have an exhaust leak around the rear joint.
Went to the SXOC NW rolling road day down at tuning developments in Warrington
Had a few niggles with mine which effected my running a little, boost leak for one which I'd noticed in the last two weeks but didn't think it'd effect it too much, second is an exhaust leak after denting my exhaust to make it not catch the diff its moved the joining flange a few mm and needing to leave the exhaust bung in due to boost spiking to 1bar and hitting fuel cut.
Despite this the car ran a 177hp at the wheels and a 212hp at the fly, dyno chap reckoned if I sorted those issues out it'd be more like 235-240 at the fly
In this printout you can see the super rich top end and the boost drop off after 5k
Video of all three runs
[YT][ame=http://www.youtube.com/watch?v=bZeIr2tXVmI]S13 Ca18det Dyno Run Tuning Developments - YouTube[/ame][/YT]
few photos by others
by Dare
rest by Stone
Things on the list to sort out. Boost leak finding, exhaust leak fixing, body panel fitment all over and body work and sort the power steering line out..
With MOT, Tax and Insurance along with a holiday to Bulgaria this month and being a studentwanker I've had to take her off the road for a while, but don't fret she'll be back later in the year hopefully before winter, as I finish studying and can concentrate on finding a full time job.
I've also sold quite a few parts unfortunately including all my stage 3 mods that where ready to go on to fund Uni, so will have to save up later and buy them back.
I've got a few things lined up that need doing before its MOT time:
Wiper Pivot - Drivers side
Exhaust Leak to fix
New Rear Tyres
Horn Fuse
Power steering line replacement
ABS Removal
Un-seizing all of the brakes as the rears aren't particularly effective and whilst driving home the fronts where pulling to the left then straightening up so giving them a good once over
Front Crank Pulley change
Find Boost Leak
All these things will be done whenever I get time to, she's currently at my parents so I can work on it with all the tools and space I need.
So I'll leave you with a few pictures until my next update when I get to do some work on it again.
Looking sad not wanting to leave Lincoln
Looking even sadder at being left behind and being filthy


 Instagram@jdjurhuus


Comment