 Tweet
Tweet
Originally posted by HTOWN///M
View Post
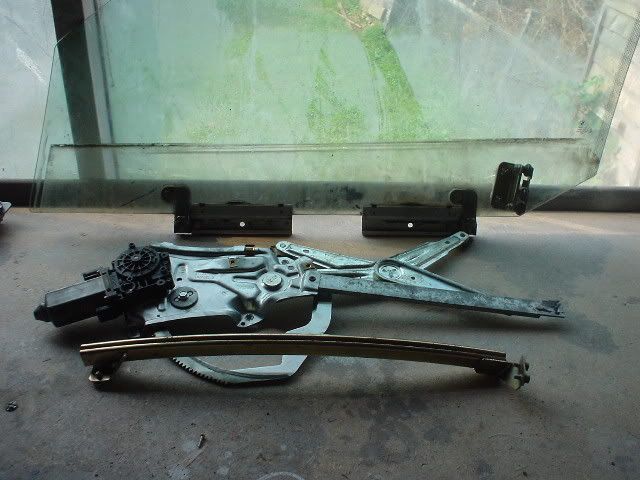
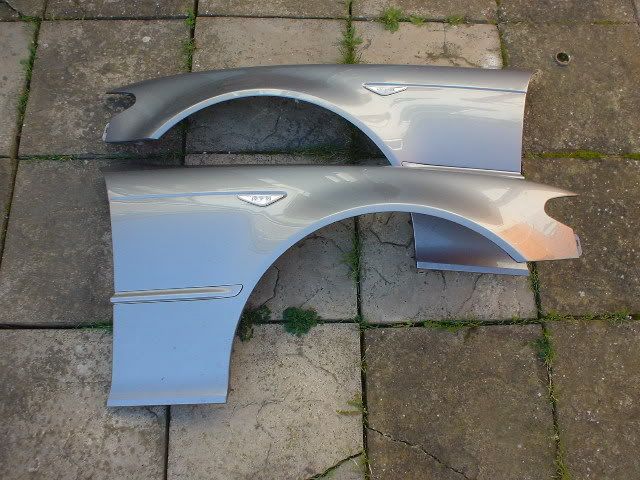
any reason for buying the whole Door and not just the Handles ??


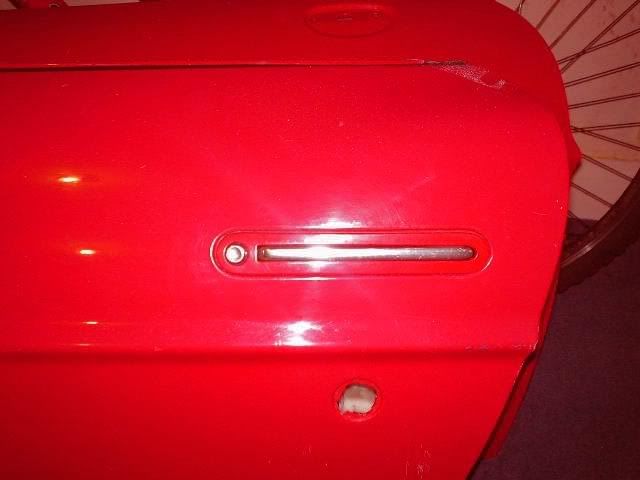
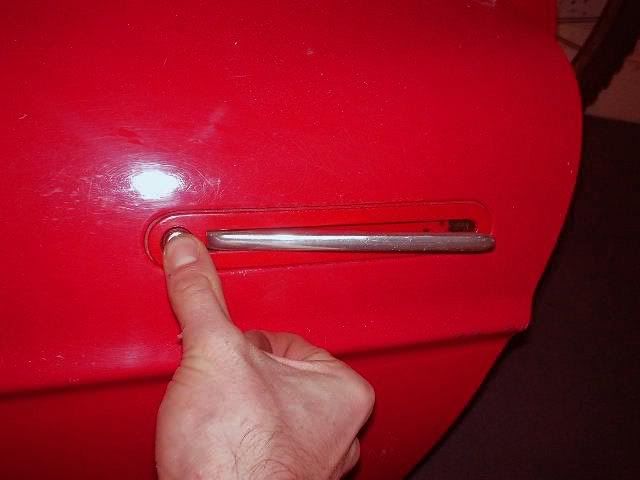
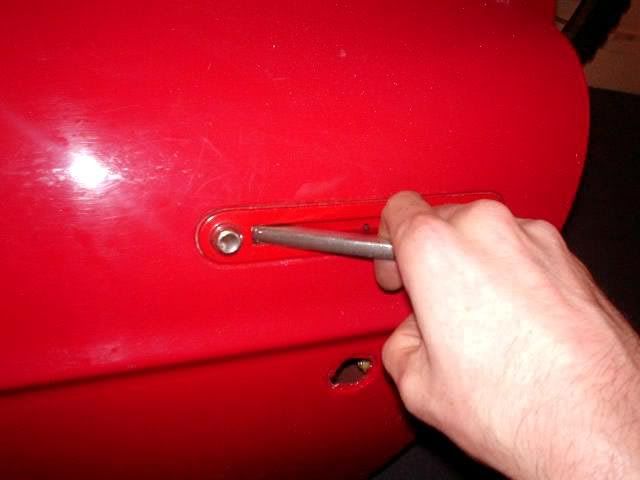
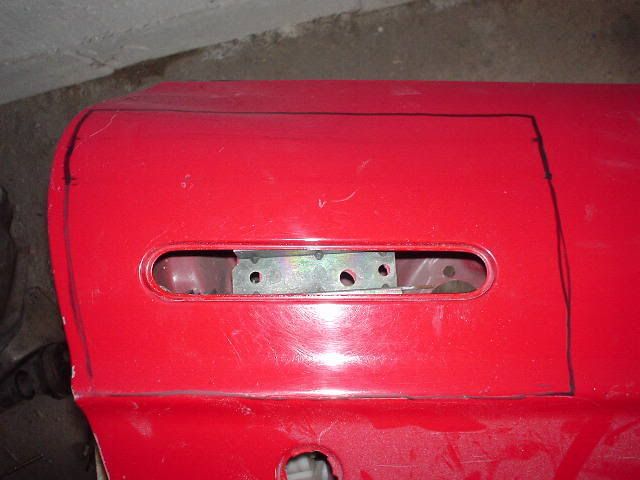
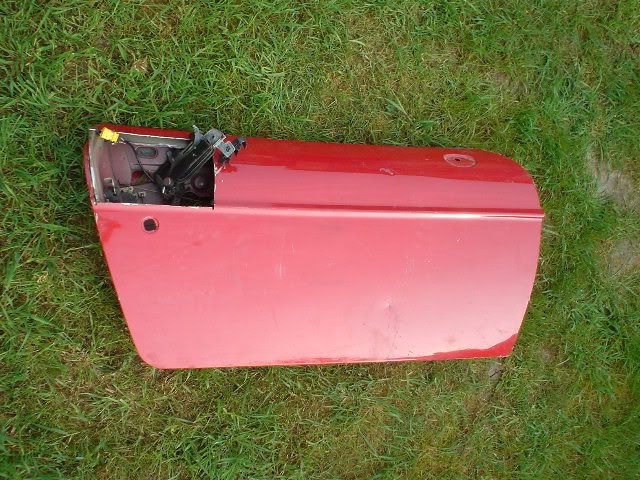
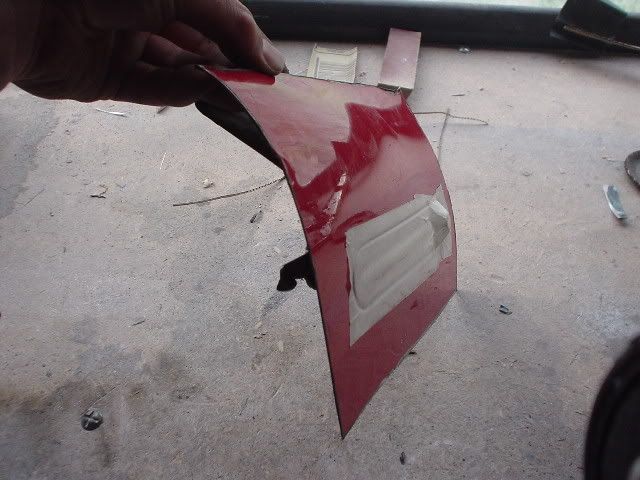
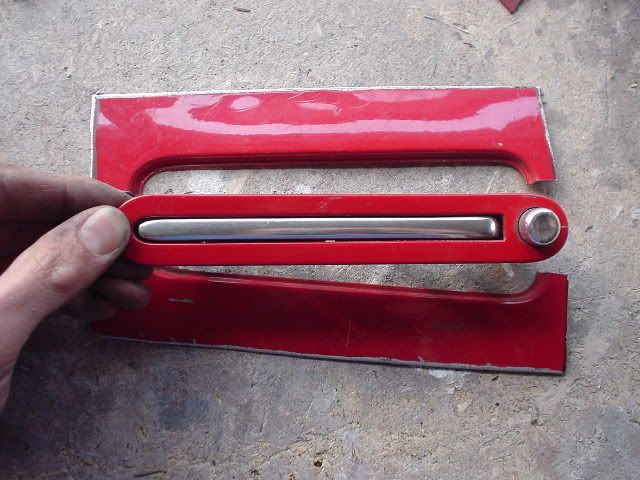
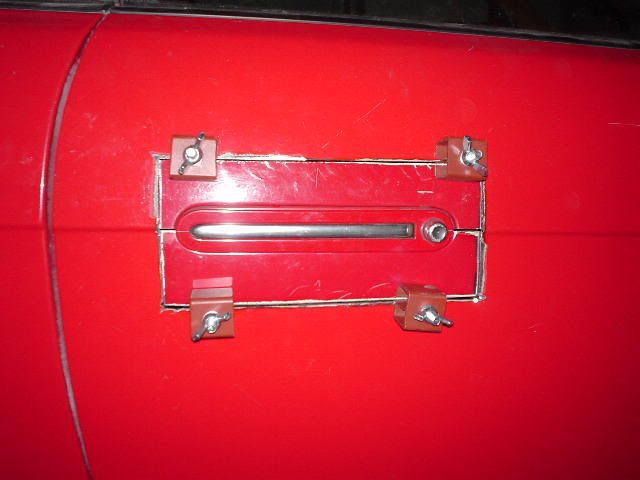
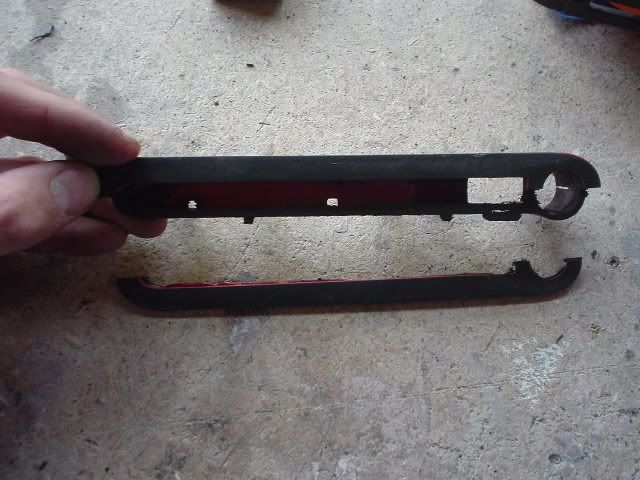
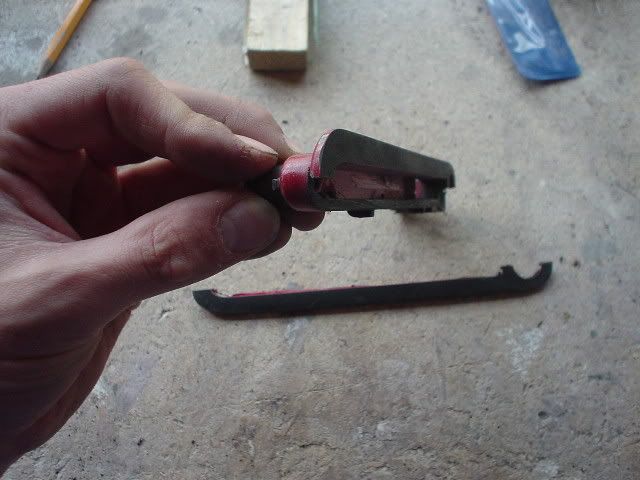
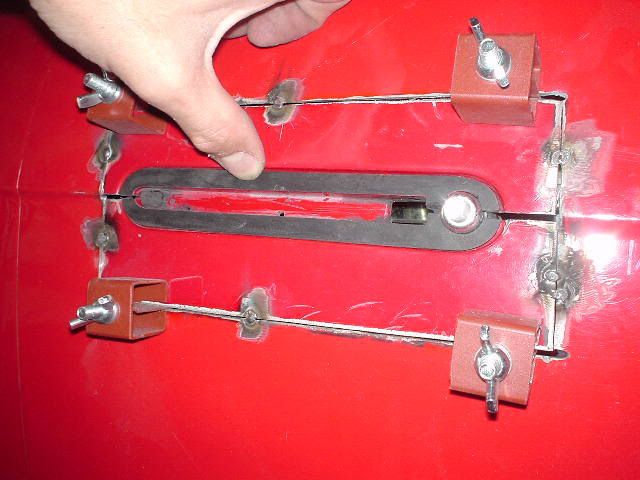
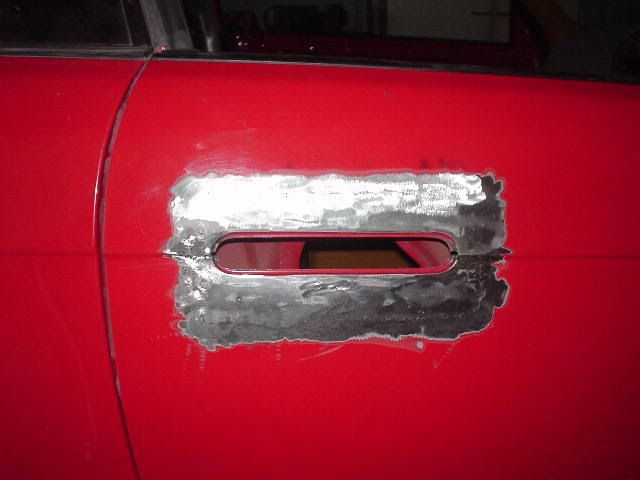
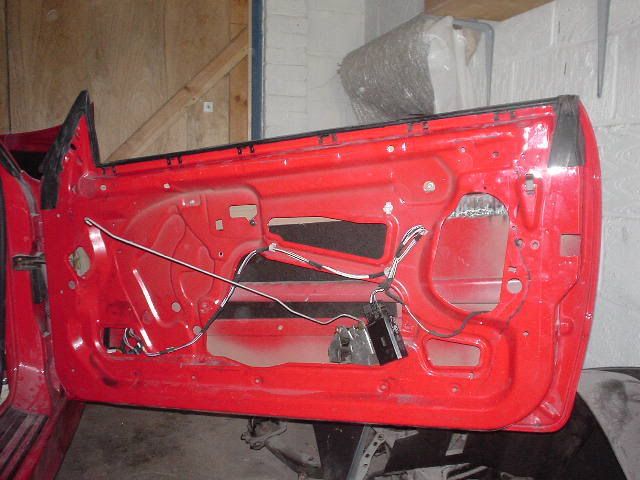
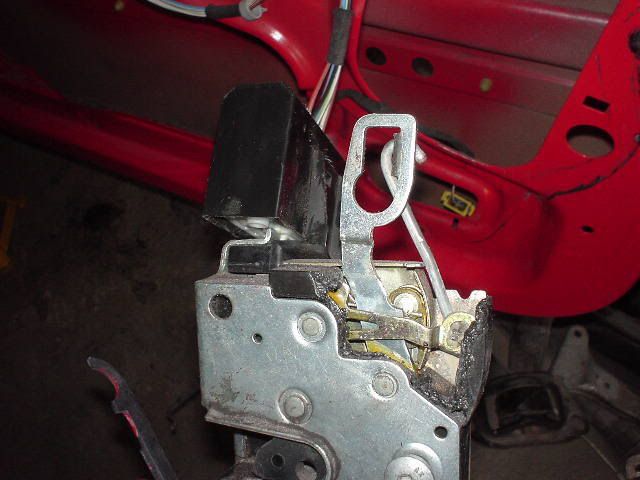
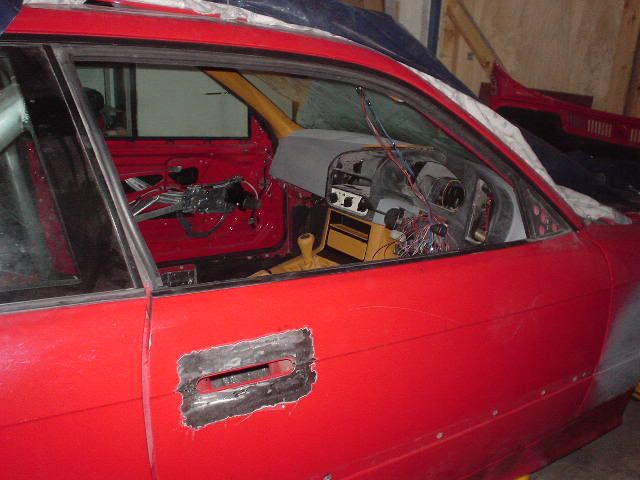
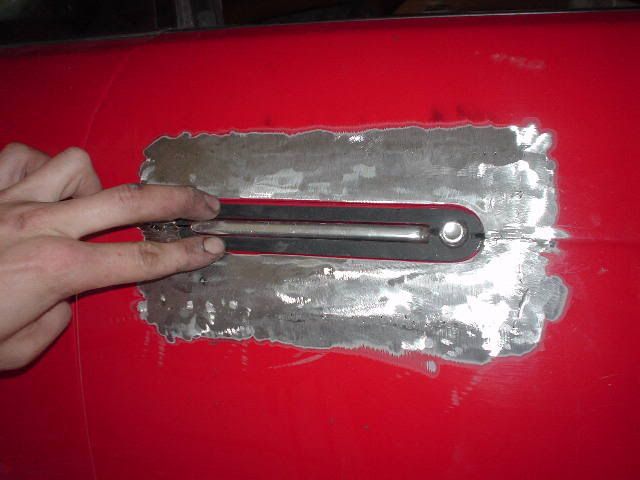
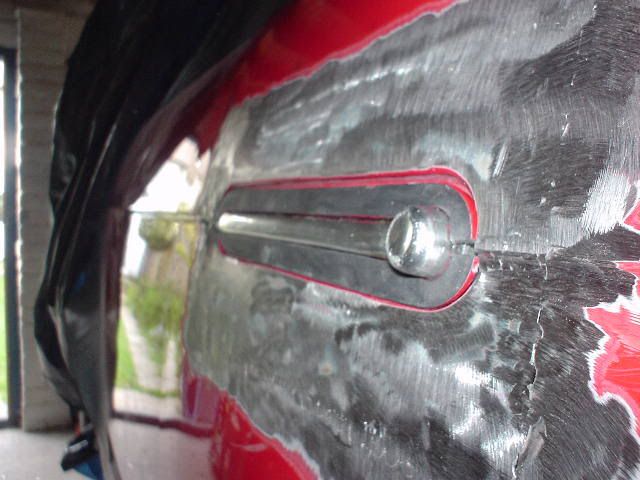
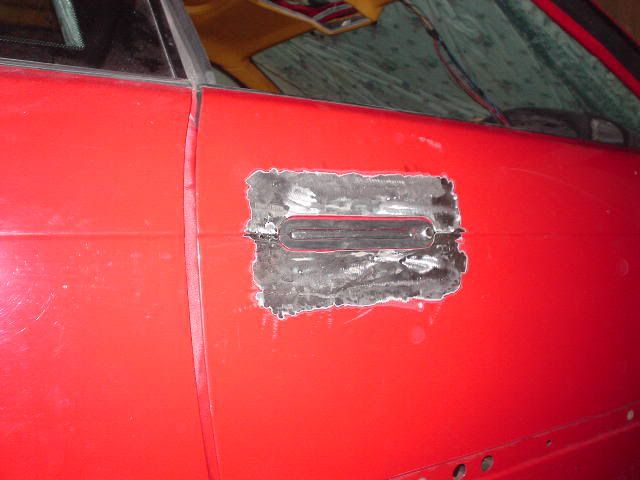
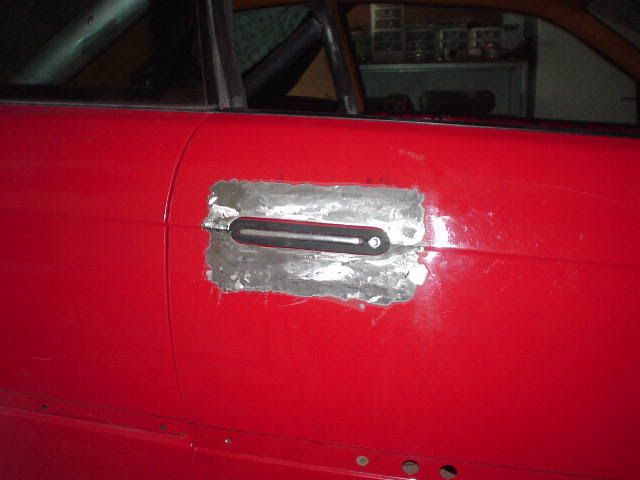
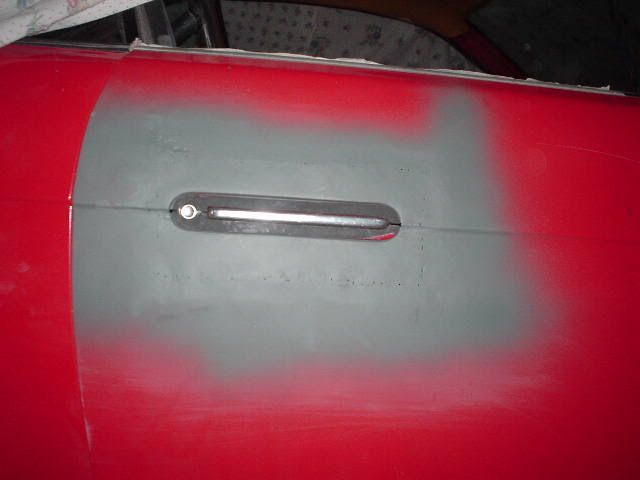
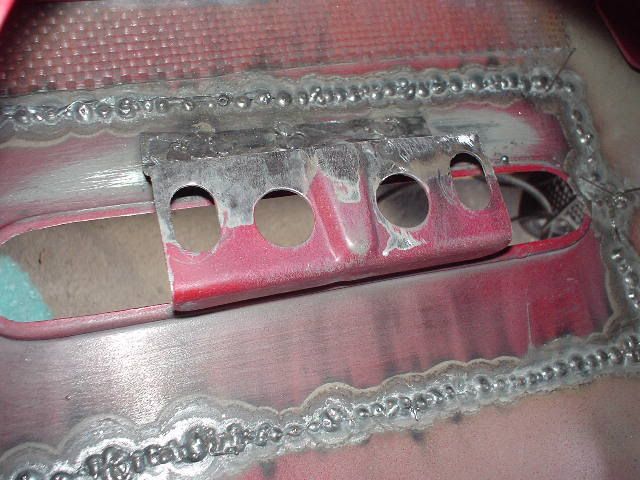
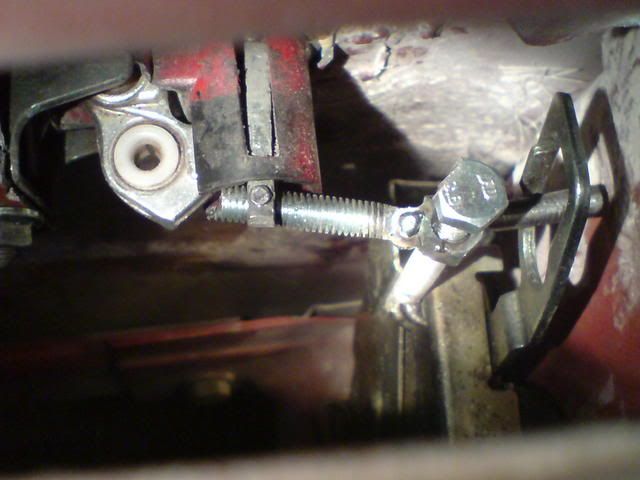
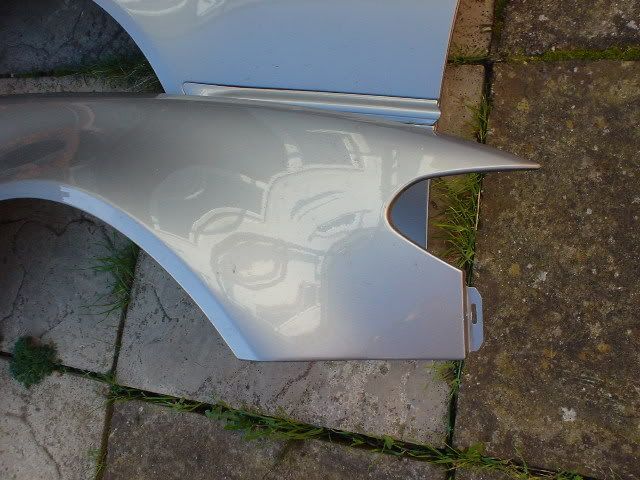
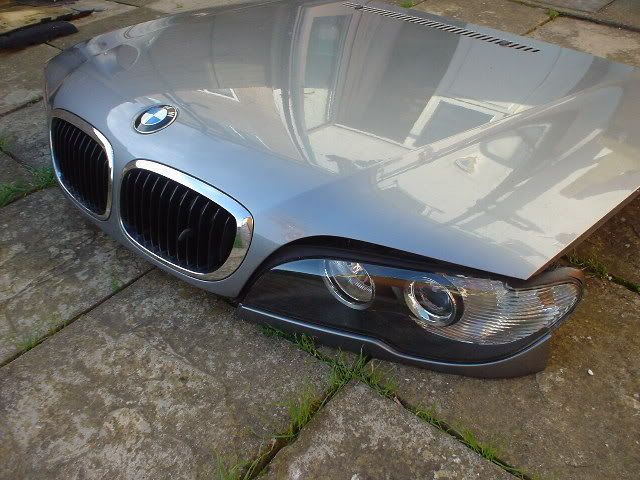
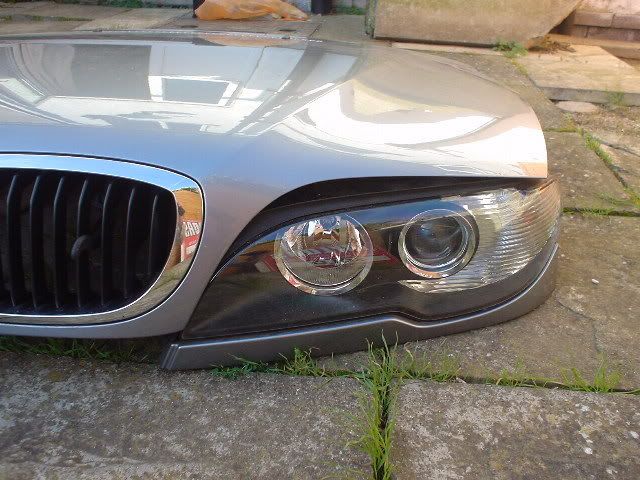
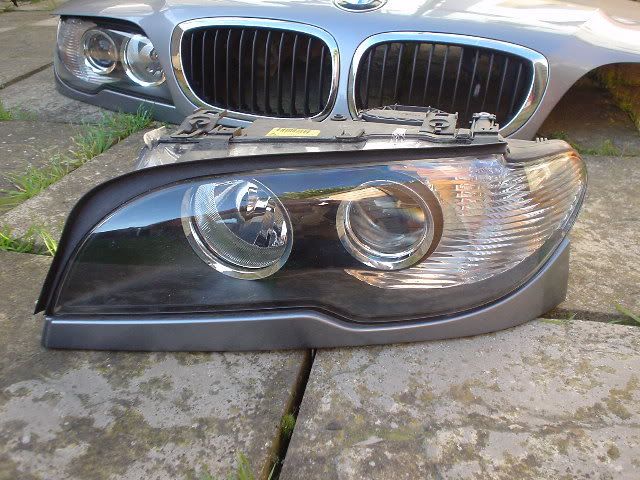
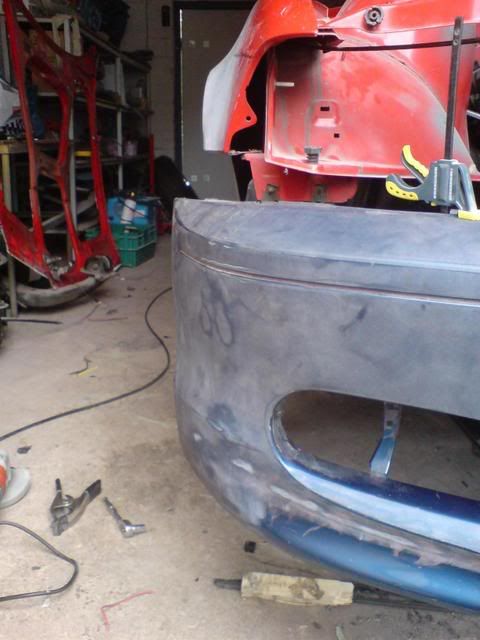
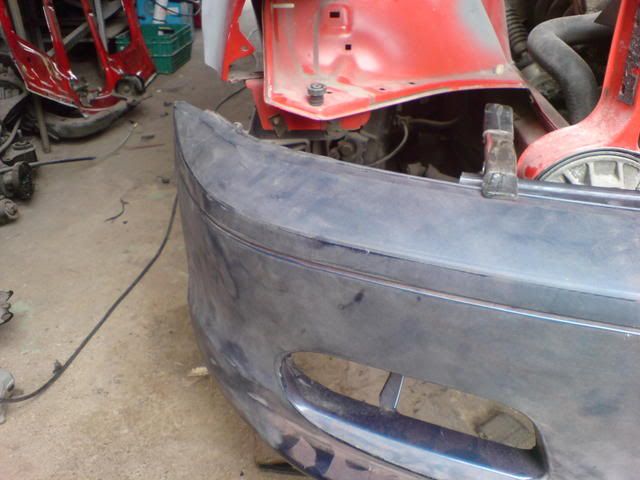
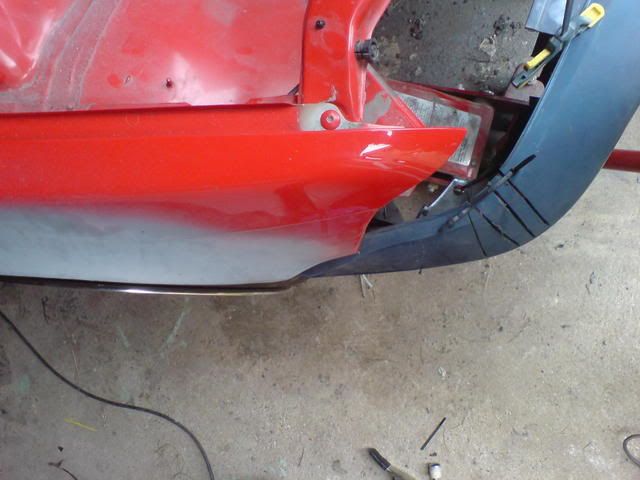
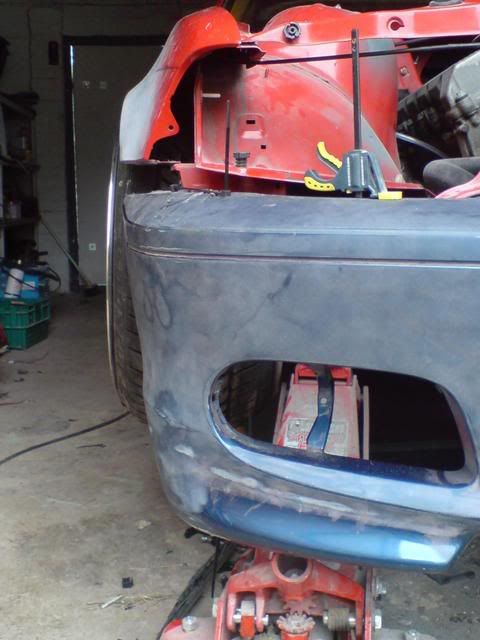
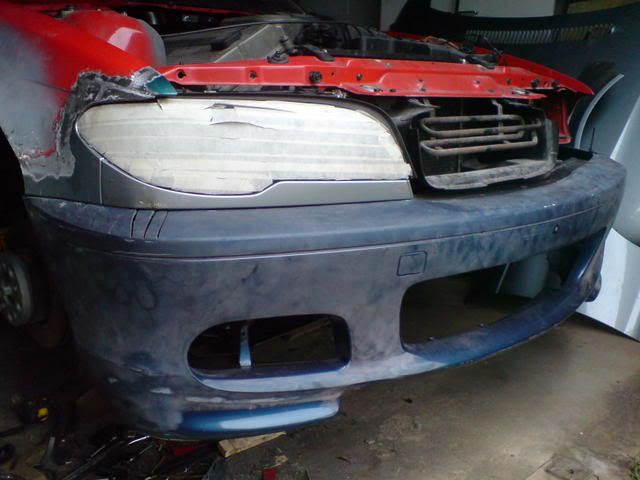
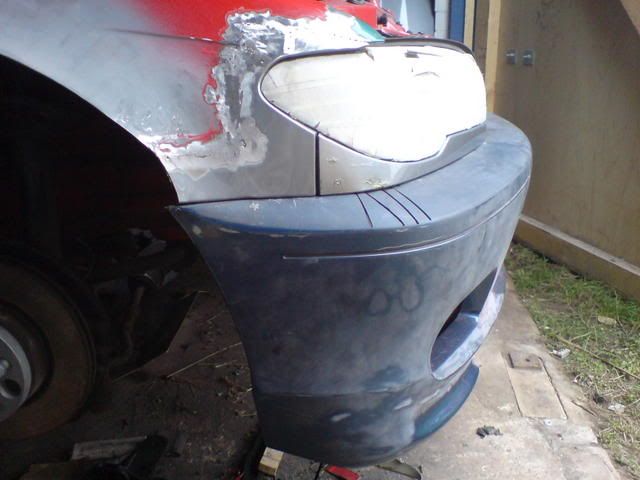
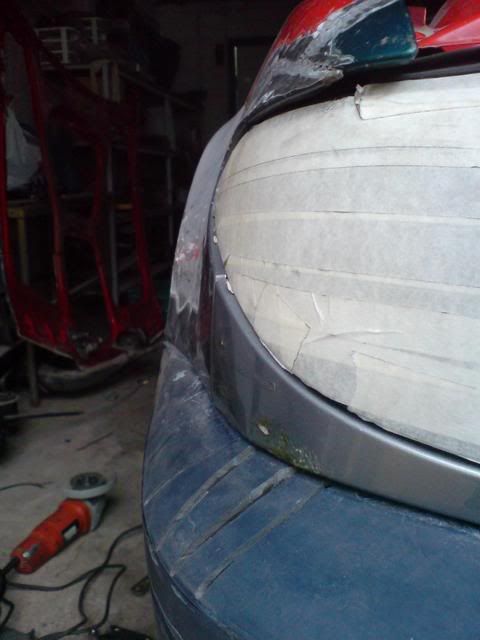
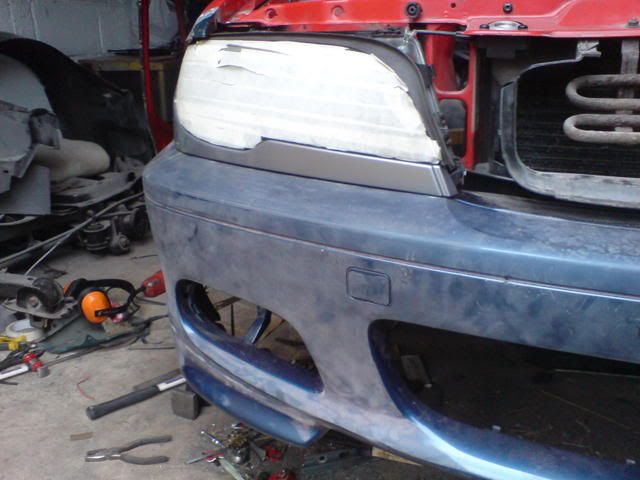
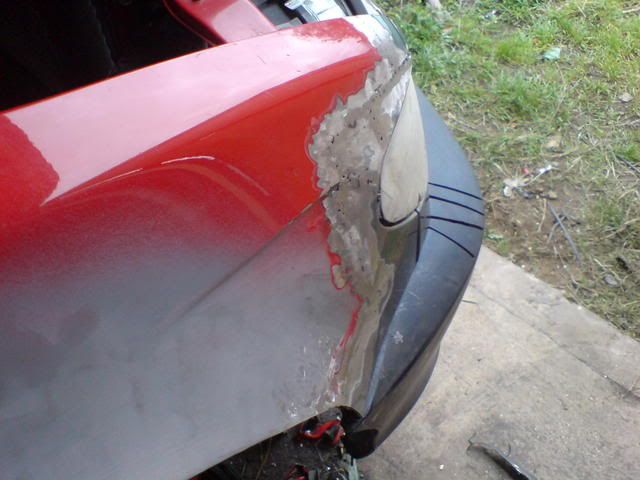
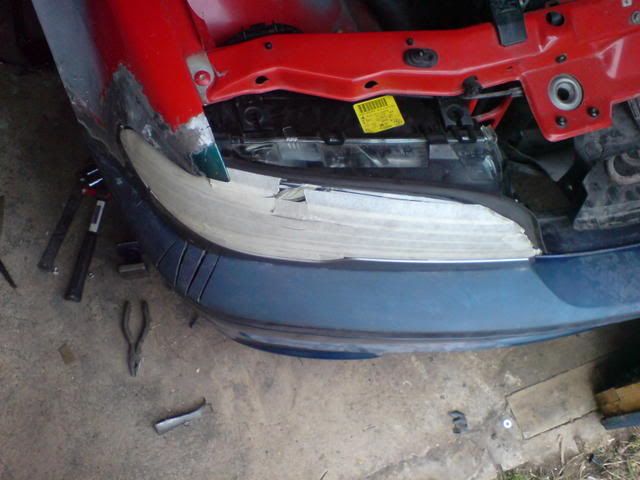
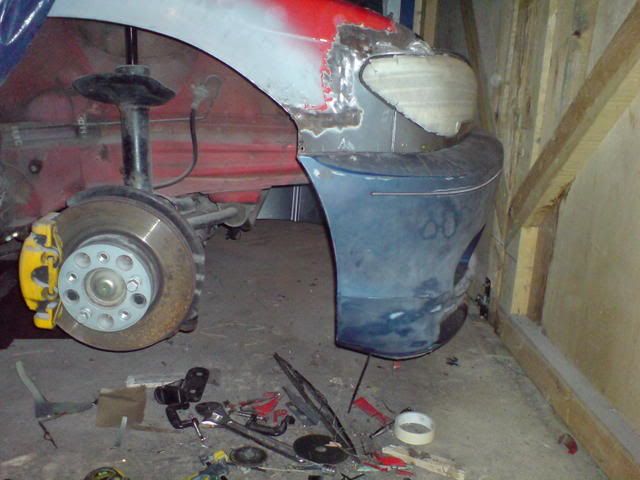
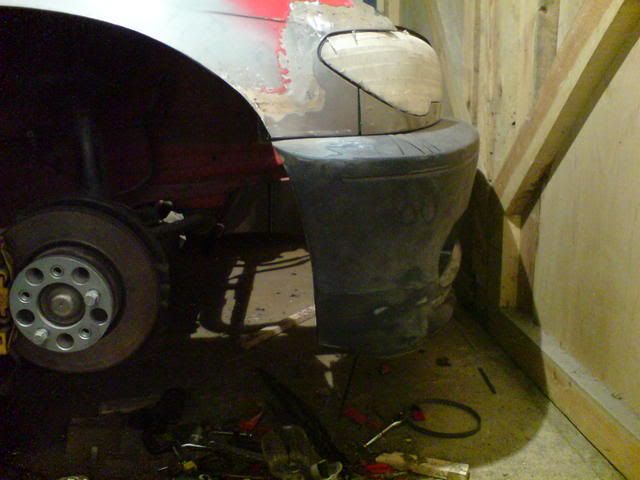
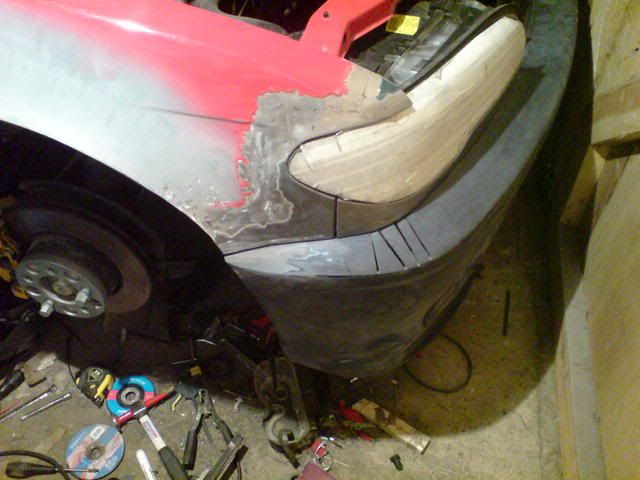
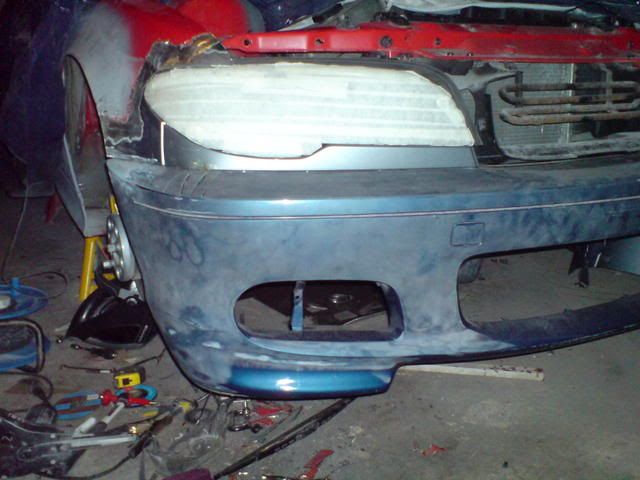
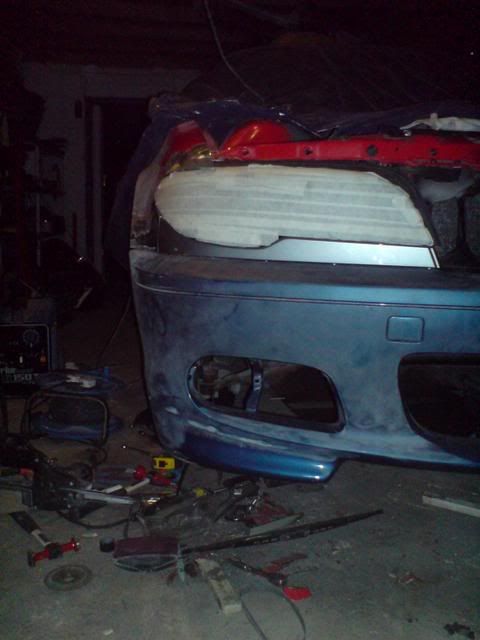
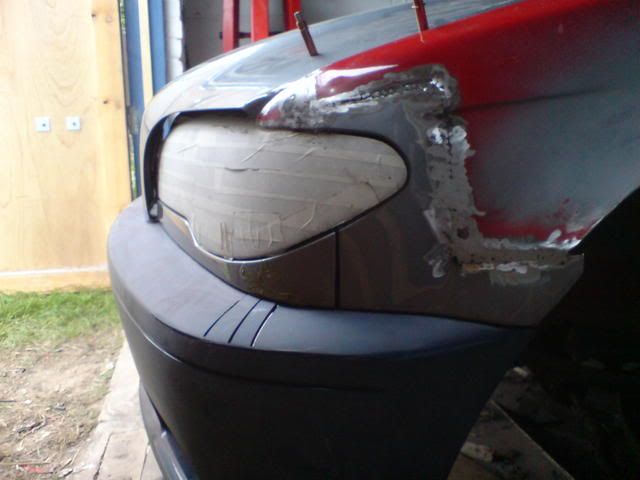
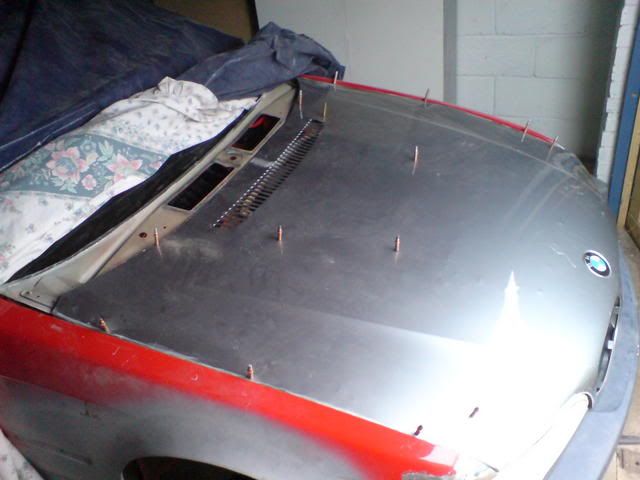
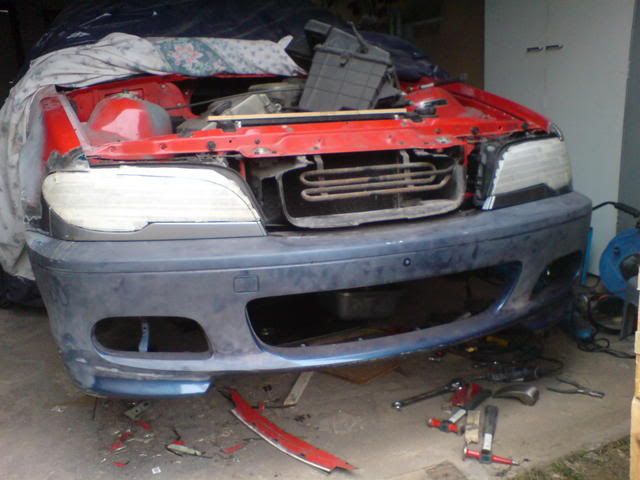
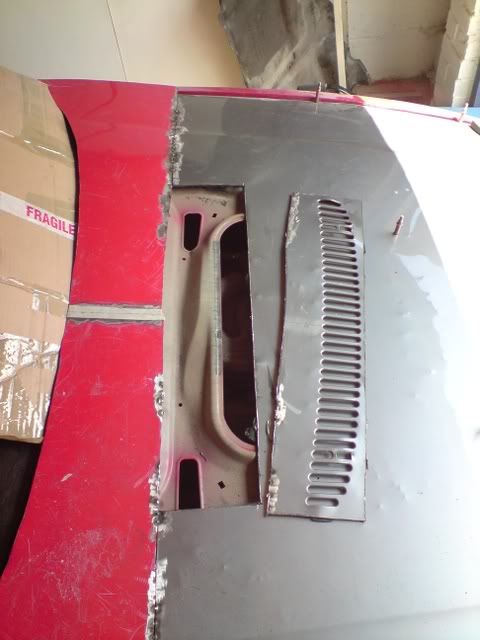
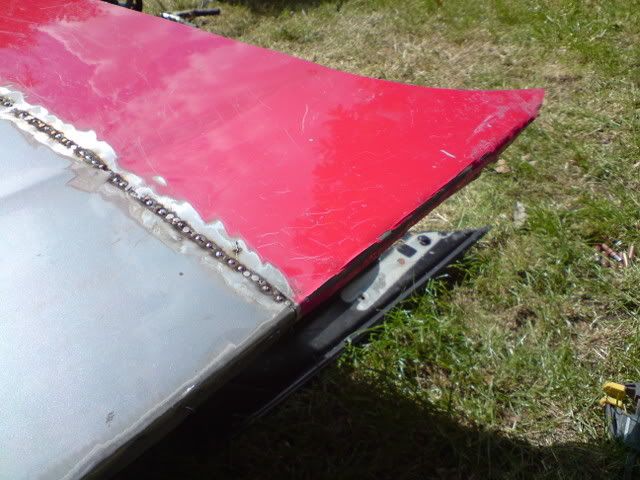
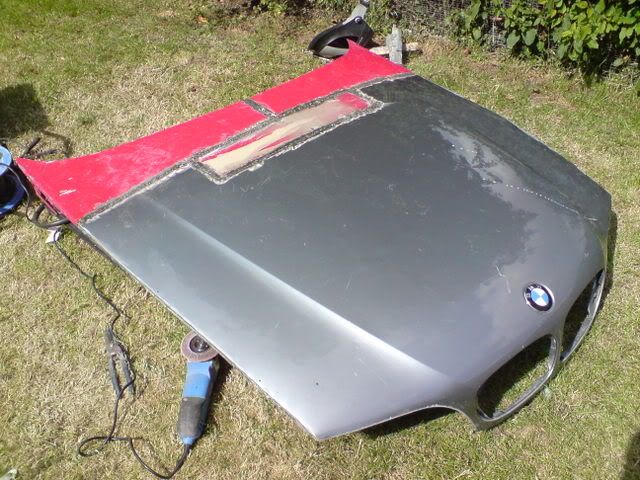
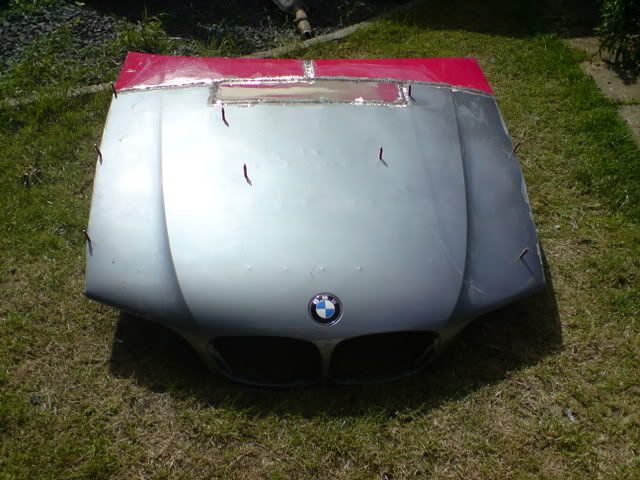
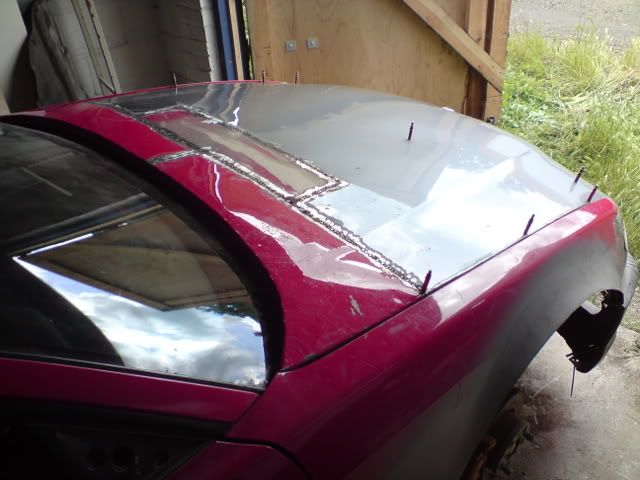
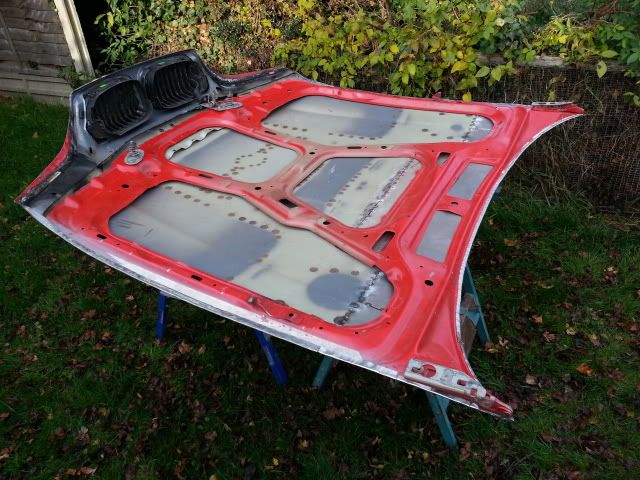
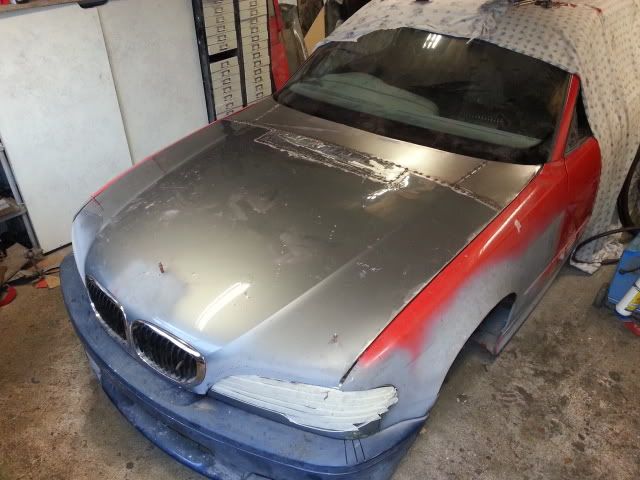
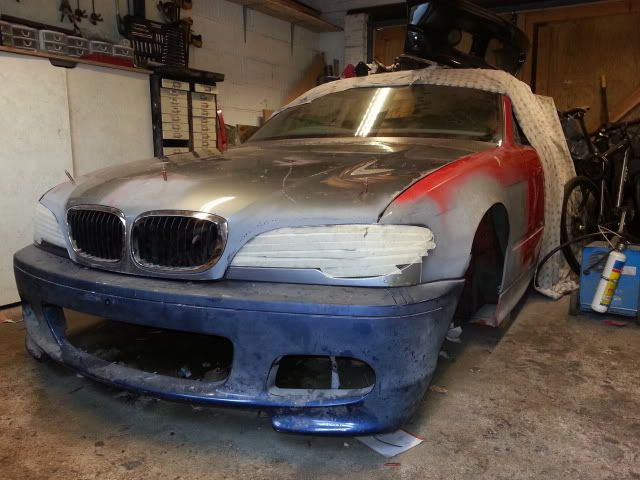
 heres a few pictures of the doors and the handles in action
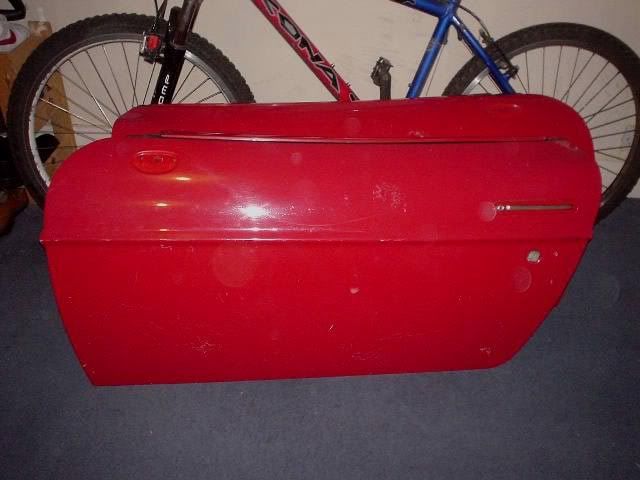
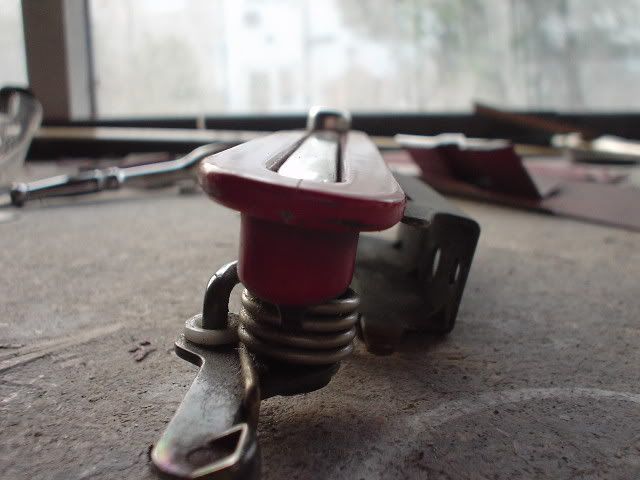
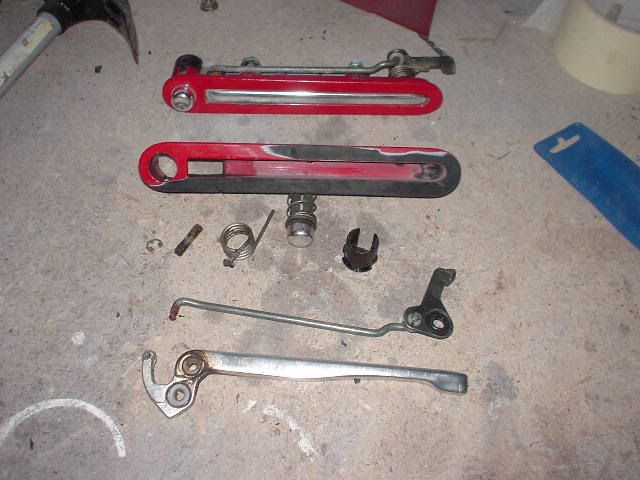
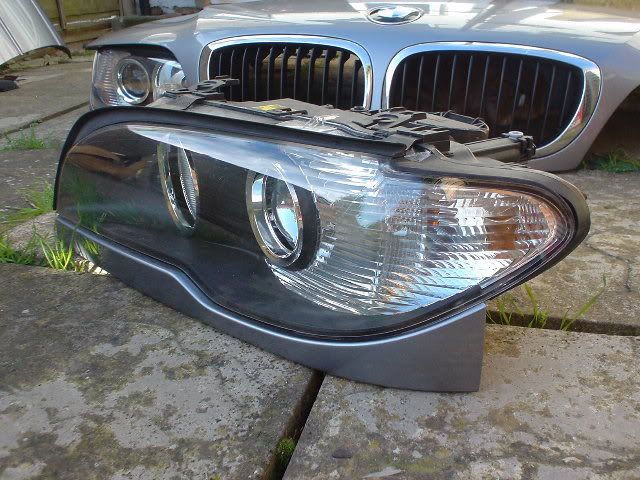
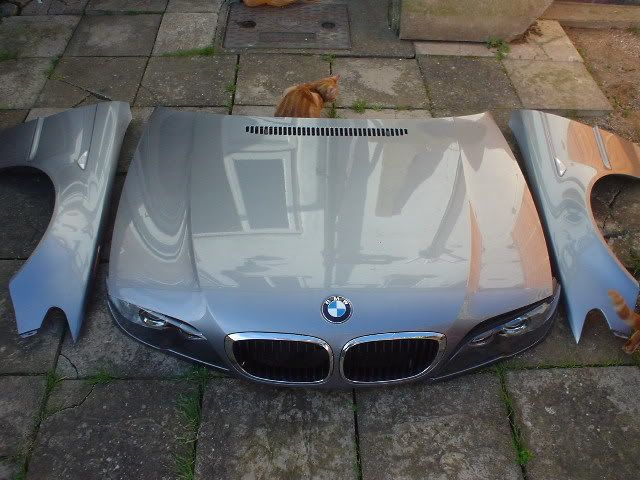
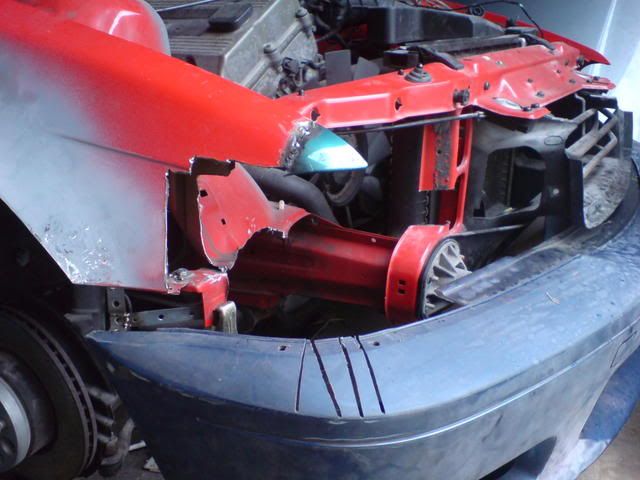
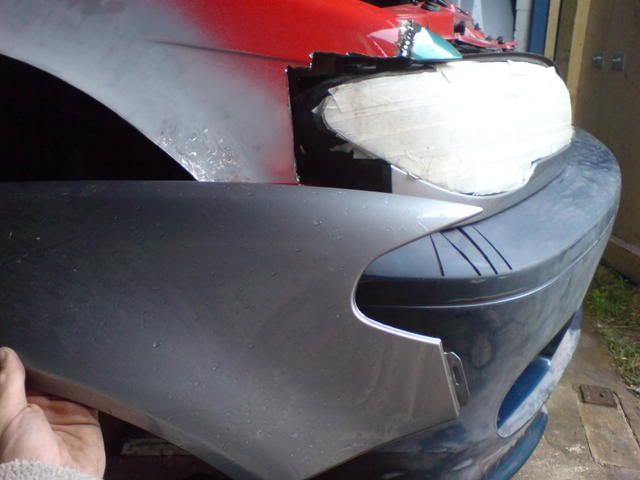
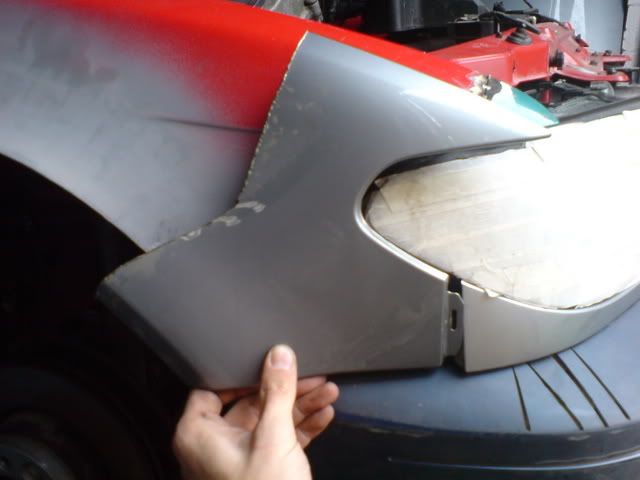
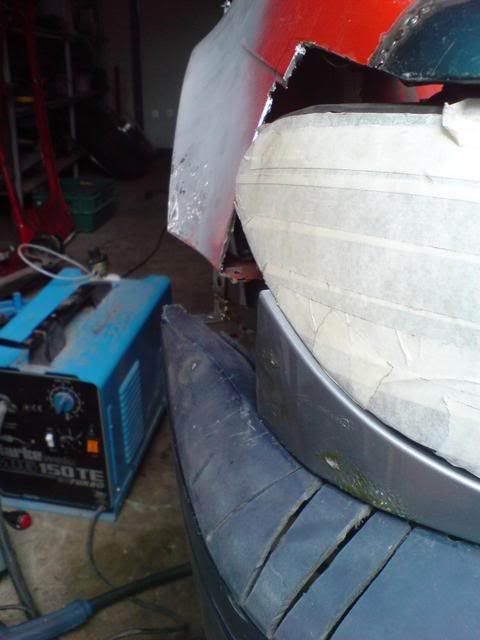
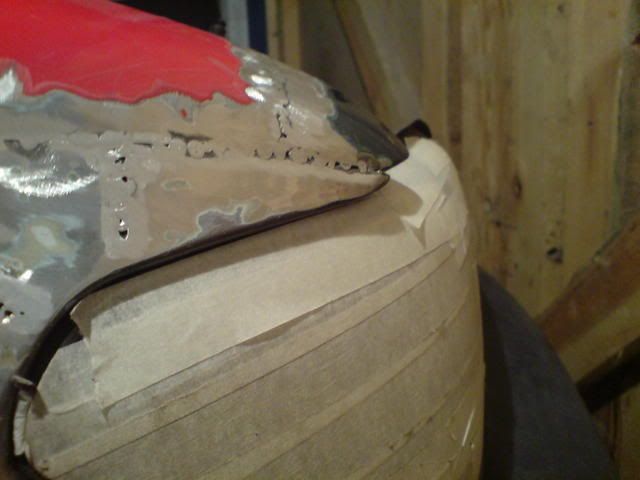
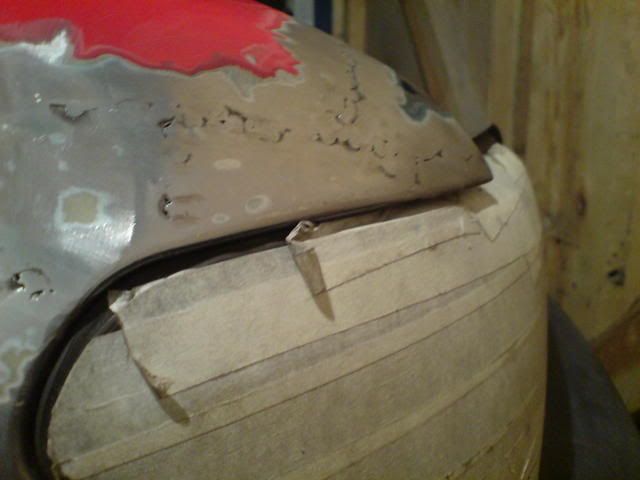
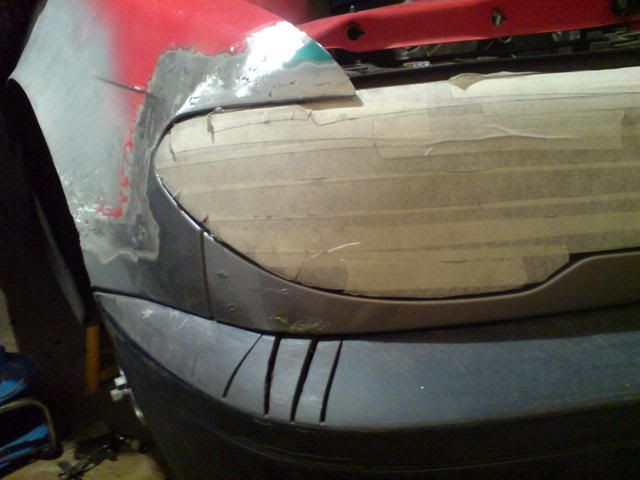
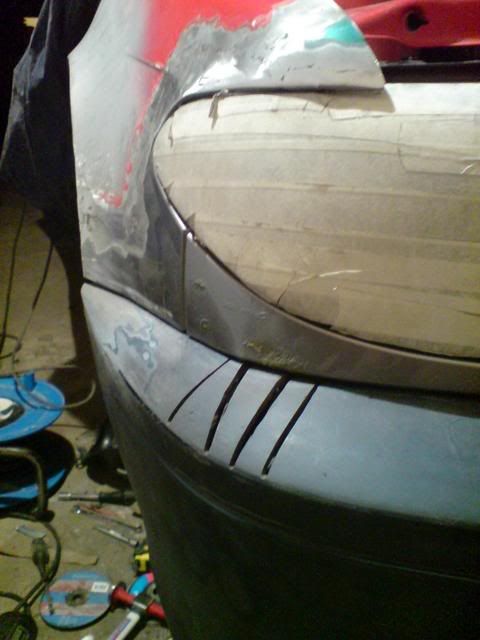
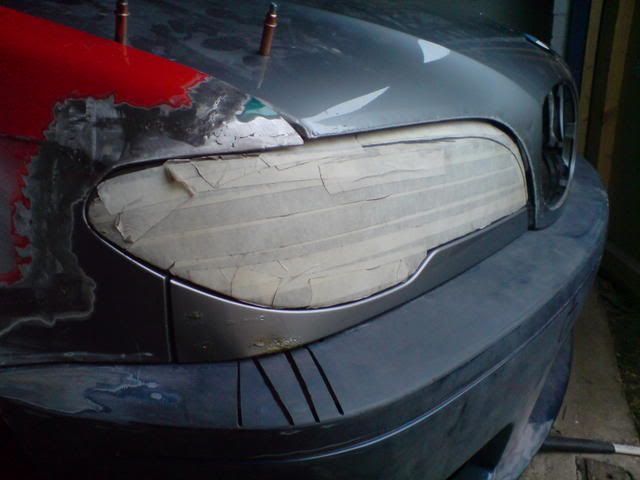
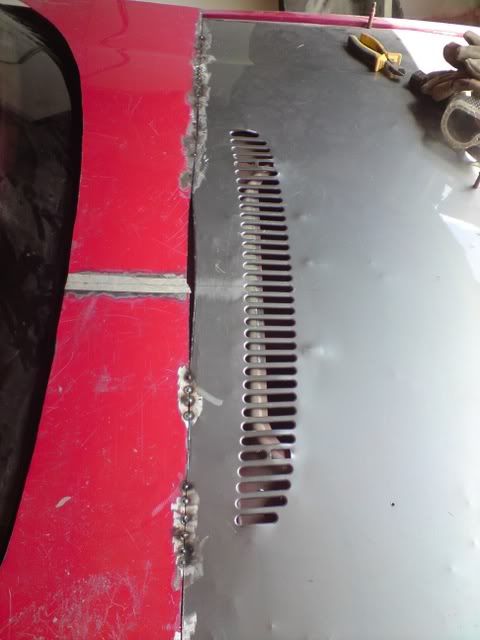
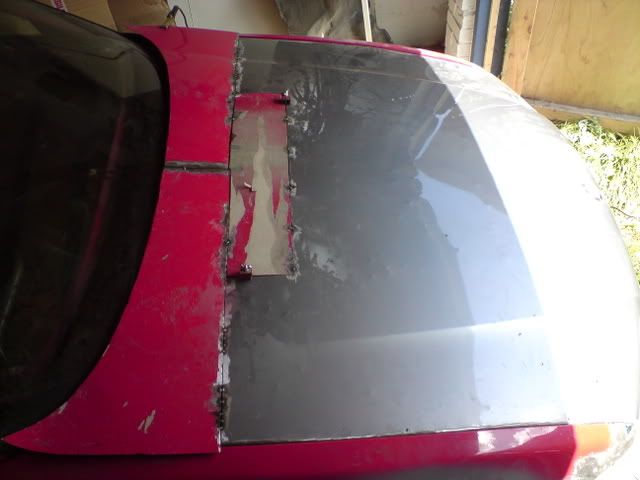
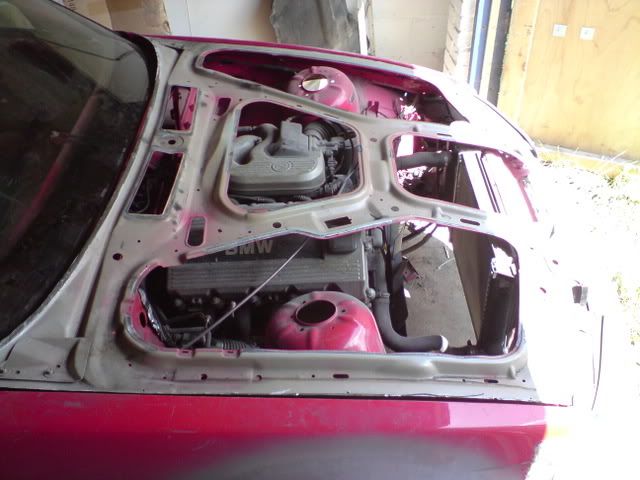
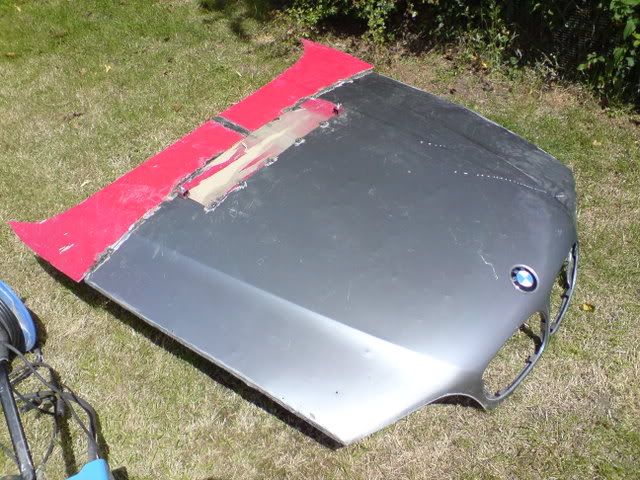
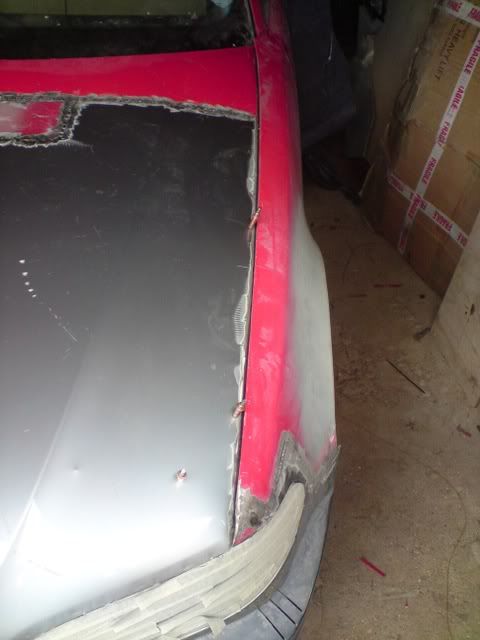
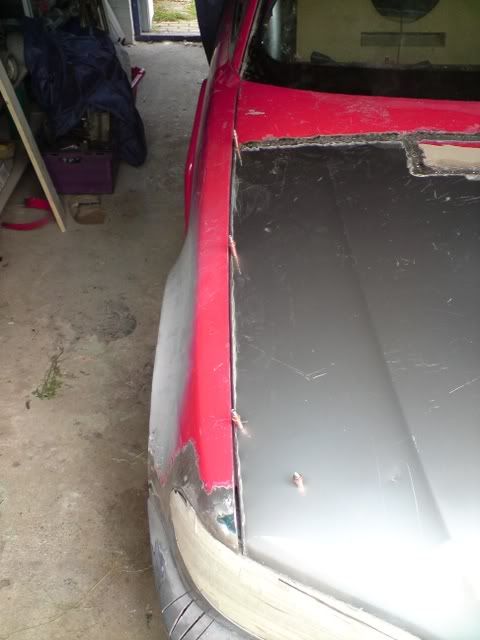
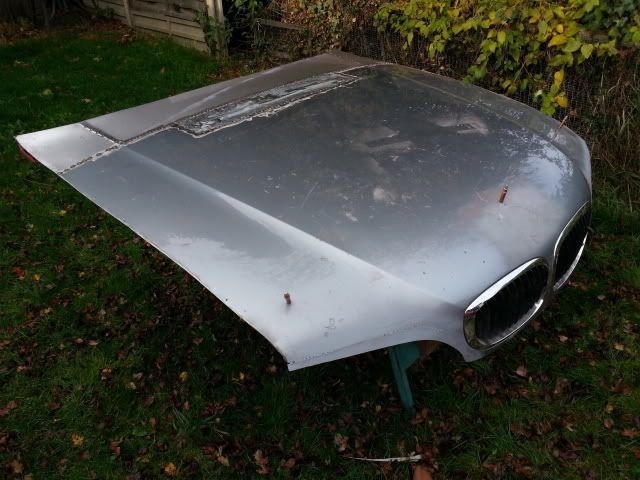
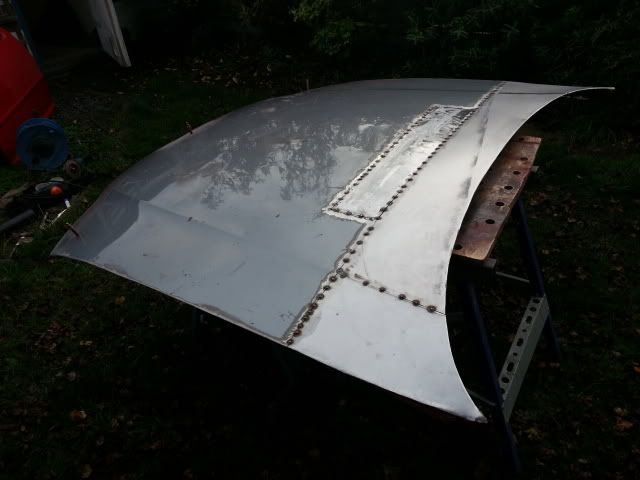
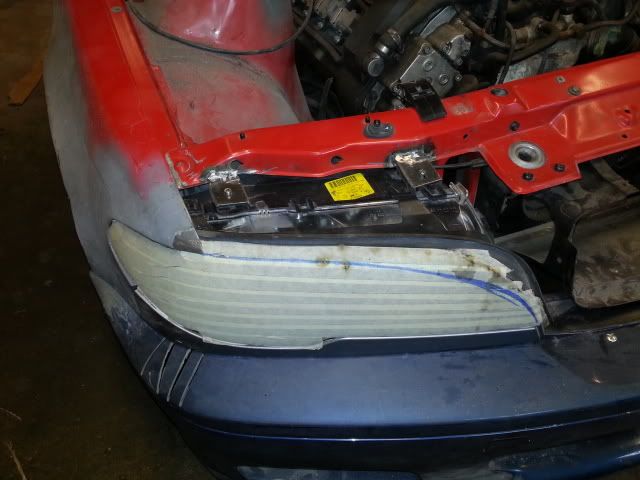
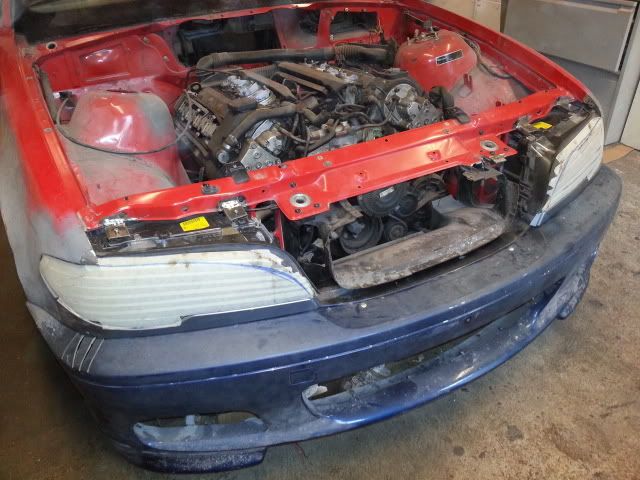
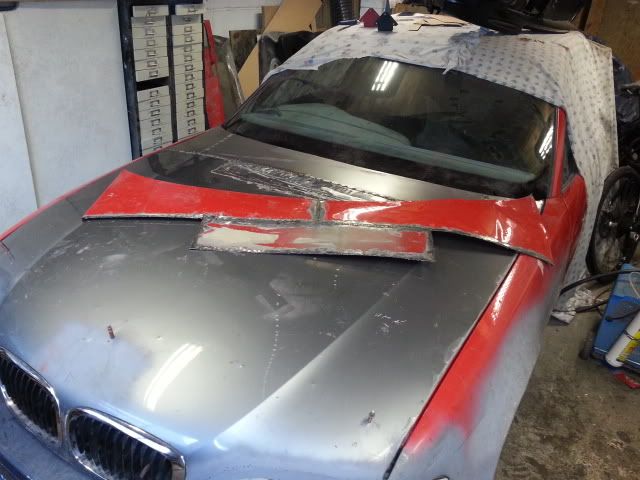
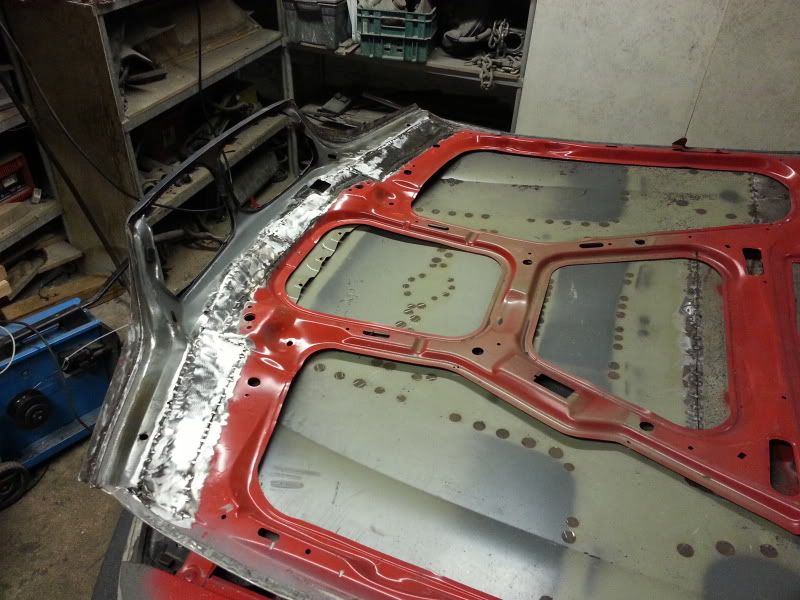
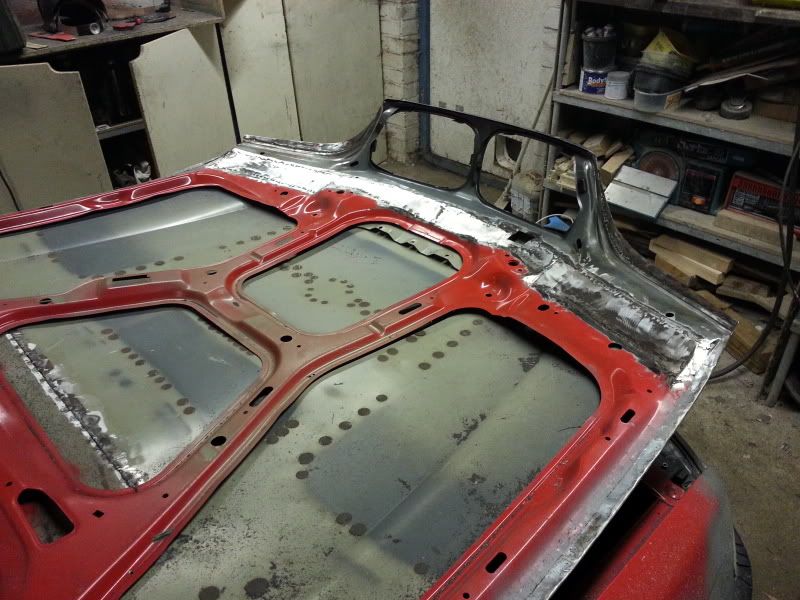
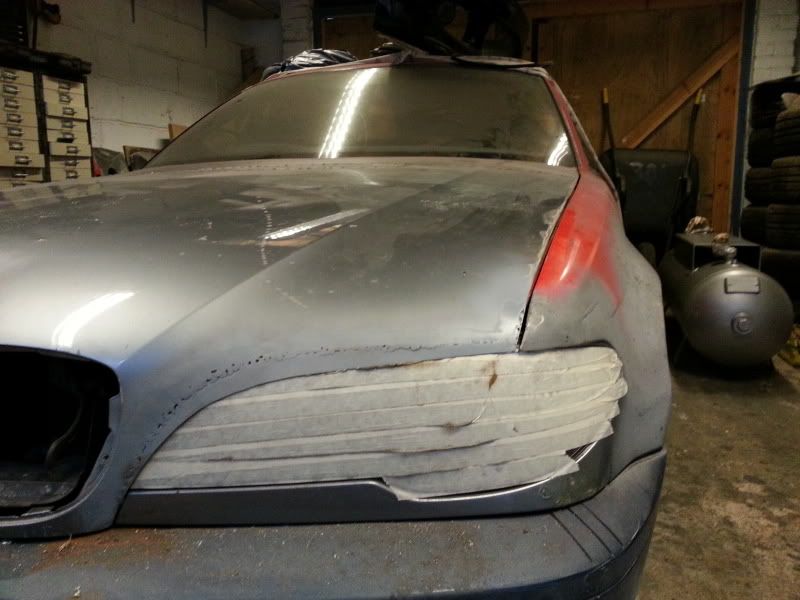
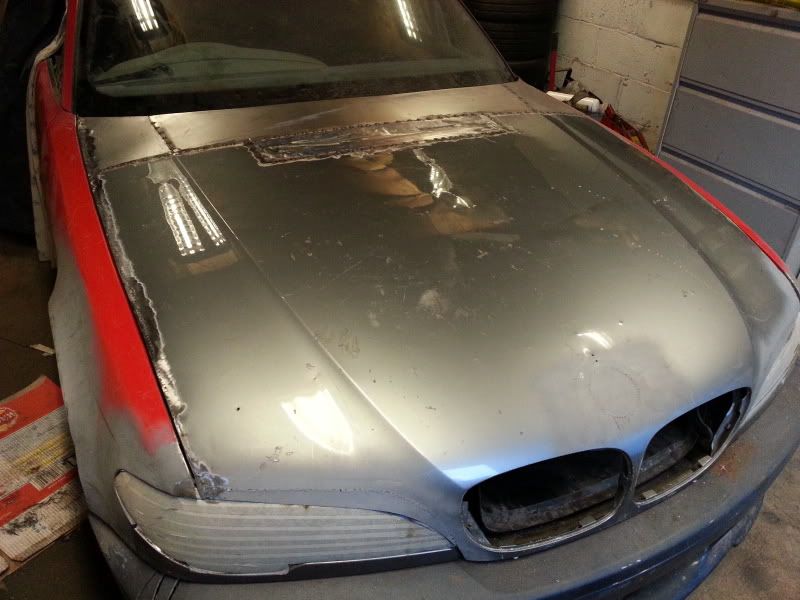
 have alittle faith though
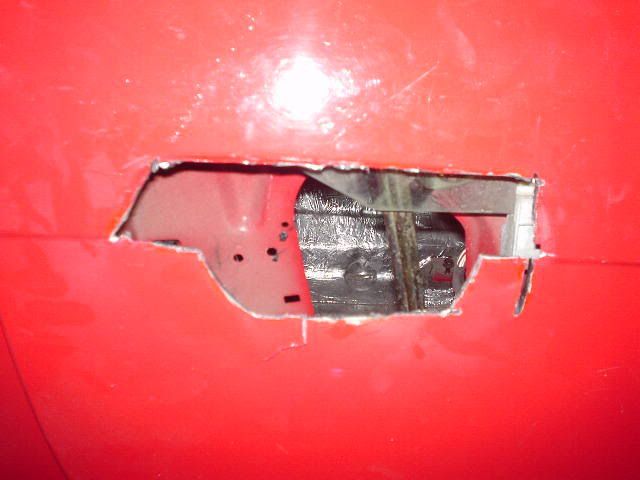


Comment