Announcement

Collapse
No announcement yet.

99 SVT Contour track slut by PRT Autosport

Collapse
X
 
  • Filter
  • Time
  • Show
Clear All
new posts

  • 99 SVT Contour track slut by PRT Autosport

    It's been a long time coming but finally taking some time to migrate my build thread to the SW forums. When I'm not working on my own or customers cars I'm usually hunting around for a good build to read and I spend a lot of time here looking through all of yours.

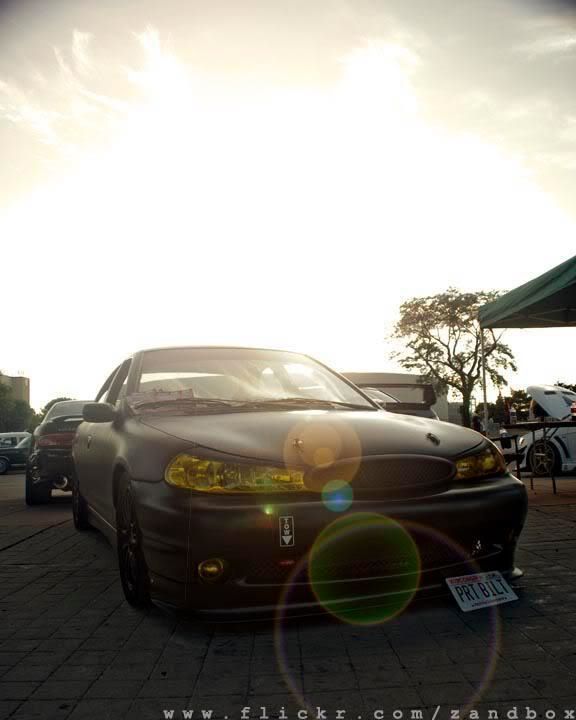
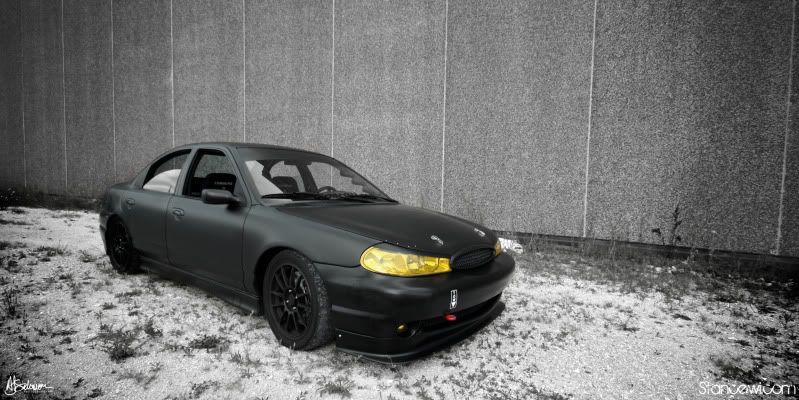
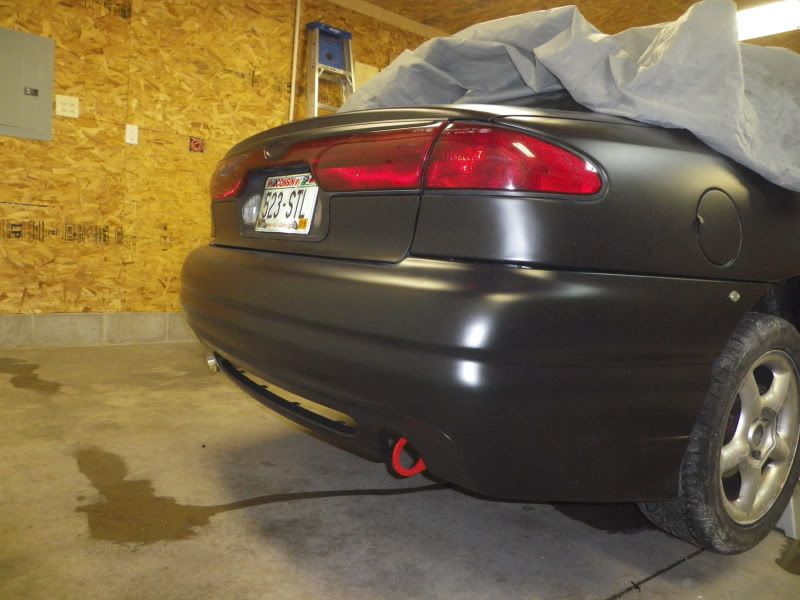
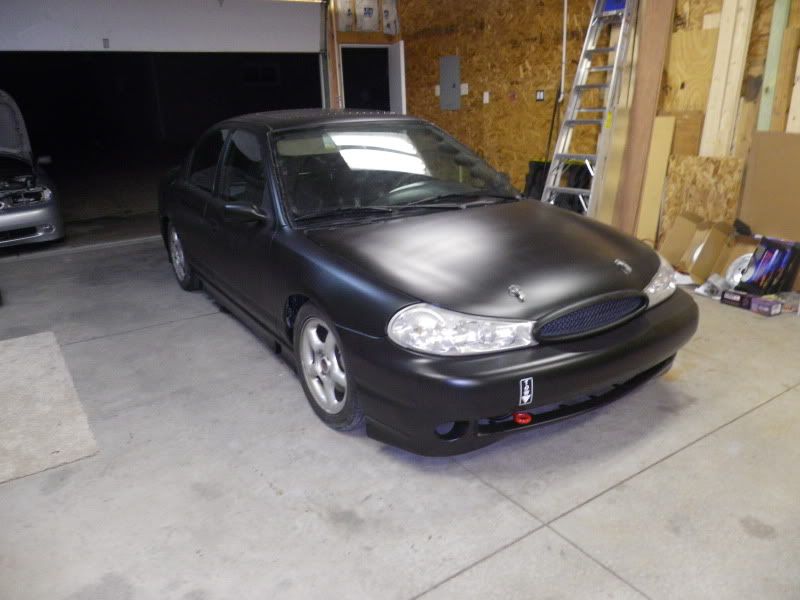
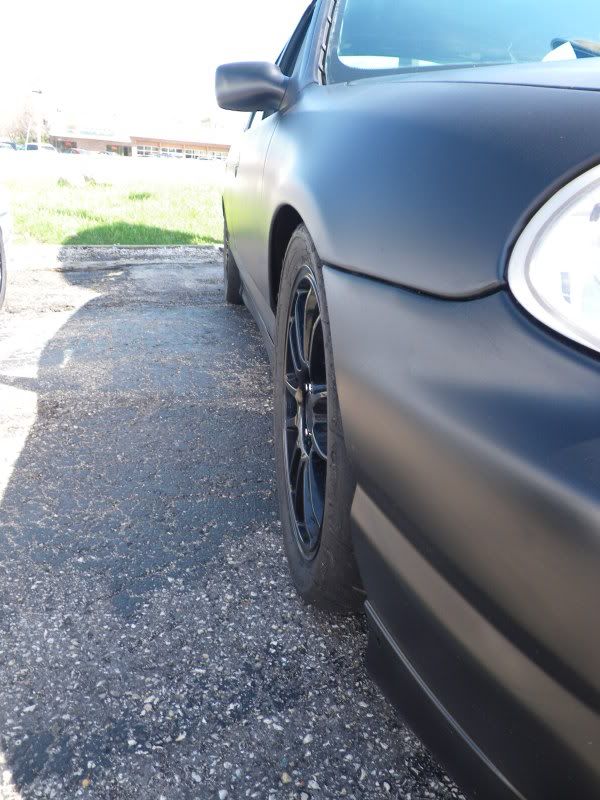
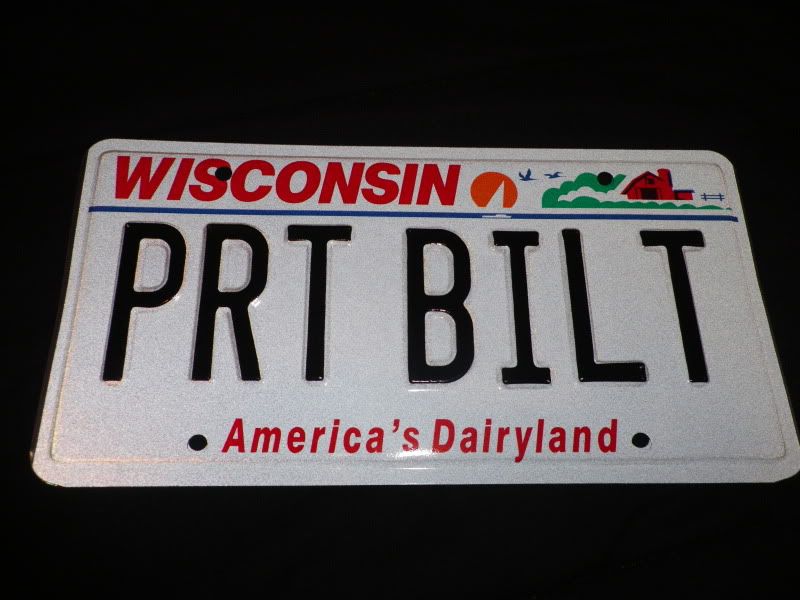
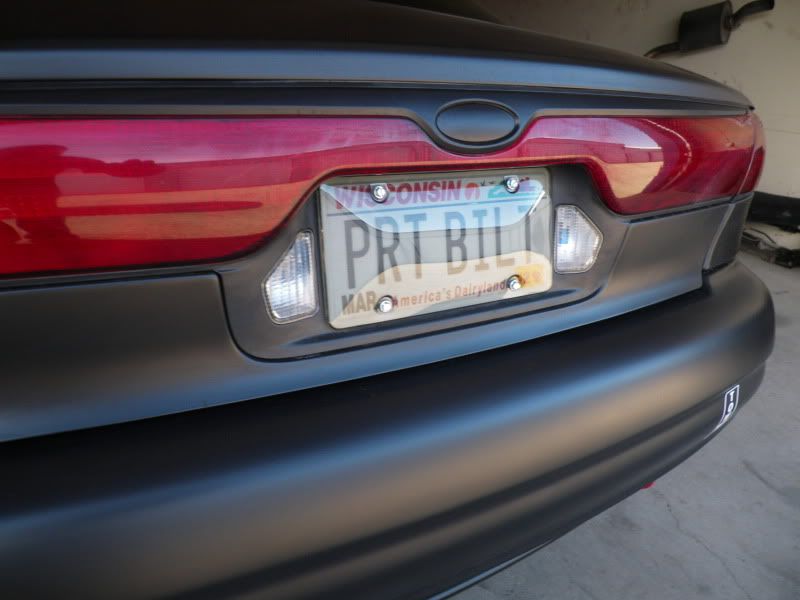
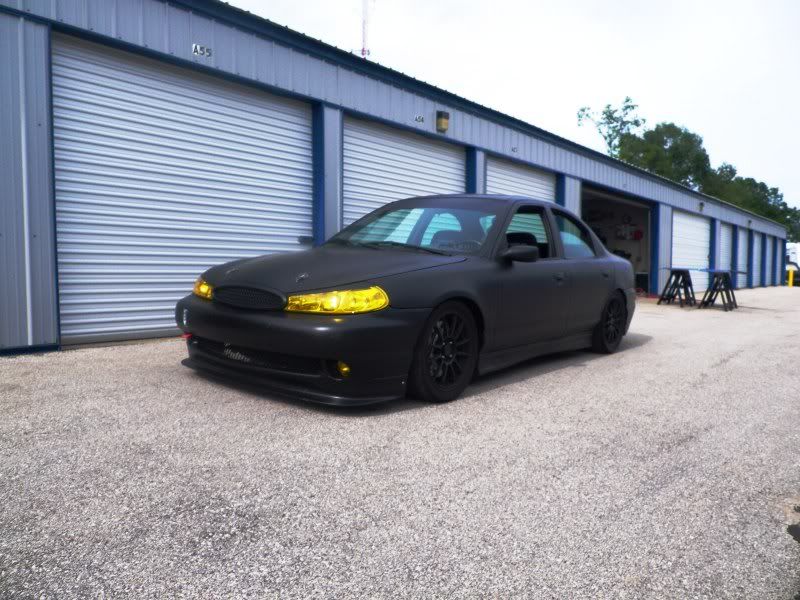
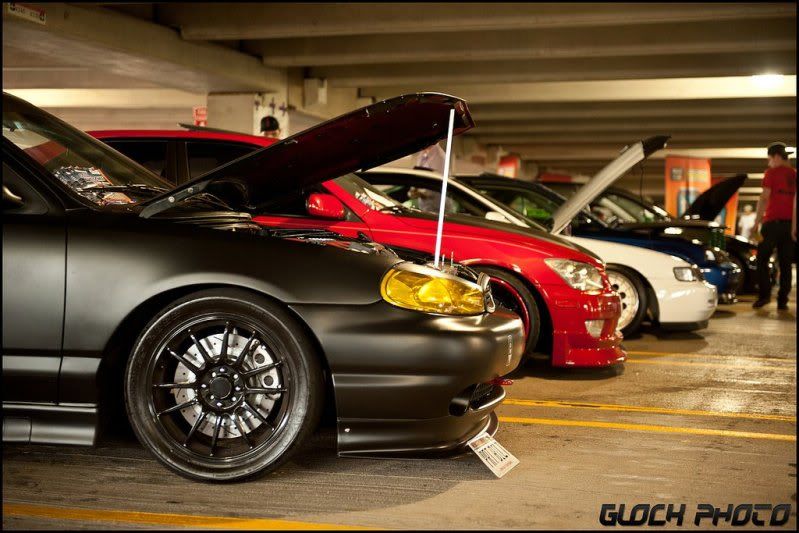
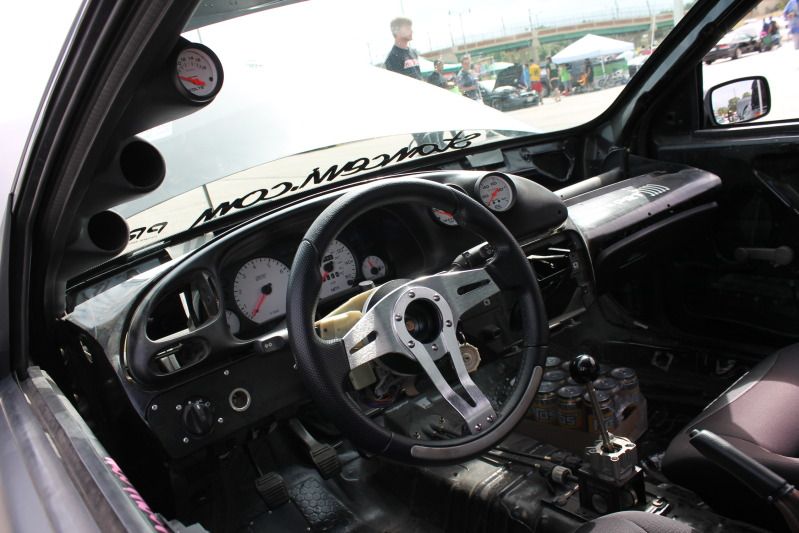
    I guess I'll dive right into it, while it's not exactly a stance build I figured it was something some of you haven't seen before and hope you may appreciate. I've had this particular SVT(my first) for about 7 years now and over those years I've managed to become one of the go-to builders for them. I love to build and do work for people on all kinds of cars be it track, stance, DD....just about anything I can get my hands on. I'm the owner of PRTAutosport.com, A founder and contributer to TheAFLTD.com as well as an owner of Contour.org and when I'm not at the daily grind or sleeping, I'm in the garage...

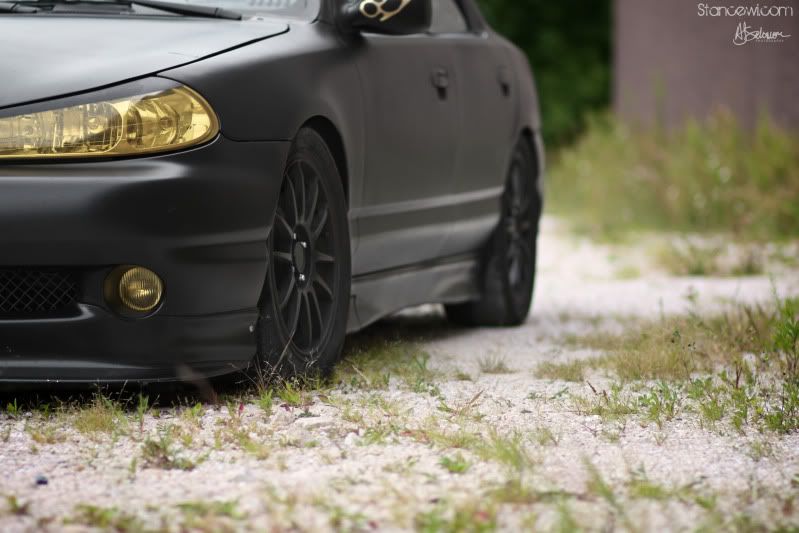
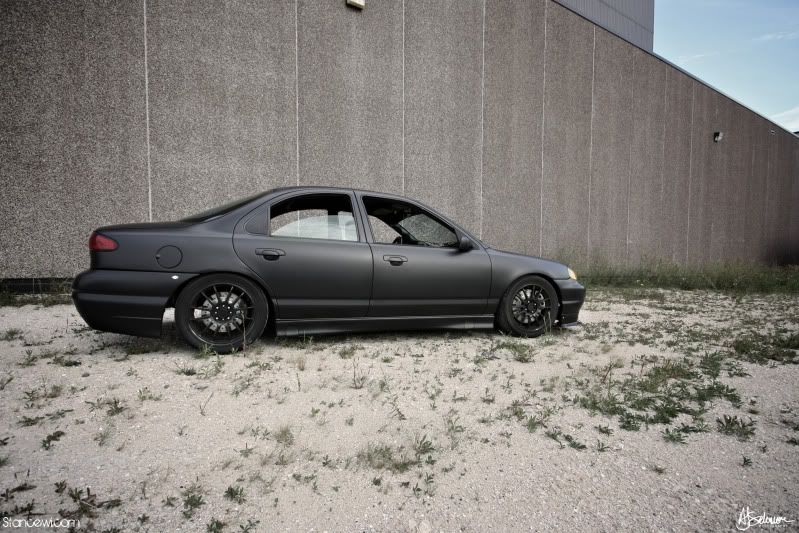
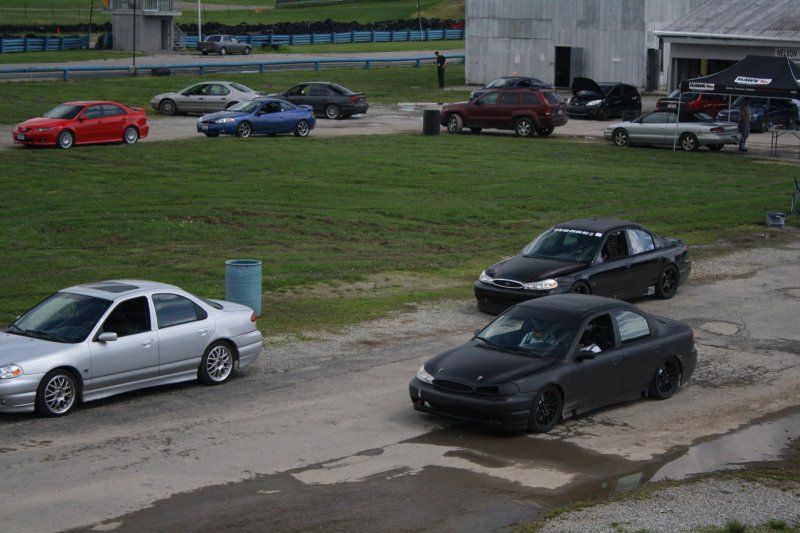
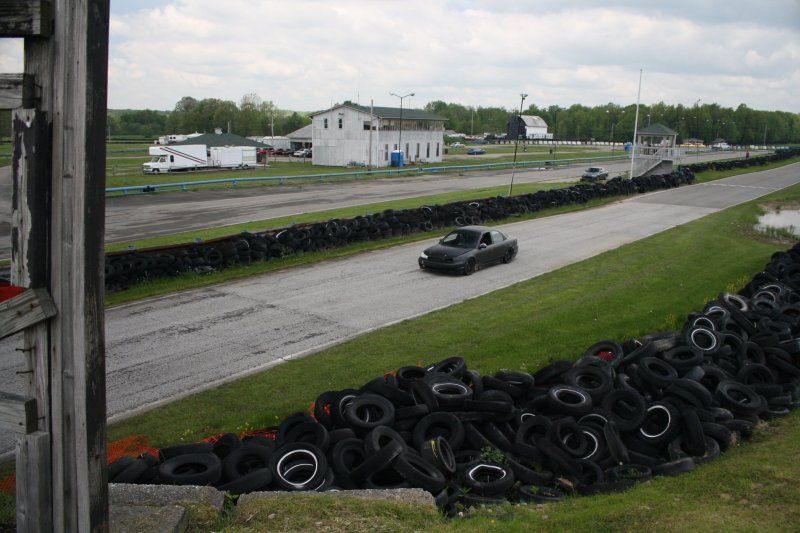
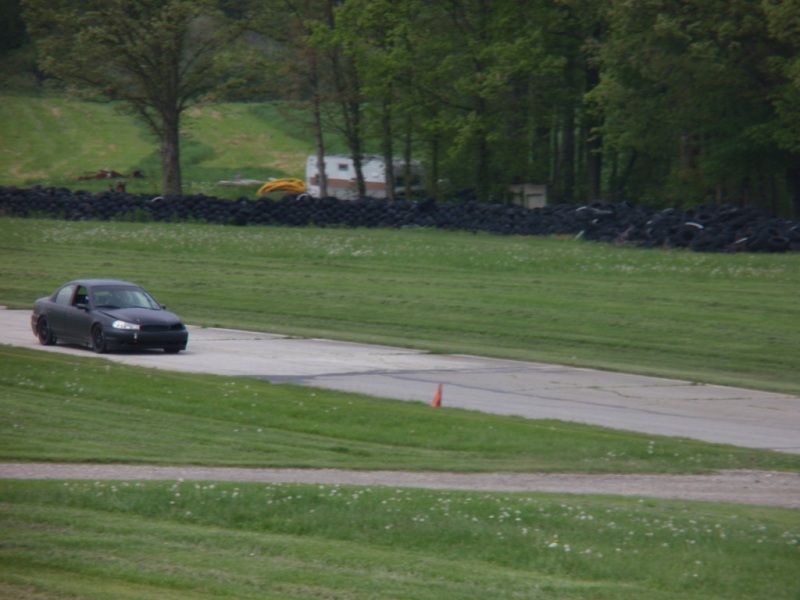
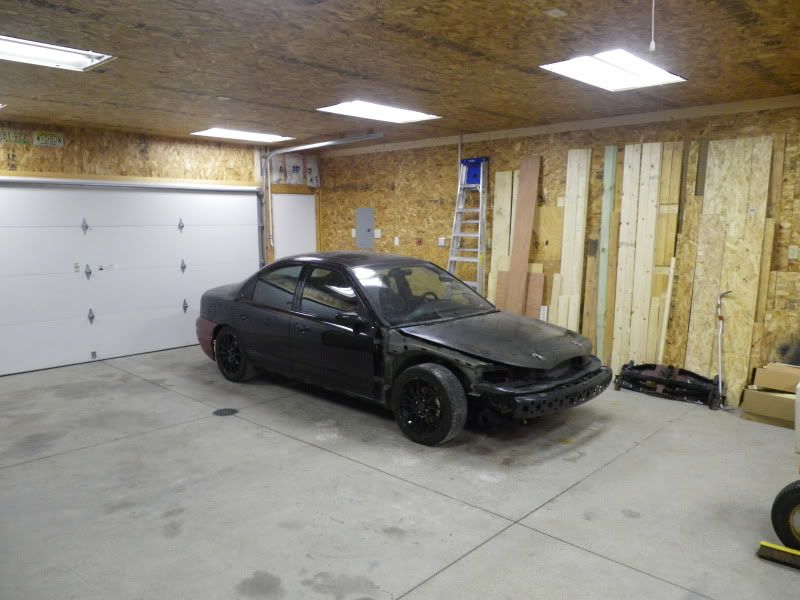
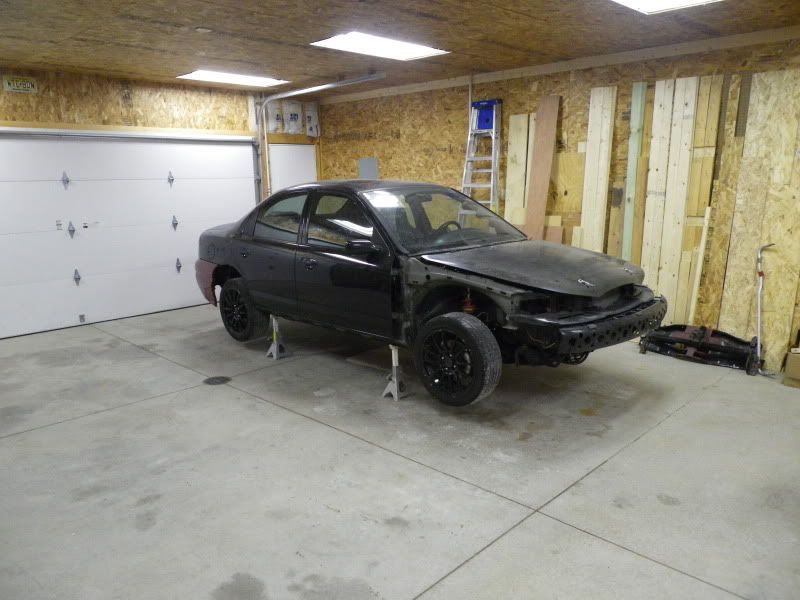
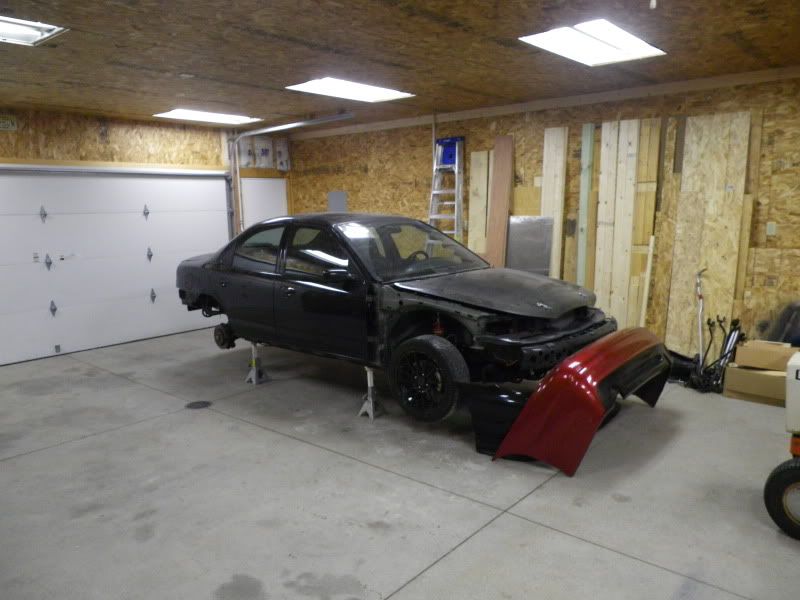
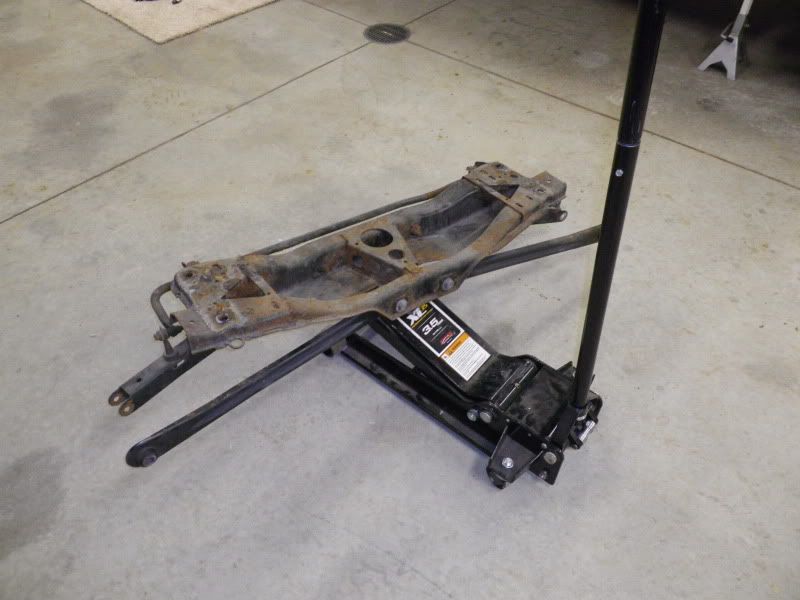
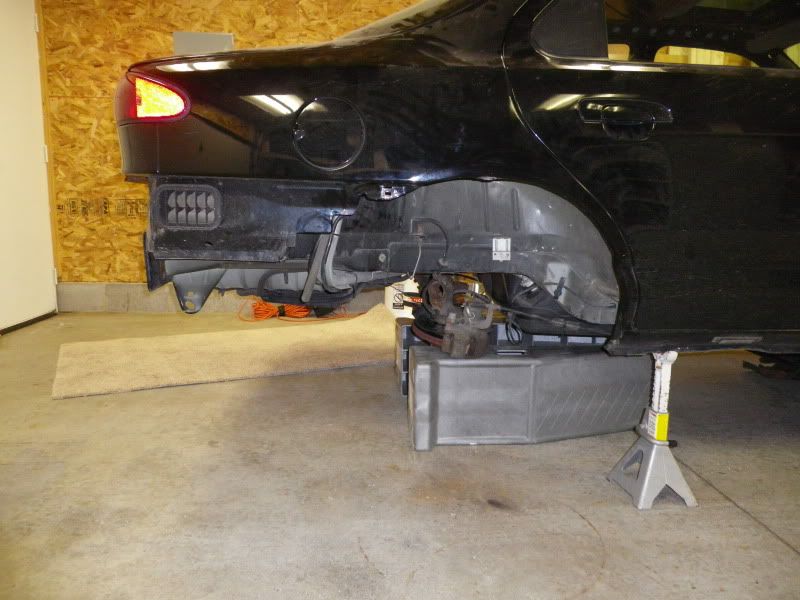
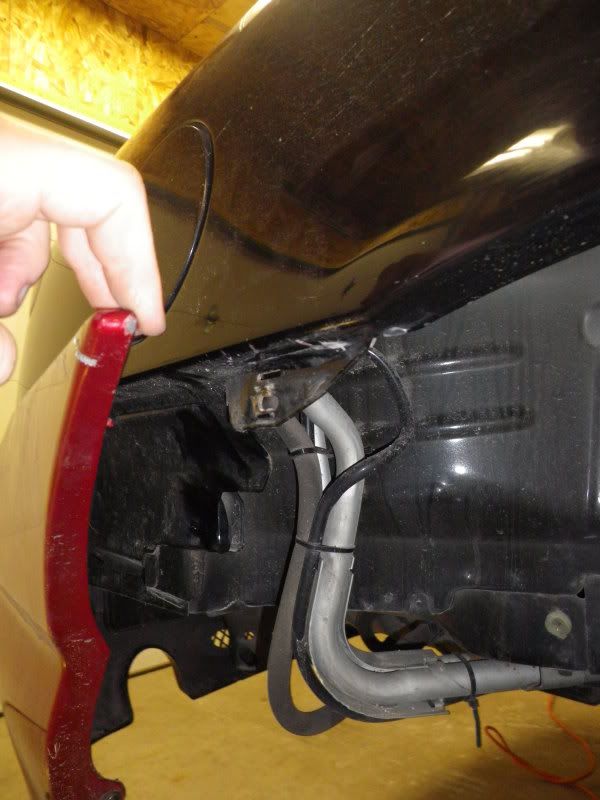
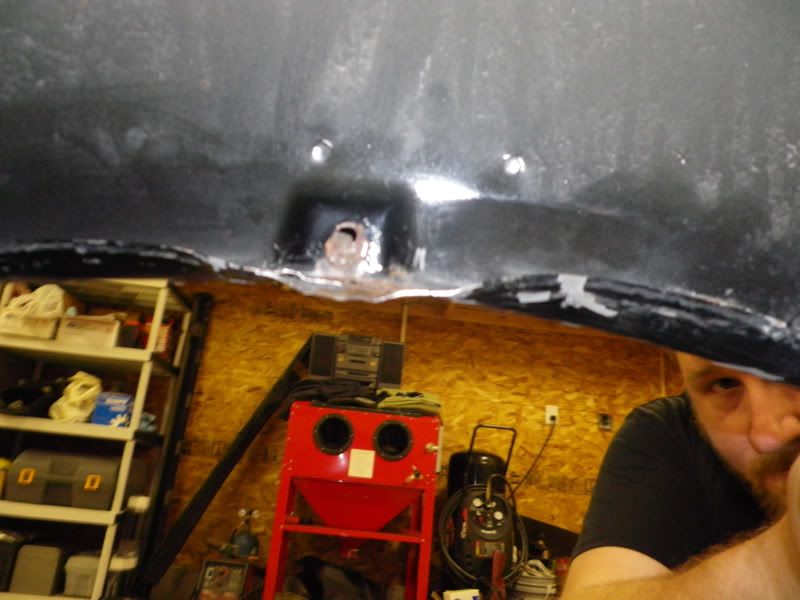
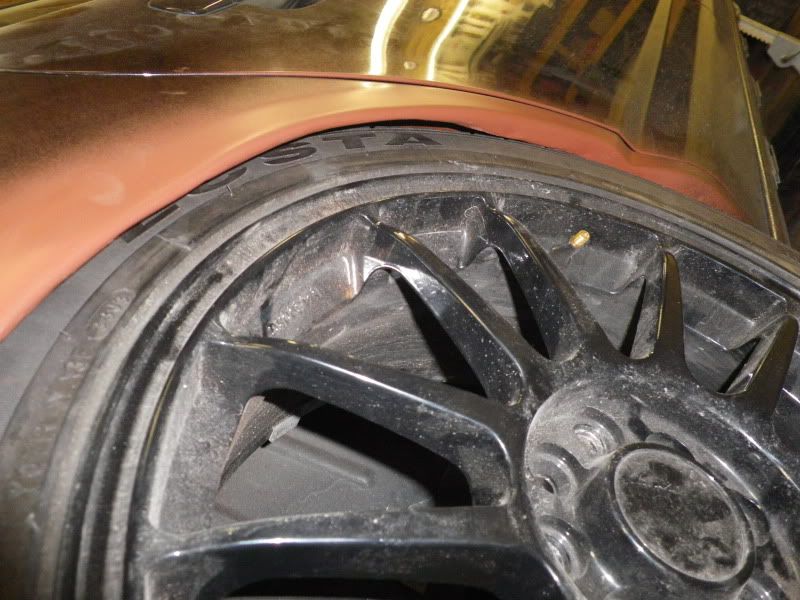
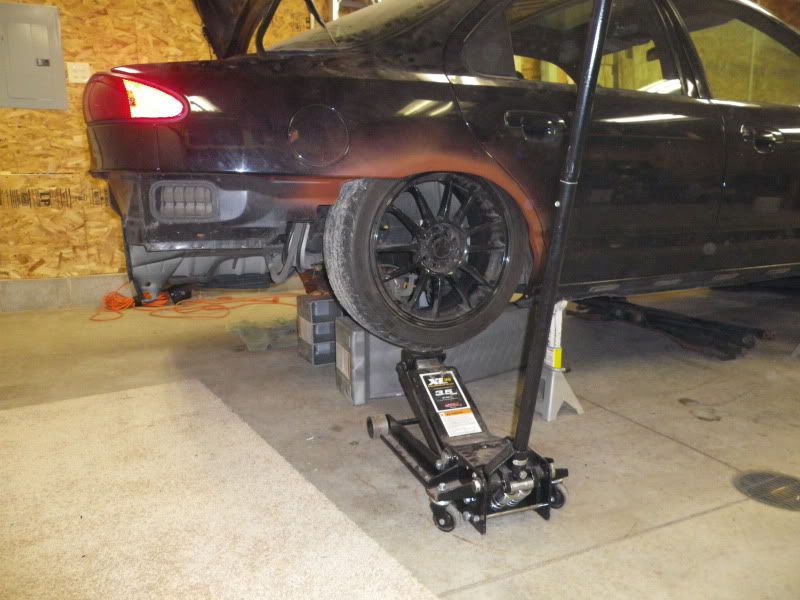
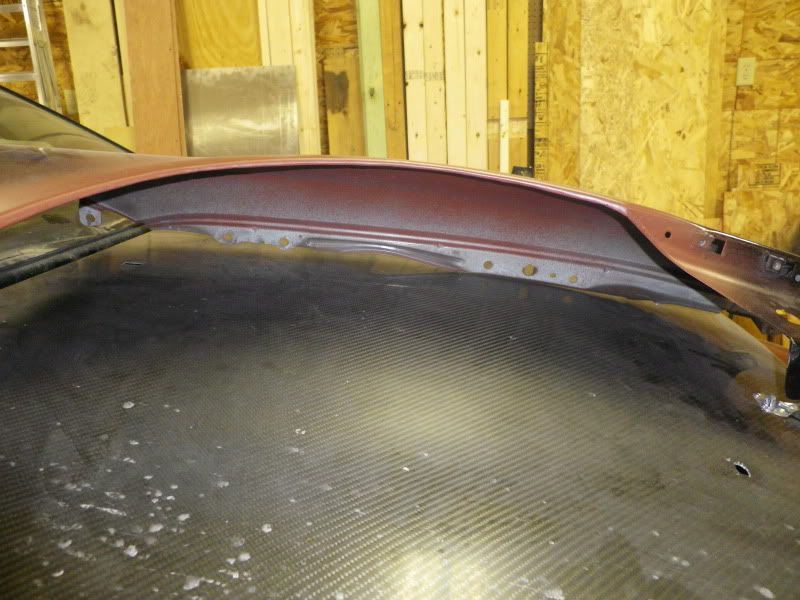
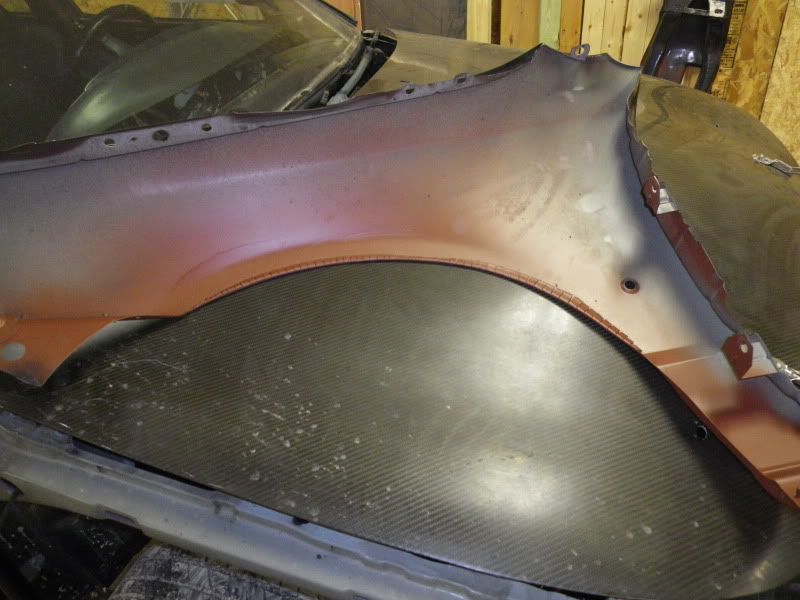
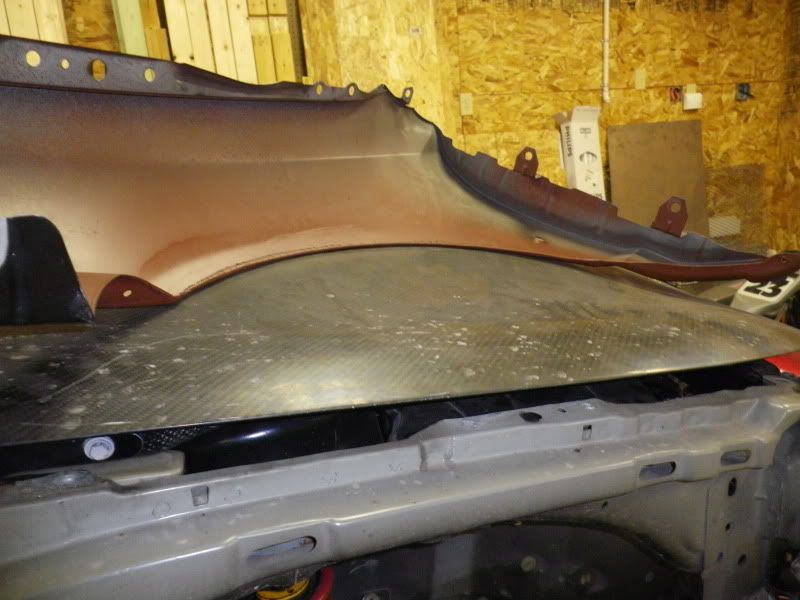
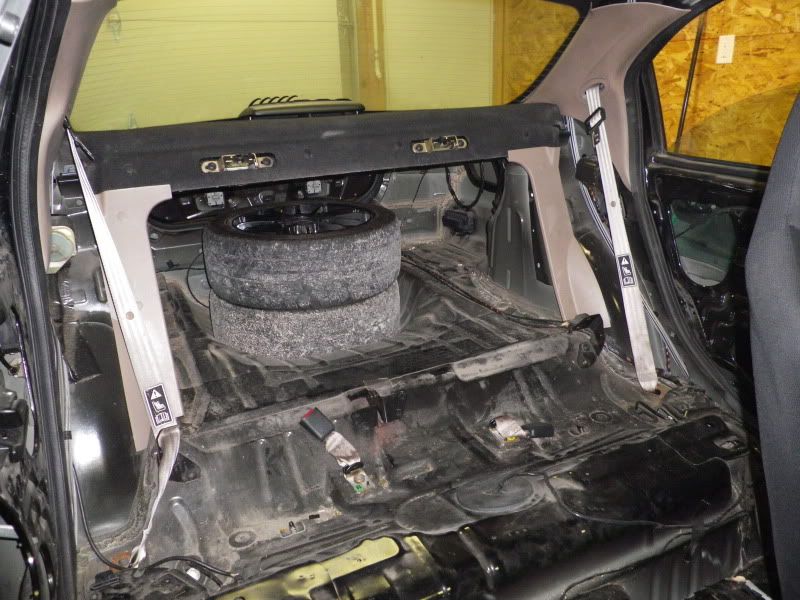
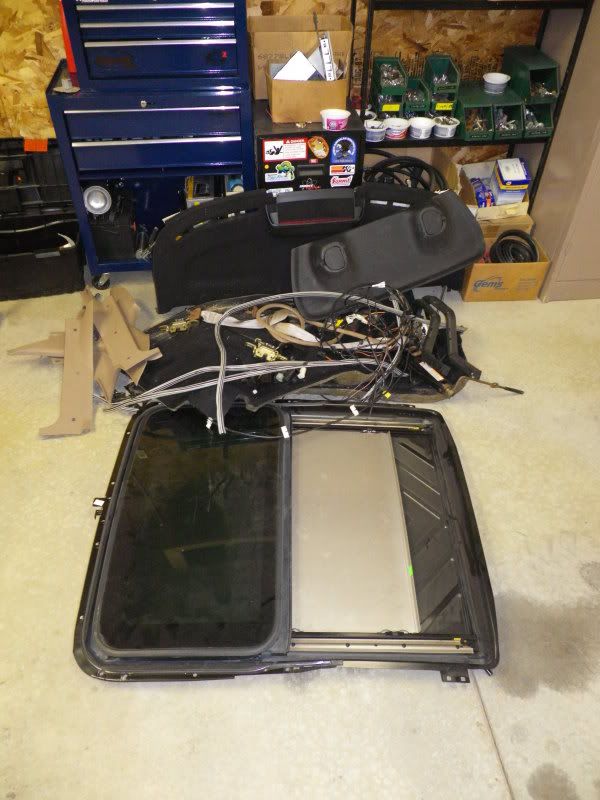
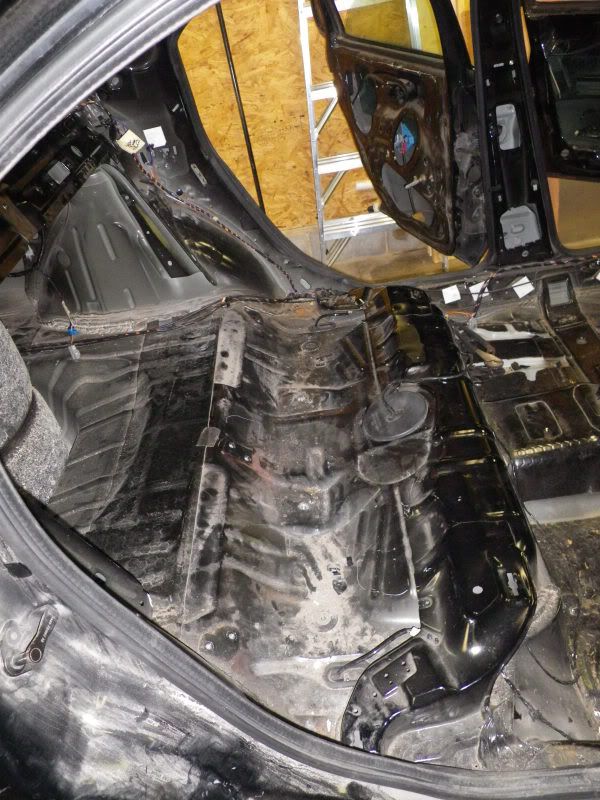
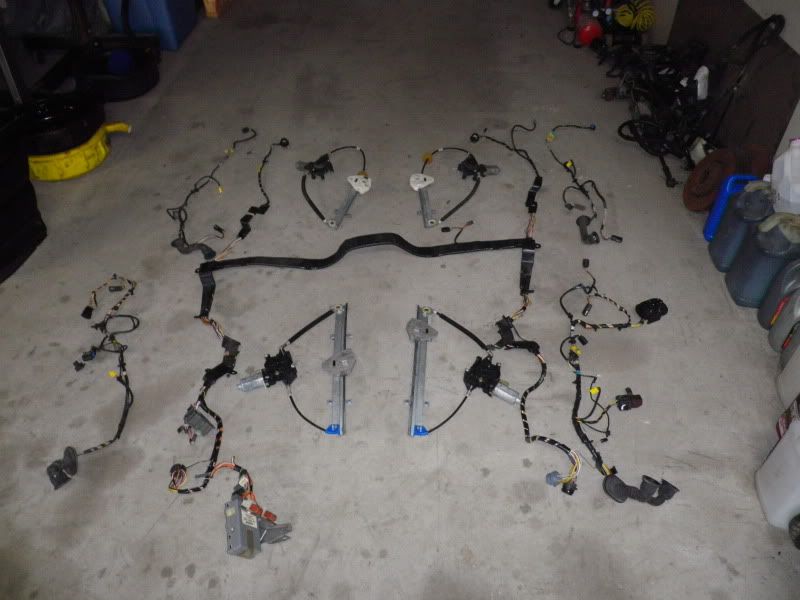
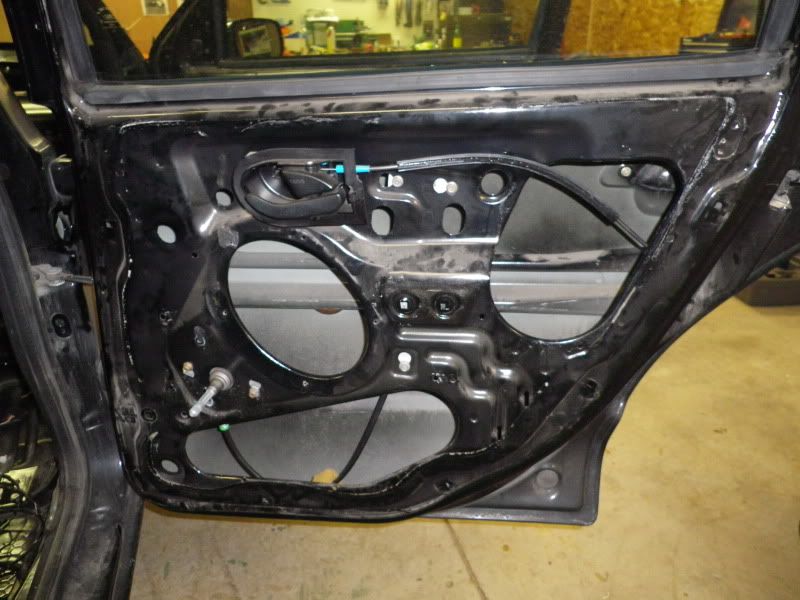
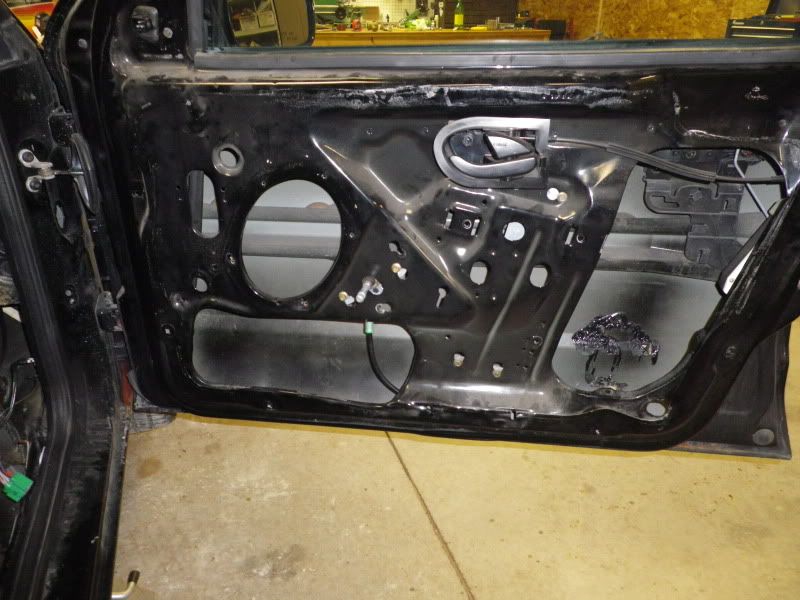
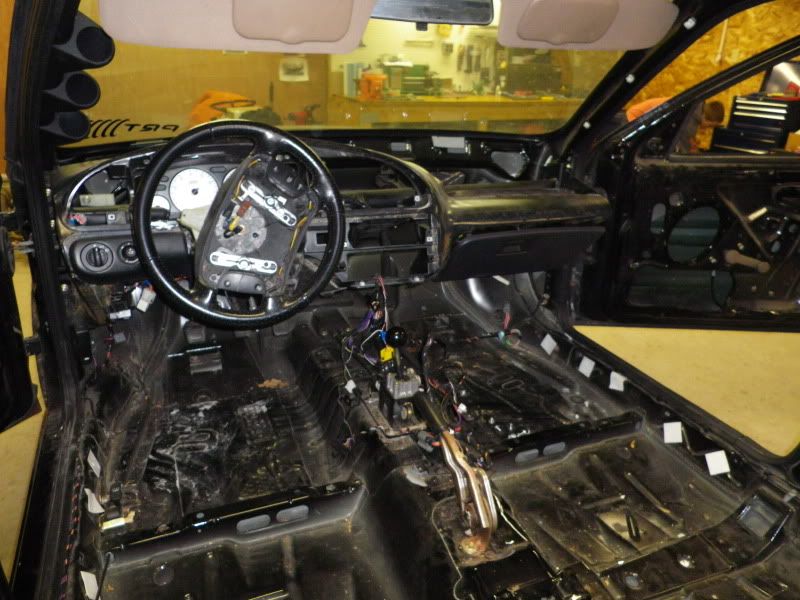
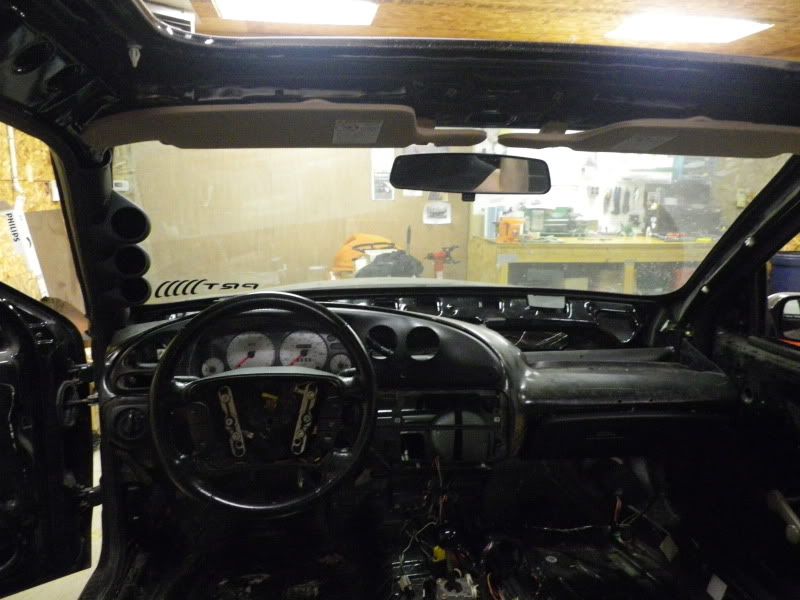
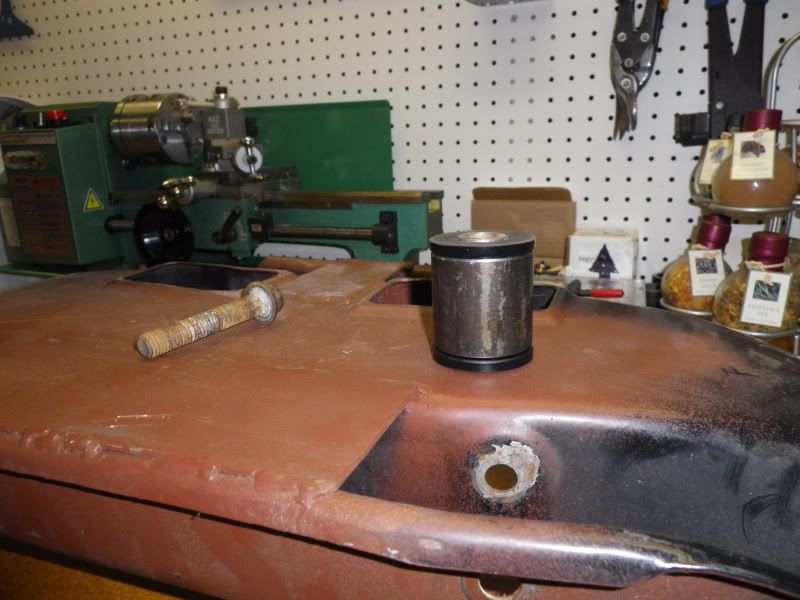
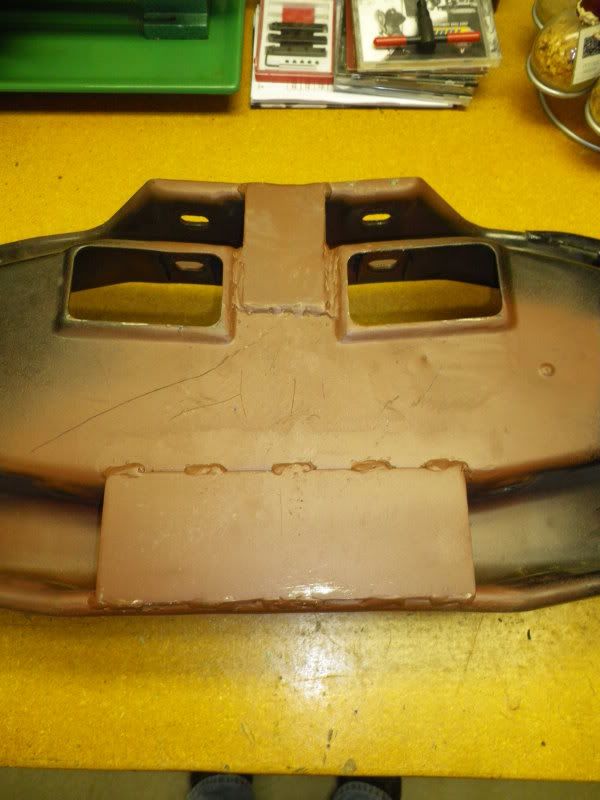
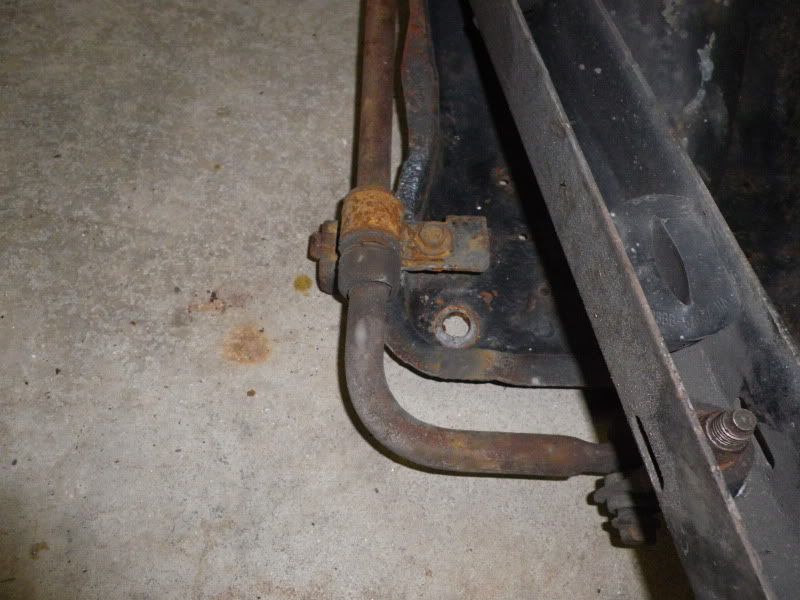
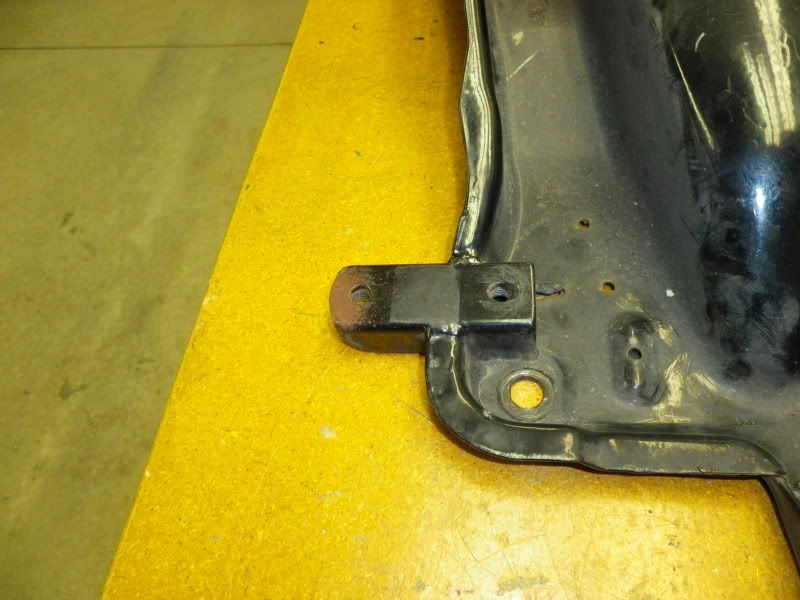
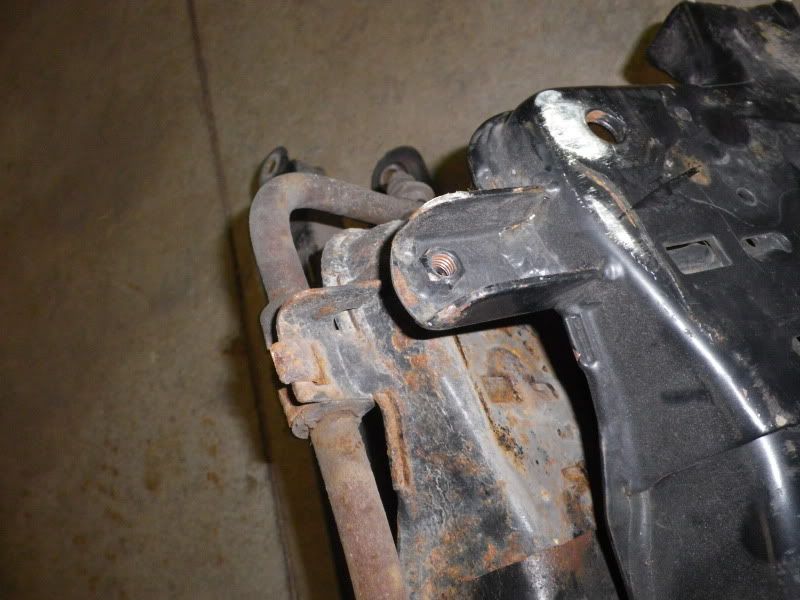
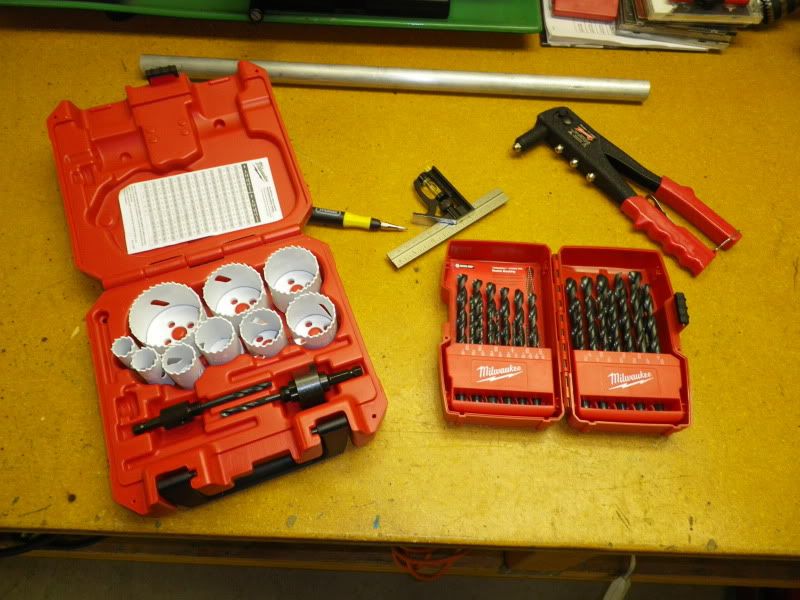
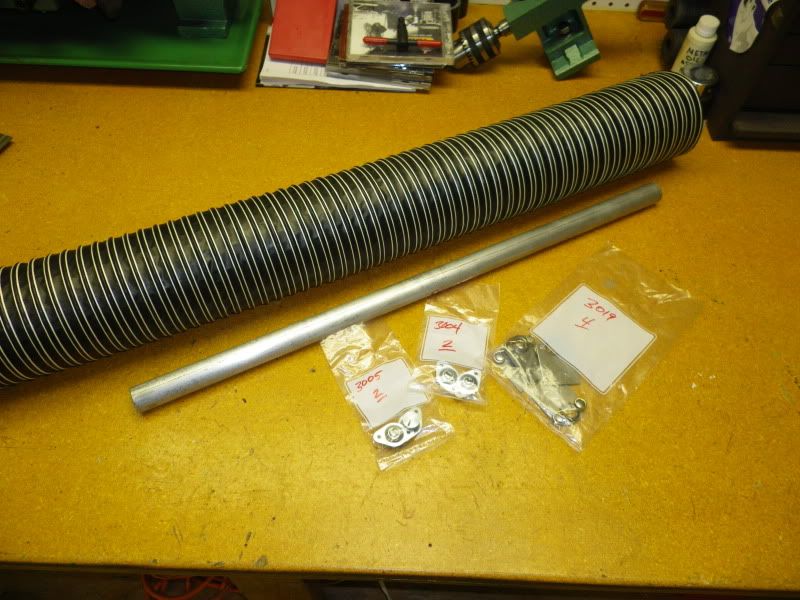
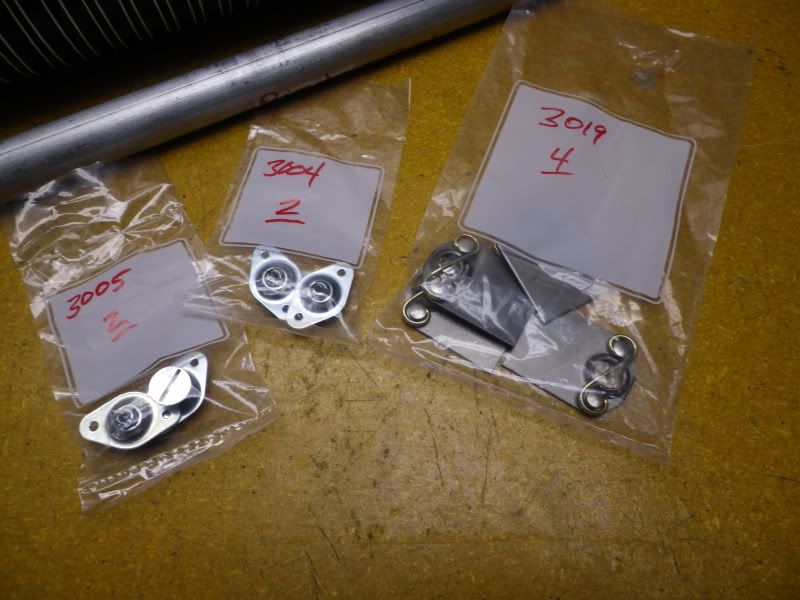
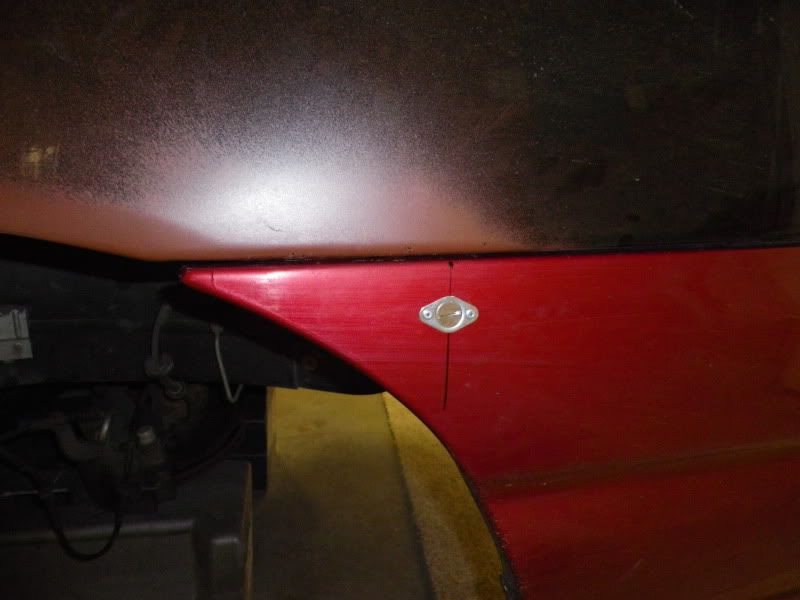
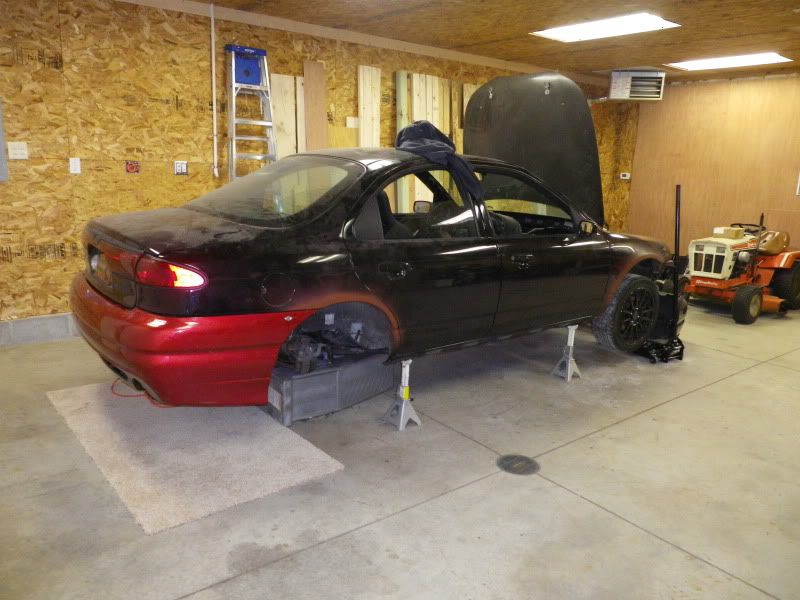
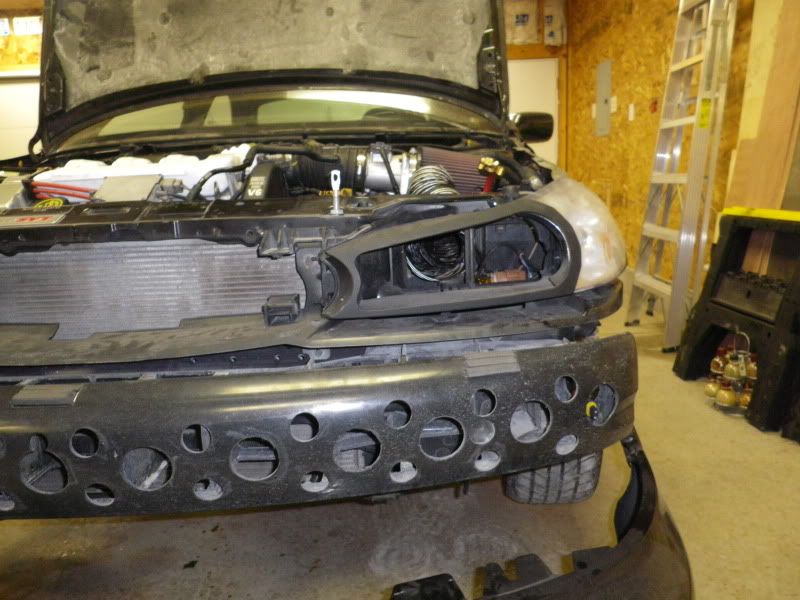
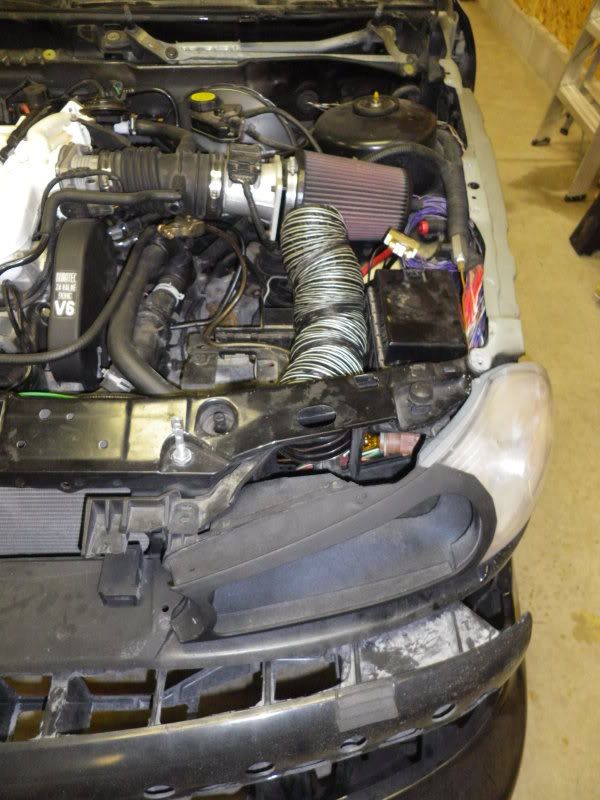
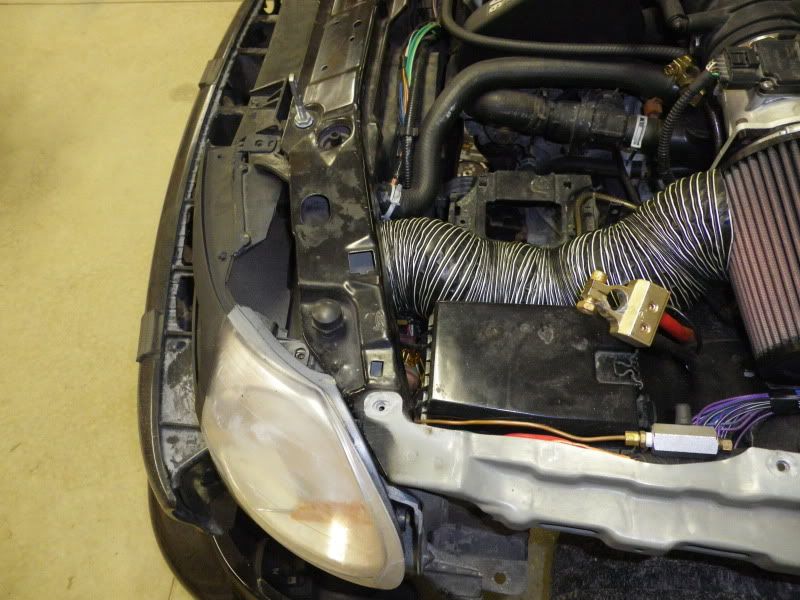
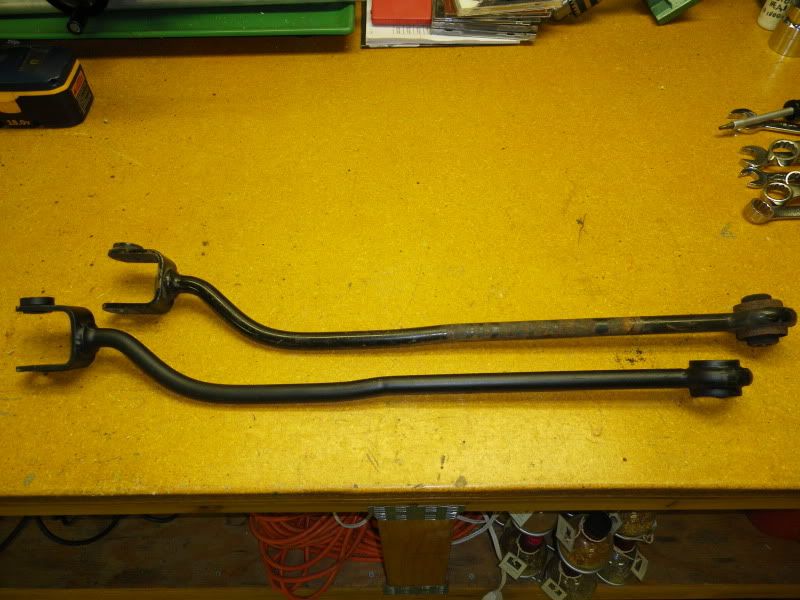
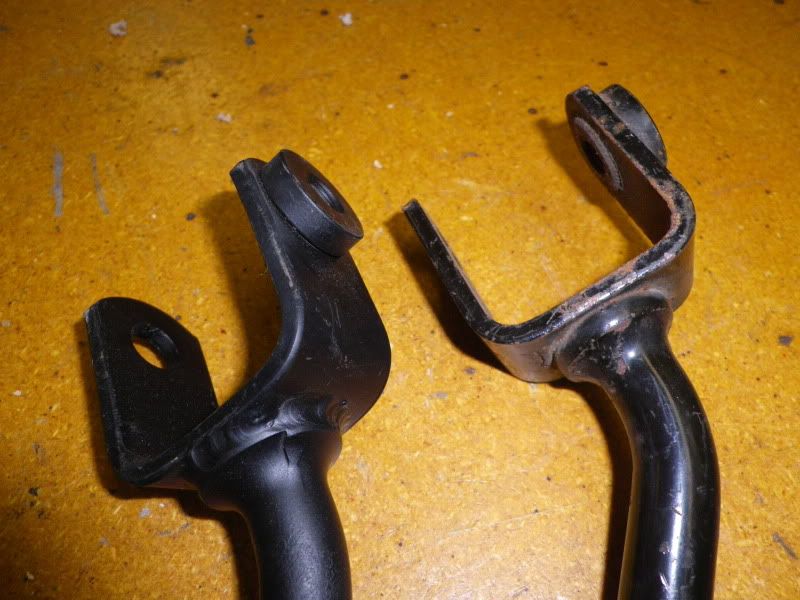
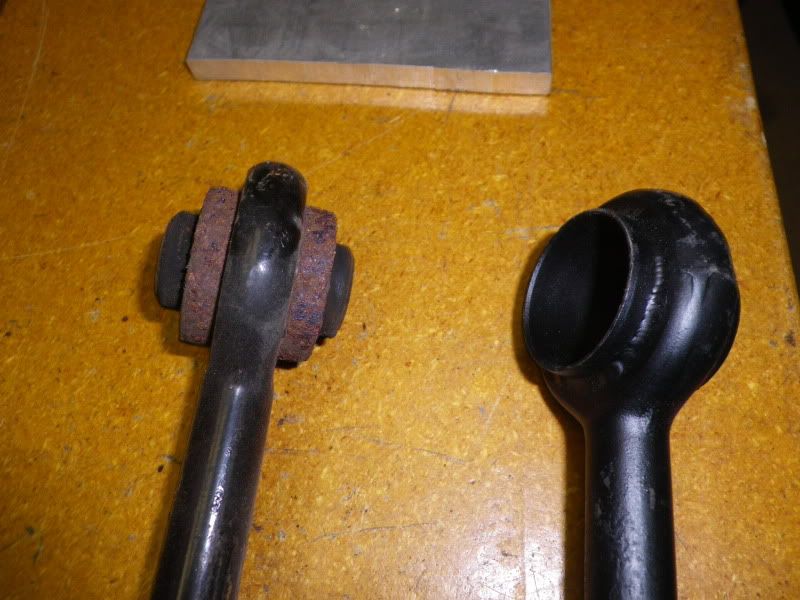
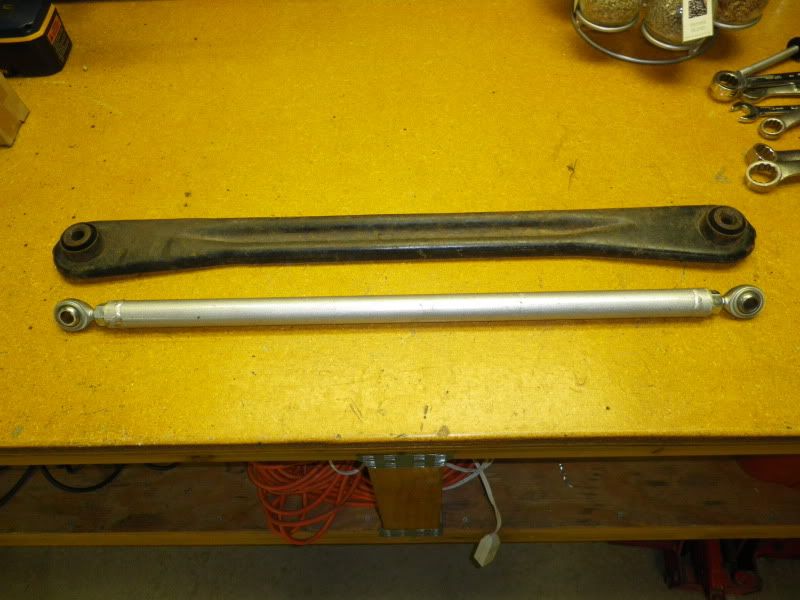
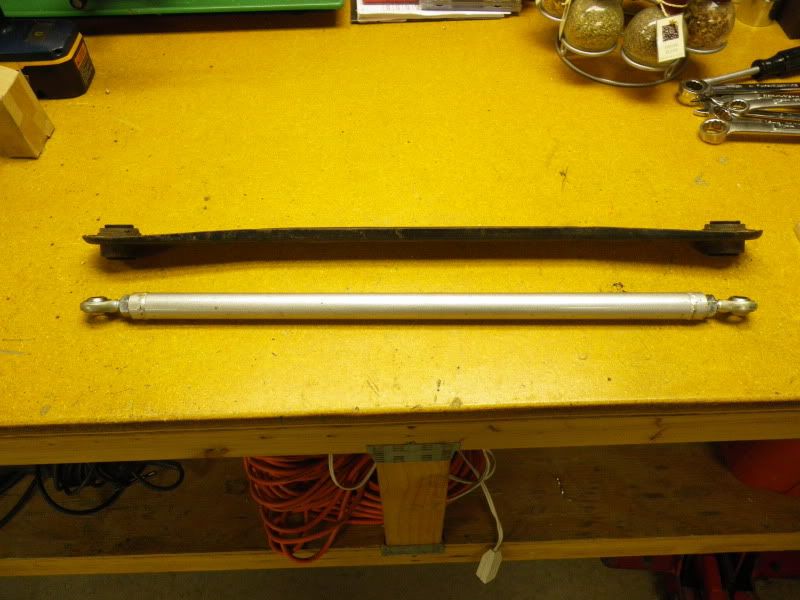
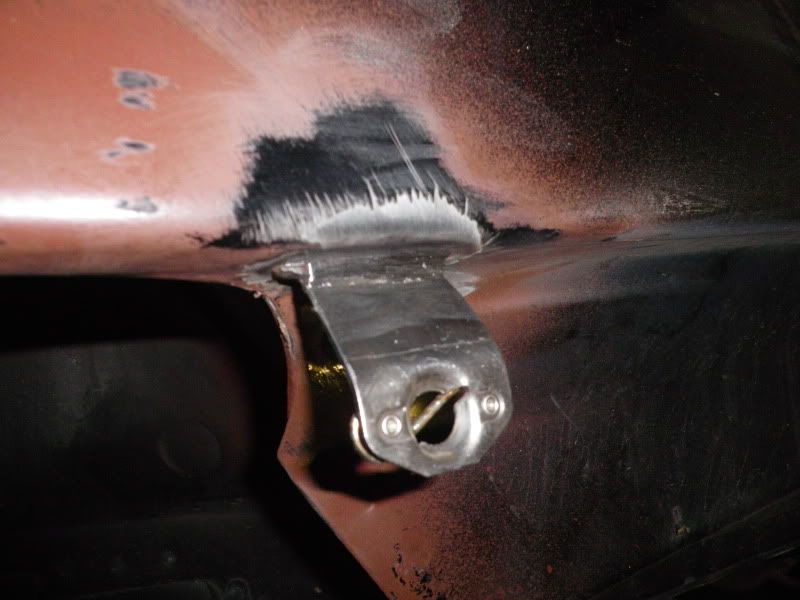
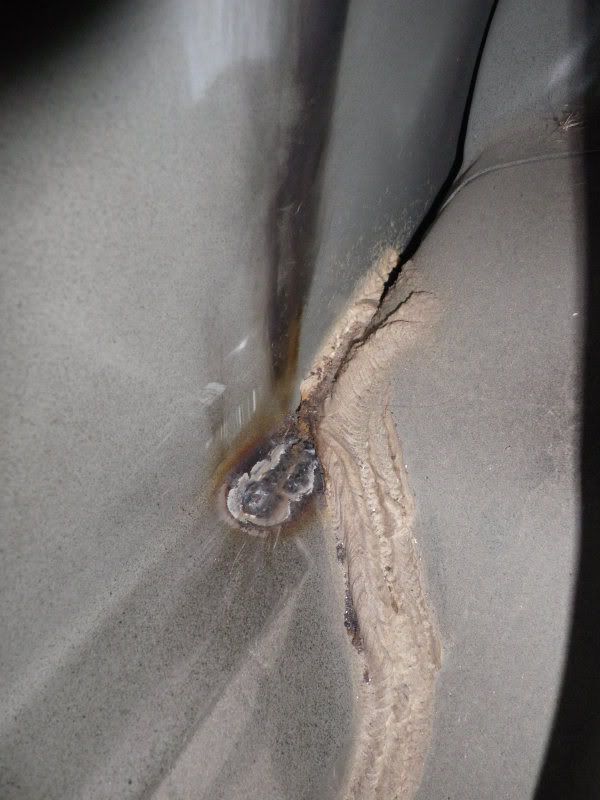
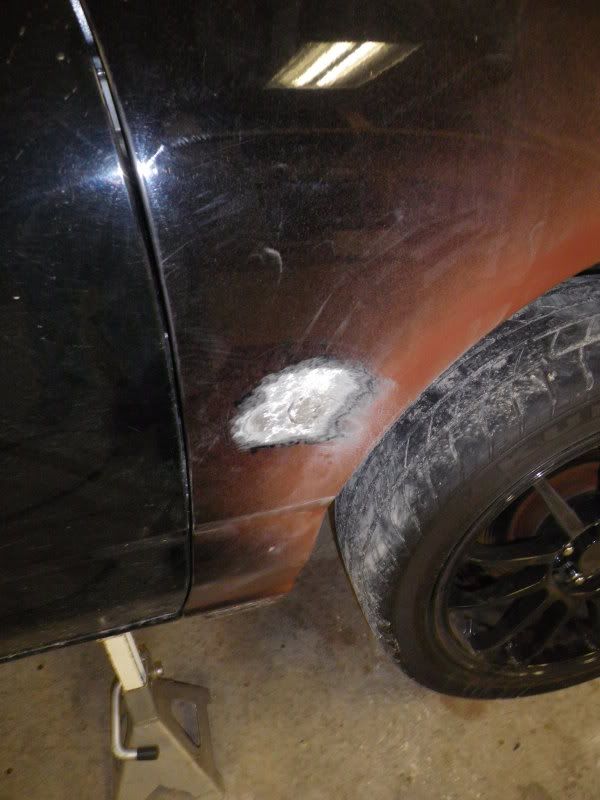
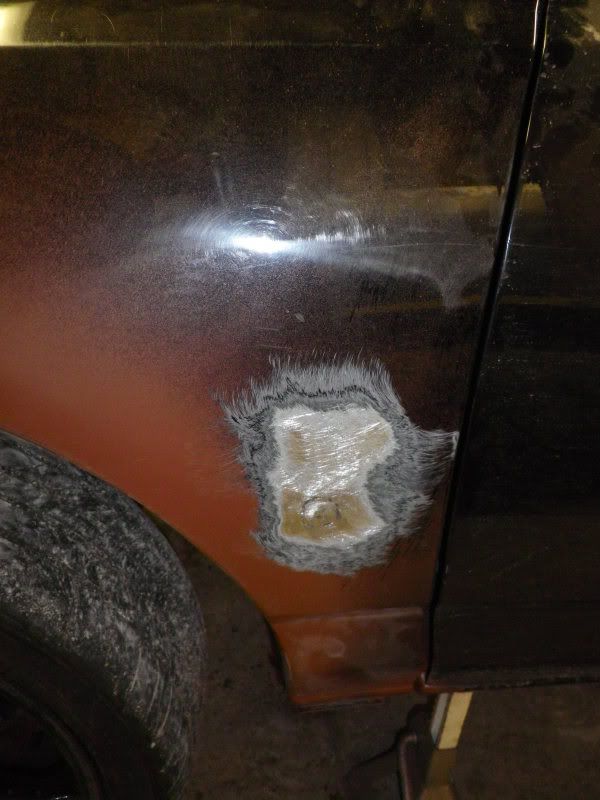
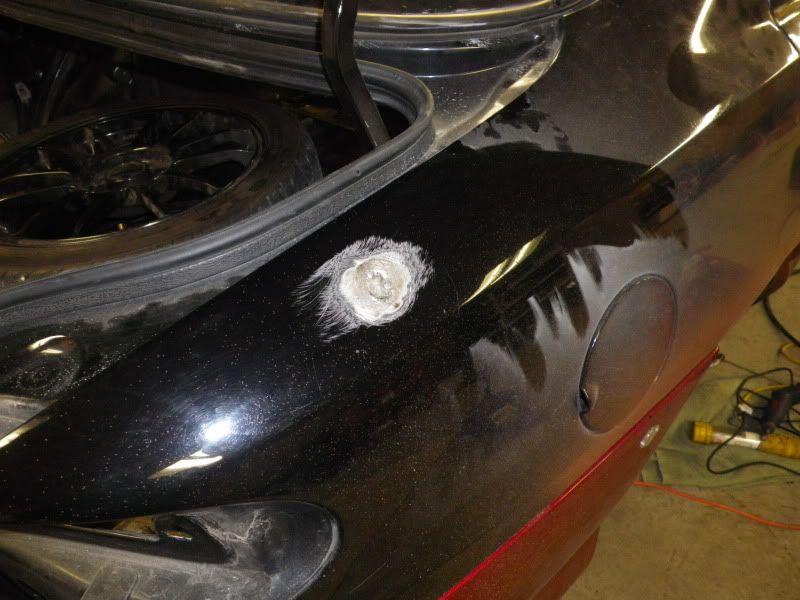
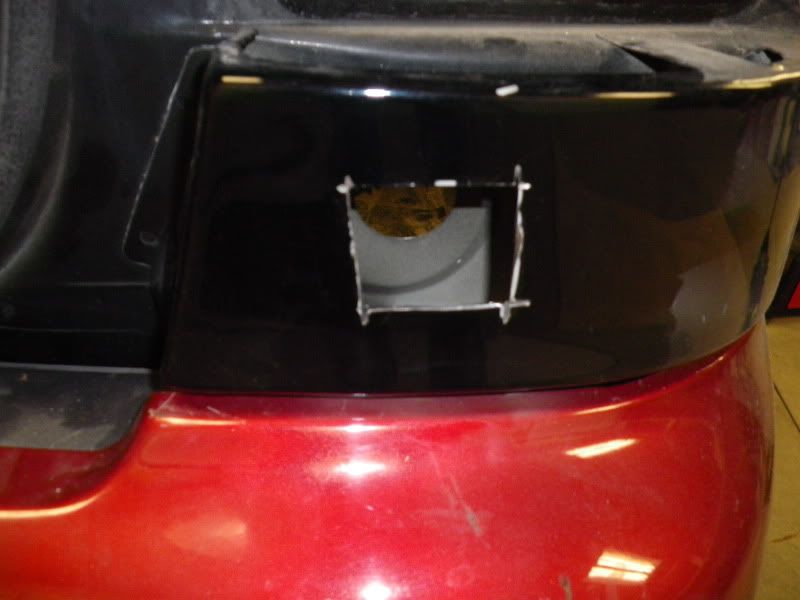
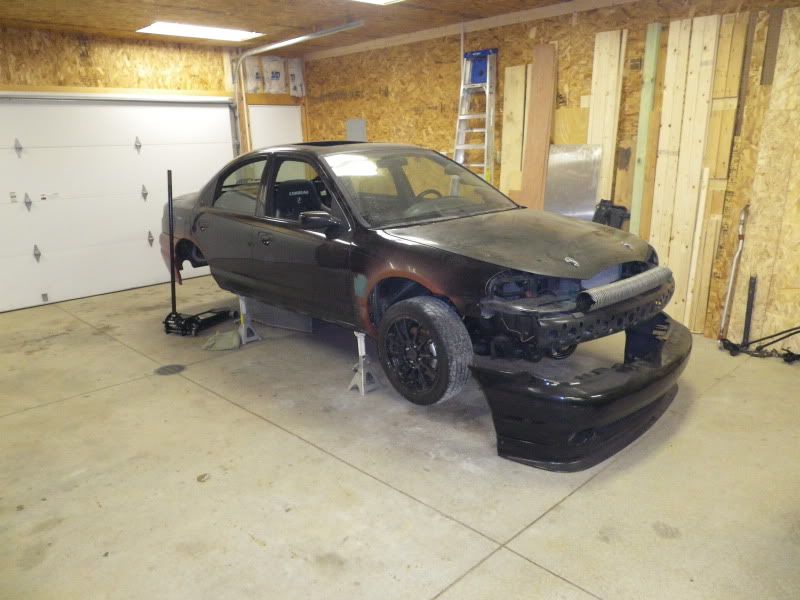
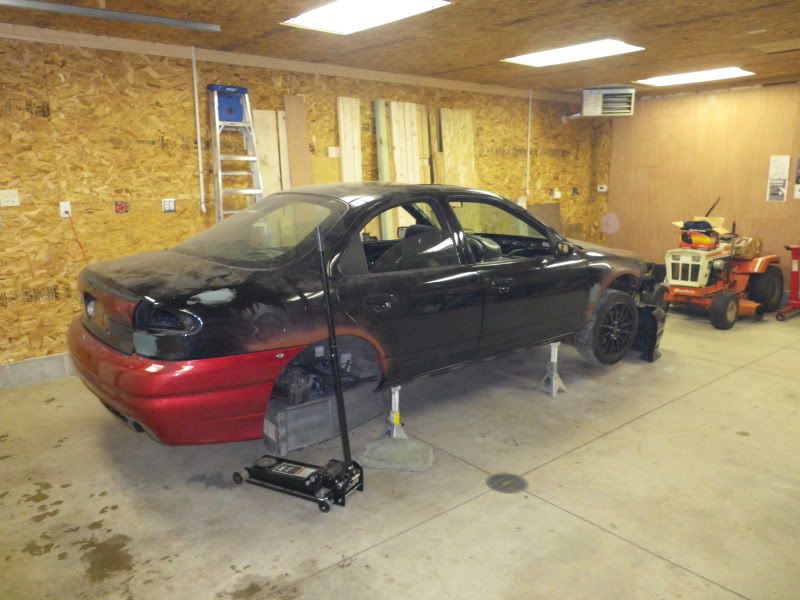
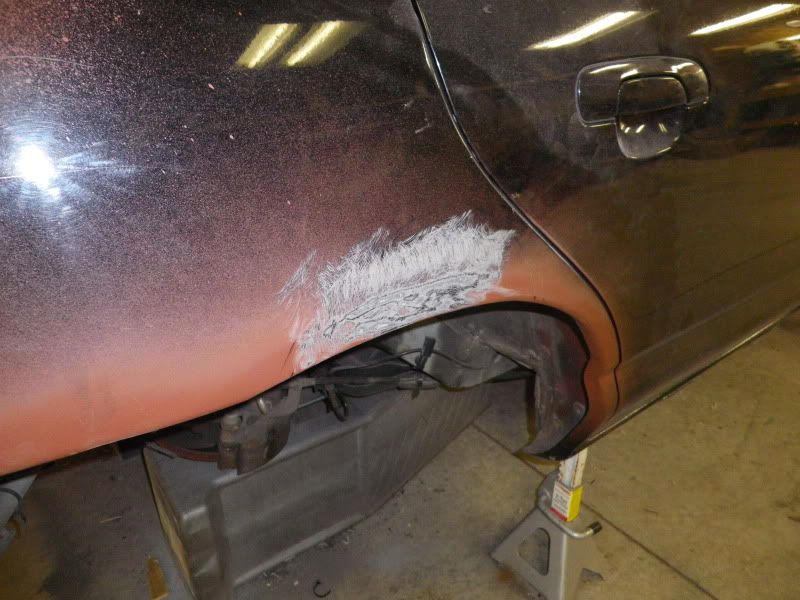
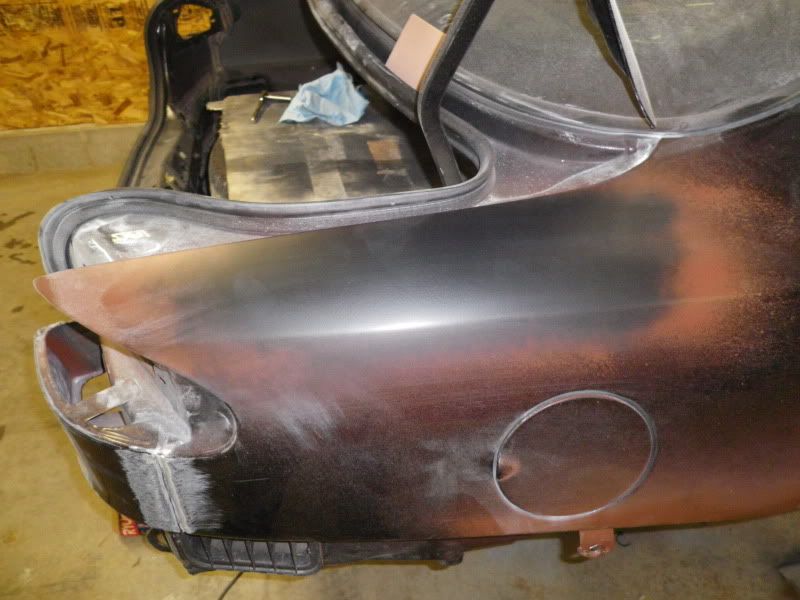
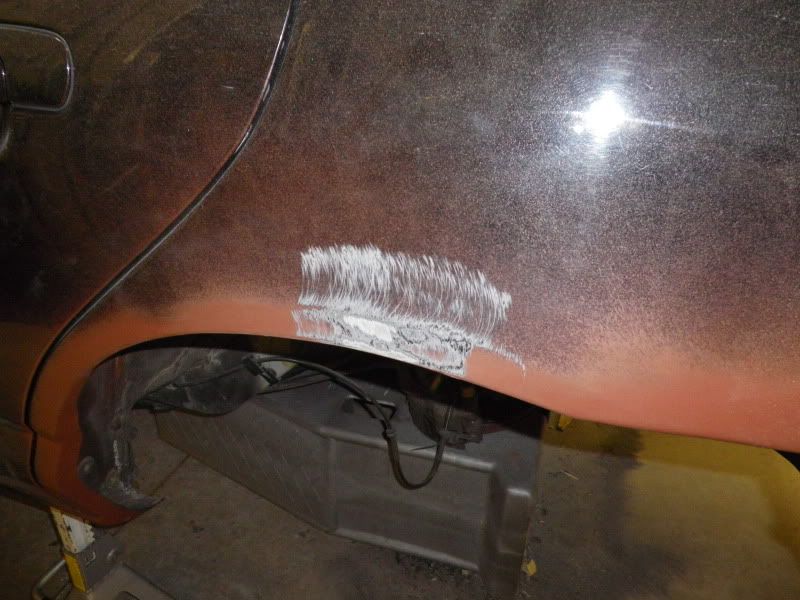
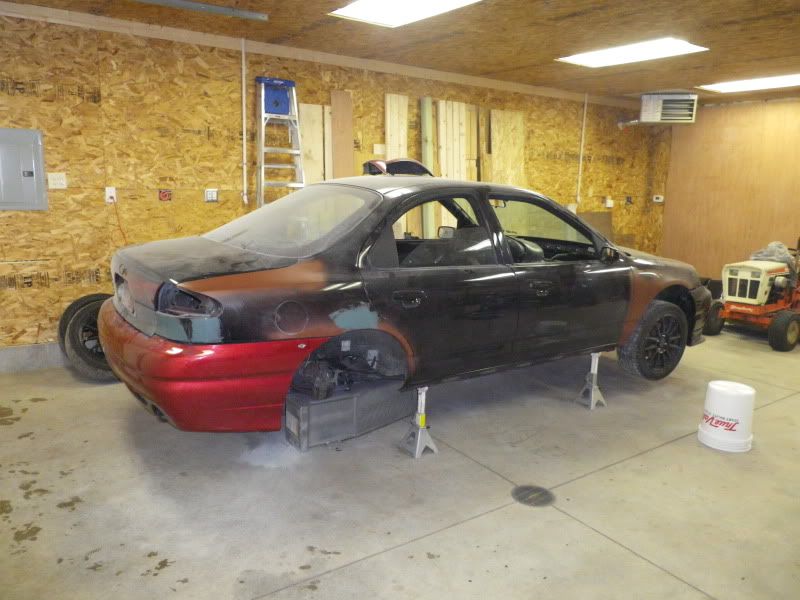
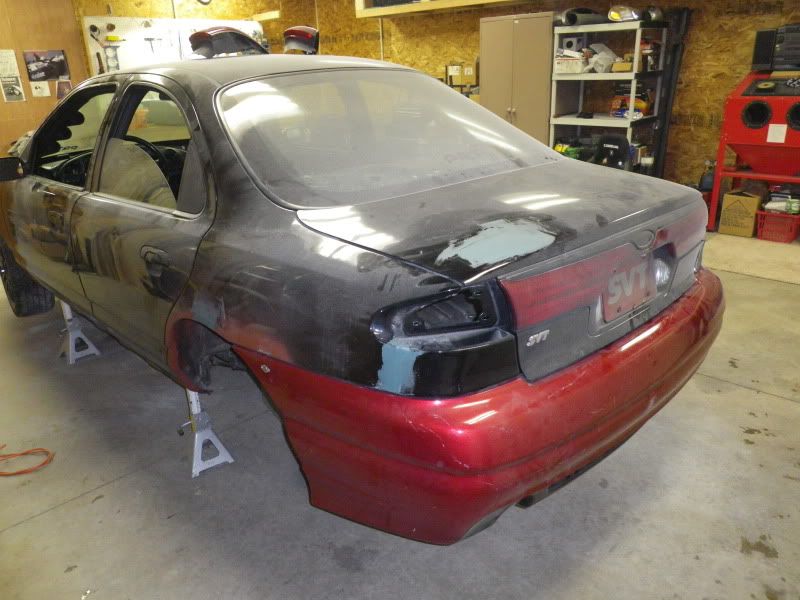
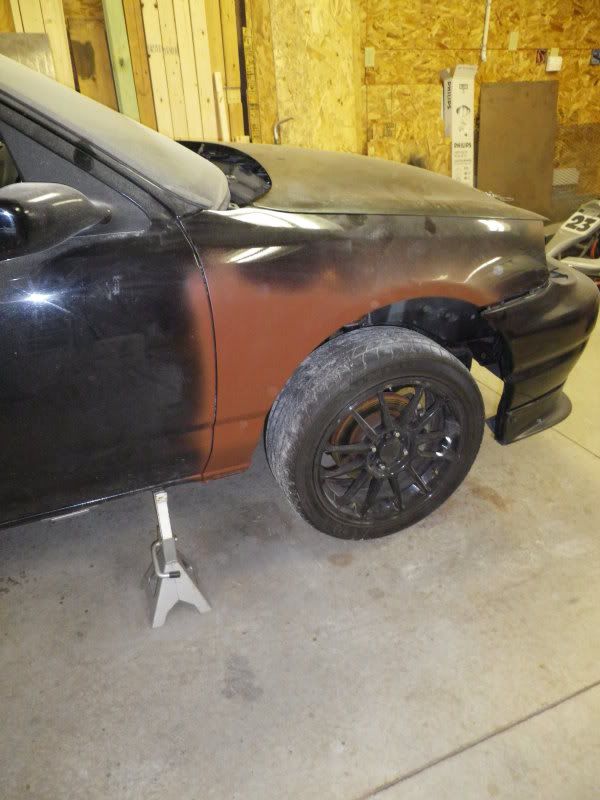
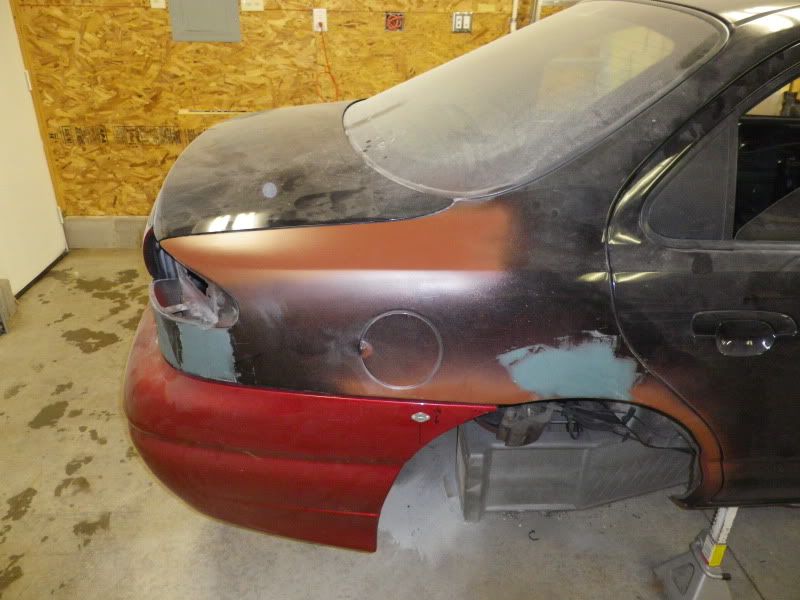
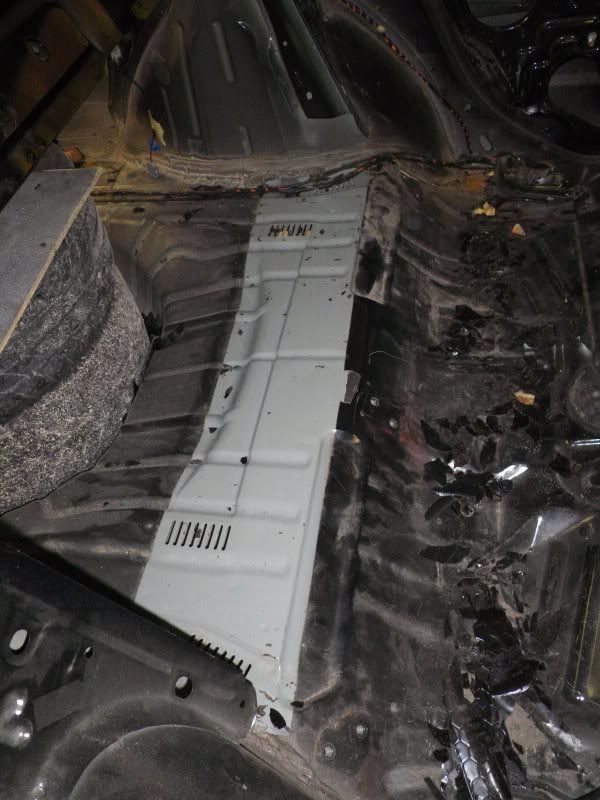
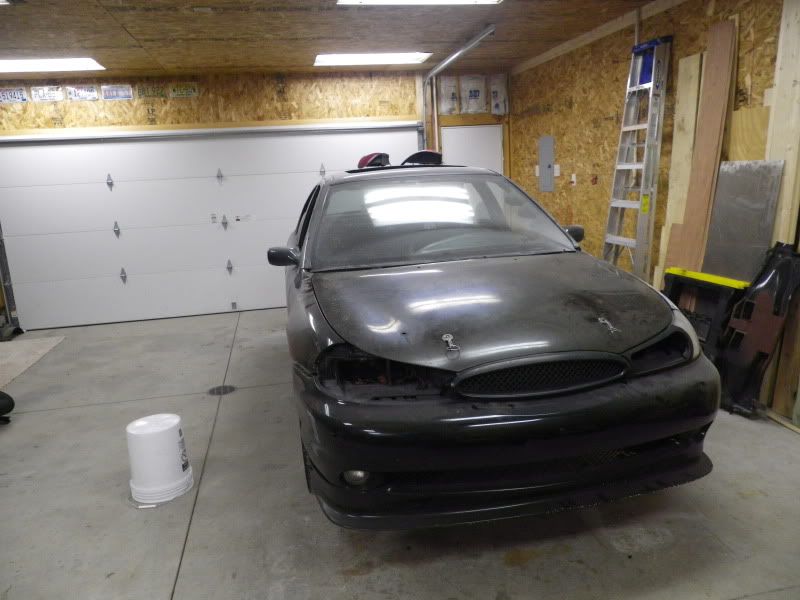
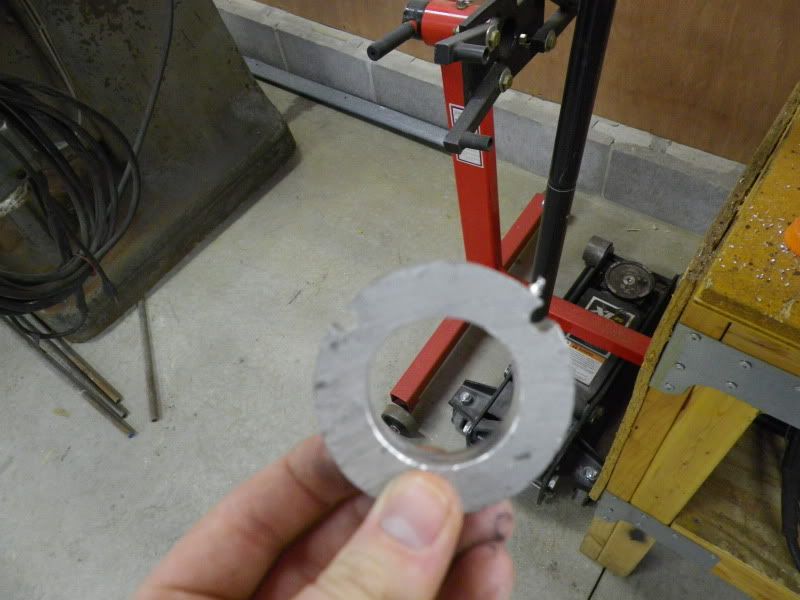
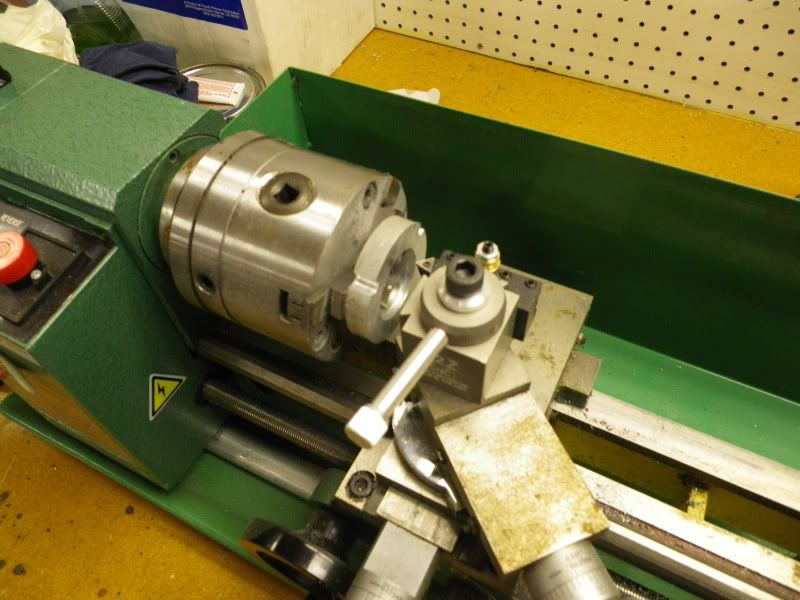
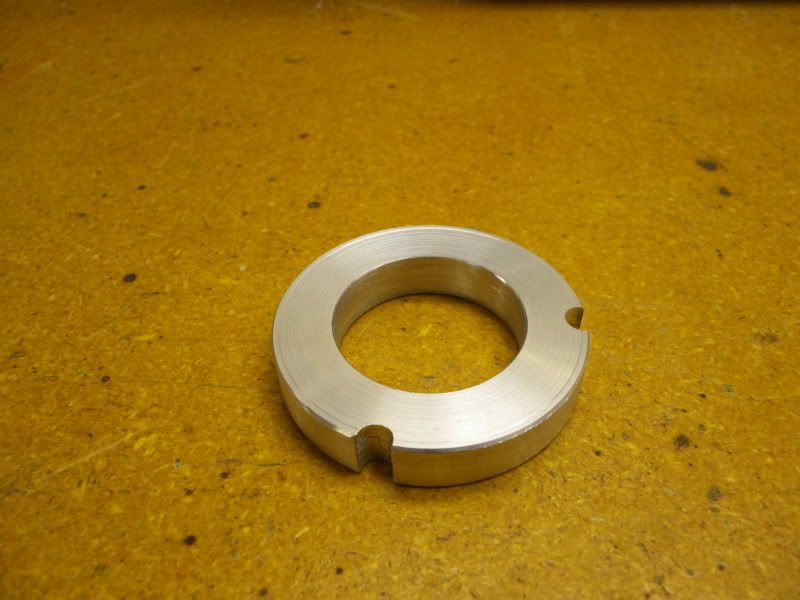
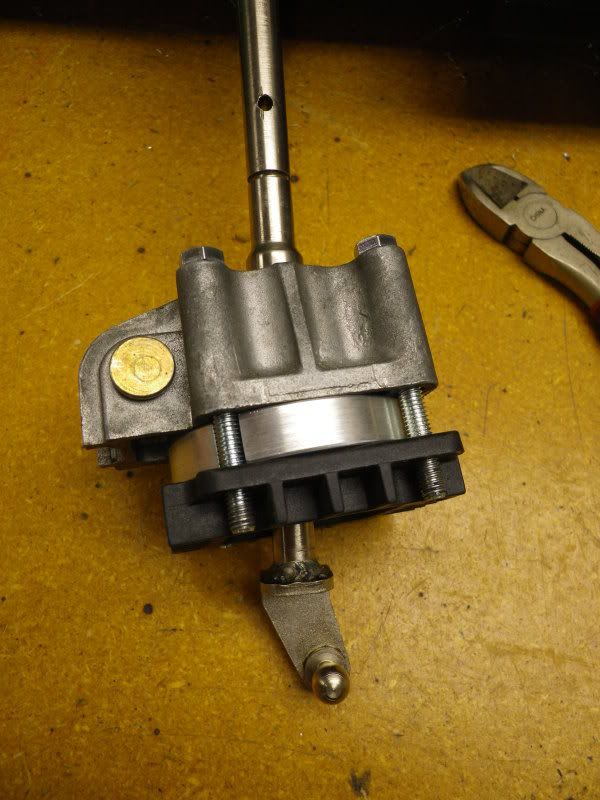
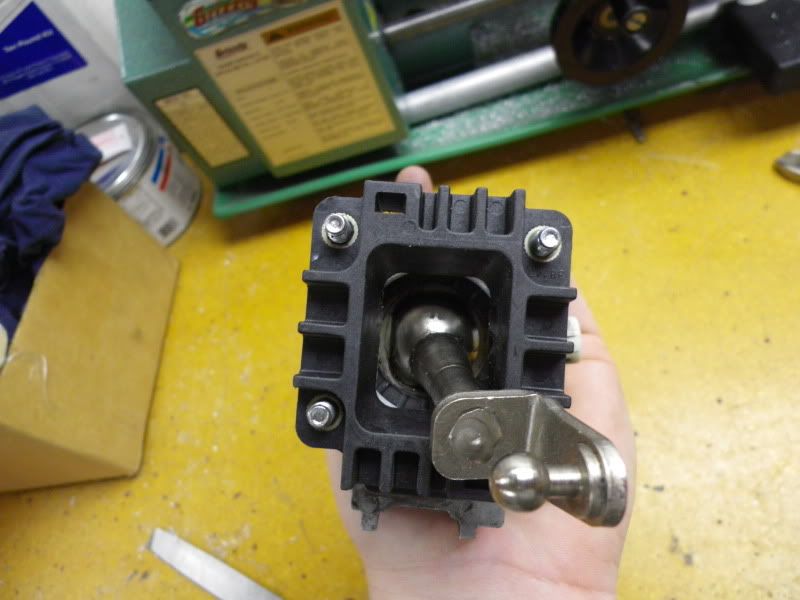
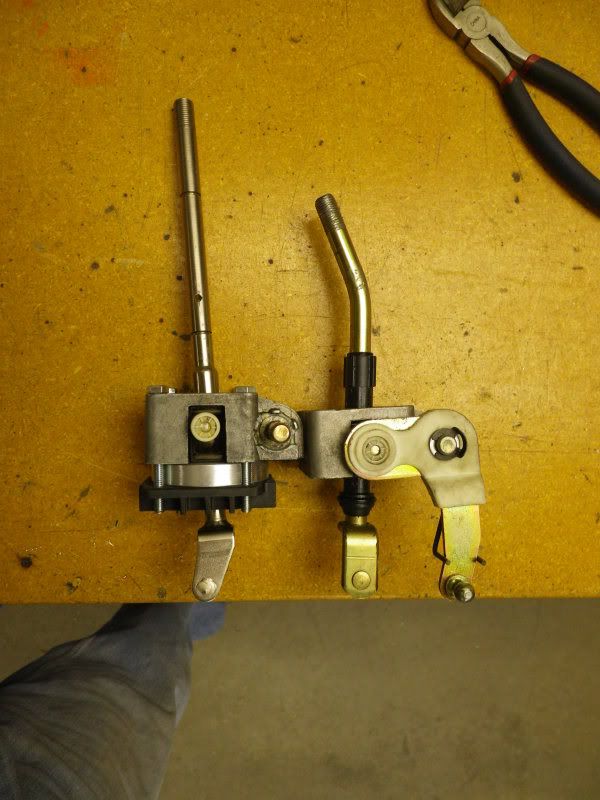
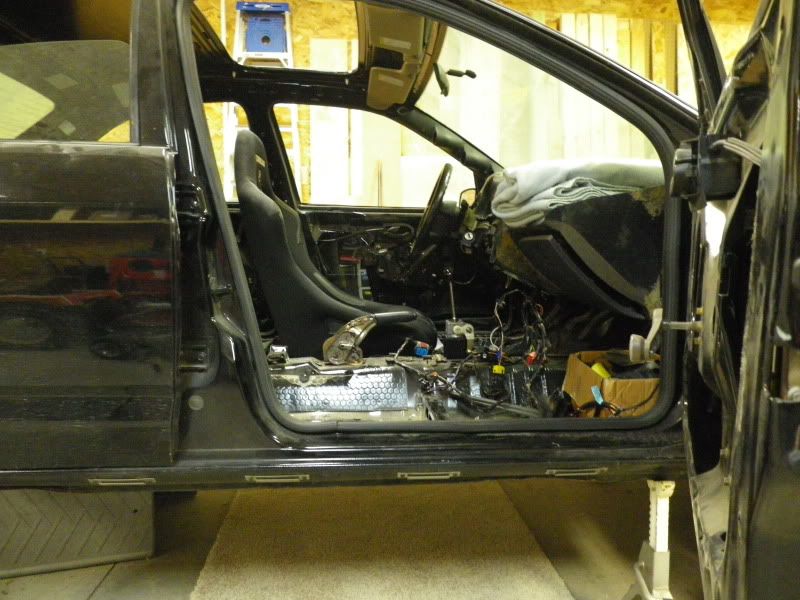
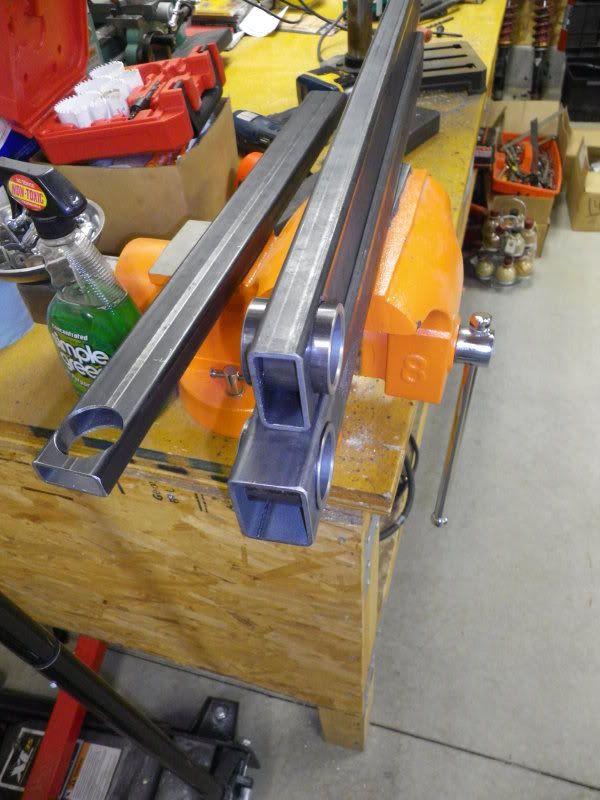
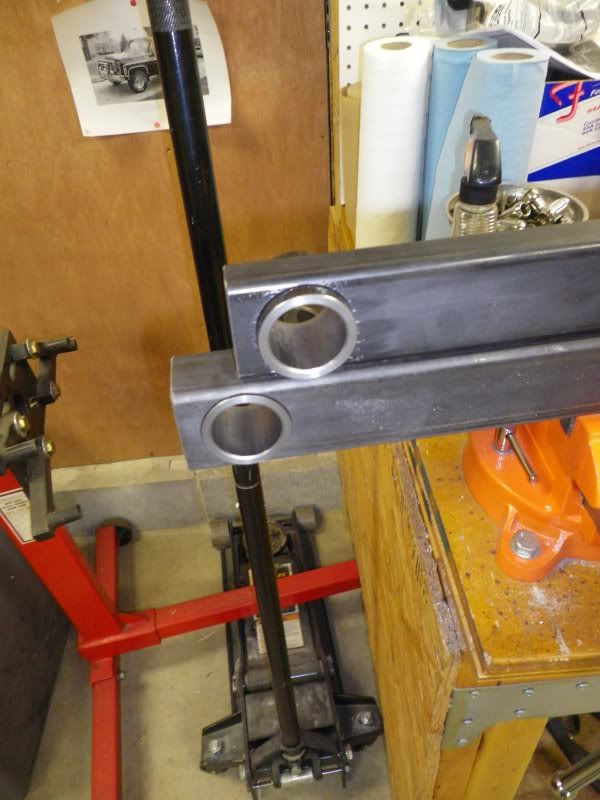
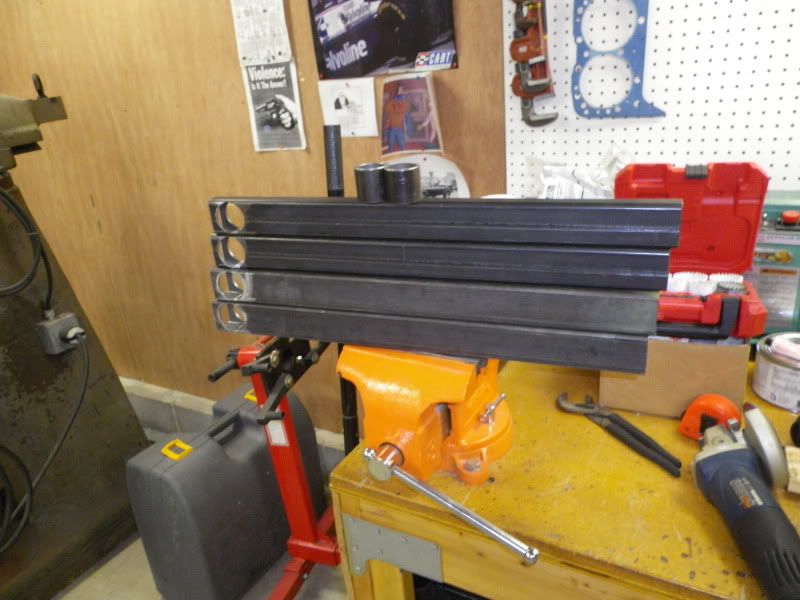
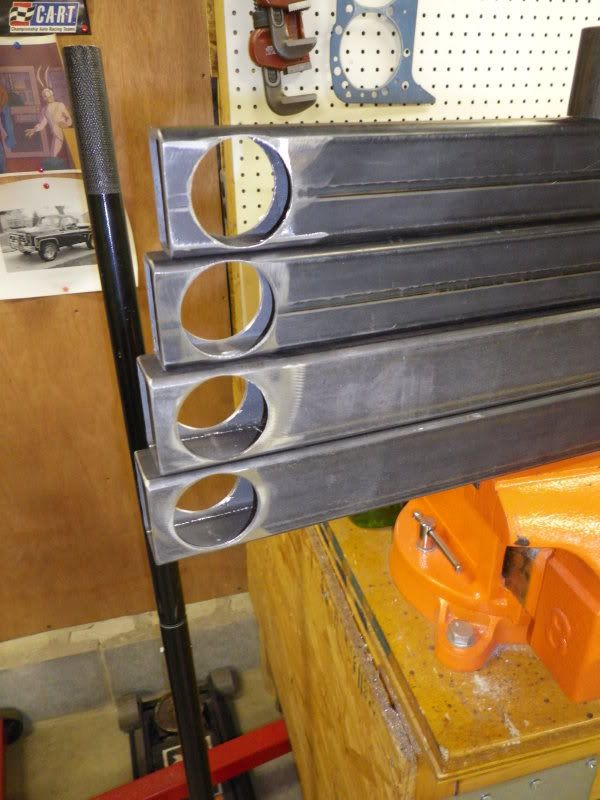
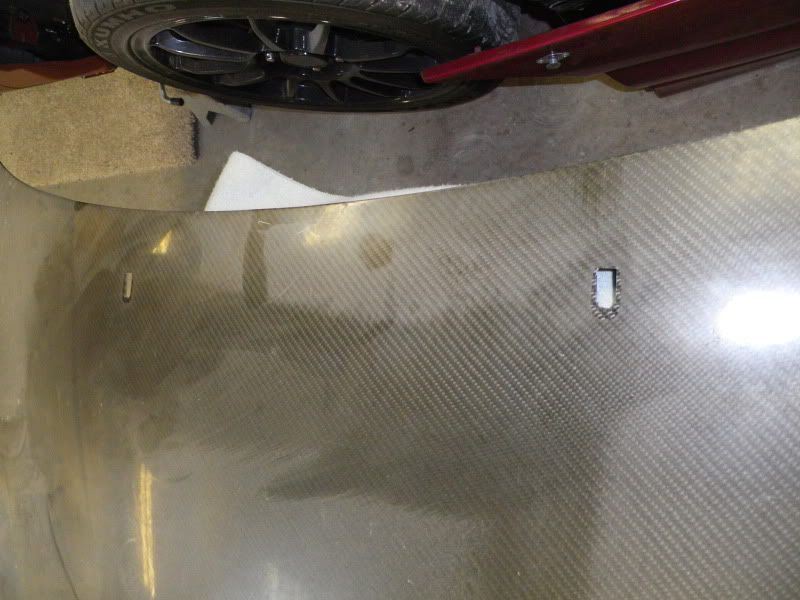
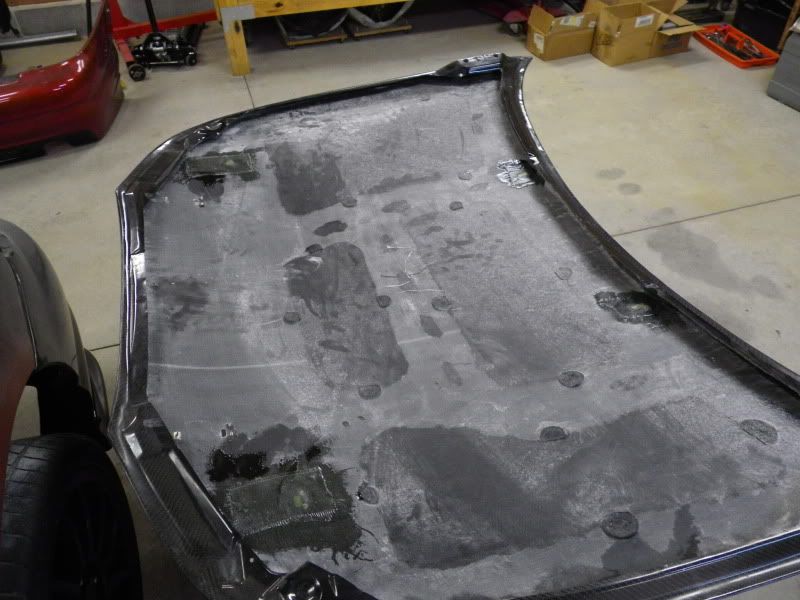
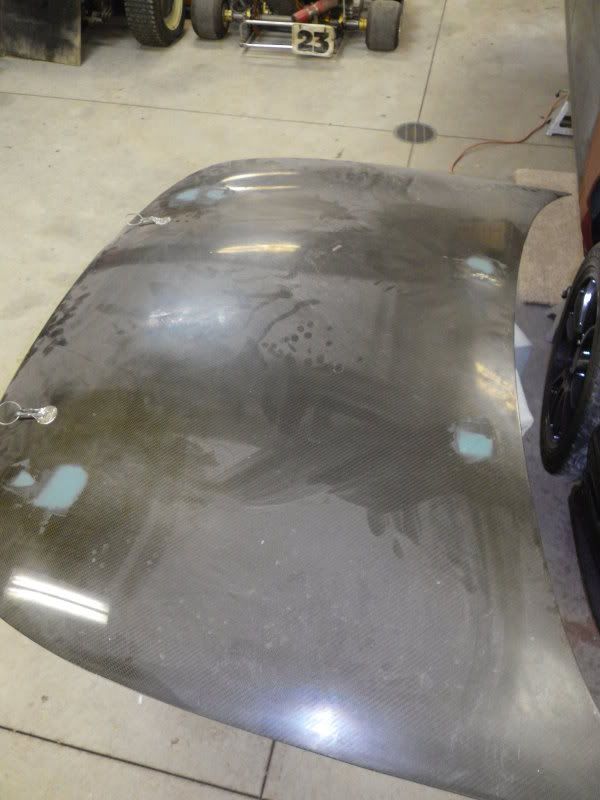
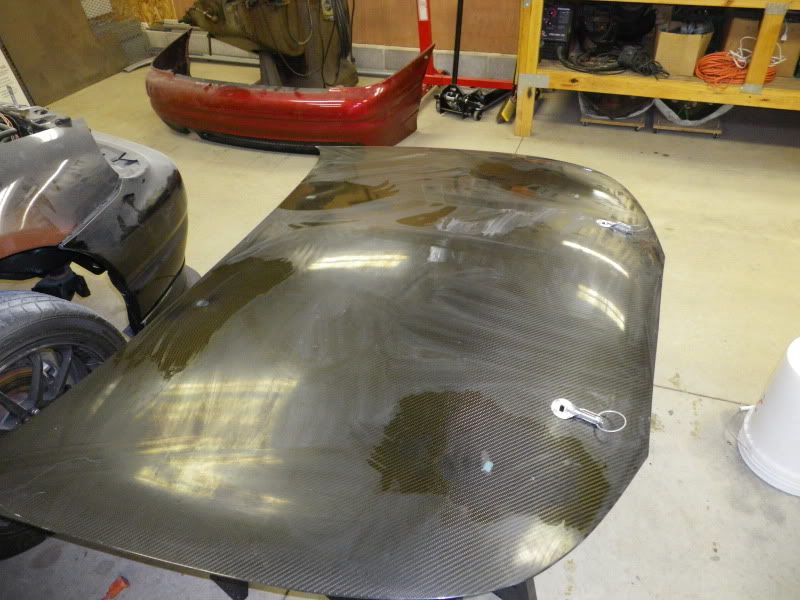
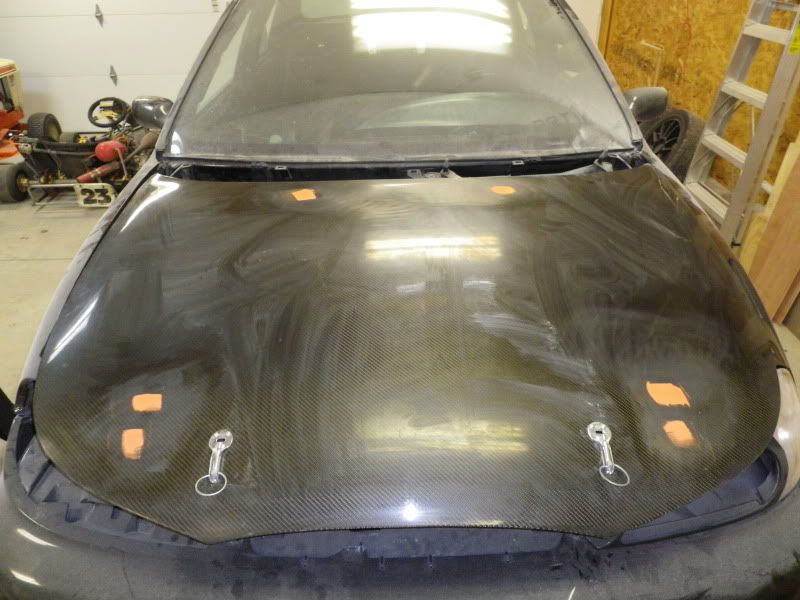
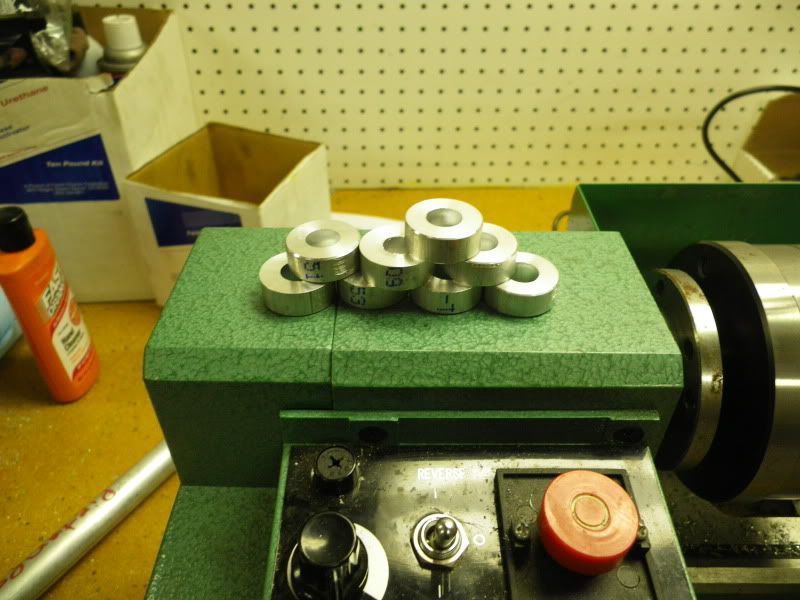
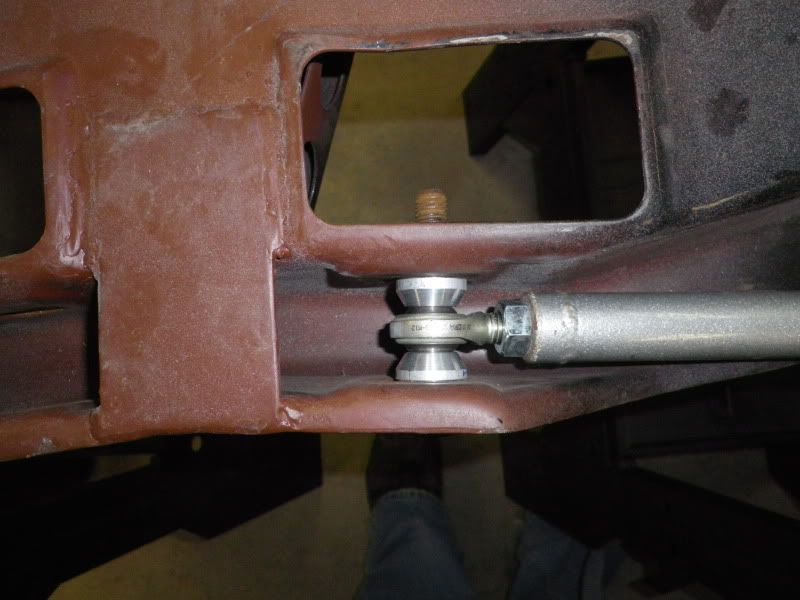
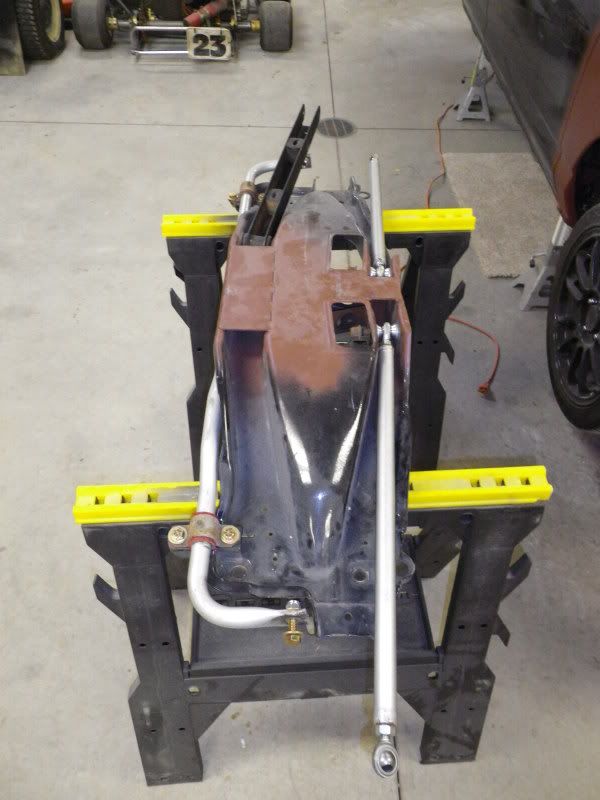
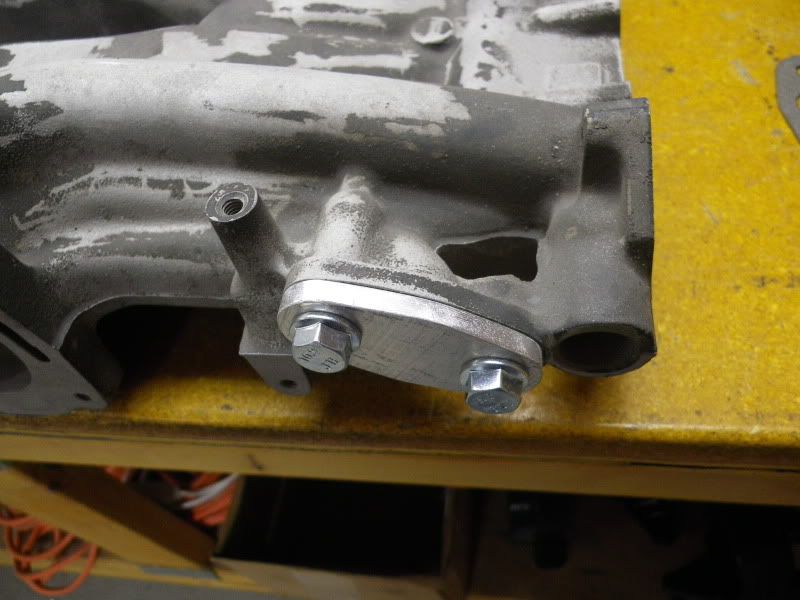
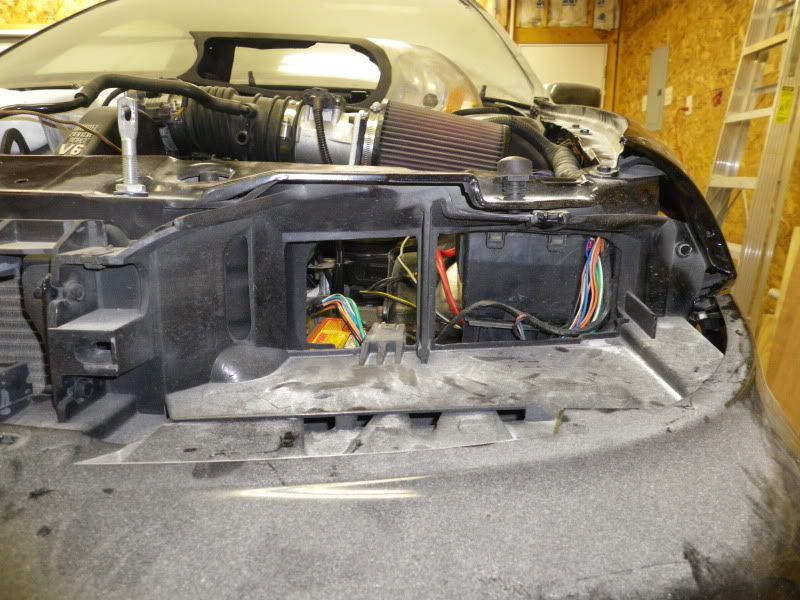
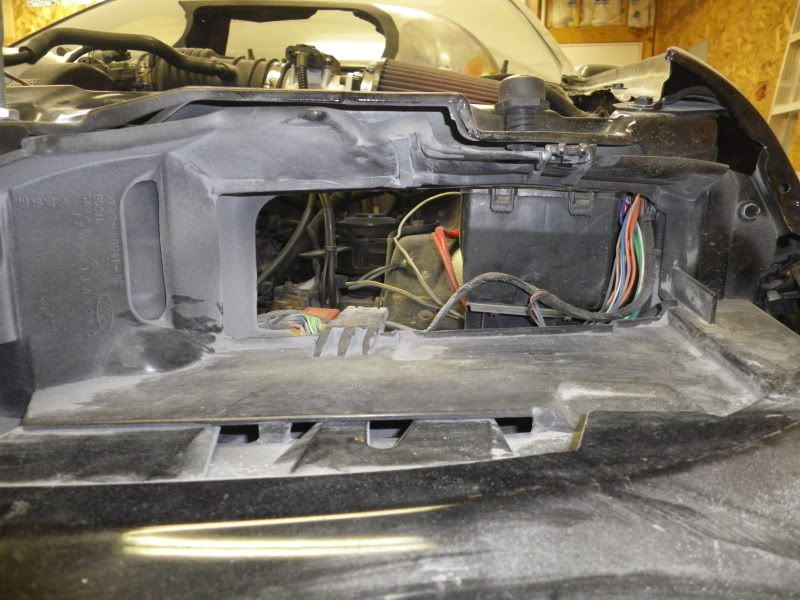
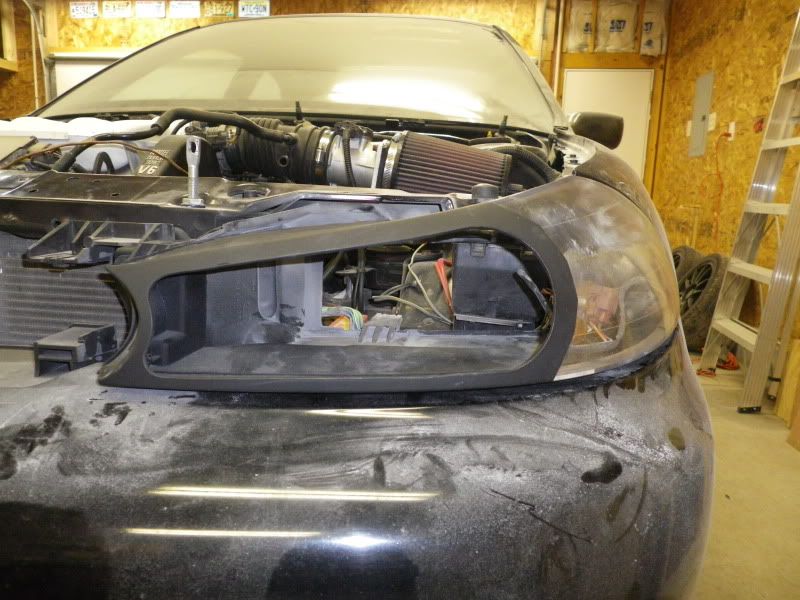
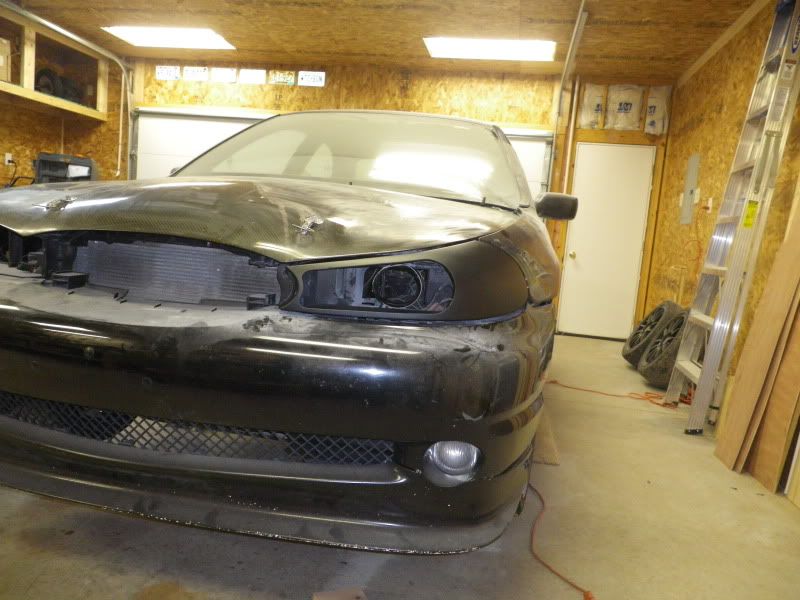
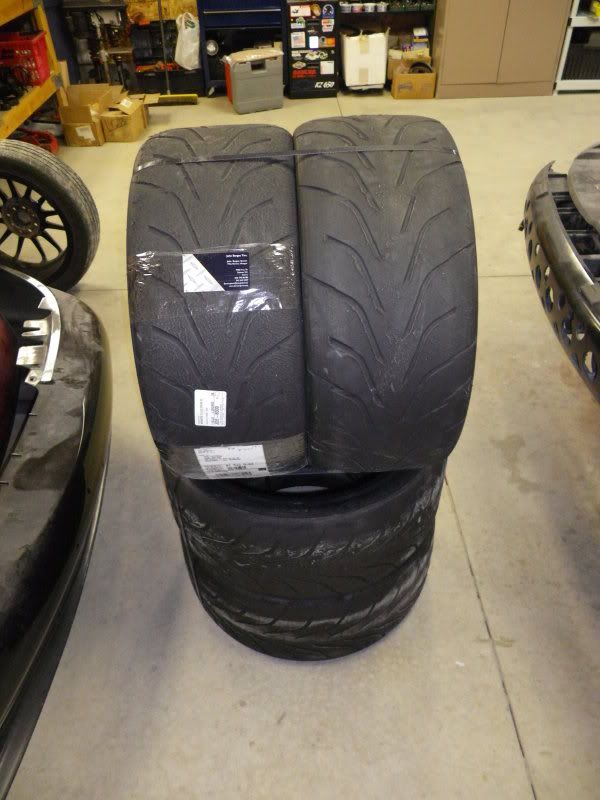
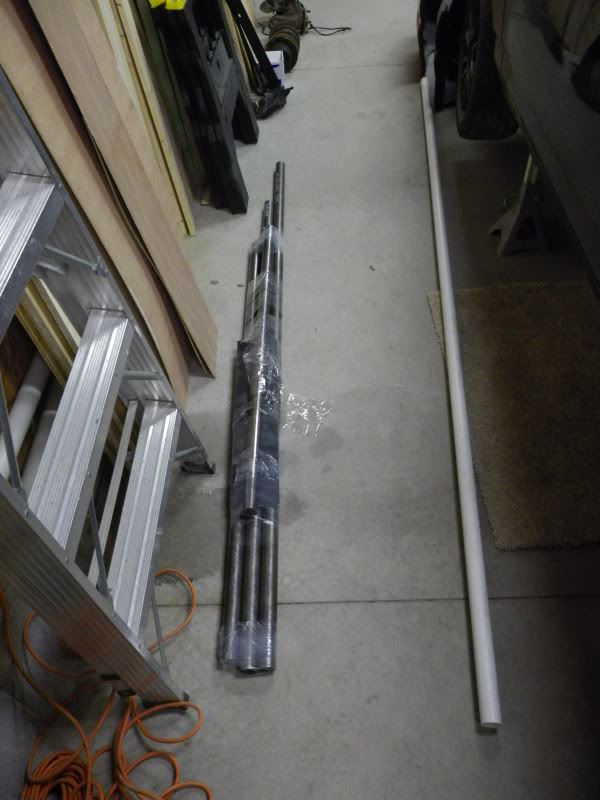
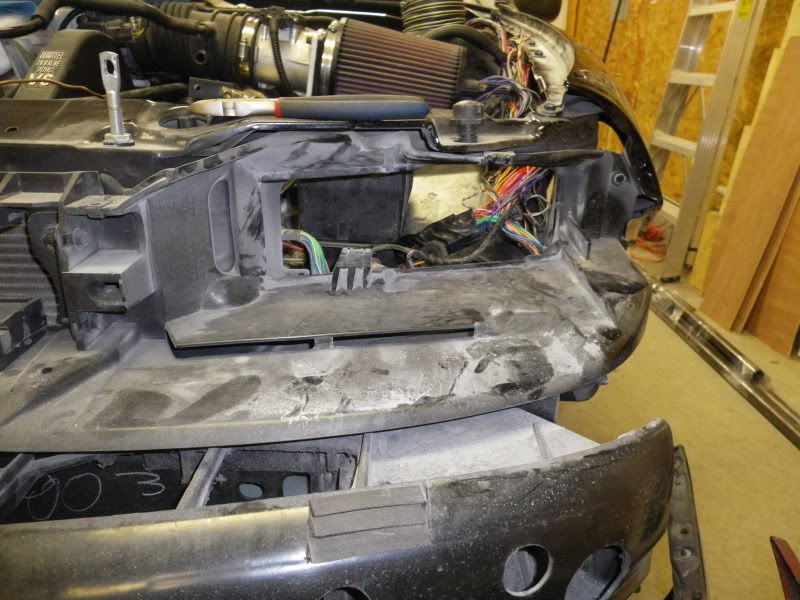
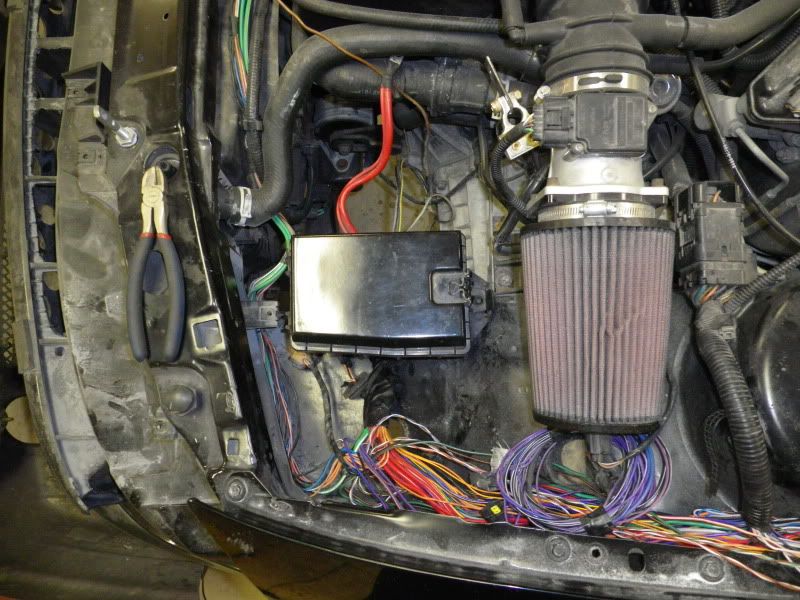
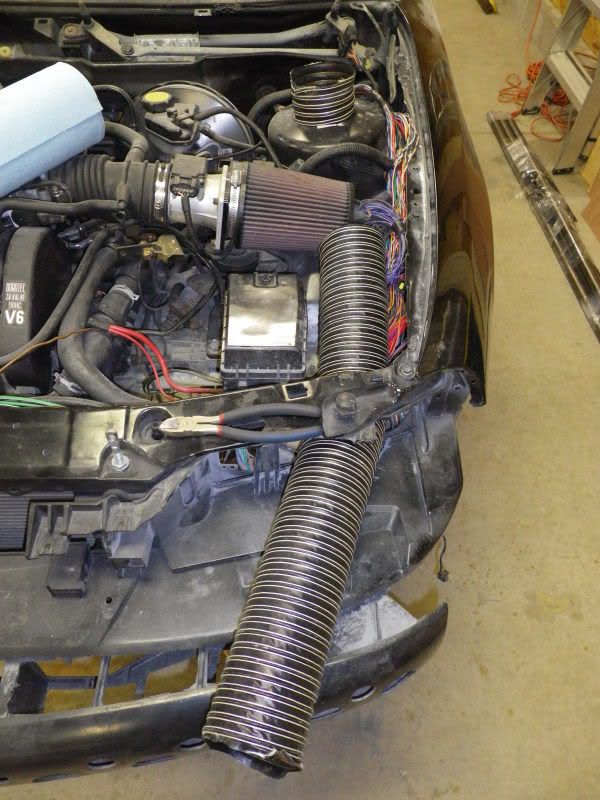
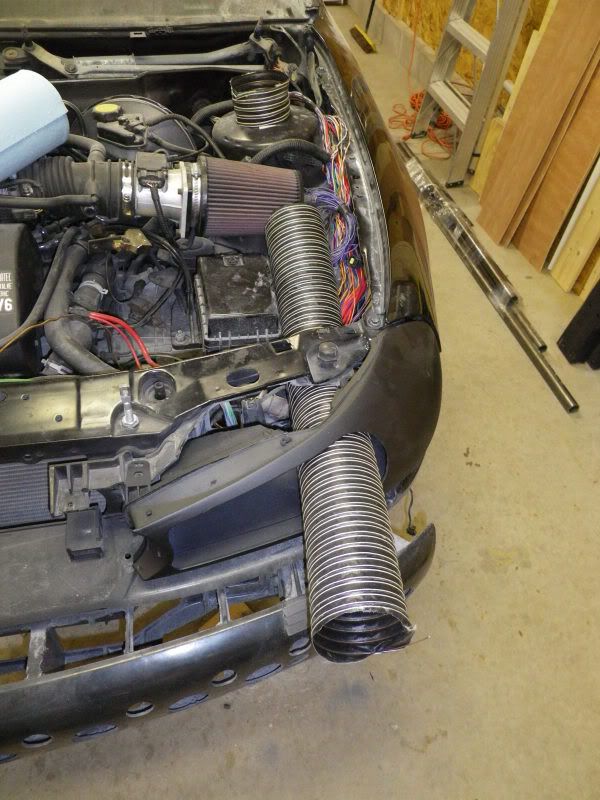
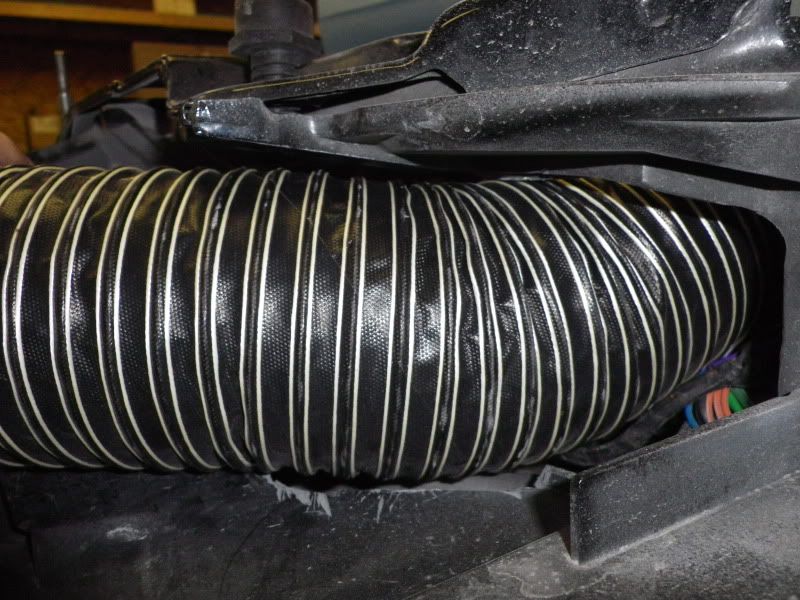
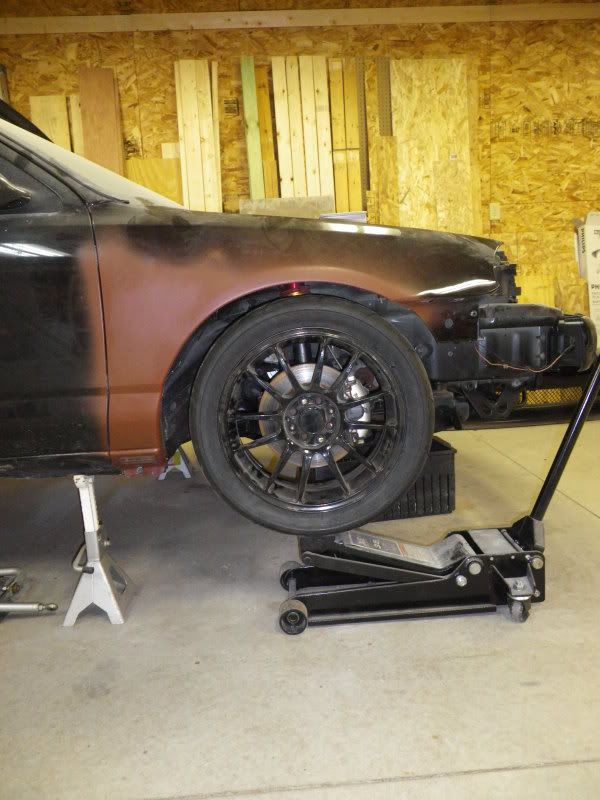
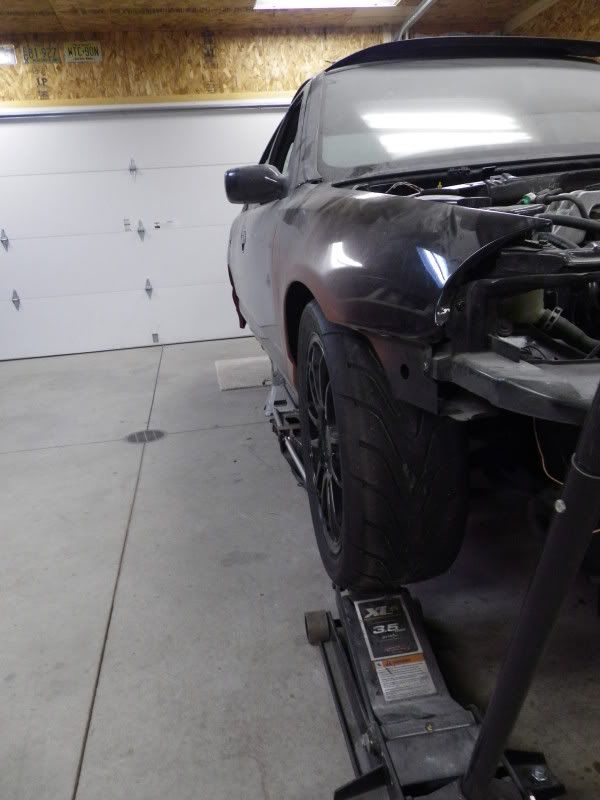
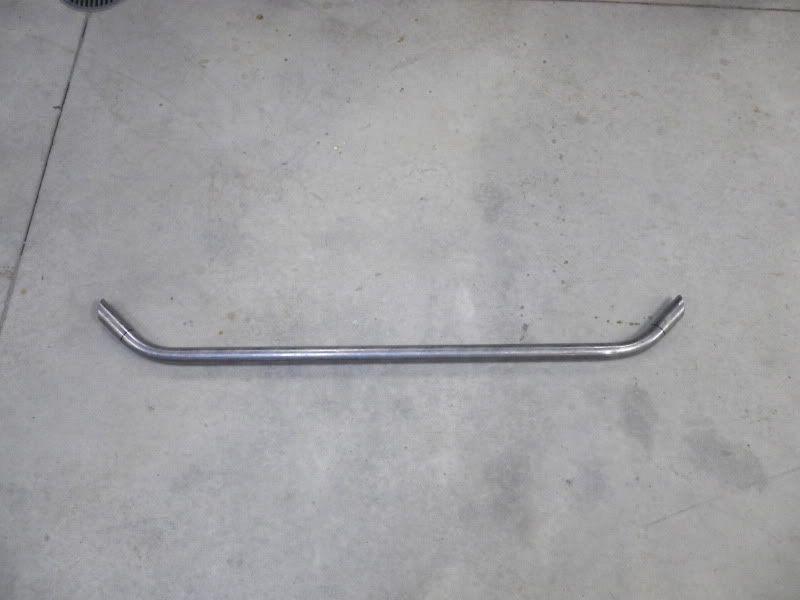
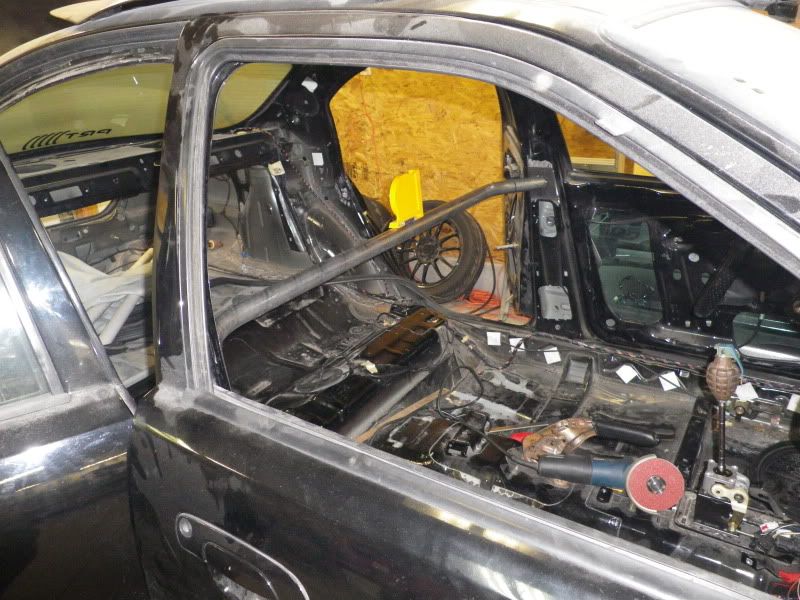
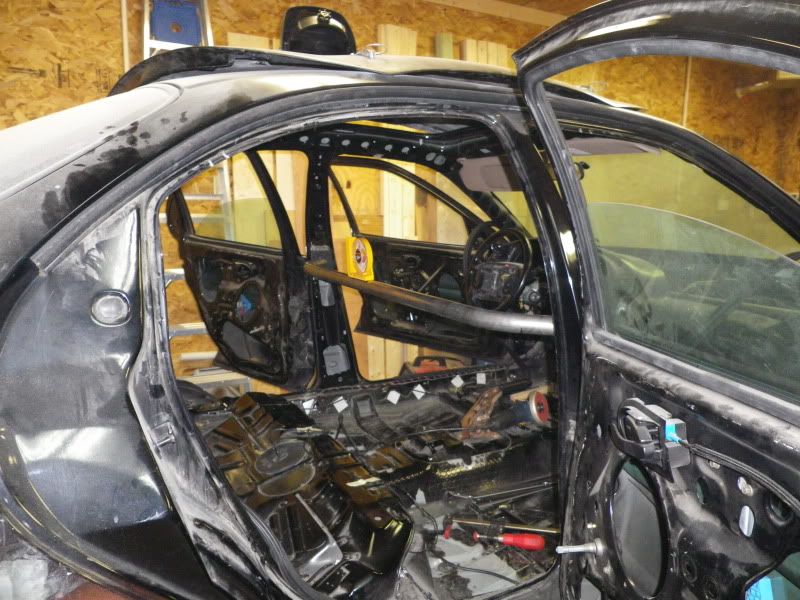
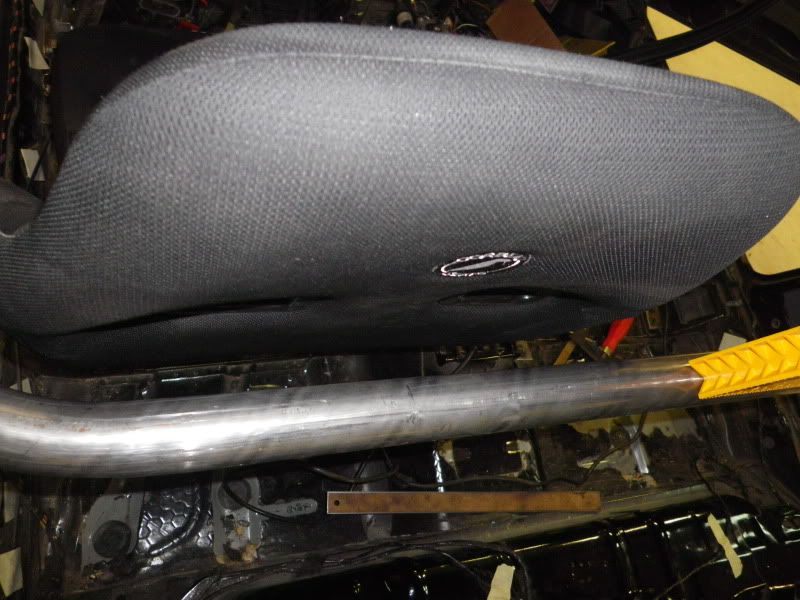
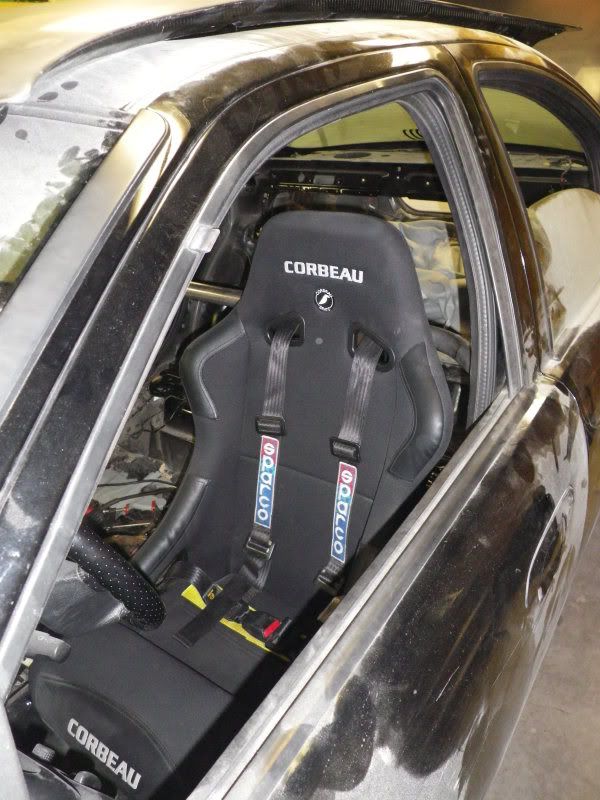
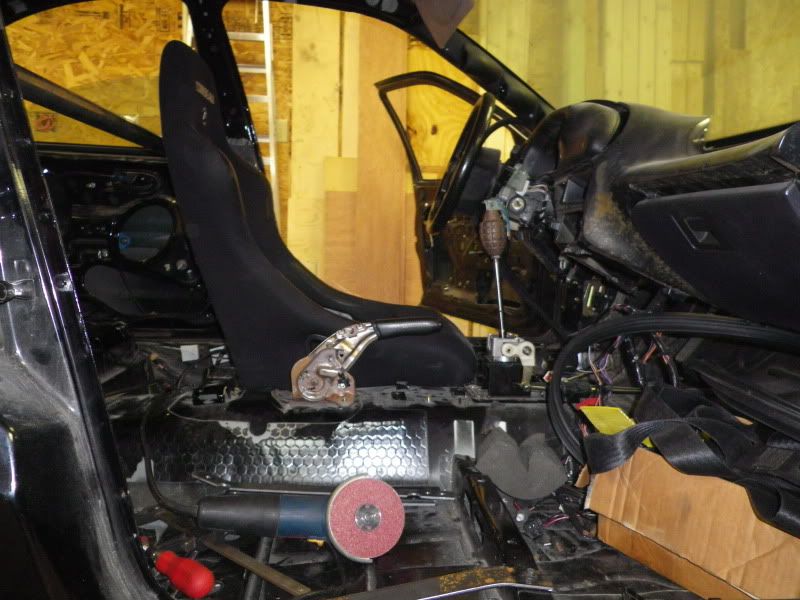
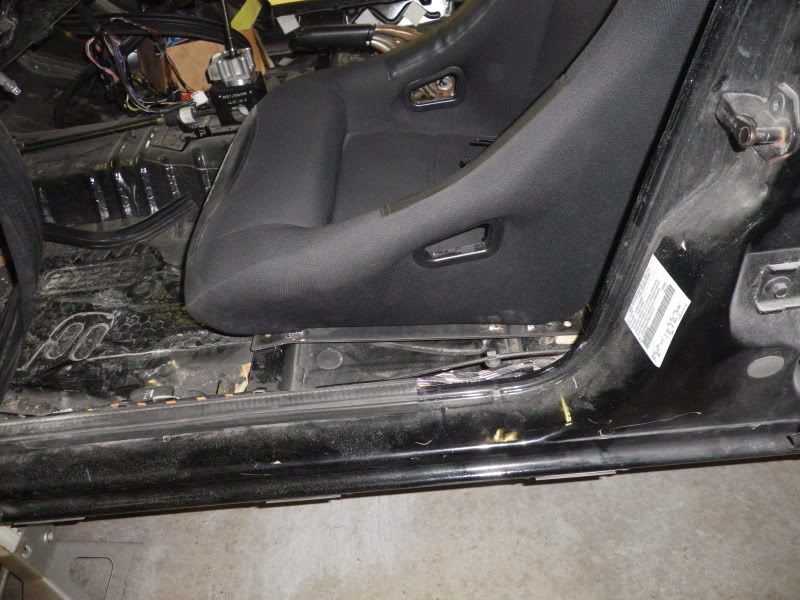
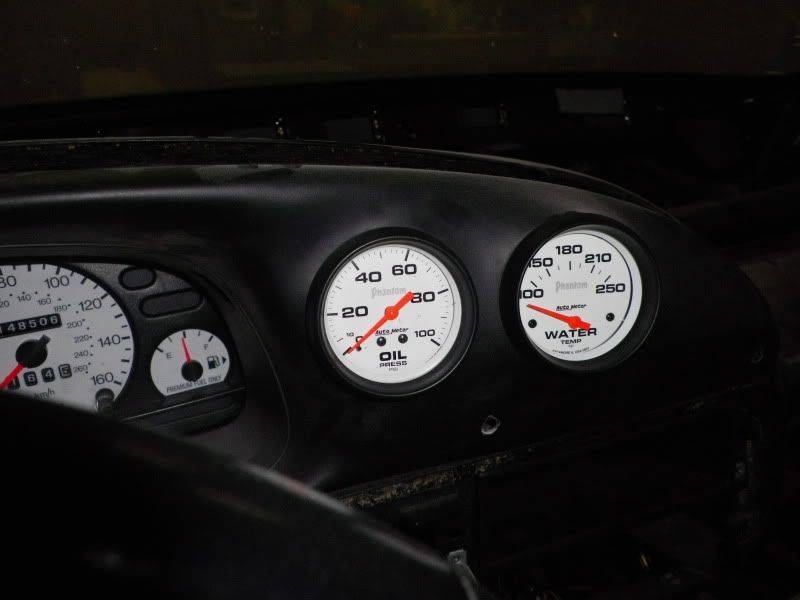
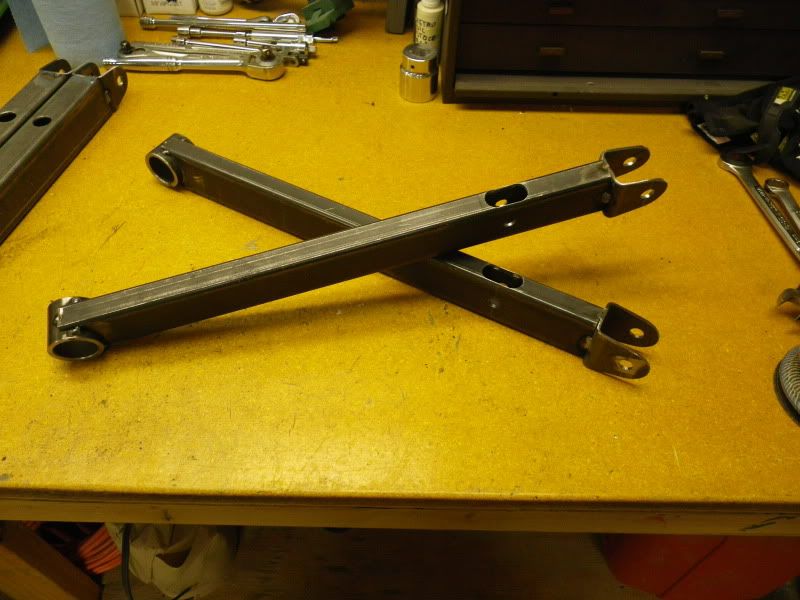
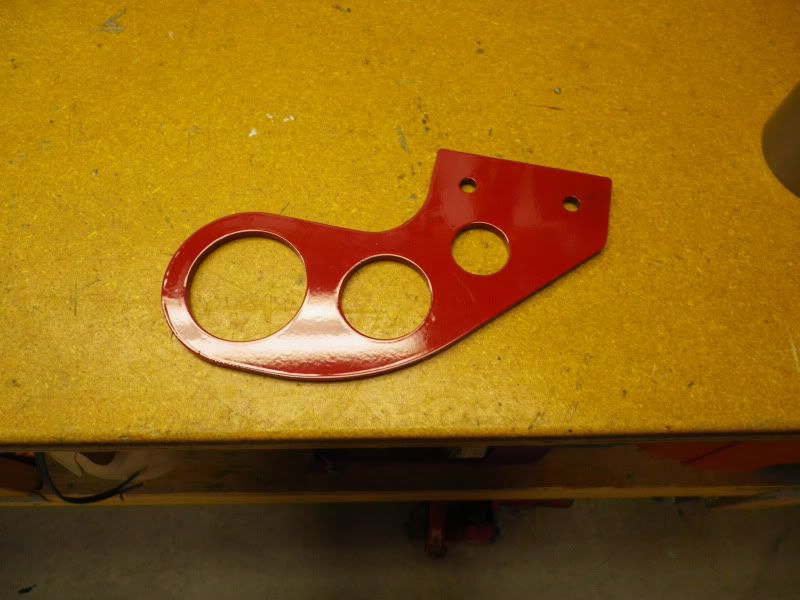
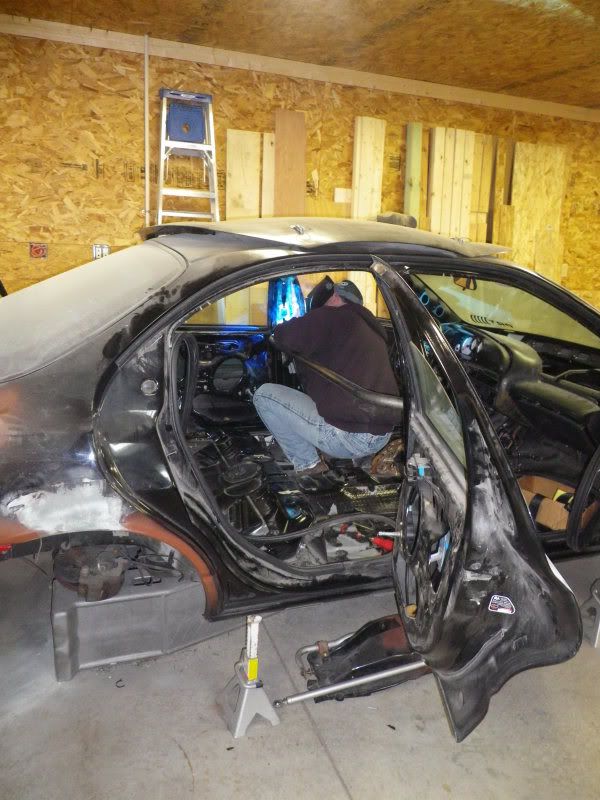
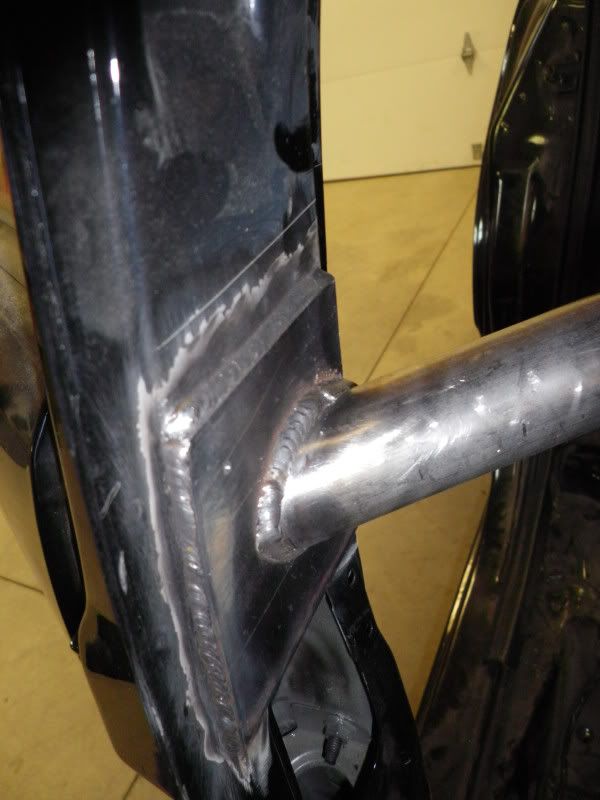
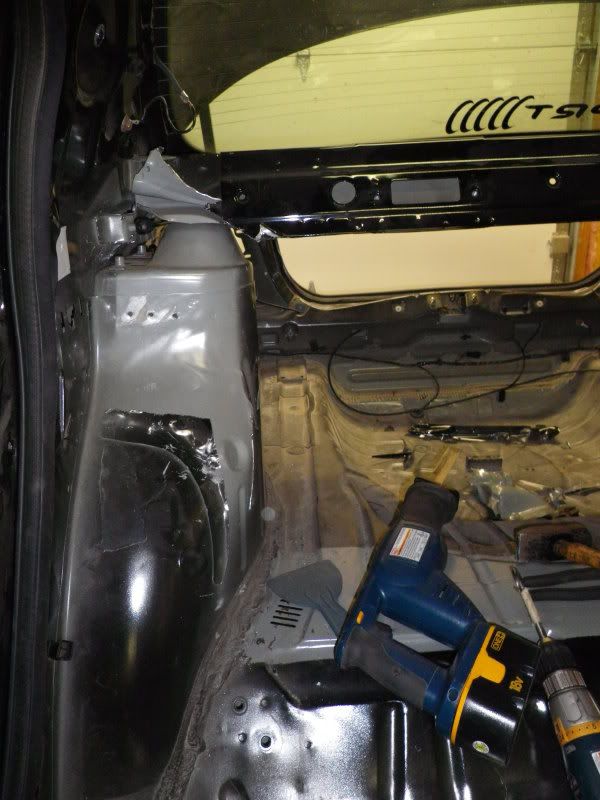
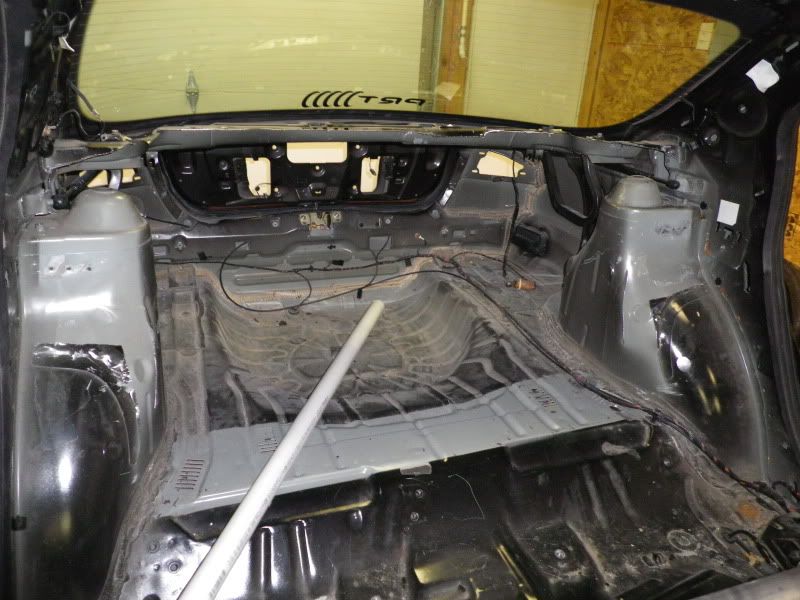
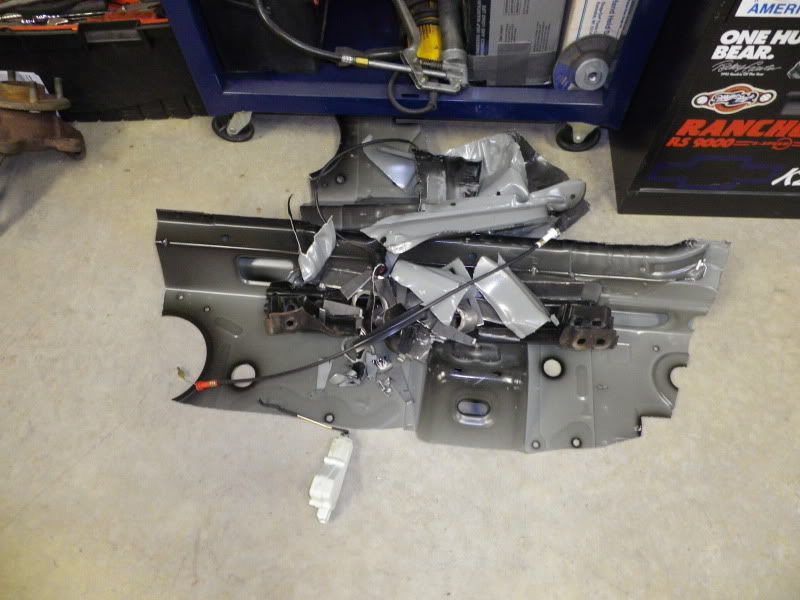
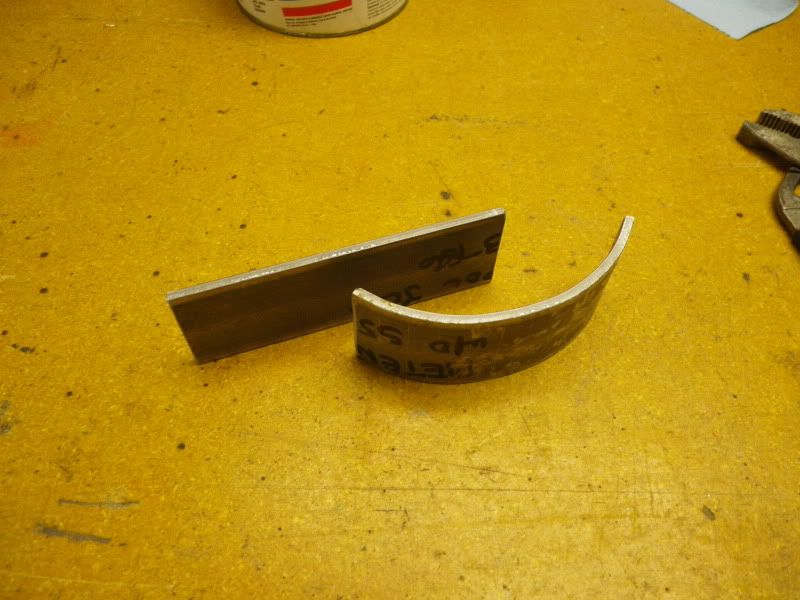
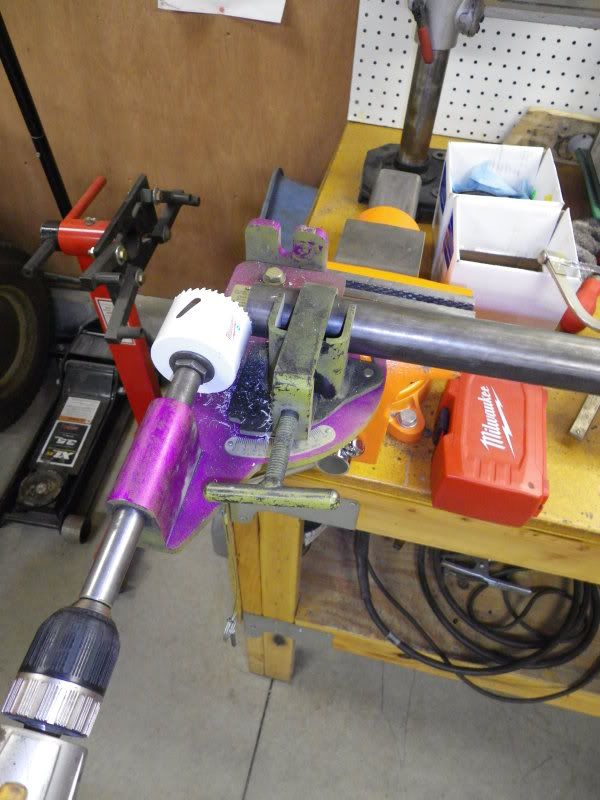
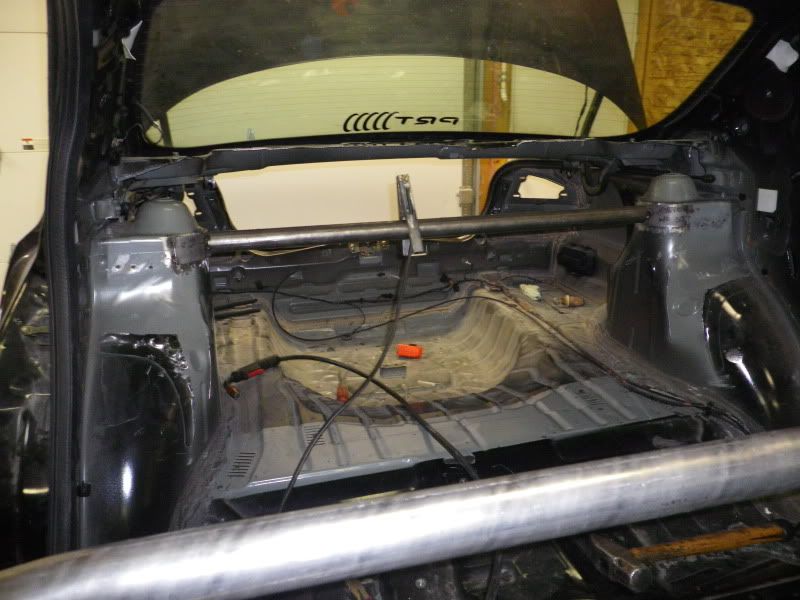
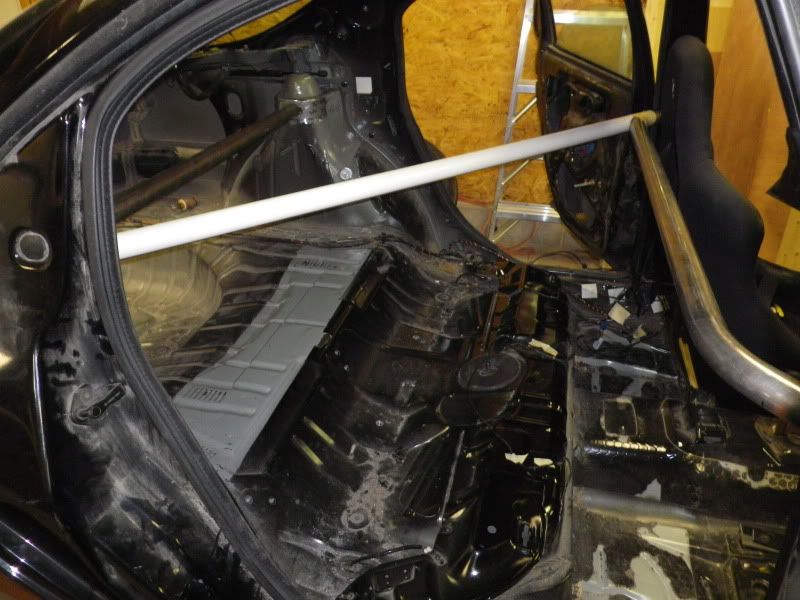
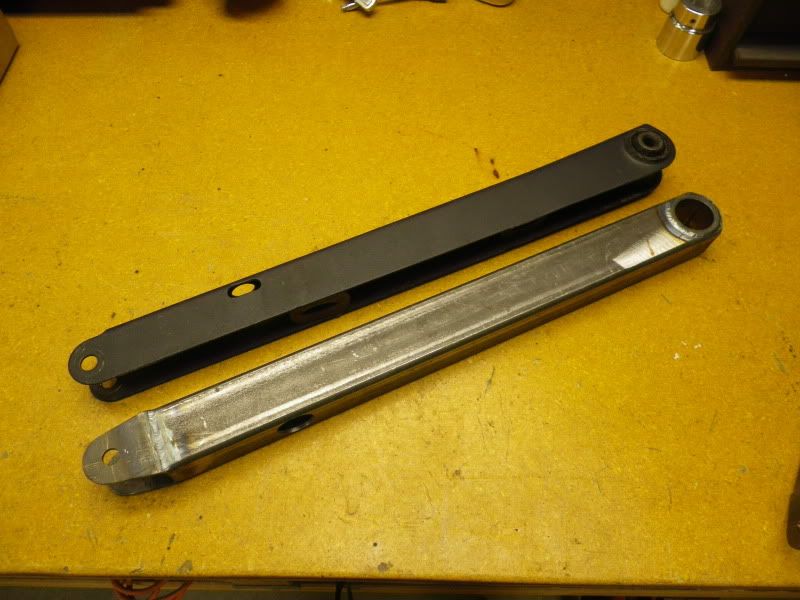
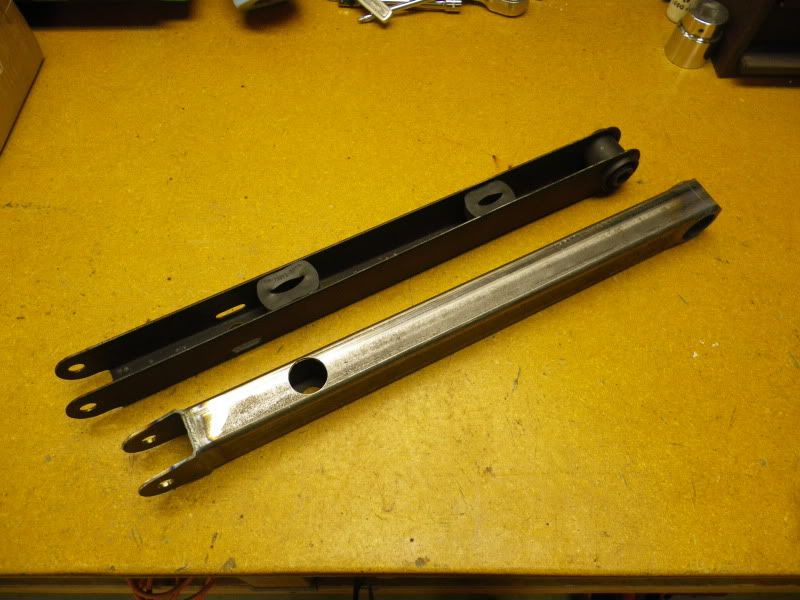
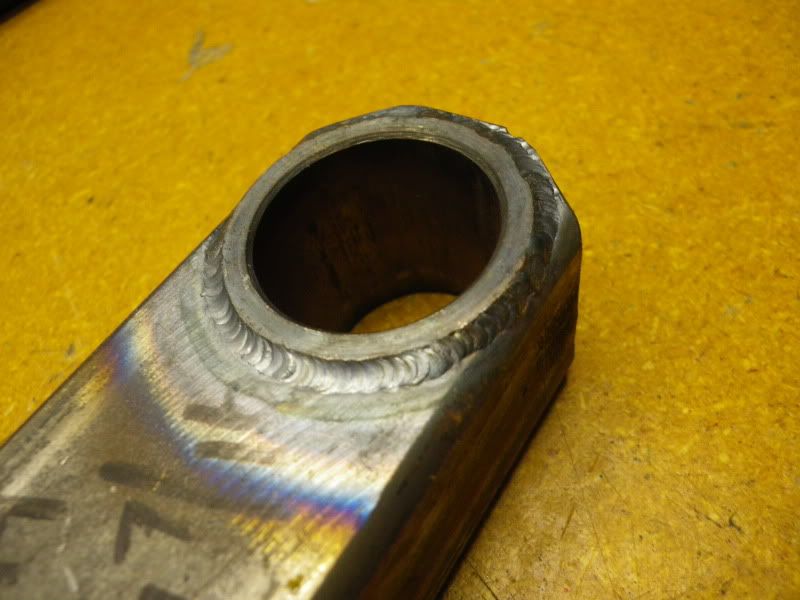
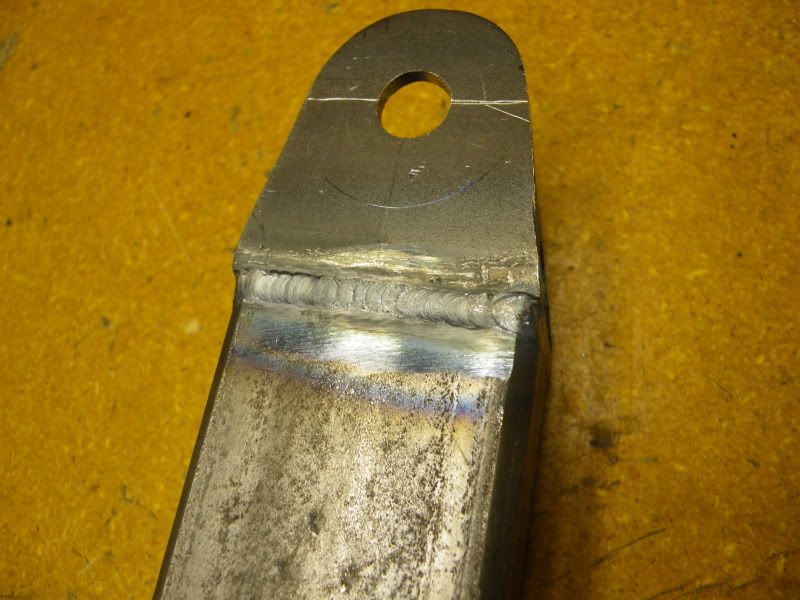
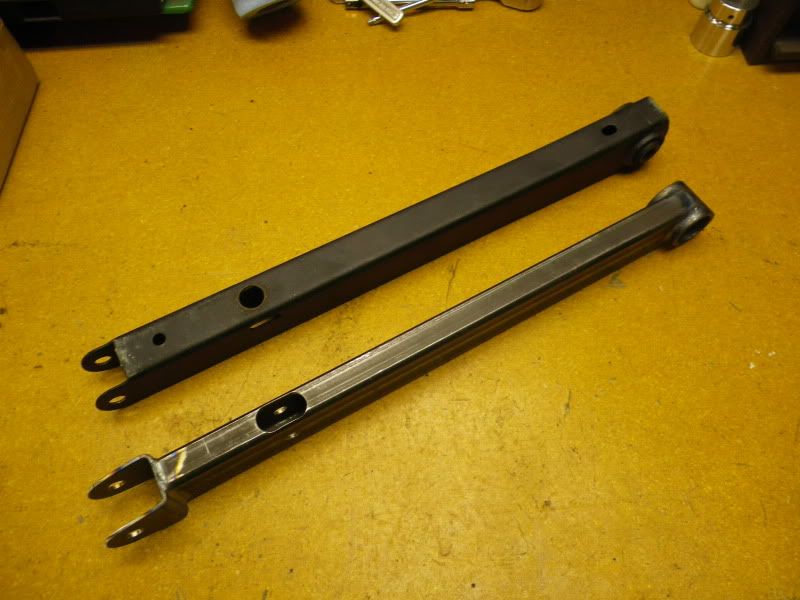
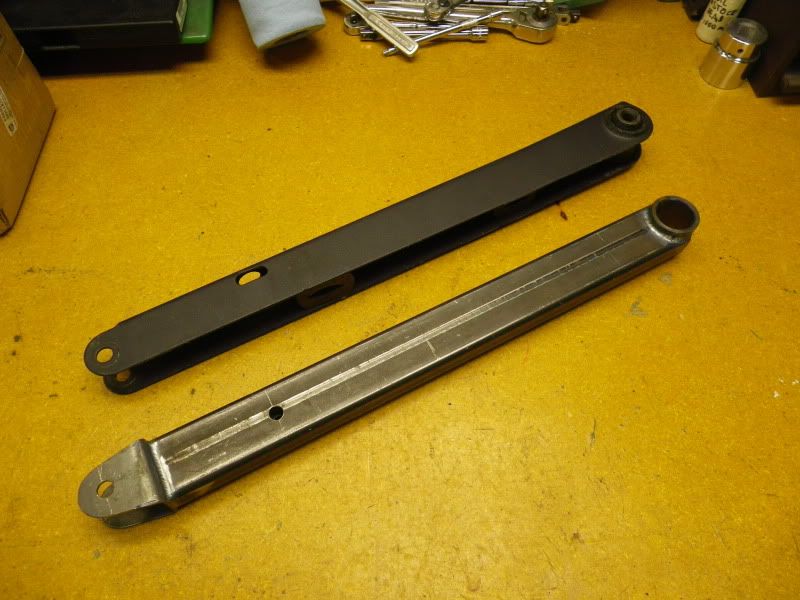
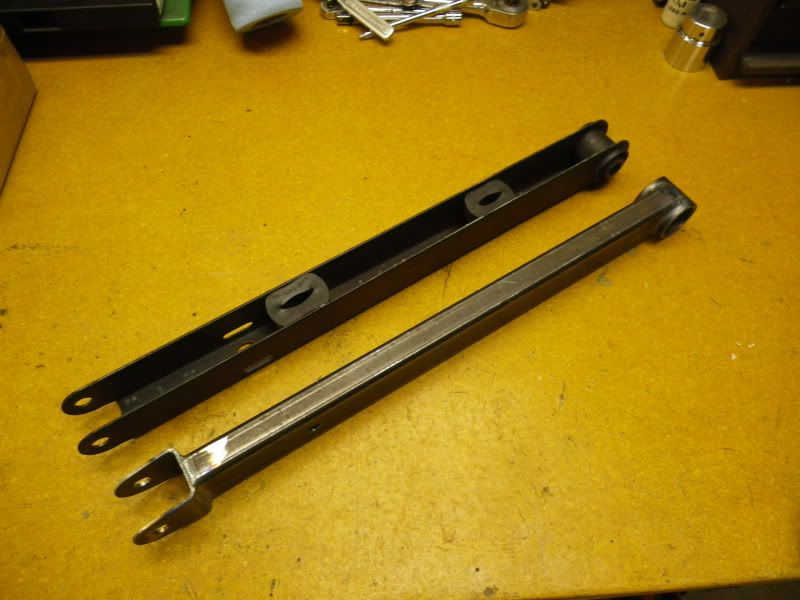
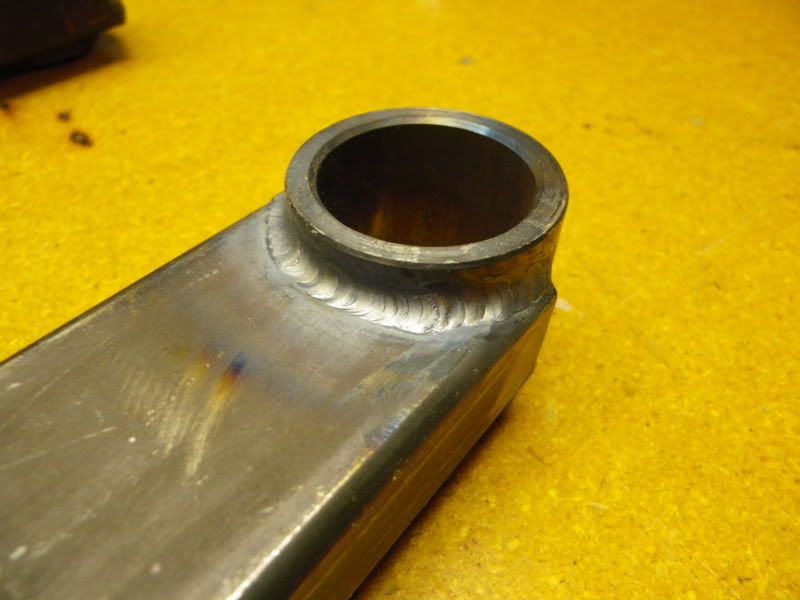
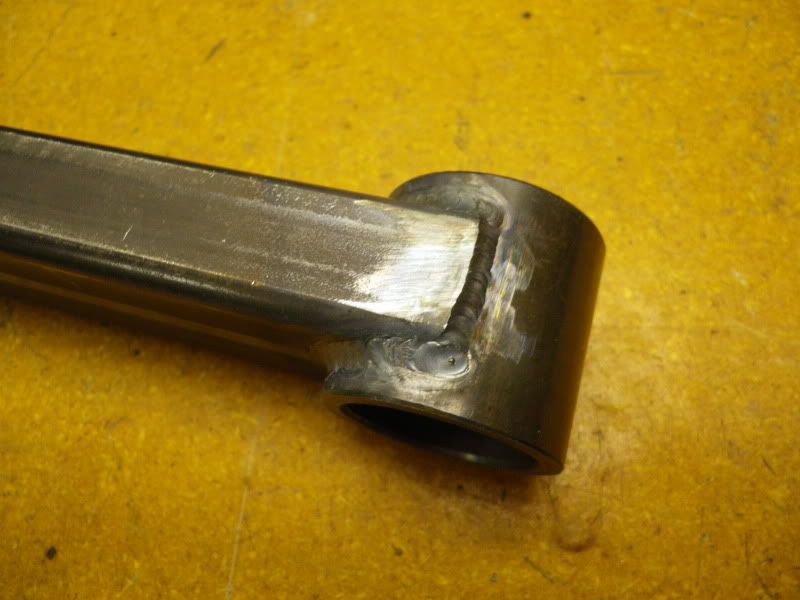
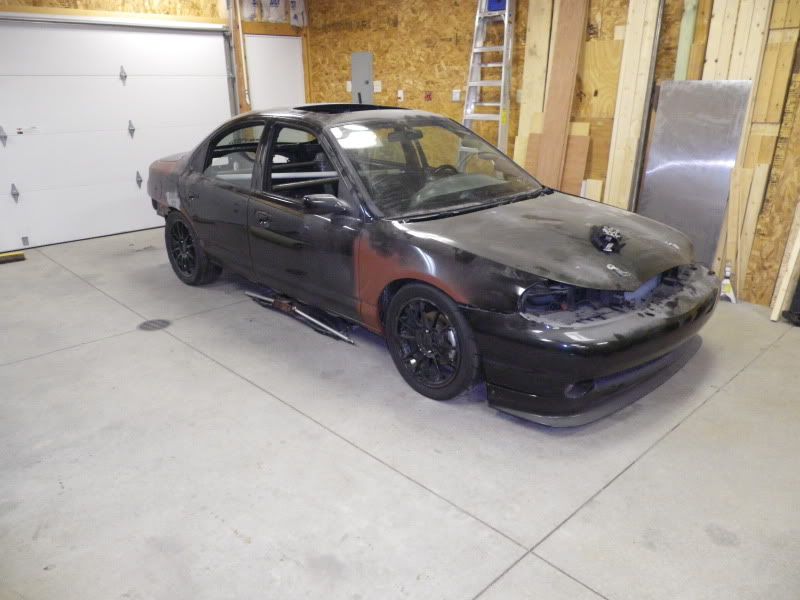
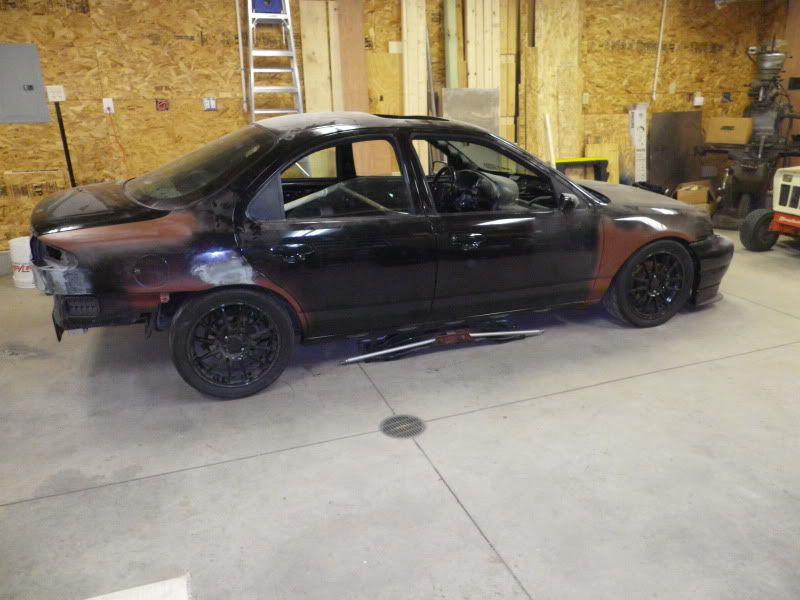
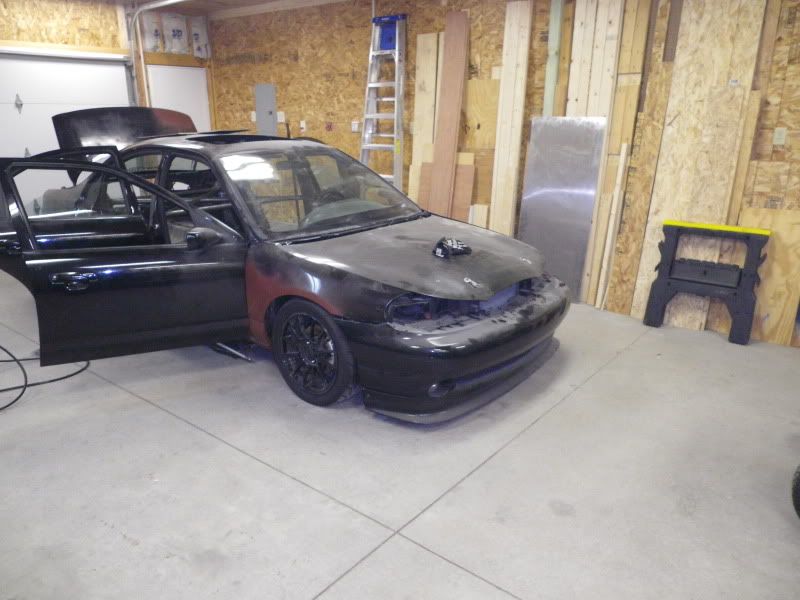
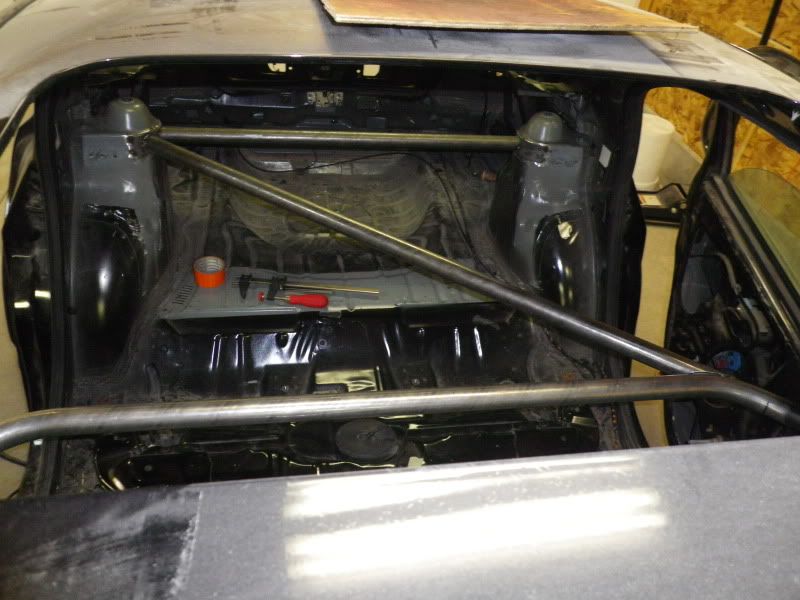
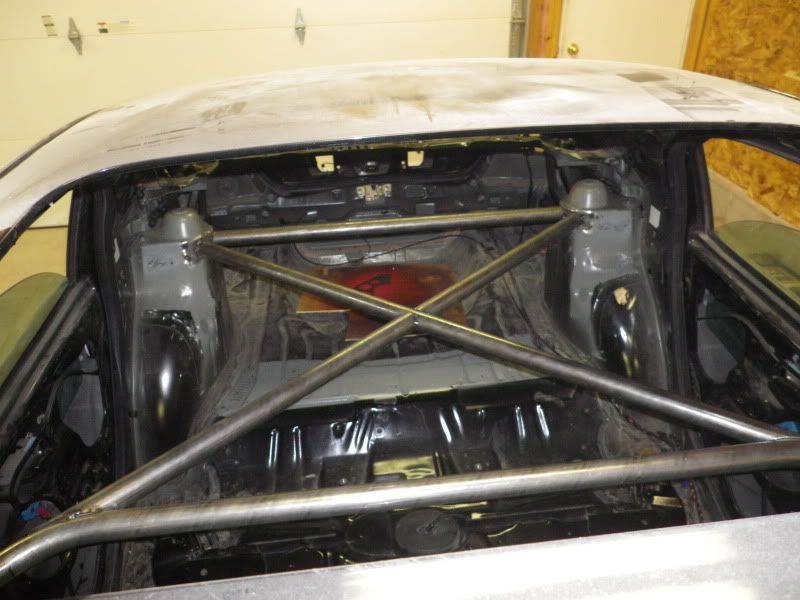
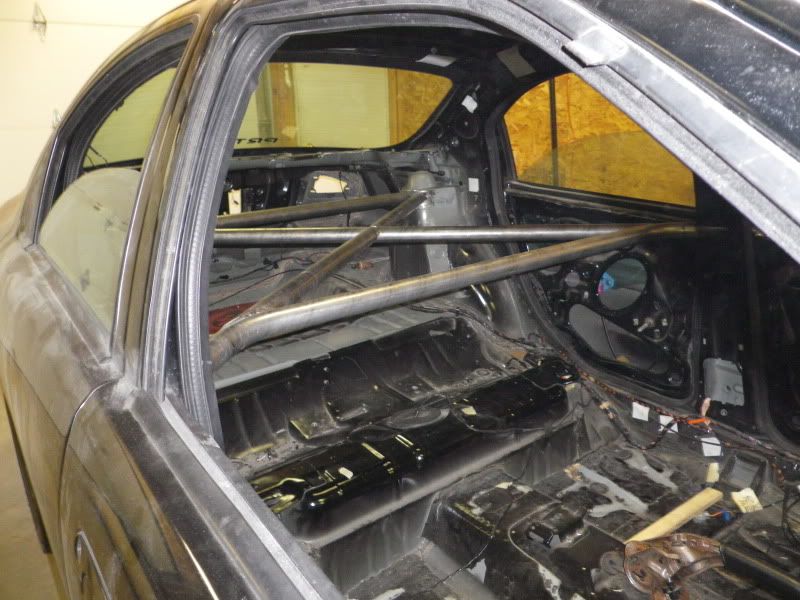
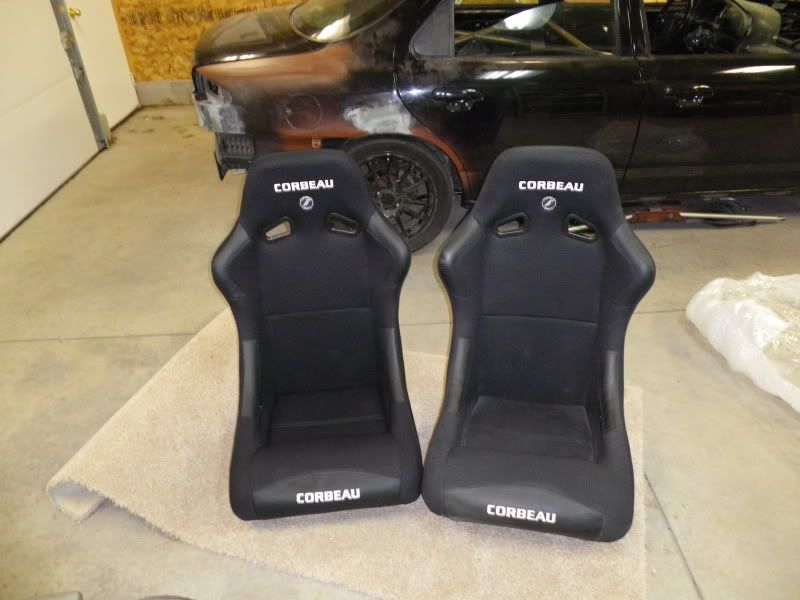
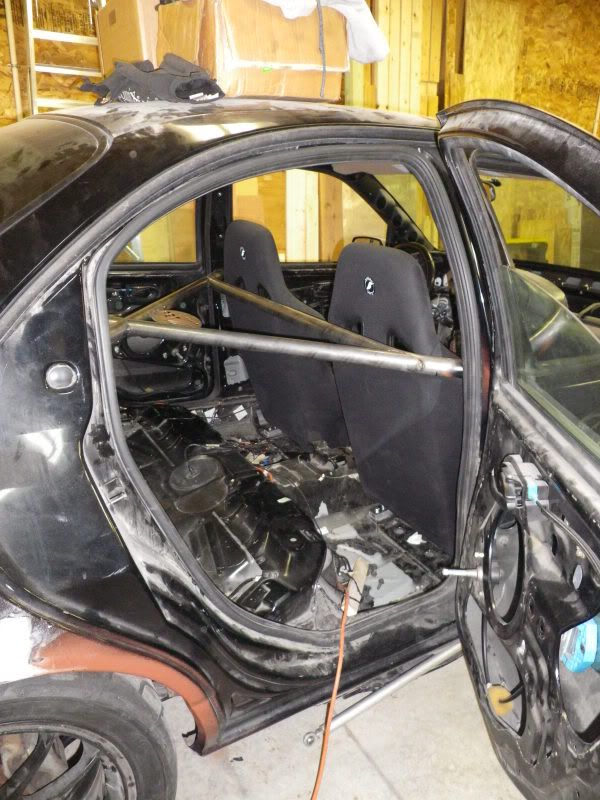
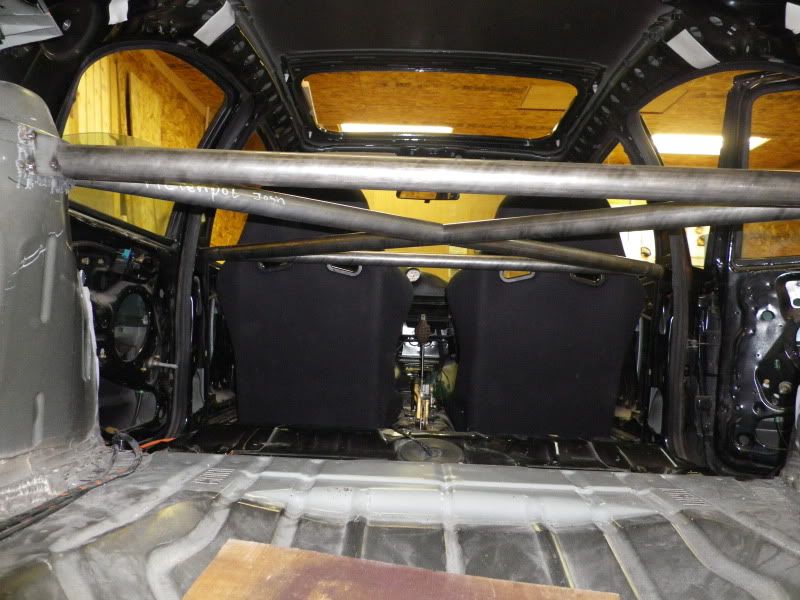
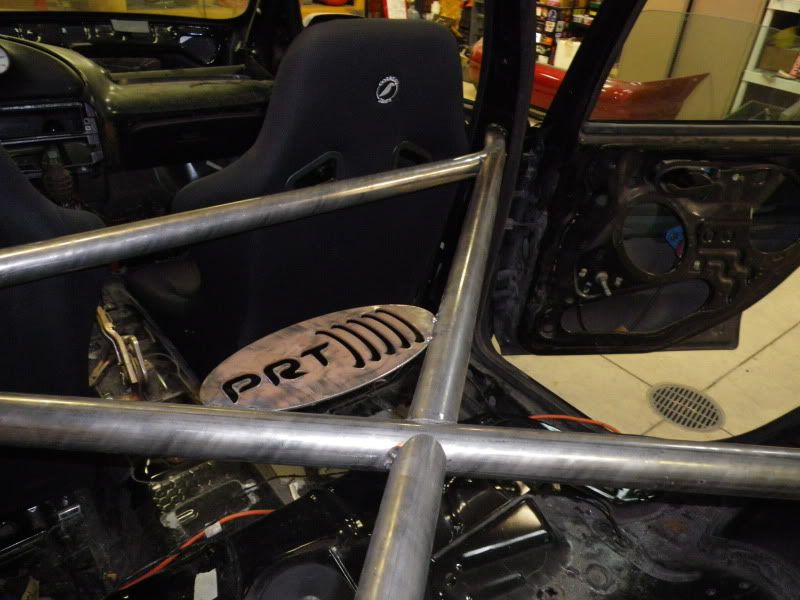
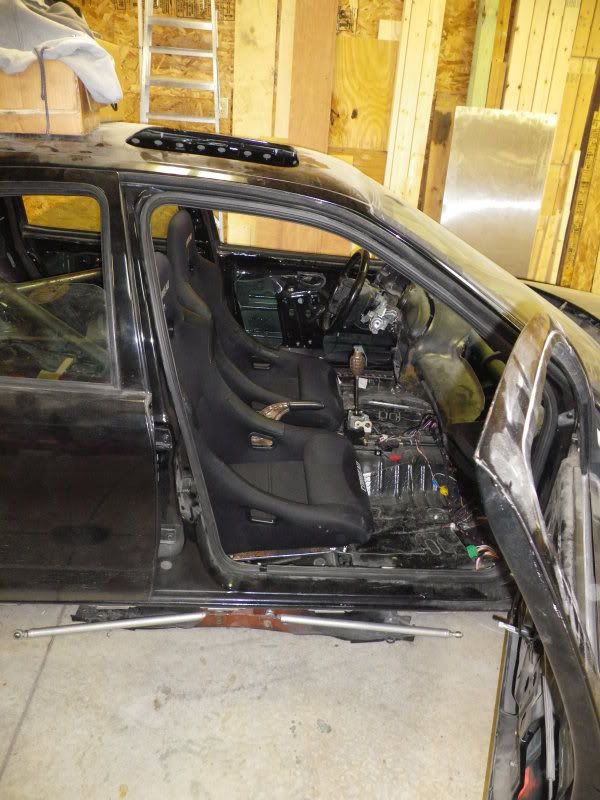
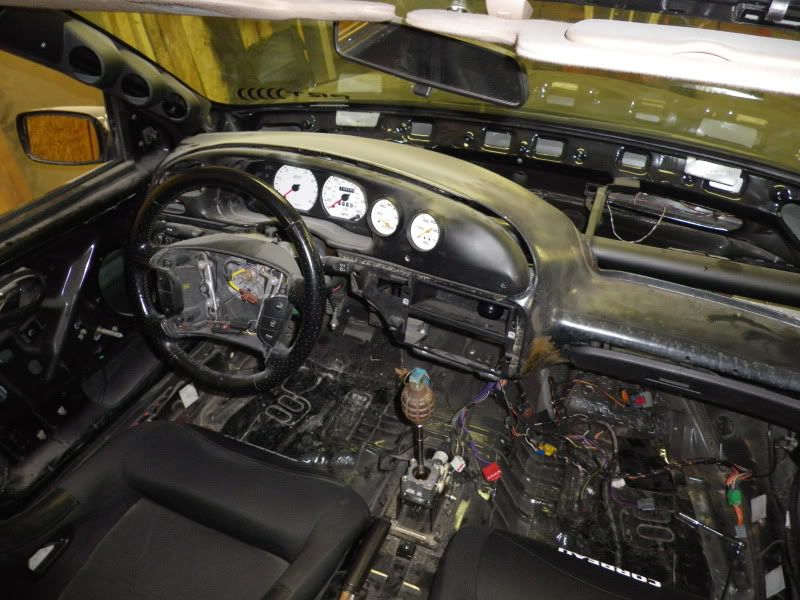
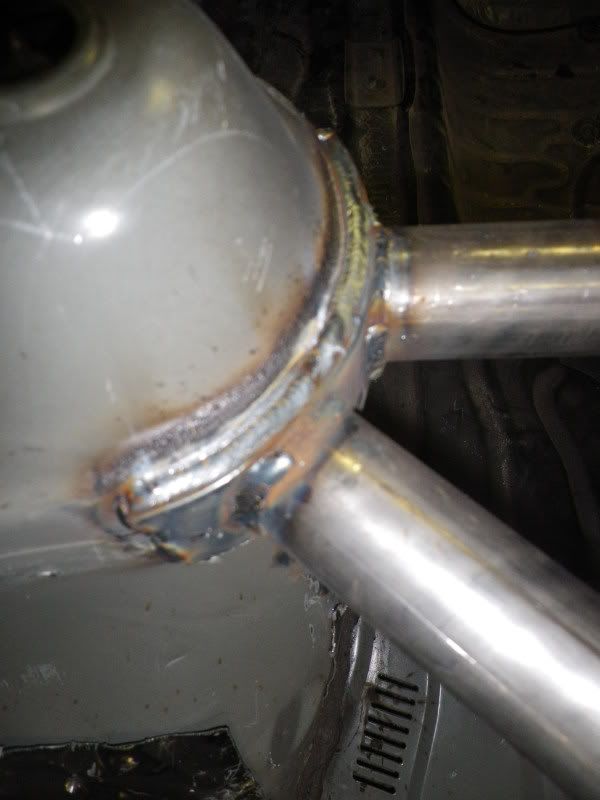
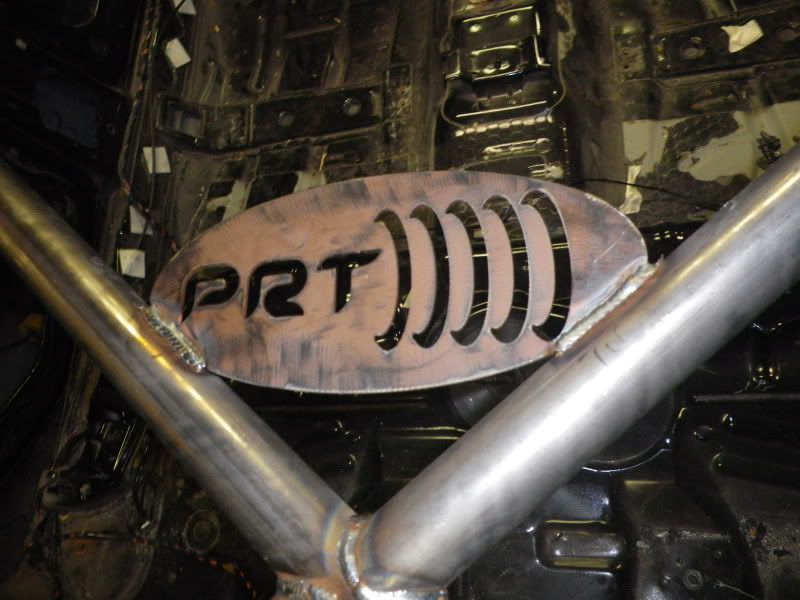
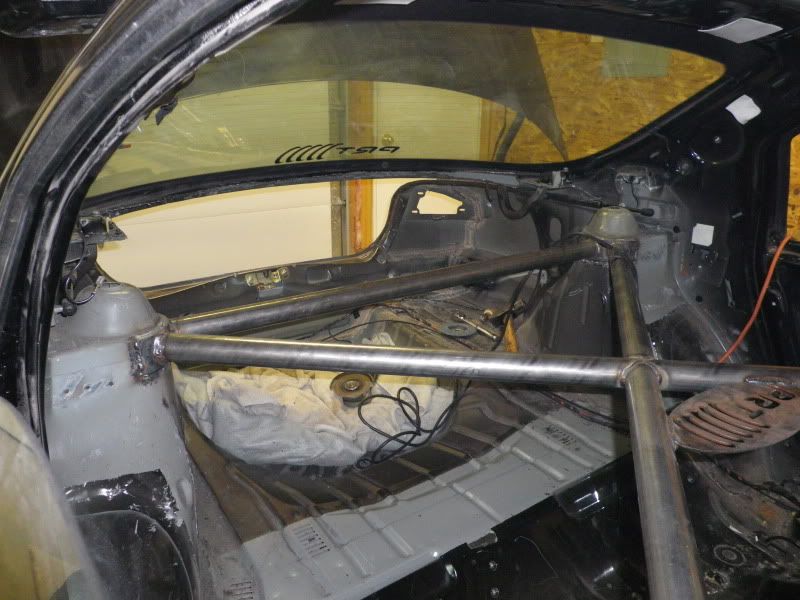
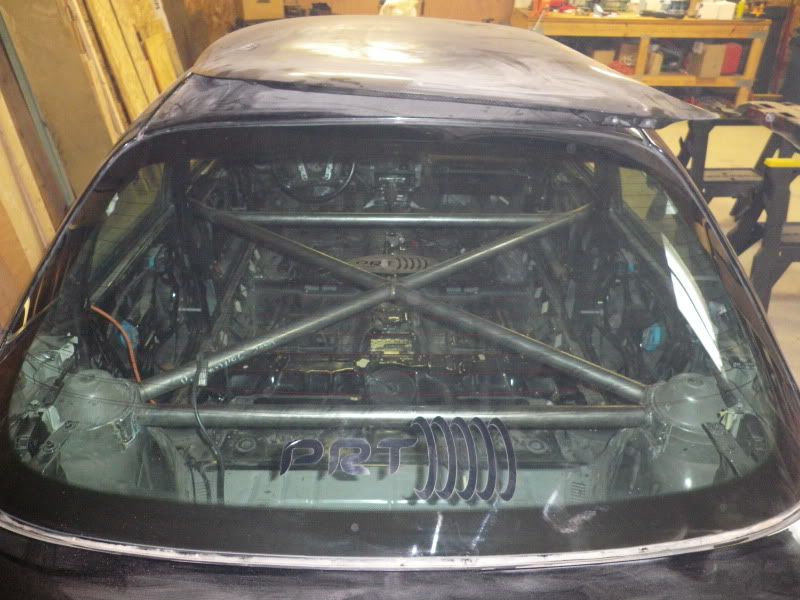
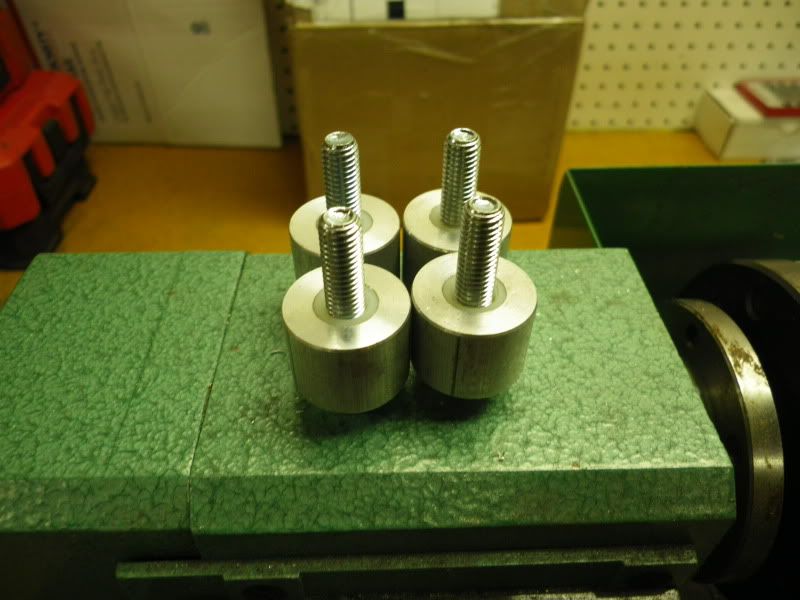
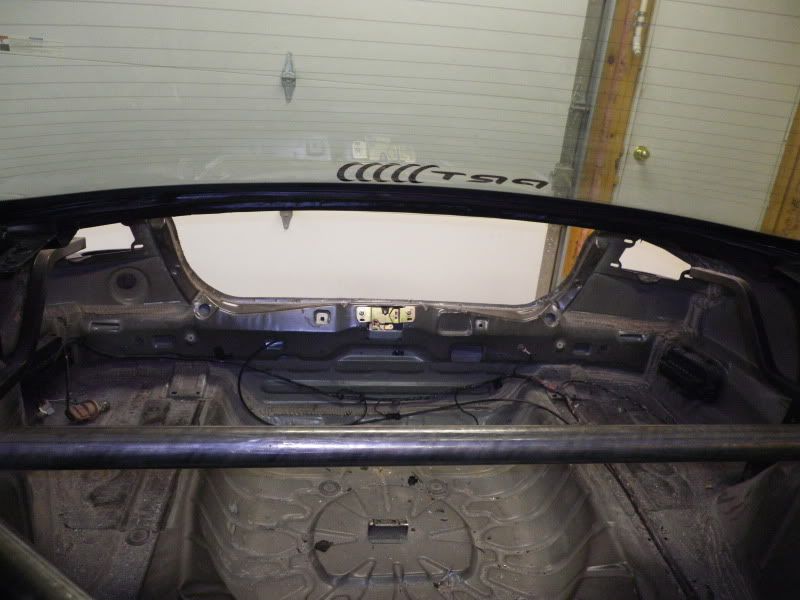
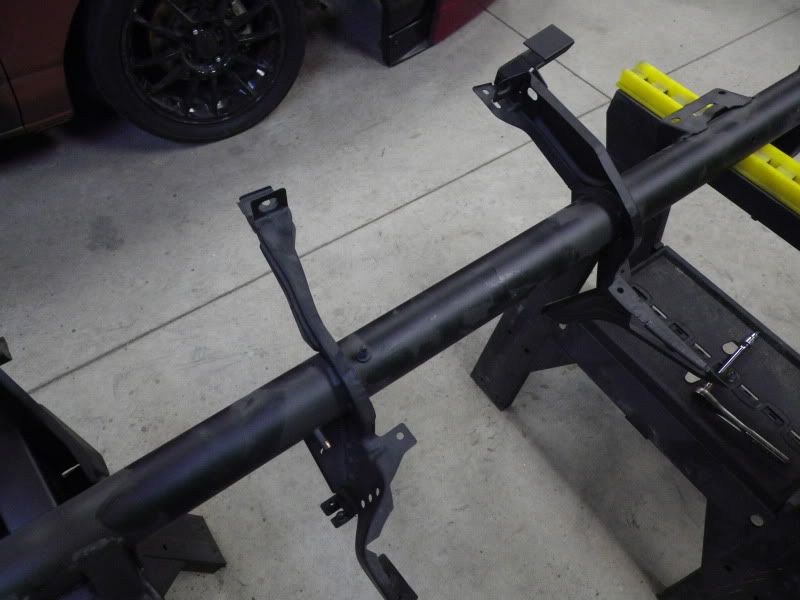
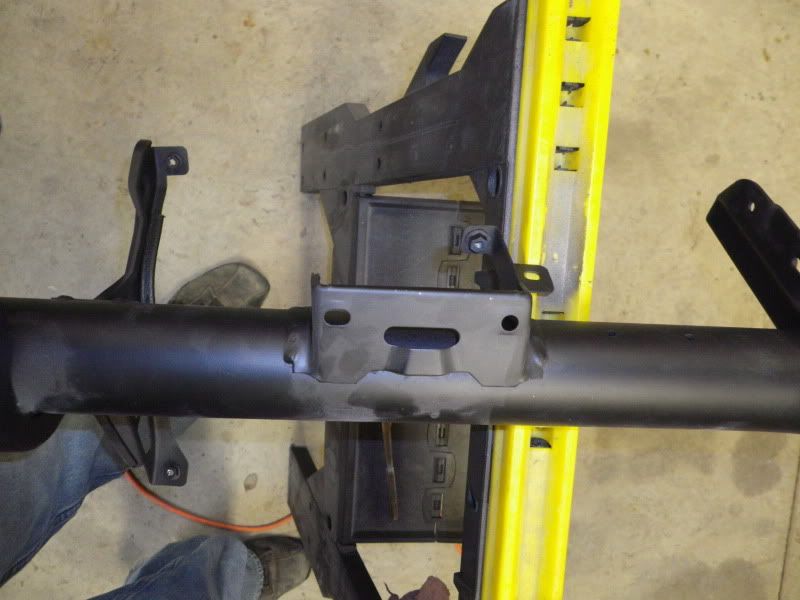
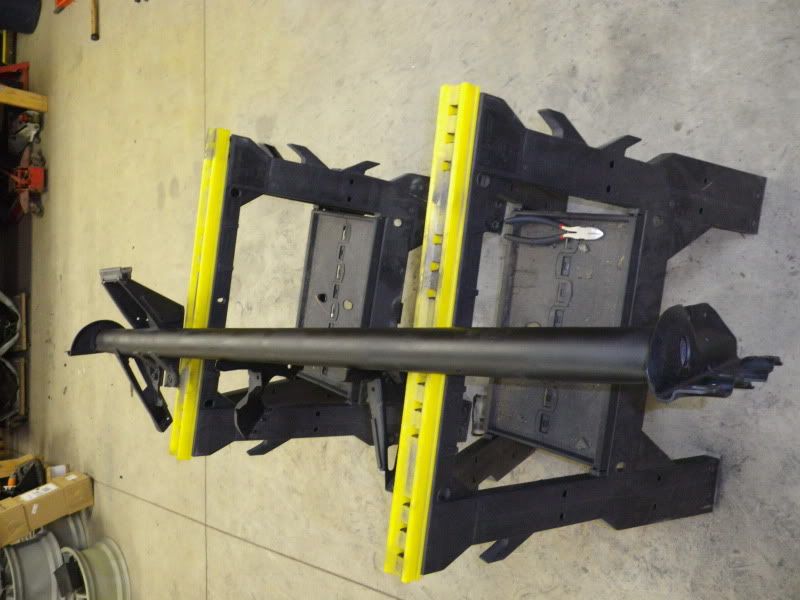
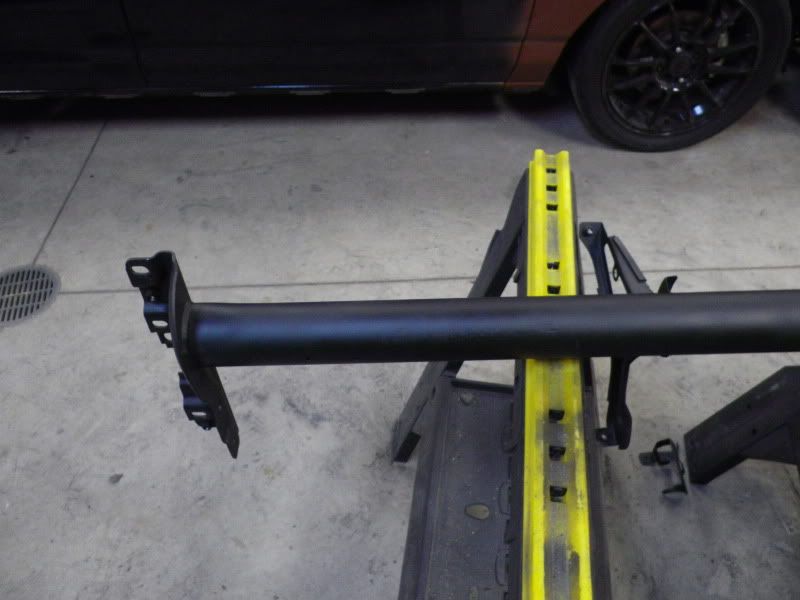
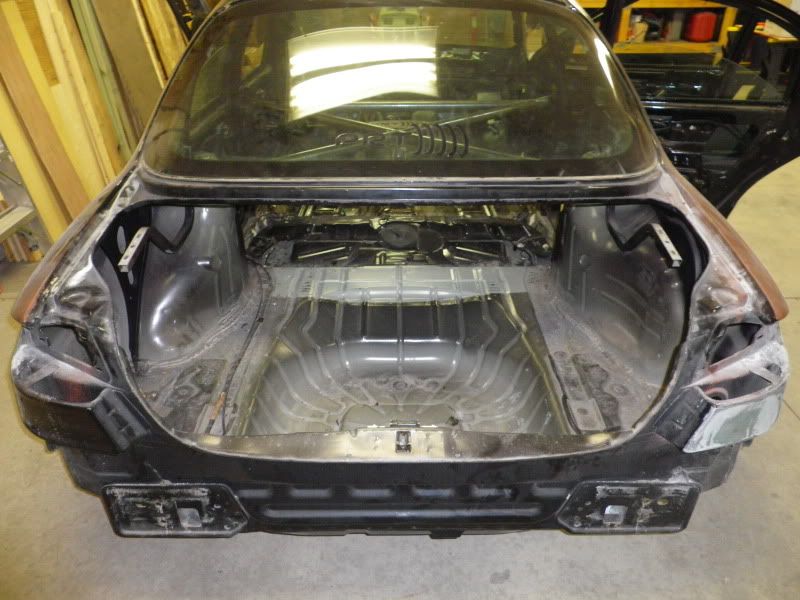
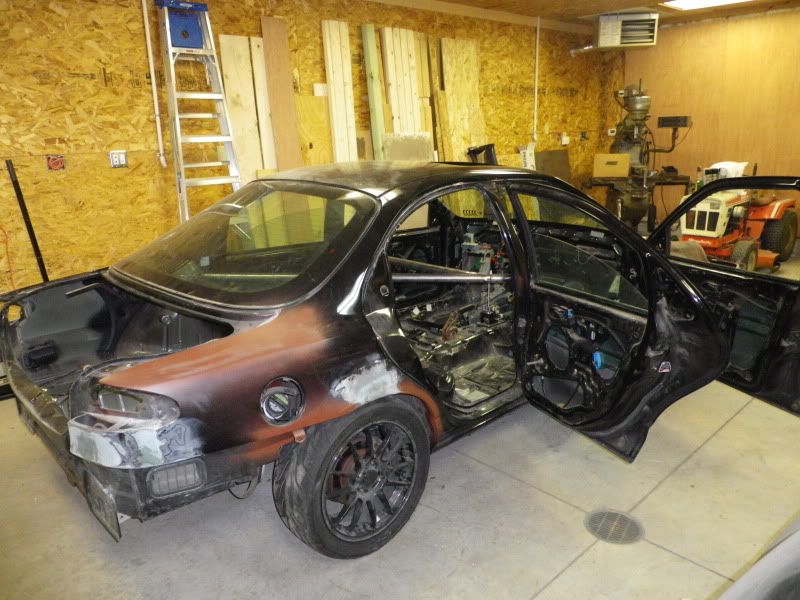
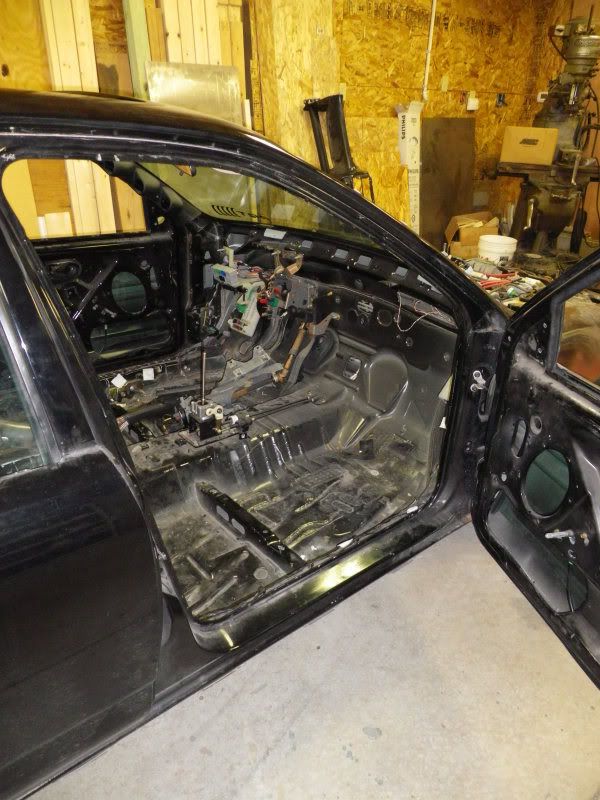
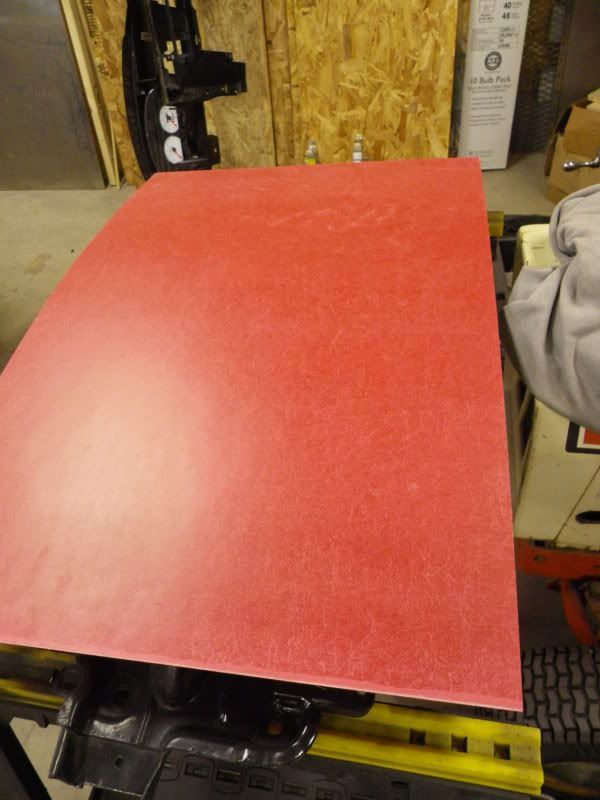
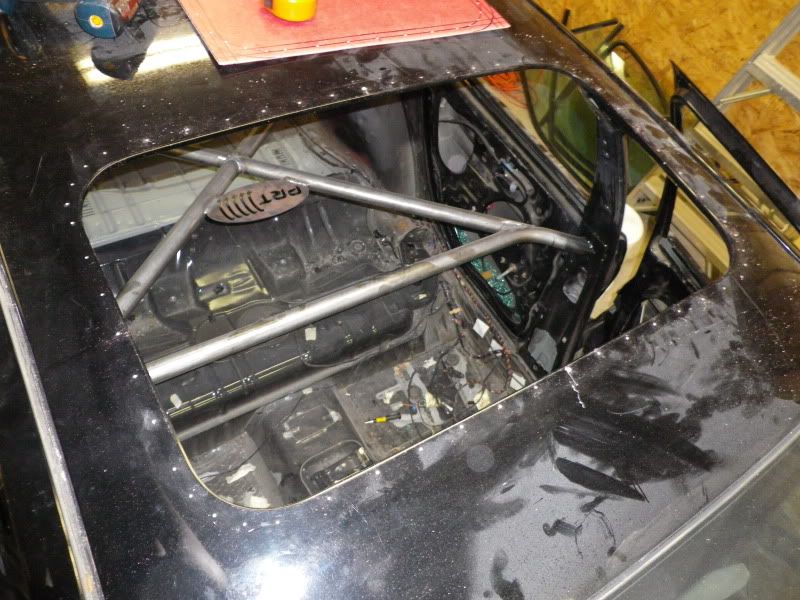
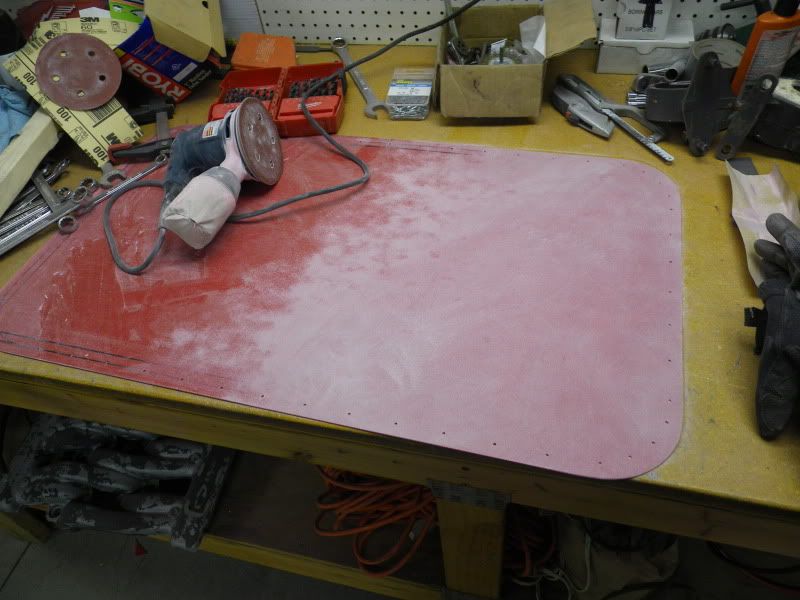
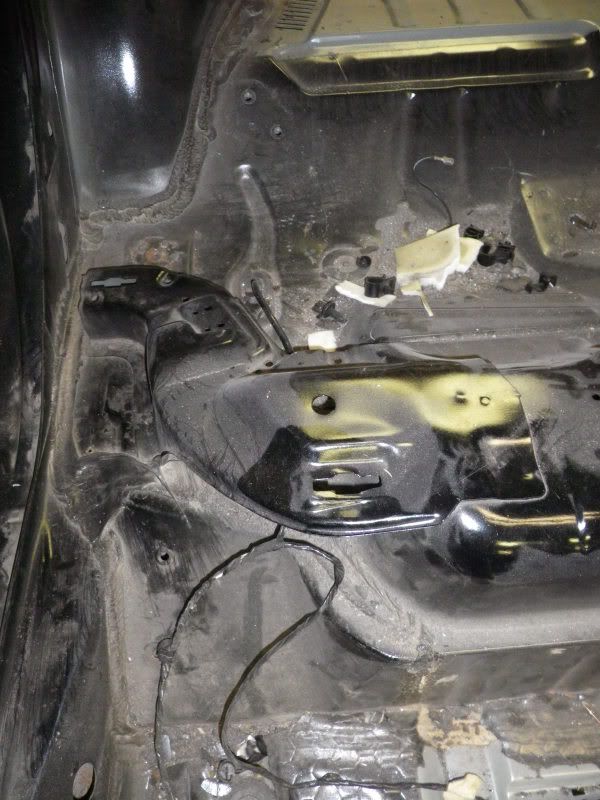
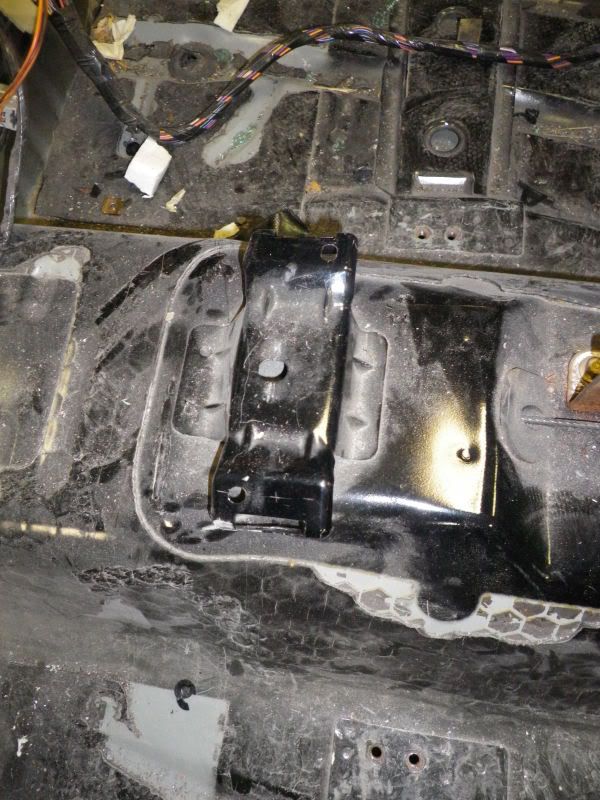
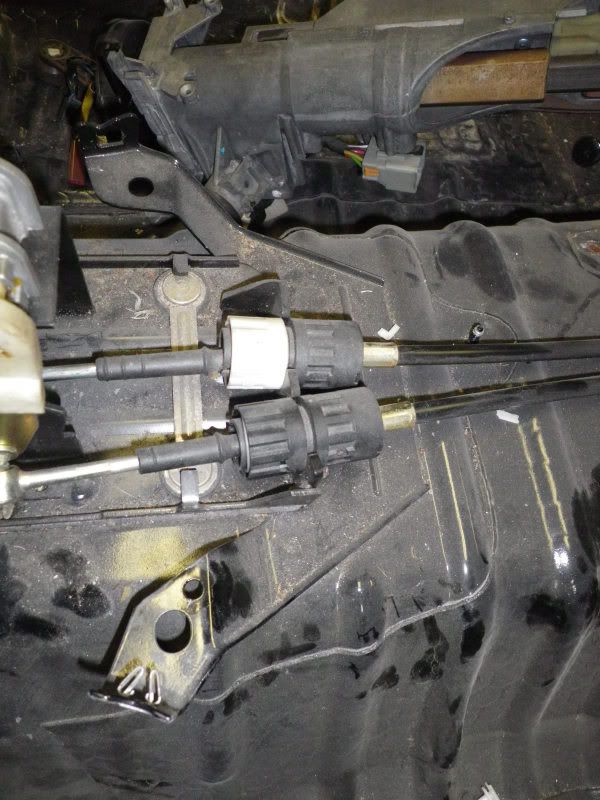
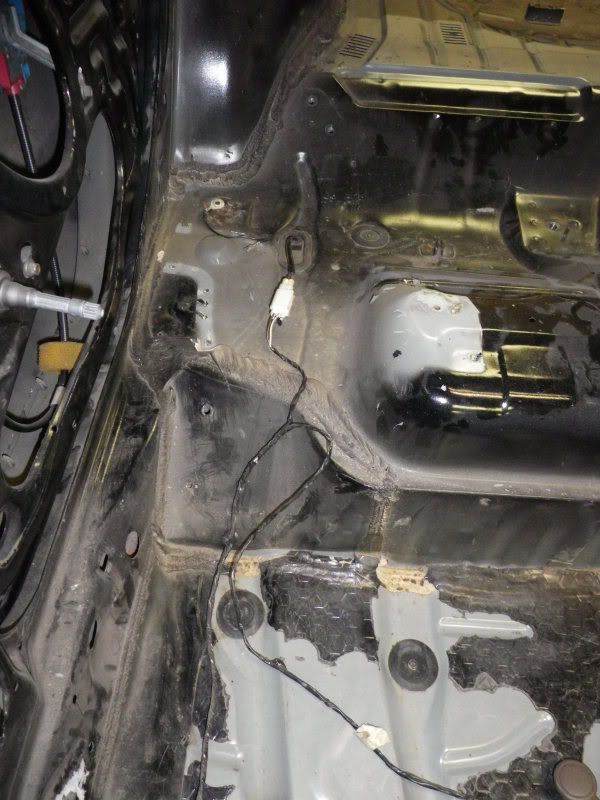
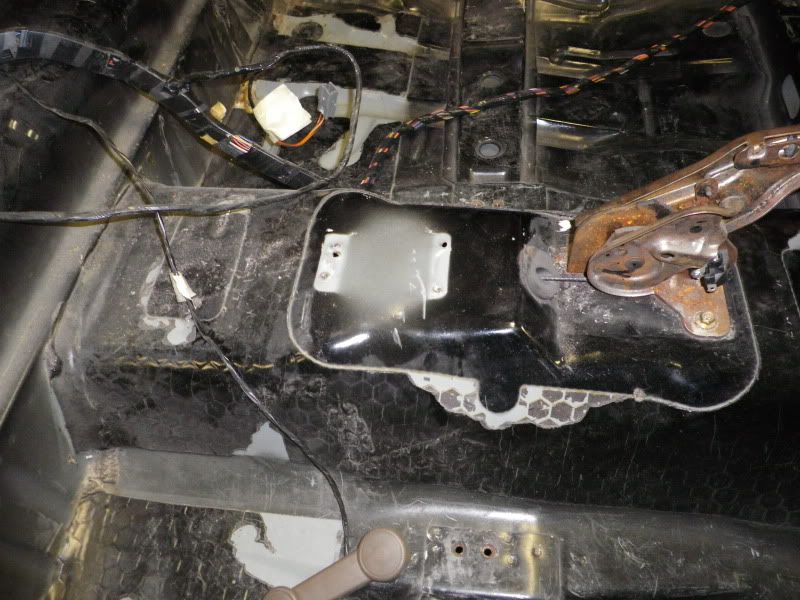
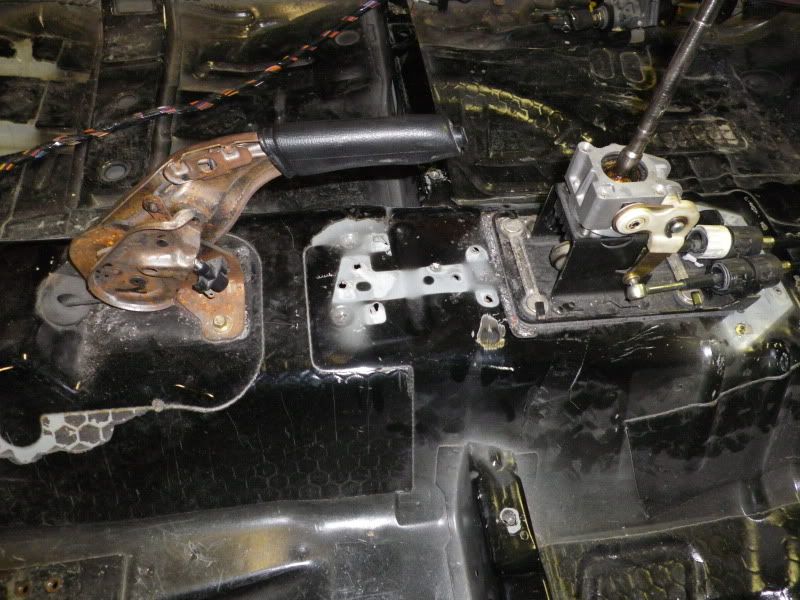
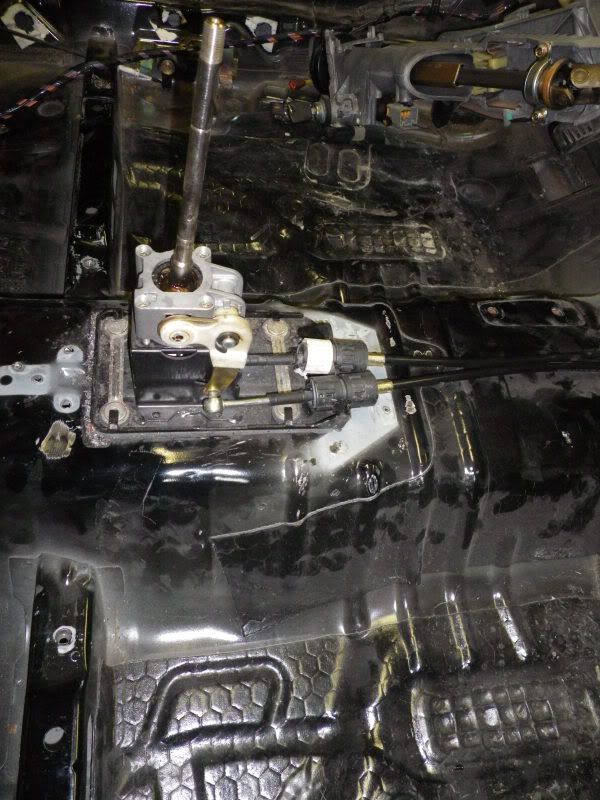
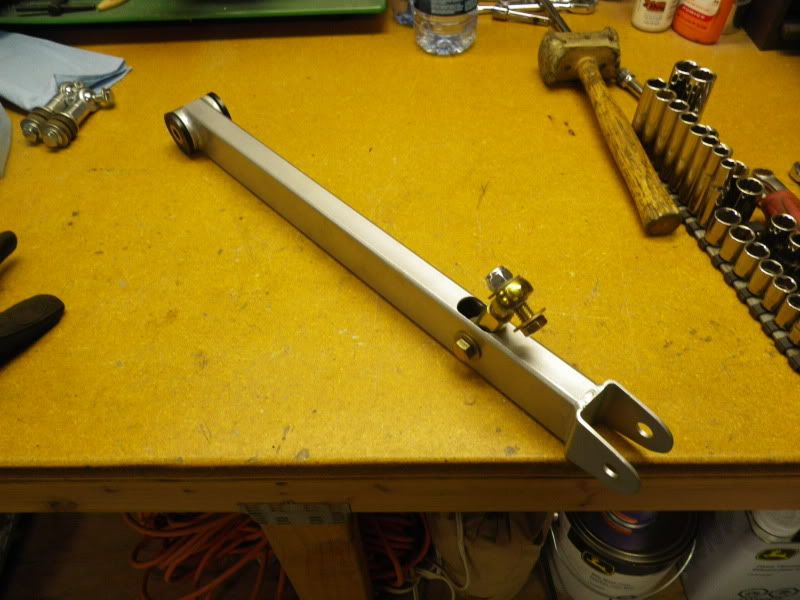
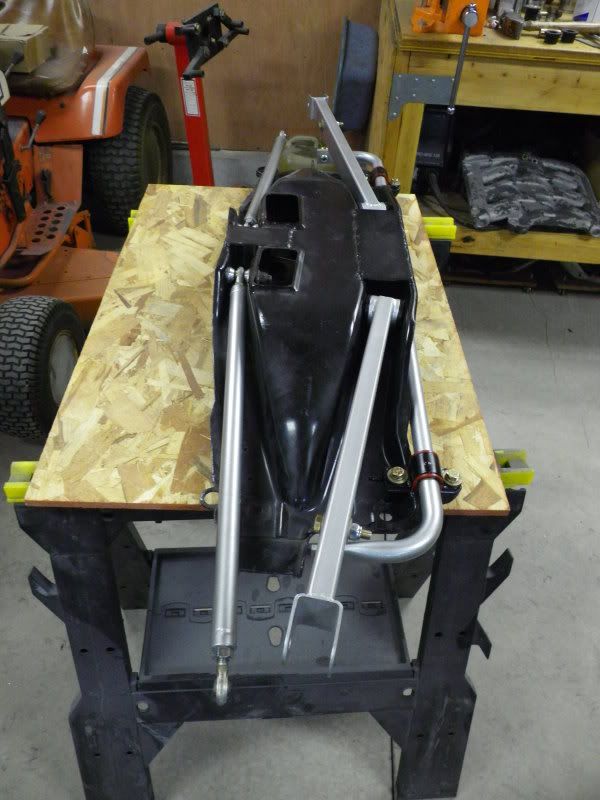
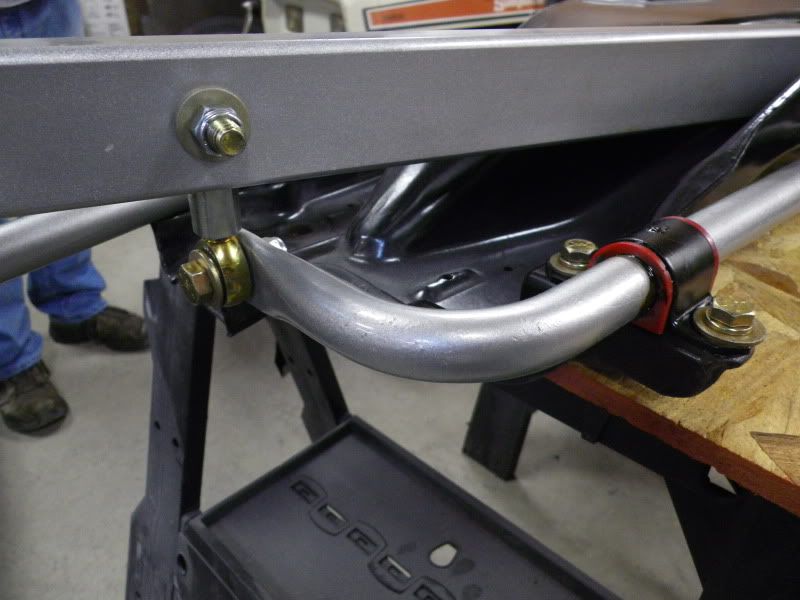
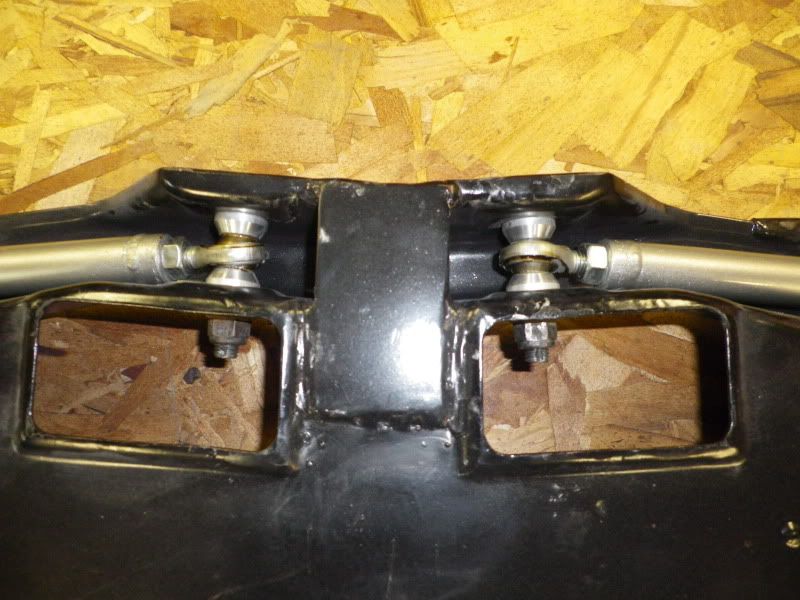
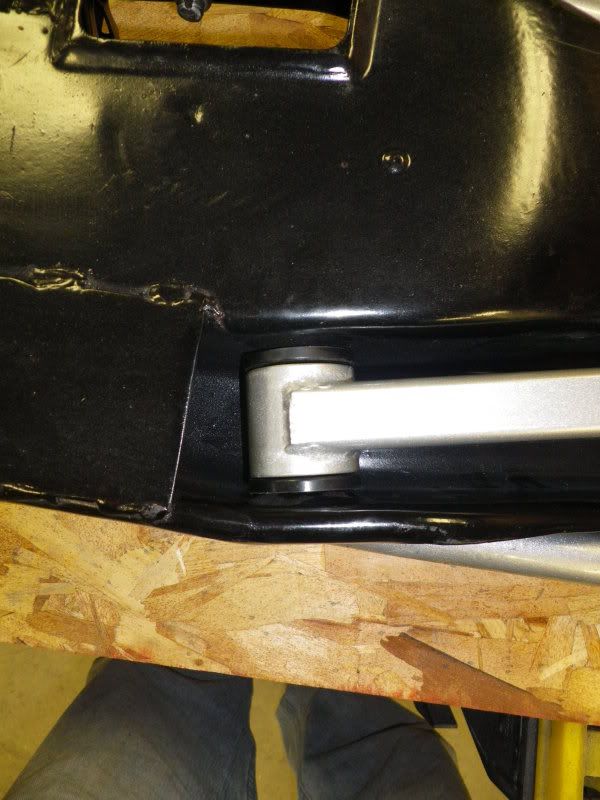
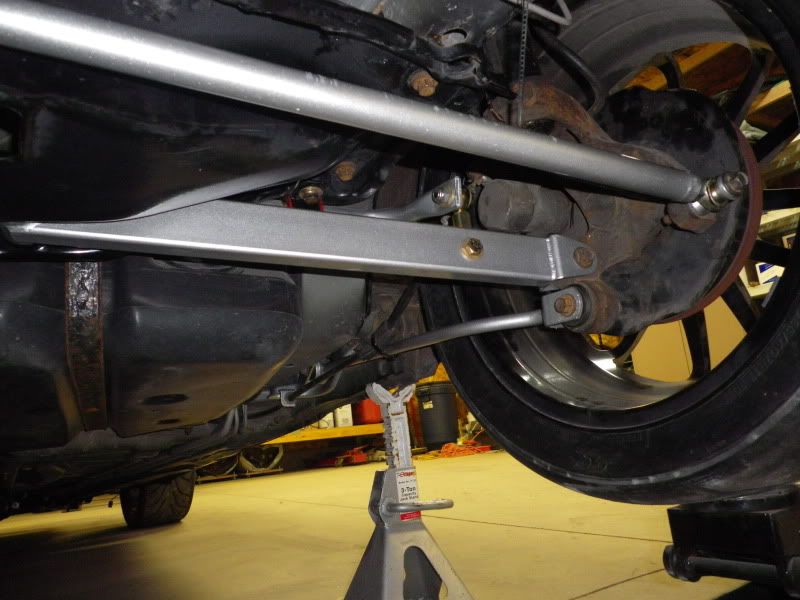
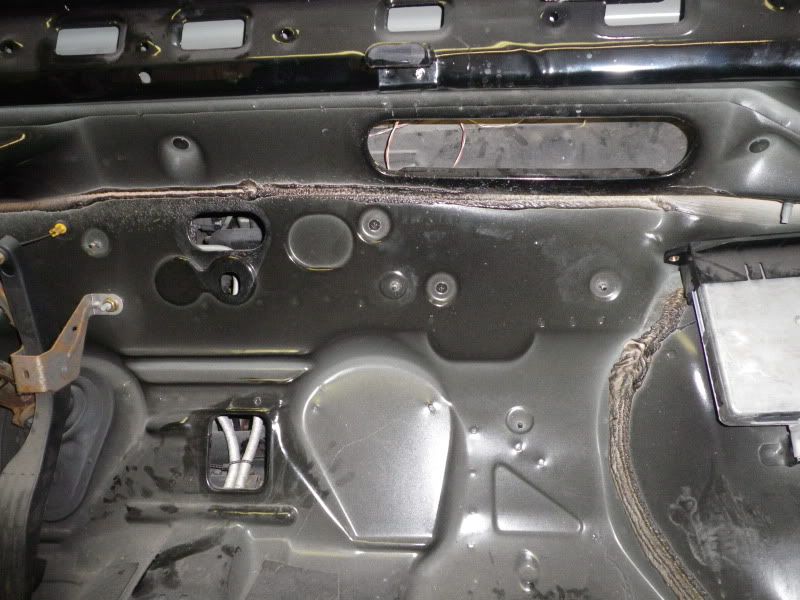
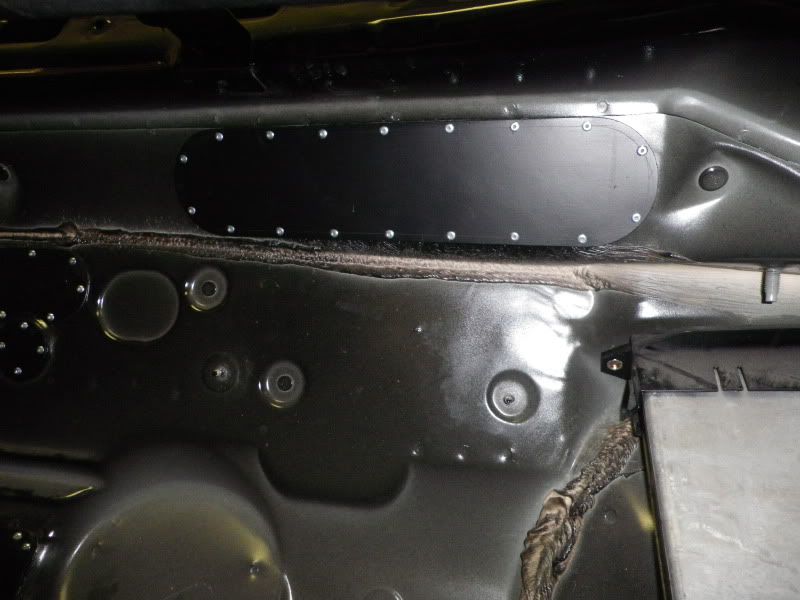
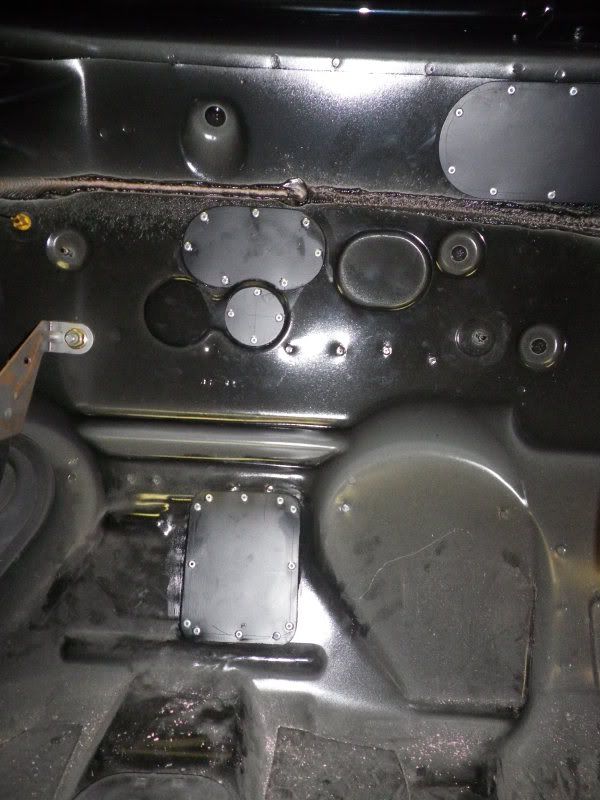
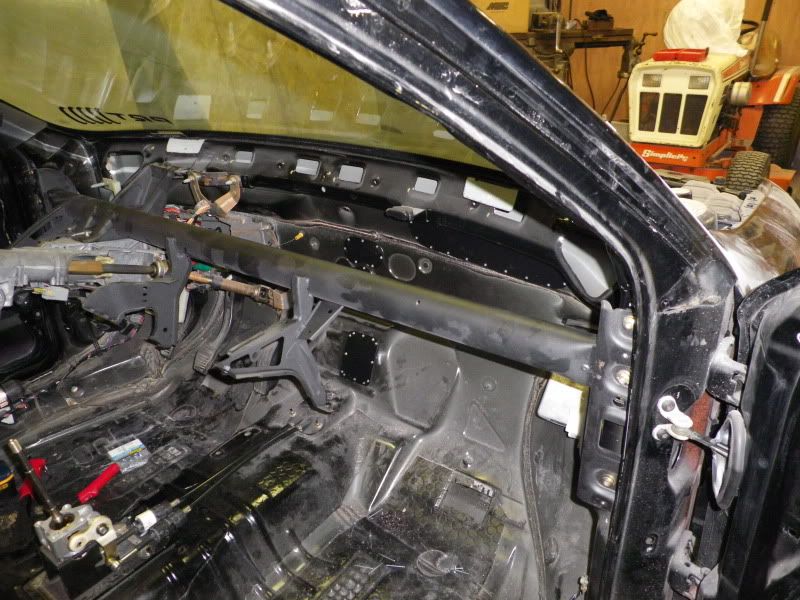
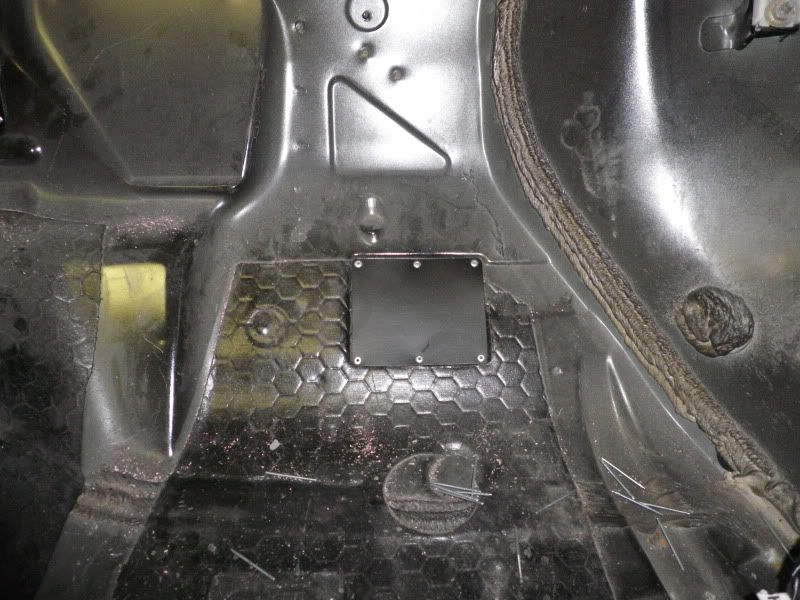
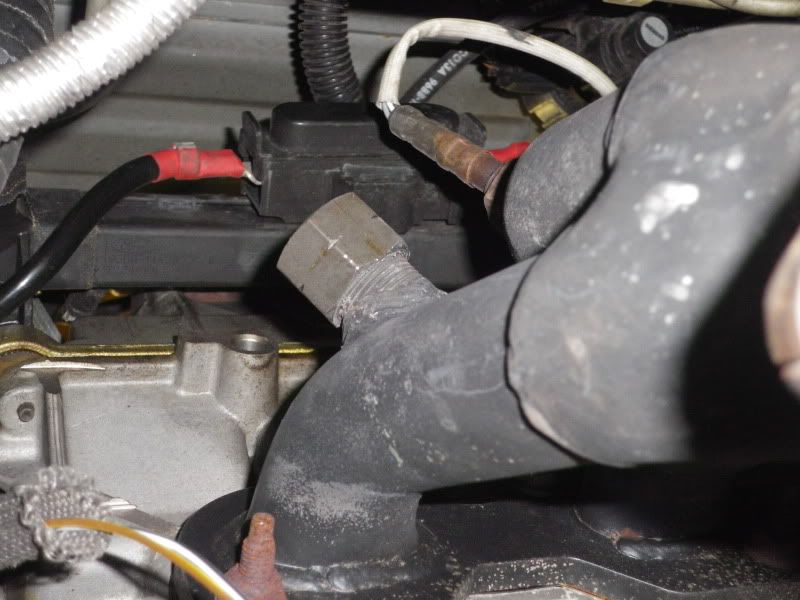
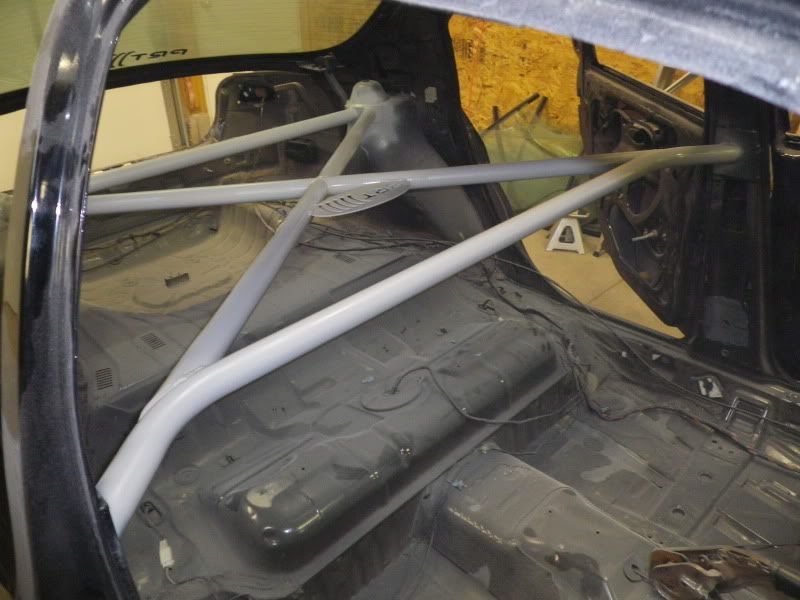
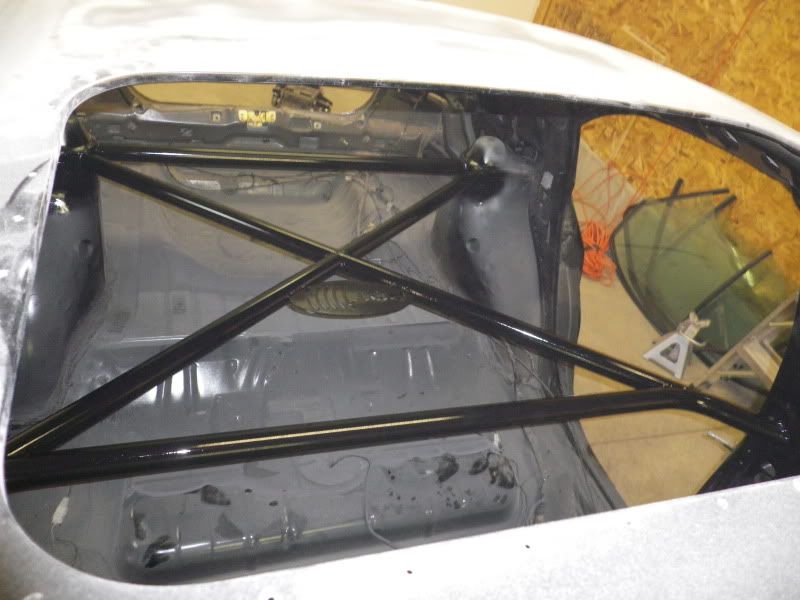
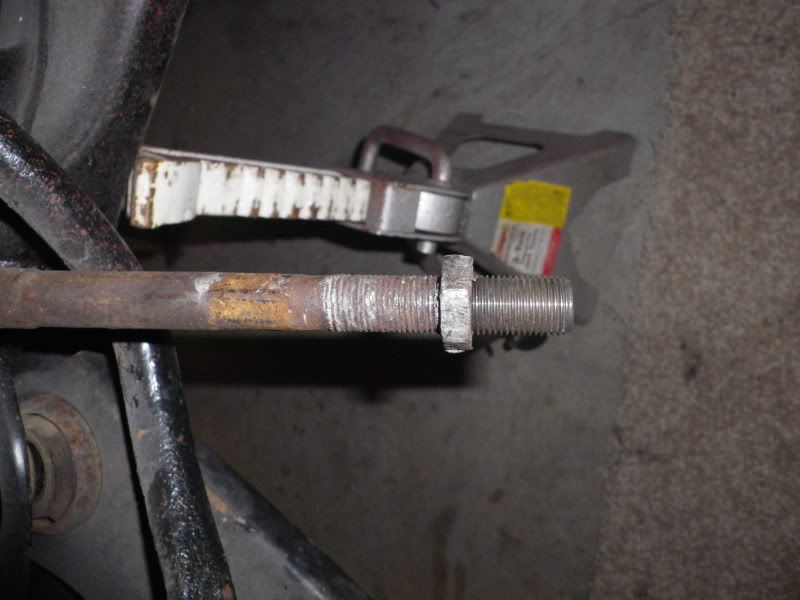
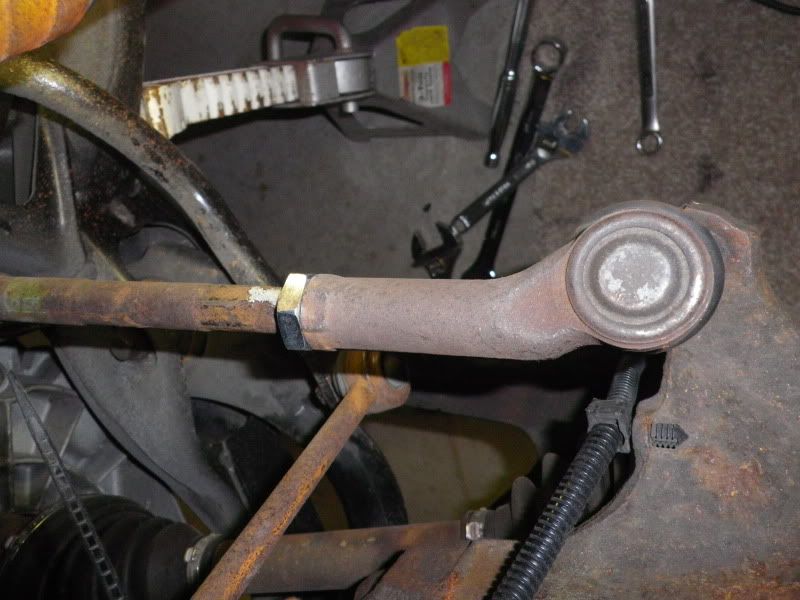
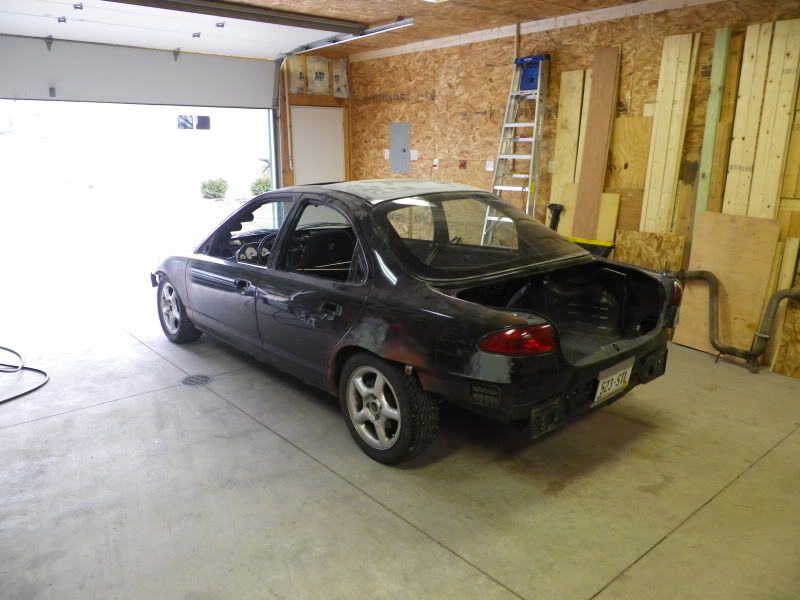
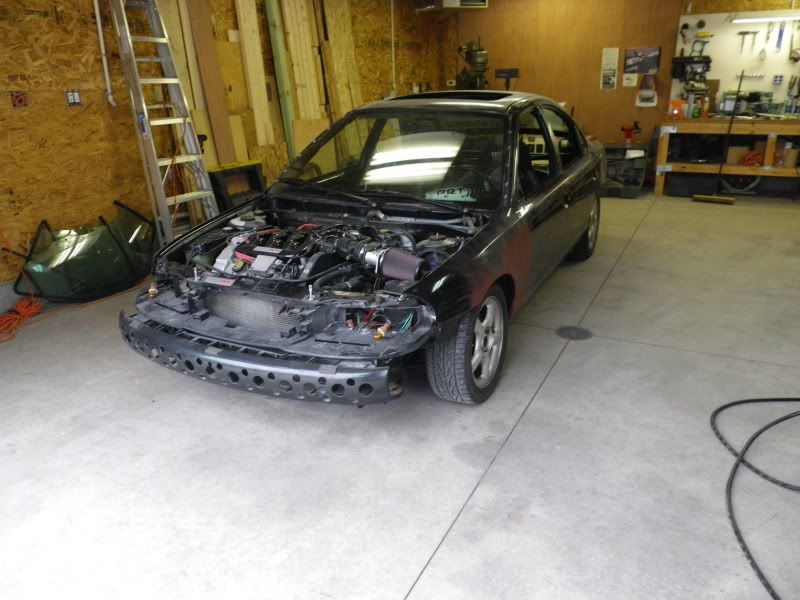
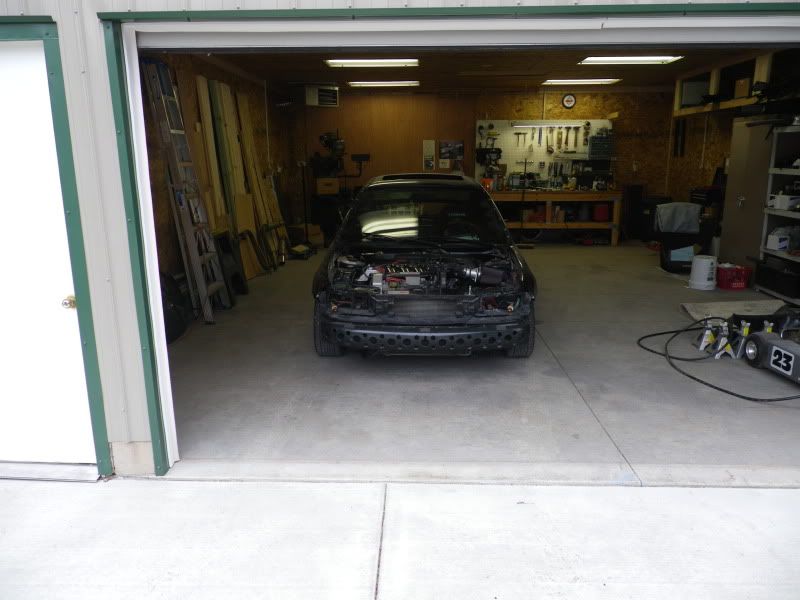
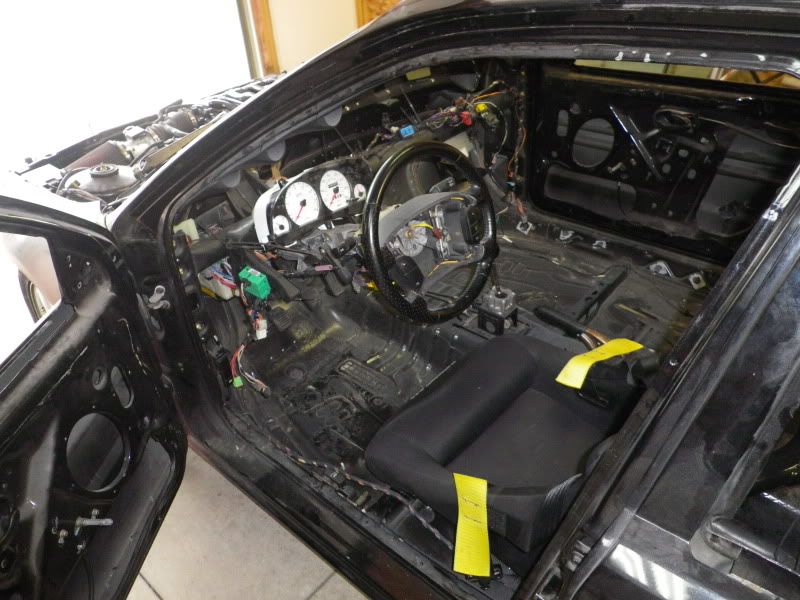
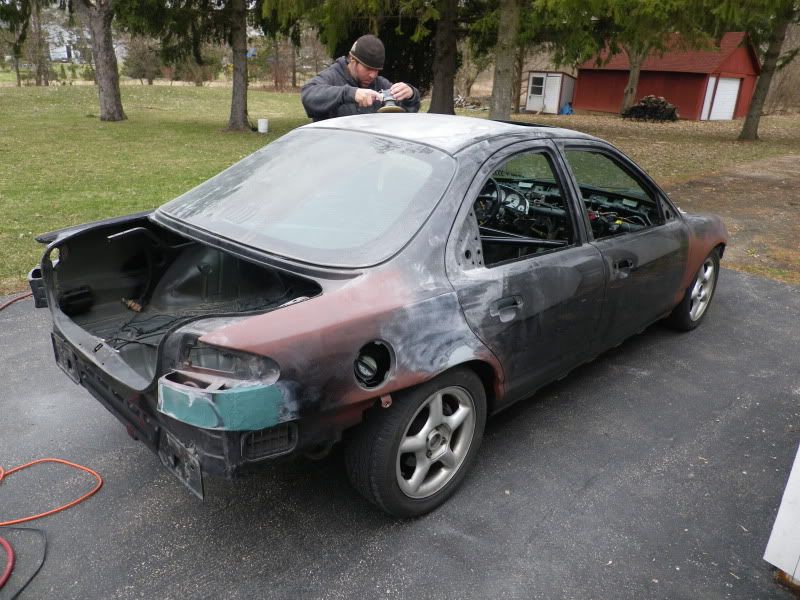
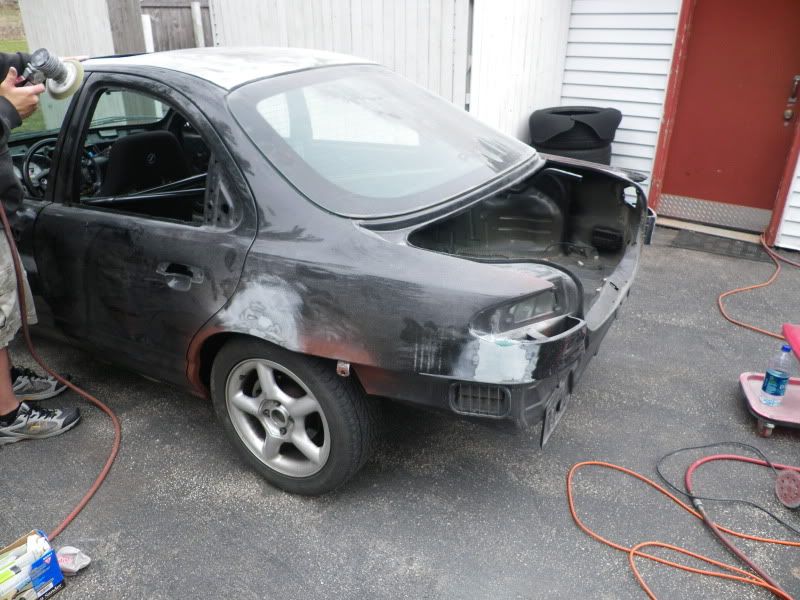
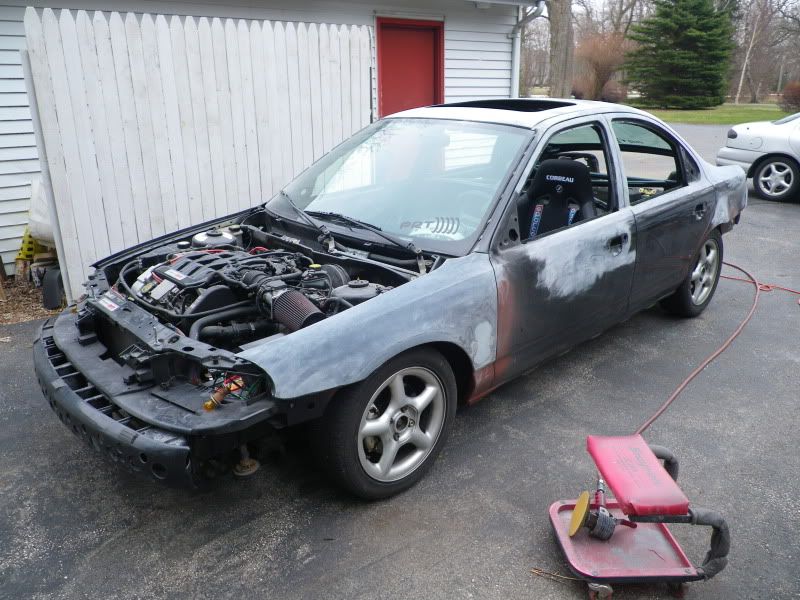
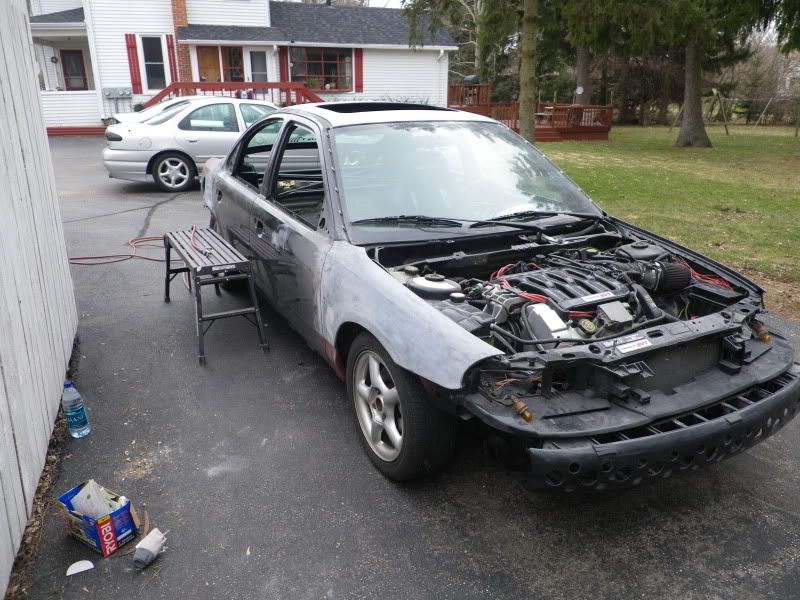
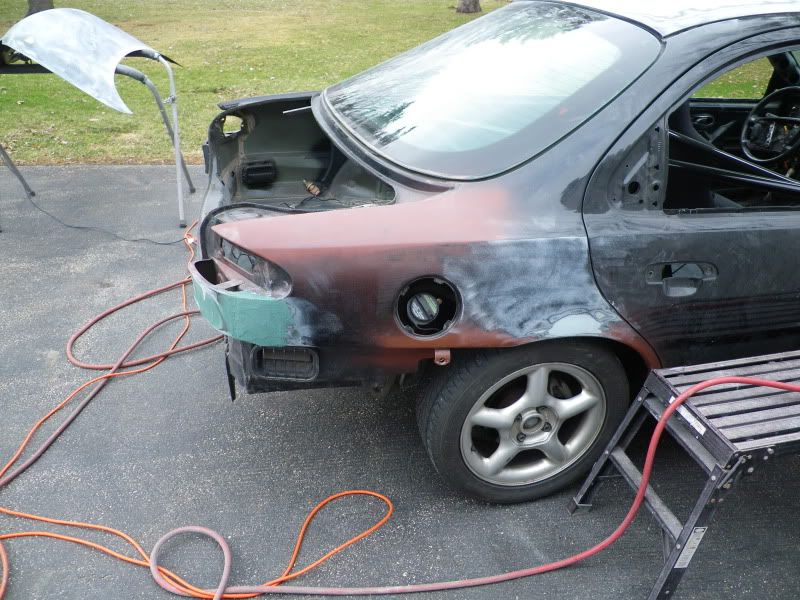
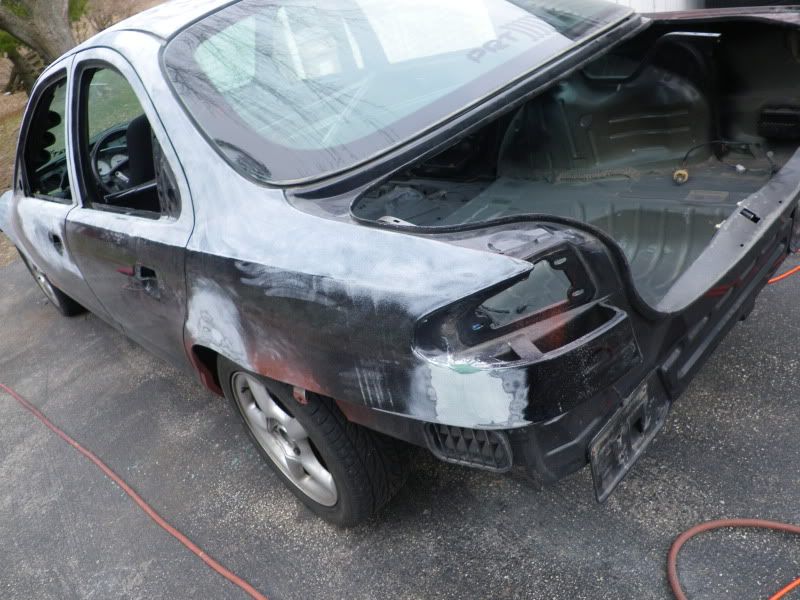
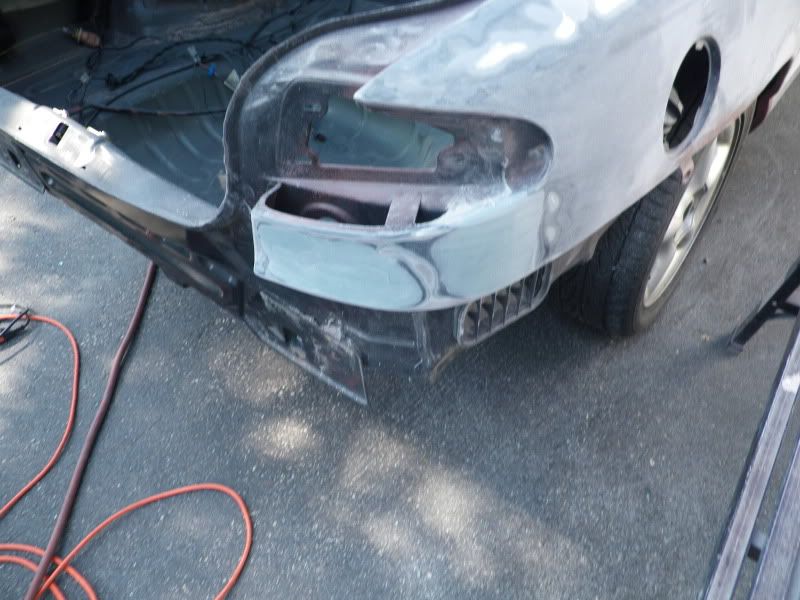
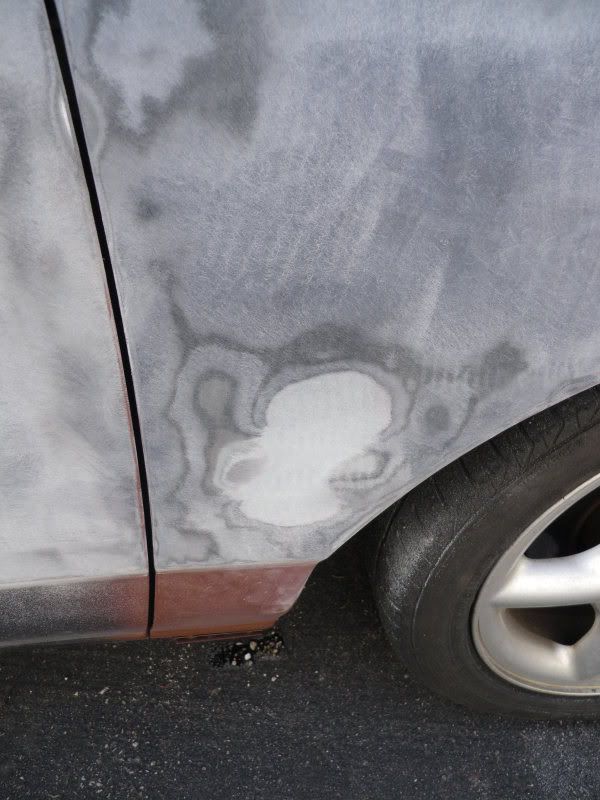
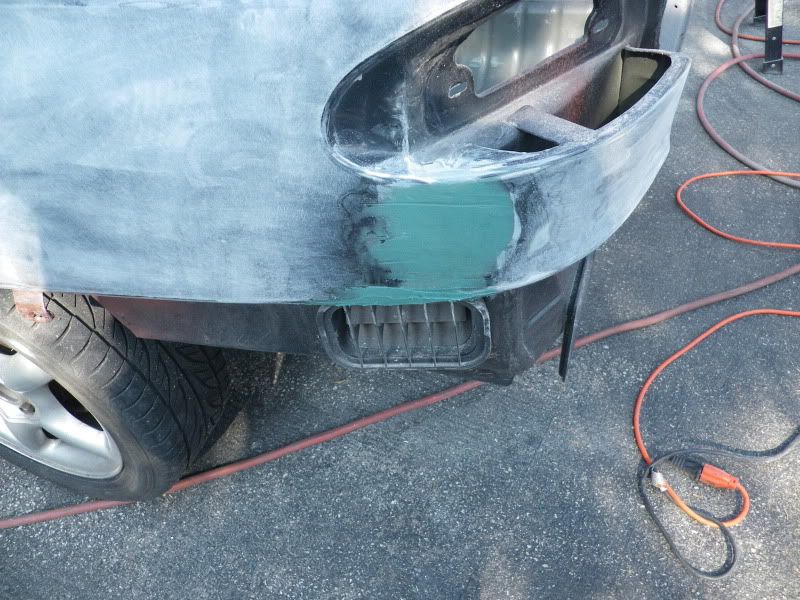
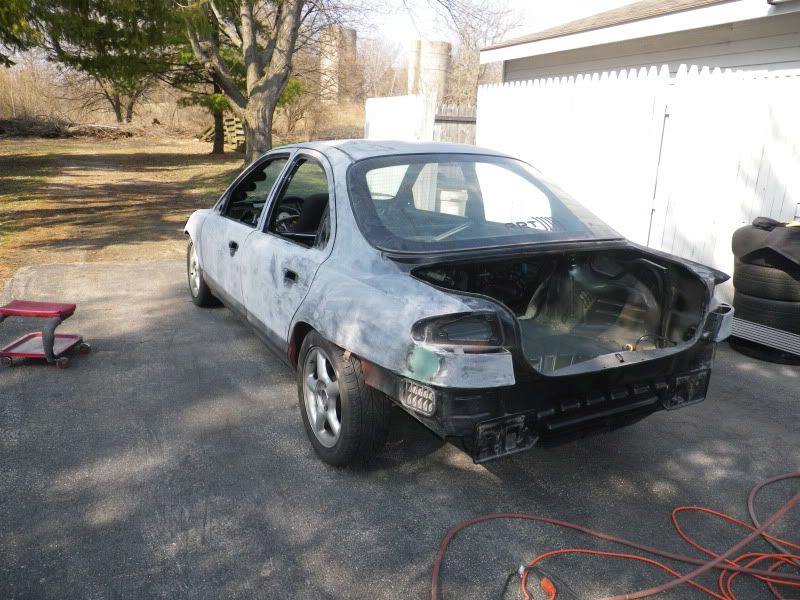
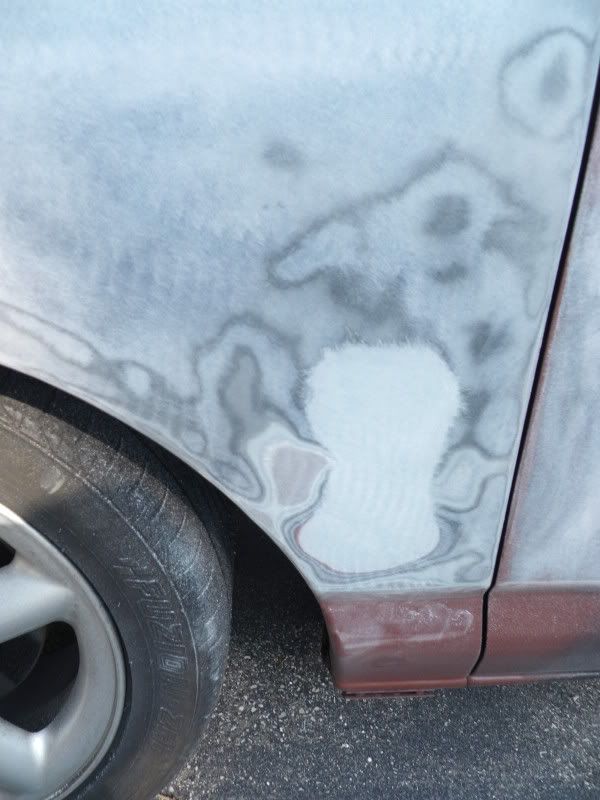
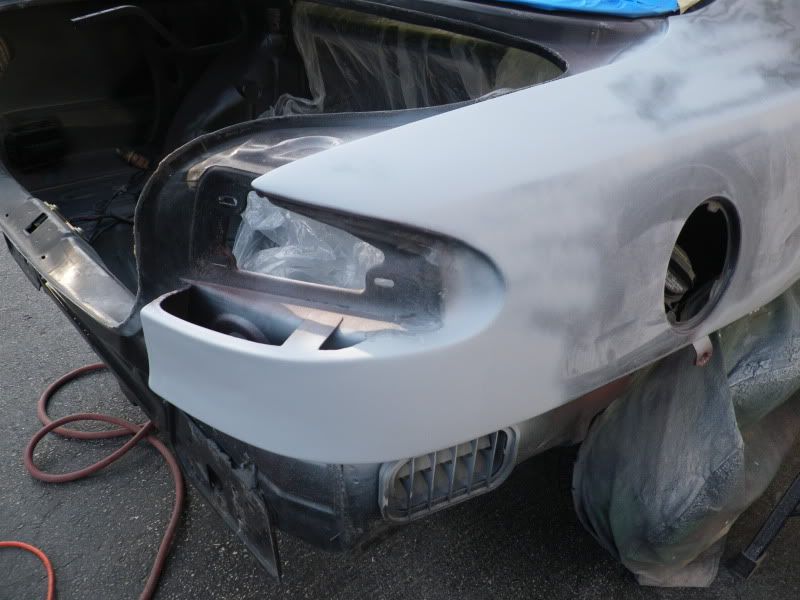
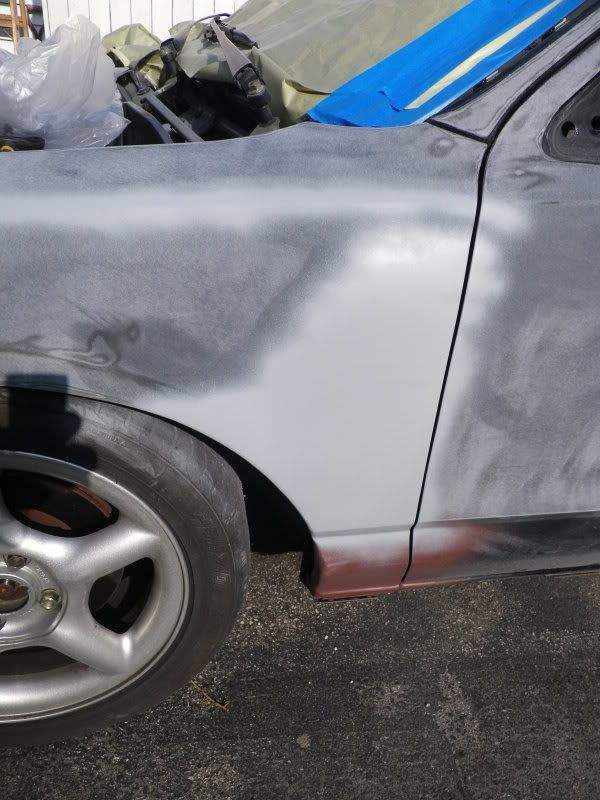
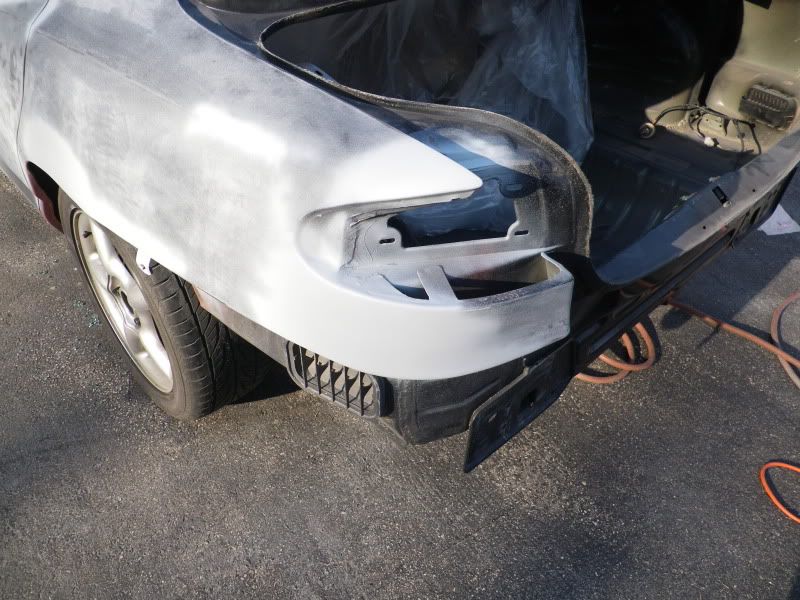
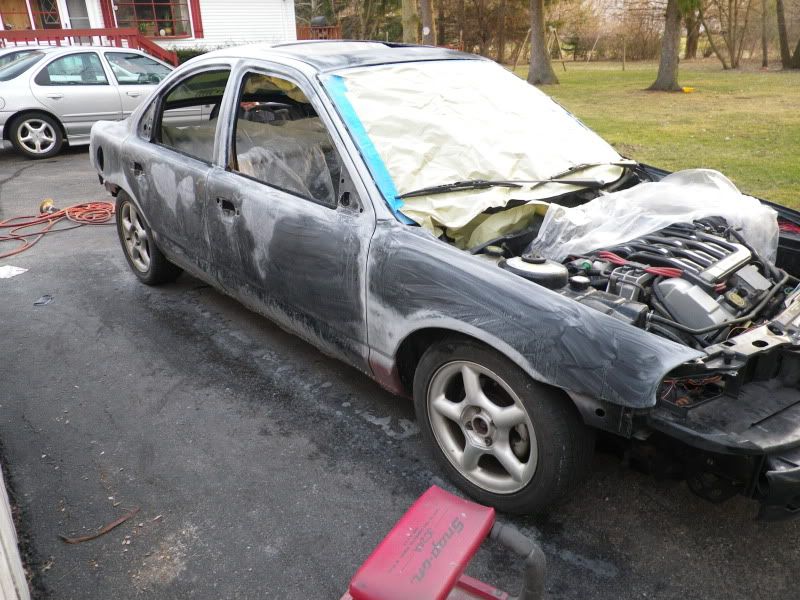
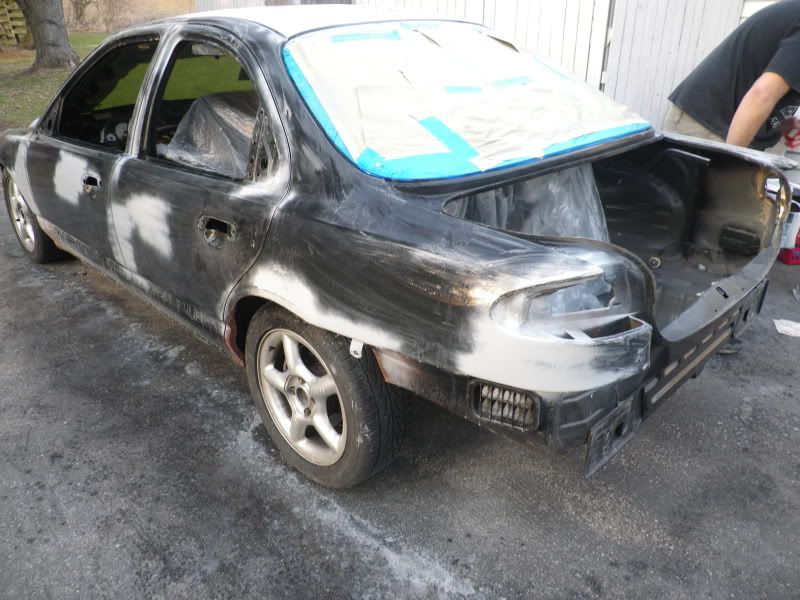
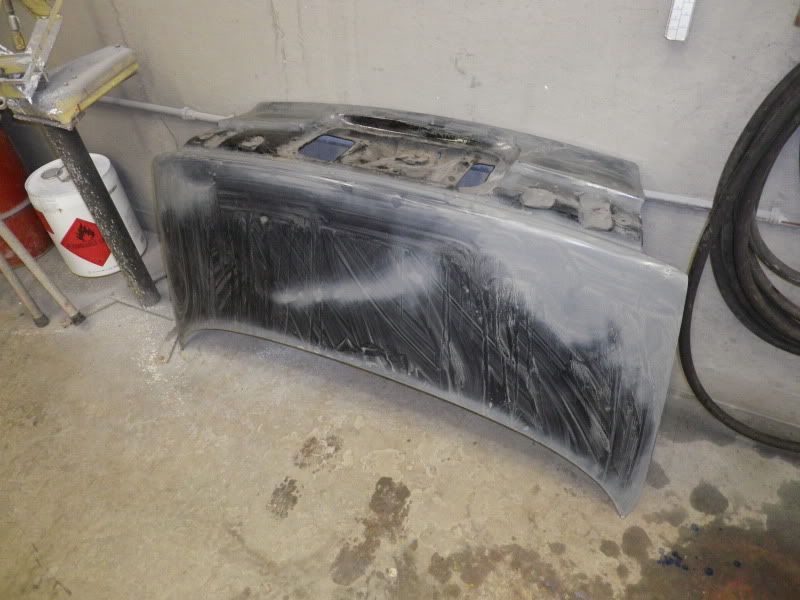
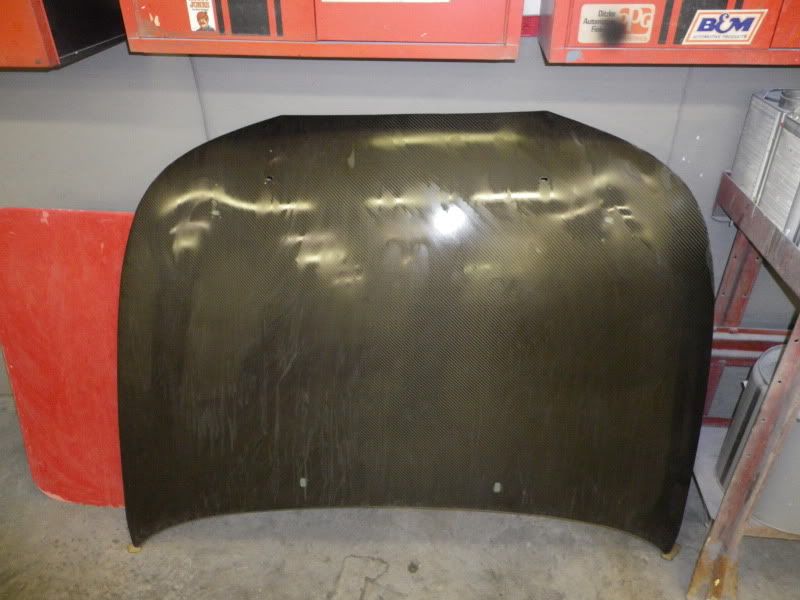
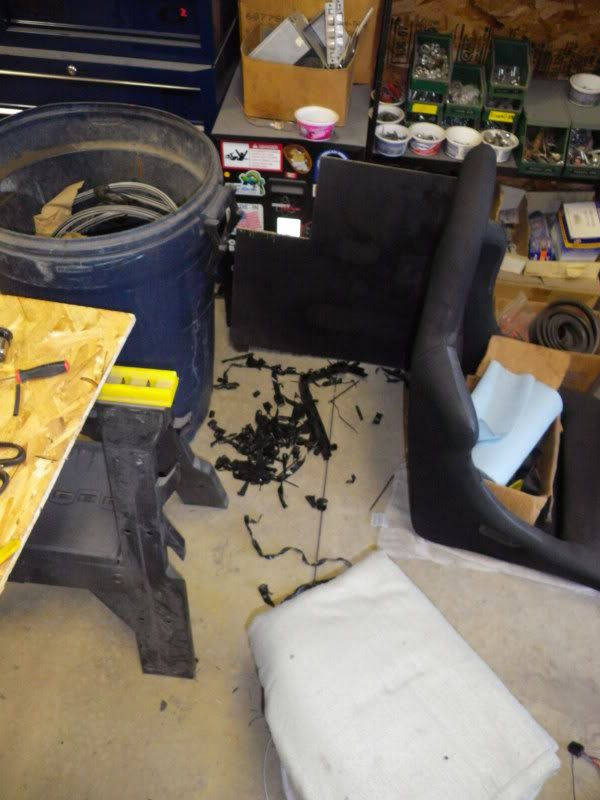
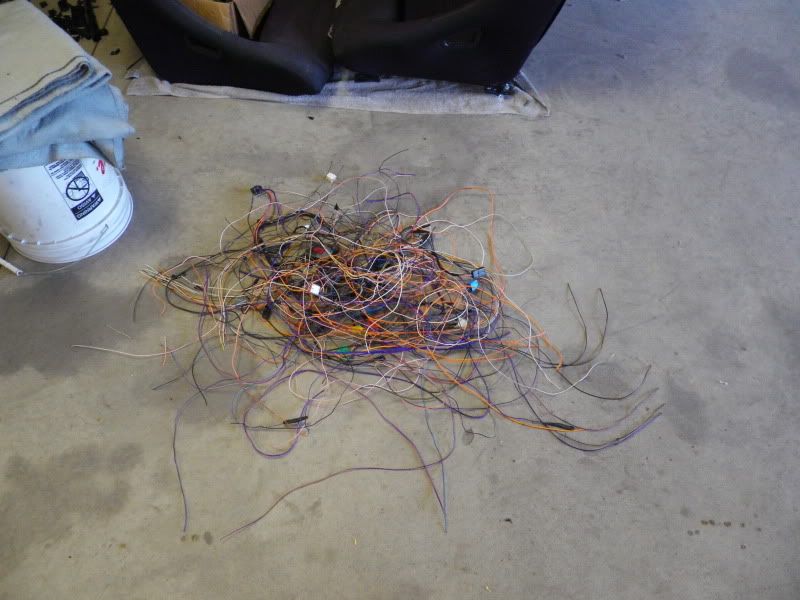
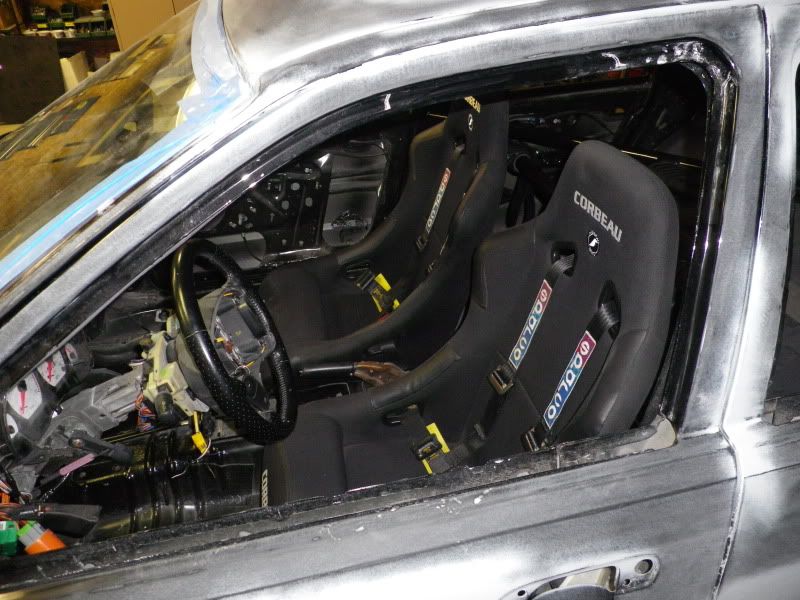
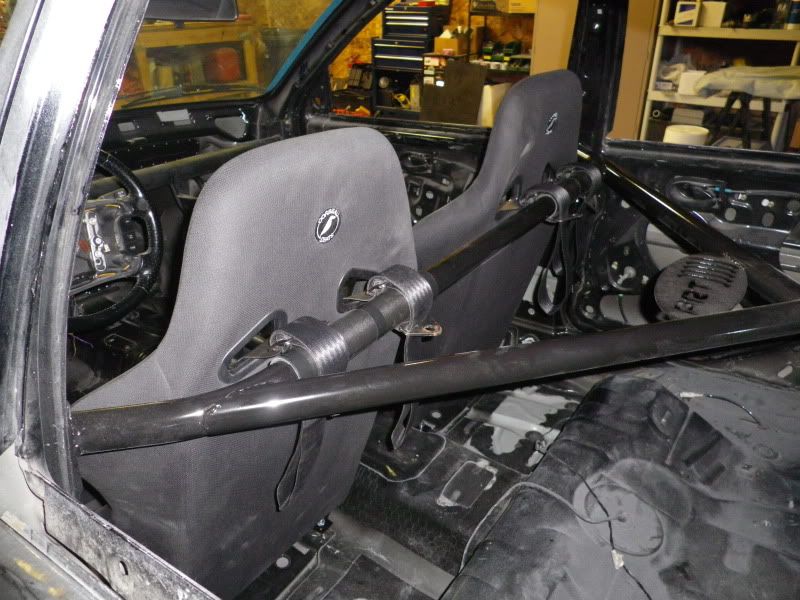
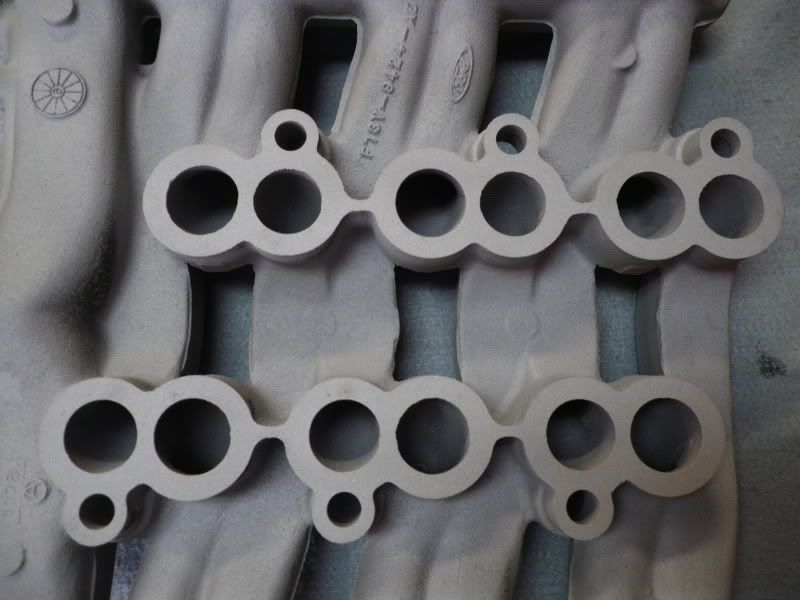
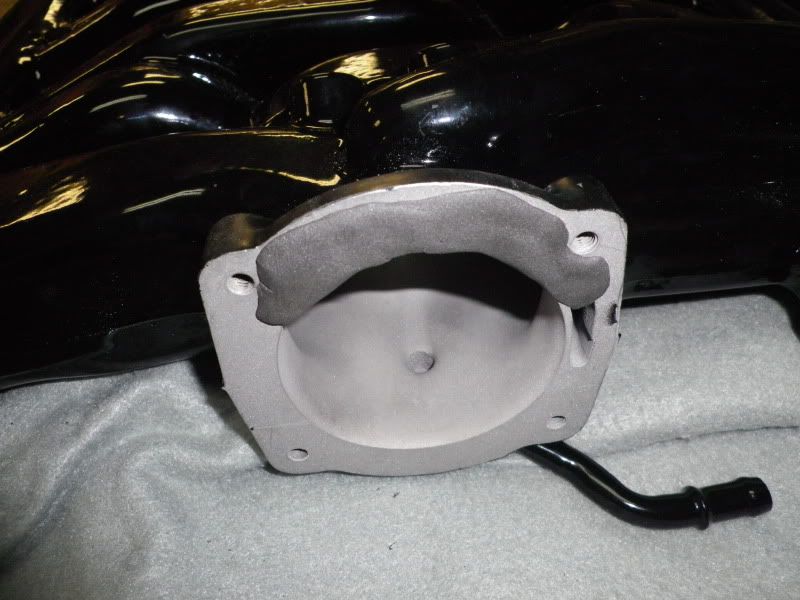
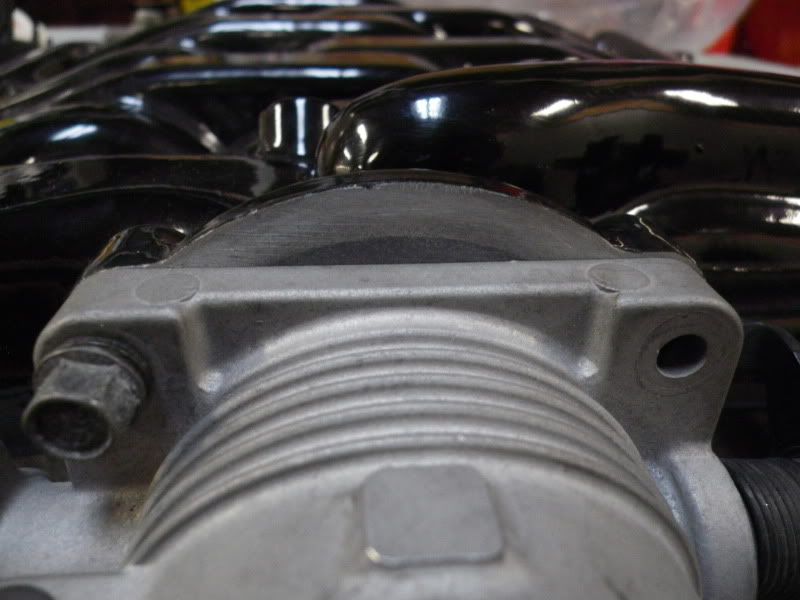
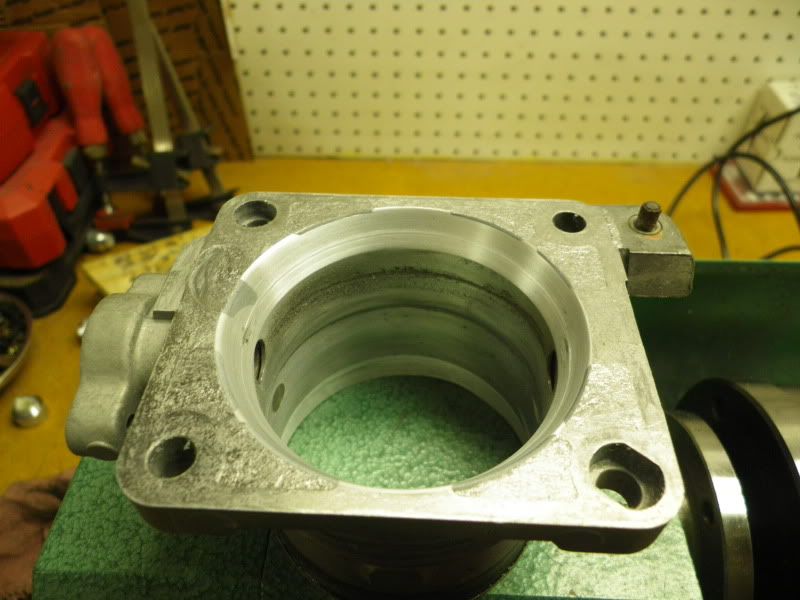
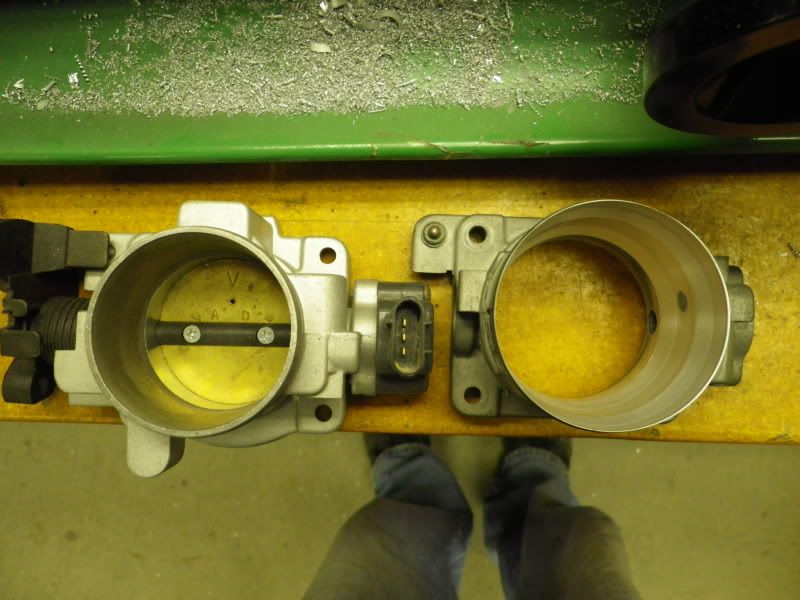
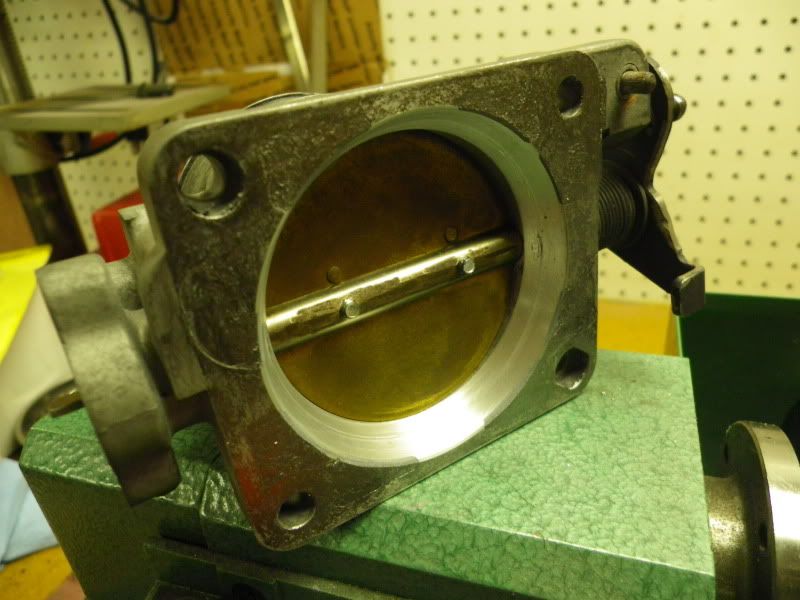
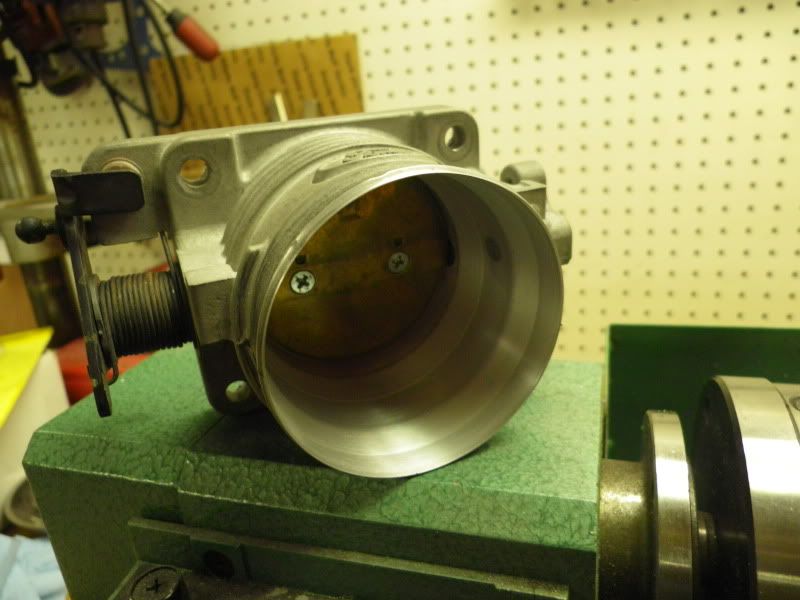
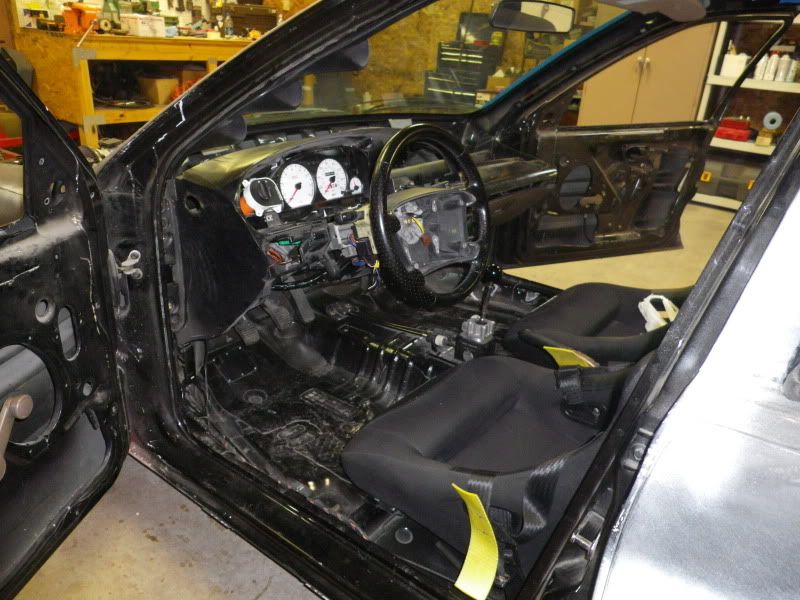
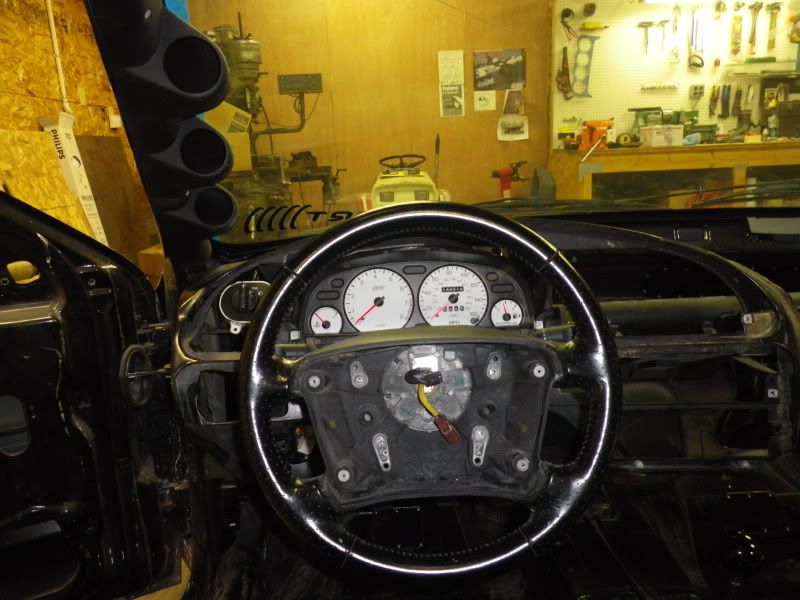
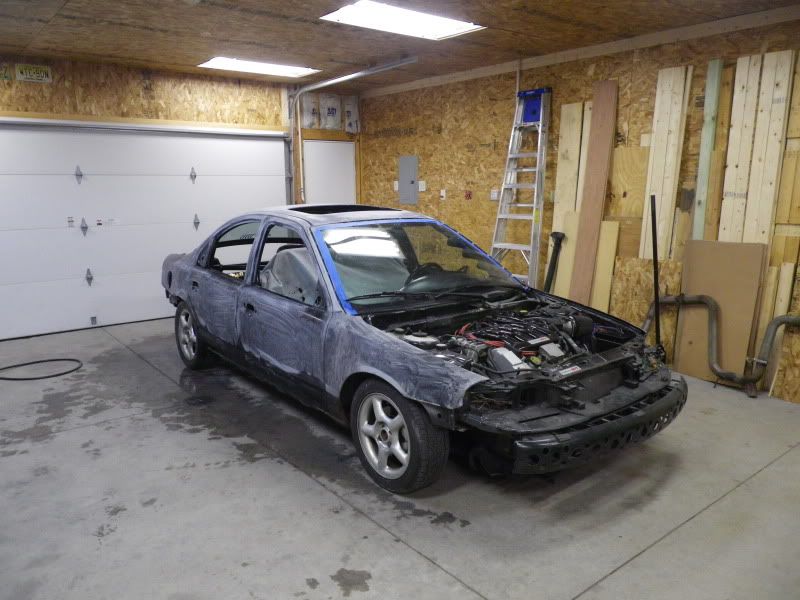
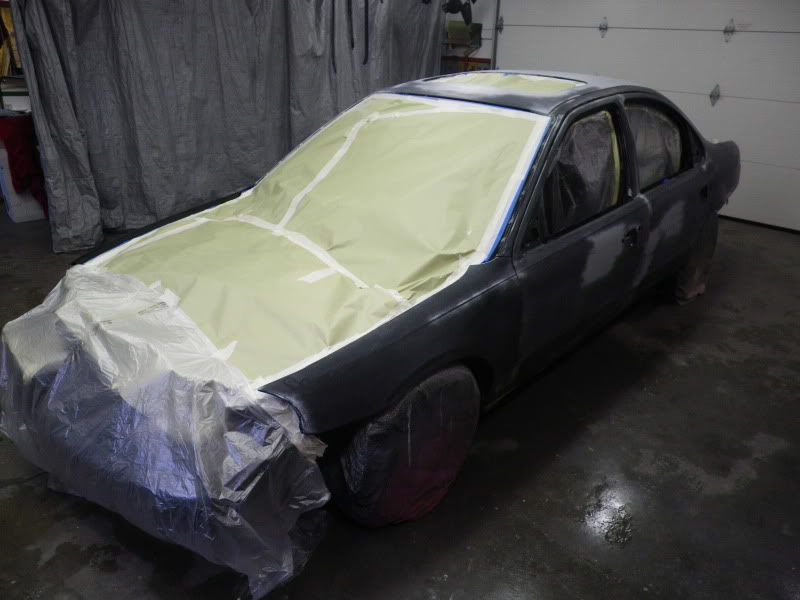
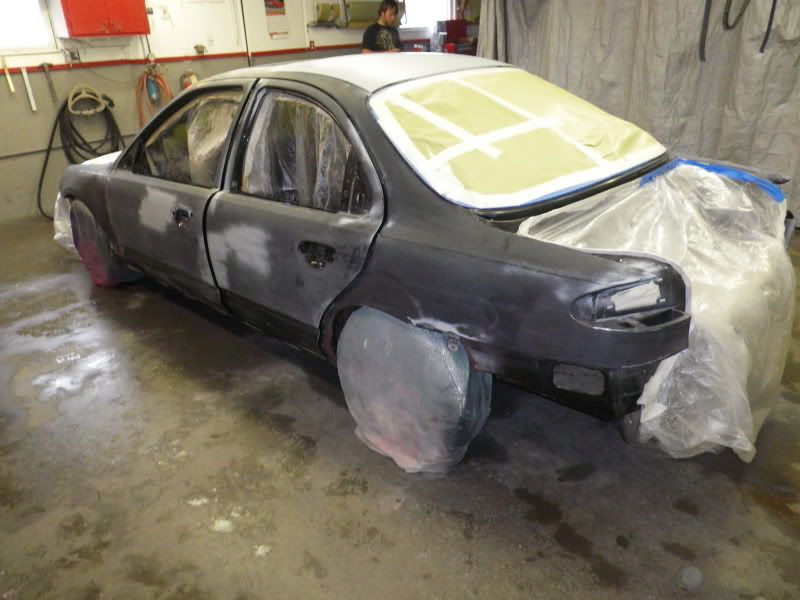
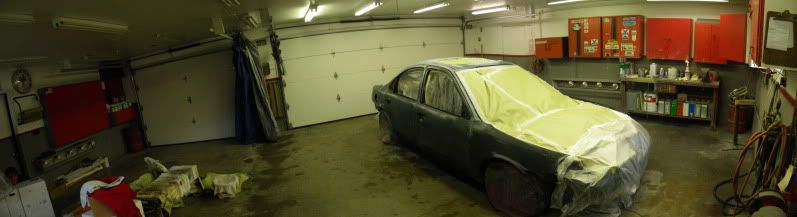
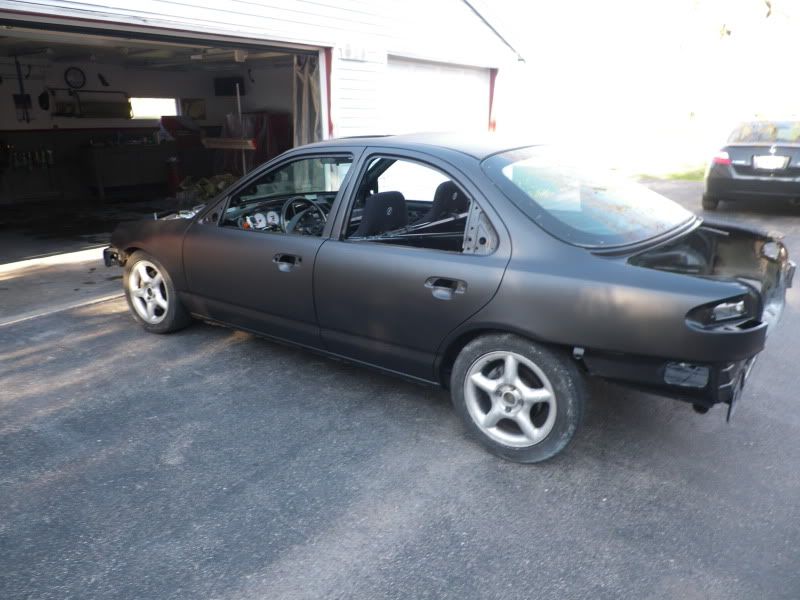
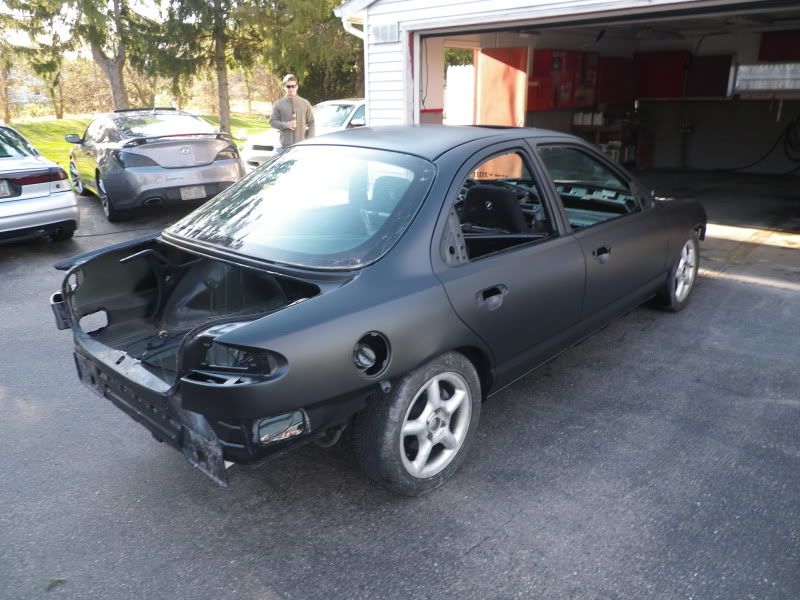
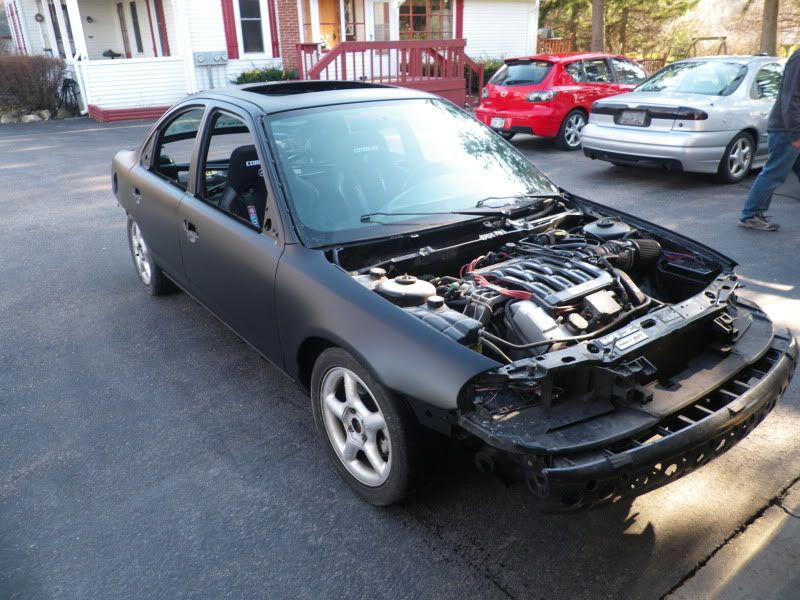
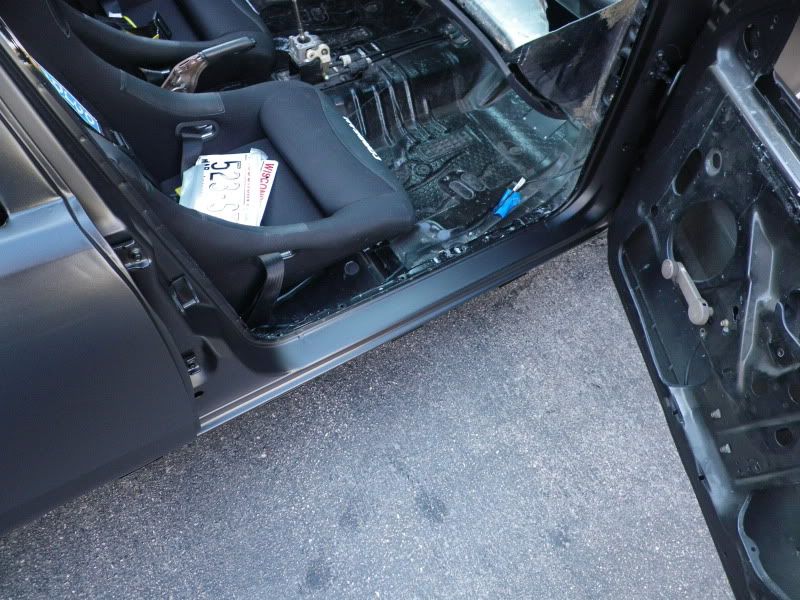
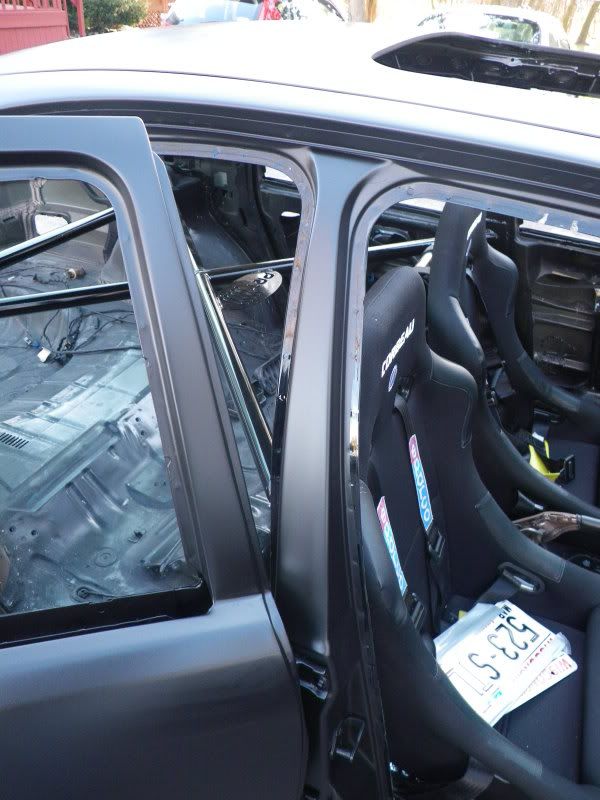
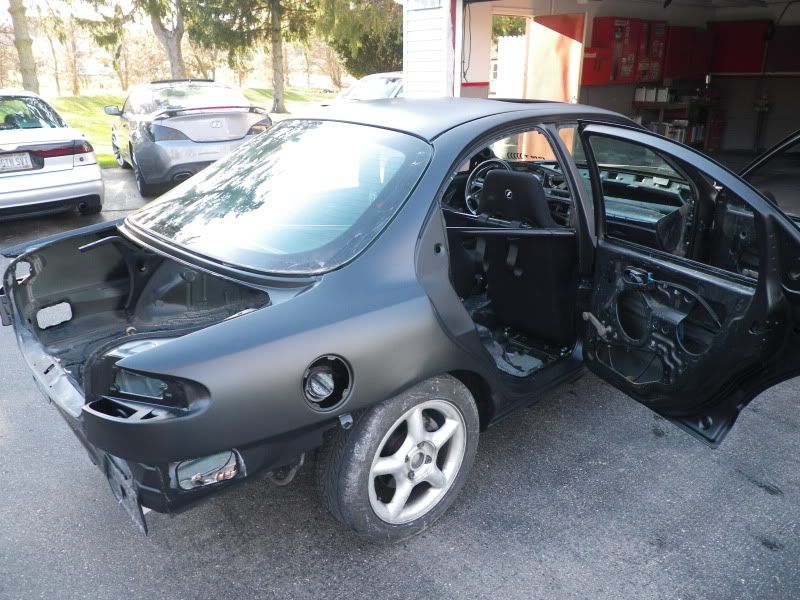
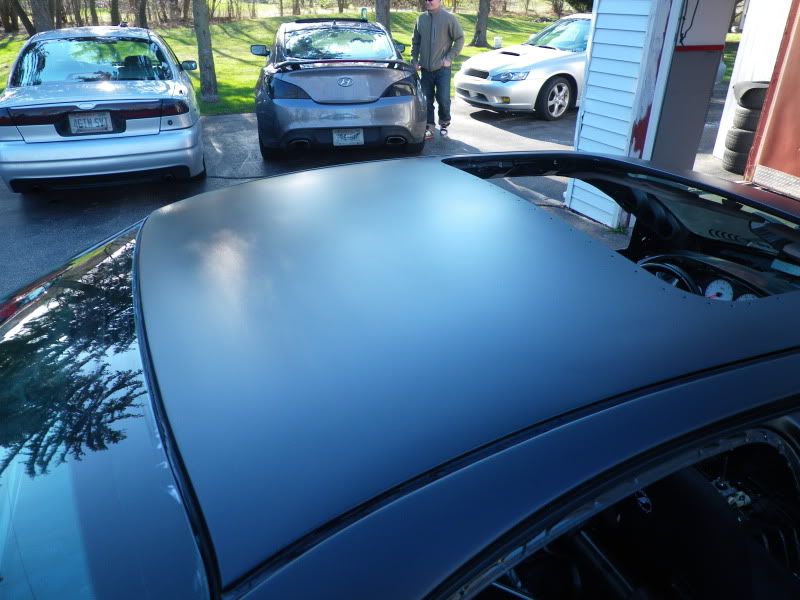
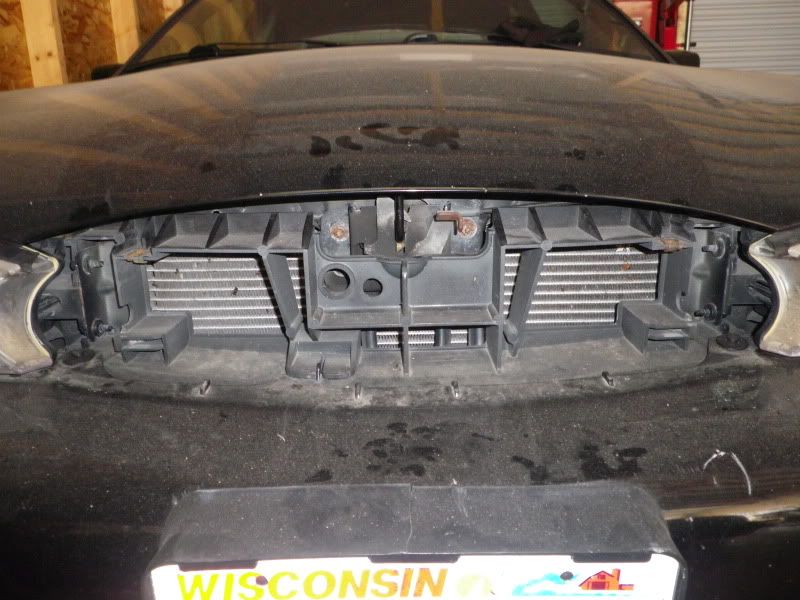
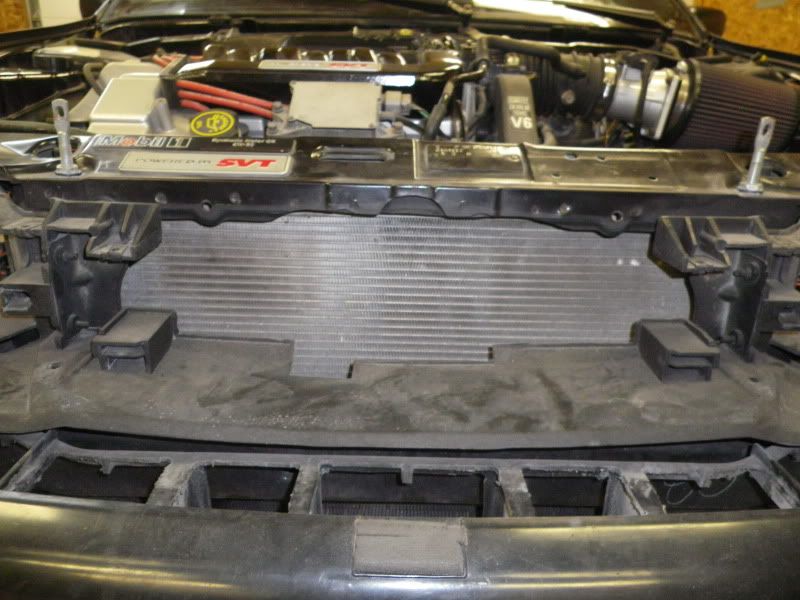
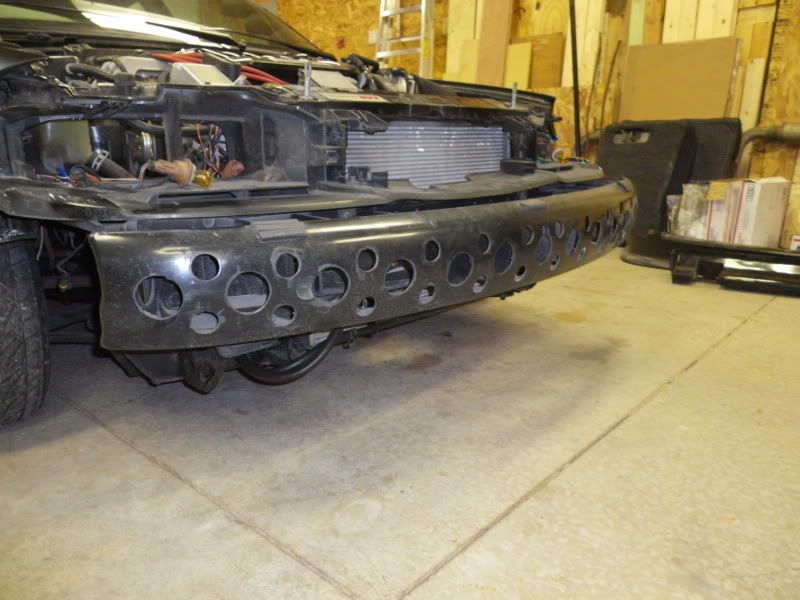
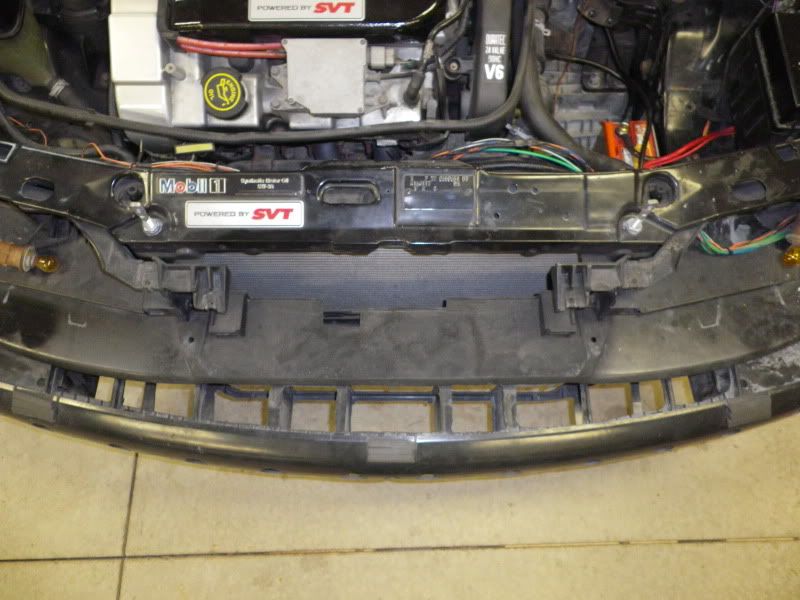
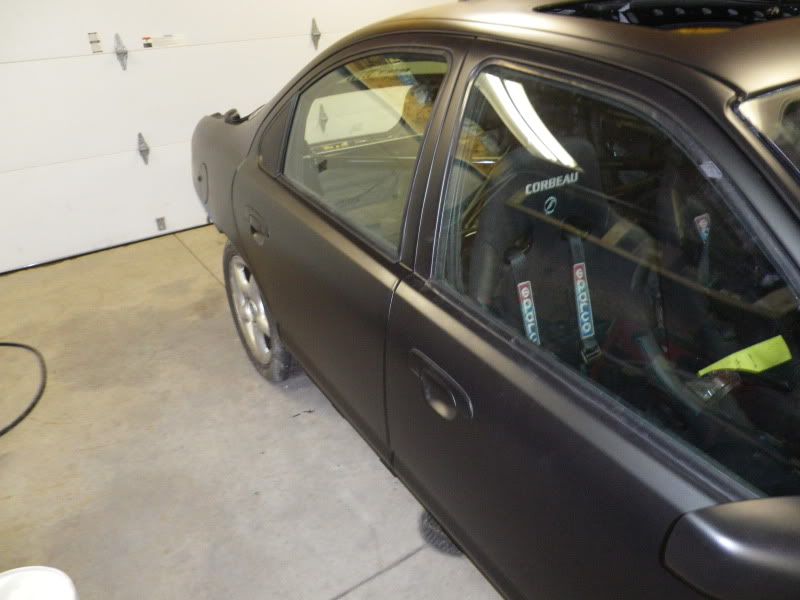
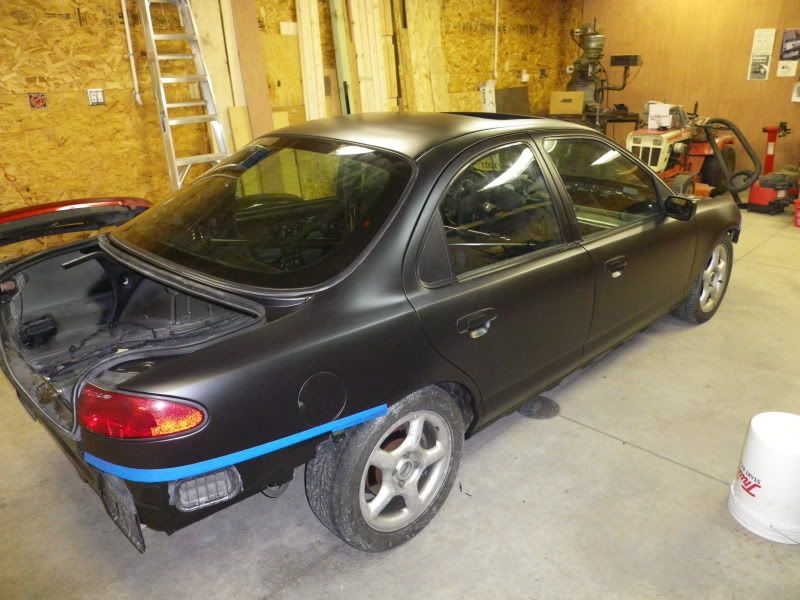
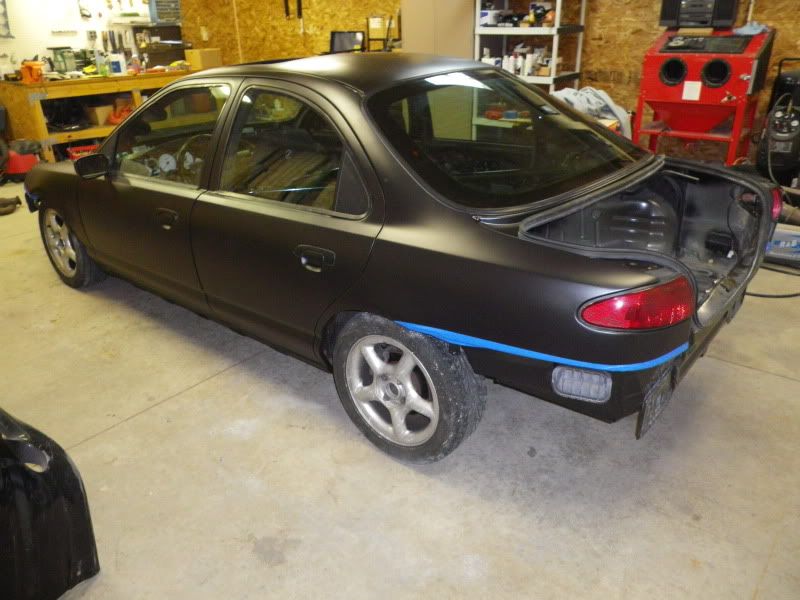
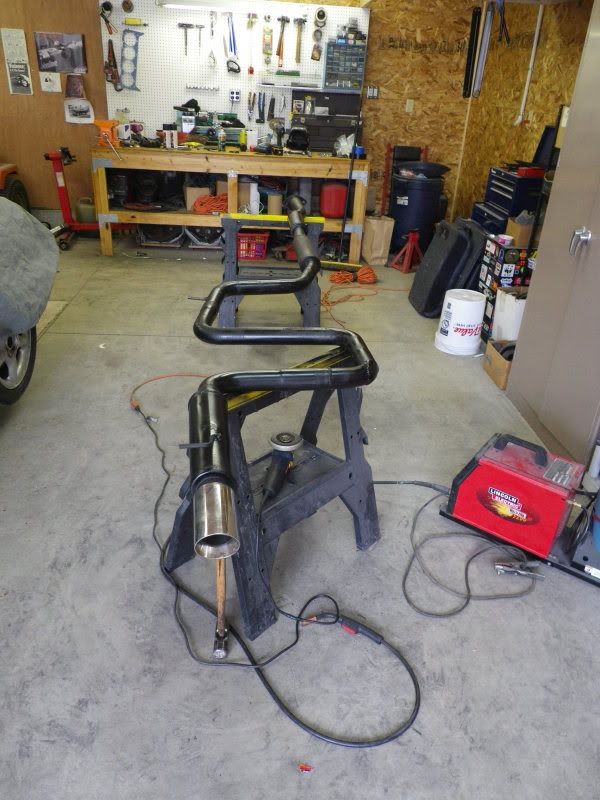
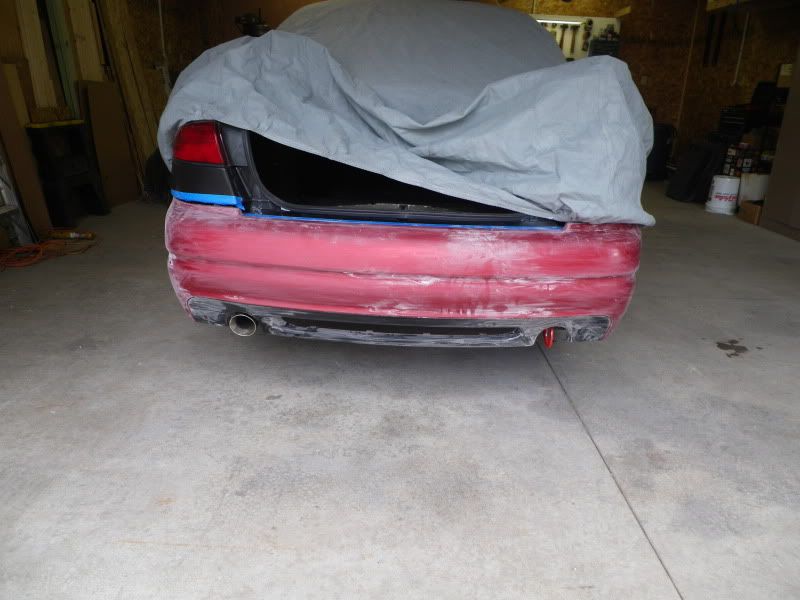
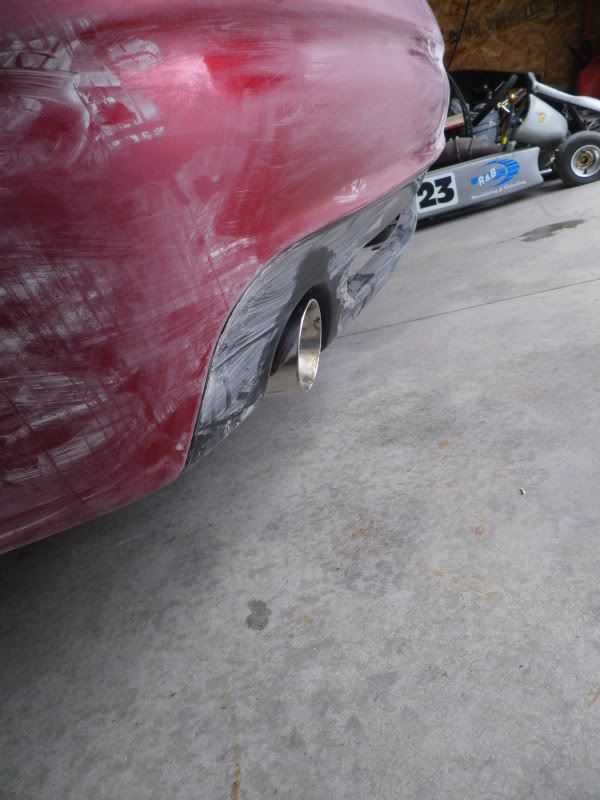
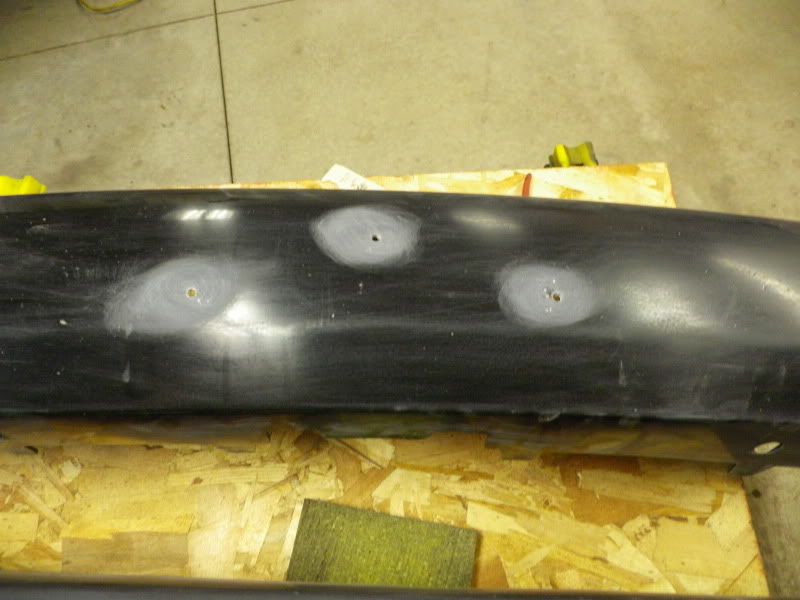
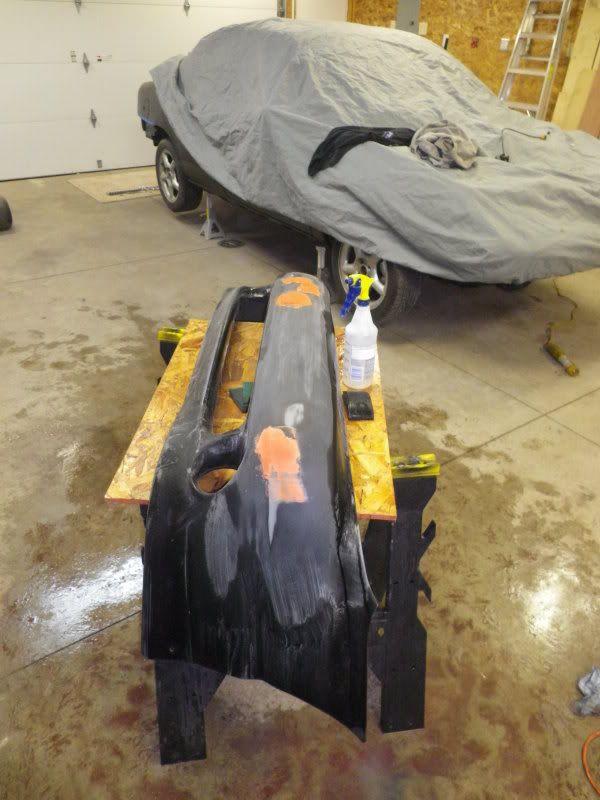
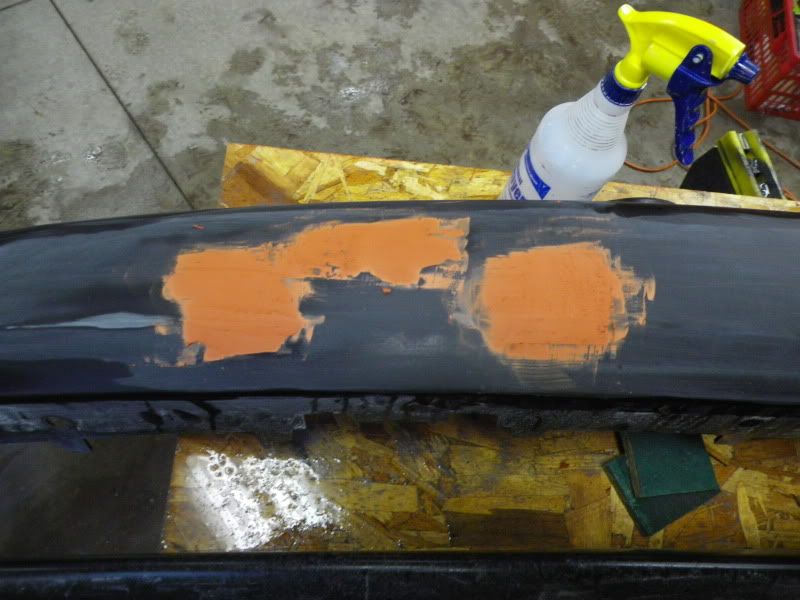
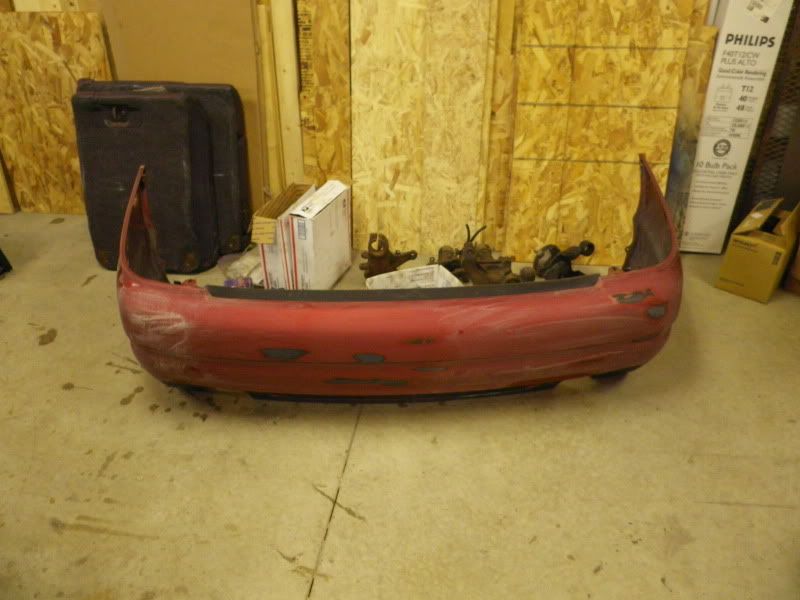
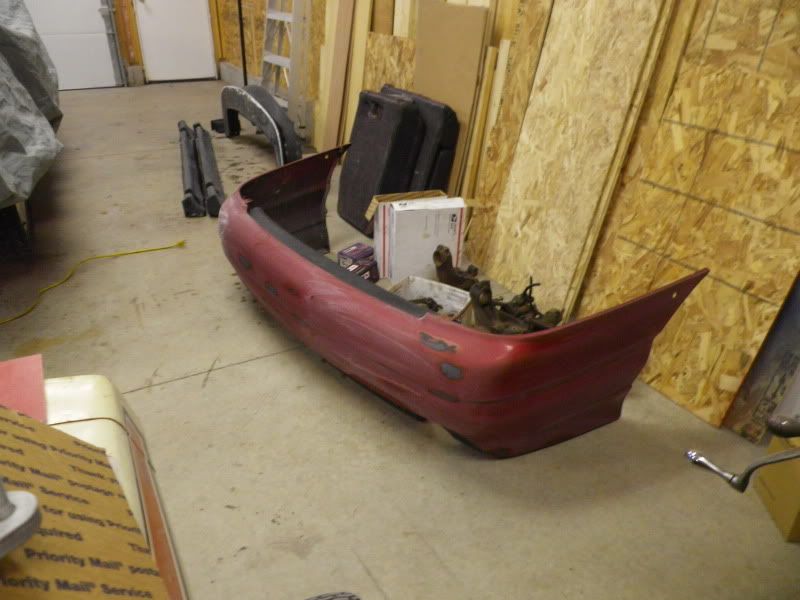
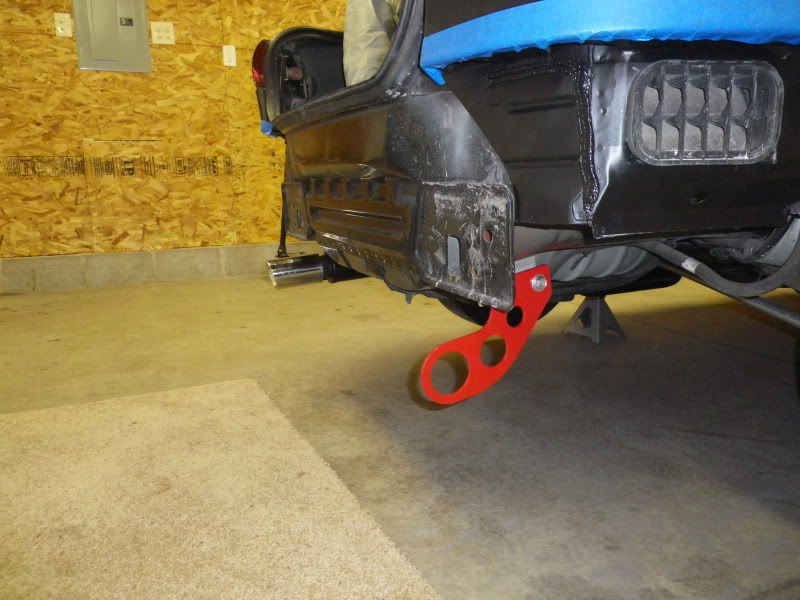
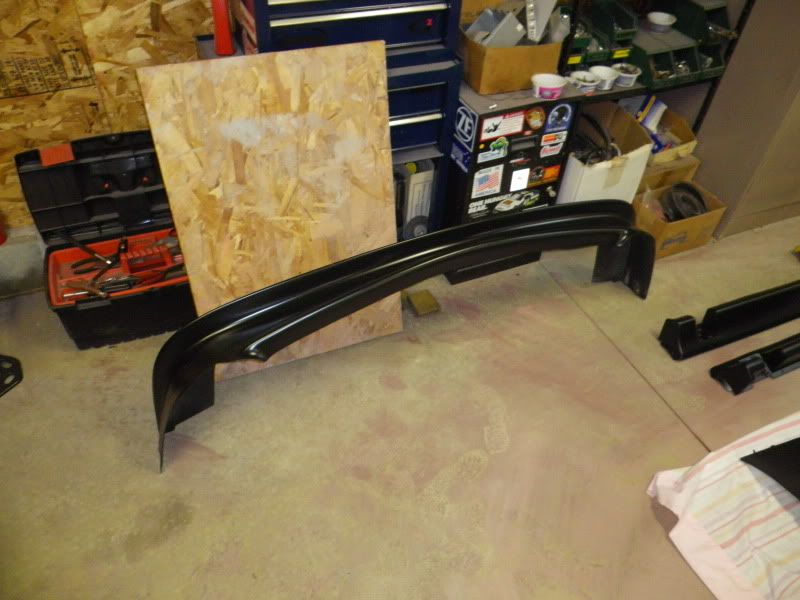
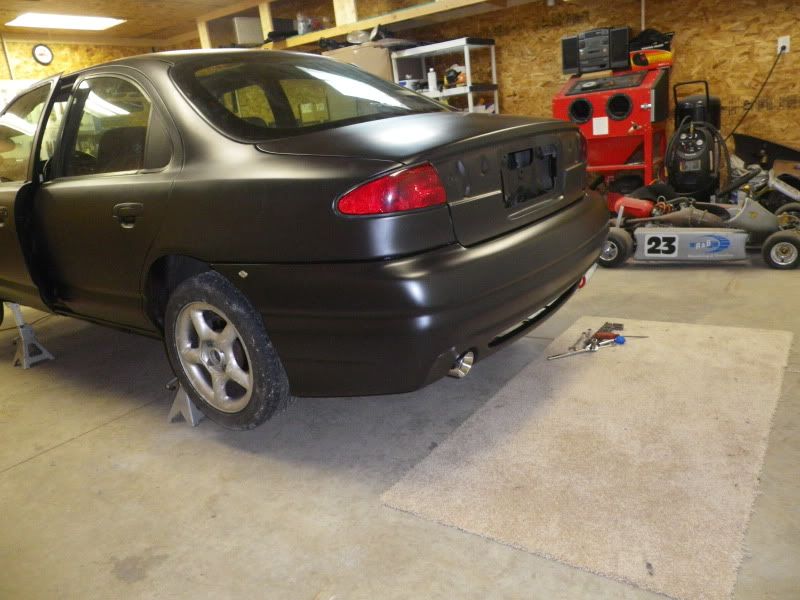
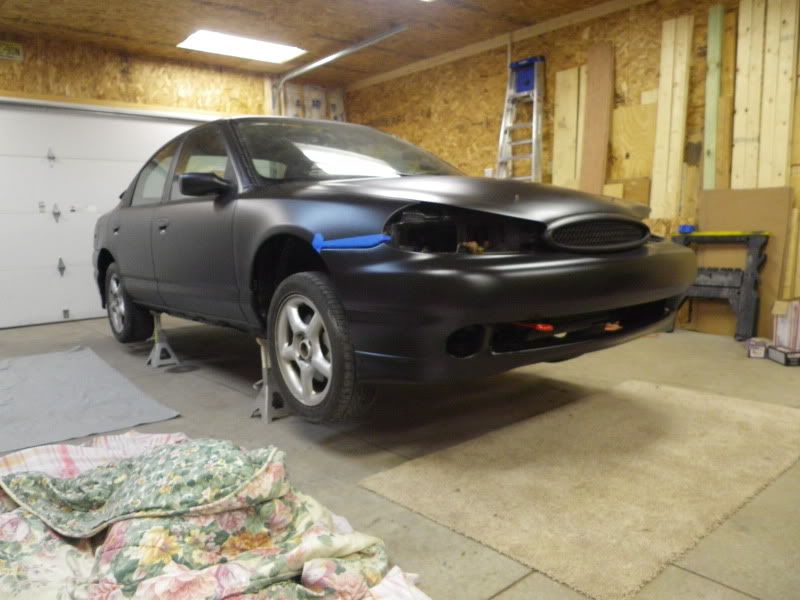
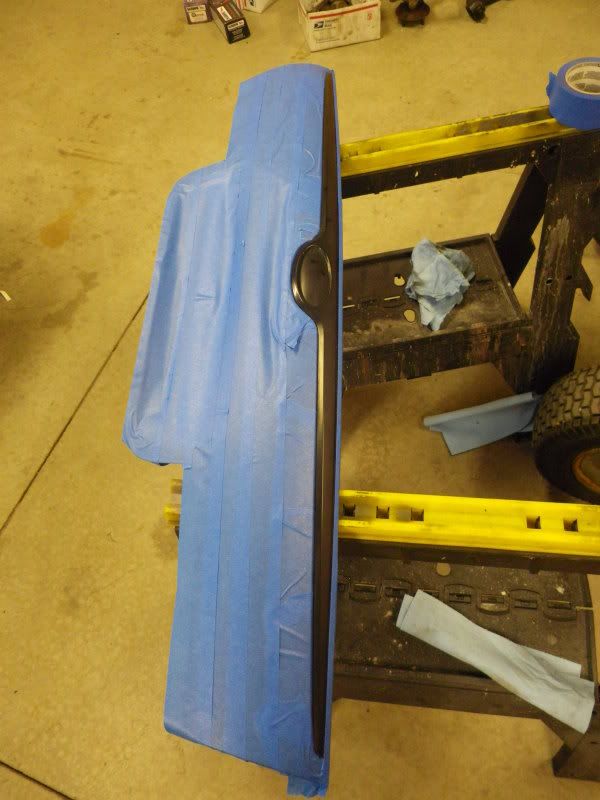
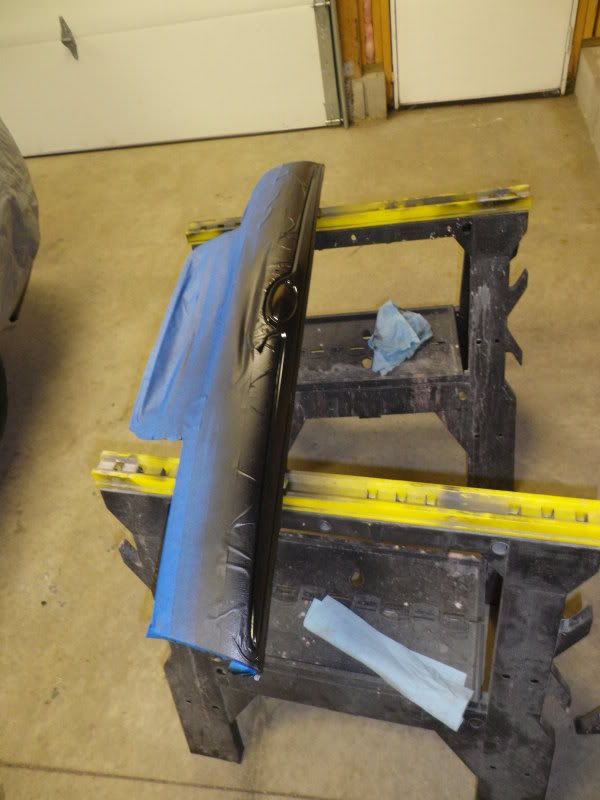
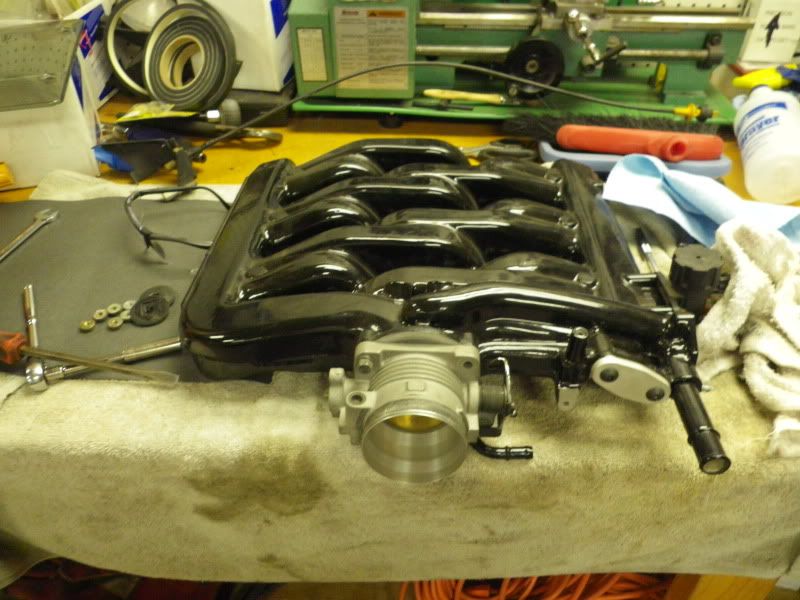
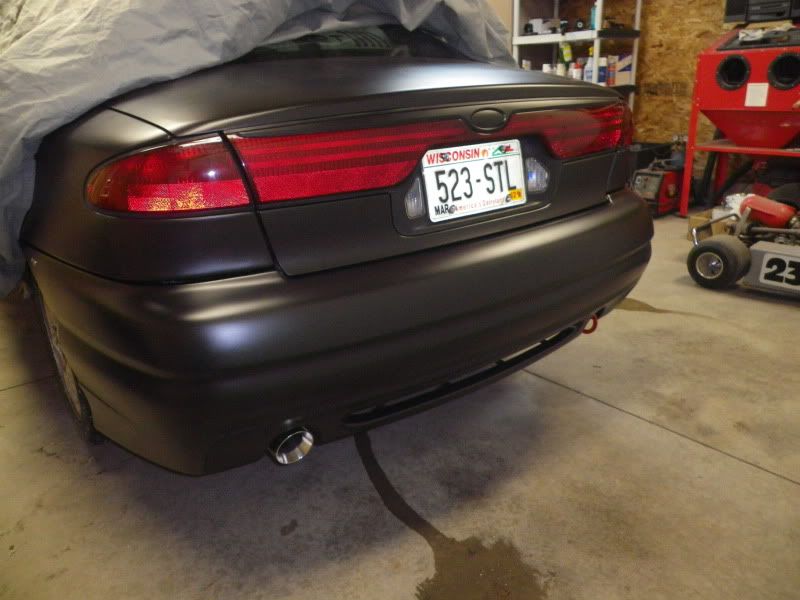
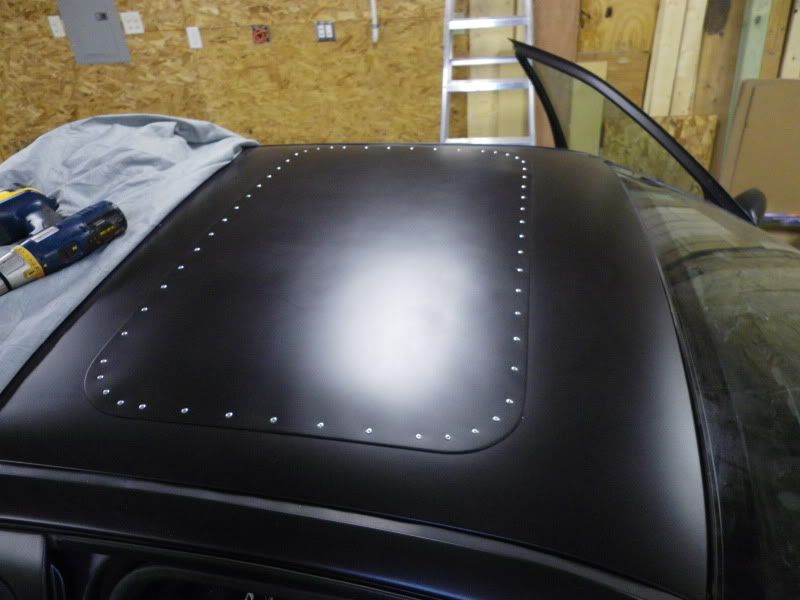
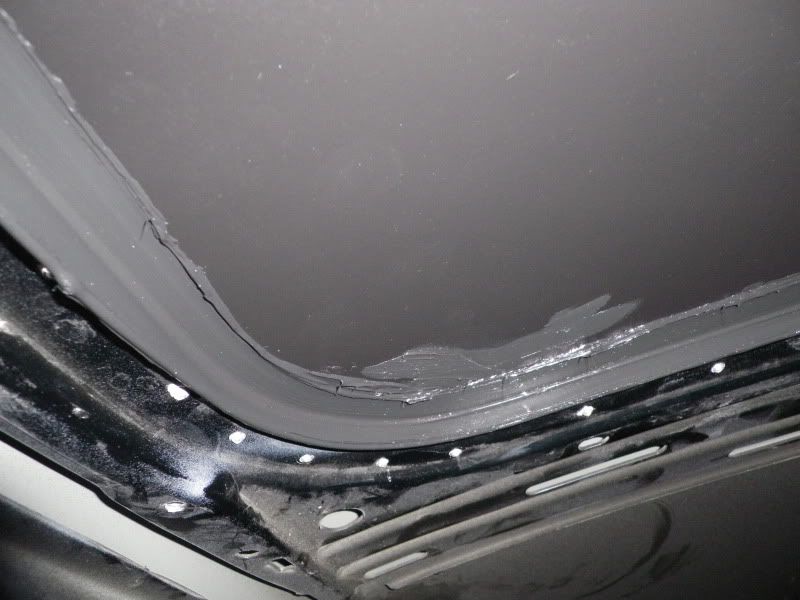
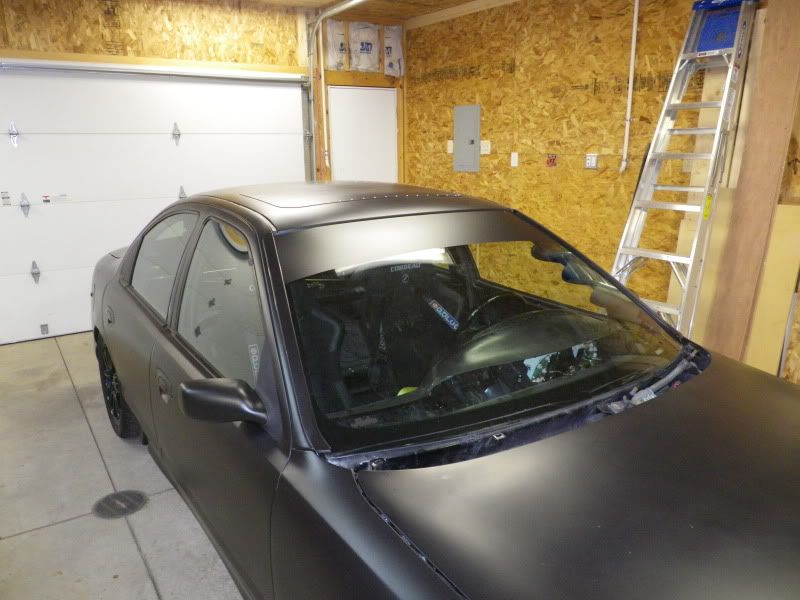
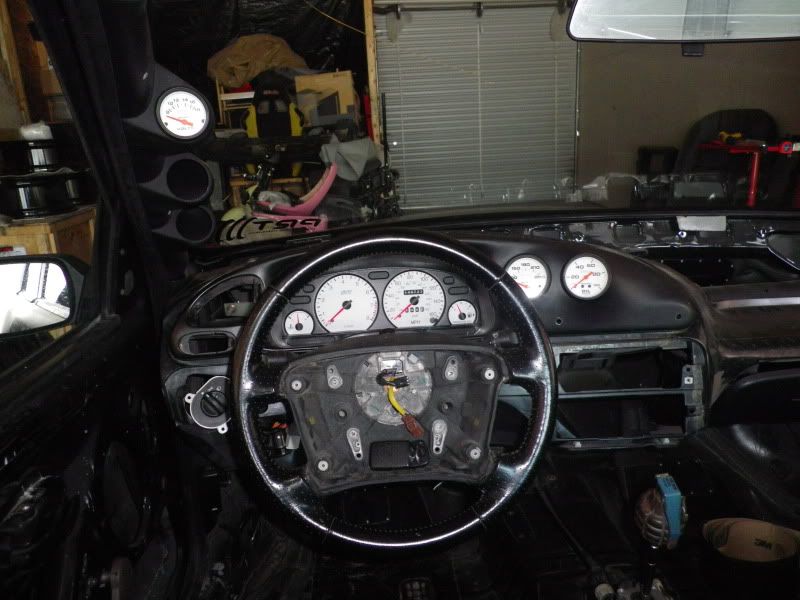
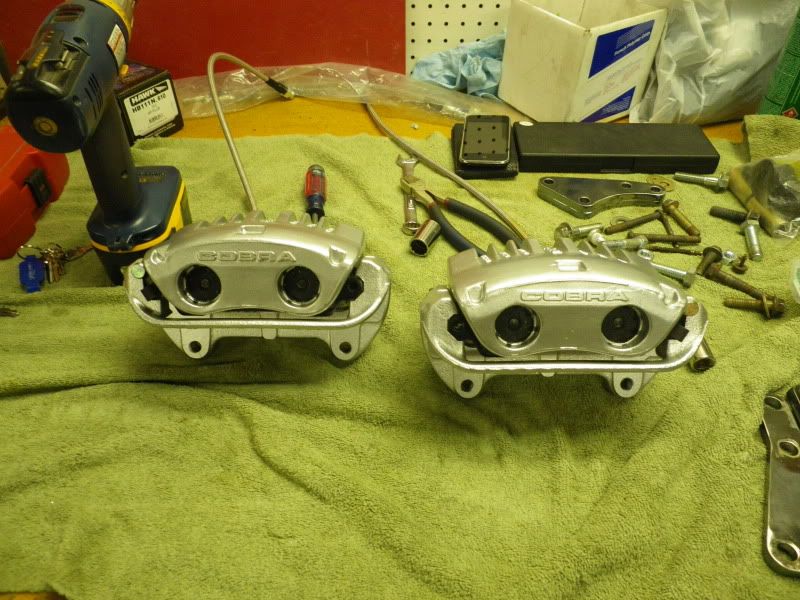
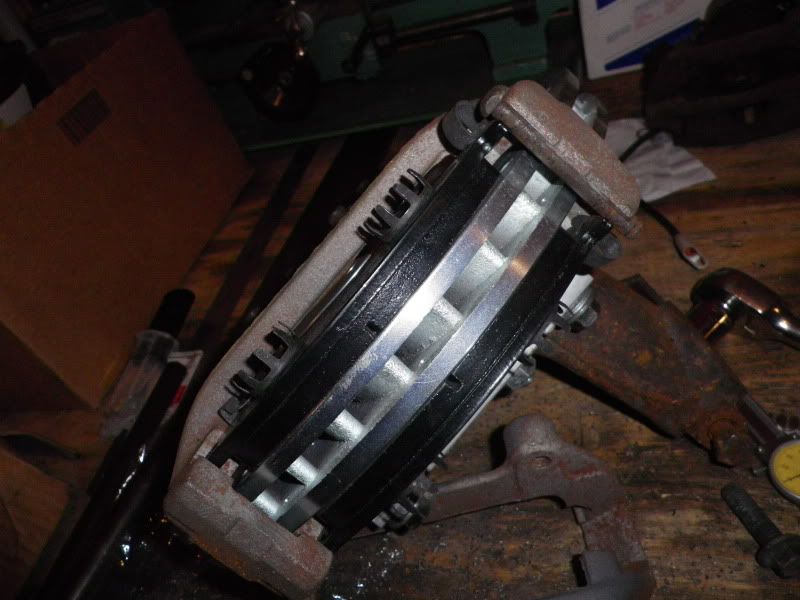
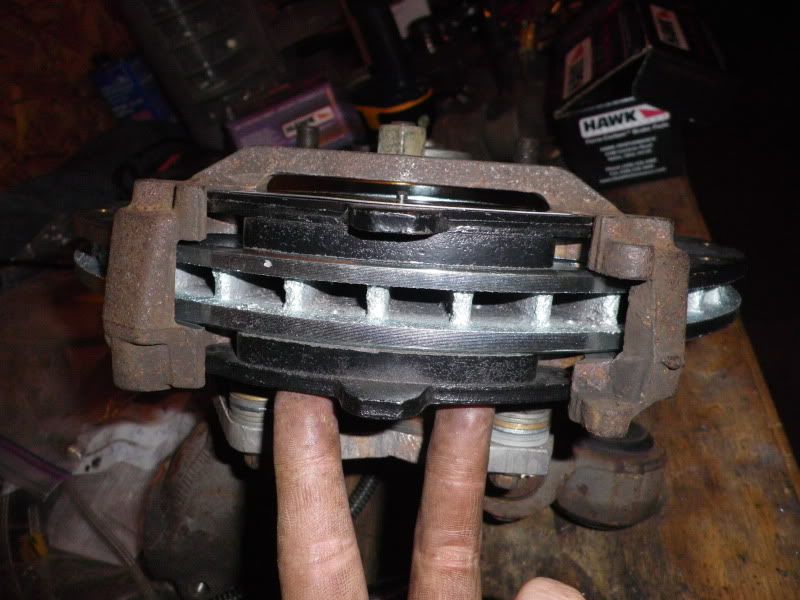
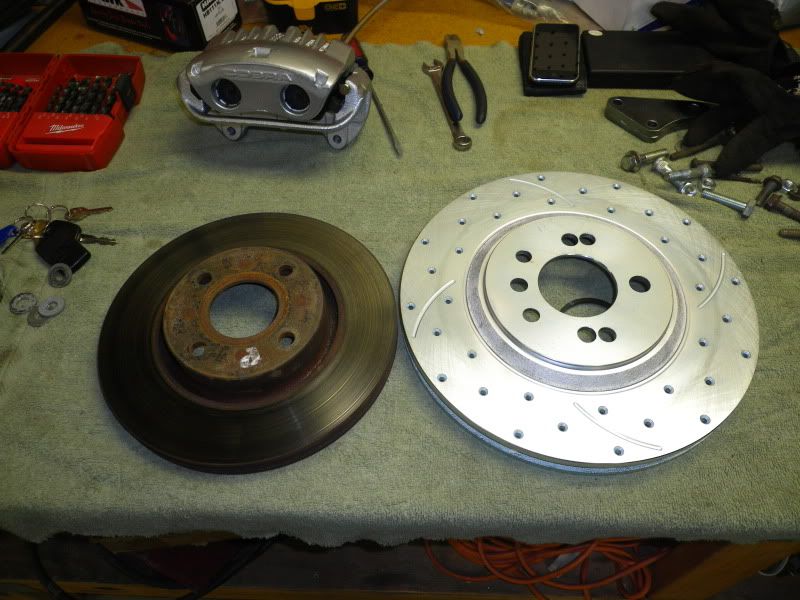
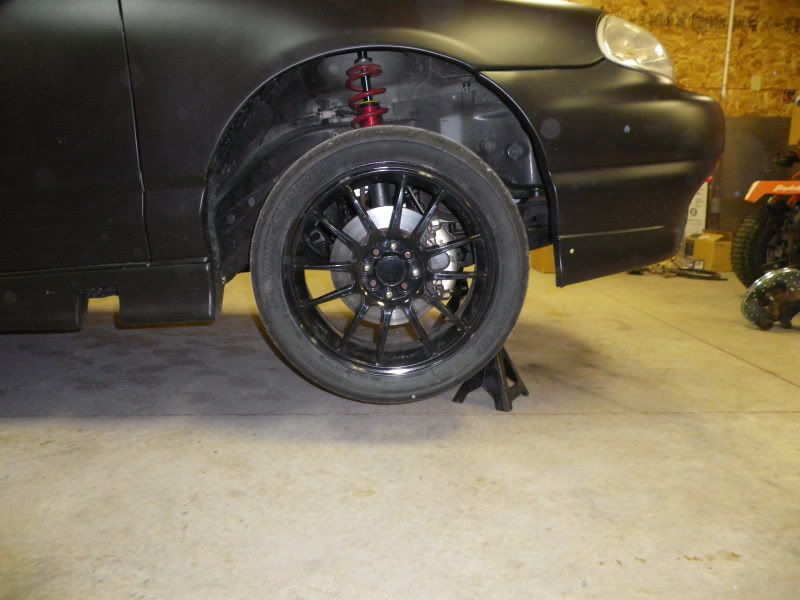
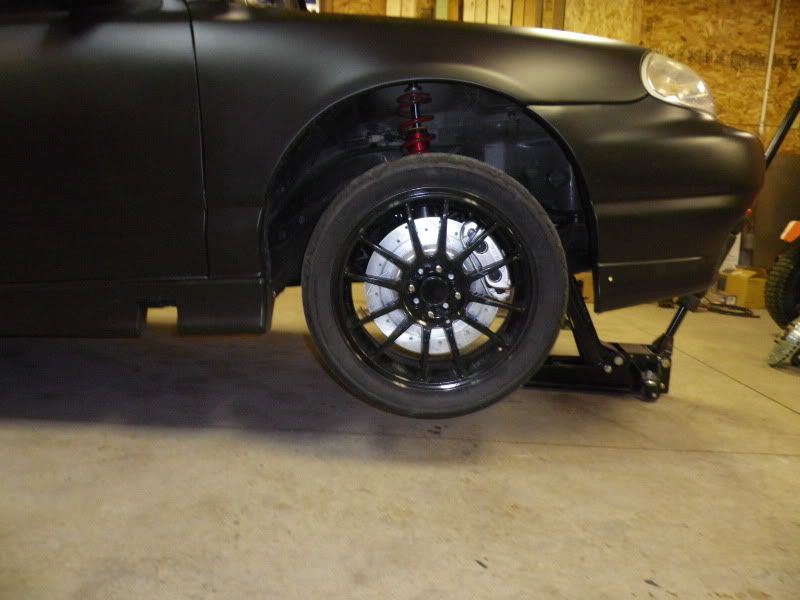
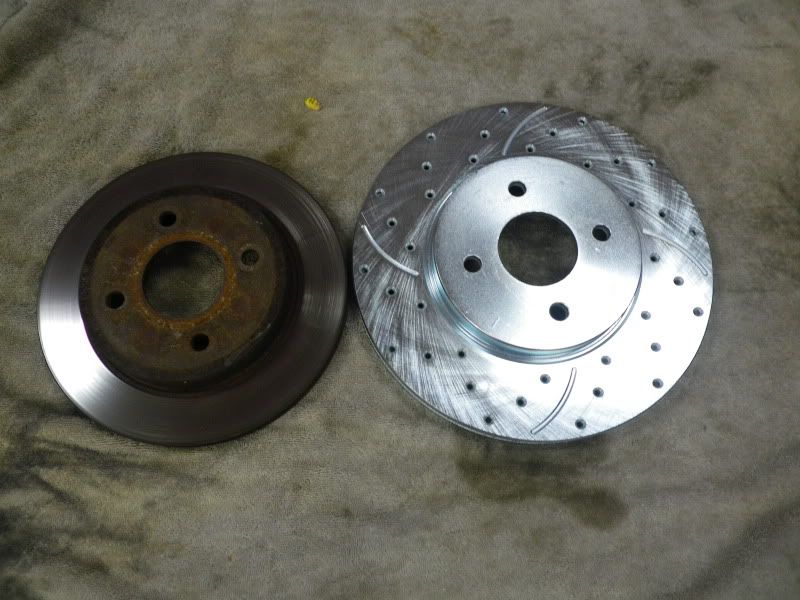
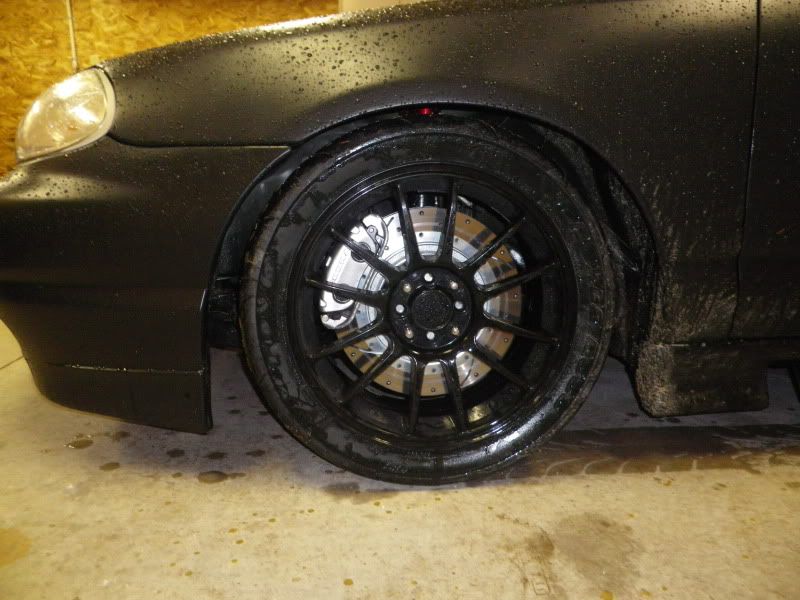
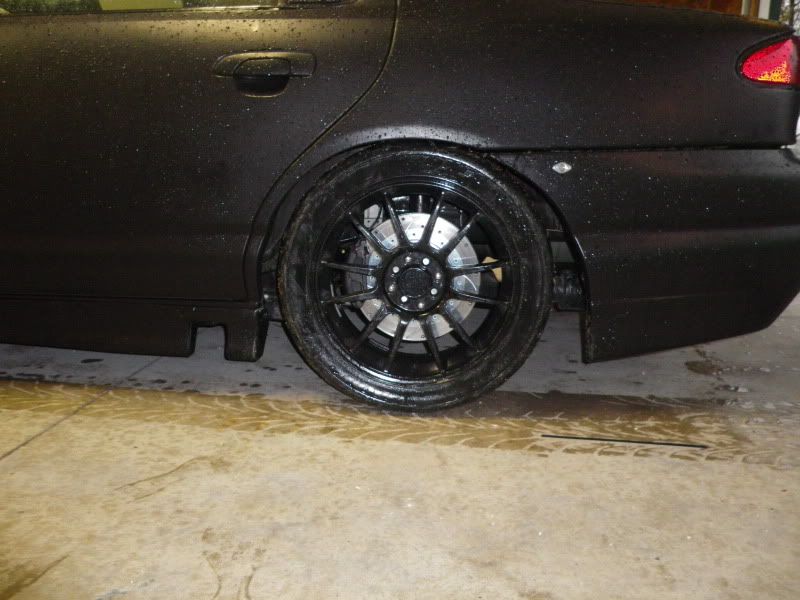
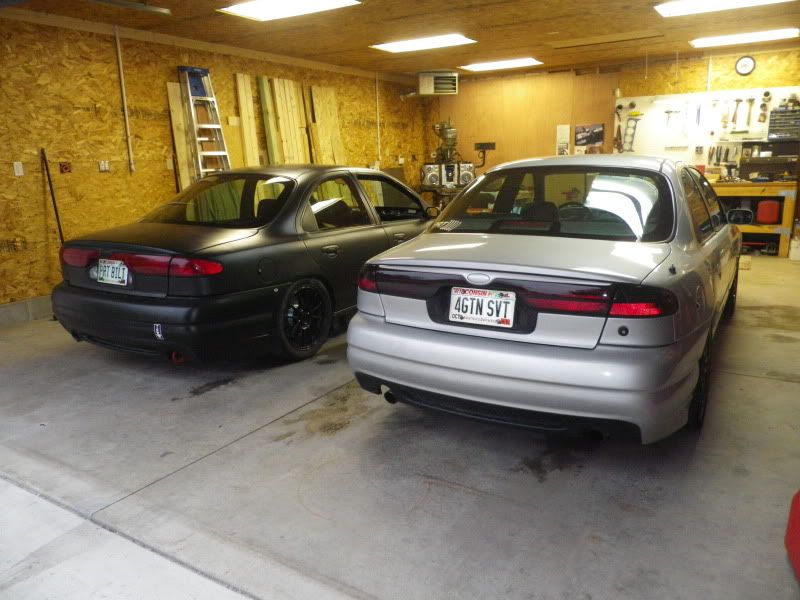
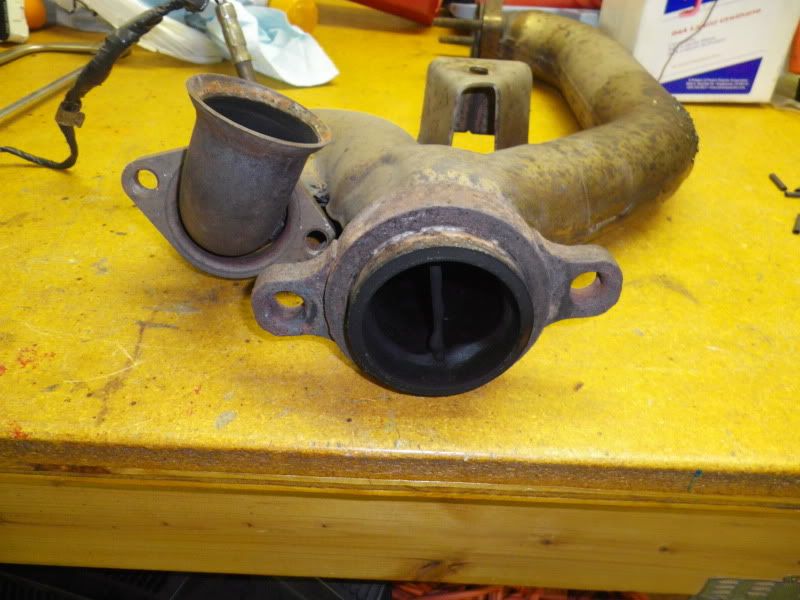
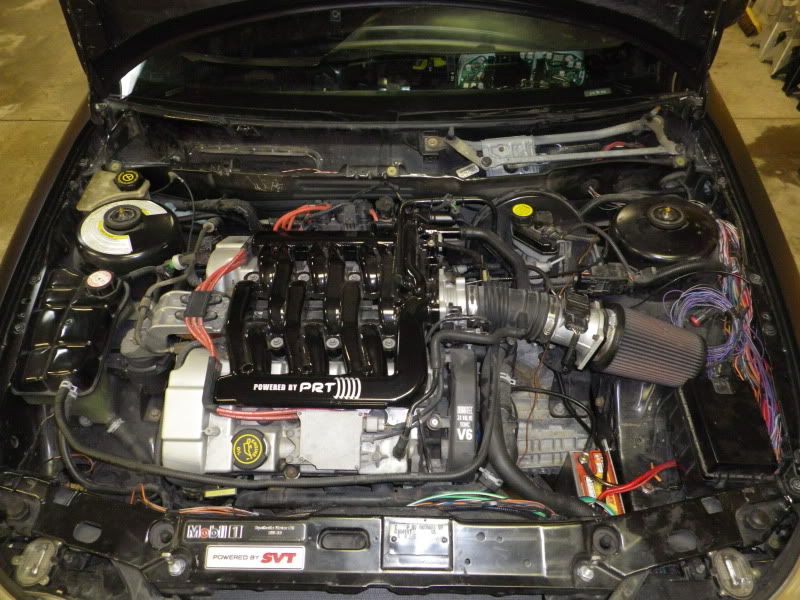
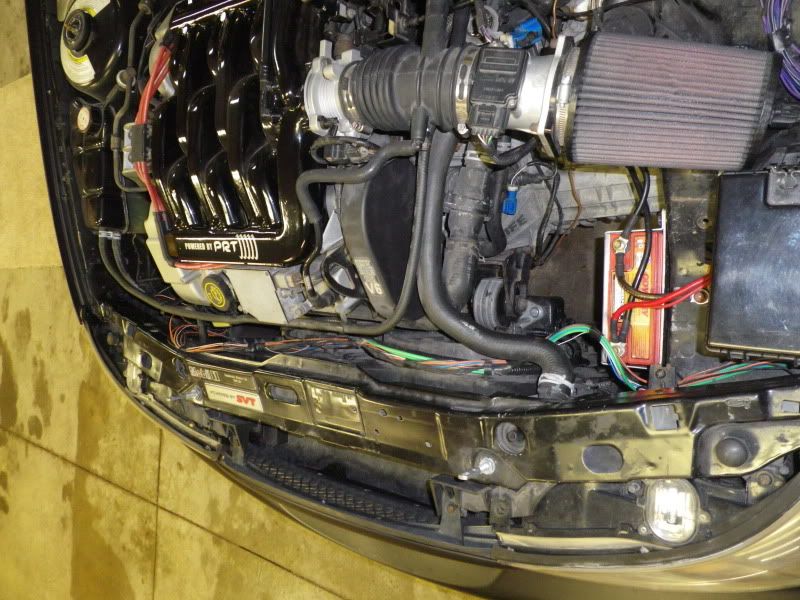
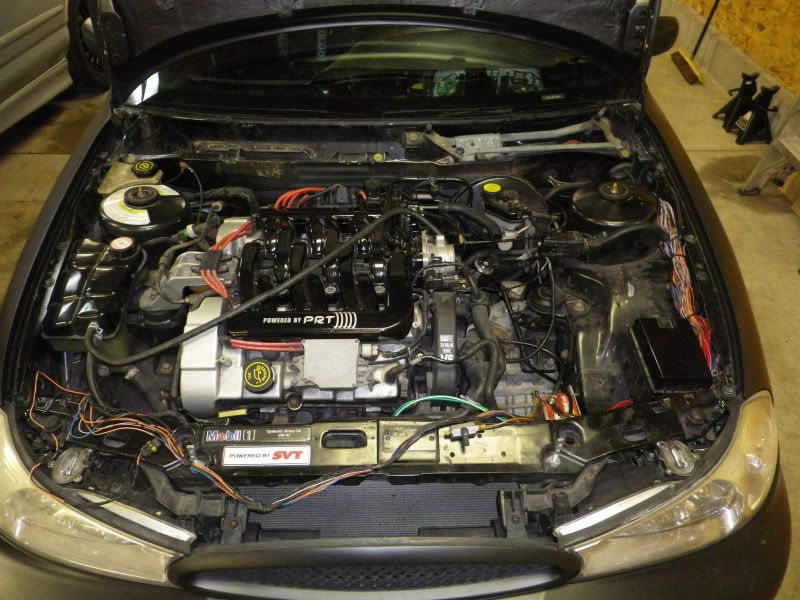
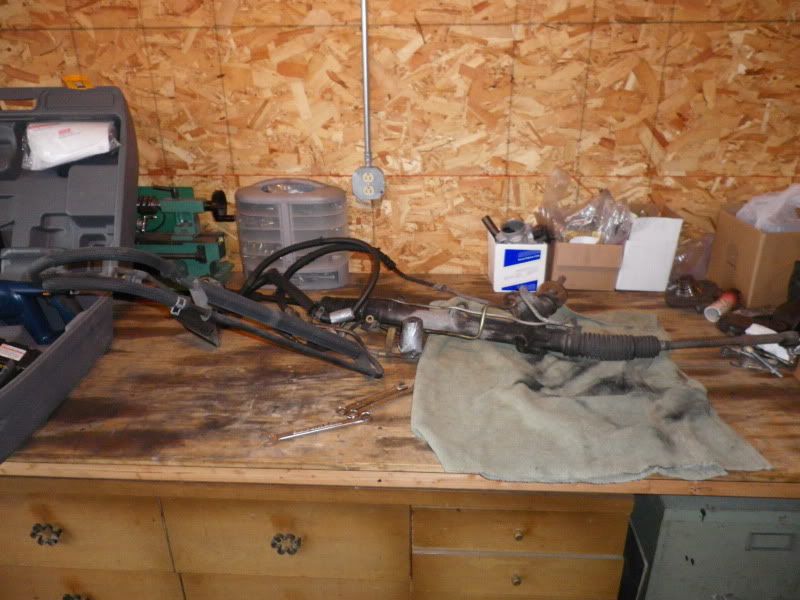
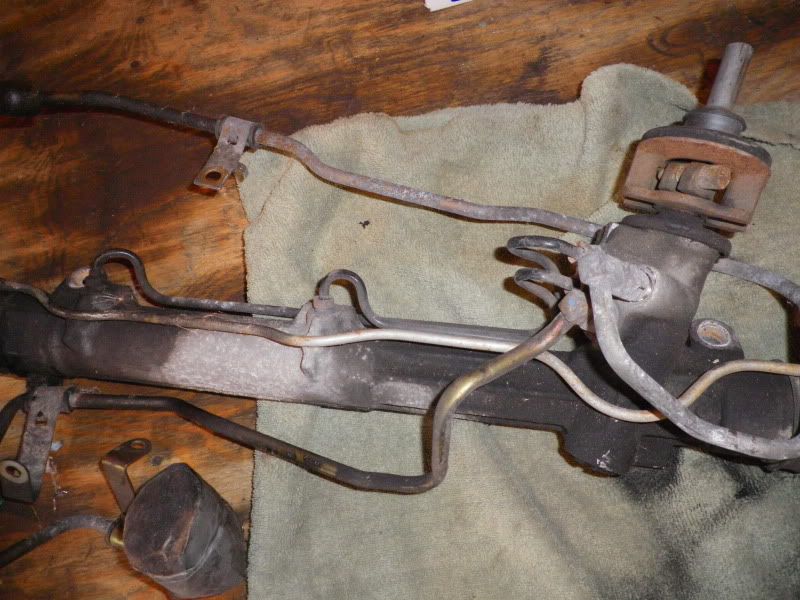
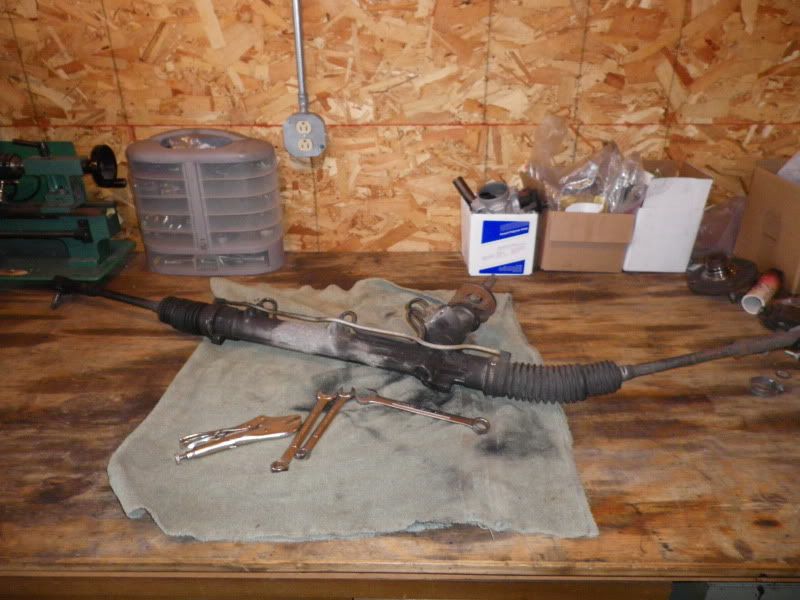
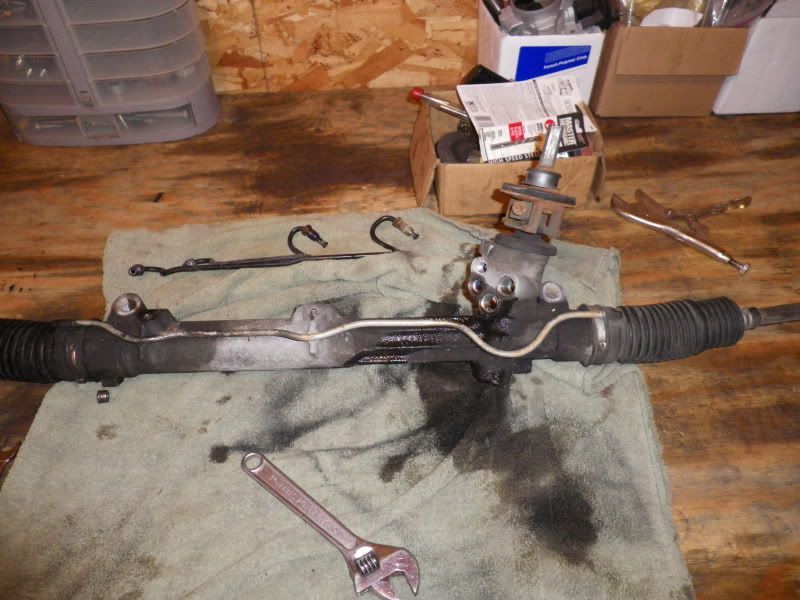
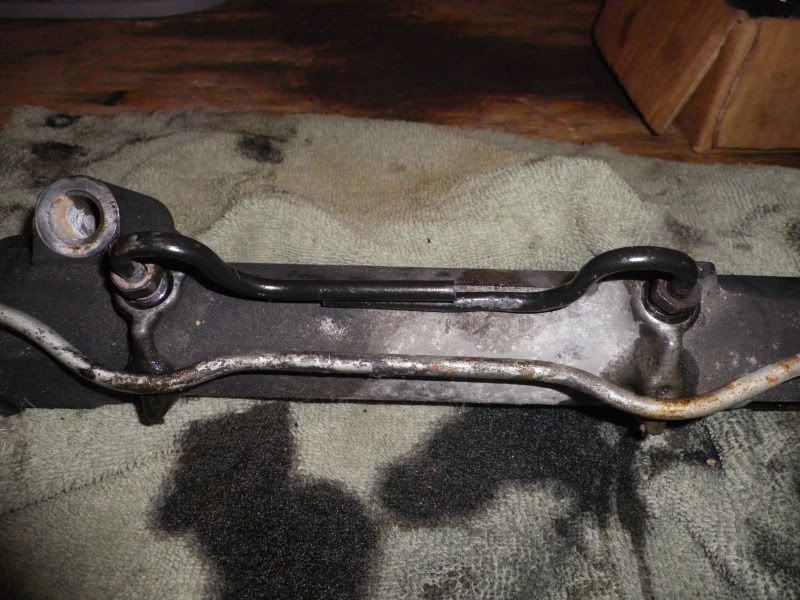
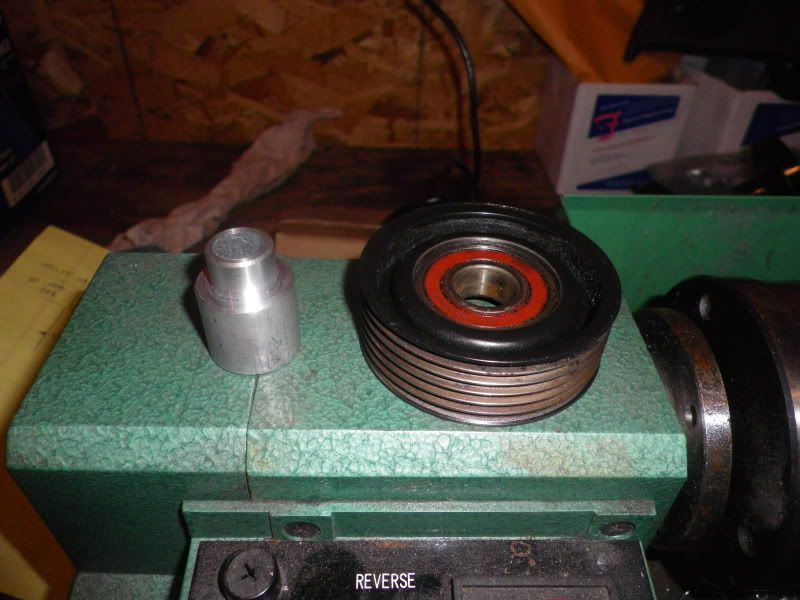
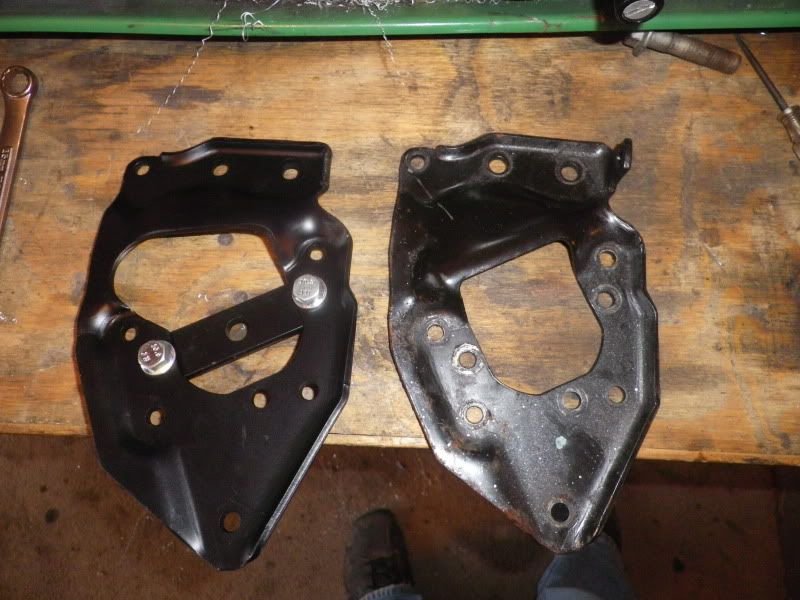
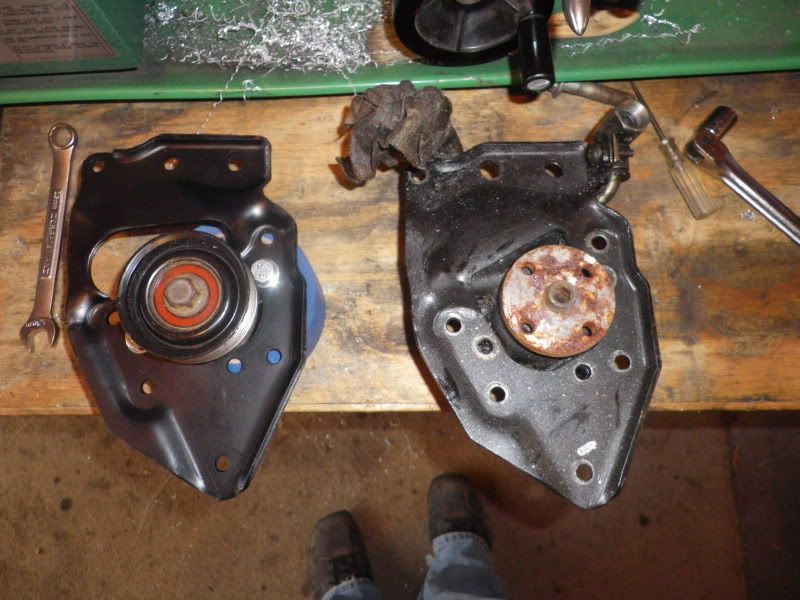
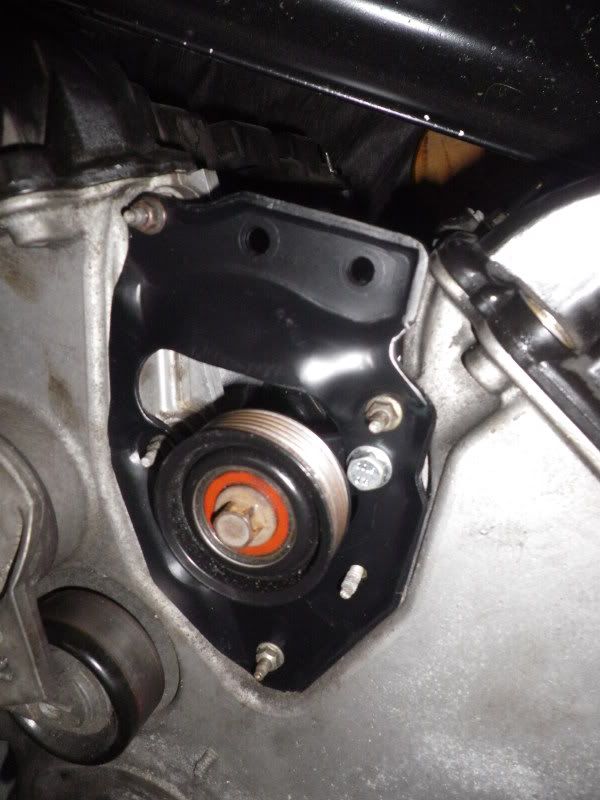
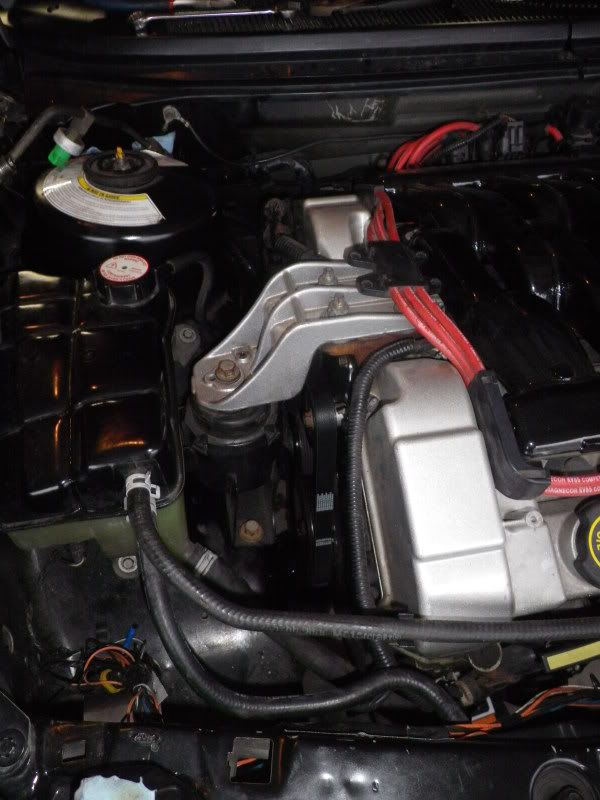
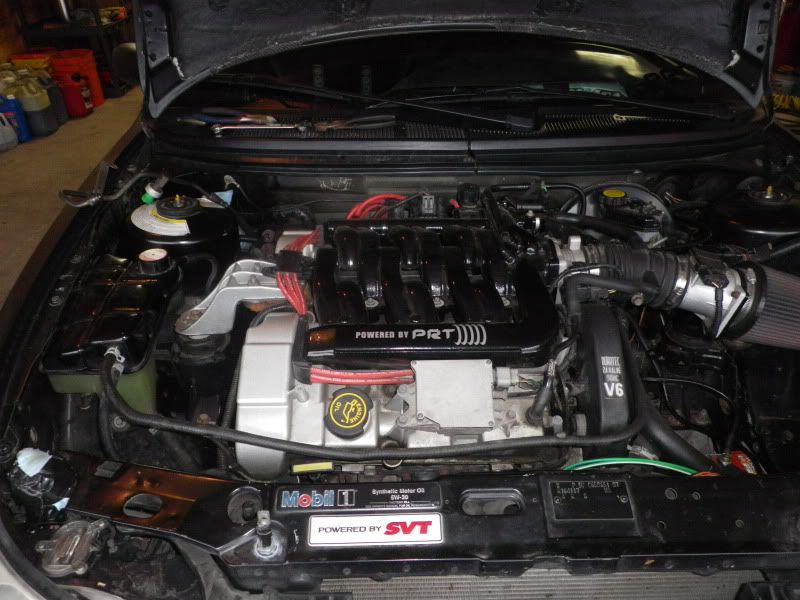
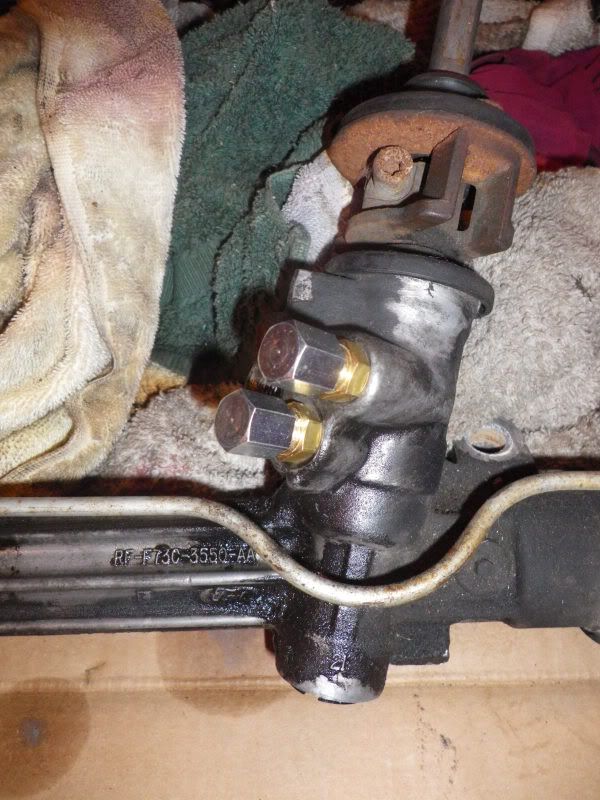
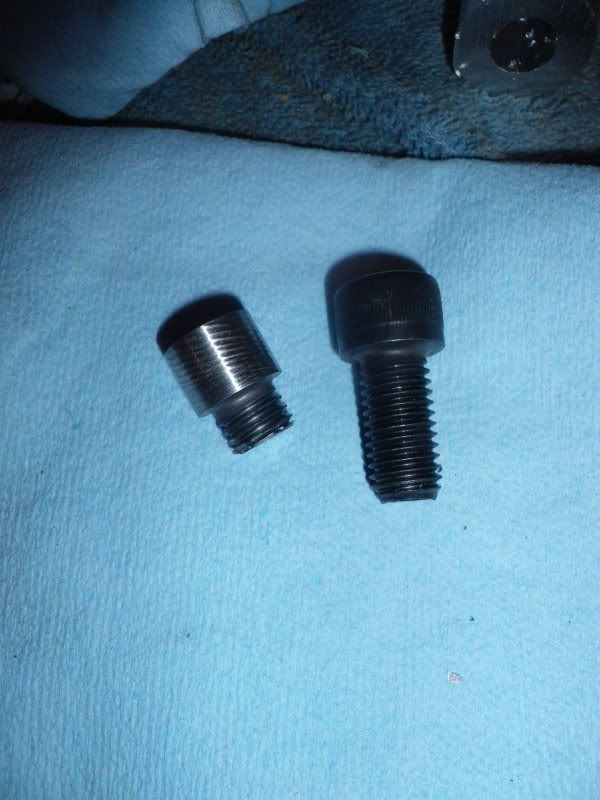
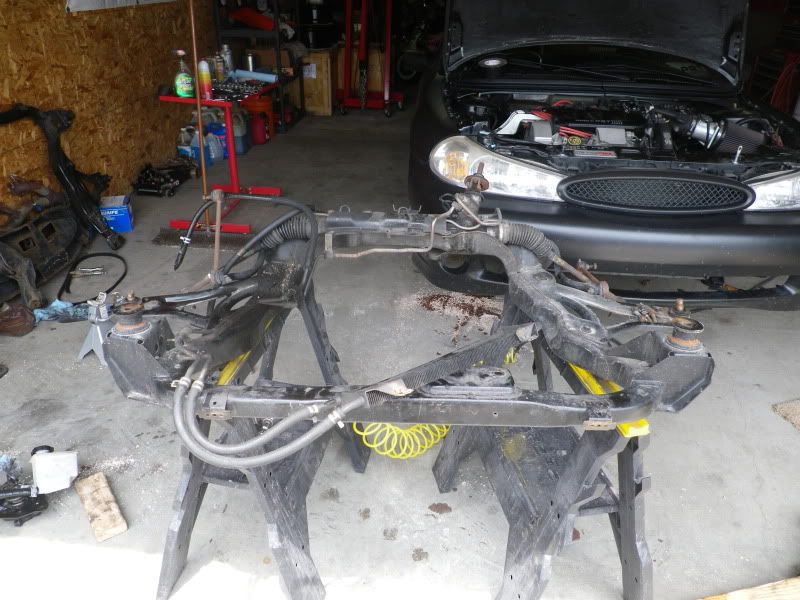
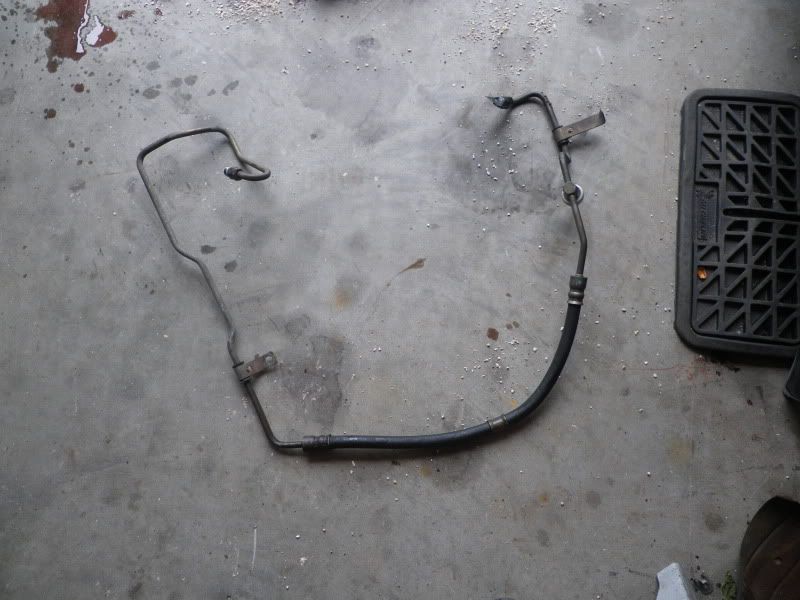
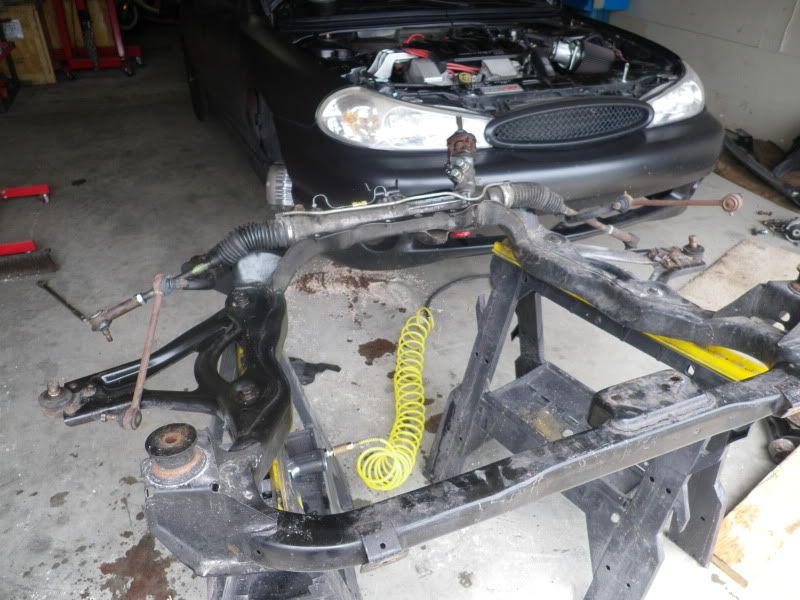
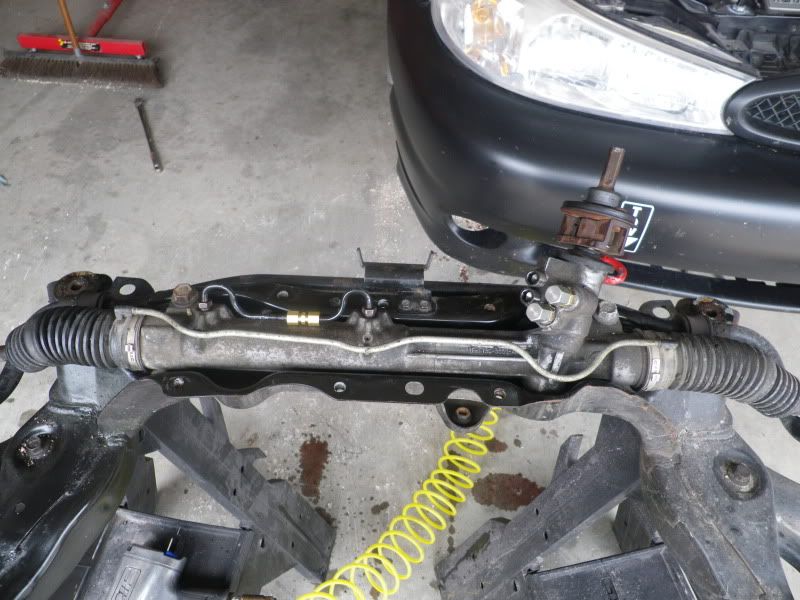
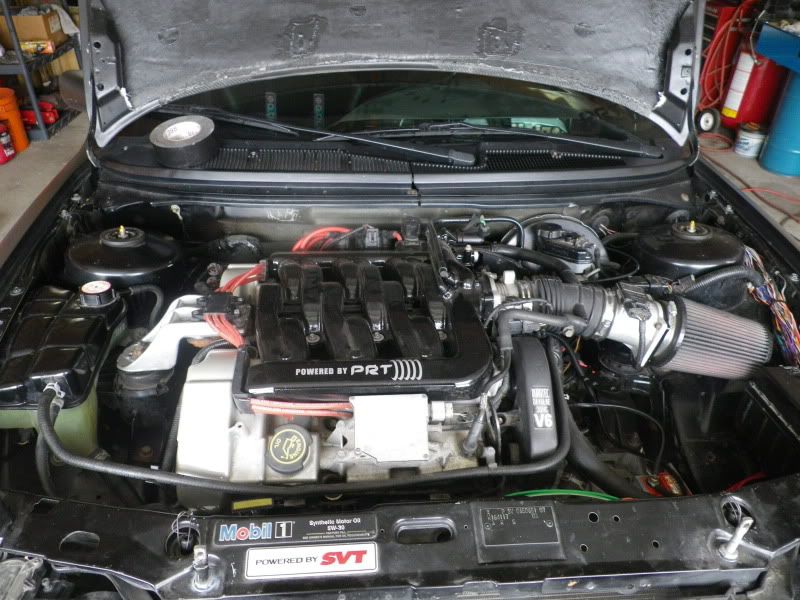
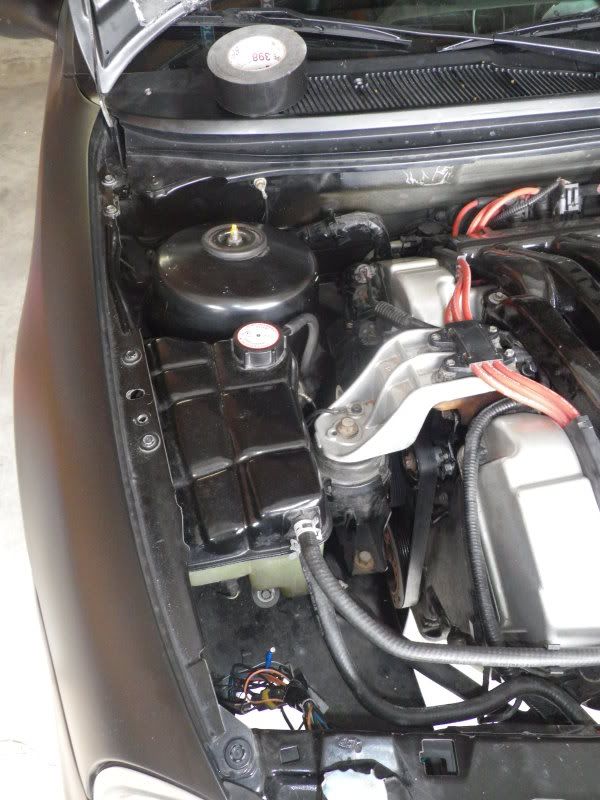
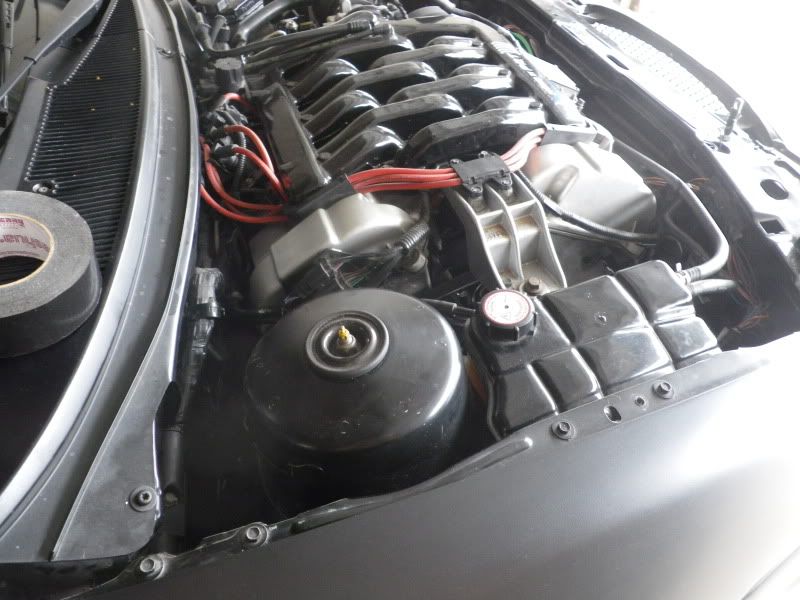
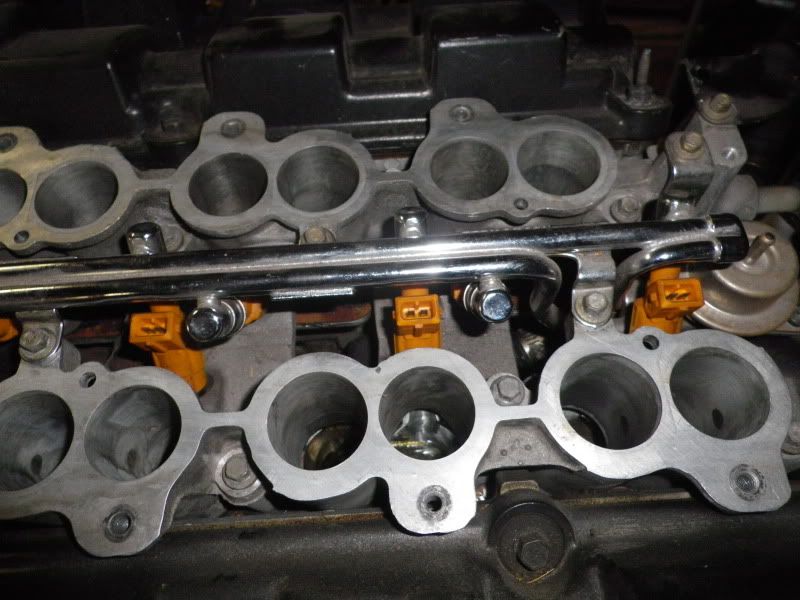
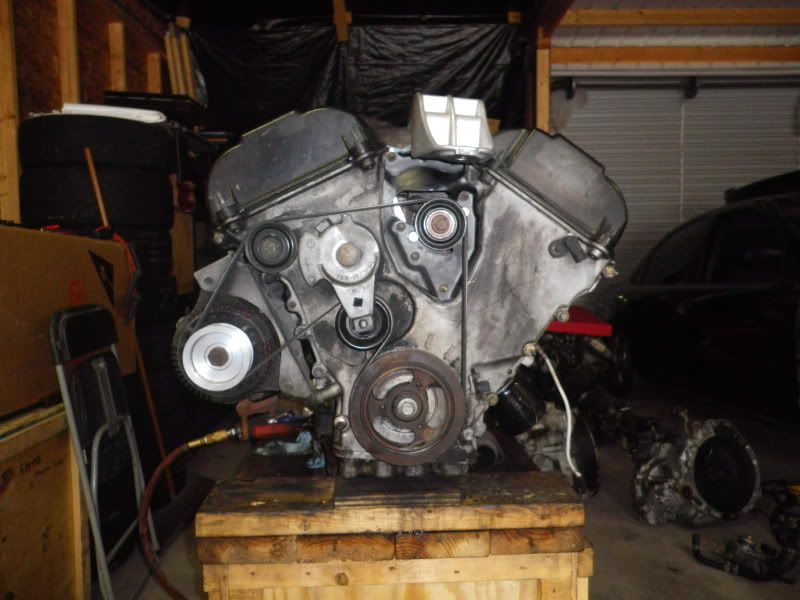
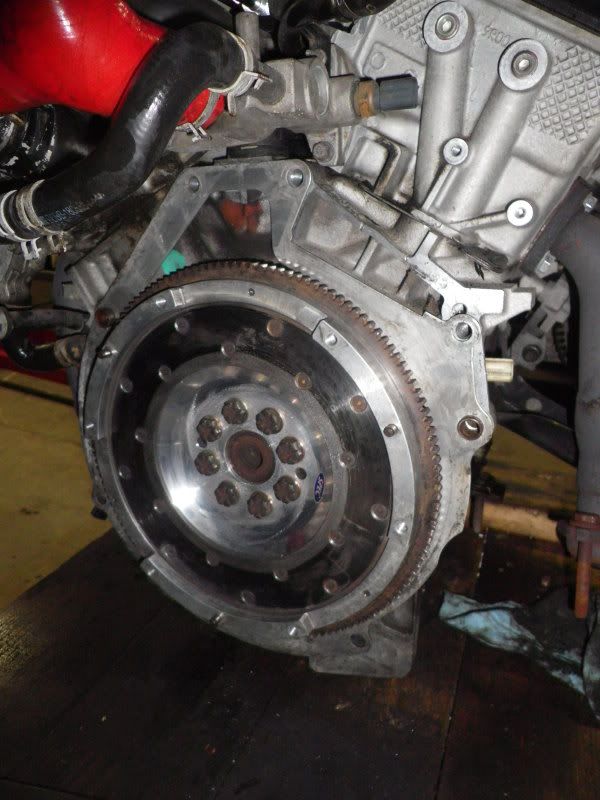
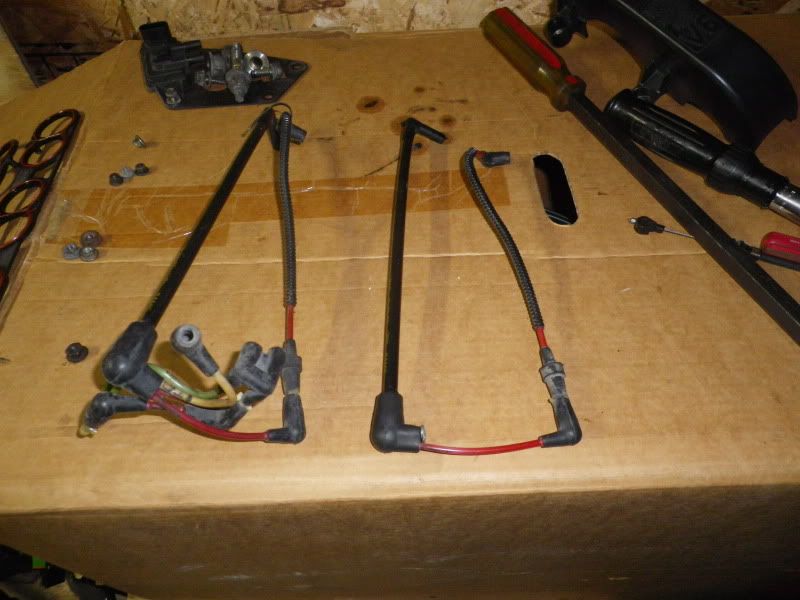
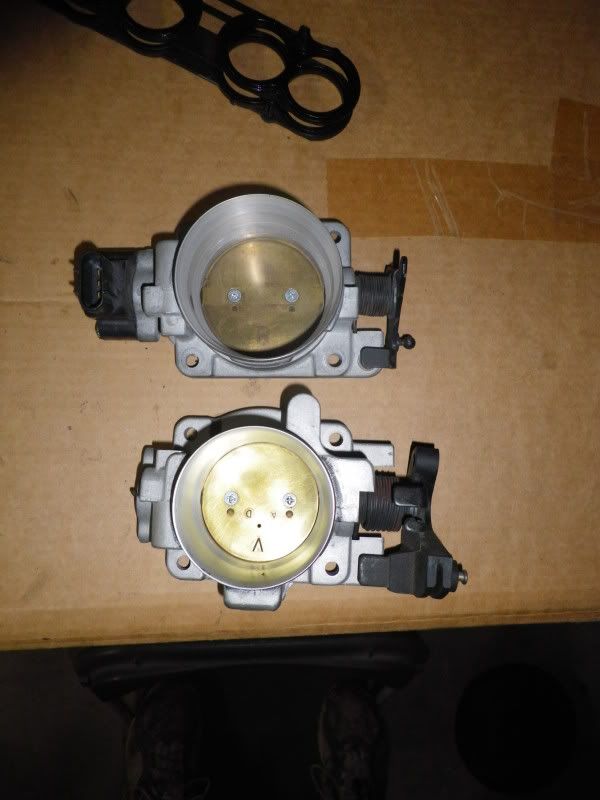
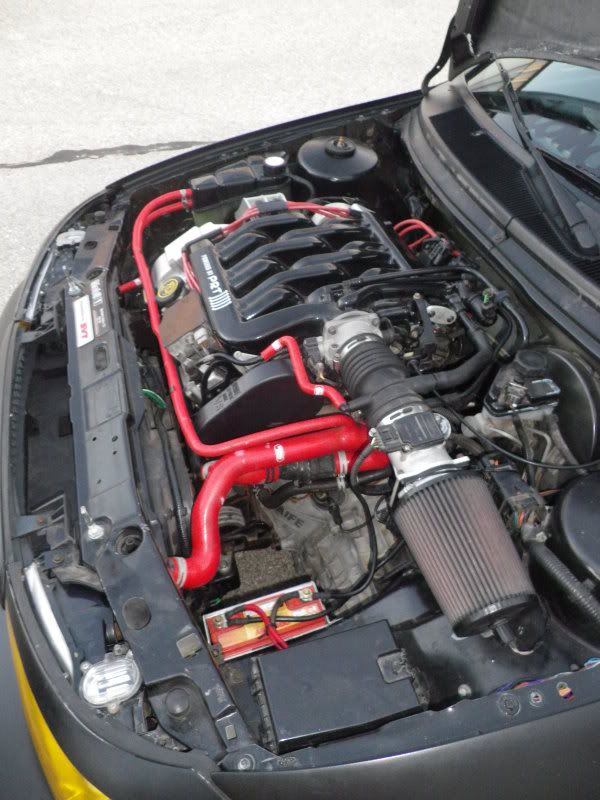
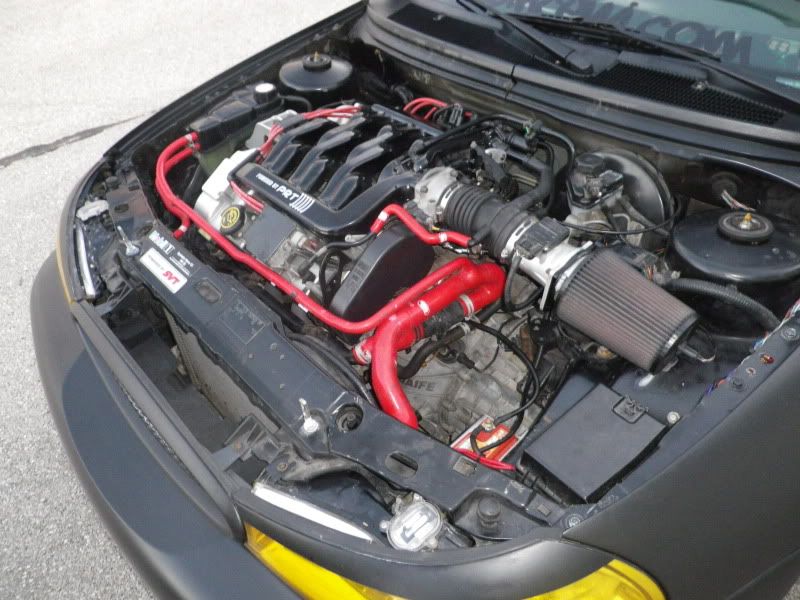
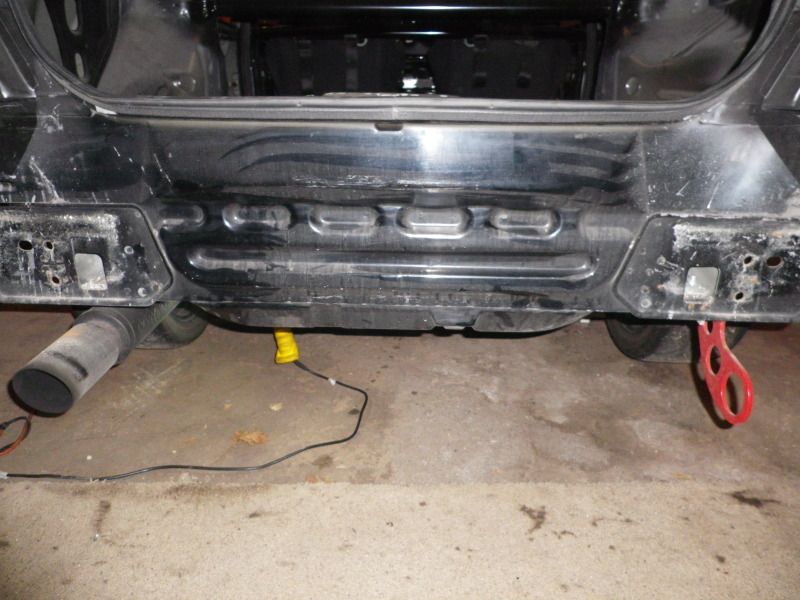
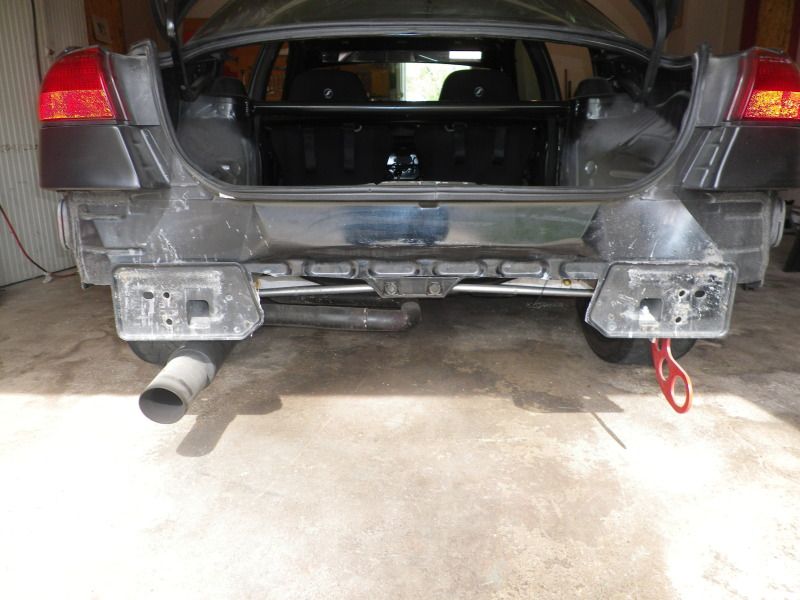
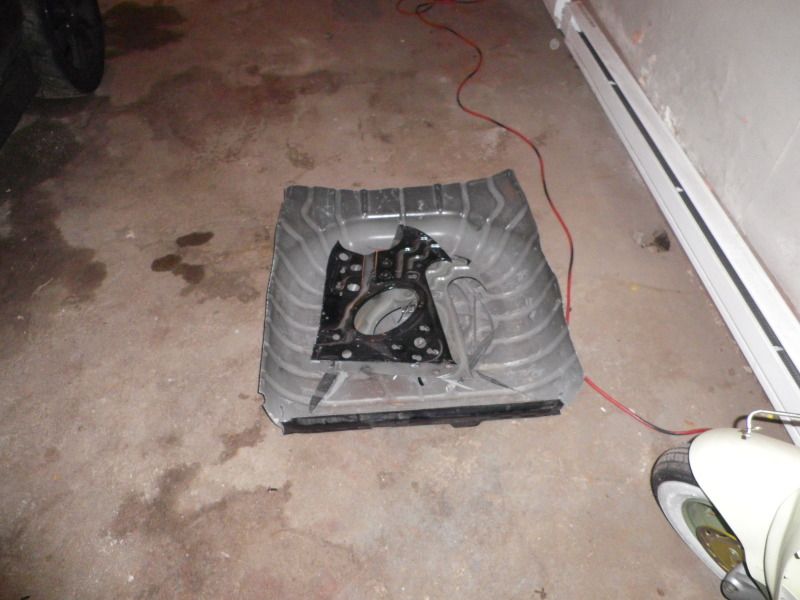
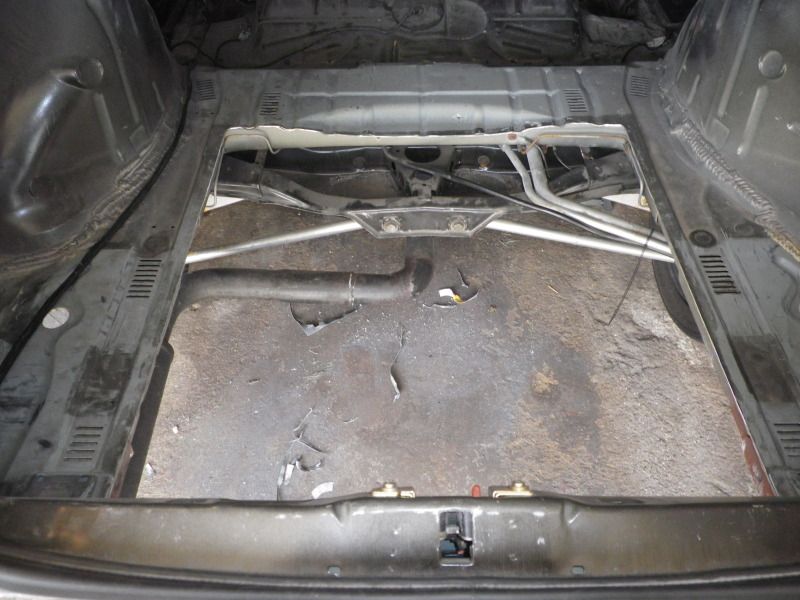
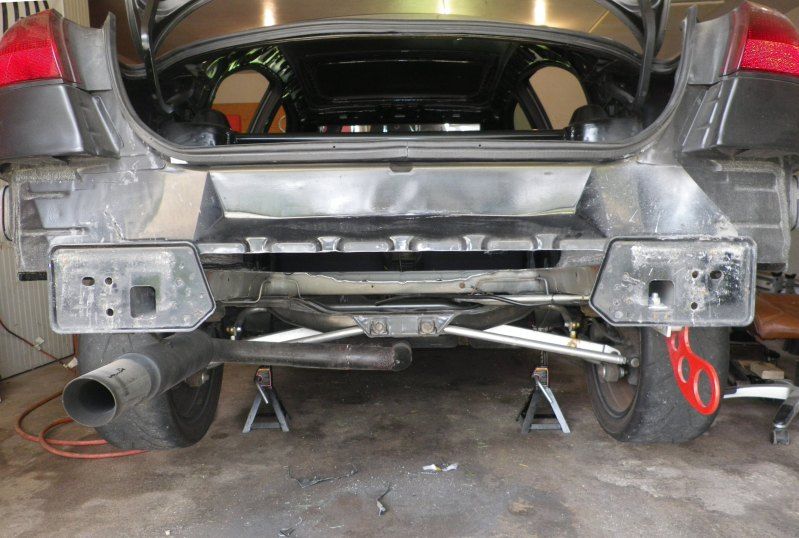
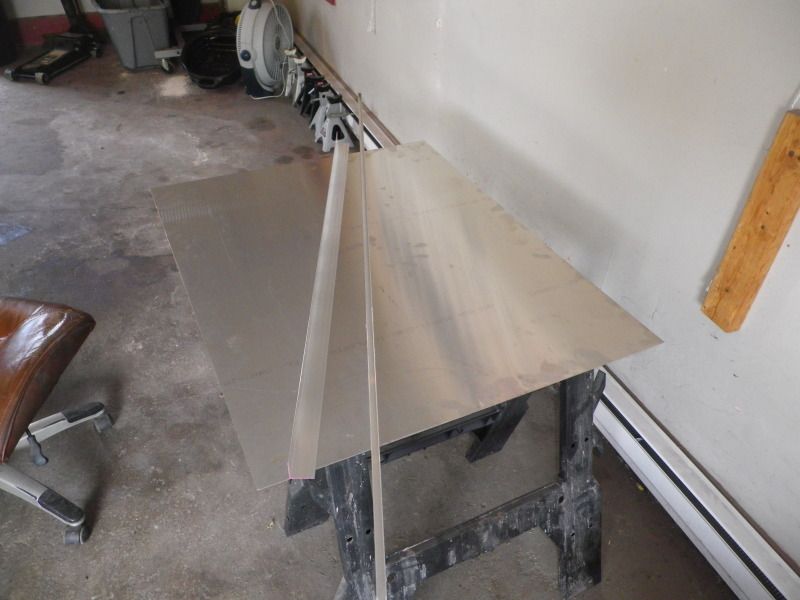
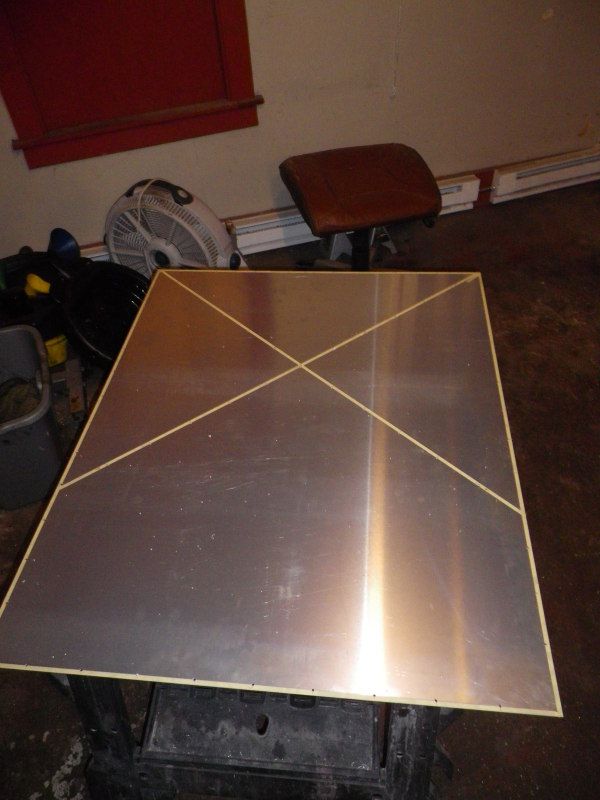
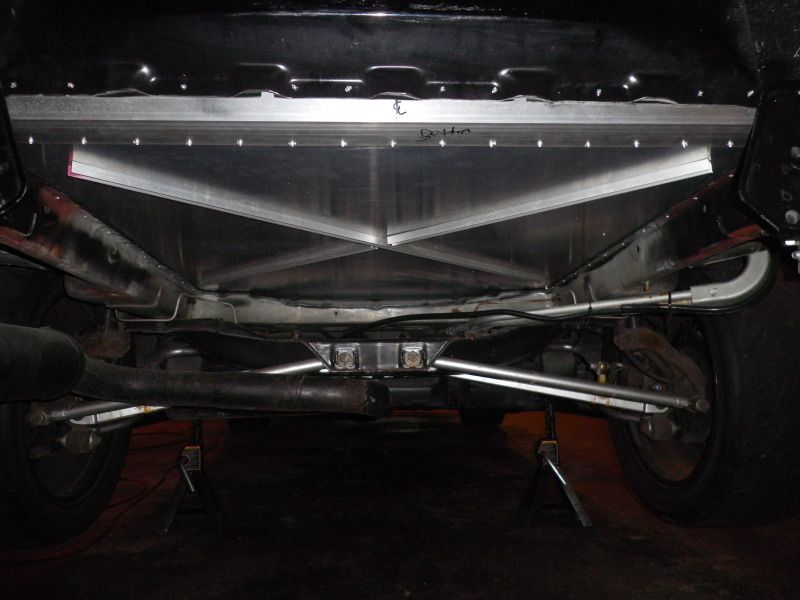
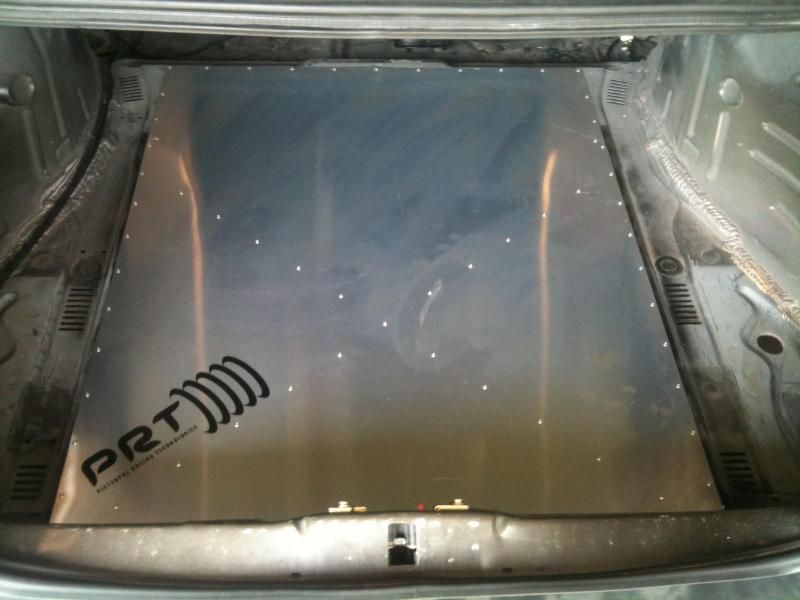
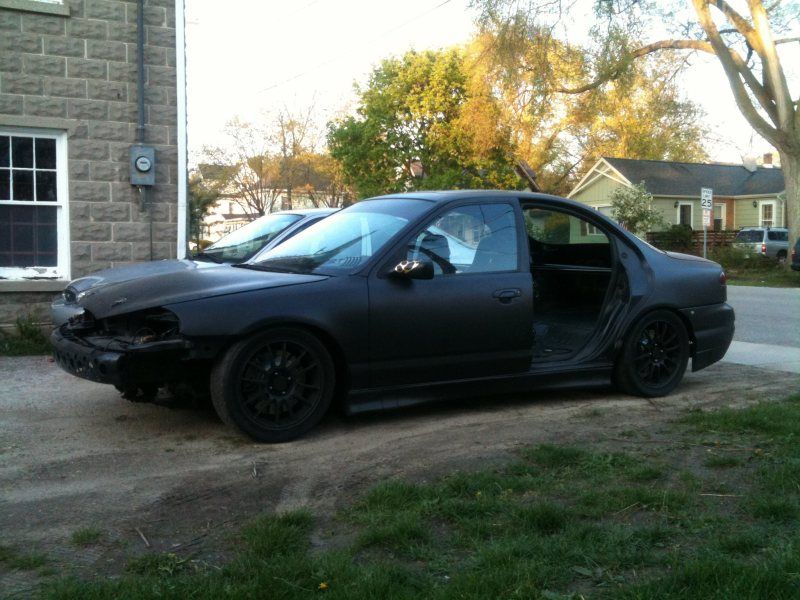
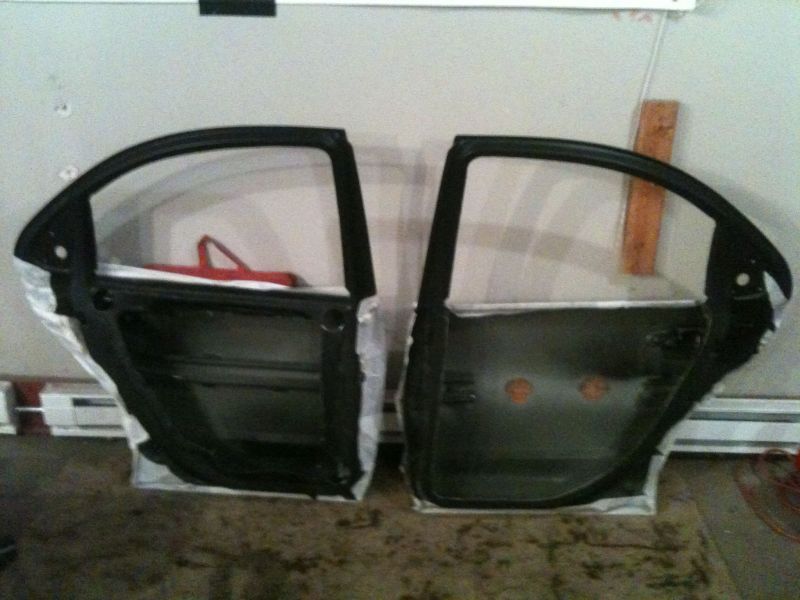
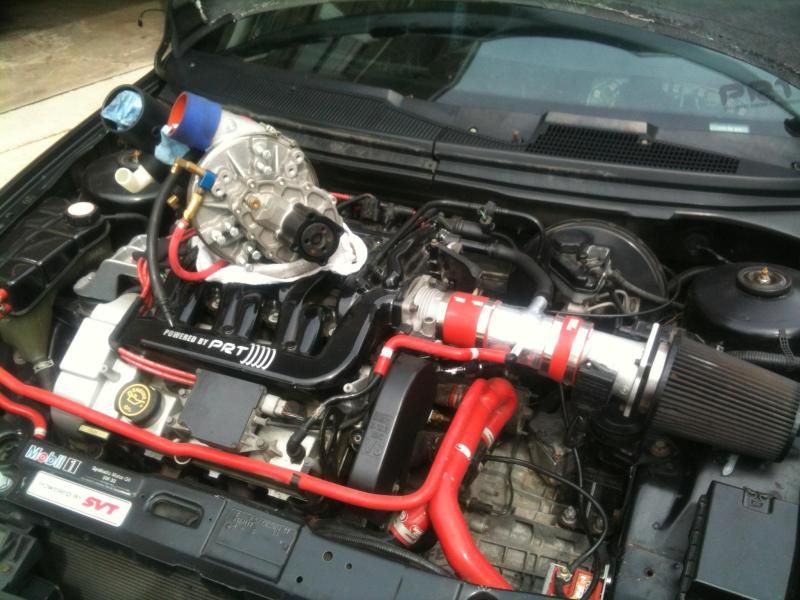
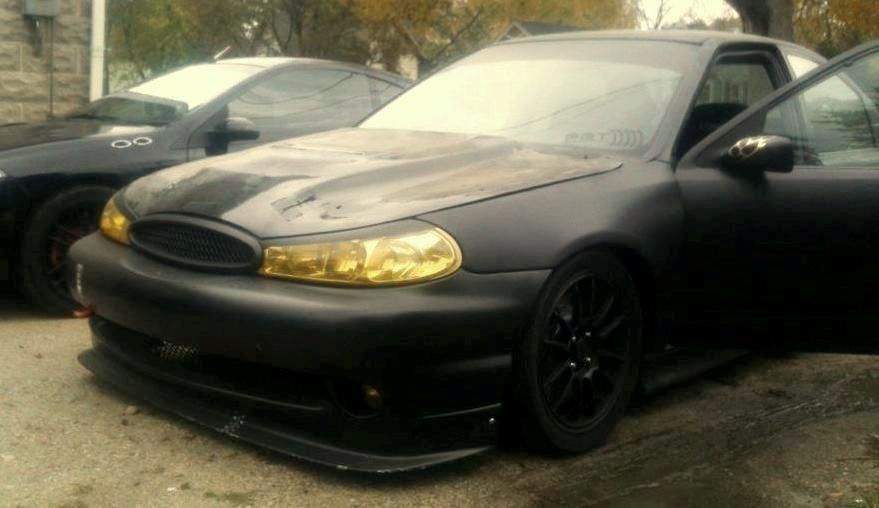
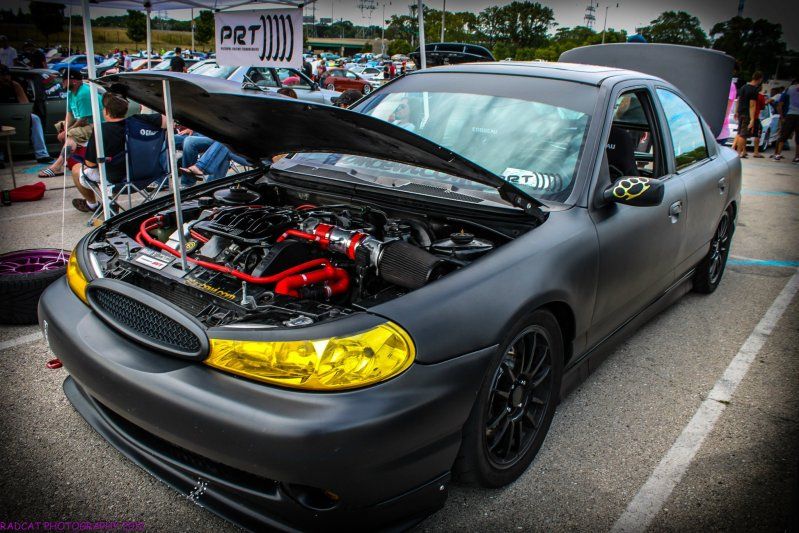
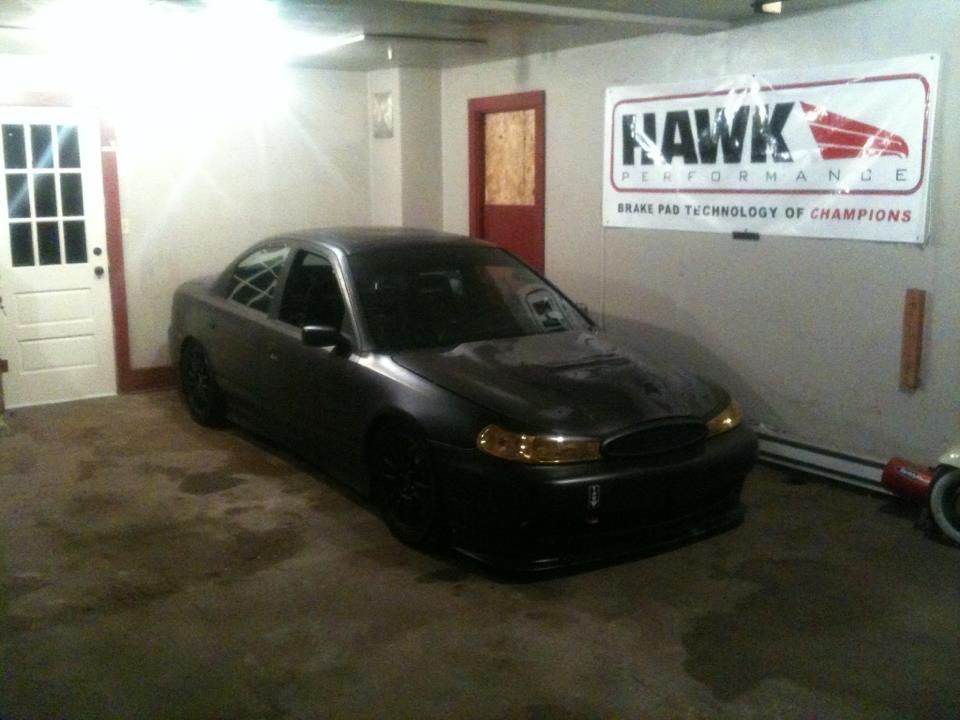
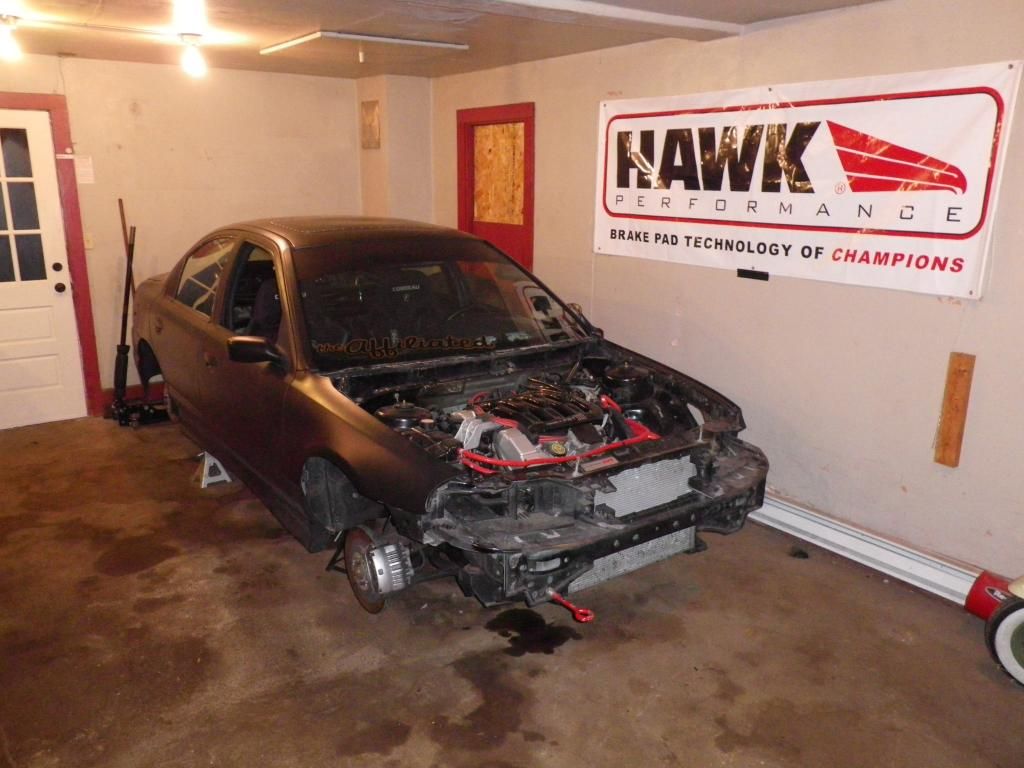
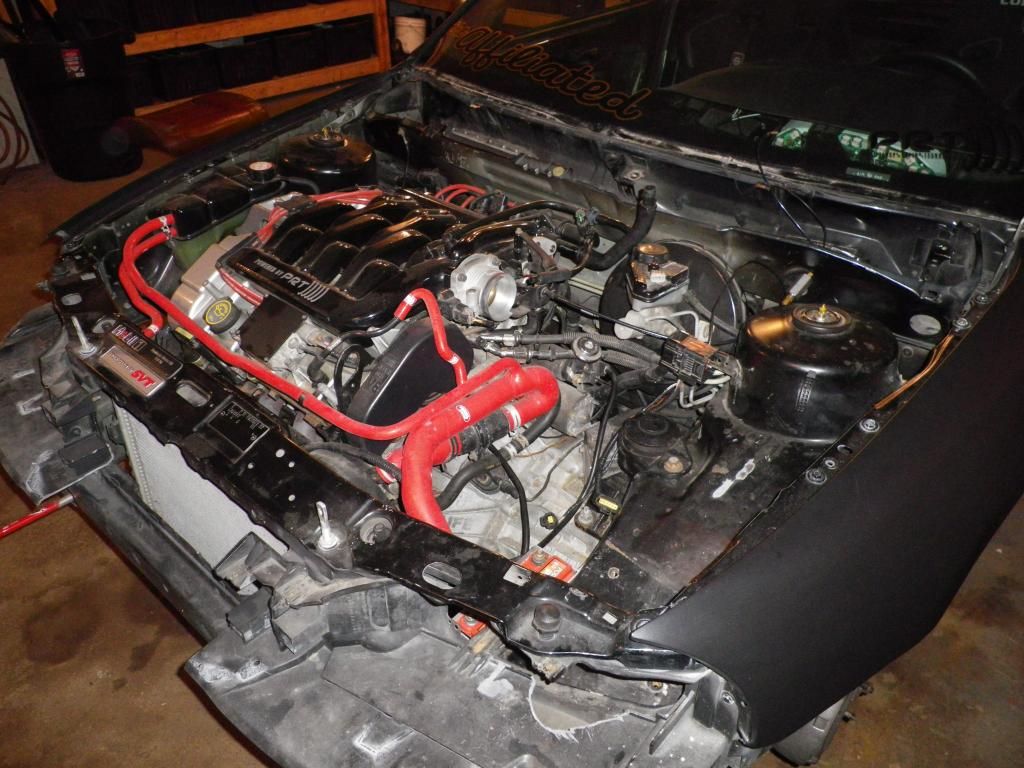
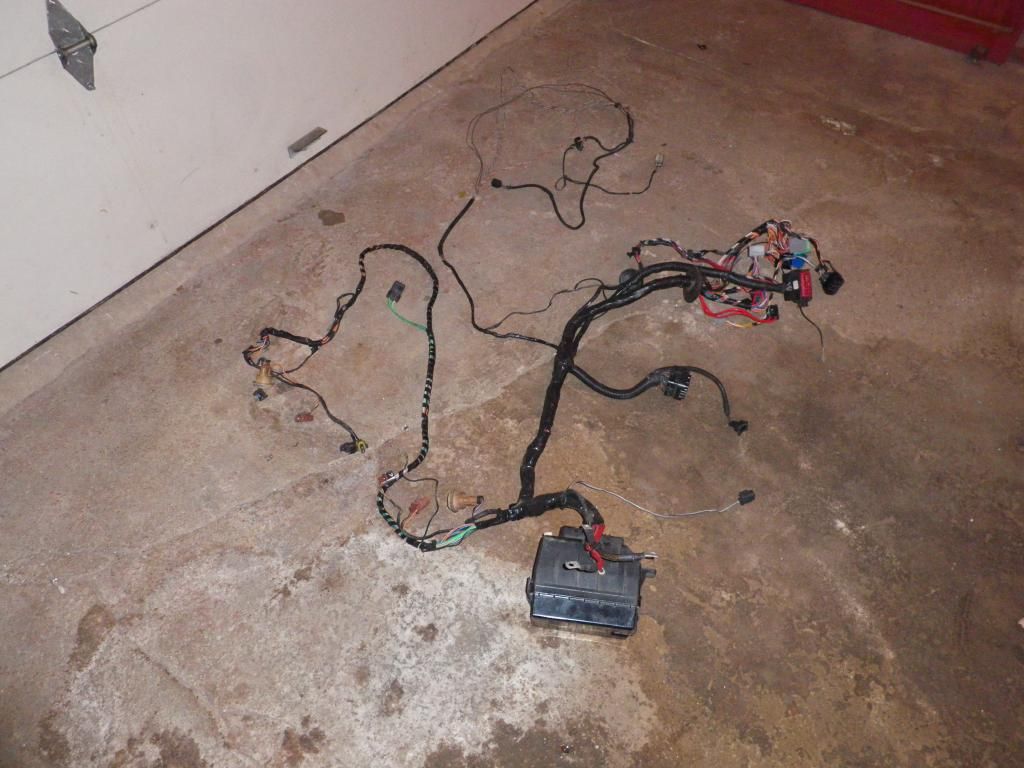
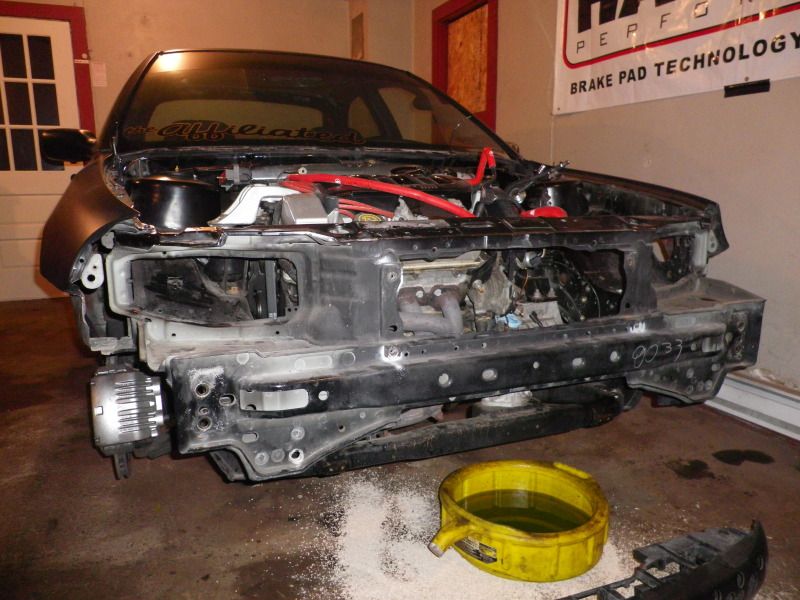
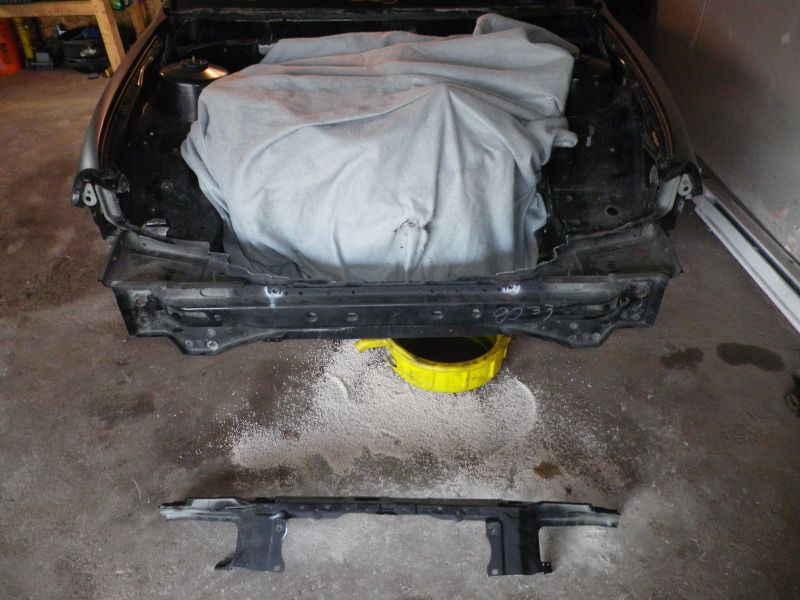
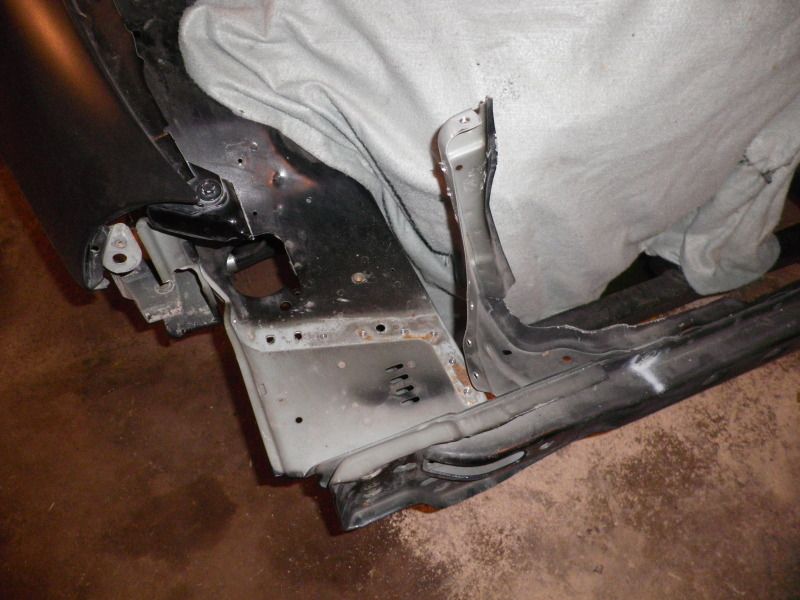
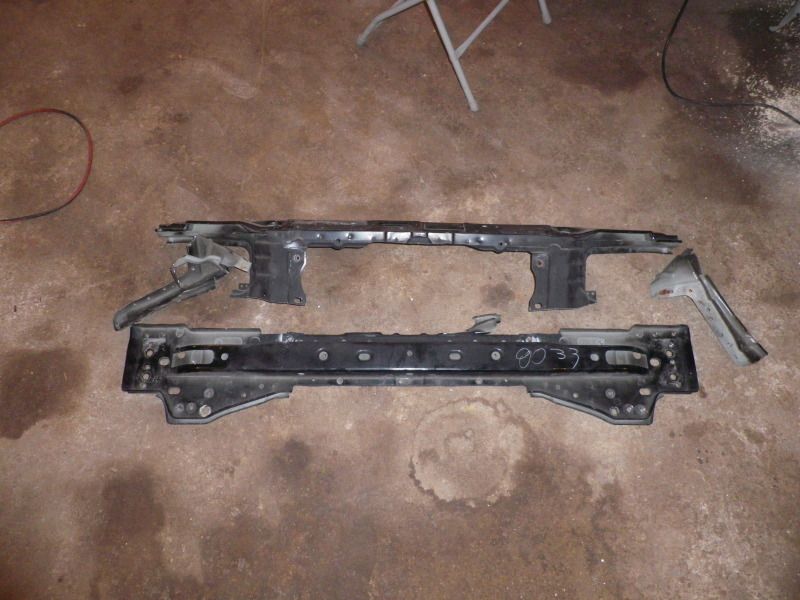
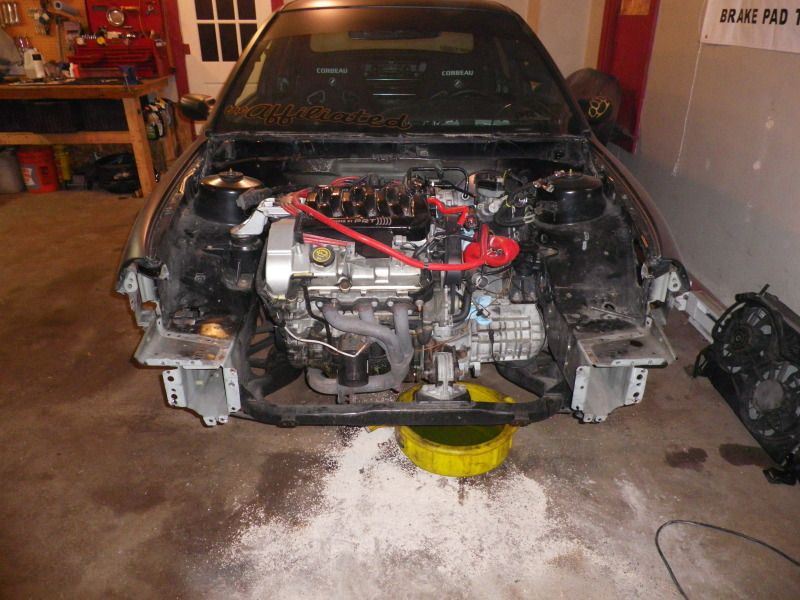
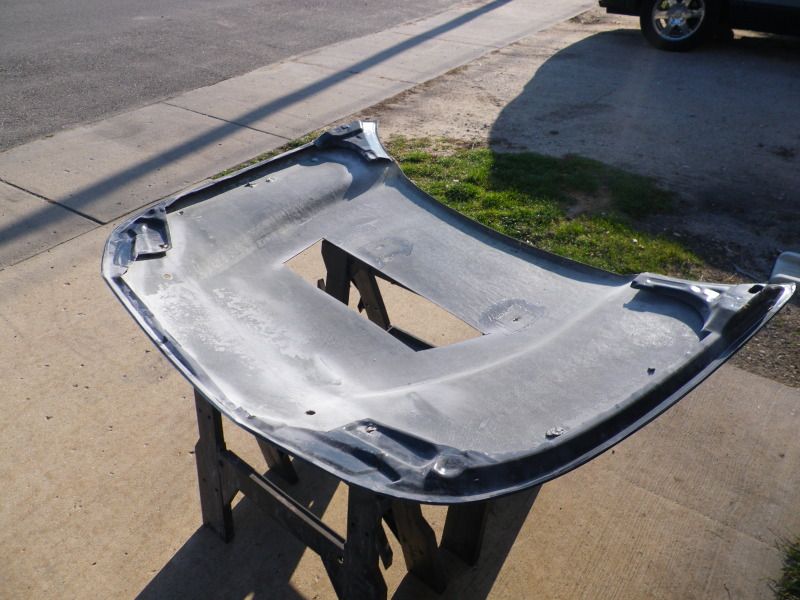
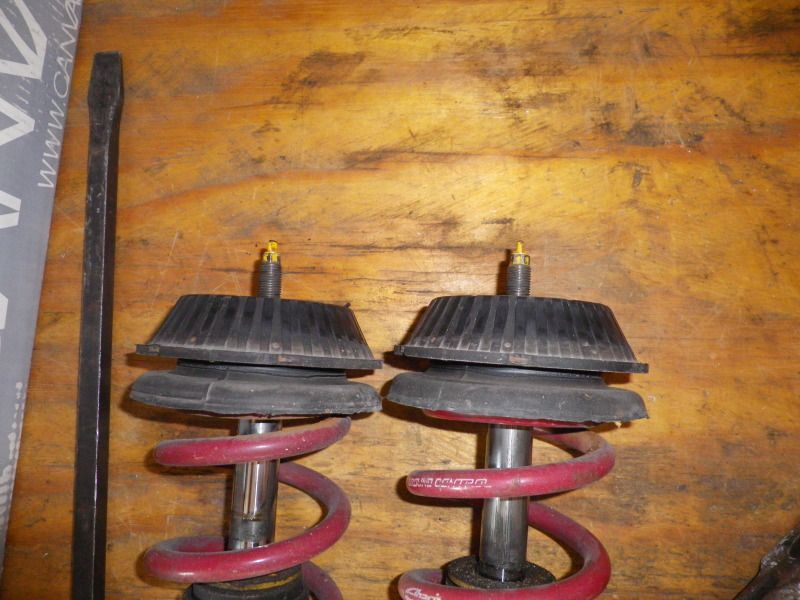
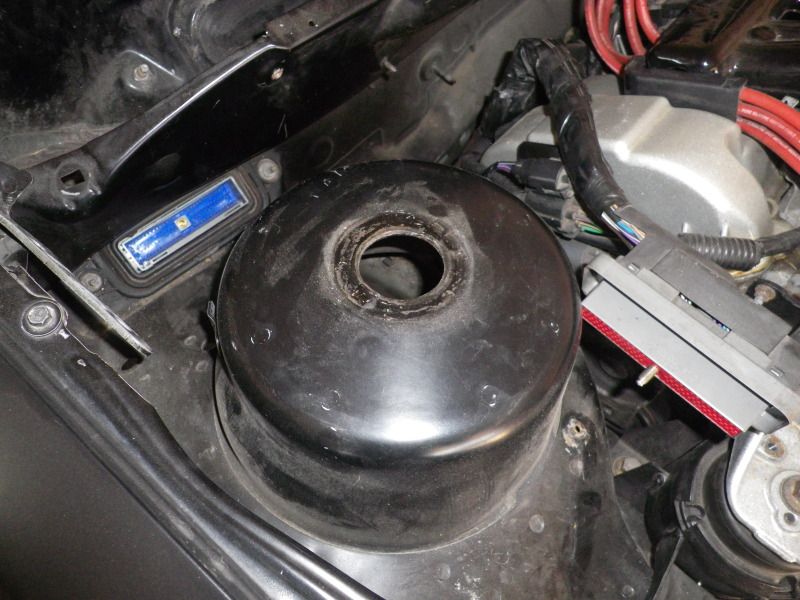
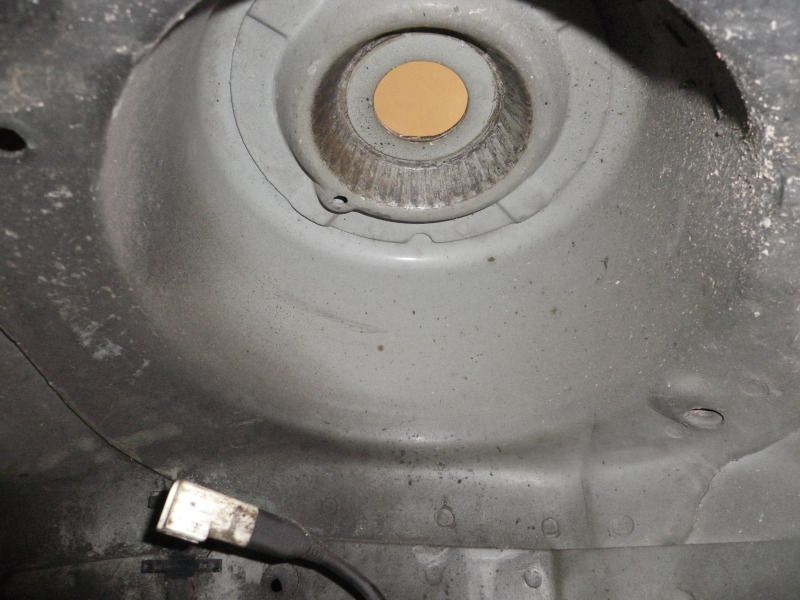
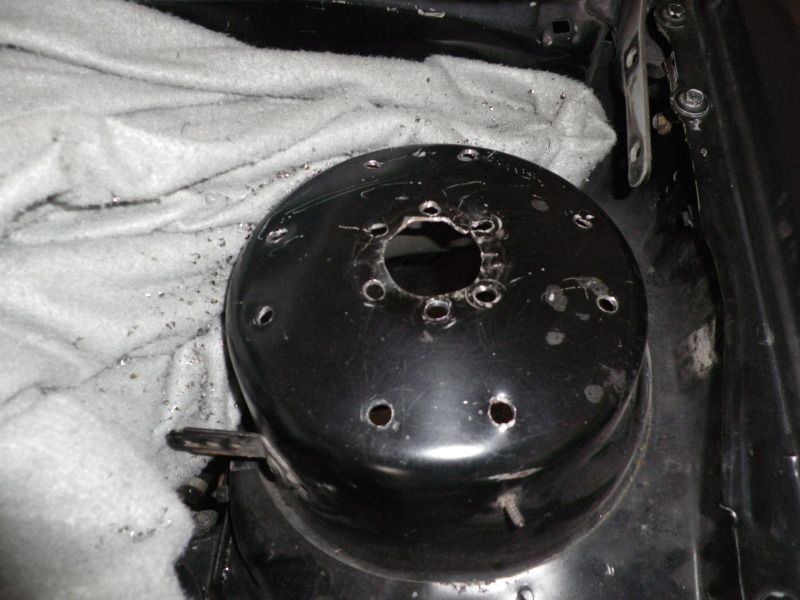
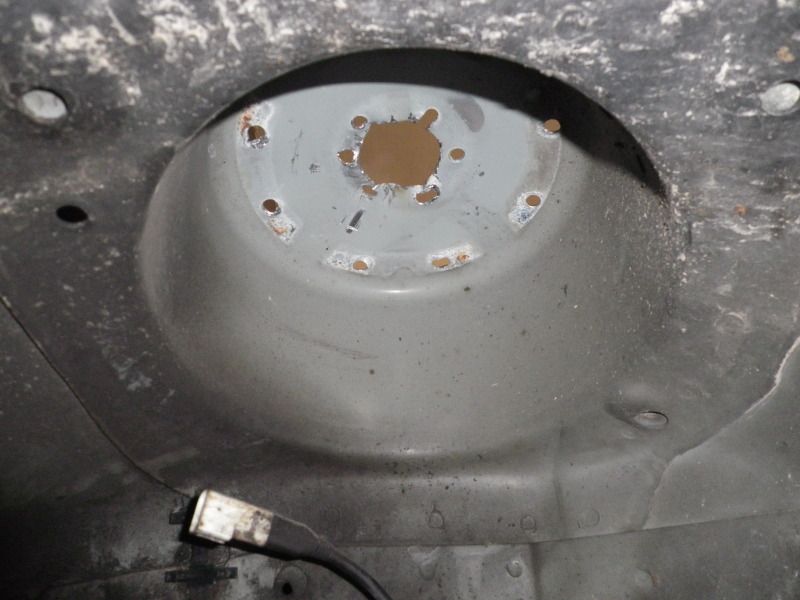
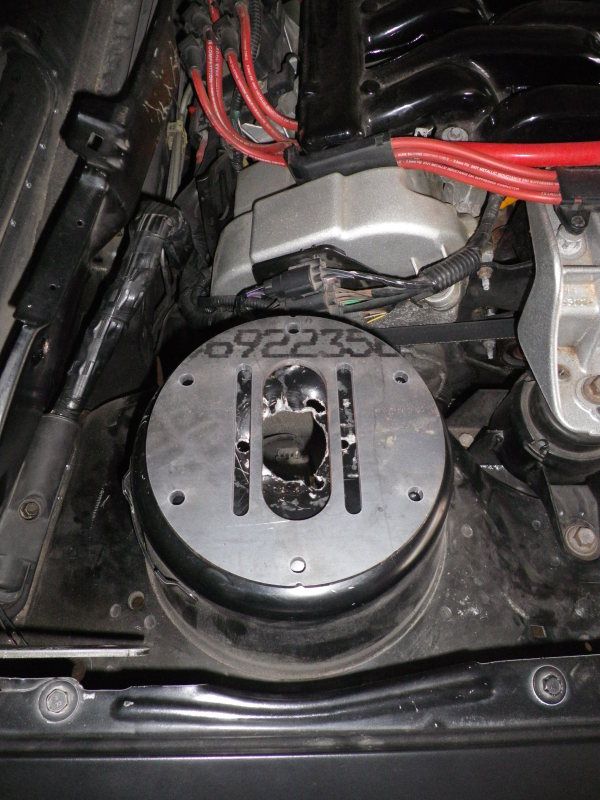
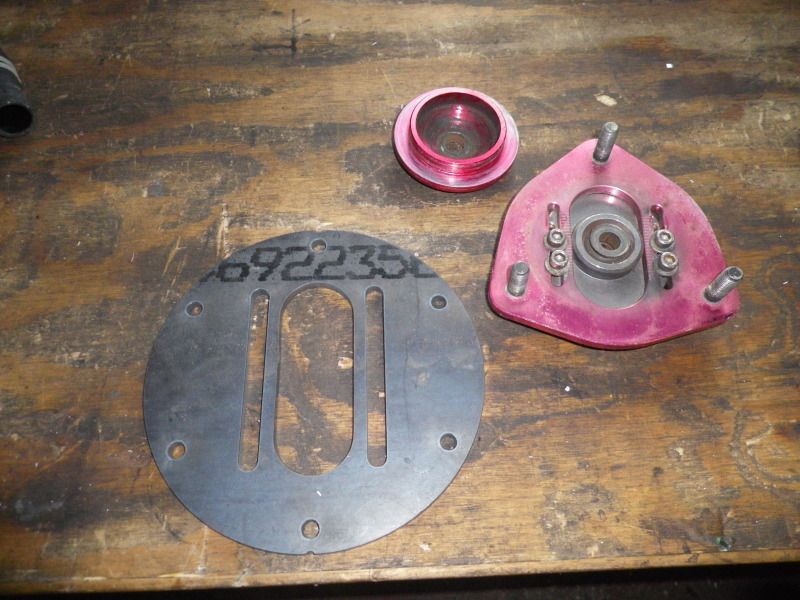
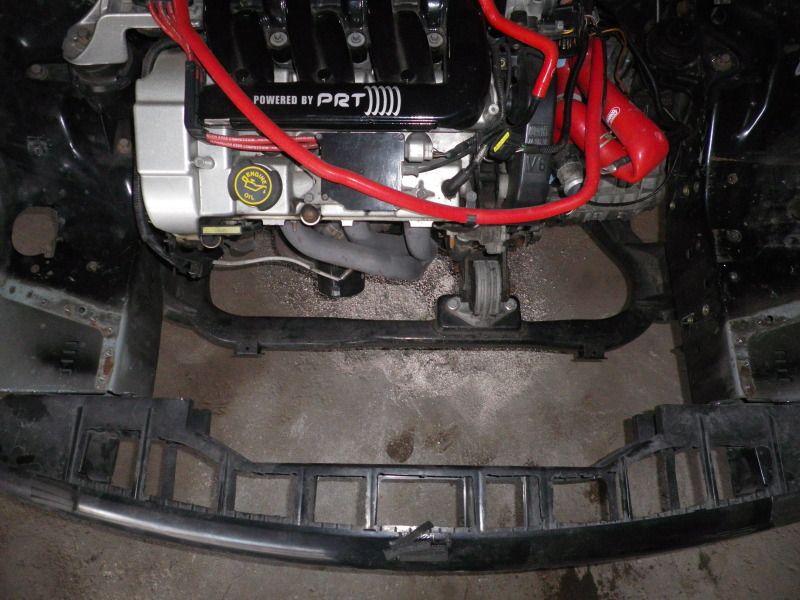
    I'm going to start from the very beginning of the 2011 rebuild of the car for dedicated track use which was completed and continued on into 2012 and now 2013's build has begun. I did a full rebuild and some modification when I got it back in 05, the pic below is just a stack from purchase, initial 05 build, the 2011 completion and the current tear down. As well as a few other shots from 2011/12.


    [ame="http://www.youtube.com/watch?v=-A65pRRh67w"]Nelson Ledges in PRT's 2011 build SVT Contour - YouTube[/ame]

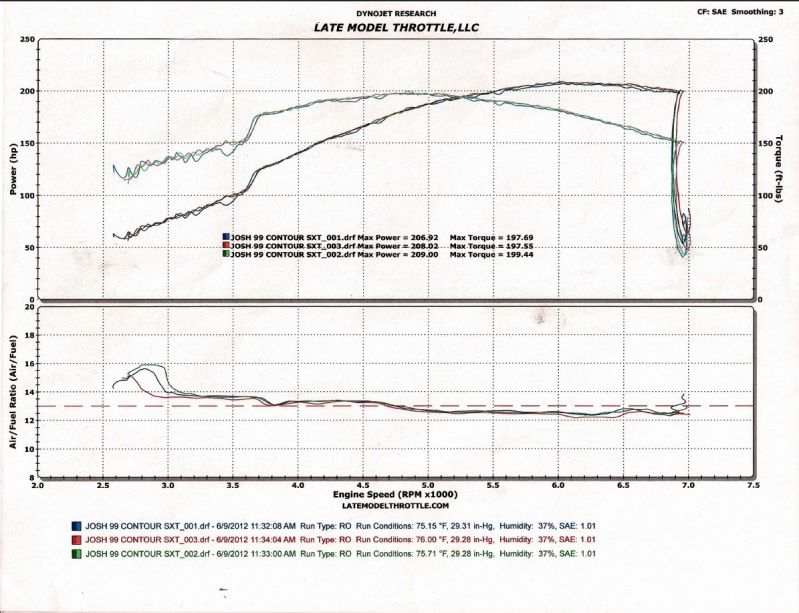
    [ame="http://www.youtube.com/watch?v=lIEjJ85CODE&list=UL"]PRT SVT Contour Dyno - YouTube[/ame]
    Last edited by Pole120; 11-30-2012, 11:37 PM.
    Owner/Operator PRT Autosport : www.PRTAutosport.com www.facebook.com/prtautosport

    99 SVT "BLKOUT2" - PRT street driven track whore / 00 ROUSH Cougar / 98 SVT - PRT RWD conversion project car

  • #2
    God damn that girl with the blue shorts and the glasses
    but I mean the car is nice as well lol

    Comment


    • #3
      So on with copying and pasting the actual build thread, as for a timeline this is late February 2011...


      Mid last week the car was moved to it's temporary heated home.

      This morning around 10, work began.


      First to go was the stock subframe and control arm assemblies. In place of these items will be PRT's new control arm kit, Urethane bushings in the reinforces trailing arms and the imfamous aussie sway bar.


      The red bumper currently on the car was installed because it's mounting points were damaged in a roll over, as the track car will use alternate mounting provisions, I didn't see any point in cutting up the good black bumper.

      The car was already equipped with Ground Control coil overs, there will be some some changes in store, but for the most part they are what will be run for shock/spring setup.

      What you'll see here is the stock bumper corner mounting, this is known for causing issues with tire clearance, and while some choose to hammer it out of the way, we went a bit farther....


      The future(2012) intent is to run roughly and 8-8.5" wide wheel on the car so prior to painting for this season it seemed like the perfect time to make room for the future wheels and tires. This means, rolling the fender lips on all 4 corners. Pictured is a splash shield mount that must be cut out of the inner sheet metal in order for the lip to fold flat. No special special fender tools here, just a dremel, and angle grinder and a BFH. While the finished product may not be super pretty on the inside, from the outside the fender looks untouched, with the exception of existing damage thanks to a parking lot.


      Before/after


      We will be running wheel spacers to take advantage of the newly available space for 2011.

      Now turning attention to the front fenders. I approached this differently because the lips are not double thickness like the rear. Taking a hammer to these would do little more than destroy them. Instead, after trimming off no longer necessary splash shield tabs, reliefs were cut in the lip to a predetermined depth and the sheet metal was simply folded back by hand. The finished product again, looks unaltered from the outside. No before pics this time, sorry.


      That's it for today's progress, back at it tomorrow!
      Owner/Operator PRT Autosport : www.PRTAutosport.com www.facebook.com/prtautosport

      99 SVT "BLKOUT2" - PRT street driven track whore / 00 ROUSH Cougar / 98 SVT - PRT RWD conversion project car

      Comment


      • #4
        Next came a little more disassembly. The car originally had a full interior(a couple of them actually) and while I had gotten a start stripping the car a few months ago there was a little left to do before I started on the floor sound deadening and patching holes.


        In the fall of '10 I also converted all of the doors to manual operation. All windows are now manual crank and the mirrors simply adjust with hand pressure to the lenses. It eliminated not only a lot of weight and complication, but also a ton of wiring.

        Out with the old


        In with the "new"


        In my attempt of trying to document everything in a before and after style, i've also been taking some pictures of the old vs new suspension pieces. Not pictured is the swapping of the front swaybar from the SVT 19mm unit to a standard contour 20mm piece with urethane bushings. In addition to this in the front end solid subframe bushings were machined and welded in.


        Shown here is the stock rear sway bar next to the 22mm hollow "Aussie bar", which was designed and sold in limited quantities way back in CEG's past. I've had two of these bars in three different cars and I love it.


        While the detailed write up of all the interior mods is yet to come, I figured i would throw two teaser pics in the mix...


        Owner/Operator PRT Autosport : www.PRTAutosport.com www.facebook.com/prtautosport

        99 SVT "BLKOUT2" - PRT street driven track whore / 00 ROUSH Cougar / 98 SVT - PRT RWD conversion project car

        Comment


        • #5
          I spent a lot of tonight working on prototyping the new rear LCA's. An old friend, some of CEG's older crew might know, came out too, so that was cool.

          I'll start off tonight with the new toys I've purchased for the shop. I've had the welder for about 2 years now, just recently converted it to solid core wire and argon/co2. What a difference! Also picked up a new helmet. In addition a few months ago I bought a bench top lathe, and just recently received all new tooling. This is coming in handy for quite a few things as you'll see. Now, when i need a spacer, or adapter, I don't have to try and find it, I just make it. It's definitely speeding things up fabrication wise.


          First project with the lathe was some throttle body work. I used to offer optimized TBs and I plan to again, so I wanted to see just what this thing could do. Needless to say I'm impressed.


          So like I said I spent most of tonight working on the prototype arms. I ordered standard energy suspension 4-link bushings, and some tube steel and got to work...the bushings, shafts and sleeves all had to be machined to fit. In addition to this work. I'm considering making new shafts out of 6061.


          In addition to this I wanted to showcase the modifications made to the rear sub frame I added some additional bracing at the LCA mounting points, and Thinkmoto upgraded the swaybar mounts some time ago.


          Stock, known for failing, especially with upgraded sway bars.


          New box style mounts


          Bed time!
          Owner/Operator PRT Autosport : www.PRTAutosport.com www.facebook.com/prtautosport

          99 SVT "BLKOUT2" - PRT street driven track whore / 00 ROUSH Cougar / 98 SVT - PRT RWD conversion project car

          Comment


          • #6
            Update time! Made some big steps tonight toward finishing the chassis mods to the rear half of the car tonight, I'm focusing on all of the chassis changes at the moment, so I can get the car in paint ASAP.

            Just to start it off, pics of what I all picked up yesterday, I have to say having racing supply warehouses in the area is a huge advantage, no waiting, no shipping, just walk in and walk out a few dollars down.

            More new tool porn


            Intake ducting, Dzus fasteners/weld plates, and the 6061 AL for all the new spacers.


            I'll be using the AL for making new versions of the steel spacers i used to run. As well as for all the new ones needed for the tubular front LCAs and so on.


            As you'll remember I cut out the original bumper mounting tabs, for the sake of tire clearance. Here's the new mounting solution.


            I also did a little mock up to give an idea of where things are headed with the headlight intake. There is a lot of fiberglass work yet to be done on the light, as well as fabrication of the new sealed air box. The two will be connected via the 4" reinforced silicon coated ducting shown.


            Continuing on with the side by sides of suspension component upgrades. I got the trailing arms back from welding. I had the sleeves and base connections tig welded to minimize and potential flex as well as ensure nothing comes apart. Also pictured are a few views of the tubular aft rear LCAs Thinkmoto produced some time ago. PRT will be offering something similar to complement the fore LCAs currently undergoing prototype.


            Put in about another 6 hours tonight. I did some work on the seat brackets, you can see just how low the seats are in the car in the exterior pictures. Got the Dzus weld plates finish welded to the body, shaved the front emblems, antenna and keyhole, also got some filler on for sanding tomorrow morning. I also did another test fit of the wheel with the new bumper mounting and all is happy. Time for bed, back at it early tomorrow.


            Owner/Operator PRT Autosport : www.PRTAutosport.com www.facebook.com/prtautosport

            99 SVT "BLKOUT2" - PRT street driven track whore / 00 ROUSH Cougar / 98 SVT - PRT RWD conversion project car

            Comment


            • #7


              More pictures. Friday night and Saturday were pretty productive. Pics:

              For those that don't know from experience, the rear tow hooks on the contour are useless. So I made a change, all aluminum construction and easy access.


              More body work. Fixing all the existing body damage, filling the rear seams, and finished fenders and antenna hole.


              Finished, antenna hole and fenders. Final picture also shows how low the seat mounts in the car, I'm 6' 1" and my head is roughly 10" below the inside of the roof, the steering wheel doesn't tilt much farther down.


              Tonight I built the riser and got the Steeda shifter in, and I'm loving it. The throws are incredibly solid and surprisingly short for the length above the fulcrum. I was considering cutting the shifter down, but with the seat mounting as low as it does, the shifter is actually placed exactly where I wanted it to me. I can't say enough good things about how it came out.


              Also figured I would throw in a teaser of stage 1&2 fore RLCA progress. I'll have test fit pictures this weekend as well as pictures of the fiberglass work I've been up to.


              I started off the weekend filling the holes in the carbon hood. I originally had this hood on another car and i decided to switch the location of the pins and delete the washer system. Fiberglass was laid from behind for support, then fiberglass reinforced filler was used. Everything is sanded and smooth, just need to finish sand the spot putty. Fun side note. This was originally an OEM style carbon hood, whick i have cut all of the fiberglass support structure, and latch out of. It now weighs in at 8 lbs. :drool:


              Between sanding and filling the hood, I machined the AL spacers for the rear suspension and started on mounting the Odyssey 680 battery. I had originally intended to mount the battery beneath the passenger seat, but because they seats are now mounted so low, this was no longer an option. I chose to place it below where the original battery was mounted, clean and tucked out of the way as well as below where the intake inlet tubing will run. An added benefit to this location will be short power and ground runs when it comes time for wiring.

              Cut and faced to length:


              Chamfer added:


              Installed:


              Last but not least I got more work done on the stage 1 and 2 fore rear lower control arms, stock endlink stage 1 design will likely be the only design to go into production, but the stage two's will be rather nice on the track car.


              Stage 2's test fitting:


              Since I'm currently waiting on parts, I finished up a few odds and ends, as well as put some time into the HL intake. Not pictured is that I did the finish sanding on the spot putty on the hood.

              First up, I threw a mill bit in the drill press and counter-bored the shift tower so i can retain the stock hardware.


              Before


              After


              Second up, I got to test fitting the EGR delete plate that will be included in the EGR delete kit soon to be released. Looks great and matches the gasket and UIM quite well.


              Last edited by Pole120; 12-01-2012, 09:04 AM.
              Owner/Operator PRT Autosport : www.PRTAutosport.com www.facebook.com/prtautosport

              99 SVT "BLKOUT2" - PRT street driven track whore / 00 ROUSH Cougar / 98 SVT - PRT RWD conversion project car

              Comment


              • #8
                Lastly came some HL work. I cut the remainder of what was the turn signal out of the intake, this area will serve as a nice pocket to tuck the HL wiring away while on track. I also removed the support from the fiberglass header panel to allow for easier molding. This will come together very quickly in the coming weeks and i really think it's going to not only look, but work great.


                Teaser time....I think everyone will enjoy this 3-day weekend's progress. HUGE thanks to John B tires (www.johnbtires.com) for a nice hookup on some tires for the car. These guys specialize in used take-off that have been shaved and heat cycled, they're local and decided to help out. Great guys to deal with for sure.


                Just some tubing....


                I've decided to change gears a little bit with the intake system. Rather than fumble with a separate headlight housing, I've decided to incorporate the 4" post into a functioning light. The port will be located where the low beam sits now, I will relocate those to the high beam location and run lower wattage bulbs. Doing this means moving the fuse box, which isn't an issue as all the wiring will be modified anyway. The battery will stay tucked as originally intended.


                Saturday morning I got the tires mounted and It's evident that the work I put into the fenders was worth the time. It's amazing just how much room for even more tire there is, so there will certainly be changes to wheel/tire combo for 2012.


                Stopped at a friends house that has a bender(which I may now be buying) and got the harness bar for the cage bent. I also scrapped the idea of a bolt in design and decided instead to weld everything in. Everything will just be tacked until I get the car resting on the suspension.


                Lastly, I redid the seat bracket for a third time and dropped it about another inch. This is as low as it can go, any lower and the steering column doesn't drop far enough to see the instrument cluster. The pictures shown are with the column all the way down.


                Owner/Operator PRT Autosport : www.PRTAutosport.com www.facebook.com/prtautosport

                99 SVT "BLKOUT2" - PRT street driven track whore / 00 ROUSH Cougar / 98 SVT - PRT RWD conversion project car

                Comment


                • #9
                  Just a couple of pictures....

                  New toys:


                  Prototype control arms ready for finish welding. Hoping to have these back Monday so I can do the final install of the rear suspension and get the car on the ground to finish the cage.

                  Stage 1:


                  Stage 2 track arms:


                  Update? Sure....

                  First off some of the work I had Joe do on the CNC plasma table. Tow hook done:


                  Saturday morning I had a welder friend come in and lay down the finish welds on the harness bar, hoping to have him back next weekend to finish weld the additions I made this weekend once the car is sitting on the ground. The control arms are due back tomorrow that then we can put in the completed rear suspension and set her down.


                  Next up was installing the new nut-certs required for the battery relocation...


                  Scratch that off the to-do list....


                  Today I spent a little quality time with the tubing notcher, welder and saws all...still more to be removed but enough for the day to provide great access for cage install.


                  Made a mock-up bar out of PVC, there will be two of these bars in a welded "x" in a day or two.


                  Long night at the garage tonight. Hetfeild came out and lent a hand which was greatly appreciated.

                  So first up: CONTROL ARMS!

                  Stage 1 vs stock:


                  Stage 2 vs stock:


                  Because i still need to get all the new rear suspension blasted and painted before install, Mike and I threw in the old suspension to get the car on the ground to finish cage fab. From the sounds of things the welder will be available again Friday, so hoping to have him back then to finish this up and mark it off the to do list. Once it's all welded I can get the car up again and swap out all of the suspension parts. One thing I have learned is that due to the amount of weight reduction in the car, the coilovers can no longer sink to the stance I want for the car. I will be looking into different spring rates and shorter springs soon. The front has another 1 1/2" of drop before I hit chassis, and the rear has about 4". I have the ability to lay the side skirts on the ground with a static drop. This is where all the work in the fender wells pays off.

                  Once again on all wheels


                  Last tubes for the cage in. I do have plans to expand upon this bracing in the future with a roof hoop and door bars, but for now it's all i need and IMO looks plain sick.


                  Lots of parts still on the way, so back at it tomorrow! BED TIME!

                  Got a lot of little things scratched off the list tonight. Parts are still arriving daily. Today I got the passenger seat, and set about making the bracket for it. The brackets go to finish welding tomorrow, and it's yet another thing on the done list. Also, today I confirmed with my welder that he would be coming out Friday to finish weld the cage.

                  Along with the seat brackets, I added a little touch to the cage. I had some CNC cut logos that Joe had done for me some time ago....and I thought it was time to put one to use....


                  Big night tonight. Cage if officially done for this year, got finish welded this evening.


                  Just about done with removing the rear deck, also removed more parts on the car in preparation for paint(not pictured).


                  Also did some machining, these are just some seat spacers.

                  Owner/Operator PRT Autosport : www.PRTAutosport.com www.facebook.com/prtautosport

                  99 SVT "BLKOUT2" - PRT street driven track whore / 00 ROUSH Cougar / 98 SVT - PRT RWD conversion project car

                  Comment


                  • #10
                    The last couple days have been slow as I've been really busy with the new PRT product releases and some customer work. What I did get done on the car:

                    Rear deck completely finished and painted.


                    Pulled dash, removed unnecessary brackets from crash bar, wiring is next, as well as filling firewall holes while it's out.


                    Car is ALMOST ready for paint, need to fill the sunroof hole, and pull the door windows and molding as well as the handles. Sunday night I cracked the windshield, just wasn't being careful. Bright side? Lexan replacements for the front, rear, and rear door glass sometime this year.


                    And just to whore, optimizing Imnotacop420's 65mm TB...


                    So I know the last few days have been short on updates. Why? Because most of the nights have had ••••ty things happen and little progress was made deserving of pictures. I've been doing a lot of little things like pulling all the plastic clips/tape/foam in the interior. I also got all the new rear suspension painted up. The car has been completely stripped and ready for sanding this week. The paint is running late, so we're not planning to spray until next weekend now. Tonight I got the roof panel made from some sheet fiberglass I ordered, also got some parts for the revised HL intake. The panel will be painted seperately from the car and then riveted on, should look pretty bad ass looking.

                    Plans for the weekend are to not only start sanding, but also get the rear suspension swapped out, firewall holes plugged, paint the harness bar, and the the dash back in minus some wiring so it can be driven to paint. I've also got a lot of work under the hood to do in the near future but priority is paint prep.


                    Just sayin'


                    This weekend was a good one. Made a lot of good progress in between working on two other cars.

                    Removed a little more unnecessary metal, cleaned up the interior and got the new suspension fully assembled and ready for install tomorrow night. Tomorrow I will also be capping all the firewall holes and getting the dash back in. Plan is to drive the car to paint Friday night/Saturday morning. There is a lot of sanding to be done before then.


                    Forgive me Father, for I have sinned. It's been 6 days since my last pictorial update.

                    Just throwing a few up as I'm about to leave to drive the car to paint....

                    Suspension in:


                    Firewall and subframe bolt access holes plugged:


                    EGR delete installed and cage primed/painted:


                    Bought a die and re-threaded the tie rods. Now fully and easily adjusted. This is something the bothered me for a LONG time. Glad to finally have it done:


                    After her first drive in months, and waiting to drive to paint. Leaving in about 15 minutes! PUMPED!


                    Owner/Operator PRT Autosport : www.PRTAutosport.com www.facebook.com/prtautosport

                    99 SVT "BLKOUT2" - PRT street driven track whore / 00 ROUSH Cougar / 98 SVT - PRT RWD conversion project car

                    Comment


                    • #11
                      Color goes on tomorrow! Very happy with how all the body work came out.


                      I'll edit the posts as i have time to add info. Just wanted to get some pics up before I go to bed. Up again at 5:30.....Ugh.


                      -update-

                      So pictured here is the work done to the car's dash harness. All wiring no longer needed for things like the airbag control module, HVAC and other components no longer installed was removed, in total, about 5 lbs in weight savings and a very clean, simple harness for the car. An added benifit is that the dash itself can be removed from the car with the harness in place.


                      Final seat and harness install:


                      O2 sensor bung plugs. Lower O2's are pointless as the car has headers, so I will be turning them off in the tune. I will be adding a fitting after the y for a wideband soon.


                      One of my favorite little mods on the car. Without door handles the manual cranks hung out way past the door, and was actually frustrating considdering their proximity to my leg. I removed a portion of the handle, tapped it for a metric set screw and chopped the crank shafts down to set them in about 1 1/2 inches. Much cleaner look IMO too.


                      Max honed UIM, filled EGR passages for my 65mm tb.


                      65mm Mustang tb, optimized.


                      Dash in, still a little work to be done on it, but for the most part its finished.


                      spot primed again and re-sanded. Ready to go back to the spray booth.


                      Pretty self explanatory...

                      Only part I'm not happy with is the antenna delete. There is a small valley because the filler was over-sanded, but it's a race car.


                      Put in a 16 hour day, but expected to get a lot more done, lots of running around to the hardware and parts store, as well as 4 hours put into getting one of my 3L builds I was storing up and running with some new upgrades as his daily blew a brake line today. I didn't take any pictures at the end of tonight because, well I'm tired and tomorrow will be cooler.

                      For starters I wanted to cover the front end modifications made at an earlier date. Because the car's hood is pin on due partially to the lightening of the CF hood, I was able to remove the latch assembly, and also went so far as to cut the mounting sheet metal and modify the header panel to increase airflow across the radiator. Shown is the before/after. In addition I lightened the 5MPH bumper by roughly 5 lbs with some hole saws and a dremmel, all the areas where you see light through, used to be solid plastic. Spent a lot of time on this back when i made it.


                      I was expecting brake rotors this week and was hoping to get the brake kits finished and installed, while i'm still waiting on rotors the pads did come in. Hawk HP+ for cobra calipers, and HPS for the stock contour rear calipers. Also discovered that the stainless lines I have on my shelf should work just fine with the cobra calipers. Once the rotors get here it's as simple as machining my offset spacers for the brackets and installing.

                      Owner/Operator PRT Autosport : www.PRTAutosport.com www.facebook.com/prtautosport

                      99 SVT "BLKOUT2" - PRT street driven track whore / 00 ROUSH Cougar / 98 SVT - PRT RWD conversion project car

                      Comment


                      • #12
                        While the remainder of the body panels won't be back from paint until Tuesday. I did take the time to assemble everything I had available. All in all I'm very happy with how the body work came out given the amount of time I put into it. I have been fitting the bumpers while I work on the exhaust, measure for the rear tow hook spacers and work on the front tow hook, hence the tape. The exhaust is very near completion, that's first on the list to finish tomorrow.

                        Things to note in the pictures:

                        Shaved front fender badges/filled holes
                        Shaved passenger keyhole
                        Shaved rear body seams
                        Shaved antenna
                        Shaved trunk lock
                        Badassery abroad


                        So I've made a lot of progress in a many small ways over the past few days. Big ticket items to point out: Body kit is fully prepped for paint and the exhaust is done and installed...tow hooks are installed and I'm working on getting the engine bay handled tomorrow. The exhaust is all components I had laying around the shop, magnaflow straight through mufflers throughout, 2 1/2 inch tubing, and 3 1/2" magnaflow tip. I will be switching out the tip for a 4" whenever I pick one up. Monday will be the final assembly of the reminader of the body work after I get it back from paint. Tuesday brake kit work continues when my rotors arrive.


                        Started fitting the panels tonight, the hood and trunk came back with really bad striping, so i'm probably going to do some vinyl work on the hood/roof/trunk to hide it some and break it up. Also have a problem with the rear bumper that will have to be addressed sometime soon, but for now it looks good from 5 feet. I mean it is a race car...

                        You will notice in the pics the first shot of the front tow hook I put in place of the stockers, much better than the points provided wich were too high for the longer SVT bumpes anyway. I have some white vinyl tow arrows for these locations as well. After fitting the panels that I didn't need to have removed any more for the build I prepped and re-painted the chrome, or rather gloss black, strip on my tinted tails the satin JD paint to match. I was going to get the sunroof delete on tonight as well but the hardware store was closed and i was out of rivits. All in all, from looking at the firewall panels I put in, and the dzus fasterners on the rear, I made the right choice in deciding to install the panel after paint and leave the rivits exposed.

                        I also began re-assembling the intake system, the goal for tomorrow is to get the engine bay finished up for the time being and get the car up and running again. The remainder of the week will be dedicated to brake kit fab as well as prepping both cars for Saundays SVTOA show.


                        Finally home,. I had some time while urethane was curing...got some work done.

                        Das brake porn: 13" Cobra/11.8" PRT brake kit


                        Rear end finish assembled, love how this all came out. With the satin/gloss black the subtle touches of polished metal are even better than I expected. From the Exhaust tip, to the dzus fasteners, the roof and firewall filler panels and the hood pins, it really looks sharp IMO


                        Roof panel in and internally silicone sealed.


                        Drove her home tonight and taking it to work tomorrow, suspension is settling very well. I will make some final adjustments before heading to the alignment shop after work...bottom line, this thing is a beast, and it has the looks to back it up....one ••••ty pick because I need to be up at 5....more to follow tomorrow.


                        Just some quick ones. I need sleep:


                        PICTURES!

                        Did some miscellaneous things that needed doing while I waited for parts. Front brakes are done 100%, rears will be completed tomorrow. They work extremely well. I'll start out with the simple stuff:

                        New plates came just in time for SZ


                        Because of my low seating position the sun visors are useless, so I got some satin vinyl and went to work:


                        Interior shot, still need to hook up the gauges.

                        Owner/Operator PRT Autosport : www.PRTAutosport.com www.facebook.com/prtautosport

                        99 SVT "BLKOUT2" - PRT street driven track whore / 00 ROUSH Cougar / 98 SVT - PRT RWD conversion project car

                        Comment


                        • #13
                          And now brake porn:

                          PRT full Cobra 13" front brake conversion with Hawk HP+ pads (fully rebuilt calipers as well)
                          PRT rear focus svt front rotor upgrade with Hawk HPS pads
                          Stainless lines
                          ATE superblue

                          Brackets fresh from Joe. Huge thanks to him for knocking out my prototypes for me crazy fast.


                          Rear bracket mock-up


                          Brackets cleaned up and spacers machined


                          Calipers re-built and painted, with lines and pads ready to install


                          More mock-up pictures verifying the brackets I drew up I think 3 years ago now...


                          Stock front rotor VS Cobra


                          Front fully assembled. Rear installed pics coming tomorrow:


                          Rear brakes:


                          Some of this weekends work:

                          First, my two ladies together. Some sexy asses and license plates IMO


                          Opt y-pipe on, and lower O2 deletes


                          Gauge fittings in water manifold


                          And lastly a few before pictures on the engine bay cleanup, the last picture is somewhat of an after, I'm done under there until after SZ.


                          And after some work


                          Just a few picks of the manual rack setup, just need to plug the 4 holes in the gearbox and clean her up.

                          With all the work I'm going to be doing to clean up the engine bay, I'm very happy to be getting rid of the PS pump and associated parts. This is as far as I've gotten, unfortunately thanks to some work issues I'm focusing now on going through all my parts bins, taking pictures and listing things for sale. If anyone is in need of anything let me know. I've sold off all of my aftermarket stuff, but I've got a huge pile of replacement parts.


                          Today's projects were to get a different tower swapped in, inspect the non functioning one, remove the counter weight and test the car without the serp belt to see just how manual steering will feel.

                          Overall I'm VERY happy with how the car feels without the counter weight and without the PS. Something in the tower mechanics failed that as far as I can tell are not a result of HMS's work. I will be tearing it down farther soon, for now I'm just enjoying driving it again. I will hopefully start on the PS delete this week, as tomorrow will be used for putting Koni's in Silverflossed and working on the new stance build silver frost for chad.

                          Pictures of the removed counterweight, one of my favorite things is how much it opens up the shift tower area, great access to the cables and mechanisms now.


                          Proof of concept PS delete idler pulley. Final product will be machined tomorrow night and I may try and get the conversion done Saturday in time for a meet Sunday. I developed a bolt-on solution for mounting another stock idler pulley, simple and requires only minor modification to the PS bracket.


                          Spent some time with the lathe tonight and got the mount plate modified and pulley adapter/spacer machined. The assembly is now ready for the car and i picked up a belt as well. Work on removing the system from the track car starts tomorrow after work!


                          First half of the manual steering swap completed. The new idler pulley is in, pump and reservoir are out and the plugs for the rack fittings are machined and ready to go. Tomorrow the lines and cooler come out and we're done!


                          DONE!


                          Goodbye supply hose


                          Goodbye return hose and cooler


                          Oh well hello uncluttered subframe and manual rack.


                          Finished product.....VERY happy with how this came out. I love how this looks, handles and responds. One less part to break, one less fluid to fill. Why? BECAUSE RACE CAR!


                          Owner/Operator PRT Autosport : www.PRTAutosport.com www.facebook.com/prtautosport

                          99 SVT "BLKOUT2" - PRT street driven track whore / 00 ROUSH Cougar / 98 SVT - PRT RWD conversion project car

                          Comment


                          • #14
                            So between last night and today I've got the interior and much of the engine bay wiring cleaned up, and finally have the front end assembled 100%, added mesh, fogs and some HL tinting I started playing around with 3 years ago that i've always wanted to do. Reminds me of the LeMans cars. I rushed the HLs and they will need to be redone but good enough for tonight.


                            Pictures aren't anything too exciting, just some pics of the new mods and bay shots. Why dirty car photo shoot? Because race car.


                            Finish cut


                            Things that are happening.


                            Untuned


                            New hub and wheel and a hot snap from the last show I had a booth at.


                            Last edited by Pole120; 12-01-2012, 09:53 AM.
                            Owner/Operator PRT Autosport : www.PRTAutosport.com www.facebook.com/prtautosport

                            99 SVT "BLKOUT2" - PRT street driven track whore / 00 ROUSH Cougar / 98 SVT - PRT RWD conversion project car

                            Comment


                            • #15
                              So that gets you up to how the car was driven for all of 2012....so now it's time to start all over again and step it up a notch.

                              Well, the time has finally come! '13 build is officially under way.

                              There has been a lot of time spent on the Cougar as of late and delayed me getting started but it feels good to be diving in. The shop's work space has been thoroughly revised to make working easier and to allow me to still get occasional customer work in if need be. Tonight I started dissasembly on the front end and took some time to brainstorm different ideas regarding the are's changes for next year. Because of required clearance for the SC, and the sake of a cleaner look I will be sinking the stock radiator and fans farther forward in the core support. After dissasembly I started kicking around the idea of a tubular core support, but more on that later. After tearing the front end down I got to pulling the bay harness. I've reworked this a few times over the last 2 years to clean things up, but this year the plan is to move it all inside the car, along with the battery. I will be bringing back the PS and with the addition of the SC and it's components I'm going to great lengths to keep the under-hood looking simple.

                              There is a long list of changes planned for this winter, more than just a new hood. I spent most of '12 showing what was basically the same car from '11 and it didn't really showcase any new talents, so the plan for this winter is to really roll out something special for '13. Just a couple pics for now. More to follow as things progress.


                              When a hardware store says they don't have the tool you're looking for it just means they don't have the EXACT tool you're looking for. Think outside the box kids. A year ago I bought some carbide spot weld drill bits for when I was gutting the rear doors. They are designed to go in a mandrel with a set screw. They chucked in a 3-jaw so I just went with it. On this project they kept torquing to the flat and I would have to constantly re-chuck and I got tired of it and went to buy a mandrel. The problem? They "didn't have any that would work". Well maybe not out of the packaging. Ended up buying a hole saw mandrel, cutting off the threads and drilling out the center. Done, and worked great all day.


                              What did I do with the new tool you ask? Well 40 spot welds and 4 Sawzall cuts later....


                              Also got some work done on the new hood.


                              Did some more work today in preparation for the new camber adjustment system up front. I will be making adapters to mate S13 camber plates to the GC coilovers and then welding on new strut tower tops to match the S13 bolt pattern. First order of business was to knock out the factory mount cup. At one point I had intended to make my own camber kit but changed that up. I still had the top plates I had made for that so I threw them on just to visualize some things. I also did some mock up to start visualizing the new front end. Given the amount of access I'm granted without the core support I'm considering making the replacement pieces bolt-on to retain some of that. Additionally It could be designed as the fail point so should a collision occur the remainder of the chassis would be spared and I simply bolt on a new unit.


                              Owner/Operator PRT Autosport : www.PRTAutosport.com www.facebook.com/prtautosport

                              99 SVT "BLKOUT2" - PRT street driven track whore / 00 ROUSH Cougar / 98 SVT - PRT RWD conversion project car

                              Comment

                              Working...
                              X