Announcement

Collapse
No announcement yet.

1967 Pro-Touring 122 Amazon (Project Volvo X)540 Horsepower LS6/Tremec TKO600 5-Speed

Collapse
X
 
  • Filter
  • Time
  • Show
Clear All
new posts

  • #46
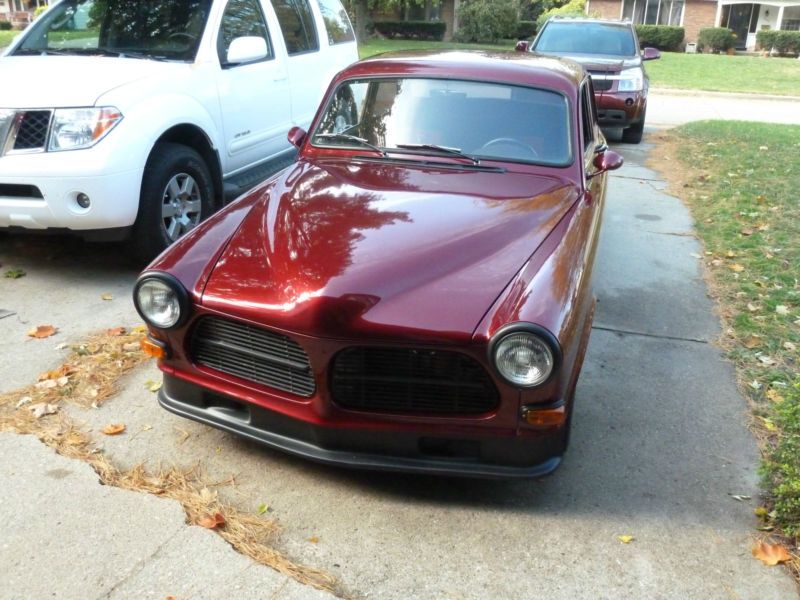
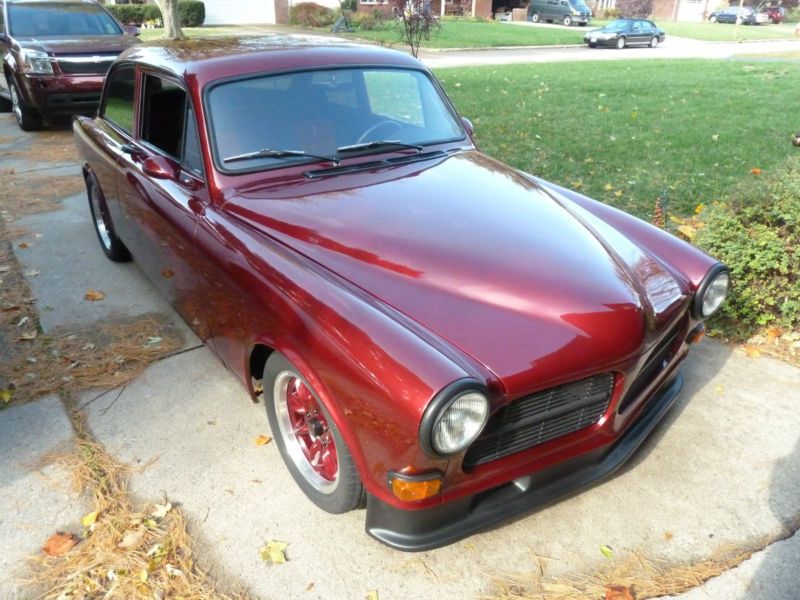
    I have been doing alot of thinking about what to do with the front of the car for an air dam/splitter, and havent really come up with a solution as of yet.. I know that IPD has had an air dam out there for quite awhile, and personally I dont think it is very attractive at all, because it removes the front bumper totally..

    The question I have is this, Has anyone tried to use the IPD air dam, with the bumper? I know you would have to do some trimming, and even find a new mounting position, but I do think it is doable. I dont want to actually add it to the bulk of the bumper itself, because that would put things back to the stubby appearance, so I want it mounted rearward of the bumper, which should be a much better appearance..

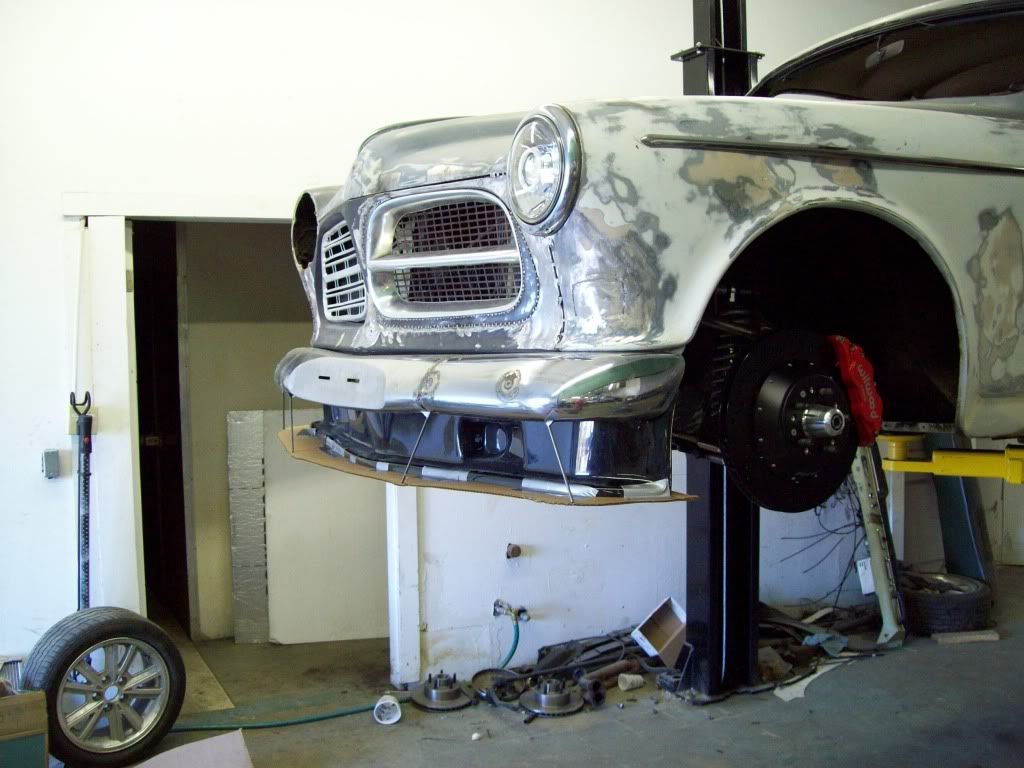
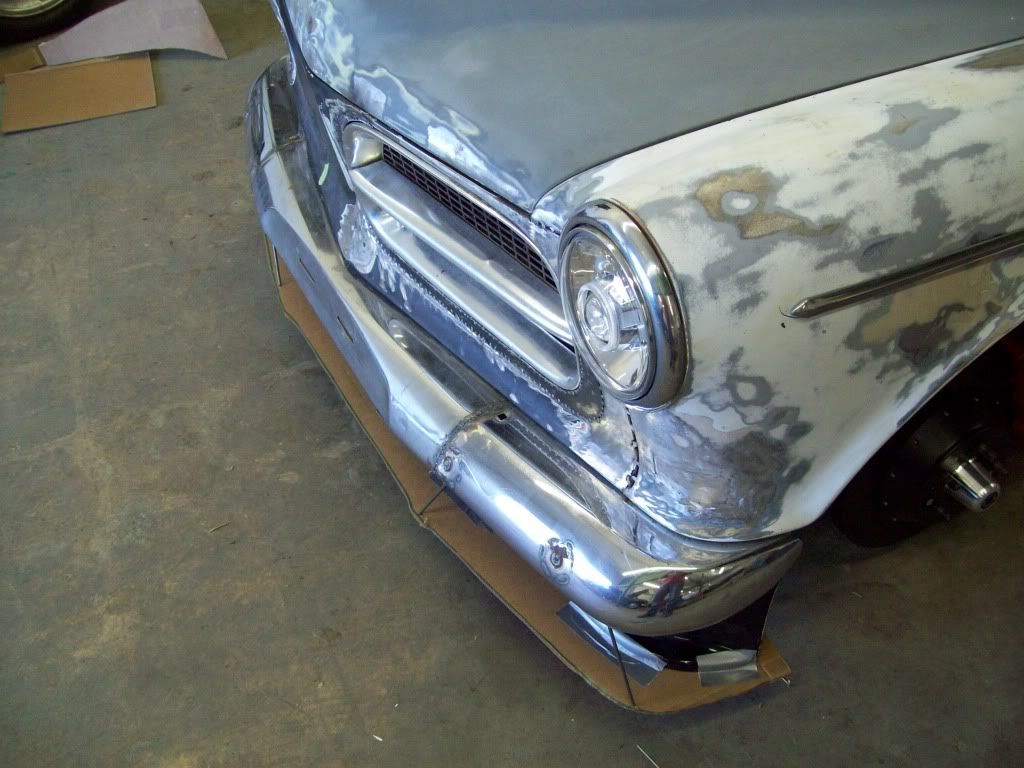
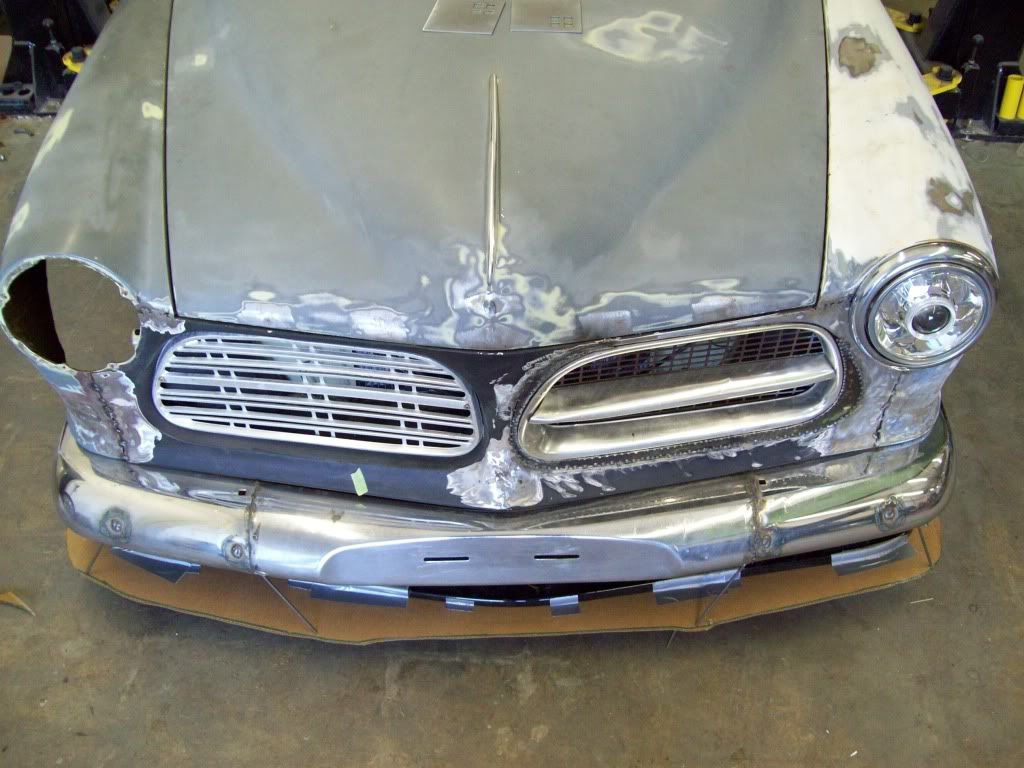
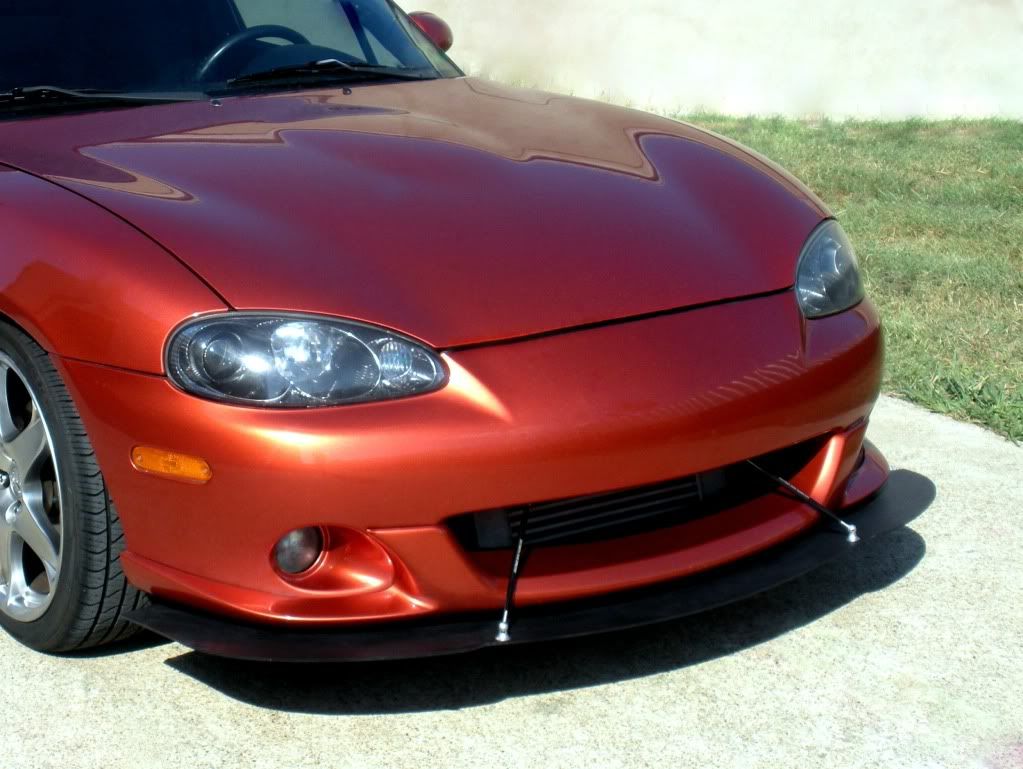
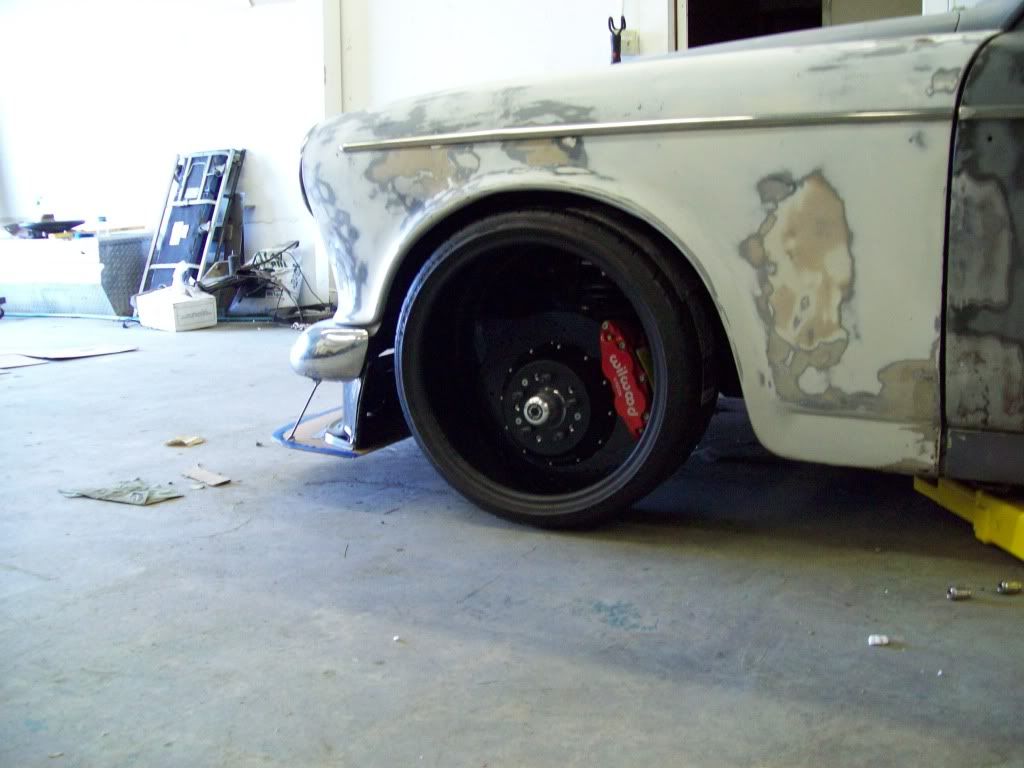
    I really think this air dam could look great, if it was mounted correctly and still used the factory bumper, and have this only to compliment and fill out the bottom of the front end. Most of your modern cars all have some sort of small plastic air dam/splitters now, and they are mounted underneath the bumper, but reward of it.. From all the examples of this air dam mounted I have seen, it seems that you have to trade on incompleteness with the front end, so I would think someone has to have made the attempt to have both the factory bumper and the IPD air dam.

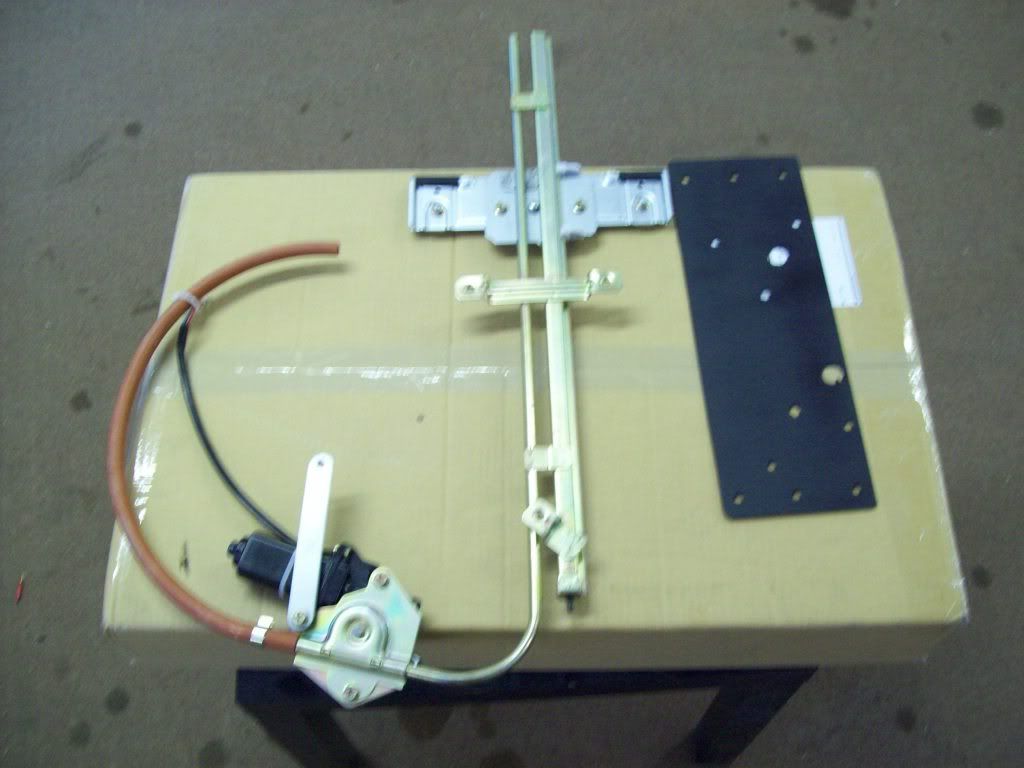
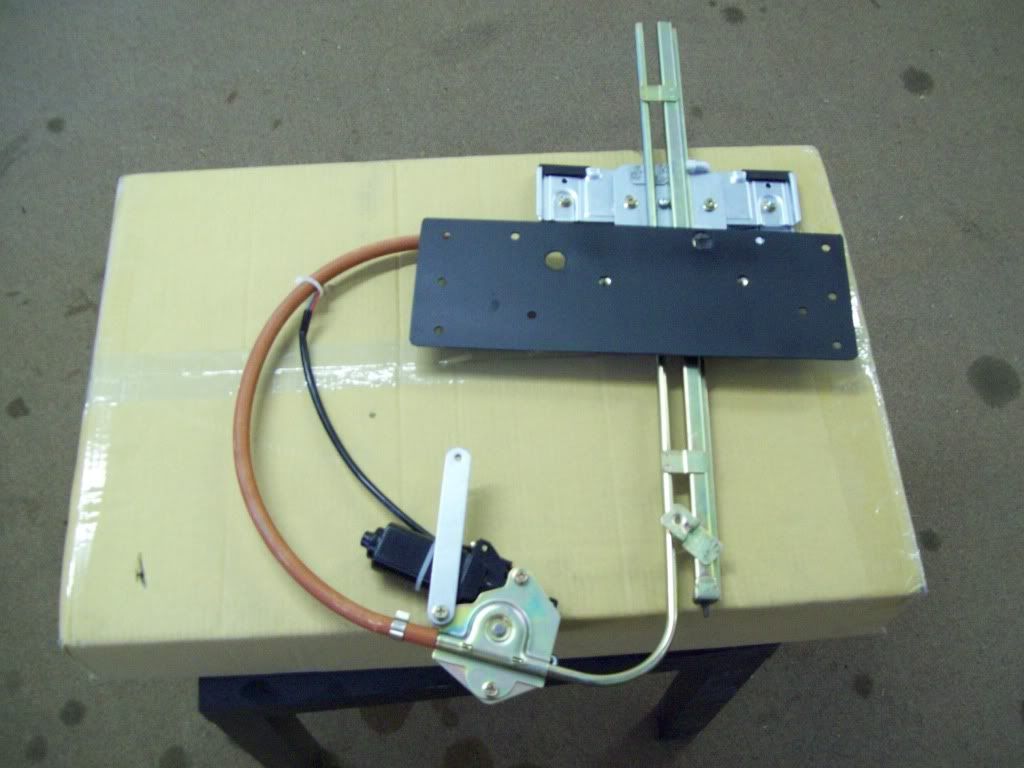
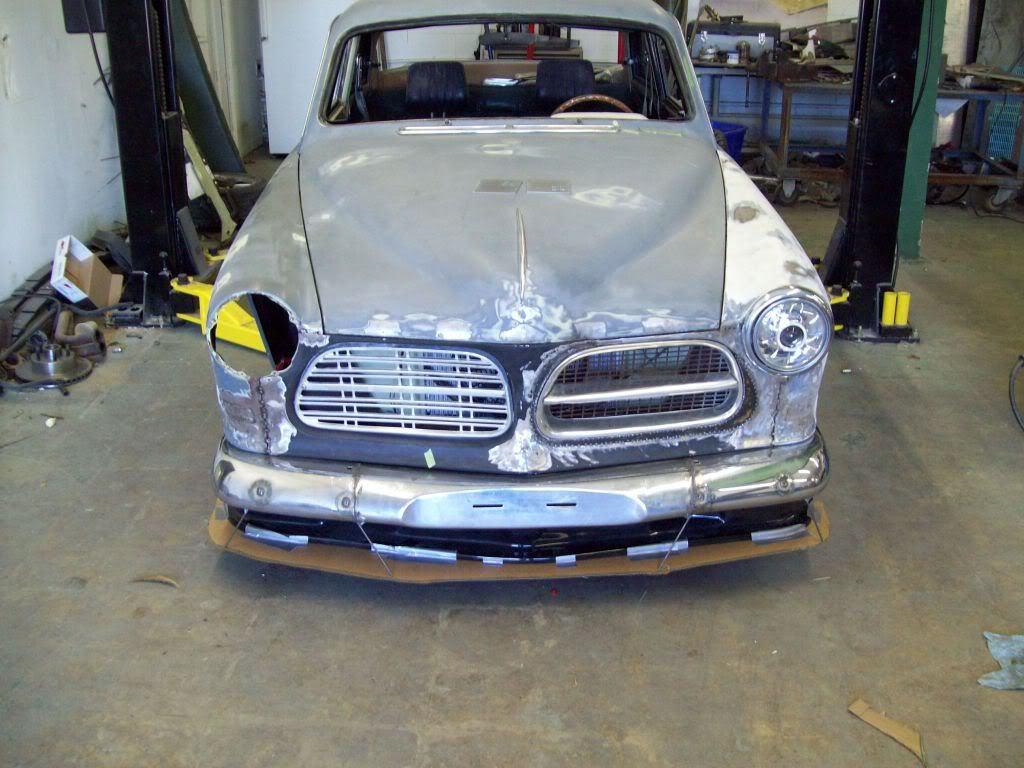
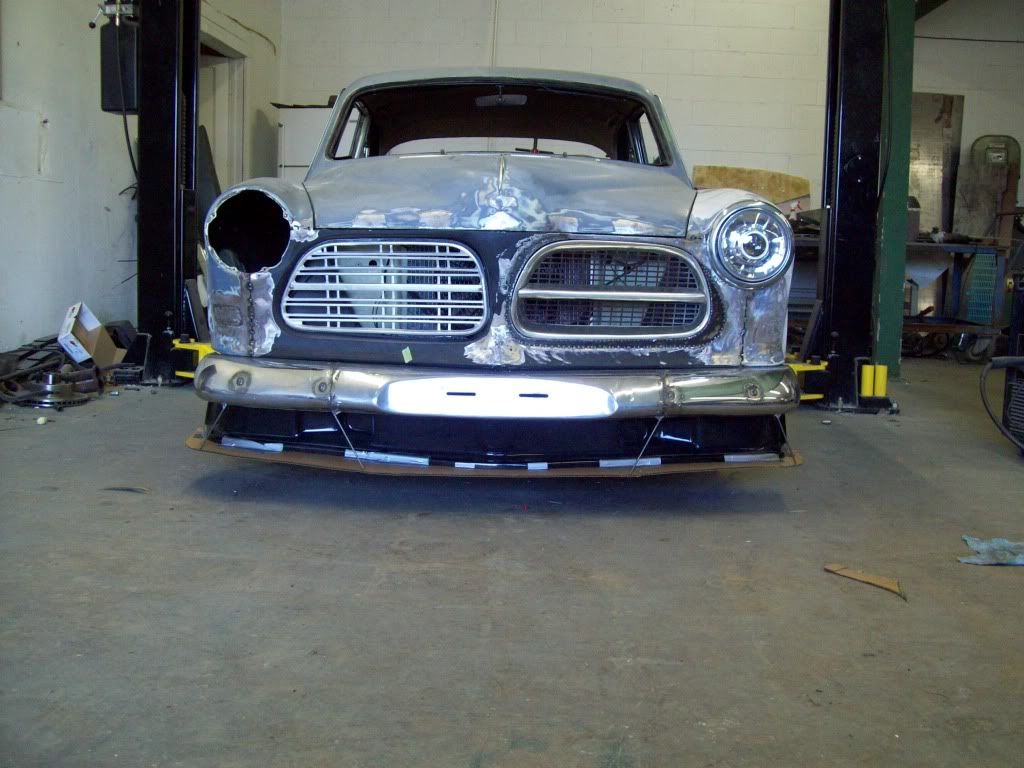
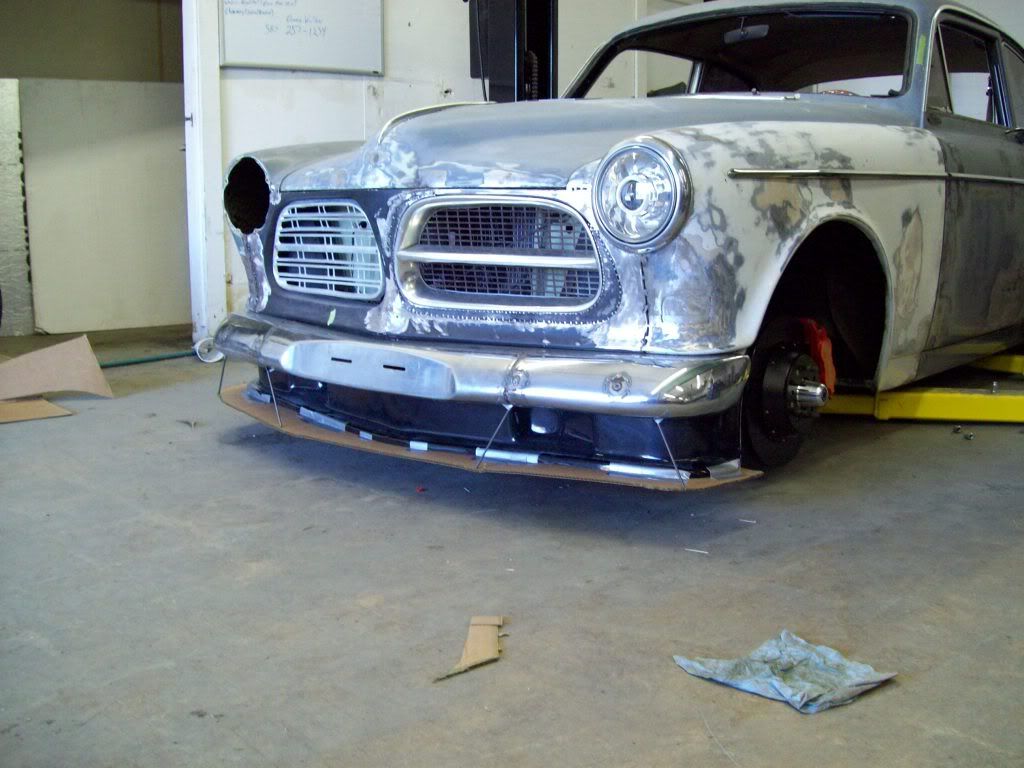
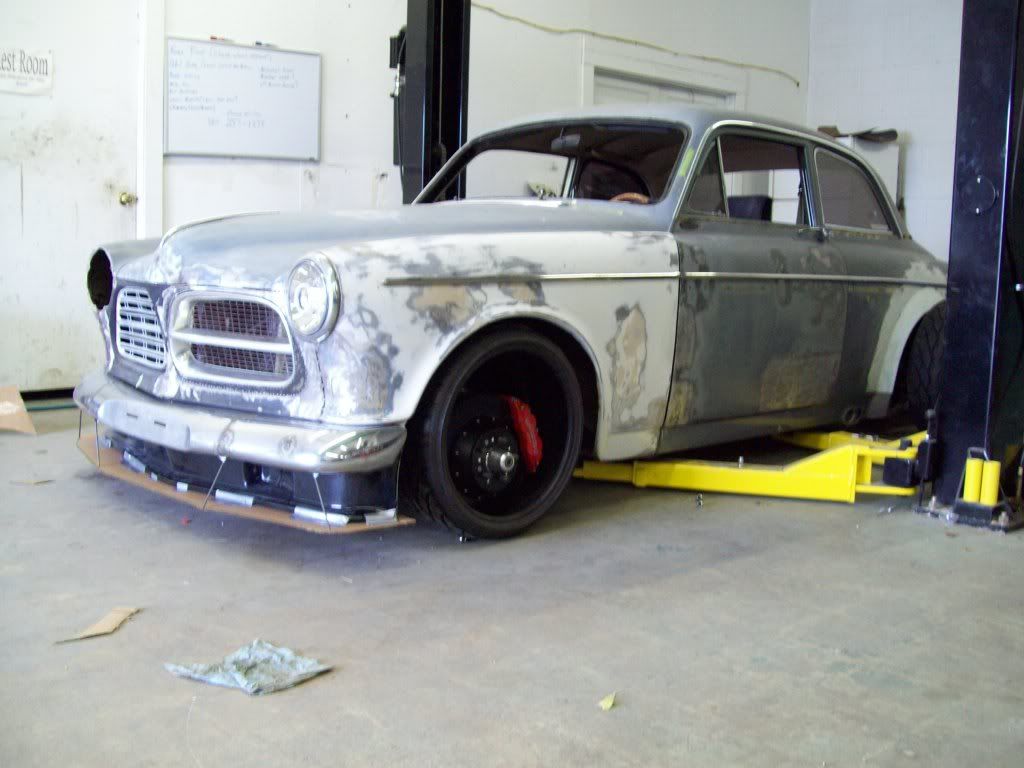
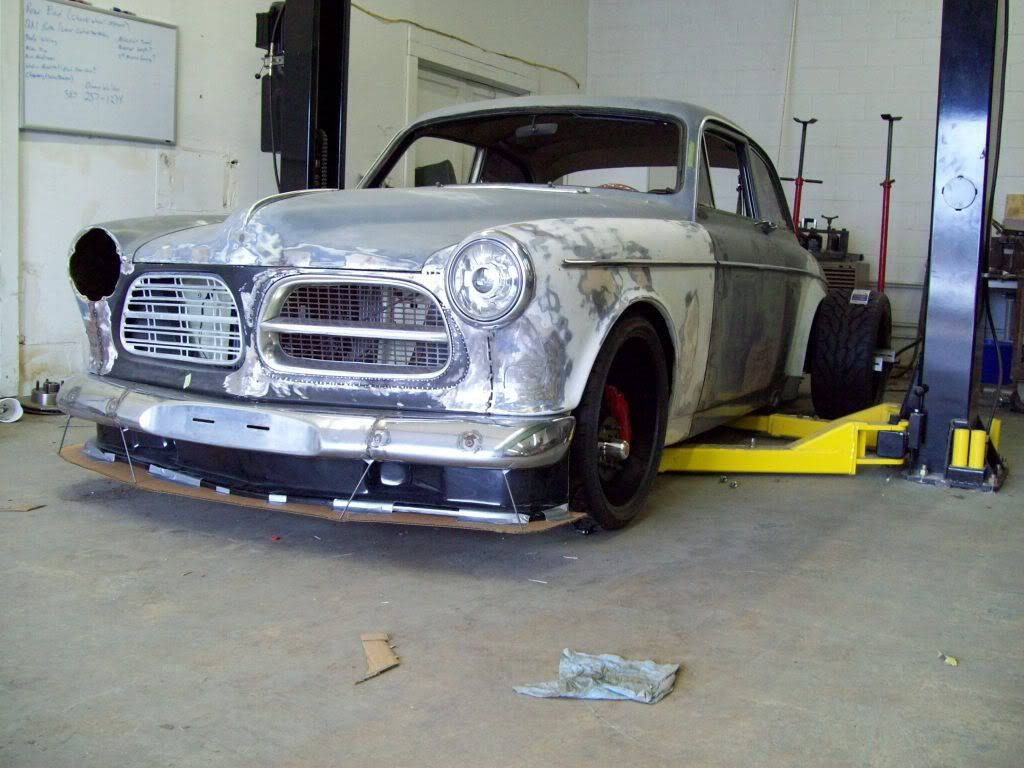
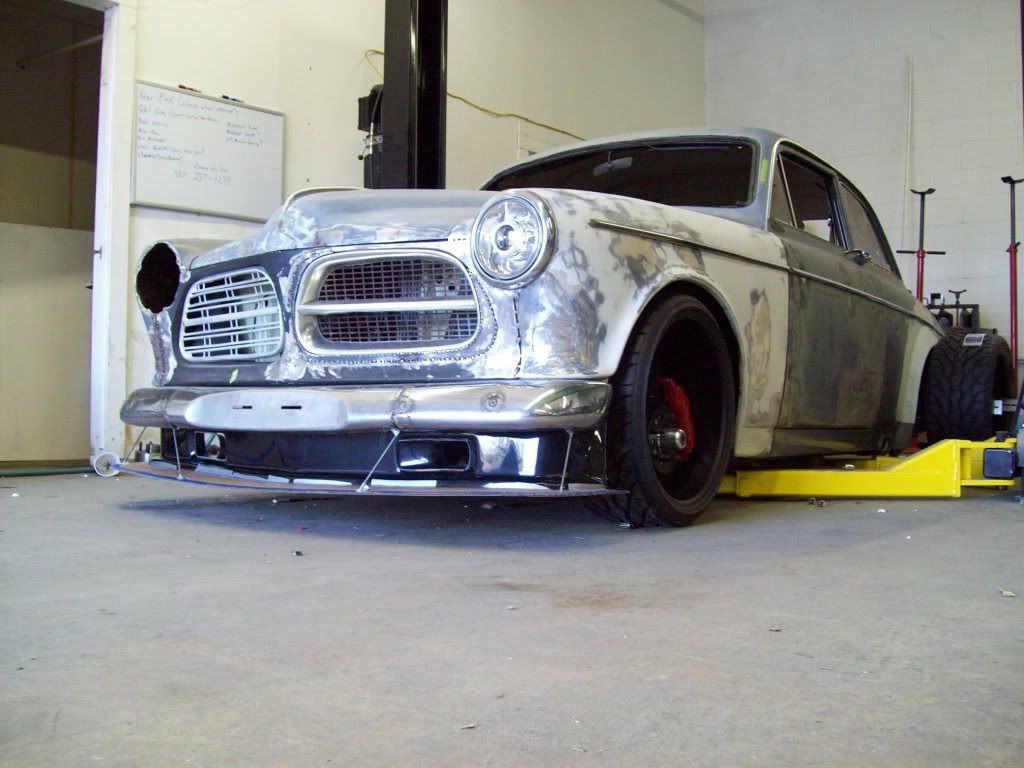
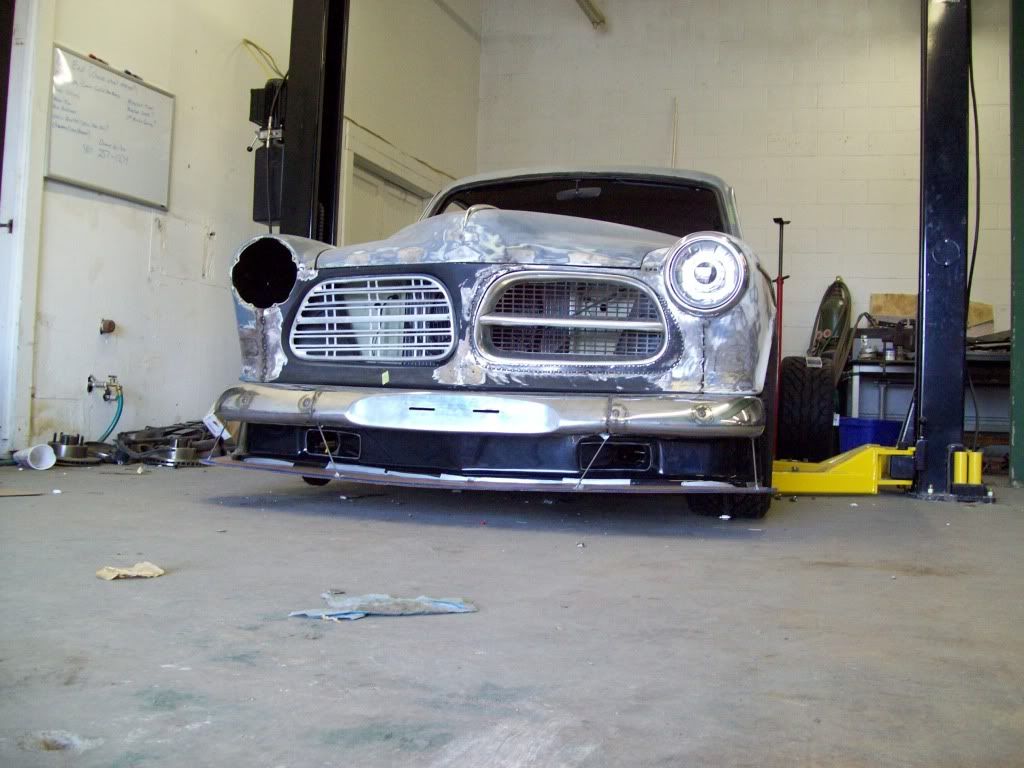
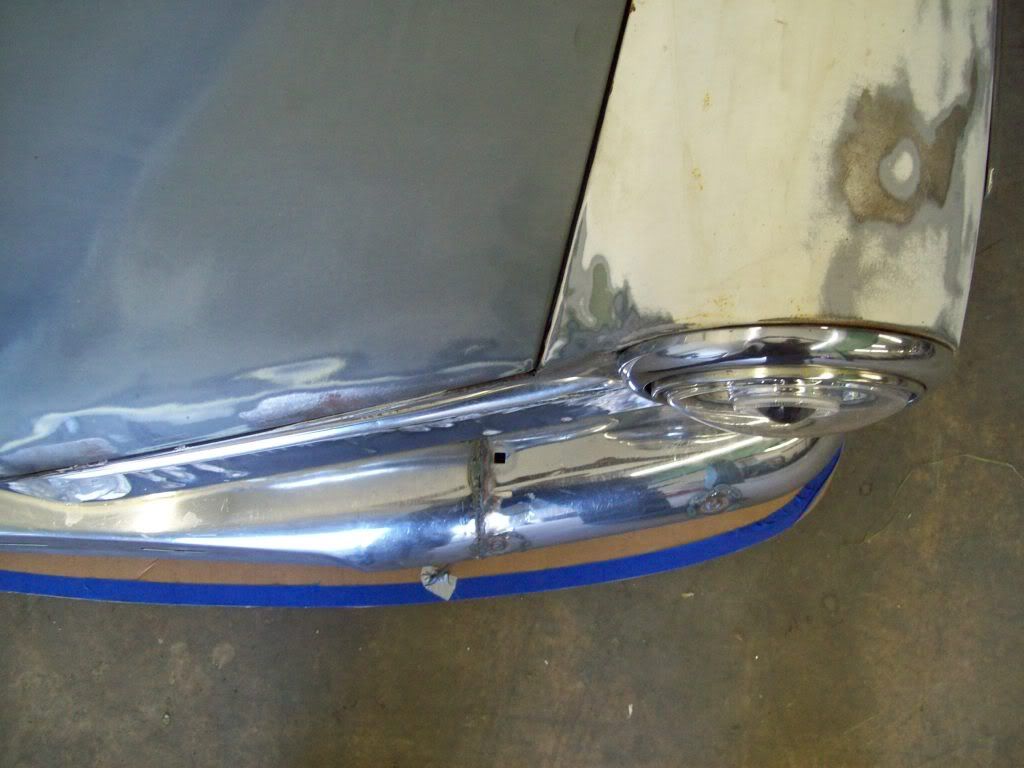
    I went ahead and ordered an air dam like you see pictured below, so I will have to wait for it to come in so I can see if it will work like I think it could, but I wonder if anyone has any pictures of how they may have run the factory bumper with it?


    Last edited by Iamtheonlyreal1; 11-04-2012, 07:56 PM.

    Comment


    • #47
      So sick!!

      Comment


      • #48
        Originally posted by Iamtheonlyreal1 View Post
        I dont recall what projector it is, because I have a guy that made them for me.. This set was actually made for my P1800 build (Project Changling), and I am running small LED park lamps/turn signals on the fender. I am thinking I will have another set made with a lower partitioned section in the headlampe for an amber LED park/turn lamp, and that will keep me from adding additional light bulk elsewhere. I was considering hiding a small light in the lower corners of the grille, or in the bumper, but it might look cleaner if they were actually made into the headlamp assembly..
        I think it would look clean if you hid the lights behind the grille, but do believe it would look cleaner if it was in the headlight

        Comment


        • #49
          This is amazing!!! Dare I say dope

          Comment


          • #50
            Originally posted by rsingh3g View Post
            I think it would look clean if you hid the lights behind the grille, but do believe it would look cleaner if it was in the headlight
            I am working on having park/turn signals put in the lights, and I am sure it will work out that way..

            Comment


            • #51
              I love me some old Swedes, especially with this level of fab work. Sub'd, eagerly waiting for more!
              -1997 Saab 9000cse Anniversary Edition - Bagged & Tuned
              -1990 Saab 900 SPG - Holset & Track built
              -1973 Mercedes-Benz 280 - Summer cruiser / mild resto project
              -1972 MGB Roadster-Sold!

              Comment


              • #52
                This is going to be one sick piece of machinery!

                Cheap ain't badass, badass ain't cheap.

                Comment


                • #53
                  Here are the preliminary pictures of the Power Window Conversion, and I will be posting some pictures of the One Piece Door Glass Conversion also, but that will come just a bit later.. I am waiting on the tempered side glasses to make it in, along with the new channel and belt line weatherstrips to make it in.. The one piece glass conversion is a very easy converion, along with the Power Window Regulator Conversion..

                  Here are some pics of the power window regulator assembly that I have chosen, because it will fit into the factory inside door opening, and also offers alot of glass support and stabilizing during operation


                  Here is the cut necessary to make the regulator work out to be in the right postion and run angle.. It is a very simple cut, and the supplied regulator mount plate/brace will work as a template for the new brace holes, because it used key reference points on the door to position itself for drilling.

                  As you can see the original arm rest mounting is not affected, and this new plate actually addes additional rigidity where the arm rest mounts.. The power regulator kit can be used with the original glass and vent window for the guys that like the OEM look.. We will also have a power window switch that actually converts your window crank handle into the power window switches, and works just by bumping the handle up or down.. I am not a big fan of the typical rocker style power window switches and mounting that typically comes with this type of conversion, but our supplied rocker switches are actually compact and pretty nice looking.


                  Comment


                  • #54
                    this is on par with the senza pari z build, if not better. love the old volvos, and the work you are doing is absolutely phenomenal. can't wait to see it done.

                    on a side note, (my worthless opinion) the "halo" in the current headlights is far too small to look any good, and it doesnt look very bright either. I would eliminate it altogether, and maybe set the actual projector as far back into the headlight as possible. it is slightly unsightly for the projector lens to be so prominent and visible because it really takes away from the beauty of the original vintage headlight. the extremely "techy" headlight setups of today do not blend well at all into classic cars. sorry to rant, and i understand this is only my opinion, but i had to mention it. k i'll shut up now

                    Comment


                    • #55
                      I have an idea to modify and brace the IPD air dam, so it would be more of an adjustable splitter.. I am thinking that I will be able to bring it up and behind the bumper a bit, and have the adjustable splitter wing at the bottom of the air dam.. It would have the turn buckle style adjusters, and would extend forward enough to outline the shape of the front bumper.. I hope that make sense, because that is what I have in my head.. LOL

                      It would be something like these rough pictures below, with more of the finished look of the turn buckles on the last picture.. I will have to cut out the holes that are in the IPD air dam, and put them on the opposite side, so they will be the proper direction to function and brake coolers. I am am not sure on the 2 or 4 adjuster setup, but this will give you an idea of the direction I had in mind to the IPD alterations.

                      Keep in mind that these pictures are just rough cuts, because I like to get a Cardboard and duct tape look, before I waste too much time fabricating something that I will just throw away.. I dont have the actual height of the air dam set, because I cant do all that until the wheels make it in, so I can set it up for the proper ride height.. I am expecting that it will be less bulky, because it will have to be brought up a bit more into the bumper/body.


                      Last edited by Iamtheonlyreal1; 11-09-2012, 07:11 PM.

                      Comment


                      • #56
                        I lowered the car down on the 215/35/18 front tire, and this represents the ballpark ride height, and it appears the air dam might not be that far off.. I might end up going with a slightly larger tire, maybe a 225/35, but I wont know until the wheels get here.. I dont have any wheels that will fit over the 14in brakes at this time, so the suspension is obviously not loaded, but here are a few pictures of the Air Dam at the approximate ride height.

                        There is a 4.5in ground clearance with the center of the air dam at this ride height, and I think that is a great start for being a rough and adjustable first mounting, so it could work out just fine. That is if the look is worth the effort of course.. It hasnt quite grown on me, but I think I am getting there, it all the cut outs and hardware works out fine.


                        Comment


                        • #57
                          I am waiting for a few more of the exhaust pieces to make it in, but here is the X-pipe and flexible joint setup I am planning on running.. As I have said earlier, I will be solid mounting the mufflers and tail pipes to eliminate any chance of body rattle, due to the tight tolerances I have set up with the exhuast tips.

                          I plan running an electric dump setup for an open exhaust option, but I am going to run the dumped exhaust through the same tips, rather than just exit on the ground underneath the car. I think I have the room, and can do it, by adding a custom Y-pipe just before the mufflers, so the unrestricted exhaust can go through the rocker tips, while bypassing the mufflers..

                          At this time, it appears that this is going to be the bulkiest part of the exhaust, when it comes to running it back, so things should work great with a ground clearance.. This narrow exhaust setup will fit up in the center floor board relief, and shouldnt be more than a half inch below the pinch weld on the rockers, which is the lowest part of the exhaust.


                          Comment


                          • #58
                            I was messing with air dam mock up a bit, and I think this will look much better.. I have extened the splitter out about 1.5in further than the bumper, and it appears to give it a bit more dimension, rather than just have the appearance of the splitter just beind cut off at the edge of the body. I have also cut out the brake cutouts, and mocked them up on the opposite side.. Once I feel comfortable all this will work, I will add the steel reinforcement to the air dam for its mounting and splitter mounting, along with make it fit the fenders better.. I will not blend/bond this unit into the body, because I want to be able to remove it and service it at anytime.. I also dont want any ground clearance accidents affecting the body of the car, so it will definitly have to be a seperated piece.


                            Comment


                            • #59
                              This thread delivers so much!

                              Sent from my SGH-T959V using Tapatalk
                              Instagram: @Eurow

                              Comment


                              • #60
                                Originally posted by MikeyRa View Post
                                This thread delivers so much!

                                Sent from my SGH-T959V using Tapatalk
                                I try.. LOL Just wait to see what is coming in the next few weeks..

                                Comment

                                Working...
                                X