Announcement

Collapse
No announcement yet.

1967 Pro-Touring 122 Amazon (Project Volvo X)540 Horsepower LS6/Tremec TKO600 5-Speed

Collapse
X
 
  • Filter
  • Time
  • Show
Clear All
new posts

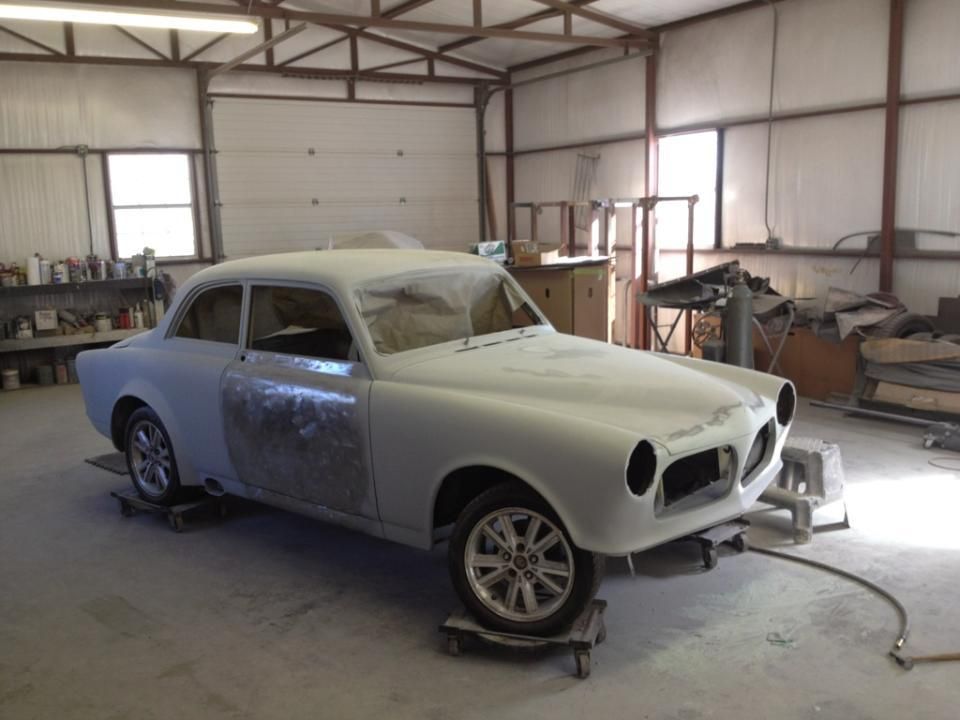
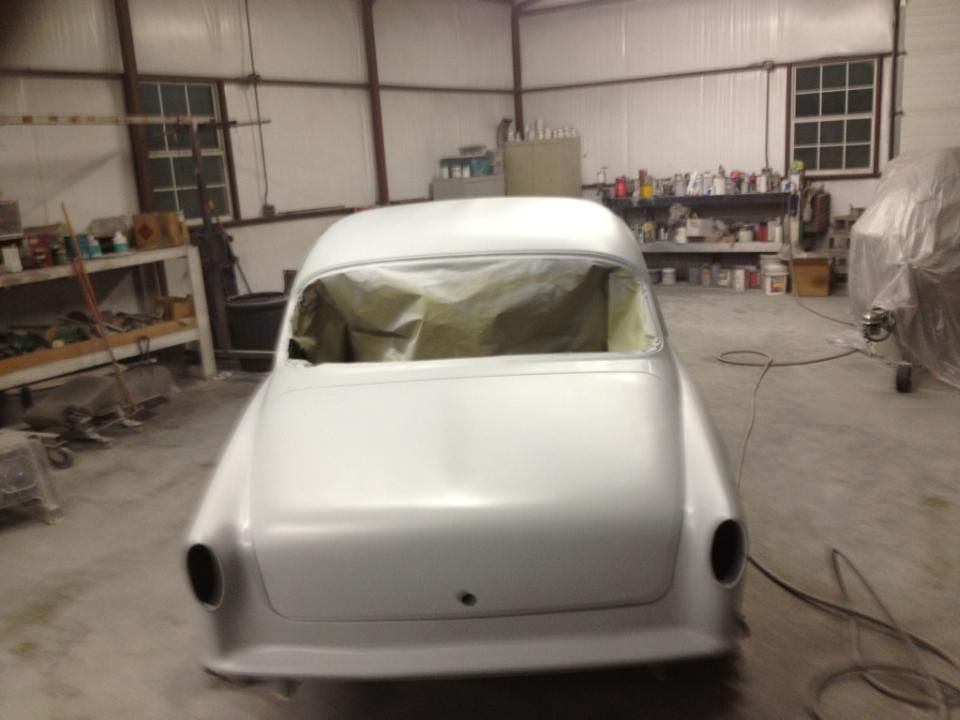
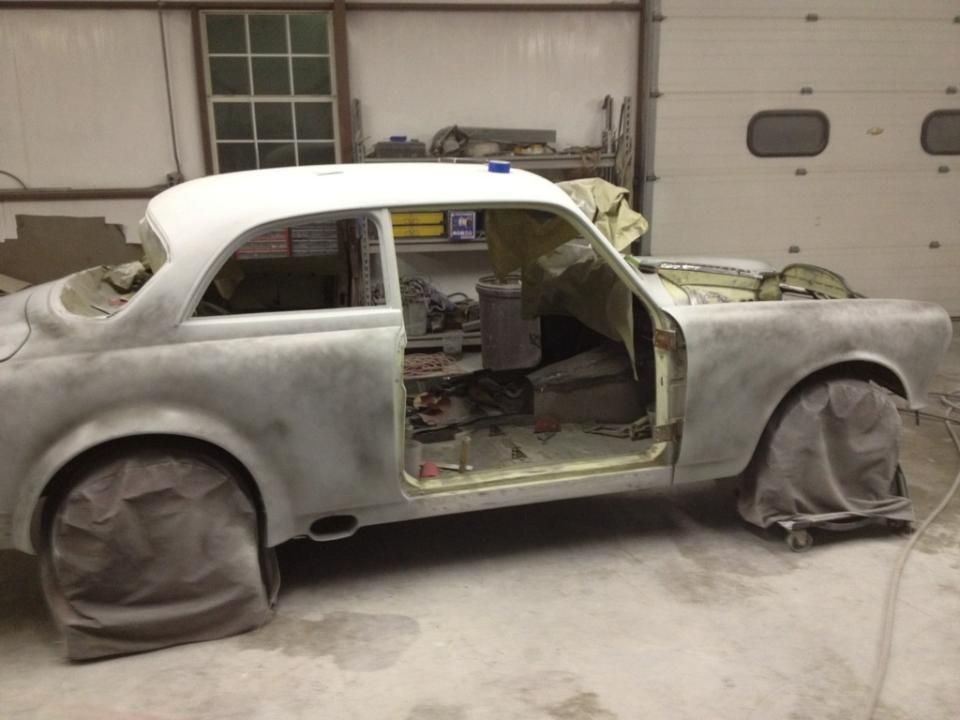
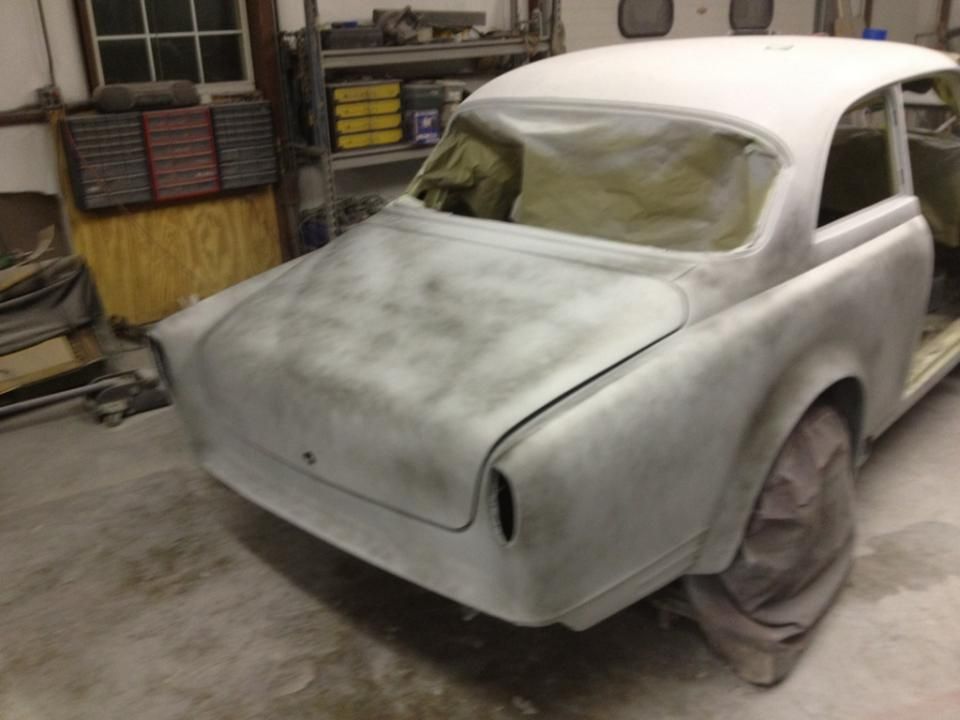
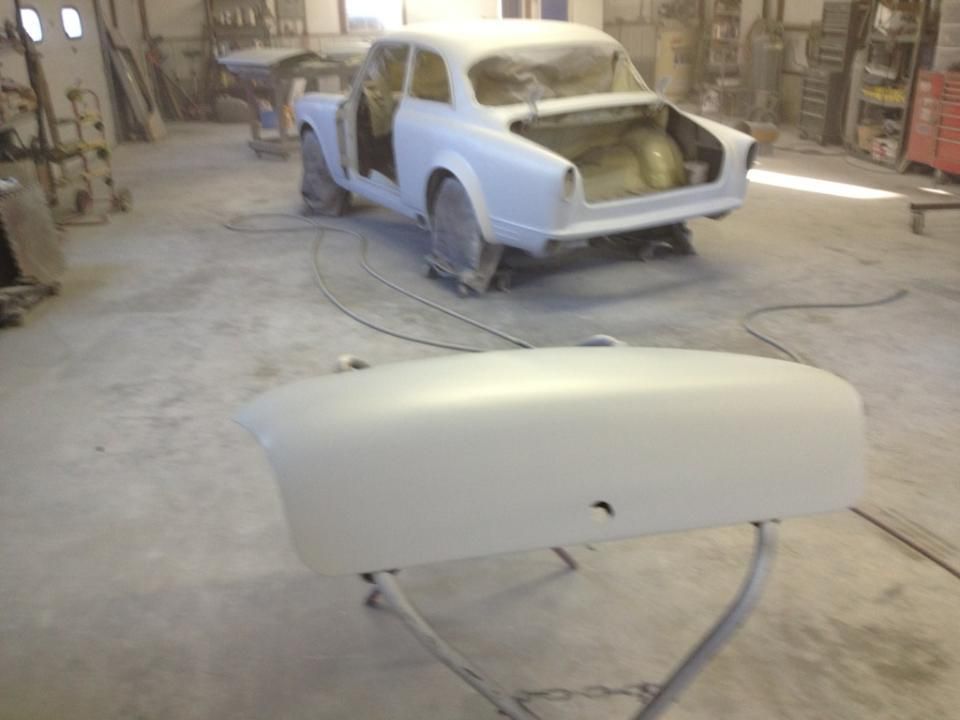
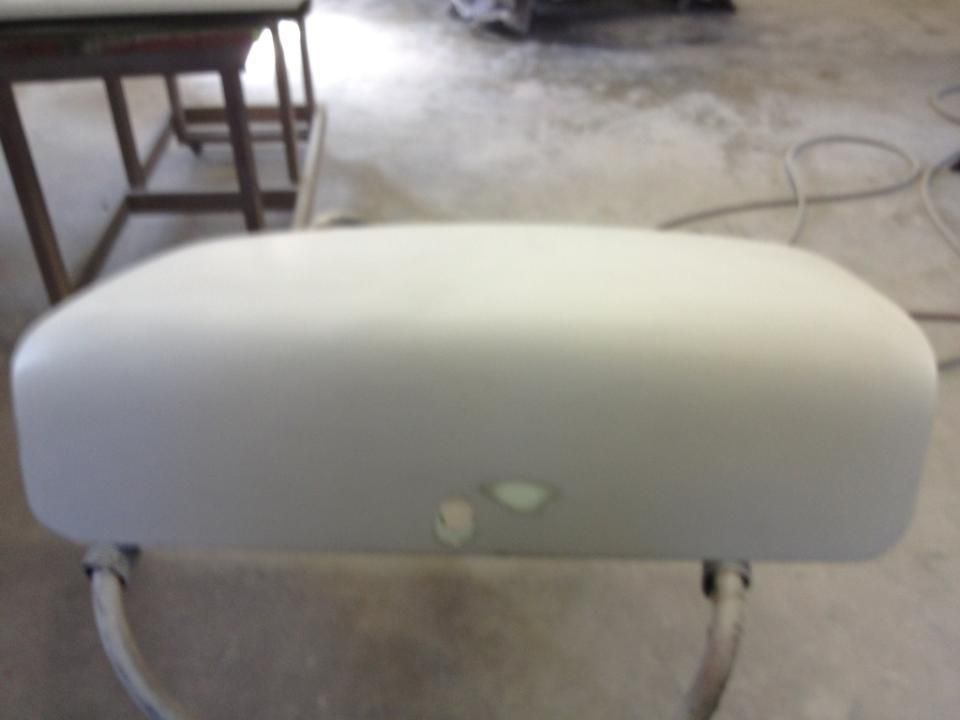
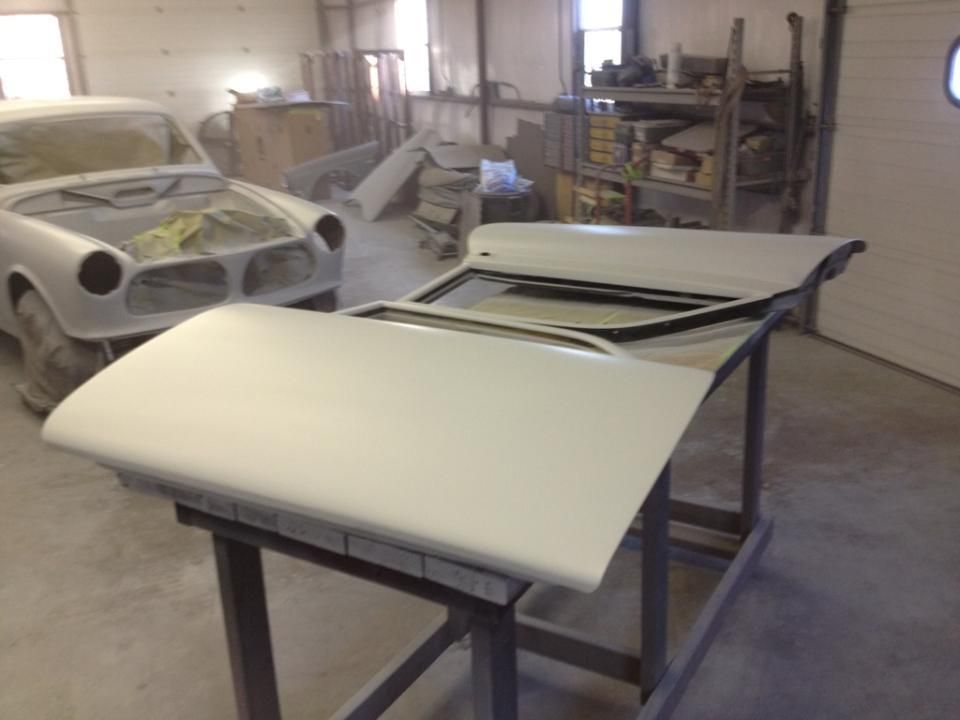
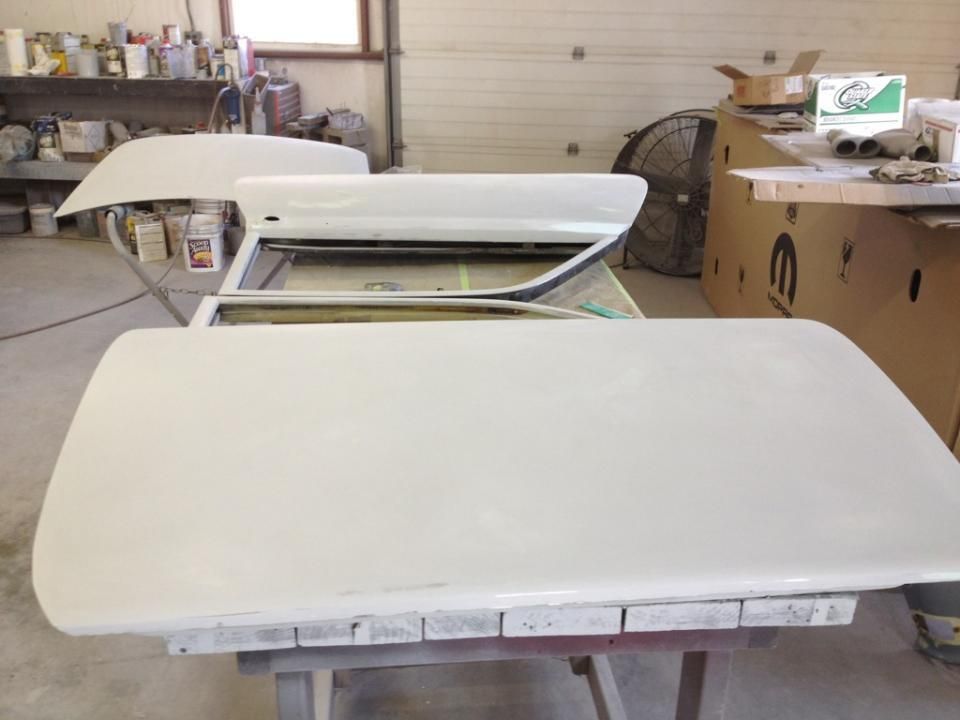
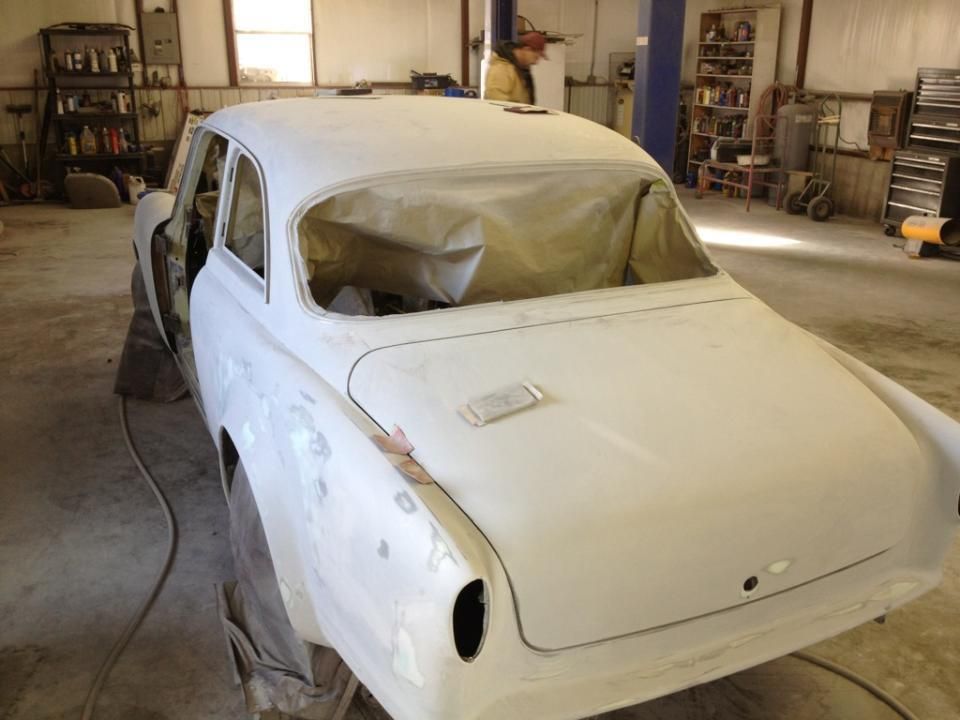
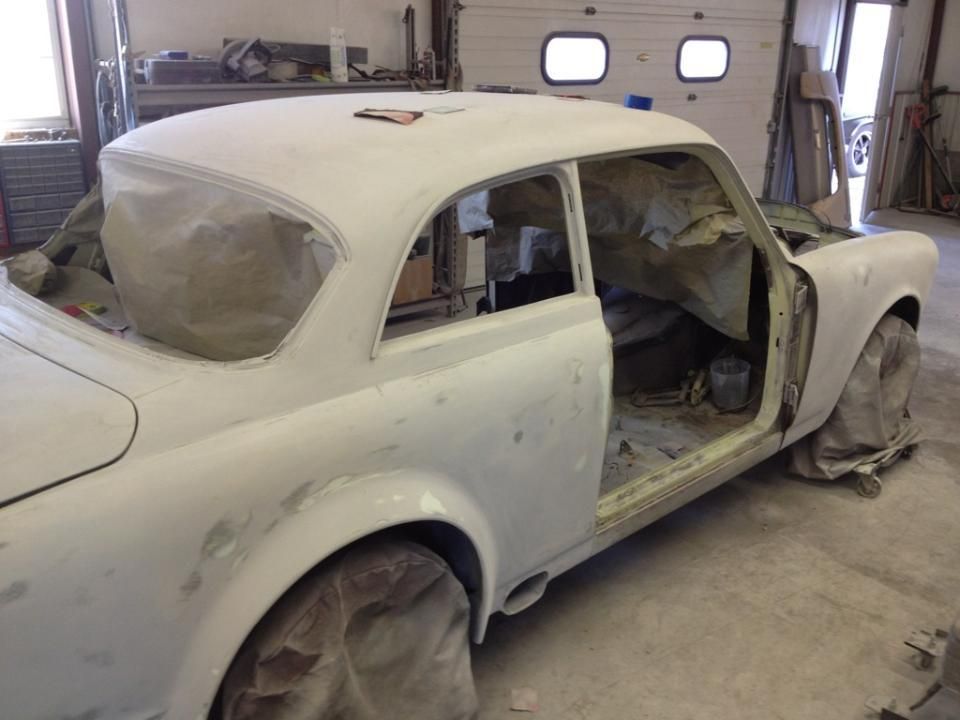
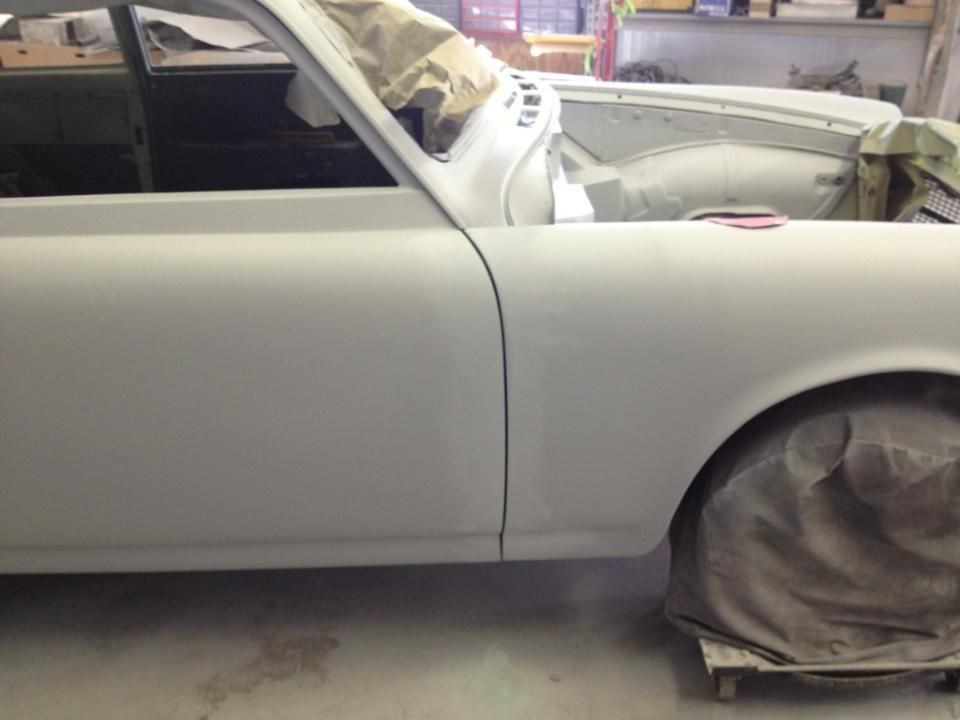
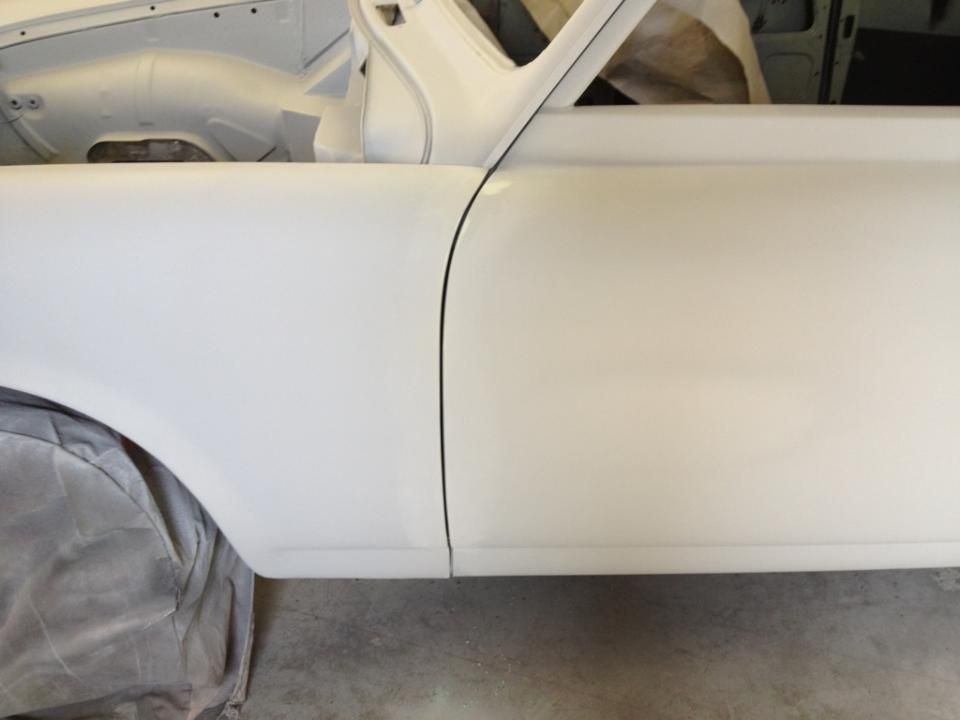
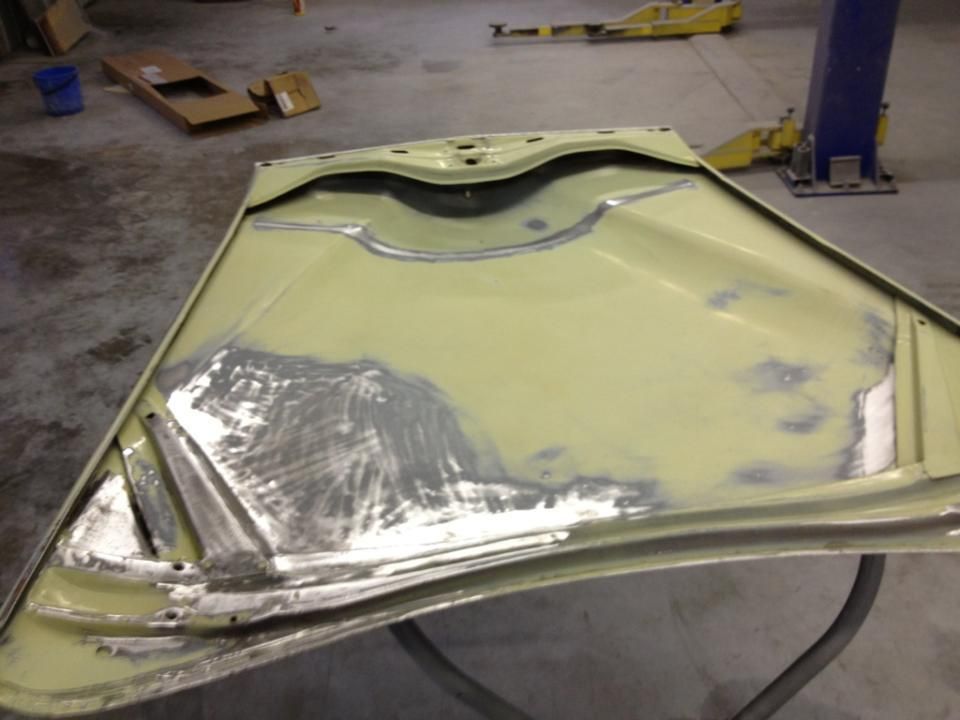
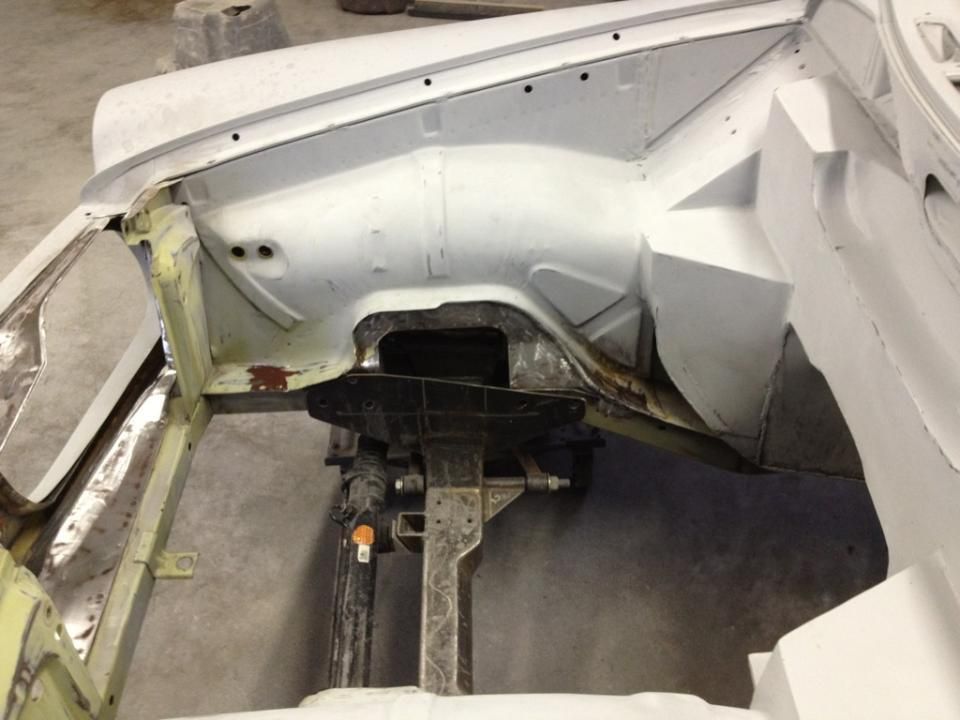
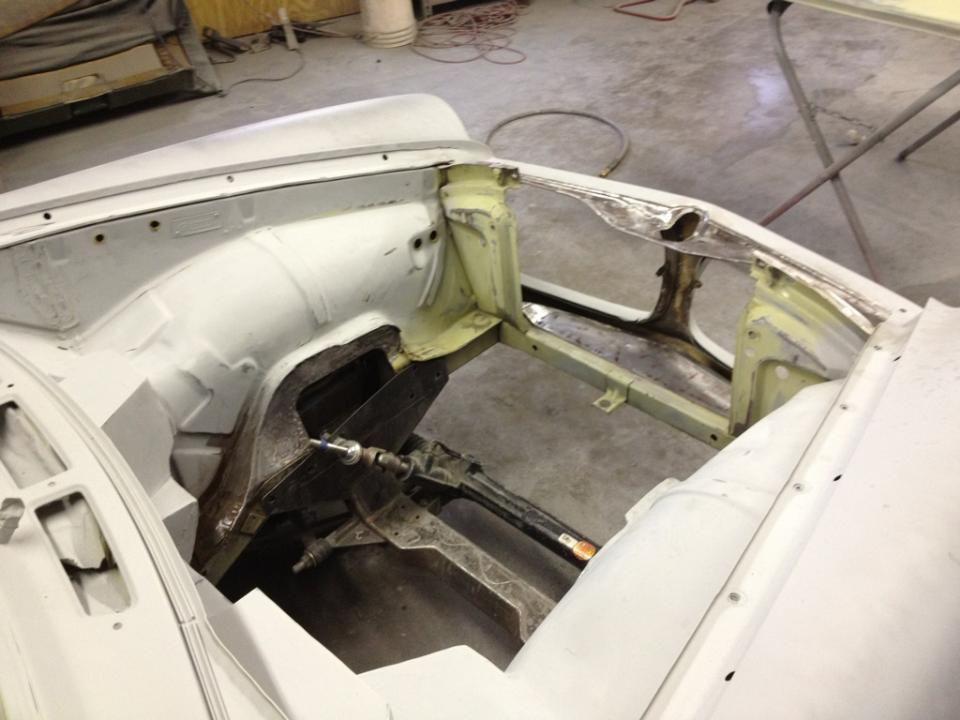
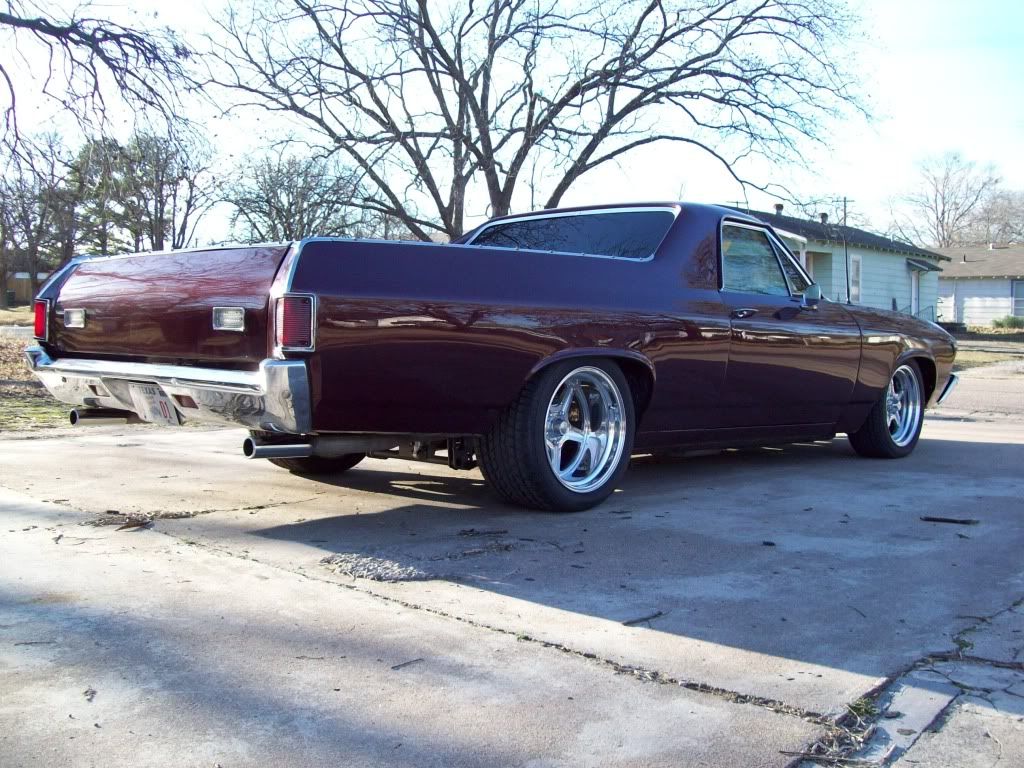
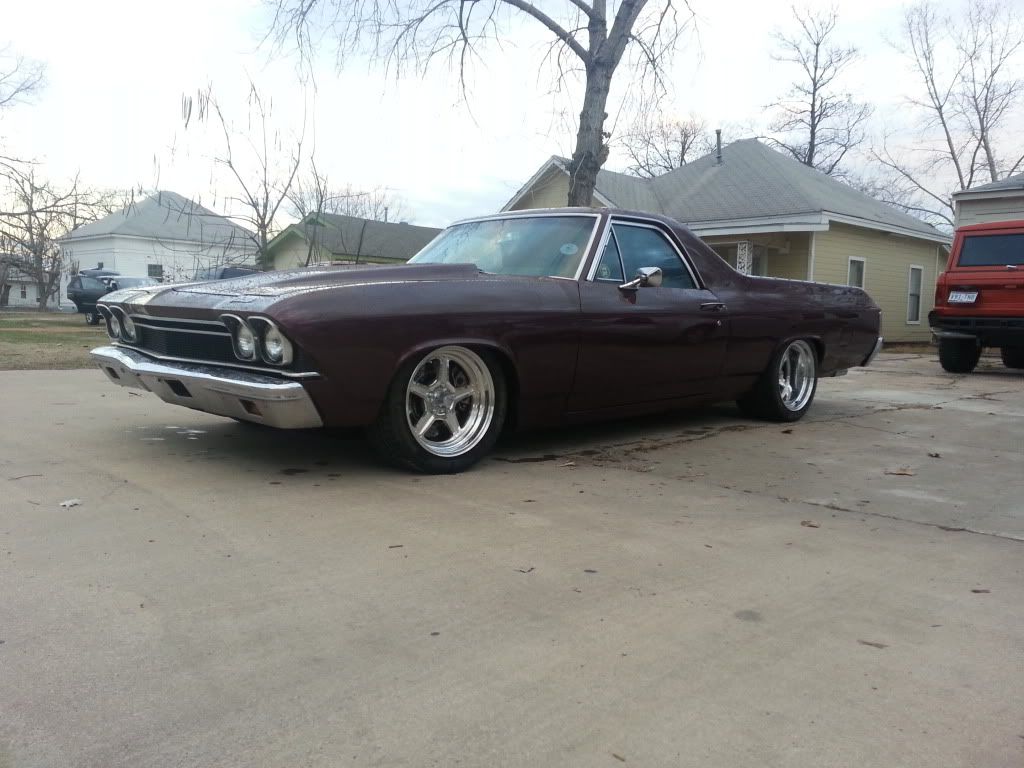
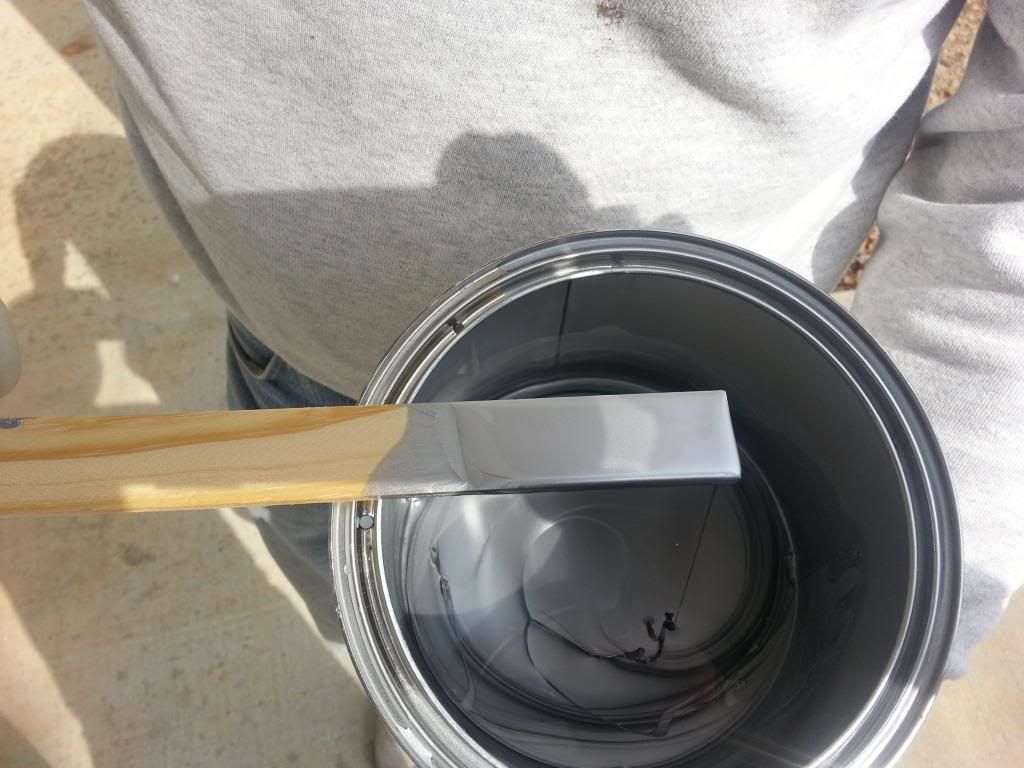
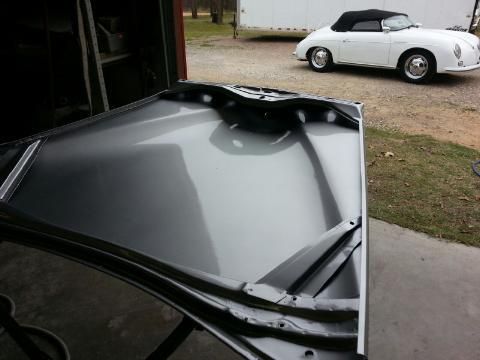
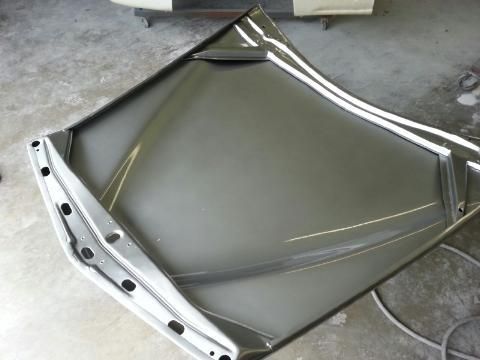
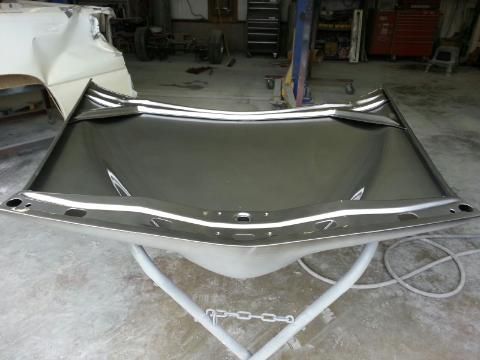
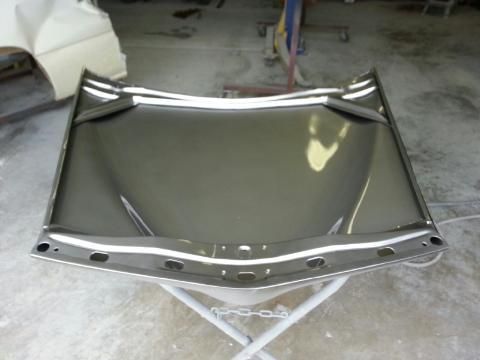
  • Here are some more bodyshop update pictures, and it is getting closer. Once the doors are roughed in, it will be a matter for blending and blocking it all out, so it shouldnt be too much longer.. Once the body is all one color, and it is ready for blocking/blending, we will start posting pictures of the engine bay work.. As I have said before, my guys have a process of completing everything in sections, and that helps to keep from loosing smaller imperfections overall.

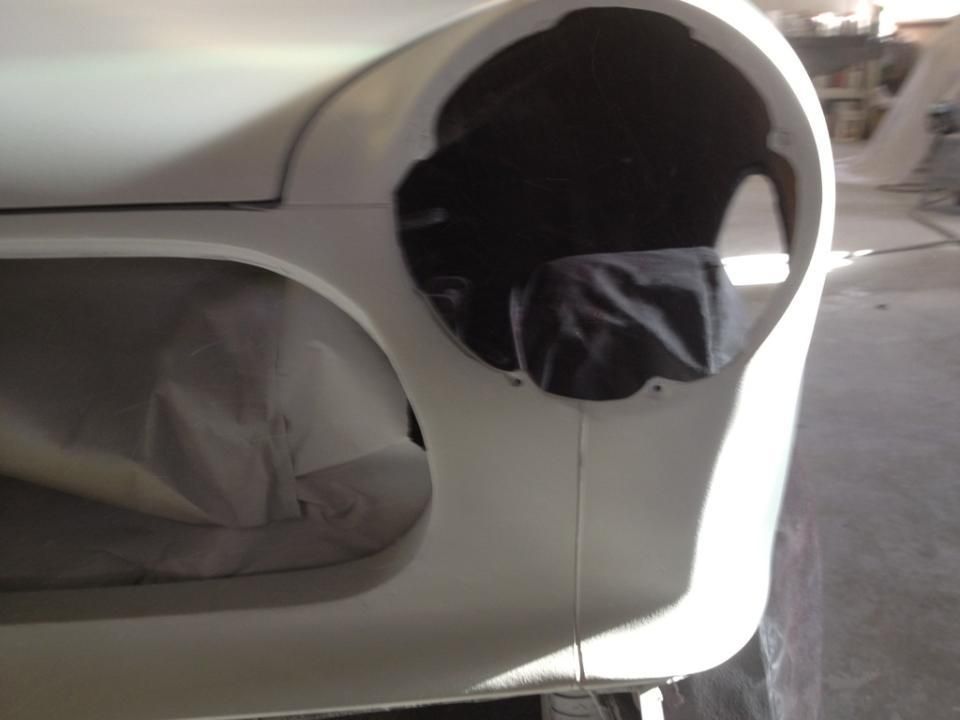
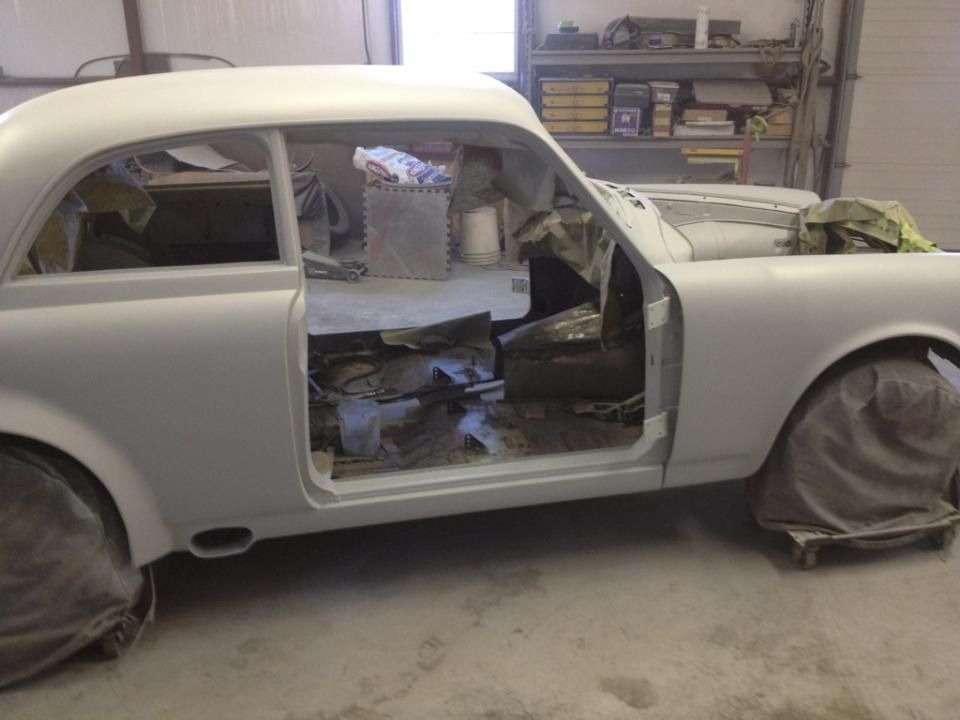
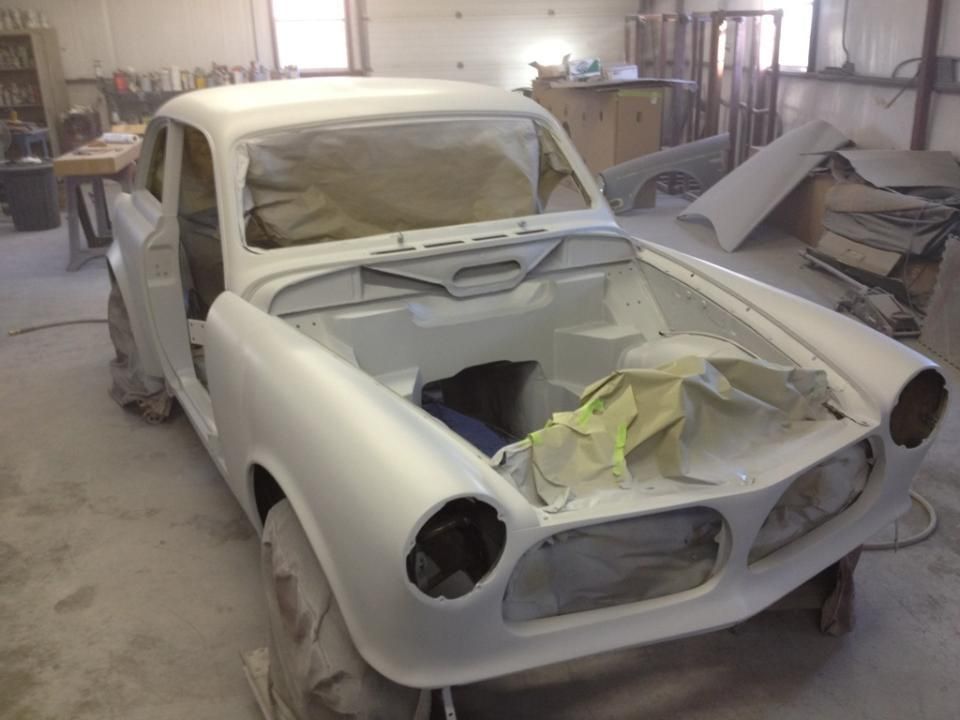
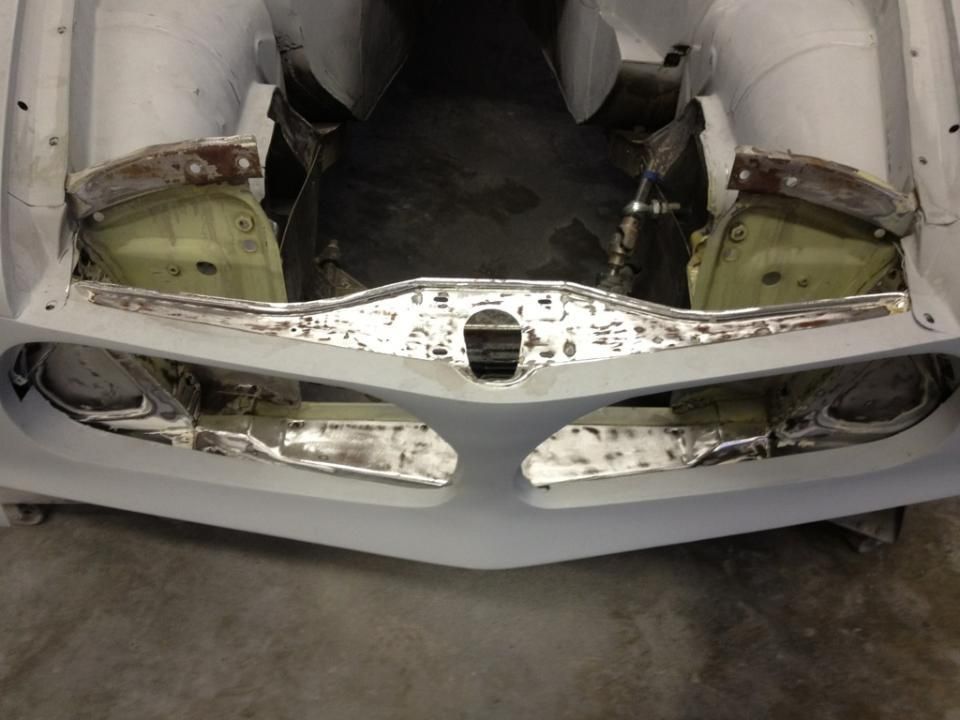
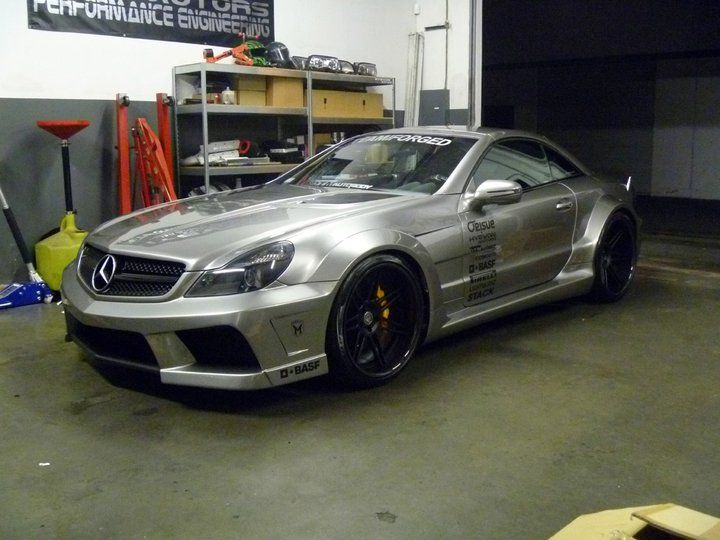
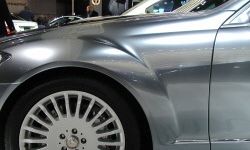
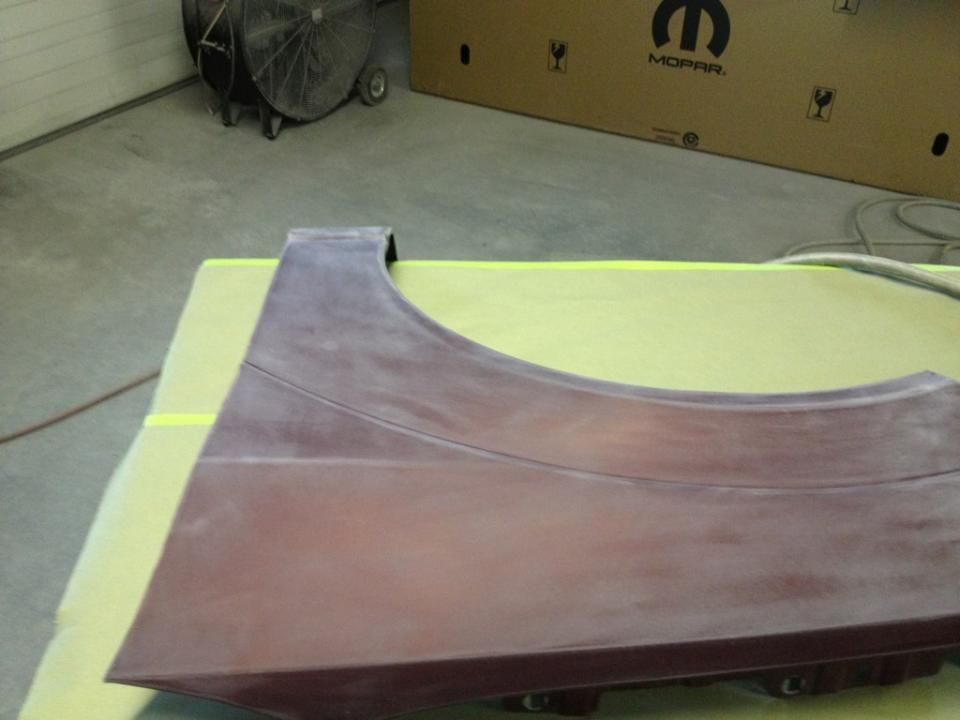
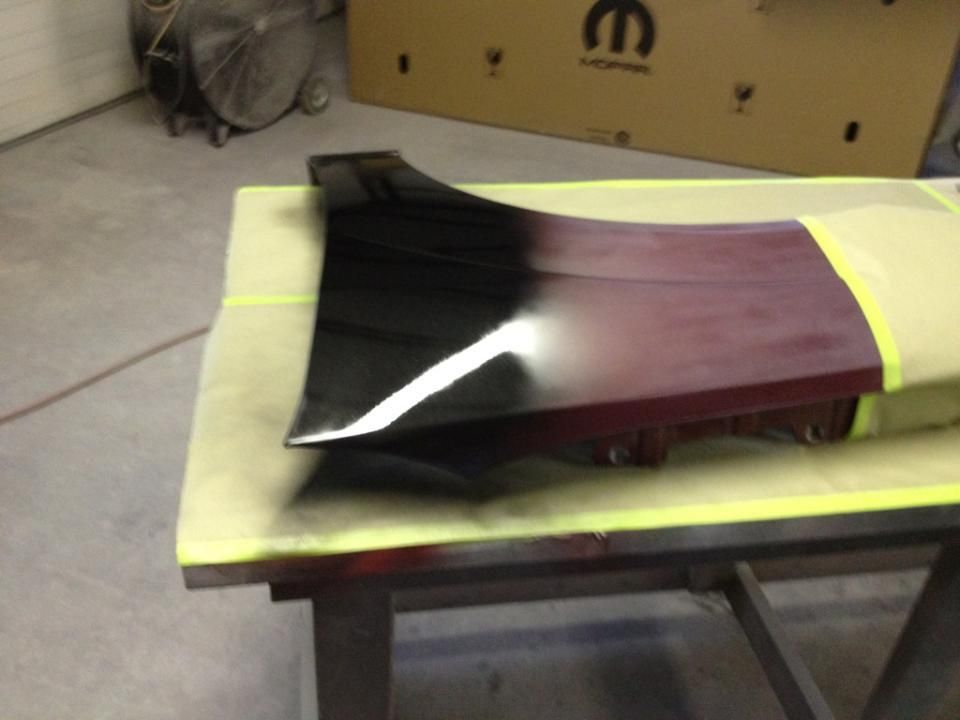
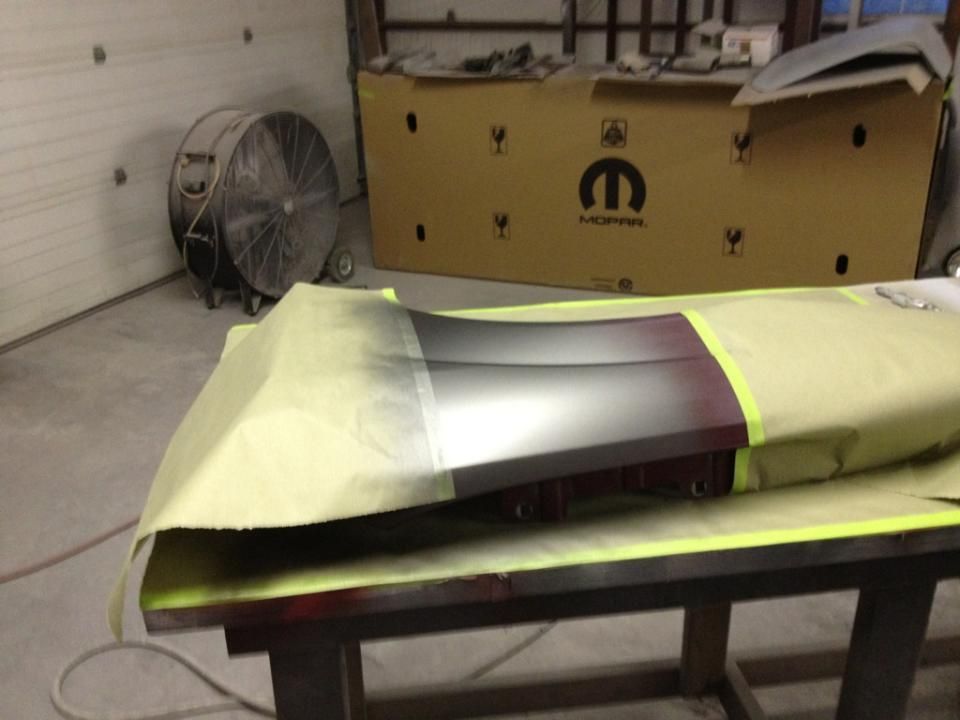
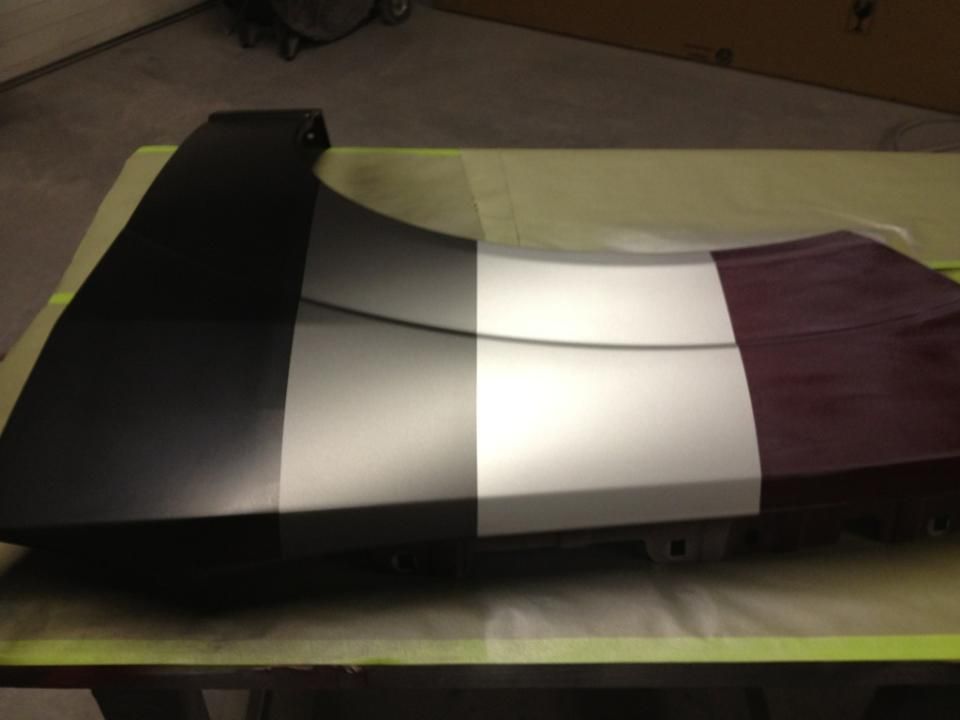
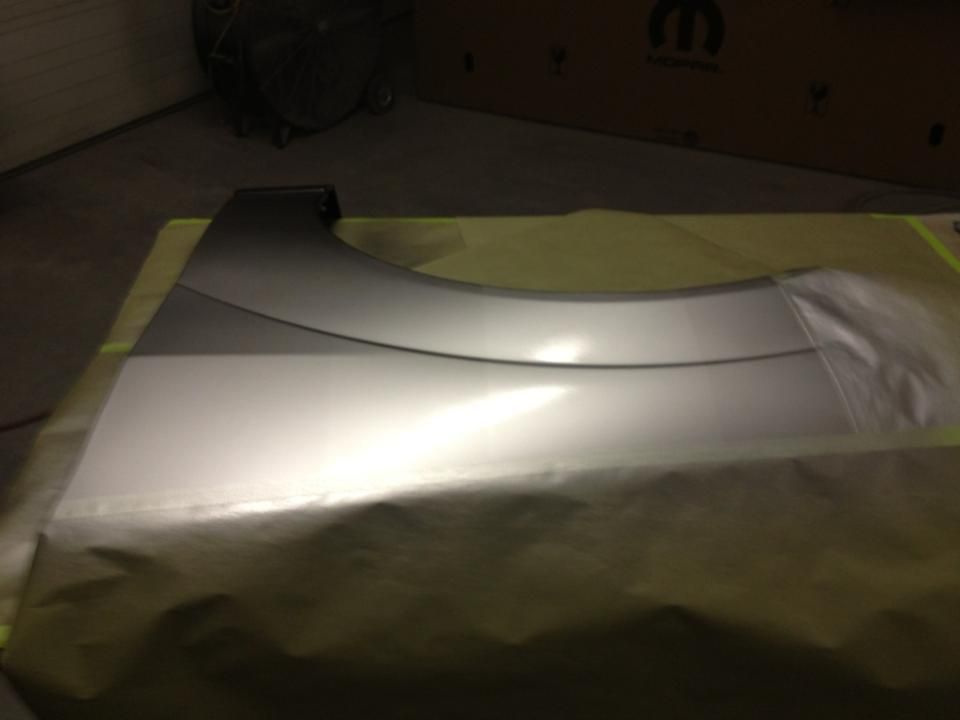
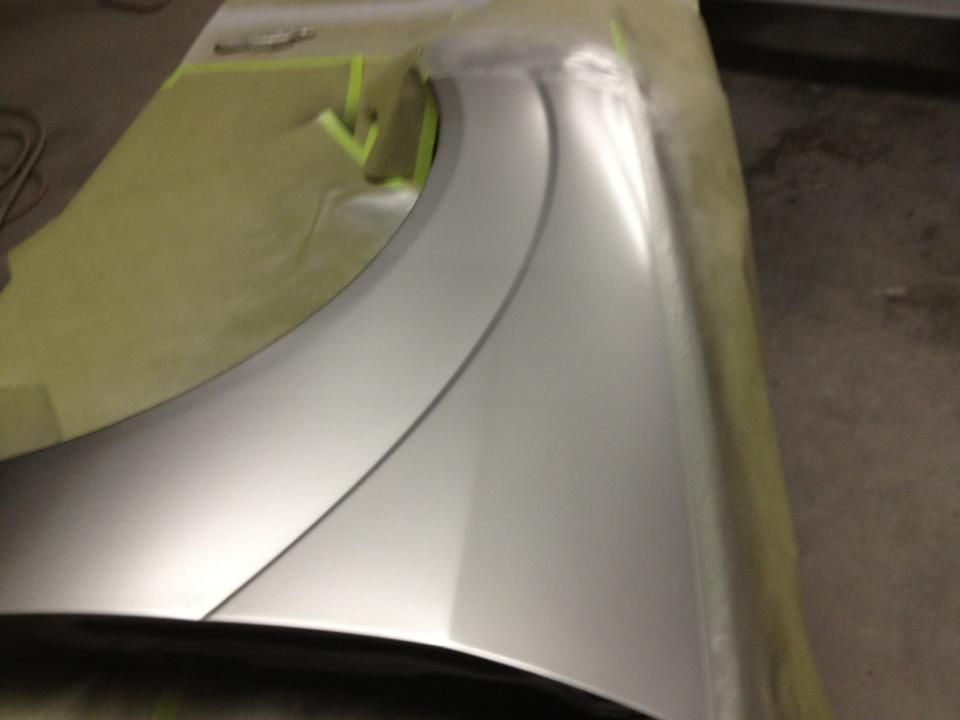
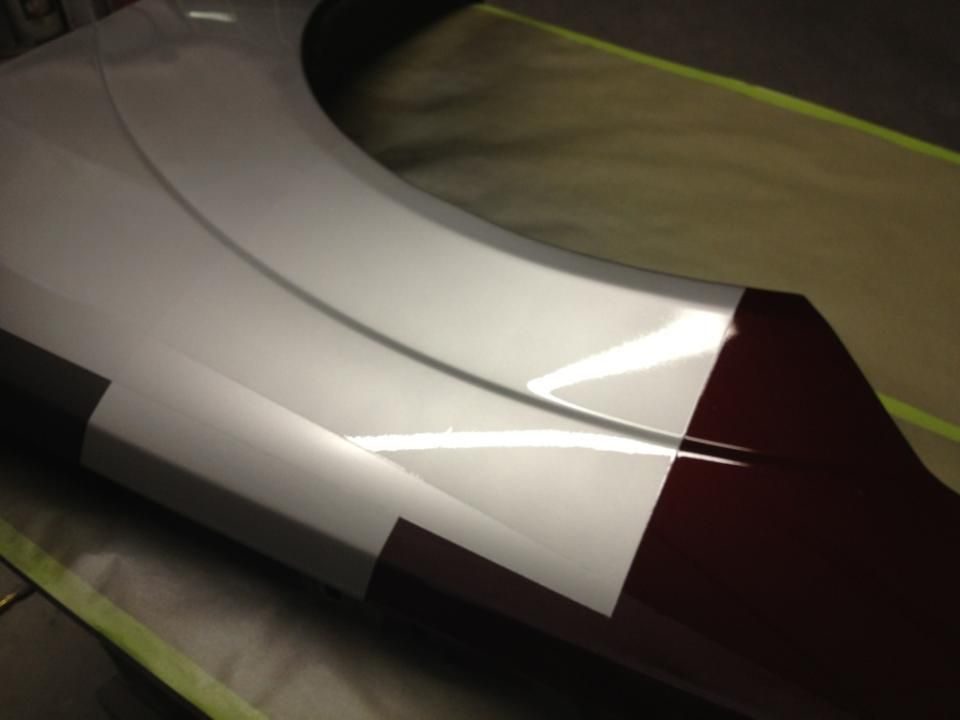
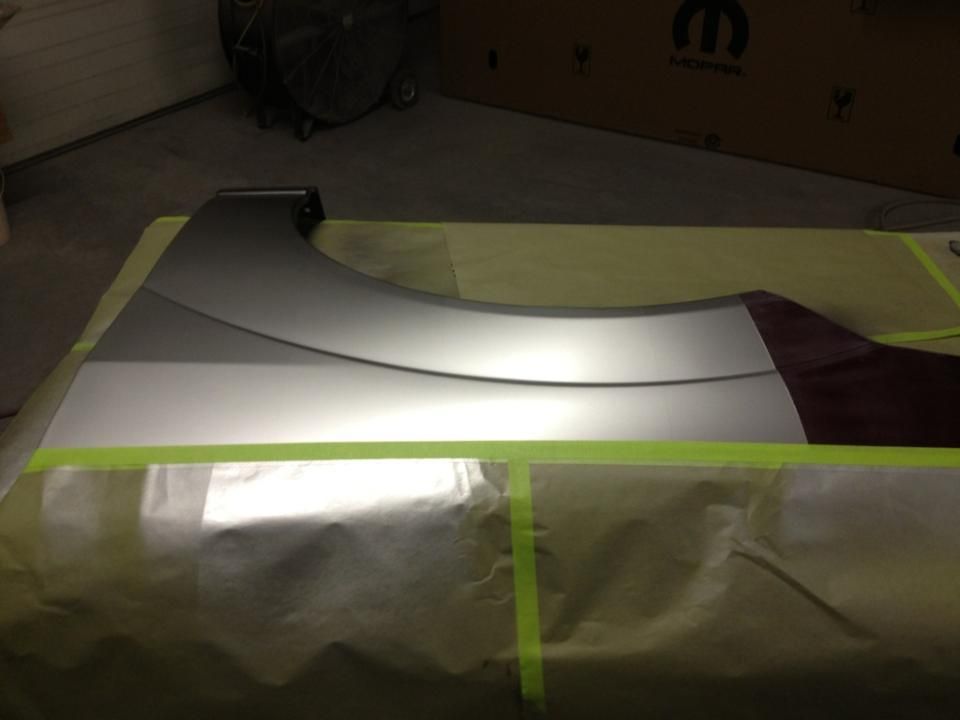
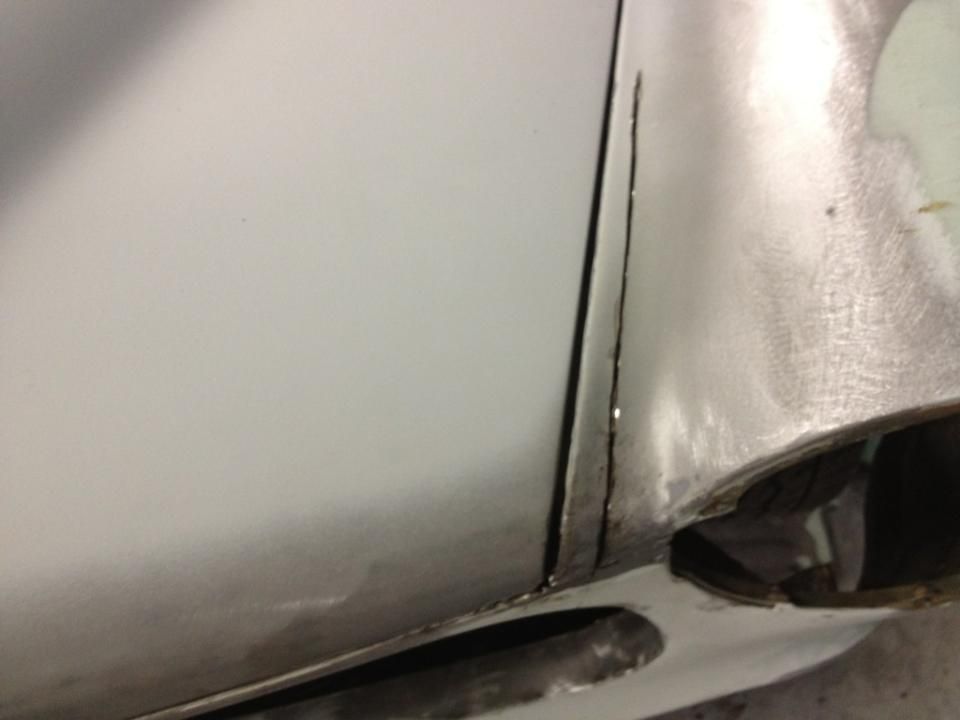
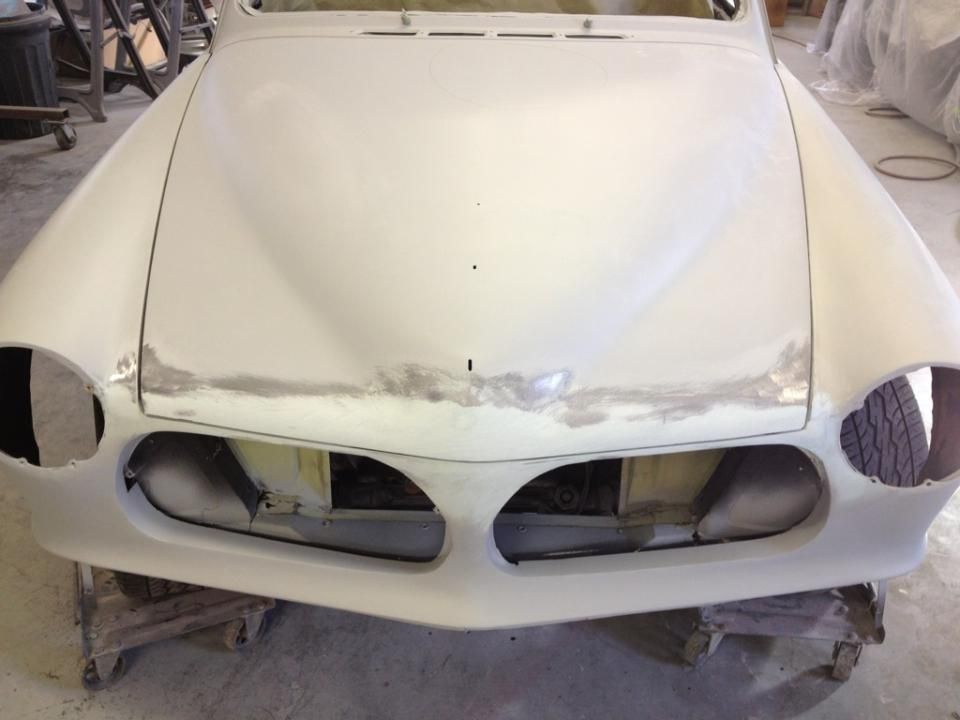
    Here are some pics for the front end pics.. As you can see, we had to do a bit of modifying to the left fender, so the gapping would be correct.


    Comment


    • Here are a couple of pics of the front facia panel, with the new roughed in hood gaps, and the OEM Seams accents added... Eventhough I do like a clean look, I added the seams back in the panel, because they actually make the facia panel's compound angles make more sense.. The front panel/fender blend could have been basically flattened out where they come together, but these front ends are a bit more dimensional complex than they appear right off, and I wanted to keep that feature.. Pictures tend to flatten the front end features of these cars, but they actually have a very accented front pointed nose, because the front facia panel actually curves back in, before extending forward again to meet the fender attachment. The facia also has another curved contour from top to bottom, where it is extended forward at the top and bottom, with a gradual inward curvature in the center..


      Comment


      • this is such an epic build! the attention to detail is incredible...great job!

        Comment


        • I've had this build open for months until I had the time to go through it and I finally did.

          Stellar work man.

          I like em dropped.

          Comment


          • Here are some more body shop updates, and we are at some of the initial stages of the sanding/blocking, which there will be several more block sanding/guide coating sessions coming.. We will continue priming/guide coating, along with alot more block sanding, until we get all the imperfections out of the body. If people would take time to do this process in a couple of stages before painting, there would be alot better looking paint jobs out there. Anytime you apply layers of Primer or Coatings to various area's of the body, you will have varying surface levels and contours, so you have to take the time to make sure you have all the varying coating levels blended into each other. Until you take the time to level out the whole body surface with the final priming/guide coating and Block sanding, you will have the appearance of ripples, rather than have a true mirror/glass appearance.

            Right now, the door, hood, trunk jambs are all being worked and primed, so they can all be painted before assembly.. After those area's are painted, we will re-assemble the car, and do the final block sanding/blending, and then it will be ready for final paint. The engine bay is coming out quite nice, and will be very clean once it is all completed. I havent been posting as much of this process, because it really all starts to look the same, so the subtle differences arent really noticed in pictures. The body work is flying along, considering we are battling the flu bug in this area, but we should be in full paint in a week or two.


            Comment


            • Here are the new Door to Fender Gaps, and it is items like this that will set the car off, because they took alot of work and attention to get them this way.. It is looking like we have a few more Guide Coat/Block Sanding steps, and then it will be in full color soon.. I cant wait to get out of the body shop updates, and start having more colorful updates soon.. Once Volvo X is back at the shop, we are doing some reorganization, and then Project Saint Marie and an P1800es project will start up again. Alot of items from Volvo X are being duplicated for those builds, along with future builds, so the pace of everything should start picking up, being that everything will basically be off the shelf items..


              Comment


              • Here are a few more body work updates from later last week, and it is getting closer and closer now, so it is time to lock on a color.. I am going for a bare metal theme, and dont want any metallic style silver or typical greys, so I dont really have any other alternative other than a Liquid Metal Color. I plan on going with a PPG Liquid Metal paint color, and will probably still go toward the finish with a satin clear, but we will be spraying test panels to see if a gloss or satin works best with this paint. Overall, gloss would be better maintenance wise, but I am not looking for flashy high gloss style paint job for the theme I am going for.

                Here are some more pictures of under the hood, and how it is getting cleaned and prepped for primer and paint. I have been battling the flu over the last week, so I havent been able to get out there for more current pics. In the last few weeks, it seems like someone in the household, someone working on items, or myself has been stricken with the flu going around.


                Here are a few sample pics of the Liquid Metal Color that I am probably going to run. This stuff is about 200 dollars a pint, so we are trying to see if it is possible to put a couple of coats of a close silver base down for coverage first, and that way we can go over the top of it with with the high dollar stuff to save cost. My painter suggested using a neutral base color for initial coverage, and once initial coverage is achieved, and then apply the minimal necessary color application to save material cost. We are going to try that on a couple of test panels first, that way we can make sure the color doesnt change.


                Comment


                • that color!
                  Flickr

                  Projects :

                  1984 W123 300D (Sold)

                  1999 C43 AMG (no thread..yet)

                  Comment


                  • Well here are some pics of our Starter Base Coat experiment.. We are using the PPG Liquid Metal Paint, and a couple of different base coat colors for this test, so I can choose the best overall color result.. I have seen that most guys tend to use a black base, but I think that gives it more a Chrome Affect, which I am trying to avoid.. I have a Black, Charcoal, and Silver intial base coat sprayed, and then we will have a Gloss and Satin clear cutting that in half to make a color grid.. I am still leaning toward the Satin Clear, but if this color looks more like metal than a paint, I may run the gloss for potential cleaning and maintenance reasons.. If it is more of a subtle difference between the Satin and Gloss, I will probably go for the Gloss, because the Satin takes alot of special cleaning and maintenance procedures, which can be a pain in the ass for a daily driver.

                    We have to wait for the Satin Clear to dry overnight, because it takes a bit for it to flatten back out as it dries. We can apply the Gloss Clear in the morning, and I will get those pics up then.. It is very hard to see the difference with pictures, but there is a difference between the different color base coats.


                    Comment


                    • I'm probably the only one that likes that wine red color better than the pricey silver stuff

                      Comment


                      • Originally posted by ItsaCorolla View Post
                        I'm probably the only one that likes that wine red color better than the pricey silver stuff
                        I dont have a problem with the Brandy/Wine colors, but they have there place, and it isnt on this car.. LOL JK.. I have this 69 Pro-Touring El Camino I am driving, and I like the color on it..


                        Comment


                        • Well the Spray Test was a fail, and we will have to try again.. It seems that the application process is completely different than typical paint, so we ended up with nothing more than a couple of variations of Silver Paint.. LOL My painter applied the Liquid Metal mixture as if it was a typical paint process to gain coverage, and this is apparently the wrong process for this Color, because the heavier the build the more it looks like regular paint. I called PPG and talked to them, and found out that our paint supplier also supplied us with the wrong Reducer, which also caused it to have a more silver paint appearance.. I was advised that the needed application process is more like a Pearl Application Coat, and if you go beyond or heavier than that, it will look like standard paint.. A black base coat is needed, and you apply thin fast layers of the Liquid Metal over the top, but you arent going for coverage with the Liquid Metal layers at all.. It is completely trial and error to get the metal look you are going for, and that is accomplished by the very thin application of the Liquid Metal Paint over the black, while not completely covering the black base coat... It sounds like we are going to have alot of practice on test panels, and it might be a respray or two, because this could be a very difficult paint job to get uniformity over the whole body.. I feel sorry for the painter on this one..

                          Here is the Liquid Metal Affect, and this is basically what it should look like on the car, but as you can see from the pictures below, it isnt how it came out after application..


                          Comment


                          • Aren't there car vinyl wraps in the liquid metal type look?

                            Comment


                            • Originally posted by 89325iturbo View Post
                              Aren't there car vinyl wraps in the liquid metal type look?
                              I was looking into the vinyl wraps, but they have their ups and downs also... First down is, all the jambs arent done, so you have to have paint the games in a ballpark or neutral color, and they are not exempt from daily driver damage also.. You also have to all the same bodywork completely done before you can apply the wrap, and the actually wrap cost is more than the paint and material, so you might as well paint it, so all the nooks and crevices of the car all done in the same color. Atleast that is how I weighed out the Pro's and Con's.
                              Last edited by Iamtheonlyreal1; 03-02-2013, 05:50 PM.

                              Comment


                              • We have been extremely busy, and with this color choice, it is even more critical everything is as close to perfect as possible. I cannot really show the highlight affects in these pictures, but it is really off the wall how much variation in highlight and color is involved, and it will really showcase the shape of this car. This color is primarily used on alot smaller items, and not to often on a whole car, and now we can see why.

                                We are about at one more last blocking, along with making sure all the small details are taking care of, which includes some extreme cleaning and prepping before paint. We have a plan on how to paint the car, and we have to do it a bit backwards.. We would normally jamb the car out, and paint under the hood and in the trunk first, but this will not work here. There is really no good way to paint all the parts of the car at the same time, so we have to do it in stages. With this paint system, we cannot overlap coats, we cannot speed up or slow down gun strokes, we cannot have a variance in spray volume or speed, and that really complicates applying the paint over all the transitions from the Top of the car and to the side of the car, not to mention the need to wrap around curvatures.

                                The car has to be painted Black first, and the the Liquid Metal is actually a very fine specialized Pearl Like coating over the Black Base. If you dont have enough or even spray pattern, you will have a blotchy mess with too much black showing through.. If you put it on too heavy at points, it really just turns into Silver Paint, and totally loses all the Metal Affect. The application plan is this.. We will paint all the exterior of the car in 1 assembled piece, and then worry about under the hood, door jambs, trunk, interior, ect. By doing this, we can ensure that we dont have overspray in the normally previously painted jambs that can affect the overall color, and they will be completely fresh. After the exterior of the car is fully painted and cured, we will pull the doors, hood, and trunk off the car, and then mask off the exterior, so we can lay them down on a table to be able to have full access around the door, trunk, hood for an even spray pattern. At that time, we will also paint the under hood, body door jambs, and trunk area, so we have an unobstructive spray capability for them also. The Exterior of the car Has to be fully assembled in order to be painted, or else we are taking chances on eveningly matching color/affect of each panel, because that is all affected by the mixing of the color batch, application/timing and stroke pattern of the gun, ect..


                                It was kind of a cloudy day, and I cant really show it affectively in the pictures, but there is a huge range of highlight and color. When the light hits parts of the panel dead one, it is about the brightest looking silver/metal color you can get, and then all the contours are more of a graphite metal look, and it not your conventional pearl look at all.


                                Last edited by Iamtheonlyreal1; 03-19-2013, 09:10 PM.

                                Comment

                                Working...
                                X