 Tweet
Tweet
Originally posted by LCG
View Post
-
Facing the intake backwards wont do it, because I would have the have the motor several inches forward, or I would have the Air Cleaner box right by my feet. There is something to be said for them running backwards though, I wouldnt run into to many more at the shows run that way, which completes the being different part of the build.. LOL -
mind blown!!! this thing looks awesome!!! keep up the good workComment
-
Through trial and alot of error, I think I finally have the rear air box sorted out, and I think this is the way I am going to run it. It will still need a bit of finish welding and grinding, but it appears it will work just fine.. Now I just need to figure out the coating/paint combination that best fits the build.. I am thinking about having the whole unit powder coated in an Aluminum color, and then having the center painted body color/under hood color.
It isnt the cleanest thing right now, but it well definitely clean up nicely with a bit more grinding and finish welding.. I actually have to cut it apart in a couple of places to do some final welding internally..


 Last edited by Iamtheonlyreal1; 12-08-2012, 08:51 PM.
Comment
-
Absolutely loving thins build. The fins on the intake cover are genius and really tie the engine bay together. Keep up the amazing work!!Osaka, JPComment
-
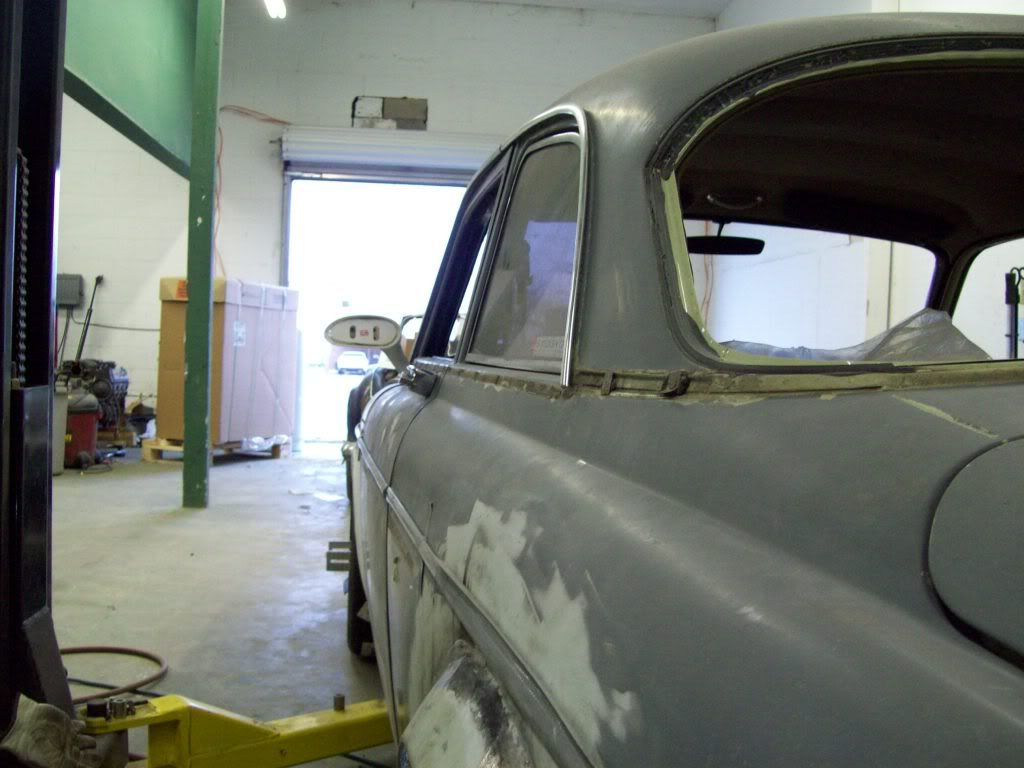
Door Mirrors have turned out to be a bit more complicated than I had thought, because there arent too many options out there, especially when I am removing the vent window and running a 1 piece door glass.
I found these mirrors, and I think they will be about right.. The are actually not that bulky, but still have a bit of early styling, plus they have the LED turn signal made into them.
By the measurements, I dont think they will be too big for the car, but the base of them is made to cut to a number of specific specifications and fit, so I should be able to draw them into the door/body as I see fit..


Comment
-
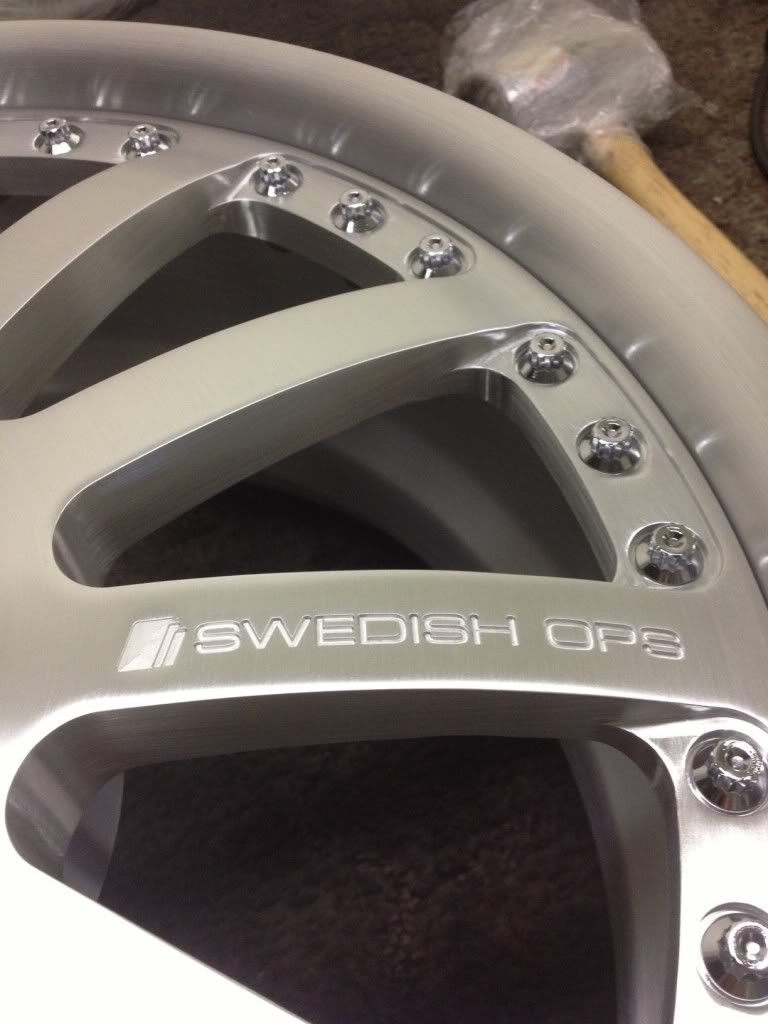
Here is a sneak peek of the wheels, they are on their way, so I will be able to get the car on the ground.. I havent been able do put it on the ground yet, because I havent had any wheels that would clear the 14in and 13in brakes, so I need to still set up the ride height options for the suspension kit. These are 18x8 fronts and 18x9 rears, so they should hopefully fill out the wheel wells nicely..


Comment
-
absolutely love those rims!!!Comment
-
Originally posted by The Norwegian View Post
Its all about the logo's.. LOL Just kidding, but they did turn out a bit nicer feature than I had thought.Comment
-
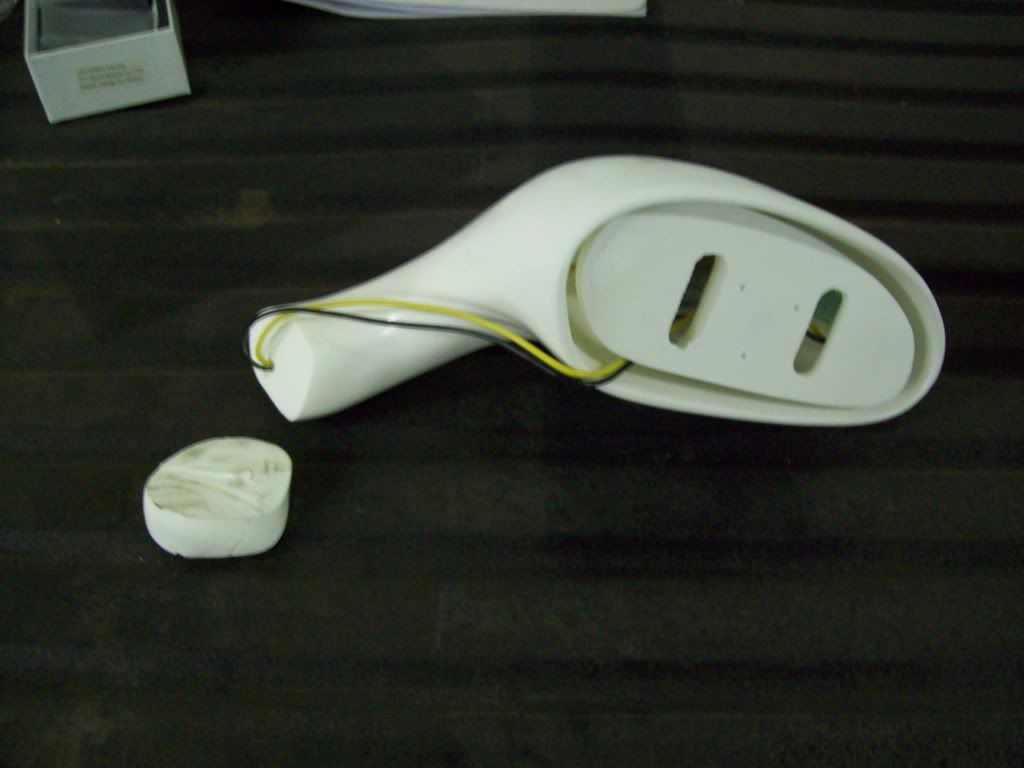
Here is a rough in of the door mirror situation, and I do think they are going to work nicely. These mirrors have a solid base/pedestal, so you can actually cut to the mounting height, and contour to fit the body side panel angle.. It is really just a matter of cutting the base, and then sanding it to fit the mount angle, and then install the threaded inserts for the bolts to work. I ordered the LED version, so the clear lense on the face of the mirror will also be a turn signal, which I think will be a nice feature. The mirror set was only about 260 dollars for the LED version delivered, and with all my trying to find mirrors that will work, I think they are a big bang for the buck..
Pictured here, is the passenger mirror that I have not cut yet, and the beginning cut piece I made to mount the drivers mirror..

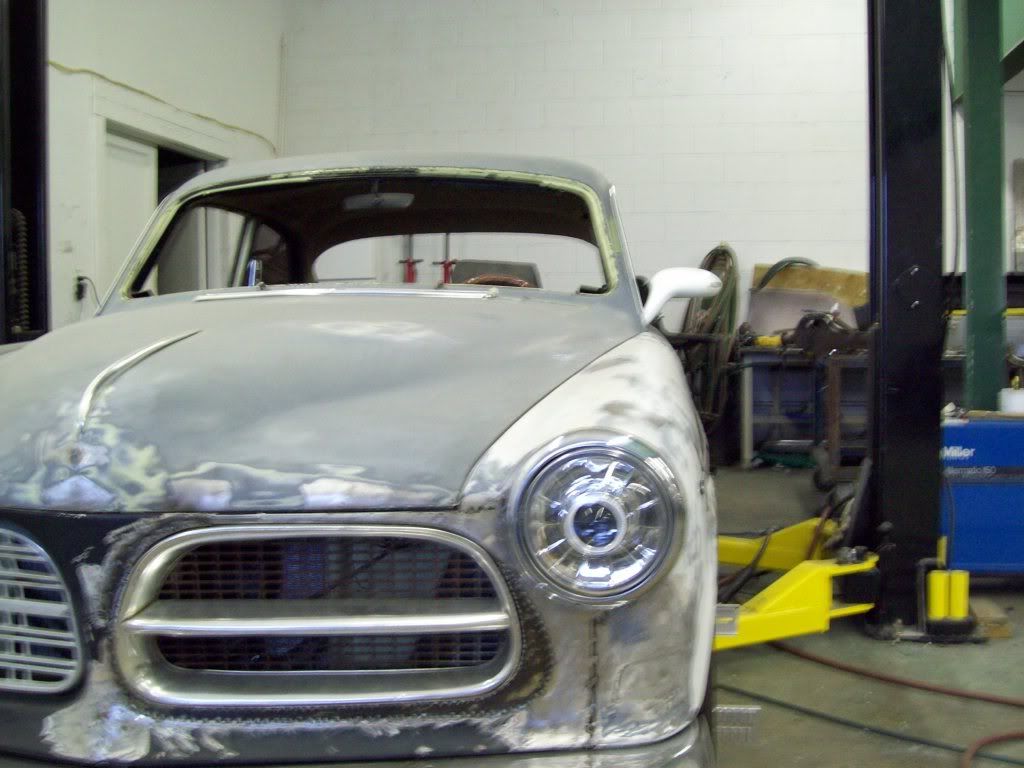
Here is the preliminary location of the drivers door mirror, and I think it is going to work great, but the bright white color is making it look larger and stand out more than it actually does. Some time pictures are hard to get the real perspective, but it is barly above the door. Height wise, it is actually sitting about the right height to be totally functional, so this is where I need to start. I might move it a bit more toward the rear of the door, so it doesnt conflict with the drip rail angle, but I am running our 1 piece door glass to eliminate the vent window, so I have alot of position options from frontward to rearward.


Comment
-
Here is a better perspective of the mirrors with passenger mirror on, so you can see the total accessory affect.. I am in sort of a conflict here, because the instructions say to mount the passenger mirror at a different angle, so the view from the drivers side will work without positioning the mirror glass at an extreme angled position in the housing.. It makes sense, but that will annoyingly throw off the proportions with the body, so I am still debating on going by the instructions, rather than mounting the mirror bodies the same.


Comment
-
I came accross this really cool inexpensive tool, which is very easy to use for setting up ride height, and it works great with the Wheel Mate tool I was using to dial in the wheel offset needs. If you know the length/range your coil overs are suppose to run in at ride height, you can set these for that setting, and install them in the place of the coil overs.. This is especially important during suspension setup and clearances, especially when you dont have all your body weight, due to lack of accessories.. This will allow you to put your suspension in the pre-determined coil over settings, so you can check wheel clearances, ground clearances, ect, without waiting till the end to find a potential issue. I paid 119 dollars for the set of four, which I thought was a real bagain, now I realize that I can actually use one more of the Wheel Mate tools, and that way I can get perspective on the vehicle stance with both wheels on one side..


I also think I really like these mirrors more in the even mounting, rather than the passenger side being slightly different.. I was able to get a further off shot of the car and mirrors, and if you notice, they work real well with the hood lines, because it seems the angle of the pedestal actually is a continuation of that line.. In my opinion, it is subtle things like that are important, because it can make accessories look like they belong, versus just an afterthought of bolting something to the body.
Monday, I will have the wheels on the car, and I will actually be able to roll the car outside for a parking lot perspective. It is very very hard to ensure all is proportionally good in a closed in space, because you are limited to certain distance and angle perspectives, so I will never actually lock any mods in, until I get all those additional perspectives. I also like to hide mismatch colors or ground metal with masking tape, because mismatch color blending can actually hide features you really need to see, and that is why I should own stock in duct tape and masking tape.


Comment
-
I know this is going to sound a bit odd, but I am also really debating running a version of the original Volvo Mud Flaps on the front and rear of the car? The oem front flaps seem to be extra wide from the factory, and I thinking it is just a bit of the Volvo style that can remain, and that I still might be able to make it work in style department.. I would actually run 4 Front mud flaps, because the rear style wouldnt work for me in size, along with the logo'ing.
How many Pro-Touring cars are sporting actual mud flaps? LOL


Comment
-
love what you do to this car mud flaps is a MUST!!!!!
Comment
-
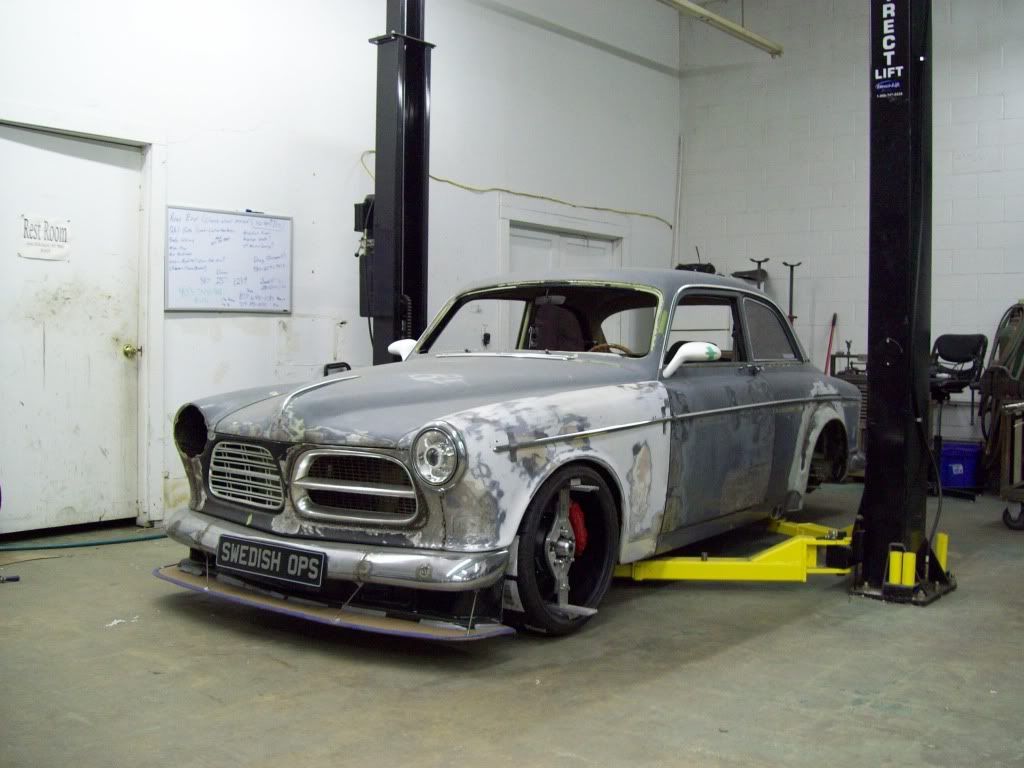
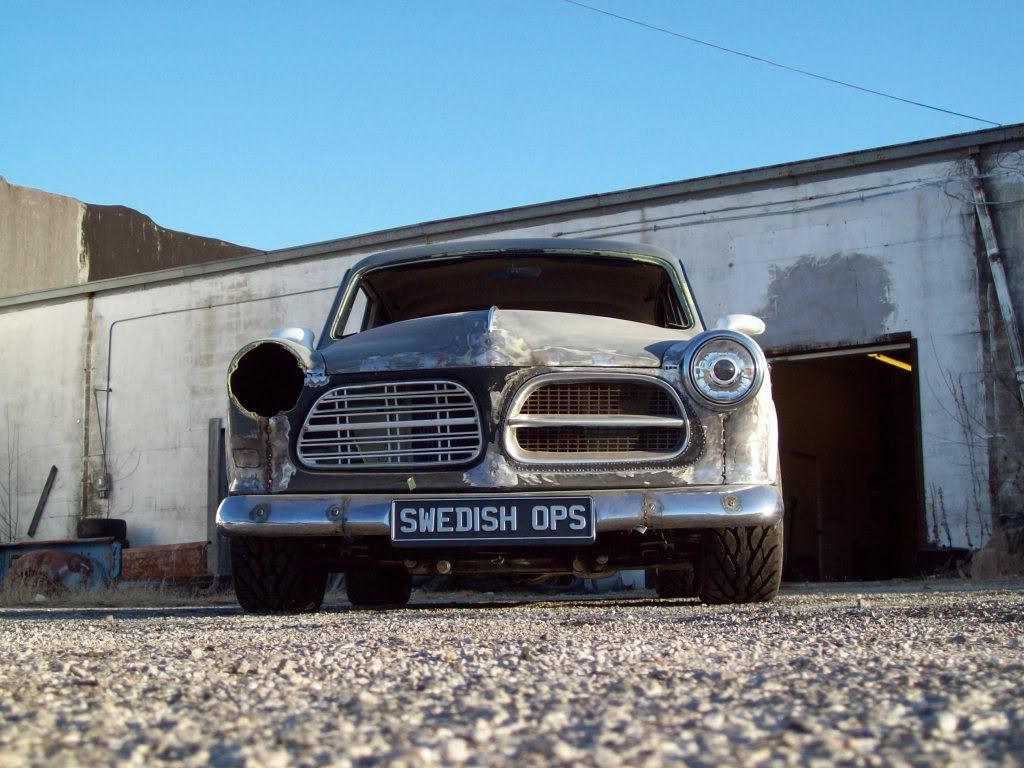
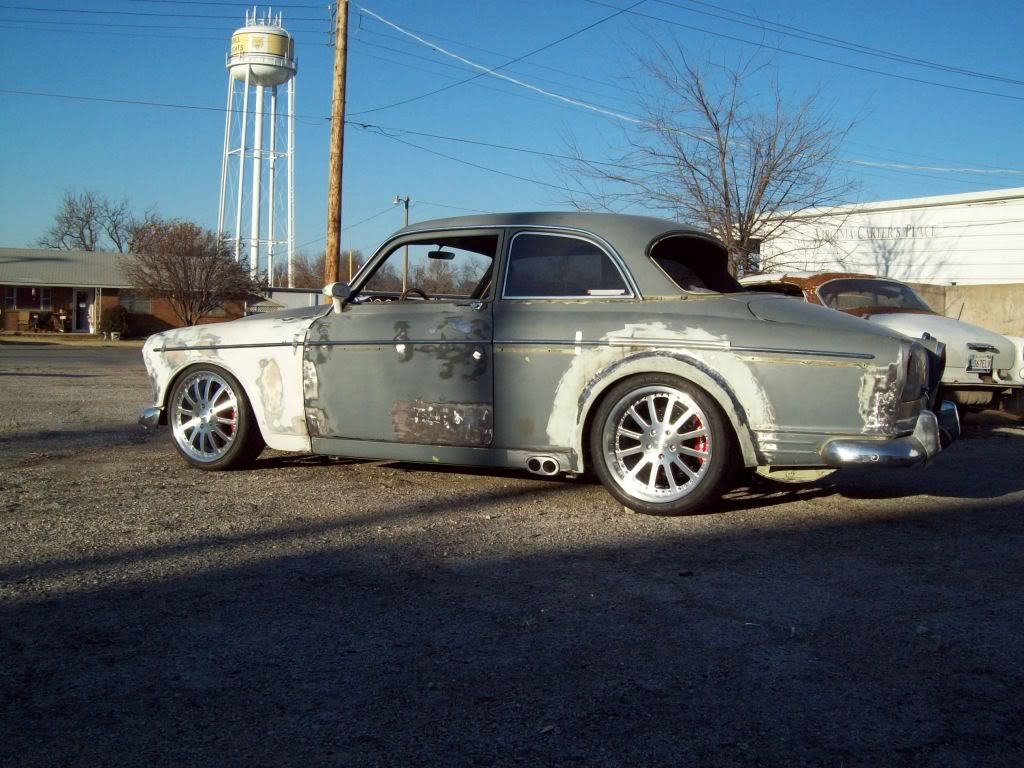
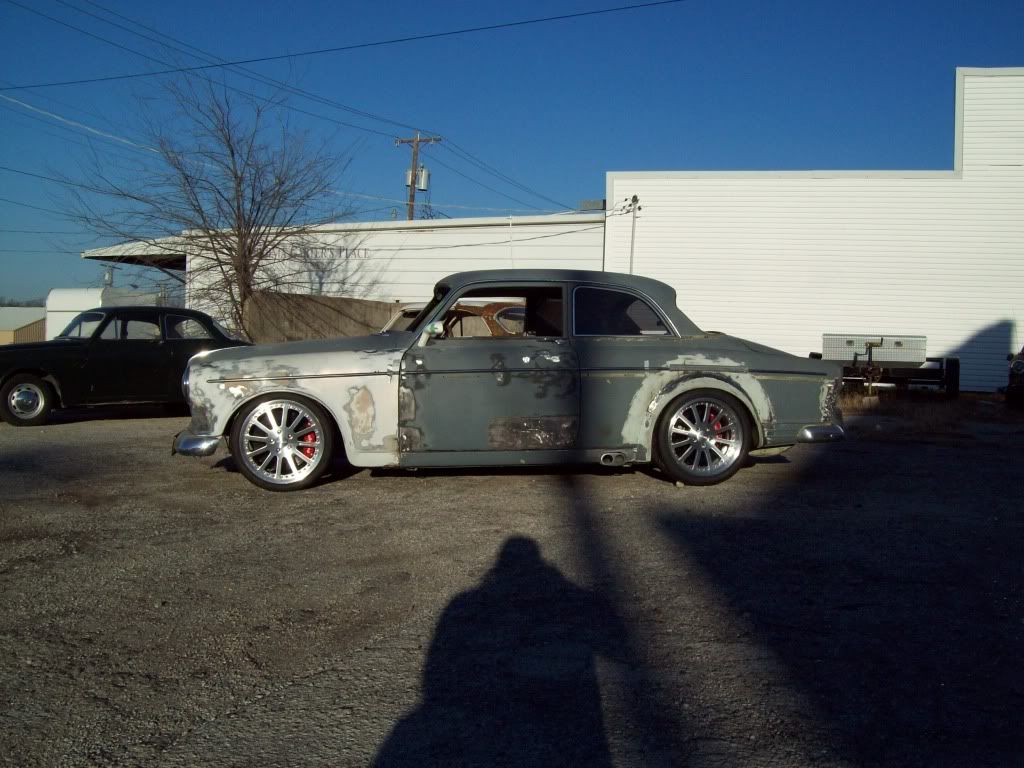
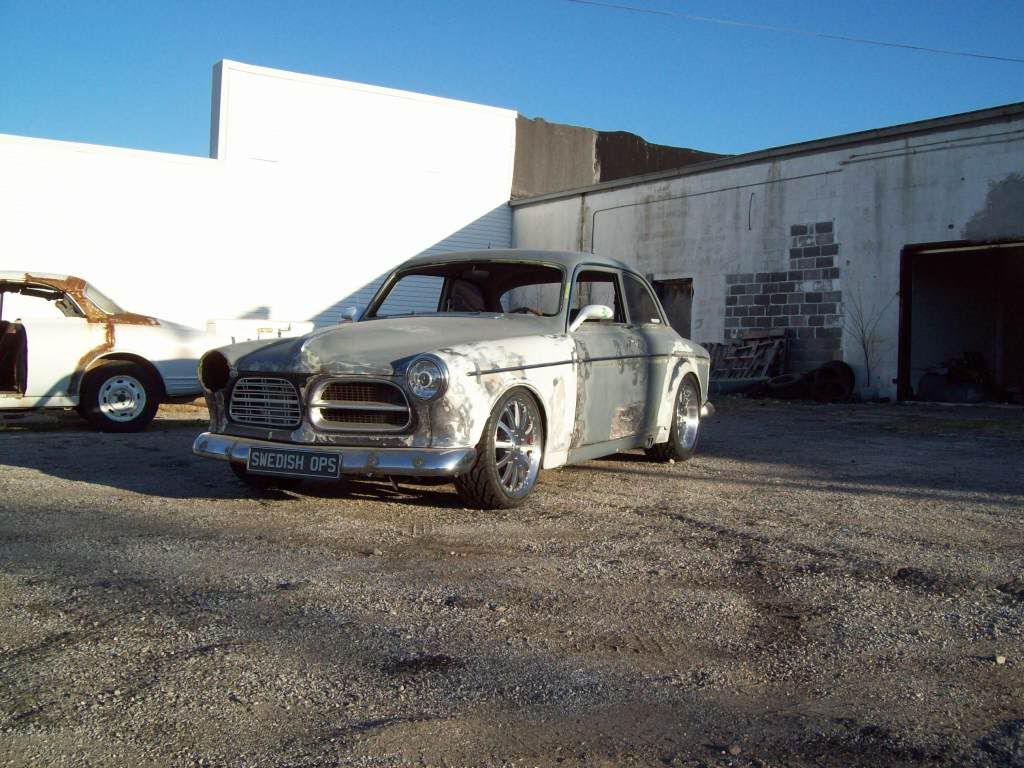
Well the wheels made it in, and I think they are really going to set the car off.. I have the car a little bit lower in the front, but I will probably run it pretty close to what is pictured... All the ground clearances look great, and as you can see there was plenty of room for all the exhaust work underneath, so I shouldnt have any bottoming out issues.. I can actually set the car up a bit lower, but I am liking the area it is at now. I dont have the rear end perfectly squared up or set, or the front end alignment done, along with the panhard bar location not being correct.
The game is definitely going to change with the air dam/splitter right now, and that is why I never really moved forward with it yet.. It is impossible to tell anything while sitting in the shop, and it takes being out in the real world to gain any perspective.
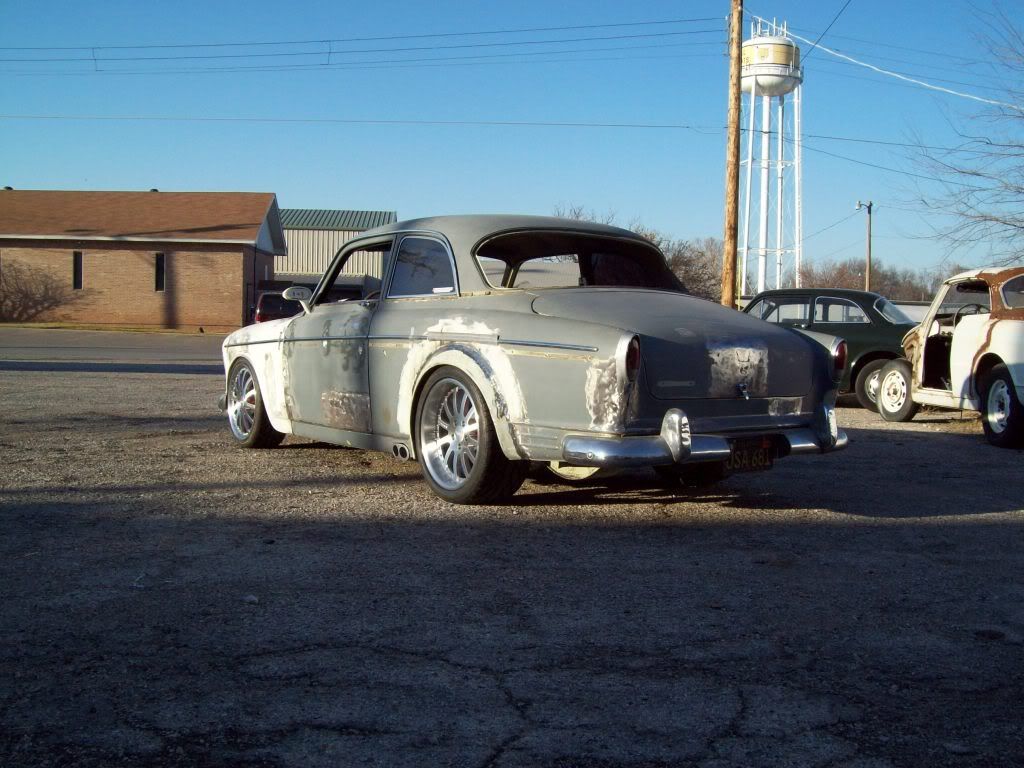
Now that I have all the wheels, and the car is sitting on the ground, I can do all the final panel sheetmetal alignment, and fine tune some of the gapping for a tighter looking build. I also have to roll the drivers fender out a bit, just like I previously did on the fenders I had on the car, and you can see that affect on the passenger fender in the pics below. If you also notice the raised side trim, and the fact that I also will be changing the curvature and angle of it to fit the body better.. Raising it was definitely the trick, and glad is it working out with the rear flares, so they can stay on the car. I am not big on alot of trim, but the side trim on these cars do fit the style and proportions of the car.
The spare tire portion of the trunk pictured on the drivers side will disappear also, because I will be trimming it up, so it actually is hidden in the body.. I am not going to totally get rid of it, because I will actually use that sunken in part of the trunk for the storage of something, eventhough it will not be used for a spare any longer.. No need to keep it there, because it cant hold a proper spare for the size wheels and tires I am running on this thing.


 Last edited by Iamtheonlyreal1; 12-17-2012, 09:10 PM.
Comment
-
Here are a few pics with stock configured car, so you can see the difference..


Comment
Comment