Announcement

Collapse
No announcement yet.

"I drive my track car on the street" BUILD

Collapse
X
 
  • Filter
  • Time
  • Show
Clear All
new posts

  • #76
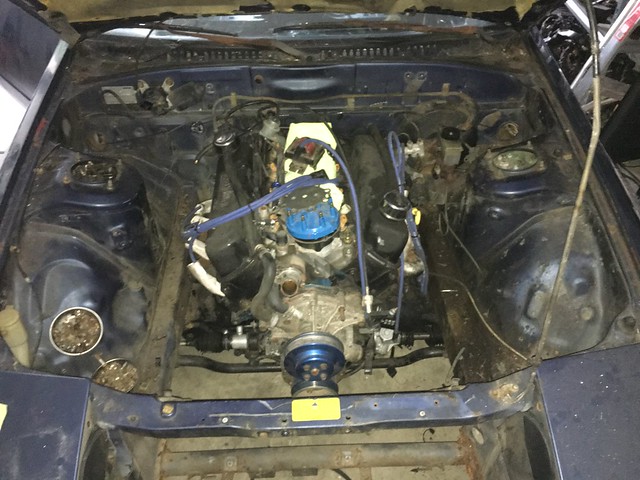
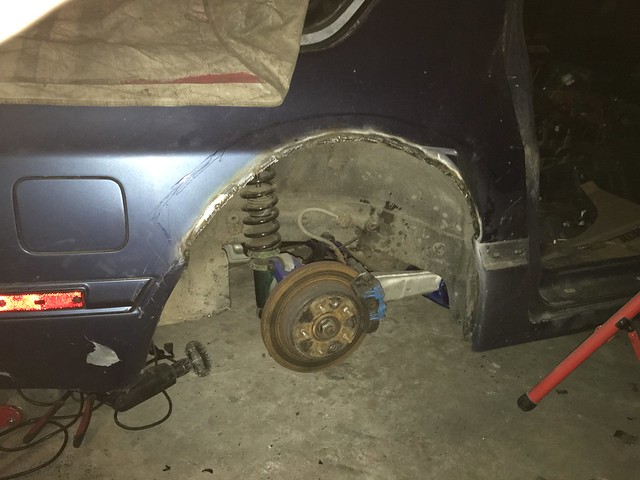
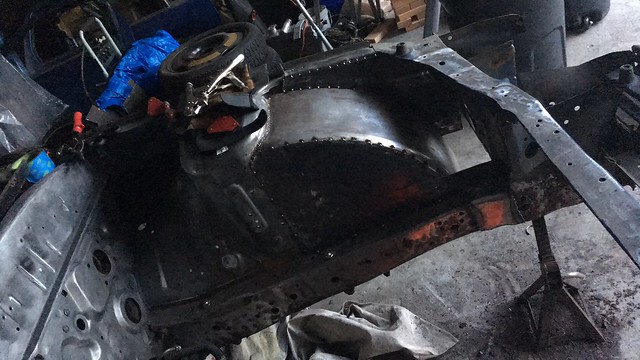
    I go through cars too fast, The last car I posted ended up having a lot of rust that I didn't see originally, I guess I should have looked at it better. Also while working on it I noticed that the drivers floor was buckled a bit and came to a conclusion that it was probably hit in the door which is why the door doesn't fit 100% and the rocker was rusted. I begin my hunt for another shell and ended up calling about a car that was posted on craigslist. It ended up being about 10 minutes about on Edgewood avenue and the guy just wanted it out of his yard so I went and looked at it really quick.
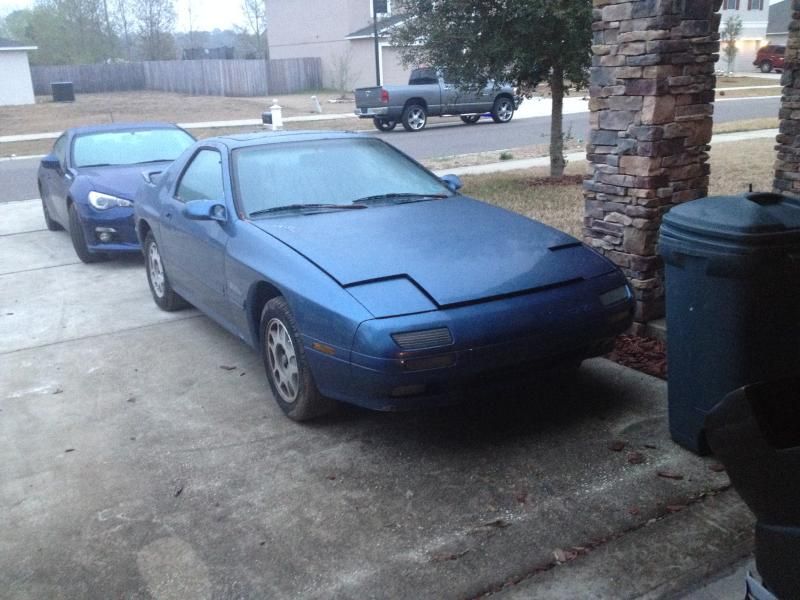
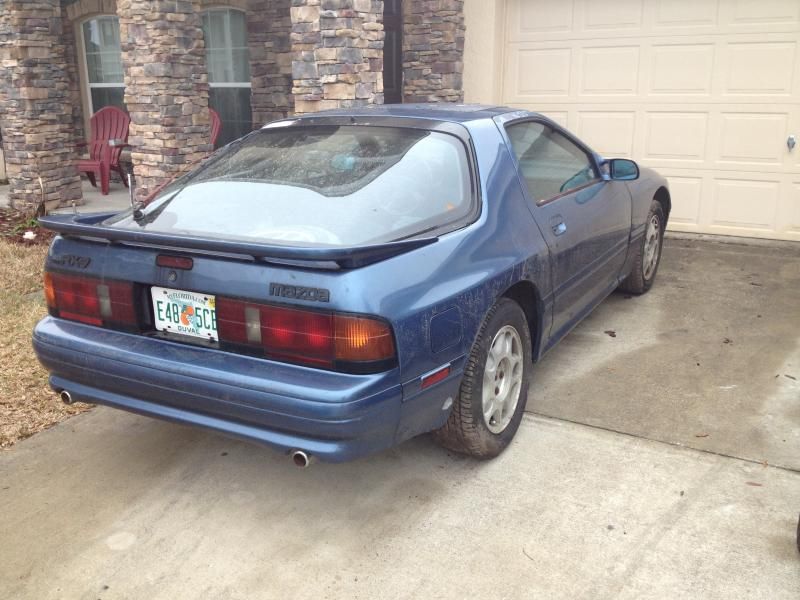
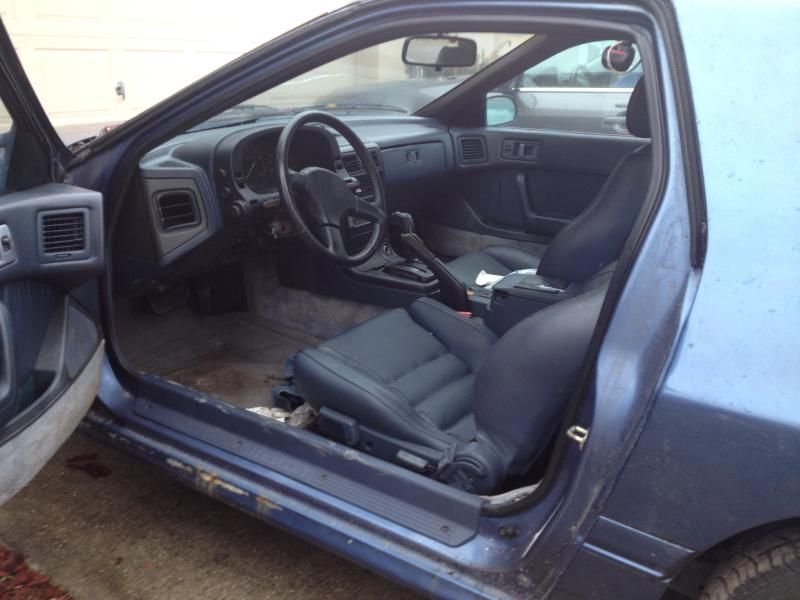
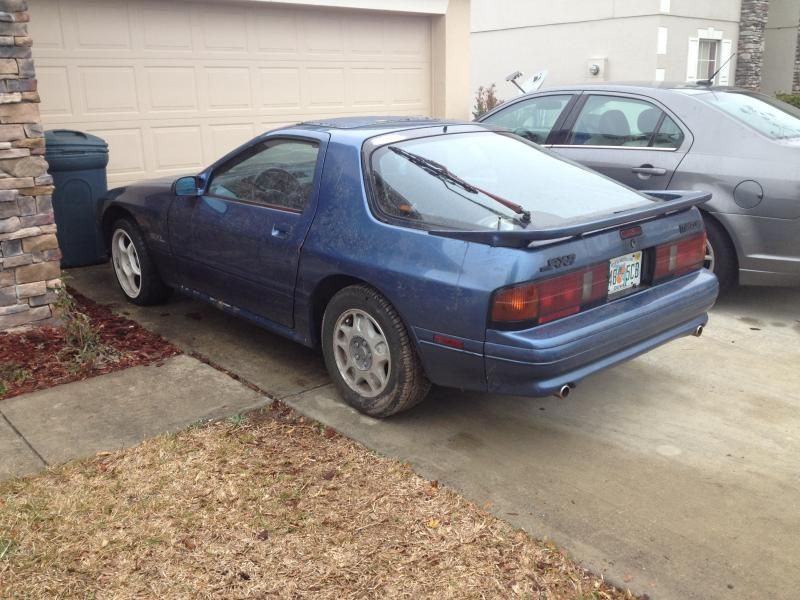
    Heres the photos of how it sat when I went to look at it.


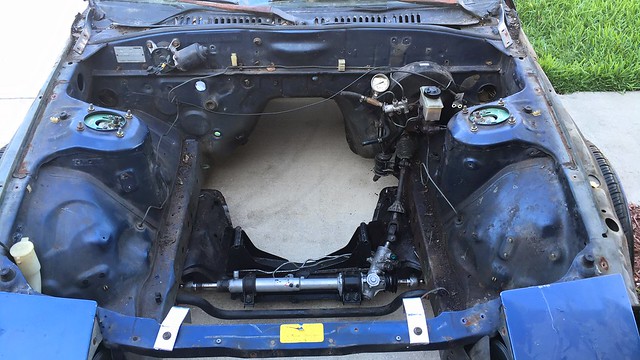
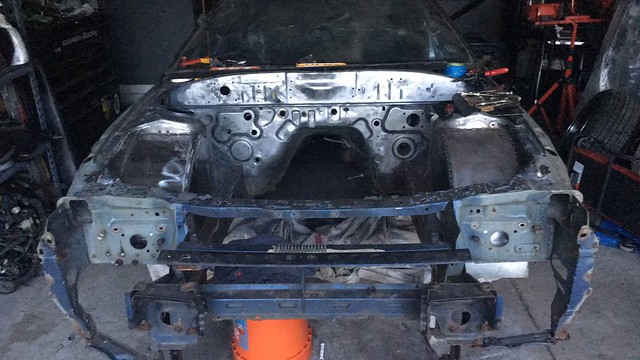
    I didn't jump on it right away because it was a automatic and I knew the transmission mount was different from manual trans cars to automatic. IDK why mazda would do this but whatever thats life lol. I come home and call up Grannys speedshop and get a price for a new mount, it was way cheaper then I expected so I ordered and it drove back down to look at the car more thoroughly. It was really clean and had everything I needed for my current car. Needs a windshield but that will come later on I suppose.

    Well I picked the car up Tuesday 24FEB15 and had it towed to my house.


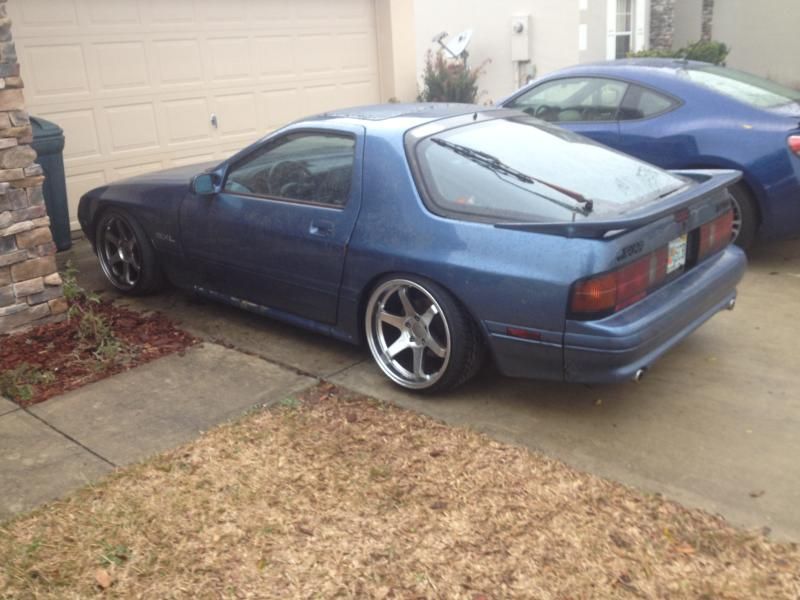
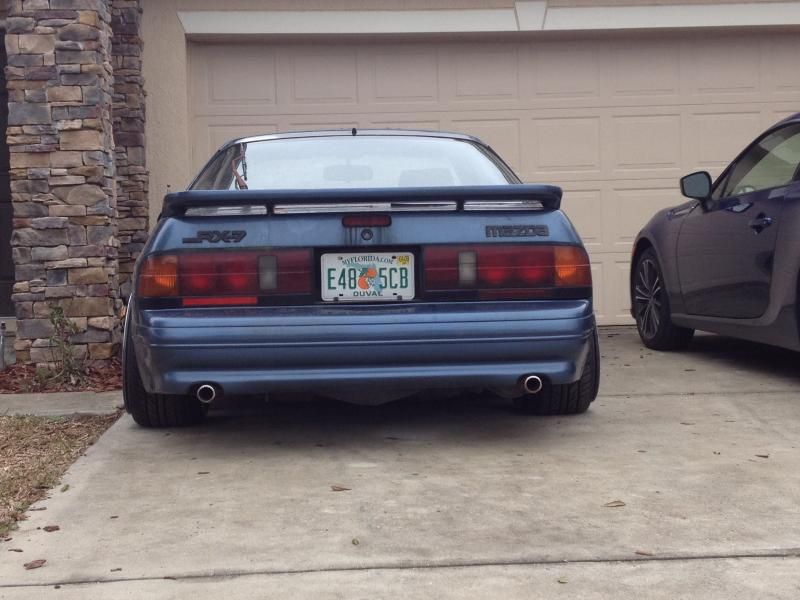
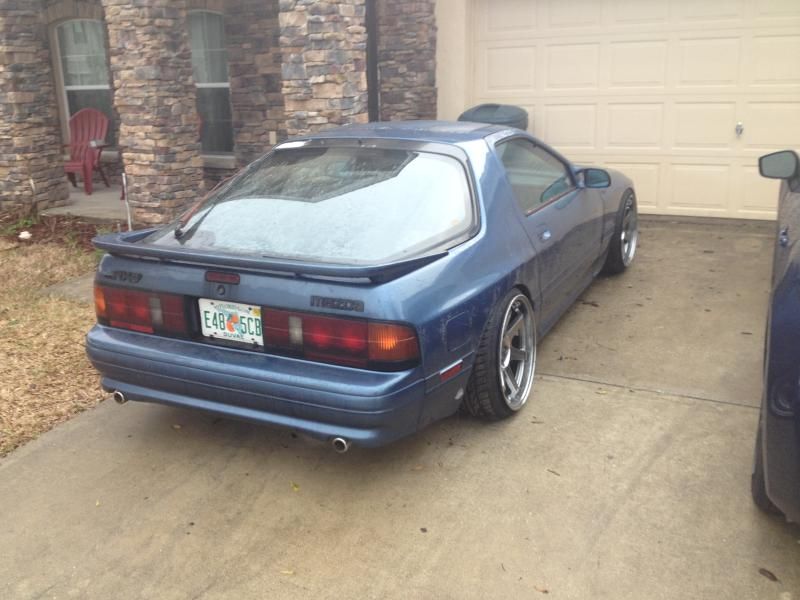
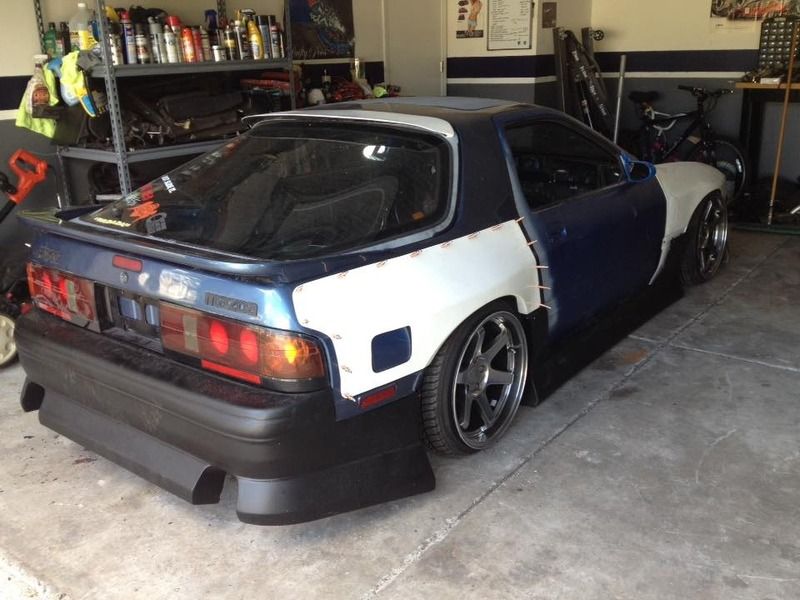
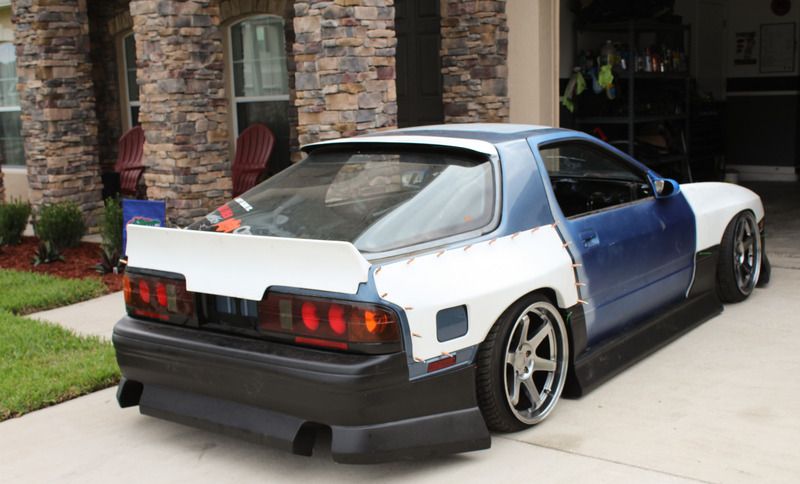
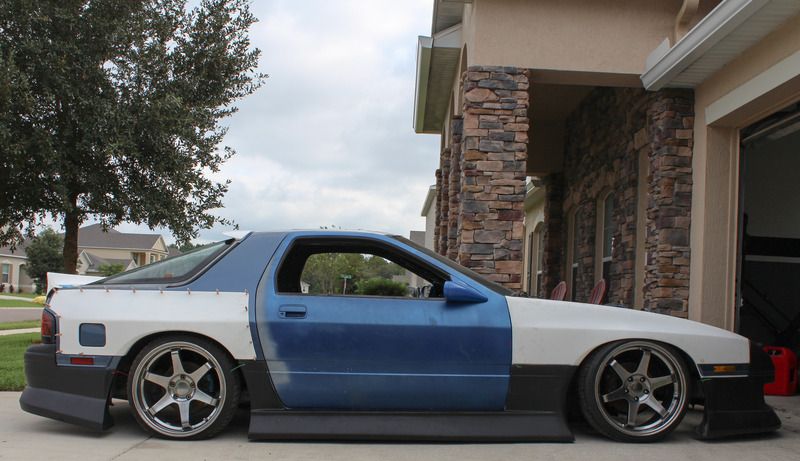
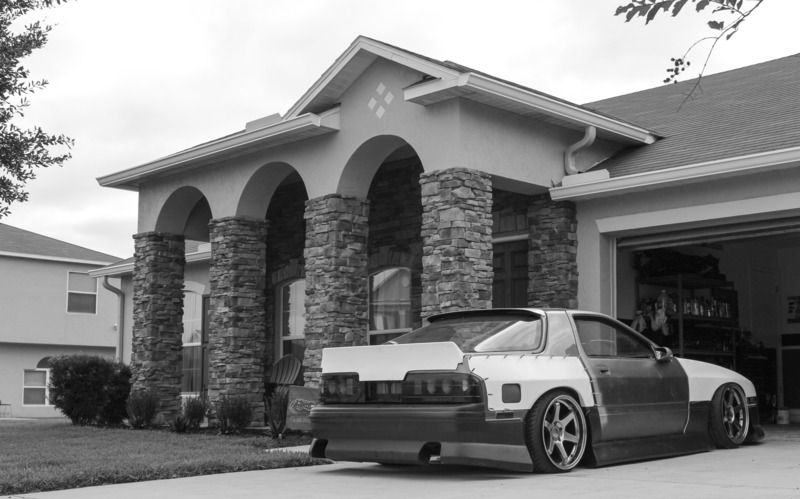
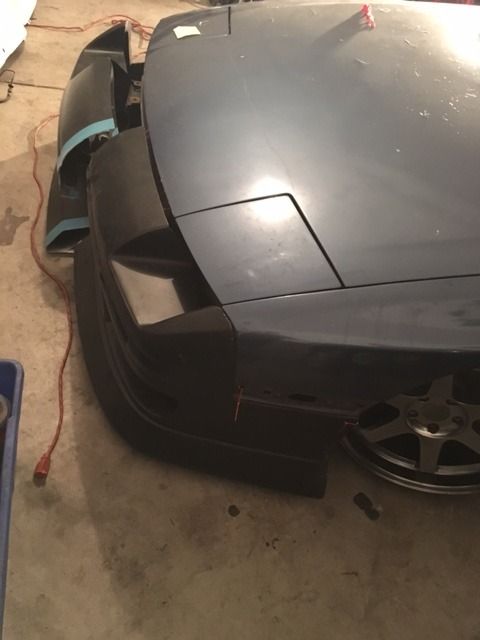
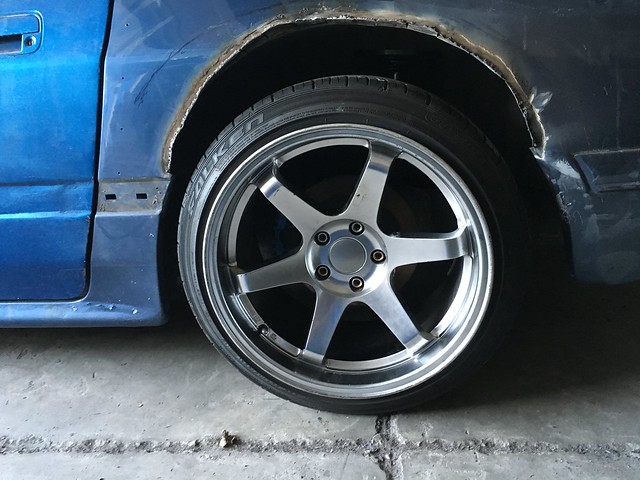
    Then wednesday 25FEB15, less then 24 hours later I had my suspension and wheels on the car just so I could get an idea of how they would look. In my opinion the tires are way too stretched for my taste so they will be changed out but overall I'm really happy with it. I can't wait to get my motor in this car and finally be able to drive it again.


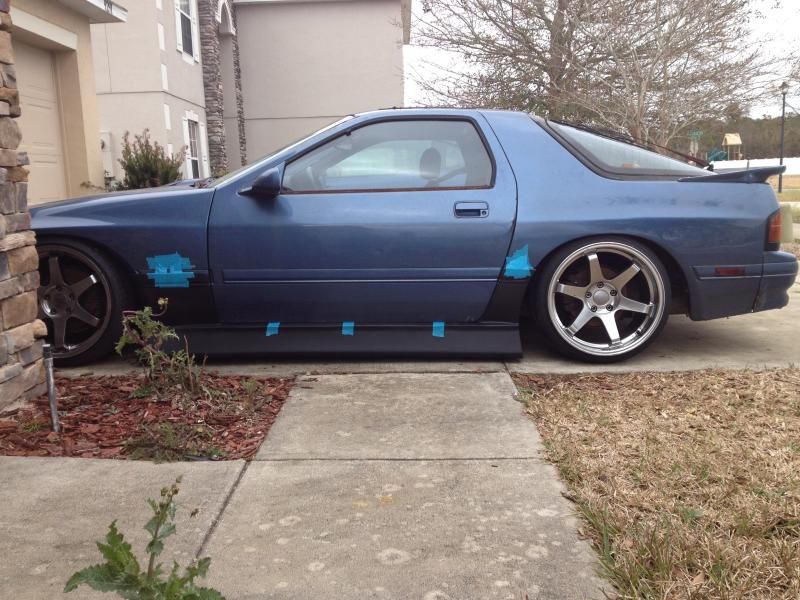
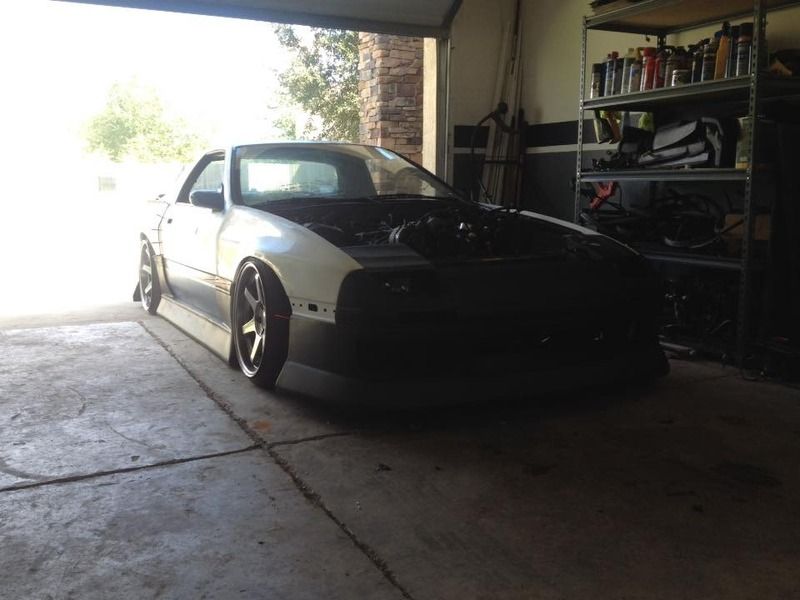
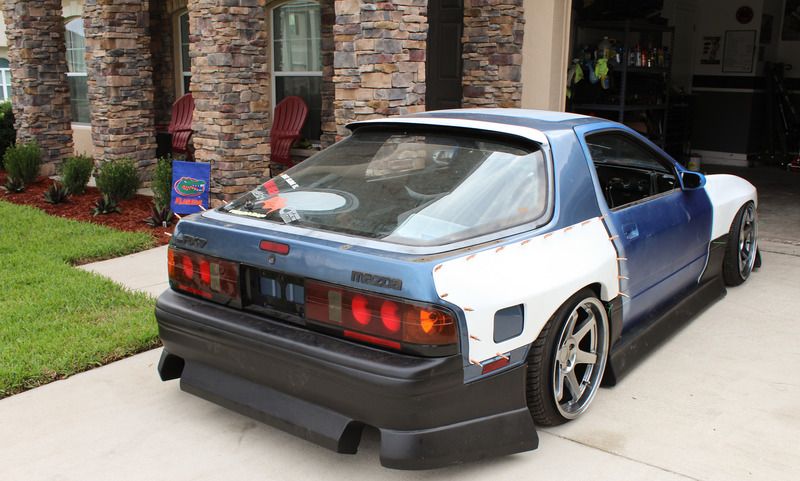
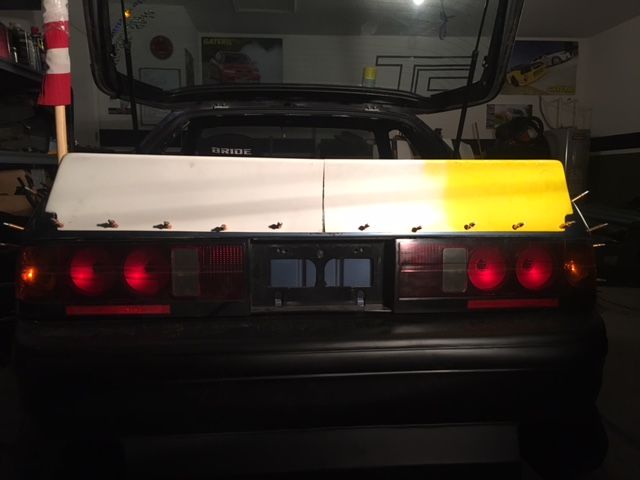
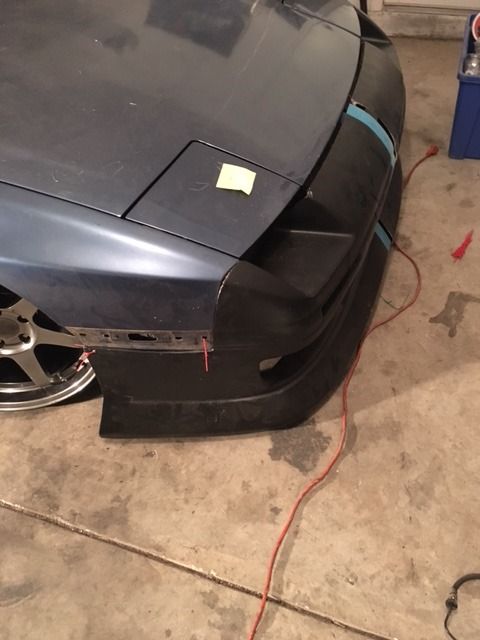
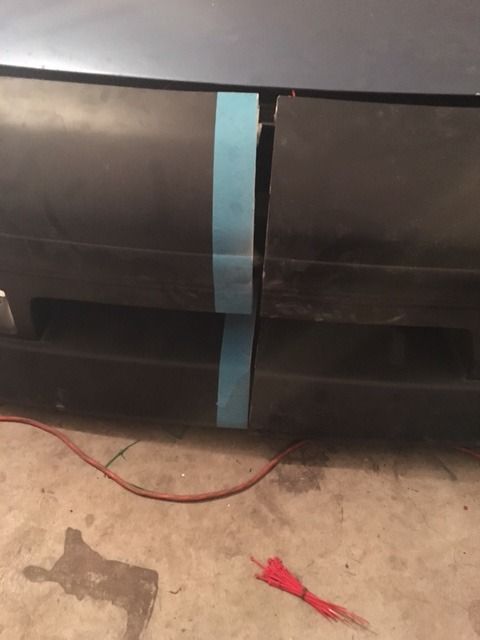
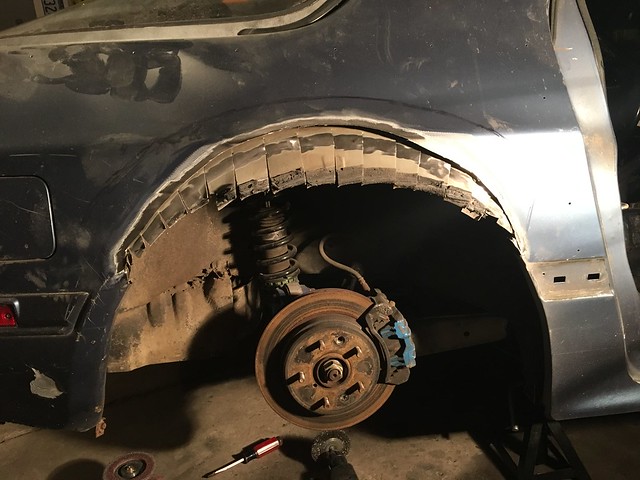
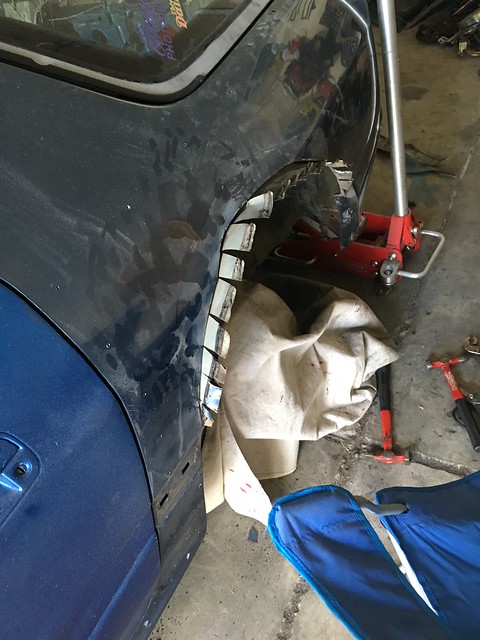
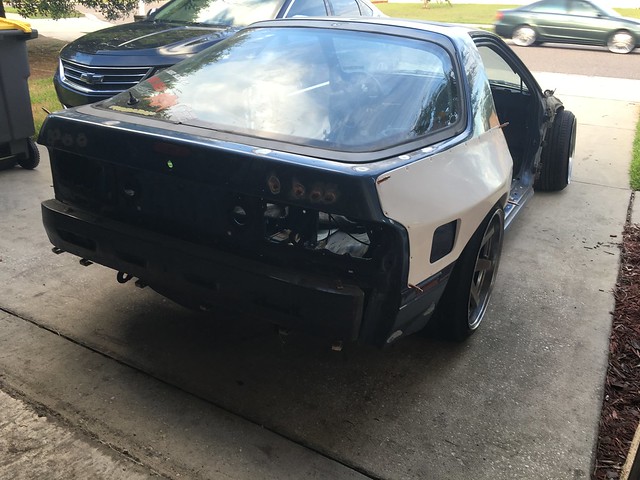
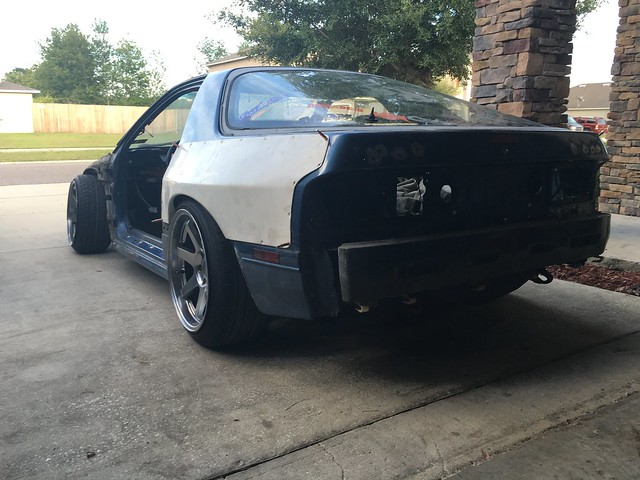
    Then today when I got home I wanted to get an idea of how low it would be with the skirts on. so I threw the drivers side on.. I really can't wait now.


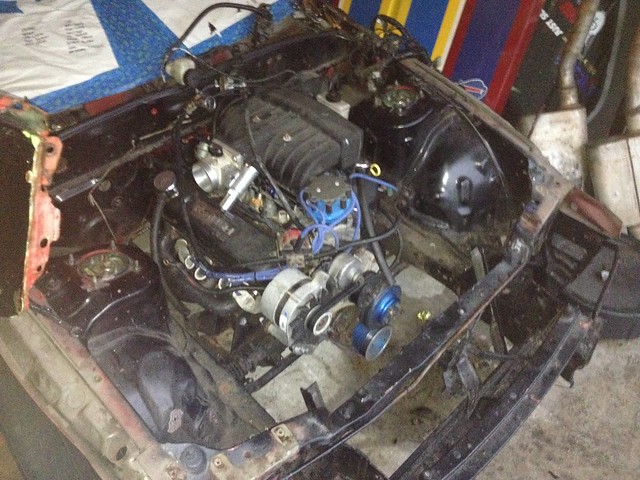
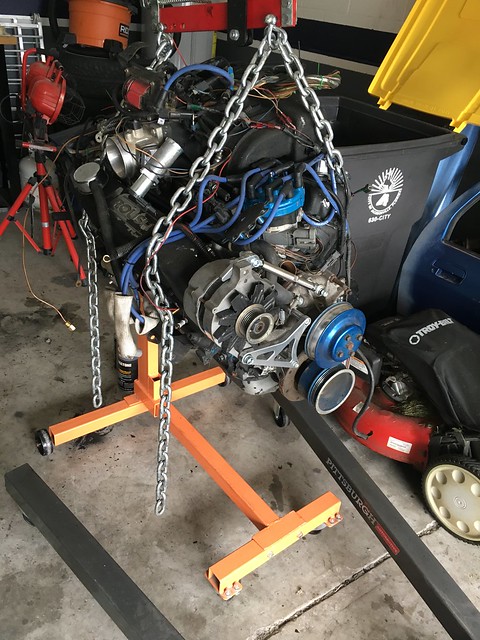
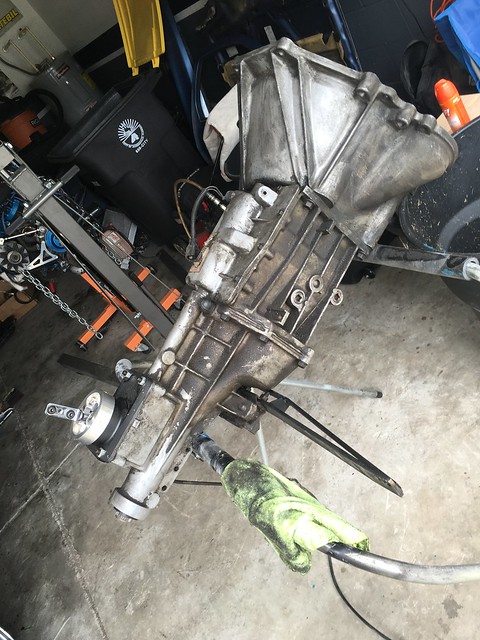
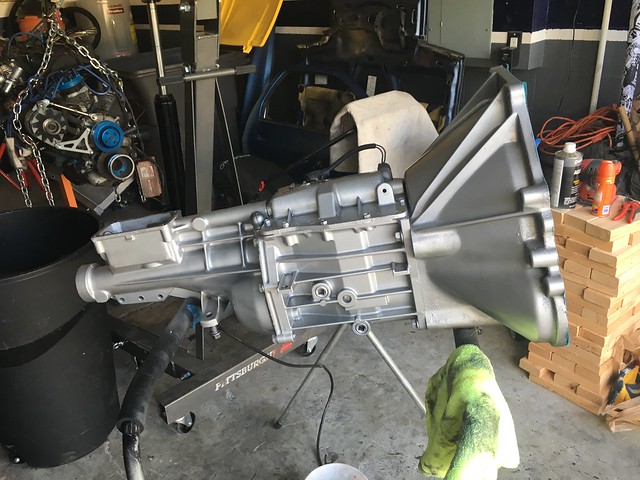
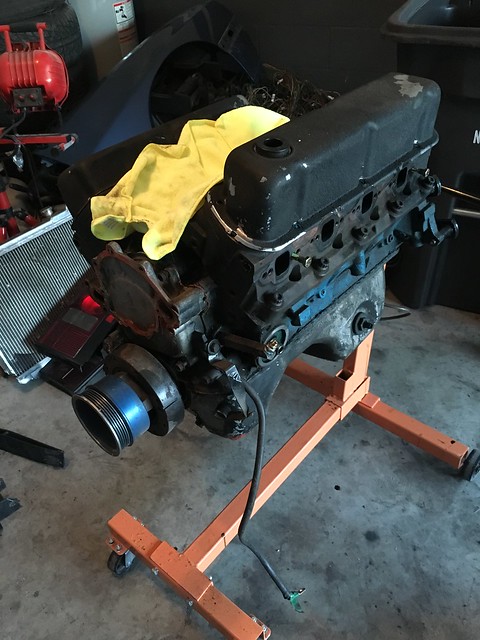
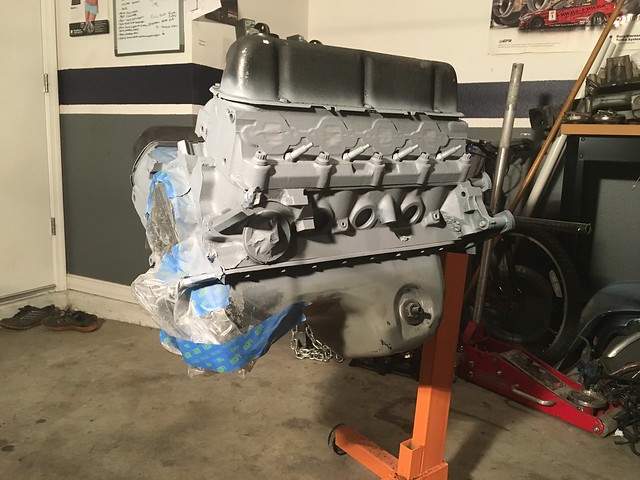
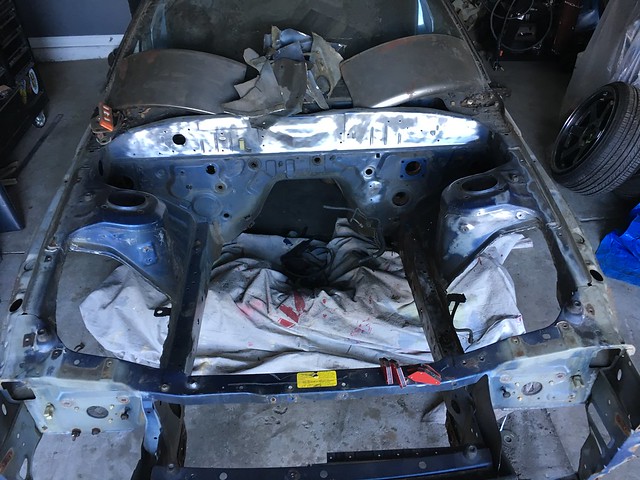
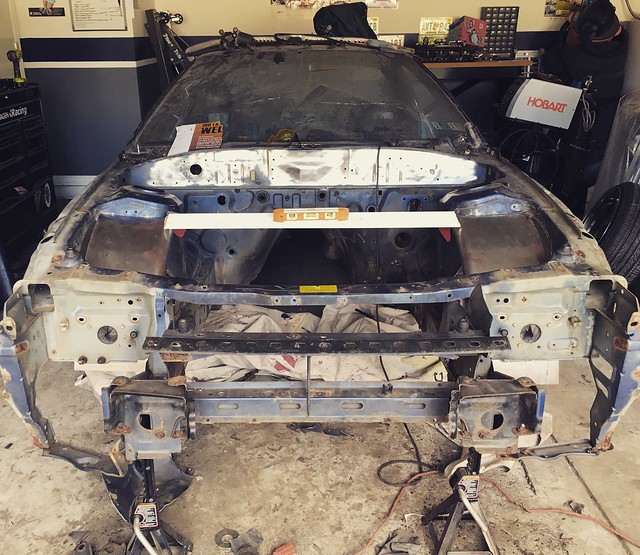
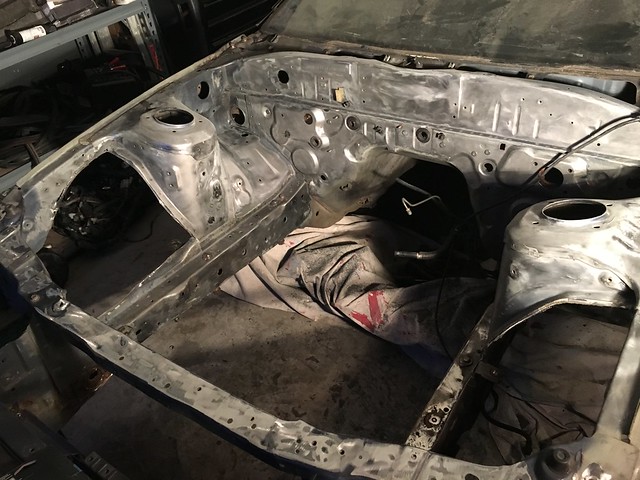
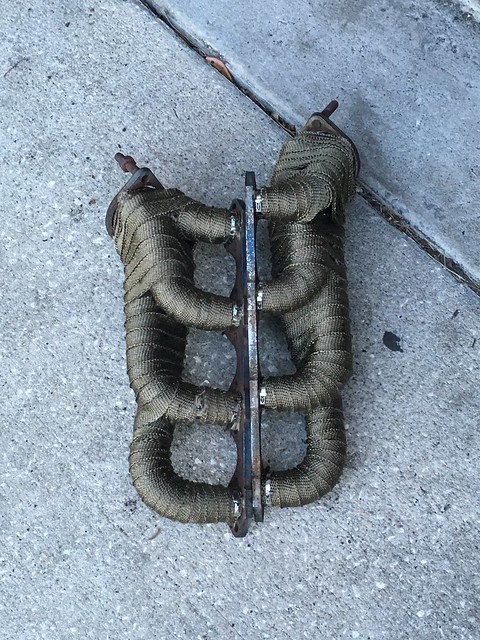
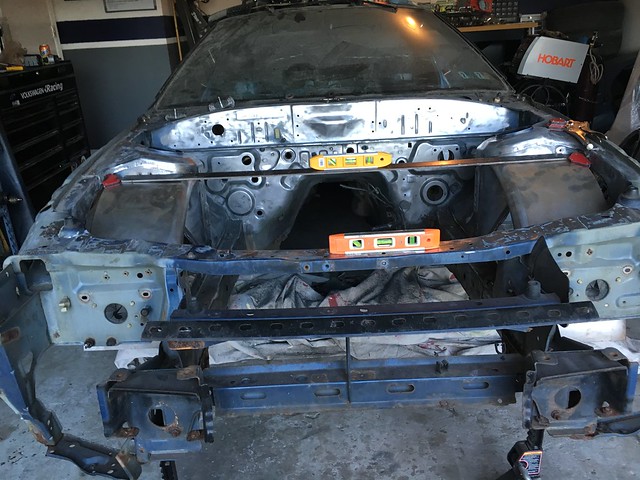
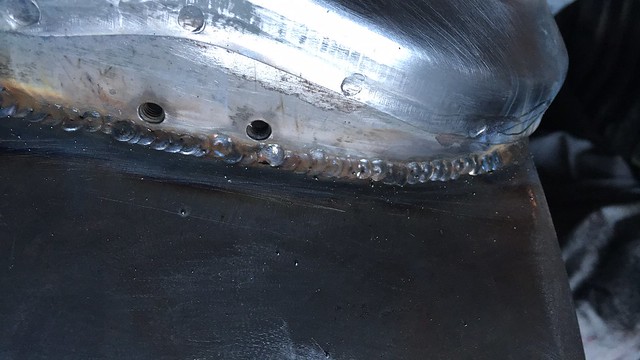
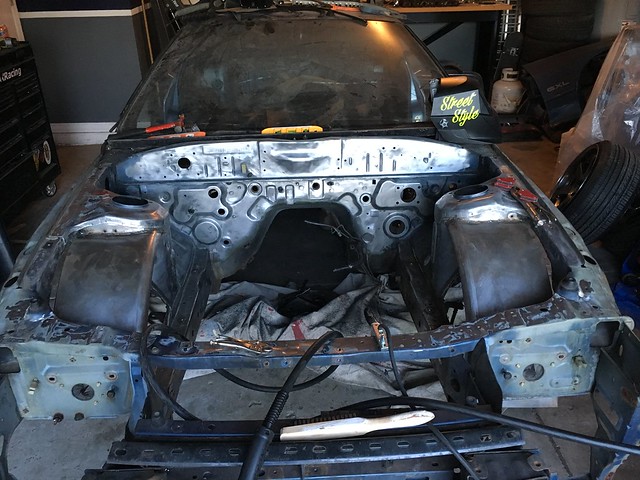
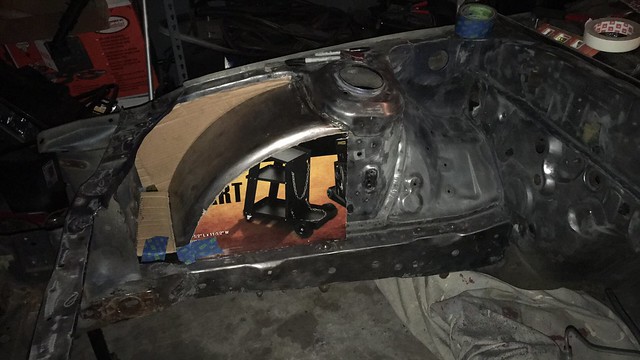
    Thats all for now, but as soon as I can get the bay painted I will be putting the motor in and sending it off to have an exhaust made for it.
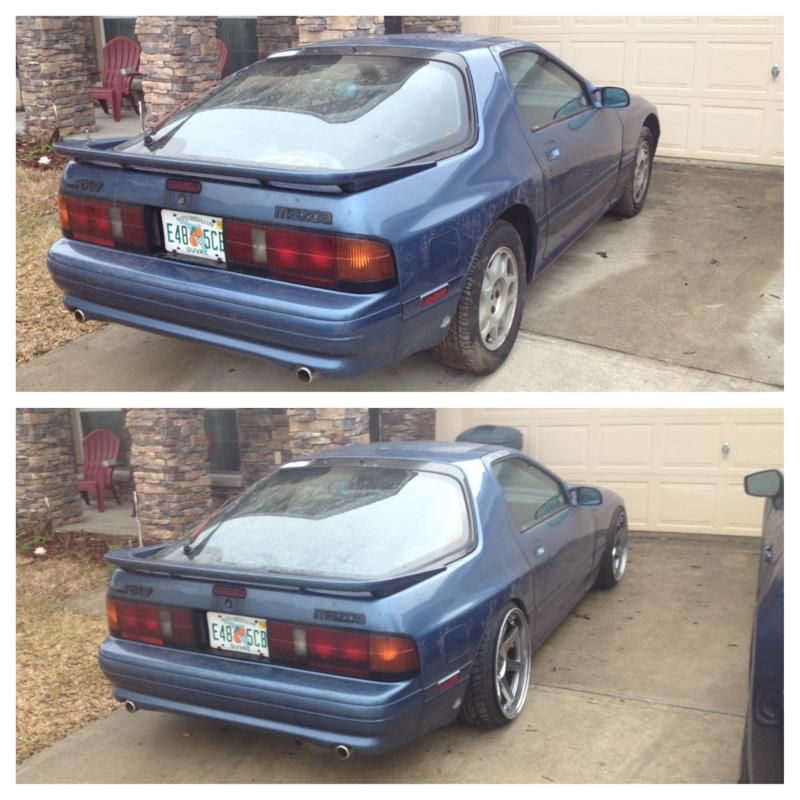
    Comment


    • #77
      Lol'd at the exhaust tips on the new shell. Sorry to hear about your previous shells, hope this one works out better for you. Looks pretty clean from here though.

      Comment


      • #78
        those are stock NA tips lol its a stock exhaust currently.

        Comment


        • #79
          Well after a very long hiatus from this project and spending much of my time working on my house, I finally decided it was time to start working on it again. I got the motor bolted back in for a test fit and went to put in the new transmission cross member and realized that I was sent the wrong one. So I couldn't finish that goal. On the plus side though, I did get ahold of Grannys Speed Shop and talked to them about the issue, they are sending me the correct mount this week at no charge. Couldn't be happier.

          Well with that part on hold yet again I decided why not actually go ahead and test fit all of my panels, besides the rocket bunny wing but that'll come later lol. Everything fits really well except the front bumper, I need to figure out what to do in order to relieve some pressure off of the fenders.

          Sorry in advance for the horrible photos but the car is too low to get out of the garage. I think that a taller sidewall on the rear tires will help since I don't really want to raise it up any. Onto the photos.

          Last edited by LaMaR-; 09-22-2015, 01:53 PM.

          Comment


          • #80

            Comment


            • #81


              In this photo you can see that the rear tire is actually low on air plus its super stretched, not really my style. Bigger rear tires will be going on for sure.


              Last but not least I figured I would throw in a photo of my house with the car. Love how both of them look and can't wait to have the car streetable again.

              Comment


              • #82
                So I haven't gotten a lot of work done lately, mainly due do a lot of knee pain after my surgery. Today I finally got around to doing a few things that Ive been wanting to do. First thing was to start glassing my rear spoiler back together as one piece. This was my first time working with fiberglass in years and figured it would be the easiest thing to do.


                the second thing I've been wanting to do was figure out why my front bumper pulled my fenders in so hard. I bolted back on my factory fenders and threw the bumper back on and realized that it was roughly an inch too narrow. Time to cut it in half and begin the process of widening it...No fun thats for sure, but it will fit much better and give me some practice with bodywork again. Its been too long.

                First side before cutting

                other side


                Fit the first side

                then the other side


                Heres the gap I'm going to need to fill, not bad at all. Obviously I need to do a little final fitment on the hood gap but I'm not worried about making it exact since this isn't going to be a show car, i plan to drive the hell out of it and enjoy it.

                Comment


                • #83
                  Dude I love this car keep up the bad ass
                  sigpic

                  Website: http://cougarhousegarage.com/

                  Check Out Our Facebook Page For More Pics and Videos

                  Comment


                  • #84
                    Originally posted by CougarHouseGarage View Post
                    Dude I love this car keep up the bad ass
                    Thanks, as soon as I finish this bumper I will start working on the mechanical side again. Really thats where I should have started but its whatever really. Hopefully ill have better updates coming soon.

                    Comment


                    • #85
                      So its been awhile and I finally have had the time and motivation to start working on her again.

                      So I finally put the motor back in the car to see if I could figure out a way to get it to fit under a stock hood. So far thats a no go but I am still trying to figure out a way.
                      Rx7 project by J Manderville, on Flickr
                      Rx7 project by J Manderville, on Flickr

                      After deciding that I needed to move forward and concentrate on something new, I pulled the motor and started to clean her up.
                      Rx7 project by J Manderville, on Flickr

                      after scrubbing the trans for awhile it looked like this and then the primer and paint went on.
                      Rx7 project by J Manderville, on Flickr
                      Rx7 project by J Manderville, on Flickr

                      After completing the easy part, it was time to move onto the motor. I didn't want to tear it all the way down, I just wanted to replace all the gaskets and really clean it up quite a bit. So out came the scrub brush again and after some hard work I finally got it to this point.

                      Initial Tear down
                      Rx7 project by J Manderville, on Flickr

                      clean and prime
                      Rx7 project by J Manderville, on Flickr

                      and some silver paint to really make it pop. The valve covers and some pulleys will be sent out for powder coating here soon, so I'm not too worried about the overspray.
                      Rx7 project by J Manderville, on Flickr

                      After finishing up cleaning the motor I decided it was time to get the rest of the car in order. I was waiting on a ton of parts to come in anyway to finish rebuilding the motor.

                      First things first, cut and weld up the rear quarters for the wide body. I didn't want the normal cutout that people do because I will be driving the car on the street as well as the track so it needed to be closed off to the elements.

                      First thing I did was cut the outer panel off and then sliced the inner panel so that it would be easier to work with.
                      Rx7 project by J Manderville, on Flickr
                      Then I bent all the metal outward and welded the seam and sealed it.
                      Rx7 project by J Manderville, on Flickr
                      Drivers
                      Rx7 project by J Manderville, on Flickr
                      Passengers
                      Rx7 project by J Manderville, on Flickr

                      Rear panels put back on just to show that nothing can be seen.
                      Rx7 project by J Manderville, on Flickr
                      Rx7 project by J Manderville, on Flickr

                      Also not shown, I ended up ordering an angle kit from the Villains drift team out in Washington state. Really is a simple design but it works great. I can't wait to test it out and drive this thing.

                      Comment


                      • #86
                        This week I've been slowly working on the engine bay, stripping it down and getting ready to weld in a set of tubs. Im taking my time and making sure that everything is perfect side to side. I want the bay to be very clean since most of the time it will be out in the open until I figure out what to do for a hood.

                        The mandatory "Before"
                        Rx7 project by J Manderville, on Flickr

                        beginning to cut out the original tubs and realizing that the metal is a bit sharper then my thumb could handle lol. Not a bad cut but just enough to sit there and bleed constantly. Nothing a little tape can't fix right?
                        Rx7 project by J Manderville, on Flickr

                        Test fitting the first side, just a note, those "welds" up top are from another shell that I previously sold. The welds were from a flux core welder and looked like absolute garbage. I learned my lesson and they have now been ground off to prepare for the install.
                        Rx7 project by J Manderville, on Flickr

                        How I left her two nights ago
                        Rx7 project by J Manderville, on Flickr

                        Yesterday after work I got home and began working again.
                        First things first, I wanted to verify that I had enough of the factory tubs removed and placed but of the new tubs in place and made sure they were even side to side. As I stated before, I want this thing to look identical side to side since it'll be shown off quite frequently.
                        Rx7 project by J Manderville, on Flickr

                        Everything looking pretty good so now its time to strip it all the way down.
                        Rx7 project by J Manderville, on Flickr

                        Finally getting close but sick of sanding everything down I decided to tackle another job since the materials finally came in. Instead of running long tube BBK headers this time around I opted for a set of shorties. Going this route will change the amount of torque I end up having but it will allow me to lower the car quite a bit more which in my opinion is a better option.

                        Just a quick before and after. Not too bad for my first time wrapping headers.
                        Rx7 project by J Manderville, on Flickr

                        Rx7 project by J Manderville, on Flickr

                        Rx7 project by J Manderville, on Flickr

                        Thats all for now but I am working on the car daily so expect more updates to come. If anyone has any comments or suggestions I would love to hear them.

                        Comment


                        • #87
                          16AUG - The nice thing about Jacksonville Florida is that we actually have a shop dedicated to drifting.. The bad thing is, they can't do any fab work lol, what kind of shop is that??

                          Ive been working on doing tubs and after a busy weekend I got back to work.
                          Started out making sure everything was nice and level side to side.

                          Untitled by J Manderville, on Flickr

                          From there I just started slowly tacking everything into place. Nice and slow and trying to keep everything as clean as possible.
                          Far from perfect but for someone who hasn't done any sort of welding class I would say its not bad at all.

                          Untitled by J Manderville, on Flickr

                          both sides in.
                          Untitled by J Manderville, on Flickr

                          Because I want it to look good I am going nice and slow so heres where I stopped tonight. I started to make templates out of cardboard but I think tomorrow on my way home from work I am going to stop and grab some poster board since its easier to work with.
                          Untitled by J Manderville, on Flickr

                          Untitled by J Manderville, on Flickr

                          Comment


                          • #88
                            Started on the drivers side and got almost everything Tacked into place. Ill finish it up monday or tuesday this week and move onto cleaning everything up and priming it and painting the bay.
                            Untitled by J Manderville, on Flickr

                            Side to side its pretty darn close I must say.
                            Untitled by J Manderville, on Flickr

                            Comment


                            • #89
                              Big fan of this build. Keep it going.

                              Comment


                              • #90
                                Originally posted by Reubencanyon View Post
                                Big fan of this build. Keep it going.
                                I appreciate it and will continue to update this weekly.

                                Comment

                                Working...
                                X