Announcement

Collapse
No announcement yet.

BMW E30 Chromie Rebuild Supercharged

Collapse
X
 
  • Filter
  • Time
  • Show
Clear All
new posts

  • #31
    Only a small update to keep you happy.

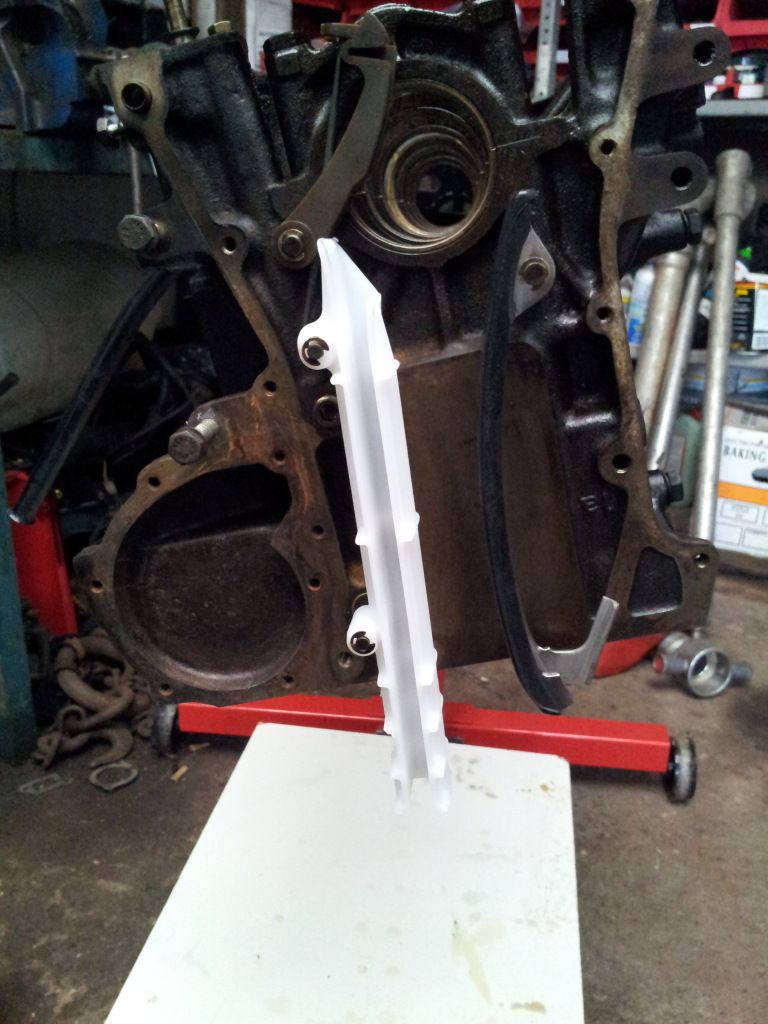
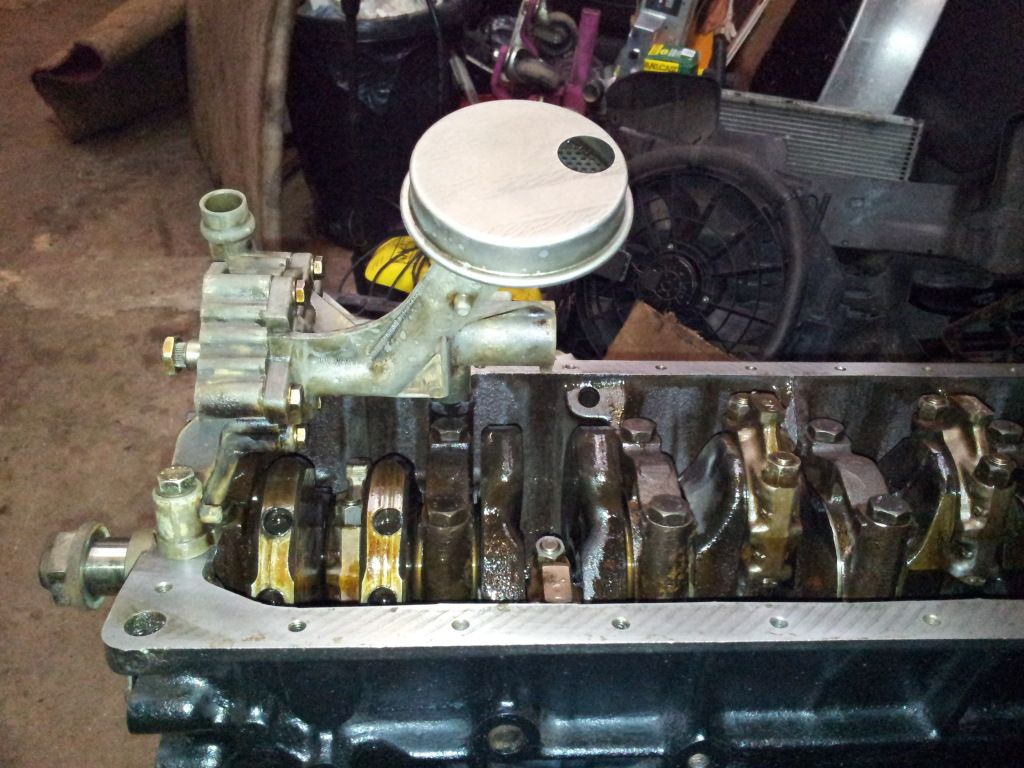
    Firstly, all new chain guides fitted yesterday,


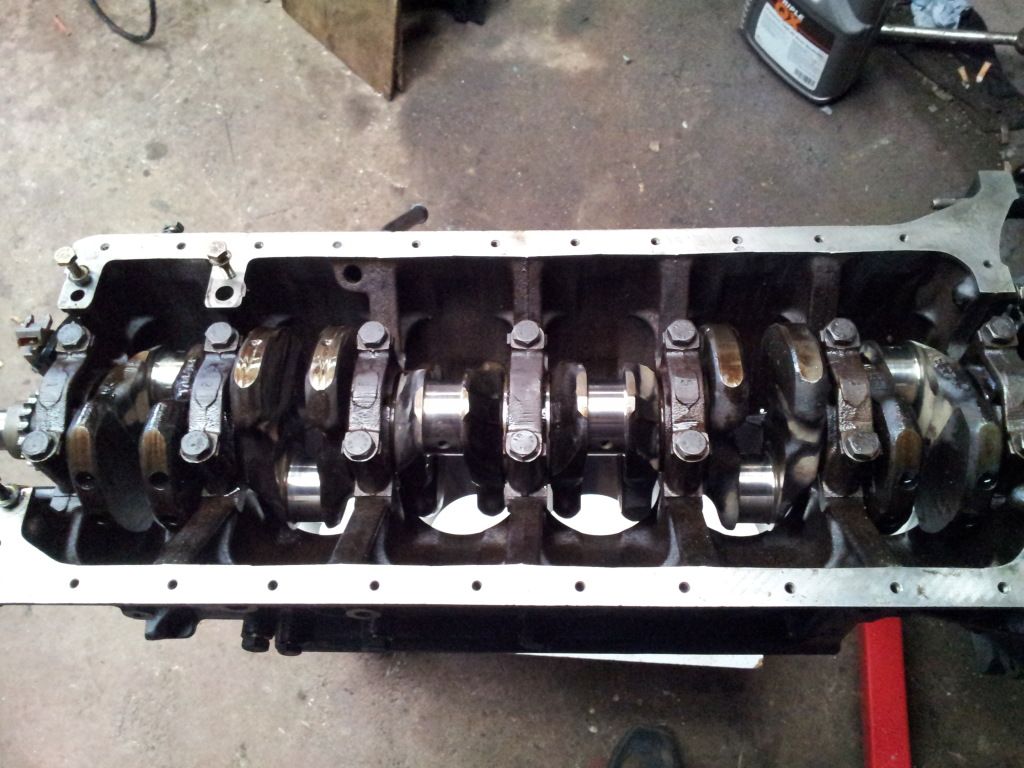
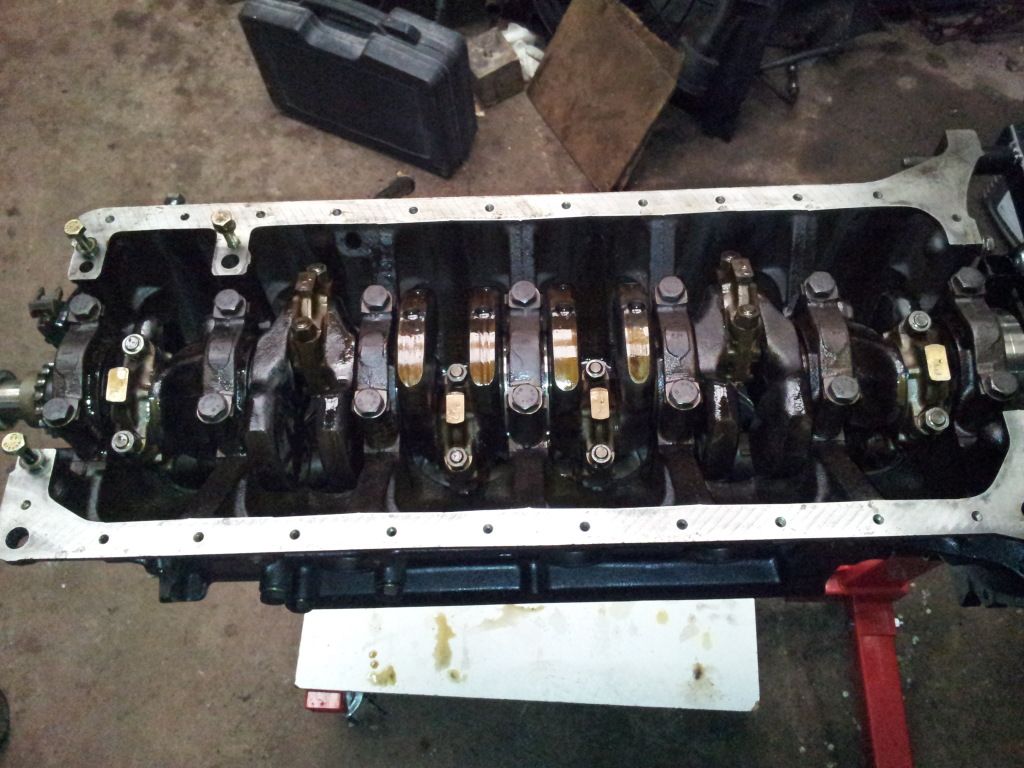
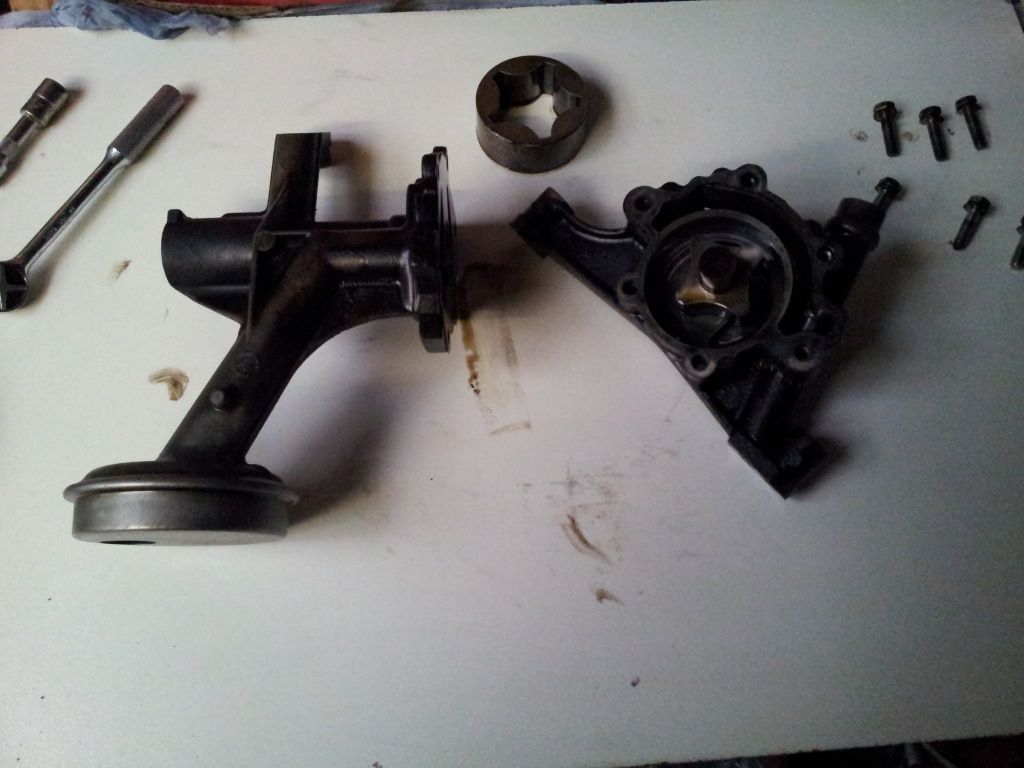
    New thrust bearing and shells fitted, dropped the crank in and tightened up the bolts.
    For some reason, there was quite alot of end float which was a bit baffling, as everything was measured by using a micrometer :? .
    So off came the crank again, the old thrust bearing installed, and then everything reinstalled again, this was to check the origional end float on the crank, cam to 0.005th :?

    So, vice versa, new one installed, and for some reason, don't ask, there was reduced crank end float to about 0.002th, so checked and rechecked, phoned a few guys on the Zone to make sure and all is now ok.

    Comment


    • #32
      Had a little time to spare today, so got on with putting the pistons back in.
      Oil'd up the bores, and put in all the pistons one by one.
      The block was then turned over, new shells fitted and the rest fitted and torqued up as needed.


      Decided to take the Oil pump apart and give it a clean before refitting.


      And fitted.

      Comment


      • #33
        After pissing around today 
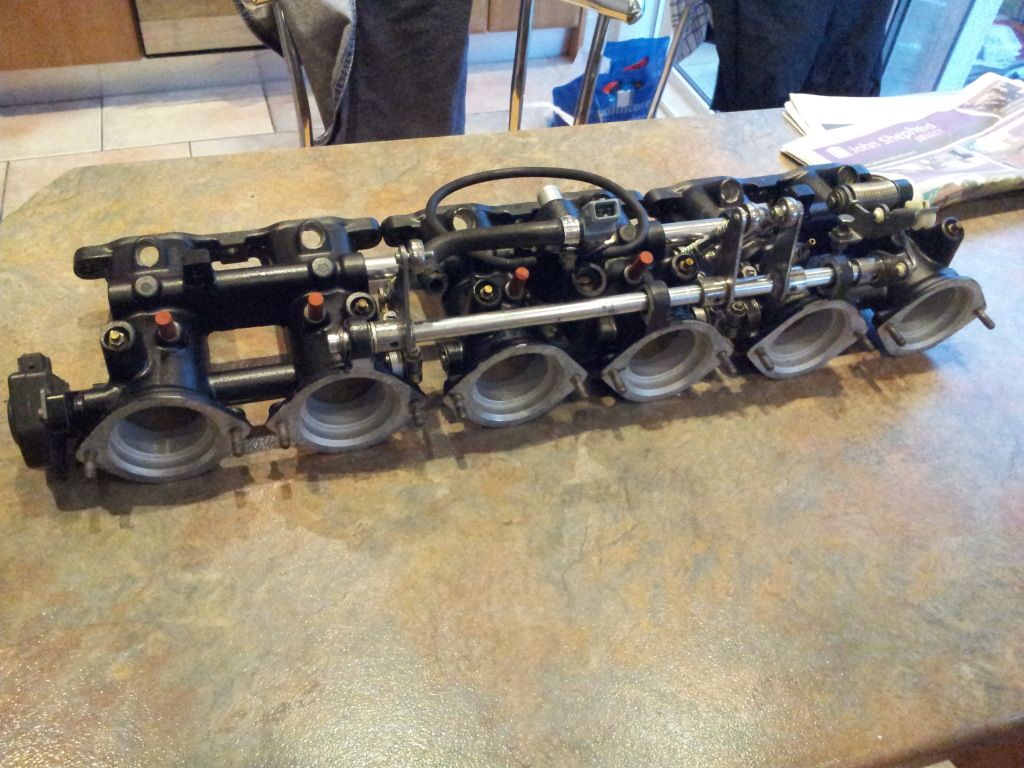
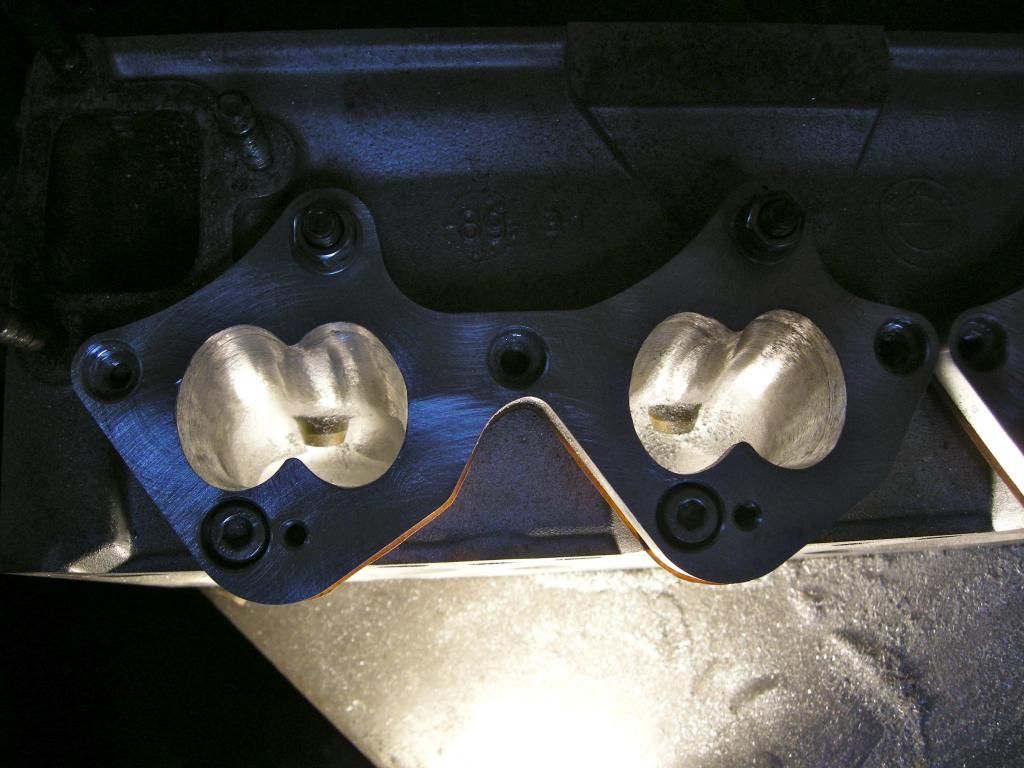
and not doing much this morning, I finally decided to pull the ITB's apart and start to clean and paint them.
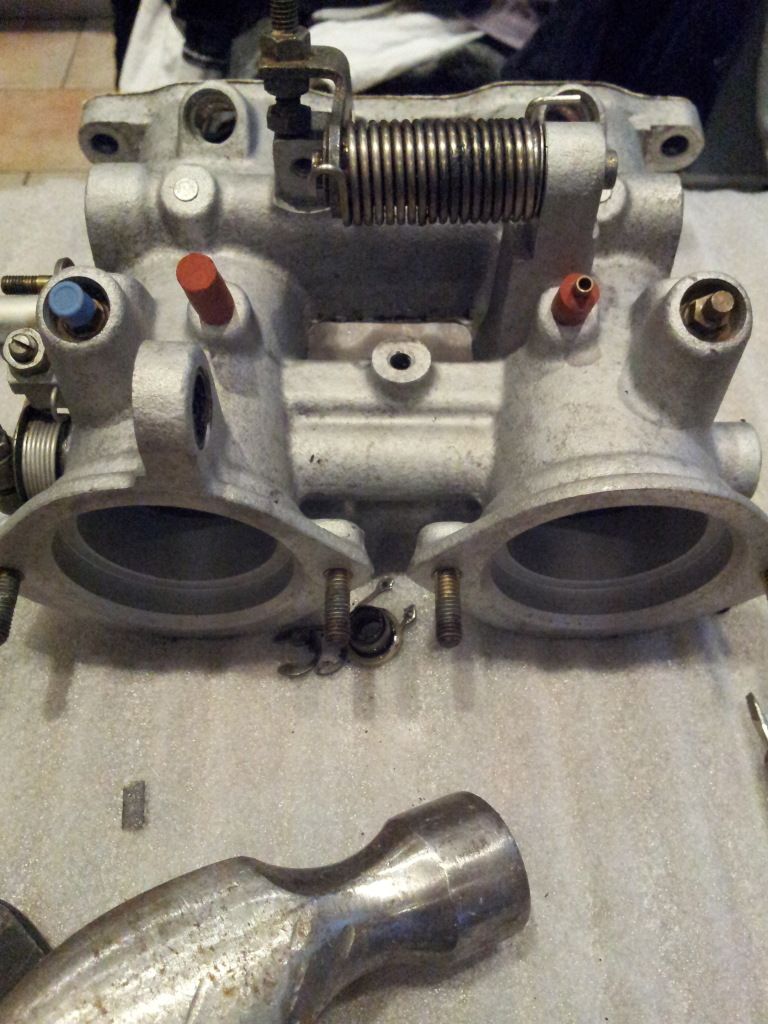
        After a few hours :roll: of freeing up bolts, cleaning faces and general spraying, I ended up from this:-


        To this:-


        The "Eagled" eyed of you will notice it's not the exact same part, but you get the idea :wink:
        Only 2 more to go

        Comment


        • #34
          Thought i'd strip/paint and rebuild the ITB's ready for when they're needed.

          Comment


          • #35
            Missed a set of BC coilovers a few days ago, so I decided to spend the money elsewhere, and bought this, atleast now I can set the car up to take the Hartge Splits.

            Comment


            • #36
              "Followed by a 30* top cut, then the seat cut, both are on a double sided cutter. The seat cut is at 46* the two faces will bed in together within the first moments of the engine being started."

              What do you mean by bed in together??
              http://www.stanceworks.com/forums/sh...ad.php?t=38141

              Comment


              • #37
                Originally posted by vwscooter View Post
                "Followed by a 30* top cut, then the seat cut, both are on a double sided cutter. The seat cut is at 46* the two faces will bed in together within the first moments of the engine being started."

                What do you mean by bed in together??
                Hi,
                The 45* angle is cut on the valve, the 46* in the seat within the head. This is called an "interference fit". It means that the valve has a contact patch towards the outer edge of the valve, it promotes good sealing of the valve.

                Have a look at the bottom left diagram here:


                The picture is not to scale, the difference in angle is very small because the seat is usually less than 2mm wide. The advantage of this better seal is that there is less burning of the seat (these are the small round marks you see on the valve side of the seat when you grinding them in with a stick and paste, they are a bitch to remove by hand). The seal is maintained as the seat gets worn, because the angles continue to work together. Some also claim that the seat will also clean itself, but i'm not sure on that one

                The most important part of the good seal is of course............ Power That chamber needs to be sealed as good as it can be, any air leaks past the rings, head gasket, head, block or the valves loses power, and that particular valve cut will give the best seal over the longest period of time. Its not radical, experimental or anything new people have been doing this for years.

                Comment


                • #38
                  Tonights little teaser.

                  Comment


                  • #39
                    Love this build

                    Comment


                    • #40
                      Cool build, yay for clean parts!
                      sigpic

                      BMW M5 V8 1993
                      Slowtoys CC

                      Comment


                      • #41
                        Hartge's looks very good on clean mt1 ^^

                        Some pic for example and just to motivate you

                        Comment


                        • #42
                          Got any other pics of the E30 side on?

                          Comment


                          • #43
                            Cant find now his build thred....

                            here also you can see this car on some videos


                            Comment


                            • #44
                              And a few more,
                              That'll be it till next week when I get the head back.
                              Then i'll try the Stainless Steel 6 branch and see what needs to be done to make it fit.


                              Comment


                              • #45
                                Not much of an update, but cleaned up the inlet ports after getting the head back from Byron, and then test fitted the ITB's


                                Comment

                                Working...
                                X