Announcement

Collapse
No announcement yet.

1991 Mini - Project Trig

Collapse
X
 
  • Filter
  • Time
  • Show
Clear All
new posts

  • Mini 360
    replied
    Still working away on smoothing the casing. Taking a fair amount of effort by it will look much nicer than before.

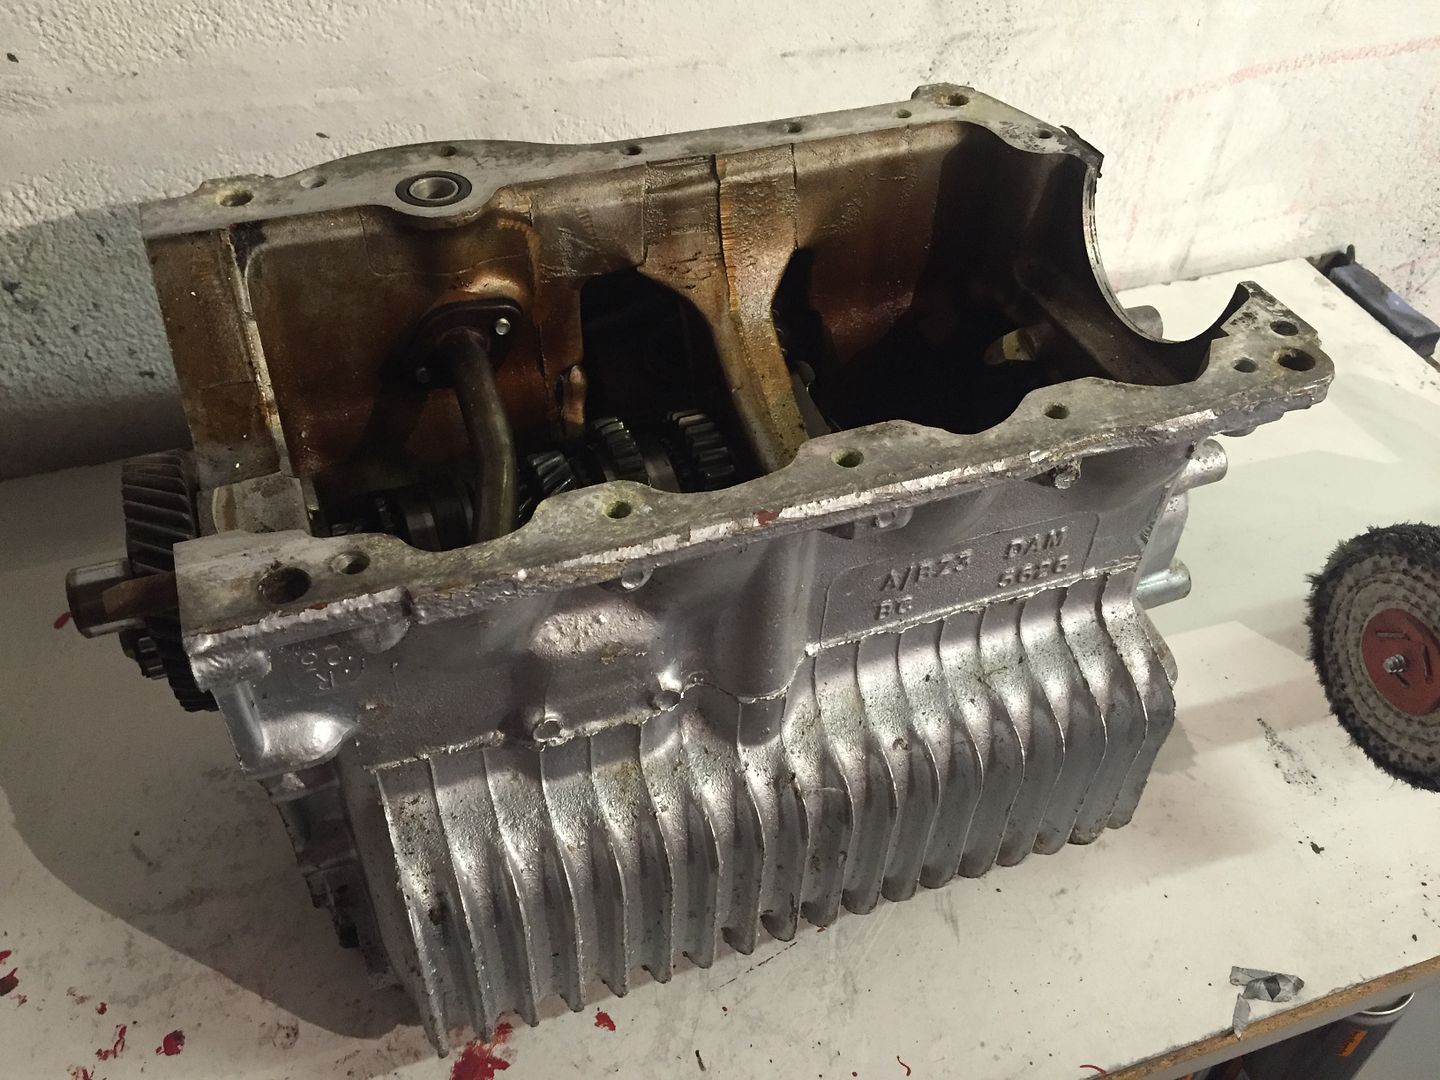
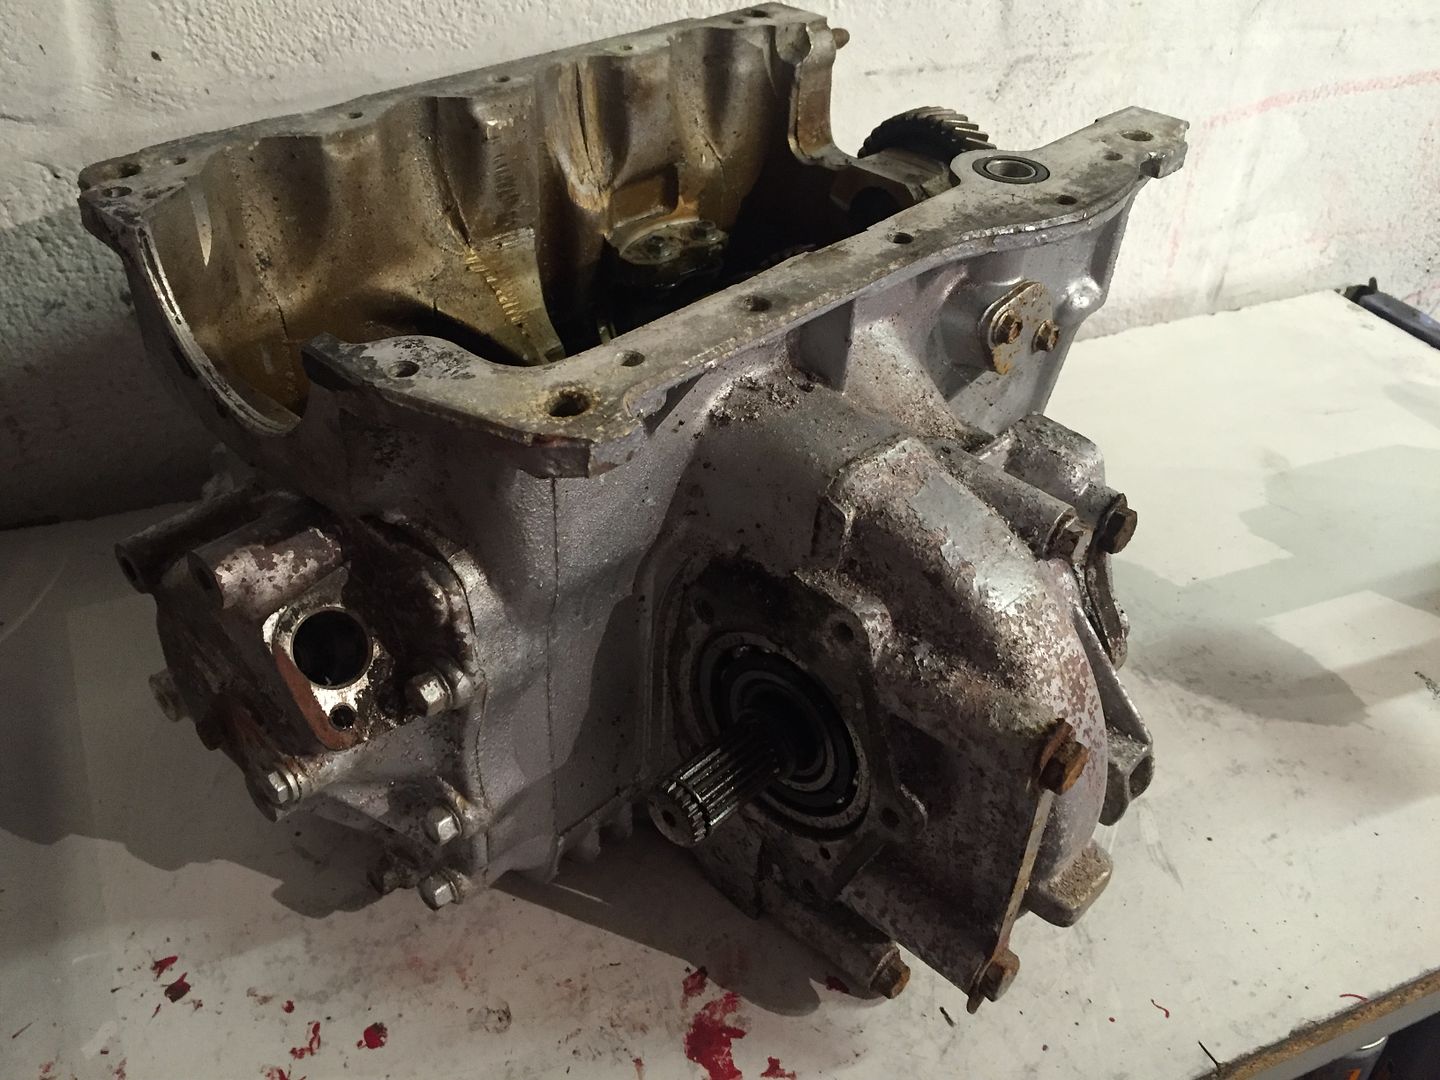
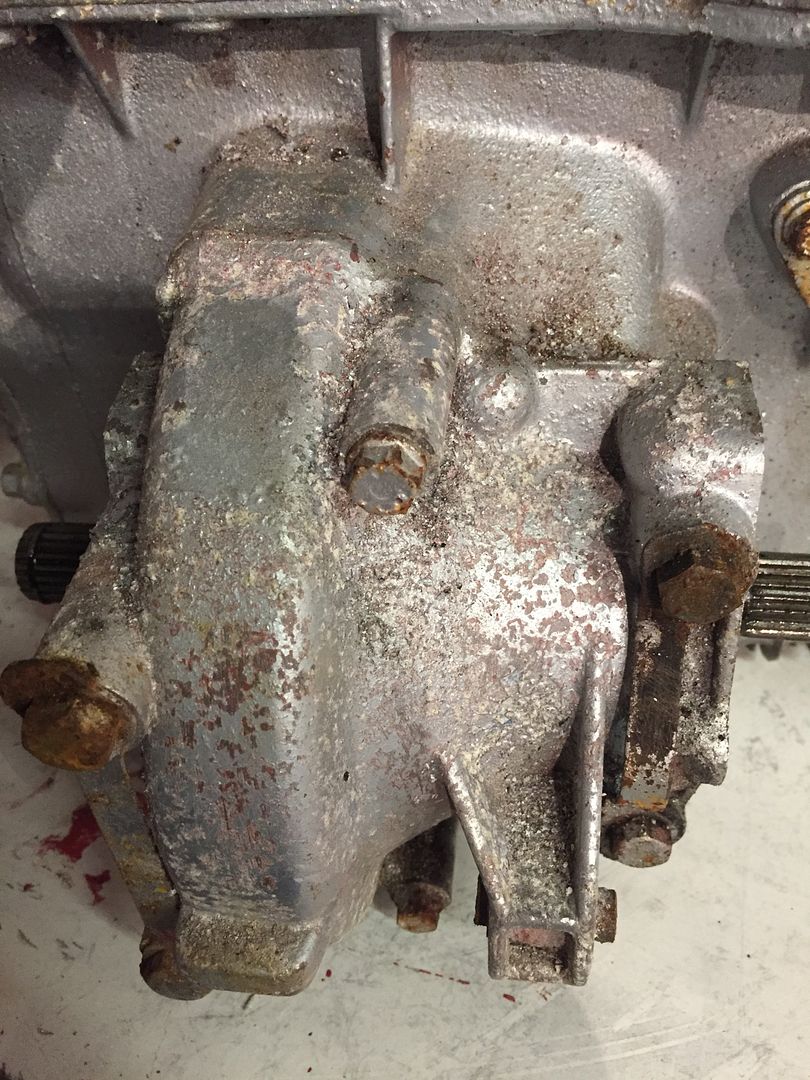
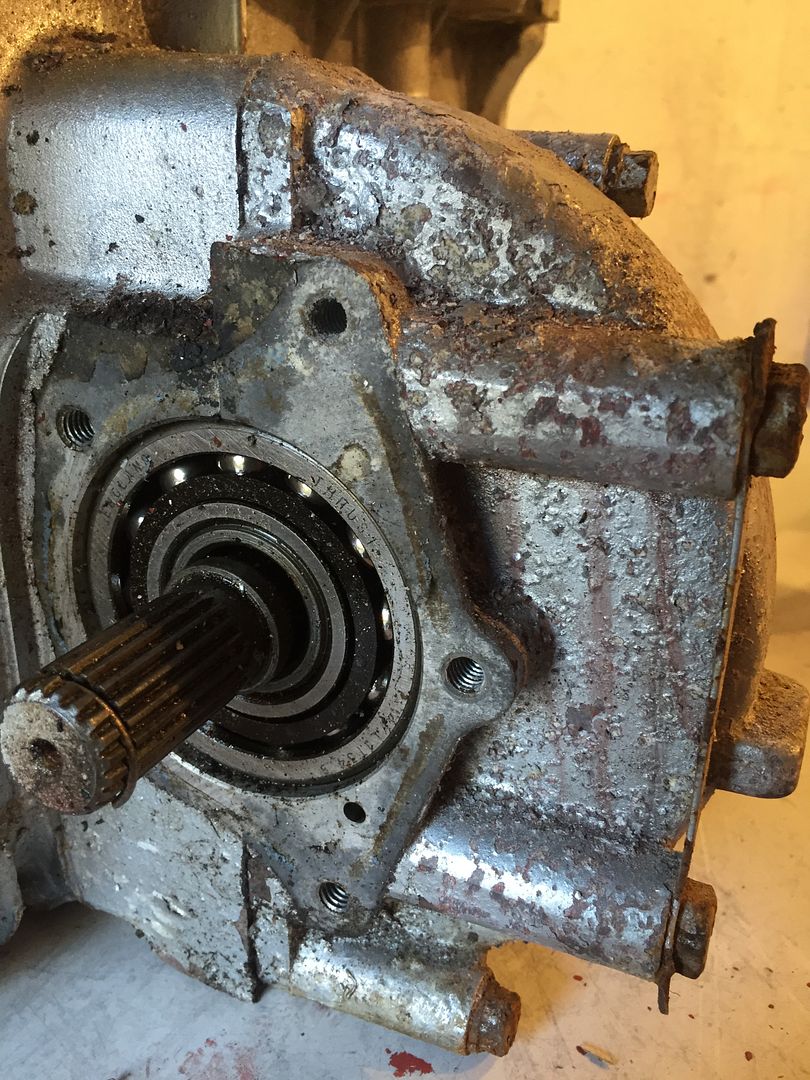
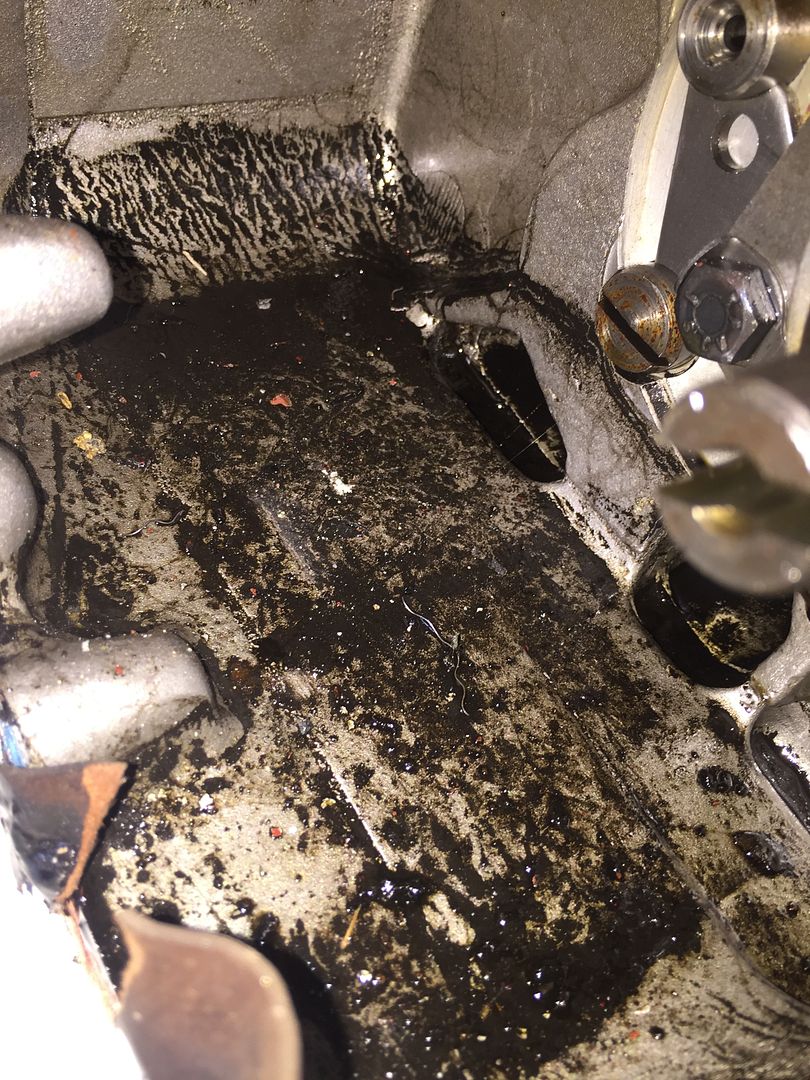
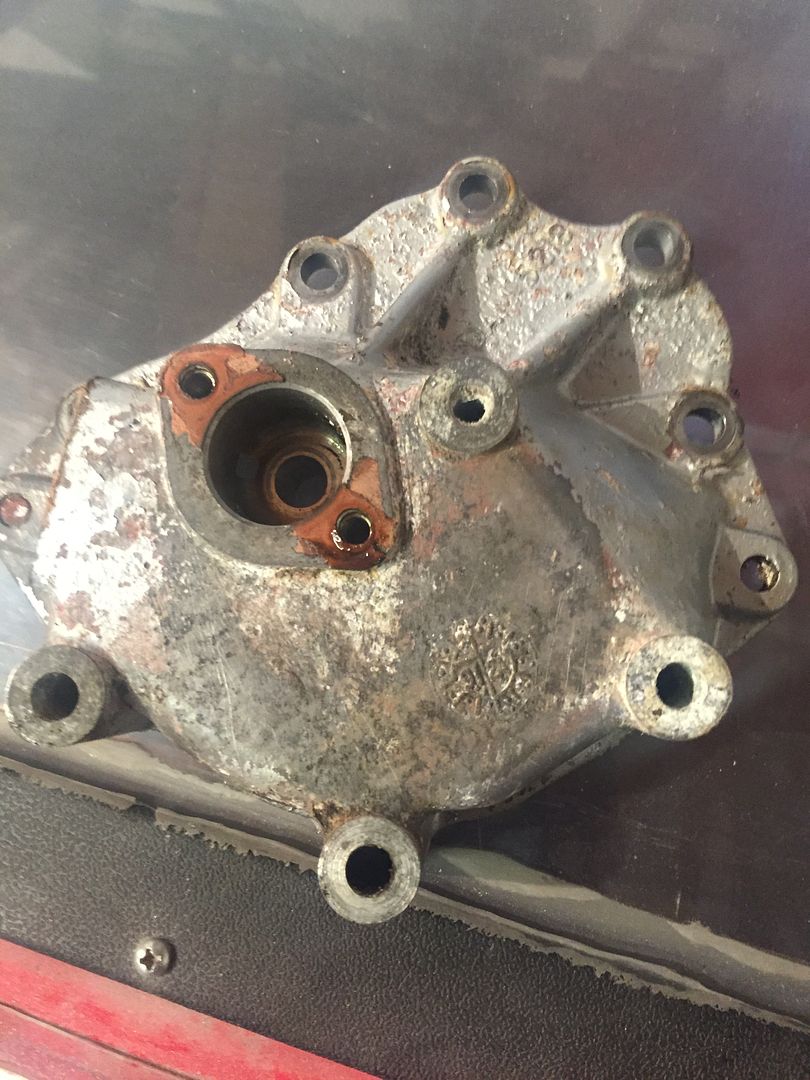
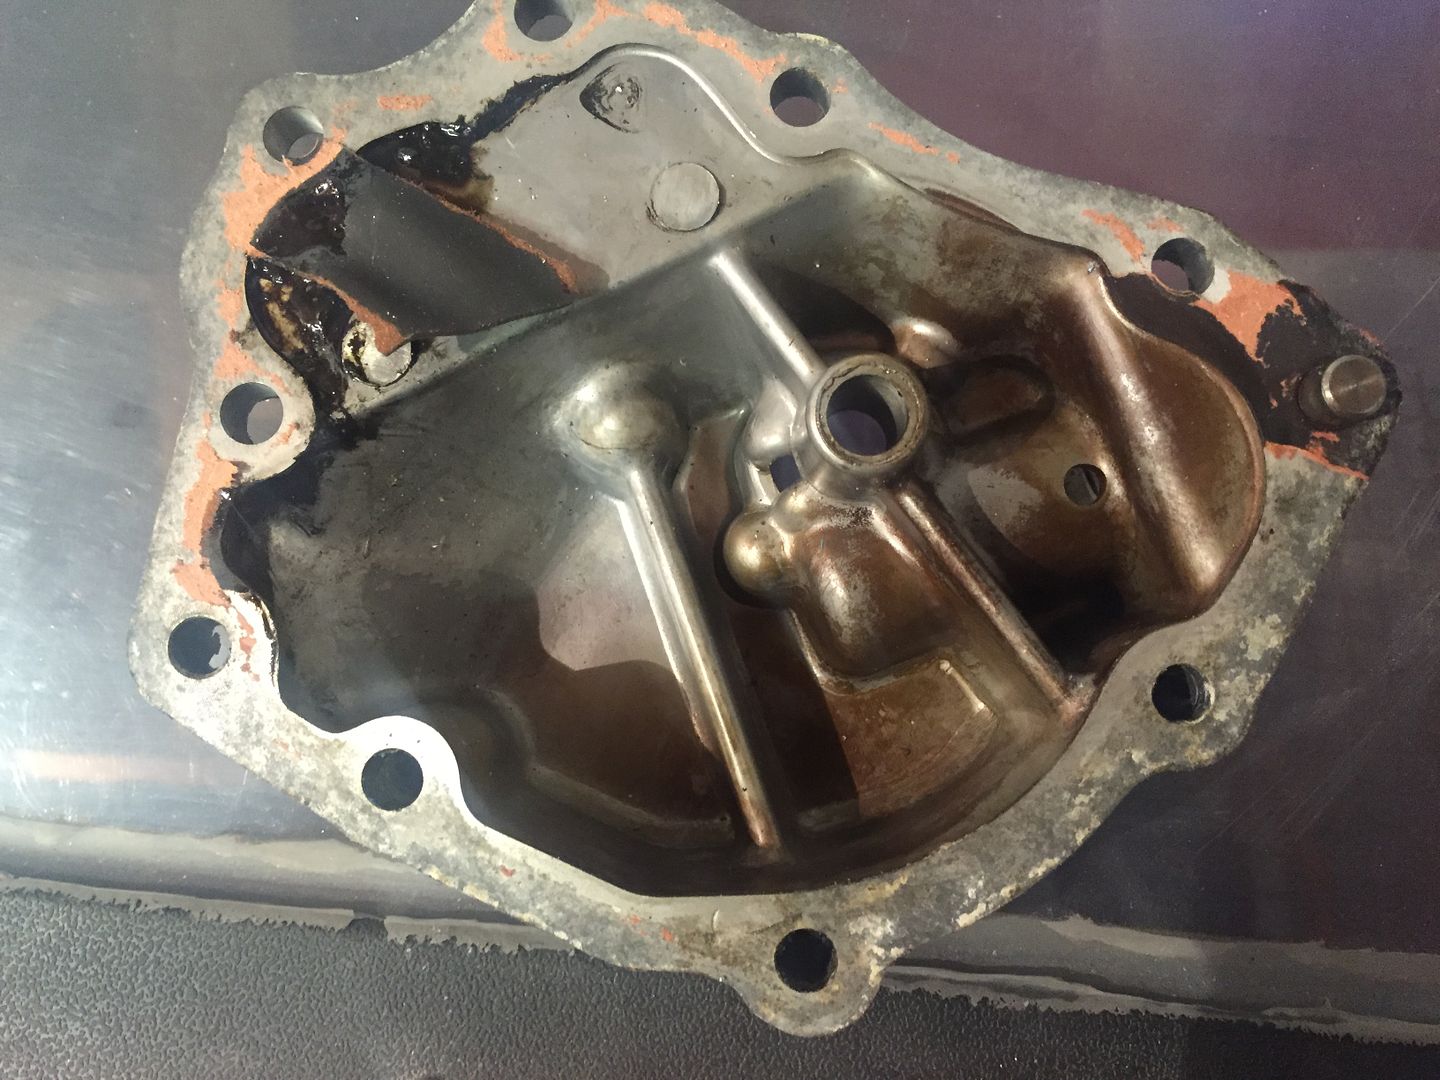
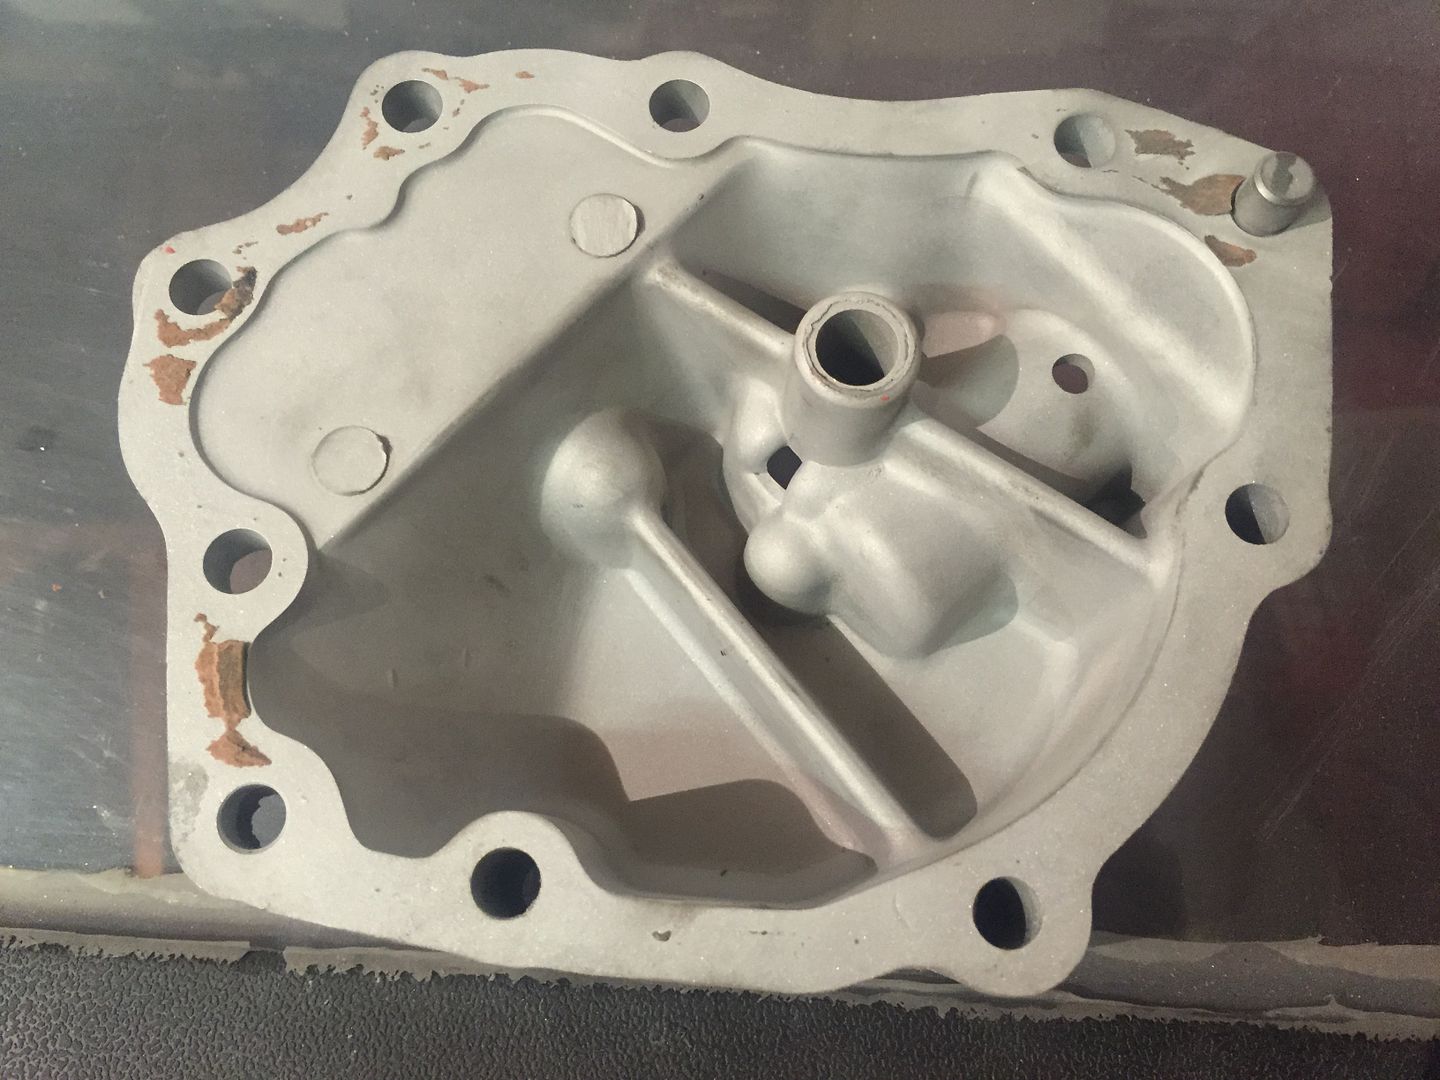
    In the meantime I was thinking about why the case had external corrosion on it despite the paint being applied correctly. Looking at a few of the covers and bolts, the bolt heads had corroded, leading the paint to lift around them and then the paint continued to lift and allowed the casings to corrode.

    Perhaps overkill but to prevent rusty fasteners, I've just ordered up this kit from Titan Classics...


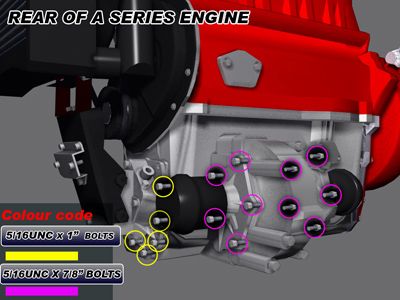
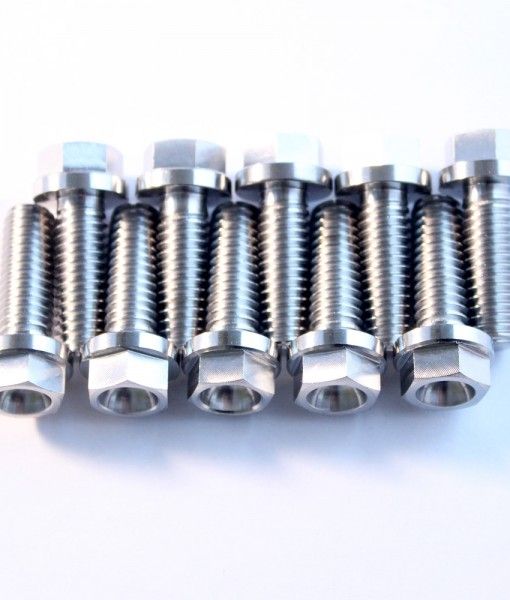
    These won't tarnish or rust as they are full titanium bolts for some of the gearbox. Will order more when I see what quality they are when they arrive. Not cheap but fitting stainless bolts to a gearbox doesn't sound like a good idea to me....

    Leave a comment:


  • Mini 360
    replied
    Fully disassembled the gearbox last night and started going through cleaning and blasting everything today. Looks like it's in good condition throughout, minus the broken collar on the selector pin. Planning on replacing a few common fault parts like bearings and potentially a cross pin diff (to future proof the box if I do eventually modify the engine too).

    With the box locked in both 1st and 4th gear it meant I could remove gears without the shafts spinning freely.

    The bearing on the end of the mainshaft was a pain in the arse to remove as I didn't have a bearing puller at the time. Bought one now which helped on other ones. The nut behind this needs a 1-1/8 socket but as nowhere in Aberdeen seems to sell imperial stuff anymore (tried 5 different motor factors), I had to get a 29mm from Gibbs which did the job. Had to stand on the gearbox and use a bit of old exhaust pipe to apply enough torque to get it off though.


    Here's the selector pin collar in all its sheared glory


    This should be symmetrical. Turns out this is a ridiculously rare failure and the part is now obsolete so I will have to source a decent used one instead of buying new.


    All parts removed and disassembled awaiting cleaning


    Cleaned the inside of the box with Autosmart Tardis which made light work of the years of oil, grease and debris that had collected inside it.


    And I started to remove the casting marks from the box for a smoother final finish to help future cleaning and gives nicer finish when the Powdercoat is applied.


    Hoping to have the engine removed sometime this week so I can get ancillaries off and stripped ready for coating as well to hopefully get a bulk buying discount.

    Leave a comment:


  • Mini 360
    replied
    Well I still have no spare money buuuut I felt sorry for the car sitting there unloved and unused and as its till insured I want to get it back on the road.... The main thing keeping it off the road is the gearbox. It jumps out of 2nd (common fault) struggles to go into third and jumps out of 4th (which isn't fun when you're cruising at 80mph and the revs suddenly start screaming!).

    Thankfully I have the original box that was attached to the 1275 (using the box from the 998cc engine at the moment) which has a fault where it wont select 1st or 2nd, which I think is down to a selctor fork/shaft issue.

    So last night I started stripping the spare box to see whats going on inside and to get a list of parts to replace, as I want this to be an 'as new' build.

    Looks pretty ropey having sat in a plastic bag round the back of my parents shed for about 3yrs, however all the oily bits are rust free which is surprising!


    Diff housing looks like moisture has crept in between the metal and the paint, hence the bubbling.[/size]


    Drop gears are in good condition with no signs of wear so these can be reused. *Did consider switching to straight cut drops for all of two seconds. *The use the car gets is mainly long drives to shows etc so noise being reduced rather than increased is a nicer idea. *Although straight cut drops do sound epic....


    Pretty sure these markings refer to the box casing rather than whats inside it but you never know. Im going to clean up the cast marks on this as well as it looks rough as fuck.


    Speedo drive full of crap. Thankfully the gear that connects with this is plastic so this crap wouldnt have been crushed too badly or caused much damage but still...pretty bad.

    Bottom of the casing/sump. Lots of debris in it.


    This was rattling around in the sump...hence why I couldn't select 1st or 2nd.


    I guess a 25yr old cast metal part is allowed to fatigue over time. *Pretty clean shear as well. *Hopefully a cheap part new or second hand if not.


    The end bearing on the drop gear side was broken although still spun freely, the plastic had cracked for reasons unknown.


    Speedo drive housing was a state so I set about blasting it clean again. *Just need to scrape off the remaining gaskets and then reblast it.


    Removed the diff as well but hands were oily so didnt get any pics of that. *Need to count the teeth to confirm what ratio of final drive it is.

    Enjoyed getting back into Mini stuff for a change. *Hoping to get the box fully stripped over the weekend for inspection and then get the casings off for powdercoating.

    Leave a comment:


  • Mini 360
    replied
    Long overdue update!

    Well, I've still got a job somehow (oil industry sucks!) but with the R53 needing discs/pads/callipers all round, funds are lower than your grannies nipples and Trig isn't seeing any of them! However, I gave the old boy a wash today to get rid of storage dust etc. Cleans up ok but looks terrible in the metal. Needs a decent machine polish to get him right again. Sitting in storage with dust/hands/fingers being drawn all over him hasn't been kind to the paint....

    Got a set of split rims I need to sell to make space for a gearbox rebuild to start. Got the original 998cc box with daft final drive in it, so rather than when the engine any box out and take up precious floor space, I am planning on ripping apart the spare box, seeing what needs replaced, then rebuilding it to my ideal spec. No straight cut gears as the car is used for long distance to shows up and down the country but looking at 3.44 final drives for a mix of acceleration and cruising at reasonable revs. When the engine comes out, I'm redoing the engine bay top to bottom as the paintwork on the ancillaries hasn't lasted any length of time and really lets the whole car down. Im sure it would be passable but its not to my standard...

    But anyhow, hers the beastie after a quick wash


    MASSIVE list of bits I want for the car but they will have to wait until i know for definite my job is secure for the long term. If the oil price jumped up by 2-300% that would be great....!

    Leave a comment:


  • anth
    replied
    I love it when builds keep being refined after the car is considered 'complete'. Cant' wait to see the next stage take shape, your plans sound great.

    Leave a comment:


  • Mini 360
    replied
    Well having just bought a house which we will hopefully be in by mid August, I can turn my efforts to getting this old thing back on the road for next years show season.

    Needs a few bits and pieces doing to get it to a standard I would like..... so commence my inner thoughts and dreams! Obviously not all of this will be done by next year buuuut its a plan of everything I wanted to do to it but couldn't during the rebuild. I just need to get it roadworthy again to be happy for next year.


    Engine/engine bay - Its a mess. Wires all over, various little leaks have stained parts and peeled paint. I want to strip everything out again and powder coat all ancillaries and update a few bits things with DSN Retrospect billet alloy parts. Wanting Minivation hinges too for a vertical lift bonnet for easy access. Exhaust is leaking slightly between manifold and link pipe so that needs sorted too. Superchargers are also highly interesting things.....

    Suspension - Its harsh as hell and twitchy. Thinking of saving for Protech dual-adjust coilovers having read incredible things about them (plus they look epic and are designed and built in the UK). Until I can afford them though, I think an update with fresh cones will suffice. The GAZ shocks are designed for the lowered height but they are harsh even at 3 clicks from full soft which is a tried and tested setup. Also needs a new rear radius arm and wheel bearings on the back too. Crap wheel alignment (won't name and shame...) meant they got destroyed on the IMM trip last year.

    Gearbox - Struggles to stay in 4th gear and crunches into 2nd both up and down. So a rebuild of that will be required. Not going to go straight cut as Im not a fan of bleeding ears and they don't offer any benefit on a road car in my opinion.

    Interior - Get nicer harnesses (thinking schroth or the likes) than the cheap crap Sabelt ones I fitted. Seats are nice but I really want a set of recaro Speeds. Had them in my old DC2 Integra and they were incredibly comfy but still enough of a bucket style to keep your arse in the right place. Get them retrimmed in diamond stitched alcantara to match the rest of the interior.

    Carbon Fibre - Plan to get some bits and pieces carbon skinned too (no, not crap 'carbon' vinyl or just as crap 'carbon' hydrodipping) Looking at the column cowl, switch plinth in the dash, door caps, mirror plinths, rear view mirror, harness bar, air intake in the bay, carbon rocker cover and I'm sure a few other bits and pieces too!

    Wheels - Been offered money for my current ones more than once and all offers have been above their original purchase price so I think they will get the heave ho for a set of Force Racing splits as I've lusted after a set for years but could never justify them.


    All that in an even smaller single garage will be tricky but I'm up to the challenge as it can't be as tough as the rebuild was. Can't wait to get tinkering with cars again over winter again!

    Leave a comment:


  • Mini 360
    replied
    Possibly an update, possibly not. All depends on if this makes it onto the car or ends up in the bin :lol:

    Always wanted a carbon fibre steering column cowl to match my dashboard but unless you have a MK1, it isn't catered for and costs £300-350! So I thought I would give carbon skinning a bash! For those not in the know, its applying a layer of REAL carbon fibre onto the part, bonded and cover in layers of clear resin to replicate a full carbon part. Many many many times nicer and classier than the carbon vinyl/carbon dipping available (both look absolutely hideous and nothing like the real deal). Still not cheap but results are worth it.

    Heres the cowl....(painted it cranberry red and quicksilver years back but it never made it to the car as I changed my mind on it)


    Two pieces, pretty smooth curves thankfully


    but the key recess scares me a bit! Lots of contours to battle.


    Heres the carbon. Don't get much in the starter kit but not too pricey to buy separately.


    Will keep this up to date as I go

    And no, I won't be using the car this year as previously stated. House deposit is more important these days

    Leave a comment:


  • Z33_Taxi
    replied
    Jut read through the whole thread. Amazing job. When that pole hit you, I head my breath....but then everything turned out for the better

    Leave a comment:


  • Mini 360
    replied
    Originally posted by E30Cavey View Post
    Do it! 10's FTW, the cost is a big factor, been wanting to get Force racing wheels for ages but can't seem to justify the cost of it all! Awesome work on the rest of it though
    Thanks dude! Looking at £1500 quid all in to change which is £1500 towards a much needed house deposit....so its a distant dream im afraid!

    Leave a comment:


  • E30Cavey
    replied
    Originally posted by Mini 360 View Post
    Also, I'm having naughty thoughts about 10" splits at the moment......but the cost of parts to do it scares me!
    Do it! 10's FTW, the cost is a big factor, been wanting to get Force racing wheels for ages but can't seem to justify the cost of it all! Awesome work on the rest of it though

    Leave a comment:


  • Mini 360
    replied
    Brace yourselves for another large update post!

    So after going to the International Mini Meet in Birmingham in 2009, I naturally wanted to go back in 2014 when it returned to the UK, in Maidstone, Kent. 615miles away :lol:

    The car didn't really need much prep work to get it into shape, just a machine polish to rid most of the swirl marks and the heater actually heating the car. With a quick coat of wax applied by Katie, it was ready to go!


    9.30am start at ASDA Portlethen with the rest of the Aberdeen Mini Owners Club who were convoying down with me. Dave in his MPi 'Red Dwarf', Gavin and ben in their Japanese 998cc, Chris in 'Skippy' the Australian import Clubman (awesome car with lots of subtle differences to UK spec), me in trig and Scott in his mid 90s Jap import Mini tartan (complete with air con and green tartan interior). Gary turned up before we left in his mint condition 1275GT in Damask Red too!


    Various stops on our way to an overnight stop in Northwich, (somewhere in Englandshire Im told) Skippy was burning oil, so Chris was a busy man topping it up regularly.


    Still looked tidyafter a few hundred miles in roasting heat and bug splatter.


    ...so it was straight to the pub next to the Travelodge for a free pint!


    Up early the next morning to get down to Kent. More fuel stops en route....


    and eventually we arrived in Kent, to find a massive queue to get in. So we took out our camping chairs and shared stories with friends and new faces whilst we waited to gain entry.


    By the time we got in it was nearly dark..... in the end it took 3 and a half hours from arrival to entry. Bad planning on behalf of the Southern Mini Owners Club.


    And heres a few pics of the car at the show. Most from my phone as I stupidly didn't take any pics of it on my camera. Hopefully someone else has and I find some pics online soon.


    Dave from the Club was dressed as Mighty Mouse for the entire day on Saturday. Kinda gutted Aaron didnt get a pic without him in it to be honest.


    Then as a form of revenge for Trig farting black, watery soot (after a night of heavy rain meant my exhausts filled with water...) onto Nicol's nice and clean cream shorts, he put bits of duct tape thread onto the car to look like scratches. And yes, I did fall for it and yes, it was bloody funny.


    Thats the only pics of the IMM itself I took (I spent most of my time taking video and drinking into the small hours of the morning) but there are a few from the route back. Exiting the site was a nightmare, as the dual carriageway was shut due to an accident, so we were sent down a tiny single lane country road. Jams ahoy!


    Somewhere in deepest darkest England...


    I learned as we were near the Dartford tunnel (The Dartford tunnel was epic. Down to 10mph, up to 40mph, pop pop pop on the over-run galore 
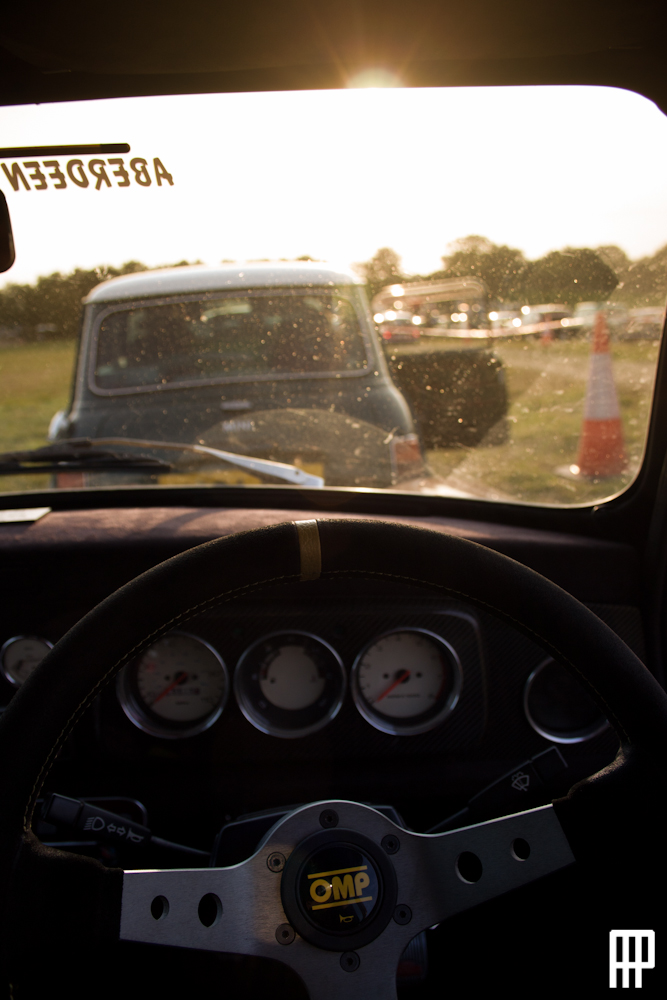
) that truckers hold no respect whatsoever for small cars, so I bailed on the convoy for fear of getting wiped out and arrived an hour ahead of everyone else at our overnight stop at Lancaster. It helps on the motorways to have a relatively powerful and torquey 1275cc engine when compared to the 998cc cars.


    Up early the next morning for the final stretch home and grabbed a pic as we crossed the border.


    ....and finally I got home after a total of 1276 miles, in uncomfortable bucket seats, with solid suspension and barely any sound proofing. A great trip and it was done without a single fault with the car. Cant say much better than that!


    Next up, we have Cleanfest at Fife Airport where I've got a prestigious hanger spot. After that its time to take it off the road and get that engine and box seen to.....thats all folks!

    Leave a comment:


  • Mini 360
    replied
    My heater wasnt heating and I had a couple of minor exhaust leaks. Managed to fix both issues


    Then gave it a wash down ready for minor paint correction and waxing tomorrow before the 600 mile trip to IMM in Kent on Wednesday.


    Tucked up, ready to go


    Then had impure thoughts about splits.......

    Leave a comment:


  • Mini 360
    replied
    Not much to report. Could have gone to Glamis show today but I really couldnt be bothered. So instead I replaced a wheel bearing on the passenger front. Wide wheels on these things really dont help the bearings last......

    'Gentle persuasion bar' for the hub nut


    Dirty old knackered things


    And MINI put a link of their article onto their Facebook page. It proved rather popular :lol:


    Next up, the long long trip to Kent for the IMM2014. Cant wait for that!

    After that, who knows. Don't know if I want to take it off the road after that or not. Not feeling the love for it at the moment as its not in a condition Im really happy with. Engine bay and running gear are an absolute state and need a lot of work to look right again. Arsed!

    Leave a comment:


  • Mini 360
    replied
    Tain was on Sunday and sadly it wasn't as sunny as last years with rain most of the day. Still a decent turnout though!

    Joined up with AMOC and IMOG in Inverness to roll into the show together.


    Car was looking remarkably clean given the weather on the way up the road.


    Arrived and given it was so wet, the car looked fine, so I didn't bother cleaning it.


    However I still won second place in the Custom Car class. I won last year but this year I was defeated by a Westfield running a Mazda MX5 engine. Not too many custom bits on it that i could see but hey ho still got a trophy!


    Just shy of 250 miles done with no issues at all. Think these long distance shows are giving me faith in the long trip to Kent in July. Next up, Glamis Extravaganza at Glamis Castle in a couple of weeks time

    Leave a comment:


  • Mini 360
    replied
    Also, I'm having naughty thoughts about 10" splits at the moment......but the cost of parts to do it scares me!

    Leave a comment:

Working...
X