-
Badly wet and windy, on and off, throughout the day so car stayed inside. Not ideal but made the most of it.
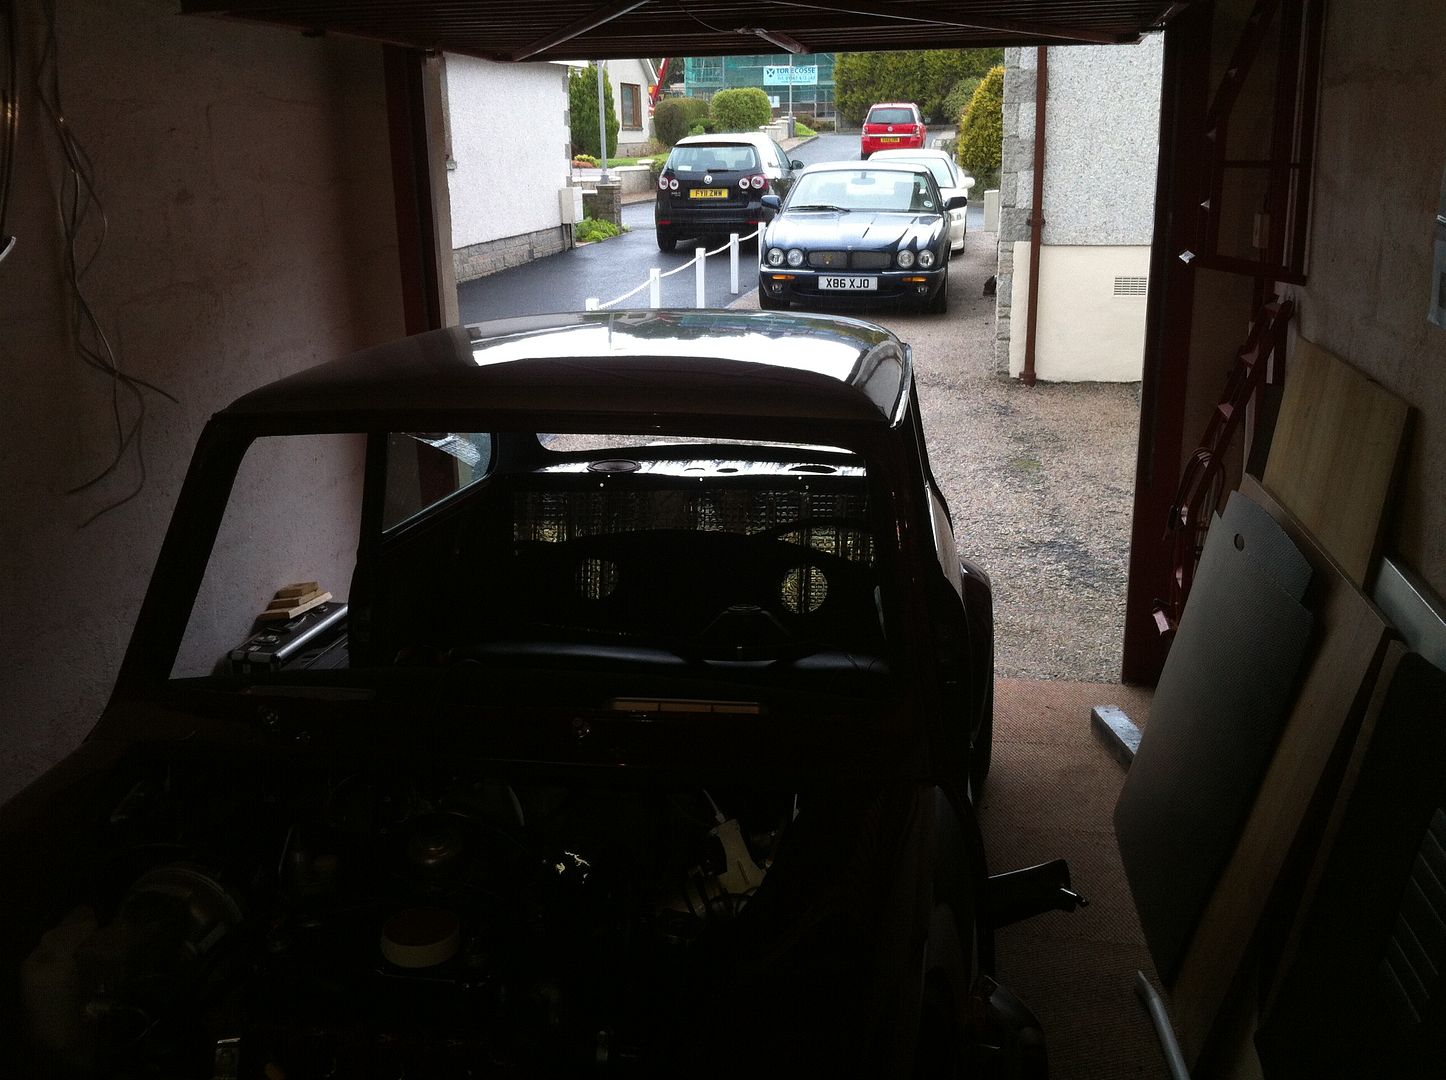
Spent the first few hours playing with the carb/dizzy etc etc. It was backfiring through the carb, not revving and cutting out. Thankfully thats now all stopped but its not perfect. It is good enough to drive it to the MOT which is all I need though!
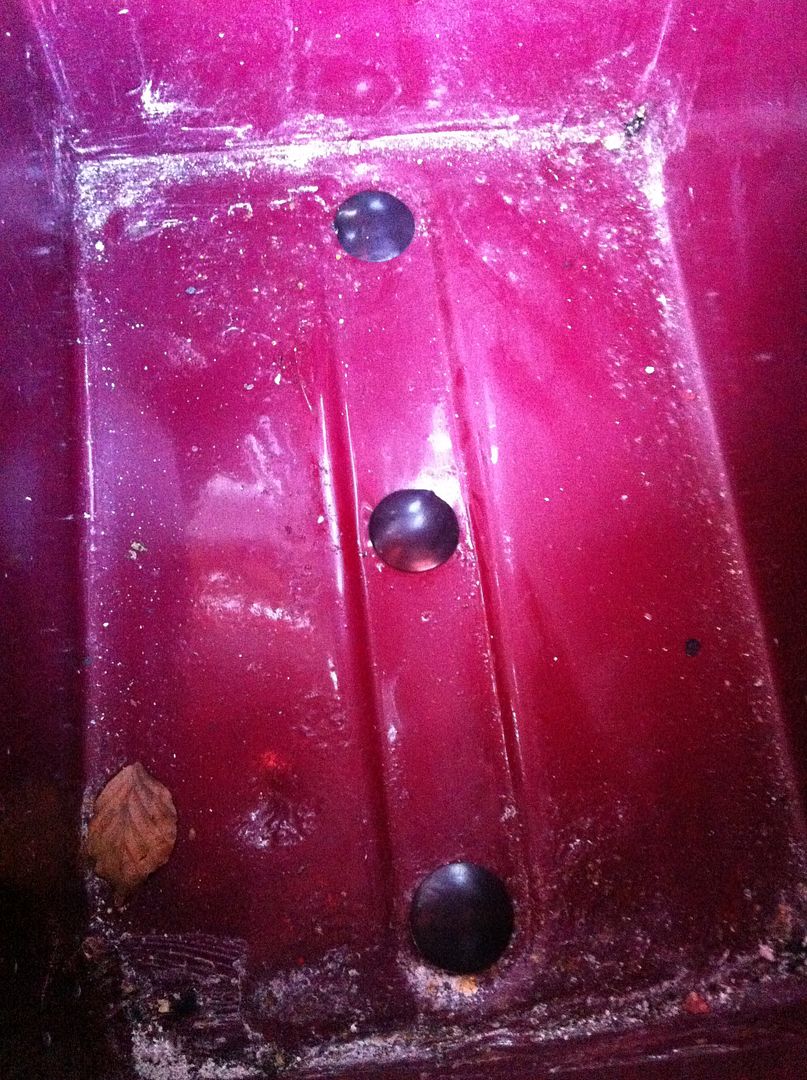
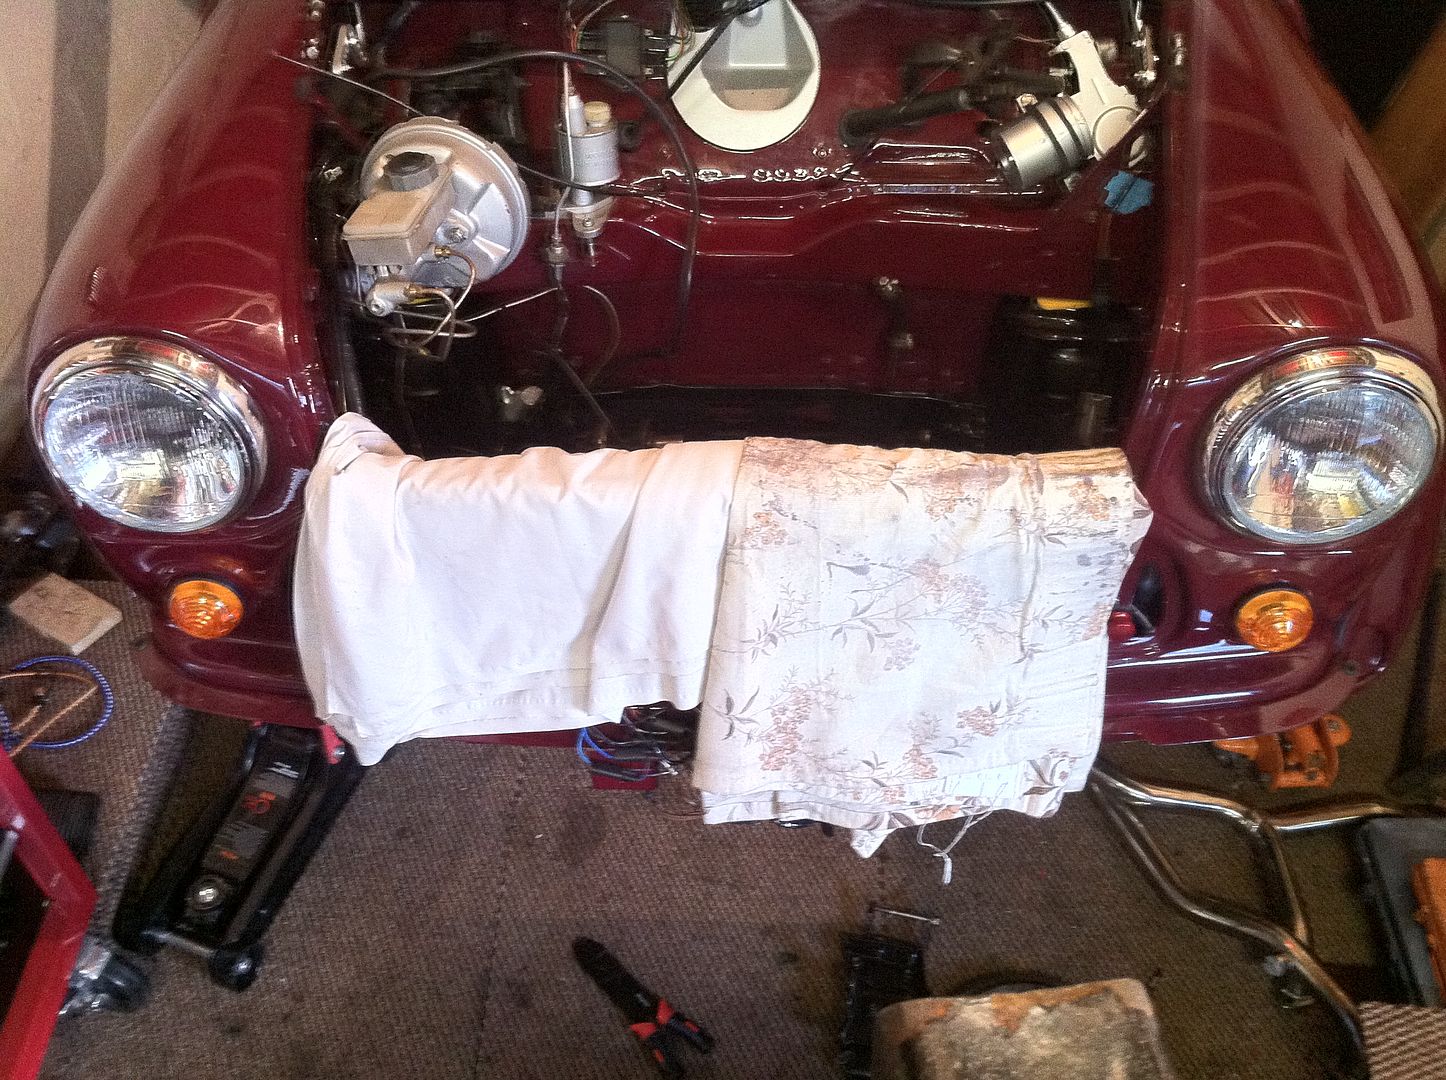
Excuse the dust and dirt in the battery box! Needs a clean but got the three drainage grommets in after a quick stop at Autoparts. Had to buy three multi packs to get the three I needed.......
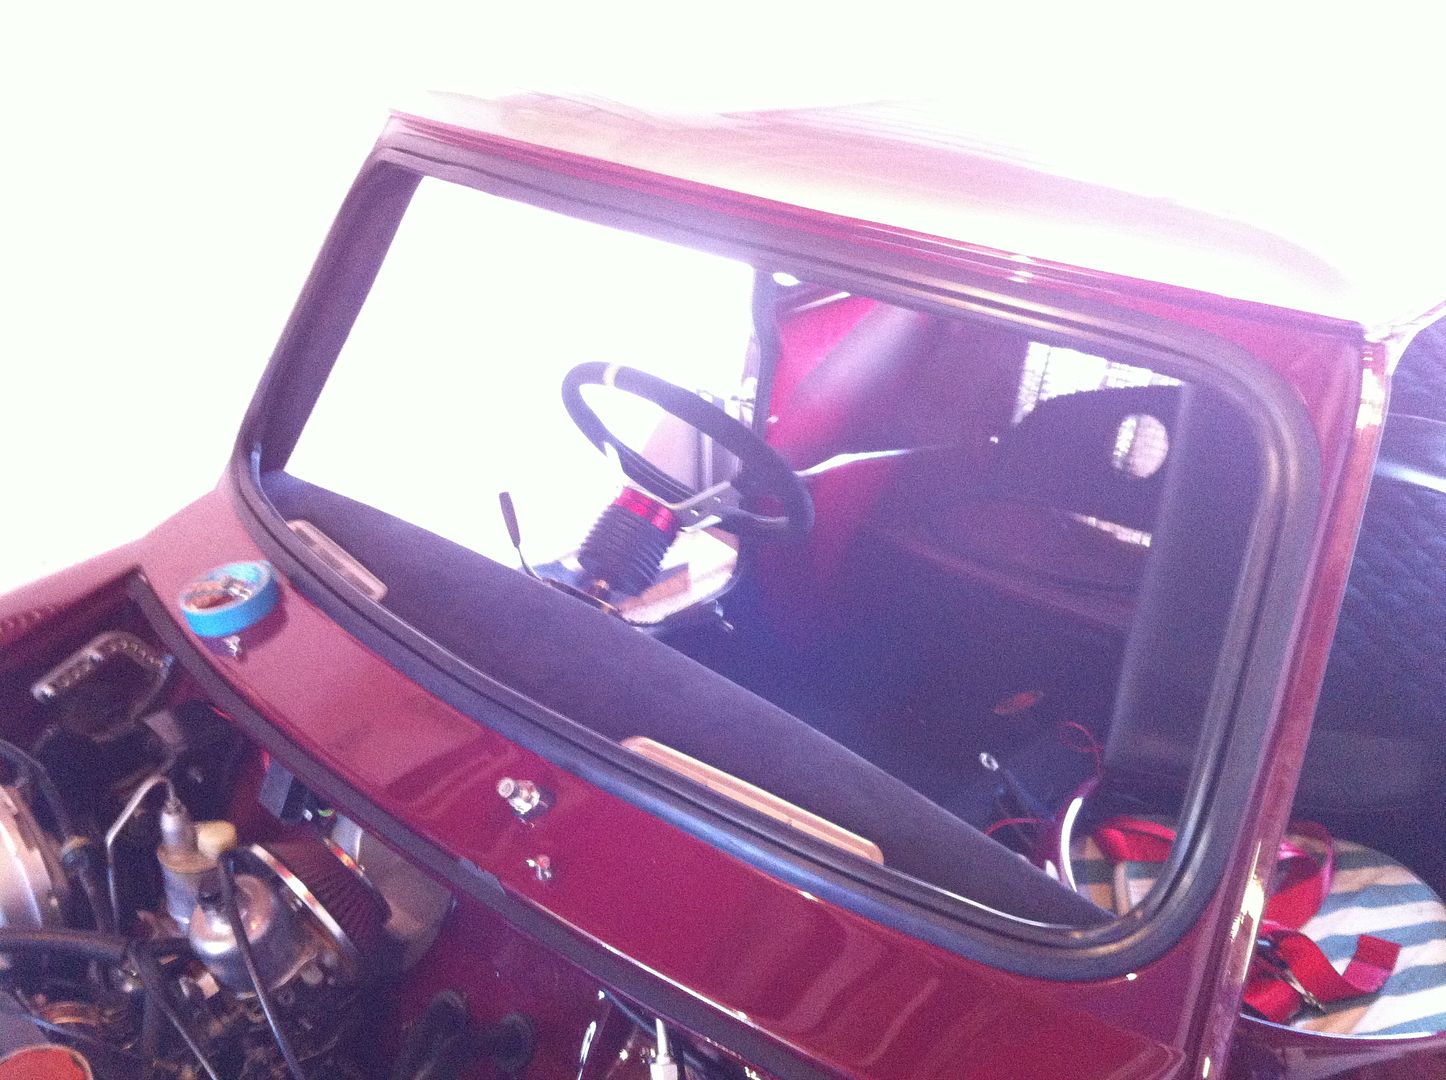
Then got the front window rubber on (not window, thats tomorrows job!) As you can see it wasn't wanting to sit correctly and seemed far too long.
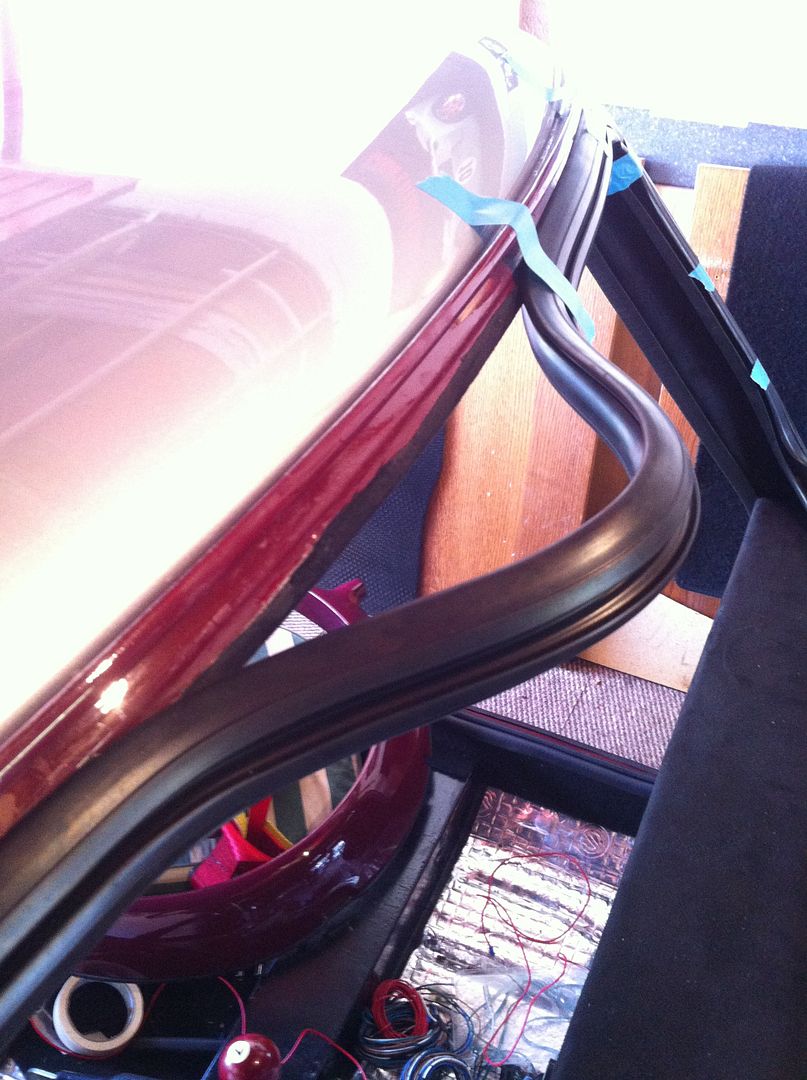
However, with a bit of stretching and pulling it sat nice and tight in the frame. Hopefully the windows easy enough to get in now!
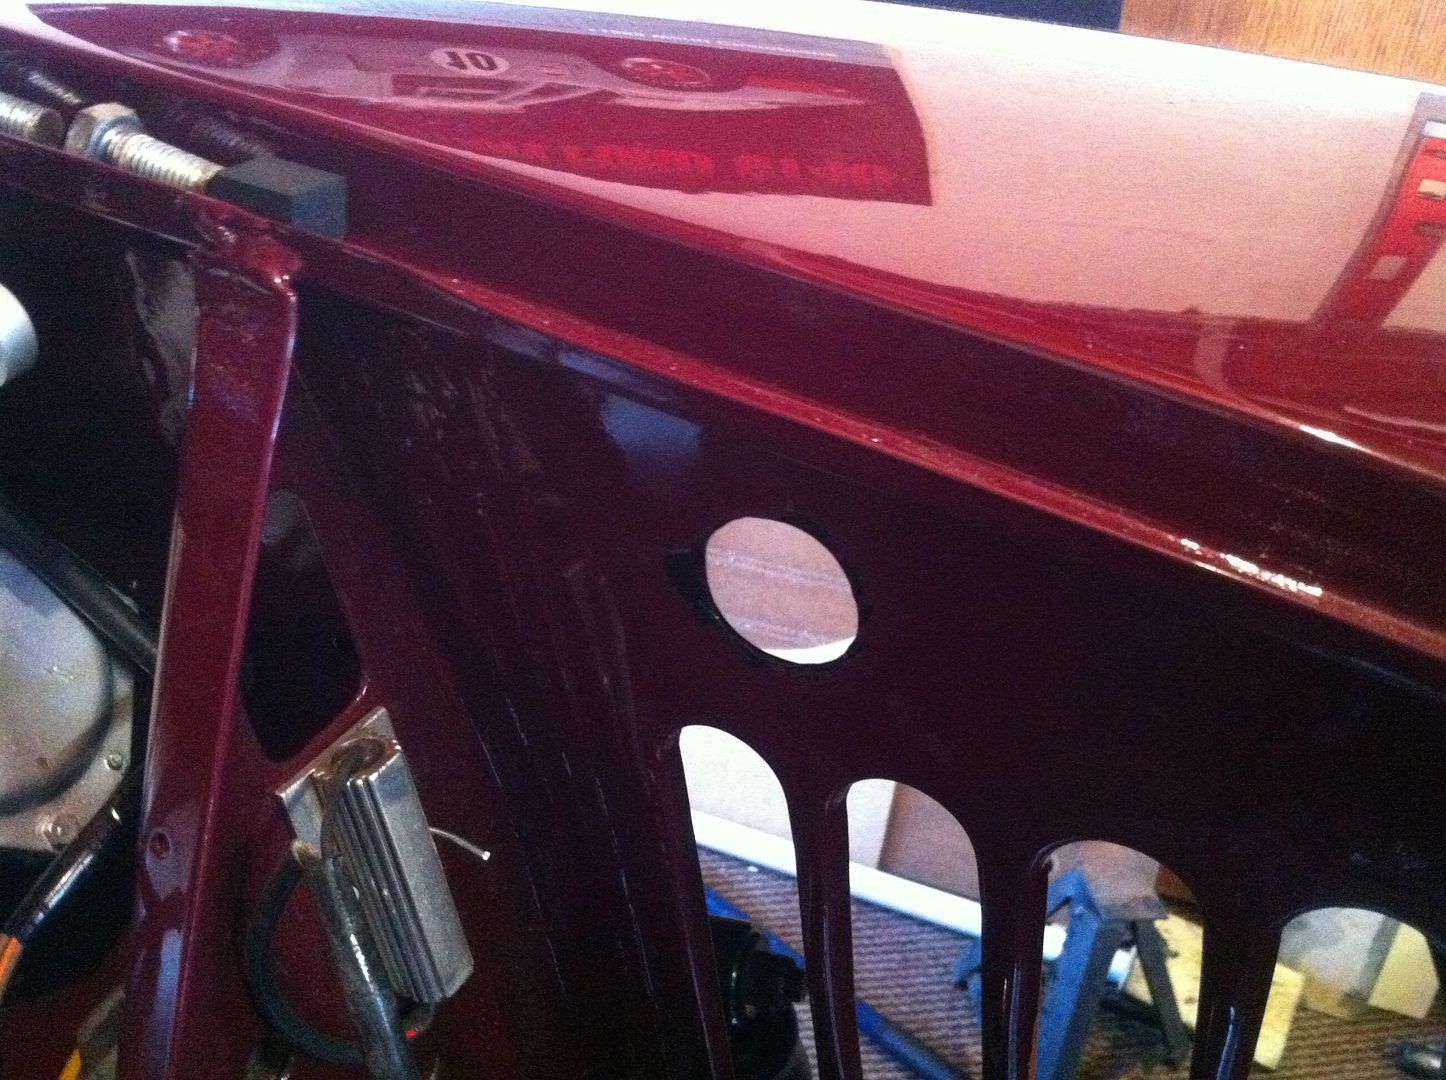
With the front electrics done, I got the bonnet catch back in. Left loose for now to allow adjustment for bonnet fitting but its working.

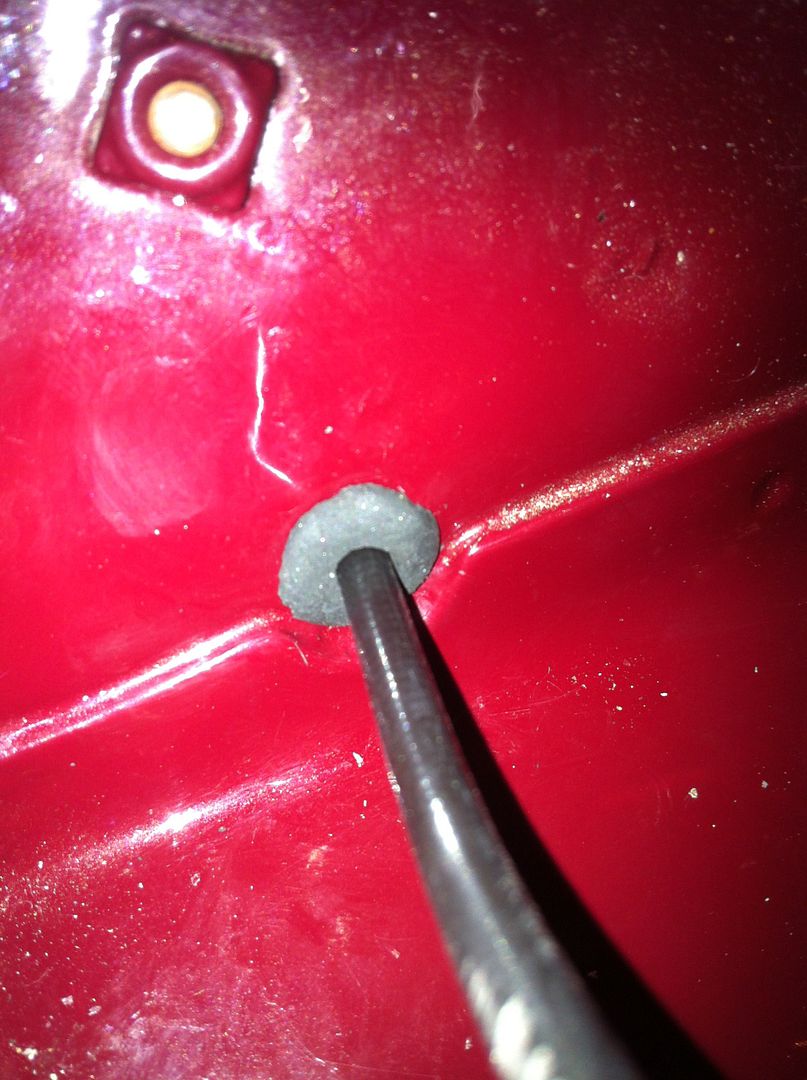
Grommeted up the choke and heater cables. Two of the hardest grommets Ive ever come across. Beyond tight!
And swapped out the dull black plastic knob on the dash for a chrome one. Balances it out much better!
I did try and fit the radio up loosely so I could disconnect it again for dash fitting. Need a couple of correct shaped connectors to get it done. Hopefully get lots more done tomorrow like dash, radio, doors etc.Leave a comment:
-
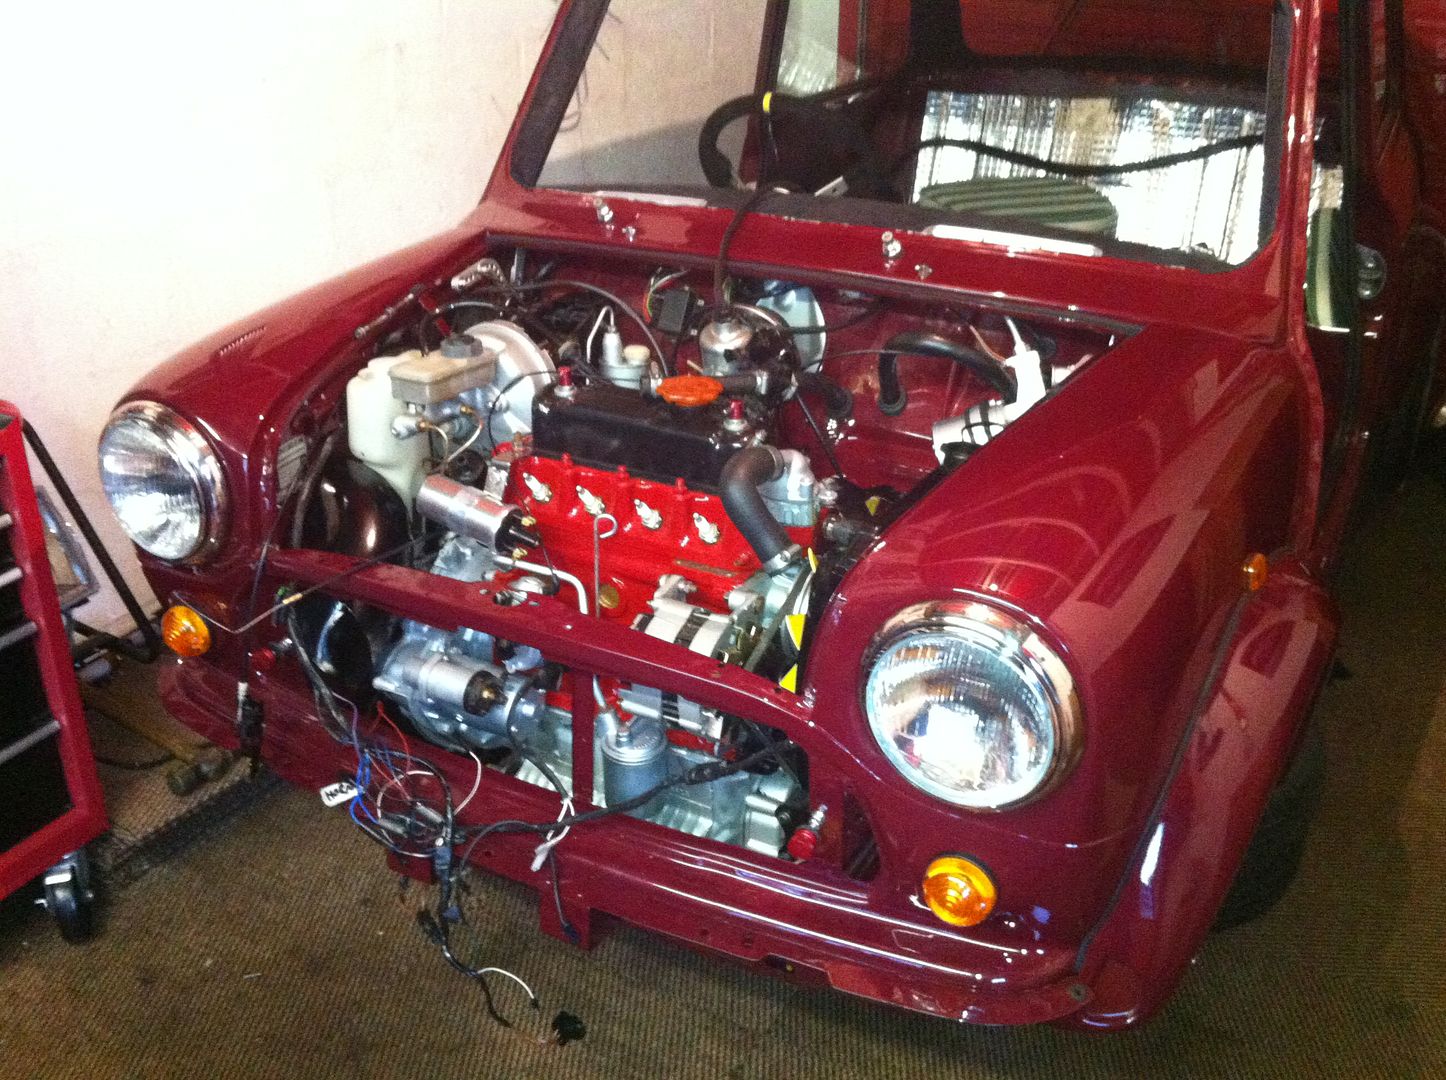
Wee update. Finished everything off yesterday to get the engine going but didn't start due to flat battery. Home today from work to a charged battery and still no starting! Checked for fuel......
So with fuel bought ( ) and poured in we tried again. Still no start but strong spark and turnover. Looked at the choke cable and realised it was jamming the choke fully closed as the cable housing was up against the retaining bolt. So with that adjusted, it fired up first time no bother at all! Result! Again, its running terribly but the exhaust is properly sealed this time which is good and its popping and banging on overrun lovely
Very happy with the work we did on the engine and box. Never tackled anything like it before (any of us!) and it hasn't got any leaks, be that oil or water. Drove it out to test the gears and we have 1st, 2nd, 3rd, 4th and reverse. Ace! Shame its not got the better final drive of the 1275 box but beggars cant be choosers! Ultimately I want to rebuild the now spare box but that can wait for now.
So, first thing tomorrow, out to fine tune and then get going on other bits and pieces. Not looking for perfection from the timing as I will get Jim King to do that at MOT once its failed its emissions test .....
Leave a comment:
-
Not long in from the garage. Been out since about 9.30am! So 13hrs aint too shabby!
This popped up on my phone just to remind me that this is a week away.....

First up, get the flywheel etc all on. Housing went on no bother s we marked up the bolts and the housing to match everything up. Top tip, keep everything loose until you have all bolts located them tighten. We tightened up a couple first and then found the others wouldnt go in. Save yourself the hassle!
Then got the flywheel and clutch assembly on and correctly torqued up as per Haynes recommendation.
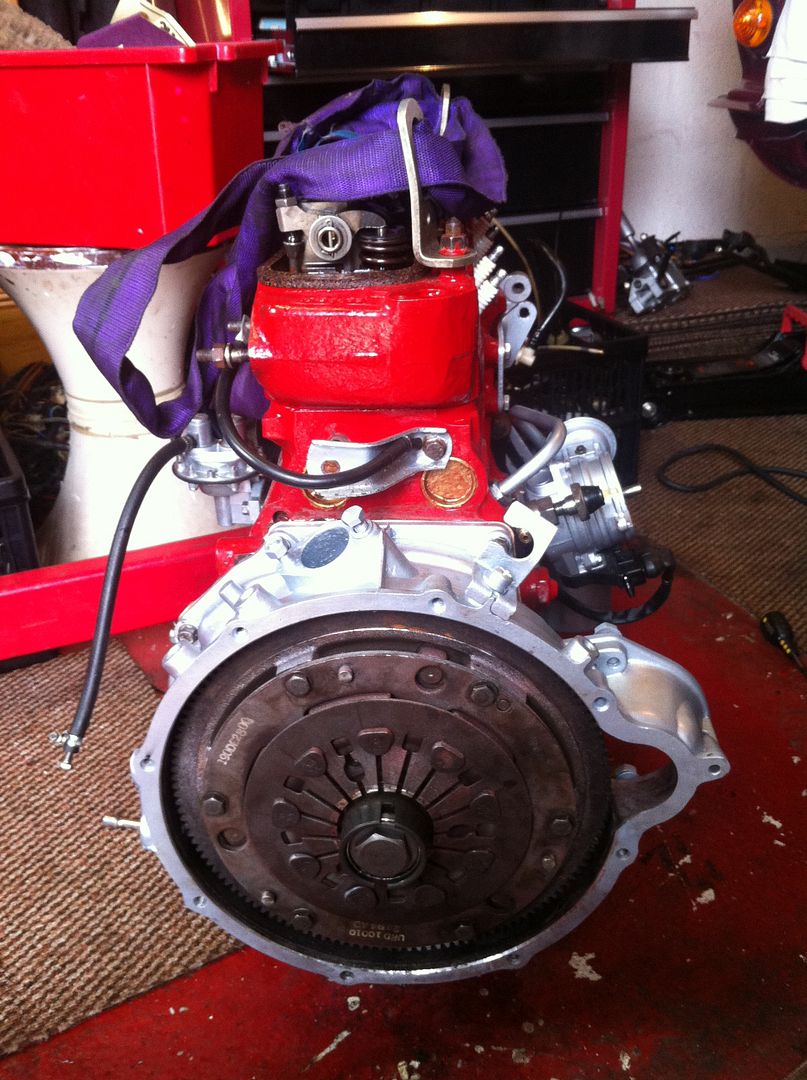
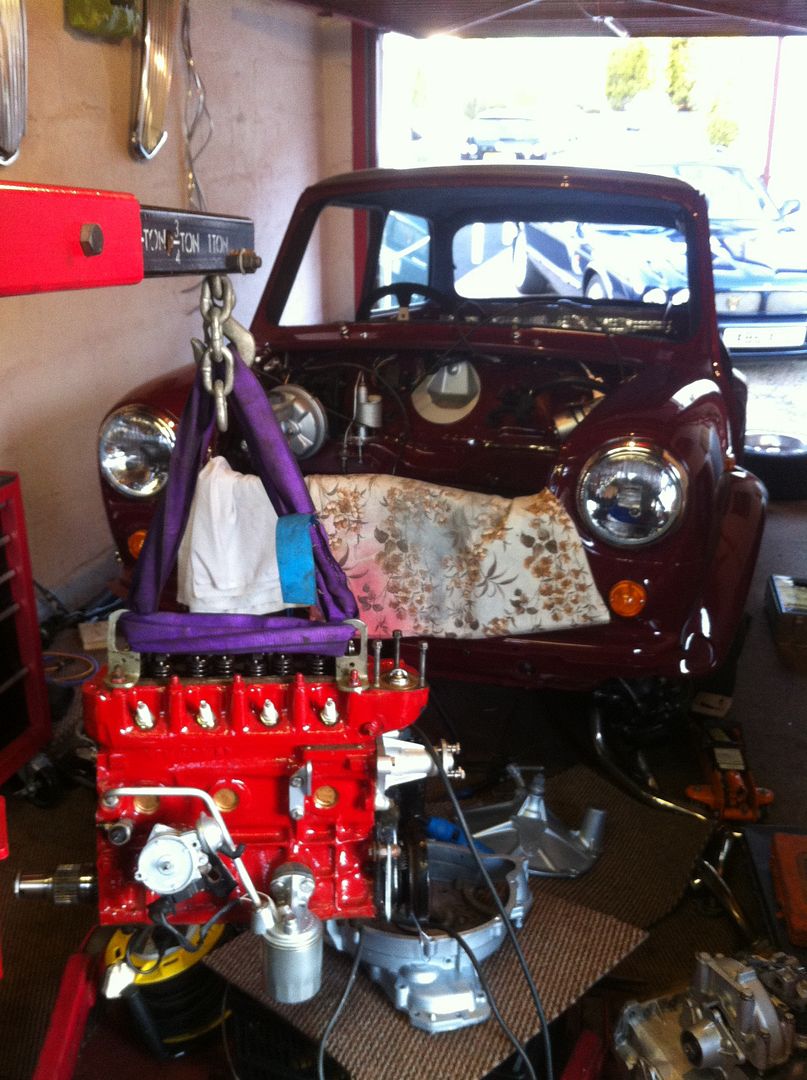
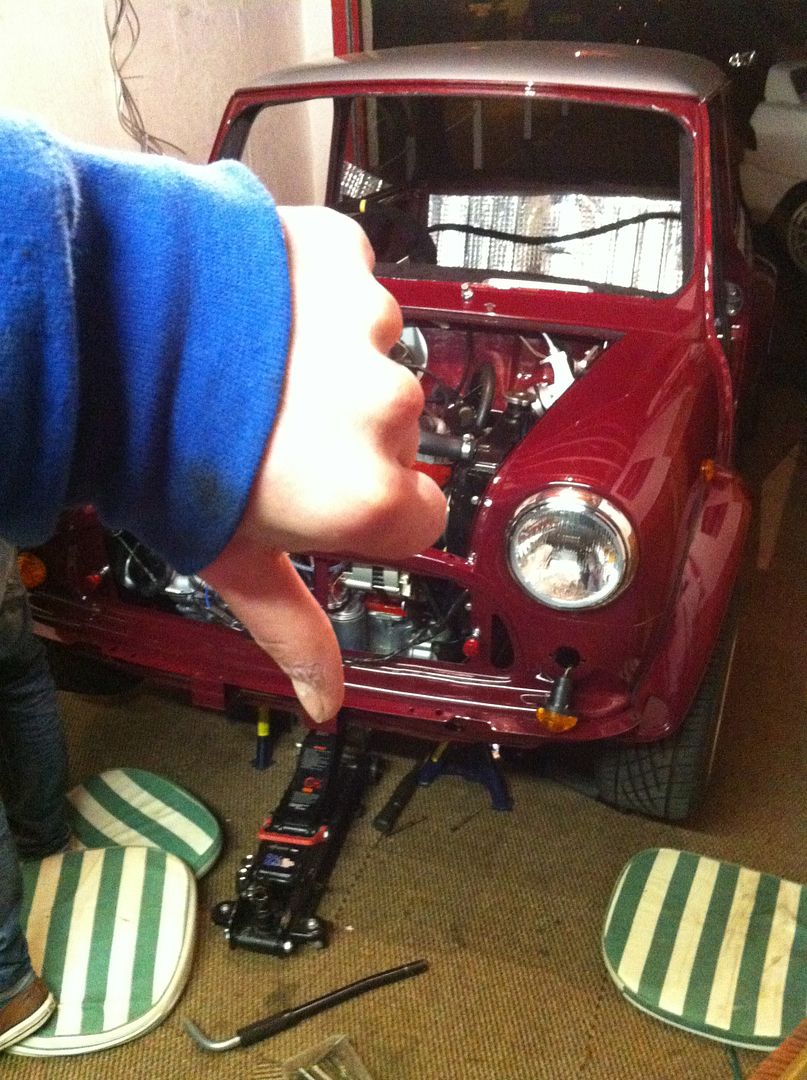
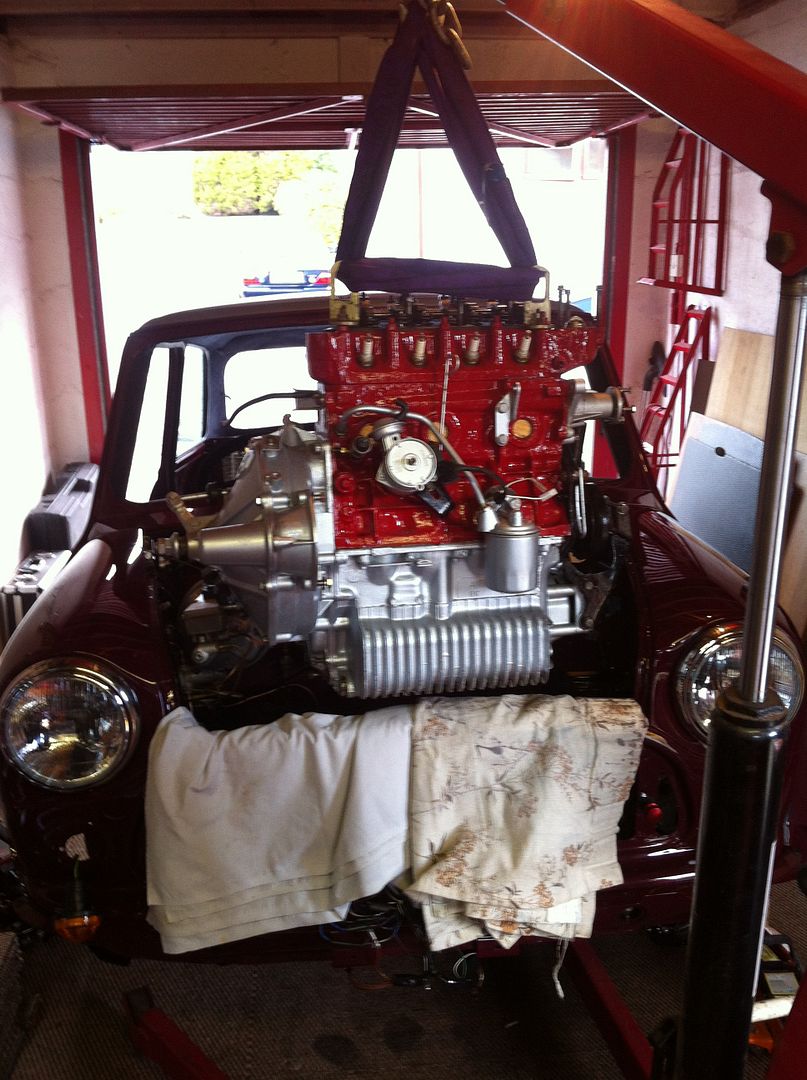
Then it was on with the 'wok' flywheel cover and engine was hoisted into place. With the brake servo still being in to prevent having to rebleed the brakes, we made life difficult for ourselves but loosened off the servo and tied it with some rope to the rafters of the garage. Worked a treat!
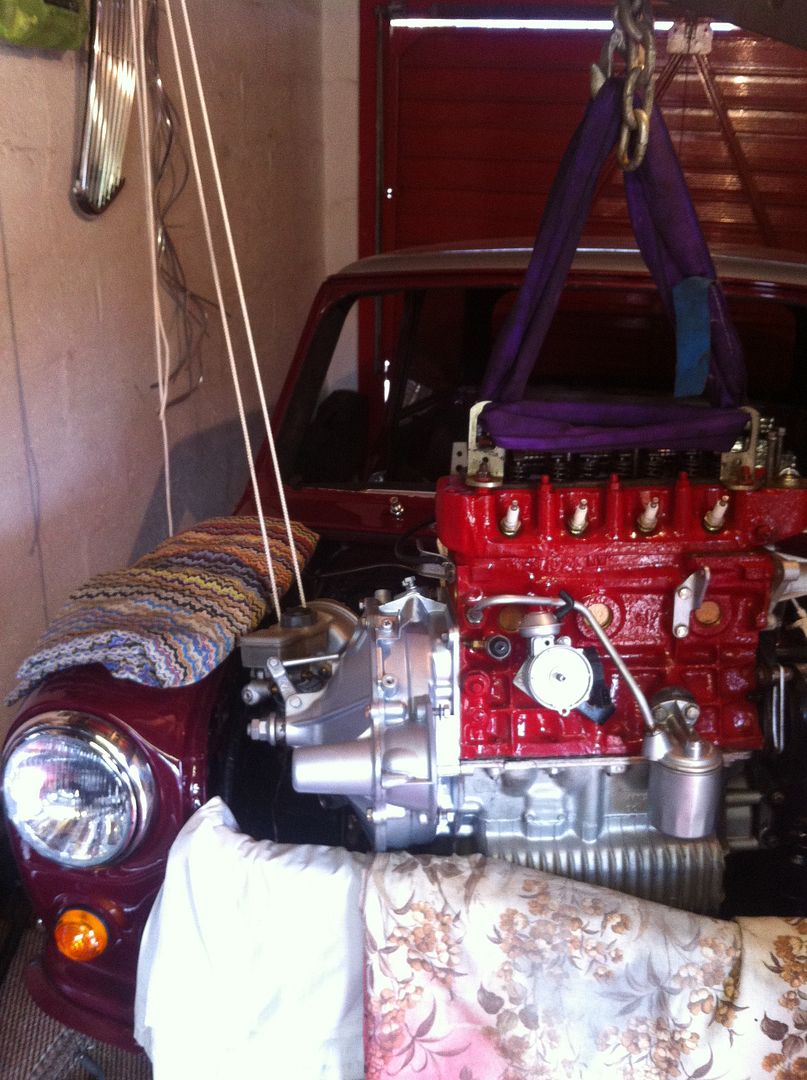
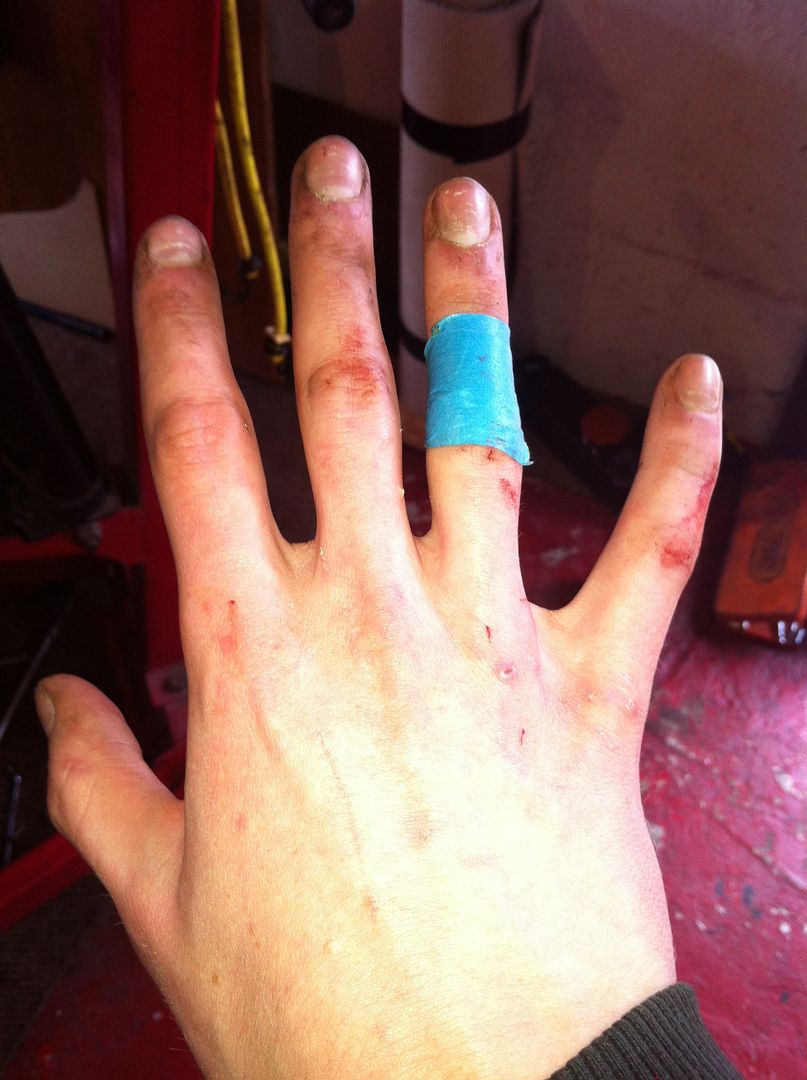
With the huge help from my parents, we eventually got the engine located in the subframe. Took longer than anticipated, the air was blue and the floor was red with blood from my burst knuckles but it was in! Then we set about getting the ancillaries all in. So all thats left to do is get the rad, throttle/choke cables, heater cable and coil wiring and HT leads on and its broom broom time! Should get all that done tomorrow night hopefully!
So that was today. Hands are in tatters but worth it for this amount of preogress. Note the masking tape plaster quick fix :lol:
Dedication and commitment? You bet! :thumb:Leave a comment:
-
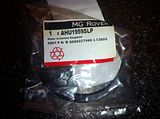
Progress! Parts finally arrived yesterday and this morning! First up, gearbox crankshaft seal. Genuine of course.
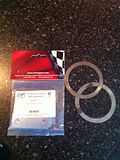
And door shims incase the doors need finer adjusting and diff shims! 10thou and 6though. Exactly what I needed, which is handy!
So with the shims acquired I shimmed up the diff, reassembled it and back on the box. Then befo fitting, tested it with the linkage. Click, click, click, click, lift and click! 1st thought to 4th and reverse. Result!
Bought a special tool for the roll pins on the linkage. �3 and does its job perfectly! Makes the pins an ease to add or remove without damage!
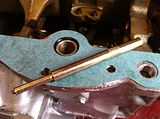
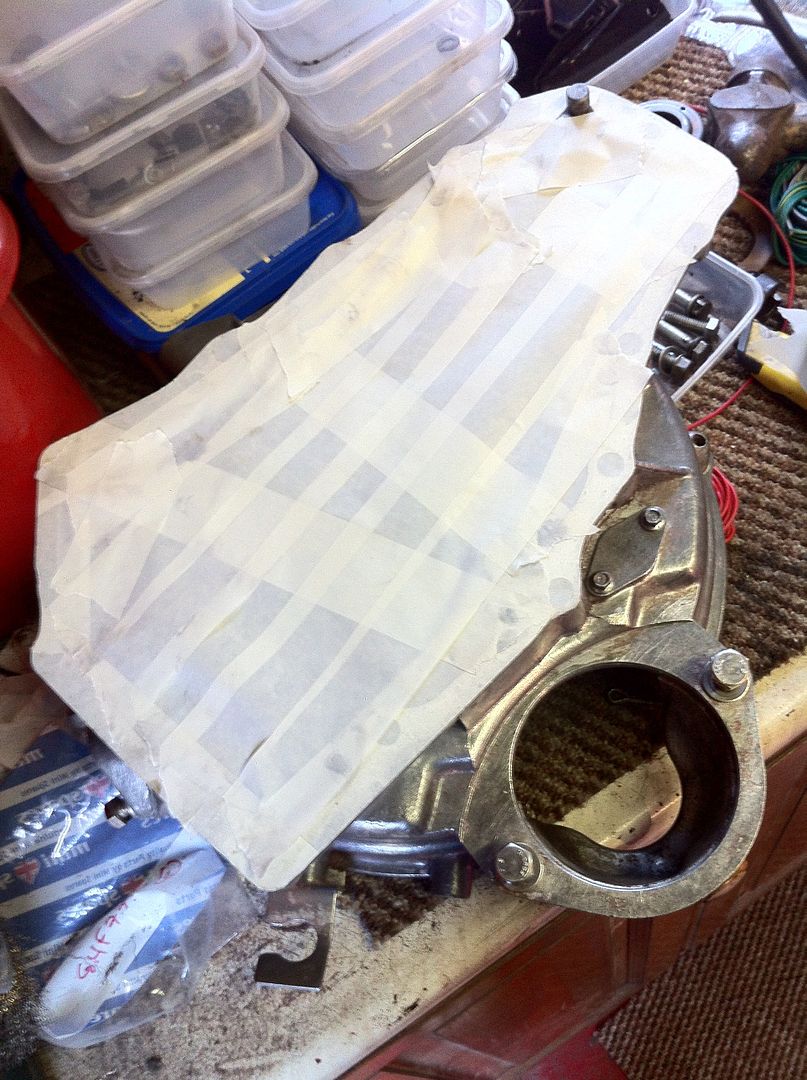
Replaced the oil pickup seal on the gearbox face (goes between box and block) needed changed!!!
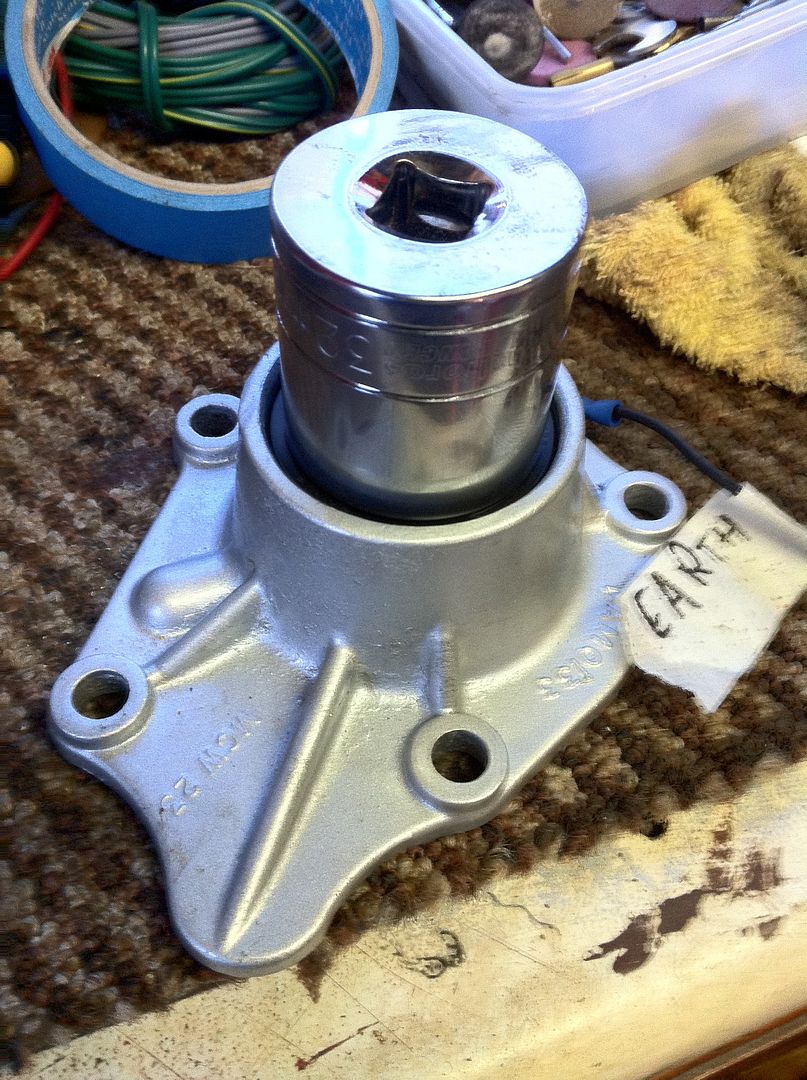
And then mated the box to the engine and the flywheel housing back in after fitting a new genuine main oil seal around the crank hole.
Then was out the whole afternoon in town but did my mum was busy making up a cover for the gear stick gaitor. In door card matching suede. Looks great!

So tomorrow it's flywheel etc back on and then install the engine again!Leave a comment:
-
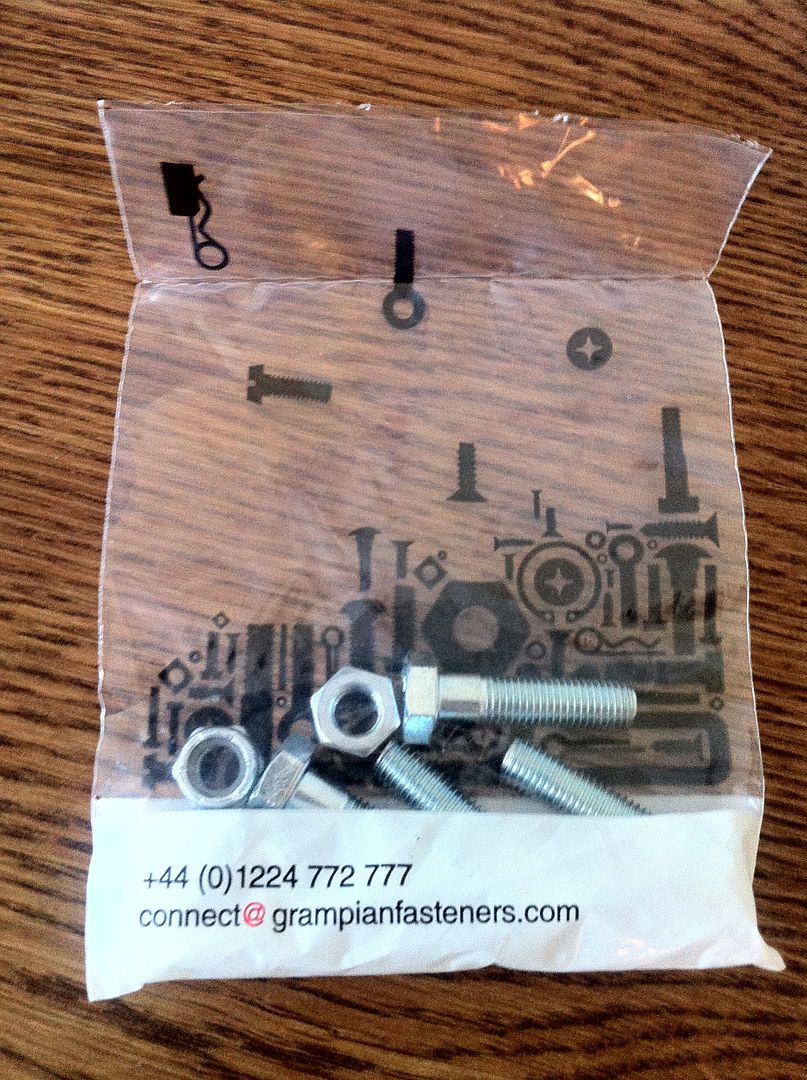
More work done tonight. Got to just keep on truckin with this or it'll never get done! First up some bolts (ladies and gent, please contain your excitement...) for the front subframe. The ones I had on the mounts to frame were rusty and too short to pass an MOT so a quick trip to Grampian Fasteners on my lunch break and they were bought for just over a pound! Nyloc nuts for piece of mind.
Drilled couple of holes in the bulkhead....with yet more blue tape!
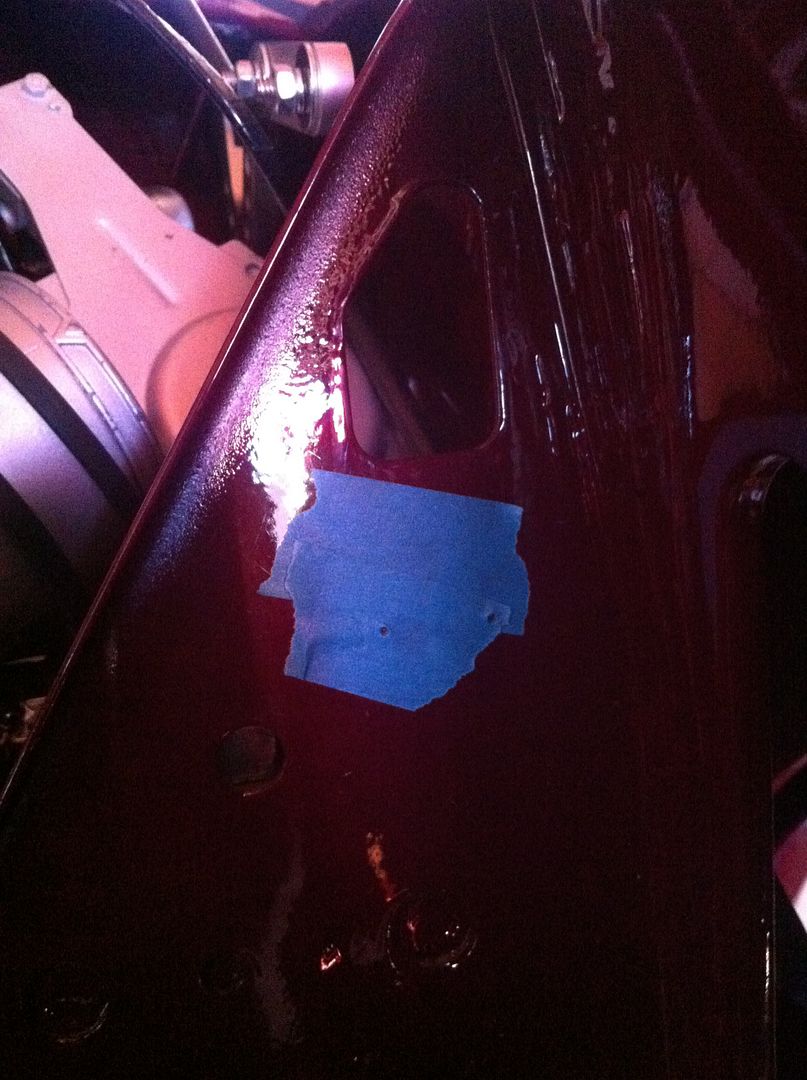
and that was then filled!

Then I finally got round to drilling out the hole for the passenger side repeater. NEver thought to check for this before paint as you would think they would be there already....WRONG! So with the engine and rad out had space. Made a template from the passenger side in paper then mirrored this onto masking tape to act as a guide. Worked a treat!
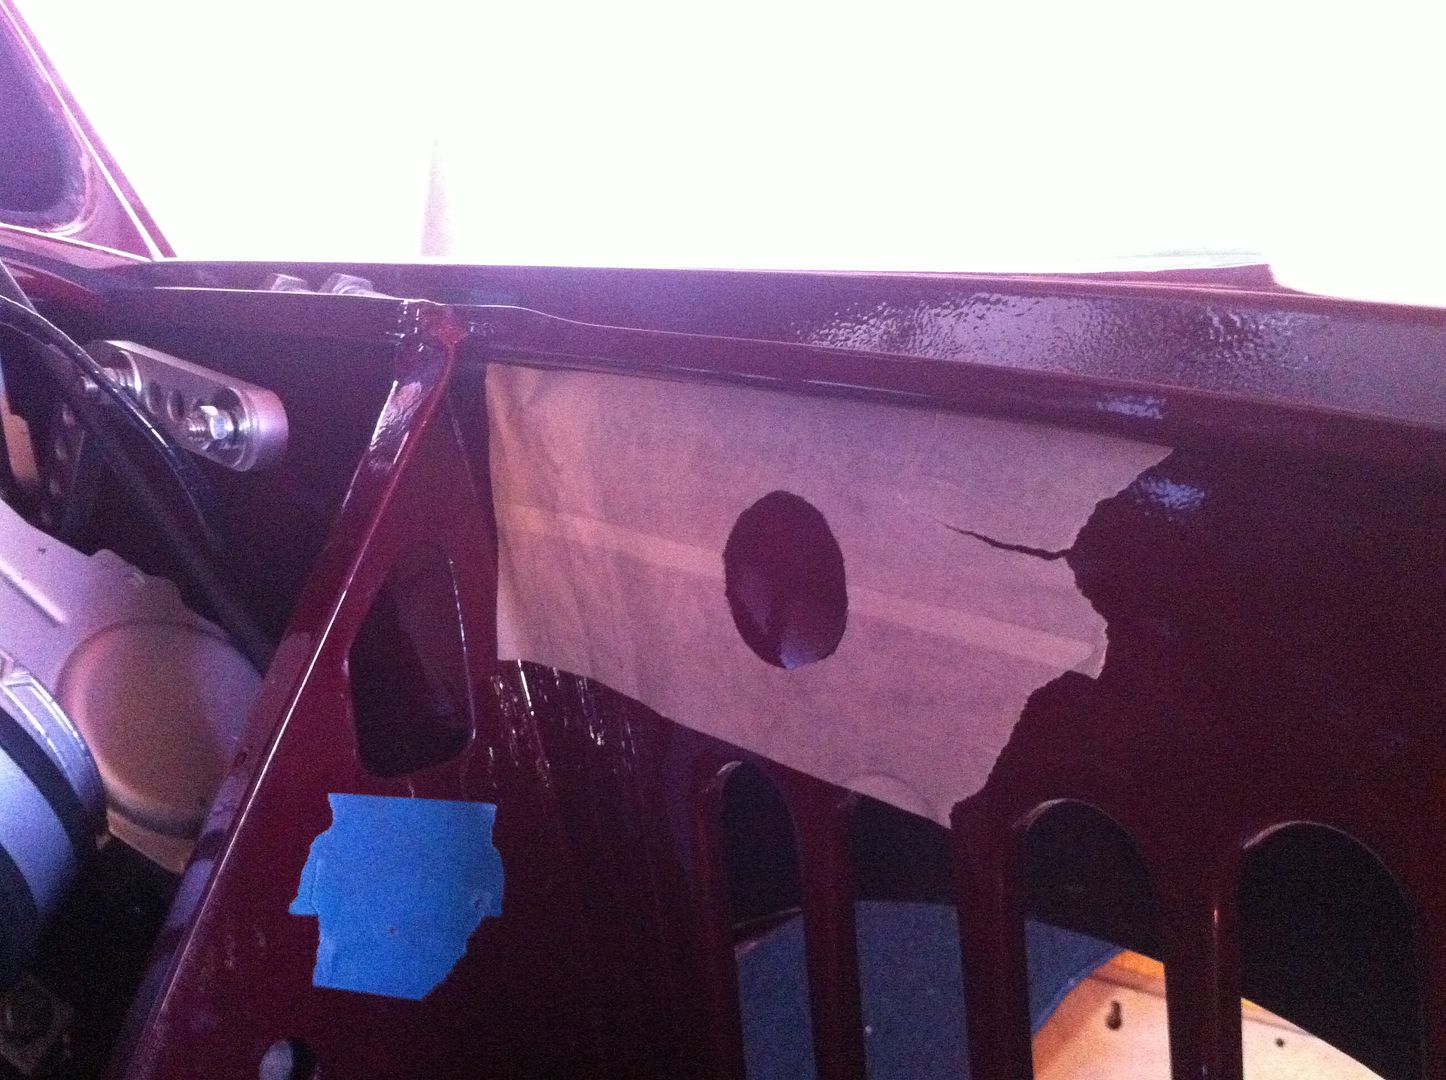
Drilled a pilot hole, made it larger and then ran out of big enough drill bits! So I set about it with a circular course file and made a huge amount of noise in the process.
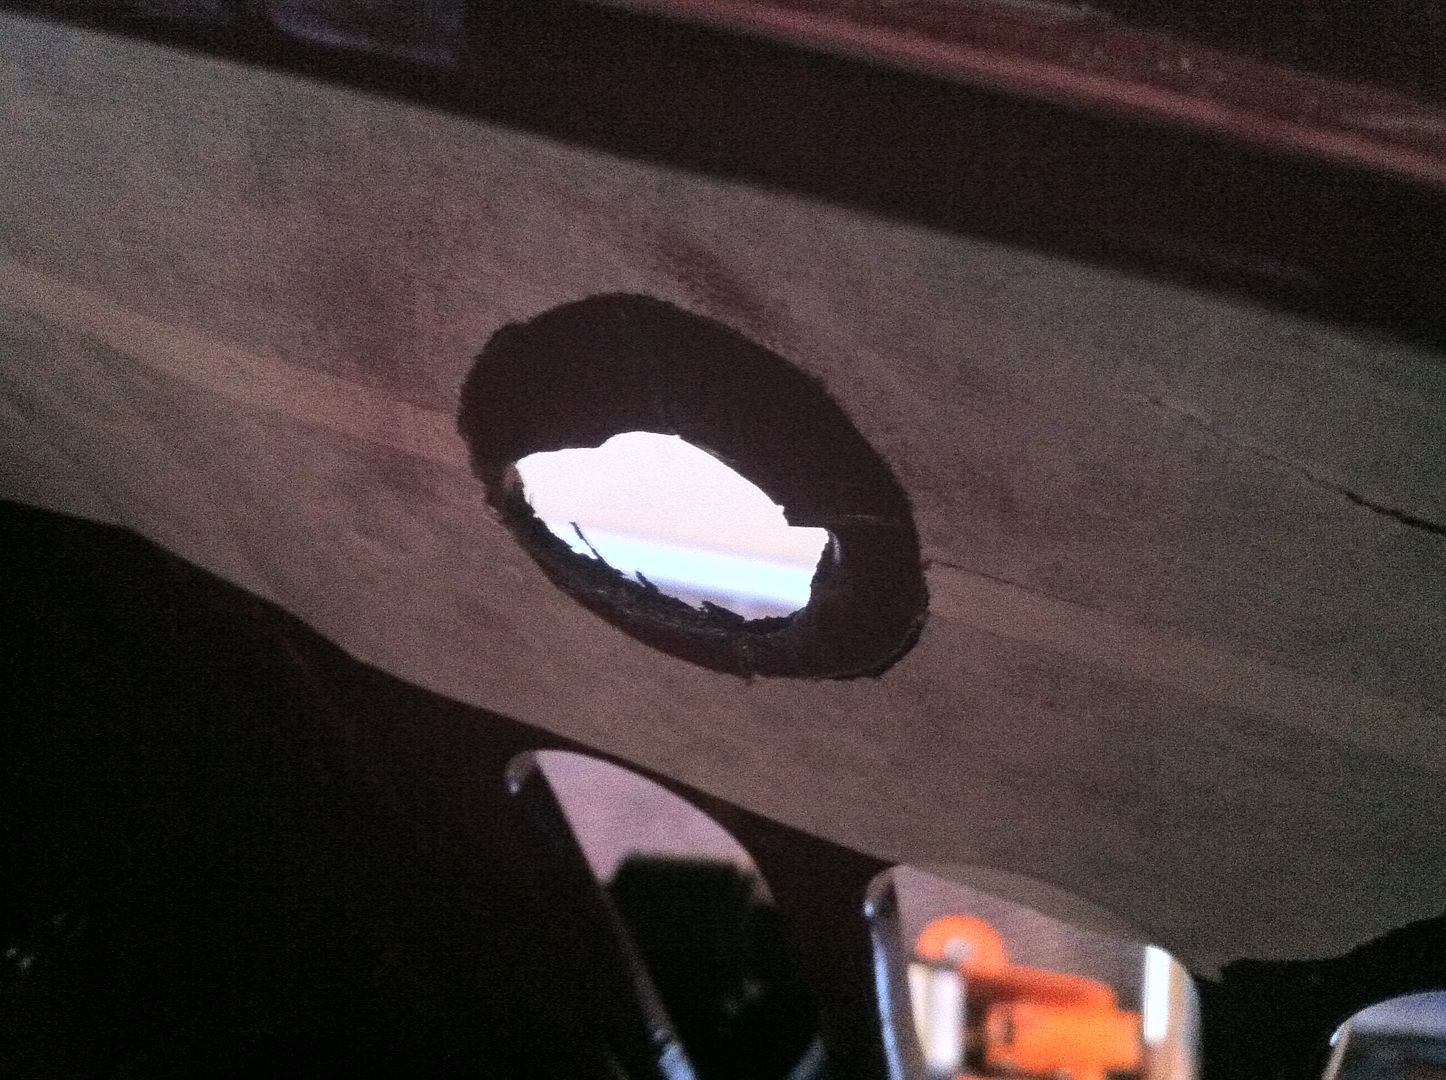
Got it roughly right then took a stone bit on the Dremel to tidy it up nice and smooth. Then finished it off with hammerite to prevent rust setting in!
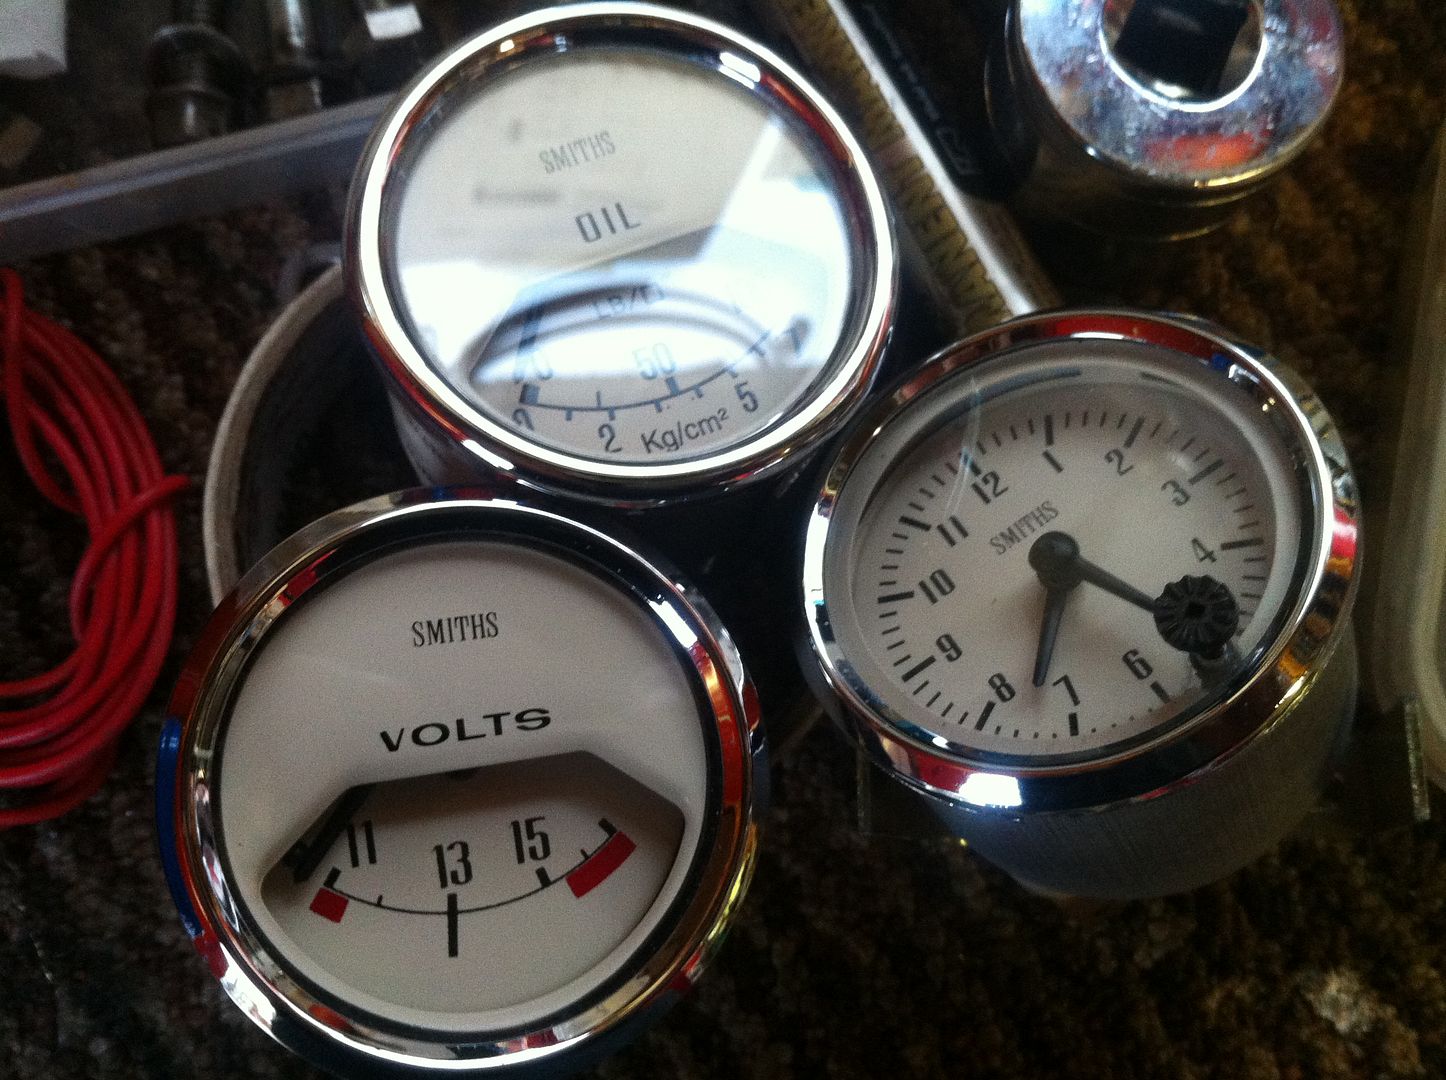
Then, seeing as my required part didnt show up again I thought I would tackle some shiny. So cleaned up the gauges for the dash. They were pretty grotty but nothing a bit of polish couldnt sort. We have oil pressure, voltmeter and clock
Then fitted it all to the dash! Had to make some small wooden spacers on the rear in order to fit them correctly with the brackets. Easy enough with a hole boring bit on the drill though!

Also fitted the radio cage for the radio which is almost fully wired up ready to fit.
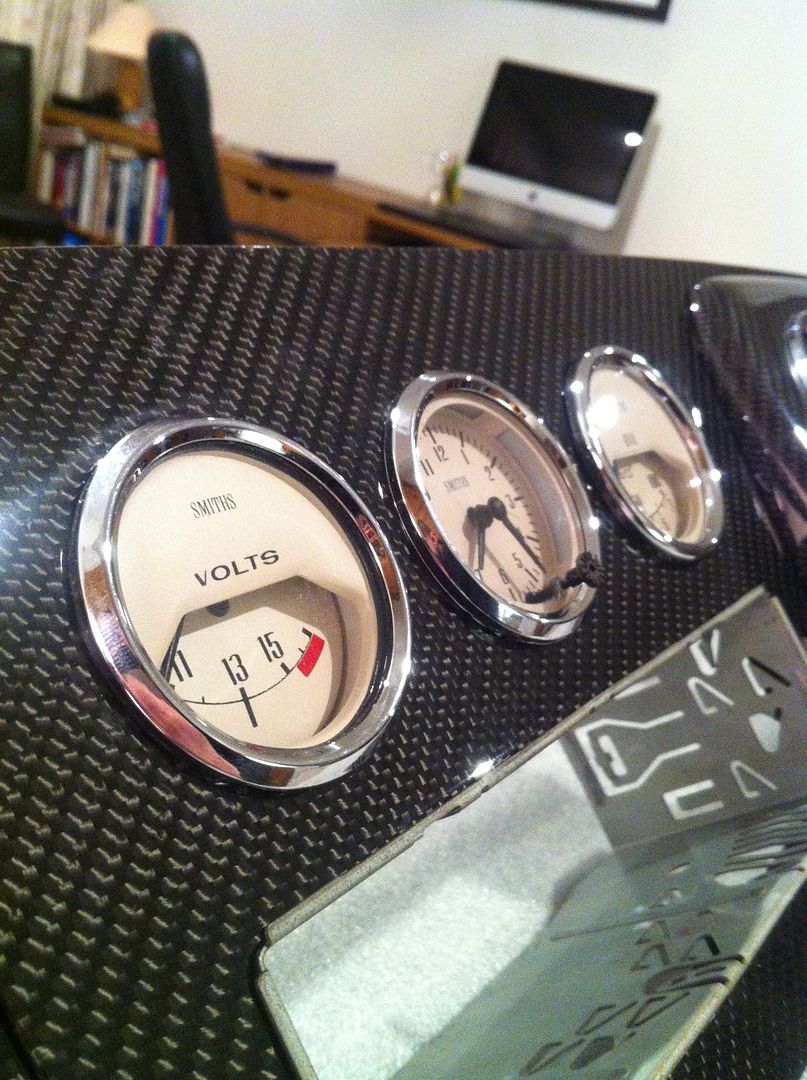
The main cluster is going to need some adjusting and larger screws than standard but ran out of time and light to do that tonight. Still, its going to look awesome!
Shame its still sitting like this but hey ho, plenty other stuff to be getting on with!
More progress this weekend as Im off to see Fast 6 tomorrow night
Leave a comment:
-
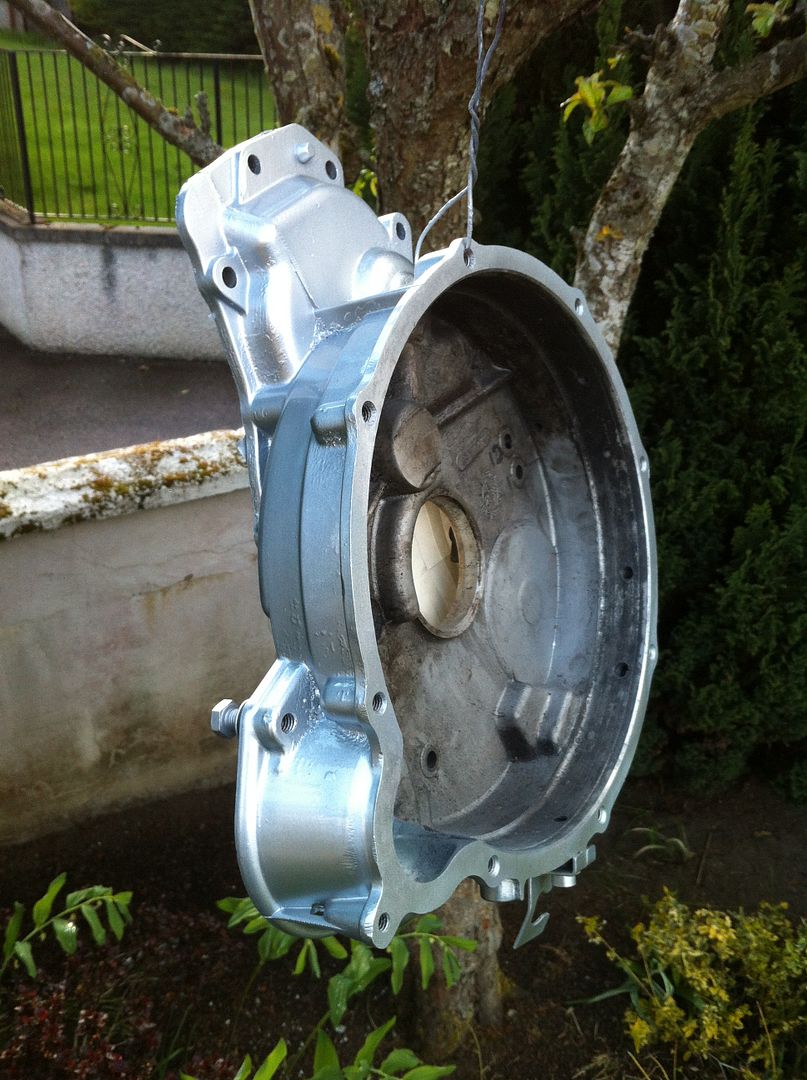
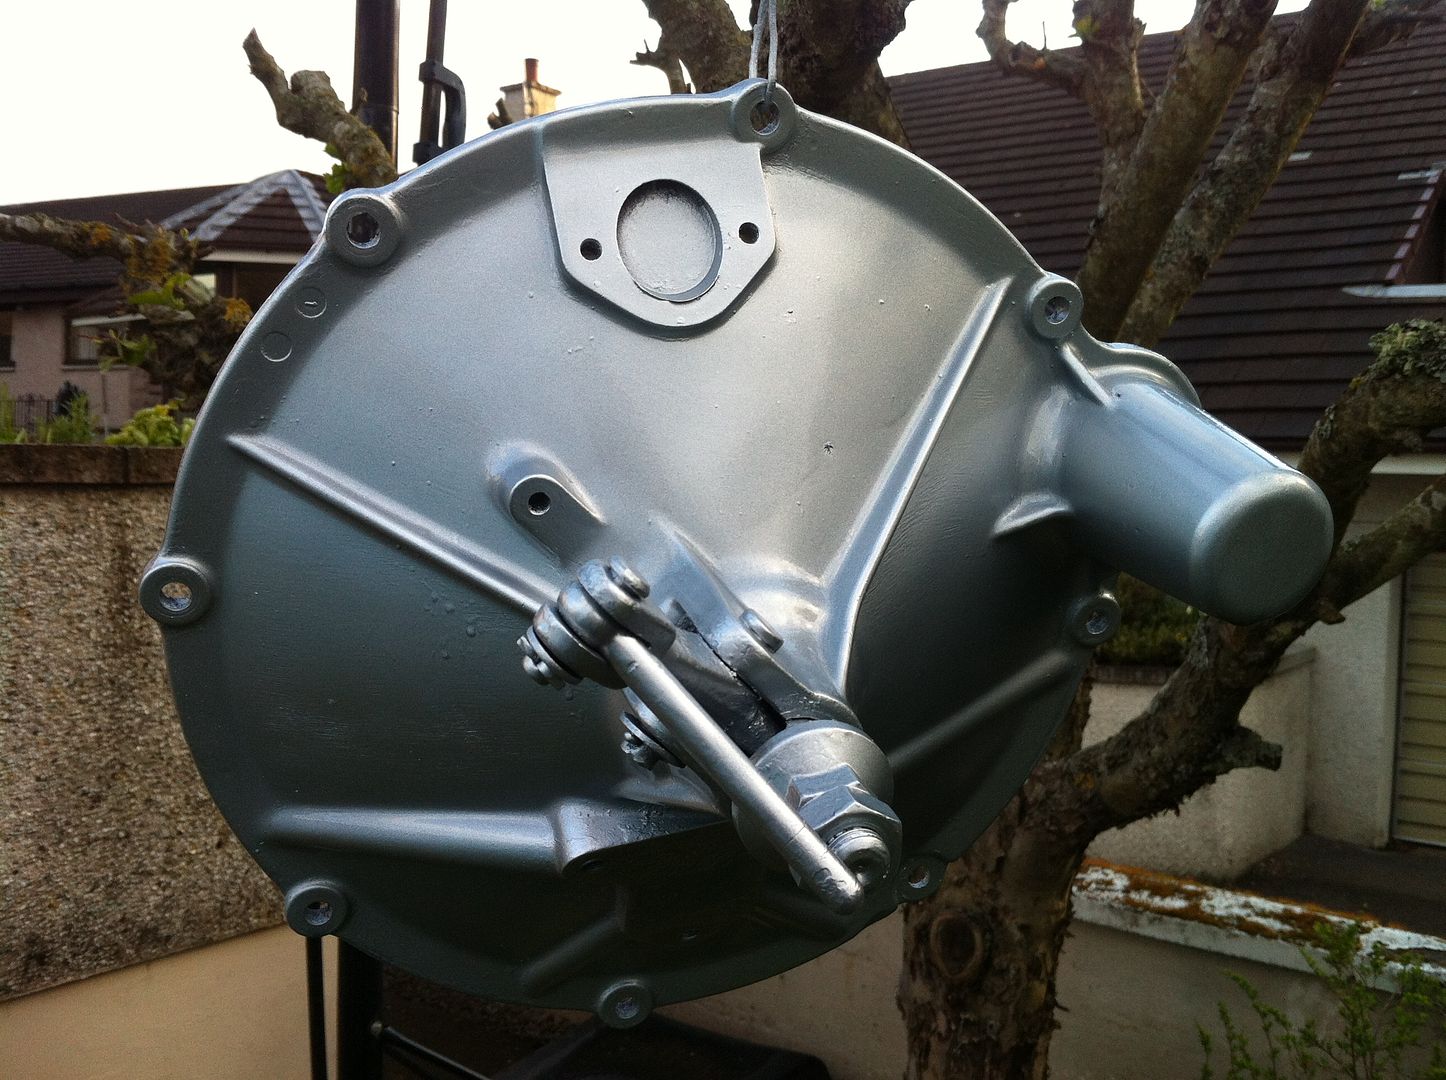
Evening done! Mainly spent it prepping the flywheel housing and wok for paint. Not 100% perfect but I needed to get it done tonight, so if my half moon seal arrives tomorrow, its ready for fitting. (Kinda...)
Seeing as the car is in the garage unable to move I used the apple trees for hanging the bits. Handy! Masked off the internal piece before doing so though!
As you can see, not perfect but a hell of a lot better than before. Ultimately these will get powdercoated but will leave that for a winter some year.
With those painted and drying on the floor in the garage I got my front indicators screwed in. Ordered clips for them and they werent a good fit at all even though they were sold as genuine from a Mini supplier......but with some modification they were in!
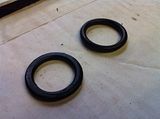
Bought new driveshaft dust seals seeing as I had the diff covers off anyway! Fitted with appropriate socket and hammer
and in

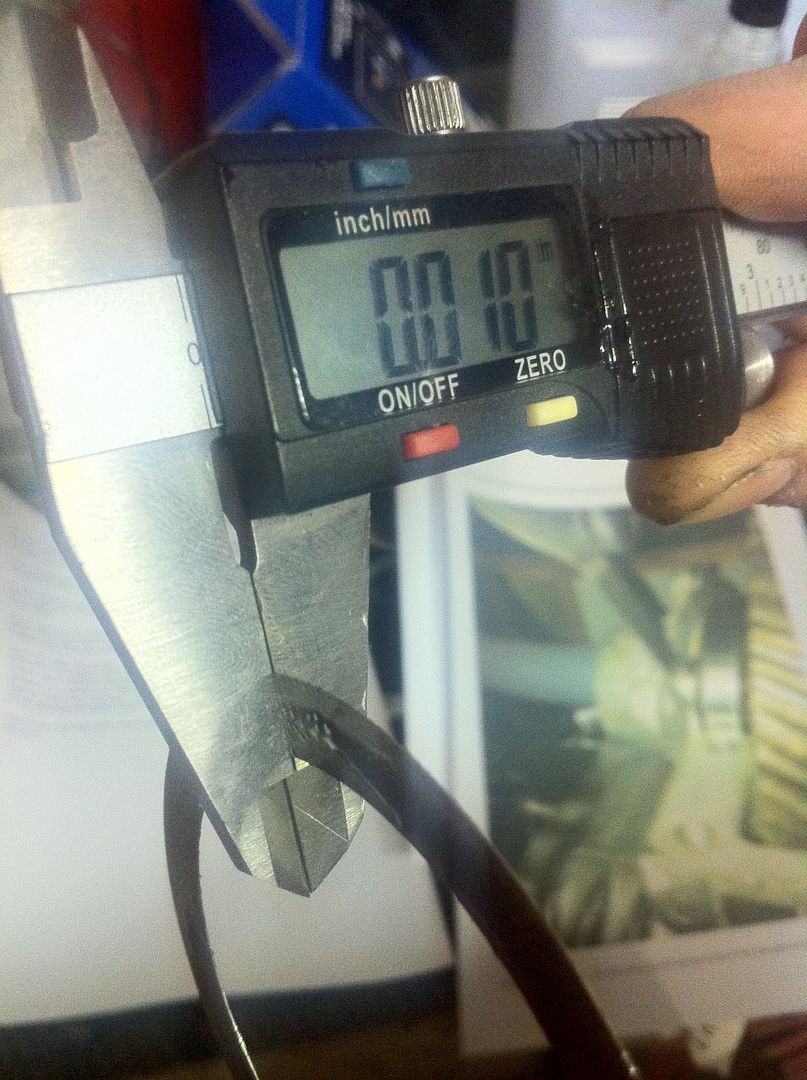
Then decided to shim up my diff! Measured 12thou between plate and bearing so add 4thou to that and you get 16thou overall. Got a 10thou shim, got a 6thou ordered from MiniSport which should be here friday or saturday hopefully! I DID have shims from the 998 box but god knows where they have disappeared to which is a shame as its adding a couple days to getting it all back together!
and then back to minisport for more bits and pieces.....couple diff shims so they are brand new throughout and door shims, just incase the fitment isnt perfect as is just now. Tomorrow should see the flywheel housing back on along with flywheel assembly and wok and then get the gearbox on soon after.
Times run out. It wont make the Thistle.Leave a comment:
-
Very small bit of progress tonight. Garage is filled with engines and gearboxs everywhere so no room to work! Would have got on with the rebuild but not all of the parts arrived......
Did however get an indicator screwed in and a doorcard on. :lol: Hopefully get the parts tomorrow and get cracking with the engine again!
beyond happy with how the door looks. Perfect inside and outside. Will mount the mirrors once its in place.

So come on postie....where are you!?Leave a comment:
-
Thats some shit luck on the gearbox mate. Hope you sort it in time for the run.
Dash is looking sweet!Leave a comment:
-
Thanks man! Heres another one for you......Originally posted by TheCrabMaster View Post
Good and bad. Managed to separate the flywheel etc from the 1275 and got the box off. Shame I didn't have all the required gaskets and seals to reassemble it with the 998 box though! Bits ordered and should be here by Tuesday. Leaving some parts in paint stripper overnight for reprinting as the paint had reacted and bubbled/blistered. Presentations everything! Not ideal but don't want a leaky engine!
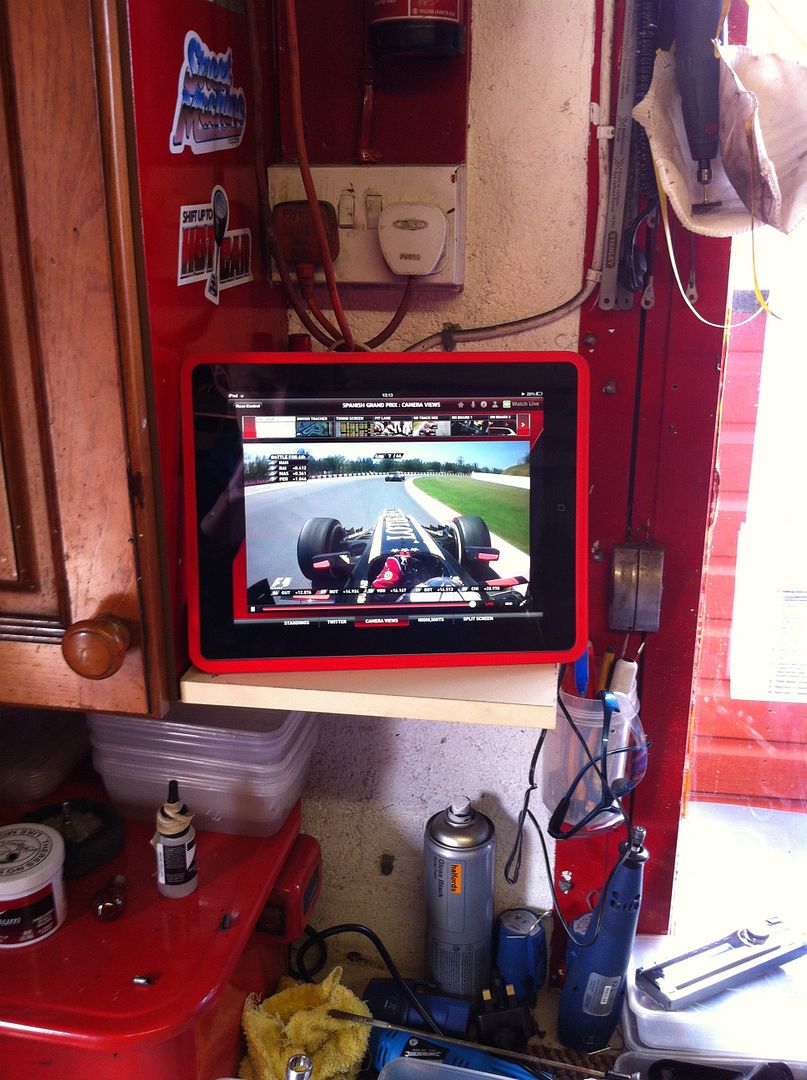
No pics of what we did as we were trying to get as much done as possible. That didnt stop us listening into the grand prix on my iPad though!
Tonight however I got my other door rebuilt to hopefully hang this coming weekend. Turns out I was having difficulties fitting the glass before as there was the remains of the original window channel seal, about 5" long still stuck in the door which was jamming up the glass! With this found and removed, it went a lot more smoothly!
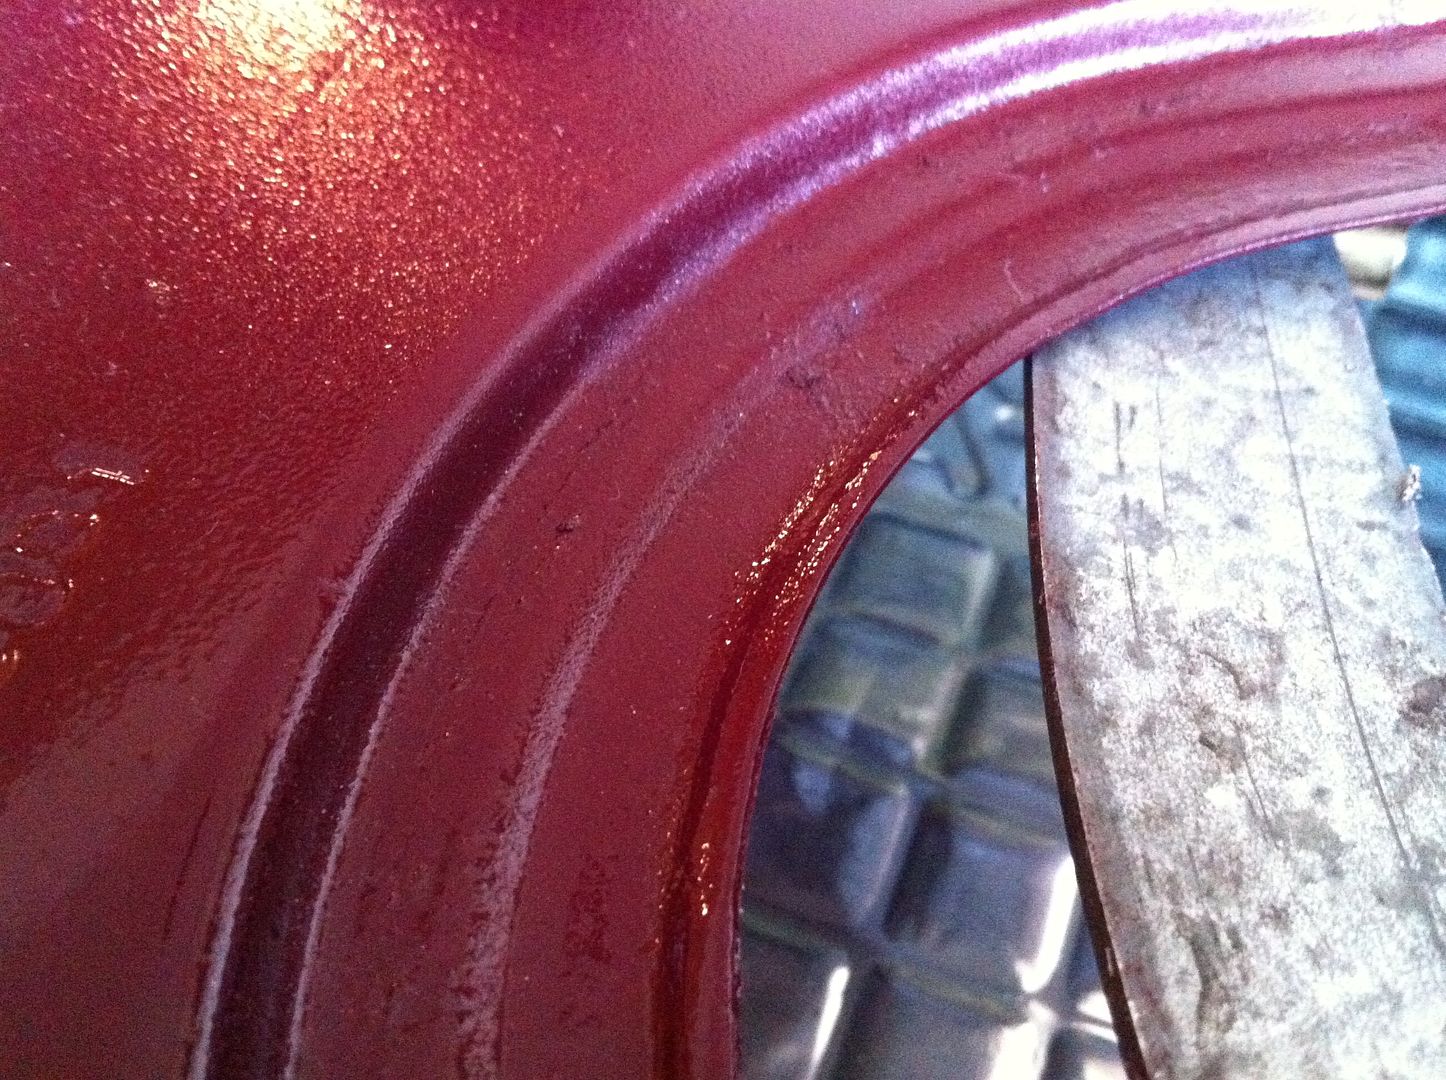
Again, protected everything with blue tape. Its cheap but does the job of stopping scratches well!
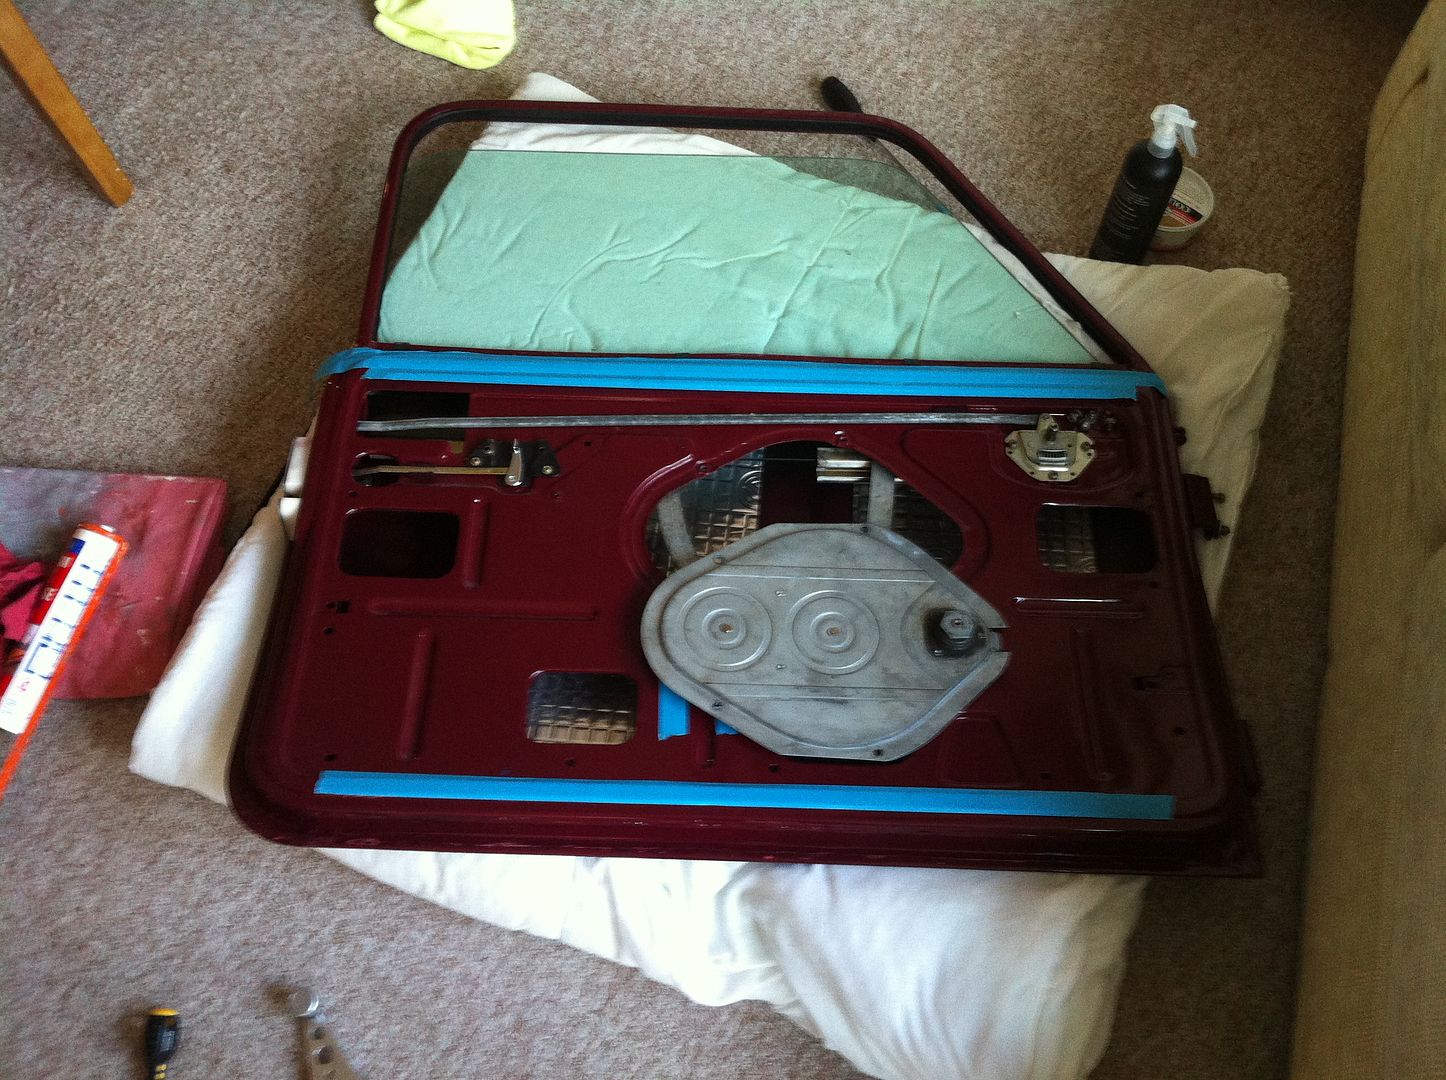
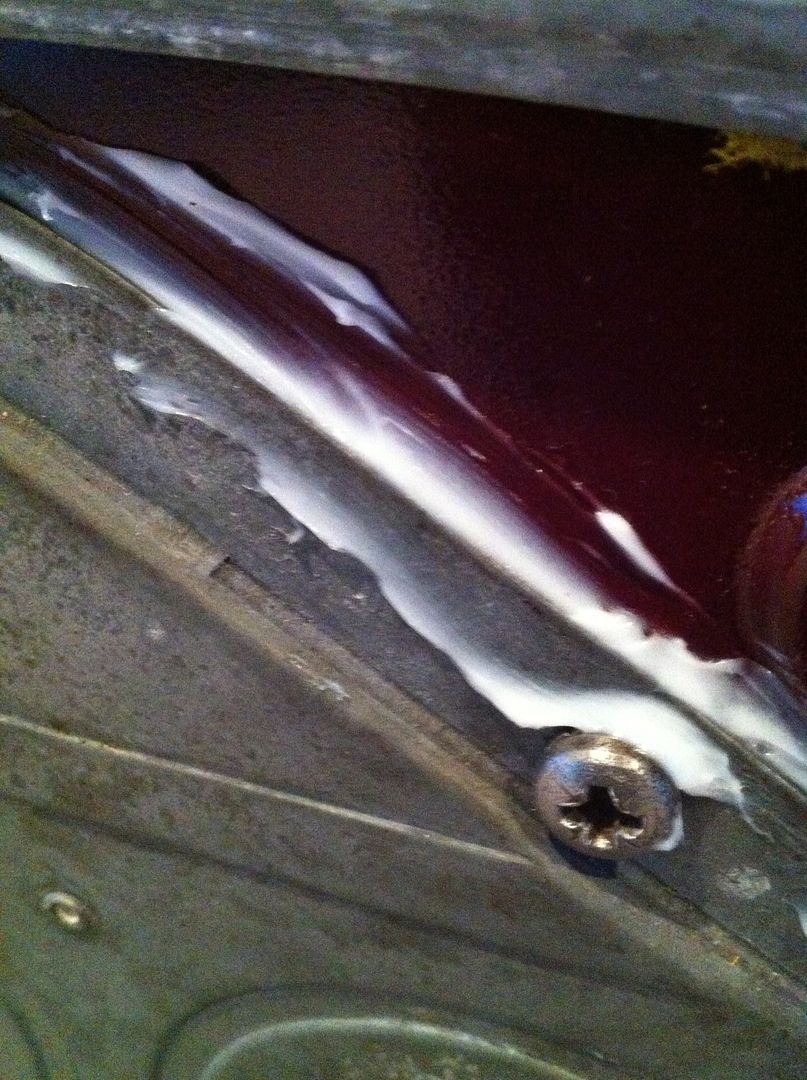
On factory doors this channel is filled with a grey putty. Obviously this was removed before painting but it does act as a good seal. Instead of this I decided to use clear silicon which wont dry out so easily as the putty did (it was rock hard upon removal)
Little bit messy but dries clear and will be covered by the door cards anyway!
Then went all Karate Kid on the doors. Wax on....
Wax off!

Still amazed at the finish on them!
Mirror mirror on the door.......
So without the parts I need for the engine, and the engine parts taking up all the floor space in the garage Im stuck for work tonight but Greigs coming by to help again tomorrow and with the new seals etc, should get the engine reassembled again and maybe even reinstalled! Although tis seemingly more and more unlikely I will make the Thistle Run, Im not going to give up. Its not over till the MOT man says no! :lol:Leave a comment:
-
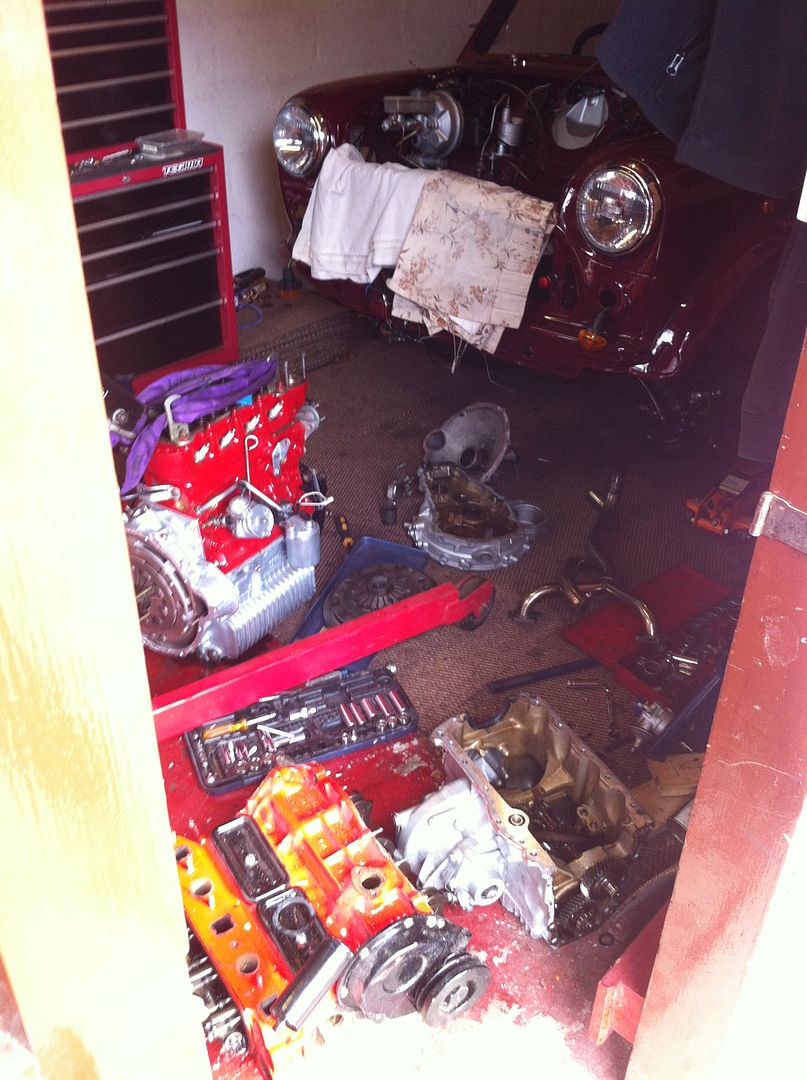
Friday night my mate Greig and I tried to fix the linkage to no avail. Even swapped over the entire linkage (I had a spare, as you do.....) but still no first or second. Open heart surgery time!
Fail!
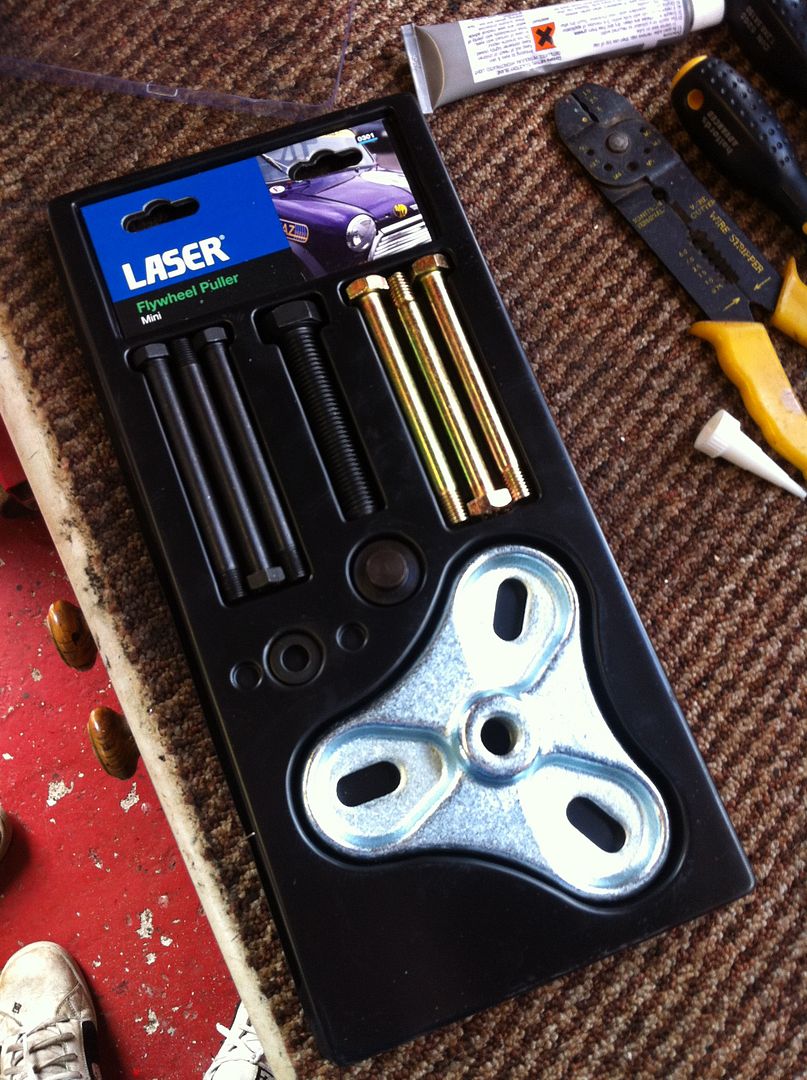
So as I had a 998 sitting from the car originally, we set about plucking the box from the block. So my dad and i set about it! People say that the flywheel is a nightmare to remove......it came off with two turns with the puller tool. Ace!
Worked fine before rebuild so will still be fine now. Got all the gaskets etc in stock as I bought a whole engine kit a while back and didnt use it all. Handy!
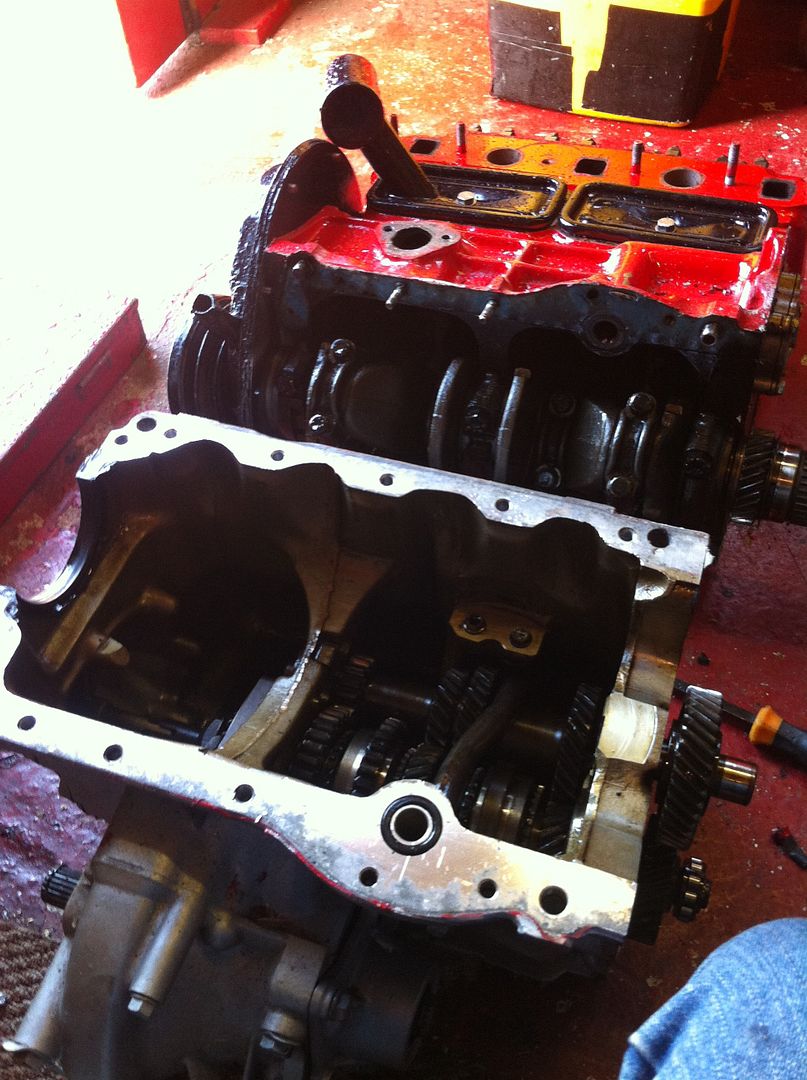
Standard inner box shot.

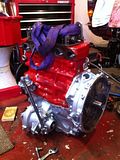
Engine in, running fine, just no gears. Shame as it was SO close!!!
Stripped the ancillaries minus the clutch and brakes systems as I didn't want to rebuild them too. Unbolted the brake servo and managed to get the engine out around it. One less job to do!

And with everything disconnected the engine was pulled out gradually so as not to damage anything and to ensure we werent dragging anything with it that we had forgotten about. We did it without a scratch on either engine or body. Very happy with that!
Empty bay, hopefully filled again soon....

So we tried to take the flywheel off the 1275 but wasn't budging so leaving it overnight under pressure (dum dum dum dum dee dum dum :lol and sometimes the pop off by morning.
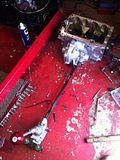
Looks a bit of a mess but its sort of organised :lol: Was out this evening so didn't get anything else done but pretty sure the above is an acceptable amount of work....
Next up, gearbox swap over and refitting! Busy weekend!Leave a comment:
-
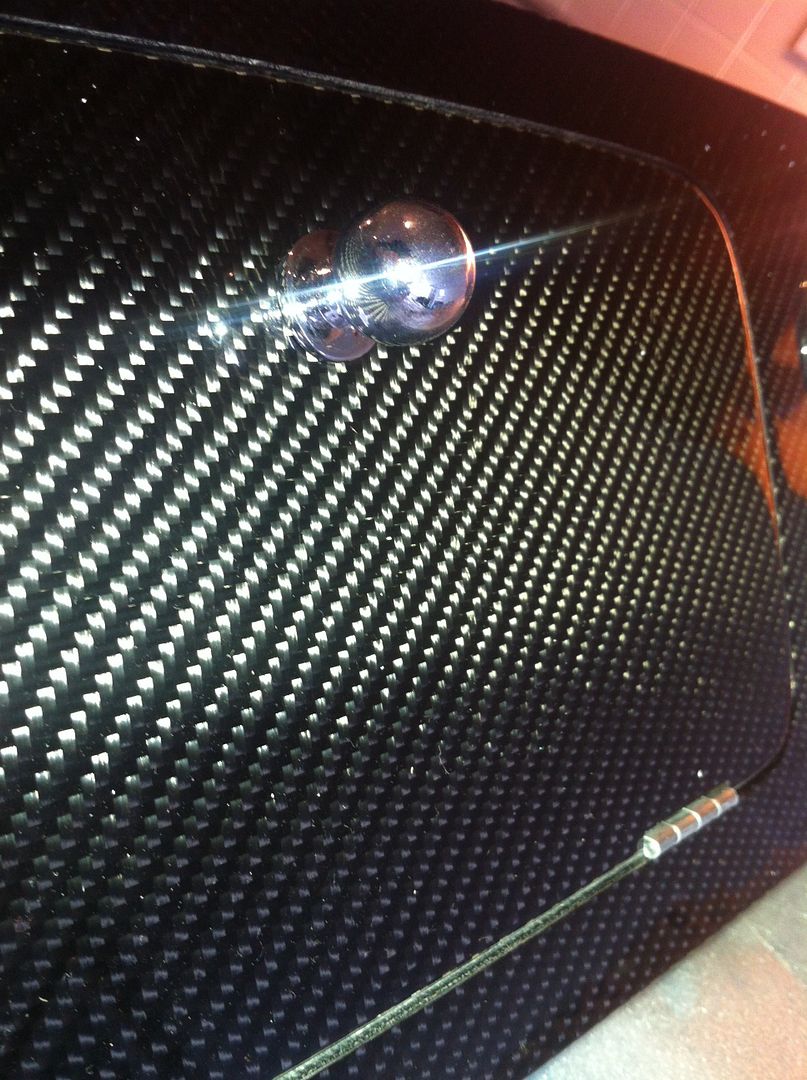
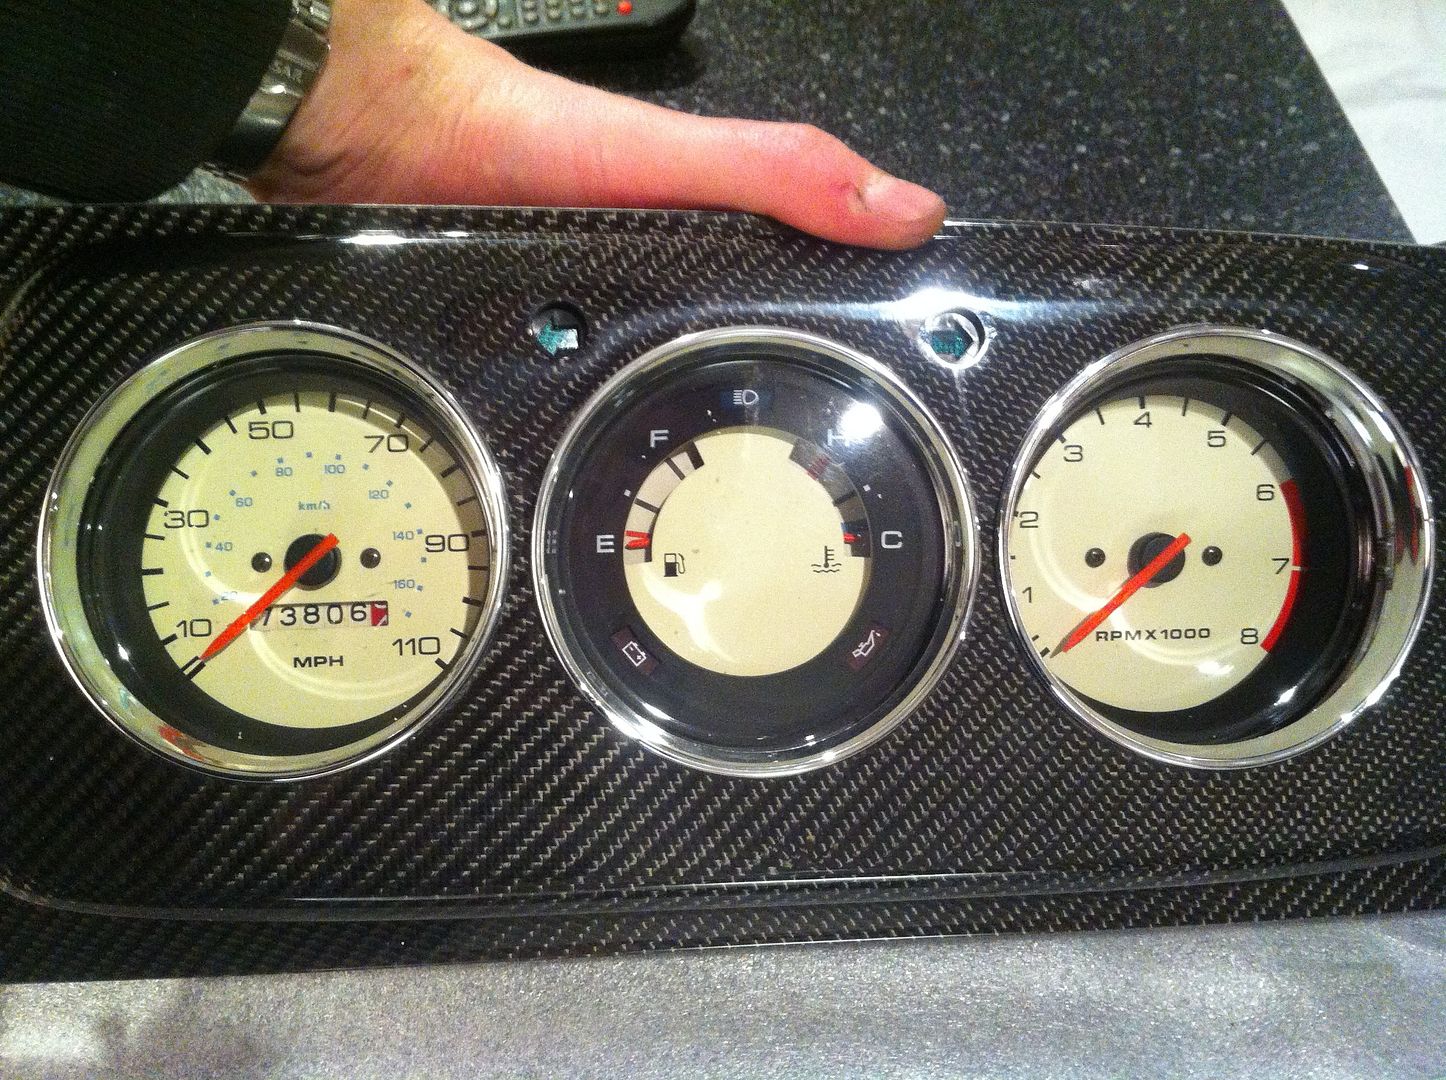
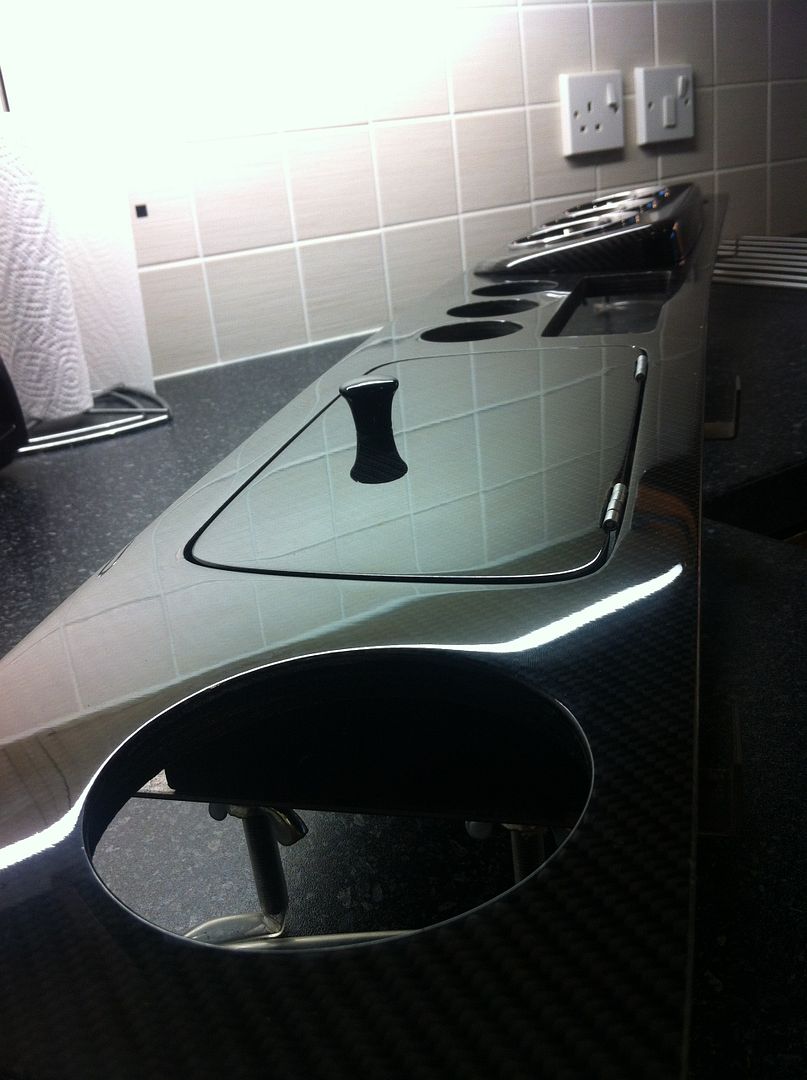
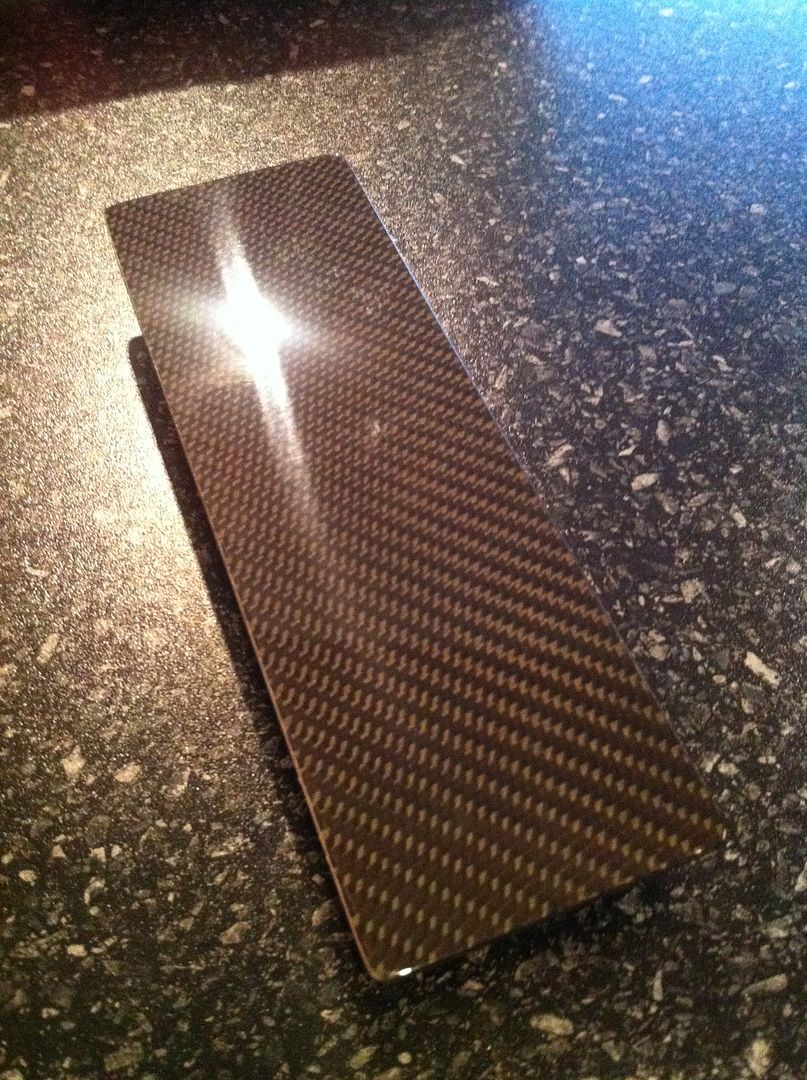
Before I go out to do more work I had to share this. New arrival today and it is quite possibly my favourite bought part of the whole car. Full real carbon fibre dashboard in original dashboard style. Stunning!
Light is weird in this pic so it looks fake....
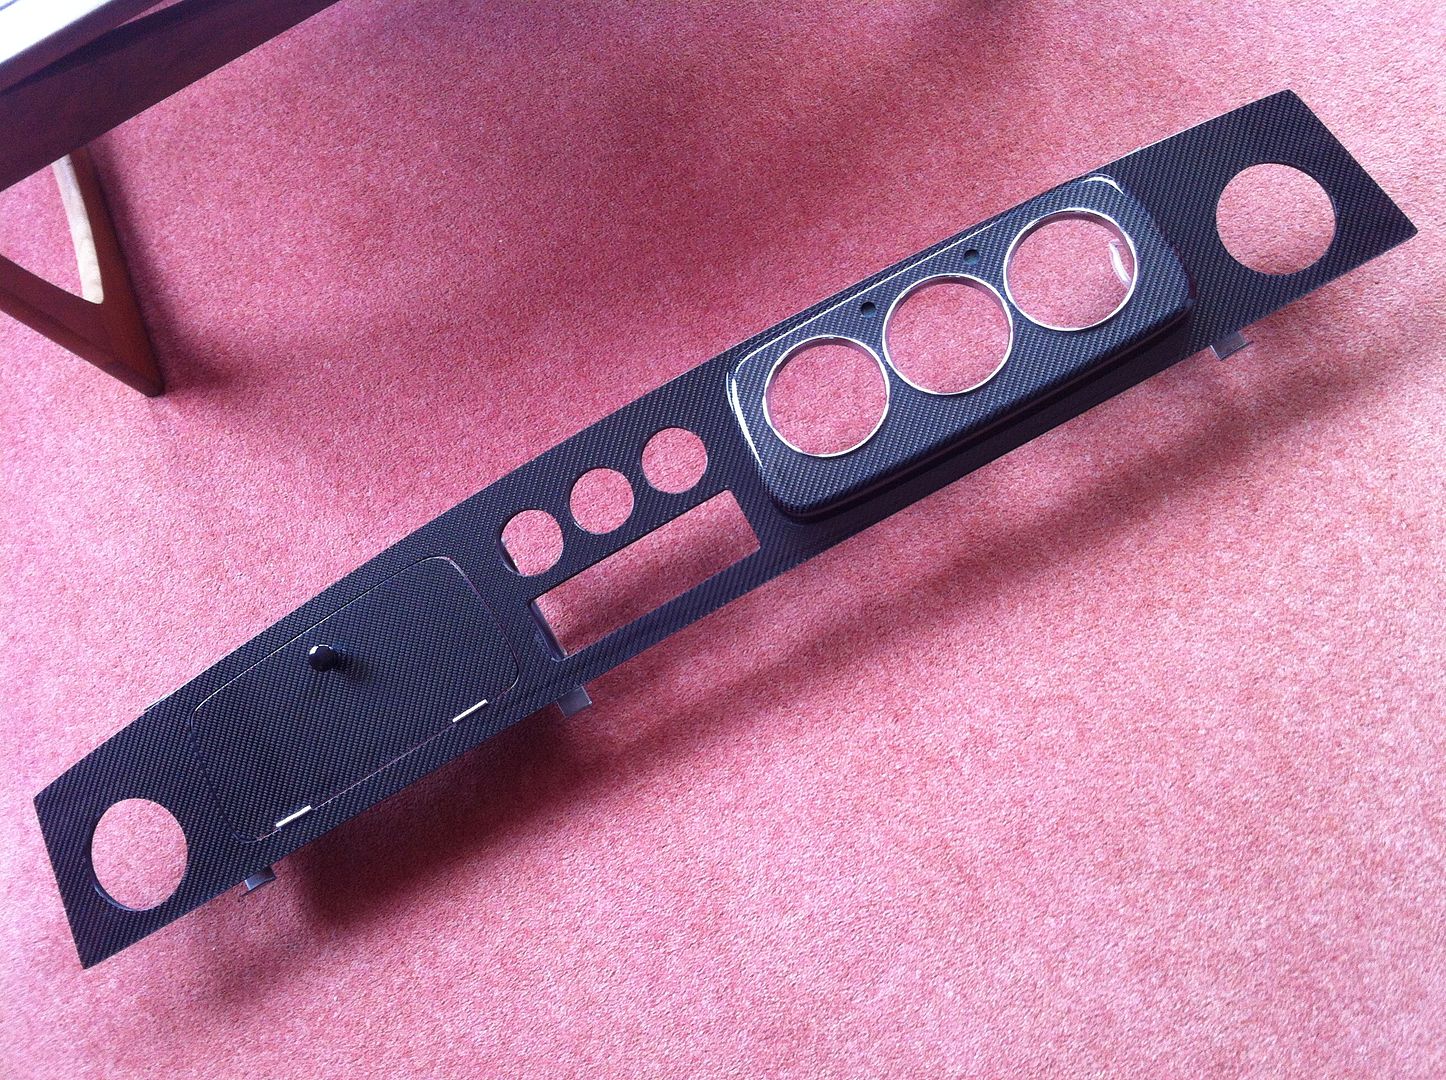
but it isnt
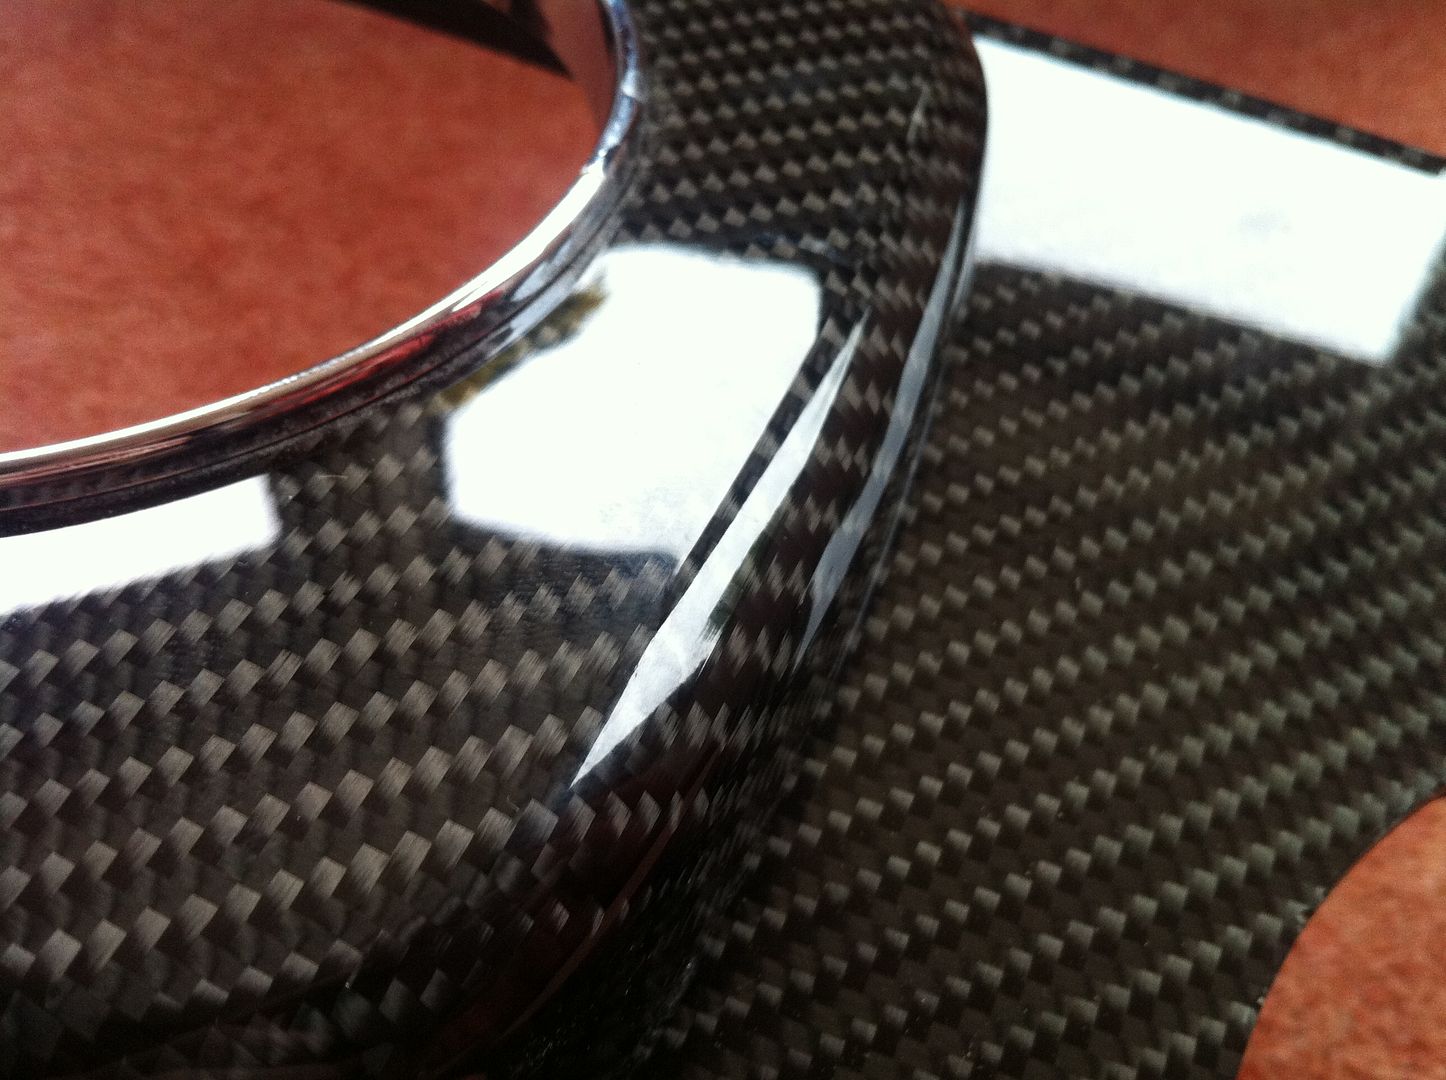
Comes with fitting brackets on the back and chrome rings on the tripple clocks. The other three come with their own bezels on anyway. Going to look stunning against the alcantara dash rails top and bottom.

Its got a good 1mm of lacquer so plenty there if ever it needs a polish. Main binnacle is removable which will help too. Going to change the glovebox knob for a chrome one to balance it out against the surrounds.
And I also have a spare bit (the radio blank) for another little side project Im working on
Chuffed!Leave a comment:
-
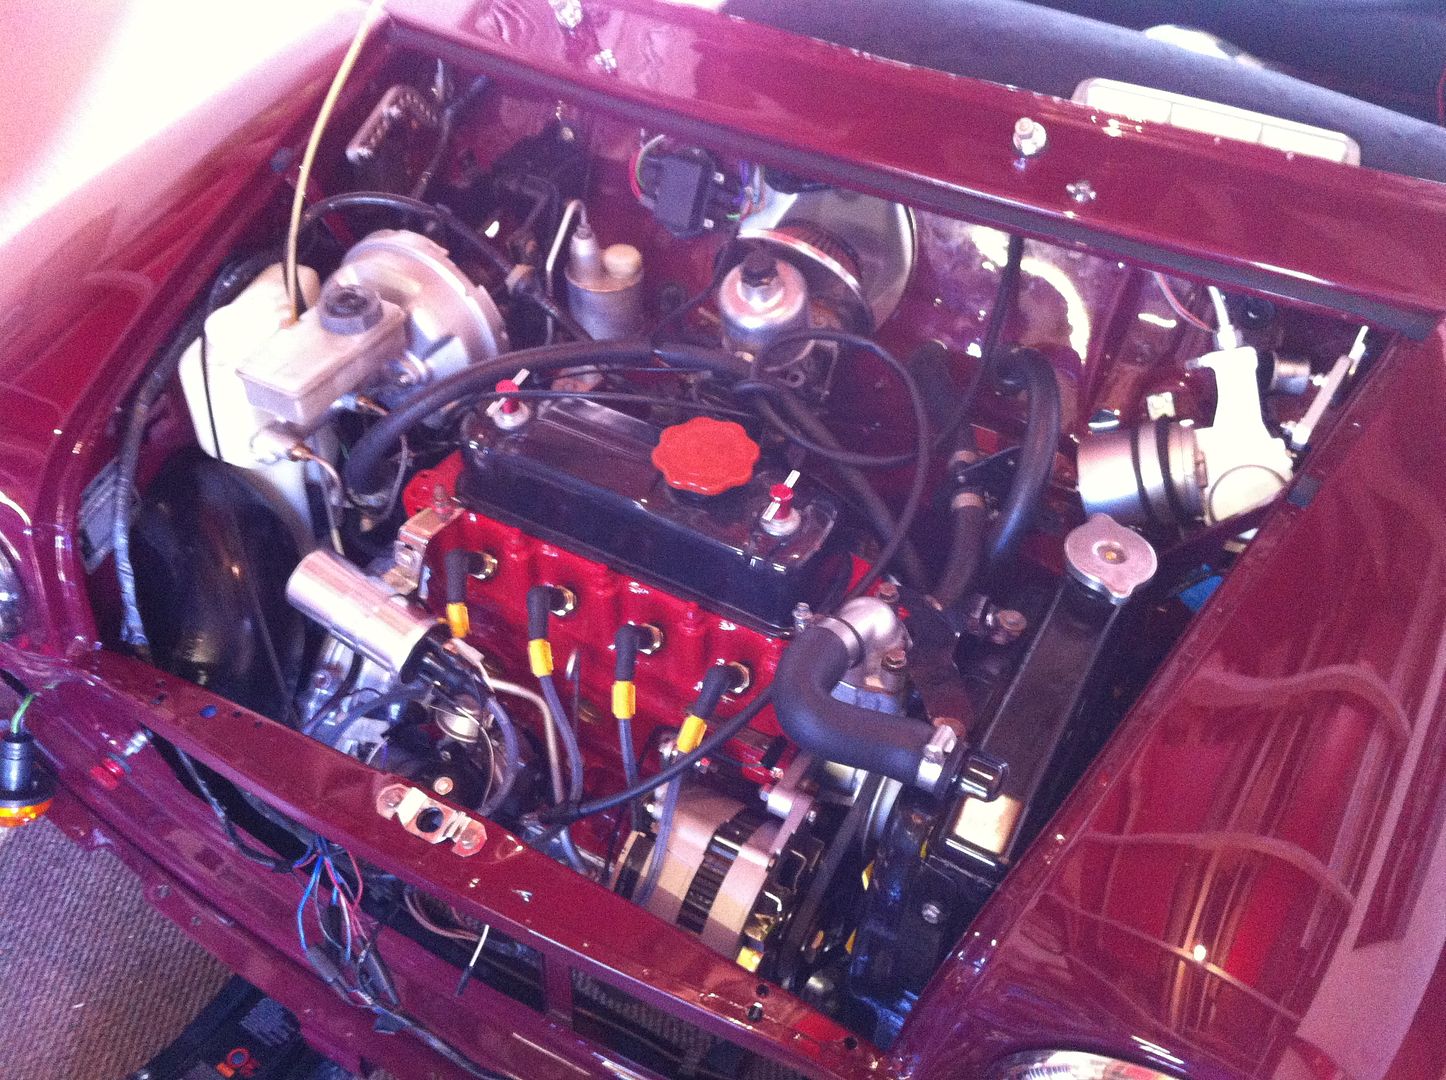
Some more progress tonight again.
Got the engine running much smoother. Need to seal up a few gaps in the exhaust as its making it sound a lot worse than it actually is. Still running a tad rich but going to get the MOT station to perfect it after the MOT is done.
Got my wiper motor and linkage fitted. Works perfectly with the new switch! Spot my helper......:lol:
Also got my air intake for the heater in but no photos of that. Unsure how it attaches to the inner wing though as its pretty loose. Something for another evening when theres still light.
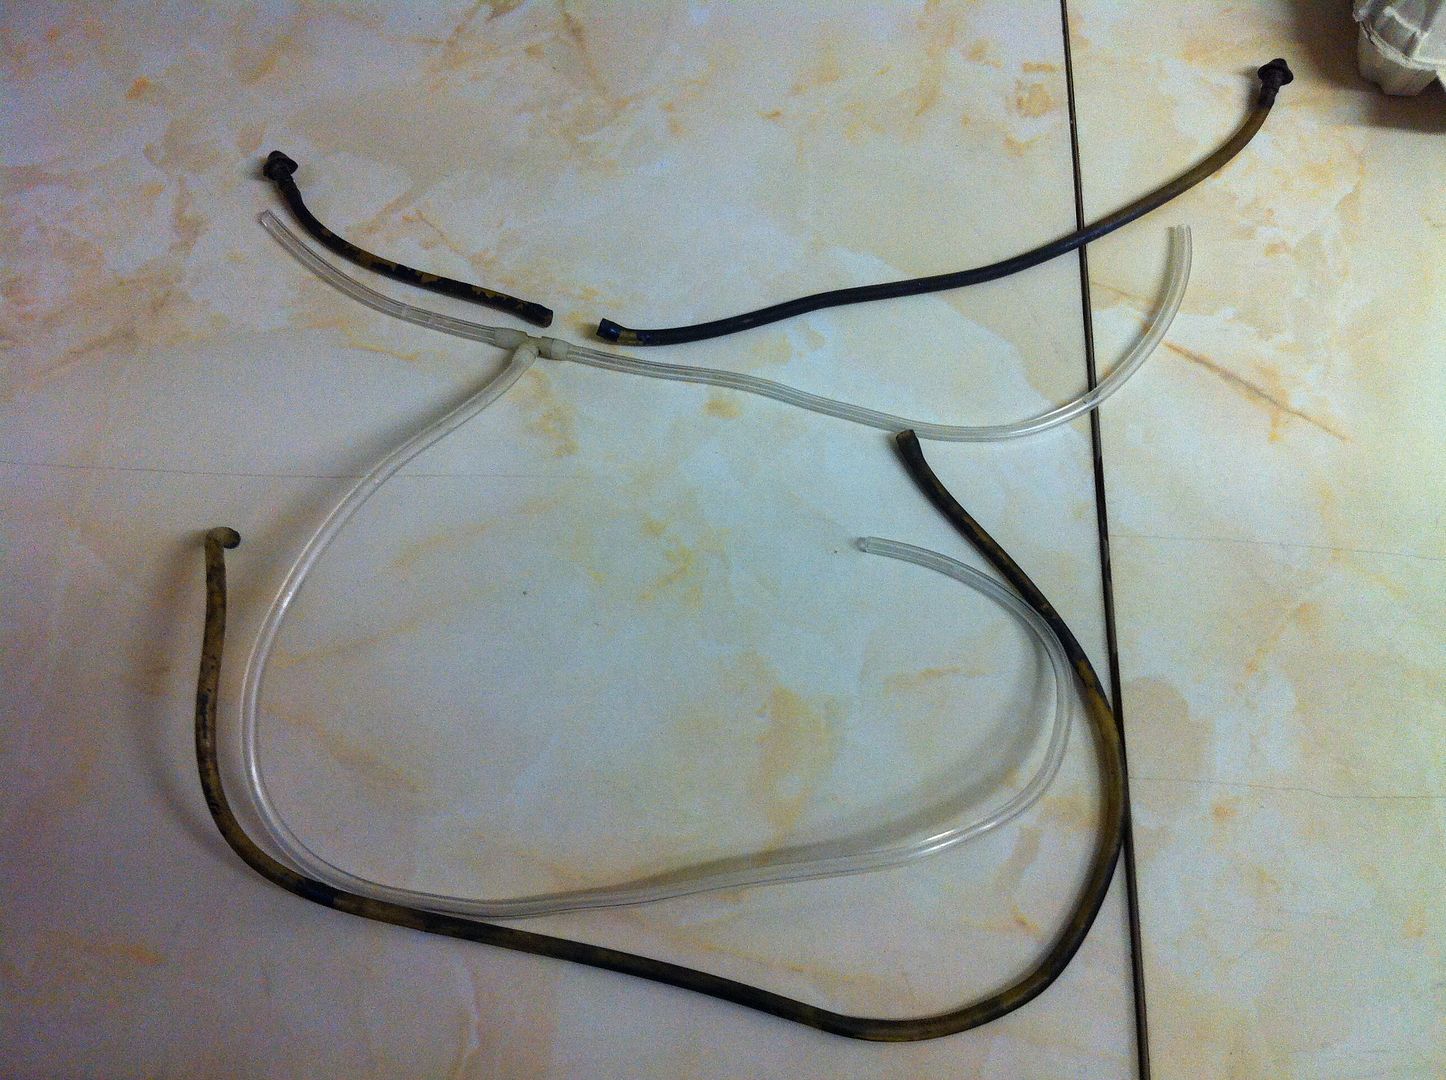
Replaced my washer pipes. Old vs new......
Going to have to play around with the gear selector as its not selecting 1st or 2nd. Only 3rd and reverse have been used, not sure how 4th is.
No other photos as mainly we were just doing small things but will get more tomorrow!
Cheers to Greig for the help!Leave a comment:


Leave a comment: