-
Hmmmmmm.....I doubt it!Originally posted by Steinke View Post
Originally posted by Ben Moak View PostOriginally posted by MikeyRa View PostThanks guys! Appreciate all your kind words.Originally posted by martinm13 View Post
Update!
Had the whole weekend off work so got some odds and ends done on the project.
First up was gluing the front of the headlining in place with help from my mum. Leaving it for a few days to properly set and grip.
Then I got round to sorting a cross threaded brake union. Bought a flaring tool and lots of spare unions just incase I need to do more in the future on my fleet of cars.
Then with the help of my dad the brakes were bled using the tried and tested Gunson Eezibleed kit. Brilliant system!
I also made some adjustable height brackets from scratch for mounting the plate. The plate can be moved up or down about 1-2cm each way which will be good for MOT day Im sure! Properly happy with the look of it as it hides the quite large back box perfectly.
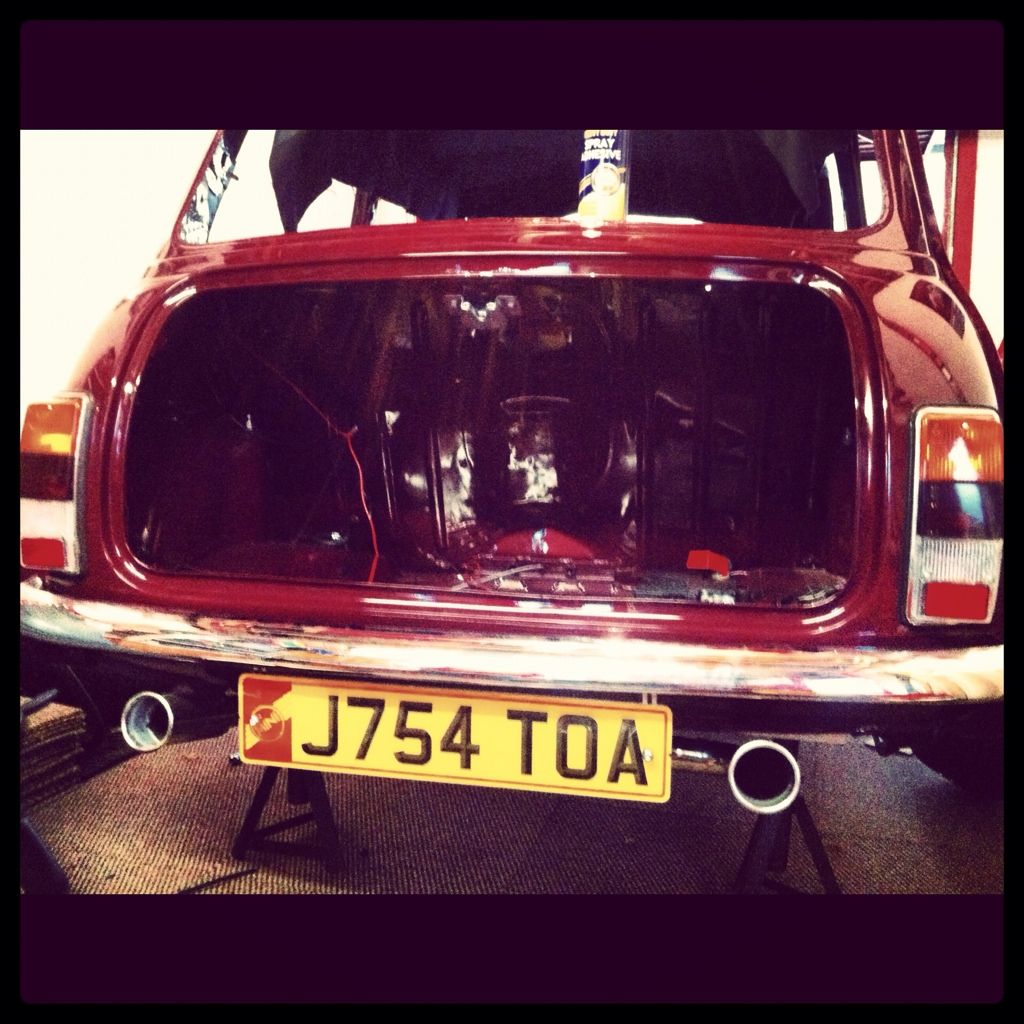
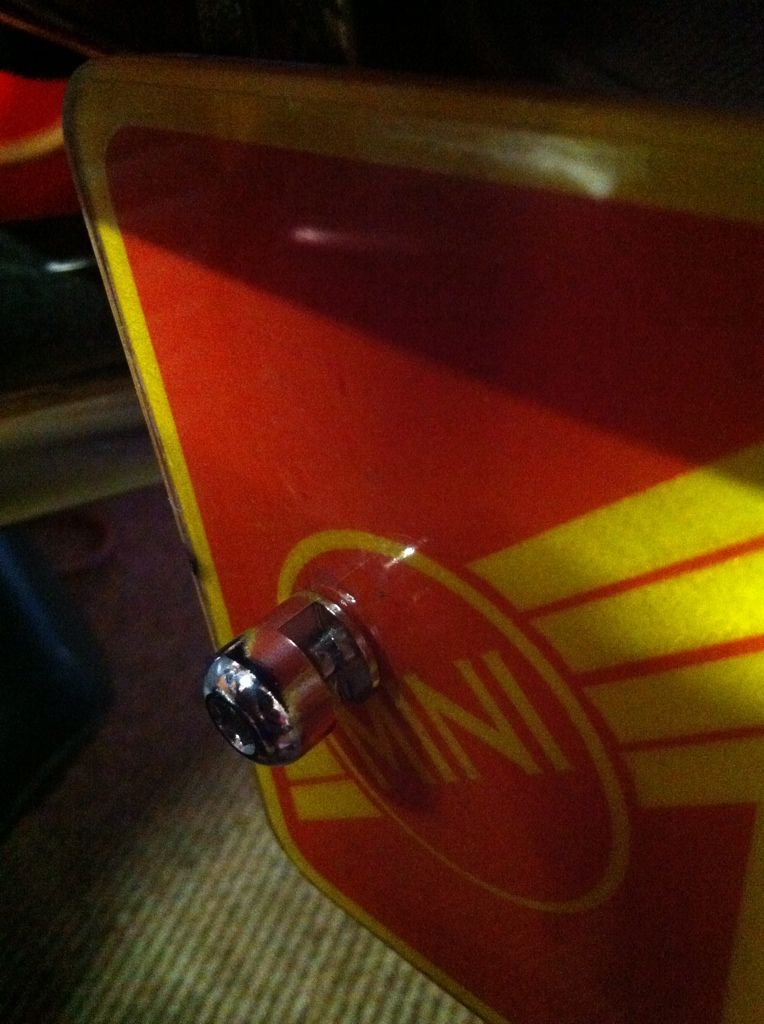
Its held to the brackets by my LED plate bolts. Very clever idea!
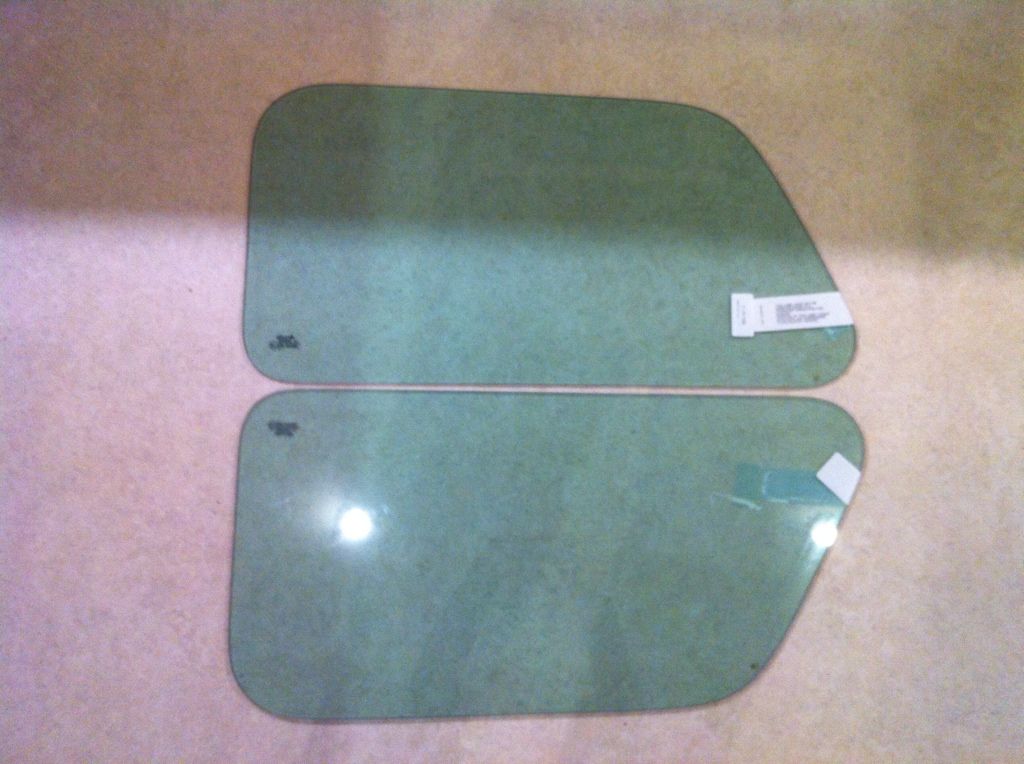
Also got my tinted non opening rear windows brand new from P&L Minis. So thats my set complete!
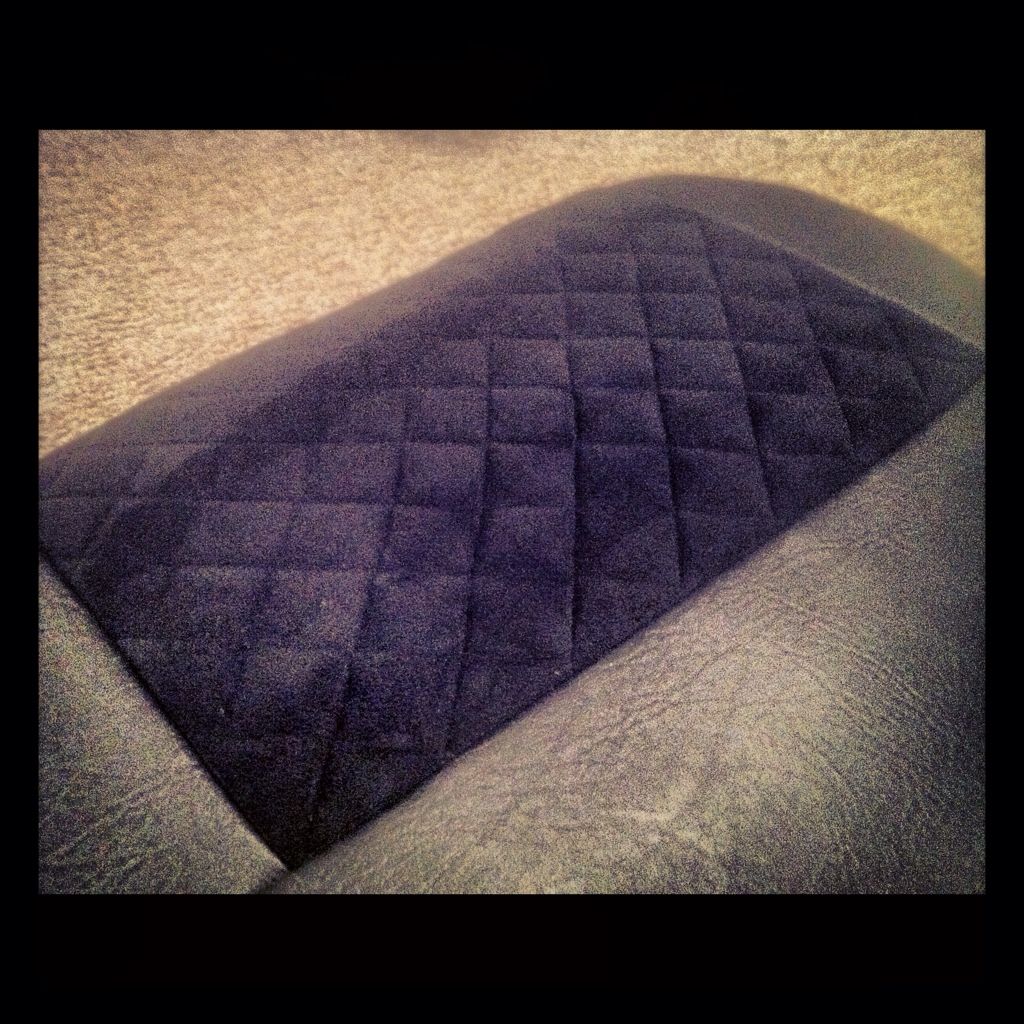
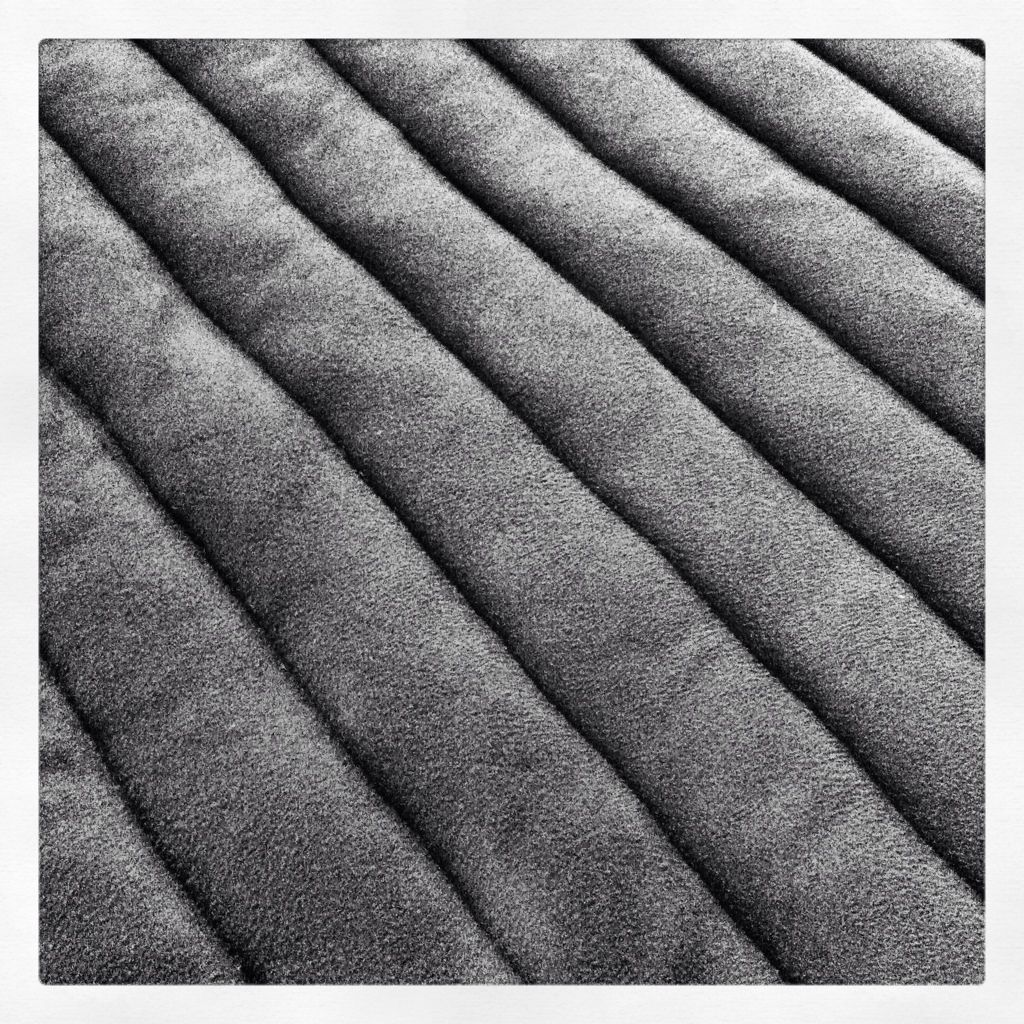
And a special shout out to my mum for making this rear seat!
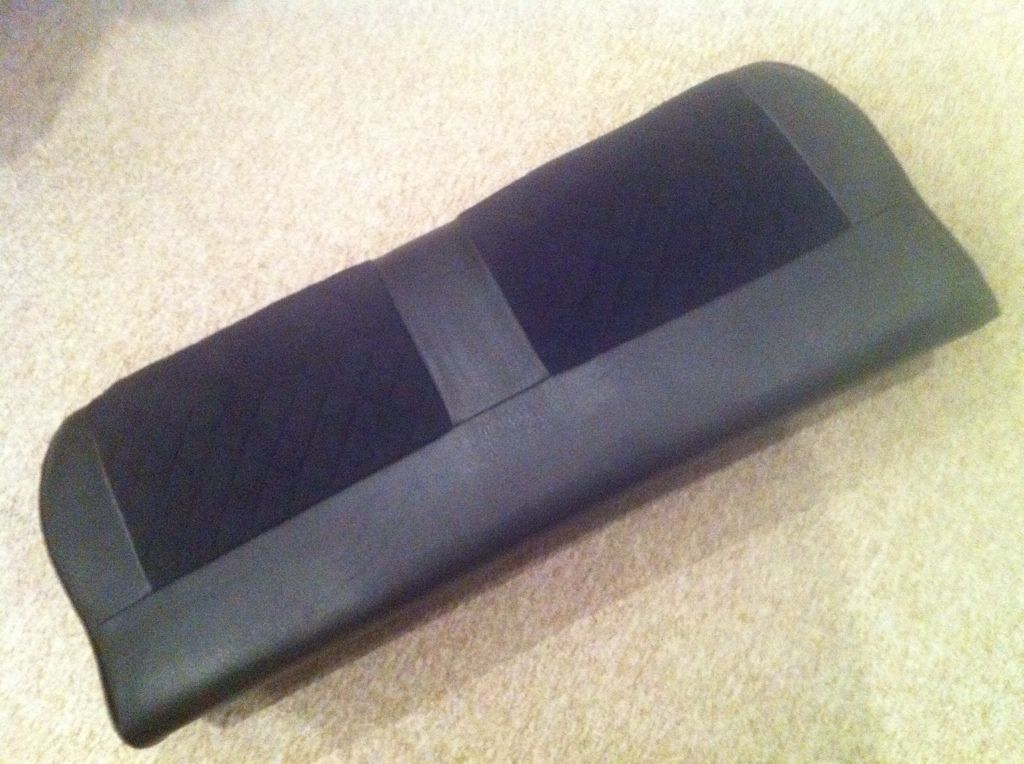
Fully homemade in vinyl and fake suede with diamond stitching. It looks AWESOME!
Next up is finishing off the tank, installing it after I work out a practical way of mounting it and then try and finally tackle the electrics to fire the beast into life for the first time!Leave a comment:
-
When your done.......PM me for my address so you can ship the car
K thanks
Leave a comment:
-
No worries! I like writing about it.Originally posted by ak-47 View Post
So not much progress as I have been working mad hours at work to rack up the overtime! Means I am tired 24/7 but worth it at the end of the month!
Decided to fill and bleed my brakes. Got all the unions properly tightened, poured in fluid and found a rear one was leaking. Turns out the brass end had cross threaded so ordered up some more from eBay along with a flaring tool so I can remove and then reflare the pipe.
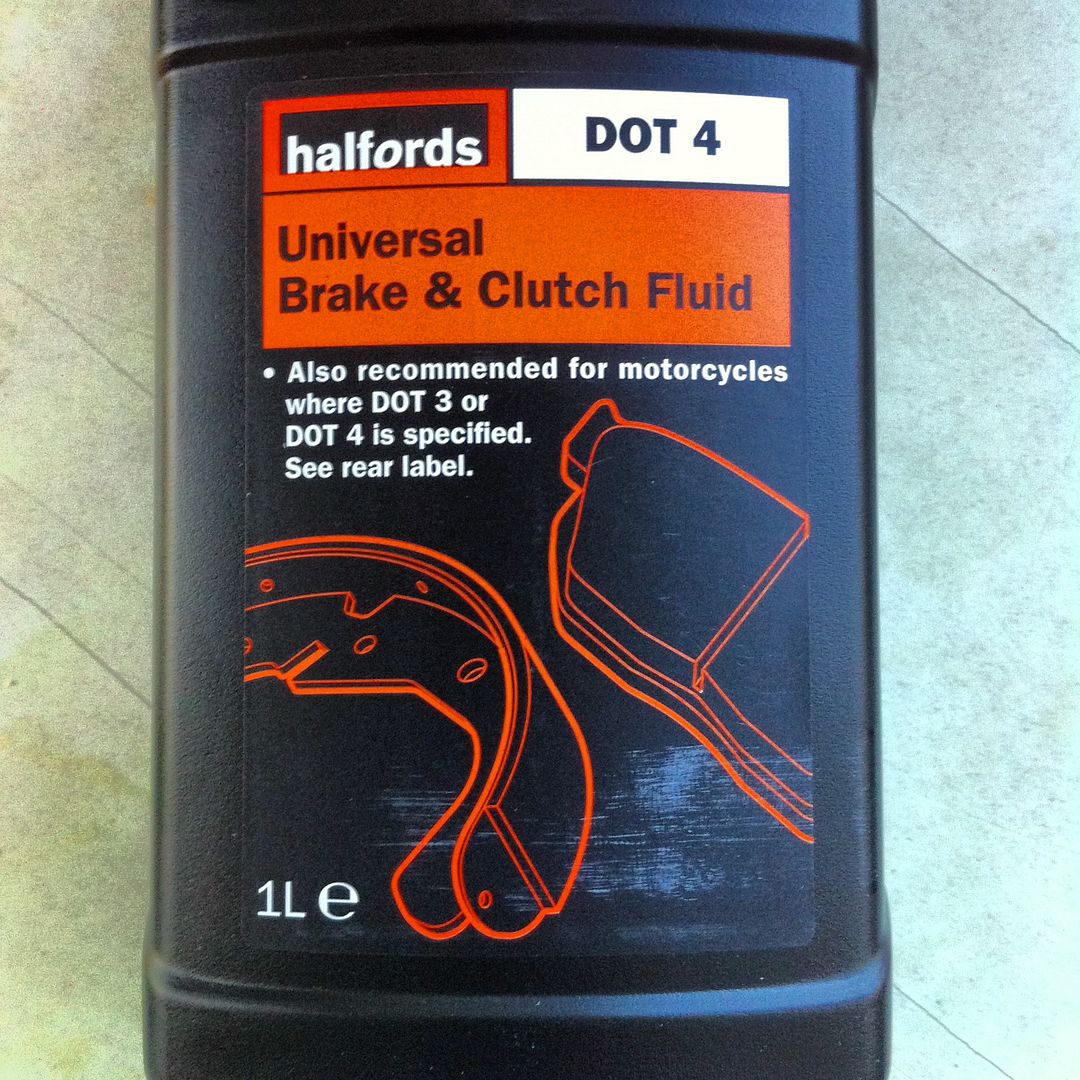
Just using this stuff as its not a performance car.
Mum has also been busy working away at the sewing machine.....
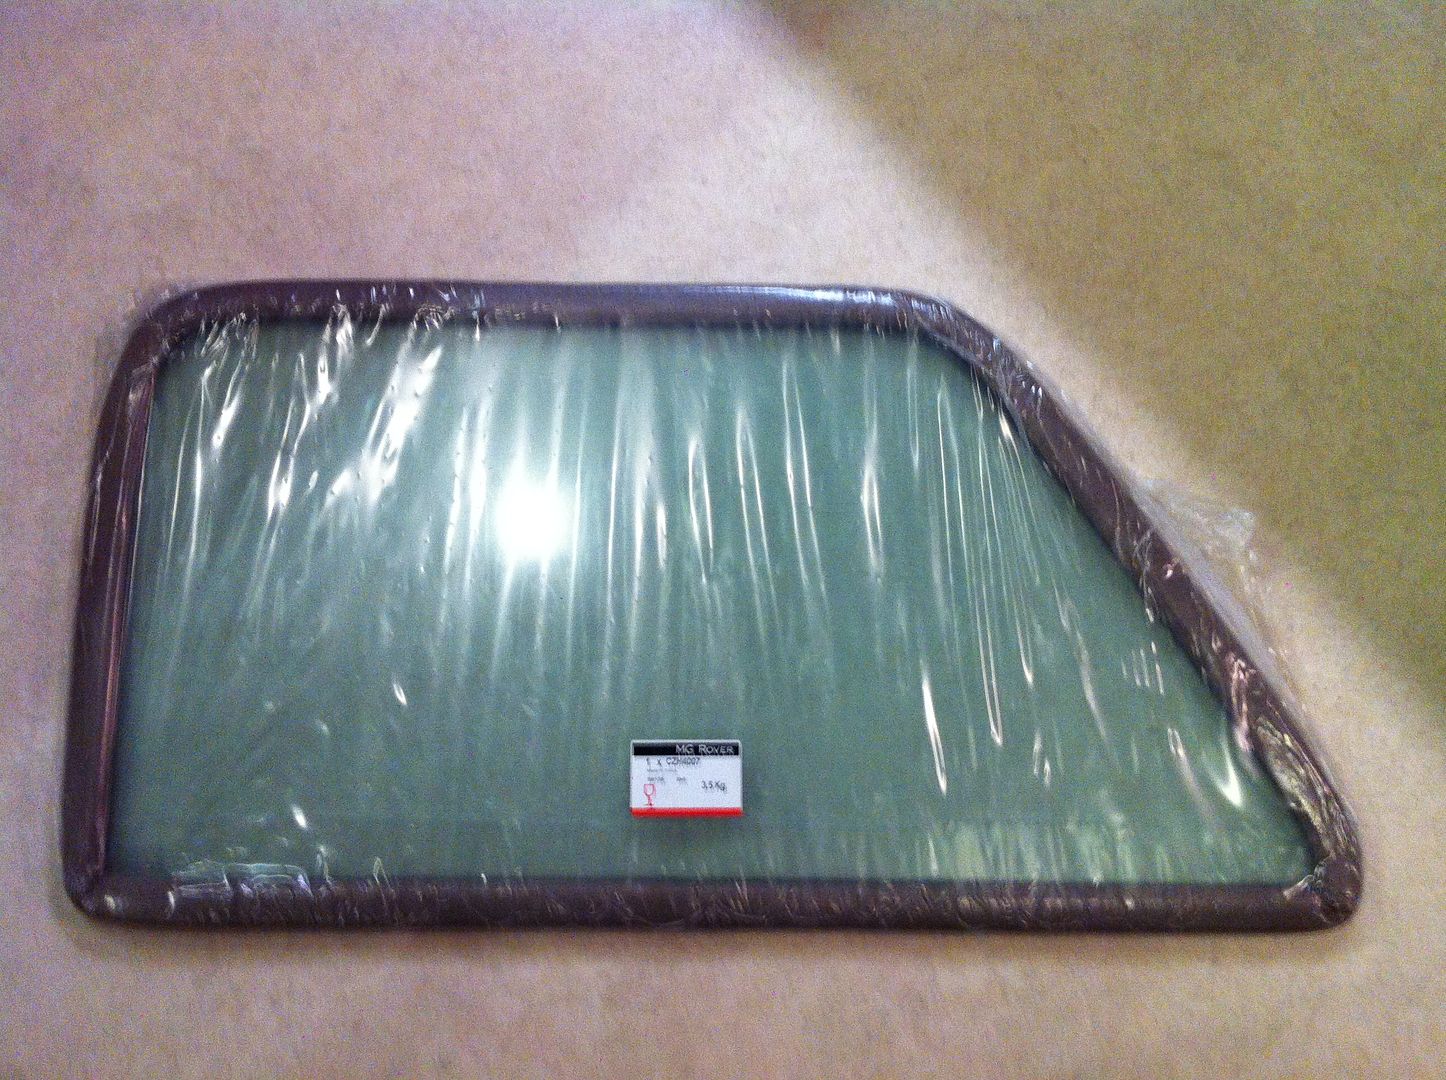
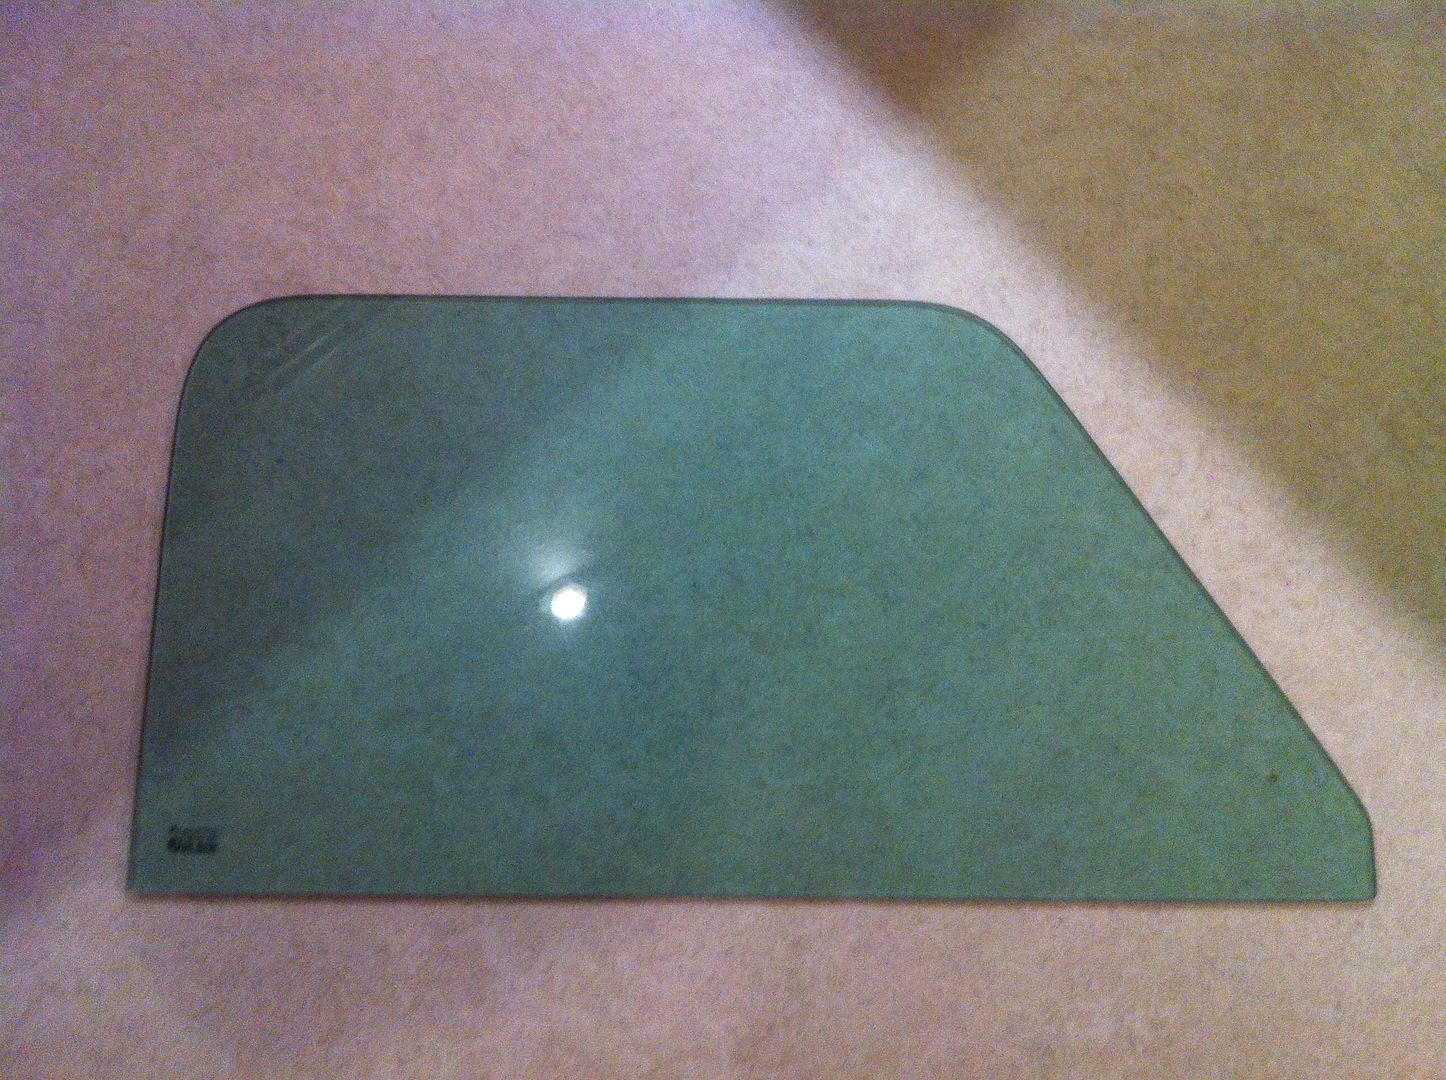
and I have now got all my missing tinted glass after finding P&L Minis have a handful of new old stock Rover panes in stock! Thankfully they post too!
So heres a drivers pane by pilkington so its a late '90s window. As its drivers side Im now going to have to disassemble my drivers door to swap the glass over. Annoying but better to have the perfect window on the drivers side!
They also had 10 non opening rear windows in the factory tint in stock too! They now have 8 Should arrive tomorrow or day after.
Hedlining is getting finalised at the weekend and then the windows will go in and I will get the brakes bled and tank finished off, painted and installed. Then it really is just electrics to do!Leave a comment:
-
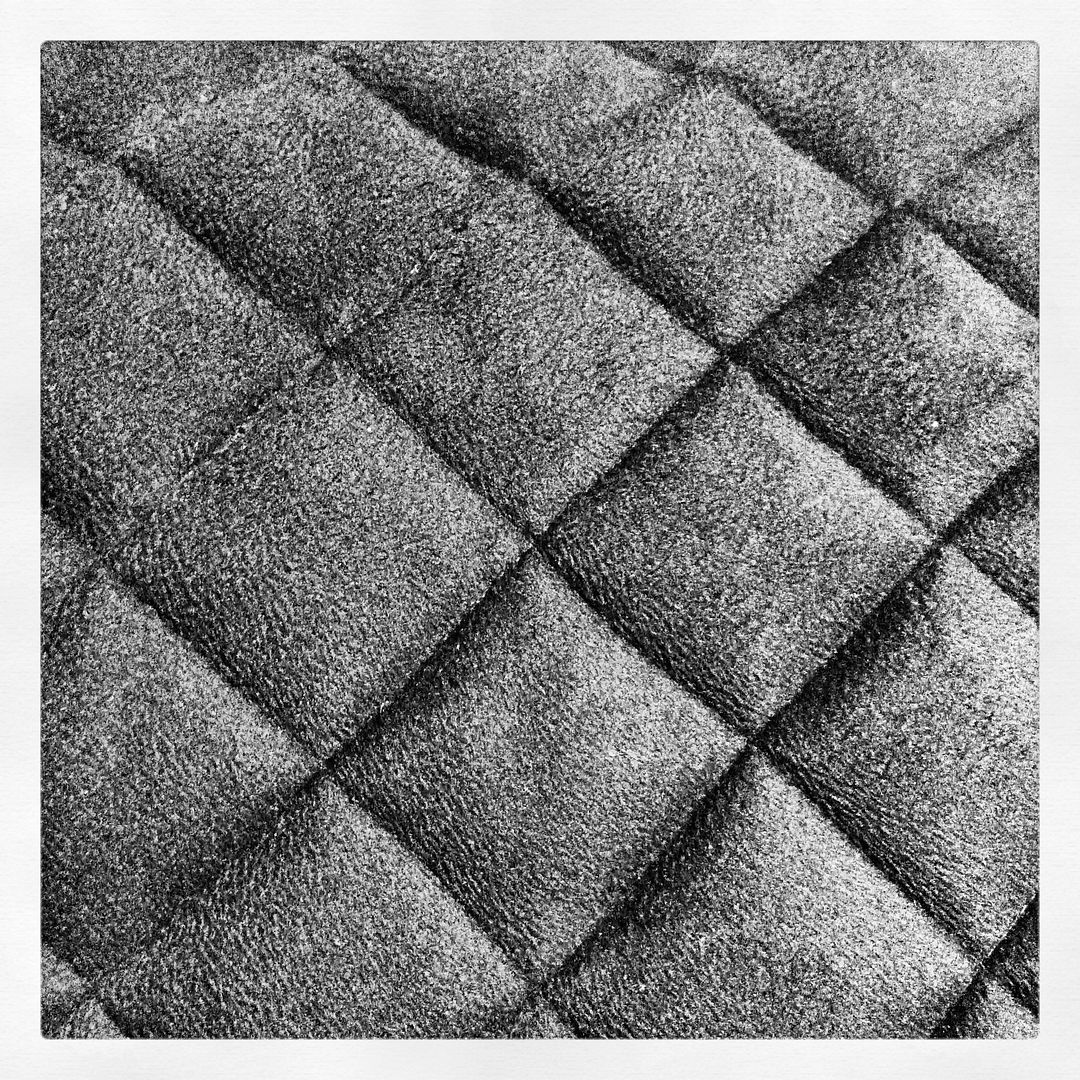
Mum has been busy today whilst I was at work........really happy with it so far!
Just the other direction to go now.......
Leave a comment:
-
OK so the last couple of days we have been busy with the interior bits. First up, finish off the dash rails.
We kept on sticking a bit down, leaving it for a day or two then repeating as we went. Clamped on with clothes pegs as the adhesive dried.
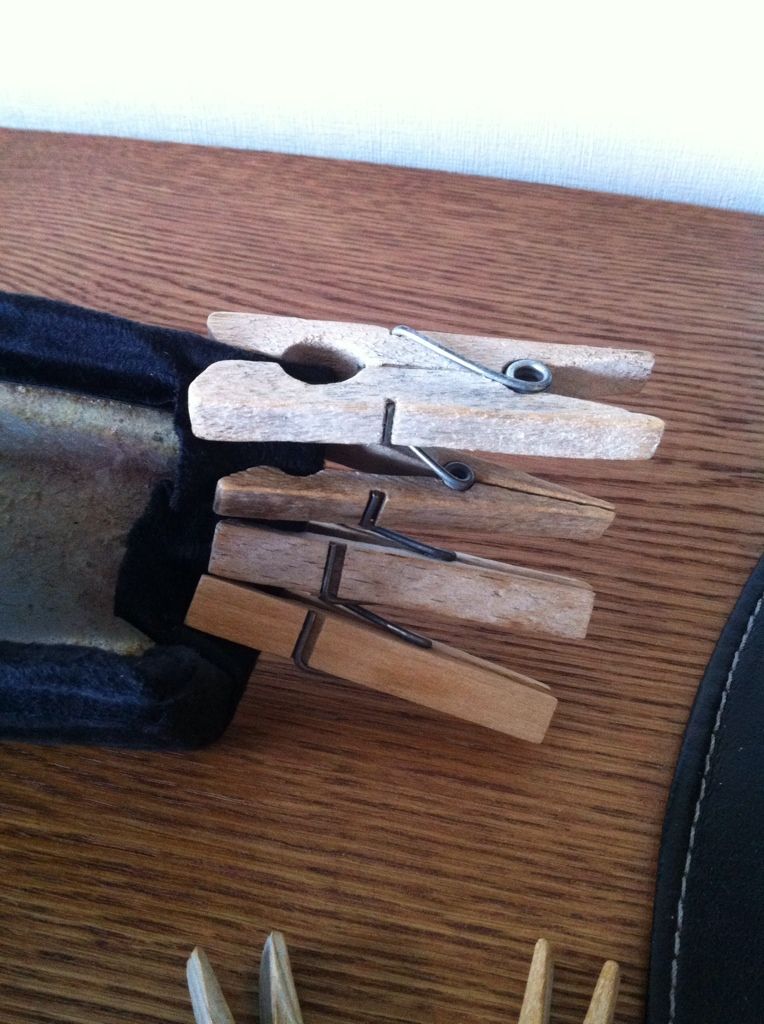
So thats them done now. Very happy with the final outcome.
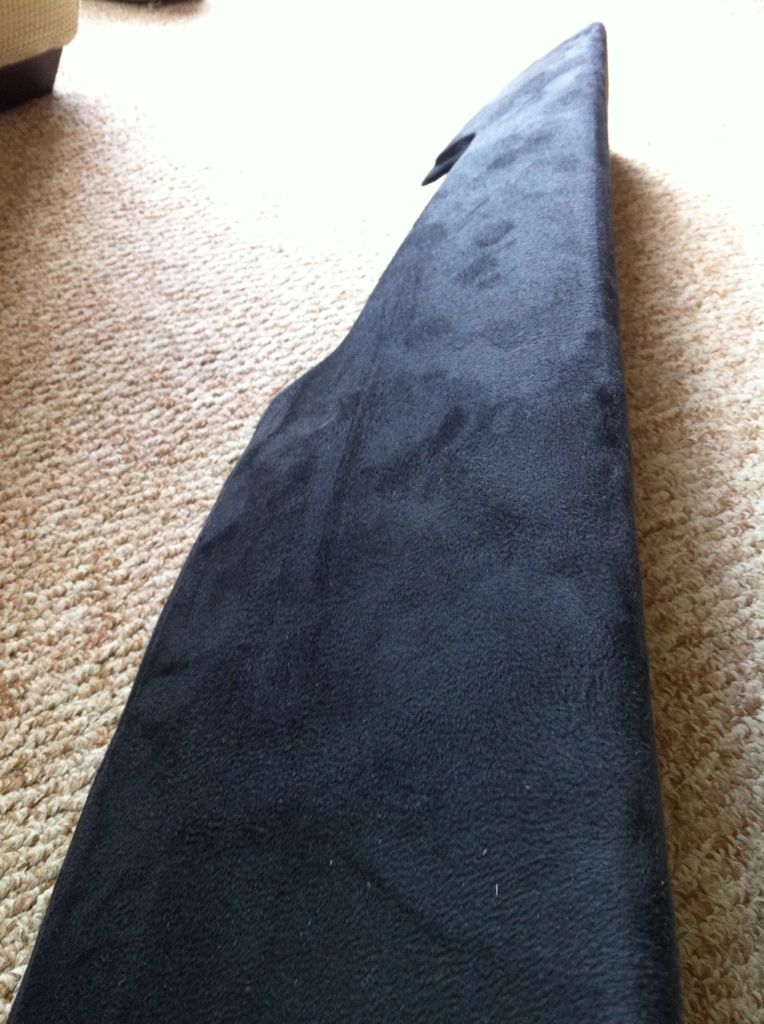
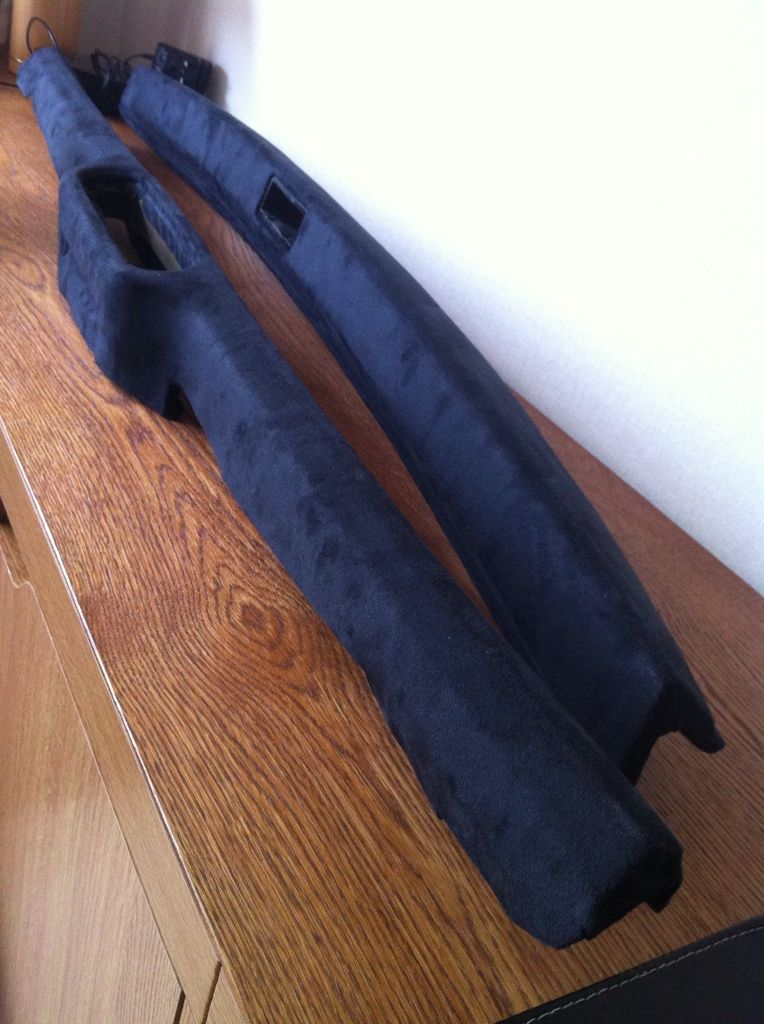
Top one is easier as it is a metal piece covered in foam whereas the bottom is pure foam. More flexible but not impossible to cover.
Then we started on my doorcards. For these Im going diamond stitch suede with leatherette too. This thing is turning into a luxury barge! I want the cards to be slightly padded for added looks and luxury so we bought some wadding to do the job.
So here we have some black cotton sheeting, wadding then the alcantara. The black sheeting is so the wadding doesn't get caught up in the sewing machine.
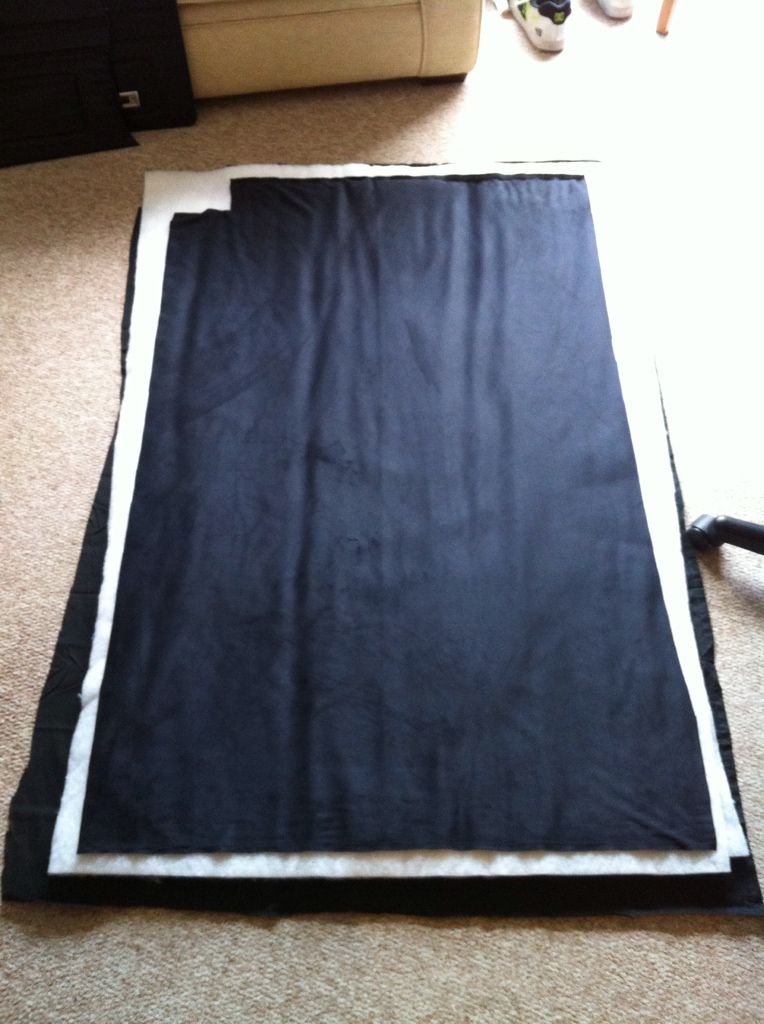
Then we tacked it all out so the material wouldnt move as we sewed.
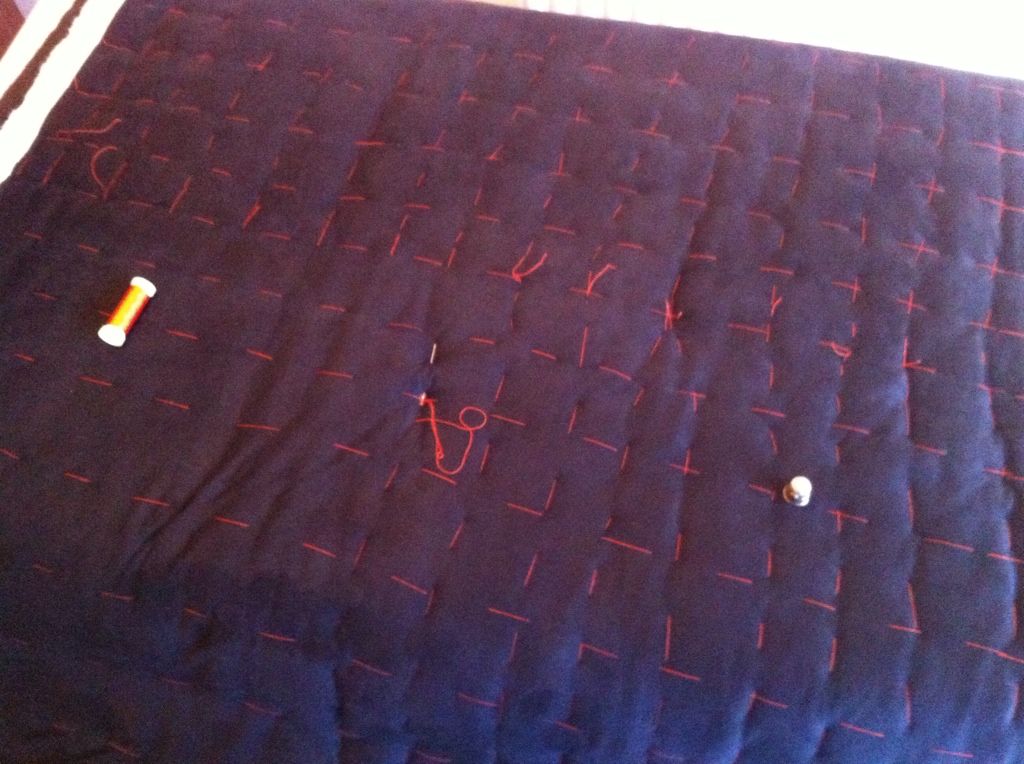
We used double thickness wadding for more defined diamonds but this led to the machine struggling and as a result slightly squint lines. We werent happy with this so unpicked it all and we are now resorting to single thickness.
Sickened by that we moved onto the headlining. Out of the frying pan, into the fire as it turned out to be.....
So the headlining was put in and left to hang.
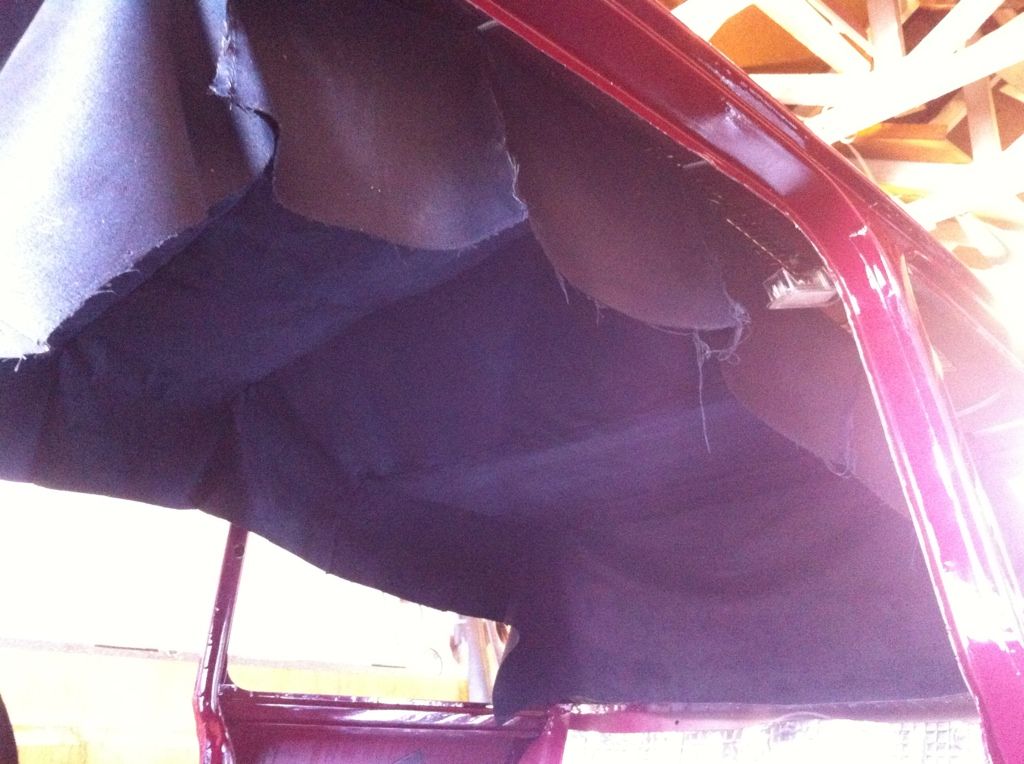
When we rotated the hangers to their upright positions they caught on the material and twisted it. So we removed them again and I set to work with the polishing wheel to make sure they were properly smooth.
Then we reassembled and eventually got the hangers to stay upright after placing foam between the hanger and roof to 'lock' them in place.
As it happened its dam tricky doing a Mini headlining, so we got one edge (the back window) done before we called it a day, to leave this to set. I hammered on a boot seal to the lip to hold it on the glue on both sides. A handy tip I found online!

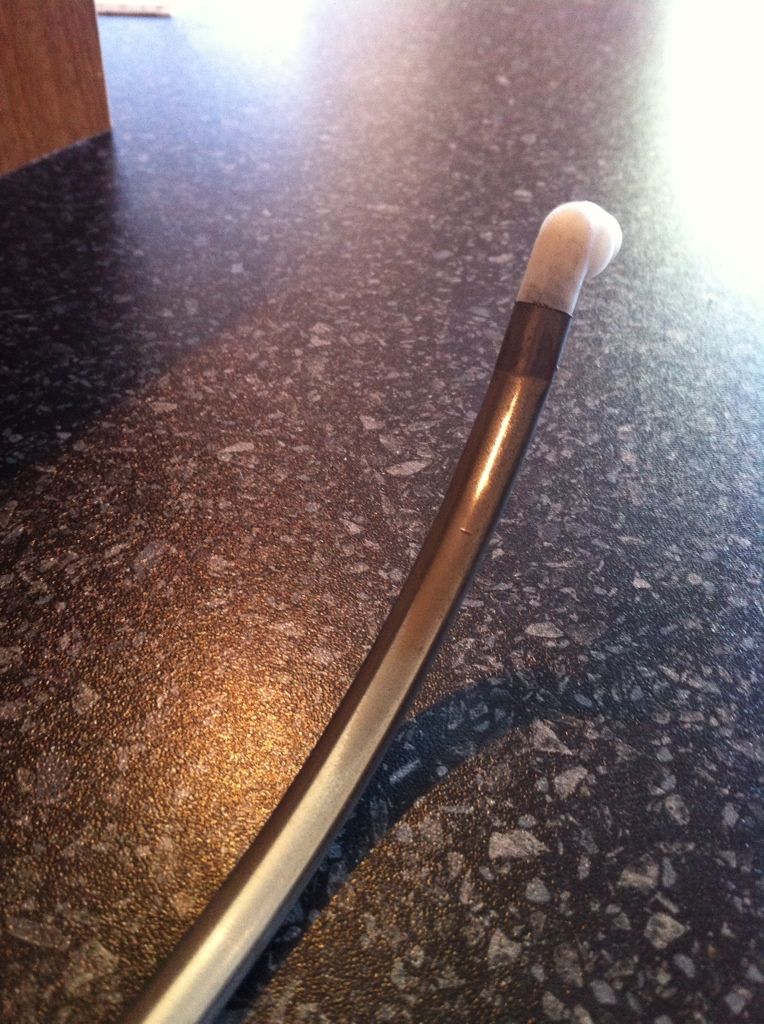
Whilst my mum and I were doing this my dad was smoothing off the fuel tank. This was pre sanding so doesn't look like this now!!!
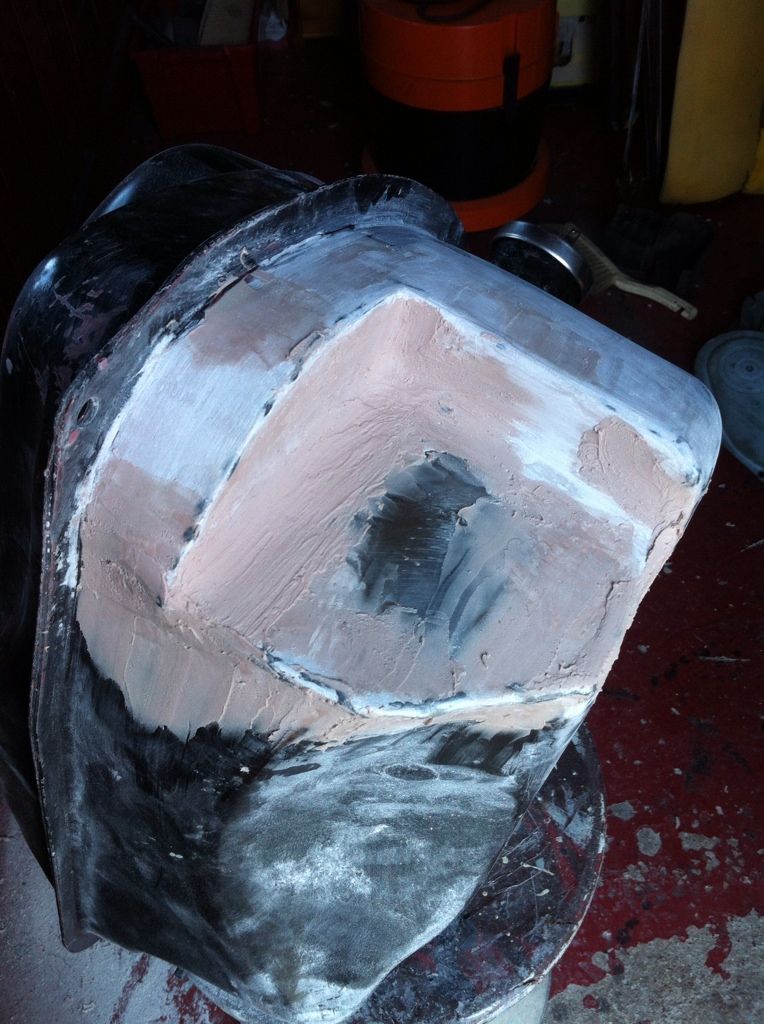
So its almost ready for paint now! Just need to buy tank sealer to pretty much make a tank within a tank so there is no chance of leaks.
Back to work for the next 7 days solid again so will try and get a few little things done in the evenings when i have time.Leave a comment:
-
Very nice project, amazing work.
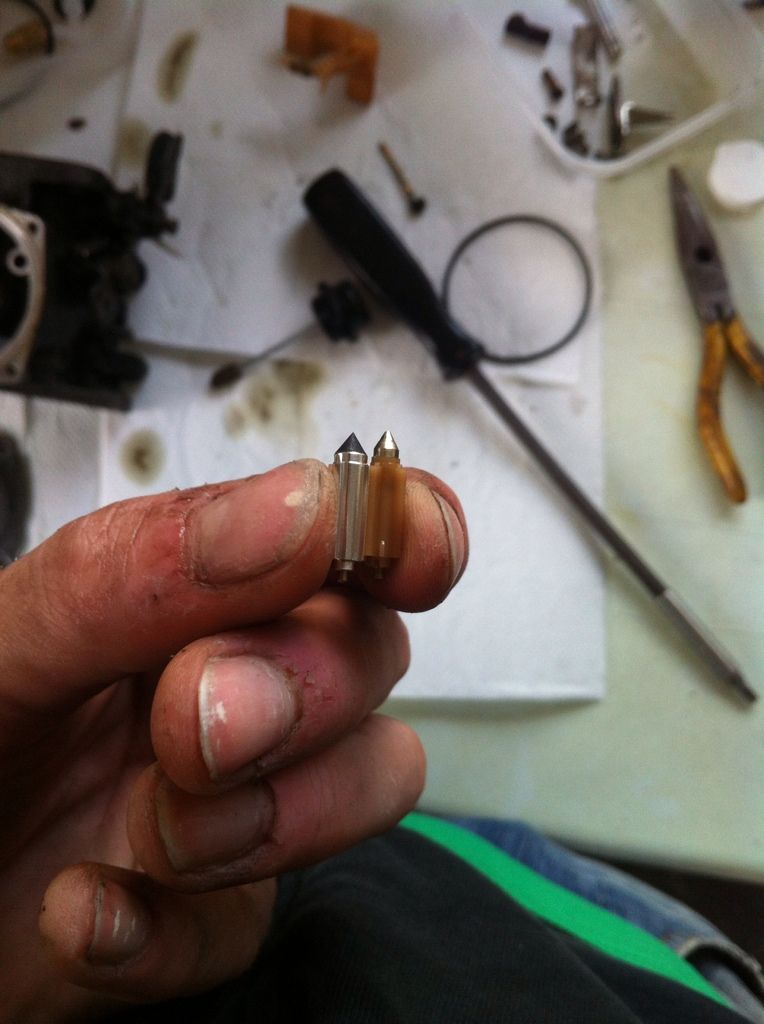
But honestly, do something about your hands, at least cut your nails!!
Leave a comment:


Leave a comment: