 Tweet
Tweet
God damn, those interior pieces look so good!
-

-
Day 1 of holidays......it might be freezing but I need to get this thing done! Got the added assistance of my dad all week too!
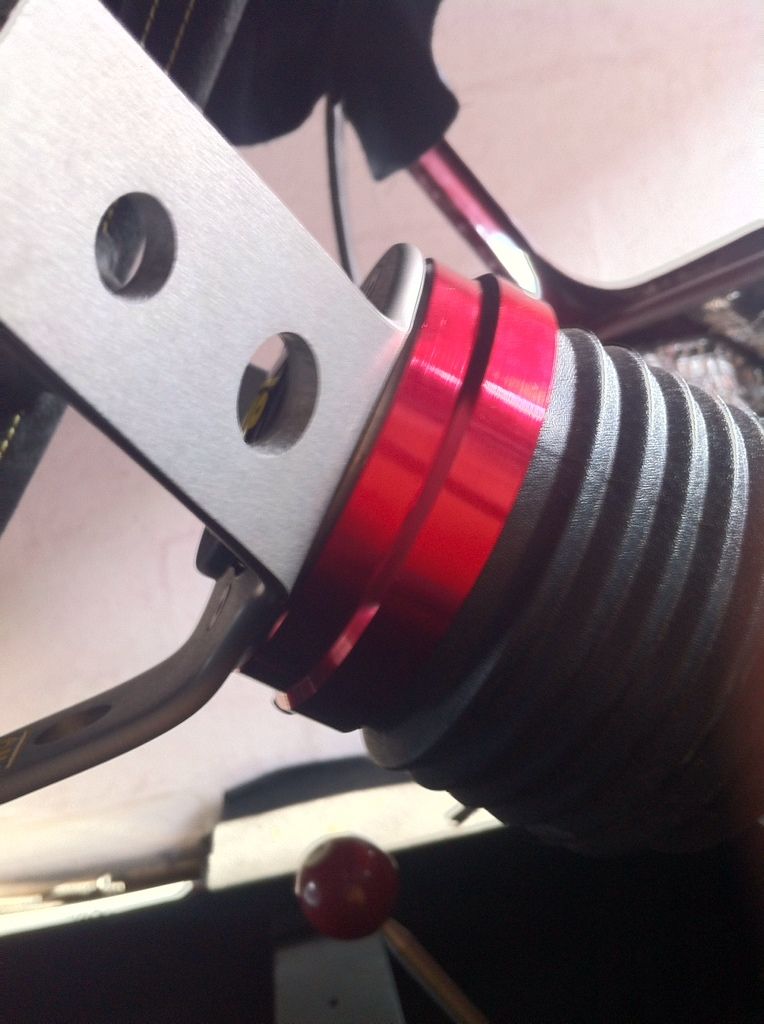
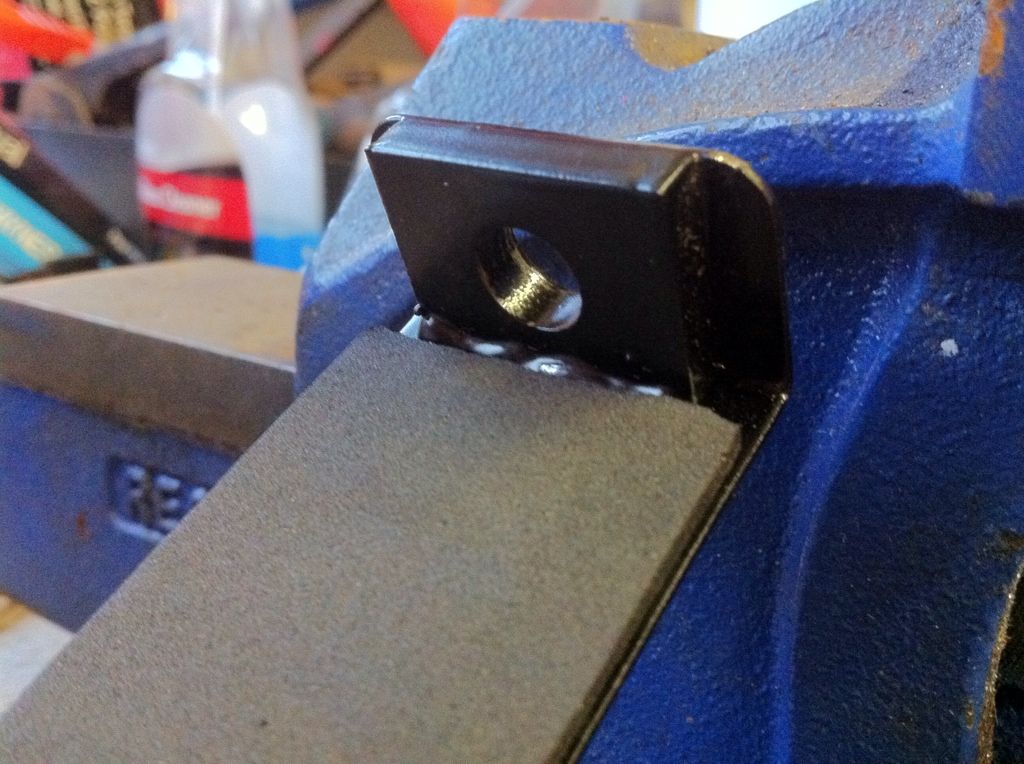
tested out a mates snap off boss on the wheel. Works great but a bit loose in fitting for my liking so going to try and get a better quality, name brand, item. Loving the extra access it gives me though!
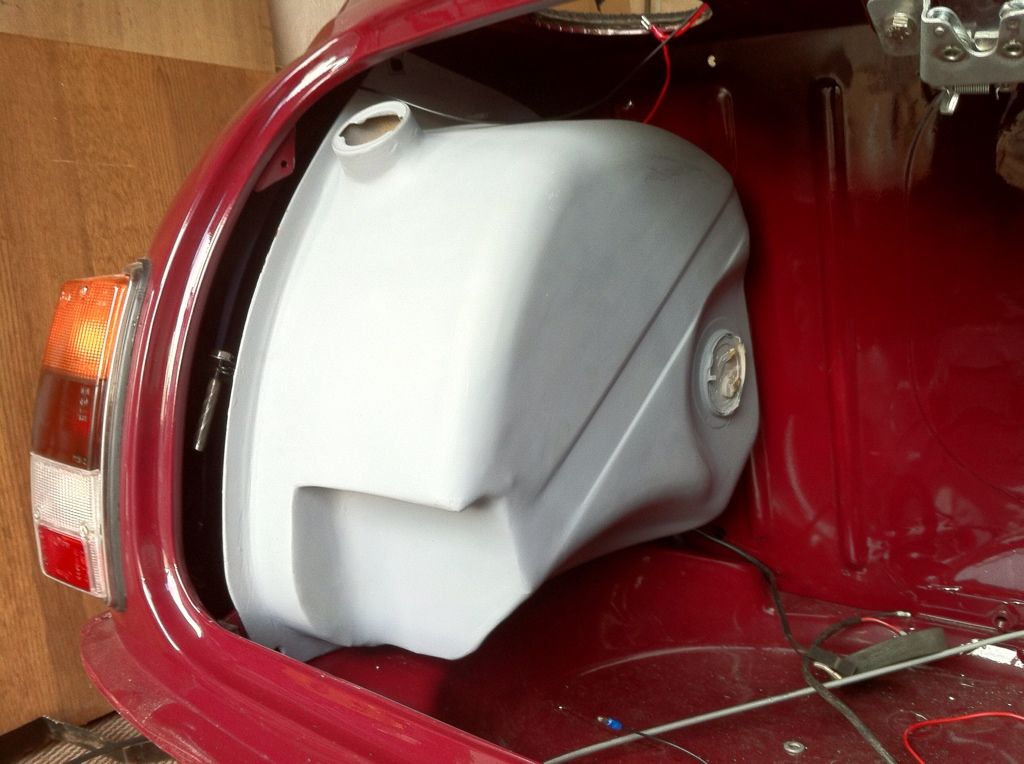
Then went about fitting the fuel tank with the new bits. The idea has worked! Didn't need the mounting bracket in the end so going to try and return it to MiniSpares.
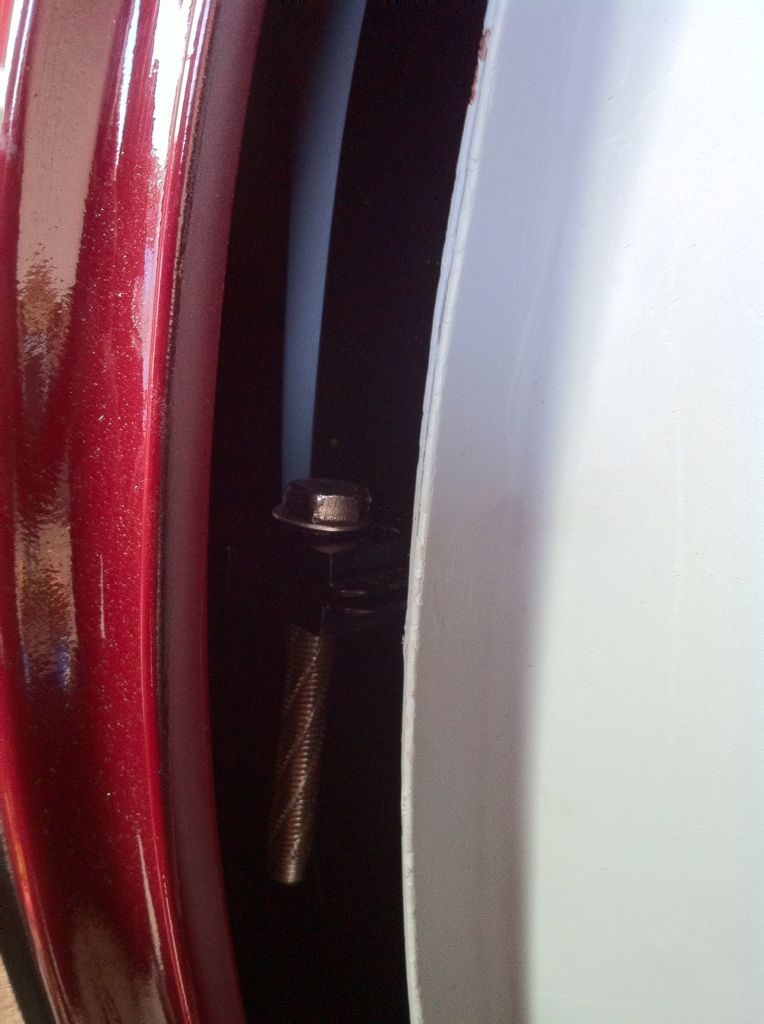
So after some trial and error we bolted the short strap to the floor and the long strap to the existing strap mounting on the rear seat bulkhead.
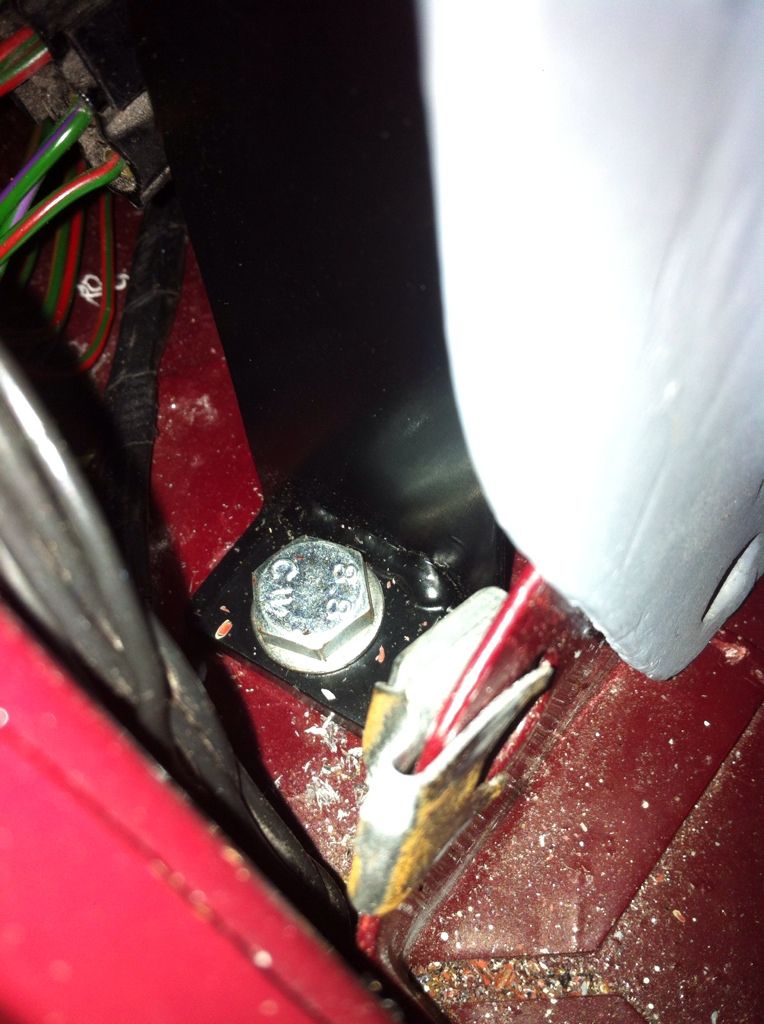
Then used the old strap bolt to bring the two together, clamping it in place.... can hardly see it when its installed which is good
and voila! One floating fuel tank!
The strap could be doing with being a tad tighter so we are going to put some tool chest rubber mat underneath the strap to grip and space it out a bit.
And with the foam on the strap
Also refitted the bootlid with the new rubber. Its better but still doesnt line up right.........hope its nothing too much though.

Tomorrow hopefully we will get bit more done too!Comment
-
Another day another update....
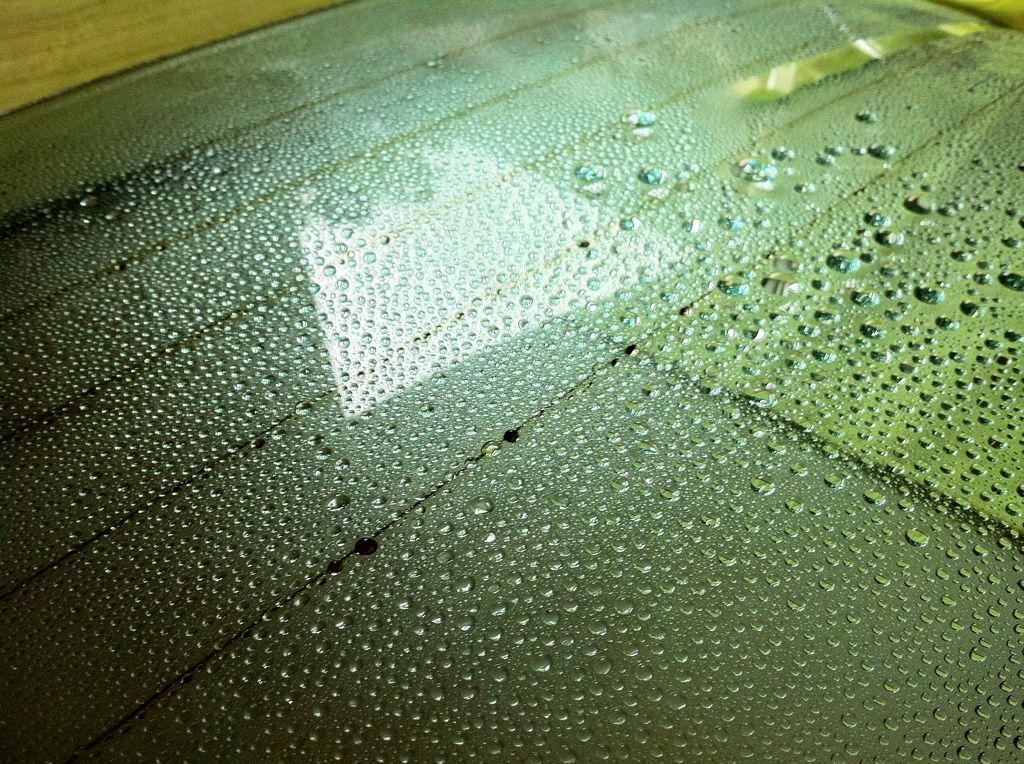
due to snow and general crap weather I resorted to cleaning and polishing stuff thats ready to go onto the car. First up, the glass. Side windows are all new old stock so just needed cleaning but the front and rear screens needed a fair bit of attention.
Gave them the GTechniq treatment as its worked so well on my dailys over the past few years. Gave them a polish and then applied G1 in three coats. Beads like mad now. Ready to go! (This stuff is kinda like Rain-X but not crap)
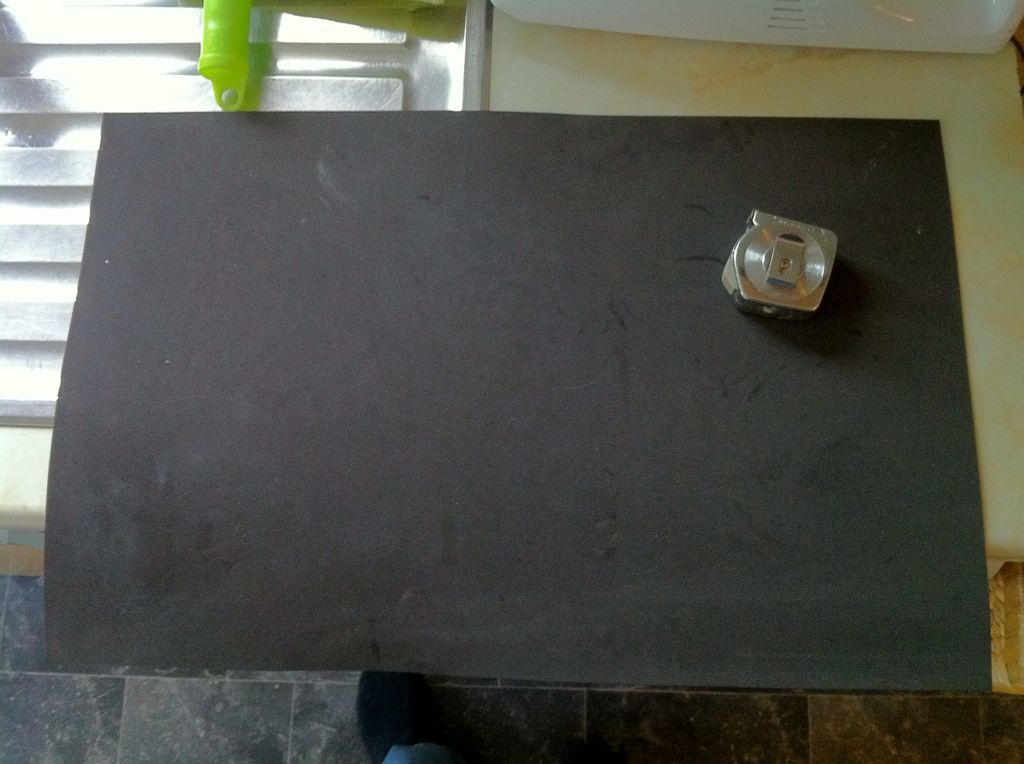
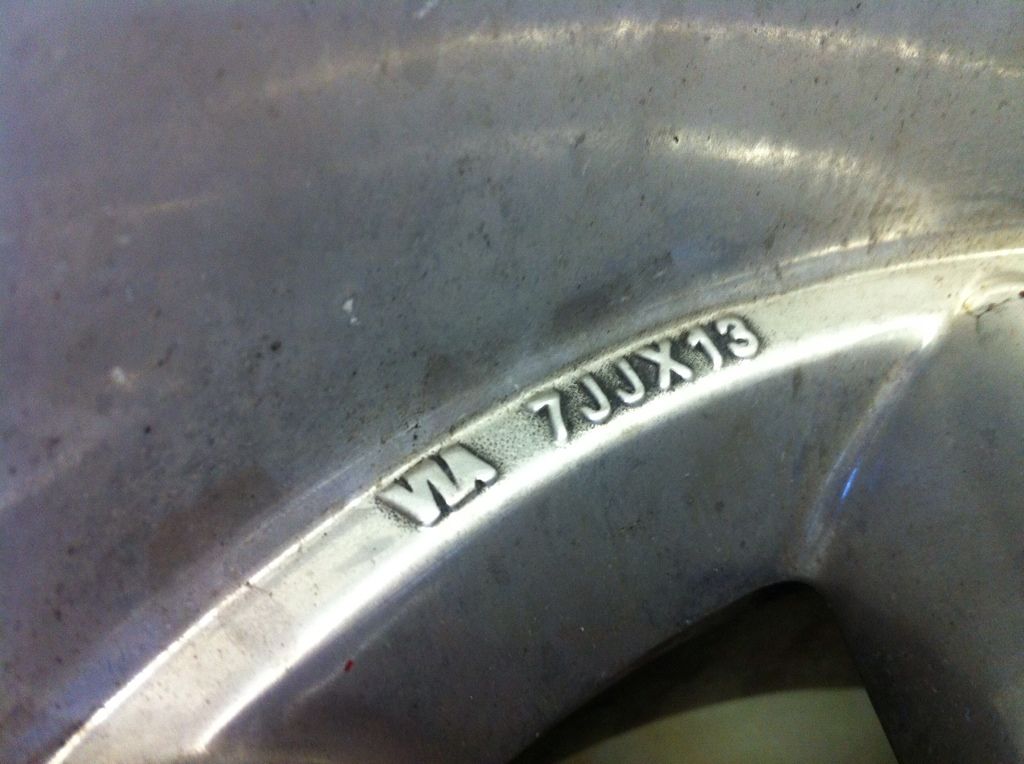
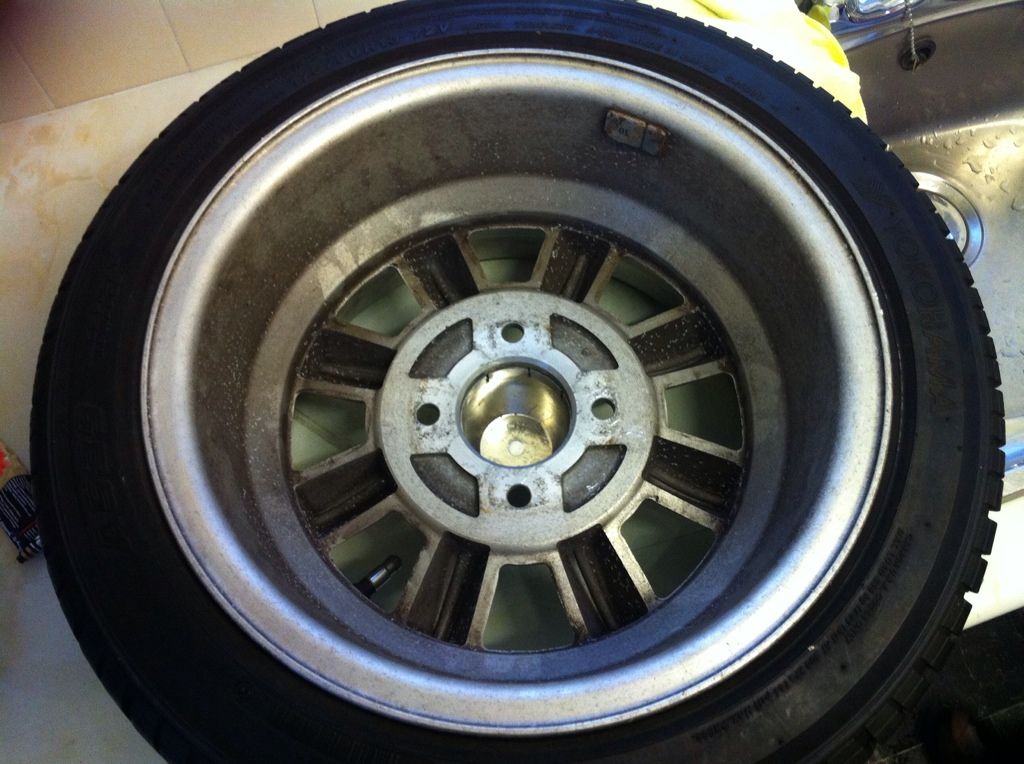
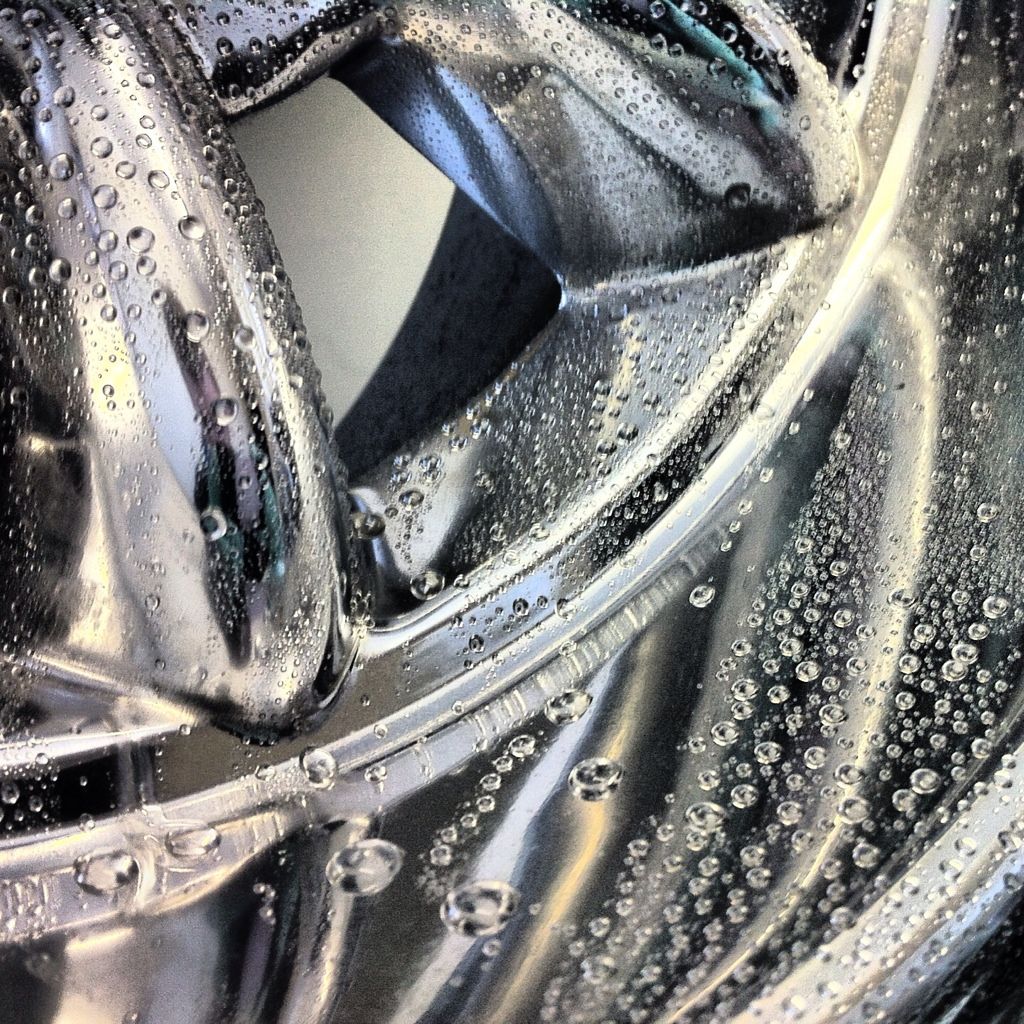
next up the bare alloy wheels. Boy do I regret not polishing them before putting them away at the start of the rebuild!
This is how they look....
Dull, water marked and covered in spider webs......
So set about cleaning the backs first. As they arent a high polished finish I took a brillo pad to them. Worked a treat!
then set about them with the drill and some autosol on a polishing wheel. Good enough for the backs seeing as they wont be seen.
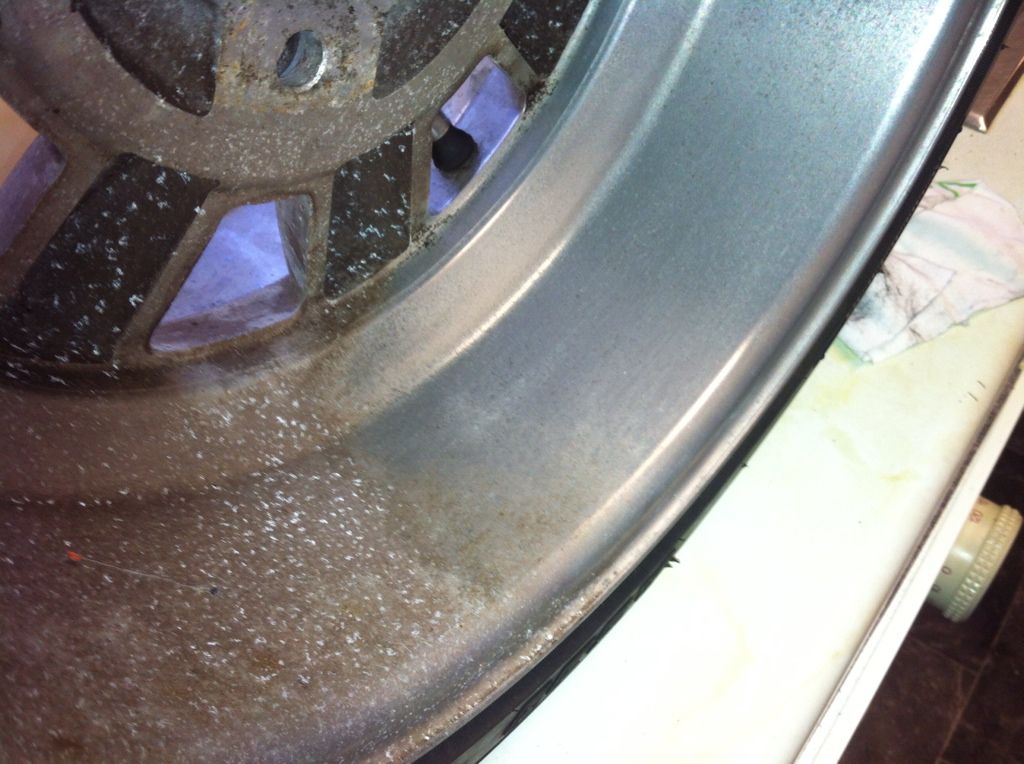
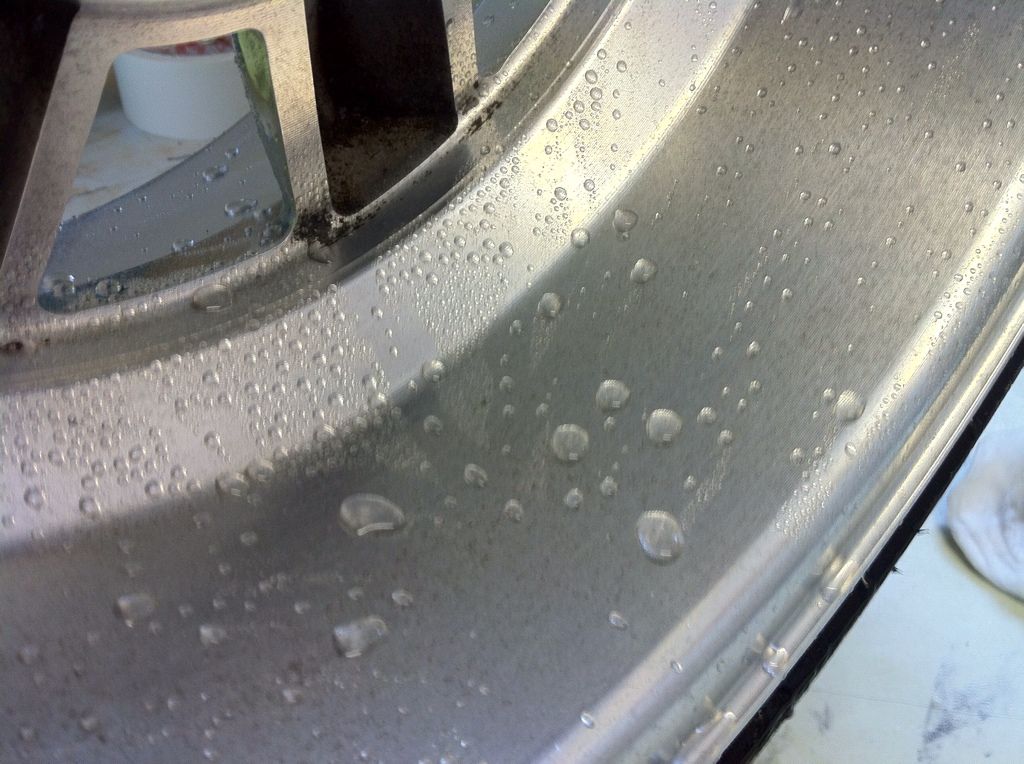
Then the front I did the same minus the brillo pads. Its come up not bad but looking to get some finer polish to really bring up the lustre of the metal. Thinking Peeks or similar?
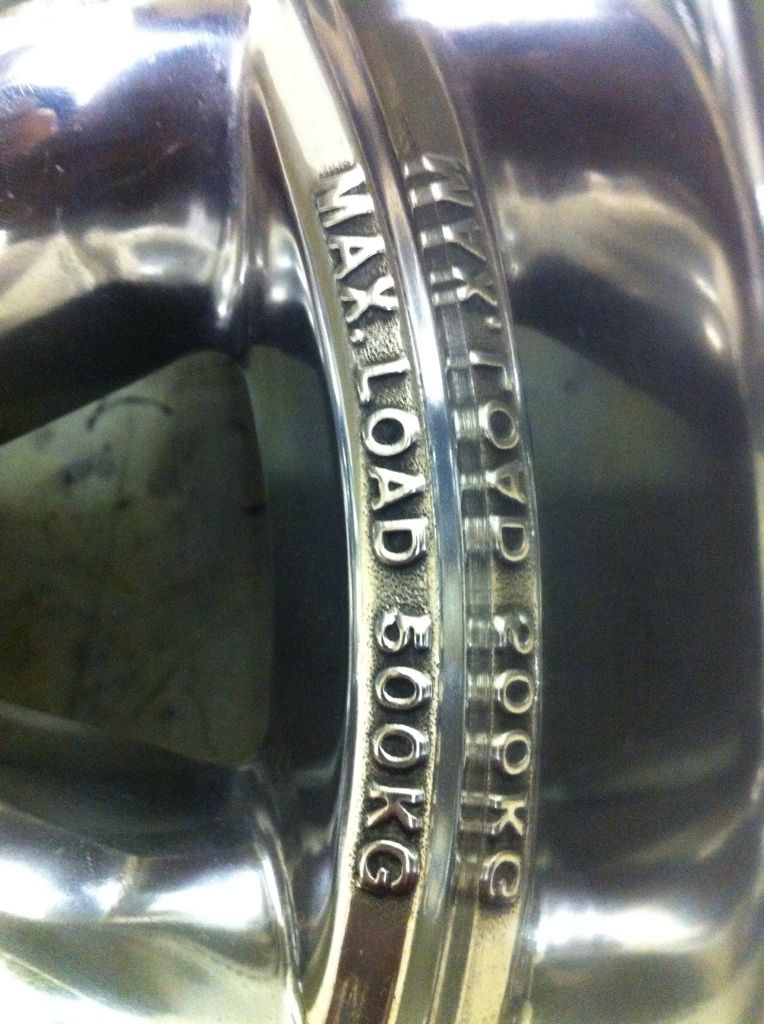
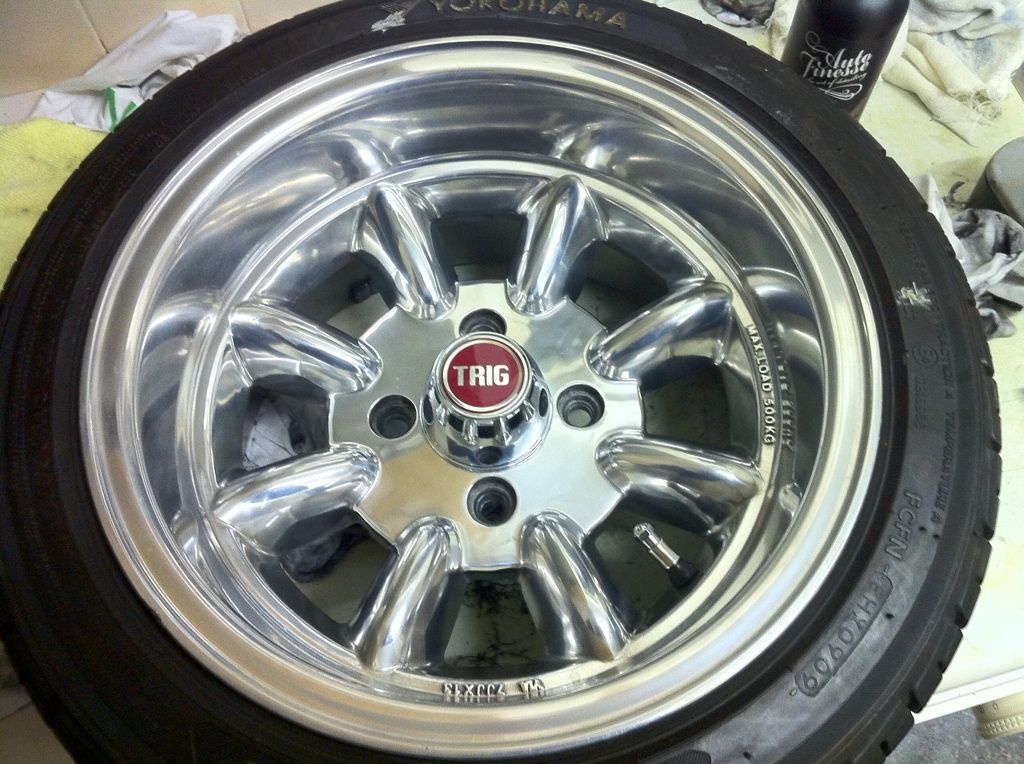
and its got a bit of dish....
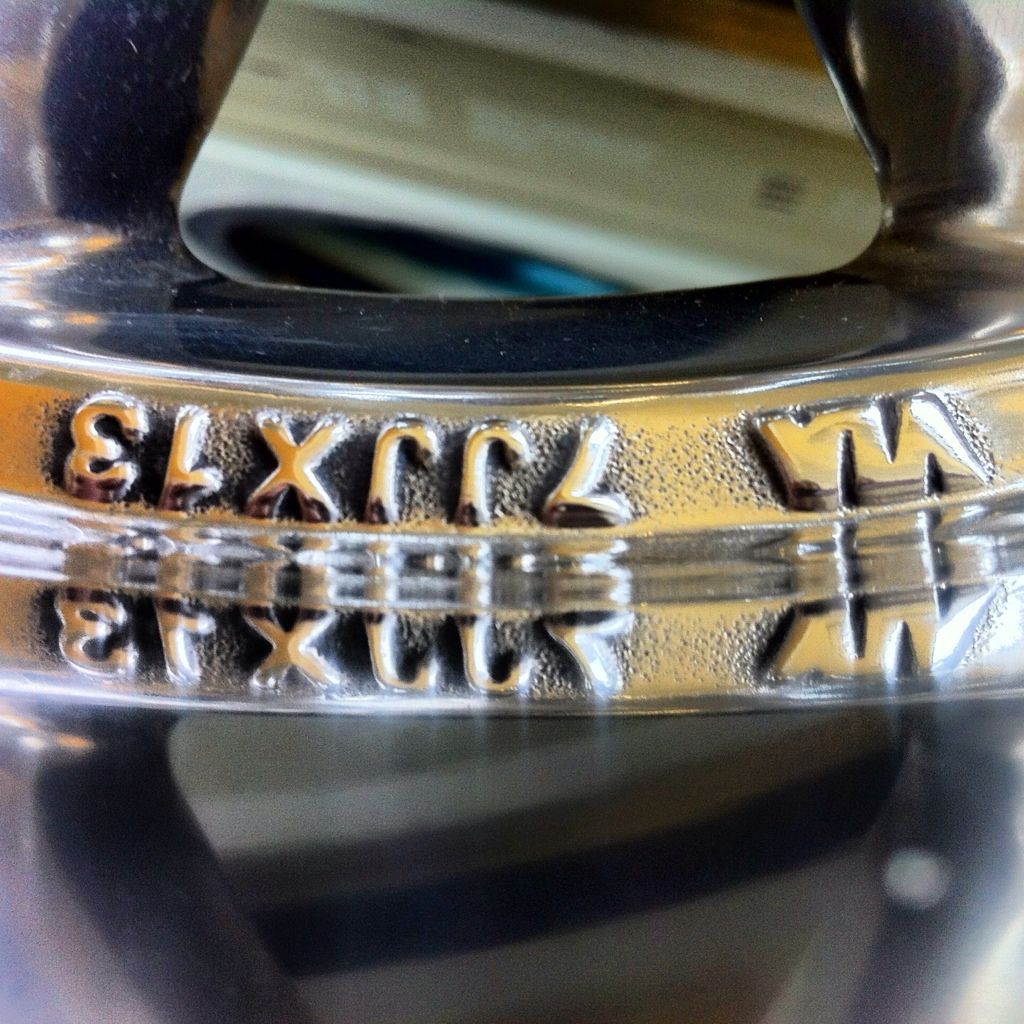
Also before it came off the road I had picked out the Yokohama and A539 in the tyres with tyre paint. Marmite I know but something a bit different these days.
Before....

after....
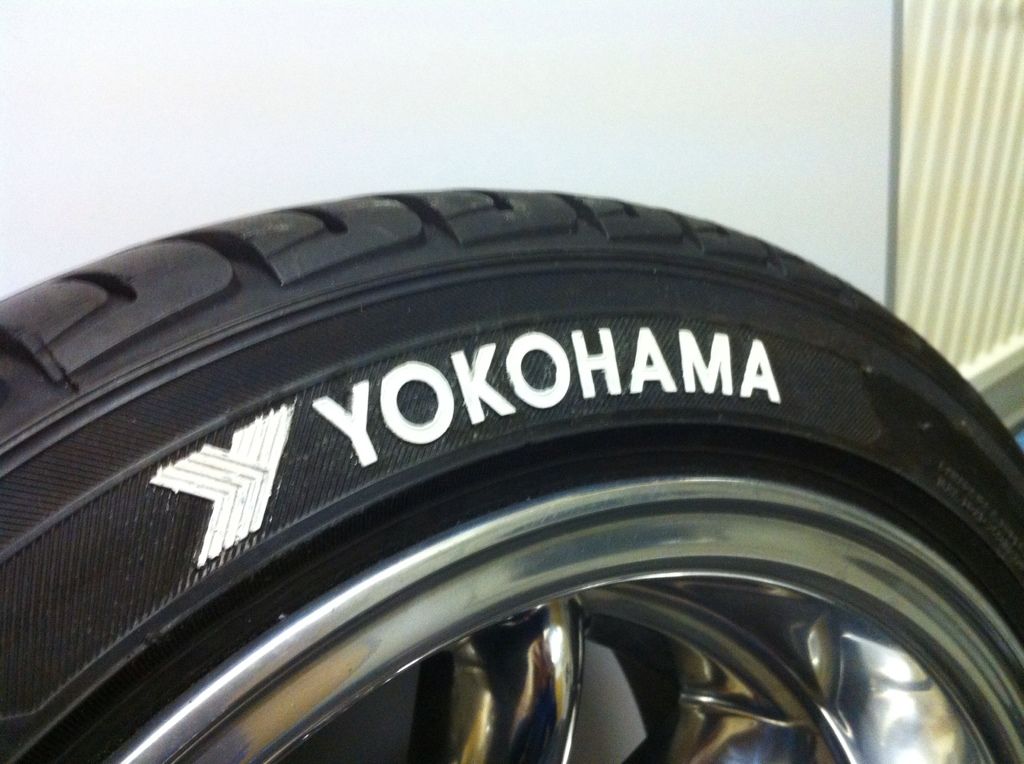
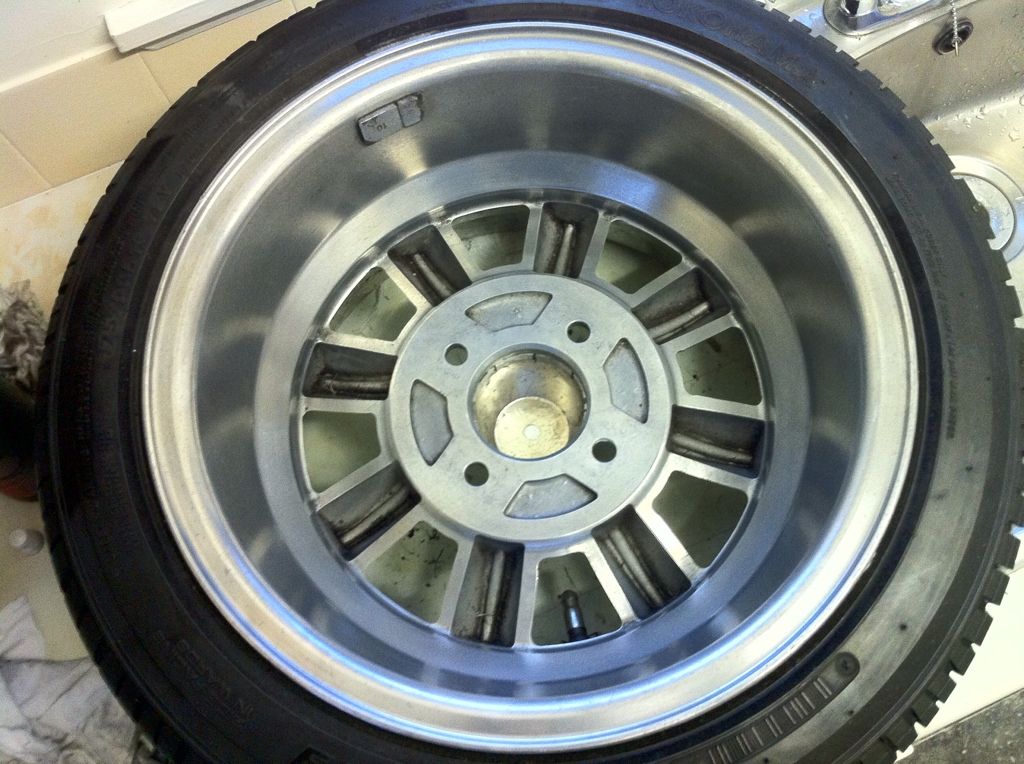
and the whole wheel done.

Took an absolute age to get to this stage (talking a good 2-3hrs) but once they have been treate with GTech C5 Wheel armour I hopefully wont need to do it again for a dam long time!Comment
-
Lunchtime update! Finished the first wheel :lol:
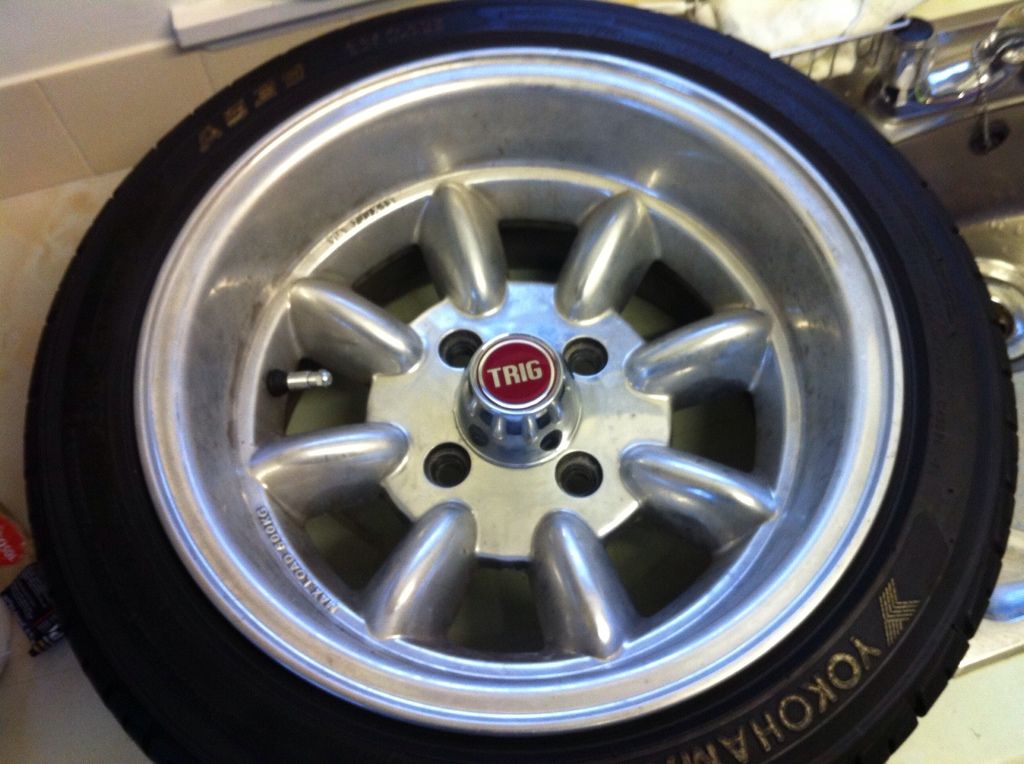
I wasnt happy with the finish Autosol had left so bought some Mothers Metal polish instead. Much finer and give a much better shine! So having gone over the whole wheel again, I was left with this.....much better!
And a wee before and after......
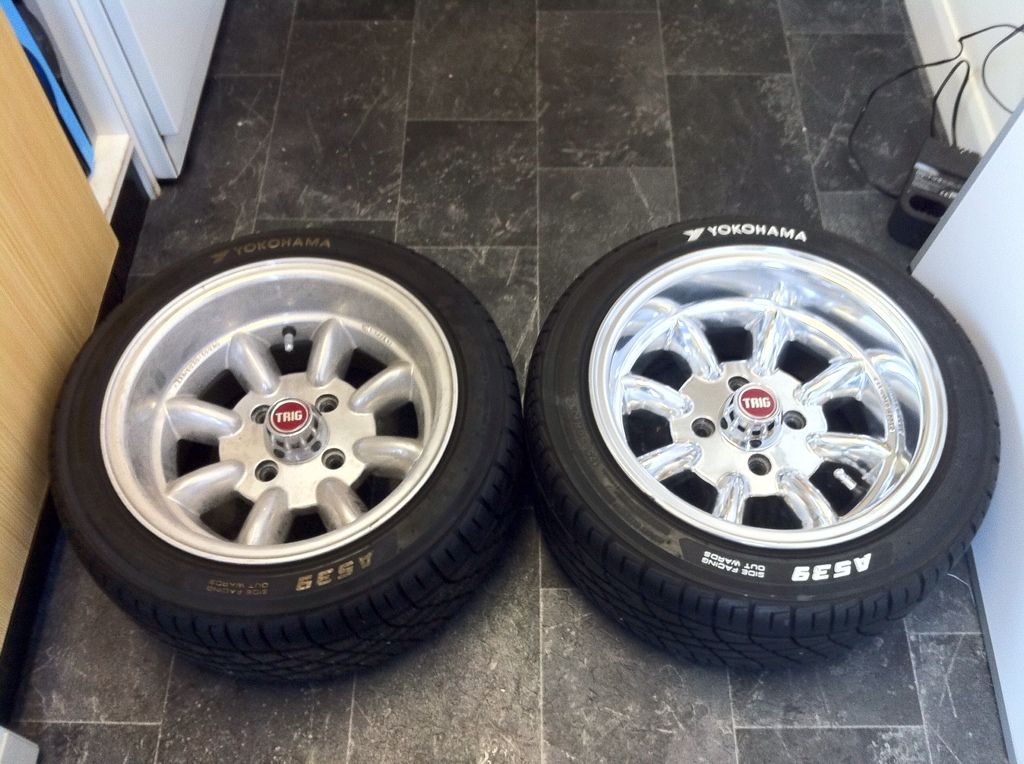
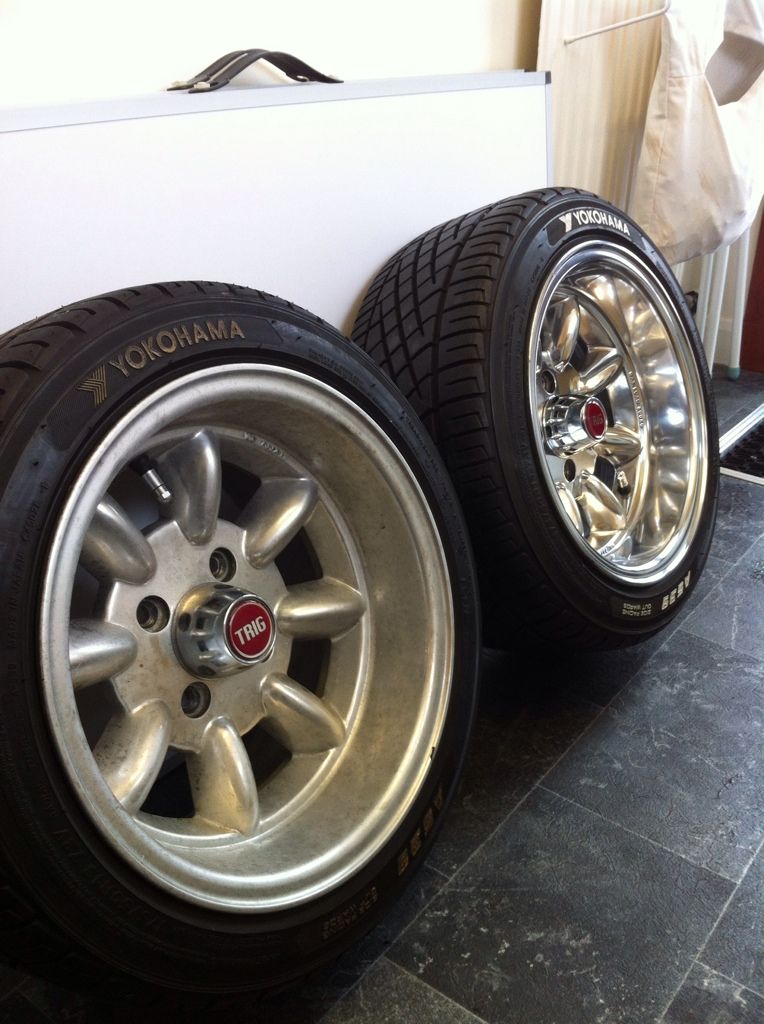
Ready to go but not protected.
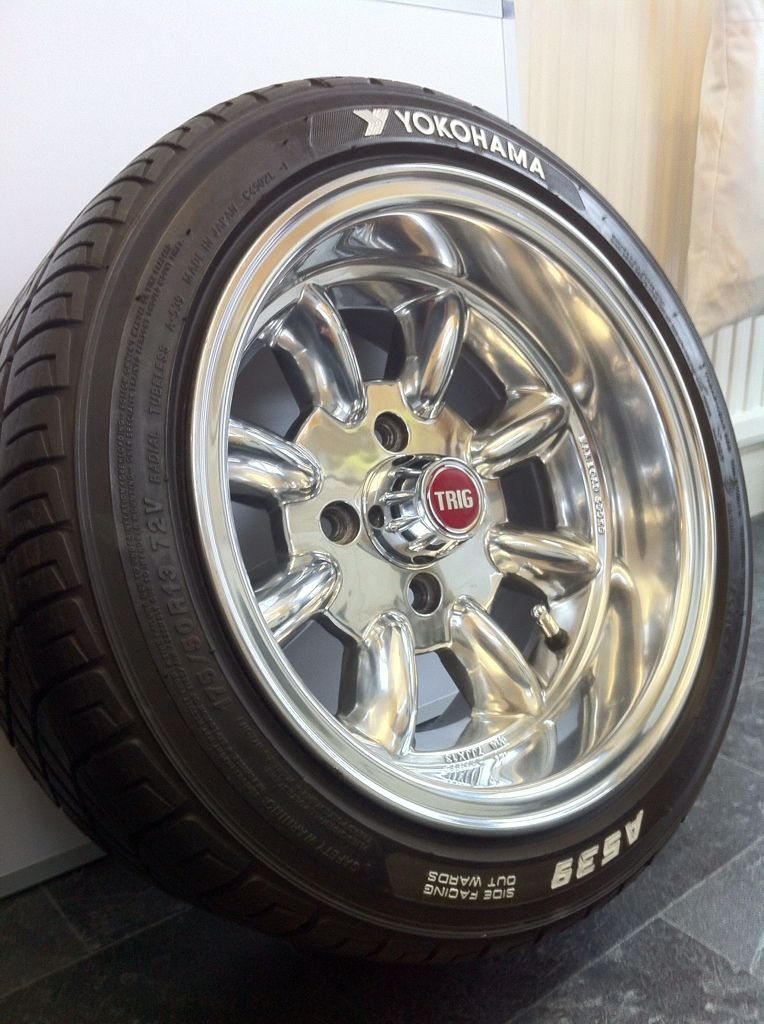
Roll out the GTechniq C5!
did the backs as well to keep them looking tidy too!
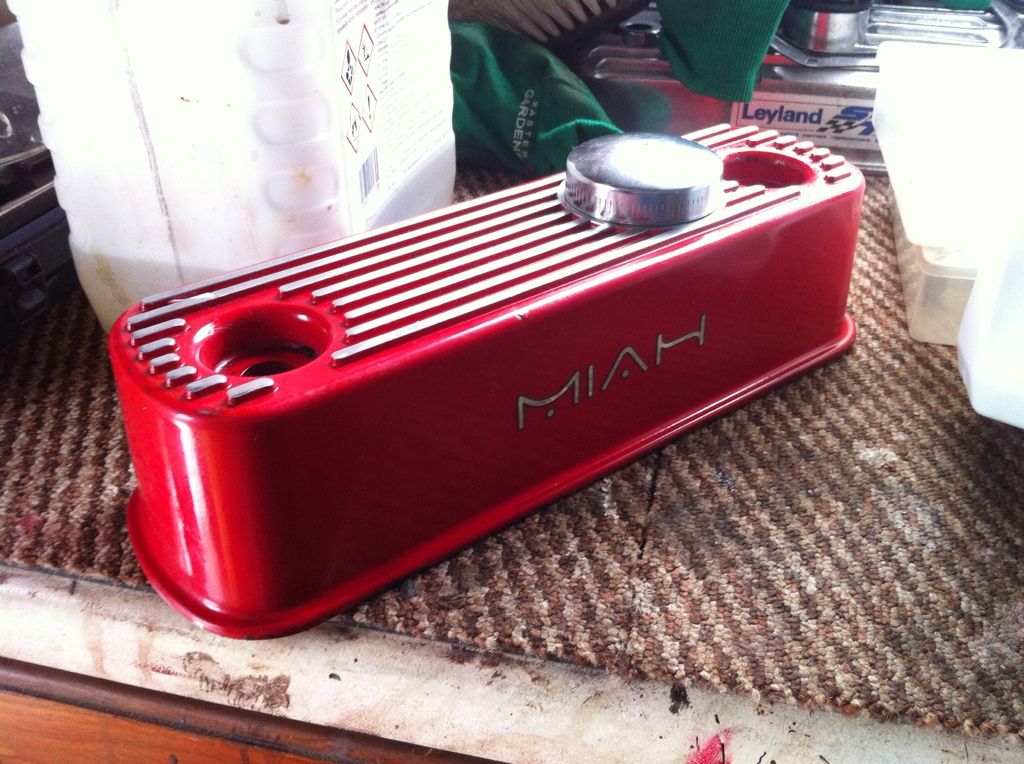
oh and I also acquired a new rocker cover. It will be getting some decent treatment too in due course.
Comment
-
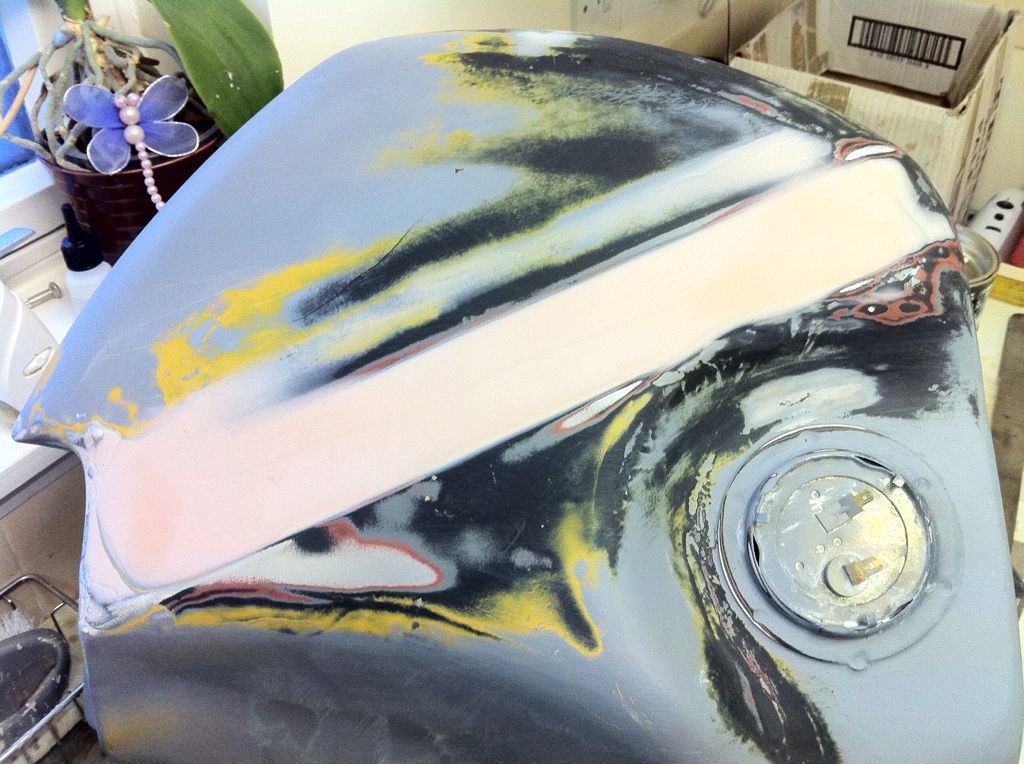
Forgot to add that my dads been working on the tank today as I was doing the wheels
as I no longer have a use for the tank strap section on it, Im getting rid of it so it looks like my mod looks like a factory intended item. Devils in the detail!
Basically just fillering it and then once its sealed inside it will get a coat of black out at Kirkton for the best possible finish

Ready to go!
Hopefully the tank sealer will arrive tomorrow so i can get it out for paint and in by the end of the week
Comment
-
dang dude. keep up the good work! looks great
IG: Nick475

Comment
-
Amazing work. Going to be one of the finest Mini's out there when completed. And it was worth the effort cleaning up that wheel as it looks sweet <3Comment
-
Wee bit more done today and last day of my holidays. Not got as much done as I would have liked but thats no great surprise.......
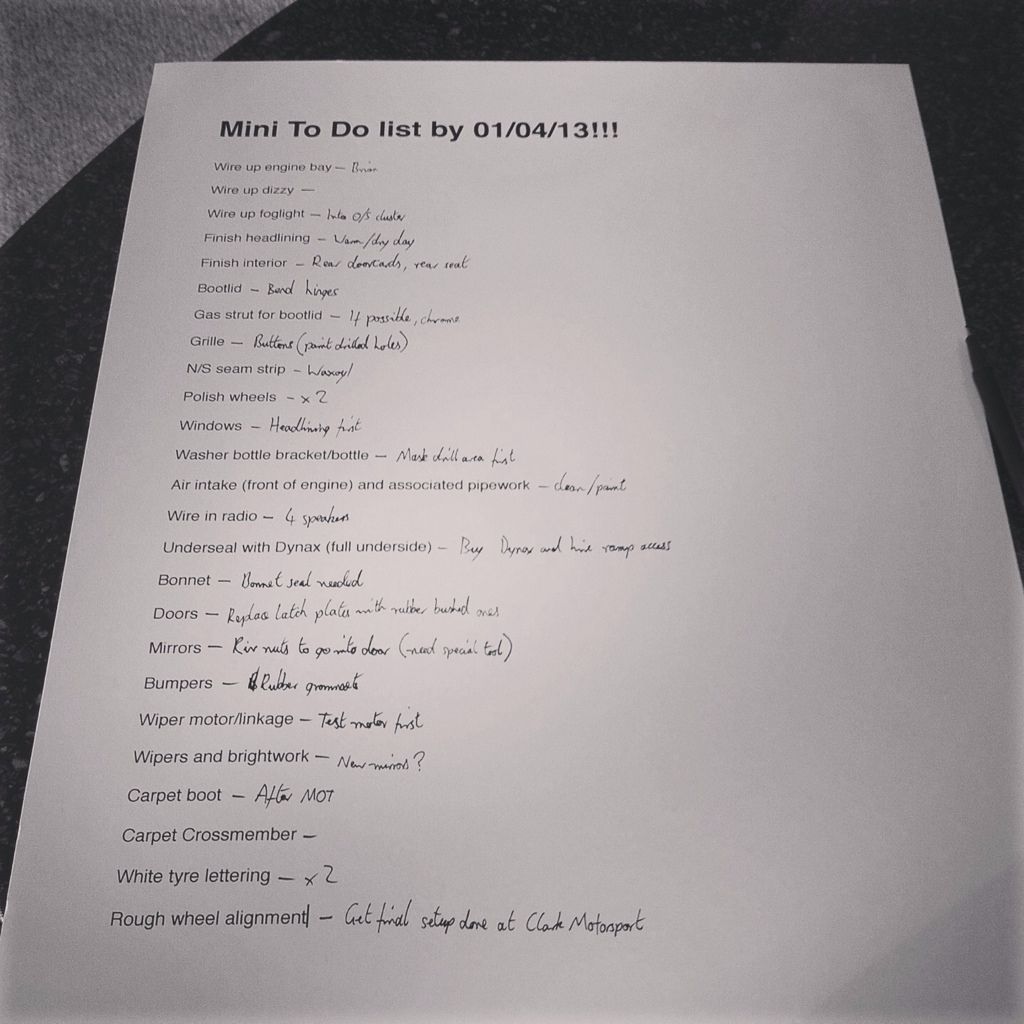
Drew up a list of everything needing done. Doesnt seem to bad, wiring is still the biggest task obviously as I have no idea what Im doing with it now.
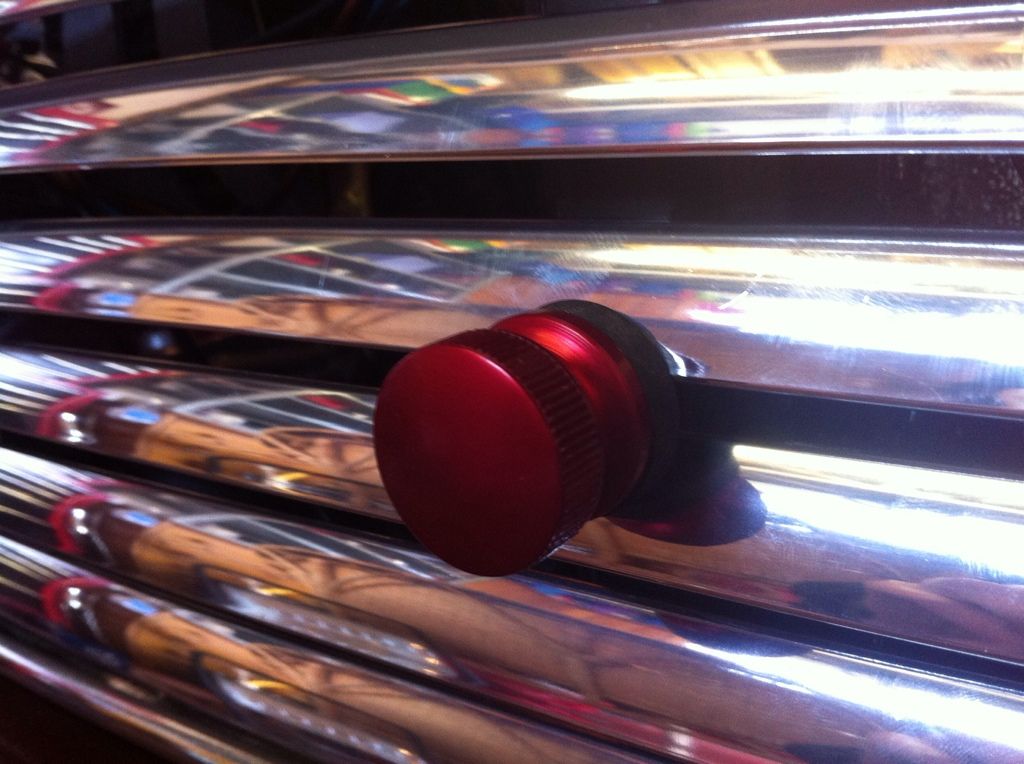
So I decided to get my grille together. Riveted the outer pieces to the grille itself and then went about fitting the quick release grille buttons. Need to get the protective plastic trim that goes between the moustache and body though.
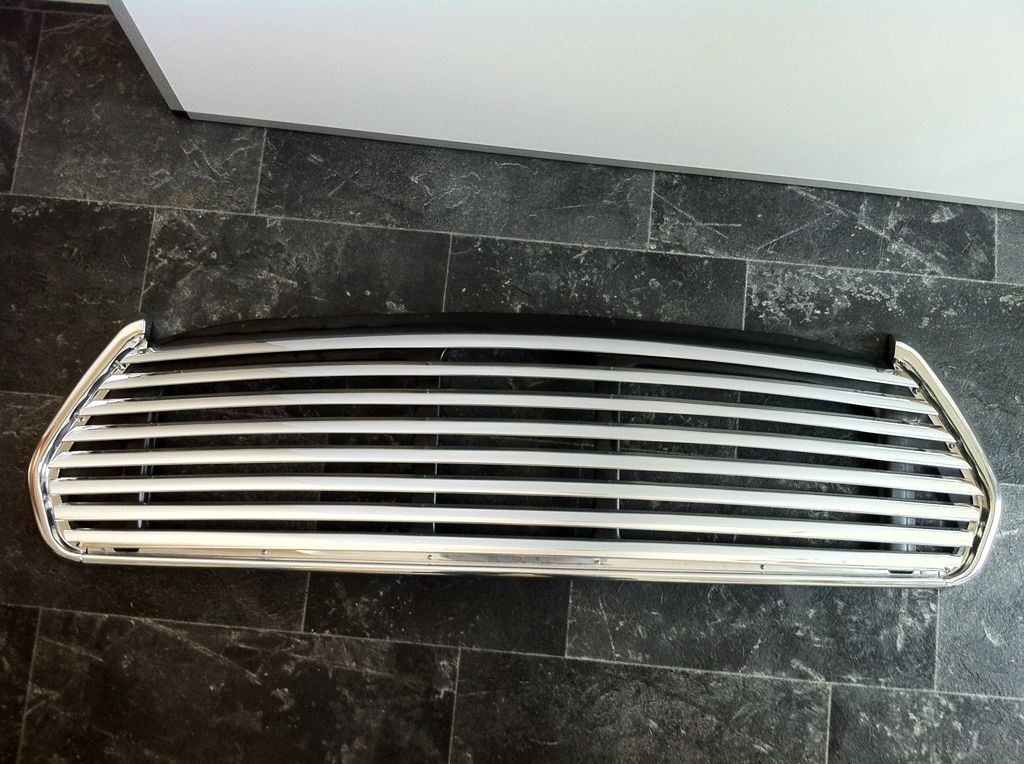
Not decided on colour yet as they are currently red anodised. Nae convinced so may change to one of the two body colours or sand them back and polish them.
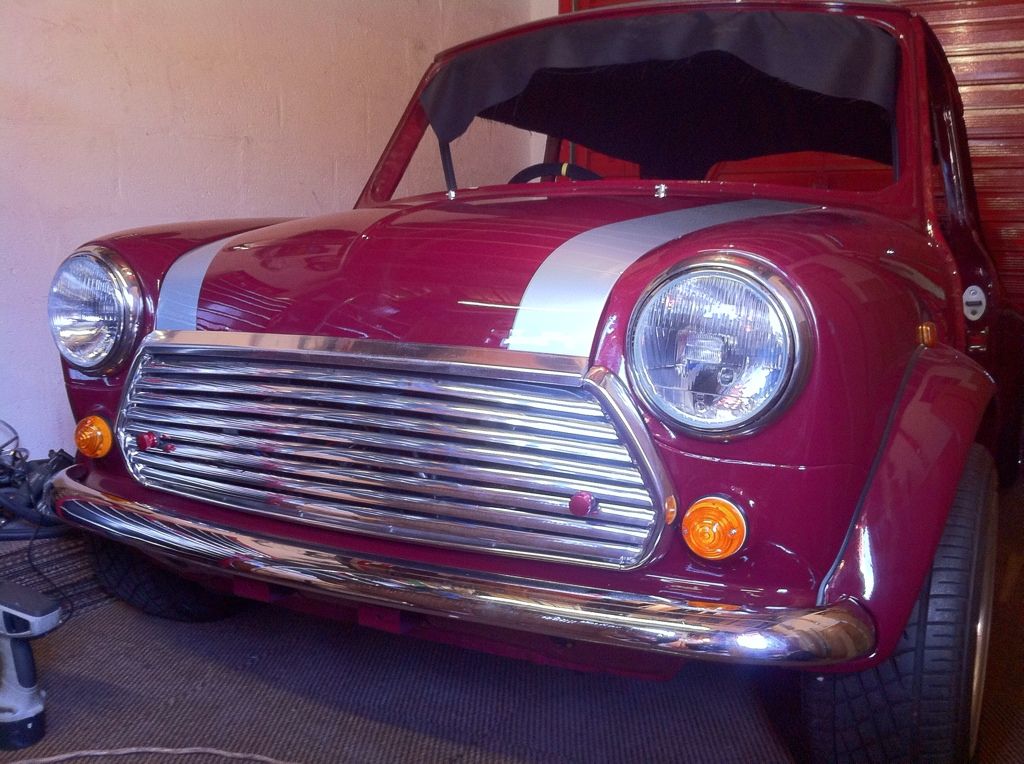
As I had the grille on anyway I put the bonnet on and placed the indicators in. Finally looking like a car again. Really want to show whats on the underside of the bonnet but thats being left as a surprise for its first show
Went to drill holes in the inner wing for the washer bottle bracket but couldnt get the drill to angle right to make the holes. Nowhere had a 90deg adaptor for it so will do that another day.

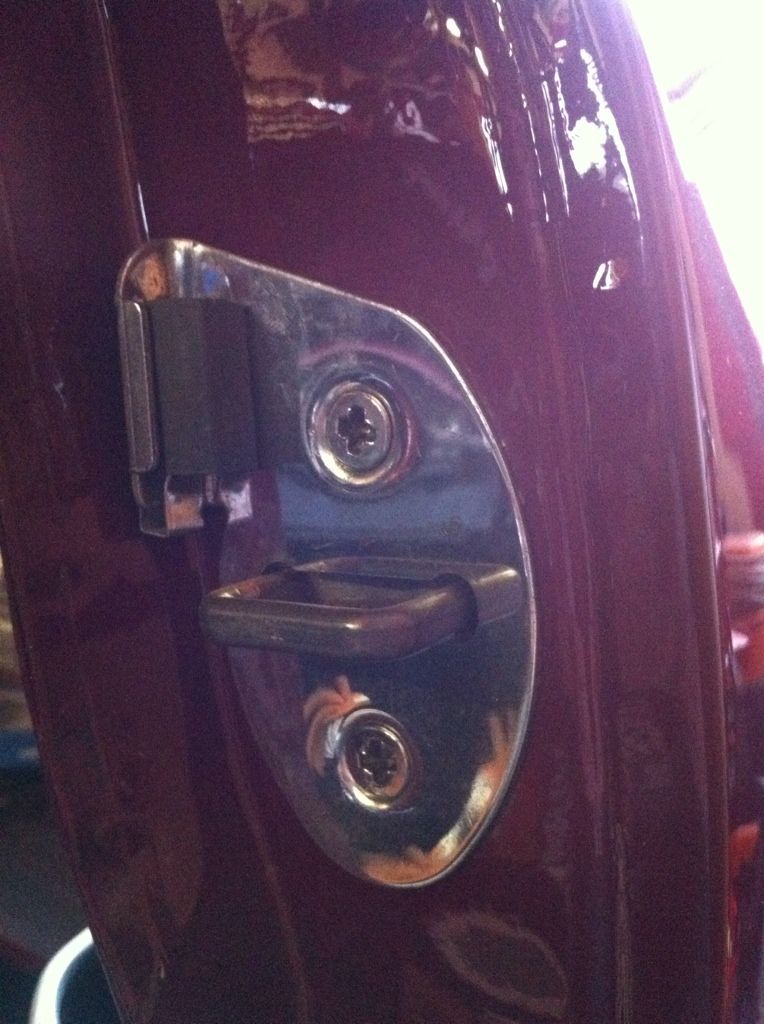
Also got some rubber bushed door slam plates from one of the scrap cars I had so cleaned them up to a polished finish and fitted them. Great improvement!
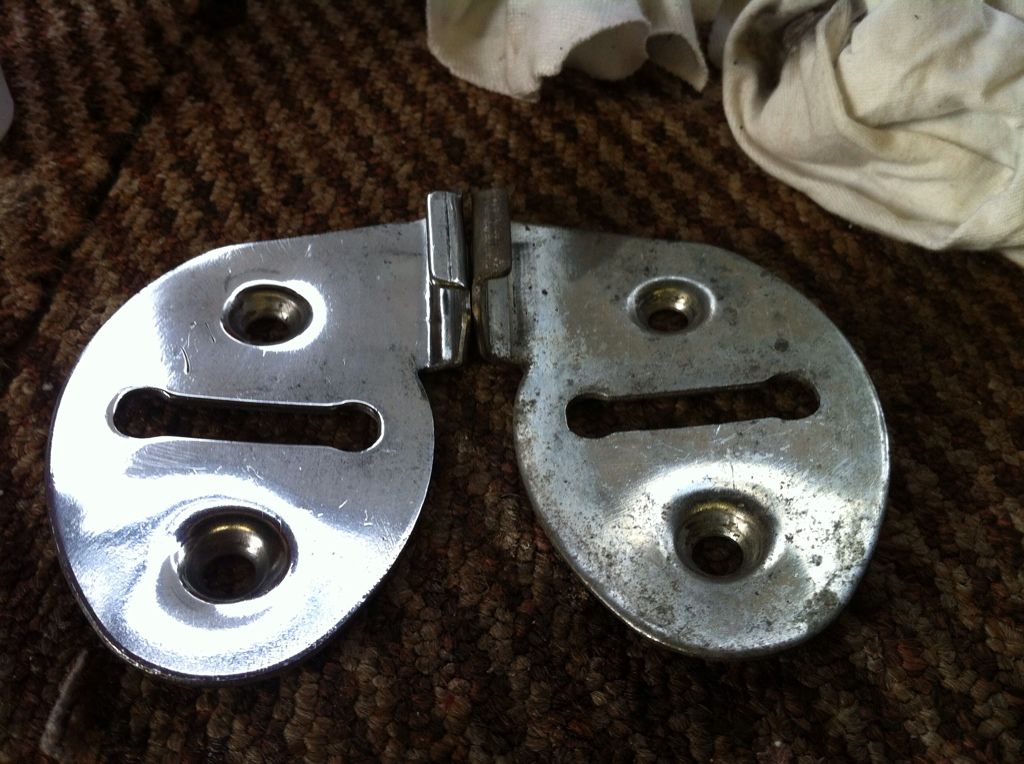
Before....

After!
Got the drivers seat in to test the reach with the snap off boss and its bang on! Just need to find a slimline one with no play now! (The paint needs a clean and polish....)
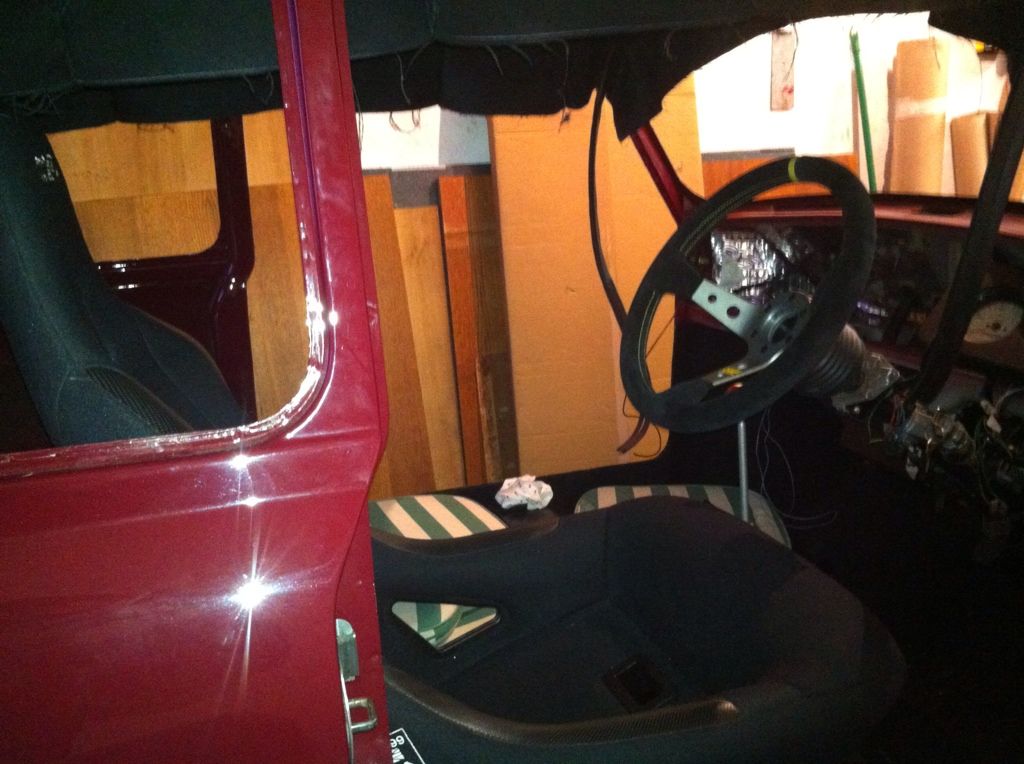
Once the wiring is done and it starts and the headlining is finalised it will come together pretty quickly. Reason for that to be announced tomorrow!Comment
-
Yes Andy! Great work dude. Front end is looking awesome!
Comment
-
Looking good, love the diamond tuck interior.Comment
-
Thanks gents!
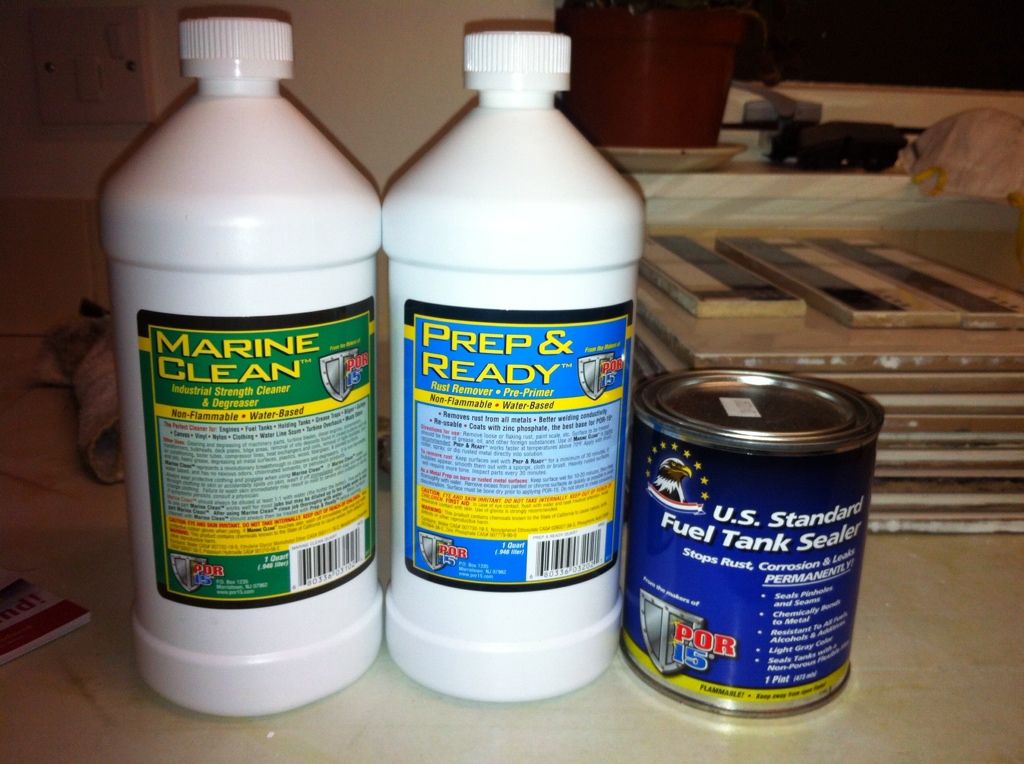
SO! Got my tank stuff! POR15 stuff. 'Marine Clean' to get rid of any residual crap that remains in it, 'Prep and Ready' to derust and prime before the final Tank Sealer. Total pain its all in separate stages and its not the cheapest of stuff unfortunately but cant afford to have a dodgy tank.
Also Ive got a new job as a 2D/3D Drafter and its weekday office hours so I will have every evening and weekend off! Time to spend working on the car so I can get it done asap!Comment
-
Cheers guys! Can't wait for Monday start
been a wee bit of progress on the car. Not much due to shifts but managed to start on the tank cleaning.
Before.... (Almost didn't bother with cleaning, glad I did now!)
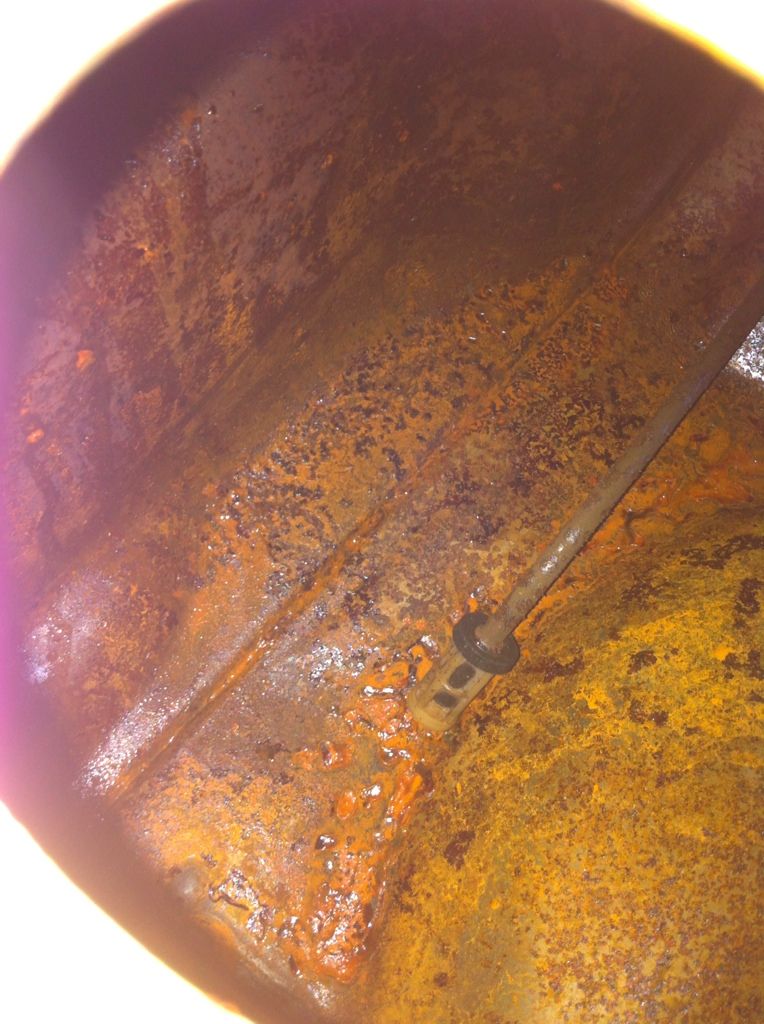
and with the marine clean doing its job diluted 5:1 with boiling water. Sealed up the holes with Gorilla tape and left to simmer at gas mark 5 :lol: just got to move it about a bit over the next 24hrs to get it to as many bits as possible.

Then it's time to get the prep and ready on the go
Comment
-
Great work on this mini, but have to say i really don't like the look of those grill release buttons.
Comment
-
awesome mini. top work too. I'm interested to see how the tank turns out, i have the same issue and was wondering how to clean it upComment

Comment