Announcement

Collapse
No announcement yet.

E30 Touring resto - Pic heavy

Collapse
X
 
  • Filter
  • Time
  • Show
Clear All
new posts

  • Jozi
    replied
    Not much to update really, have kinda lost a bit of interest for different reasons. Forgot I had these photo's on my camera.


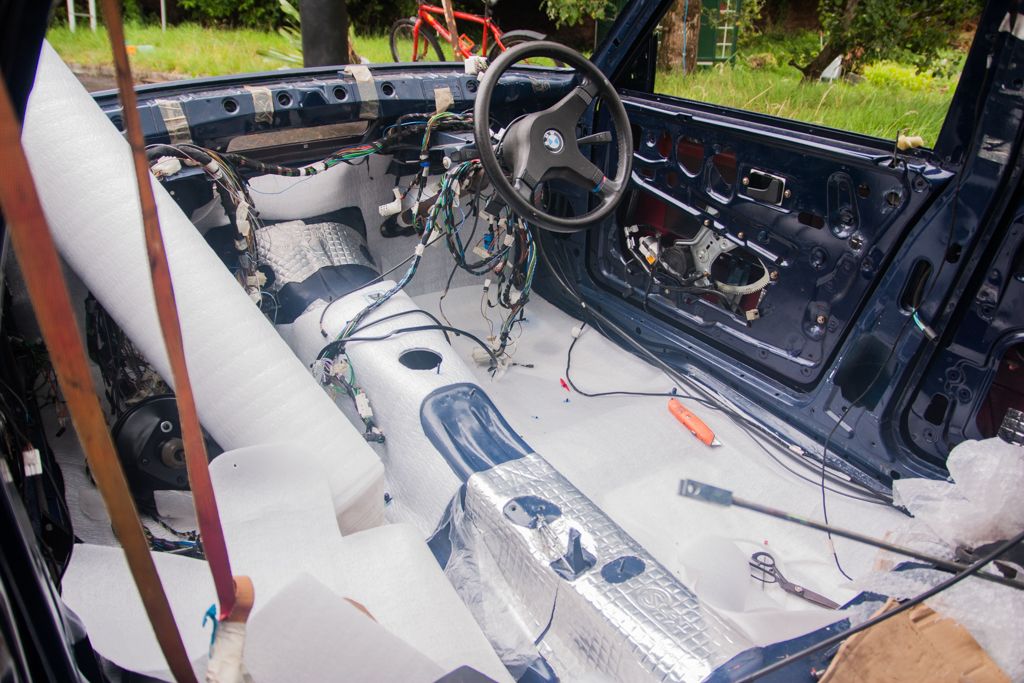
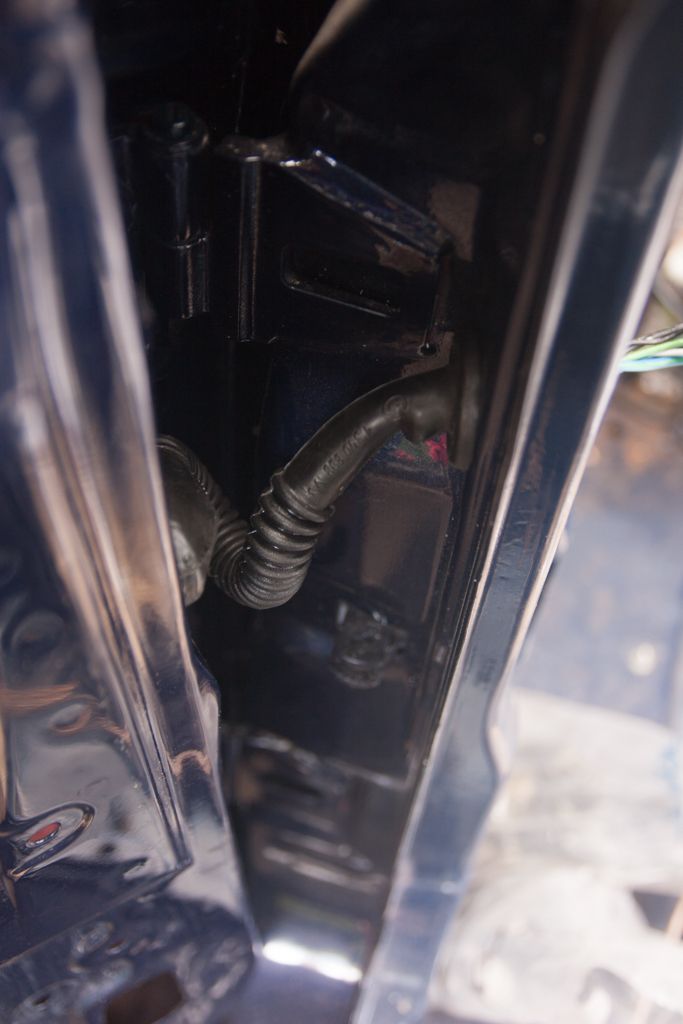
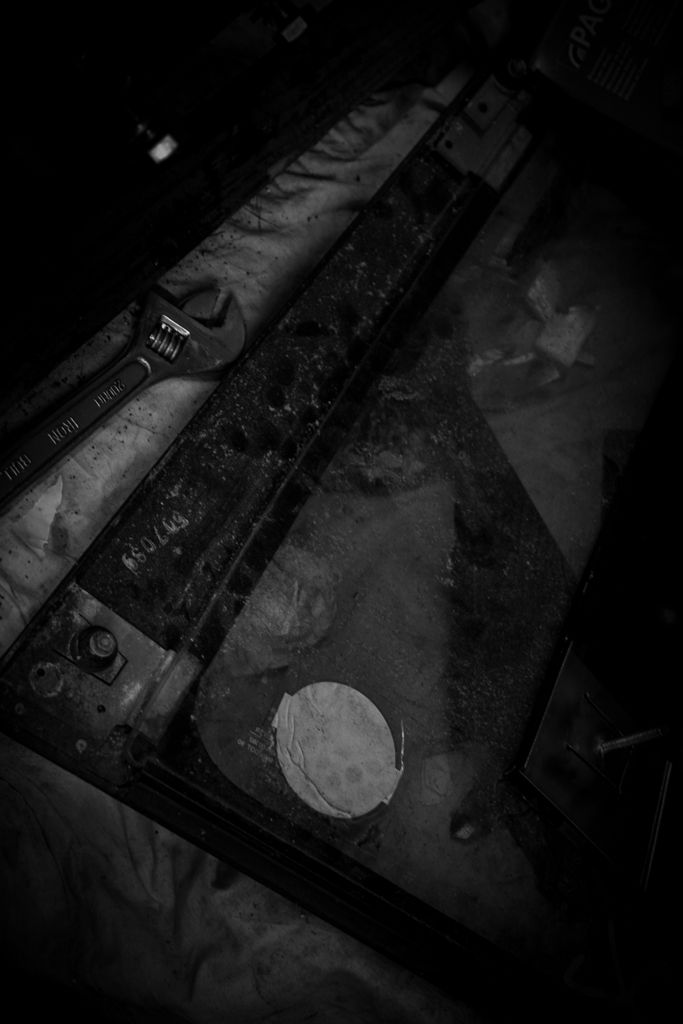
    The white stuff is just carpet underlay which I'll be using as a decoupling layer between the car body and the sound deadening I'm using. I'm not sure if I'll be covering everything but at least I'll be doing behind the dash, under the rear seats and the boot area.


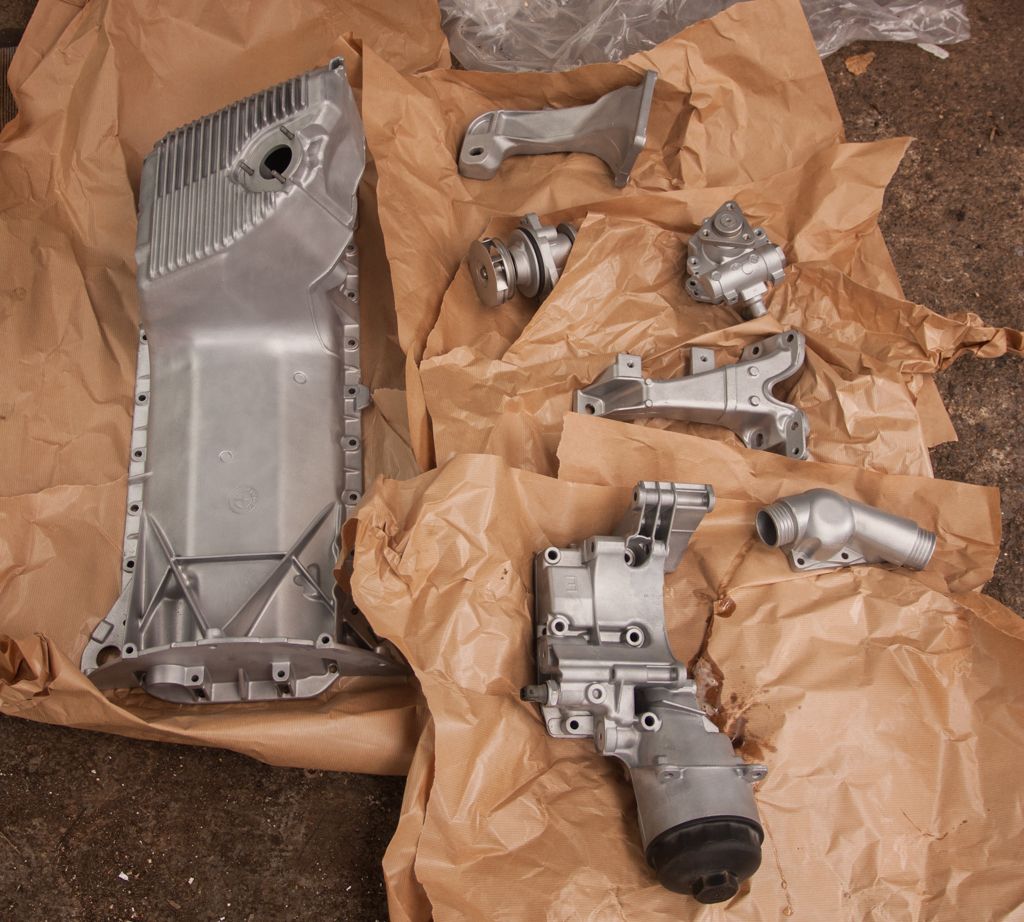
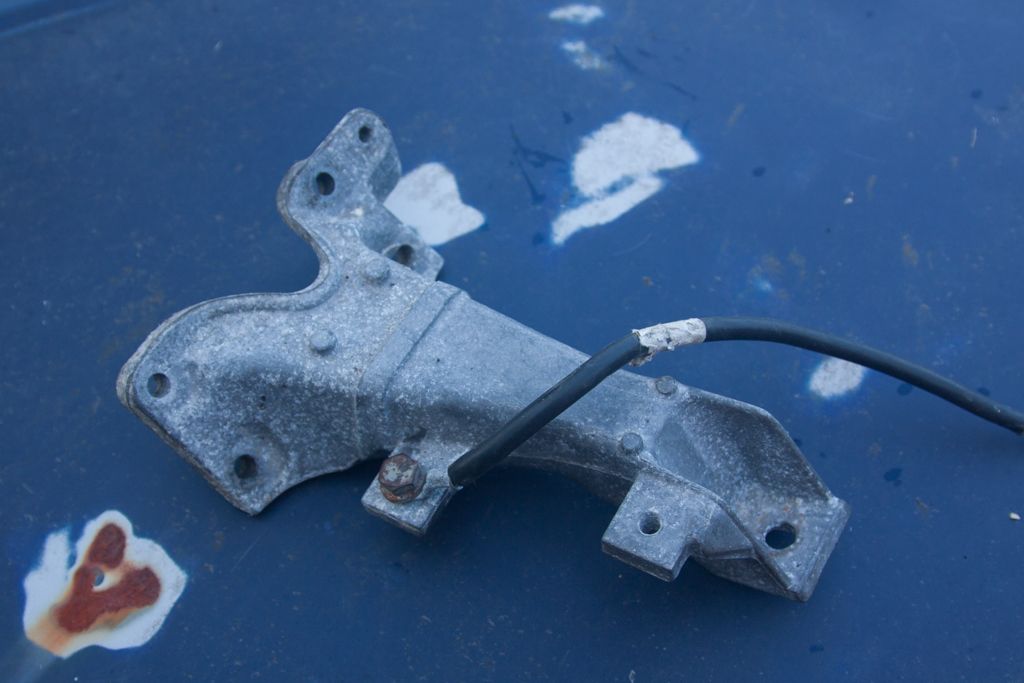
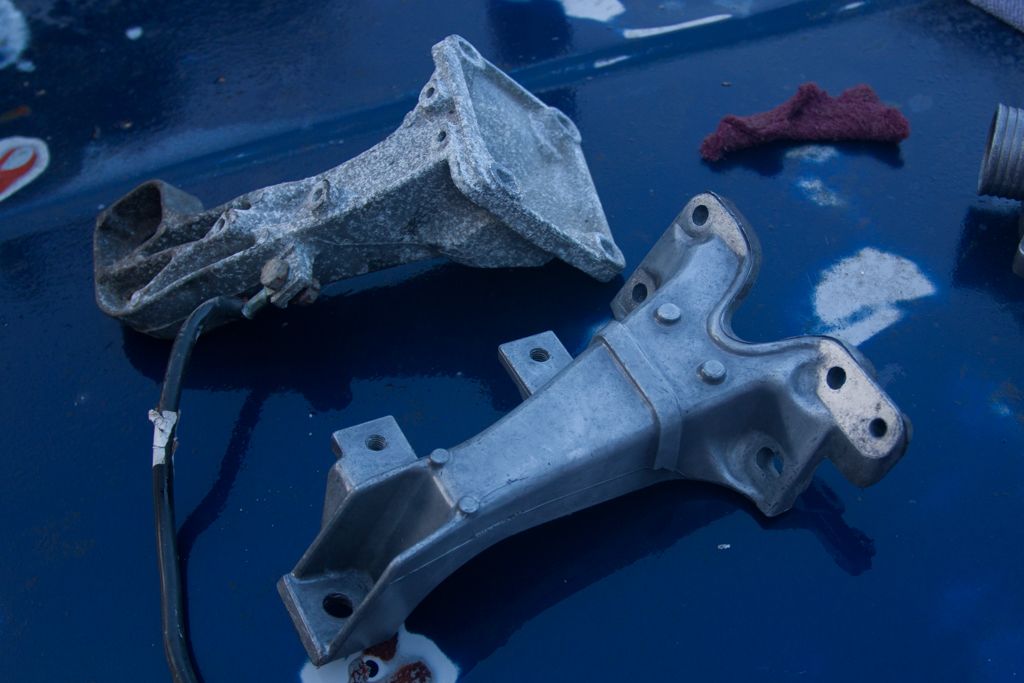
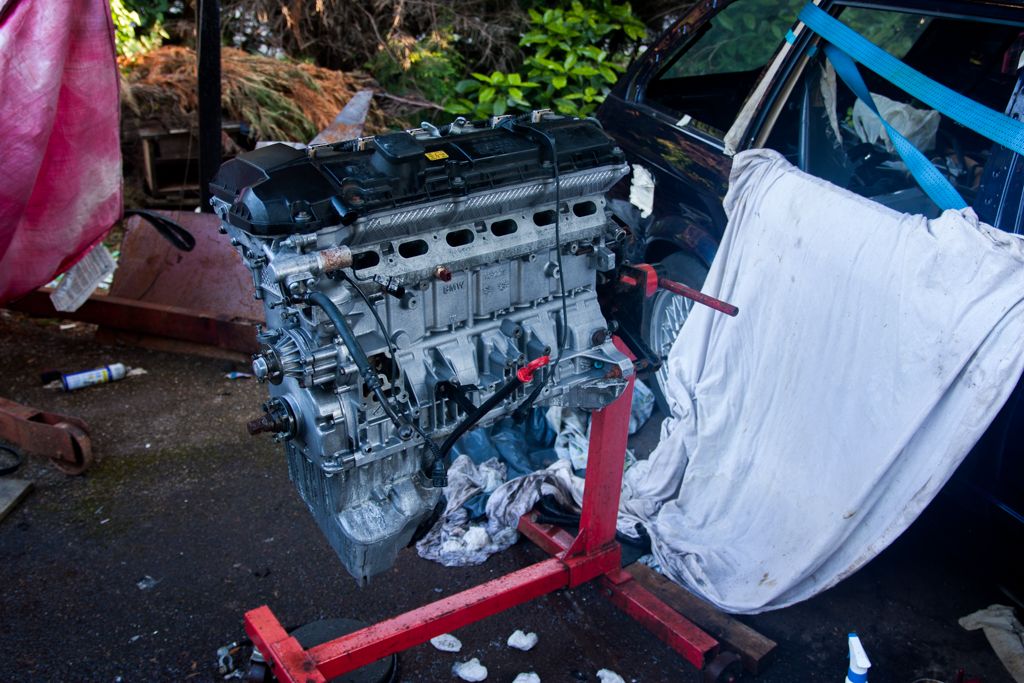
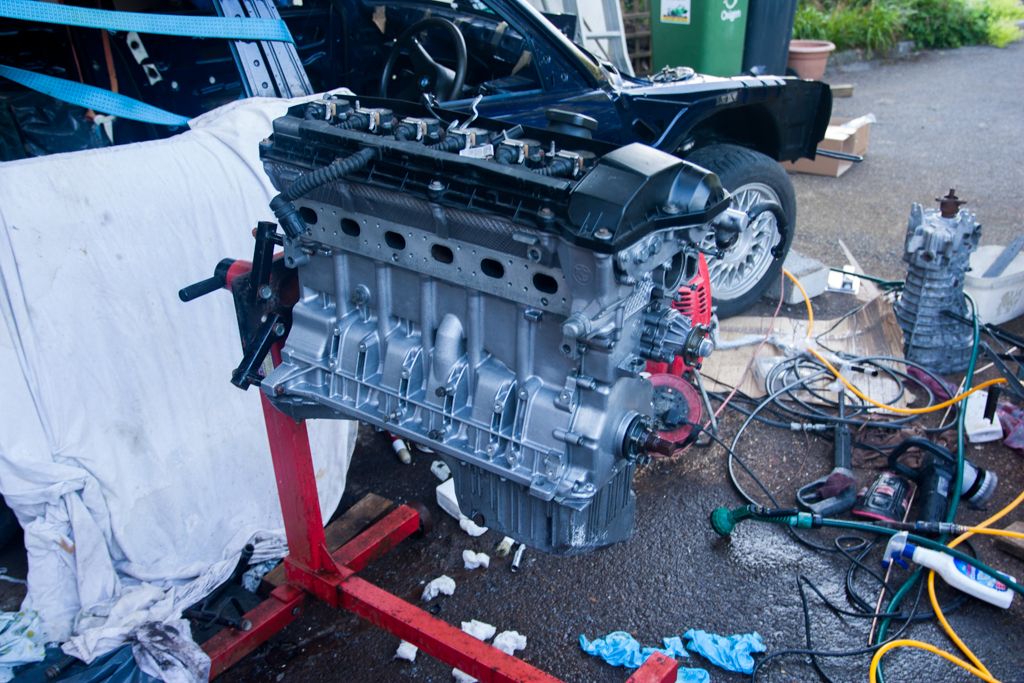
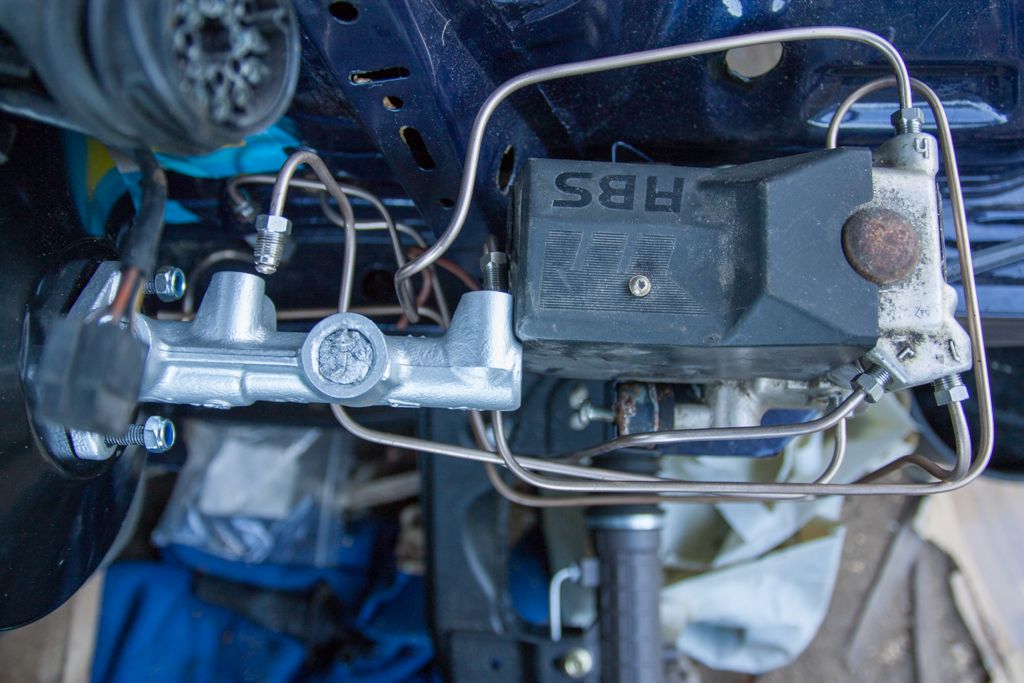
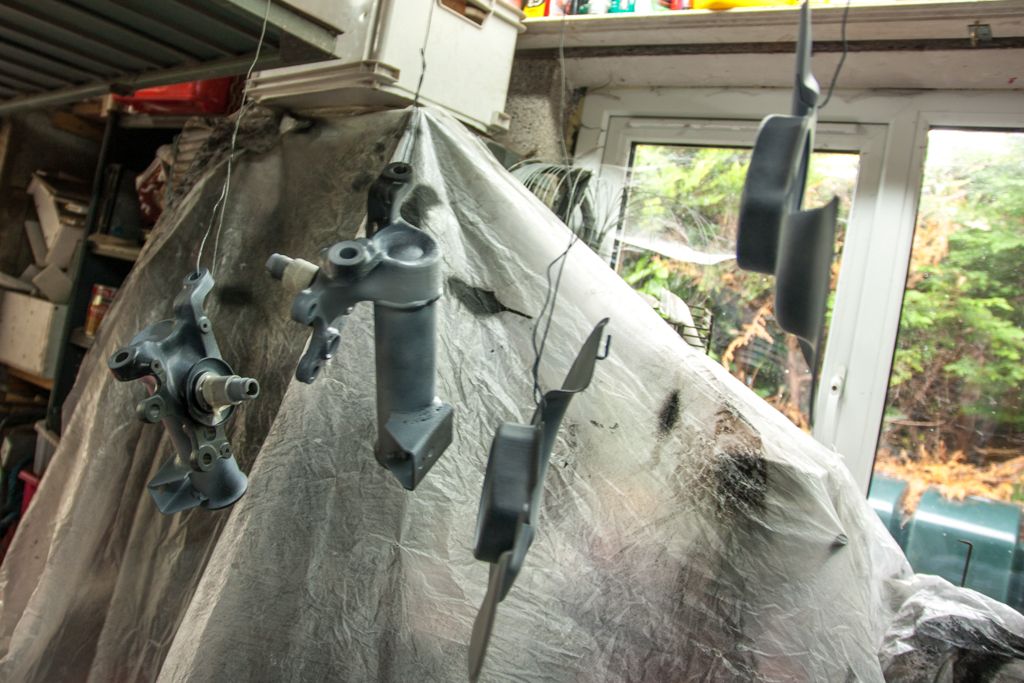
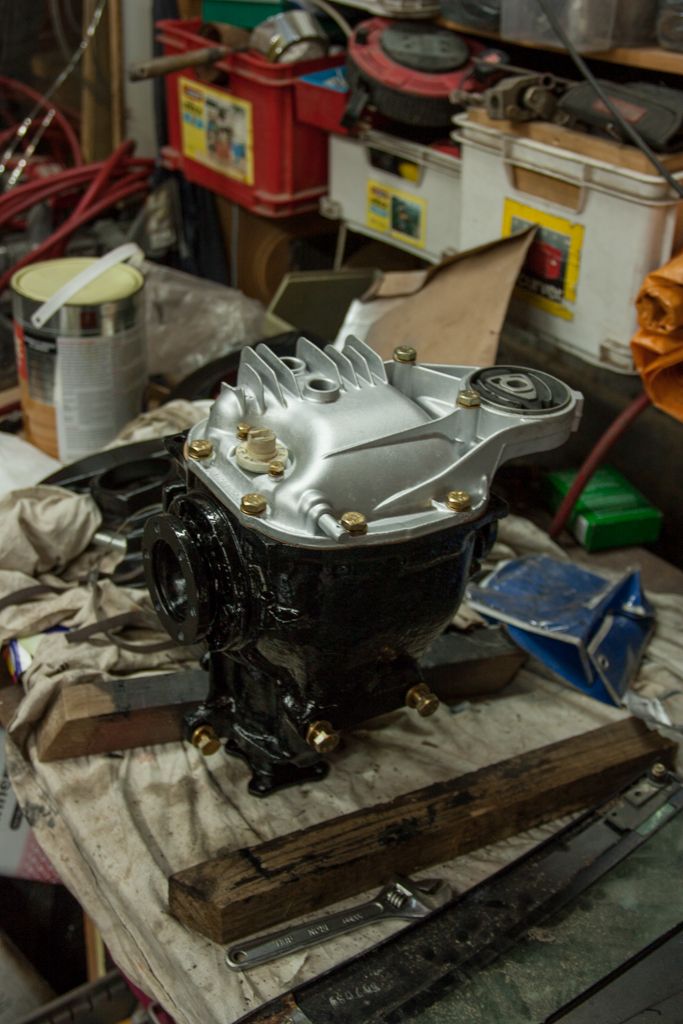
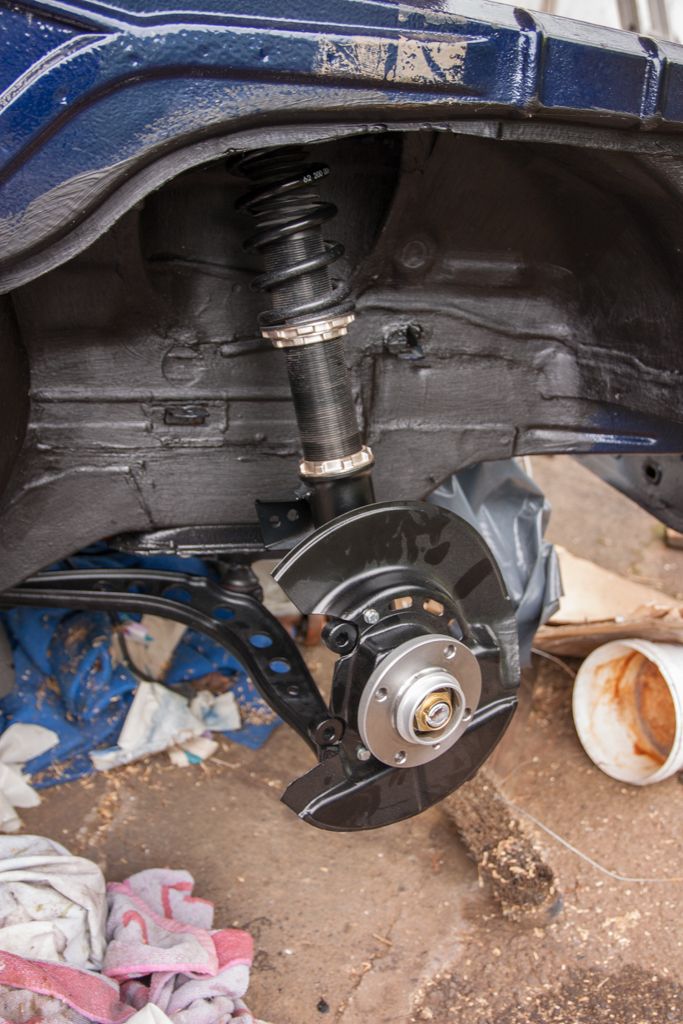
    I also had a few parts from the engine vapour blasted, they look as good as new if not better! I have them all well soaked in ACF50 which should keep them from getting corroded again!


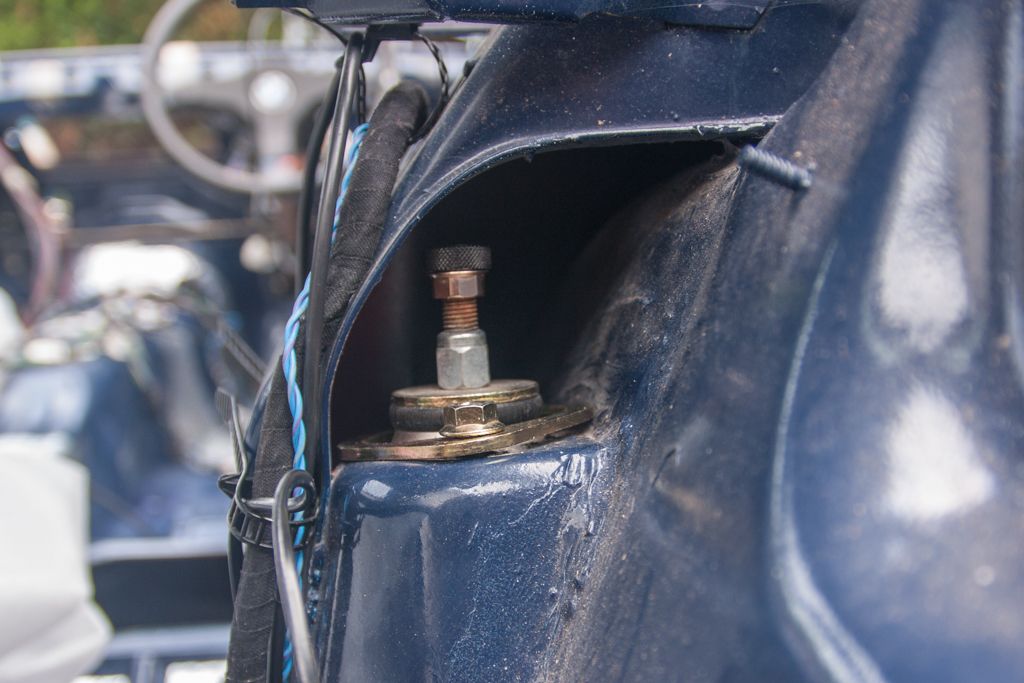
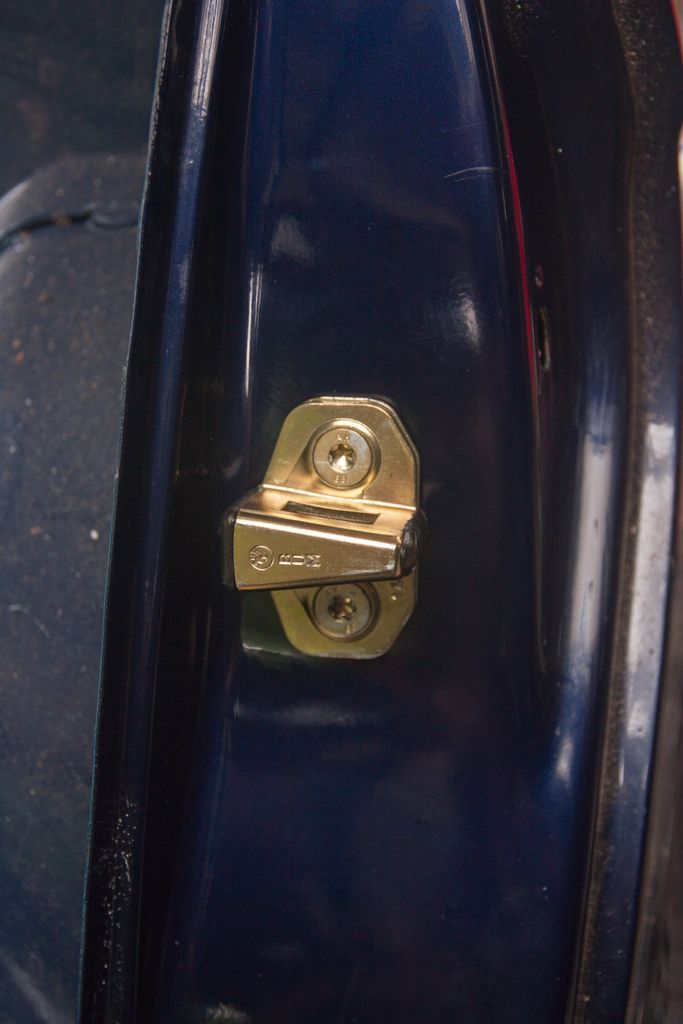
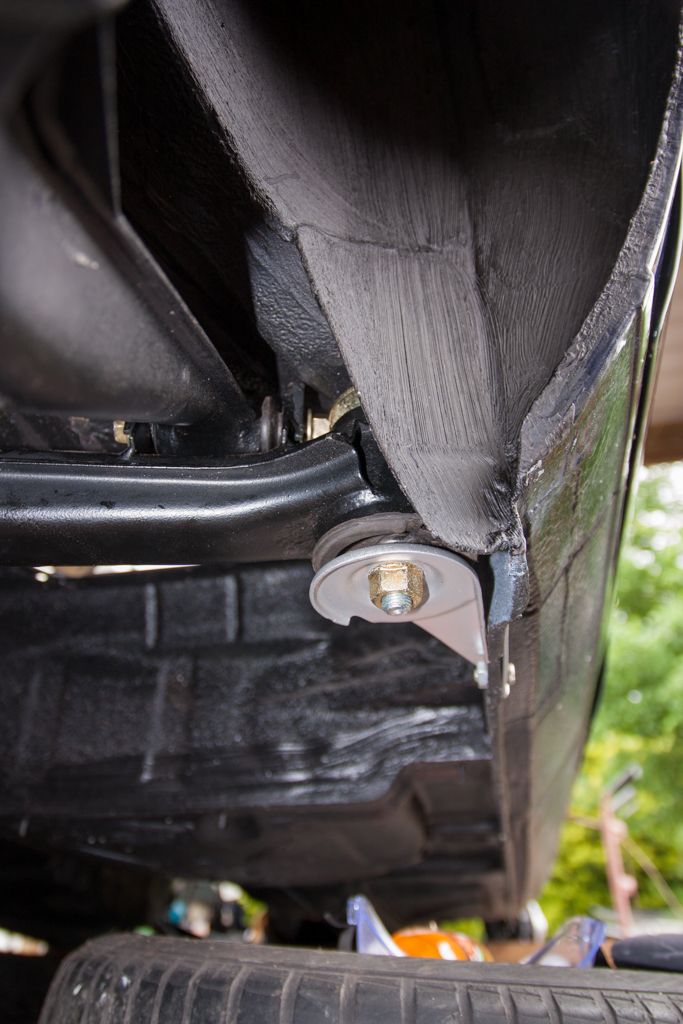
    Anyone looking to use/buy reinforcement plates for on a touring, they need a little modification to be made fit.

    Leave a comment:


  • Pazi88
    replied
    Originally posted by Jozi View Post
    This plug is close to the fuel tank under the rear bench, driver side, I've not got a clue what it plugged into anymore?

    That's connector for fueltank wires (fuel meter and pump). That connector and cable should be zip-tied to that tube under seat for fuel tank breather hose. But otherwise i don't know about wire routing in touring.
    Last edited by Pazi88; 07-28-2014, 03:16 AM.

    Leave a comment:


  • Jozi
    replied
    That makes sense alright and it's what I've done so far but the touring is quite different from the rear seat back. Instead of a bulkhead there's additional reinforcement around the rear strut towers and over the boot floor.

    I'll figure it out as I go along!

    Leave a comment:


  • ape101
    replied
    Well, as far as I know and how it's said in other german forums, in a sedan they route the cable through the front arch, there is a hole. Then it goes down before the speaker right in the skird, there should be a cable guide or something like that. Then there is a hole below the back seat at the most outer and lowest edge where it should go right through the back seat. I think there is a hole below the fuel pipe as I remember.

    I hope what I wrote makes sense somehow. Anyway the sedan and the touring shouldn't be so different.
    Good luck

    Leave a comment:


  • M.Knight
    replied
    I love these E30 Tourings!

    Leave a comment:


  • Jozi
    replied
    Gave the inside of the car a bit of a clean last weekend and started on the loom.

    I did my best to keep it all neat when removed from the old car and I rolled up each loom run after I put it into the new shell. It didn't work out though 
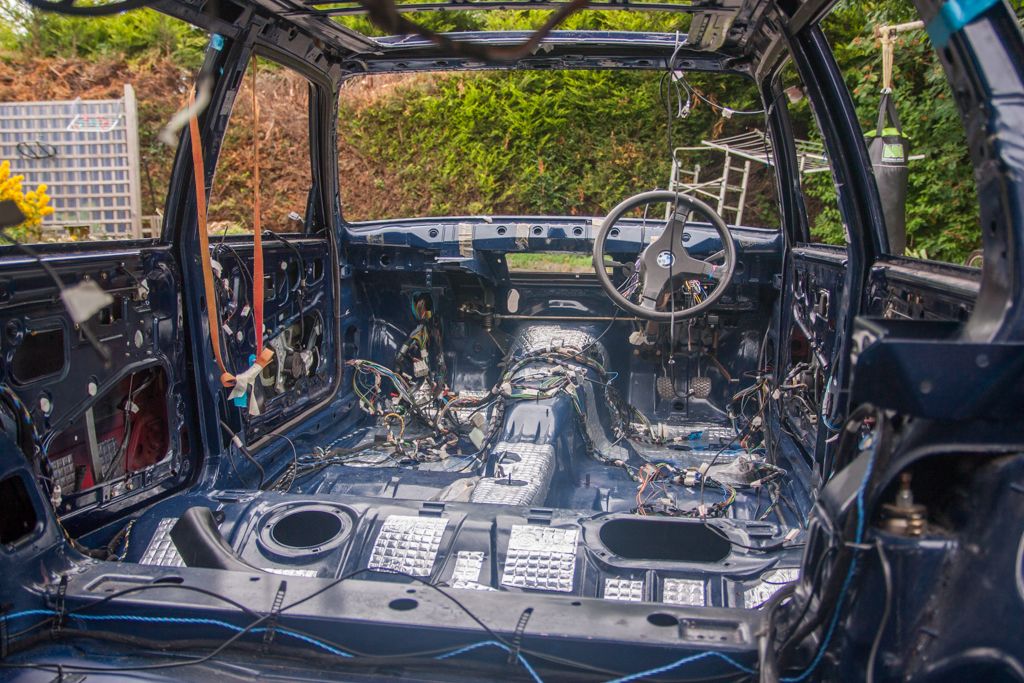
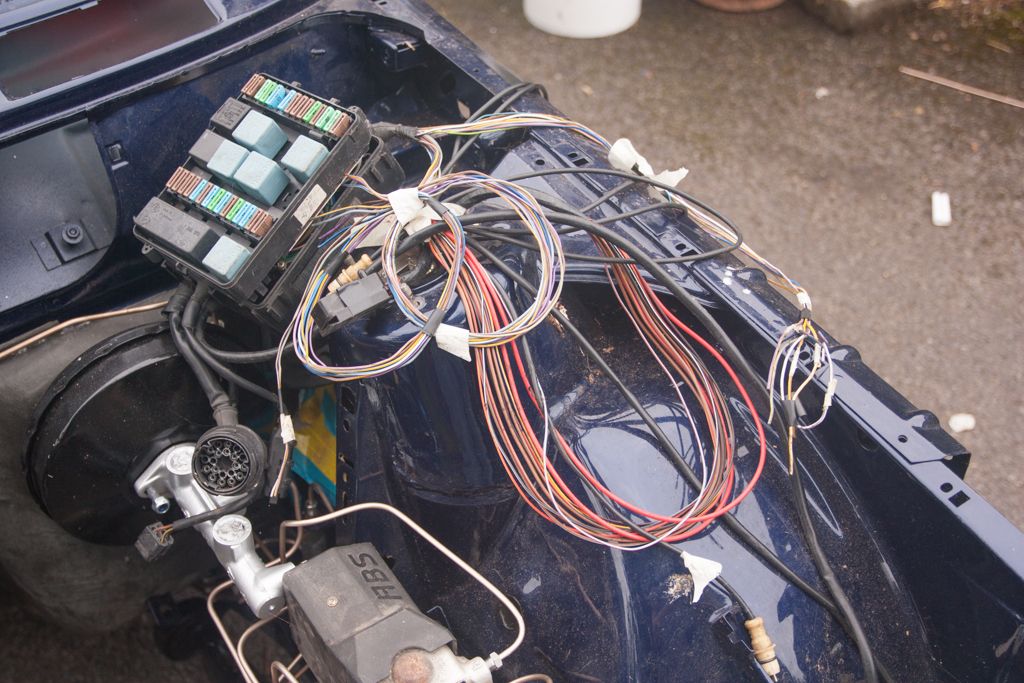
: I spent a good while untangling various parts of it while laying it out inside the front of the car.

    The rear end for the most part is in, it need clipping together here and there but it should all be in the right place.


    Front is still a bit of a mess, looms run where they should but arent tied down with anything clips or what not.


    I'll try sort out this mess and work from there next time


    Few things I'm unsure of, are these bullit connectors meant to be there, they both have a wire coming out of them with a connector on the end


    This plug is close to the fuel tank under the rear bench, driver side, I've not got a clue what it plugged into anymore?


    Does anyone know which way BMW routed the battery to boot cable in the 324 or 325ix tourings? Should there be anything other than the standard wiring cover and what happens the wires running along the rear arch behind the trim panel?


    This mess here will also need tidying up over the next few weeks :

    Leave a comment:


  • Jozi
    replied
    Quick update with some stuff from last week, back working to just get the weekends at it from now on

    This here is the reason I started zinc plating everything, the original ones just looked crap next to the fresh paint.


    I got the doors built back up as well, just need to cable tie the wiring to the door and a few other little bits.


    One of the rear motor's had seized, turns out that you can use the motors from a front winder. Just 2x screws, pull it of and fit it to the other.

    Anyone know if this looks right, wasn't sure which way it went back on.


    Decided to splash out on some goodies, M52 BBTB, Mishimoto silicone elbow and rear top mount reinforcement plates

    Leave a comment:


  • Jozi
    replied
    Thanks Christopher, I'd like to think I might get it ready for the end of next month but I doubt it will happen

    -----------------------------------------------------------

    Small update, started cleaning the engine today, with looking about as good as I think I'll get it without stripping it all down and getting everything vapour blasted or using some other method to clean alloys.

    I used Frost Ali-Clean to clean everthing after a de-greasing. While it does work it doesn't seem to get it spotless, the rough area's come up better than the smooth areas. You also need to protect the alloy again or it will corrode in no time, I'm using ACF-50 after hearing good things about it.

    Before and after for one of the engine arms


    And just an after from the engine, it wasn't bad (started cleaning it before) but it had a bit of white corrosion over most of it.


    The exhaust side came up much better then the intake side. I'm debating doing the stat housing, oil filter housing, alternator and a few other parts myself or getting them vapour blasted.

    Leave a comment:


  • ChristopherJason
    replied
    another amazing Build !!! i cant wait for this to be done !

    Leave a comment:


  • Jozi
    replied
    I think your right, I've had 2 others say it was never centred either and that it's fine. I was already having nightmares of having to get the dremmel out to elongate the holes a little to get it back centred.

    Leave a comment:


  • CubbyChowder
    replied
    I'm pretty sure the off centered diff is normal and they all left the factory like that. I parted out a 1989 325is a few months ago and noticed that my diff wasn't centered at all in the opening on the subframe and it really concerned me, only to find out that it's normal, it was a relief.

    Leave a comment:


  • Jozi
    replied
    Thanks Dr!

    -----------------------

    Slowly but surely things are coming together. I spent the last 4 days or so doing the brake and fuel lines.

    I didn't enjoy these 2 jobs at all and hope not to have to do them for a long time! I used kunifer hardlines all round with stainless braided lines and also stainless brake nuts.

    I had bought a new T-Piece which turned out to be imperial so I atacked the old one with the angle grinder and used it, should be fine anyway.


    Lines at the rear of the car


    Few small problems When I mocked up my ABS relocation I must have used the E30 servo, which I think isn't as deep as the Clio one


    With everything tightened up properly there's maybe 2mm between the two, might just have to shave a corner of the abs cover!

    I also have a problem with the servo and a brake line clip getting in the way of each other


    Dent the servo or shave a little of the clip? If I space the servo out I might not be able to bolt it up and it will foul the ABS unit.

    Another problem noticed when doing the brake lines is that my diff isn't centred, is this normal, should I be worried? I couldnt seem to move it to the centre when I tried.

    I also got the fuel lines installed but no pics apparently, just need to trim them in the back and by the tank next tiem I'm home.

    Anyone know can the tank go on with the subframe in place or does it need to come off?

    I'm also missing the 2x pipes that are supposed to run over the top of the tank if anyone has them?

    Leave a comment:


  • Dr.AK
    replied
    This is amazing.

    Leave a comment:


  • Jozi
    replied
    Thanks guys!

    I just had a few days of tidying up some lose ends and loads of small job which meant I finally made some progress by the end of today

    Few touch-ups to the front struts and disc backing plates


    I had to get custom handbrake cables made as a result of chopping up 10cm of the metal tube under the car in which it runs. From what I remember I bought a cable in a motor factors and got a company to make me a pair exactly the same only with 10cm added to the outer cable. All well and good till I went to fit it, the little eye let was to wide and to wide : Some minutes later on a bench grinder and 40mins in the zinc tank and she fits


    When I pulled of the bearing from the struts I found this


    Pretty bad I thought for a pair of bearings with no miles on them that has been on a car that was sitting up. Treated them and painted up the worst of it with alloy wheel silver, came up lovely.


    I only realised today I forgot the backing plates, luckily I was able to pull the bearings of again, the nearly slid of.

    Rear discs were also a bit rust, cleaned them up with a wire wheel and some paint on the bells (I'll pull the masking tape of the brake surface when she's ready to go on the road)


    Diff painted up with 2x coats of hammerite after I ran out of spray paint, bit shiny but it will do, diff cover also painted with wheel silver. Just got to zinc the sensor plate and the 2x alen bolts for filling her up.


    And finally today with some help of my brother we got the lot bolted up under the car :dance:

    All thats left to do it tighten everything up to their torque value's set the camber/caster and a couple more small jobs but she's as good as ready for wheels to be put on.


    Front end also all bolted up and ready for wheels after all the bolts are torqued up right.


    I zinc plated the rear subframe brackets and painted them silver since I ran out of black, came out fine though.


    And here's a little something I've been working on as well

    Leave a comment:


  • 99sil-teg
    replied
    Loving the attention to detail! Keep it coming

    Leave a comment:

Working...
X