Anyway, this happened a long time ago in 2012...

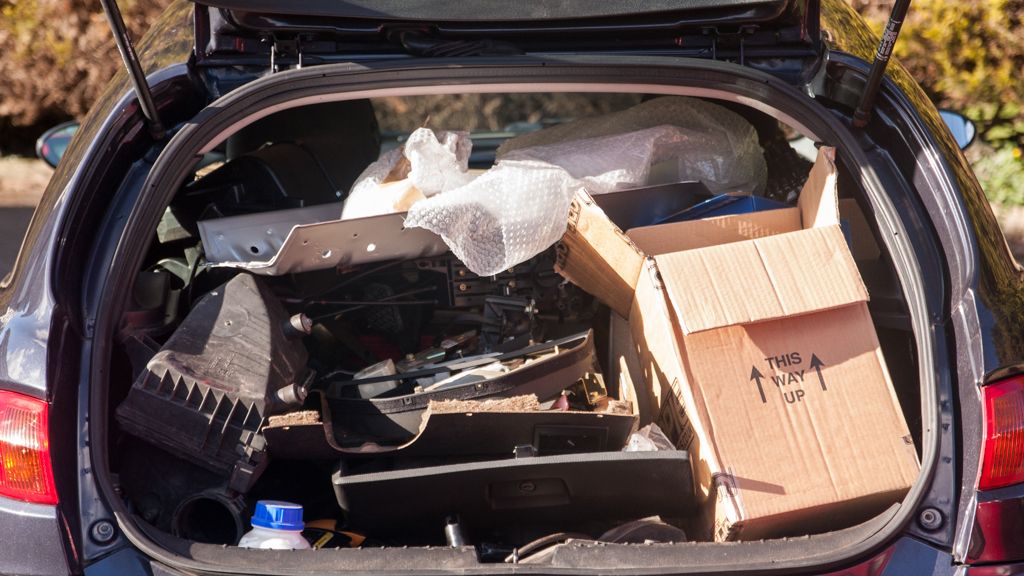
Rented a van earlier this year in Feb after a visit a week earlier (thanks Gavin for moral support)


Finish on a dusty bonnet

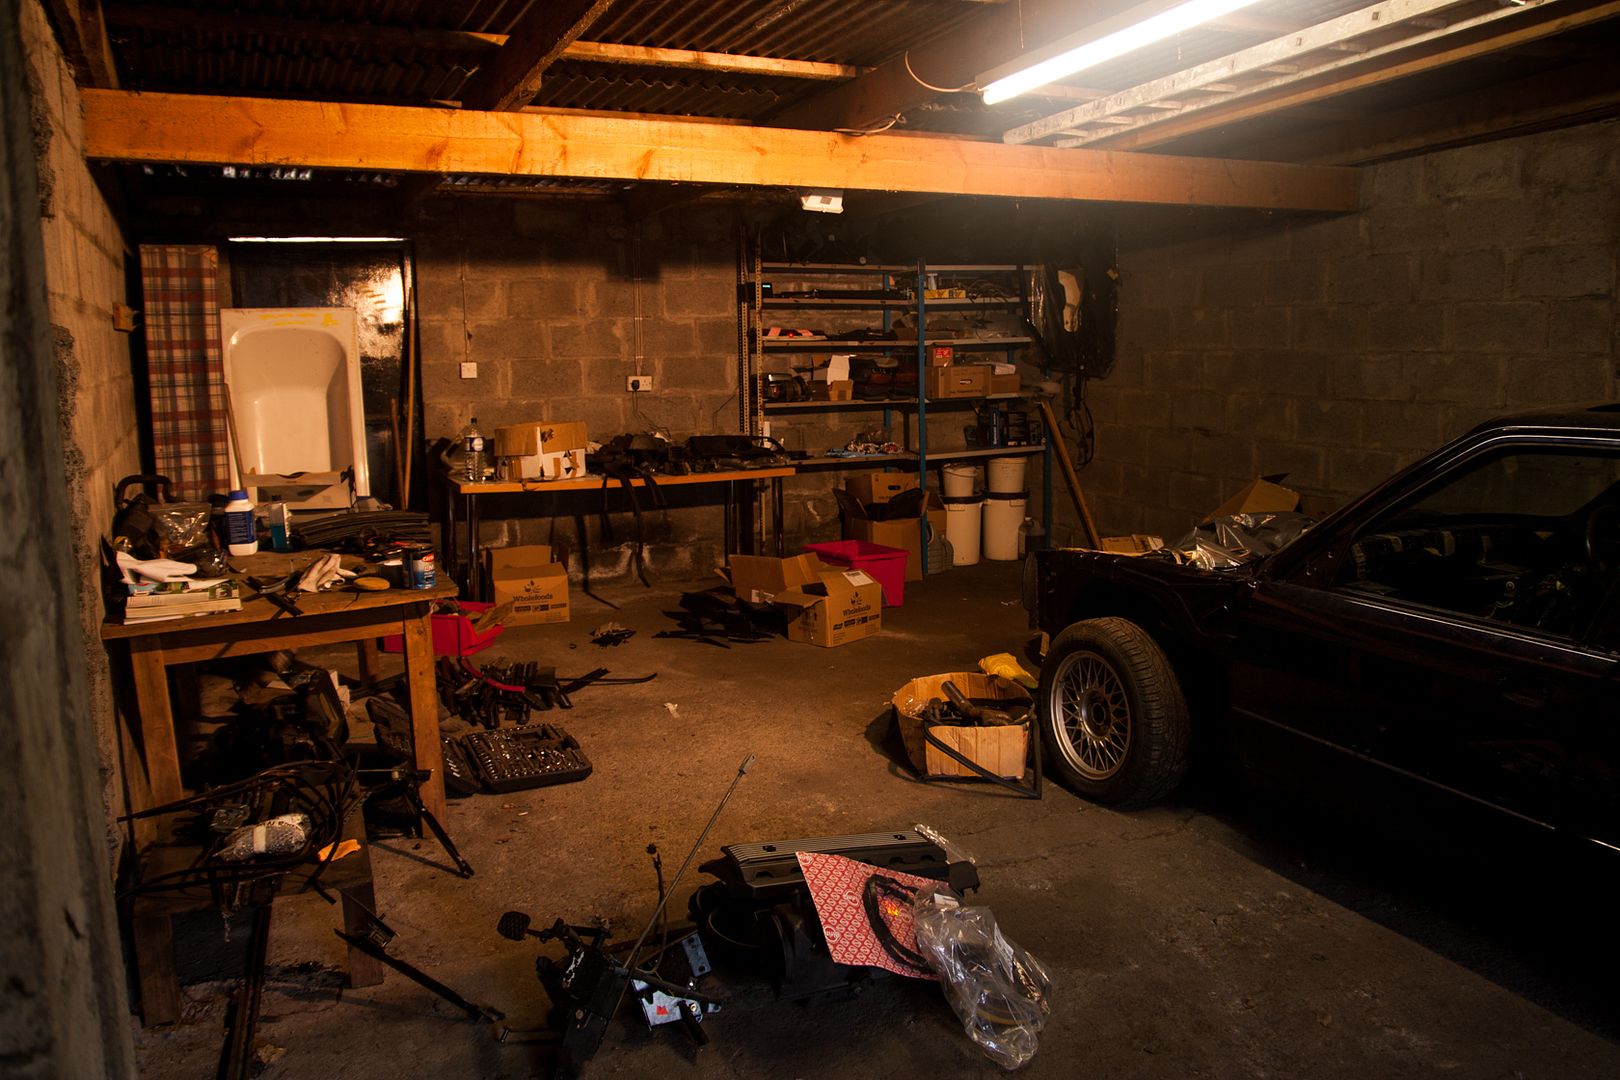
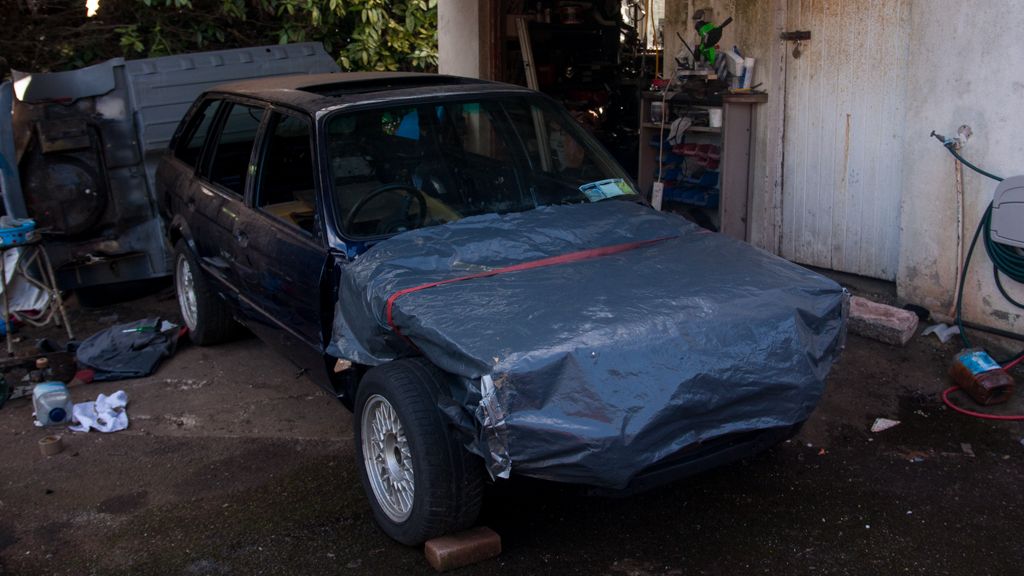
Unfortunately my patients had run out and most of the parts left (except the bonnet) are unpainted and back in the shed. I think the plan is to keep tipping away at her over the summer and eventually some day drive it to a paint shop to see about getting someone else to finish painting the remainder of the parts or worst case re-paint the whole car again.
She's not looking as bad now, I tried to wash it a little in the shed so some dust is gone since.

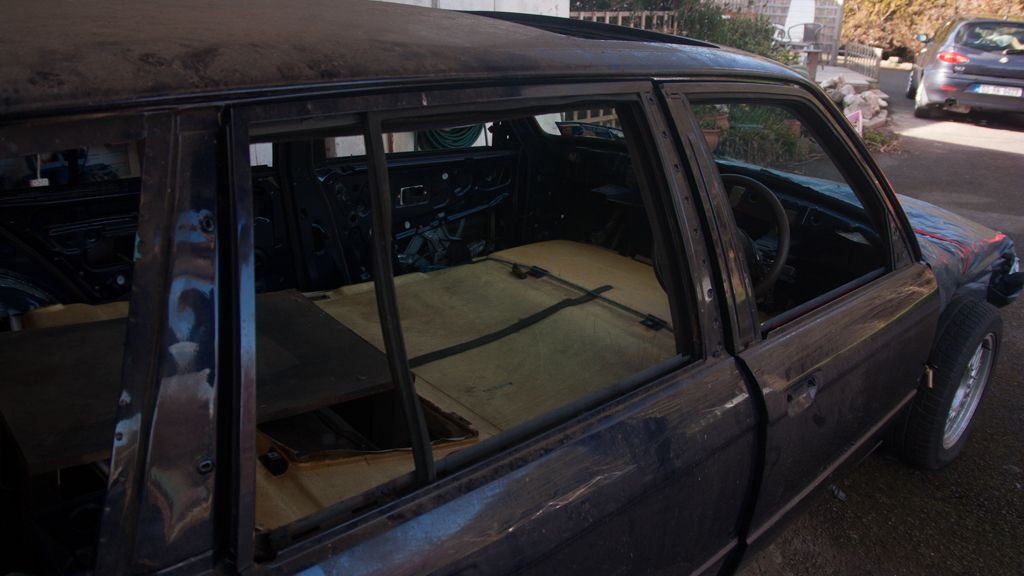
Interior


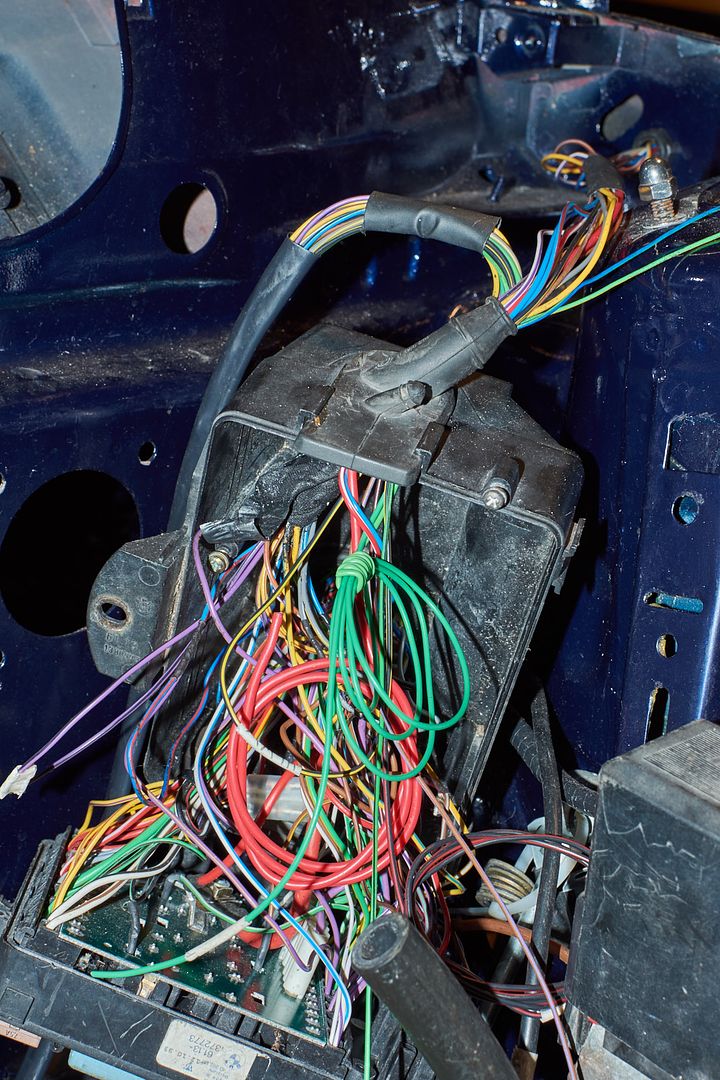
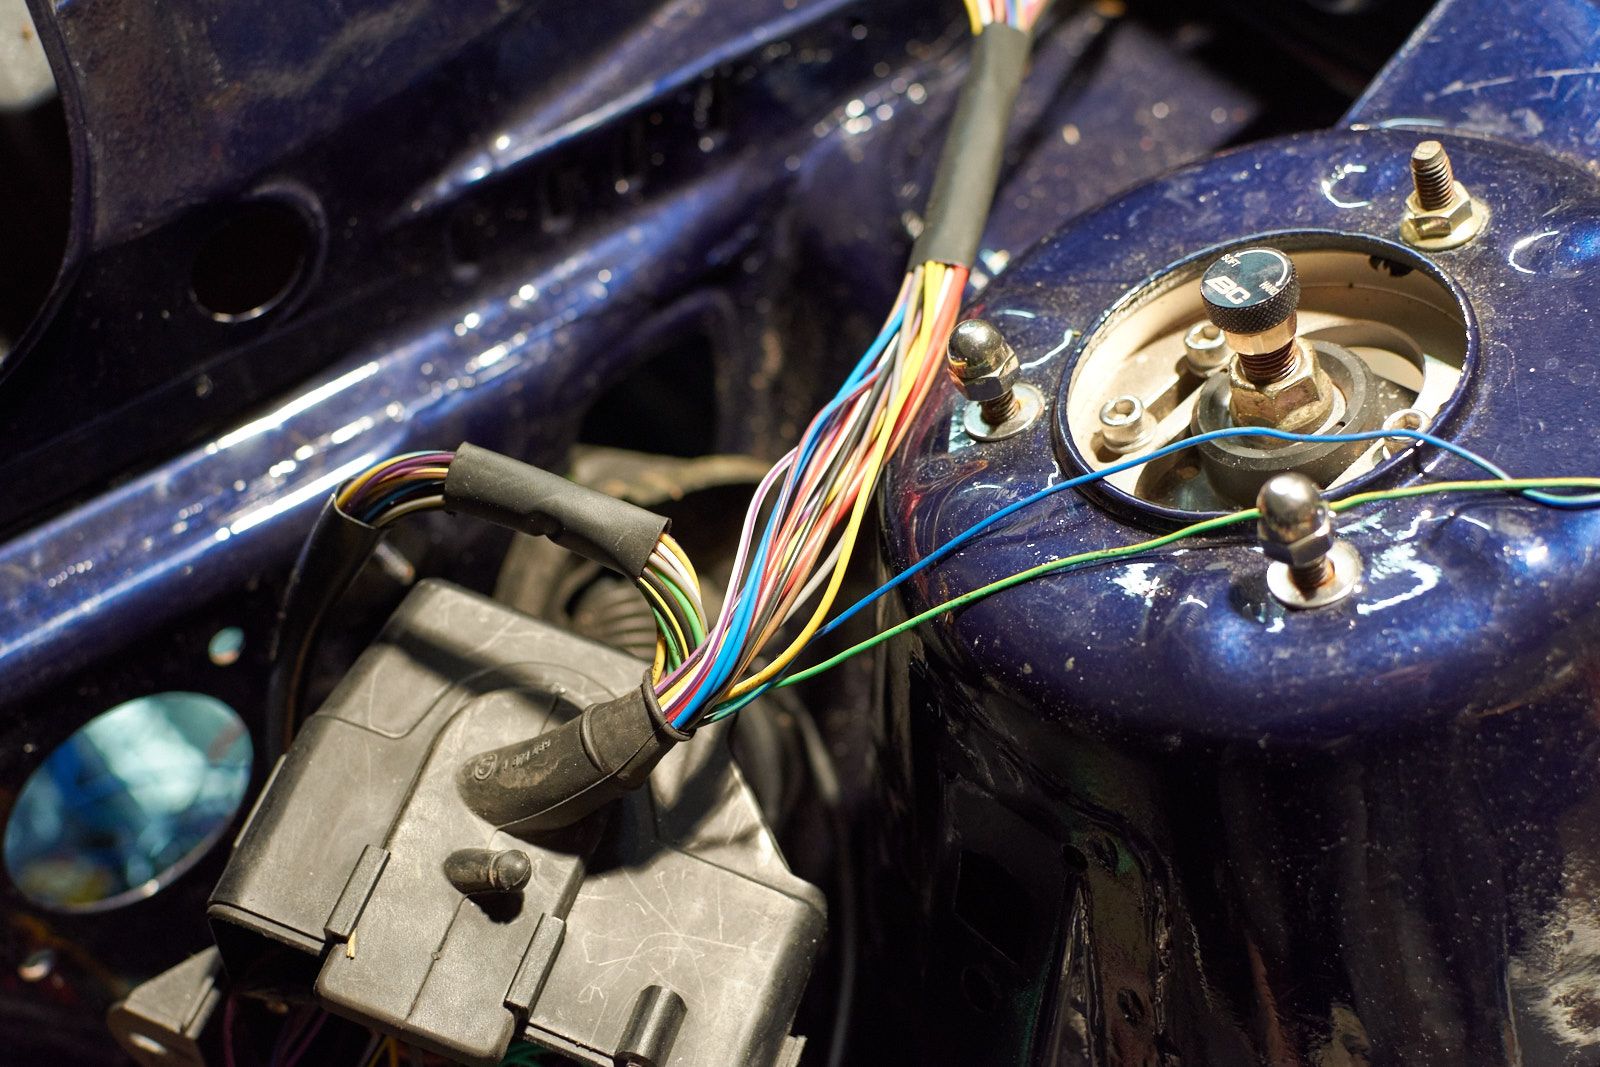
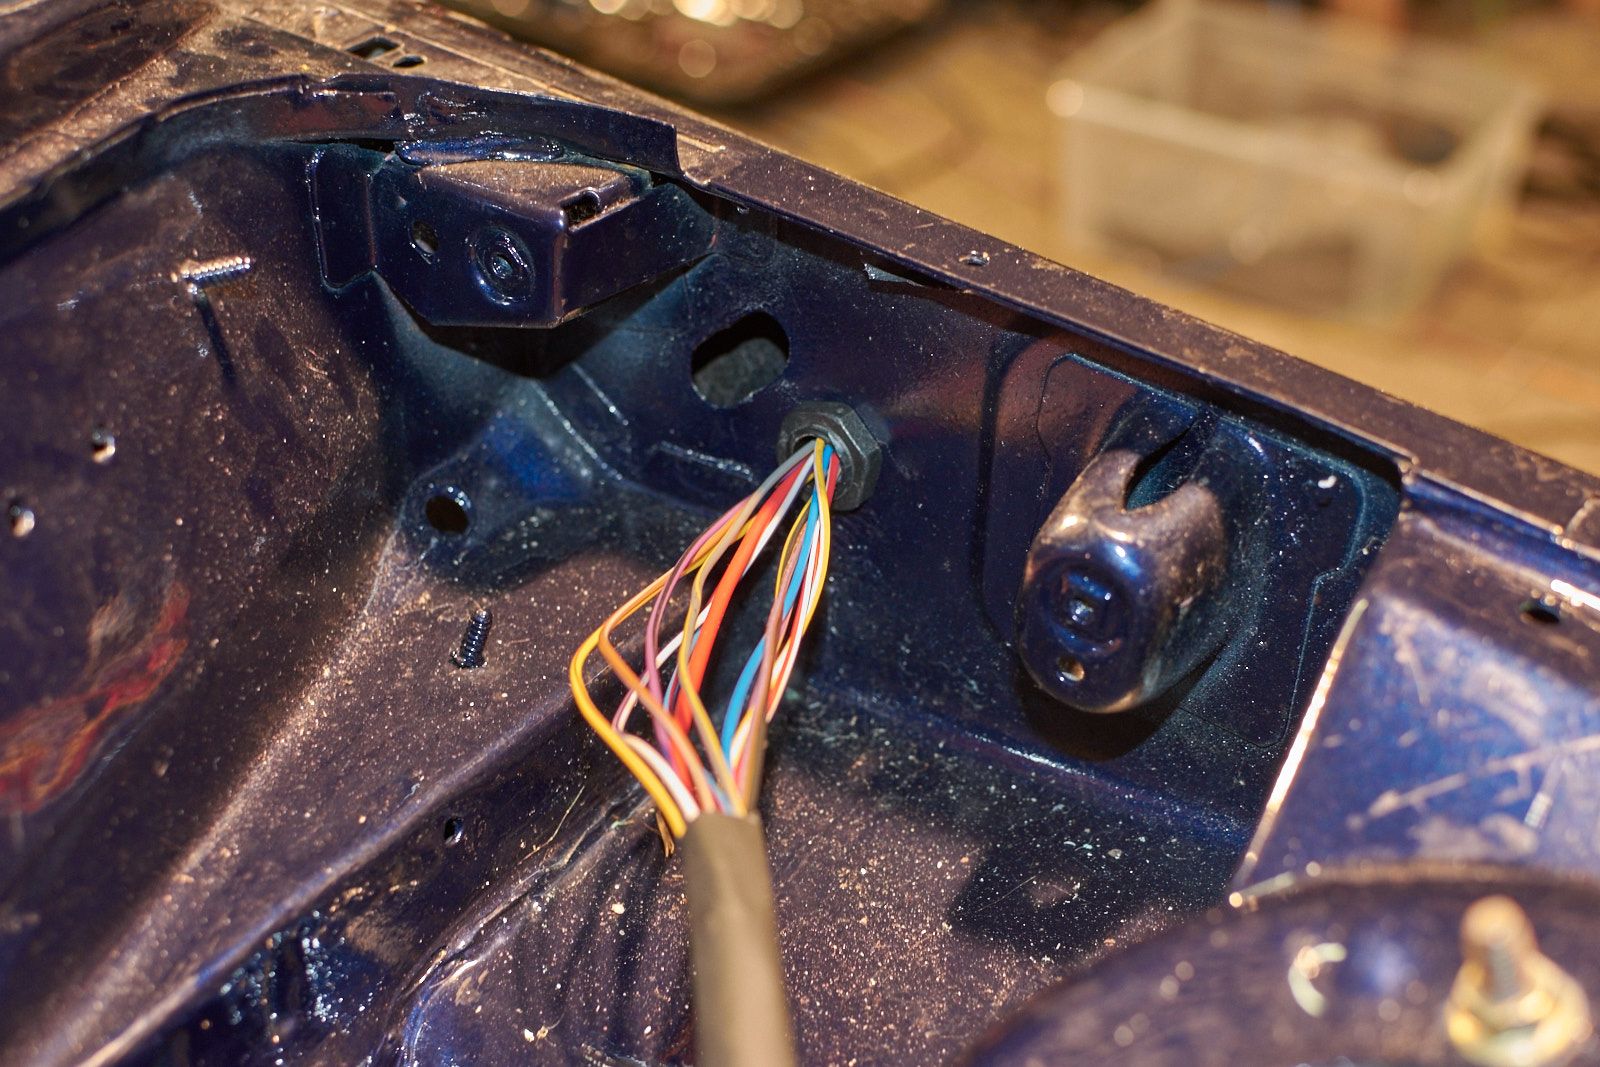
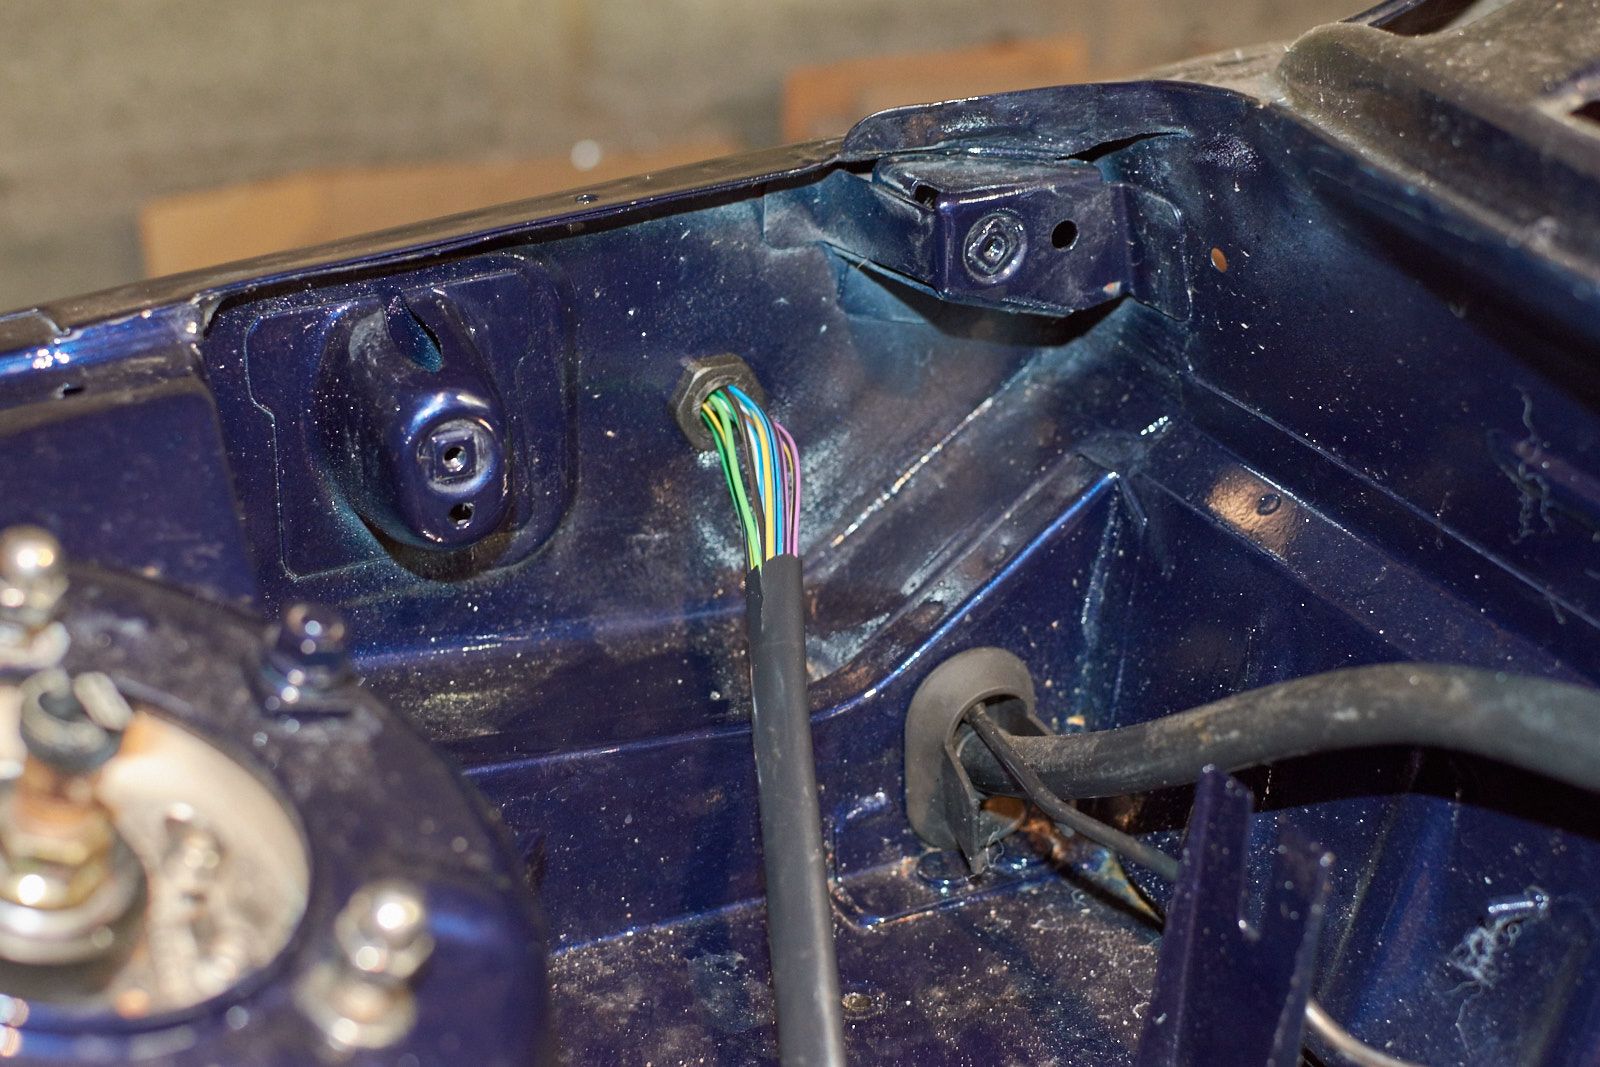
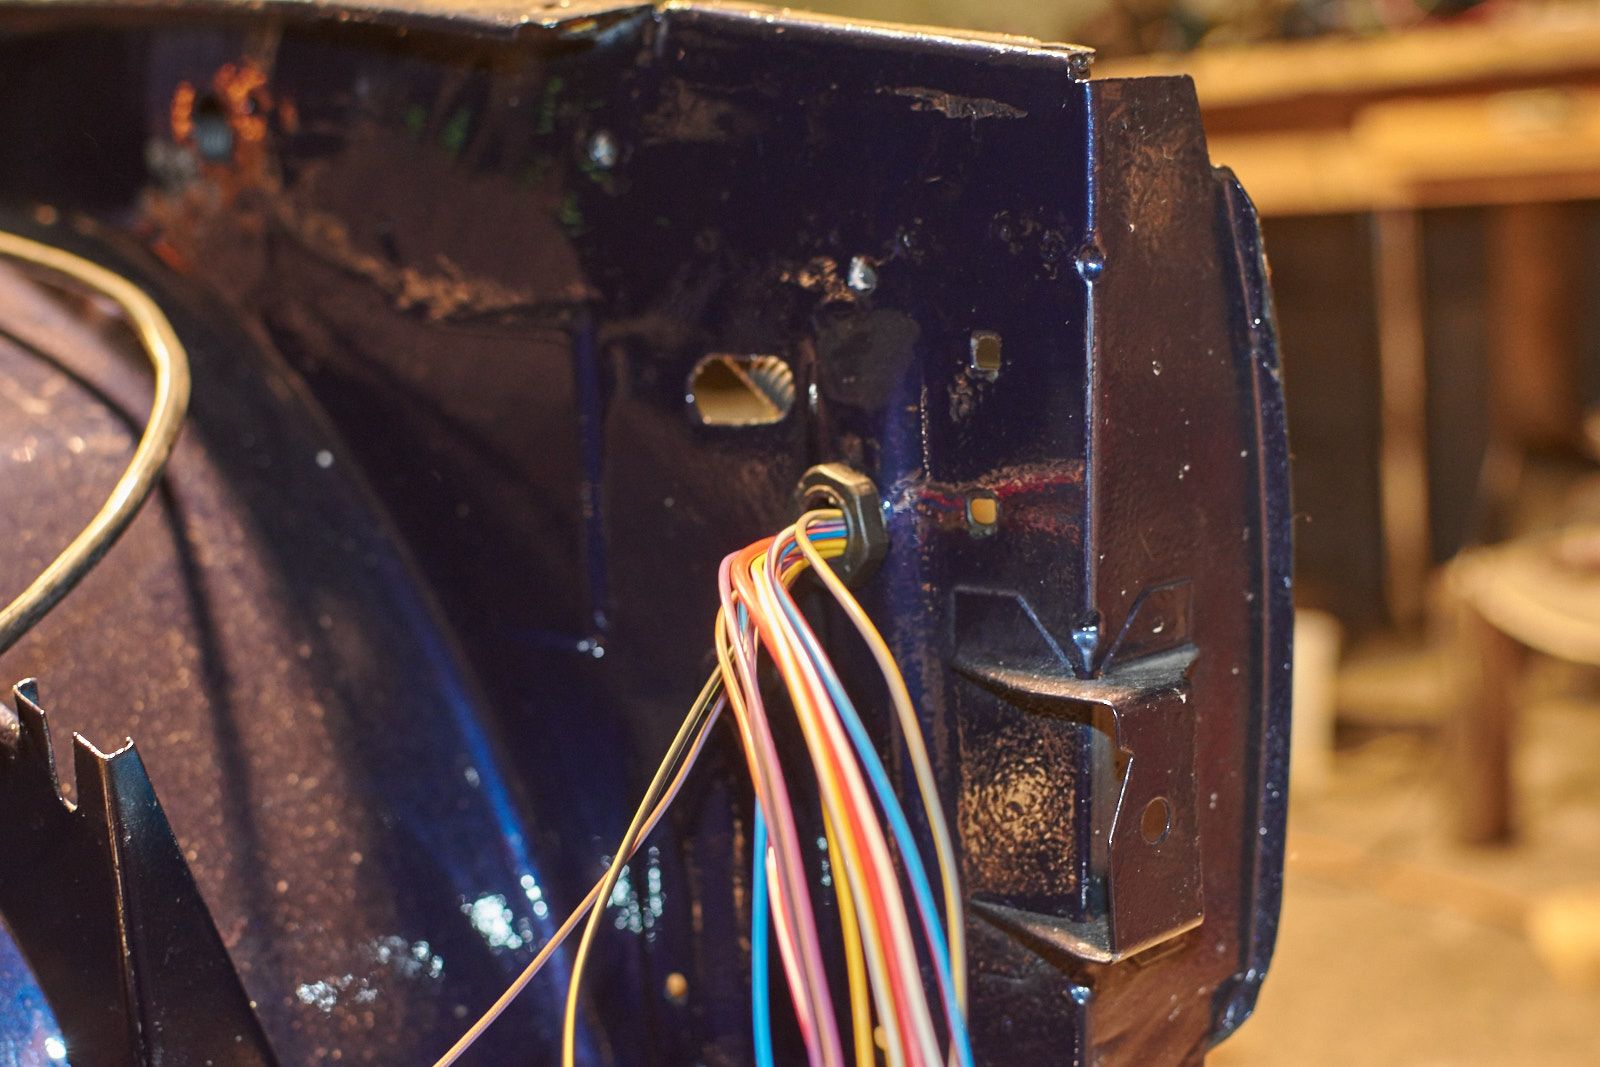
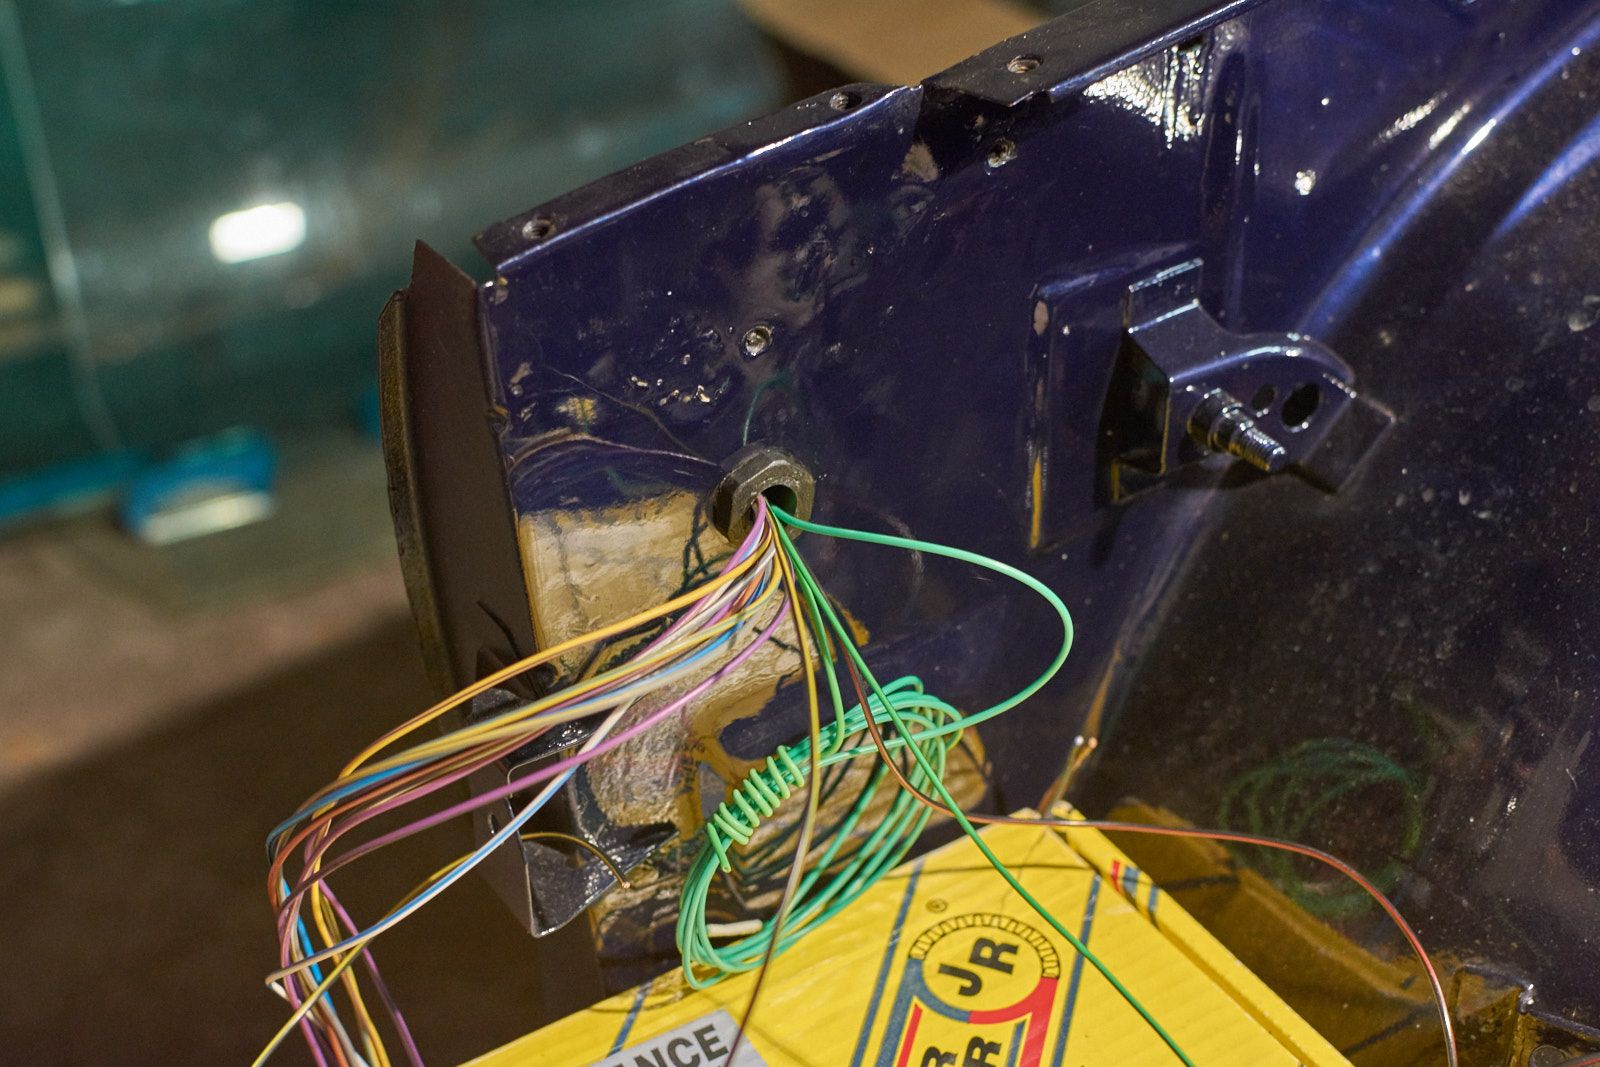
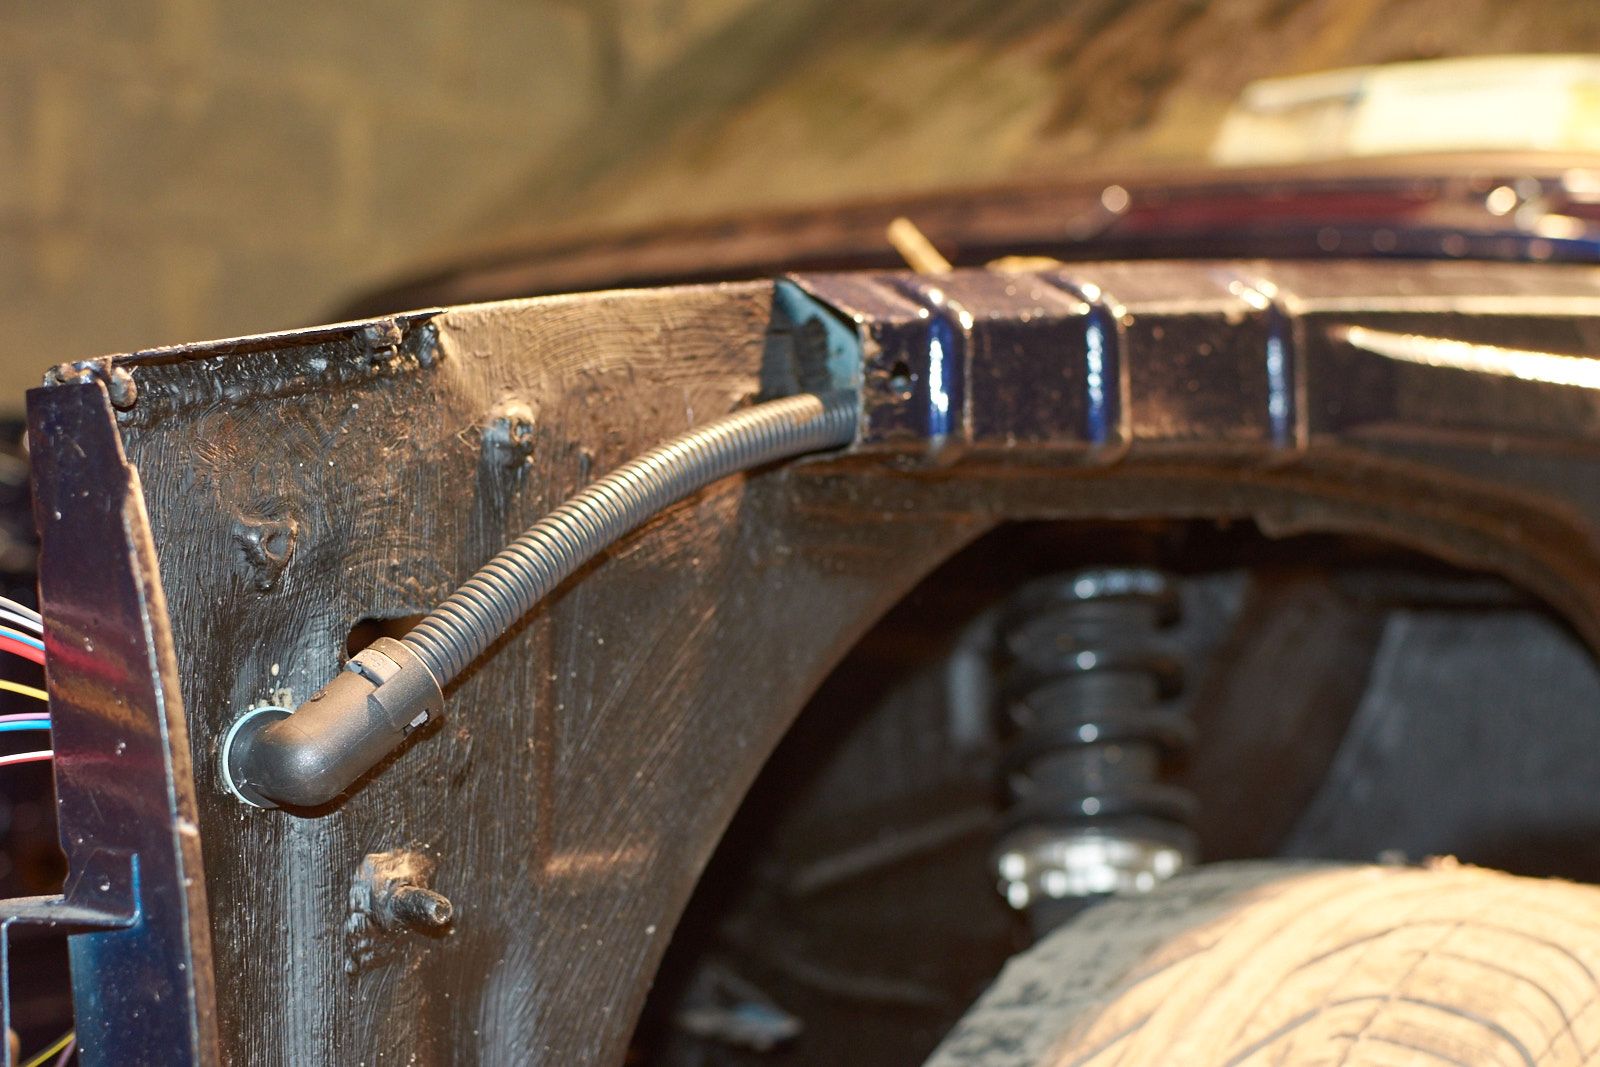
") : That took a bit to arrive but it made everything about 100x easier. In the event I missed a wire I left one long redundant wire in the loom which runs to/from the fuse box so I could tape wire to this and pull it through if I have to (which I have with a few cables since).
: That took a bit to arrive but it made everything about 100x easier. In the event I missed a wire I left one long redundant wire in the loom which runs to/from the fuse box so I could tape wire to this and pull it through if I have to (which I have with a few cables since).


Leave a comment: