If this is your first visit, be sure to
check out the FAQ by clicking the
link above. You may have to register
before you can post: click the register link above to proceed. To start viewing messages,
select the forum that you want to visit from the selection below.
Ok been a while again but been very bizy again & I am also trying to catch up some Zzzzz'z from loads of very late nights.
Not a lot has been done to the car it self but this is the progress so fare.
The scene is doing a vento front end conversion we wanted to be different & stick with the Mk3 looks & to also subtly add the S3 to it.
The front light where first & I don't think this has been ever done before.
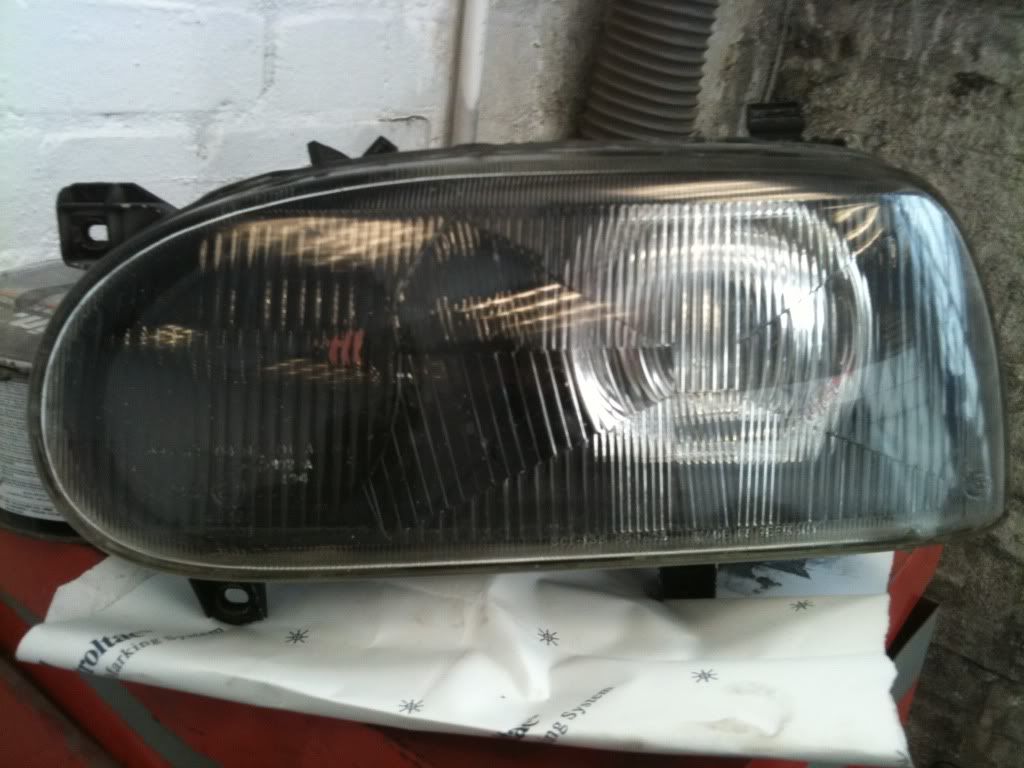
I didn't get a pic of the standard Mk3 & S3 headlight but I am shore you seen one before.
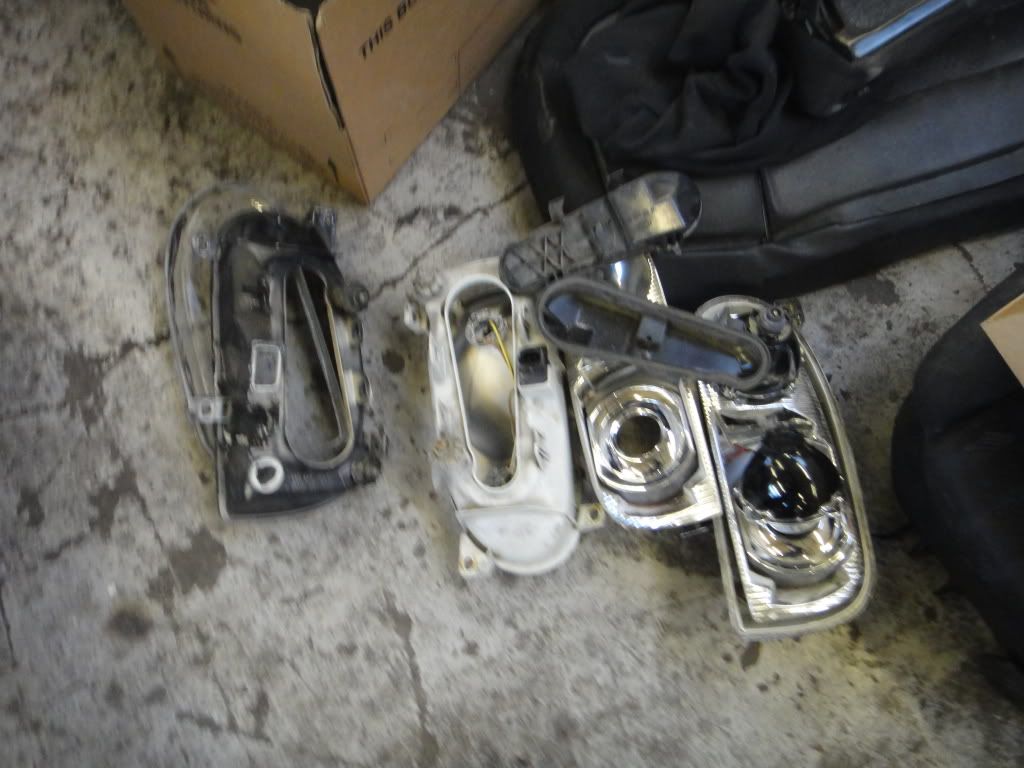
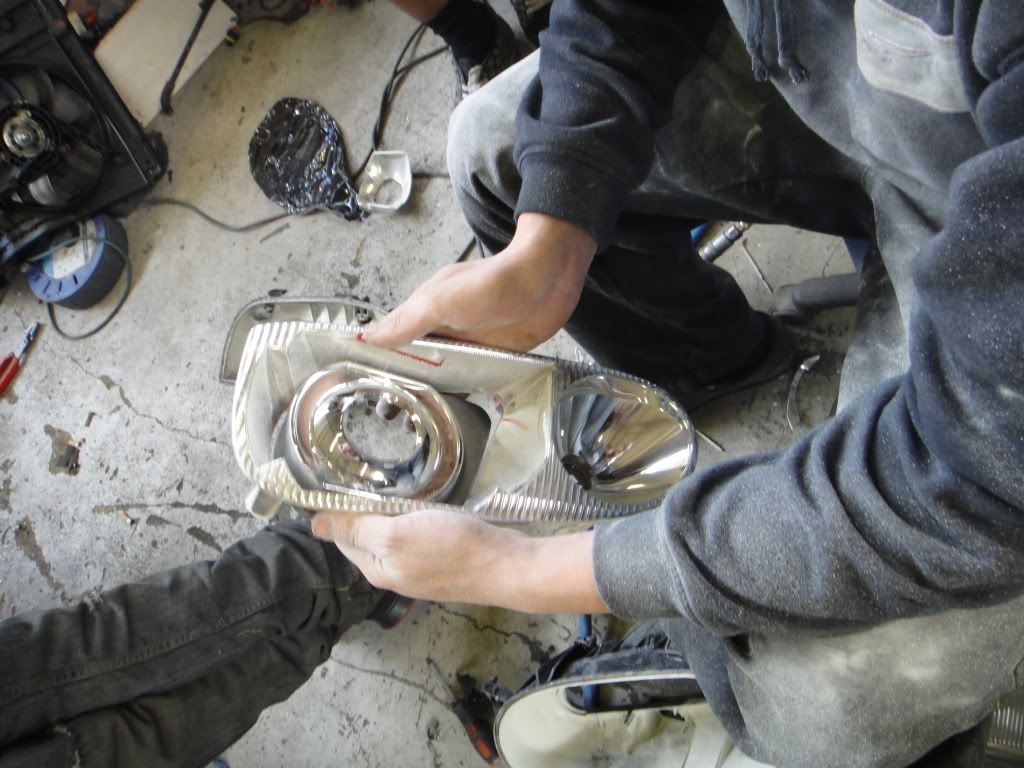
Mk3 & S3 head lights stripped apart
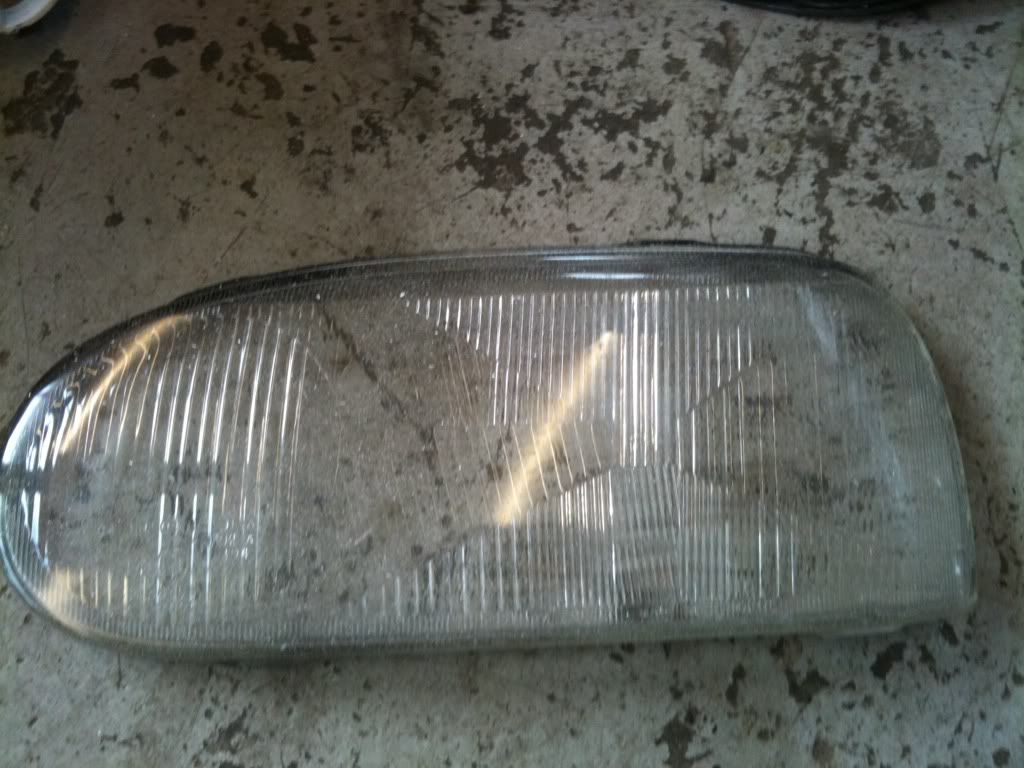
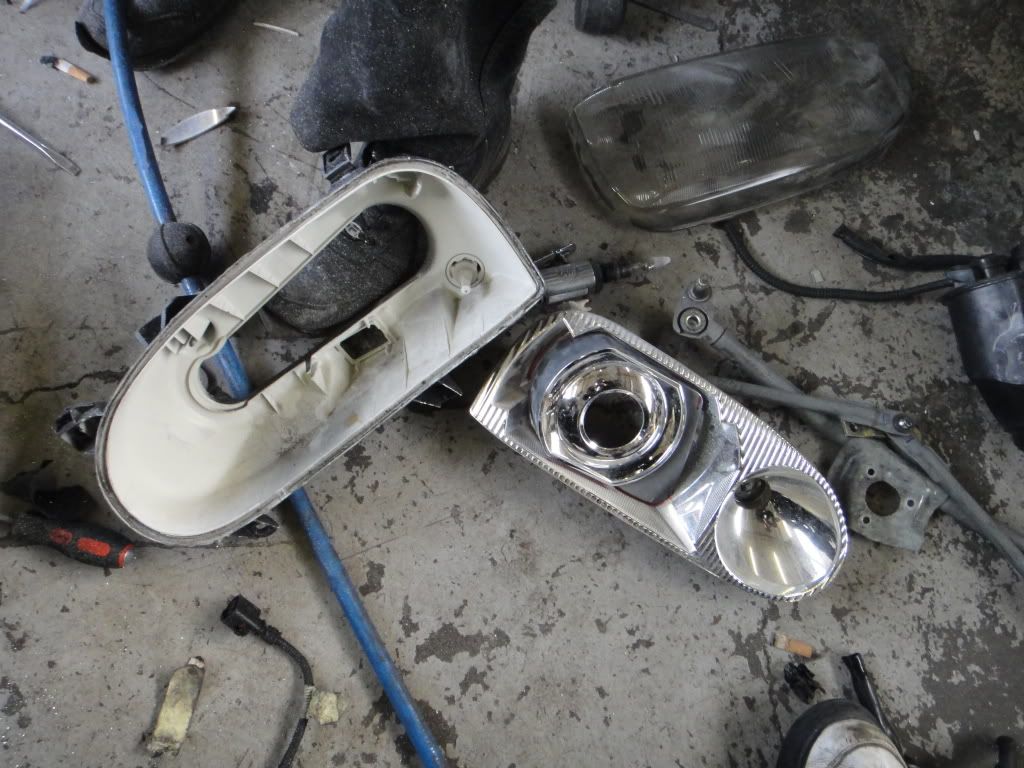
Mk3 glass
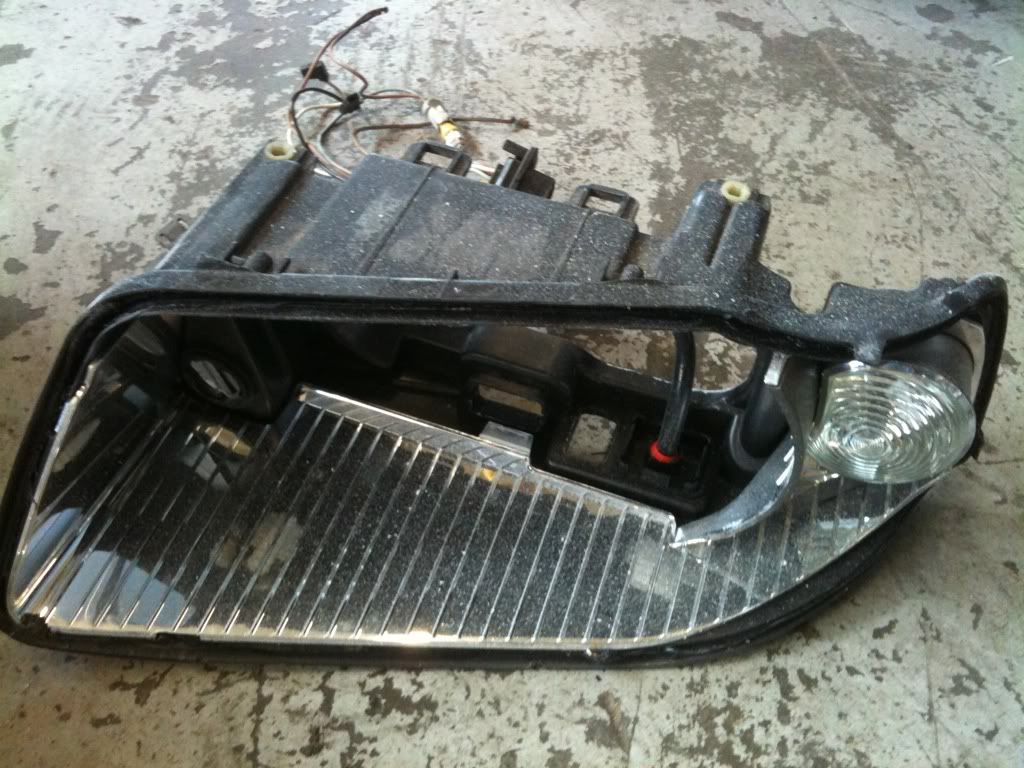
S3 head light casing
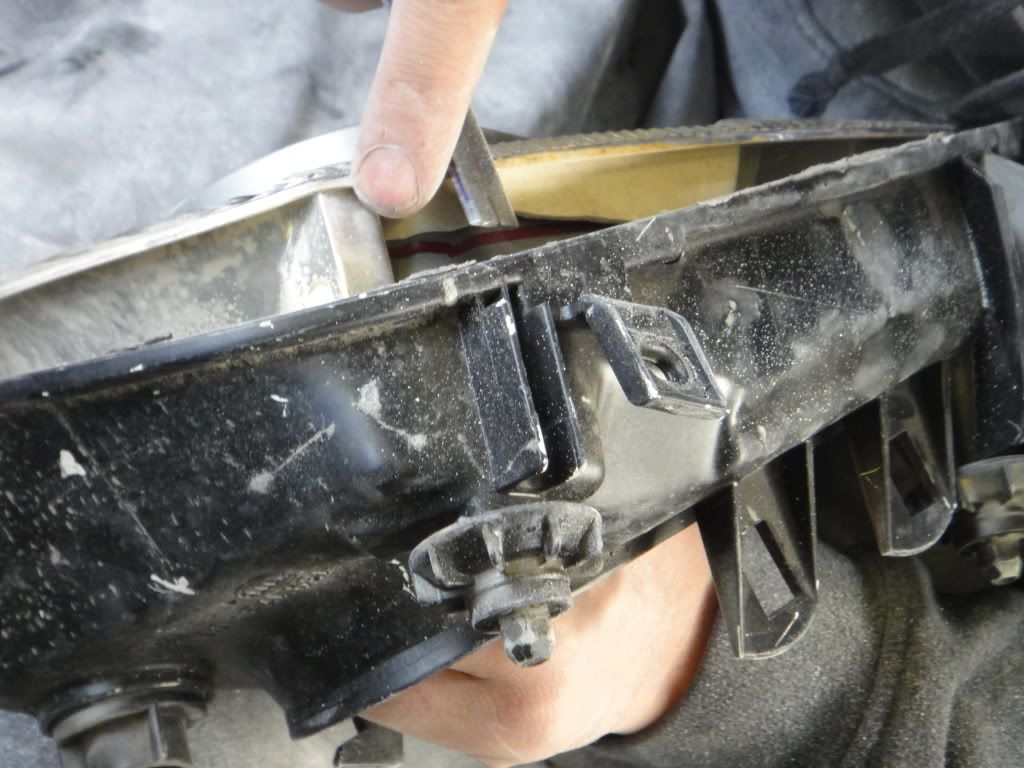
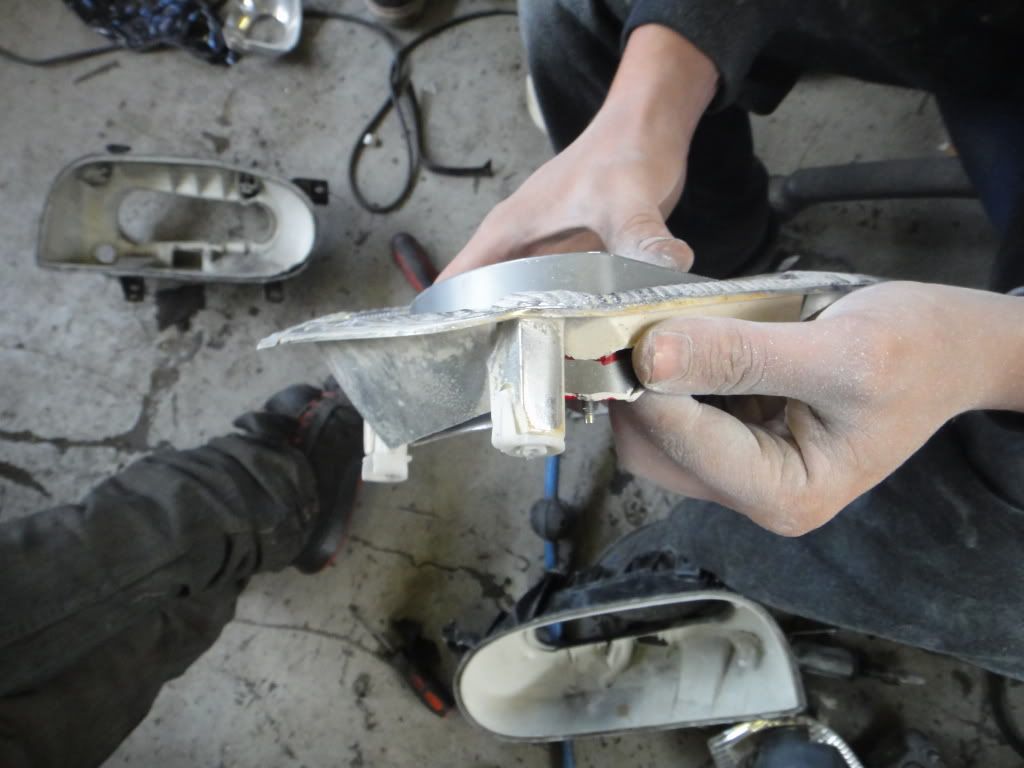
As we found out whilst stripping one of the light was that the adjuster brackets where broken so I had a few spare lights lying around so these where stripped for the brackets & a few other lights were stripped to make these 2 headlight good.
Mk3 headlight casing
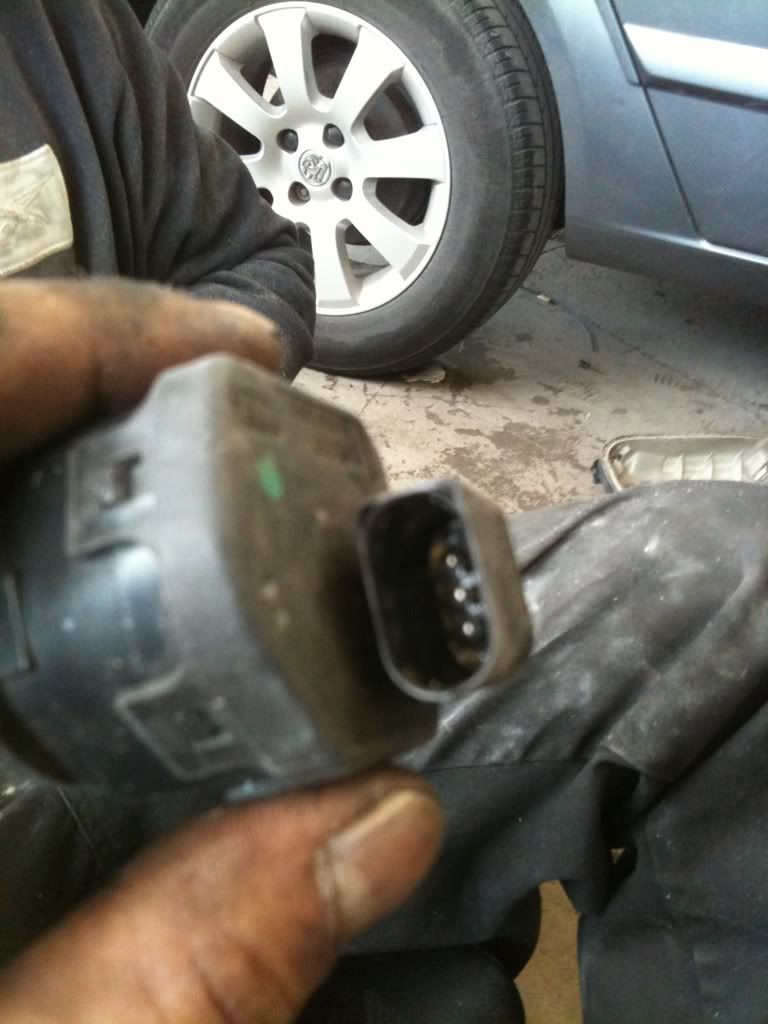
S3 oem HID ballast with d2s bulb connection
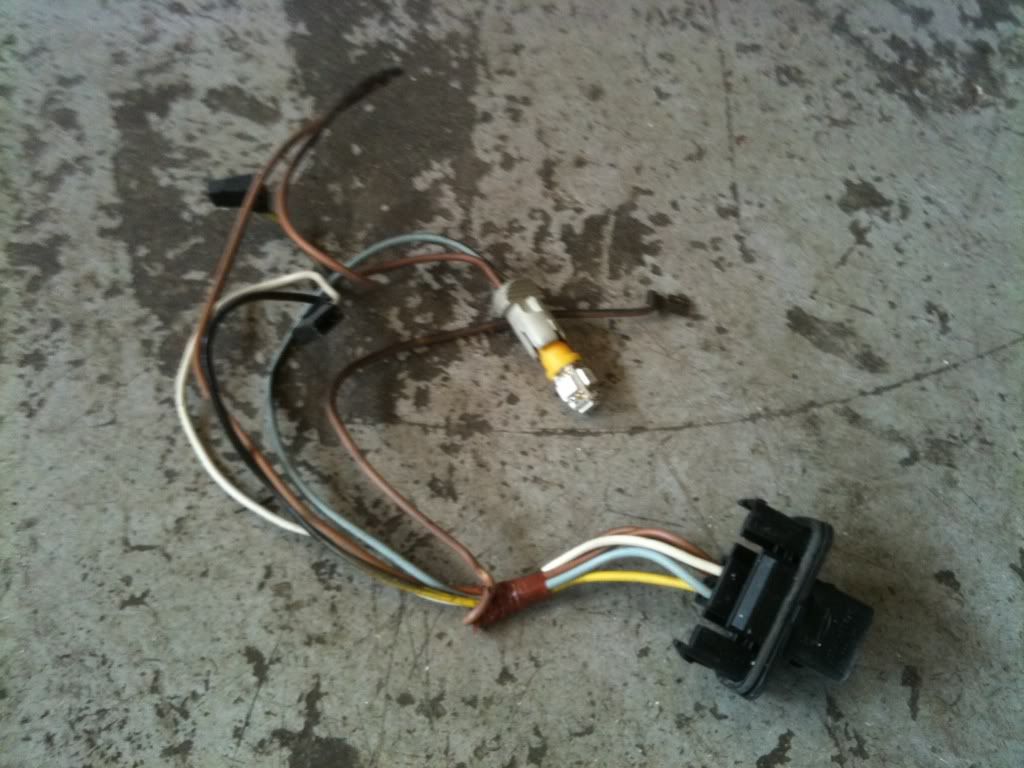
Mk3 head light loom, this is the one that is in side. We will not be using this any more.
Sorry I haven't got a pic of the S3 loom that we will be using & the black plug fits in the back of mk3 headlight casing
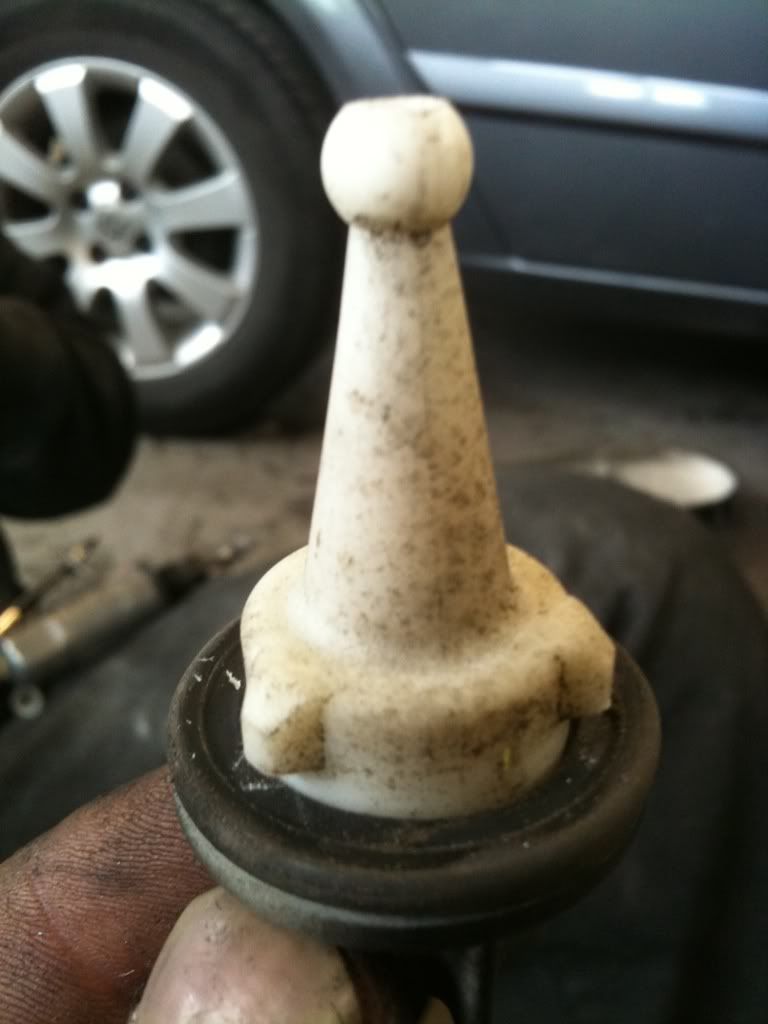
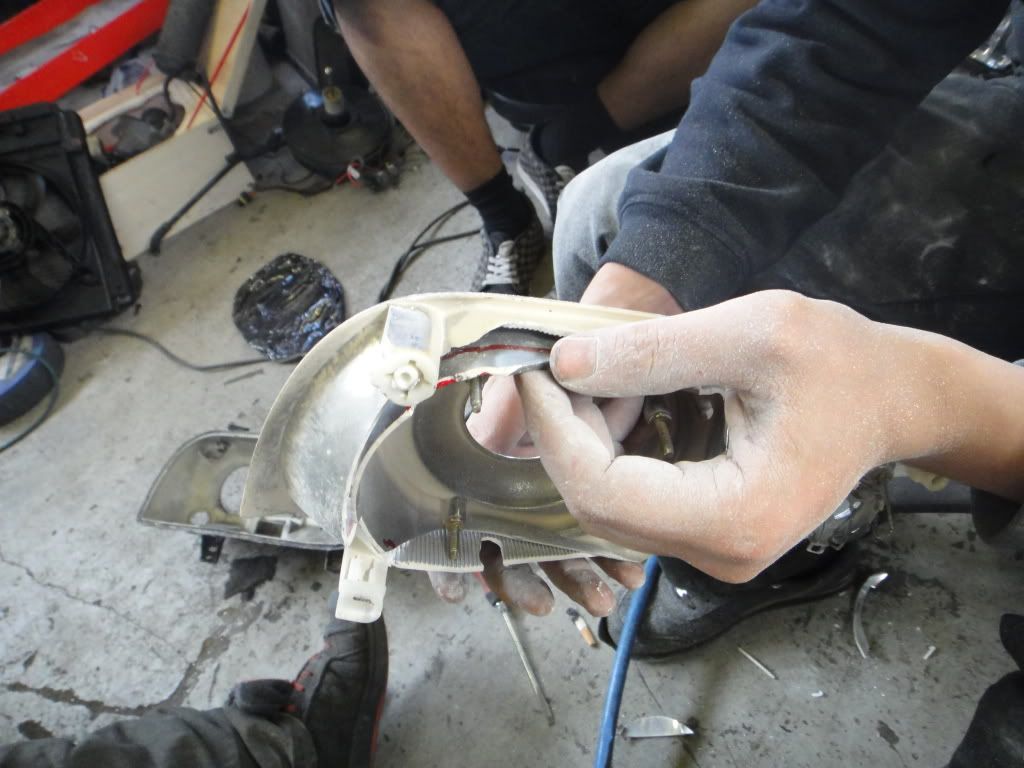
The Mk3 headlights did not have head light adjustment but the S3 ones do & as we have all the looms in place for this we thought it would be a good idea to make the headlights adjust with the motors oem style.
This is the mk3's headlight retainer which holds the inside of the headlight steady, this is also in just the right place where the motor needs to go.
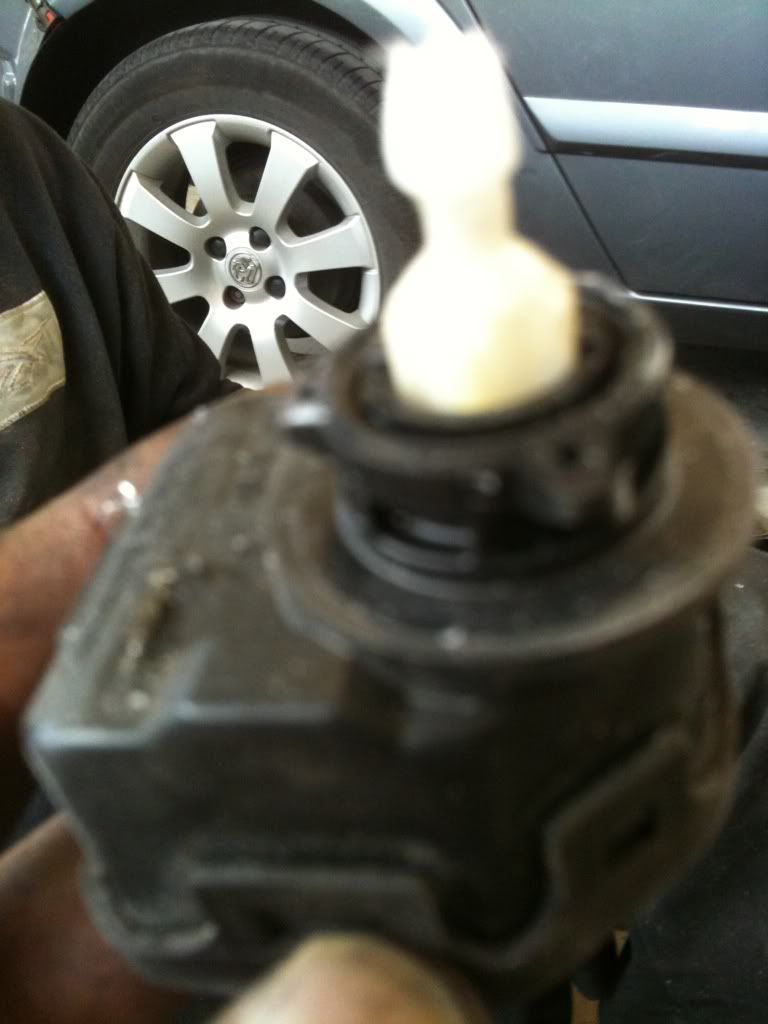
This is the S3 one, sorry bad pic
Motor connection.
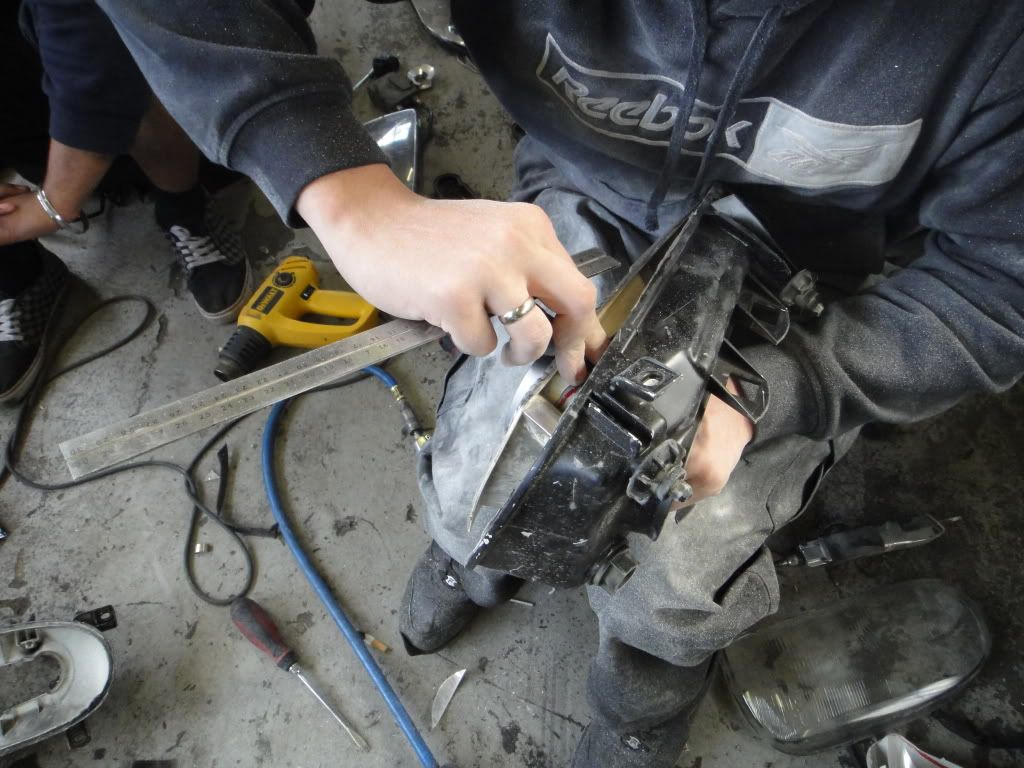
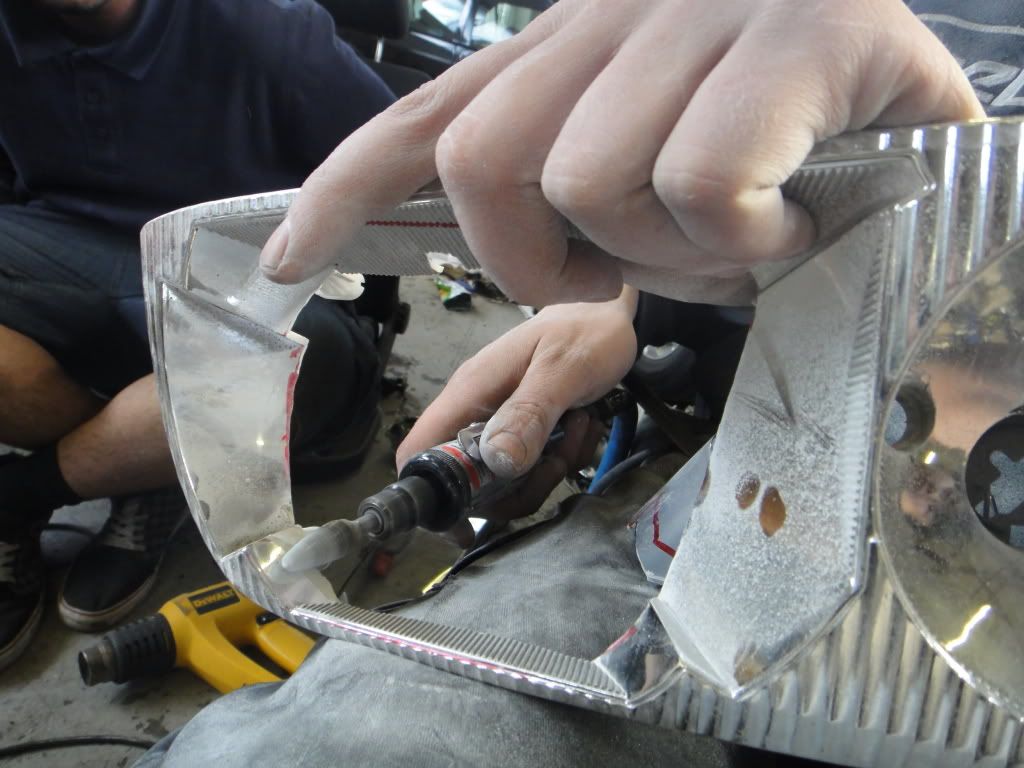
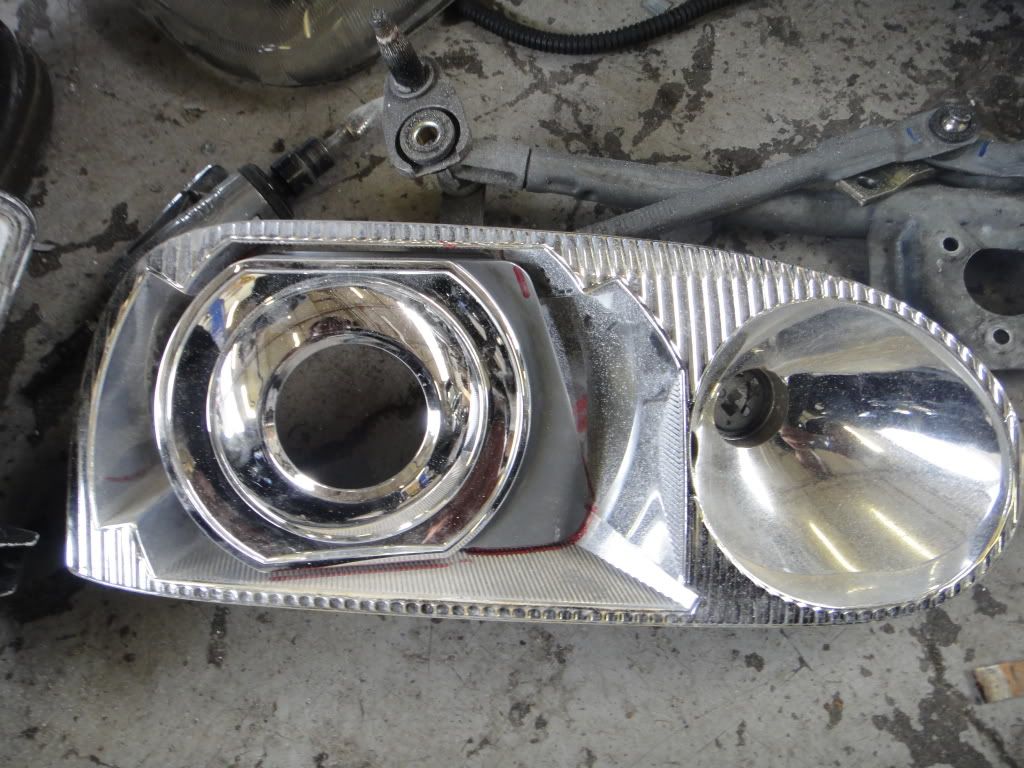
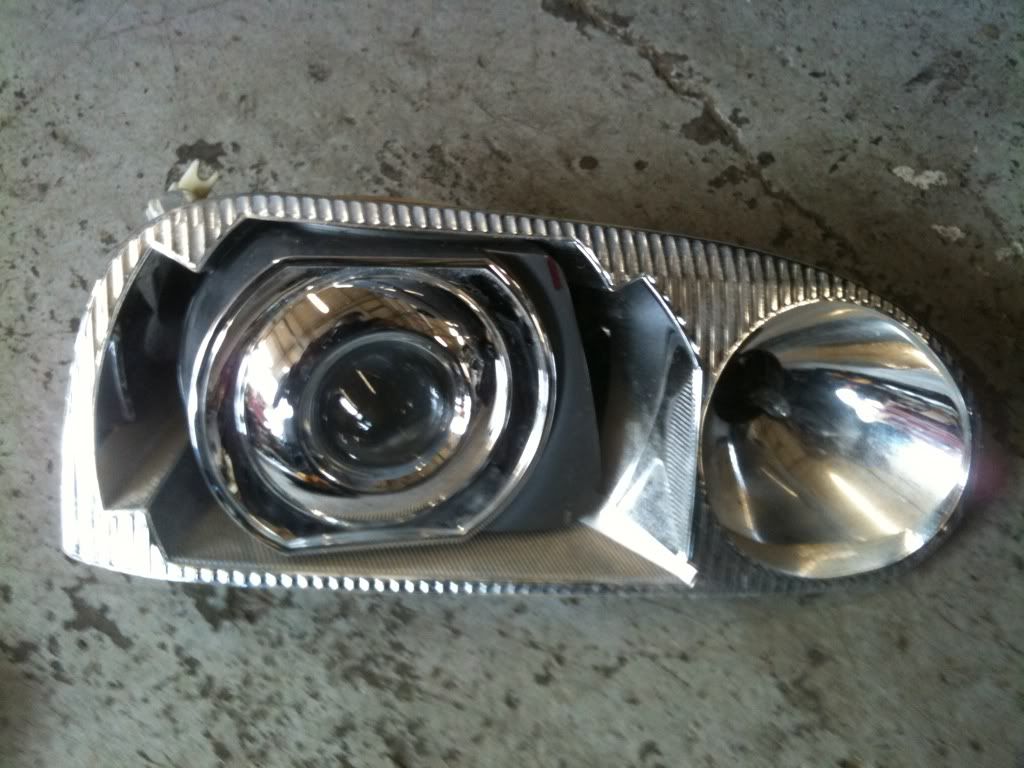
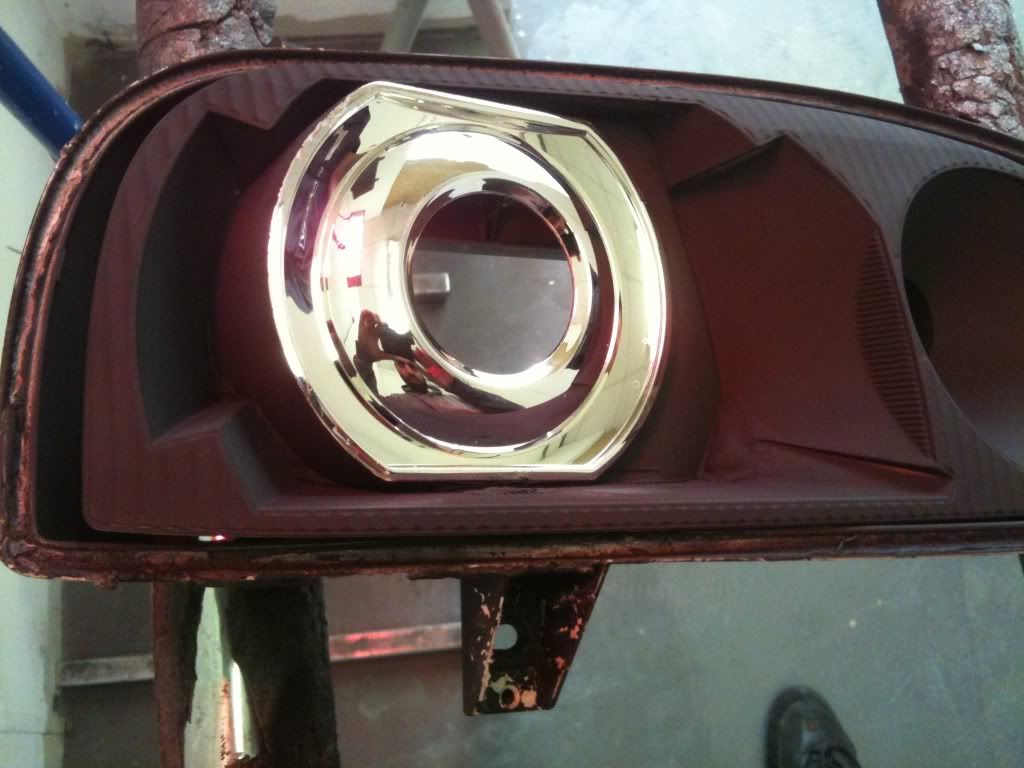
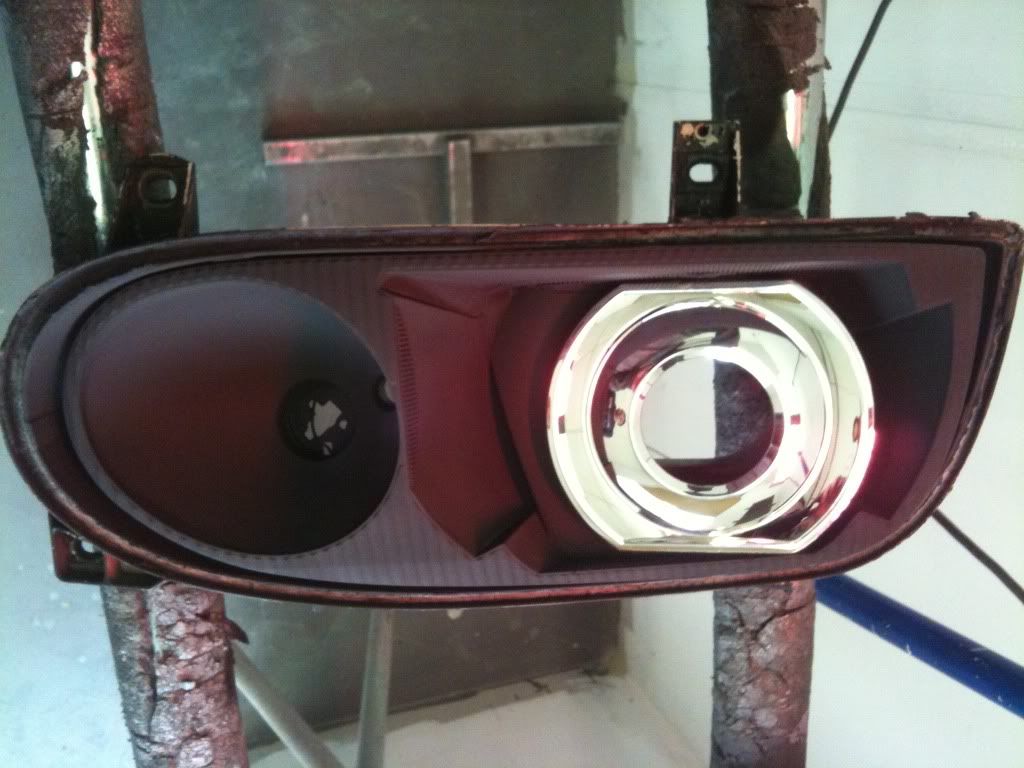
Now to take it to another level, the inside of the S3 head light was cut in half & we kept the project part & then the Mk3 headlight was cut to accommodate the newer projector & front fascia casing.
Hole cut & being trimmed to perfection
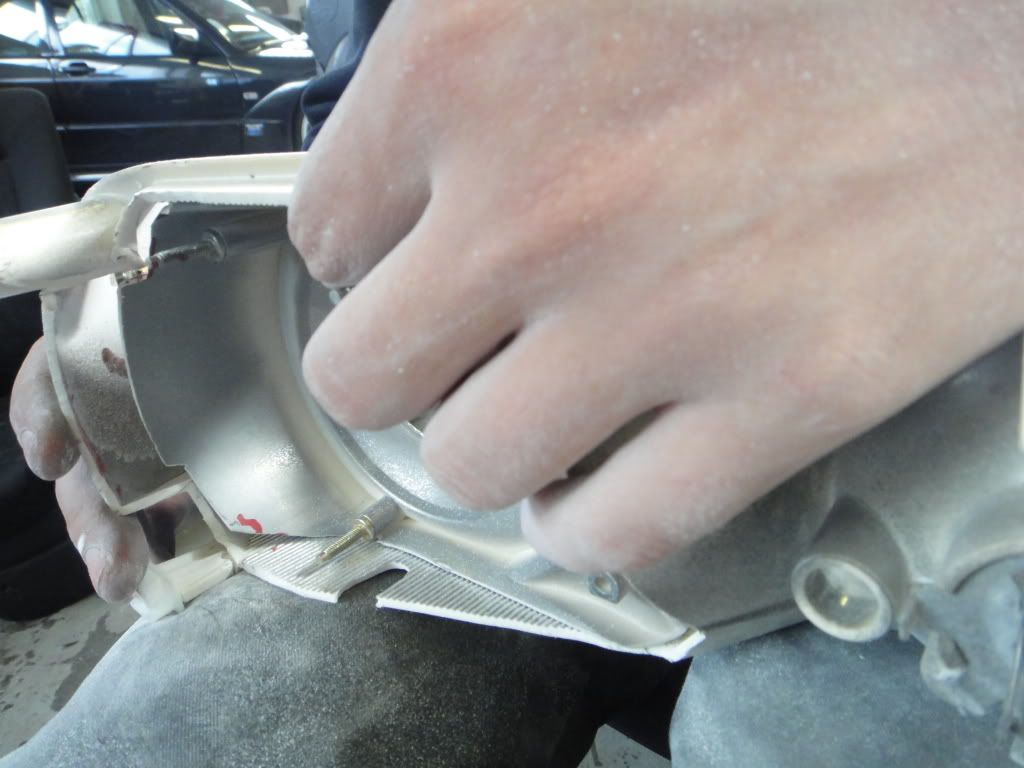
Projector casing & holder going in.
Now mounted inside the headlight
Keeping with the murdered look we had to paint the inside of the headlights & we wanted it a matt kind of a finish so we used some special we high temp paint that gave us a ultimate finish.
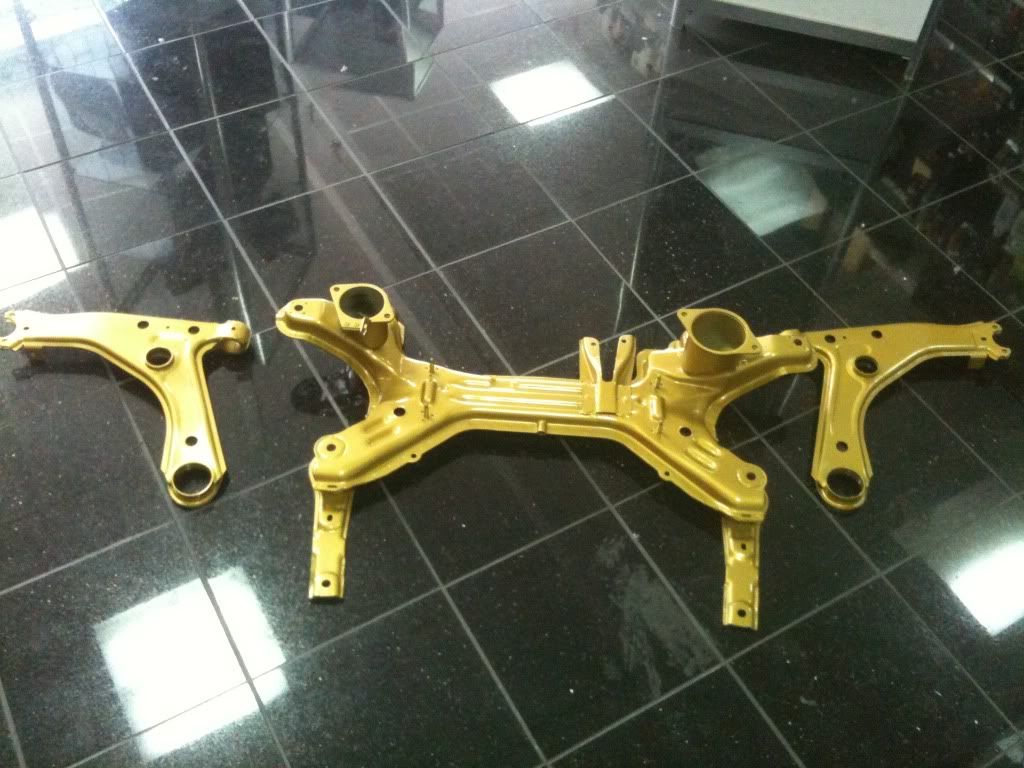
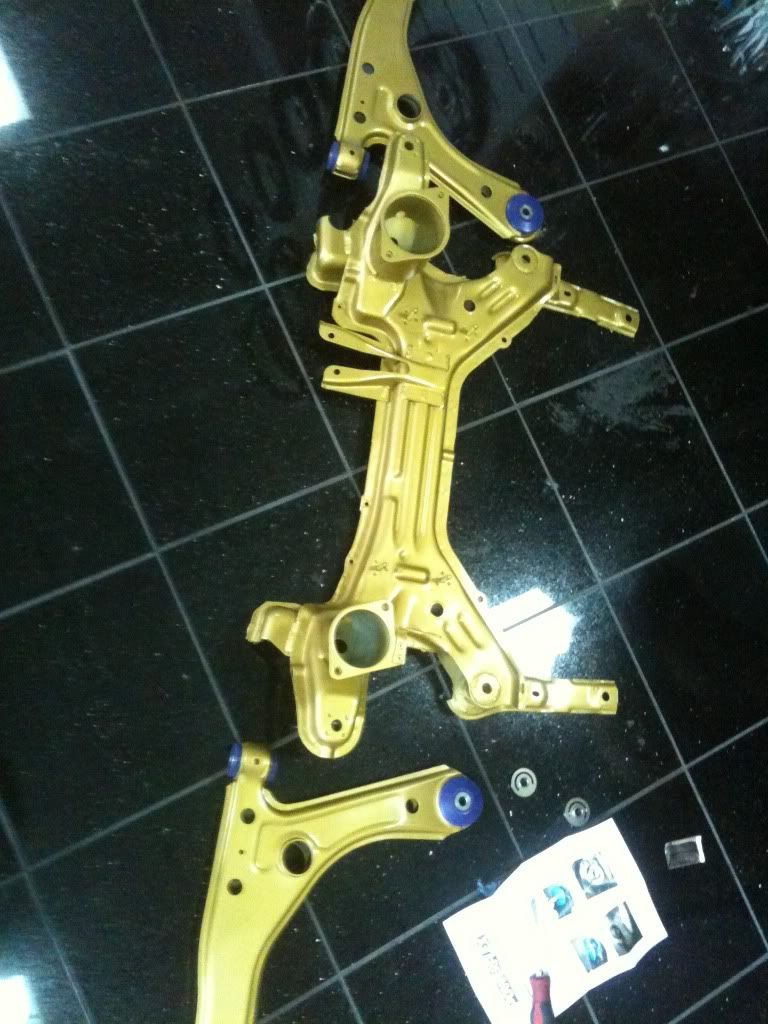
Next up was some subframe, steering & suspension work
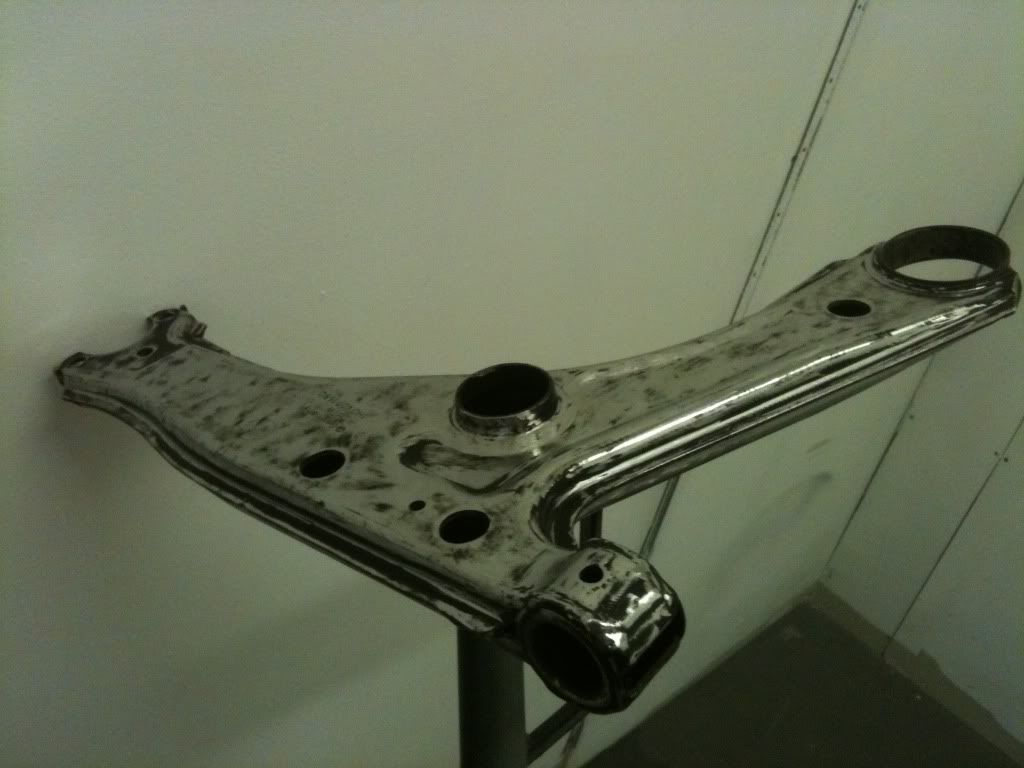
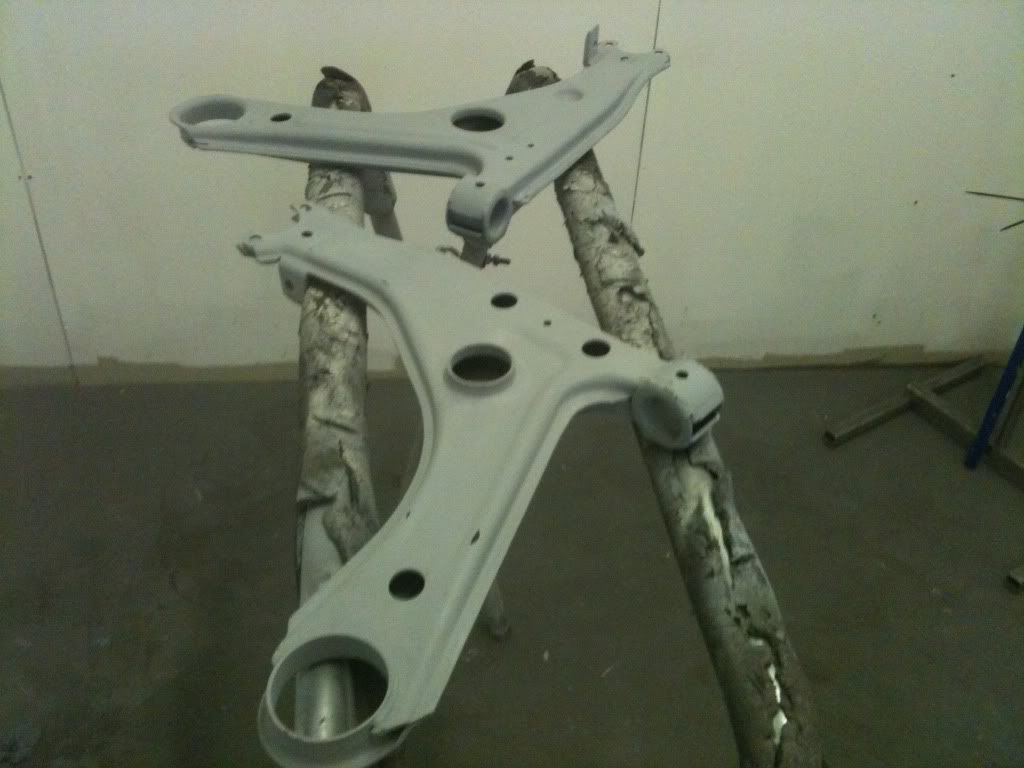
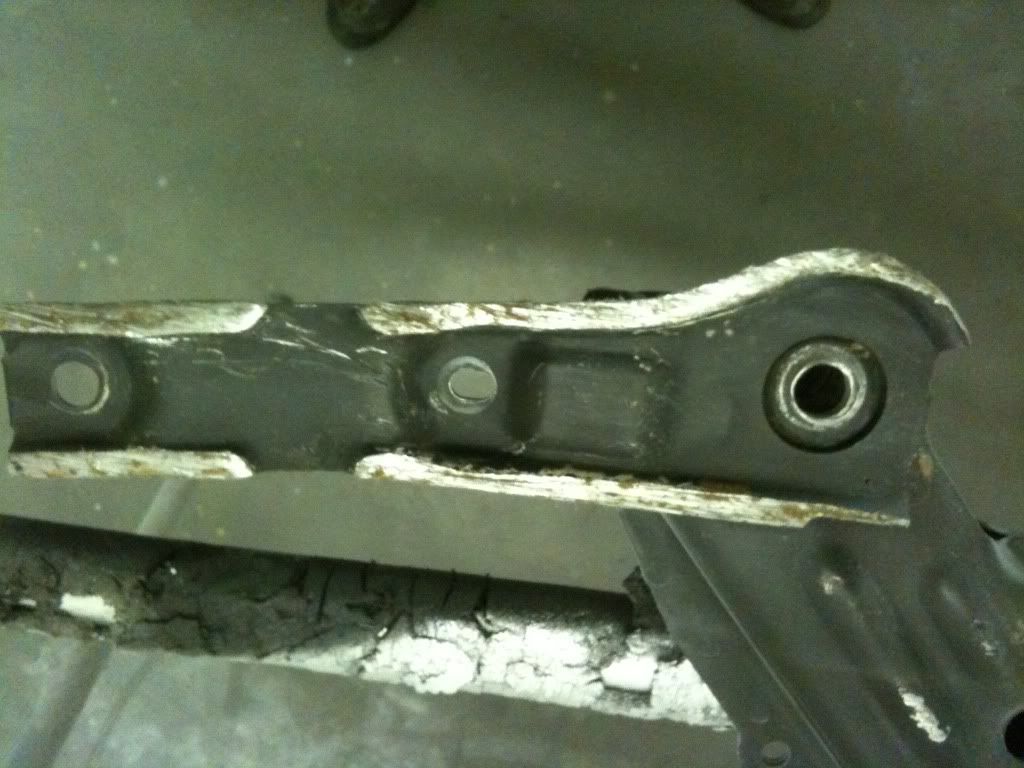
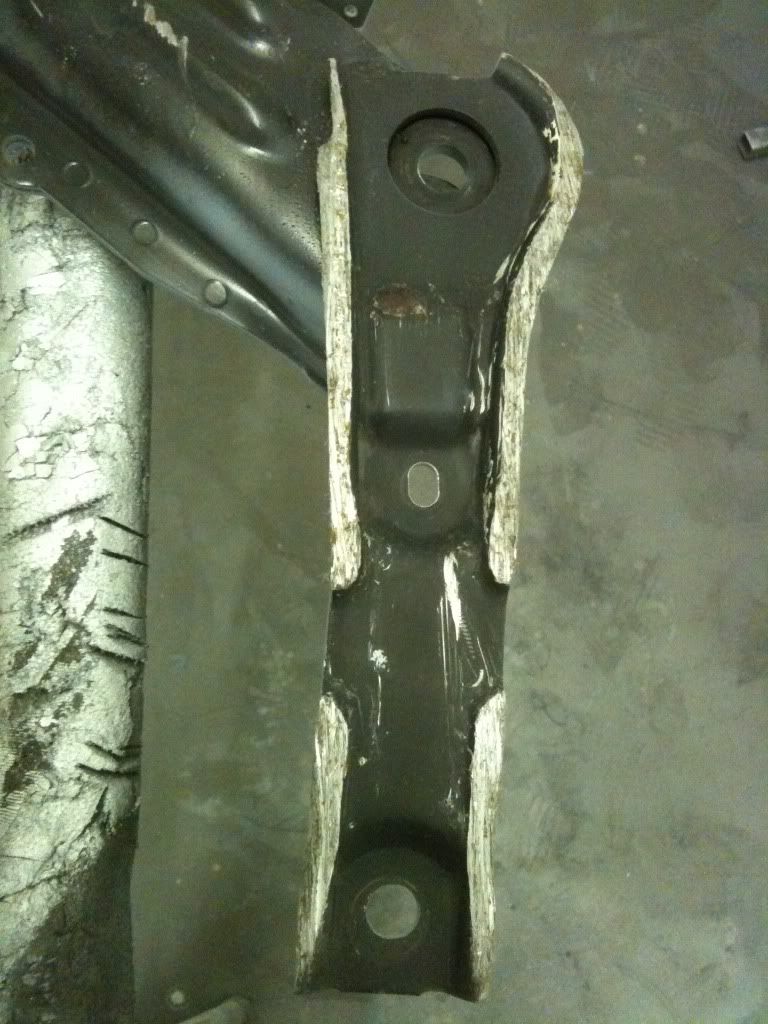
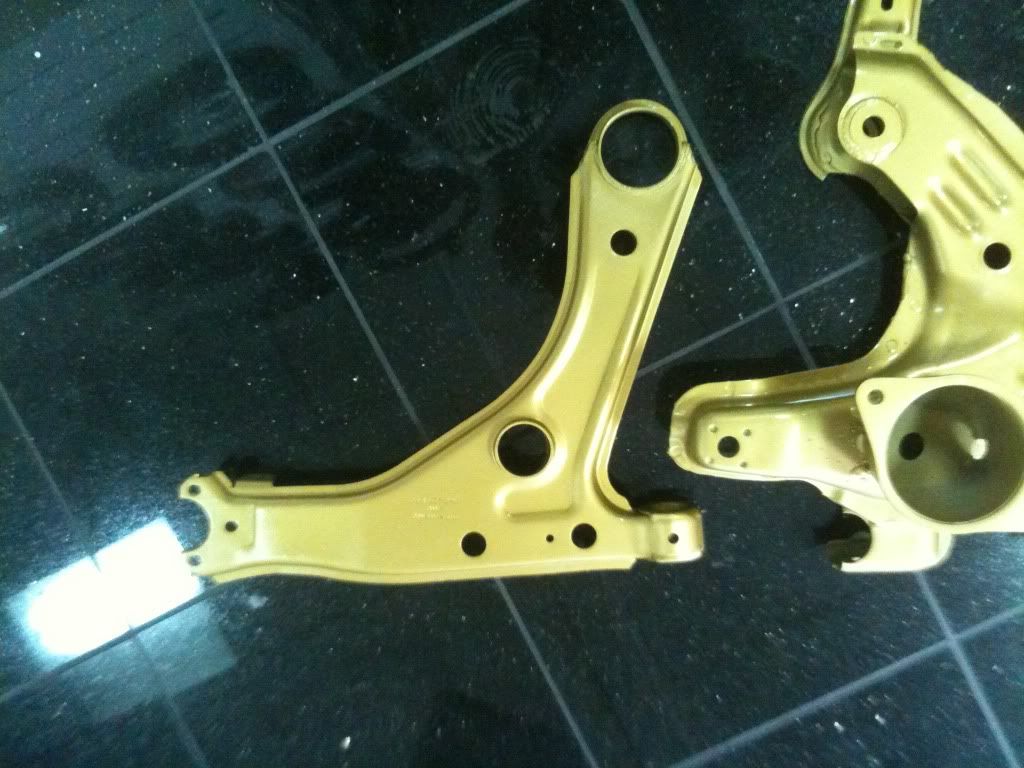
Wishbones all cleaned & ready for primmer
Now flatted ready to paint
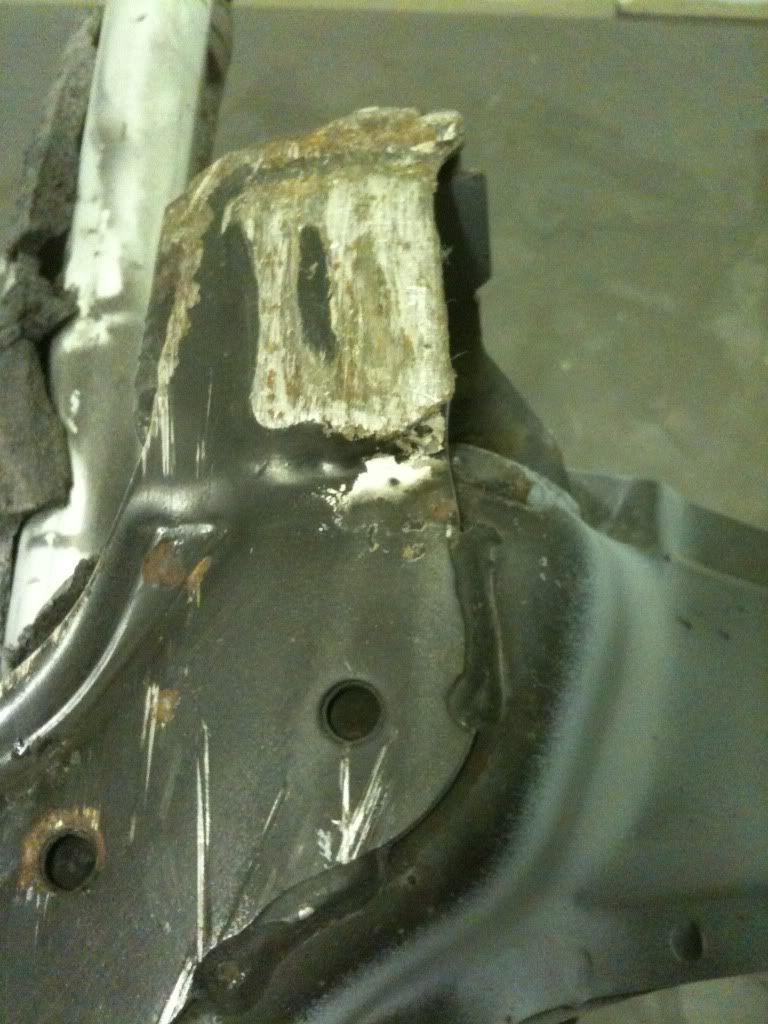
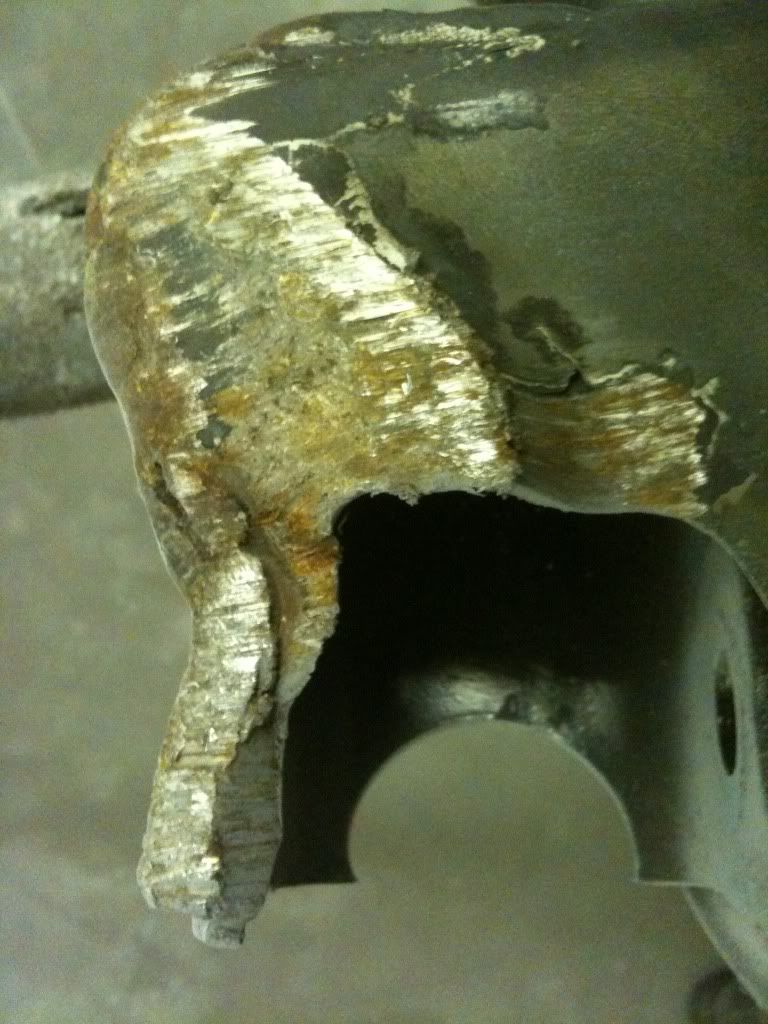
A few love bites from the tarmac
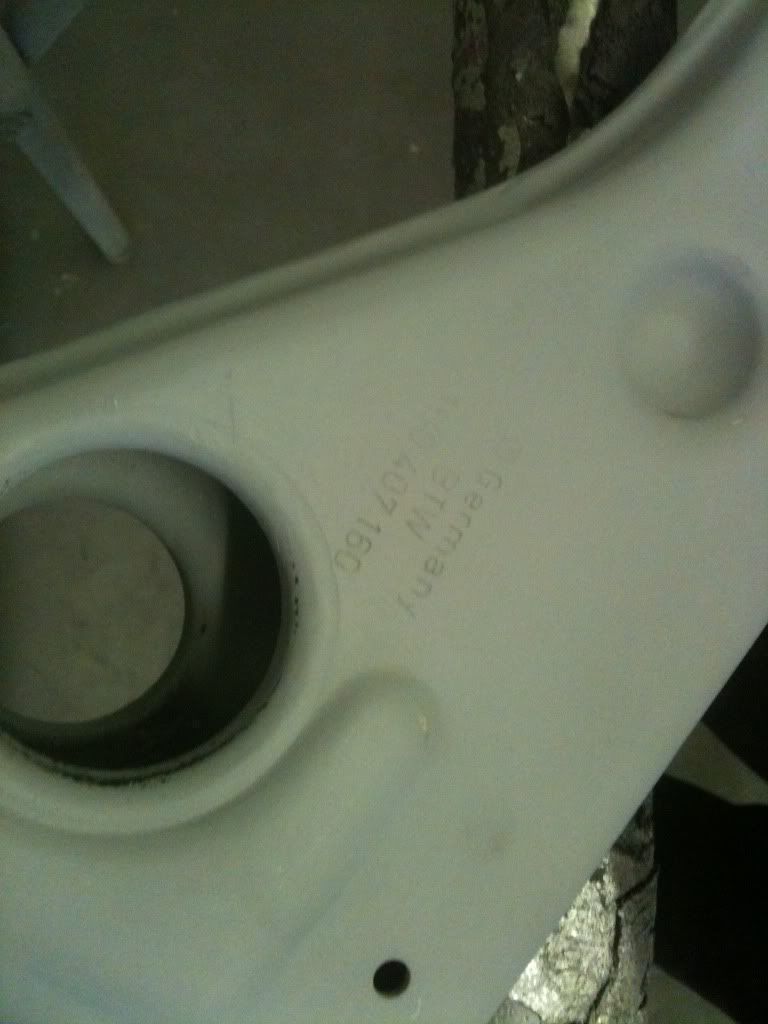
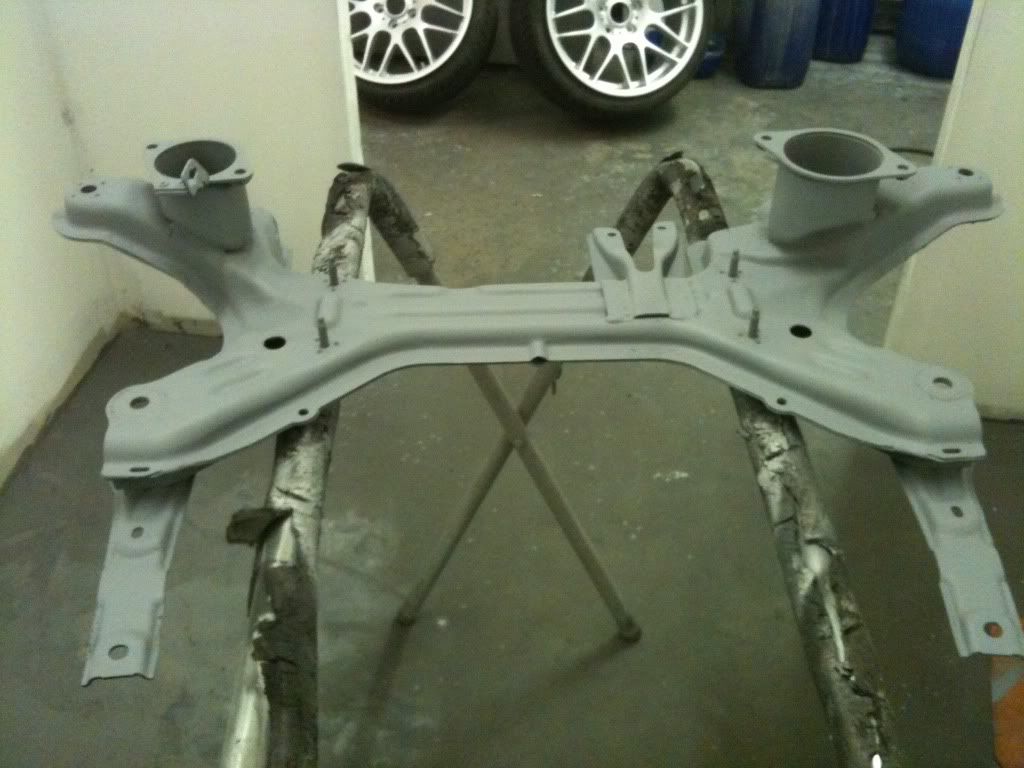
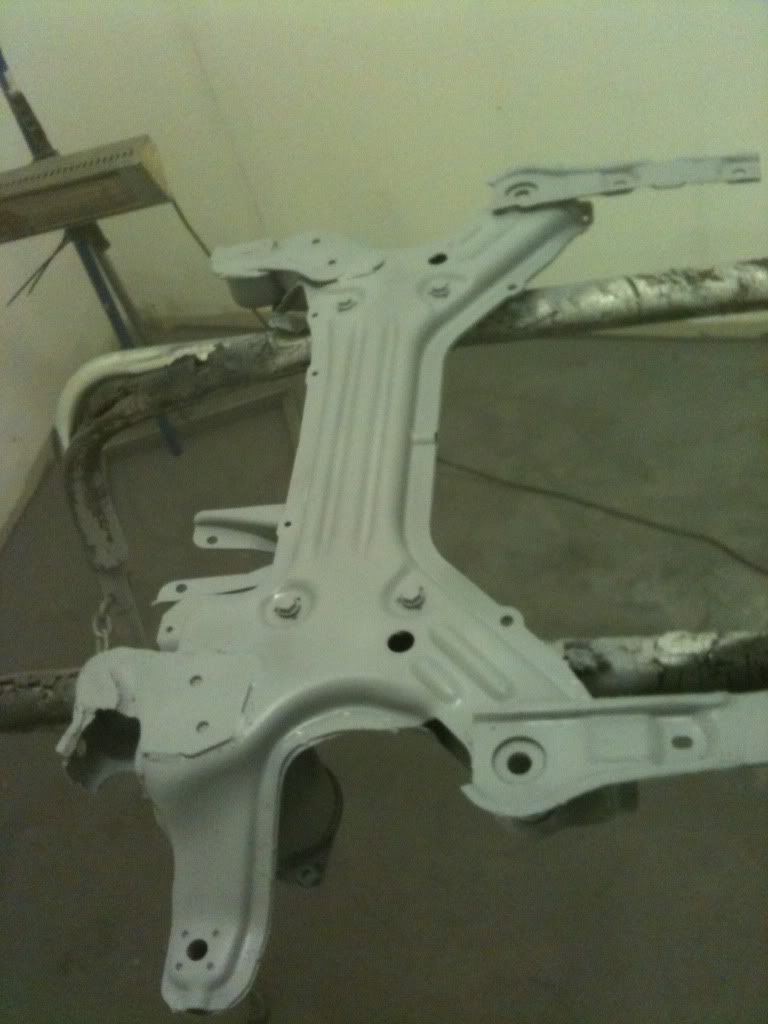
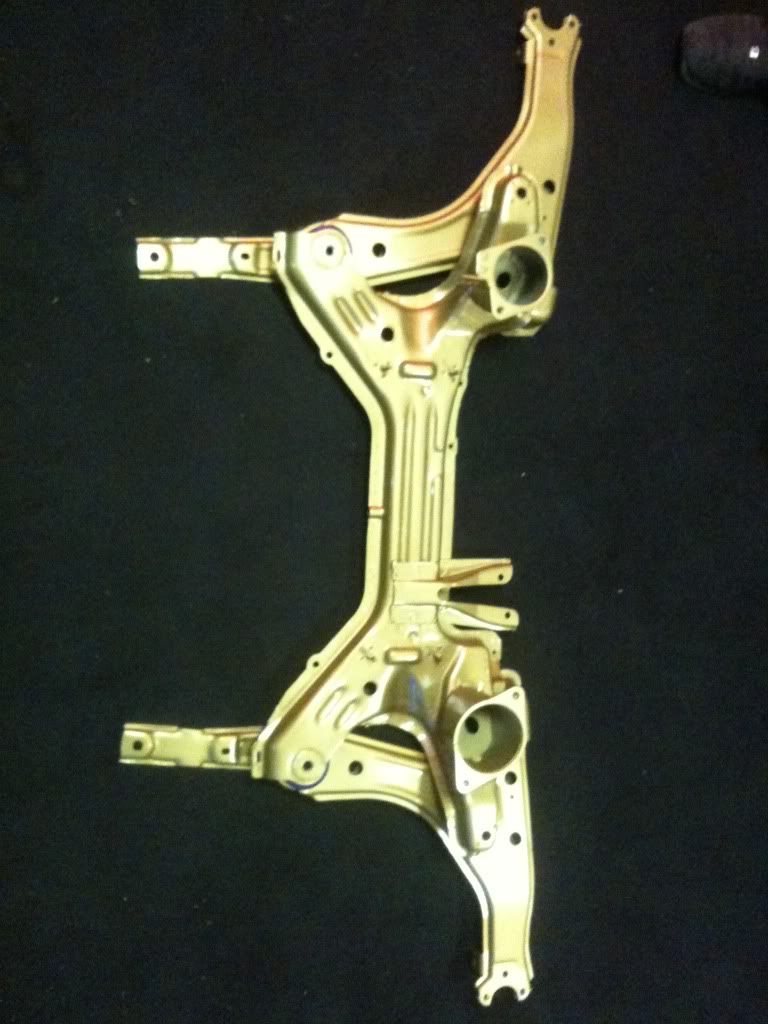
Subframe cleaned & primed
But I know all this will be kissed again
I have mixed & chosen this colour as our signiture under chassis parts paint colour, all I can say that this colour has a crazy amount of pearl in it
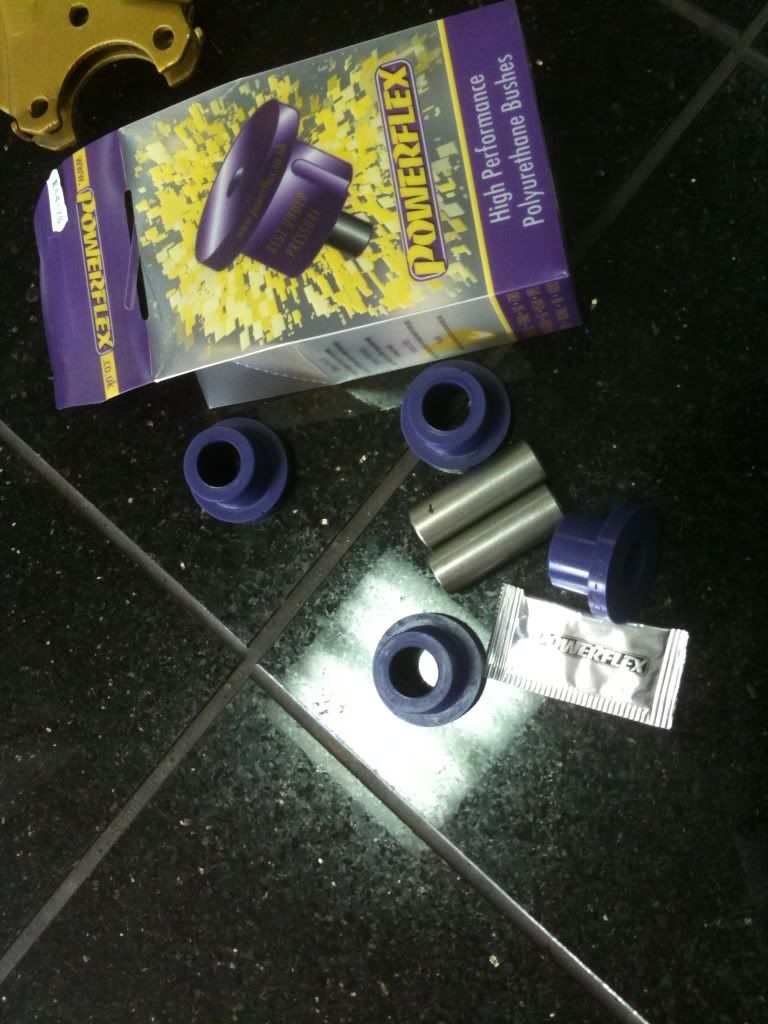
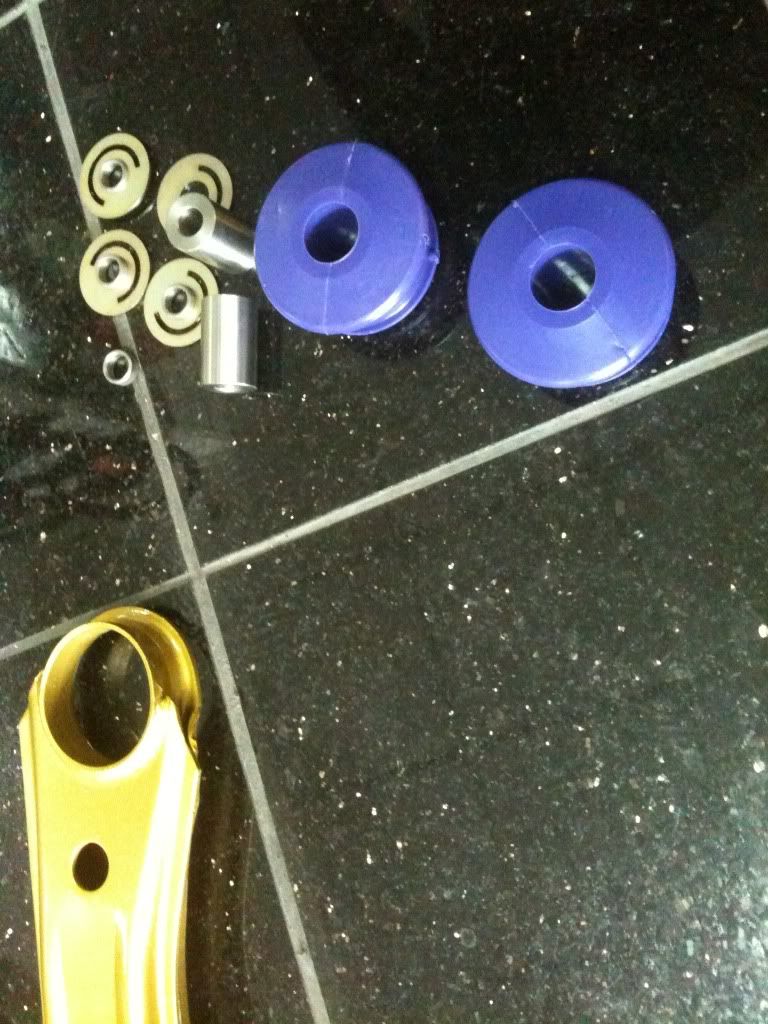
As we have this all stripped up it was time for it to get Power flexed up, If any of you want powerflex bushes at a very good price, drop me a pm & I will see what I can do. I keep most of the popular bushes in stock especially the golf range, try me
Now just awaiting for the rest of the components to be done, I will get round to it tomorrow.
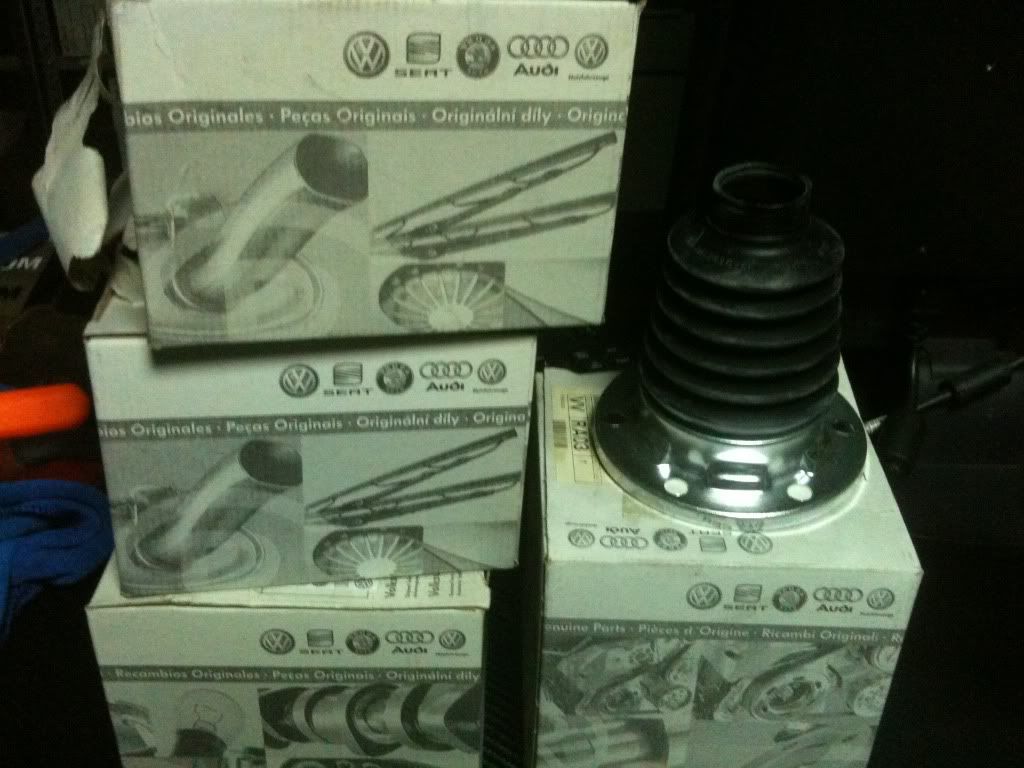
I have lots & lots of new parts that will assist putting this bay back together very nicely.
Genuine inner & out c.v boots
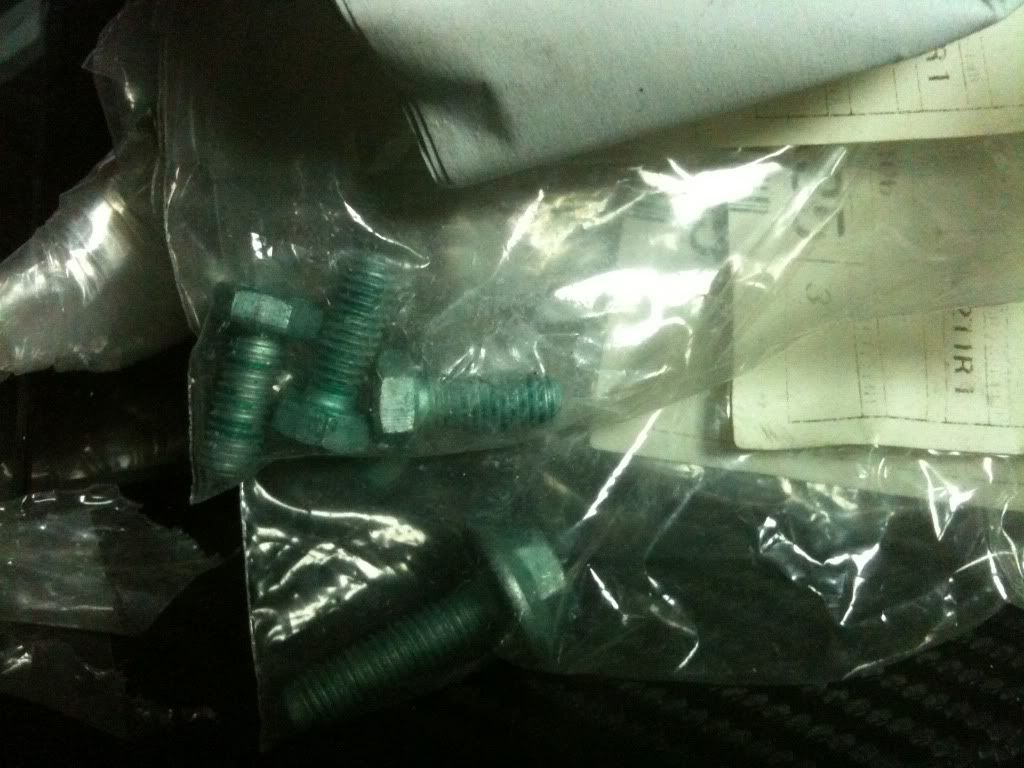
Genuine bolts
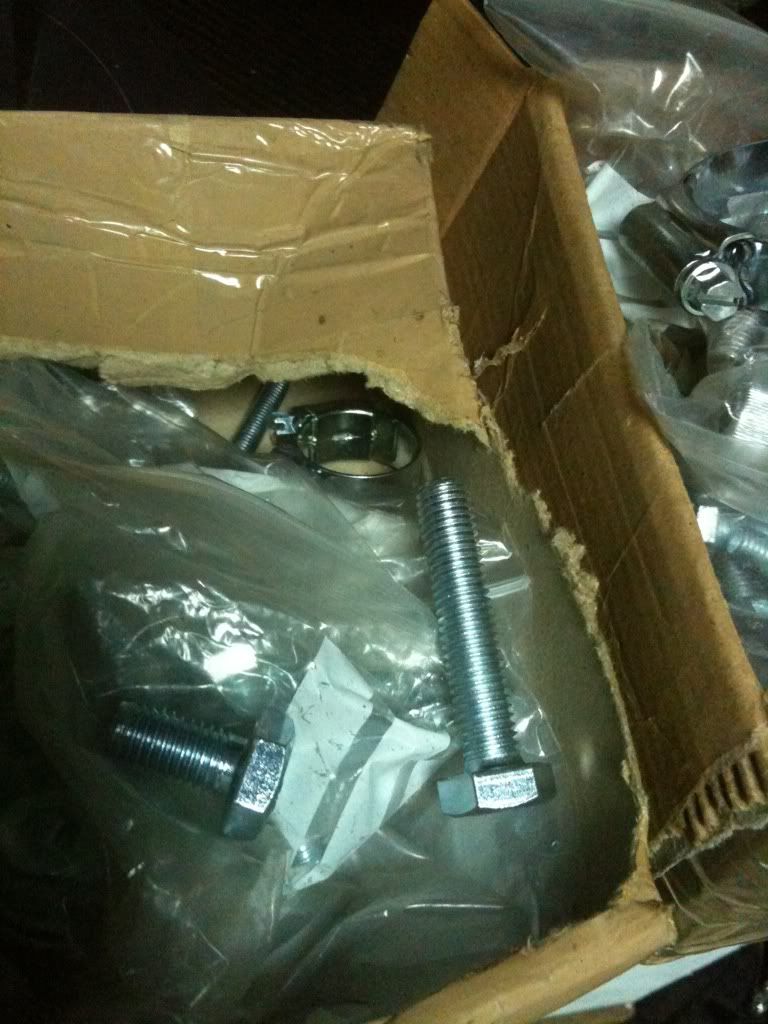
Nice & shiny bolts for the rest of the bay that you can see
 Tweet
Tweet


Comment