If this is your first visit, be sure to
check out the FAQ by clicking the
link above. You may have to register
before you can post: click the register link above to proceed. To start viewing messages,
select the forum that you want to visit from the selection below.
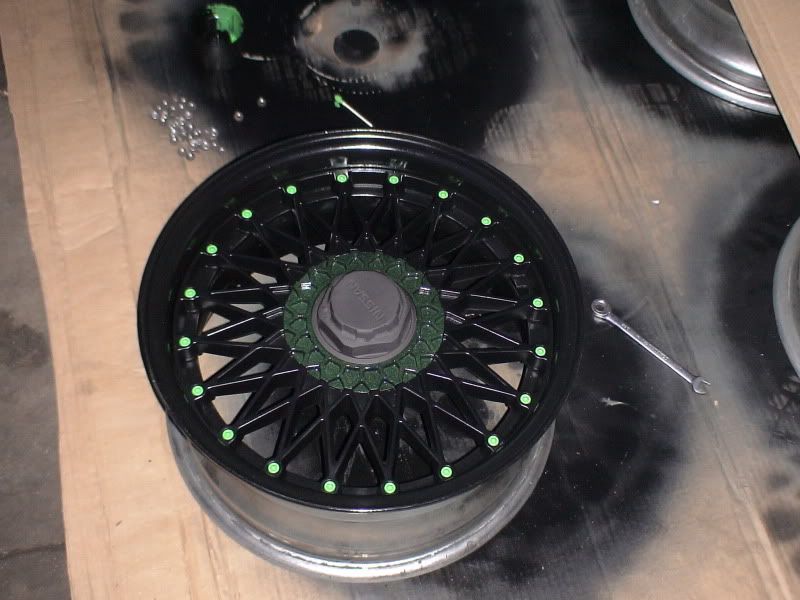
green studs gloss black rim, flat black center, with a fade green center cover. theyre driving me nuts because i cant put em on yet (no funds to mount)
the worse thing i ever did was find this site! now i gotta start finding out how to build some wheels so i can stance my 05 Altima! my car has a low offset from factory so some wide wheels wont be too hard to find
the worse thing i ever did was find this site! now i gotta start finding out how to build some wheels so i can stance my 05 Altima! my car has a low offset from factory so some wide wheels wont be too hard to find
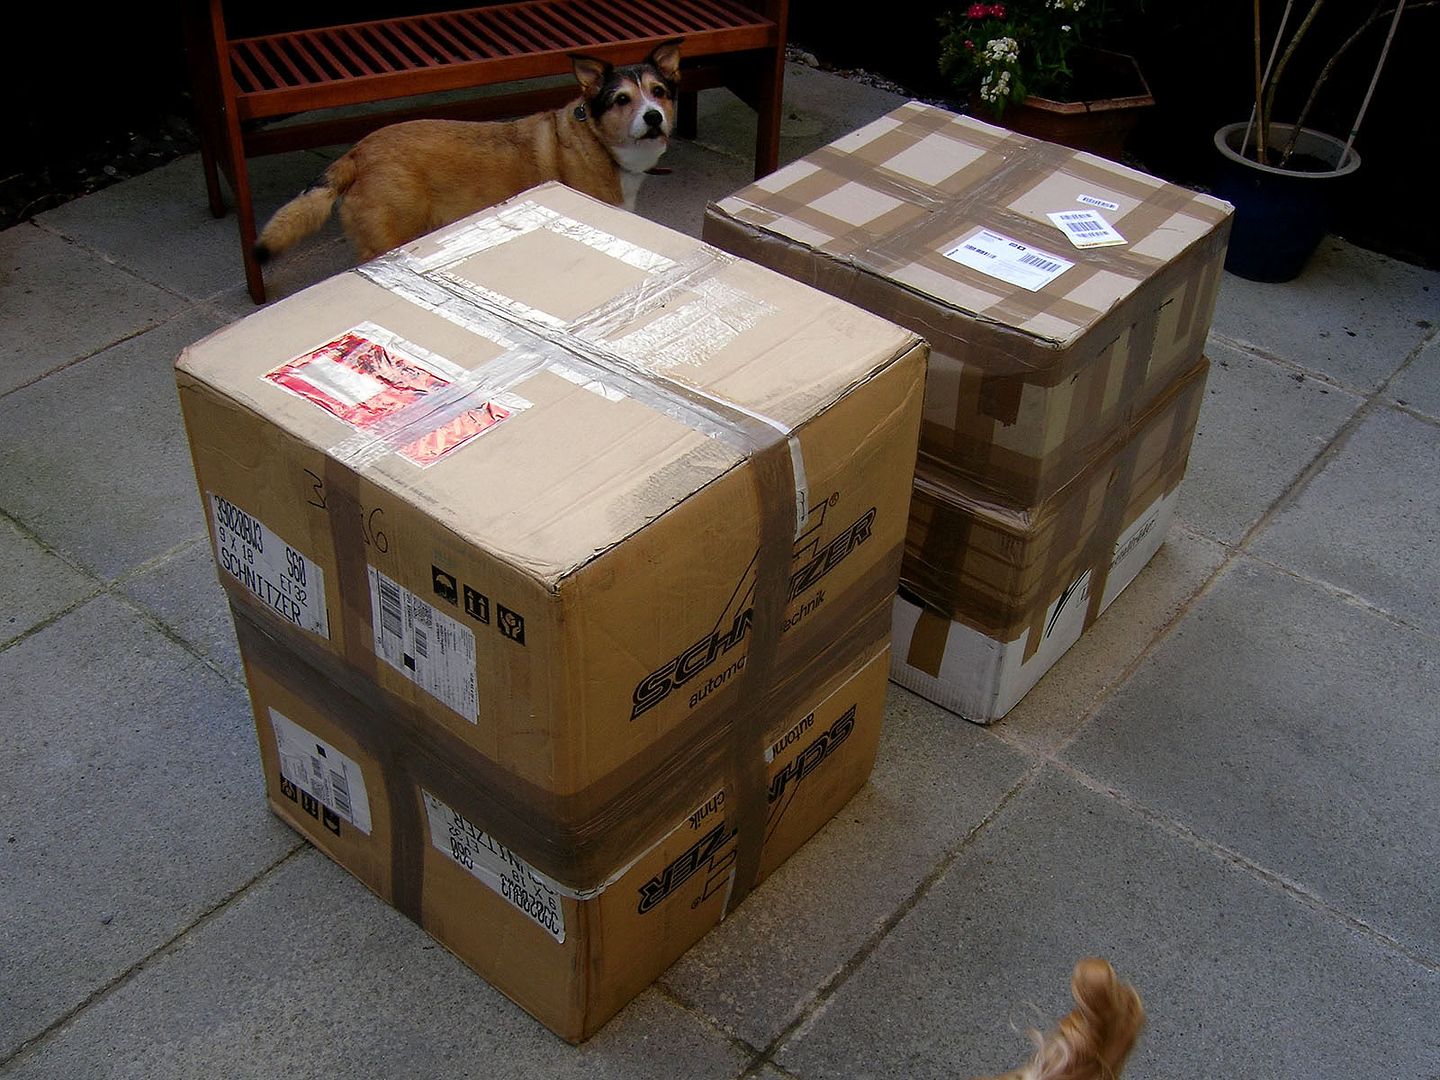
Sorry for the long winded post, but I figure this may be of interest to a few of you...
To see images in full size, 'right click' - 'open in new tab'
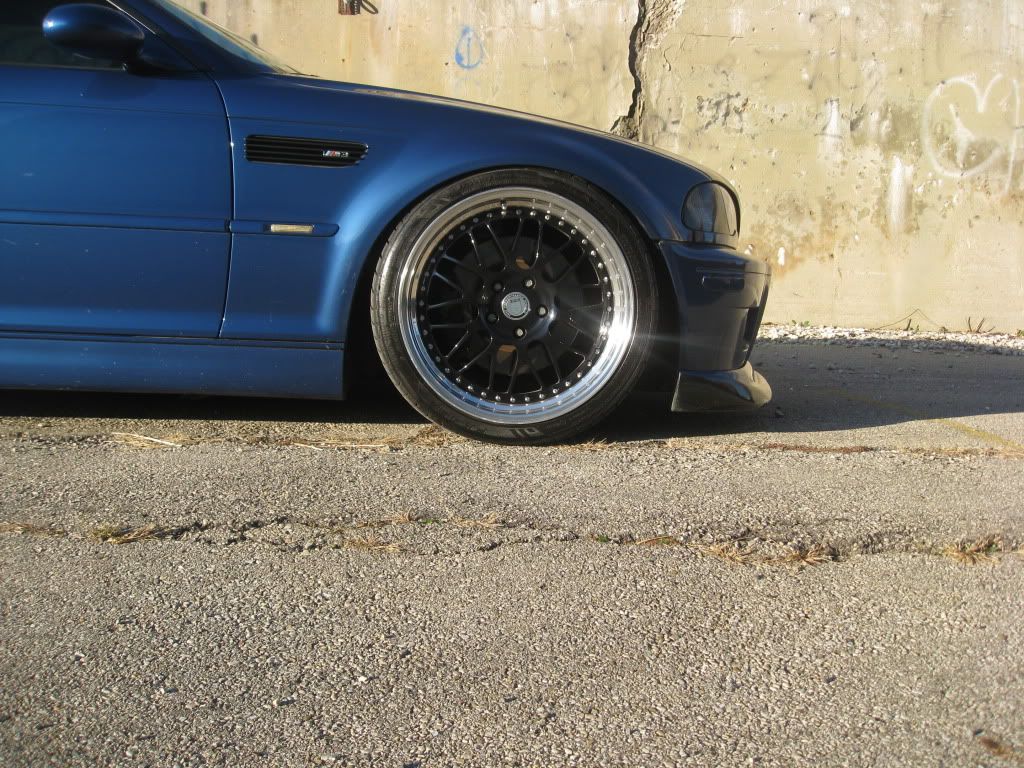
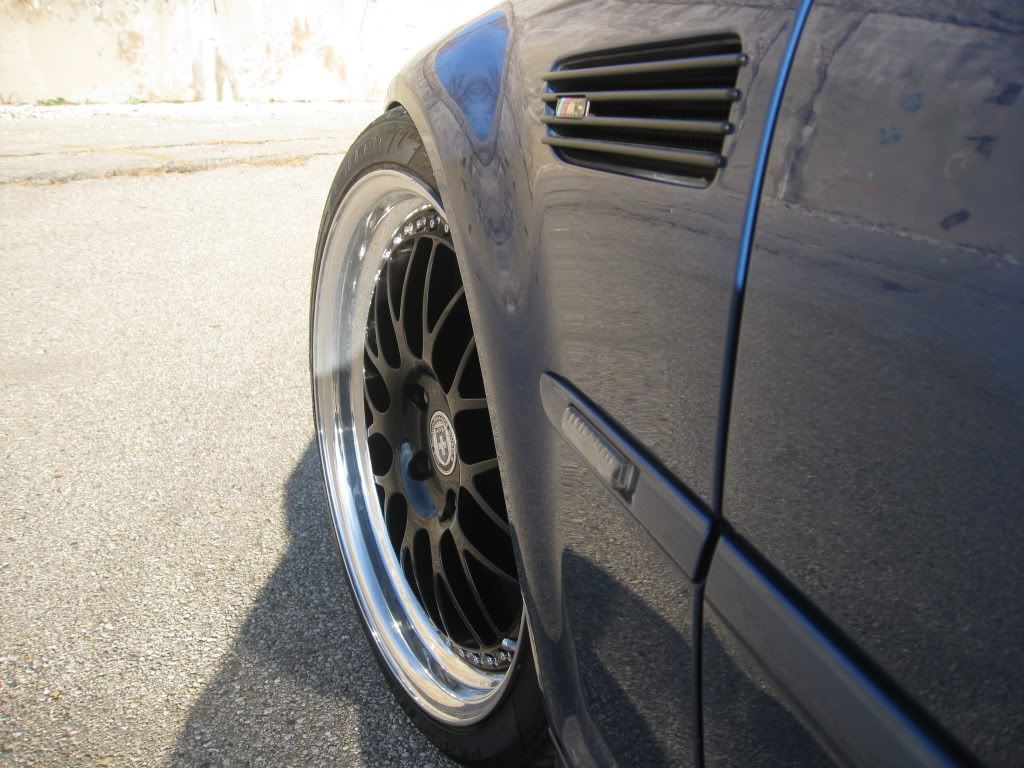
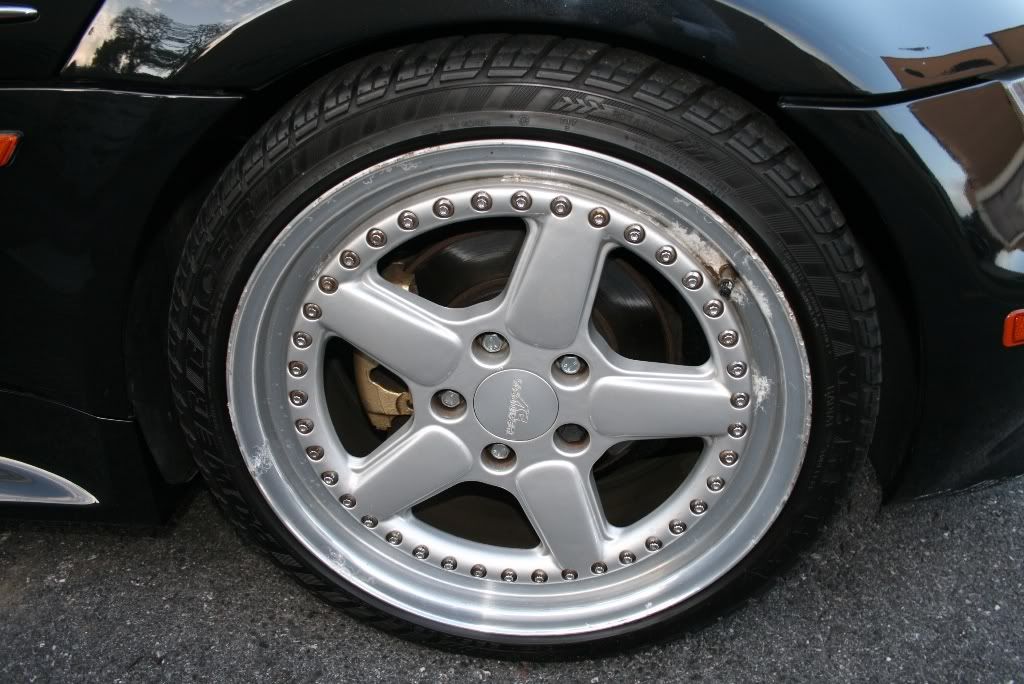
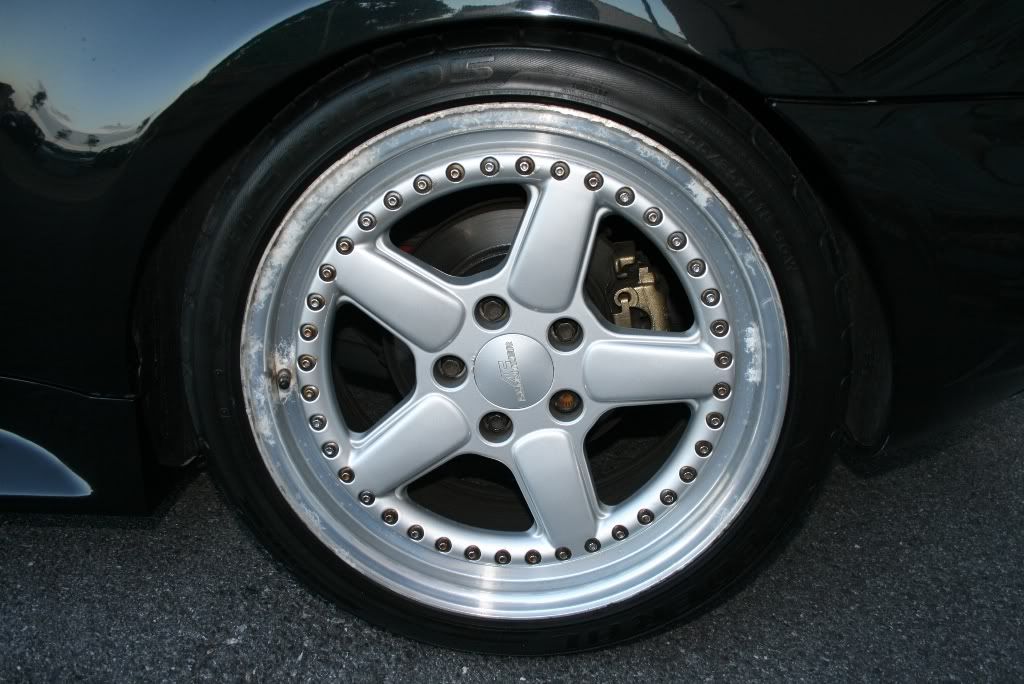
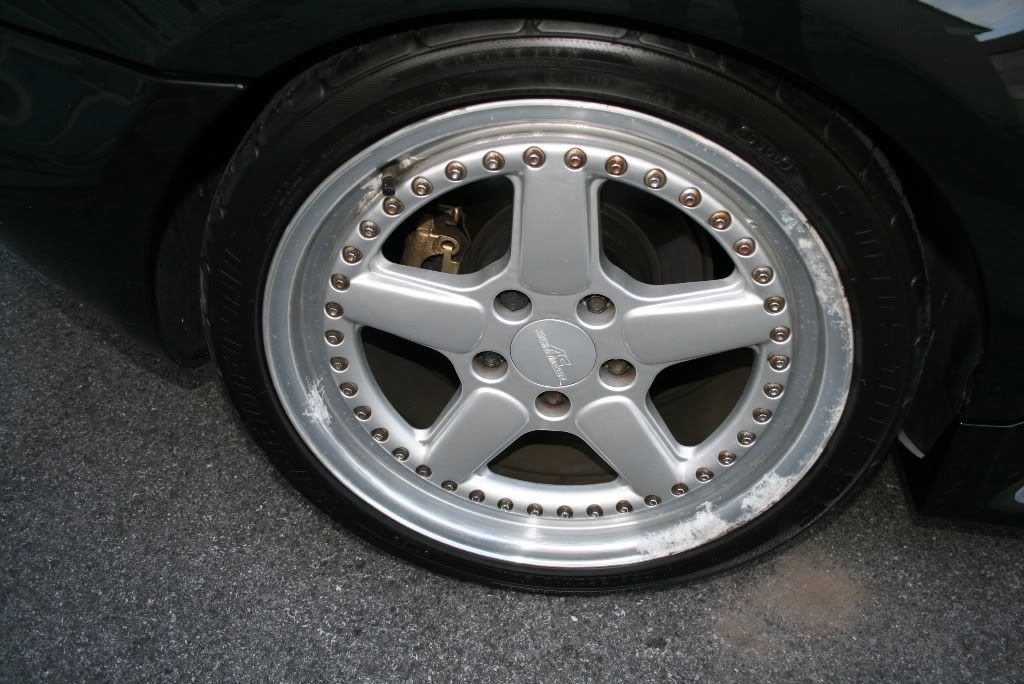
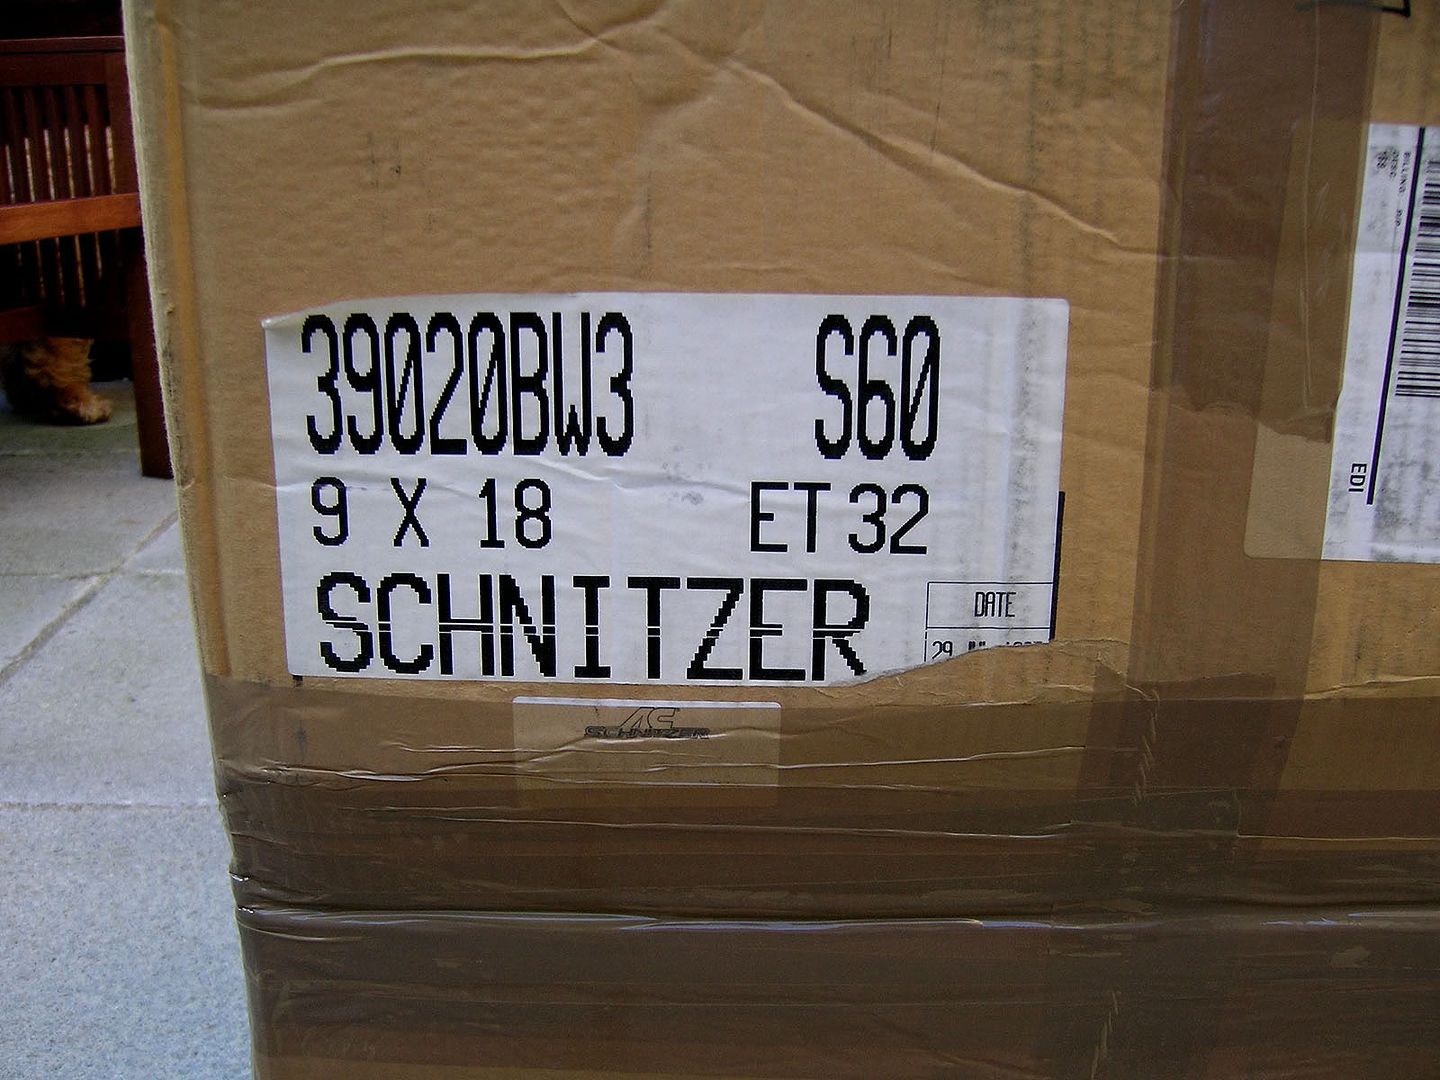
18" AC Schnitzer Type 1 Rennsport
(2pc by OZ Racing)
PURCHASE HISTORY:-
Purchase date - 03/07/2008 - �250.00 (eBay)
Collection date - 05/07/2008 - �100.00 (travel)
PURCHASE SETUP:-
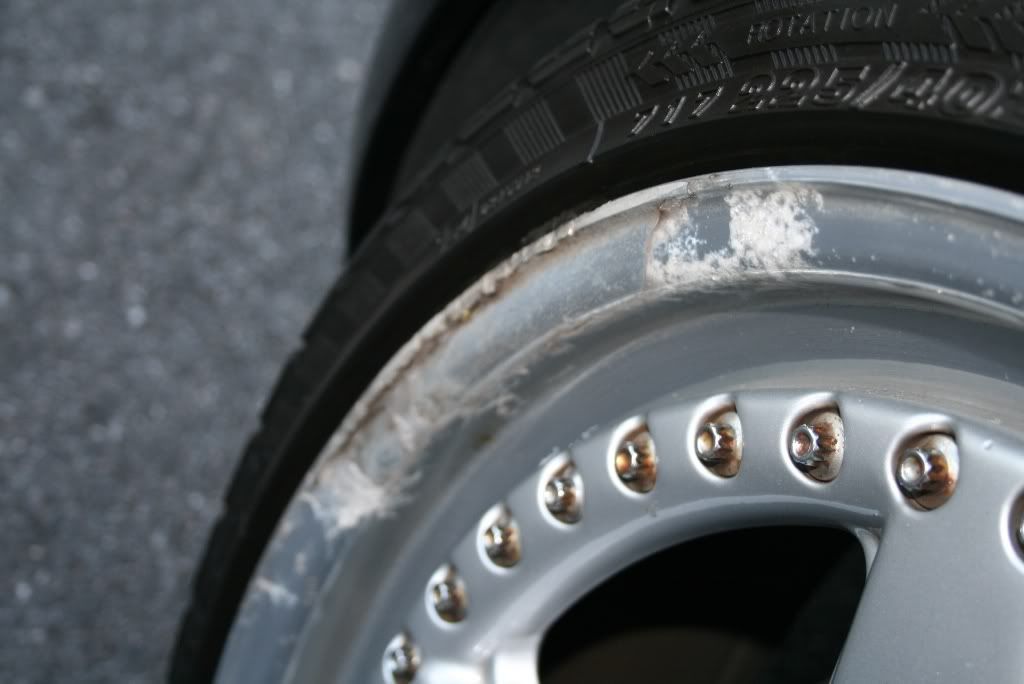
Front - 8.5J ET38 [Marshal Power Racer - 225/40/18]
Rear - 9J ET45 [Federal Super Steel 595 - 255/35/18]
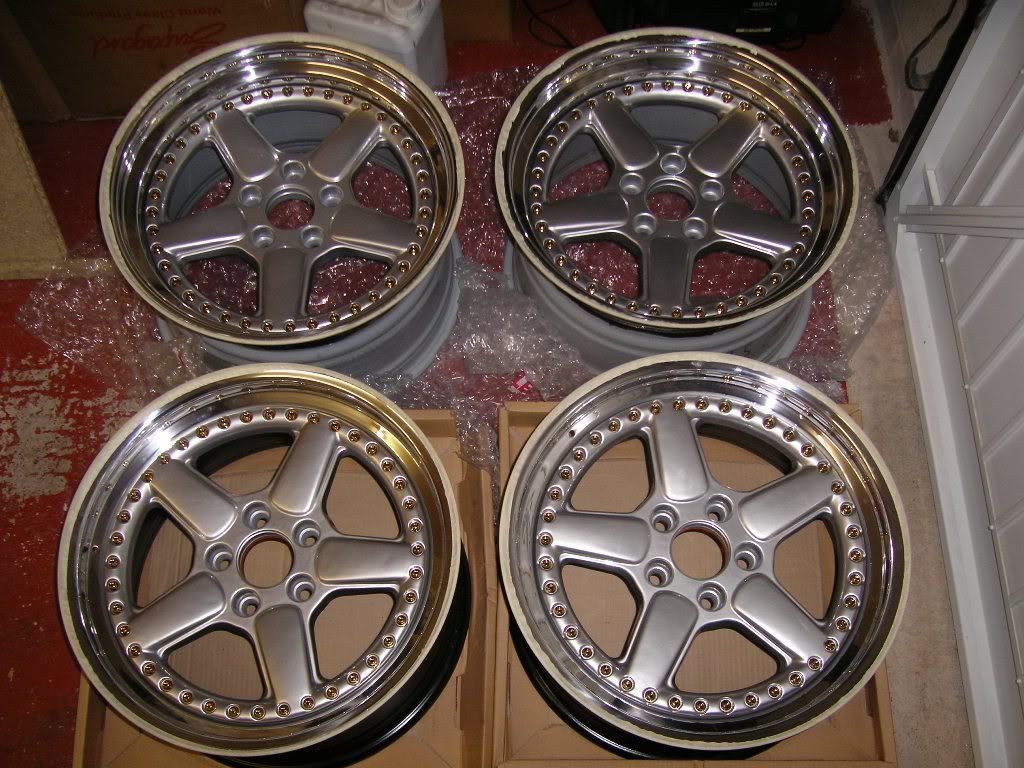
After owning the car for approximately 4 months, the long search for the right set of wheels finally came to an end when I managed to bag myself the above set up for just �250, largely due to a misspelling within the advert title.
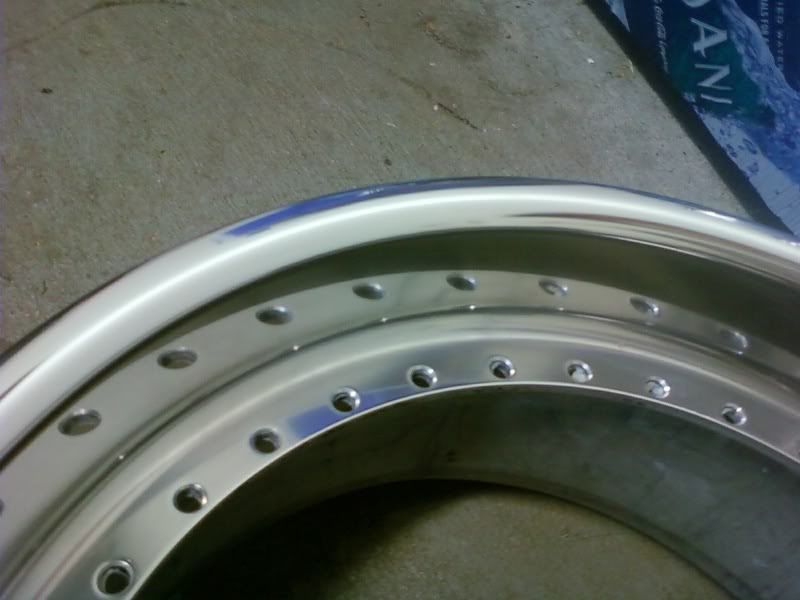
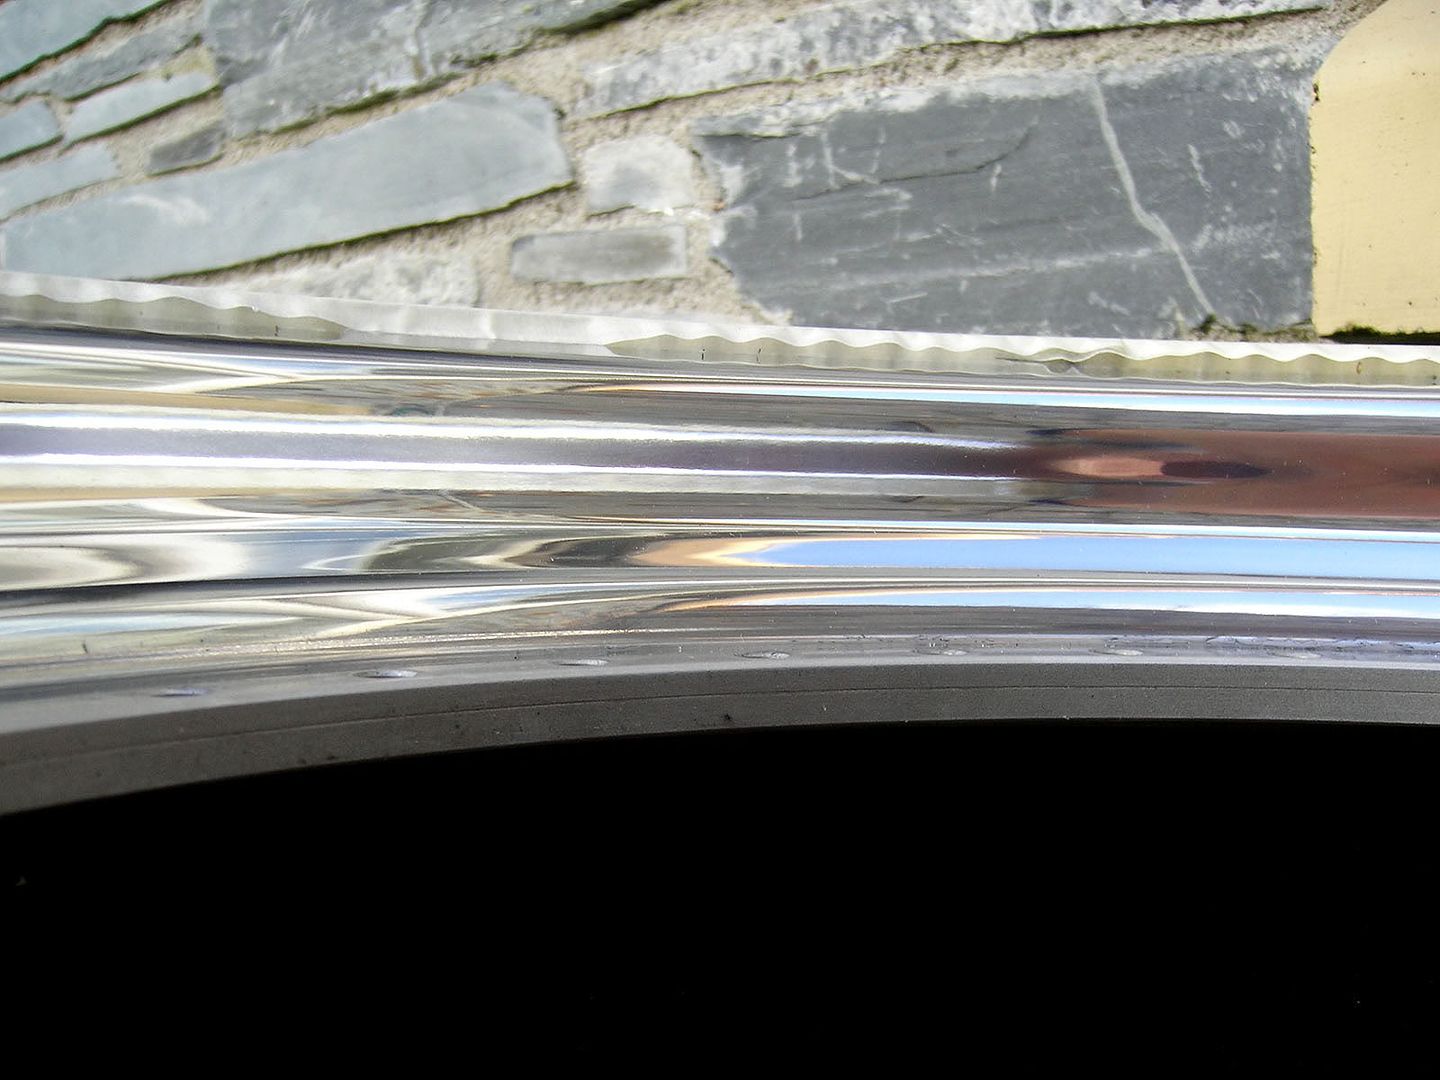
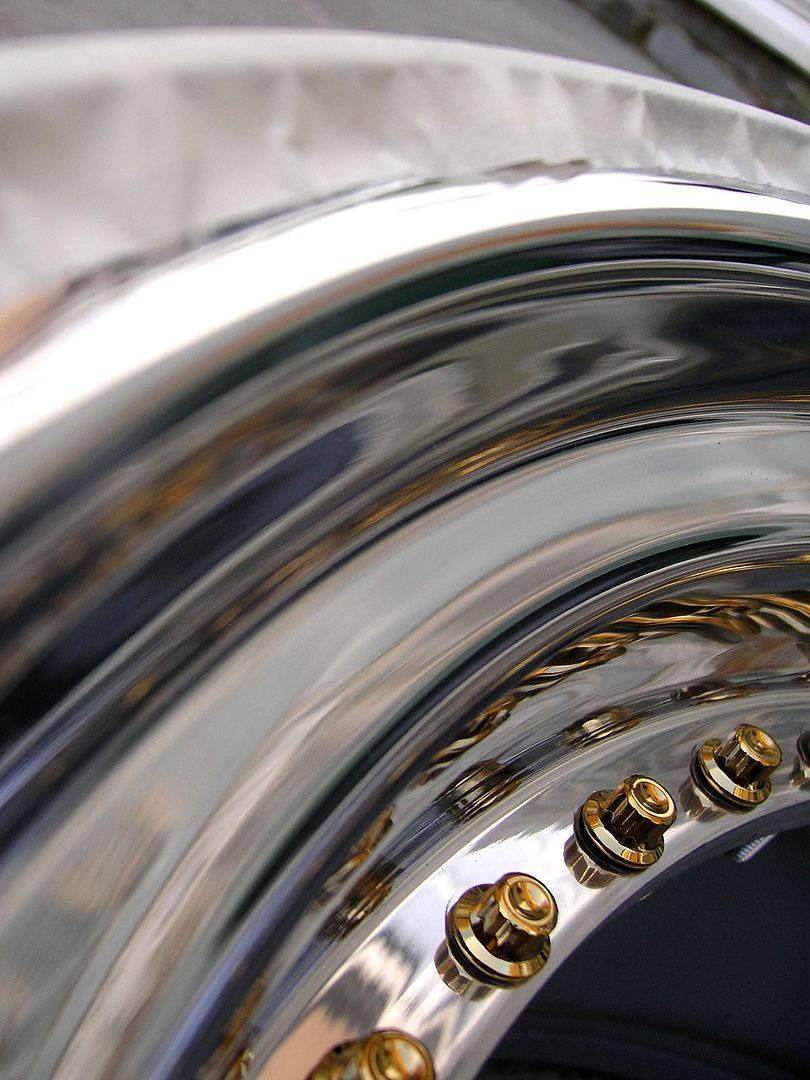
As can be seen, the dishes are all tarnished, some more than others. Likewise there are various degrees of kerb rash.
ADDITIONS/MODIFICATIONS:-
07/07/08 - AC Schnitzer hubcentric spiggot rings (purchased from Rossiters)
Because the wheels were originally purchased privately for an E36 M3, the fronts are meant to be fitted with 7mm hubcentric spacers to prevent the wheel from fouling the brake caliper.
As I don't have this problem I do not require the spacer, however to ensure a hubcentric fitment, I called Rossiters and ordered a pair of hubcentric spigot rings @ �15.
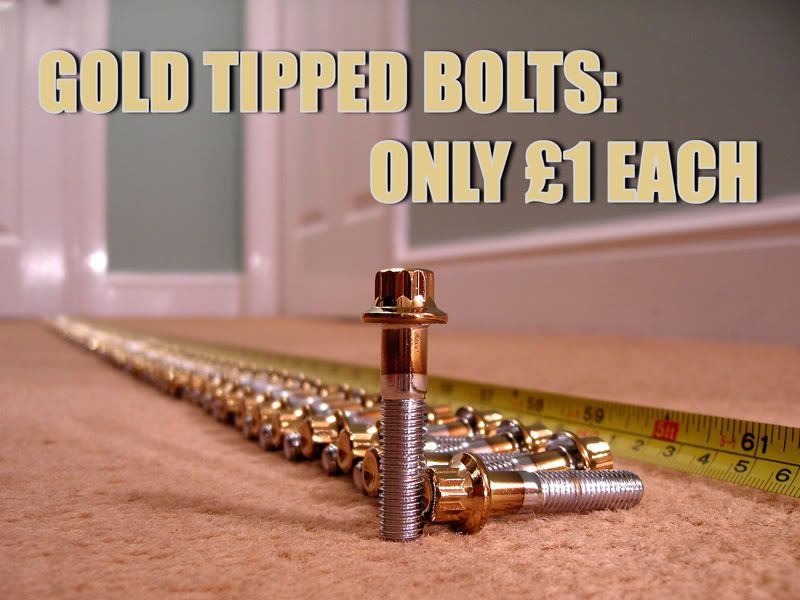
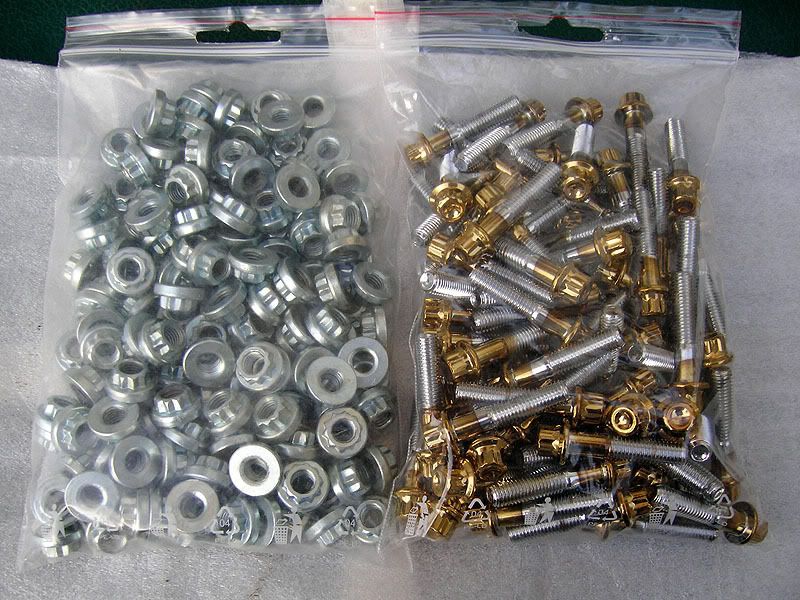
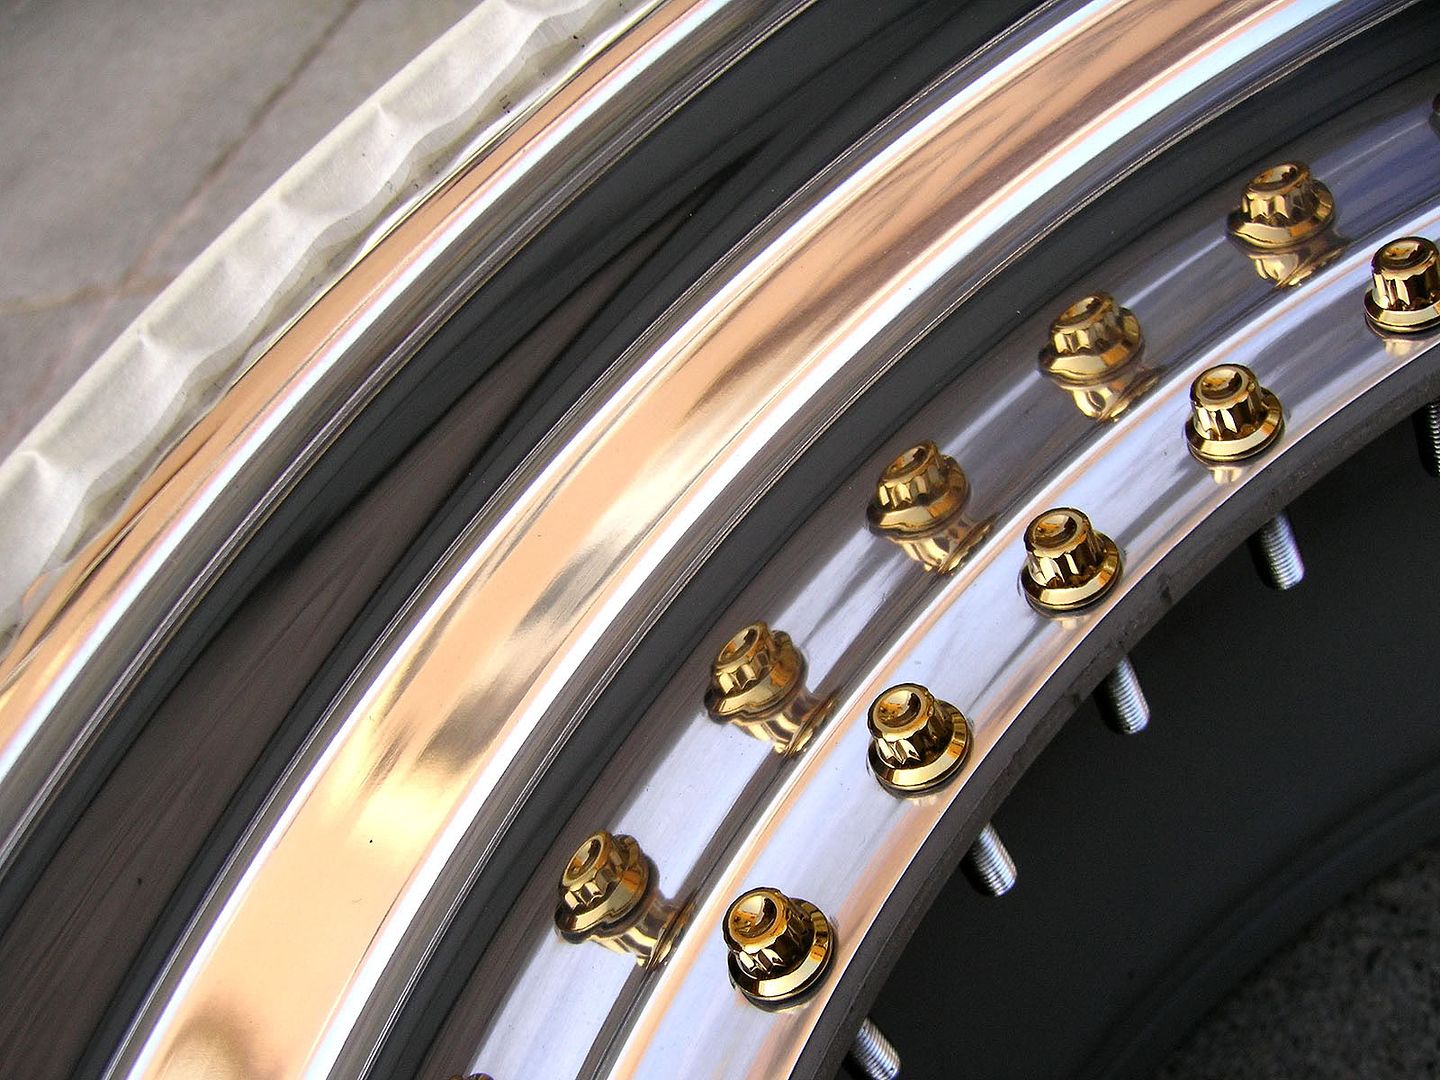
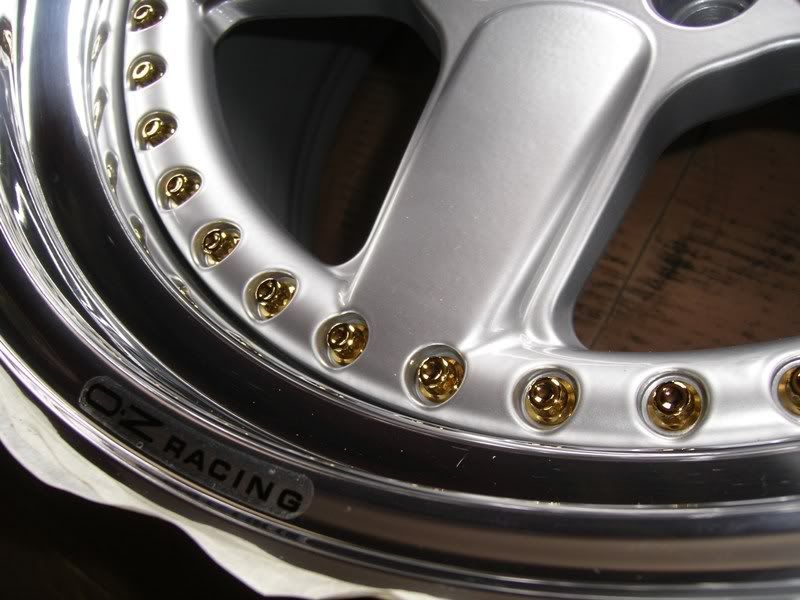
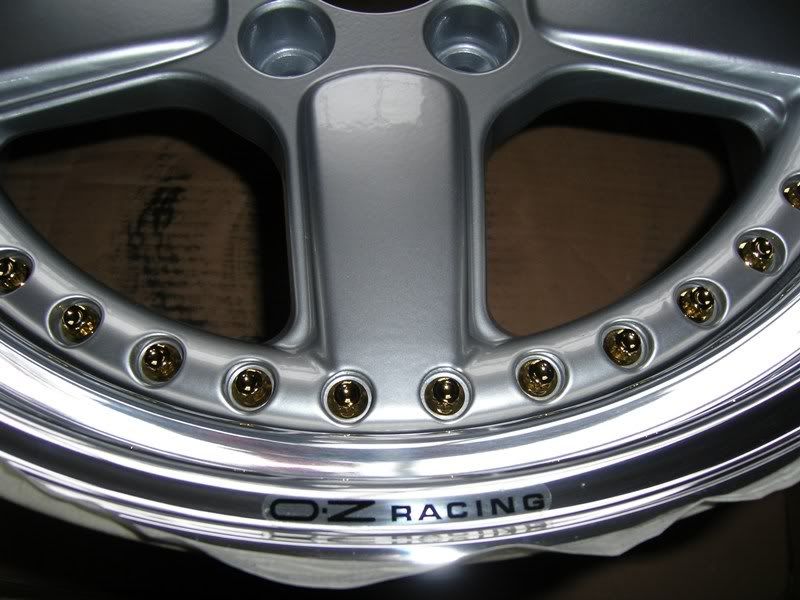
14/10/08 - Gold plated split rim bolts
Upon good recommendations, I made contact with Claus @ Felgen-Garage to discuss my options with the wheels.
Whilst deciding which future set up I would go ahead with, I placed a quick order on a 165 shiney bits...
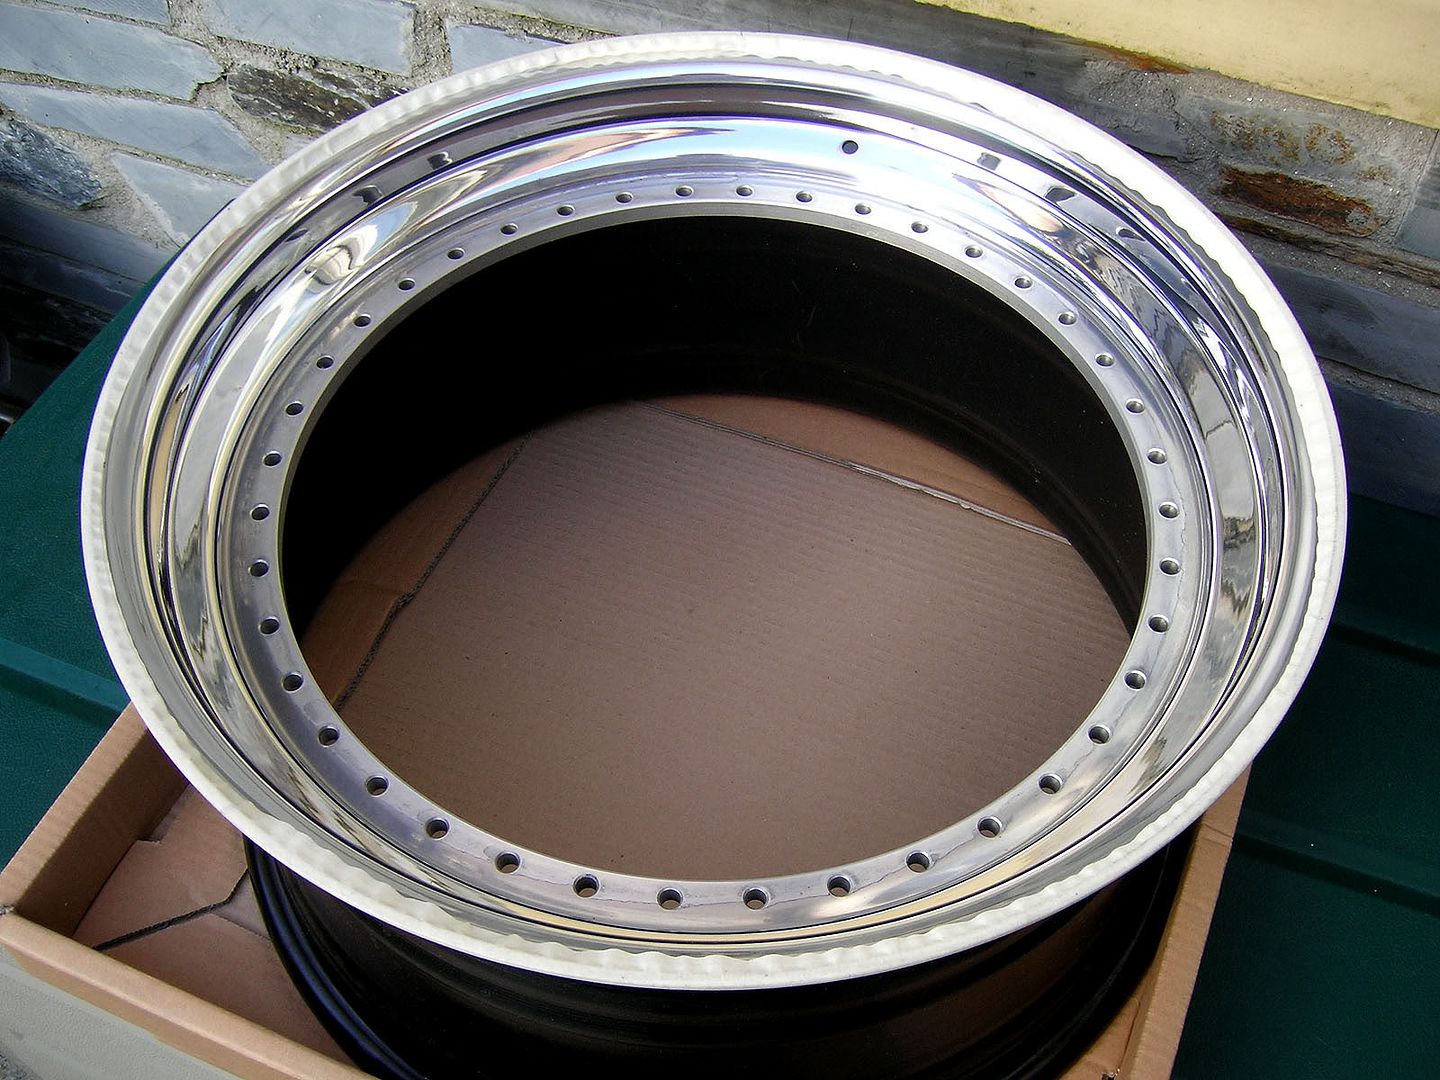
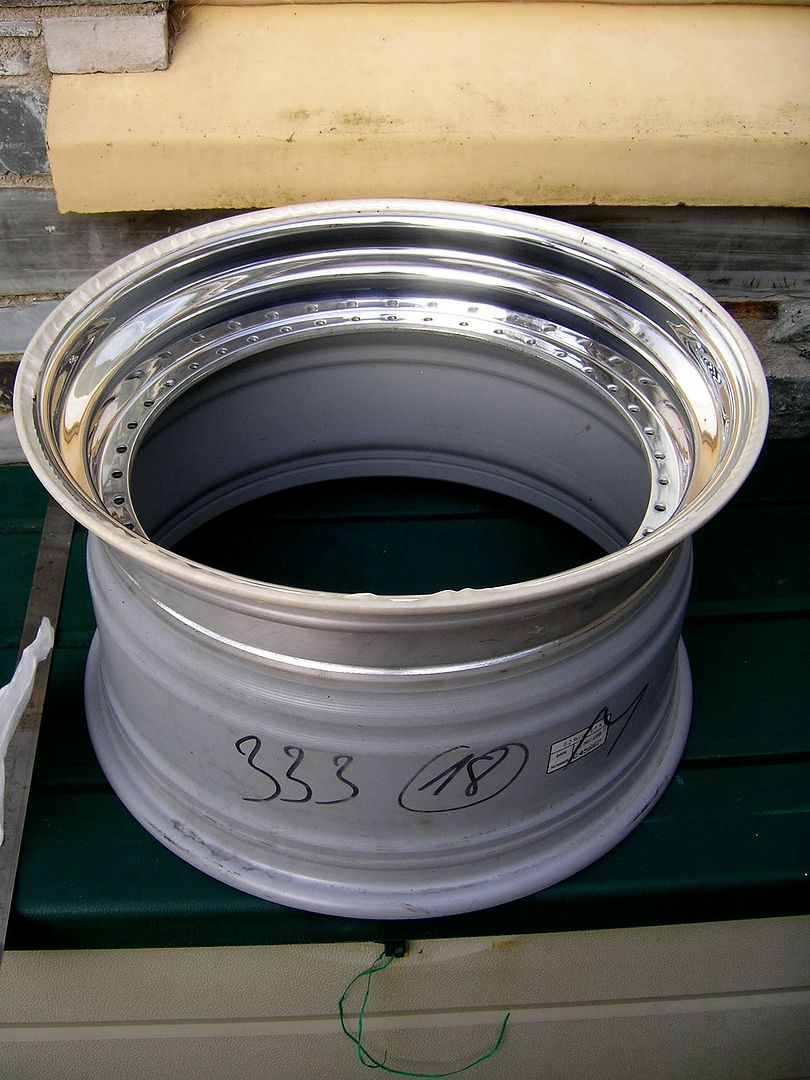
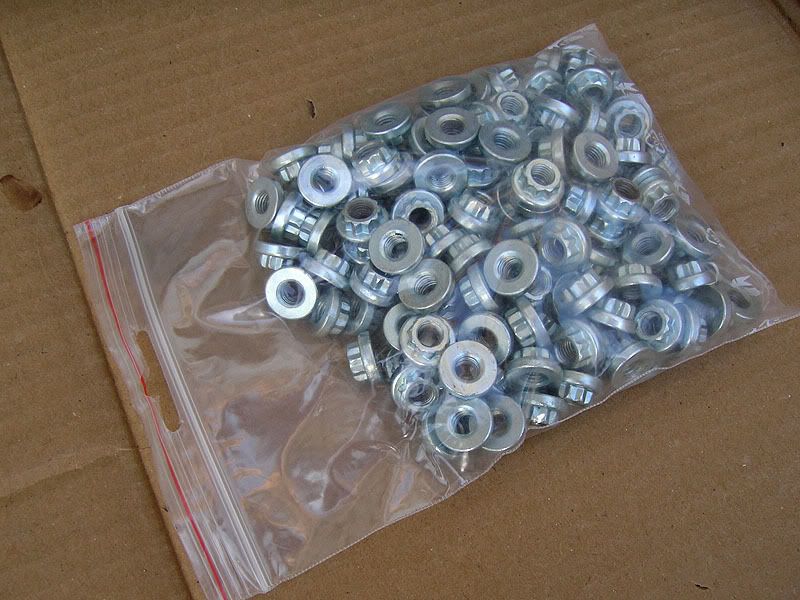
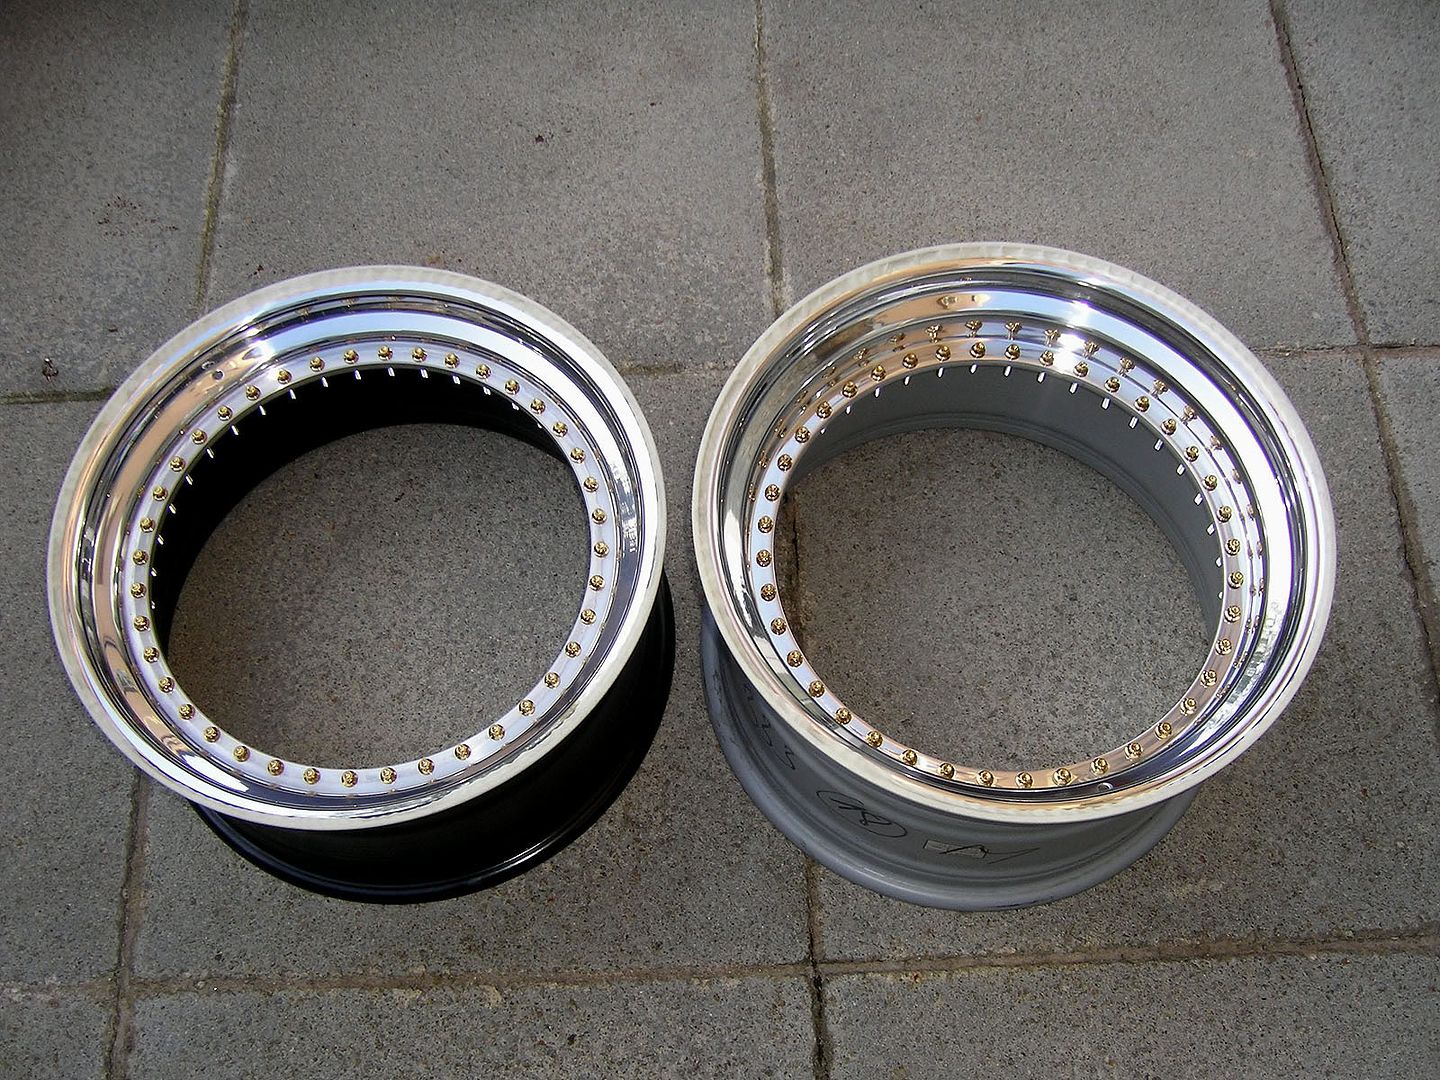
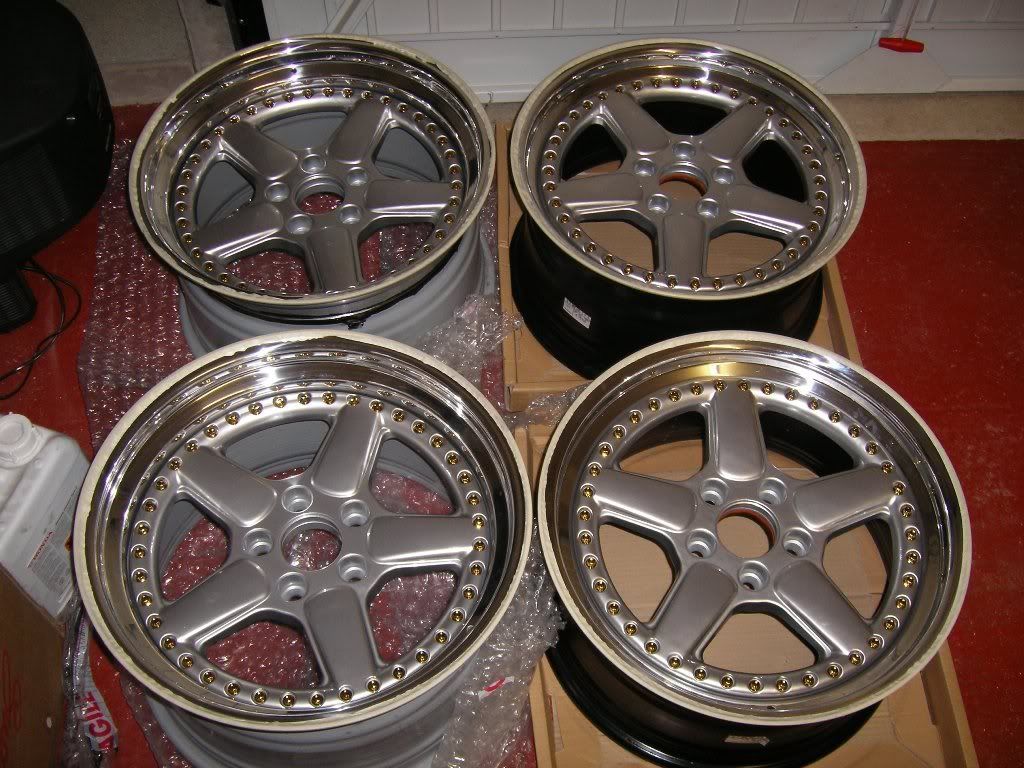
30/06/09 - Dishes, Inners, Barrels & Nuts
Having discussed various options and weighed up the respective costs, I finally decided on a set up that suited my needs, and the cars arches.
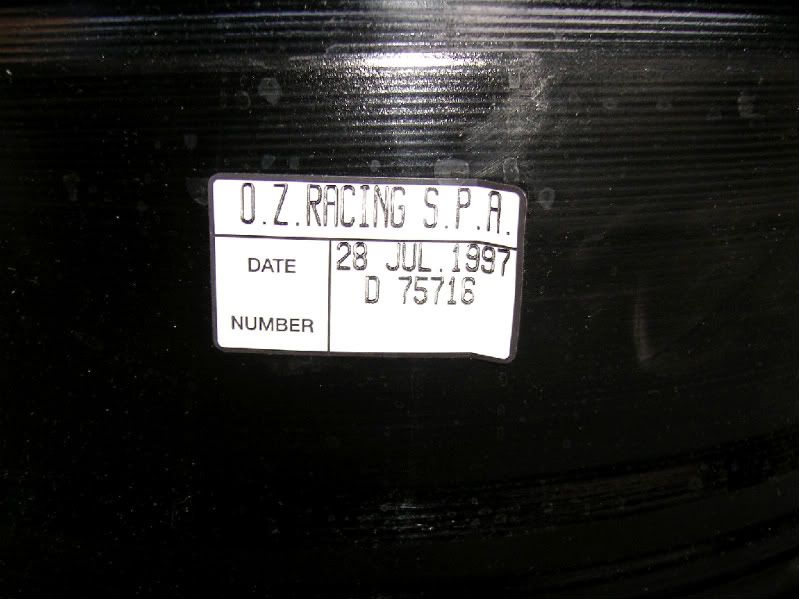
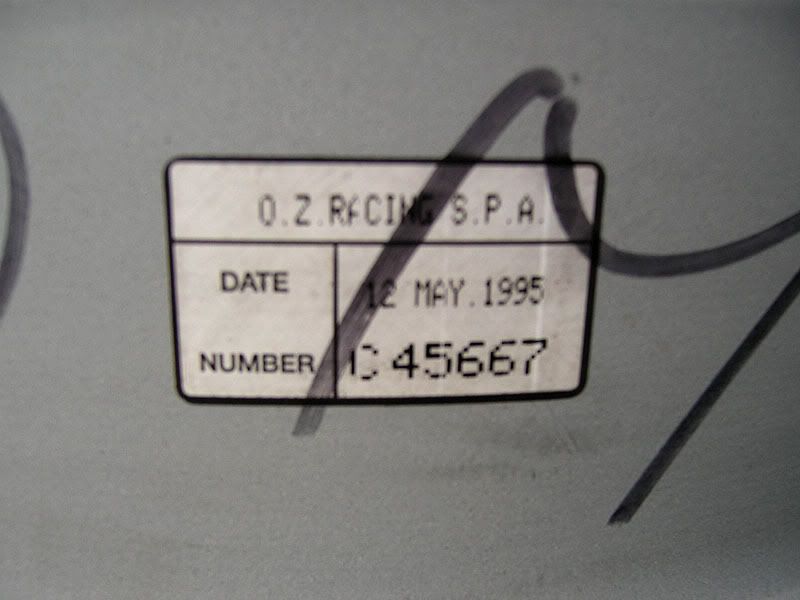
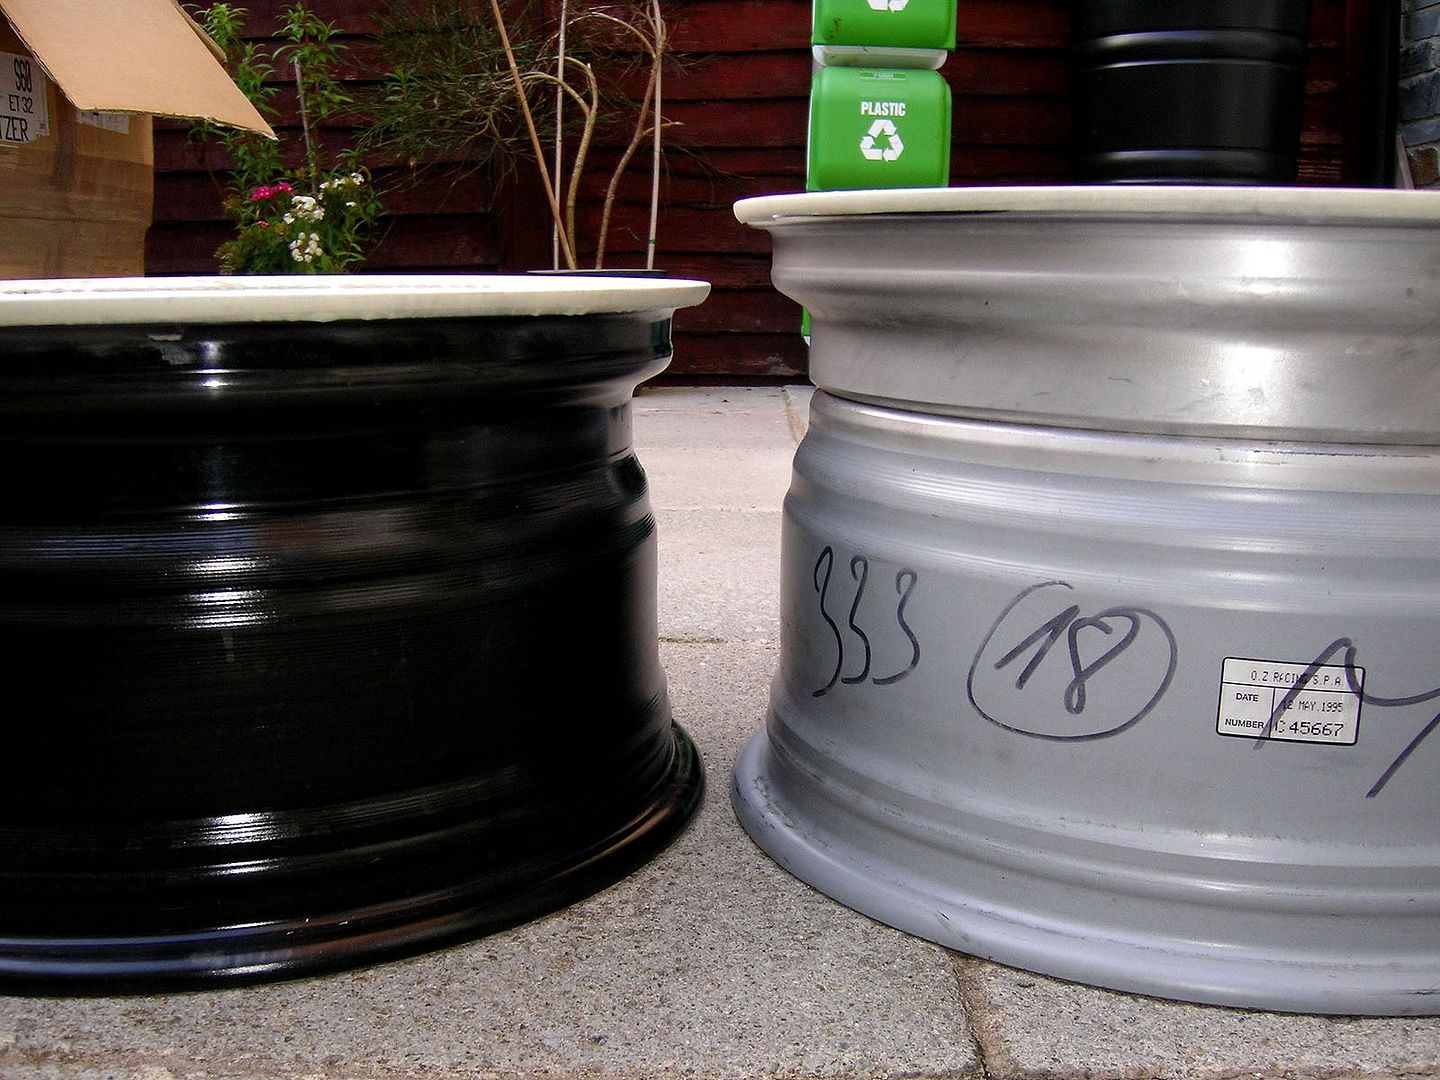
Front - Genuine OZ Racing 9J x 18" ET32 Tubes (2-Piece) @ �350 (polished)
Rear - New 10.5J x 18" ET26 Lips & Barrels (3-Piece) @ �700 (polished)
Accessories - Original OZ Nuts @ �35
Shipping @ �40
Telegraphic bank transfer charge @ �25
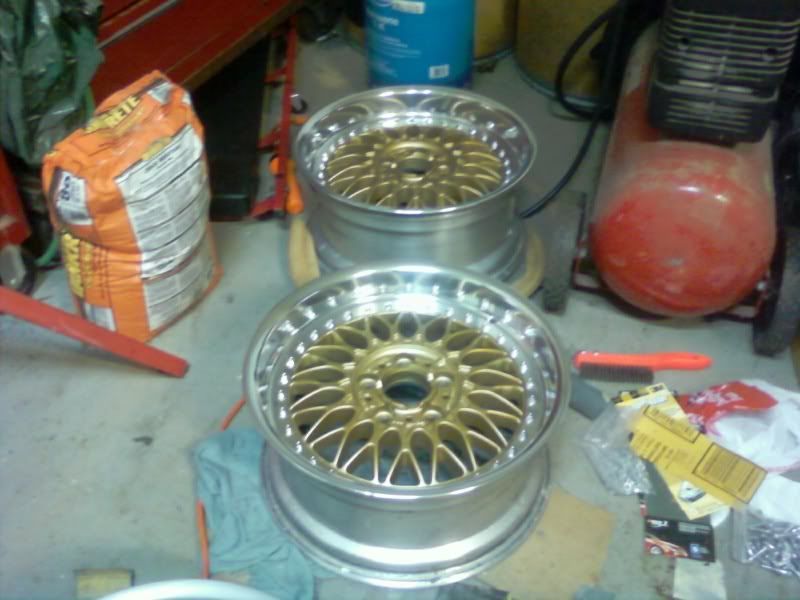
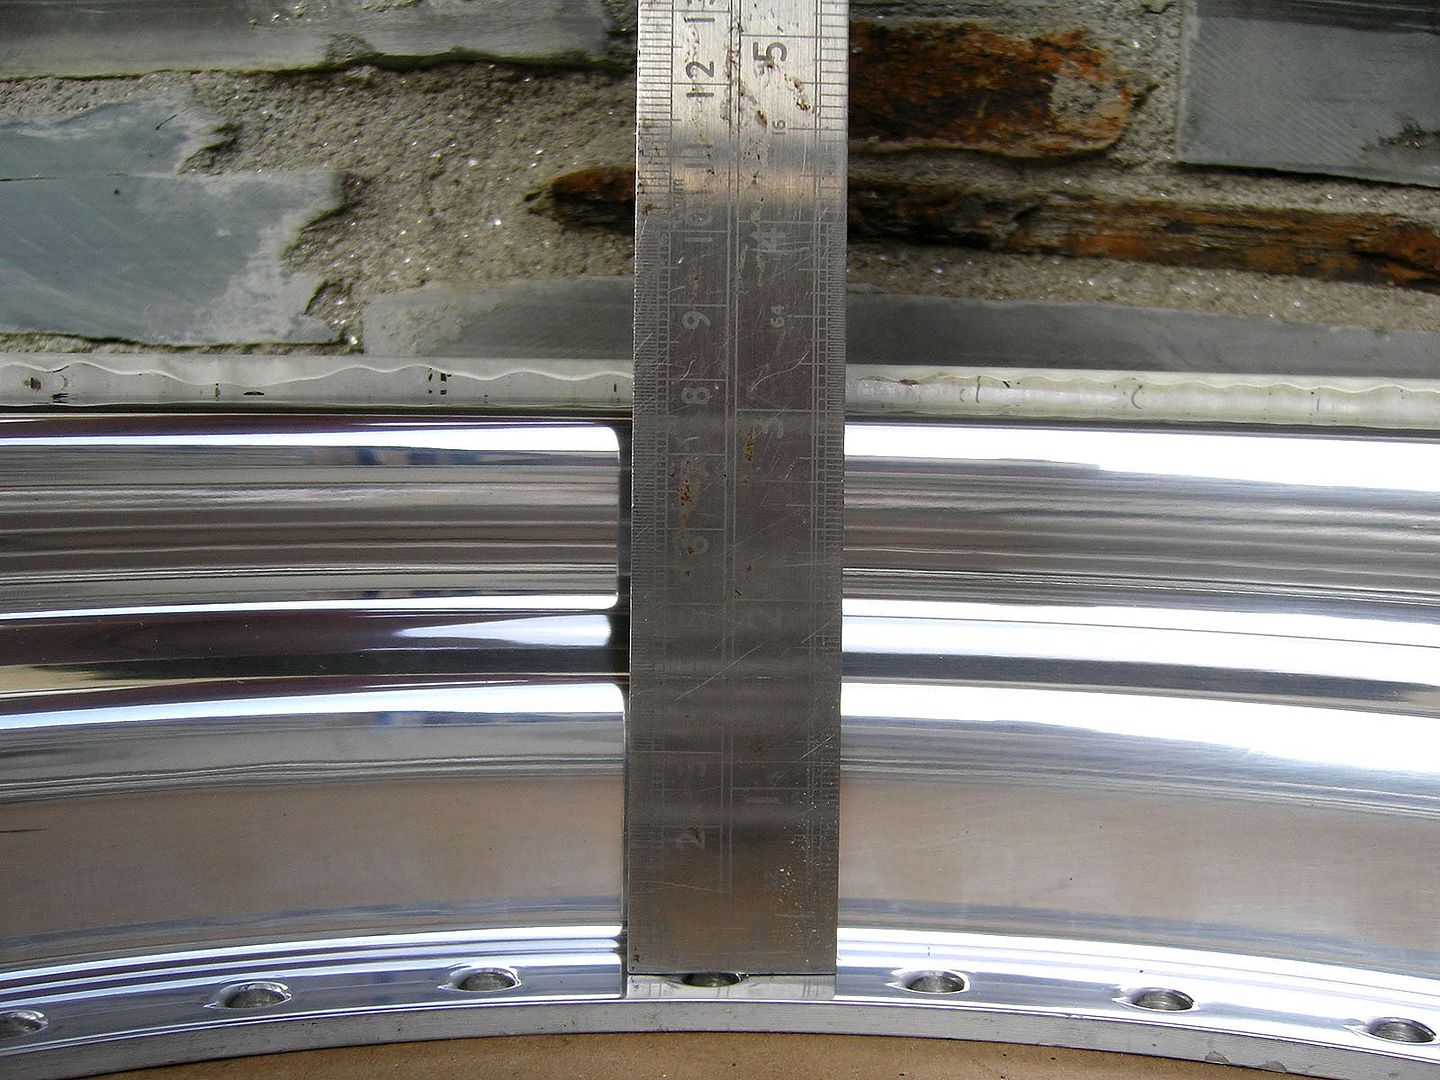
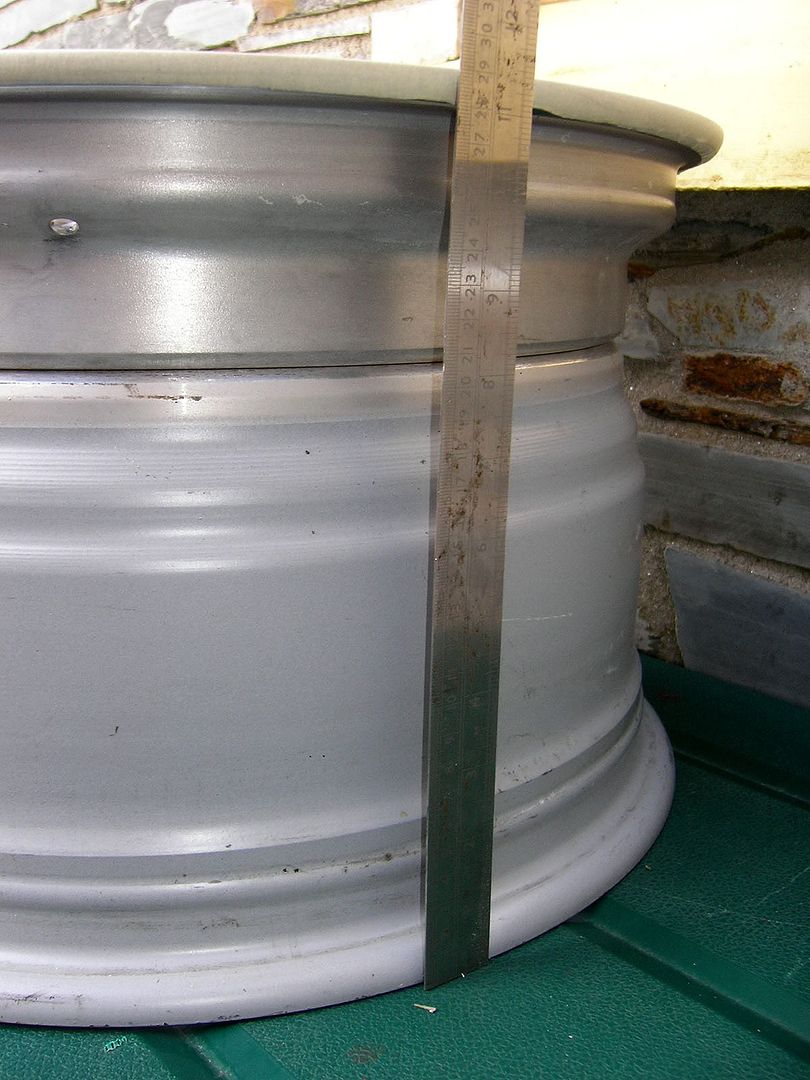
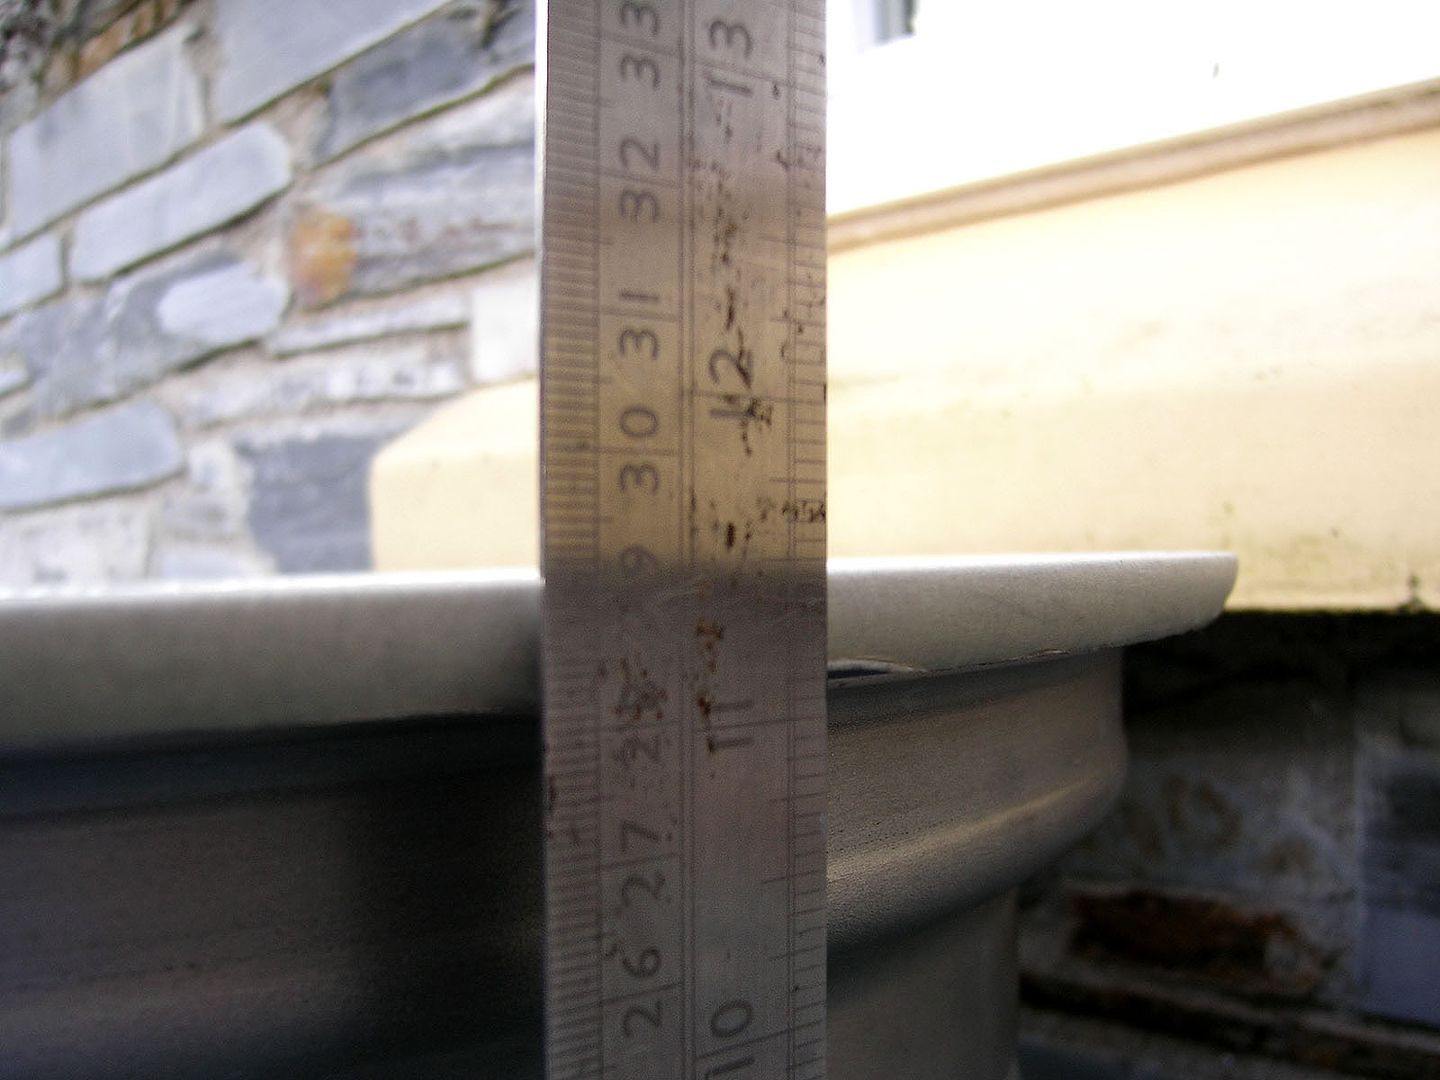
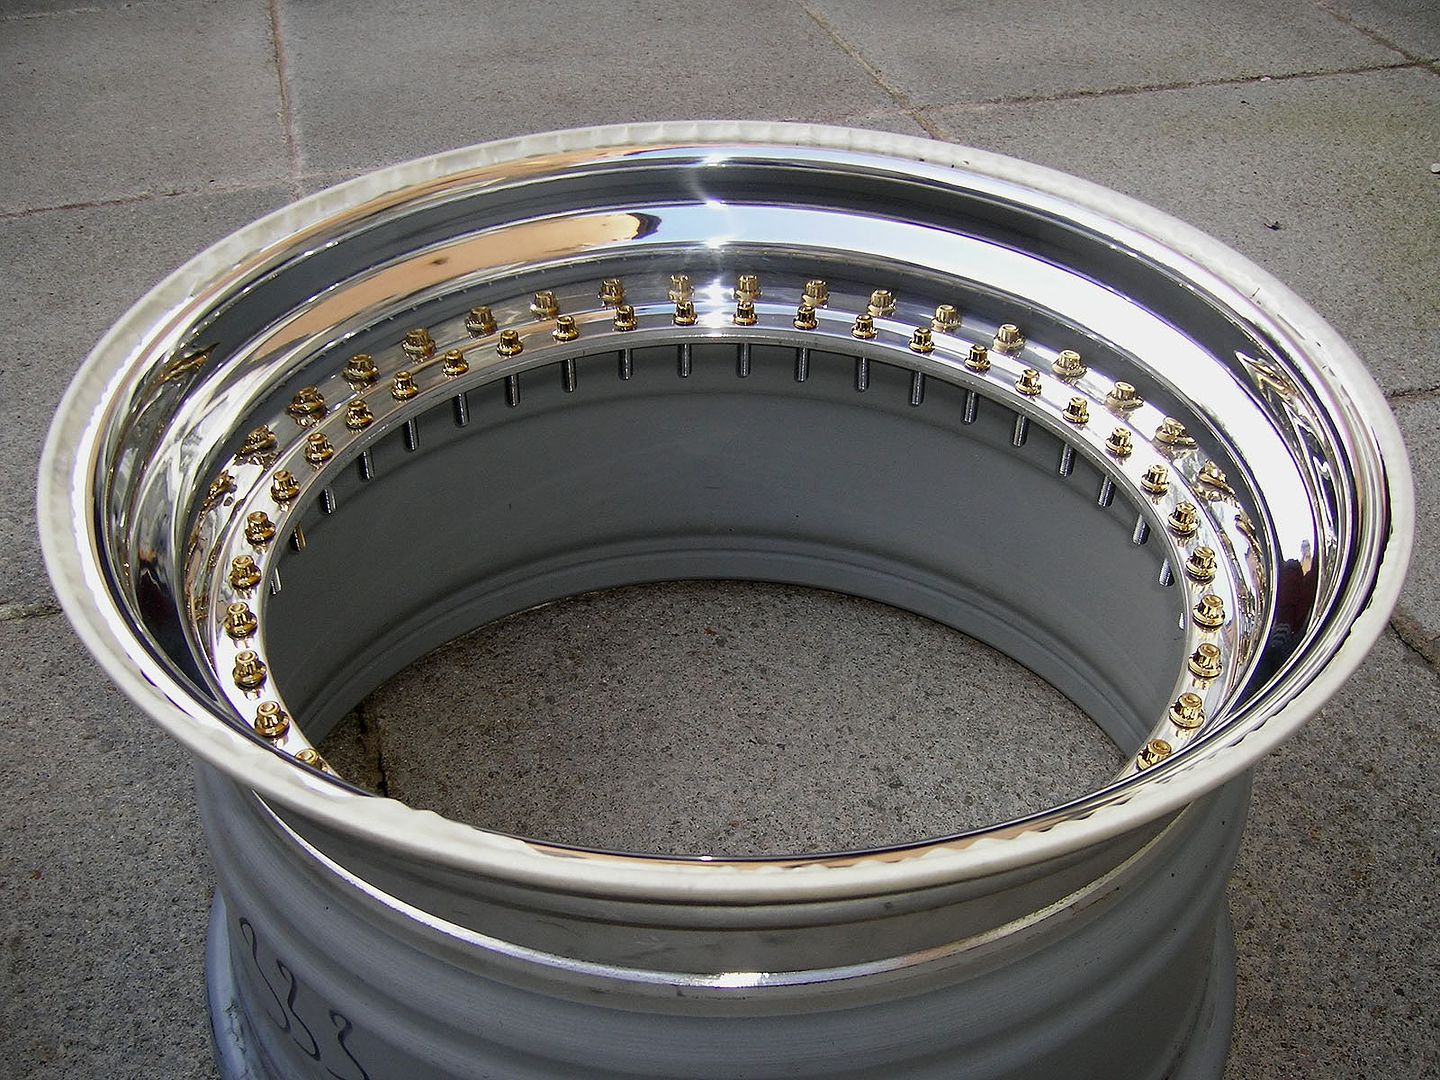
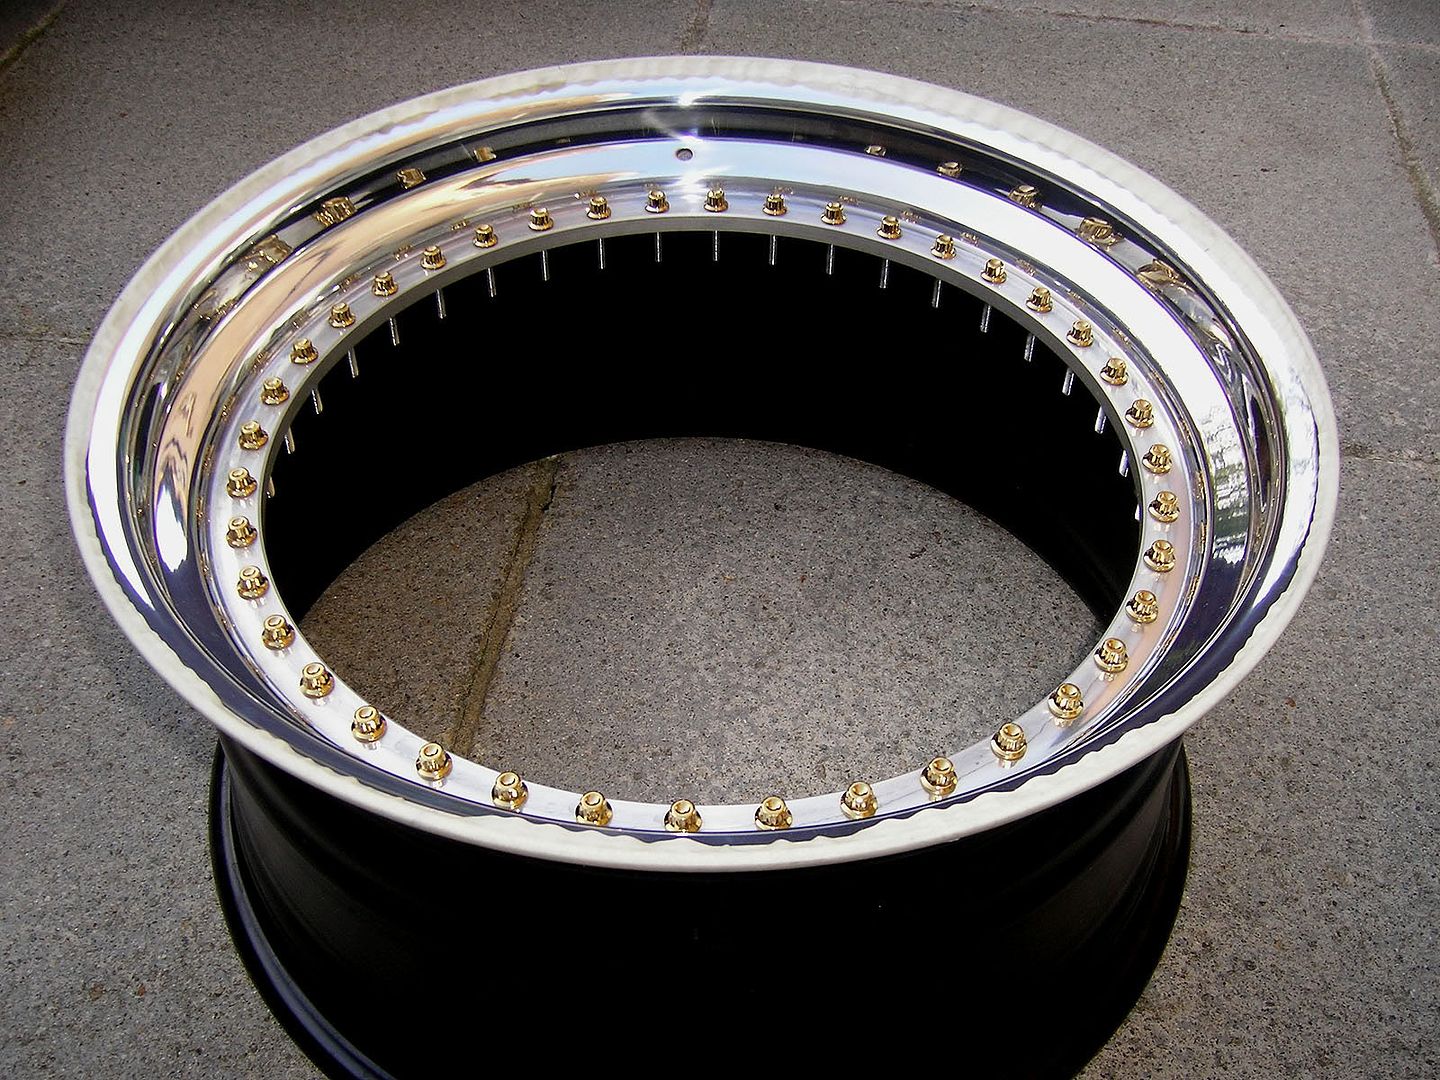
Final measurement... 11.5"
I couldn't help but play around with the set up, if only to take a few more photos; bare in mind the centres of my wheels bolt from the front, so the bolts won't sit up against the dish as per the below photos, instead they'll sit within the recess of the centre.
07/08/09 - Tools & Stickers
After looking into the simplistics of splitting my wheels I came to realise that the bolts used by Oz Racing to secure the wheels are custom 10-spline, as opposed to regular 12-spline.
A little digging soon unveiled that two custom sockets (8mm/10mm) would set me back �100, thankfully fellow member Rob-G-Clarkson had already forked out for such tools and was now loaning them out for a small fee of �10... ideal! Needless to say, they were on the door mat within a couple days.
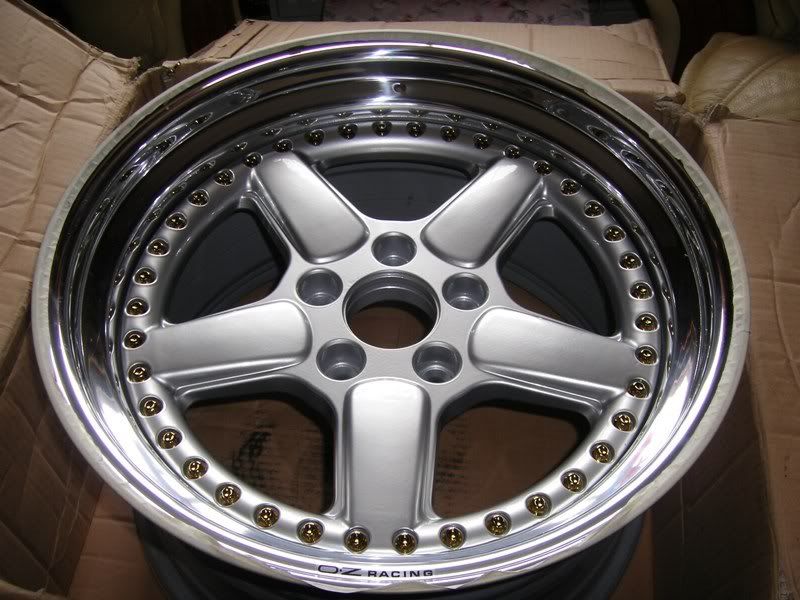
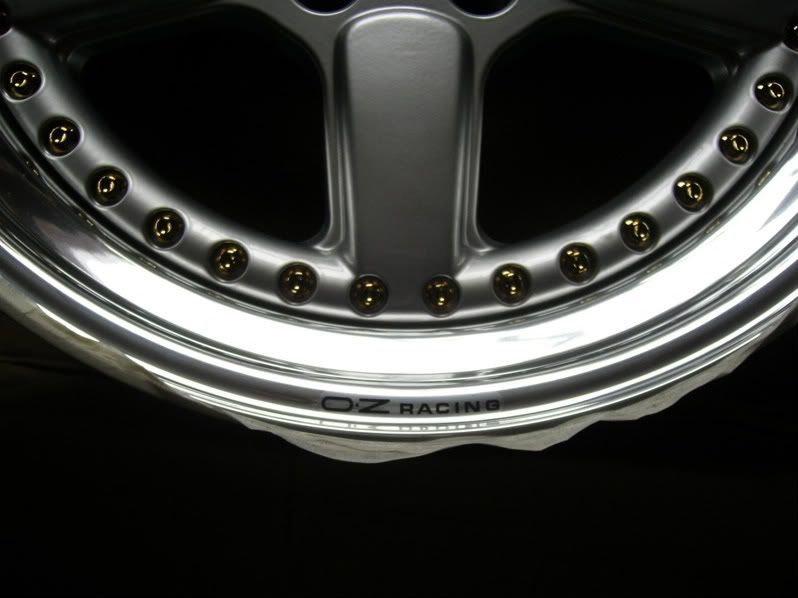
On the same day as the sockets arrived, I also received my original OZ Racing lip decals from Germany, to be located opposite the tyre valves on the outer edge of the dish - the lips would've had these fitted prior to polishing through the clearcoat.
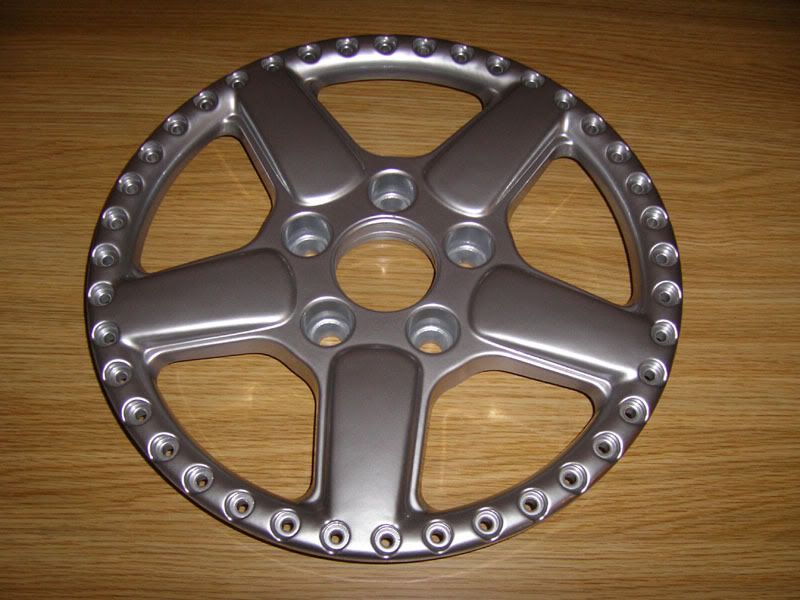
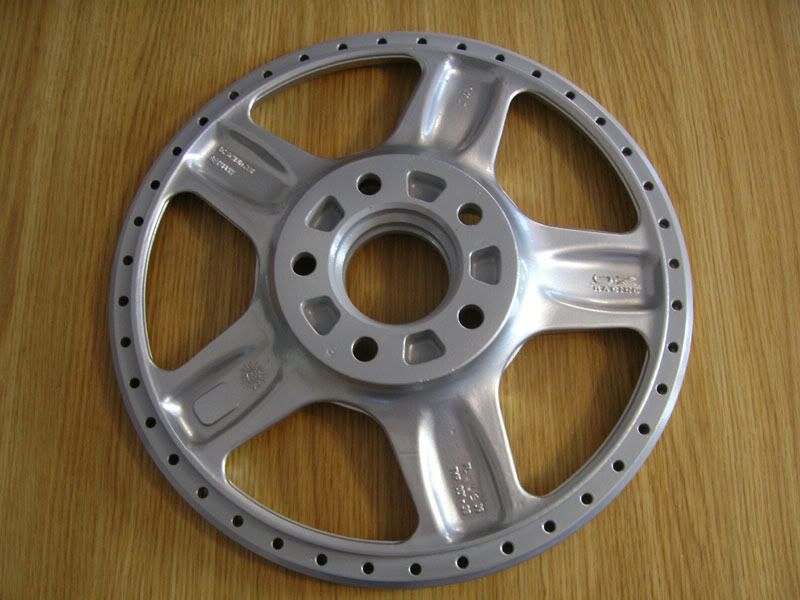
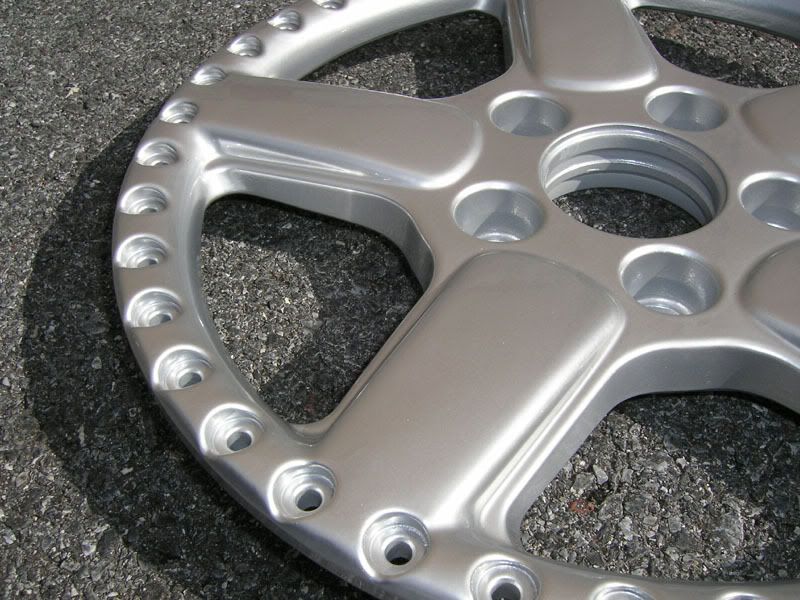
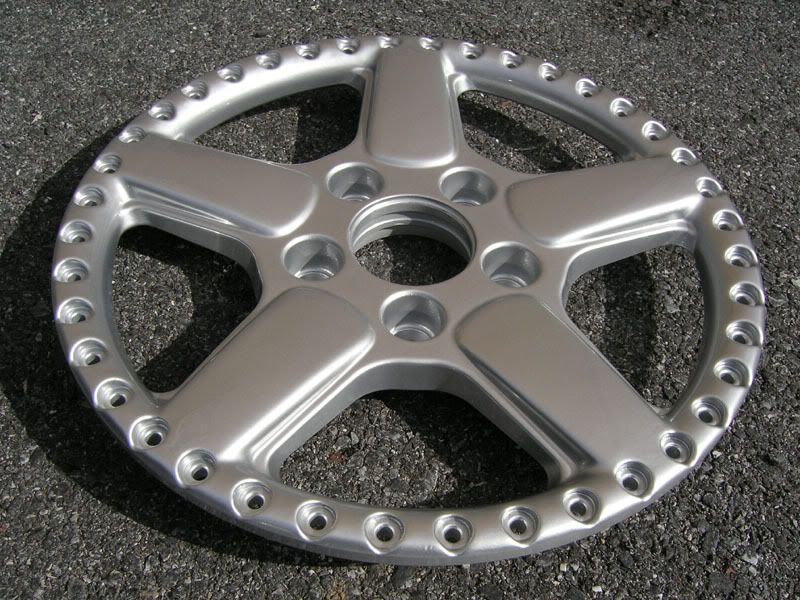
28/08/09 - Centre Piece Refurb
Albeit that the centres of my wheels weren't in awful condition, they were showing some light marks/scratches/chips and general discolouring. Originally I was going to get my bodyshop to respray them, but I had concerns over the durability of the finish and the overall coverage within each split rim bolt-recess.
I did a little bit of digging, which was later reinforced by a few recommendations and decided to send the centres via courier to the Leeds based shop of The Wheel Specialists.
I opted for the Hi-Power silver powdercoated finish; �186.28 (inc. courier) lighter, but no regrets!
They were also asked to smooth the centre caps however I'm not 100% satisfied with the overall finish (there appears to be a slight imprint of bubblewrap texture embedded into the paint - assuming they wrapped them before the paint had fullly cured). Rather than send them back I'll probably just get my local shop to repaint them.
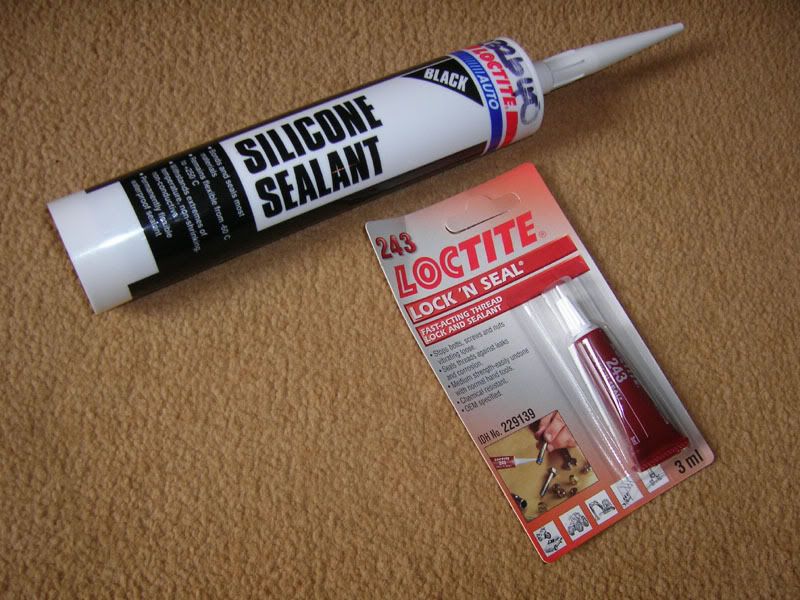
28/08/09 - Rebuild materials
Hopeful to rebuild the wheels tonight, I thought best to purchase a few of the essentials from my local Kevin Cooper outlet, totalling �13.28!
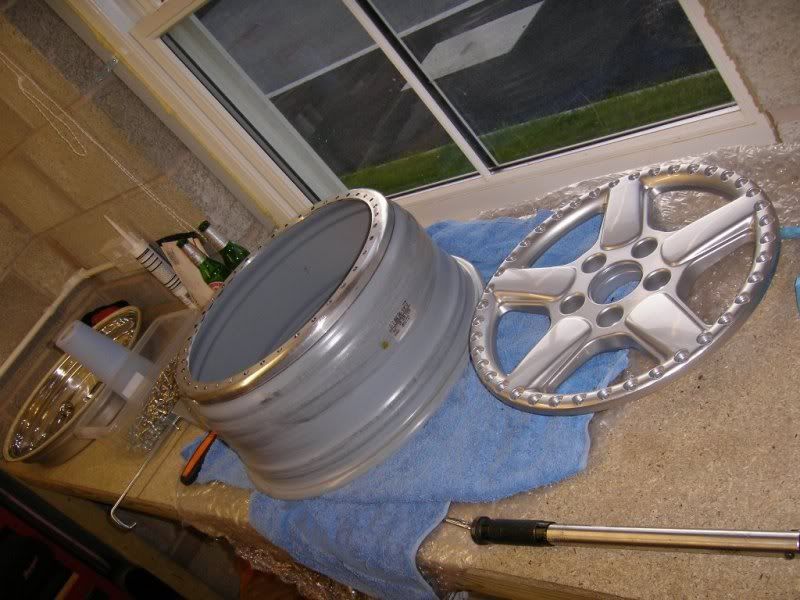
28/08/09 - It's Schnitzer Time
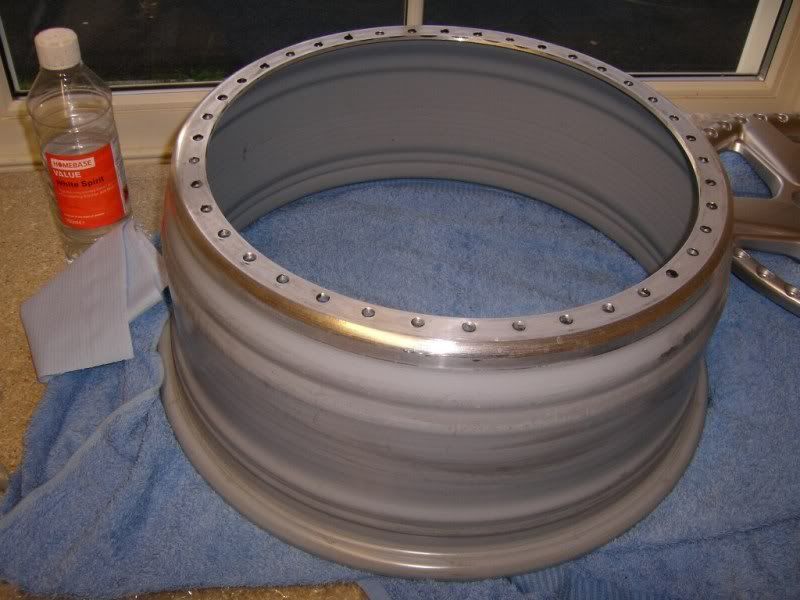
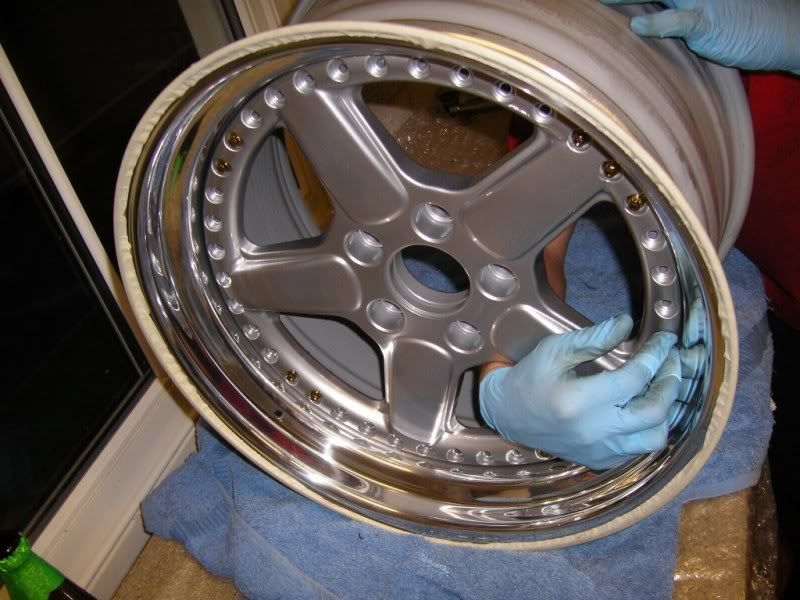
60 weeks since purchasing, they've finally been treated to the well deserved make-over
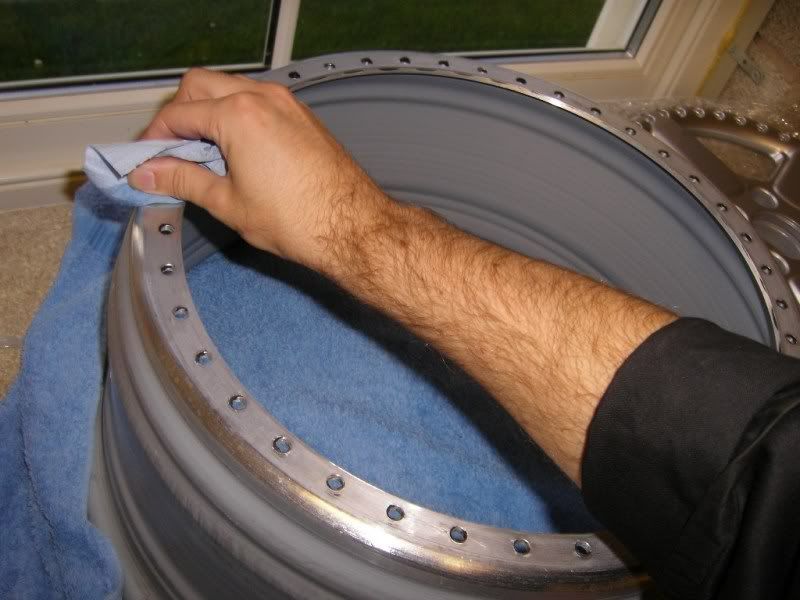
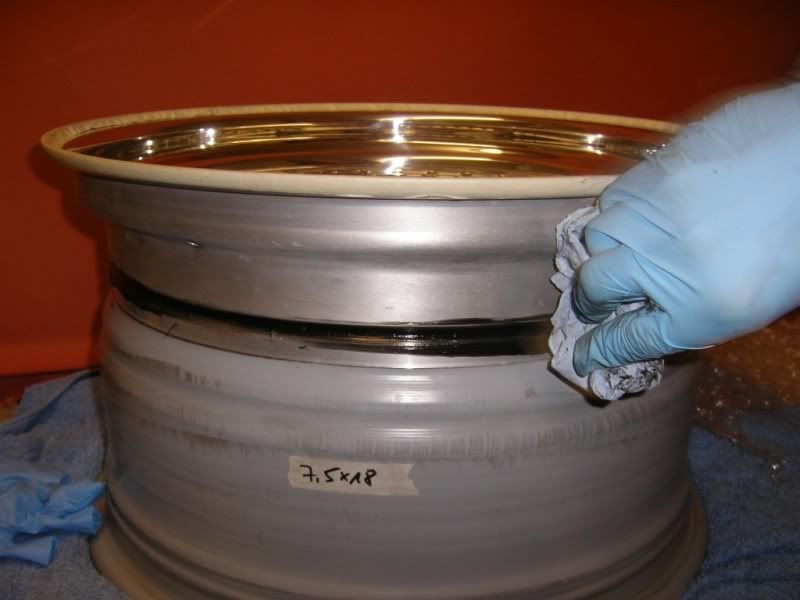
I got the relevant parts together and began by using a mixture of saturated aliphatic and alicyclic C7 to C12 hydrocarbons with a maximum content of 25% of C7 to C12 alkyl aromatic hydrocarbons (e.g. white spirit) to ensure a clean/degreased surface for the sealant to take to).
Click to enlarge
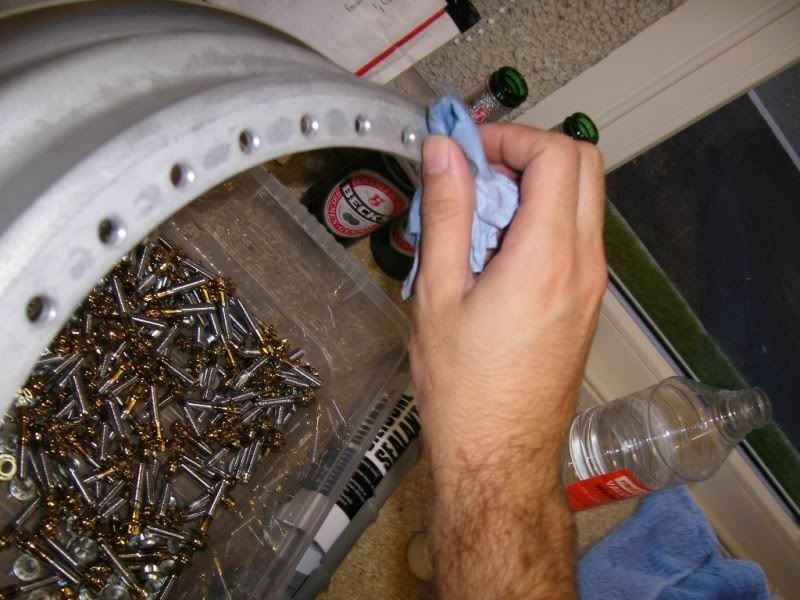
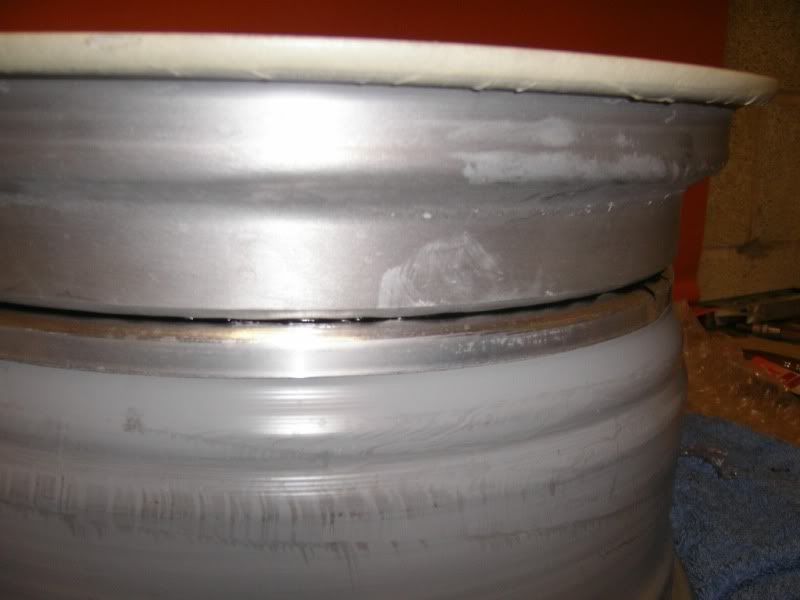
A narrow bead of sealant was laid around the perimeter of the barrel, once complete, the wheel sections were laid into place and secured by quarterly bolts.
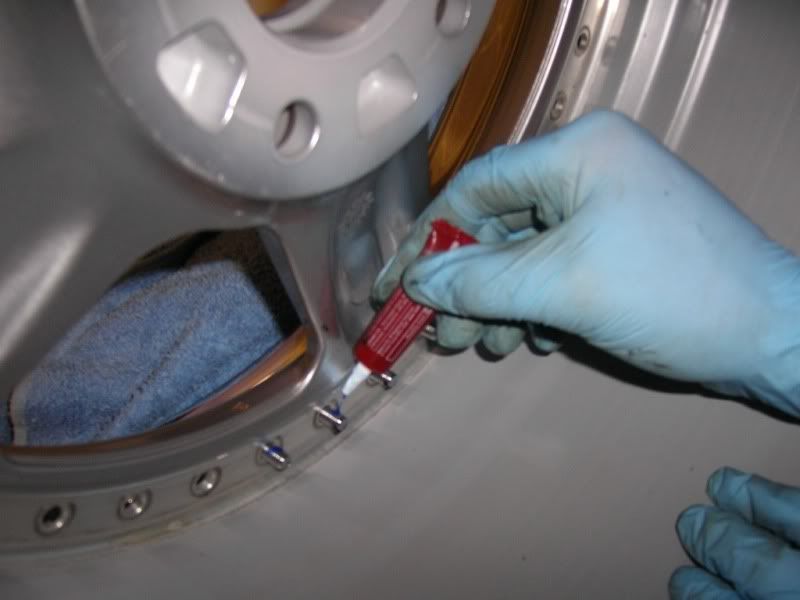
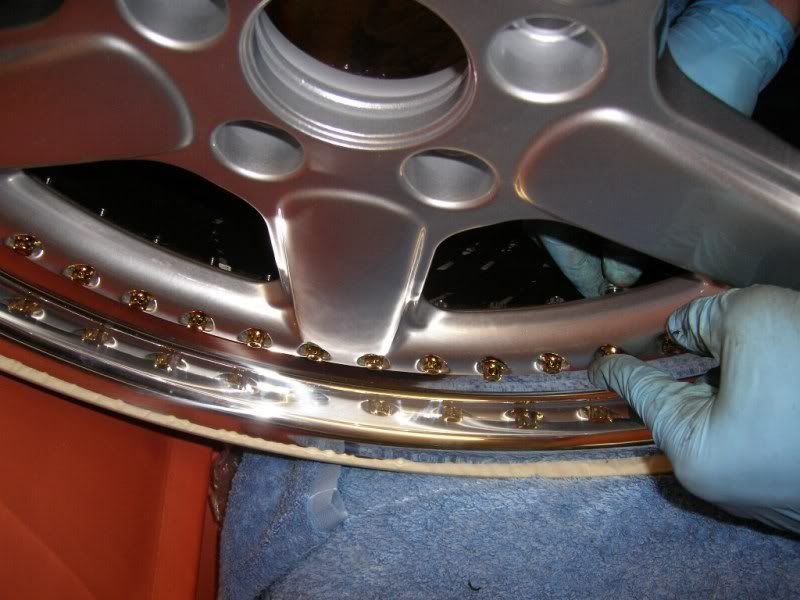
Once secure, the remaining bolts were inserted, dabbed a single component thixotropic chemical called dimethacrylate ester (e.g. Loctite 243 / Threadlock) and torqued to 22.7 ft/lbs.
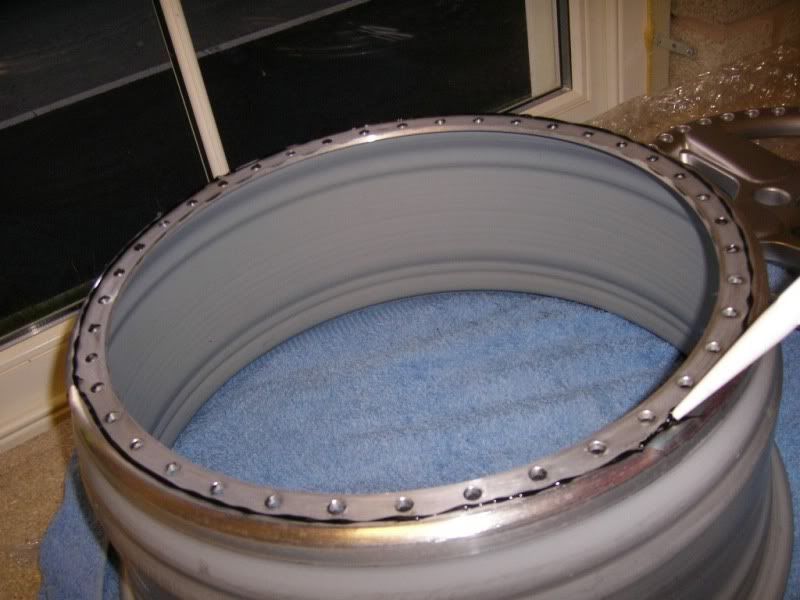
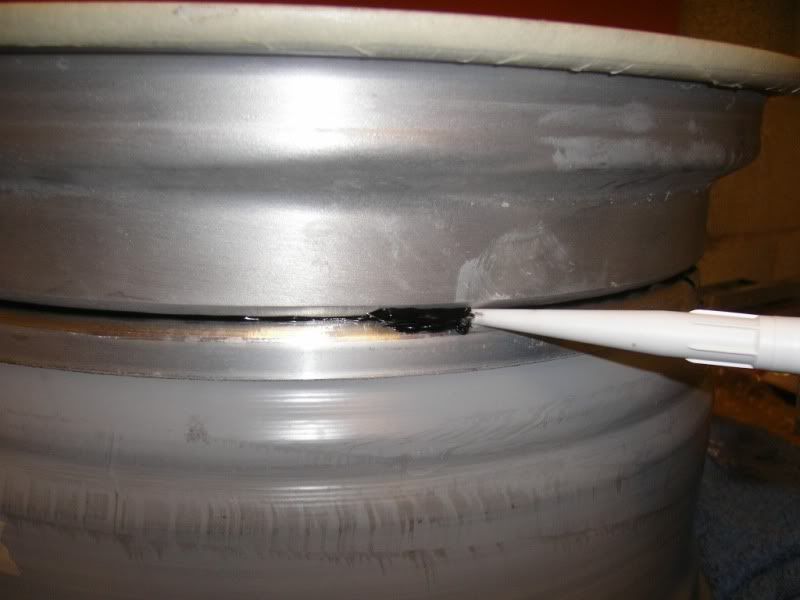
A final bead of sealant was applied to the outer edge, where the lip and barrel meet. Although my efforts might not have been as 'neat' as some, I'm confident there'll be no air-leaks on my watch.
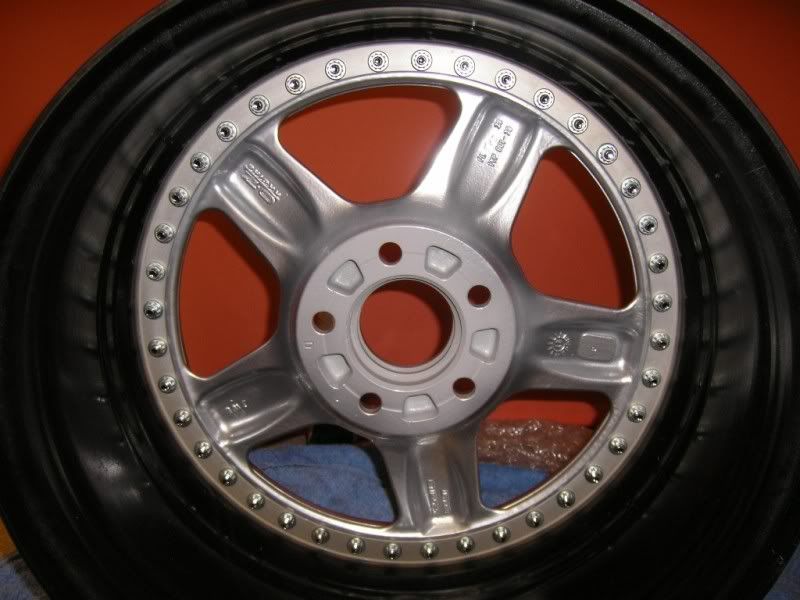
The fronts remain 2-piece, so none of the sticky stuff necessary. Ideal - a quick and easy bolt on affair (with the aforementioned threadlock/torque settings).
And hey-presto...
29/08/09 - OZ Racing Decals
Something I wasn't happy doing whilst building the wheels was fitting the OZ Racing sticker; I had no reference material so was worried I'd place them incorrectly.
I've tried to ensure that the wheels are built as originally intended, the minor detail is to ensure that the valve is located central between two spokes, with the OZ Racing sticker directly opposite. Needless to say, this is now done.
Click to enlarge
Just valves, centre caps and tyres to go... but with the predictable English weather, I've been in no rush!
Thanks,
Chris (Saltash, Cornwall)
For those who are interested, my previous build was undertaken on a set of Hartge Design E 3-pc by Ronal (check the WW build thread HERE).
 Tweet
Tweet


 Instagram@jdjurhuus


Comment