-
Thanks! Just used some aluminum box bar from lowes,nothing special, was $12 Great mod, I definitely recommend it, especially being such a cheap and simple DIYOriginally posted by rightfullrudder View Post
Thanks! I can't wait to get them on, might do them this weekend if I can find the time! And yeah with the racks I wanted something that mounted up to the car perfectly so OEM was the only way to go. So far I'm super happy with them!Originally posted by hinrichs View PostLeave a comment:
-
Cant beat and oem roof rack. Thule is good, but never mounts or looks as clean. Great job on the brakes too, they are looking good. Cant wait to see them installed.Leave a comment:
-
Nice job on the brakes -- and I might have to try the DIY CR-15 strut brace on the S5! Any particular type of metal you bought?Leave a comment:
-
Little update for you guys! So I recently got what is probably the most utilitarian mod I could get, OEM Audi base bars. I have wanted a roof rack for ages as I missed being able to transport my bike (I refuse to risk beating up my interior by putting the bike inside) so I'm stoked. The Thule OutRide bike mount I used on my Volkswagen mounted right up. The design of the bars is actually pretty thin (especially compared to the OEM VW bars on my Golf) so wind noise isn't bad, I might not even buy a fairing as originally planned. I also love the look of them, I put the roof bars on my Golf a couple months after getting my license way back when, so having a set on my daily driver really makes the car feel like "mine". Just needs to stop raining so I can go biking haha.
Here's the only pick I have of the setup currently

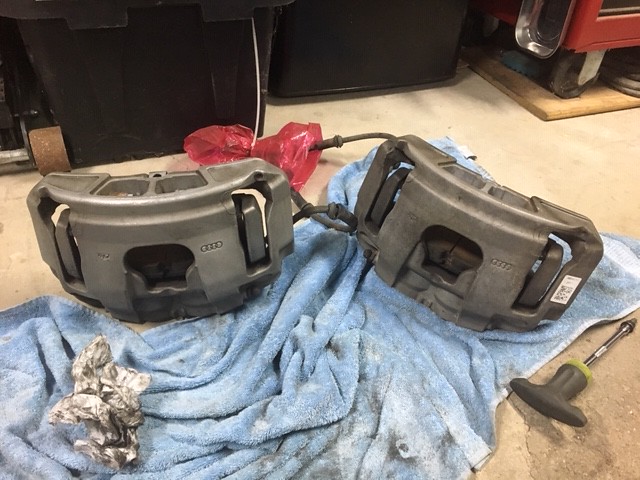
Now remember that A7 bbk I snagged from the parts car we had laying around a while back before the car was even on the road? Well it's been sitting in my shed ever since, and I finally found the motivation to get it cleaned up, painted, and ready to go on the car.
Here are some before and afters of the cleaning process; a scotchbrite pad and some brake clean goes a long wayNext I just have to paint the rears to match and then they can go on! I really excited to install these I'm really happy with how they turned out and can't wait to have some real braking power at my disposal!

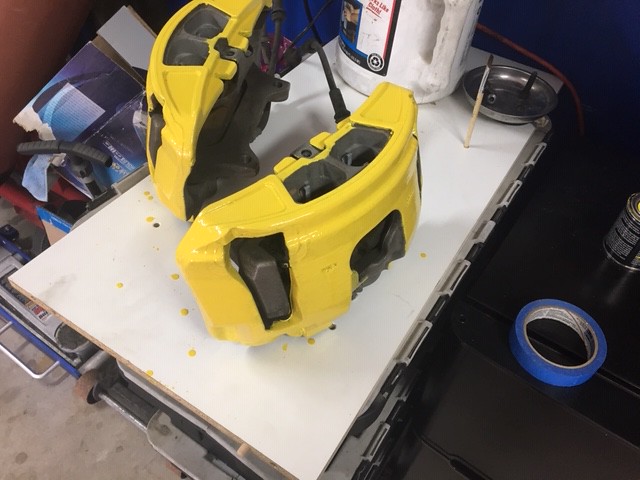
Then using POR15 Caliper paint, I brushed on the first coat of yellow...as you can see the coverage isn't great (typical of any yellow caliper paint)

Four coats later and we're looking good!
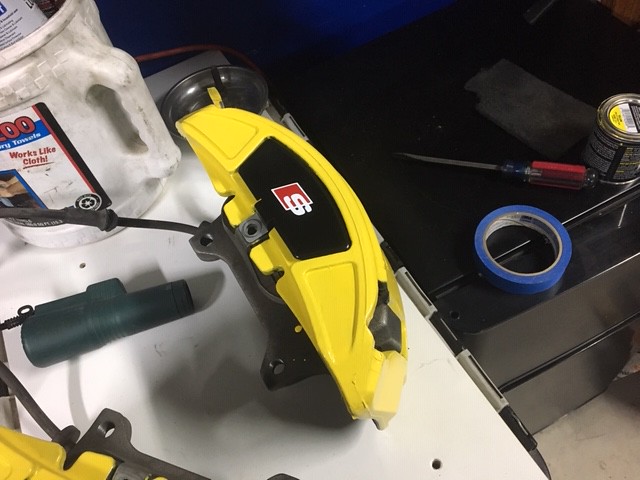
Painted the anti-rattle clips black and put some "S" logos on for that extra OEM+ touch
Leave a comment:
-
So everyone says that the CR15 brace is a must have for these cars. Knowing what a strut brace did for my old MKIV Golf I figured that the CR15 would provide a similar improvement. Only thing was, unlike a traditional strut brace the CR15 is a straight aluminum bar that goes behind the false firewall, a secondary strut brace so to speak. So, instead of shelling out $150 for one, I went to Lowes and bought $12 worth of aluminum to construct my own.
Here is where the brace is supposed to sit, over top of this factory brace that primarily acts as a mounting bracket for the positive battery terminal and the washer fluid bottle.

And here it is with my custom piece installed

Relatively simple to make, just took a little while to get the holes measured correctly and drill everything out. As far as functionality goes, it's great! When the front end loads up around mid-corner you can feel the extra rigidity which translates into a little extra front end grip (which these cars need mid-corner) and a more direct steering feel. I would say that the difference is worth what they ask for the legit CR15, but if you have some time, a drill, and a dremel you can have yourself a nice bargain mod!Leave a comment:
-
So today I tackled the notchy steering issue. So far it seems to be solved with $20 with of Brake Clean and Deep Creep

This knuckle here is the culprit, I forgot to take a before pic (this is after I cleaned it) but it was covered in black gunk which is likely why it was binding up

I then sprayed it with liberal amounts of deep creep from a couple angles to make sure it was nice and lubricated, and after taking it around the block it feels good as new! I'll probably hit it with more deep creep tomorrow just for good measure.
Here are a couple random pics I took recently


My next move will likely be ordering paint for the A7 bbk here in the next week or so and get that installed relatively soon. After that things will slow down as a save a set of tyres to put on the new wheels that I've had in my shed with the bbk all these months hahaLeave a comment:
-
So I've always thought that E-codes were one subtle mod that makes a tremendous difference to the appearance of these cars. Unable to justify buying E-codes I decided to do the next best thing, take apart my NA-spec lights and paint the reflectors!
To remove the lens I used a heat gun which worked quite well. I practiced on my spare light beforehand using the oven method and melted part of the housing so I played it safe by using the heat gun and it worked great. Having trim removal tools to pry the lens away from the housing helps a lot as well!

Here is the bezel with the reflector in it. I tried to remove the reflector but it became apparent that I would likely break it so I masked it off while still attached to the bezel


Scuffed it up with some sandpaper and then hit it with a couple coats of BMW Silver-Grey Metallic paint (had it laying around from my old 5series)

All put back together! I reused the adhesive, just reheated it with the heat gun. It's been a couple weeks now and still no condensation or anything in the lights!

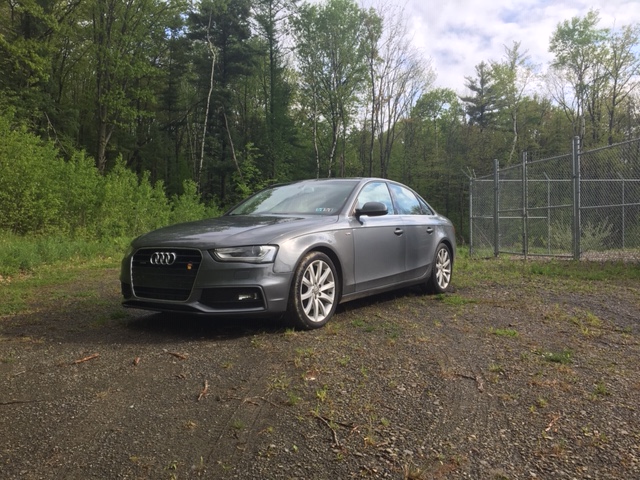
To top things off I finally got around to doing a full paint correction on the car and applied CQuartz UK 3.0 ceramic coating, here's the finished result!


Then this weekend I did a 600mile round trip to Watkins Glen, NY for some hiking!

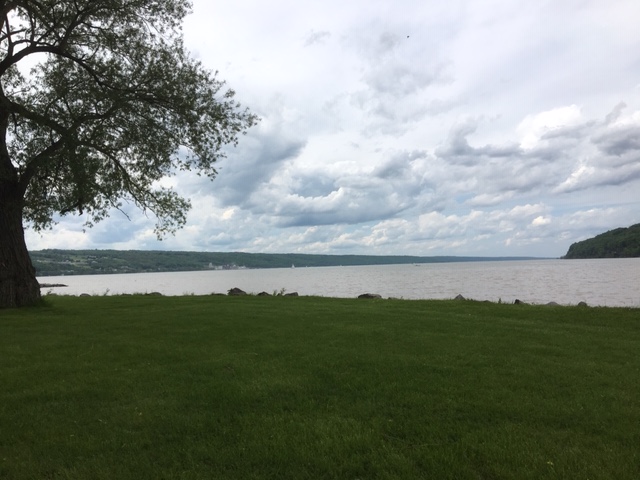
Parked up at the campsite
The car ate up the miles, what a great highway cruiser. It was caked in mud and bugs when I got home too, but the CQuartz ceramic coating made everything wipe off with ease and after a pretty basic wash it looked as it did the day I detailed it! Can't recommend this stuff enough!
On another note I've noticed by steering getting a notchy feeling [o_o] . I have read that there are a bunch of potential causes to this, one of which being the exposed intermediate steering shaft requiring a good cleaning and some lubrication. I'll do that Wednesday when I'm off work and report back, hopefully that solves it because I'd rather get tyres for the new wheels than spend money on repairs [:p] As always stay tuned for more!Leave a comment:
-
Little update! I threw in some new plugs, went with the NGK Iridiums. These will be good if/when I decide to get tuned, but are perfectly fine for stock application as well

Then I installed a dipstick (kinda funny I can consider that a "mod" lol) and gave her a fresh filter and some Liqui Moly Synthoil. Switched from leichtlauf because I prefer to run an OW oil for when the temps are colder and because it's a group 4 base oil.

Also did a rear debadge (kept rings & Quattro badge), cleaned up some sticker residue, did some paint touch up, and fixed my license plate bracket (the screw points at the top had fallen out). The end result was that the rear of the car now looks much cleaner!
Before

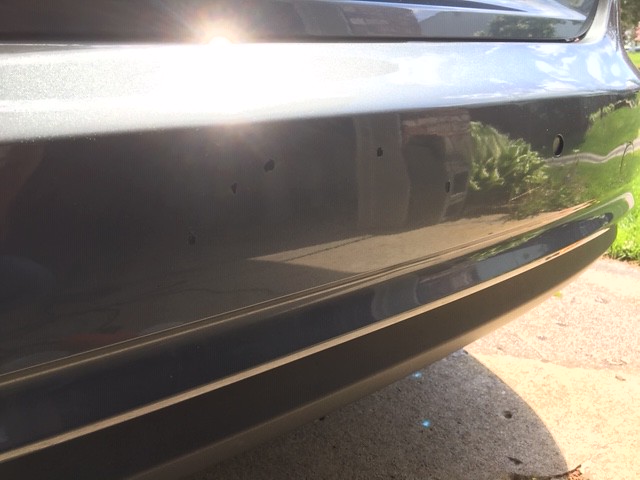
After


Also swapped my work plate frame for the ILLEST one I bought a while back, not sure how long it will stay though haha
Car also started dumping coolant everywhere, water pump and thermostat seals had perished. Annoying, but now I can check that off my list of things I need to worry about in the future. My CQuartz UK 3.0 ceramic coating arrived as well, the next nice weather weekend we have I'll do a paint correction and apply it.Leave a comment:
-
Looking pretty good, I like the color. As for the caliper color you can't go wrong with a deep metallic red
Leave a comment:
-
Great idea for the shifter. Bmw had a hack for that with a shift rod wrapped in solder lol.Leave a comment:
-
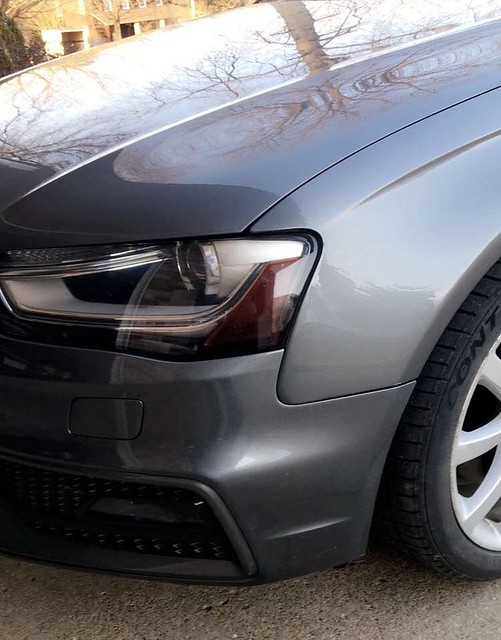
Well as things would have it work and school have been preventing me from getting much done on the car mod-wise but the bug has been itching so I decided to scratch it with a couple budget mods.
First one was tinting the amber reflectors in the headlights. I did this on my E60 and it looked so much better. While I'd ultimately like to disassemble the headlight housings and make paint the reflectors grey (to mimic E-Codes) this is a quick quick temporary improvement and It didn't cost me a dime since I just used leftover tint film from the BMW!

Next thing I did was work on improving the shifter feel, BFI sells a nice heavyweight shift knob but it's $150 so I took the budget route instead and filled my stock shift knob with lead shot used for weighting a fishing line

That's an extra 50grams of lead added to the inside of the knob plus some hot glue to keep it all from rattling like a maraca


Shifter feels much better now, which is great considering this mod cost less than $5! I wish the shifter height was a little shorter but for now this is perfect.
I've just hit 5k miles since getting her on the road (current odo 62k miles) so I'm gonna order some Liqui Moly, a fresh filter and some spark plugs as well since she's due for those too. Once the semester ends I'll have more time (and money) to get this thing prepped for summer.
And a semi-recent pic (still in desperate need of a good detail lol)

Leave a comment:
Leave a comment: