 Tweet
Tweet
Originally posted by LCG
View Post
-
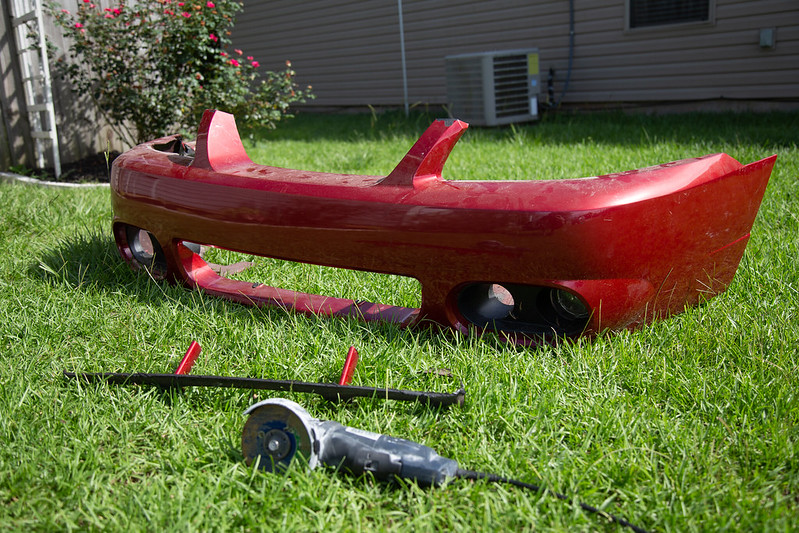
It should look neat and tidy with how i will be routing things. People underestimate how small they are.IG @gt3_brz
My Mustang Build
http://www.stanceworks.com/forums/sh...=1#post1552949
My BRZ Build
http://www.stanceworks.com/forums/sh...ad.php?t=86482
My F100 Build
http://www.stanceworks.com/forums/sh...ad.php?t=97329 -
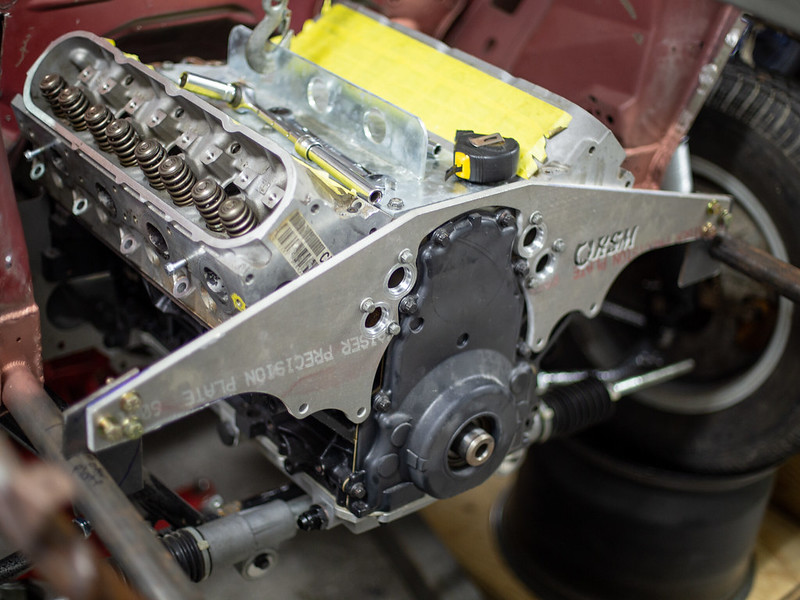
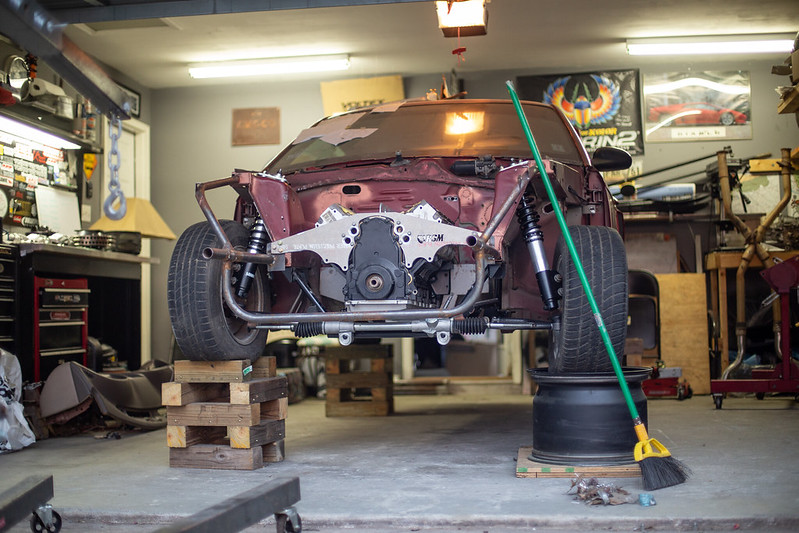
Its time to get this motor mounted finally. Over the past several weeks I've been chipping away at whats necessary to get her hung on her own. My garage being directly across the hall from my sons room really hinders how long and when I can work in the garage from a noise stand point. But irregardless im able to make progress.
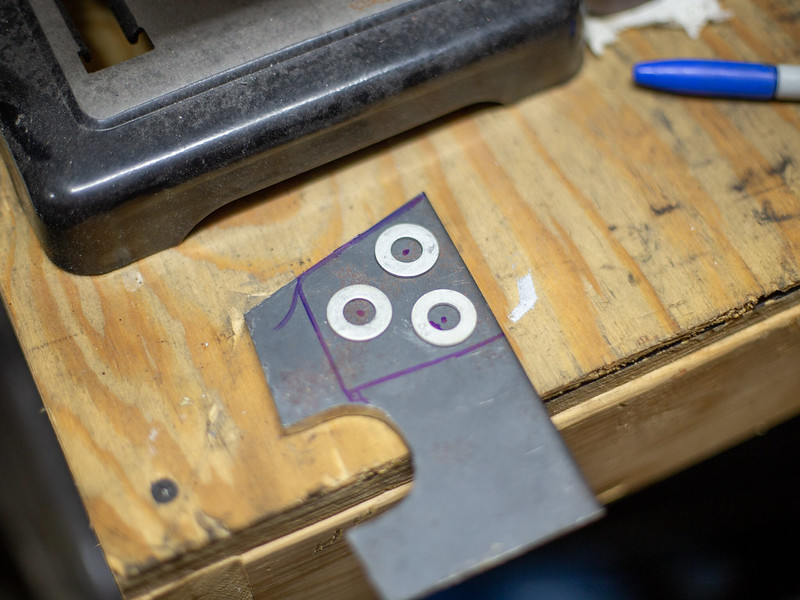
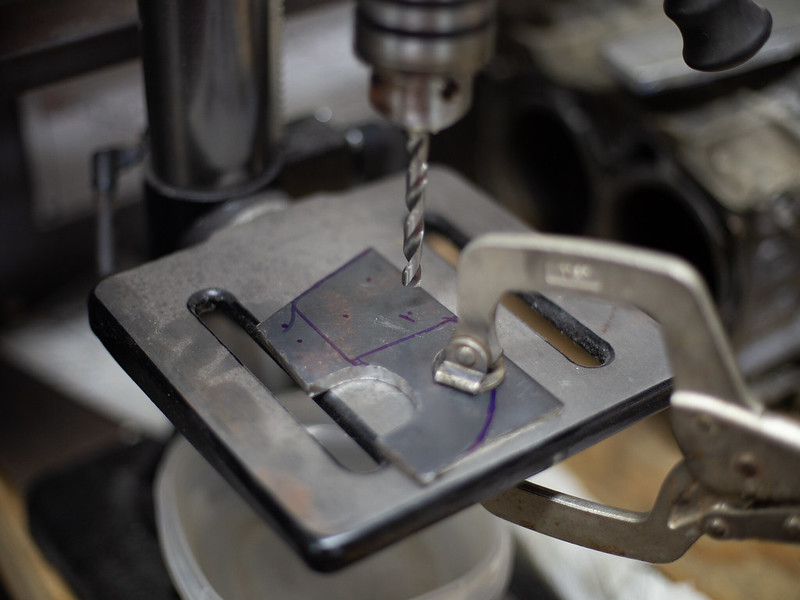
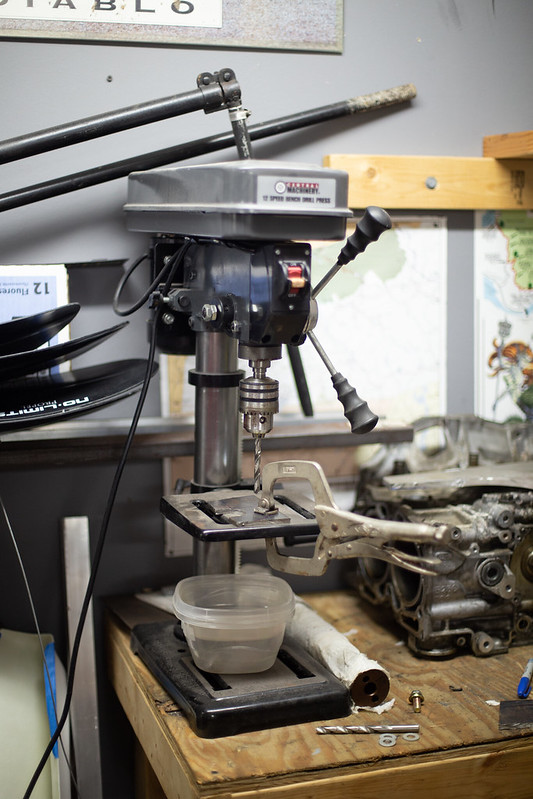
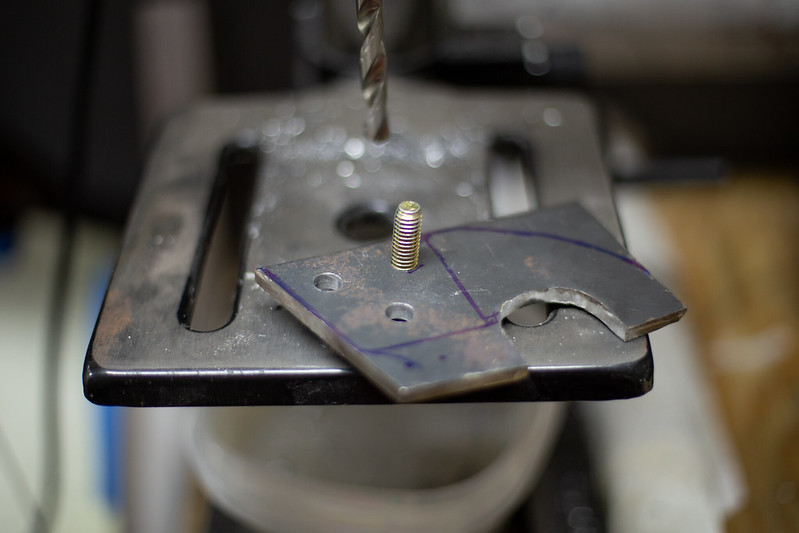
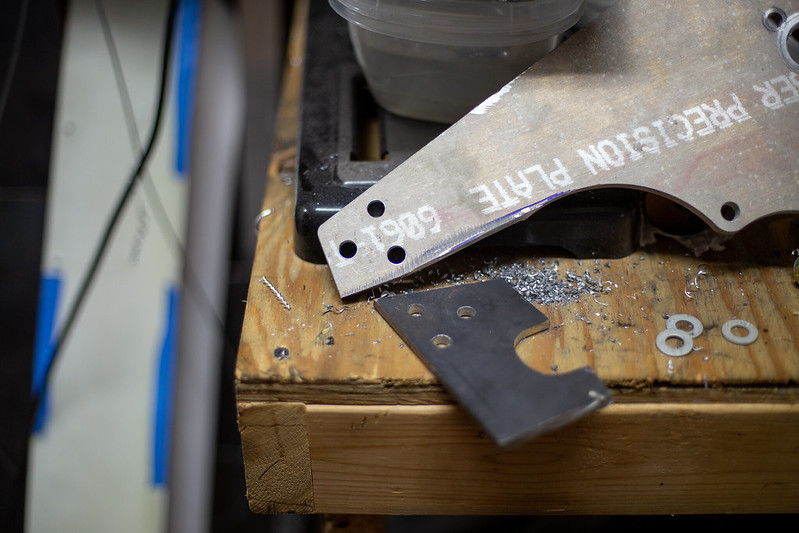
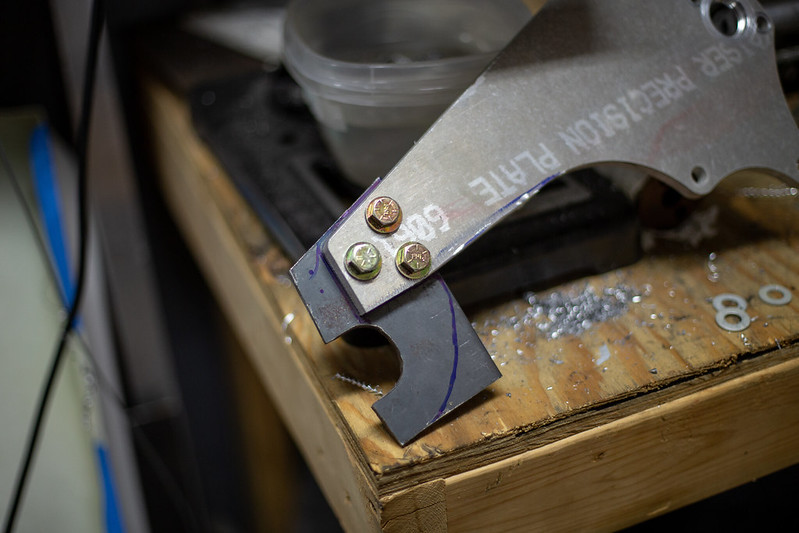
Next step was to finalize mount tabs placement and drill all the holes on the tabs and the motor plate itself.
 IMG_0724 by lawrx, on Flickr
 IMG_0725 by lawrx, on Flickr
 IMG_0726 by lawrx, on Flickr
 IMG_0728 by lawrx, on Flickr
 IMG_0729 by lawrx, on Flickr
 IMG_0730 by lawrx, on Flickr
 IMG_0733 by lawrx, on Flickr
 IMG_0735 by lawrx, on Flickr
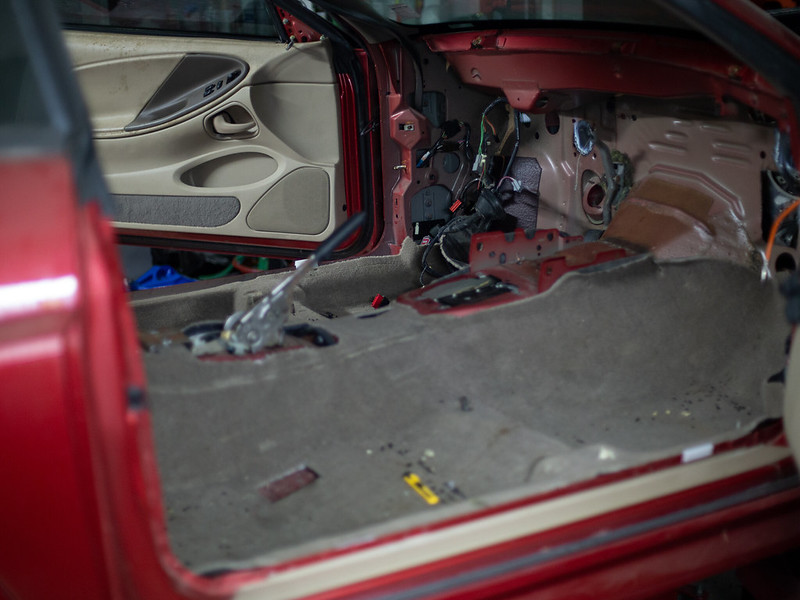
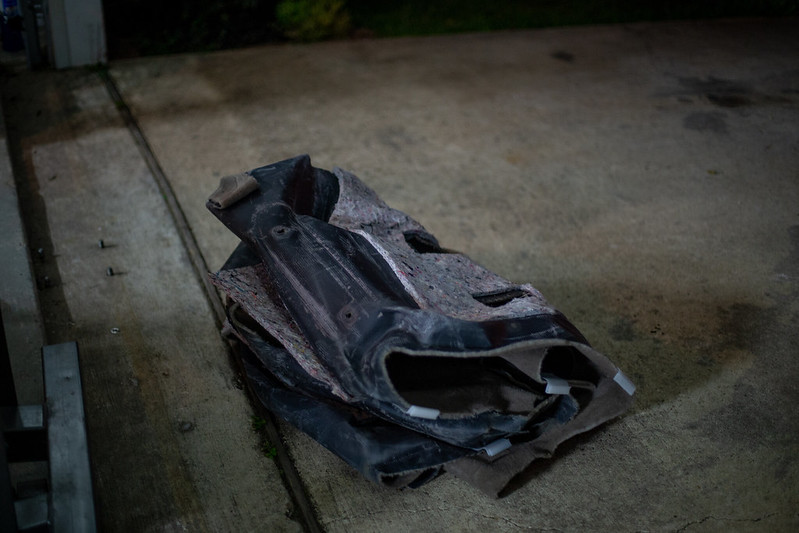
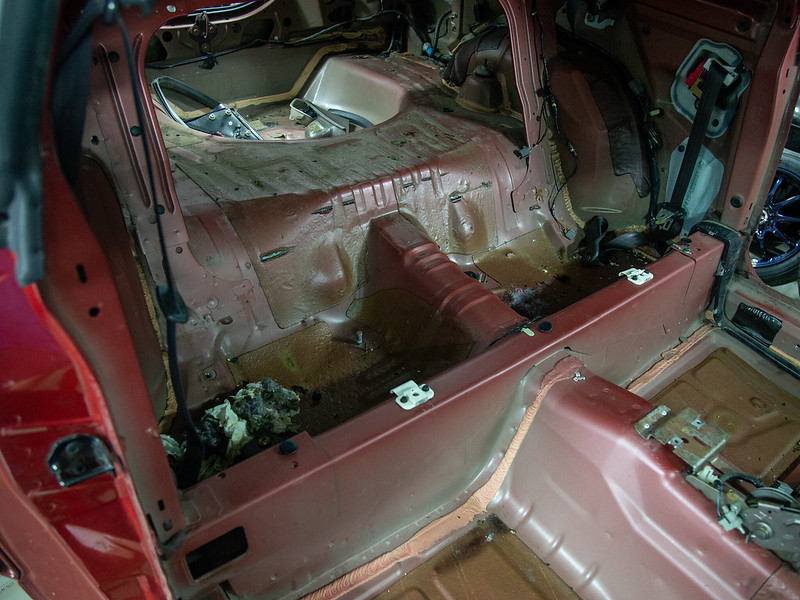
One night I wasn't able to make much noise as my son was sleep and wife was already in bed and I was itching to do something on the car. I pulled out the seats to sell and the nasty carpet to throw out. I had a mouse/rat something that pissed and shit on it and it smelled. On top of ill be converting to a black interior regardless. This also gives me access to wire the car.
 IMG_0882 by lawrx, on Flickr
 IMG_0884 by lawrx, on Flickr
 IMG_0887 by lawrx, on Flickr
IMG_0887 by lawrx, on Flickr
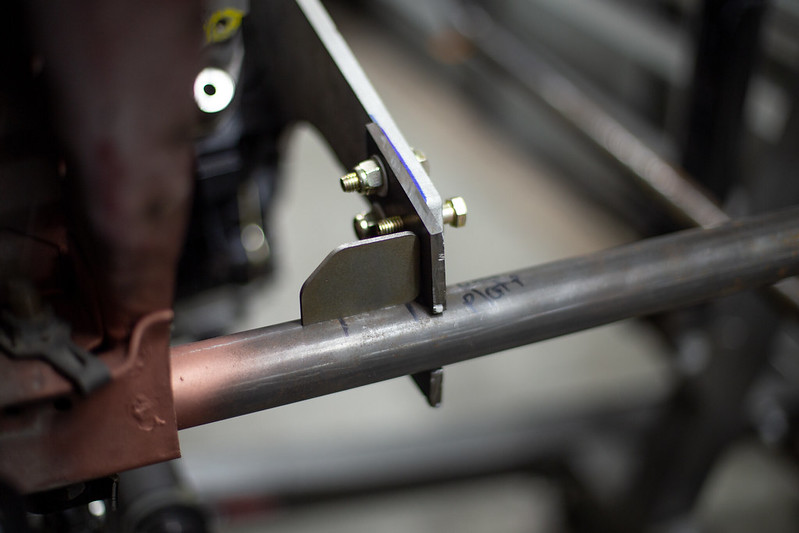
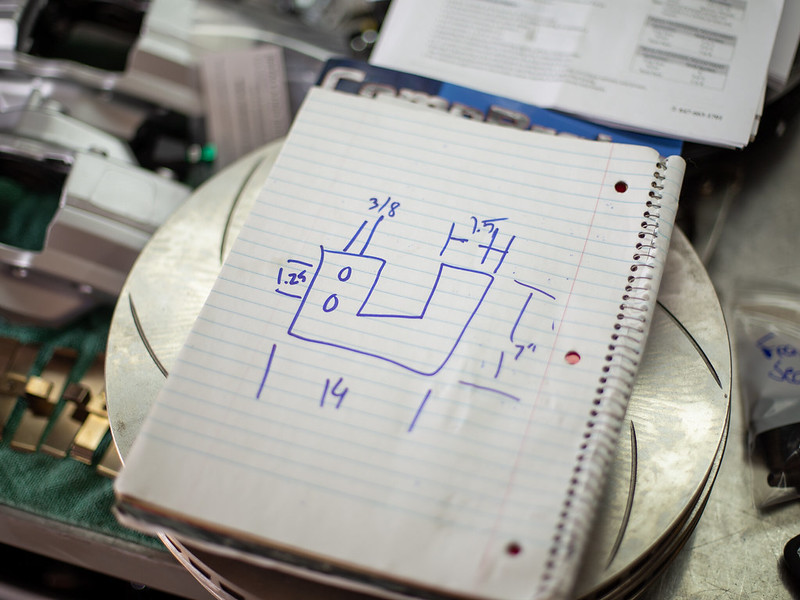
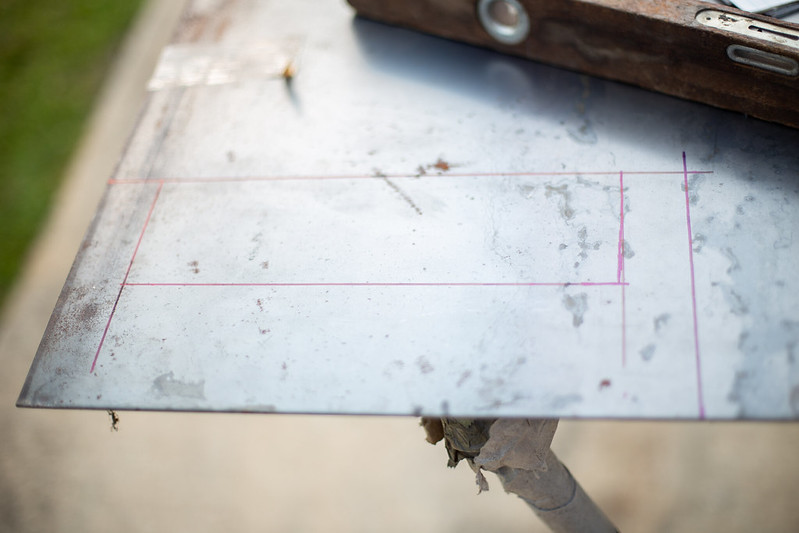
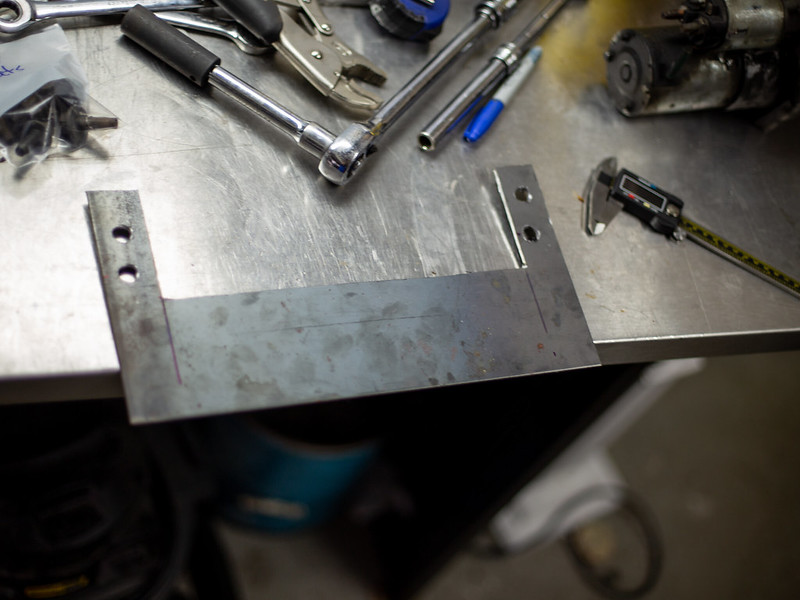
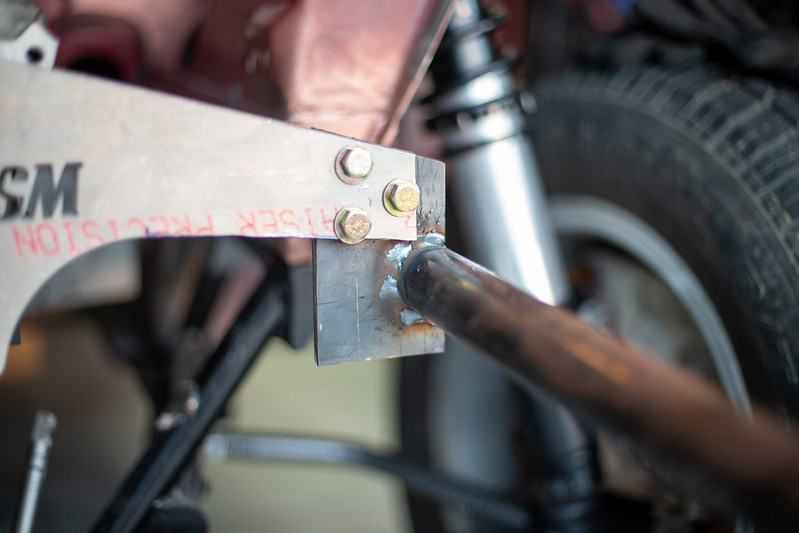
Before welding in the front motor plate tabs I had to create a trans mount. Took some measurements and transferred them to some thick sheetmetal I had. This is only temporary, ill be getting a buddy of mine to whip one up in some billet t6b aluminum as the final product. For now this will do to place the motor and hold the trans up under its own weight.
 IMG_0888 by lawrx, on Flickr
 IMG_0893 by lawrx, on Flickr
 IMG_0895 by lawrx, on Flickr
 IMG_0897 by lawrx, on Flickr
 IMG_0899 by lawrx, on Flickr
 IMG_0901 by lawrx, on Flickr
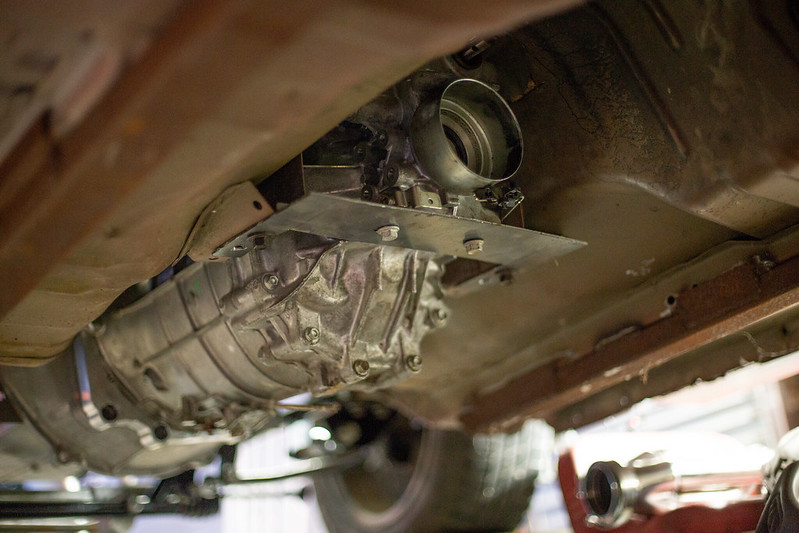
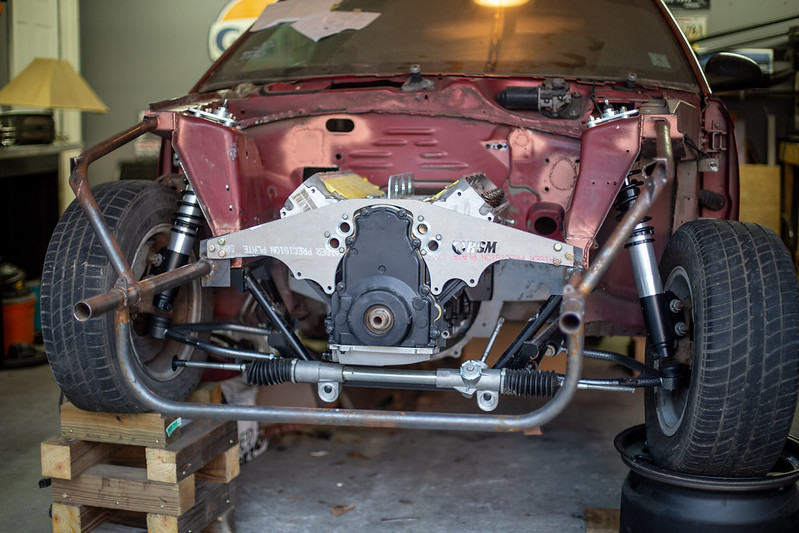
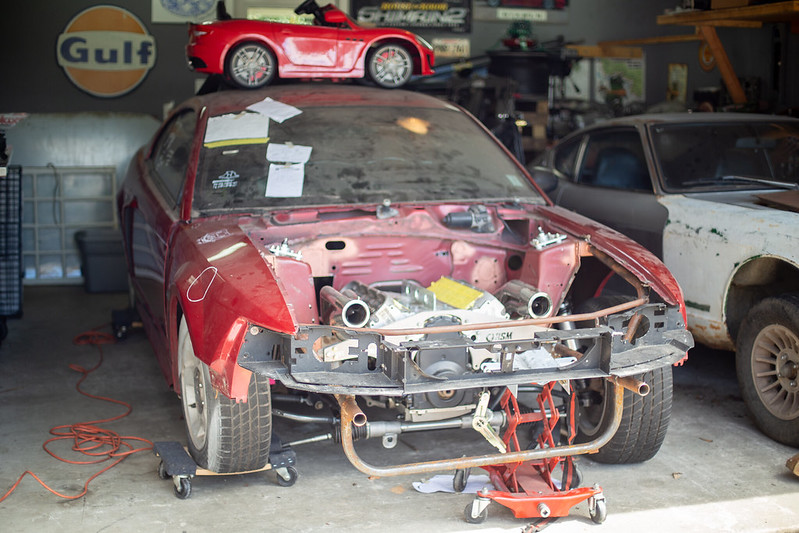
With the trans mounted the last step was welding the mount tabs to the chassis.Through some test welds on my base material I used for the mounts and the welded the tabs up. With the motor fully suspending itself under its own weight I could set the car down on the chassis and off the stands. Had to clear out a bunch of stuff from underneath as over the last 6-8 months things had accumulated. Now that I had the motor mounted I also tested the front end to see clearance and space for the various objects that would take up space in the engine bay. Lots of room but there will also be lots of components.
 IMG_0902 by lawrx, on Flickr
 IMG_0904 by lawrx, on Flickr
 IMG_0905 by lawrx, on Flickr
 IMG_0907 by lawrx, on Flickr
 IMG_0909 by lawrx, on Flickr
 IMG_0911 by lawrx, on Flickr
 IMG_0913 by lawrx, on Flickr
 IMG_0915 by lawrx, on Flickr
 IMG_0916 by lawrx, on Flickr
 IMG_0917 by lawrx, on Flickr
 IMG_0918 by lawrx, on Flickr
IG @gt3_brz
IMG_0918 by lawrx, on Flickr
IG @gt3_brz
My Mustang Build
http://www.stanceworks.com/forums/sh...=1#post1552949
My BRZ Build
http://www.stanceworks.com/forums/sh...ad.php?t=86482
My F100 Build
http://www.stanceworks.com/forums/sh...ad.php?t=97329Comment
-
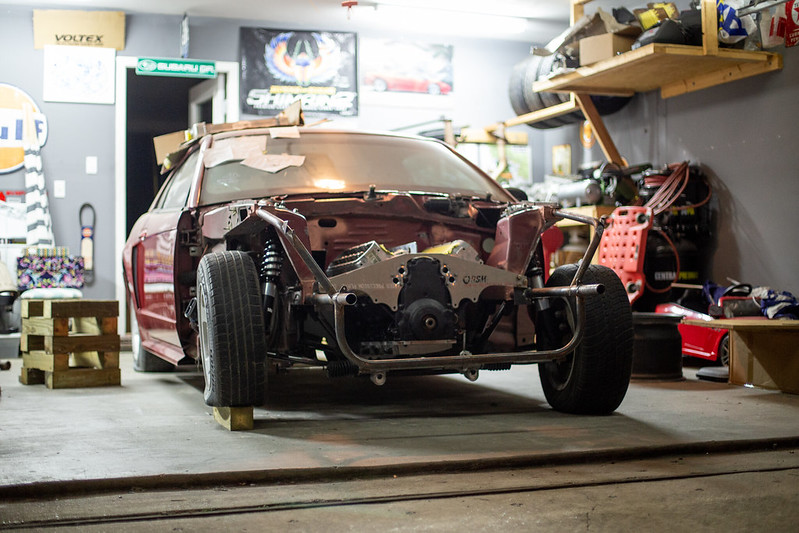
Damn, that short block sits low! Looks proper race-y.Originally posted by laextreme5 View Post'02 Audi S4 III+ GT's // '94 Audi S4 RS2'd // '95 Audi S6 donor // '87 Buick TR rusty
 .
.Comment
-
dude.. apart from the work...
watching the pictures of your kid just shows how quickly time goes by and how less we work on cars...
Comment
-
Originally posted by toddzilla View Post
Was one of the purposes of running the motor plates vs the standard motor mounts. Wanted to keep a stock height hood. The dry sump pan played a factor in getting it to sit this low as well.
It�s unreal.Originally posted by LCG View Post
It�s also very depressing.
�So what have you accomplished in the last 1.5 years of owing your project car?�
�I�ve mounted the motor.....�
I mean I�ve done a lot more than that. But that�s pretty much what it boils down to. Luckily I�m getting to the point where it�s less fabrication aka less noise. So I�ll be able to get more work one even if my son (oh, also have a daughter being born in late August!) is sleeping. That was the biggest factor on how long it�s taken to get to this point. Wouldn�t change it for the world tho. Rather barely get anything done and have them around vs the alternative.IG @gt3_brz
My Mustang Build
http://www.stanceworks.com/forums/sh...=1#post1552949
My BRZ Build
http://www.stanceworks.com/forums/sh...ad.php?t=86482
My F100 Build
http://www.stanceworks.com/forums/sh...ad.php?t=97329Comment
-
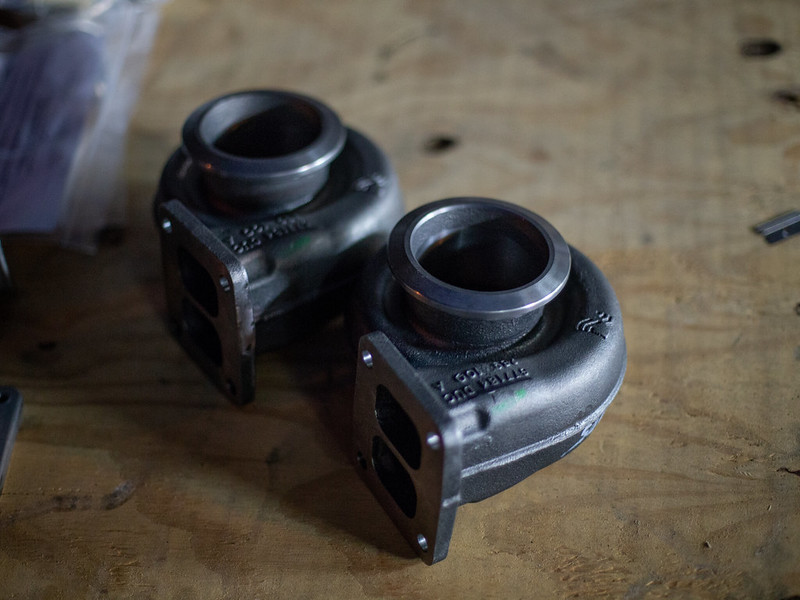
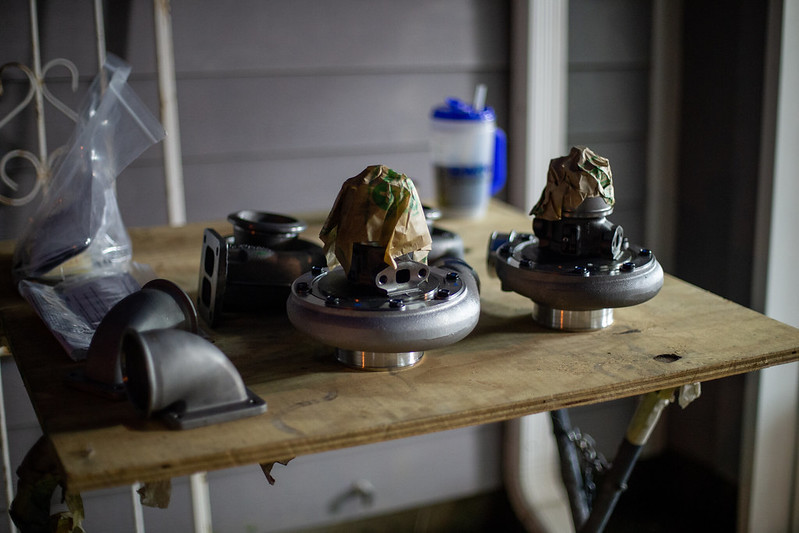
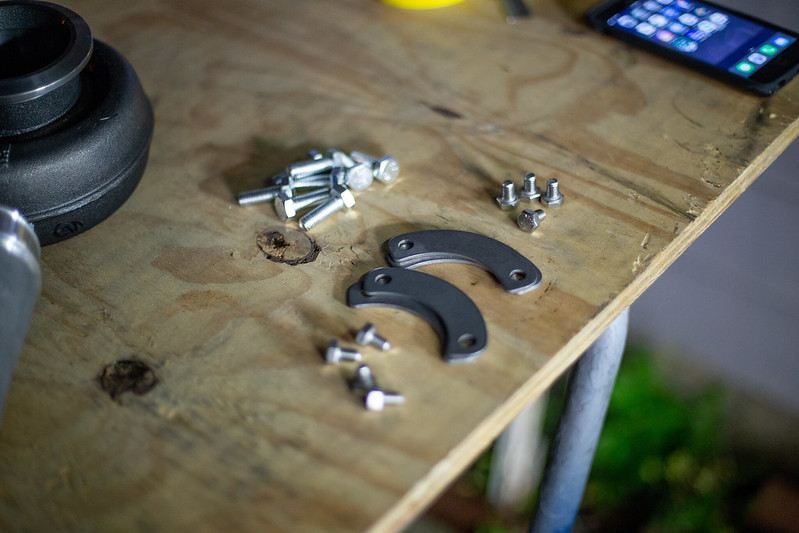
So im just now realizing I've been sitting on these images for a week now and I apologize for that.
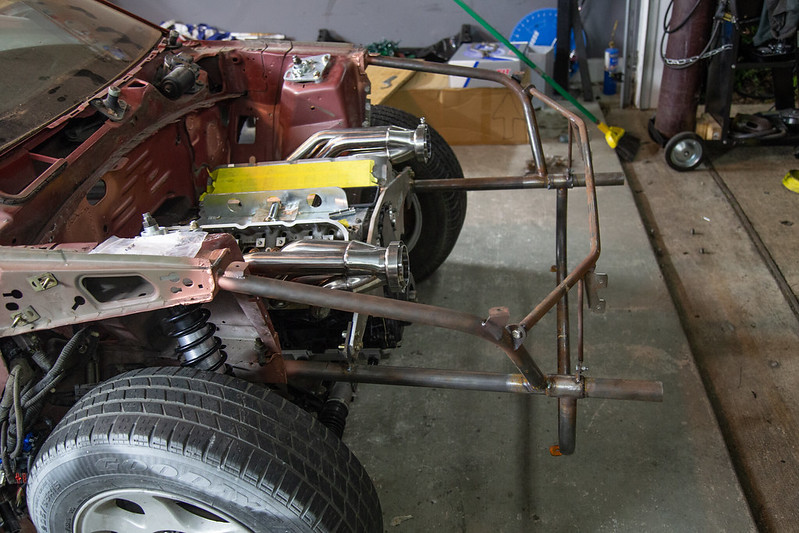
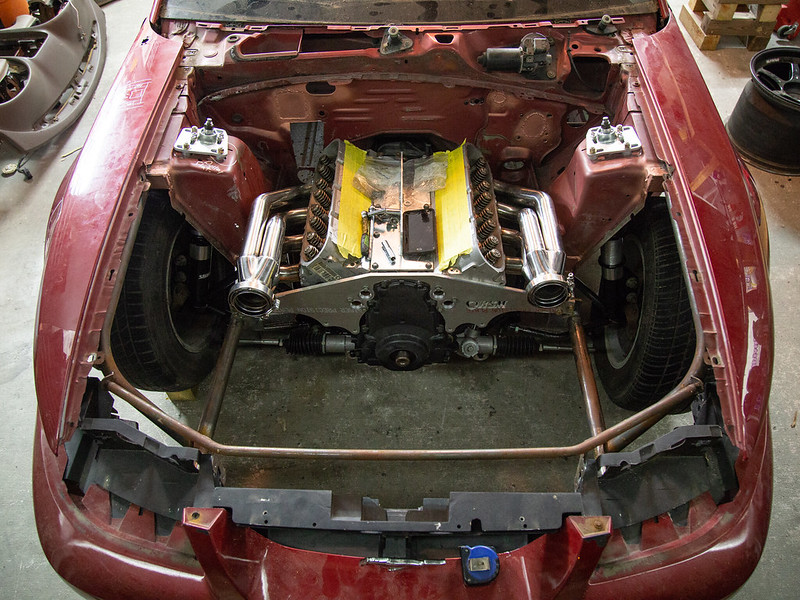
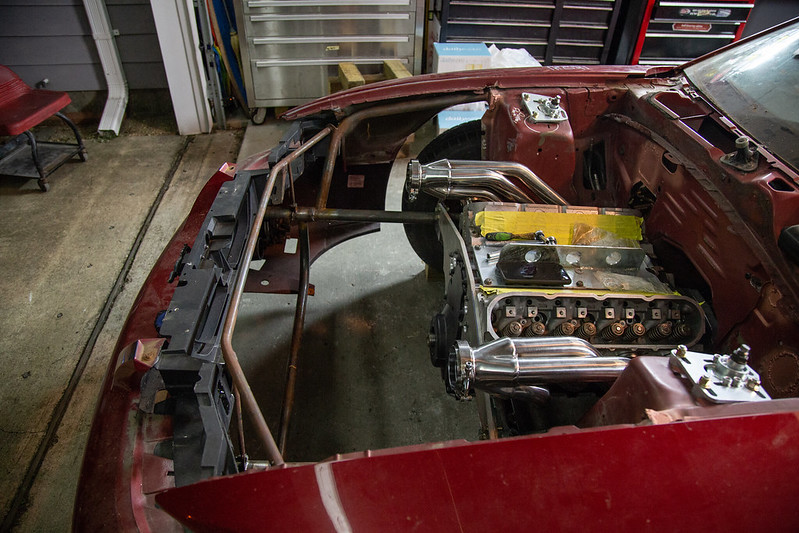
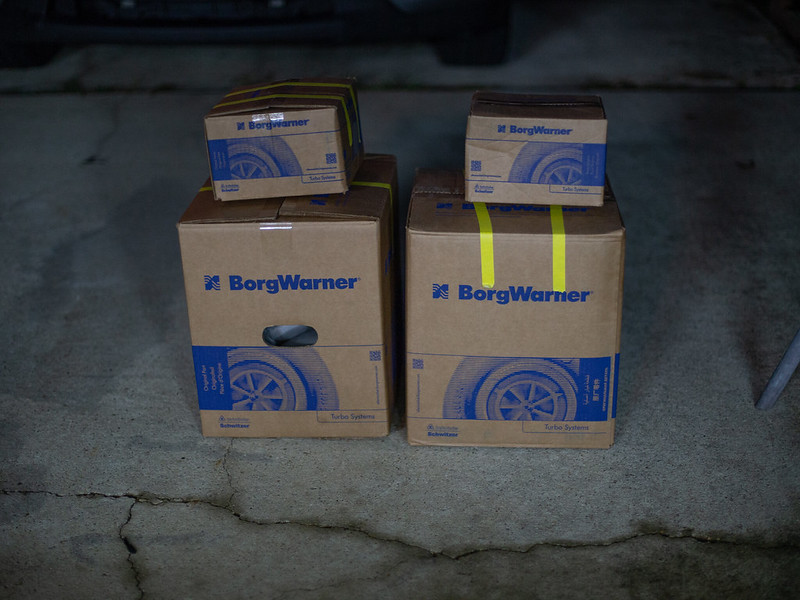
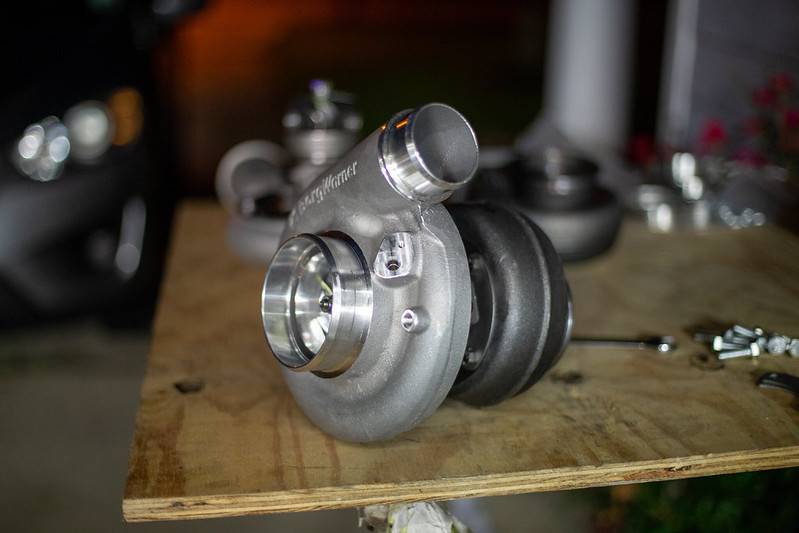
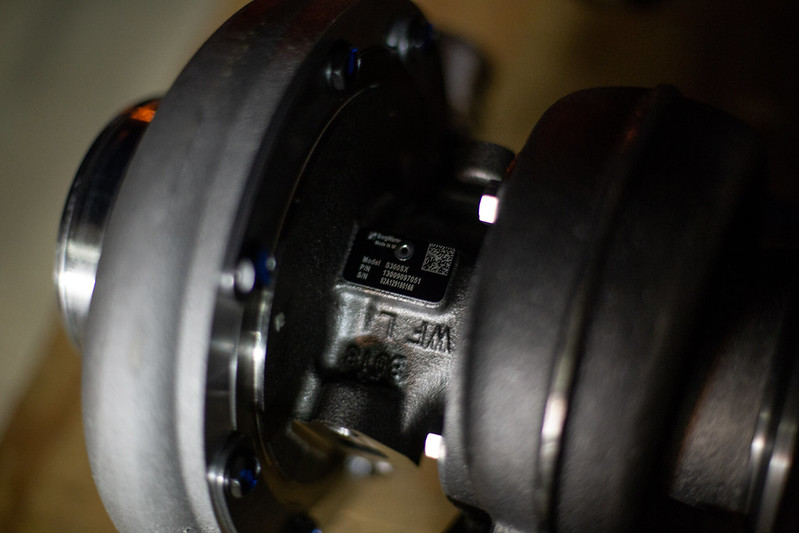
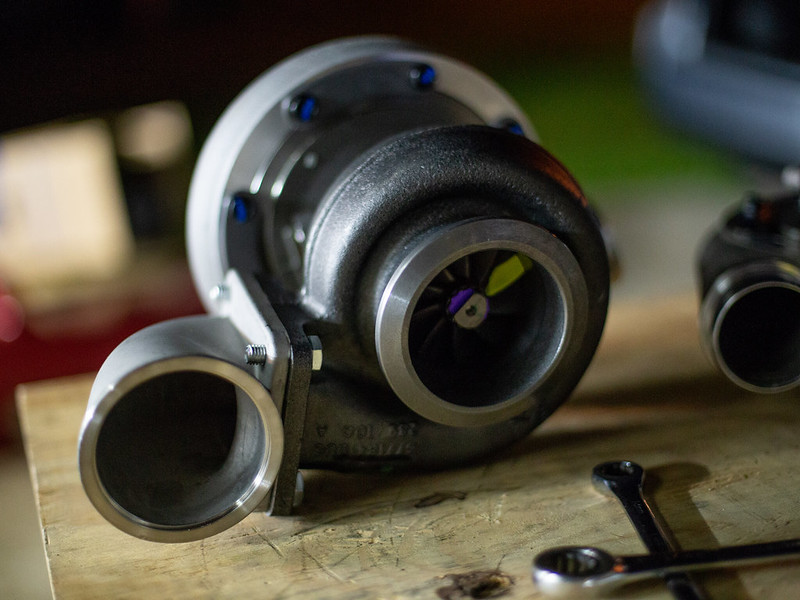
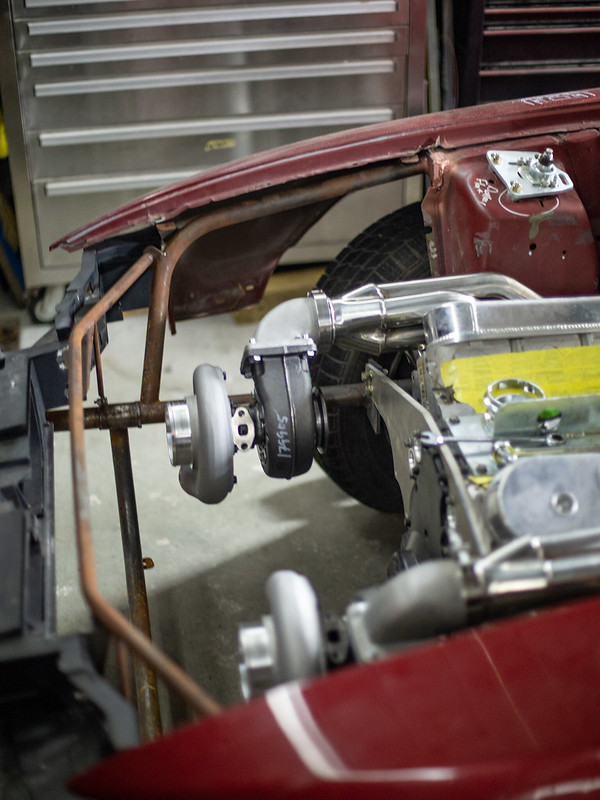
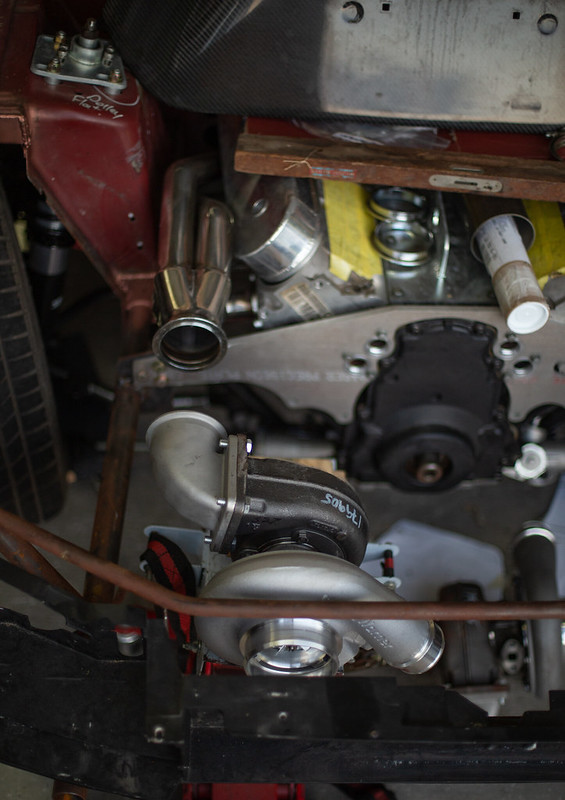
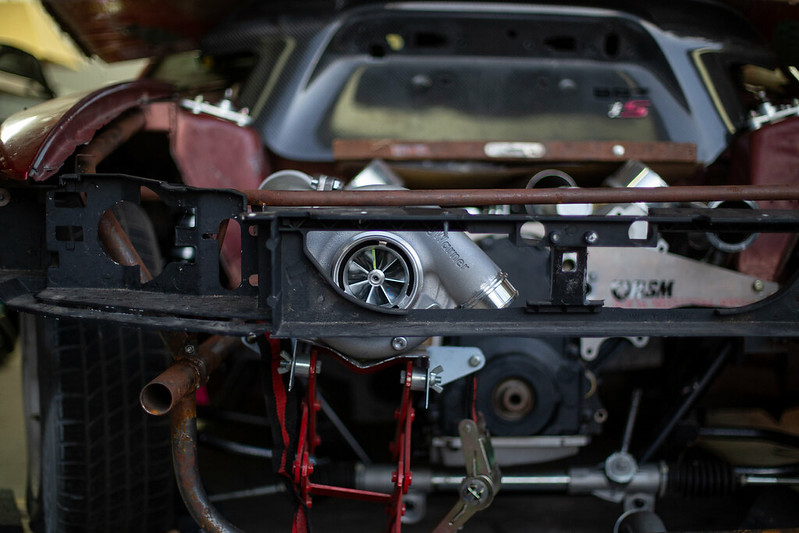
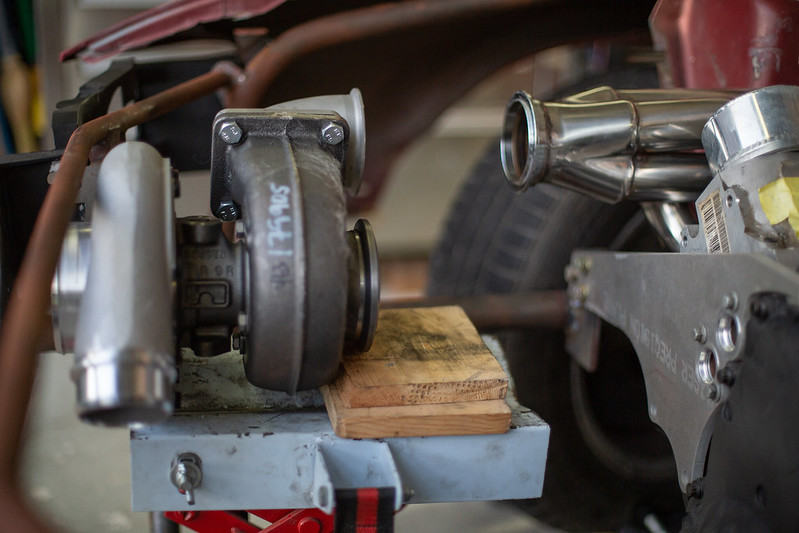
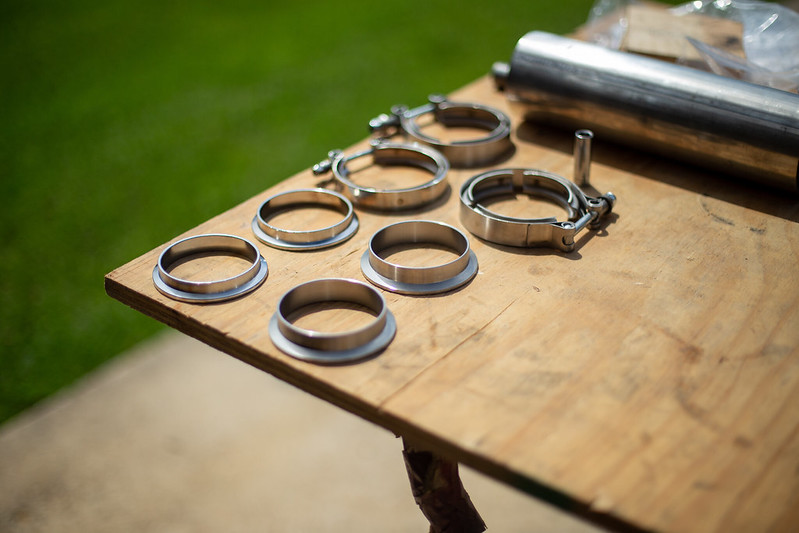
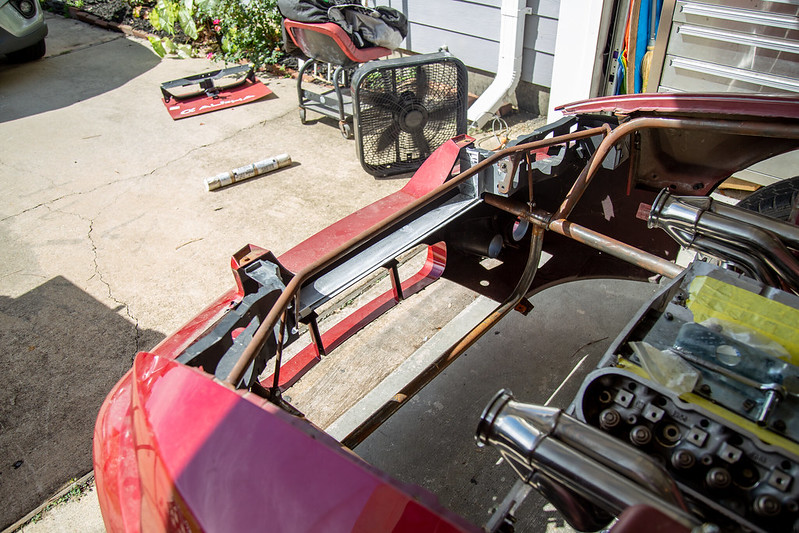
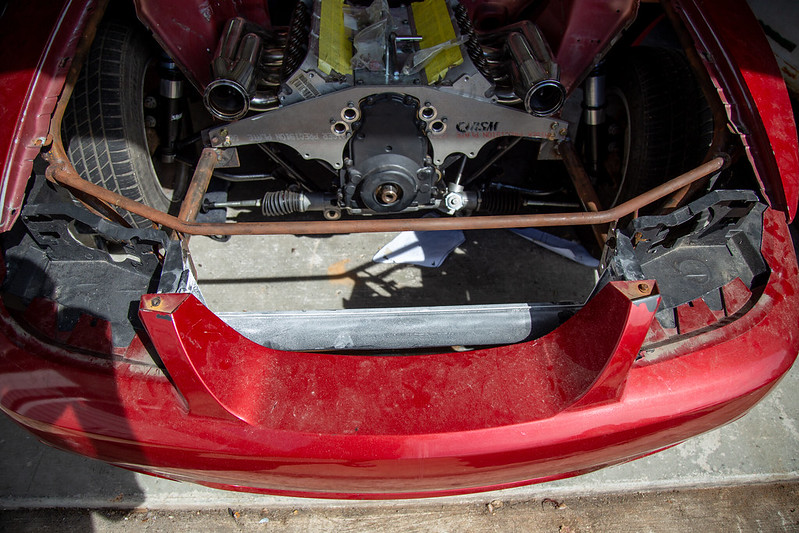
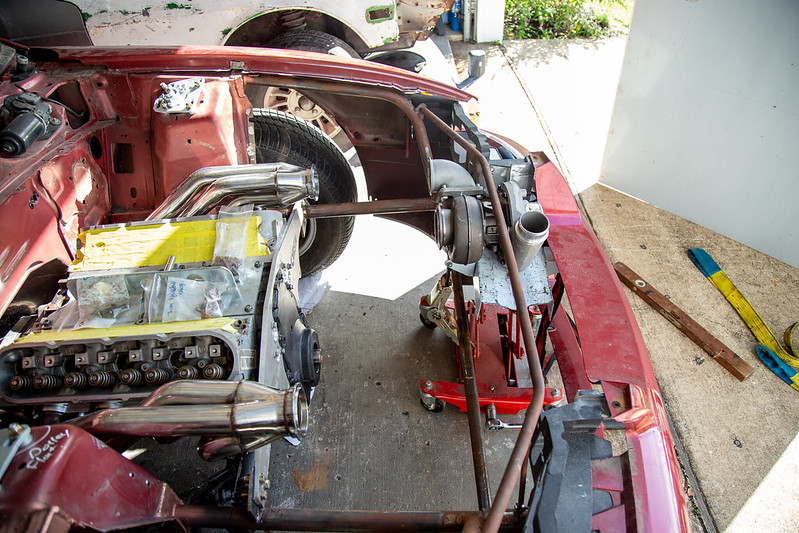
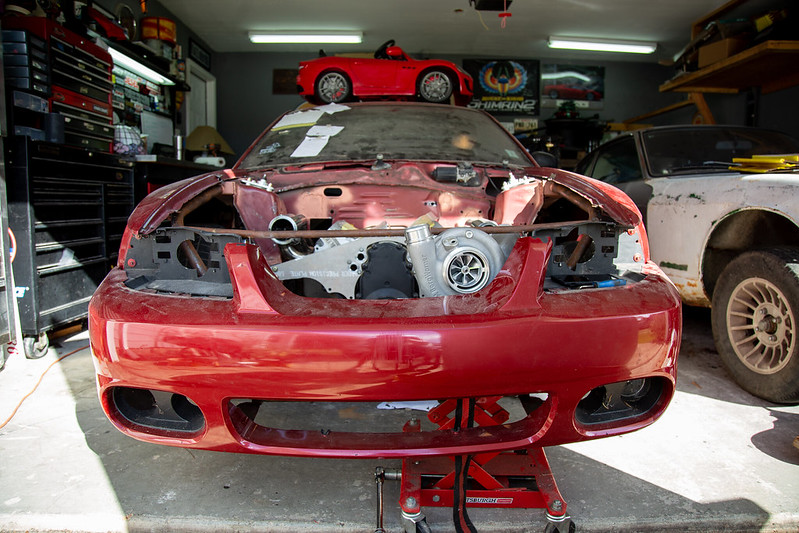
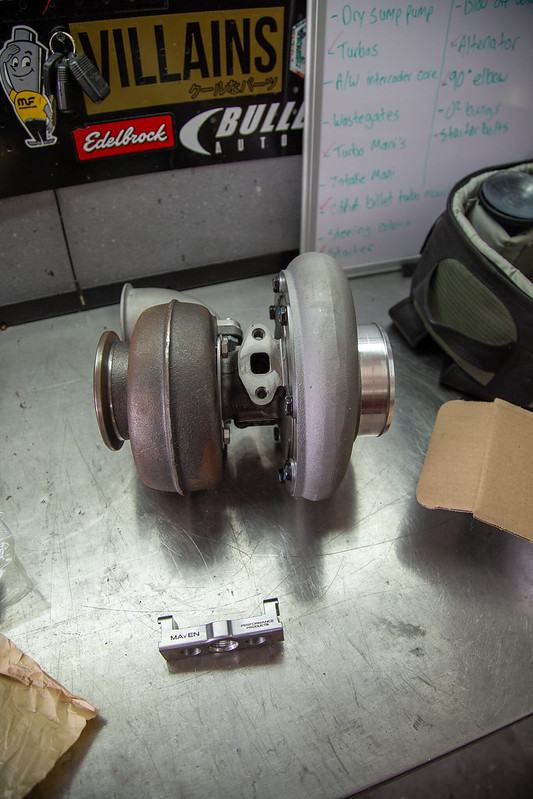
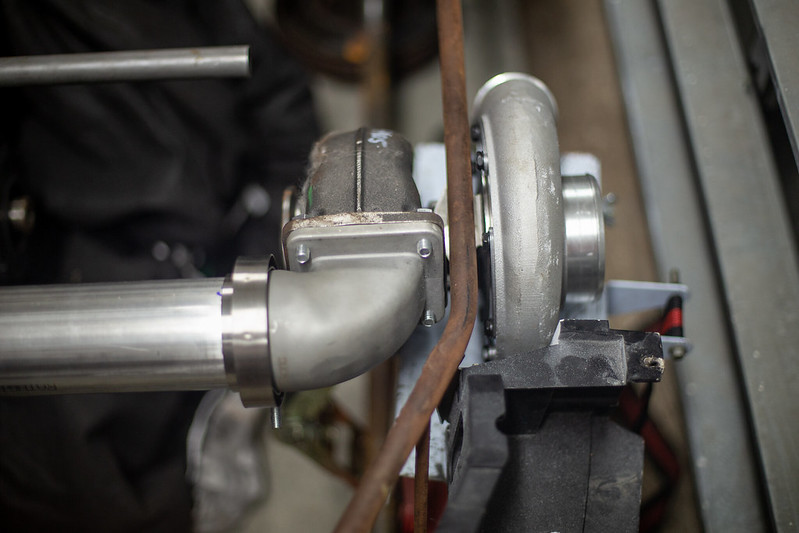
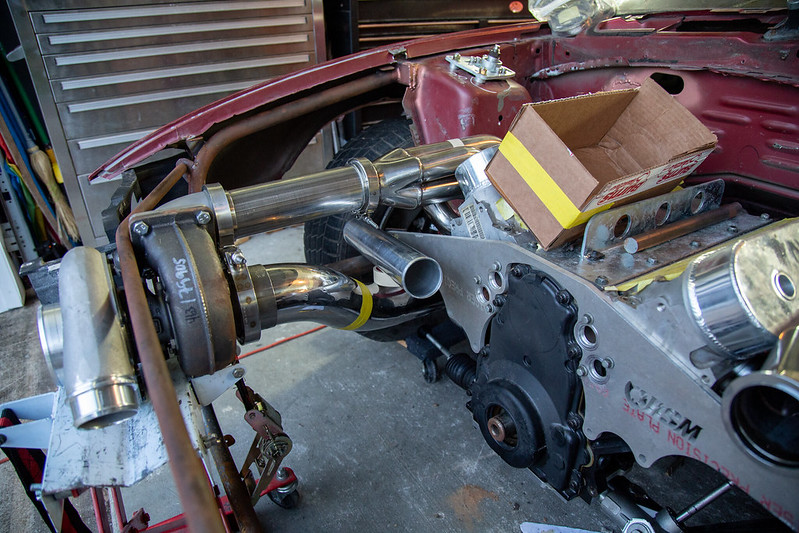
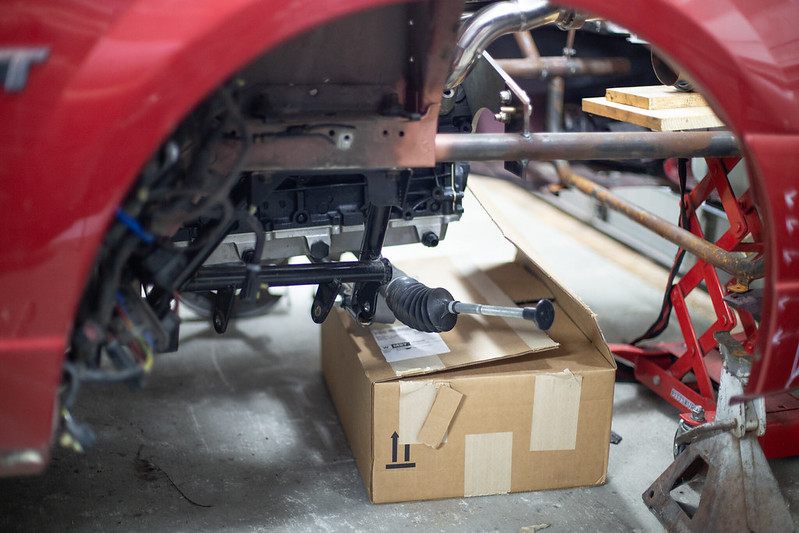
As a happy birthday to me I ordered my turbos. Wallets a bit (decent bit LOL) lighter, but moral is up, so ill take it. Got home after work and putting the little one to bed and got stuck in assembling them and fitting them to the car. Ever since I purchased the car I have been undecided on layout. Spoiler alert. Im still not decided on what route I will go. Up until yesterday actually, the planned orientation was as you see it in these pictures, albeit turbos sitting few inches forward and up slightly.
The largest influencer on layout is airflow. Being that top speed is one of my main objectives, airflow holds the most weight in deciding factor. IF I think of a better way to manage layout I will make sacrifices in other areas to an extent to improve it. This layout still may be in, however im leaning towards a foglight location for the turbos. Gives adequate space for rad/heat exchanger mounting and more importantly ducting.
 IMG_1083 by lawrx, on Flickr
 IMG_1085 by lawrx, on Flickr
 IMG_1086 by lawrx, on Flickr
 IMG_1088 by lawrx, on Flickr
 IMG_1089 by lawrx, on Flickr
 IMG_1091 by lawrx, on Flickr
 IMG_1092 by lawrx, on Flickr
 IMG_1093 by lawrx, on Flickr
 IMG_1095 by lawrx, on Flickr
 IMG_1098 by lawrx, on Flickr
 IMG_1100 by lawrx, on Flickr
 IMG_1102 by lawrx, on Flickr
IG @gt3_brz
IMG_1102 by lawrx, on Flickr
IG @gt3_brz
My Mustang Build
http://www.stanceworks.com/forums/sh...=1#post1552949
My BRZ Build
http://www.stanceworks.com/forums/sh...ad.php?t=86482
My F100 Build
http://www.stanceworks.com/forums/sh...ad.php?t=97329Comment
-
congrats on the twins.. a picture with baby blankets hugging them is a must...
Comment
-
Soooooo long overdue update.
Been very busy as of late.
Had a clients car in my car I was doing some repairs on (actually still there but im done with it), so I've had little to know room or time to work on the mustang. On top of that I've purchased some parts for my daily BRZ, and being my garage has two cars in it, and my car is STILL at the dealer, the parts have ended up in and on the mustang due to constricted storage.
SO, now that clients car is done and my brz should HOPEFULLY be coming home soon, I can get back on the mustang.
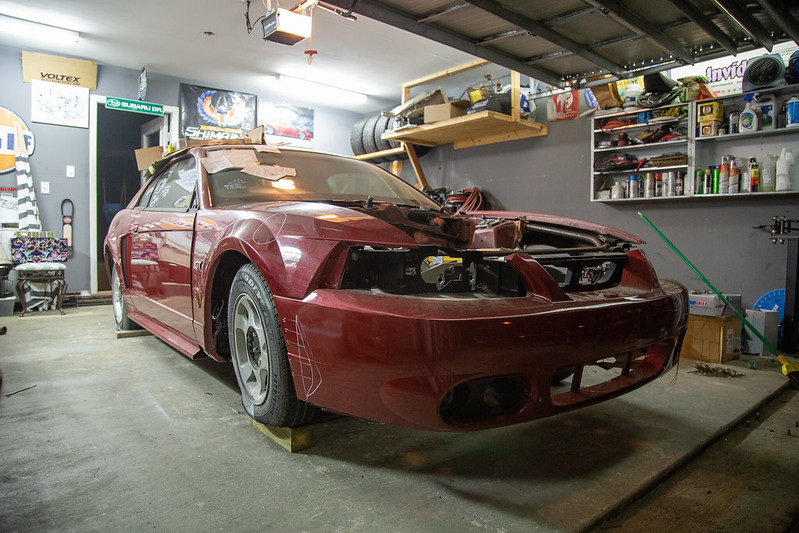
Since my last update in my rare spare time id come out into the garage....stare....think....stare...think....rub my head to make it stop hurting from thinking so much.... then id mock the turbo up in a position id think is better than where I had last sorted out. I prolly did this 5-7 times with actual realistic useable locations for the turbo. Tonight I had some time to really put some thought into it and move somethings around and I've pretty much come full circle with placement. aka my original plan of straight forward of the manifold exit right in the grill opening.
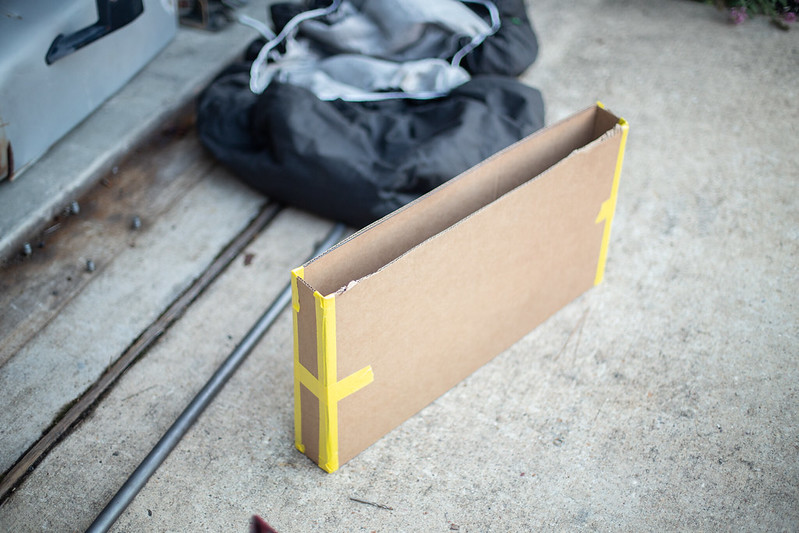
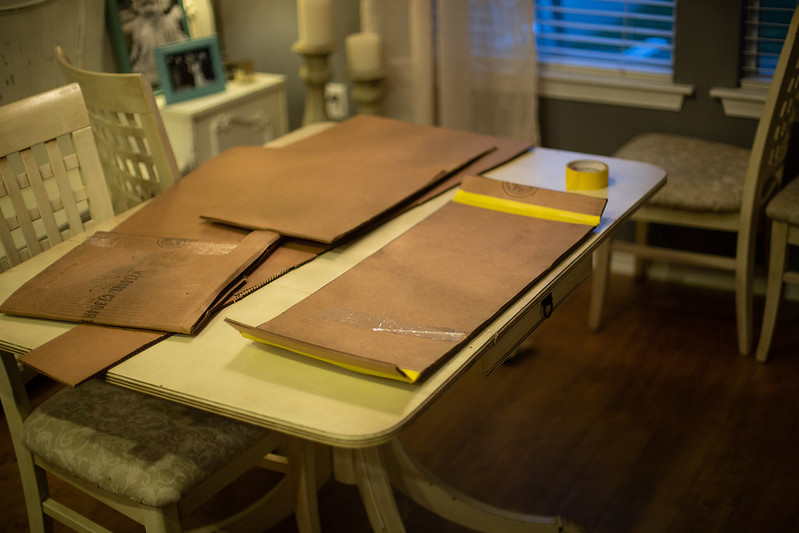
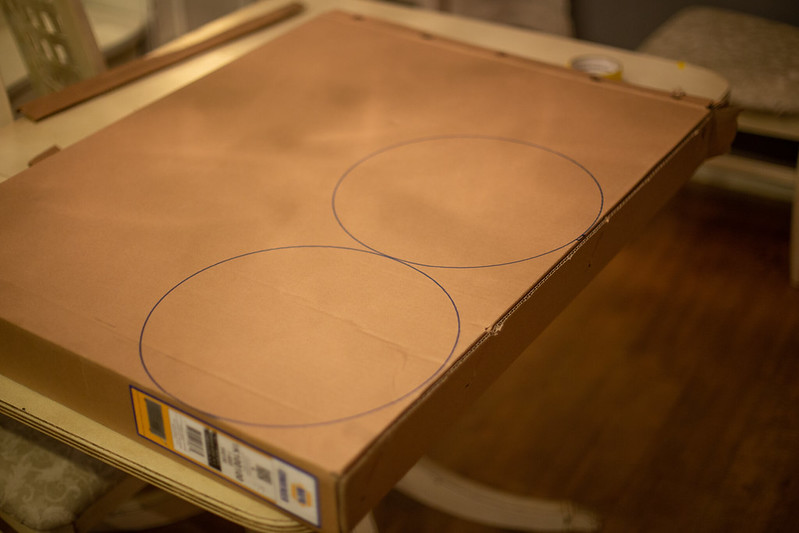
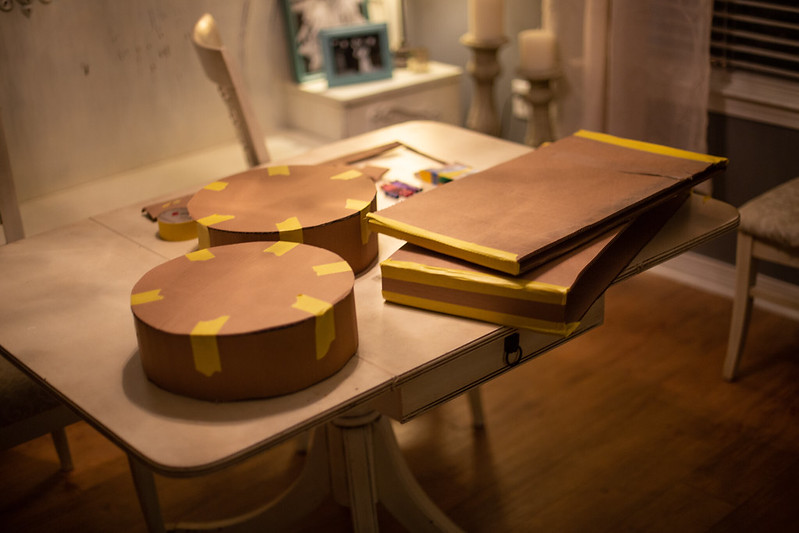
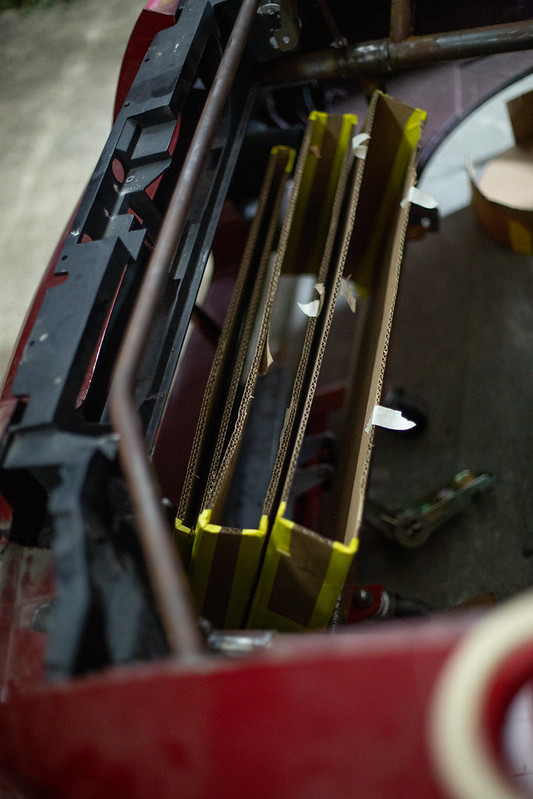
Also made a cardboard mock-up of my newly selected radiator. It will be forward slanted in conjunction with the a2w heat exchanger and ac condenser. Its going to get tight in the front.
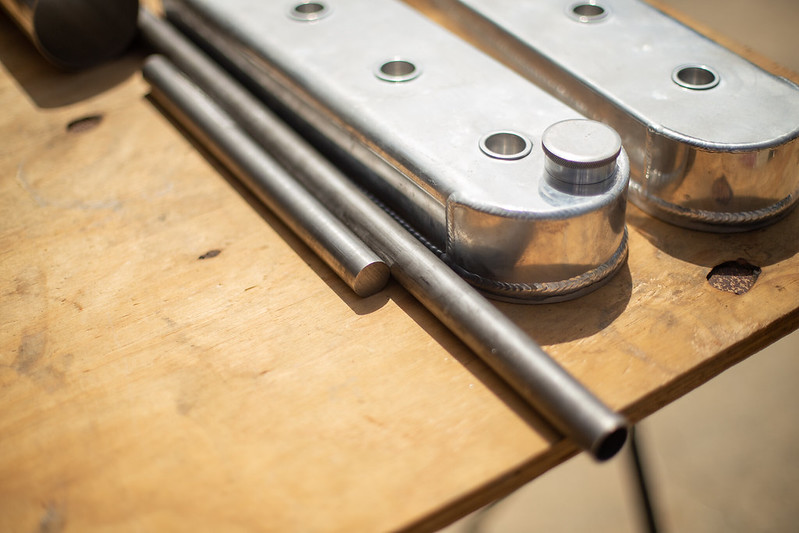
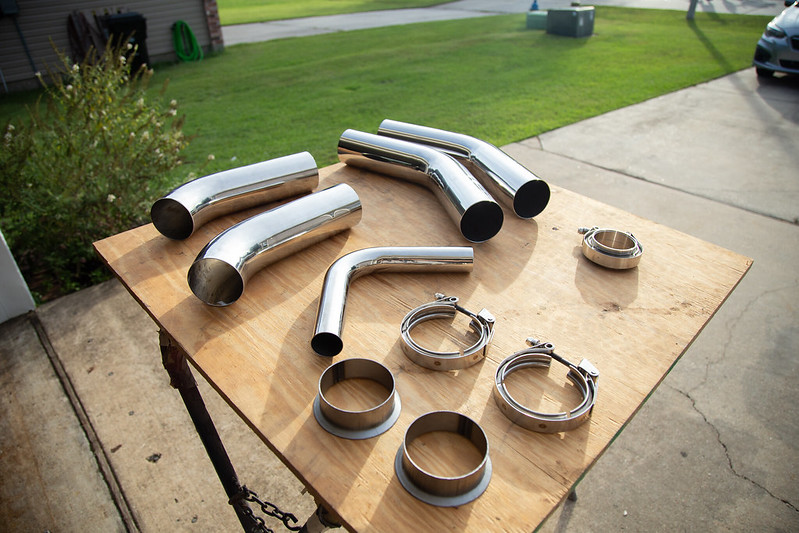
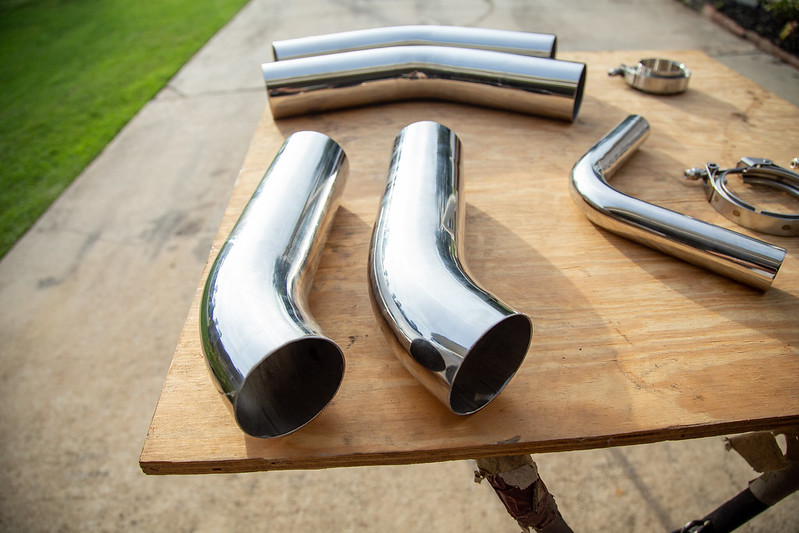
Enough talk from me, heres a few shots from tonight. Hotside material is on the way. Hoping in the next few weeks ill get my dads tig welder over to the house and get some practice and weld this bad boy up.
 IMG_9535 by lawrx, on Flickr
 IMG_9541 by lawrx, on Flickr
 IMG_9536 by lawrx, on Flickr
 IMG_9537 by lawrx, on Flickr
 IMG_9538 by lawrx, on Flickr
 IMG_9539 by lawrx, on Flickr
 IMG_9540 by lawrx, on Flickr
IG @gt3_brz
IMG_9540 by lawrx, on Flickr
IG @gt3_brz
My Mustang Build
http://www.stanceworks.com/forums/sh...=1#post1552949
My BRZ Build
http://www.stanceworks.com/forums/sh...ad.php?t=86482
My F100 Build
http://www.stanceworks.com/forums/sh...ad.php?t=97329Comment
-
Everything looks great! I love seeing updates from you on any of your threads!
The new cowl hood looks pretty extreme! hahaLast edited by MikeyRa; 08-03-2018, 10:44 AM.Instagram: @Eurow
Comment
-
Thanks man! and yeah, its a little excessive haha. It is all carbon thoOriginally posted by MikeyRa View PostIG @gt3_brz
My Mustang Build
http://www.stanceworks.com/forums/sh...=1#post1552949
My BRZ Build
http://www.stanceworks.com/forums/sh...ad.php?t=86482
My F100 Build
http://www.stanceworks.com/forums/sh...ad.php?t=97329Comment
-
How do you plan on supporting the weight of the turbos?Instagram: @EurowComment
-
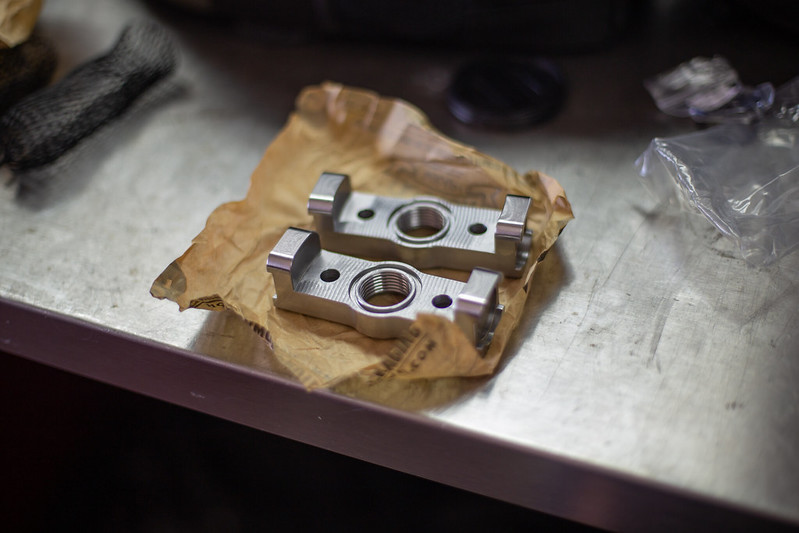
I have a mount that bolts to the center cartrige which has provisions to weld 1'' tube as a support rod. It will run across the engine bay similar to the top of the rad support. Will be able to be unbolted so as to make engine work easy and out of the way.Originally posted by MikeyRa View PostIG @gt3_brz
My Mustang Build
http://www.stanceworks.com/forums/sh...=1#post1552949
My BRZ Build
http://www.stanceworks.com/forums/sh...ad.php?t=86482
My F100 Build
http://www.stanceworks.com/forums/sh...ad.php?t=97329Comment
-
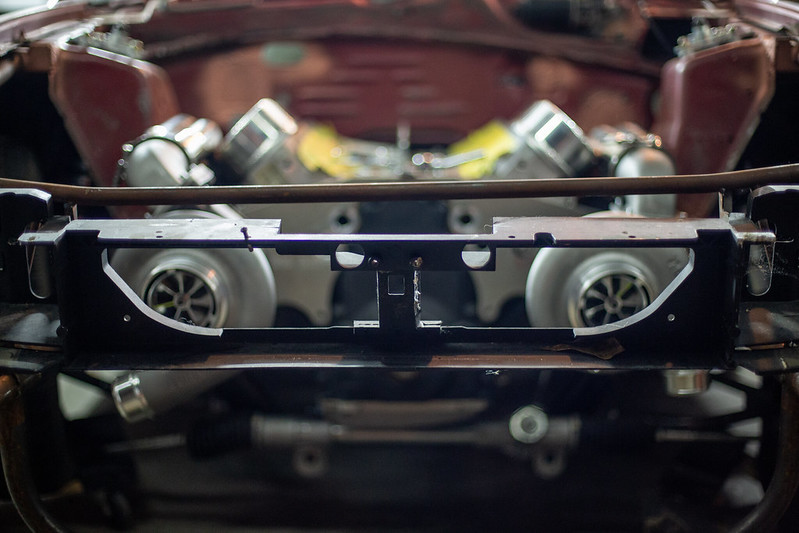
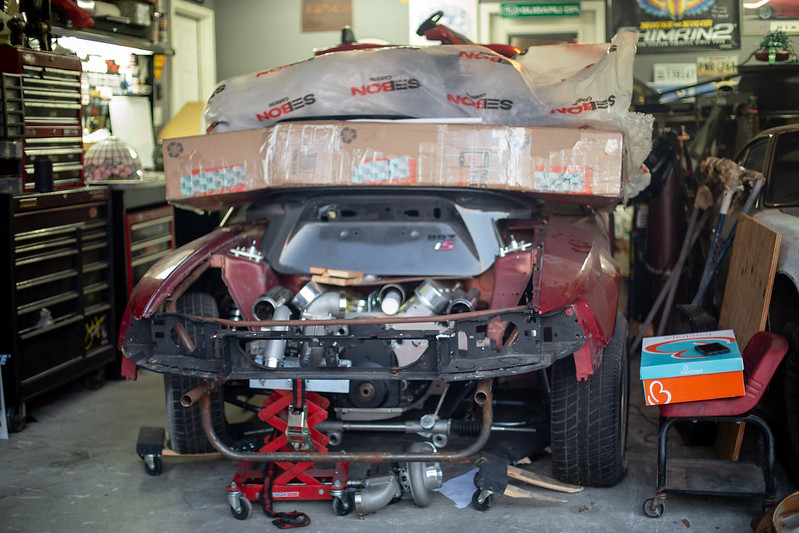
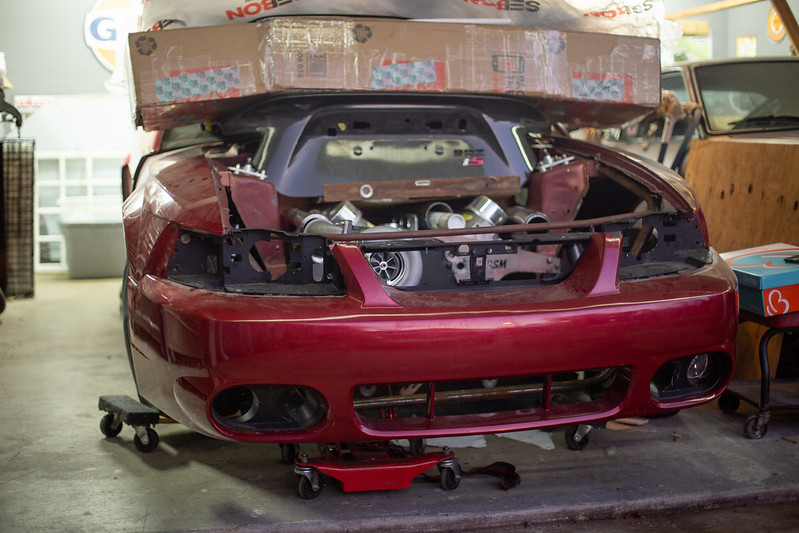
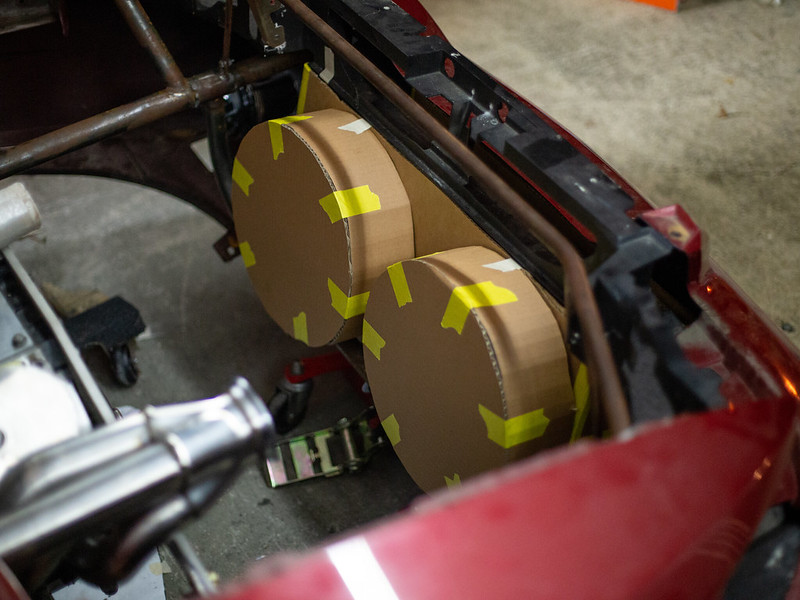
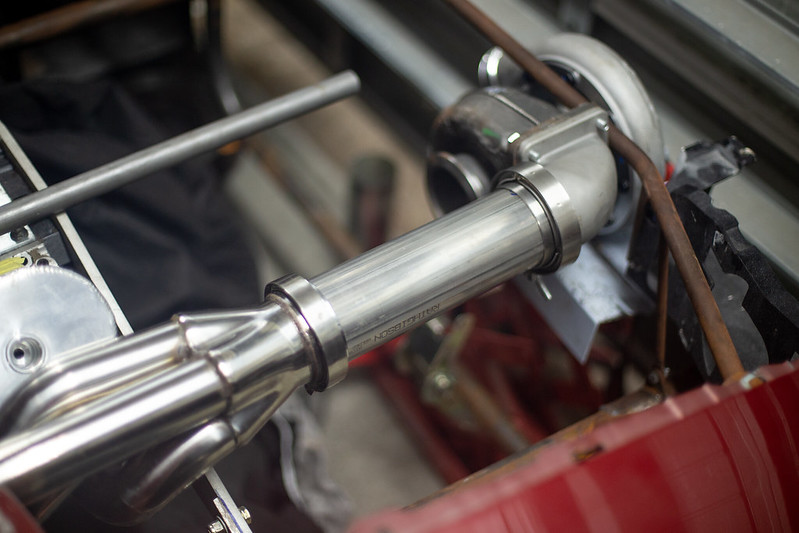
Over the weekend I performed some more mock up and test fitting. Slowly the turbos have been pushed farther and farther forward. I don't think I can push them much farther forward from this point lol
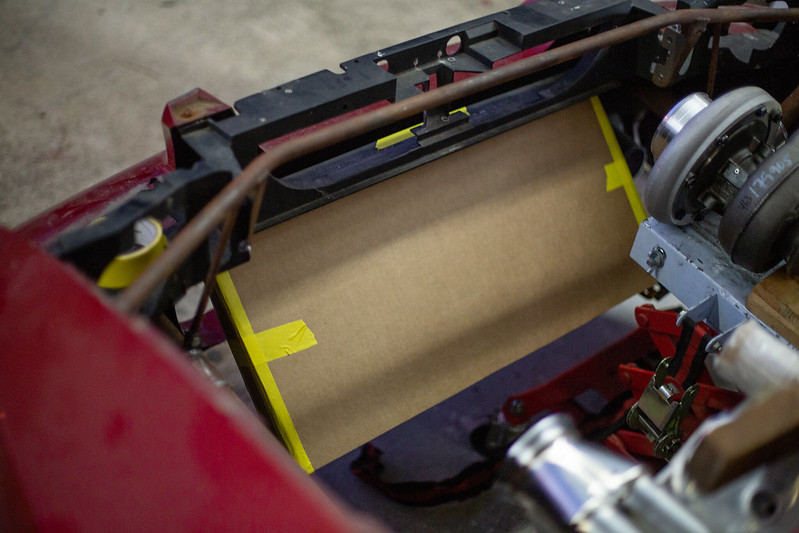
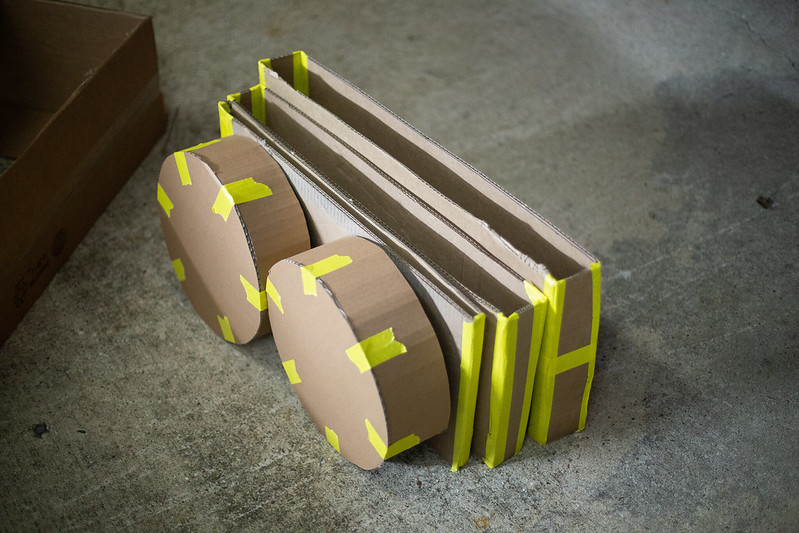
I ended up cutting out the center portion of the header/headlight pane, as one it wasn't needed for support and two was in the way of ALL UP IN YOUR FACE turbo mounting. I also made some cardboard mockups of the cooling components that also need to be upfront. 1.Radaitor 2. Air to water heat exchanger and 3. Condensor for ac system.
Needless to say, its all going to be a tight fit. However with everything will work out. The cooling module (all the cooling componets will be bolted together for most efficient flow from fans) will have a large degree of slant rearwards, towards the engine. A popular mod is to have them lean forward in mustang swaps but due to depth issues that wouldn't wok for me with the turbo location. My hot side material also came in early this week and I was able to get the lengths cut and mock it up to see how it looks. Ill be getting my dads Miller TIG machine likely this week over the house to get some practice in before I weld on the car.
 IMG_9542 by lawrx, on Flickr
 IMG_9543 by lawrx, on Flickr
 IMG_9544 by lawrx, on Flickr
 IMG_9546 by lawrx, on Flickr
 IMG_9547 by lawrx, on Flickr
 IMG_9549 by lawrx, on Flickr
 IMG_9555 by lawrx, on Flickr
 IMG_9556 by lawrx, on Flickr
 IMG_9557 by lawrx, on Flickr
 IMG_9558 by lawrx, on Flickr
 IMG_9559 by lawrx, on Flickr
 IMG_9561 by lawrx, on Flickr
 IMG_9563 by lawrx, on Flickr
 IMG_9564 by lawrx, on Flickr
 IMG_9565 by lawrx, on Flickr
 IMG_9566 by lawrx, on Flickr
 IMG_9567 by lawrx, on Flickr
 IMG_9570 by lawrx, on Flickr
 IMG_9571 by lawrx, on Flickr
 IMG_9572 by lawrx, on Flickr
 IMG_9575 by lawrx, on Flickr
 IMG_9576 by lawrx, on Flickr
IG @gt3_brz
IMG_9576 by lawrx, on Flickr
IG @gt3_brz
My Mustang Build
http://www.stanceworks.com/forums/sh...=1#post1552949
My BRZ Build
http://www.stanceworks.com/forums/sh...ad.php?t=86482
My F100 Build
http://www.stanceworks.com/forums/sh...ad.php?t=97329Comment
-
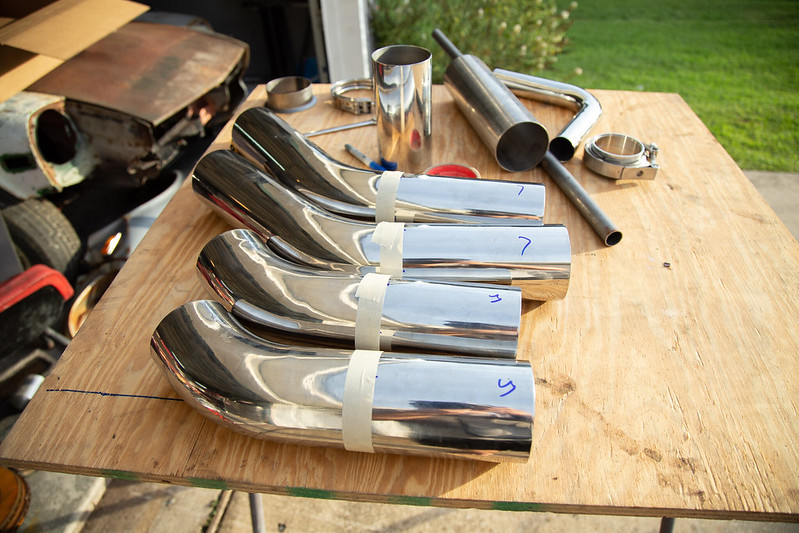
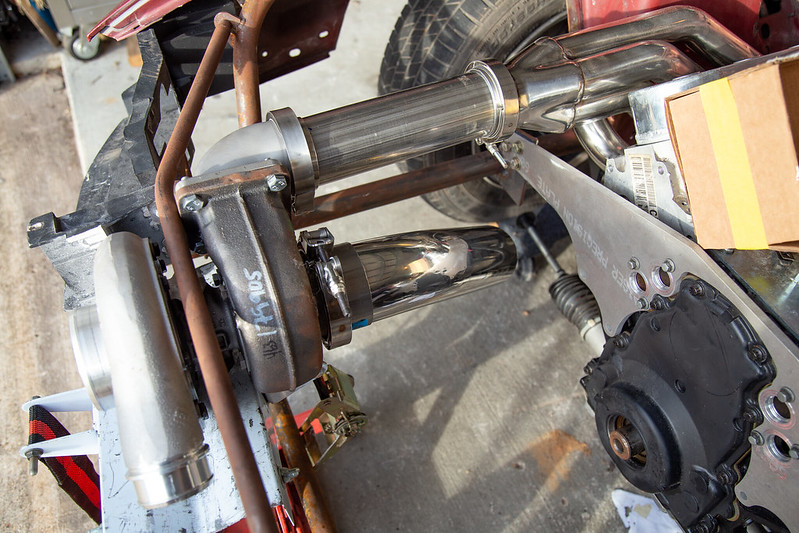
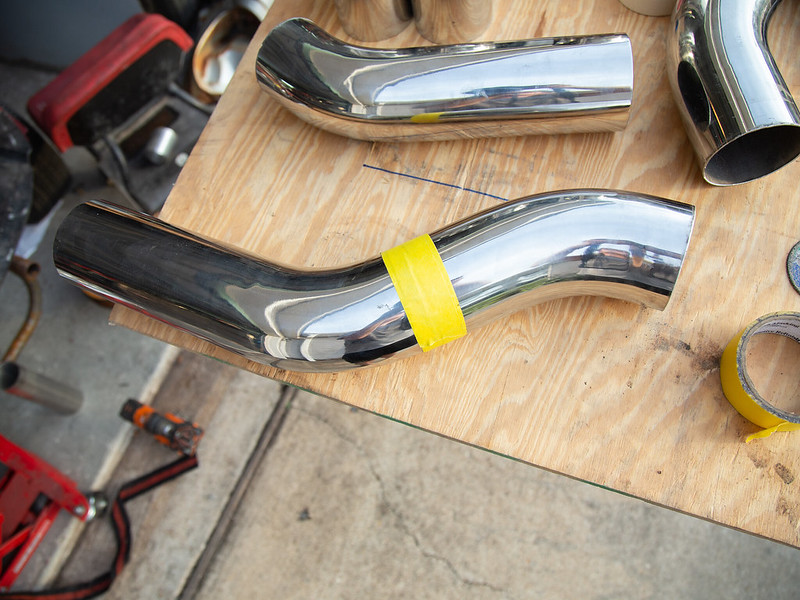
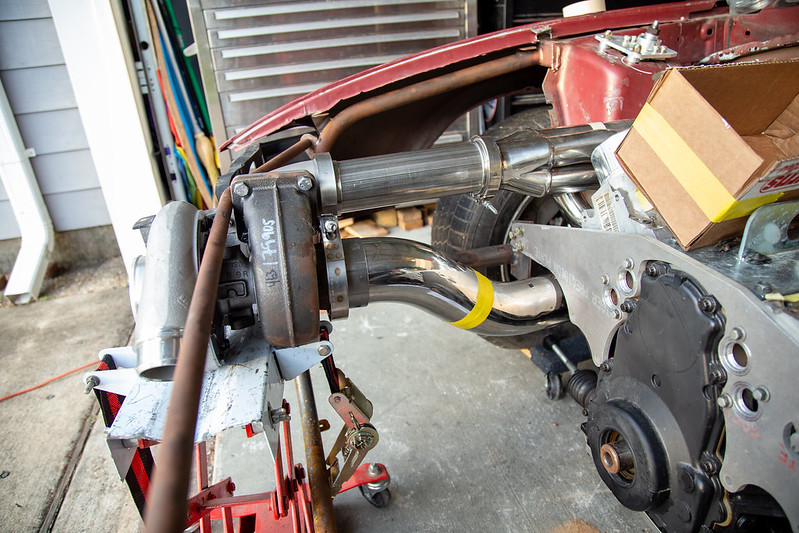
Been a bit since the last update. Been piddling away at various things. Material for downpipes and ewgs tubes came in. Got to work mocking up and cutting the downpipes section to see what sort of real estate they would take up. I still need to purchase the waste gates so ill just hold into that material until then. With the downpipes mocked up I grabbed some charge piping I had sitting around and some cardboard and mocked up a rough intercooler position and charge pipe routing. It snakes a bit but will be clean and symmetrical and a fairly straight shot.
 IMG_9600 by lawrx, on Flickr
 IMG_9601 by lawrx, on Flickr
 IMG_9605-2 by lawrx, on Flickr
 IMG_9604 by lawrx, on Flickr
 IMG_9602 by lawrx, on Flickr
 IMG_9607-2 by lawrx, on Flickr
 IMG_9609-2 by lawrx, on Flickr
 IMG_9610-2 by lawrx, on Flickr
 IMG_9617 by lawrx, on Flickr
 IMG_9613 by lawrx, on Flickr
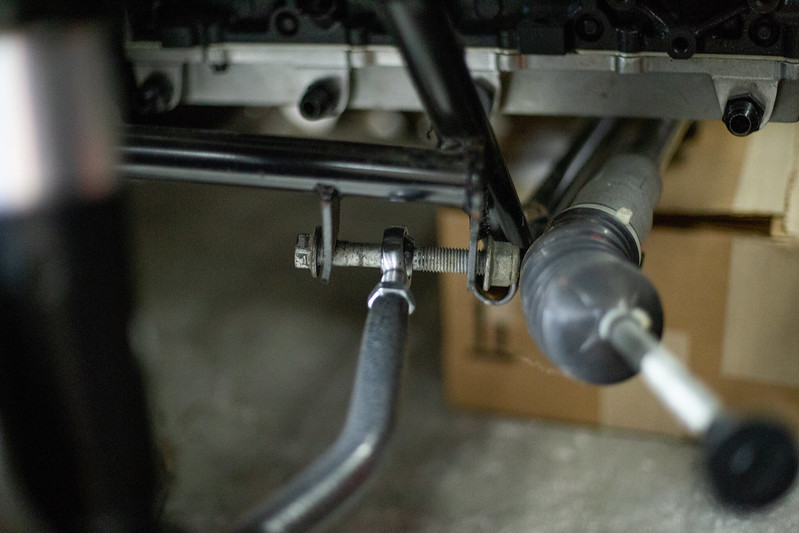
Ive also piddled with the suspension some. With the car back to the garage by itself I wanted to set the suspension height level side to side. Well the adjusters are seized on the aluminum threaded bodies. They were tightened down and it sat, so pretty upset about it. Going to have to contact Strange and see what they can do about it. Also went to install the lower control arm spacers and the ID isn't big enough for the bolt to go through, and they are also not the right length. SO that overall work sucked.
 IMG_9785 by lawrx, on Flickr
 IMG_9786 by lawrx, on Flickr
 IMG_9788 by lawrx, on Flickr
 IMG_9784 by lawrx, on Flickr
 IMG_9790 by lawrx, on Flickr
IG @gt3_brz
IMG_9790 by lawrx, on Flickr
IG @gt3_brz
My Mustang Build
http://www.stanceworks.com/forums/sh...=1#post1552949
My BRZ Build
http://www.stanceworks.com/forums/sh...ad.php?t=86482
My F100 Build
http://www.stanceworks.com/forums/sh...ad.php?t=97329Comment
-
Its been a big week over at my house this week.
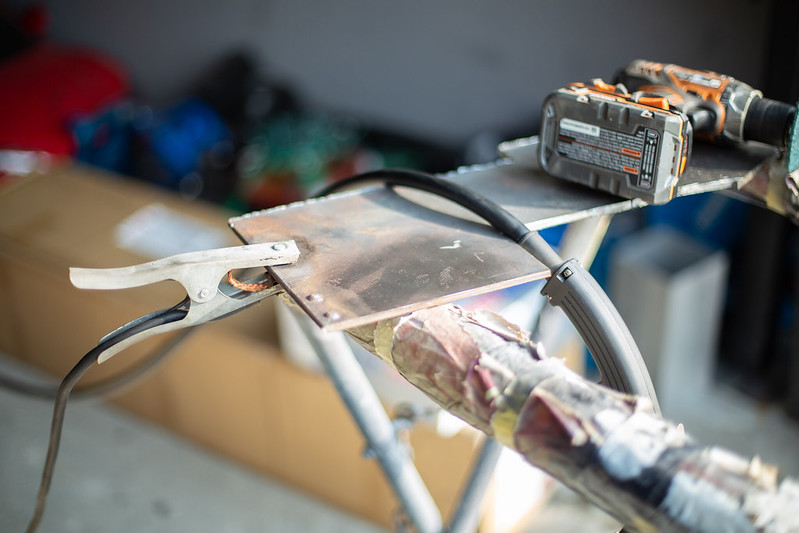
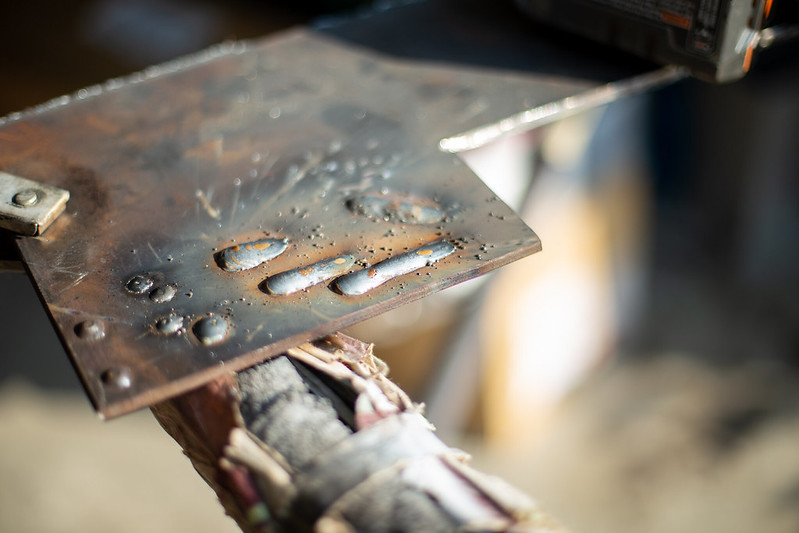
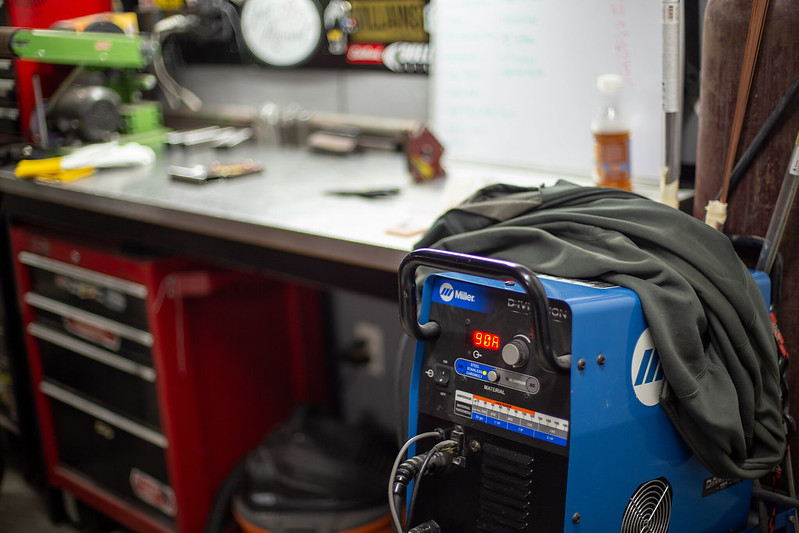
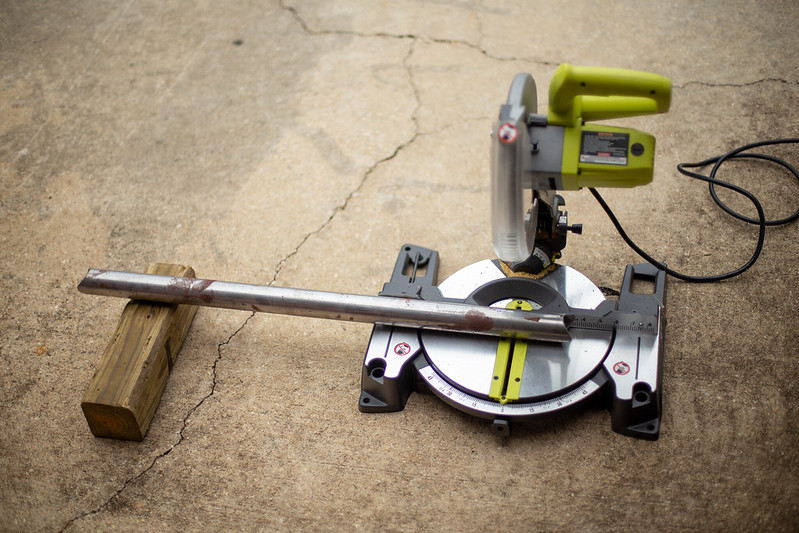
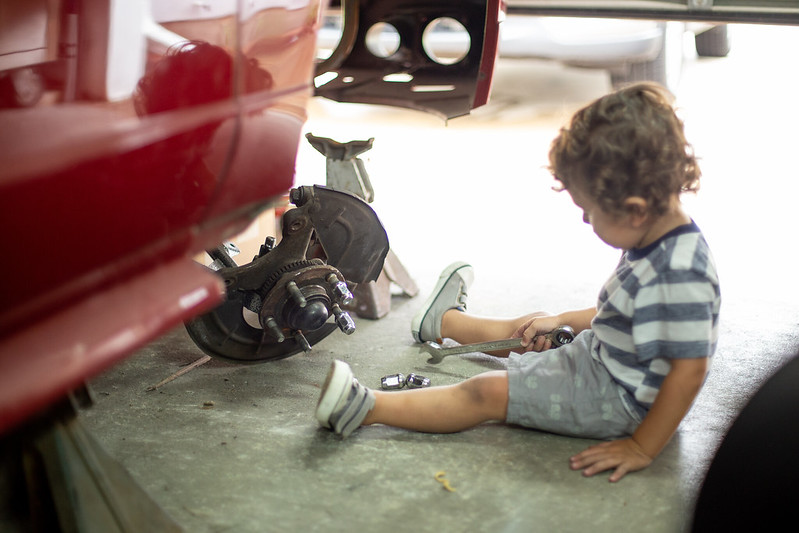
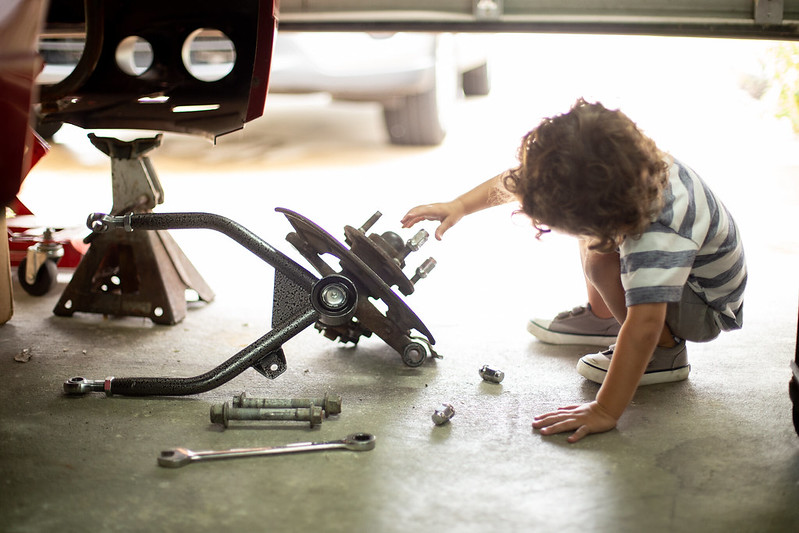
Ill start off with the big news of my daughter being born this past Monday 9/3 on Labor Day. All is good Momma and baby are healthy. My 2yr is exact over her. Wants to hold her, help feed her, worries when she cries etc. Needless to say thats taken up much of my time overall the past two weeks with multiple trips for contractions etc. Just before all that was set into motion I was able to snag my dads Miller tig welder to bring to the house to start practicing. Obviously this was put on hold for a bit with the pending arrival of my daughter.
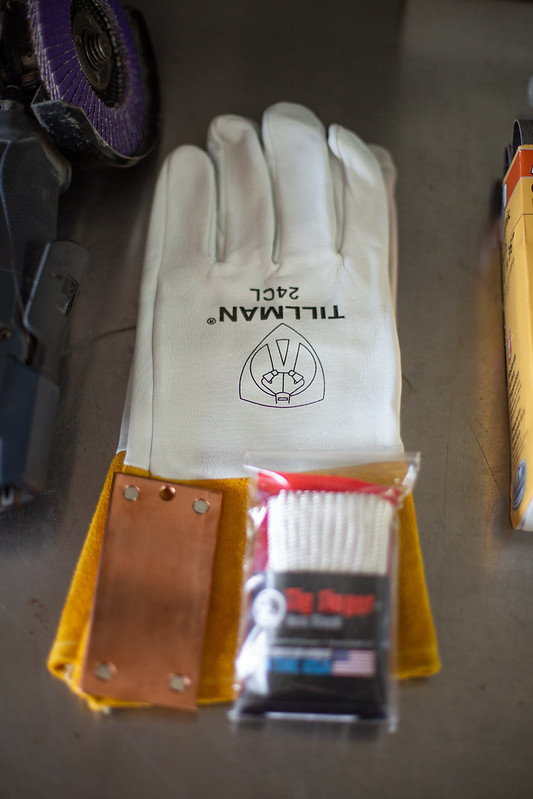
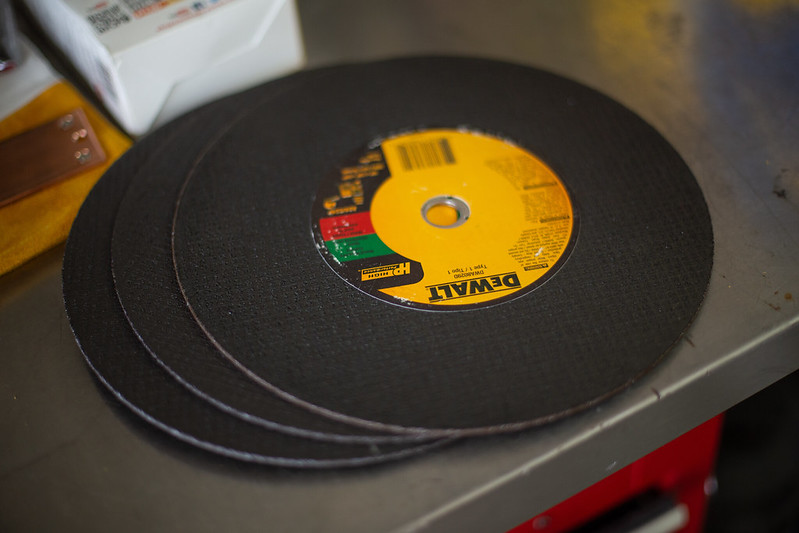
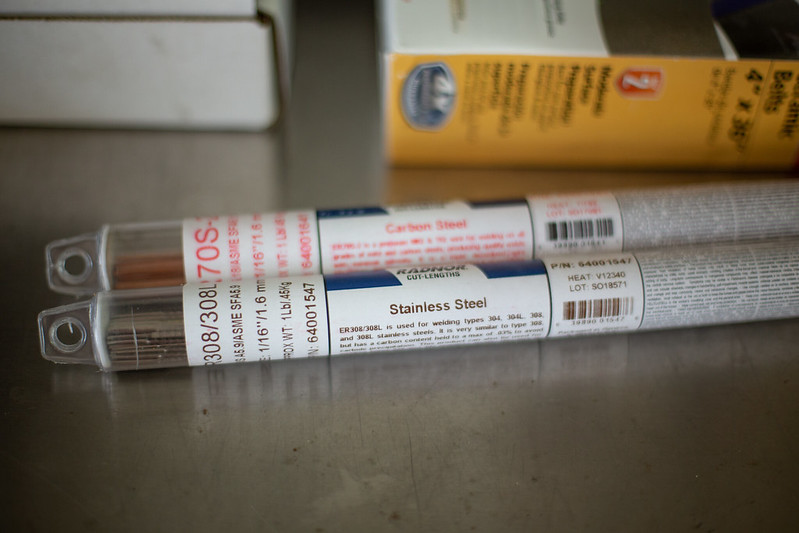
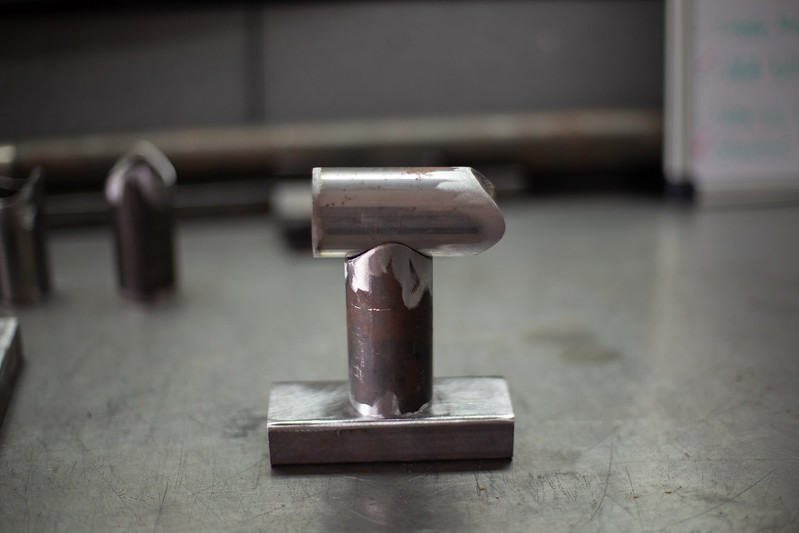
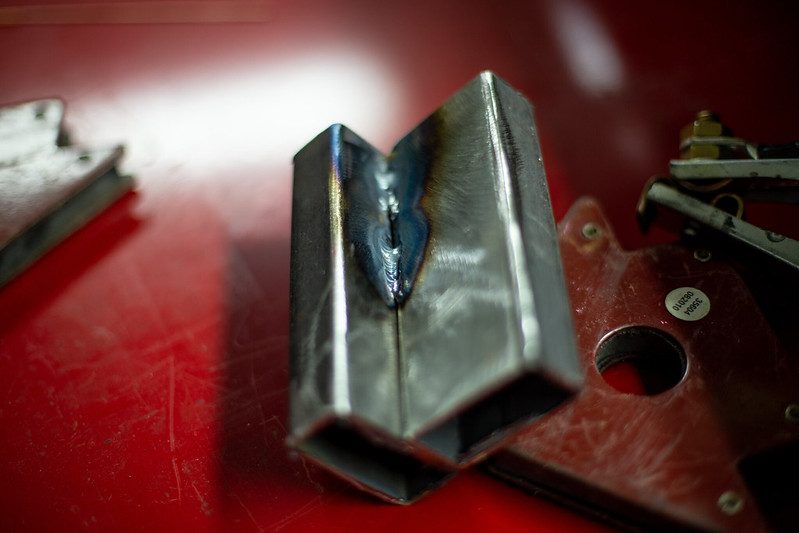
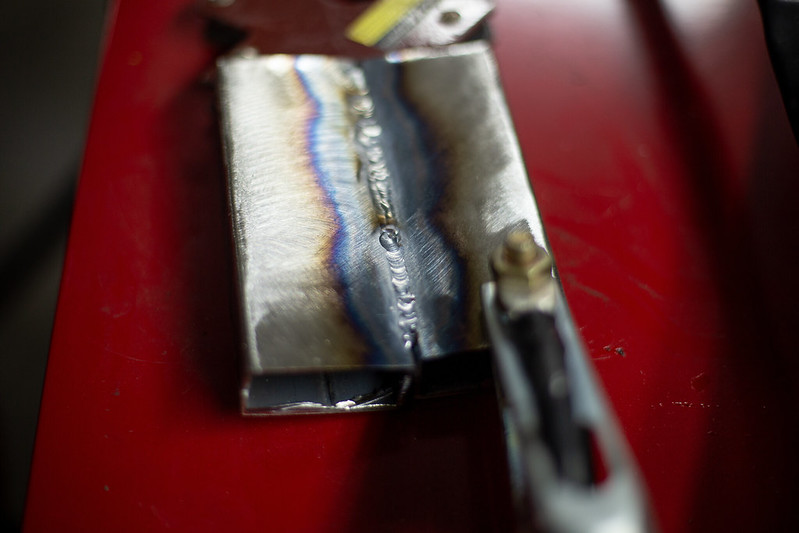
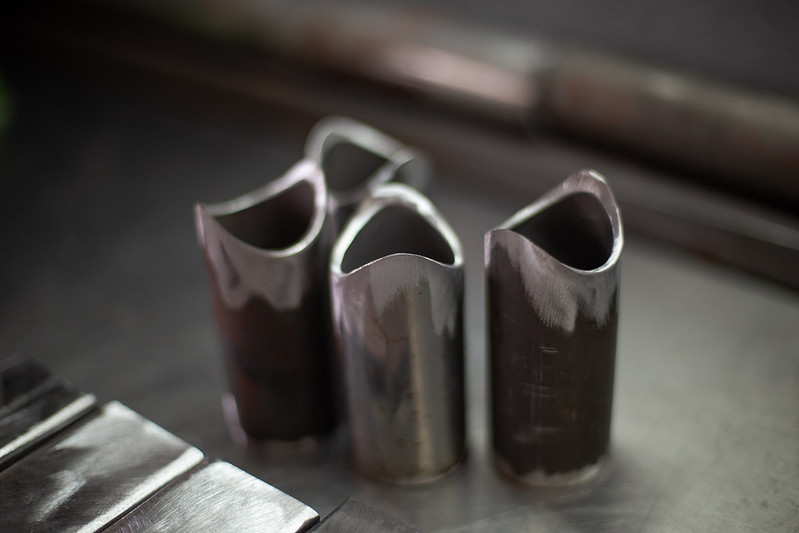
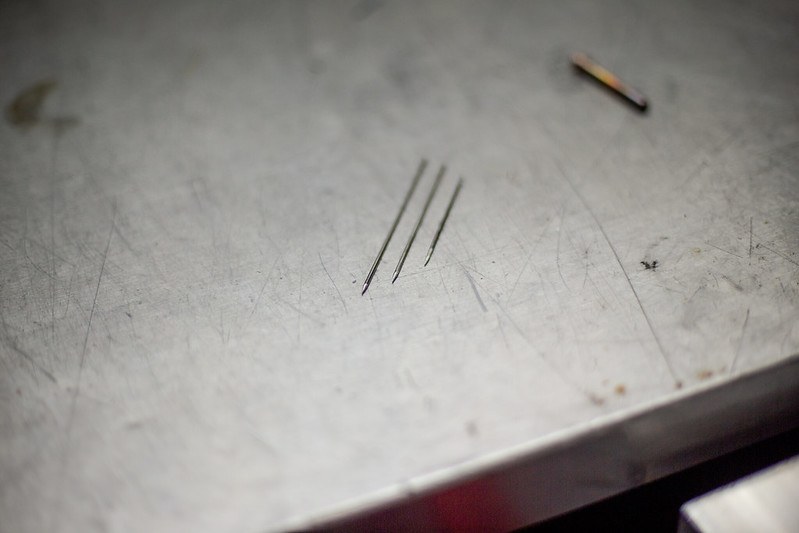
But late this week I got in the last few tools and such I was missing to start melting some metal. Needed a carbon blade for my chopsaw, some filler rod as dad was out, I wanted a new set of gloves etc. Got it all in and went to town! This is my first time TIG welding so was a bit of a learning curve. As soon as I was getting the hang of it I touched the tungsten with my filler rod, with no more spares left to use. Couldn't grind them as it was late and would have woken the kiddos. I made a lot of mistakes but I learned what they were and how to improve on them. Excited to get more hood time this weekend.
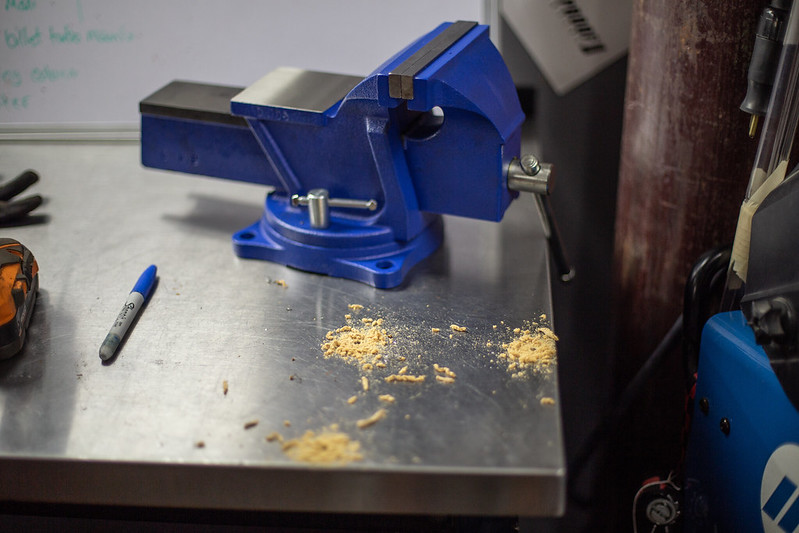
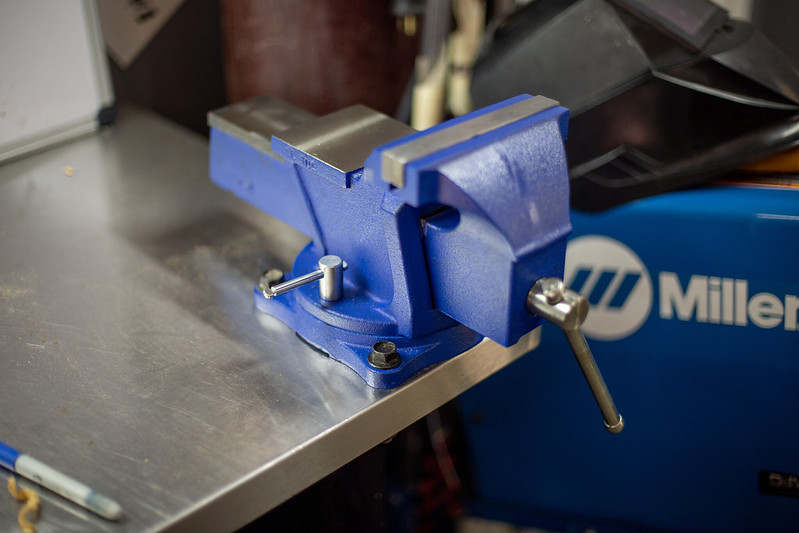
I also FINALLY picked up a bench vice and bolted it to the bench. Only been putting it off since we moved in....
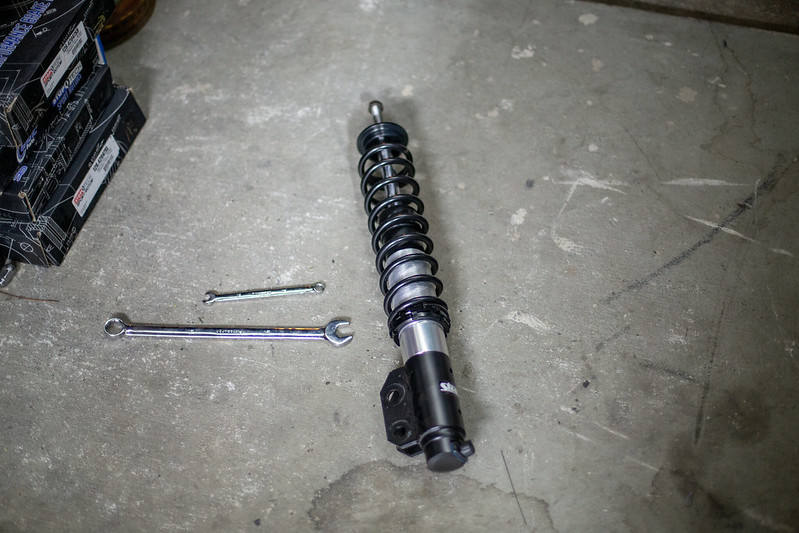
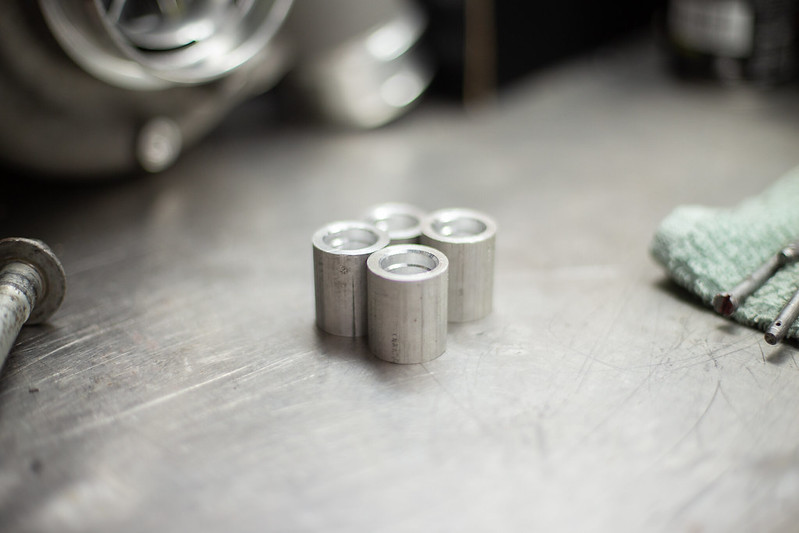
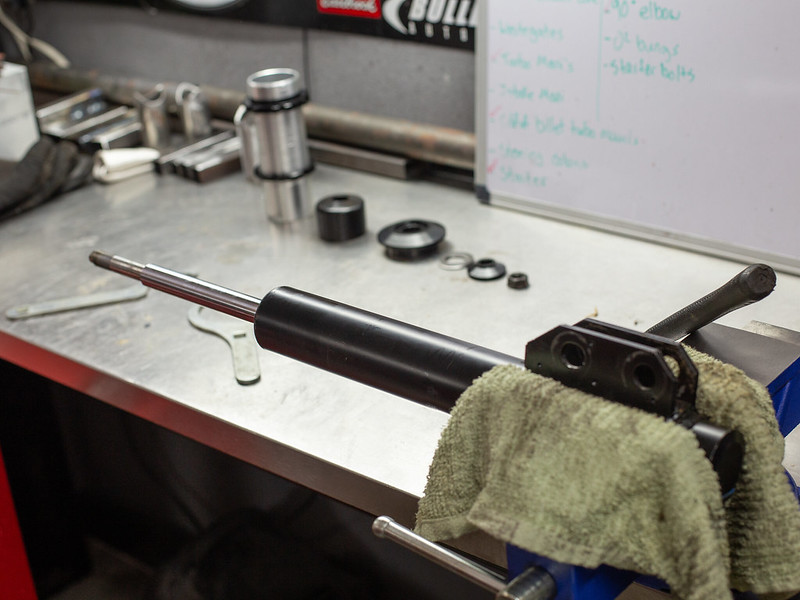
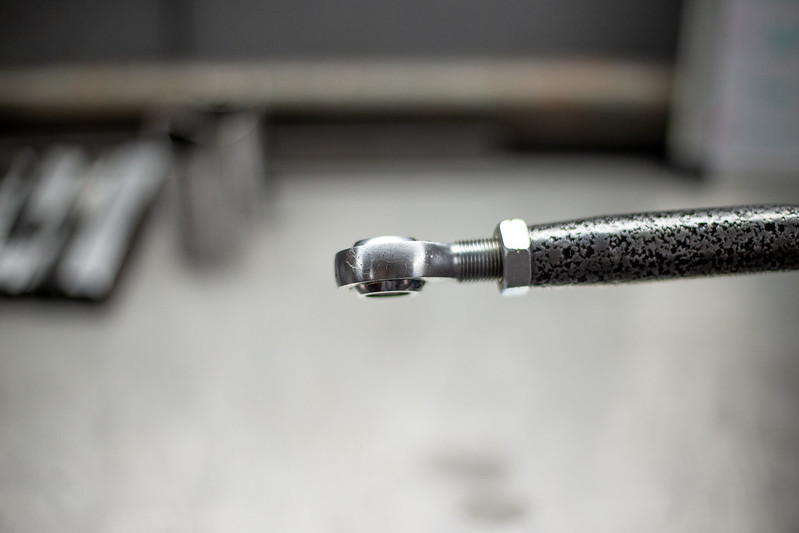
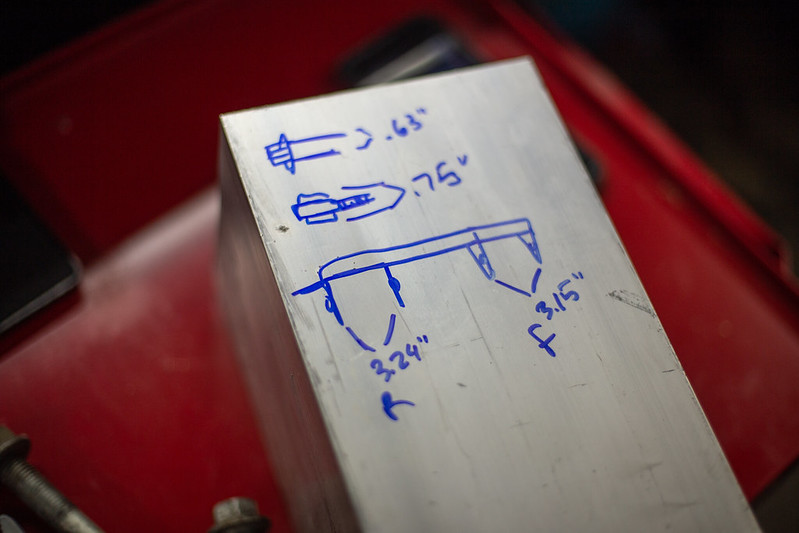
And lastly my front and control armsstruts. I don't recall if I mentioned it but the coiler sleeve kit seized up, the adjustment rings are locked up in the aluminum threads, so I pulled them off, going to contact the manufacture and say what gives. All I did to them wasset a ride height it sat that way for a few months, not sure what caused them to seize up. As for the control arms, the spacers between the rod ends and k member were poorly built, not the right ID size etc. SO ill be making my own for them.
 IMG_0053 by lawrx, on Flickr
 IMG_9882 by lawrx, on Flickr
 IMG_0071 by lawrx, on Flickr
 IMG_0062 by lawrx, on Flickr
 IMG_0059 by lawrx, on Flickr
 IMG_0060 by lawrx, on Flickr
 IMG_0065 by lawrx, on Flickr
 IMG_0068 by lawrx, on Flickr
 IMG_0077 by lawrx, on Flickr
 IMG_0074 by lawrx, on Flickr
 IMG_0067 by lawrx, on Flickr
 IMG_0082 by lawrx, on Flickr
 IMG_0083 by lawrx, on Flickr
 IMG_0084 by lawrx, on Flickr
 IMG_0085 by lawrx, on Flickr
 IMG_0086 by lawrx, on Flickr
 IMG_0088 by lawrx, on Flickr
 IMG_0091 by lawrx, on Flickr
 IMG_0093 by lawrx, on Flickr
 IMG_0092 by lawrx, on Flickr
 IMG_0094 by lawrx, on Flickr
IG @gt3_brz
IMG_0094 by lawrx, on Flickr
IG @gt3_brz
My Mustang Build
http://www.stanceworks.com/forums/sh...=1#post1552949
My BRZ Build
http://www.stanceworks.com/forums/sh...ad.php?t=86482
My F100 Build
http://www.stanceworks.com/forums/sh...ad.php?t=97329Comment
Comment