Announcement

Collapse
No announcement yet.

Signal Green E92 M3 Build

Collapse
X
 
  • Filter
  • Time
  • Show
Clear All
new posts

  • JEllis1
    replied
    With all the mechanical bits installed. Time for the front splitter and spoiler.

    Varis wing and Challenge CF/Kevlar trunk

    Spoiler2 by JMEllis, on Flickr

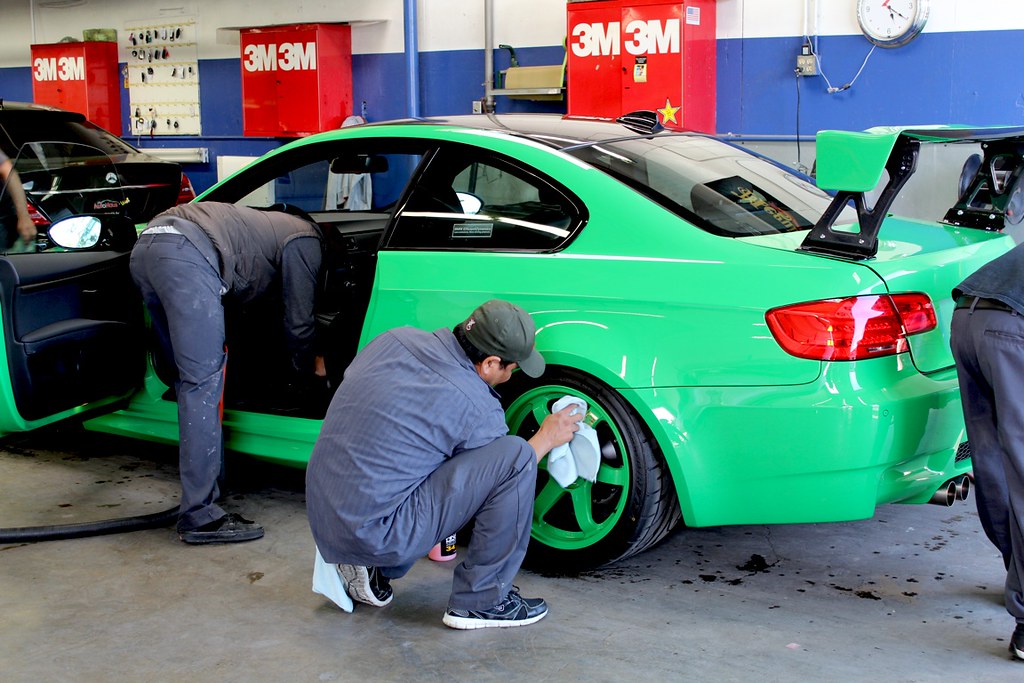
    Spoiler1 by JMEllis, on Flickr

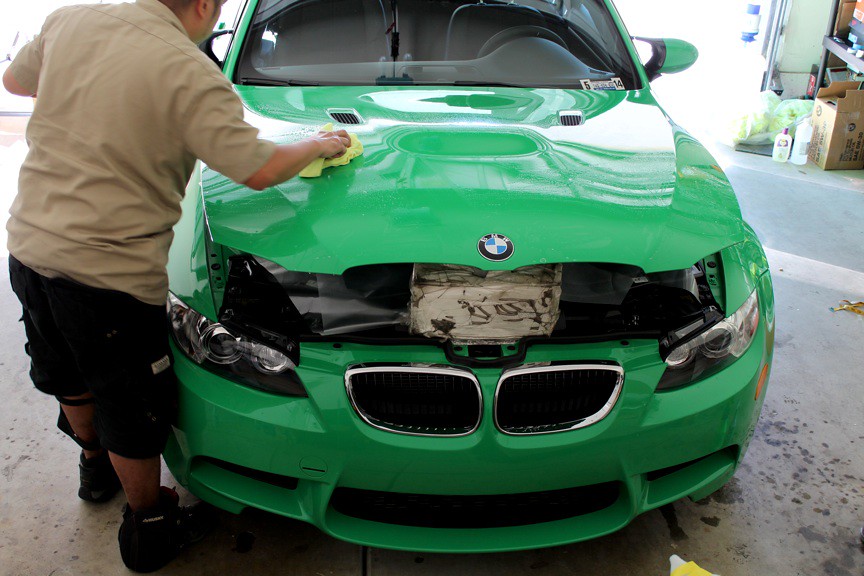
    I wanted something functional that worked. However, paying the premium for the OE BMW Motorsport part that would eventually get cracked or destroyed did not appear logical. So, I went with the next best thing.... The RKP GT4 front lip.

    I wanted a lip that would be held securely by bolts, not tape or glue. I wanted something that would resist the high speeds that come with track duty. I further secured the bolts in place using high strength loctite. Yes, getting the lip will be difficult but its not coming off unless its destroyed anyway.

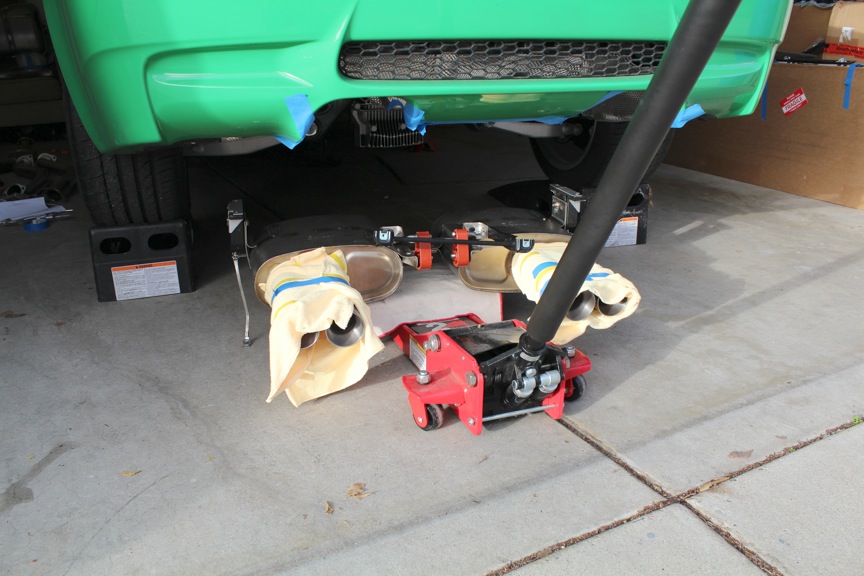
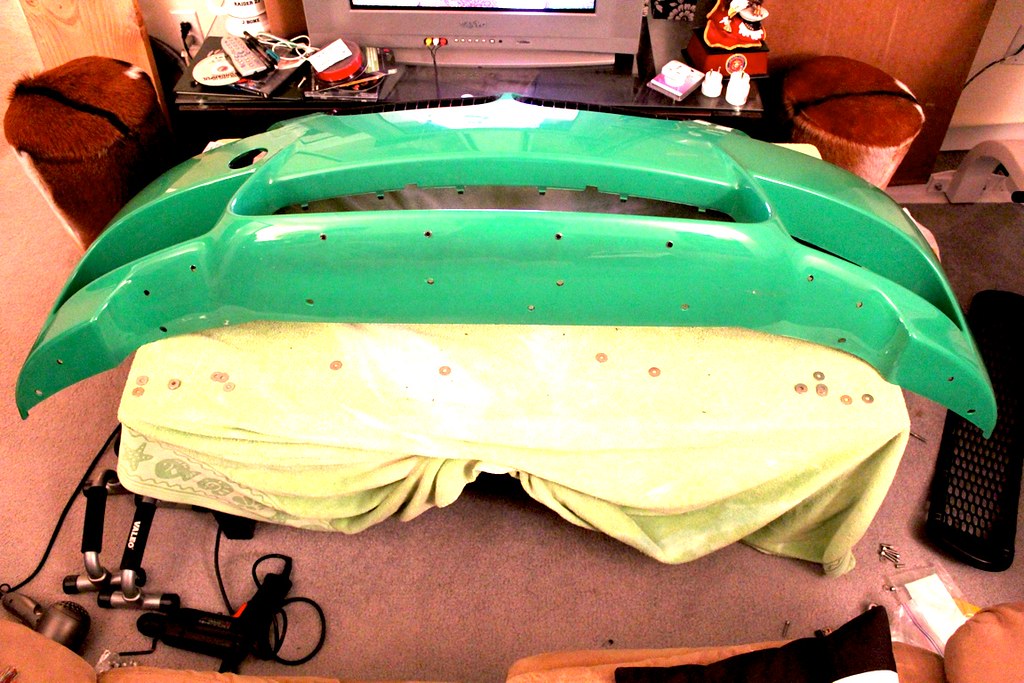
    Splitter0 by JMEllis, on Flickr

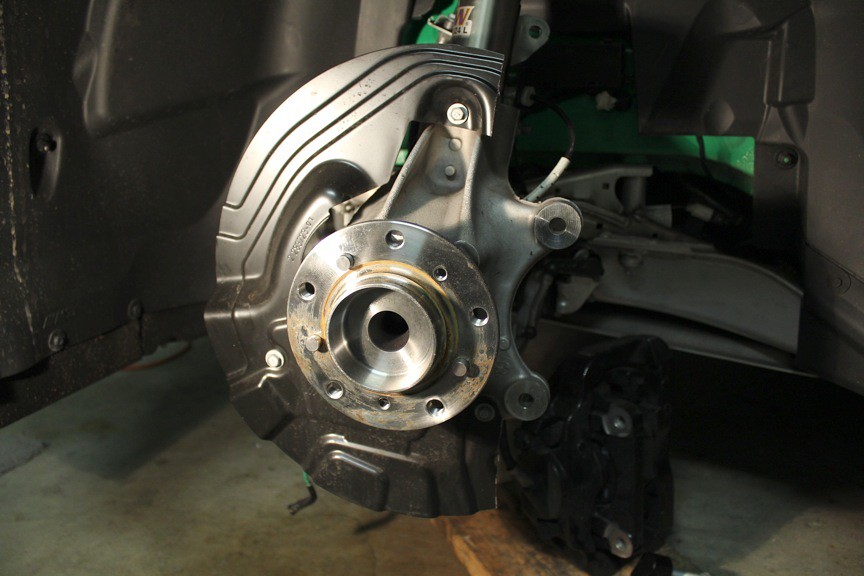
    Interesting to note that BMW does not completely spray the bottom of the bumpers. You can just make out the raw PU underneath.

    Bolts going on.

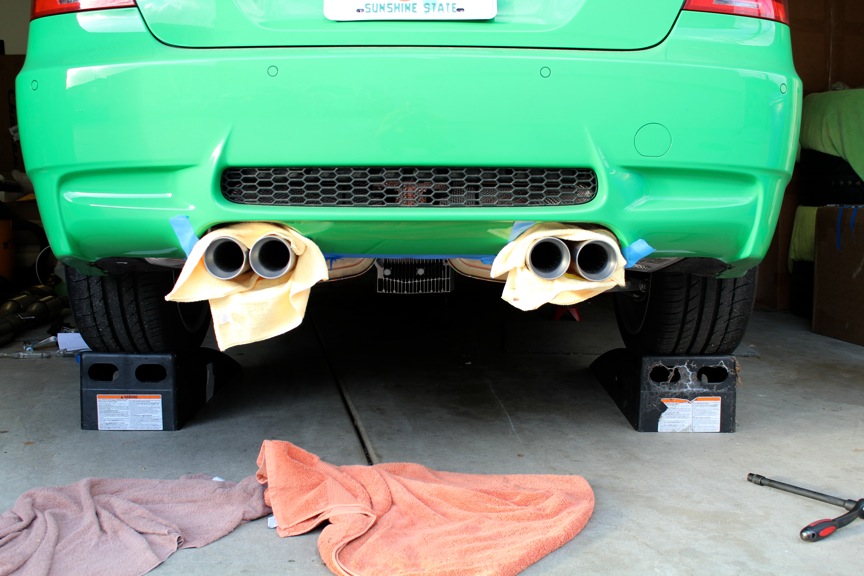
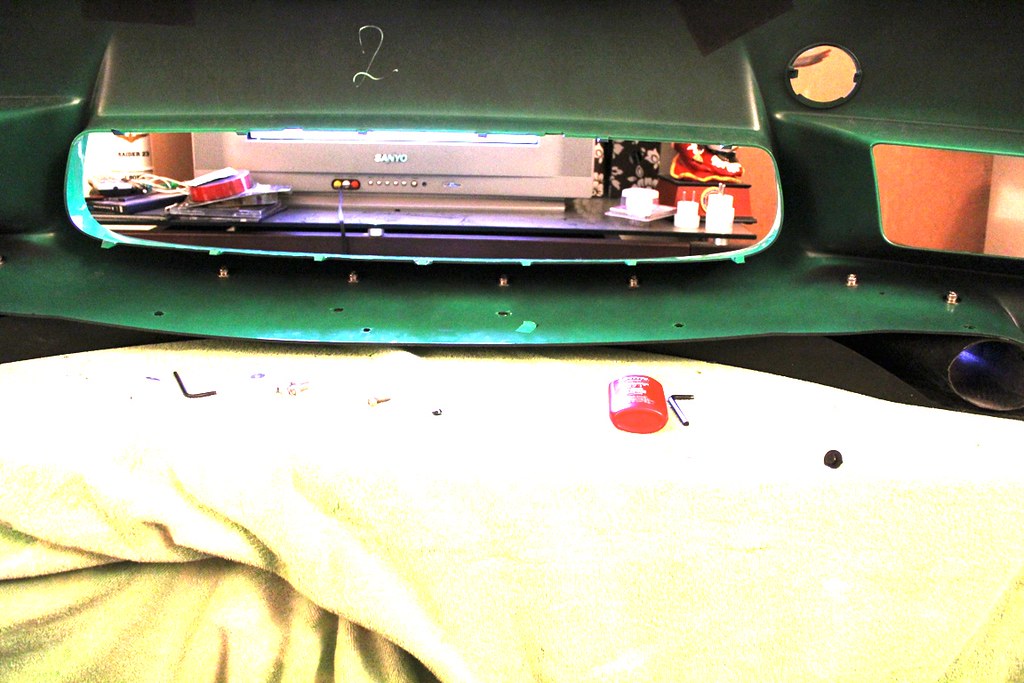
    Splitter4 by JMEllis, on Flickr

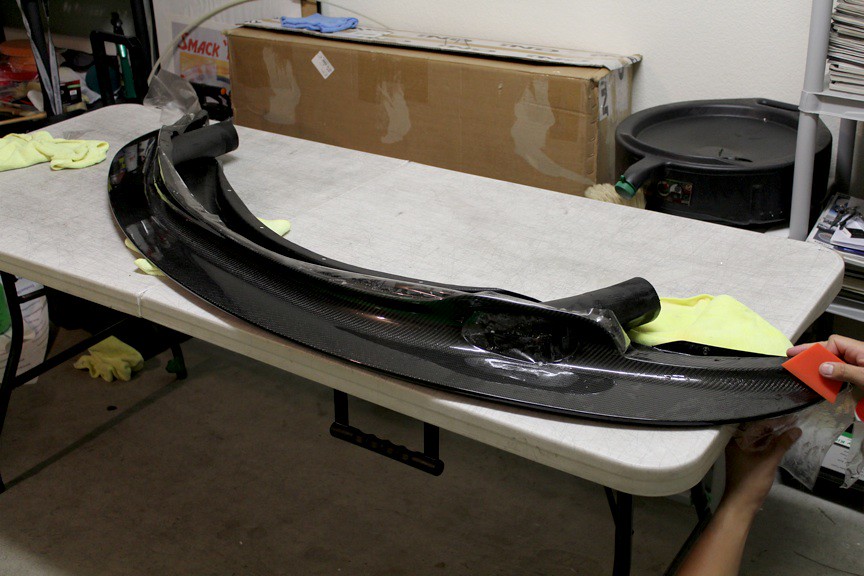
    And the finished look!

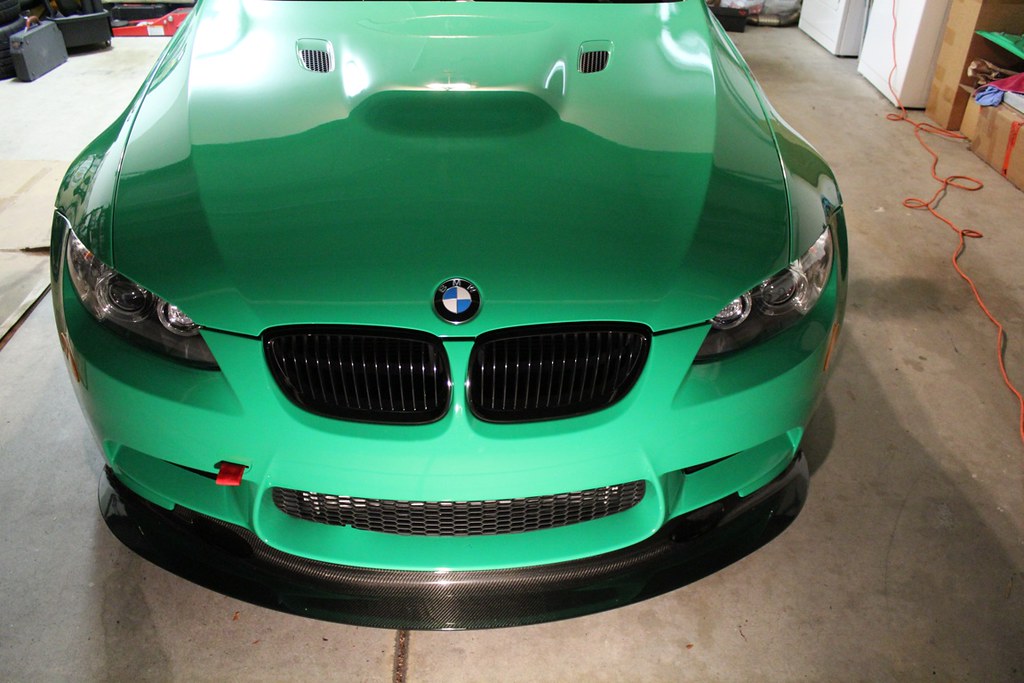
    Splitter3 by JMEllis, on Flickr

    Yes, its difficult to drive with this big lip. But careful driving and road planning has kept it looking nearly new.

    Splitter1 by JMEllis, on Flickr

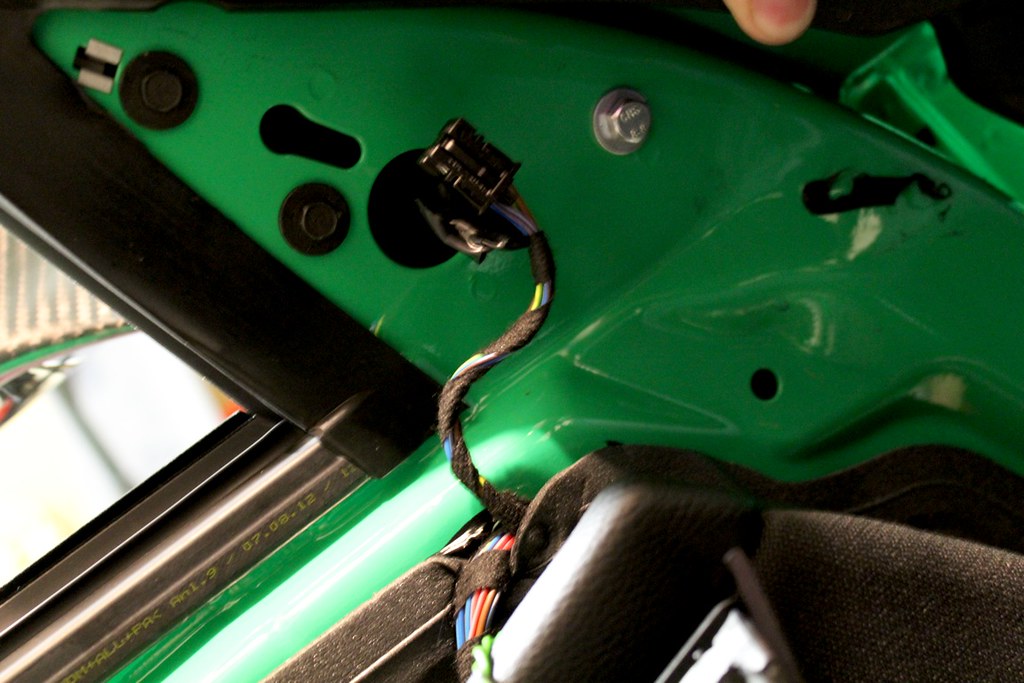
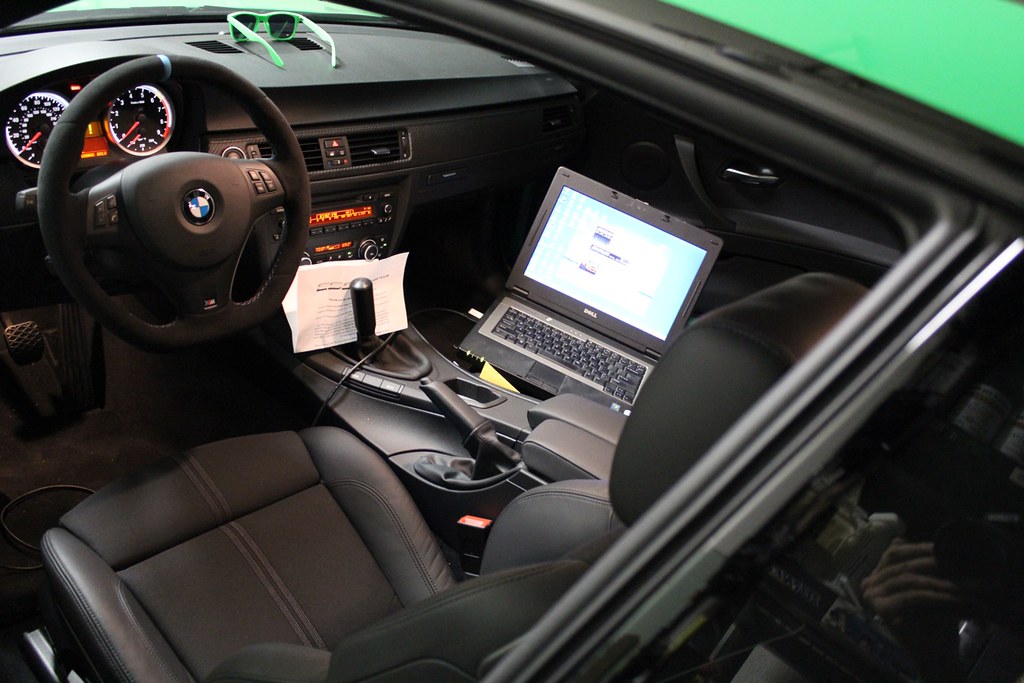
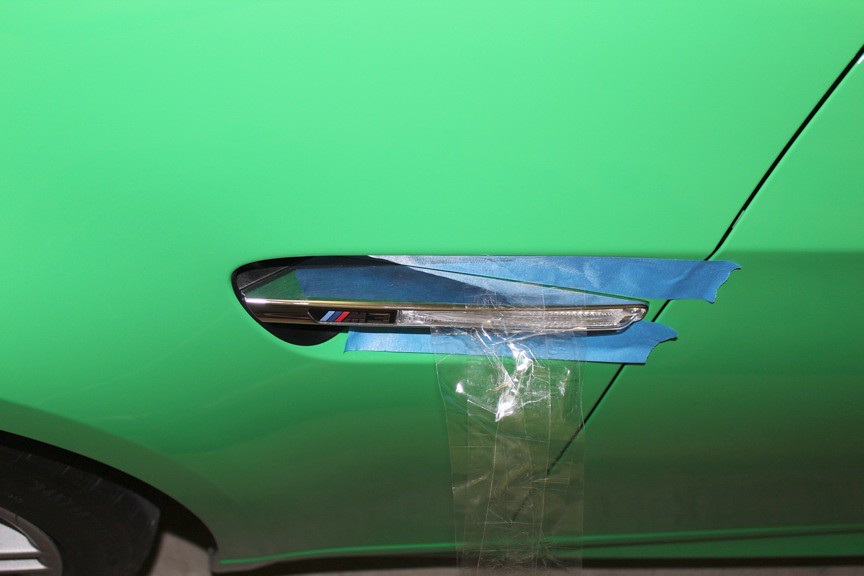
    Time for the mirrors. This is actually pretty simple as long as you are not squeamish about pulling out interior panels. The mirror install will require removal of the door panel. However, you do not need to disconnect all the electrical bits. Just pull the panel off and set it on something (I used a cooler) in order to access the tweeter and mirror mounts.

    Here are the mirrors going on.

    Mirror3 by JMEllis, on Flickr

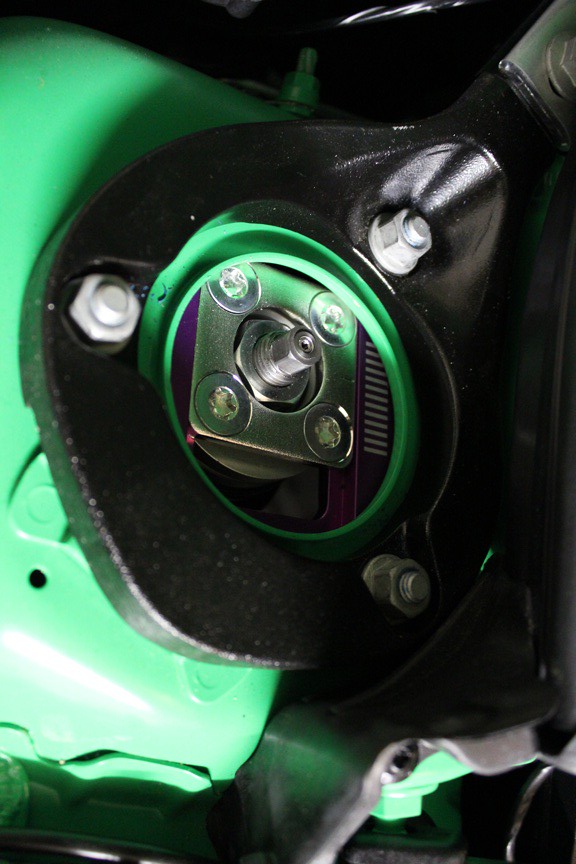
    The mirrors and Puma logo are a homage to the BMW Motorsport RLL M3 GTs that until recently raced in ALMS.

    Mirror2 by JMEllis, on Flickr

    Leave a comment:


  • cblock406
    replied
    Oh yeah, I've followed you on other forums! This car is straight badass. You have/had the e31 and e36 m3 right?

    *Edit - Just saw the E31 build thread, that car is awesome too!
    Last edited by cblock406; 03-11-2016, 10:18 AM.

    Leave a comment:


  • LCG
    replied
    Originally posted by OEM+ sluts View Post
    Wasting no time
    this is awesome

    Leave a comment:


  • 190Evan
    replied
    In4Sound

    Love the color too

    Leave a comment:


  • TruTaing
    replied
    So much win in here! Suspension, brakes, wheels/tires, SC... This this is awesome. Cant wait for ya to post a video of the SOUND this thing must make!

    Leave a comment:


  • philohlean
    replied
    Having seen your sig before I was really hoping I'd eventually find a build for this thing. Glad to see it finally popped up haha, keep up the great work man. Color matched wheels aren't normally my thing but everything about this is just perfect. Can't wait for more!

    Leave a comment:


  • OEM+ sluts
    replied
    Wasting no time hahah

    Good work sir!

    Leave a comment:


  • tomcrowther
    replied
    This is beyond awesome.

    Leave a comment:


  • JEllis1
    replied
    Time for the supercharger.

    I wanted a setup that would be reliable and controllable on the track. The end result is the ESS VT2 535 kit currently installed on the car. Thats right, an inter-cooled 535 kit. I wanted the lowest boost ESS SC kit I could get with the added advantage of inter-cooling. I further beefed up the kit with a Motorsport24 high capacity radiator and a Motorsport24 high capacity oil cooler.

    The majority of the time spent building this car was spent installing the ESS kit, M24 radiator and M24 oil cooler. The ESS instructions are awesome and very straight forward. I also found the ESS software and cable, very easy to use.

    I fit the M24 coolers into the build when the ESS instructions came to a logical install point. The M24 radiator went in after I removed the front fan. Here is the stock radiator coming out.

    IMG_0193 by JMEllis, on Flickr
    Here is the OE radiator next to the M24 unit.

    IMG_0192 by JMEllis, on Flickr

    New injectors going in!

    IMG_0200 by JMEllis, on Flickr

    IMG_0199 by JMEllis, on Flickr

    The obligatory shot of the beautiful indv throttle bodies!

    Manifold Off by JMEllis, on Flickr

    Okay, so the worst part of installing the VT2 kit for me was the installation of the coolant system. Routing the hoses and mounting the heat exchanger was a continuous run of trial and error for me.

    Trying to figure out the best way to route the hoses.

    Routing Hoses1 by JMEllis, on Flickr

    The direction I ultimately decided. I am still not convinced I picked the best route.

    Routing Hoses2 by JMEllis, on Flickr

    The obligatory ESS manifold shot.

    IMG_0201 by JMEllis, on Flickr

    Here is the M24 oil cooler and the OE cooler side by side. The M24 cooler is significantly larger.

    Oil Cool Vs Oil by JMEllis, on Flickr

    The install is actually pretty easy, but it can be messy.

    Oil Cooler Install by JMEllis, on Flickr

    Finally, the software going in!

    ESS Cable by JMEllis, on Flickr
    Last edited by JEllis1; 03-11-2016, 08:56 AM.

    Leave a comment:


  • JEllis1
    replied
    With the Clubsports installed and the Brembos on and bled, it was time to mount the wheels.

    The front offset is aggressive.

    Camber by JMEllis, on Flickr

    Luckily the Clubsport camber plates have a good amount of adjustment. This was with the camber plates set at about half the max front camber possible.

    Side by JMEllis, on Flickr

    With the wheels on, the car is starting to come into focus.

    Camber Plate by JMEllis, on Flickr

    Fitment with the max front camber possible with the clubsports. There is some room to reduce the camber but I was playing it safe at first.

    Green Wheel Camber by JMEllis, on Flickrr

    Okay, my driving impressions with the Clubsports. I set them up according to the instructions. Rebound and Bump were set in accordance with factory recommendations and they are set about an inch(ish) from full drop.

    I am blown away by the everday drivability of these coilovers. Having had Bilstein Damptronics and Moton Clubsports on my 997S, the KWs are amazing. The Motons I had were arguably set up for a more track biased setup and my spring weights supported that. So comparing the KW Clubsports to the Moton Clubsports is probably not fair. What I will say is that KW did a good job setting up the Clubsports for street/track use. I could not be happier with the KWs.

    The real advantage of the big Brembos will not be felt until I can get on the track. For everyday they feel about the same as stock which is what I would expect. I am looking forward to feeling them after 20min on the track!

    Leave a comment:


  • JEllis1
    replied
    IMG_0017 by JMEllis, on Flickr

    Ready for mounting to the car!

    IMG_0022 by JMEllis, on Flickr

    Leave a comment:


  • JEllis1
    replied
    With the clear bra, vents, RE SSK and full exhaust system on, it was time to move to the suspension and brakes.

    I could not find an actual KW Clubsport DIY but I have done a few suspension setups before and in the end the Clubsport install was fairly straight forward.

    Its also worth mentioning that all the modifications in the build came from manufacturers that were trusted/respected and I was confident would work. I tried to avoid the newest gadgets and stick to parts that were reliable.

    I chose Brembos 380mm front and rear kit. The kit uses 6 piston calipers in the front and 4 piston calipers in the rear to maintain the correct balance and bias. Given the color of the car and green wheels with gold accents, IND and I decided it would be best to keep the brake calipers subtle. The calipers are gloss black with classic black chrome brembo logos.


    Time to say goodbye to the OE wheels! Sad day because I actually like the OE 18s, especially in silver. I need to turn one of them into a coffee table or wall art or something!

    IMG_0130 by JMEllis, on Flickr

    For the suspension/brake install I obviously needed to get the car all the way in the air to get to all four corners at the same time. For jack points, I used the front center jack point and the rear portion of the rear subframe (not the diff).

    IMG_0134 by JMEllis, on Flickr

    I focused on the suspension first. The KW Clubsport kit is extremely well built. Having had Bilstein Damptronics and Moton Clubsports on my 997, the KW meets or exceeds the quality of those two kits. Of course that is just my humble opinion after holding all three in my hands.

    The kit comes with everything you need with the top mounts already installed!

    IMG_0135 by JMEllis, on Flickr

    As I stated previously, the install of the suspension was very straight forward. Remember to always support the hub when removing the suspension components. I failed to do this once and I am surprised I did not break anything.

    Also, I was an idiot and assumed the KW sway bar links utilized the OE nuts for mounting (I missed the KW nuts in the box). I ended up having to cut the nut off of the sway bar link and then replace the chewed up link. I have to say that KW US customer service was great and they overnighted me a new link (helps I am in CA).

    IMG_0142 by JMEllis, on Flickr

    With the suspension installed I moved on to the Brembo BBK. Again, I was not looking forward to this install. But, with the technical article from European Car, I found the install rather easy and straight forward. It helps that the car was brand new with no rusted on bolts!

    I decided to keep the front heat shields and I modified them with a Dremel to allow enough clearance for the calipers. I have read there is potential for the hot brakes to melt the front tie bar bushes/covers. I imagine this is probably not true but given that my car will see the track, I figured why take the chance.

    Here is the cut heat shield. Note the oxidation already forming on my 600 mile wheel hubs.

    IMG_0139 by JMEllis, on Flickr

    I painted the cut edge of the heat shield with black caliper paint and then installed the Brembo Caliper bracket. This is one of the areas where I paid attention to torque values. I purchased a relatively inexpensive torque wrench from Home Depot to ensure this portion of the install was done correctly.

    IMG_0137 by JMEllis, on Flickr

    Here is the finished product. I decided to loop the OE brake sensor wire to avoid getting the code or installing them into the Brembo caliper. I followed the DIY in the DIY section which was helpful. Also, notice the nice and clean hubs! I used a product called "Fluid Film". Its a rust preventative liquid that comes in a spray can. I got the idea from someone else on this website. Apparently it has been used for years to prevent farm equipment from rusting. So far its working like a charm, however, it smells horrible!

    IMG_0145 by JMEllis, on Flickr
    Next up, wheels and test a drive!

    Leave a comment:


  • nishy
    replied
    Ay homie, I see your sig car is lookin a lot different than the post leads up to... what are you holding out on?

    Nah, but for real, I love it so far. Those Takata TE37s are pure sex

    Leave a comment:


  • JEllis1
    replied
    When IND offered me an OEM M3 GTS exhaust, I could not refuse. I combined the OE GTS rear section with a challenge sport center section which utilizes sport high flow cats.


    A few notes, removing the stock exhaust is required for installation of the Rogue Engineering short shift kit. I combined the installation of the SSK and the exhaust system.

    I backed up the car up on ramps and used jack stands for the front.

    IMG_0106 by JMEllis, on Flickr

    The hockey puck trick is a great way to keep your OE jack points looking good.

    IMG_0108 by JMEllis, on Flickr

    Here is the OE GTS exhaust and the Challenge center section ready for install. Note how the Challenge center section is perfectly suited to connect to the OE GTS rear exhaust section.

    IMG_0029 by JMEllis, on Flickr
    Silicon spray makes removal and the replacement of OE exhaust bushings much easier.

    The rear valence prepped for install.

    IMG_0116 by JMEllis, on Flickr

    The GTS rear section bolted right up with zero problems.

    IMG_0117 by JMEllis, on Flickr

    At this point it was time to install the Rogue SSK. I have to say, installing the SSK was one of my least favorite parts of the build. Being under the car for extended periods of time was not fun.

    I do not have any pics from under the car. There are quite a few DIYs for SSK installs. The trickiest part is removing the carrier bushing.

    IMG_0114 by JMEllis, on Flickr

    I used an allen wrench as a pry bar. I then used Rustoleum rubber spray paint to re-cover the connection points. The Rustoleum product was identical in feel and look to the rubber covering that was on the connection points from the factory. RE recommends a grease with teflon for the install. I found SuperLube which was recommended by the RE tech I spoke to.

    IMG_0120 by JMEllis, on Flickr

    I re-installed the carrier bushing by placing a large wrench over the top of it and then pushing up with basically all my might until it snapped into place with a loud "flack".

    Leave a comment:


  • JEllis1
    replied
    Bain Mendoza from Doza Designs installed the clear bra. He is a mobile installer that came highly recommended.

    Fender Bra by JMEllis, on Flickr

    He custom cut my clear bra that extended around panel edges.

    Hood Bra by JMEllis, on Flickr

    He did fantastic work and even cleared my GT4 lip!

    Front Lip Bra by JMEllis, on Flickr

    Here are the grills ready to go on.

    Grills by JMEllis, on Flickr

    For the tricky side gills I used the tape method. Basically, you use packaging tape for leverage to pull the chrome gills off and then simply pop in the new ones. Pretty simple but it takes a little more force than you would think . I doubled up on the tape. I used two pieces of tape top and bottom before pulling.

    IMG_0103 by JMEllis, on Flickr

    Leave a comment:

Working...
X