Announcement

Collapse
No announcement yet.

Elbenzo // Bagged '92 190E Project

Collapse
X
 
  • Filter
  • Time
  • Show
Clear All
new posts

  • JDMexican
    replied
    Forgot to mention that I decided I'm not going to do all the hard line shit right meow. Quite simply, I want to enjoy my car while I can and time is running out. I feel the hard lines and all that will take too long given the current pace of things. Hopefully I can get that shit done through winter when there's a bit more time and I'm not so rushed.

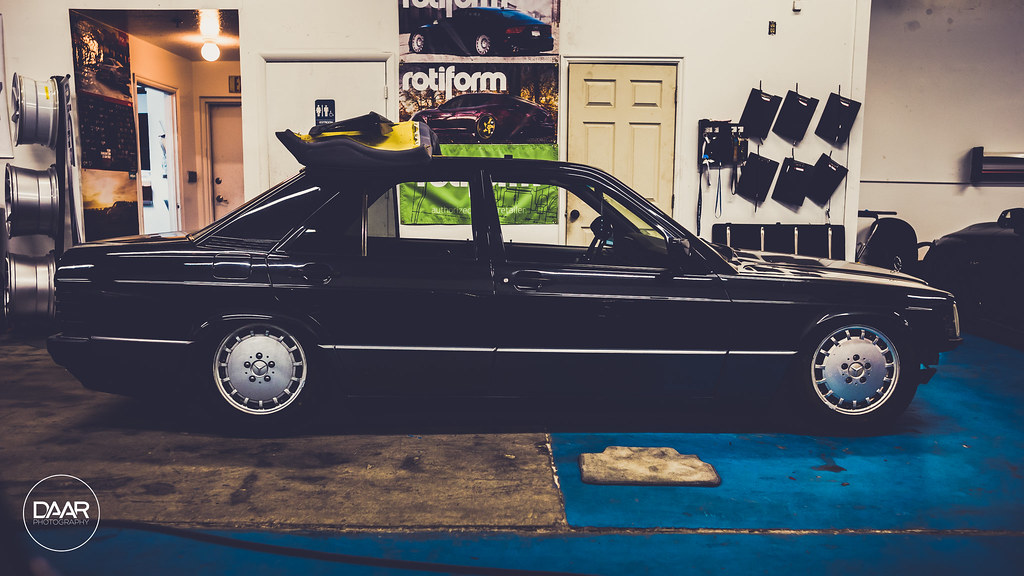
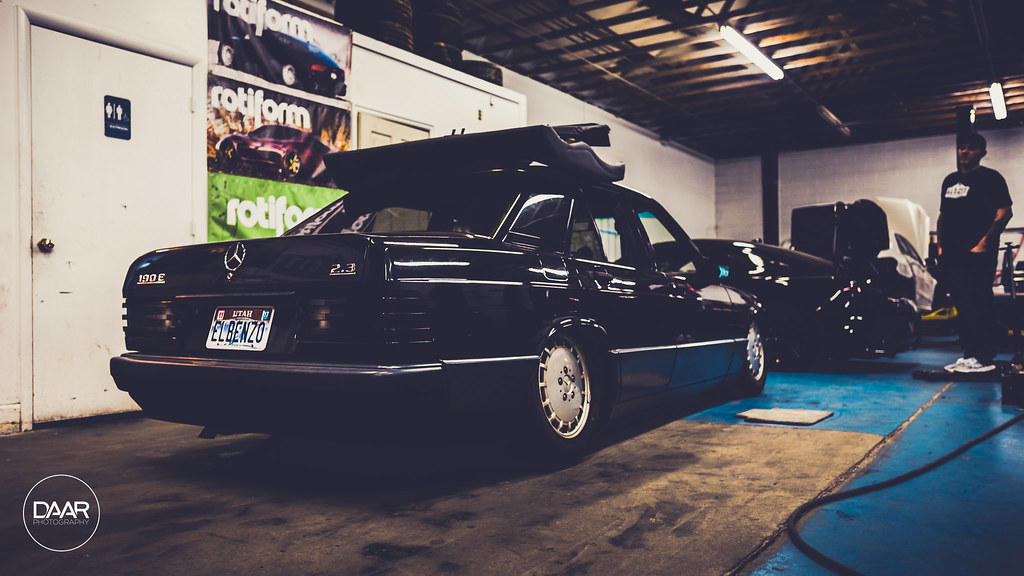
    Bonus picture because reasons
    Elbenzo - Air Tank Mock-Up by David Arellano, on Flickr

    Leave a comment:


  • JDMexican
    replied
    Doing the thing
    Elbenzo - Air Tank Mock-Up by David Arellano, on Flickr

    The adapter bracket mounted to the original Accuair Exo-mount bracket
    Elbenzo - Air Tank Mock-Up by David Arellano, on Flickr

    Manifold mounted! Still not the final position, just using for mocking up (the plate can be flipped)
    Elbenzo - Air Tank Mock-Up by David Arellano, on Flickr

    Elbenzo - Air Tank Mock-Up by David Arellano, on Flickr

    Pre-tank
    Elbenzo - Air Tank Mock-Up by David Arellano, on Flickr

    YEESSSSSS
    Elbenzo - Air Tank Mock-Up by David Arellano, on Flickr

    Elbenzo - Air Tank Mock-Up by David Arellano, on Flickr
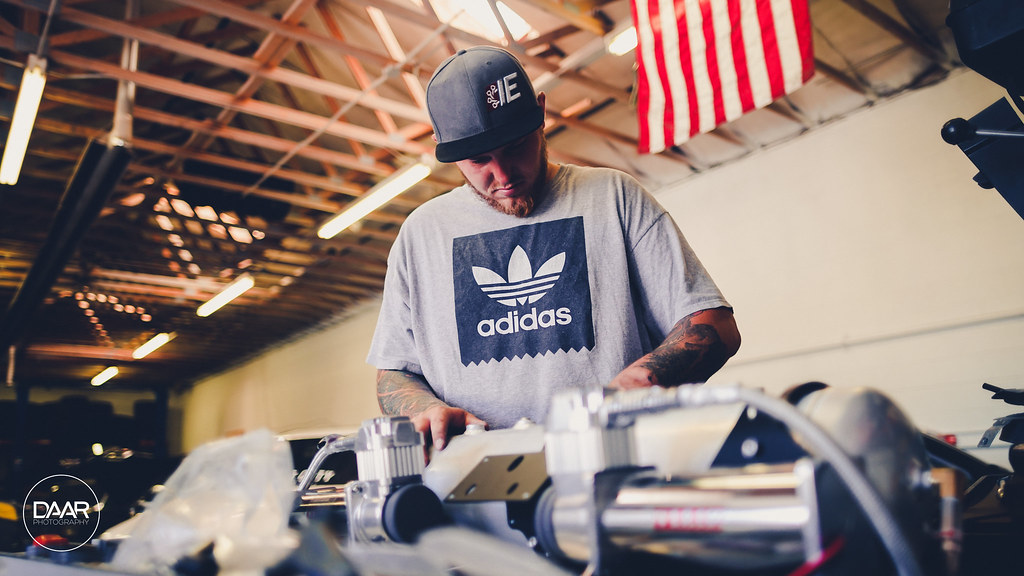
    Elbenzo - Air Tank Mock-Up by David Arellano, on Flickr
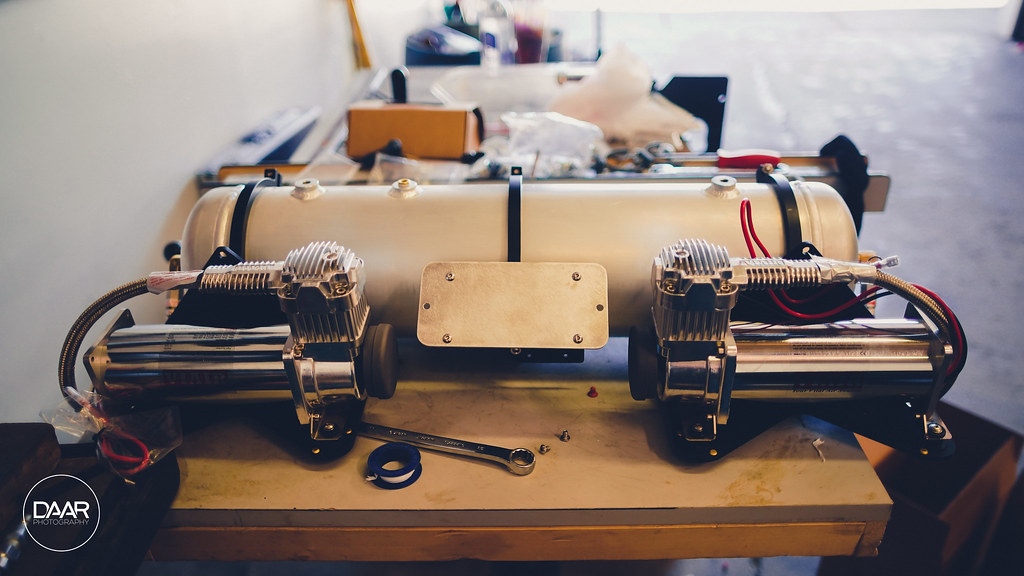

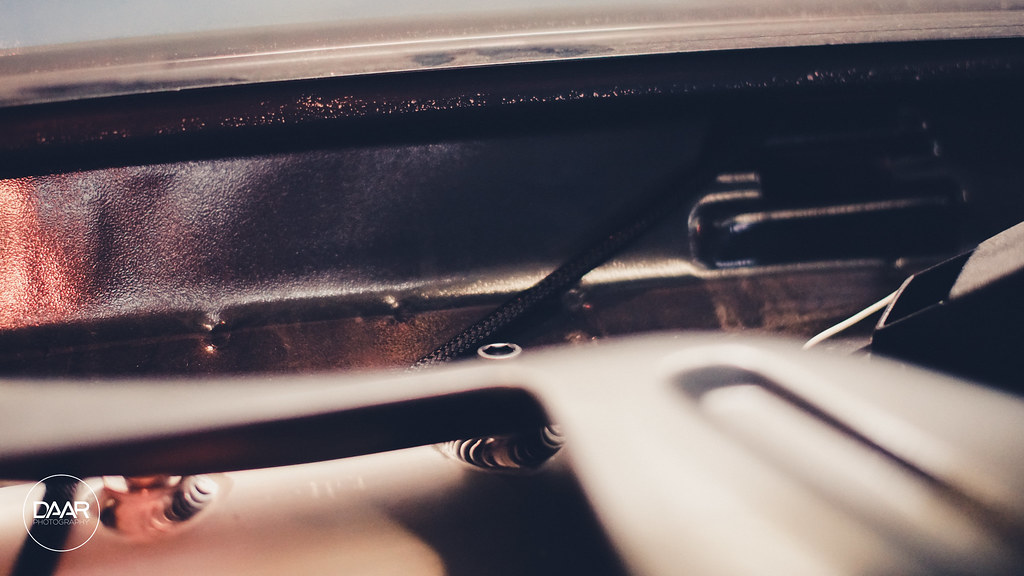
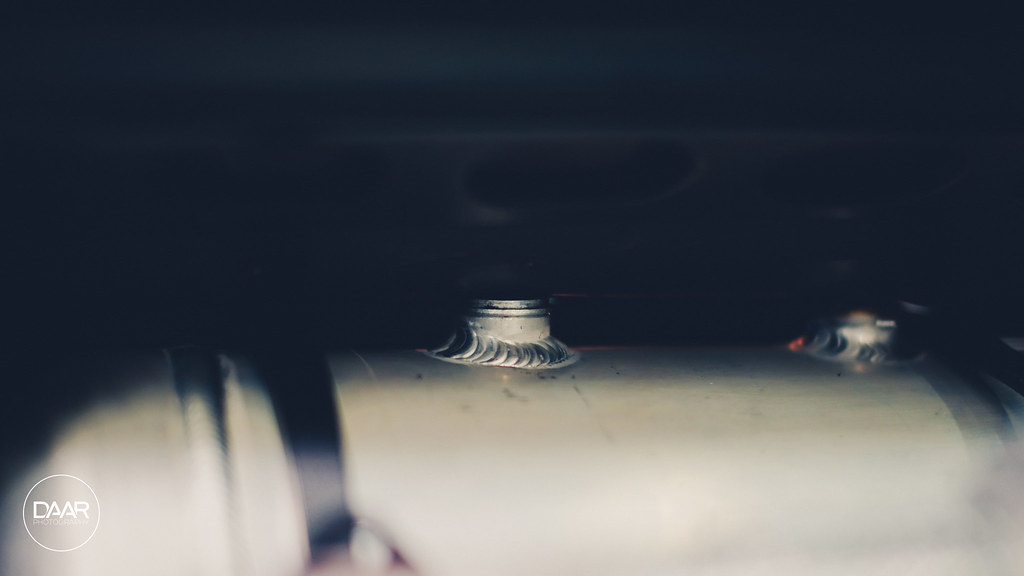
    The spot where the tank was mounted from using some heavy duty allen head bolts and some washers. Still not 100% since the tank does wobble a bit too much. We will be adding some re-enforcement to ensure that it stays still and doesn't wobble.
    Elbenzo - Air Tank Mock-Up by David Arellano, on Flickr

    Elbenzo - Air Tank Mock-Up by David Arellano, on Flickr
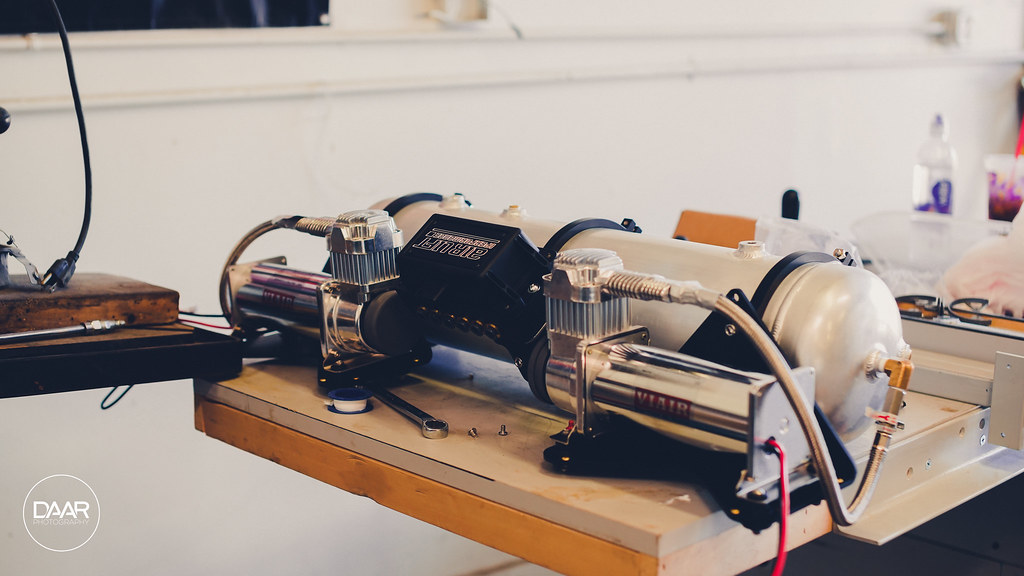
    Elbenzo - Air Tank Mock-Up by David Arellano, on Flickr
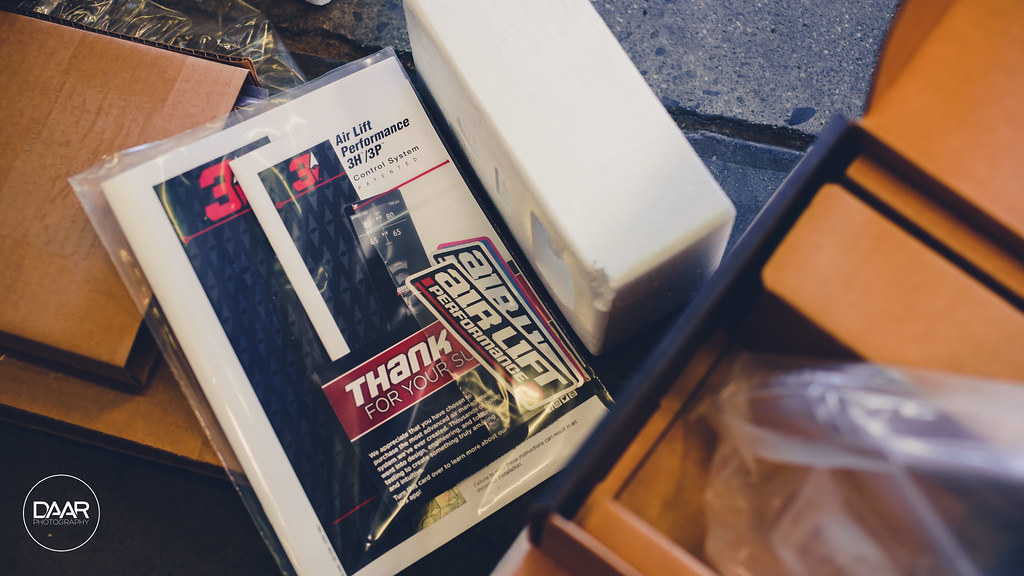
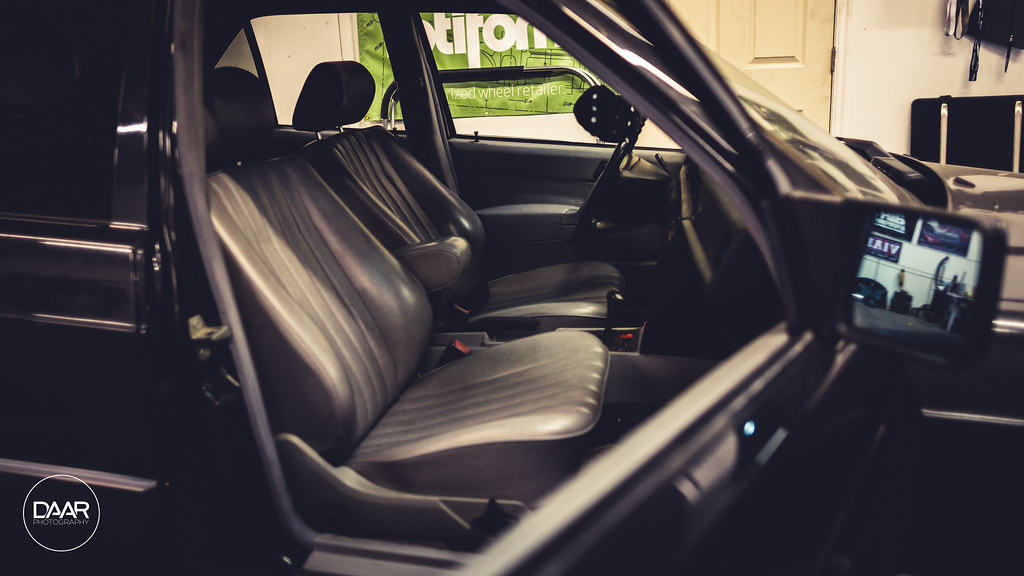
    Leave a comment:


  • JDMexican
    replied
    Finally some more updates!

    To make a long story short, shit is taking a long time and it's kinda frustrating. Communication isn't very great and the shop is a solid 40 minutes from where I live which sucks. As of latest, the goal was:
    • Get wiring completed
    • Get exo-mount mounted to tank
    • Get tank mounted to vehicle somehow
    • Have hard lines made
    • Take tank, brackets and hard lines to be plated
    • Ensure other pair of wheels is dropped off for plating


    So I have a friend, his name is Juan. Juan is the one taking care of the plating for me (the middle-man) with a local shop. By going through him I'm getting a better price and faster turn-around. The one pair of wheels had been plated the weekend of Wuste (beginning of June). I told him at that point to not rush getting the wheels done since my biggest deadline of the year had lapsed. So the plan then was this: Get the tank, brackets and hard lines sorted so that those items can be plated along with the remaining pair of wheels.

    This is the whole "shit is taking a long time" part.

    I wasn't getting any solid information and I'd eventually sent my dude Juan to visit the shop (since he's much closer than I) to pick up the parts to take them to get plated. He dropped by, they weren't ready, he dropped by again, they weren't ready, and I think one more time he dropped by and they weren't ready. Weren't ready in this case meaning they had not been test fitted and confirmed to work.

    Anyway, fast forward to the first of July. I headed down to the shop to leave the adapter bracket that was needed to mount the manifold. Much to my delight, he's mounting up the exo-mount and compressors to the tank... but it's not the Specialty Suspension seamless tank that I ordered and paid before Wuste. Whatever, at this point I just want to get the damn thing done. So we were able to get the tank "soft-mounted" in to the trunk (pictures below) and finally I started seeing the end in sight!

    Back to the communication part

    I'd informed my buddy Juan that he was good to go ahead and grab the tank and all that jazz now that we'd test fitted the items and confirmed that they'd fit (despite the fact that I'm not 100% happy with the tank that's being used). So he, being the rad dude that he is, drops by, but the tank and brackets are still in/on the car, not ready for him to pick up. He drops by again and nobody is there. He drops by yet again later and nobody is there. So this last weekend I finally get pretty sick of having this happen to someone who is going out of their way to help me out and I drive down there, having already known that a friend of mine has access to the shop and could help me out. I head down, grab the parts, we go get lunch and then meet up with Juan to leave him the parts!

    Hoooorraayyyyyy! Progress! The parts are now with Juan who will be leaving them with the plater this week to get done hopefully within a week or two.

    Now on to the pictures.

    Leave a comment:


  • fmiyc
    replied
    love this build!
    some News on the benz ?

    Leave a comment:


  • SaabIsLyfe
    replied
    Maad purrdy. BiggUPS

    Leave a comment:


  • Jorgen
    replied
    This is how a thread should look, full of quality pictures and thread full of details. Can't wait to see it as finished.

    Leave a comment:


  • JDMexican
    replied
    Welp, air tank finally showed up today. Found an adapter plate yesterday which was exactly what I needed to adapt the Airlift manifold to the Exo-mount, had it overnighted but it didn't show up today which is annoying.

    Doesn't matter anyway though since my wheels didn't get finished in time. Ultimate bummer since this is the ONLY show I cared to make all year, since last year. That's two years in a row now not having a car to show. Actually got pictures today of one pair done... other pair will be done and ready for clear coat on Monday.

    SO FUCKING CLOSE!

    whatever... I'm still gonna send it (it being myself, I'm gonna get hammered)

    Leave a comment:


  • JDMexican
    replied
    Stopped by the shop Saturday night after an exhausting 15 hour work day riding in super cars through some of the most scenic bits of northern Utah snapping photos for Drive Road Rally. It was epic! I'll be posting some of the photos in my Photography thread on here. (will link once it's active again).

    Installed the interior again, well all but the back seat since I have to wait for my tank to arrive so that we can mount it to the rear deck.
    Air Ride Install @ Salt City Auto Styling by David Arellano, on Flickr

    Also started looking at how I'm going to go about mounting my Airlift manifold to a bracket that is meant for an Accuair manifold. I'm thinking I may end up having a small adapter plate cut out of some steel and basically sandwiching the accuair bracket between the plate and the manifold. May also drill out the adapter plate to secure the adapter to the accuair bracket. Thoughts?
    Air Ride Install @ Salt City Auto Styling by David Arellano, on Flickr

    Air Ride Install @ Salt City Auto Styling by David Arellano, on Flickr
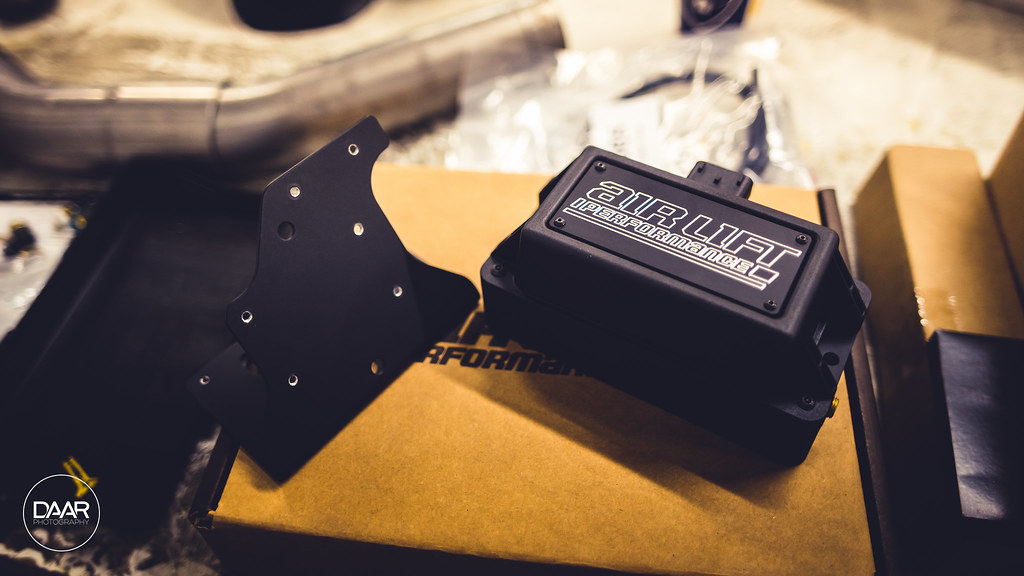
    Leave a comment:


  • JDMexican
    replied
    DIY 190E FENDER SPACERS!

    So since I really couldn't do anything else on the car until I got my air tank and/or my wheels back. I decided I'd take the time to do the DIY fender spacer setup that I'd seen posted before! After reading through the very... well written write-up I decided I'd go for it.

    Step 1: Acquire Energy Suspension Sway Bar End Link Bushing Set! Available at Oreily's! Pep Boys did not have any of these in stock across the state. PN#
    Air Ride Install @ Salt City Auto Styling by David Arellano, on Flickr

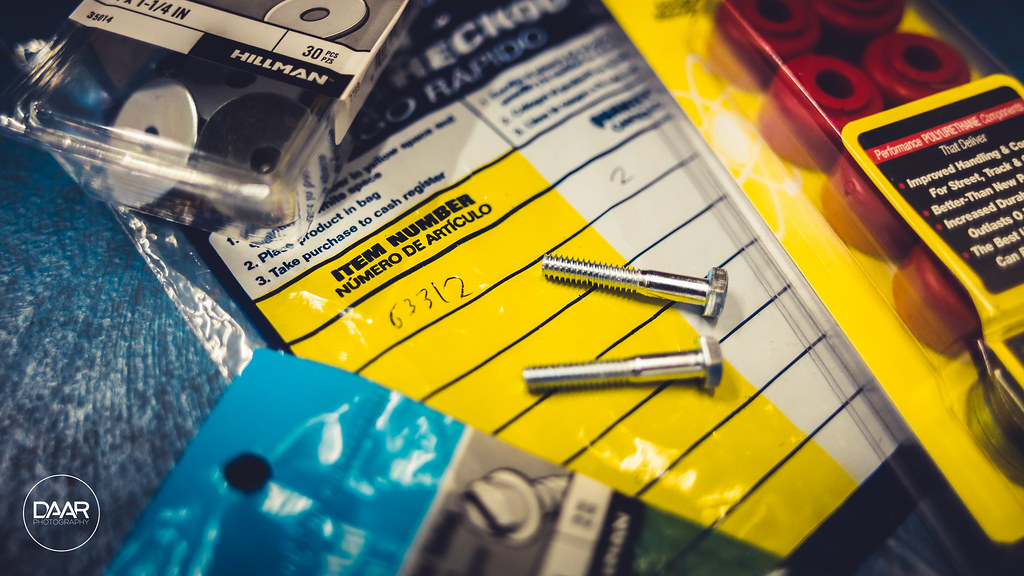
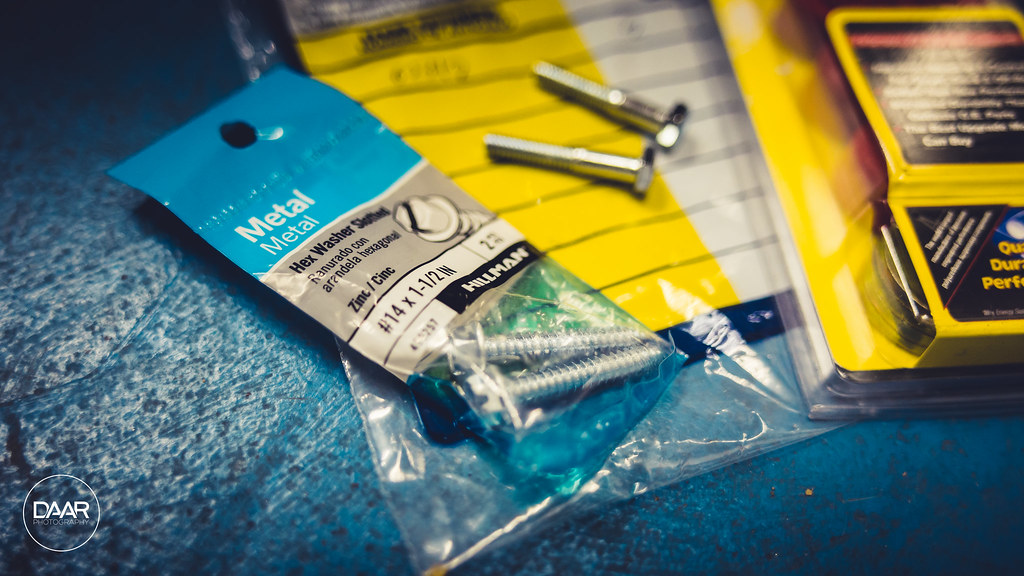
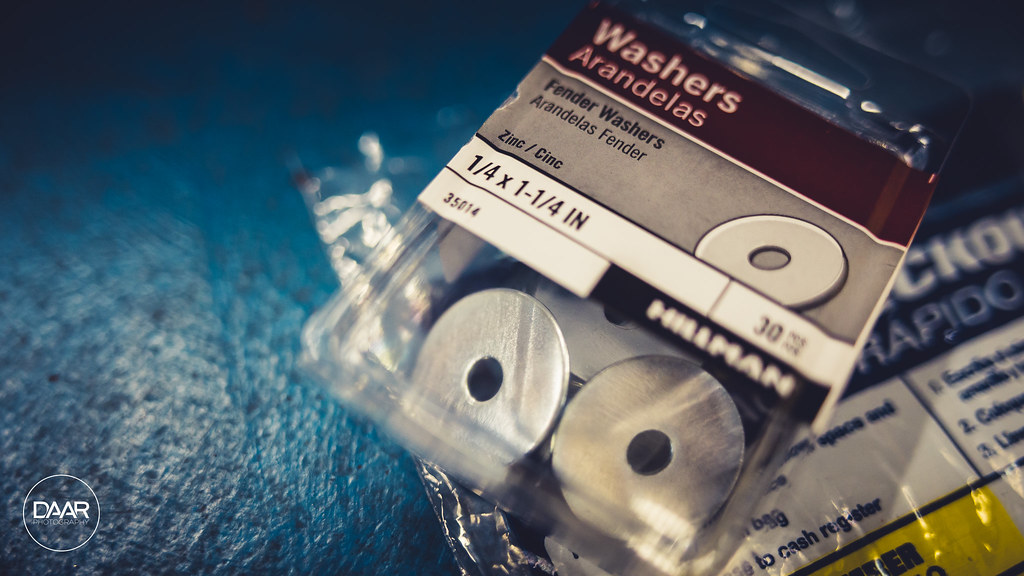
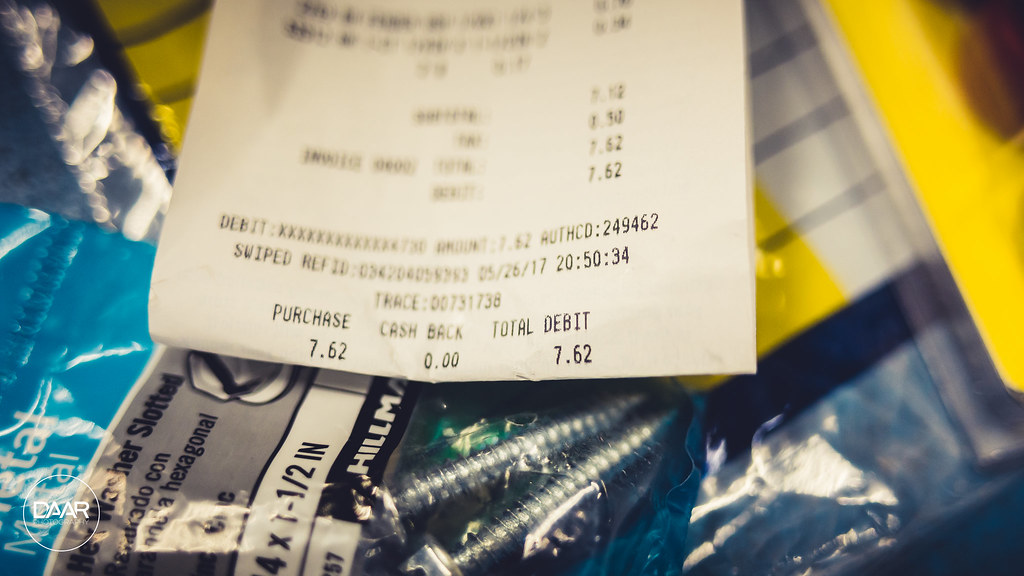
    Step 2: A trip to Lowe's to get what I thought I'd need! This is what I came back with (it was almost what I needed).
    Air Ride Install @ Salt City Auto Styling by David Arellano, on Flickr

    Two #63312 bolts
    Air Ride Install @ Salt City Auto Styling by David Arellano, on Flickr

    Two #14 x 1-1/2 inch screws (After doing this myself, I would strongly recommend getting two #14 1 inch screws. Details below)
    Air Ride Install @ Salt City Auto Styling by David Arellano, on Flickr

    A pack of 1/4 x 1-1/4 inch fender washers
    Air Ride Install @ Salt City Auto Styling by David Arellano, on Flickr

    Total cost: $7.62
    Air Ride Install @ Salt City Auto Styling by David Arellano, on Flickr

    The dirty work! Really, so much dirt came out from the bumper and fenders it was crazy.

    Step 3: Pull off the bumper!
    • Jack up the vehicle
    • Place on jack stands (safety first, don't trust your jack)
    • Locate the bolts under the fender that mount the edges of the bumper and remove
    • Locate the two sets of bolts on the back of the bumper that mount to the frame and remove
    • Pull the bumper off! Some of you may run a front plate, in which case you will have to pull that off and unbolt the temp sensor from the bumper


    Step 4: Remove the corner markers!
    • Pop the hood
    • Look to the back of the indicator, you'll see a long plastic arm with a wheel on it, twist off the inboard wheel with your hand
    • Once that wheel is off, gently tug on the corner marker or push from the inside
    • Once loosened up, rotate and remove the bulb/harness
    • Place that badboy somewhere safe, repeat for other side


    Step 5: Remove under-headlight-trim
    • Locate the single bolt holding on the under-light trim piece, remove and pivot to detach from the fender. Repeat for other side


    Step 6: Detach the fronts of fenders
    • Locate the three bolts attaching the fender to the vehicle: Under the outside edge of the headlight, top corner of the indicator, just below the back end of indicator, remove


    Step 7: Add spacers - re-attach fenders [does not have to be done in any specific order]
    • Grab a bushing, a fender washer and one washer from the bushing kit (I tried using two of the bushing washers but they were too bulky)
    • Gently tug your fender outward and insert the stacked combo in to the fender (pictures below)
    • Utilize your #14 screw along with a fender washer to secure the fender spacer in place, do not thread it all the way in yet
    • Utilize the OEM hardware along with a stack of three washers (my preference) to secure the top of the fender in place, do not thread it all the way in yet
    • This is the part I screwed up on. I did not buy another pair of longer screws to secure the front of the fender under the headlight. So get yourself a #14 1 inch screw and start to tighten down the front of the fender. This is the hardest part since it'll fight you
    • Start tightening down each one of the three bolts gradually until everything is nice and snug. You won't notice the difference in width until you look at the other side
    • Repeat for other side!


    Step 8: Adding spacers to the bumper. I totally forgot to document this part but it is relatively self explanatory.
    • Re-attach the under-headlight trim
    • Hang the bumper and try to line it up to the best of your ability
    • Thread in the larger center set of bolts to help secure the bumper in place, do not tighten all the way down
    • Grab a bushing combo'd with some washers on either side and insert to the outer bumper mounting point
    • Utilize your #63312 bolt (I may have ended up using a different bolt because of the length) and thread in to the bumper
    • Repeat for the other side


    Air Ride Install @ Salt City Auto Styling by David Arellano, on Flickr

    Air Ride Install @ Salt City Auto Styling by David Arellano, on Flickr
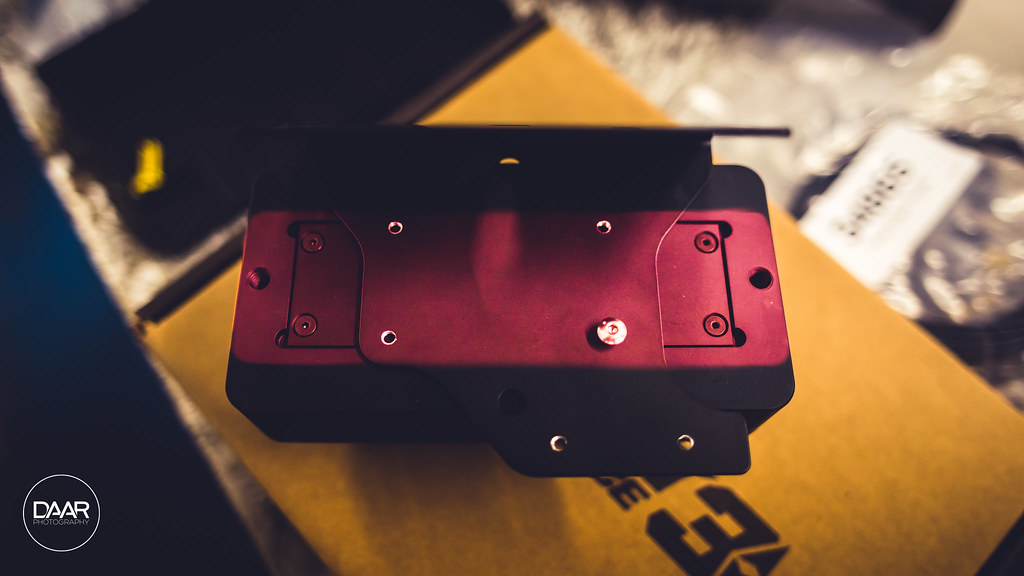
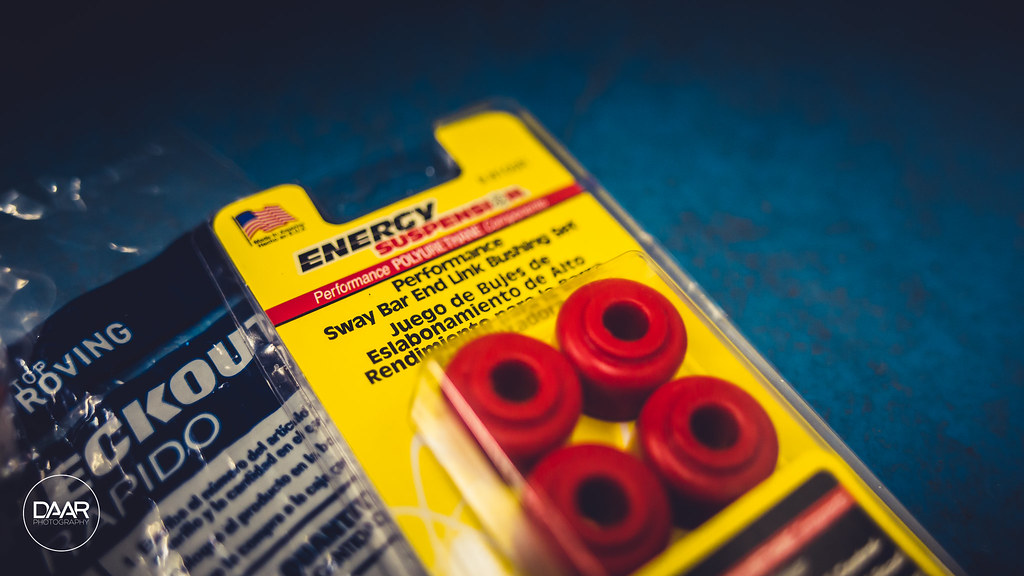
    Air Ride Install @ Salt City Auto Styling by David Arellano, on Flickr
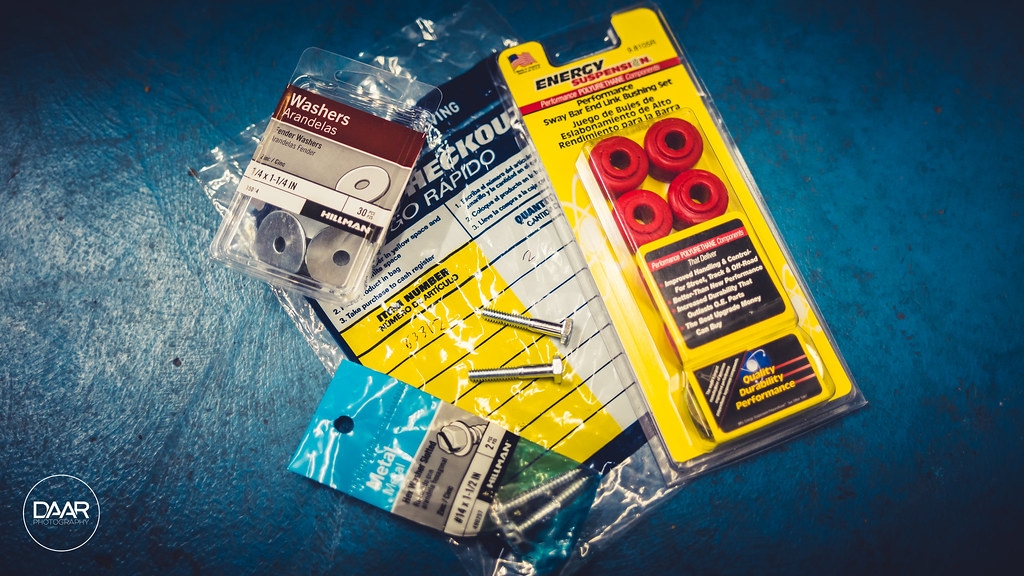
    This is where you should be using the #14 1 inch screw instead of the OEM unit. I had to bend my tab a little with some pliers to get it lined up properly. Highlighted under the headlight
    Air Ride Install @ Salt City Auto Styling by David Arellano, on Flickr

    BEFORE
    Air Ride Install @ Salt City Auto Styling by David Arellano, on Flickr

    AFTER
    Air Ride Install @ Salt City Auto Styling by David Arellano, on Flickr

    Air Ride Install @ Salt City Auto Styling by David Arellano, on Flickr
    Air Ride Install @ Salt City Auto Styling by David Arellano, on Flickr
    Last edited by JDMexican; 05-29-2017, 05:29 PM.

    Leave a comment:


  • JDMexican
    replied
    Over one of the nights we were trying to figure out what to do, as I bumped in to a bit of a situation that I didn't anticipate because I apparently hadn't thought everything through.

    As some of you may recall, I received some UAS bags from Bagriders that were in really shitty condition straight out of the box. As a result I ended up returning the bags to them (after a bit of a fight) and buying some Slam Specialties SS5 bags from AVS. Now, the situation. The Only Charged Dubs kit calls for the UAS bags and isn't bolt-on compatible with SS5 bags. For some reason I'd figured that the way bags mount was mostly universal for passenger cars (small bags). I was wrong.

    Soooooo we had a discussion about what the best solution was:
    • Replace my SS5 bags with UAS bags: Which I really didn't want to do for a number of reasons.
    • Drill the LCA's for the SS5 bags: Which I personally did not have the time to do given my schedule that week.


    We were also having doubts about running the nutsert setup that OCD recommends along with their method of mounting the tophat cup to the bag and to the car. Our thoughts were to just drill some access holes to the bottom of the LCA and weld the LCA plate to the LCA itself, guaranteeing nothing would ever come loose. As for the tophat cup, we determined that once the car is under pressure and the shocks are compressed, the cup shouldn't ever get to a point where it droops enough to actually drop out from the top hat. Sooooooo with that being said, while I was away at work the next day, Matt got to cranking away for me!

    Tadaaaaaa
    Air Ride Install @ Salt City Auto Styling by David Arellano, on Flickr

    Air Ride Install @ Salt City Auto Styling by David Arellano, on Flickr
    Air Ride Install @ Salt City Auto Styling by David Arellano, on Flickr
    Air Ride Install @ Salt City Auto Styling by David Arellano, on Flickr
    Air Ride Install @ Salt City Auto Styling by David Arellano, on Flickr
    Air Ride Install @ Salt City Auto Styling by David Arellano, on Flickr
    Rear setup (bag looks closer to the shock than it actually is
    Air Ride Install @ Salt City Auto Styling by David Arellano, on Flickr

    Air Ride Install @ Salt City Auto Styling by David Arellano, on Flickr
    Air Ride Install @ Salt City Auto Styling by David Arellano, on Flickr
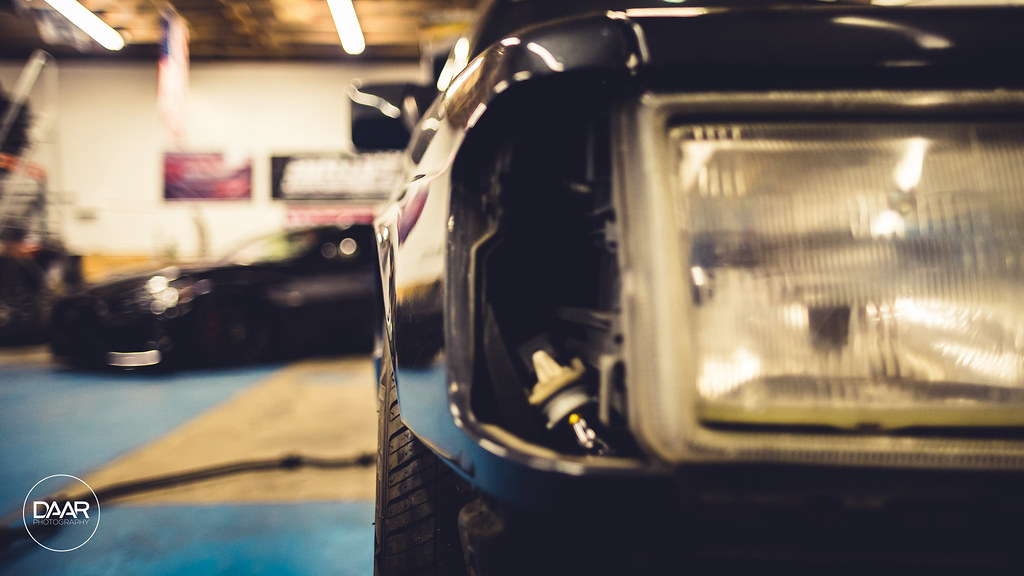
    Annnnnnd she's bagged! We were able to hook up an air junction that allows us to raise and lower the car manually from the shop's airline since we still don't have the tank setup completed unfortunately. If you care to read, the story is below
    Elbenzo - Bagged At Last by David Arellano, on Flickr

    Elbenzo - Bagged At Last by David Arellano, on Flickr

    Elbenzo - Bagged At Last by David Arellano, on Flickr

    Air tank story!
    So here's the deal. Some of you may recall that I started doing this install myself at another friend's shop a week ago now. I quickly ran in to a problem with my Airlift tank being too small in diameter to mount my exo mount setup to. My entire trunk setup is dependent upon the use of the exo mount system so I had to get a new tank, stat! I hit up my friend Matt and he informed not only that he could get me a tank, but that we could do the install at his shop! Neato, except that unfortunately he was not able to acquire a tank in the end of it all. So I reached out to a cali friend that has some contacts and he was able to get me in touch with someone at Because Bags to get me a tank that WOULD work with my Exo Mount system

    Enter stage: Because Bags employee
    • Wednesday, early afternoon: I called to order myself a 4 gallon Suspension Specialties tank at the recommendation from BB employee. He informed that he would get the shipping label created and get the tank shipped out first thing the next morning (Thursday morning) to ensure that I could receive it either Friday afternoon or Saturday day. Neato, right!? Welp, that didn't happen.
    • Thursday afternoon: I hadn't seen any updates on the tracking number, so I figured perhaps the shipper just hadn't updated it. No worries.
    • Thursday evening: I still hadn't seen any updates on the tracking number, started getting concerned. Decided I was gonna call the next morning.
    • Friday morning: Called to speak with BB employee but he was not available. Informed the rep I spoke with that I needed to change my shipment to be rushed overnight to ensure I could receive it Saturday. He informed that BB employee would call me back.
    • Friday early afternoon: Still hadn't received a call back from BB employee so I called again. Ended up talking to the same rep who I confirmed with that I had not received a call back regarding the tank. He put me on hold for a bit and came back with my worst nightmare. The tank had already been shipped out that morning standard shipping. Ya'll know what this means? The tank won't be here until... Mon... no wait, there's a federal holiday Monday... that means... TUESDAY! FUCK. So instead of wrapping up my tank setup this weekend and getting the car completely driveable this weekend, I have to wait until Tuesday to even START doing the tank setup. God dammit BB employee *feels chance of making Wuste slowly slipping away
    Last edited by JDMexican; 05-29-2017, 04:42 PM.

    Leave a comment:


  • JDMexican
    replied
    More things!

    Came back the next night to the shop to start cranking away on pulling the current suspension bits. Started off with a tiny job to get me warmed up.

    Swapped out the standard bulbs for LED bulbs, didn't really do shit except make it a little brighter. Oh whale
    Air Ride Install @ Salt City Auto Styling by David Arellano, on Flickr

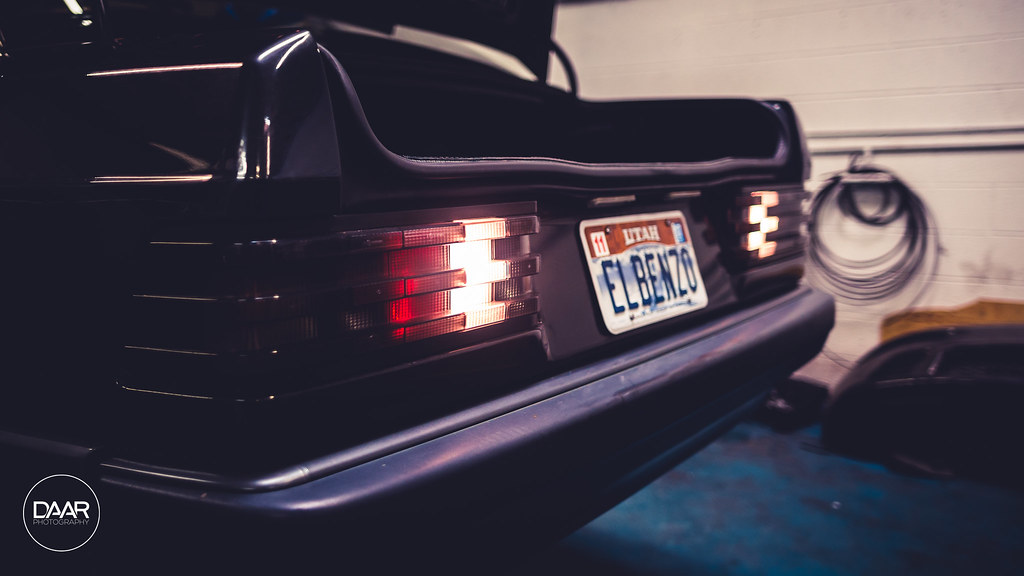
    THEN I swapped out my license plate bulbs for some MUCH brighter LED's and holy crap did it make a difference!
    Air Ride Install @ Salt City Auto Styling by David Arellano, on Flickr

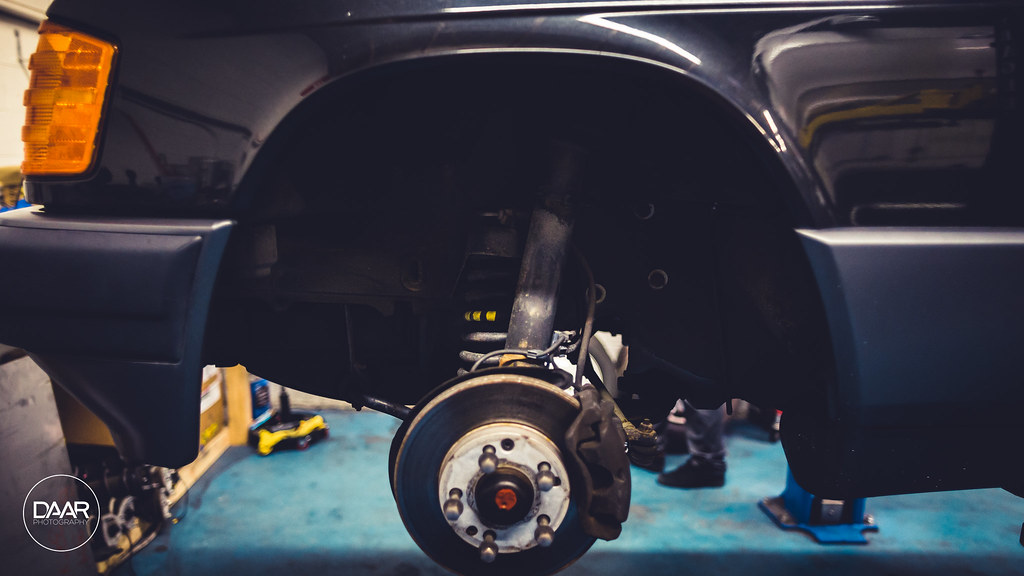
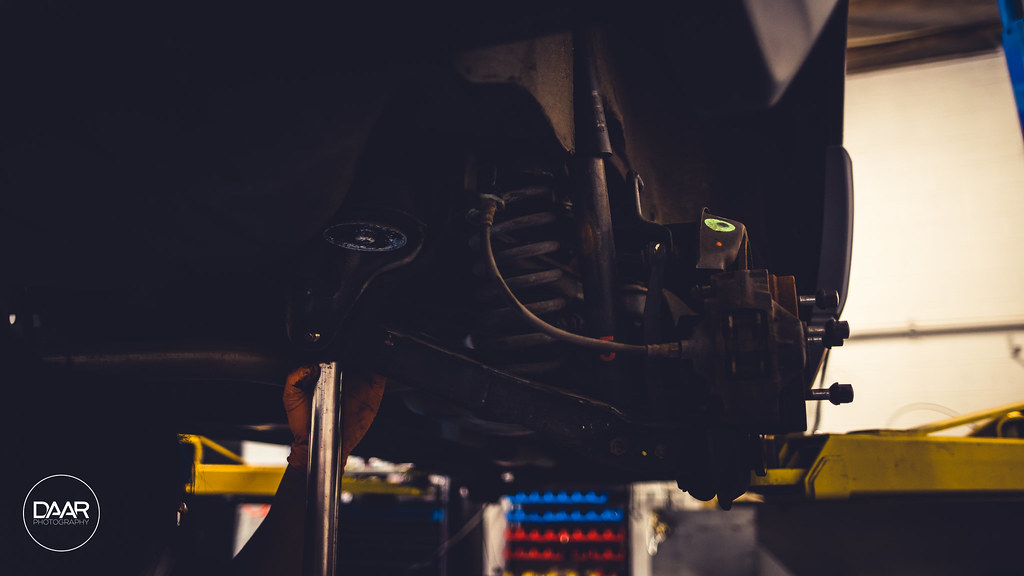
    THEN it was time to really get started. Started off in the rear pulling the LCA's off. I was amazed to find virtually no rust whatsoever under the car. Every bolt came out just as it should from factory.
    Air Ride Install @ Salt City Auto Styling by David Arellano, on Flickr

    Air Ride Install @ Salt City Auto Styling by David Arellano, on Flickr
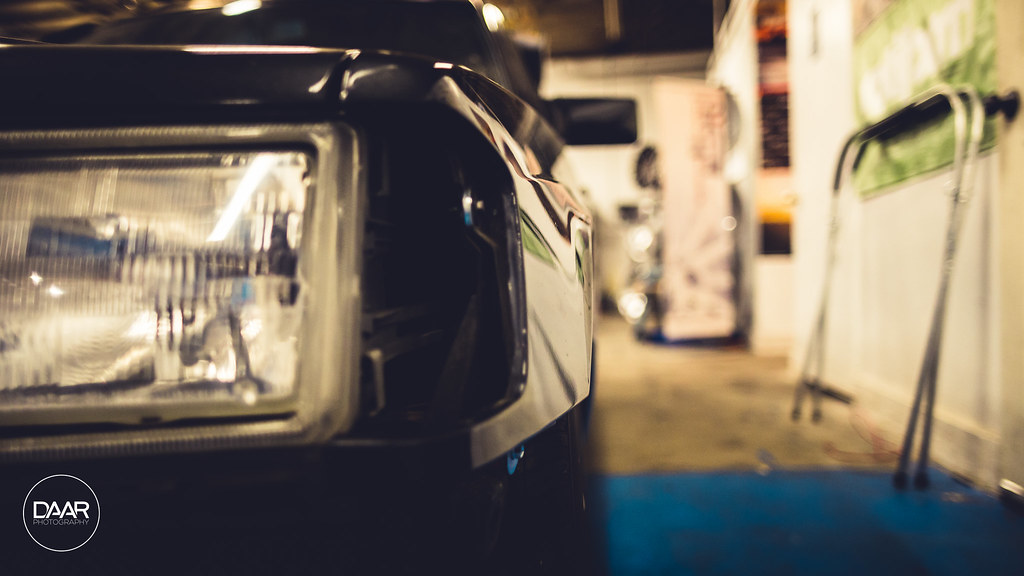
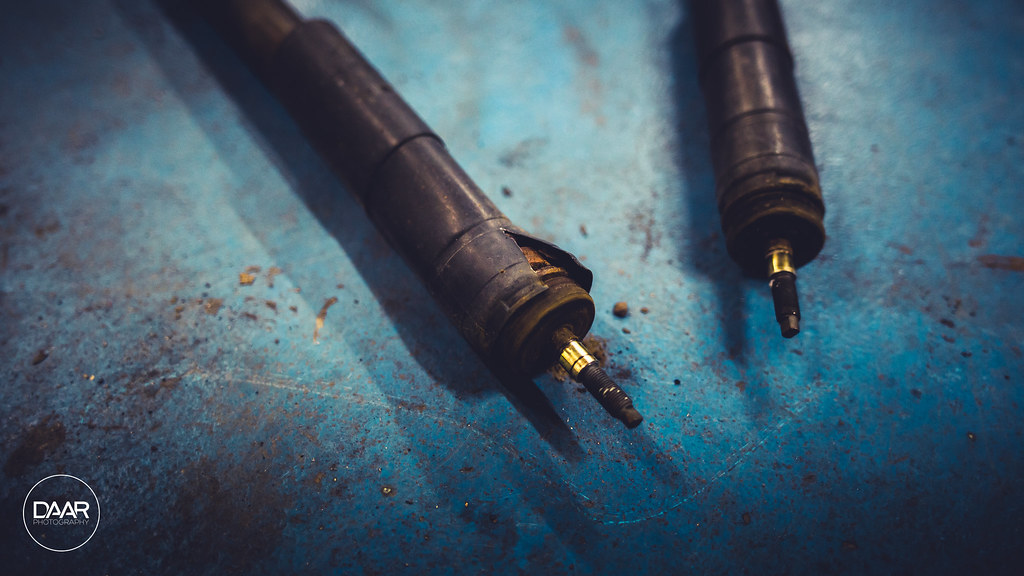
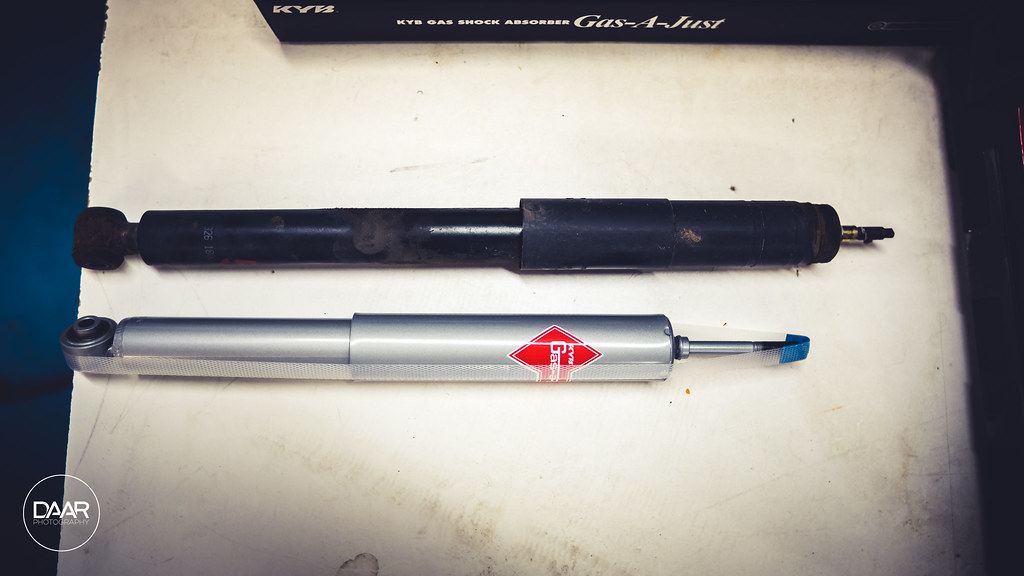
    The rear shocks were completely toast!
    Air Ride Install @ Salt City Auto Styling by David Arellano, on Flickr

    Air Ride Install @ Salt City Auto Styling by David Arellano, on Flickr
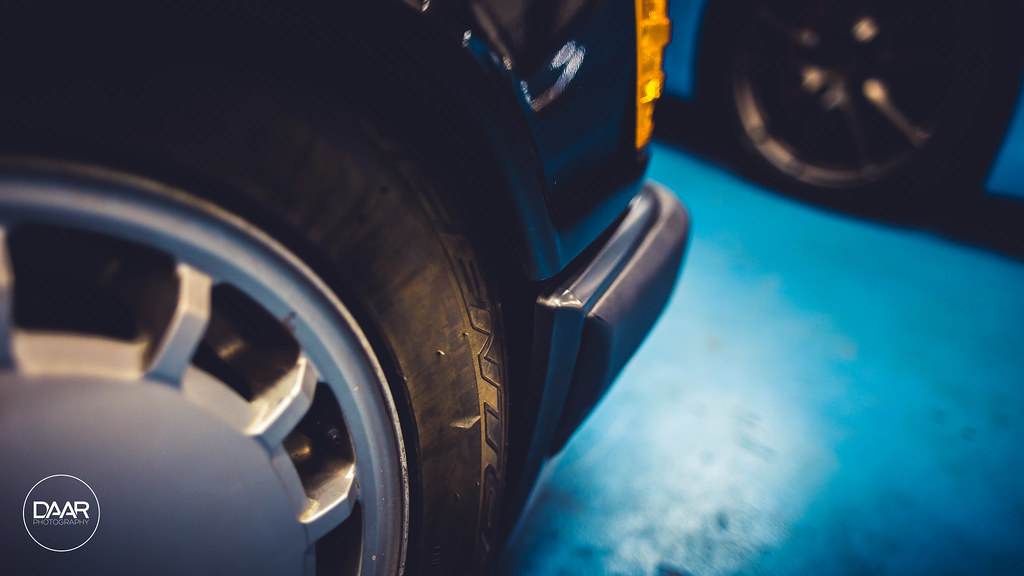
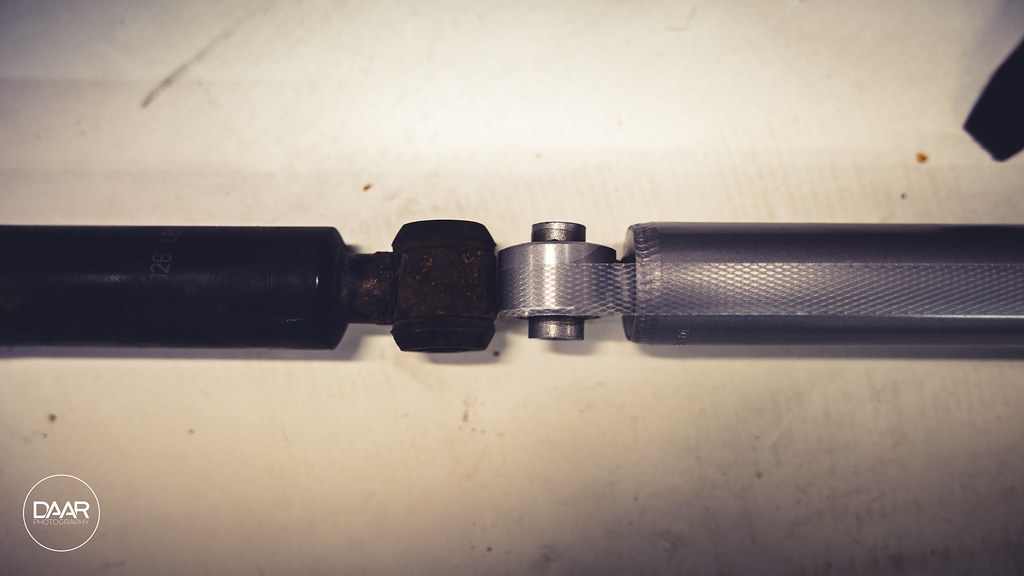
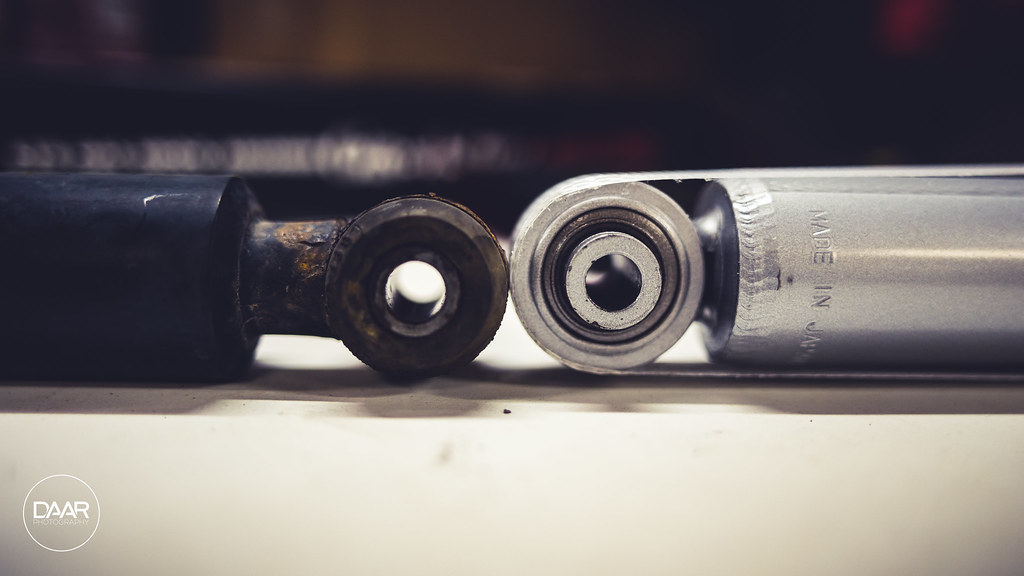
    Old vs. New - These are the Saab KYB's purchased from Rock Auto, still not sure if they're short enough so I may end up going with the Ford Ranger front shocks eventually. These bolt right up!
    Air Ride Install @ Salt City Auto Styling by David Arellano, on Flickr

    Air Ride Install @ Salt City Auto Styling by David Arellano, on Flickr
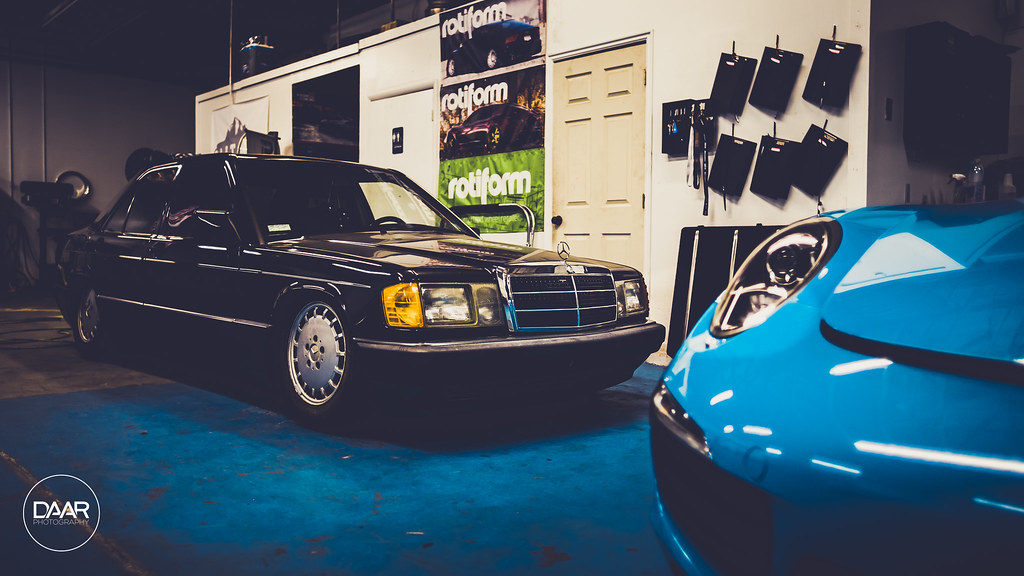
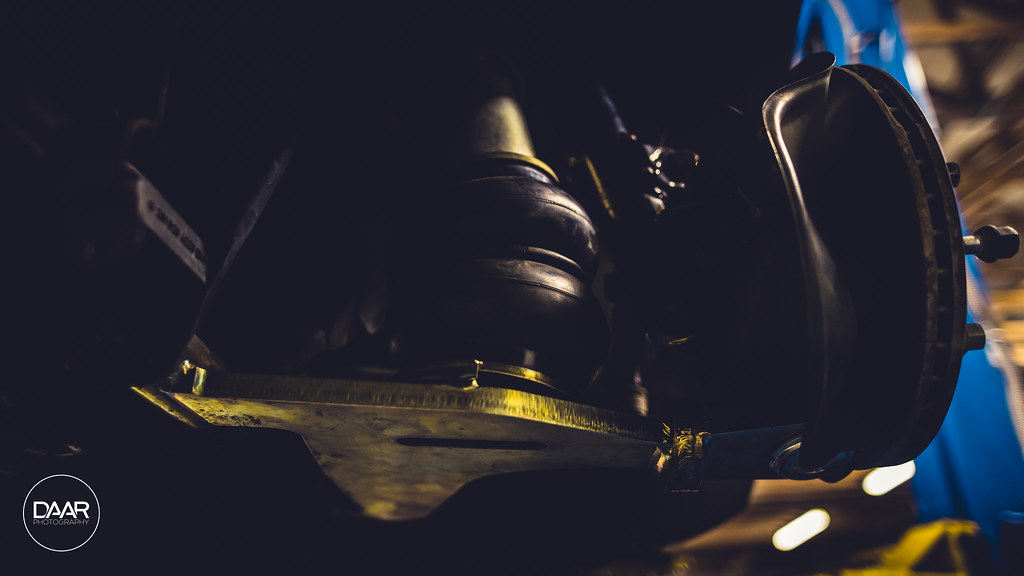
    Air Ride Install @ Salt City Auto Styling by David Arellano, on Flickr
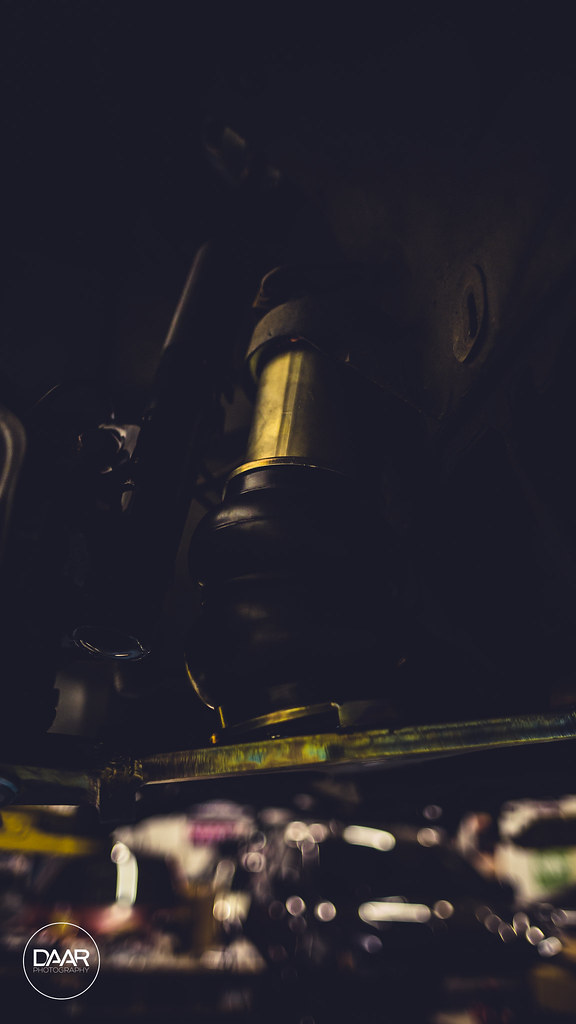
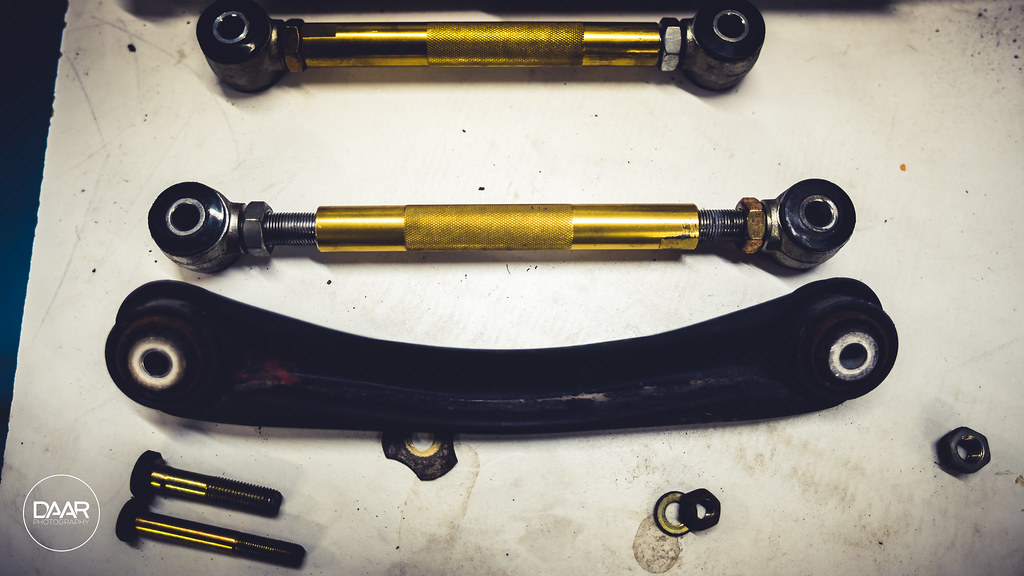
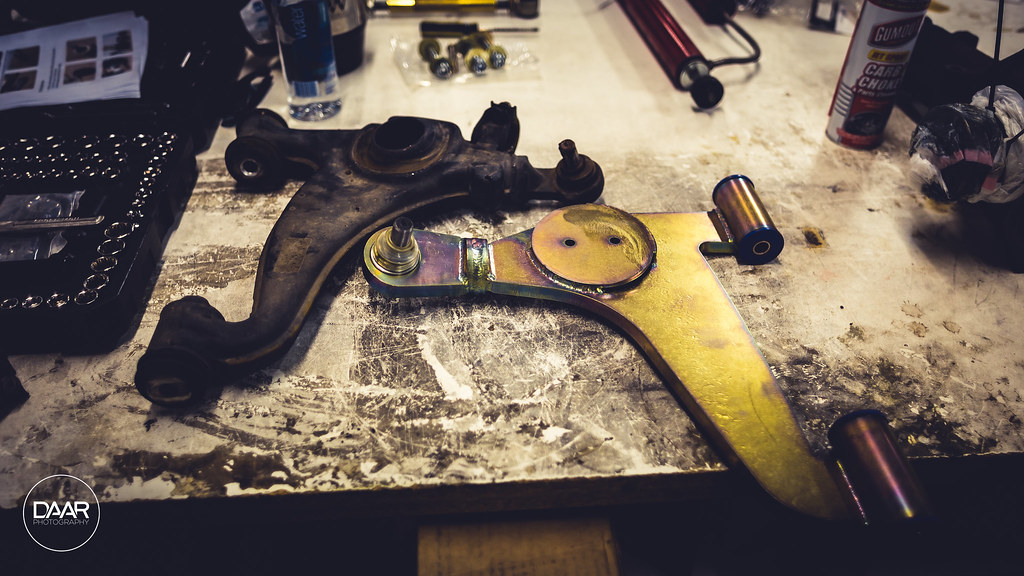
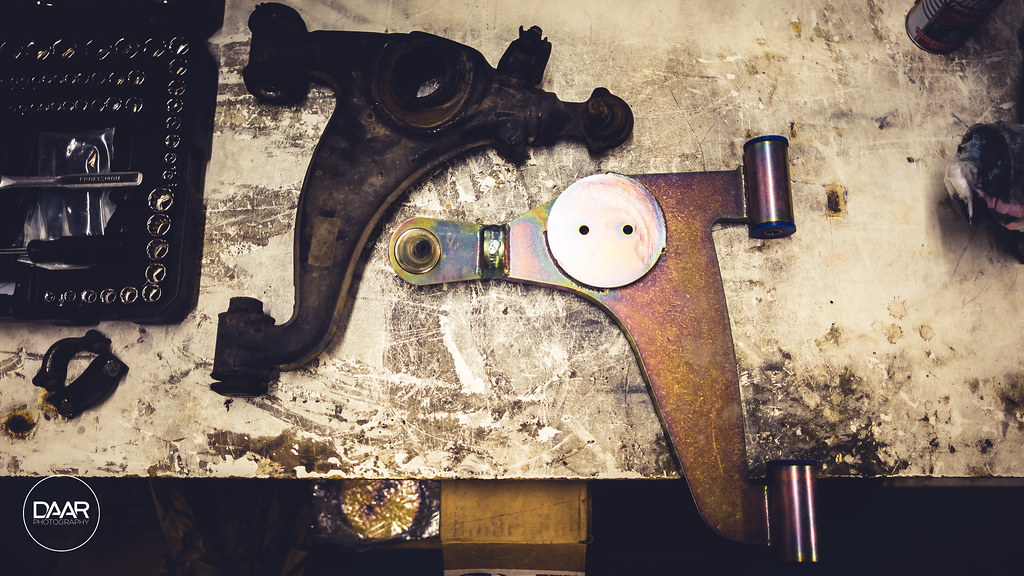
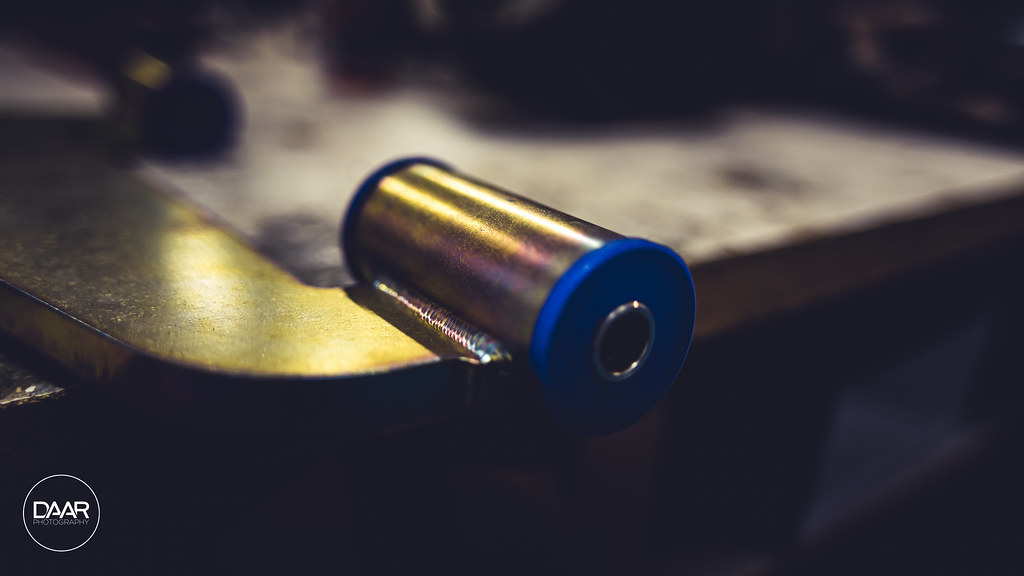
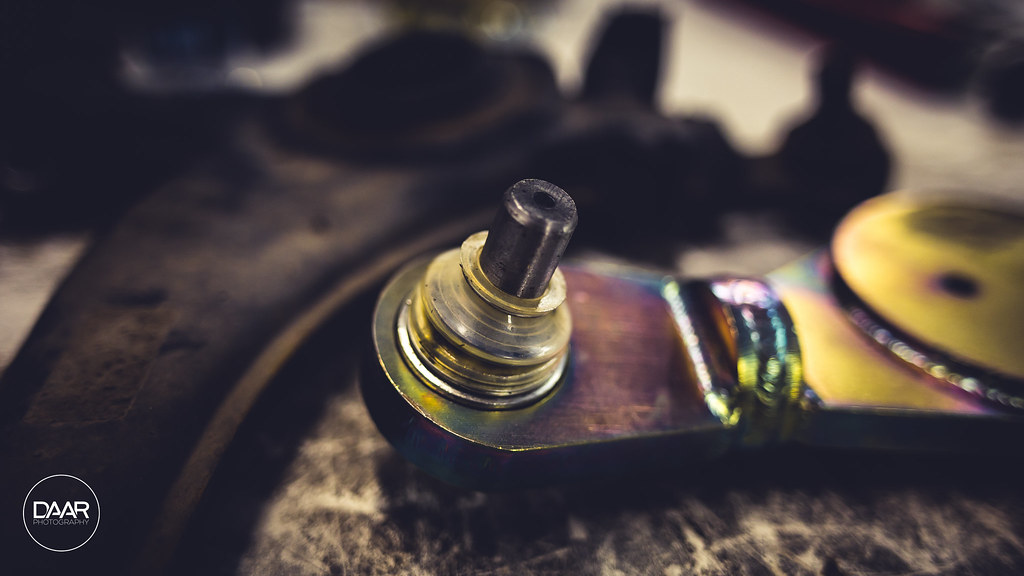
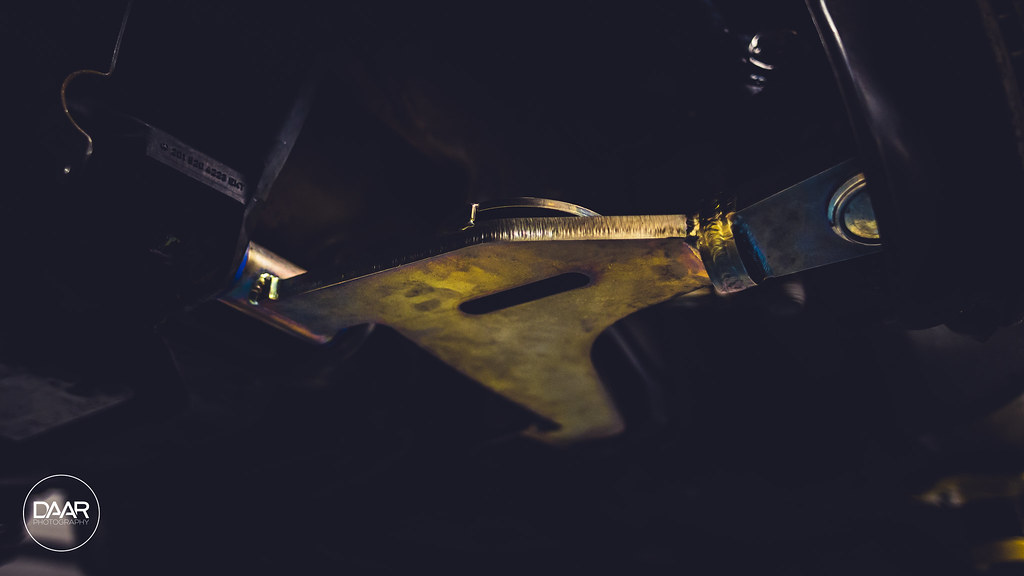
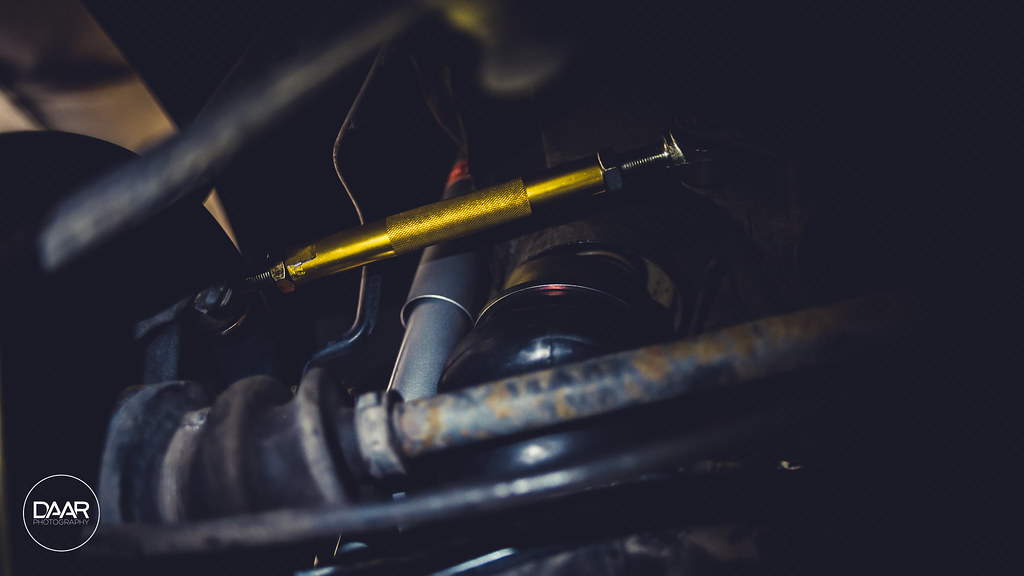
    Old camber arm vs. new adjustable DIY unit! You will have to run a larger diameter bolt with new washers and nuts. Unless you want to pound out the sleeve that sits in the OEM arm and hammer in to the new one. (which isn't worth it in my opinion.
    Air Ride Install @ Salt City Auto Styling by David Arellano, on Flickr


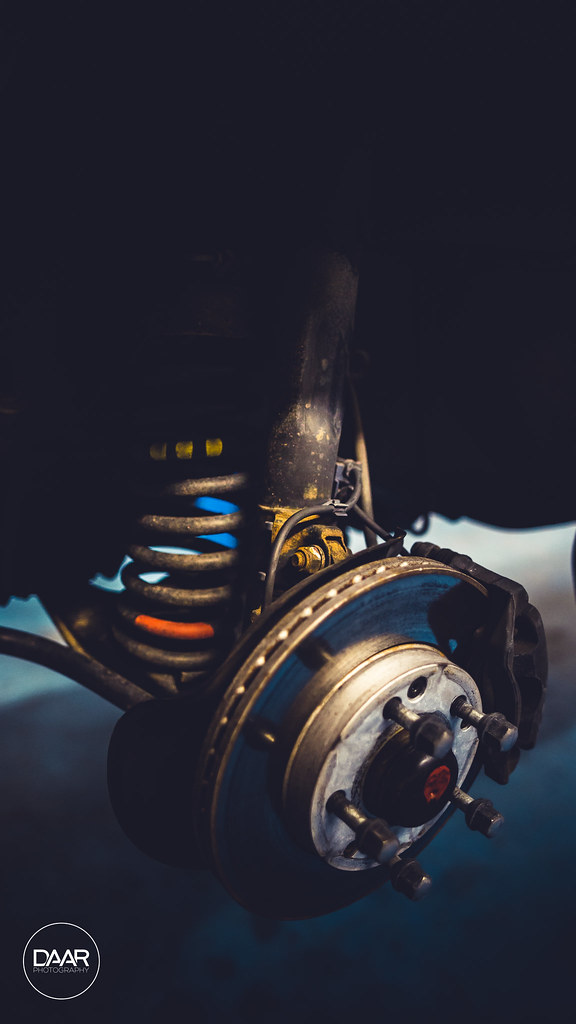
    Front suspension before
    Air Ride Install @ Salt City Auto Styling by David Arellano, on Flickr

    Air Ride Install @ Salt City Auto Styling by David Arellano, on Flickr
    Little bit of a difference here - OEM vs. Only Charged Dubs kit
    Air Ride Install @ Salt City Auto Styling by David Arellano, on Flickr

    Air Ride Install @ Salt City Auto Styling by David Arellano, on Flickr
    Air Ride Install @ Salt City Auto Styling by David Arellano, on Flickr
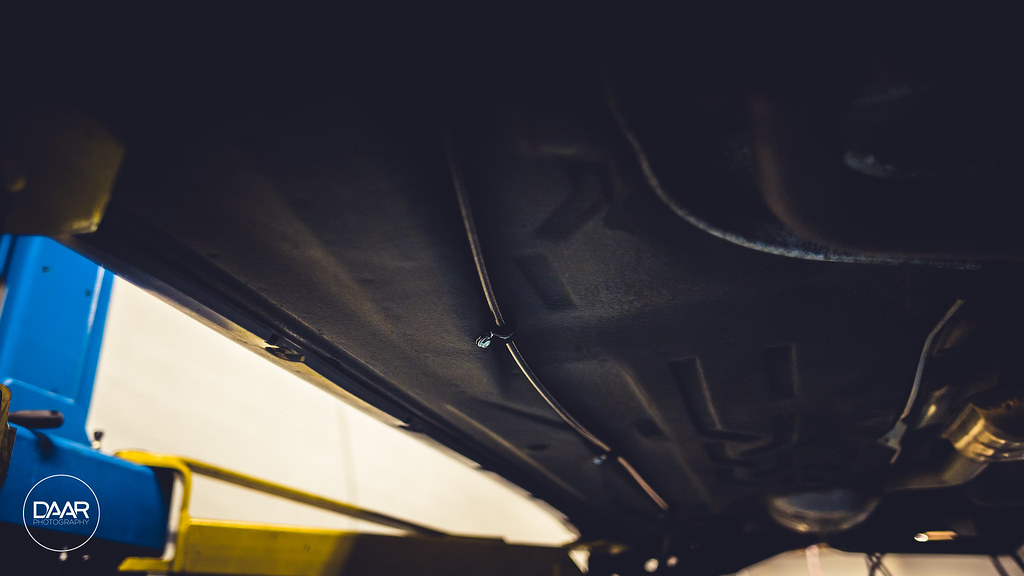
    Air Ride Install @ Salt City Auto Styling by David Arellano, on Flickr
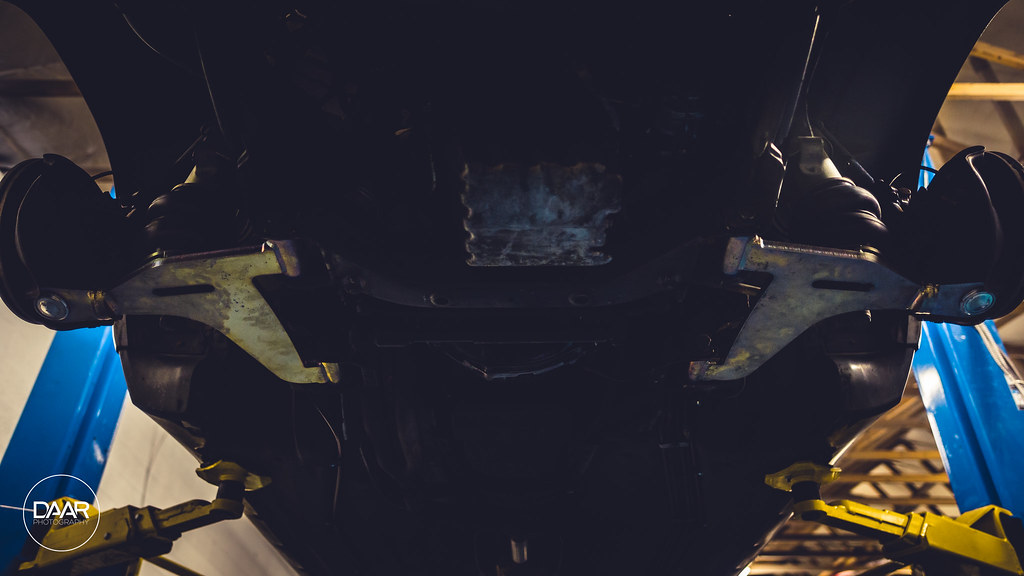
    Air Ride Install @ Salt City Auto Styling by David Arellano, on Flickr
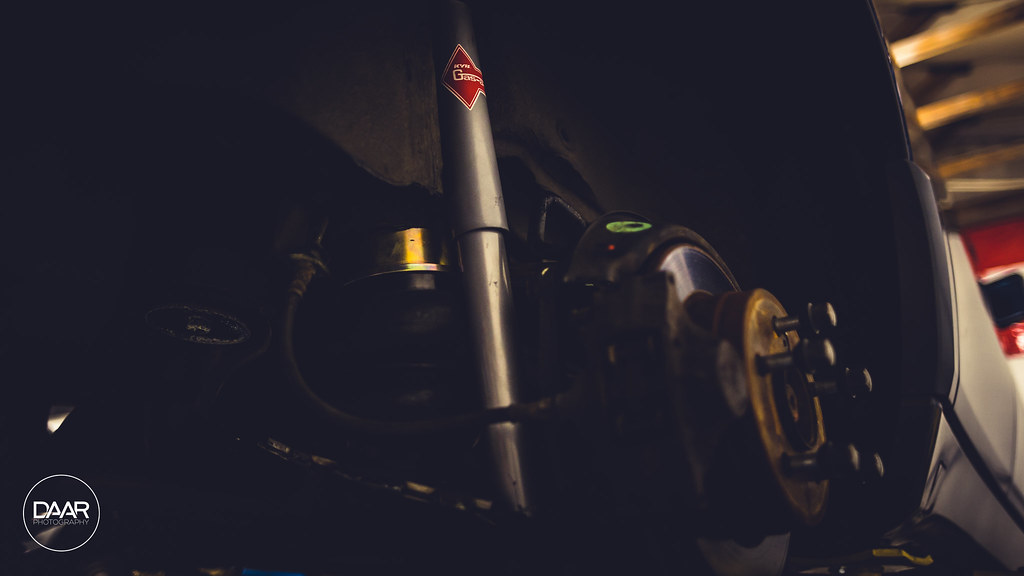
    Air Ride Install @ Salt City Auto Styling by David Arellano, on Flickr
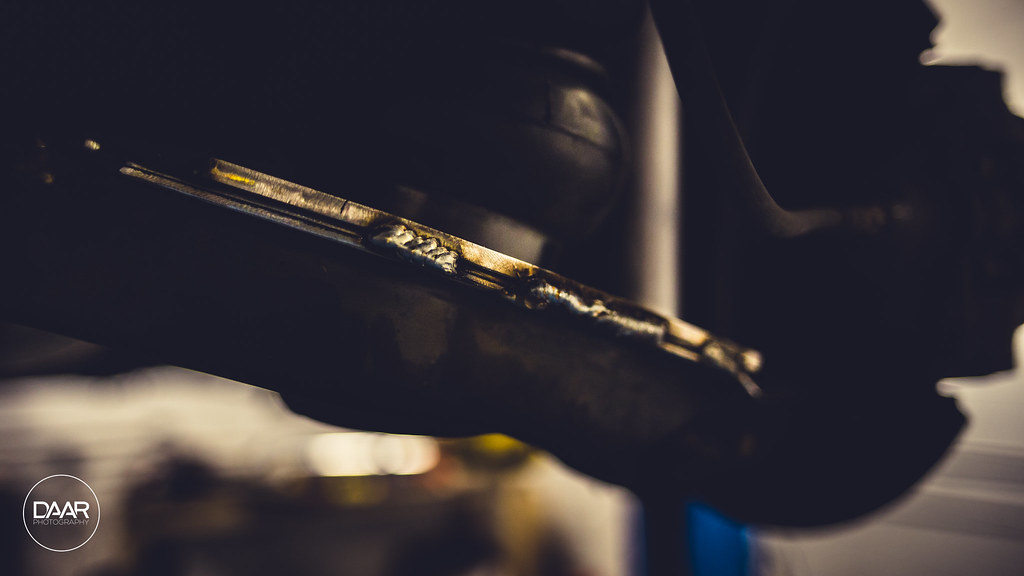
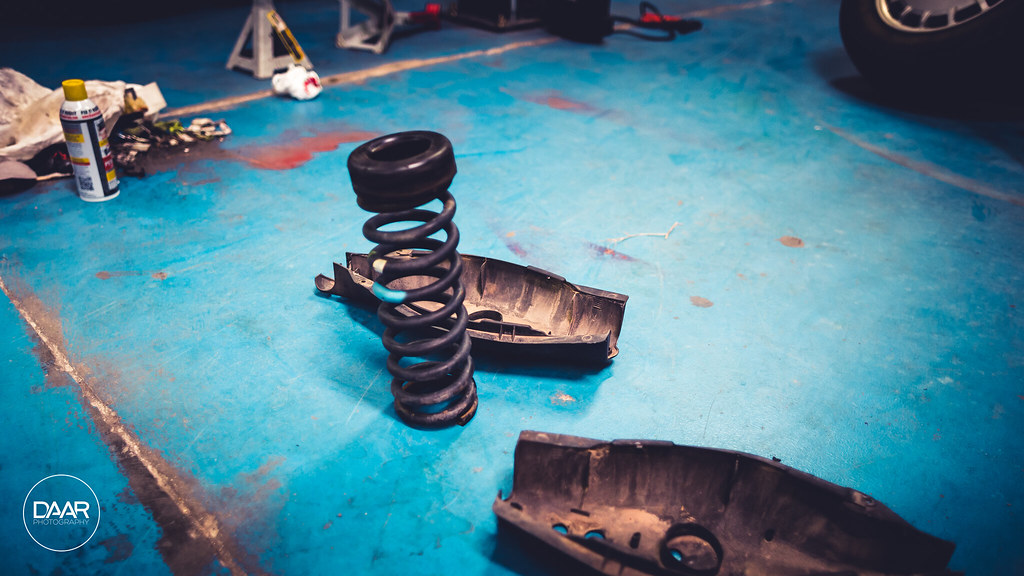
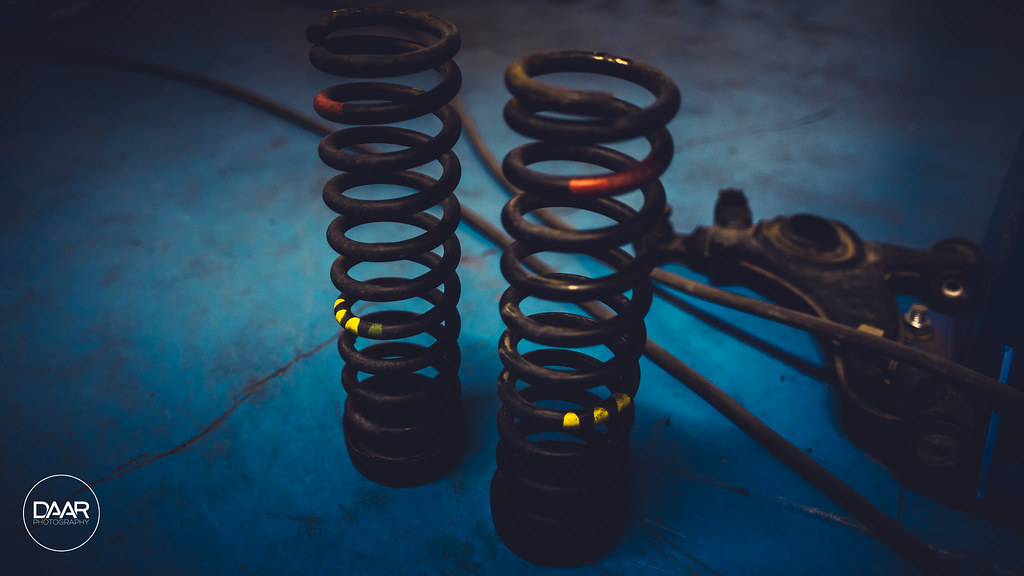
    Old massive springs!
    Air Ride Install @ Salt City Auto Styling by David Arellano, on Flickr
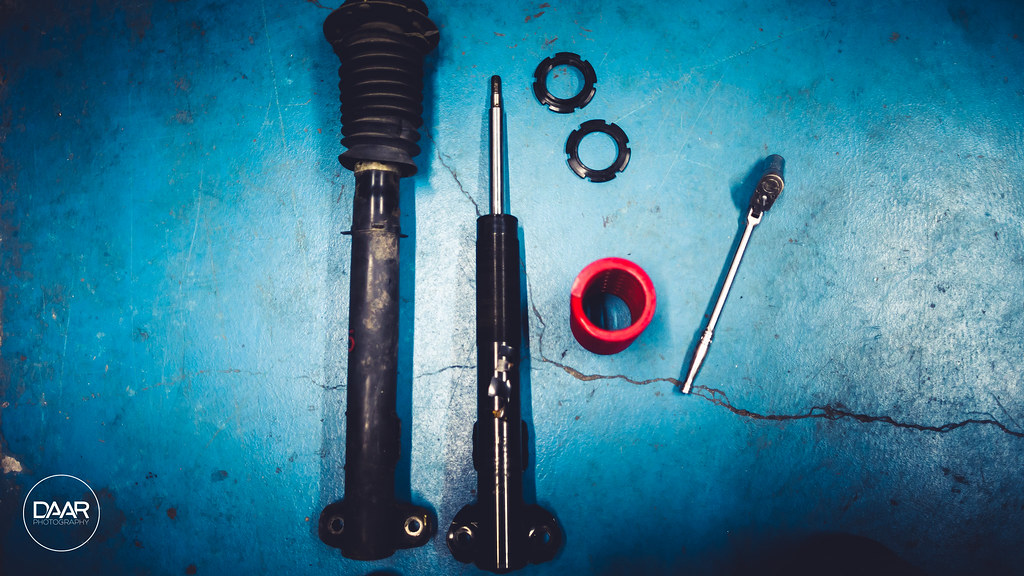
    Old shocks vs. new coilovers! Reminder: These are E36 coilovers (Raceland in my case (only because I got a package deal with these, camber plates and camber arms))
    Air Ride Install @ Salt City Auto Styling by David Arellano, on Flickr
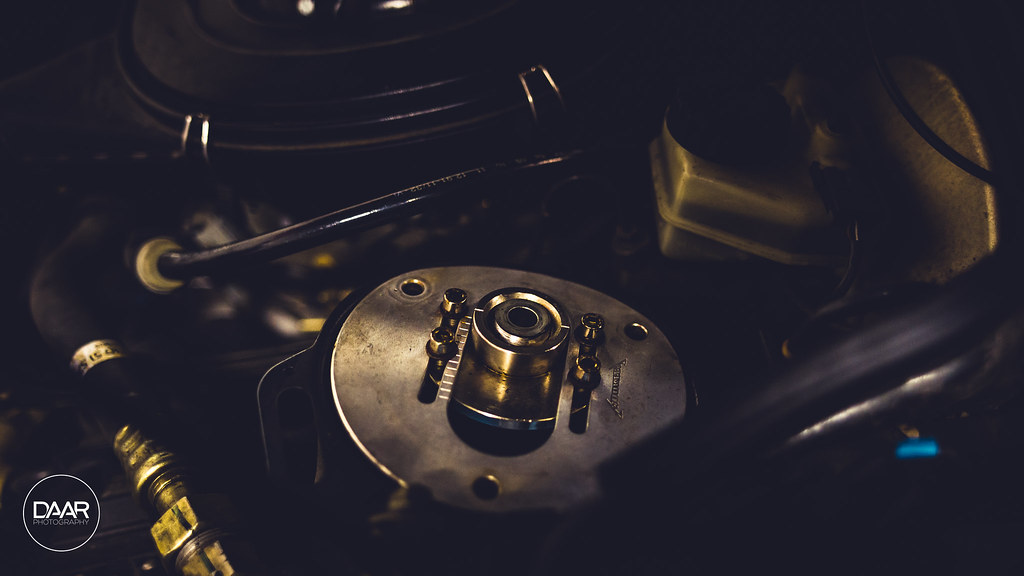
    Mookeh camber plates which were custom drilled for the 190E platform. They fit perfectly!
    Air Ride Install @ Salt City Auto Styling by David Arellano, on Flickr
    New LCA installed!
    Air Ride Install @ Salt City Auto Styling by David Arellano, on Flickr
    So that was a checkpoint over two nights. Have to give a huge shoutout to a few friends that came by to lend a hand and help me get this taken care of. Without their help it would've been quite a bit more difficult to get it all done.
    Last edited by JDMexican; 05-29-2017, 04:09 PM.

    Leave a comment:


  • JDMexican
    replied
    More updates!

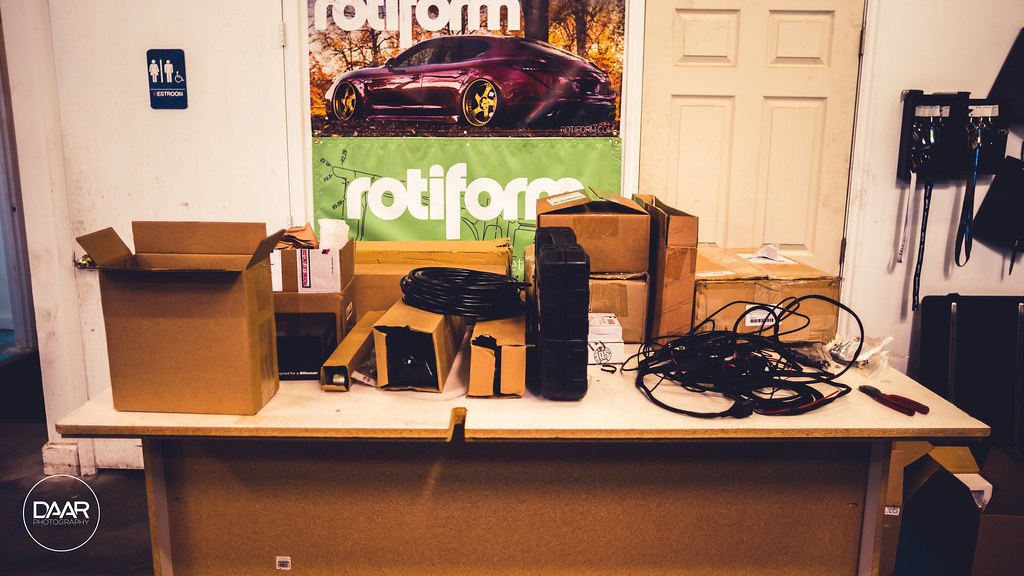
    I FINALLY STARTED INSTALLING MY AIR SUSPENSION! I've had all the lines, management, tank and compressors for about a year and a half and I finally got to start throwing everything in. VERY EXCITE!

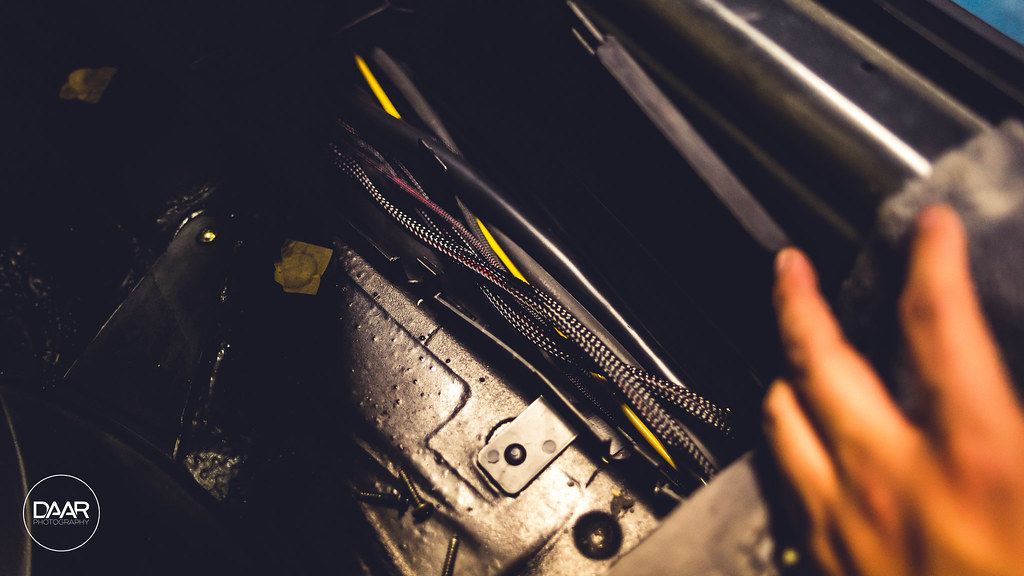
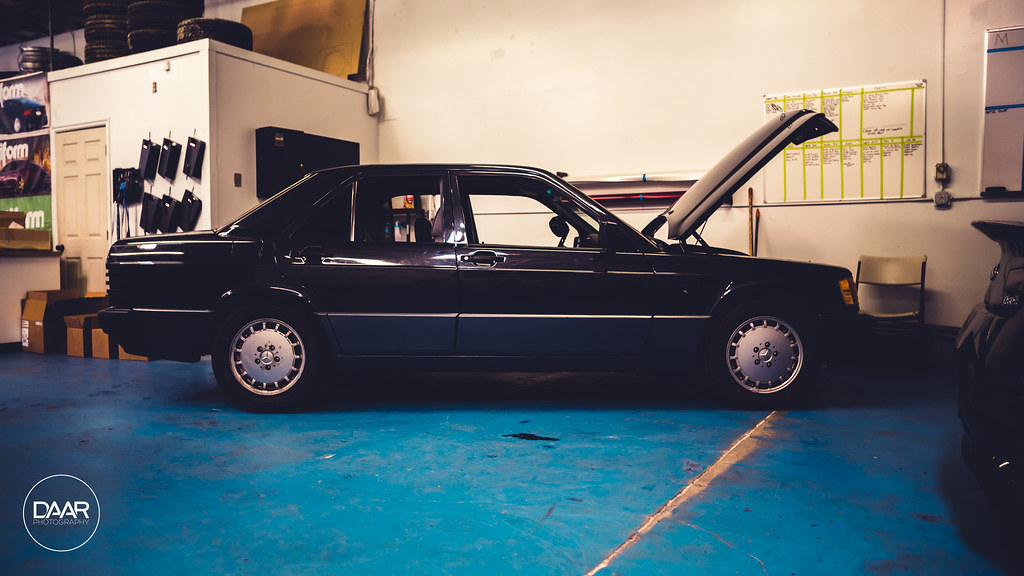
    Pulled the seats and started tearing the interior apart to wire the car. (decided to pull all the seats partially because I needed to get in there really deep like to vacuum). I used all OEM routing for the wires, minus the cable for the controller itself.

    Air Ride Install by David Arellano, on Flickr

    Soon, soon you'll be able to touch the ground
    Air Ride Install by David Arellano, on Flickr

    Air Ride Install by David Arellano, on Flickr

    Air Ride Install by David Arellano, on Flickr
    Fuel for the fire
    Air Ride Install by David Arellano, on Flickr

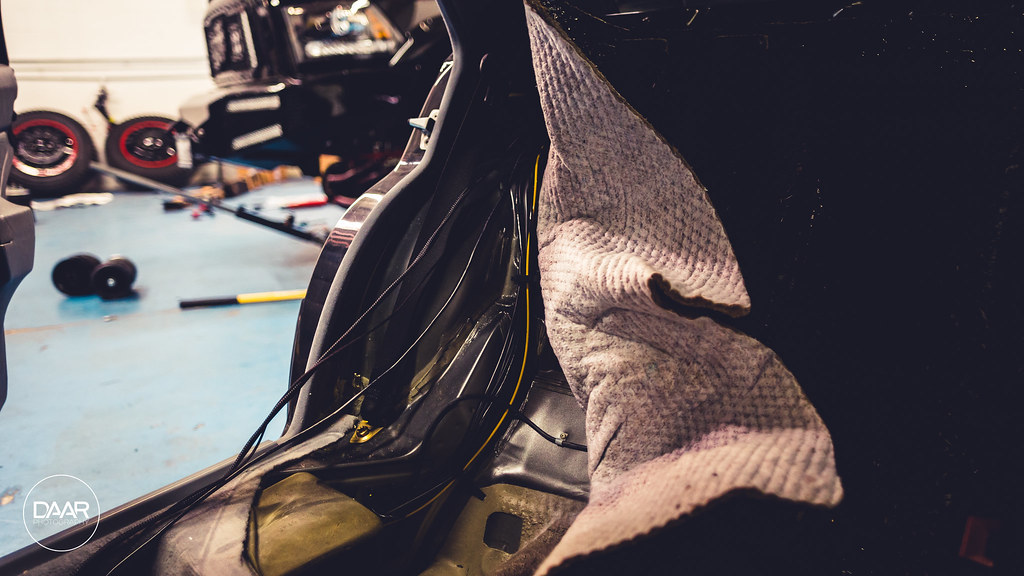
    Trunk side
    Air Ride Install by David Arellano, on Flickr

    Cabin side
    Air Ride Install by David Arellano, on Flickr

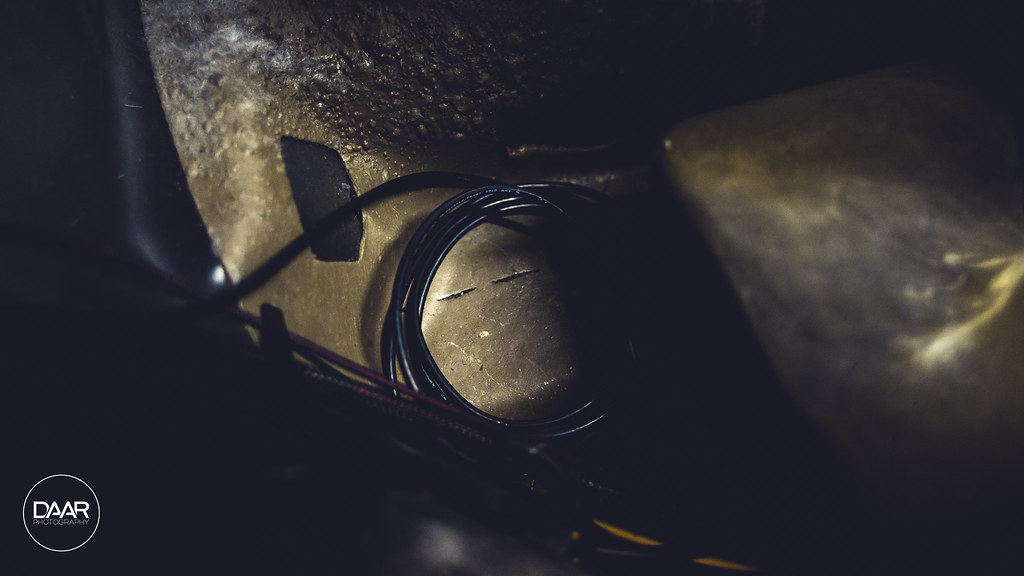
    Coiled up the spare cable in a spot where it'll stay unmolested and dry
    Air Ride Install by David Arellano, on Flickr

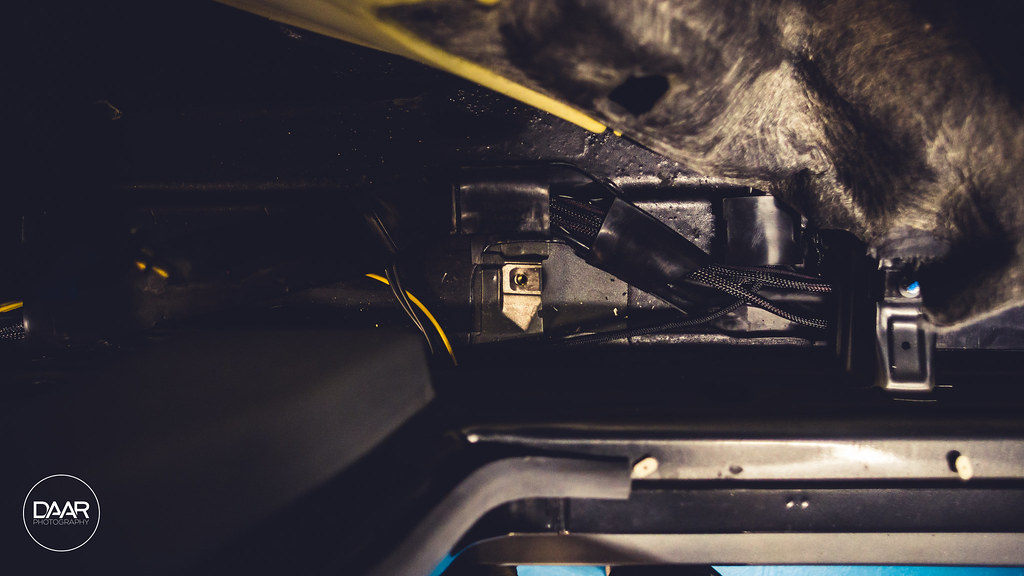
    Routed through the OEM passage and then in the passenger side rear foot well (connection will be wrapped in electrical tape to ensure it remains secure)
    Air Ride Install by David Arellano, on Flickr

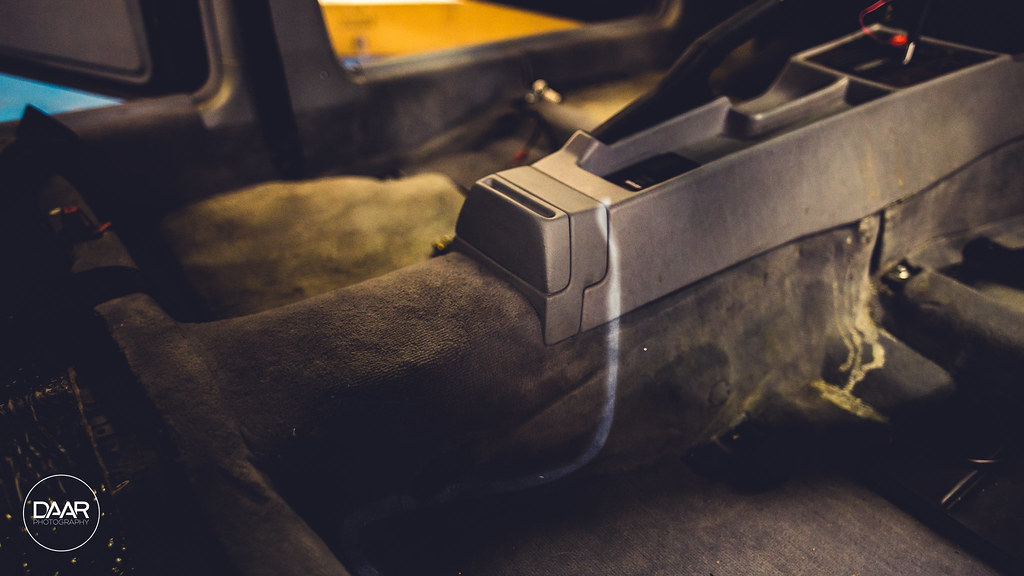
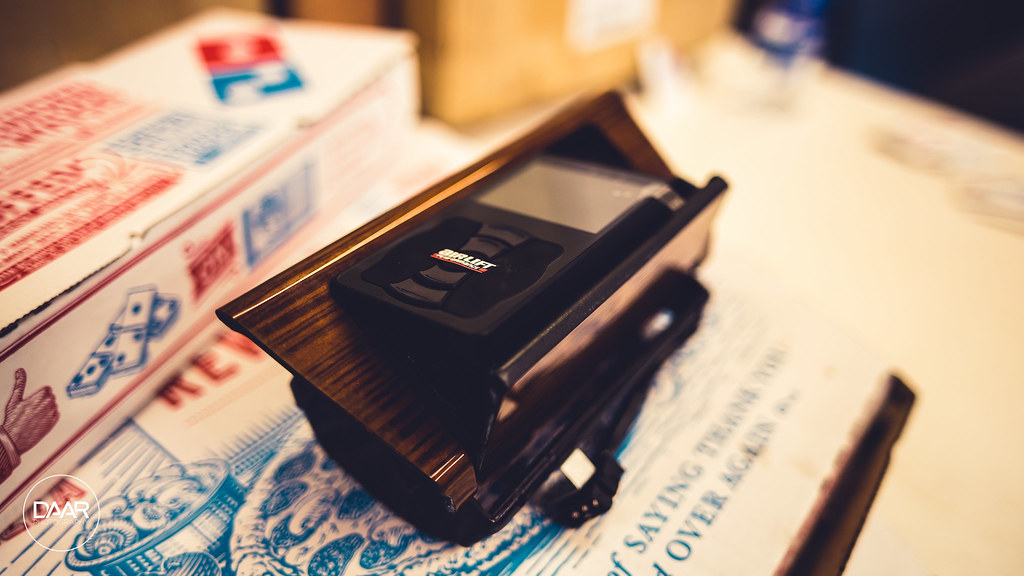
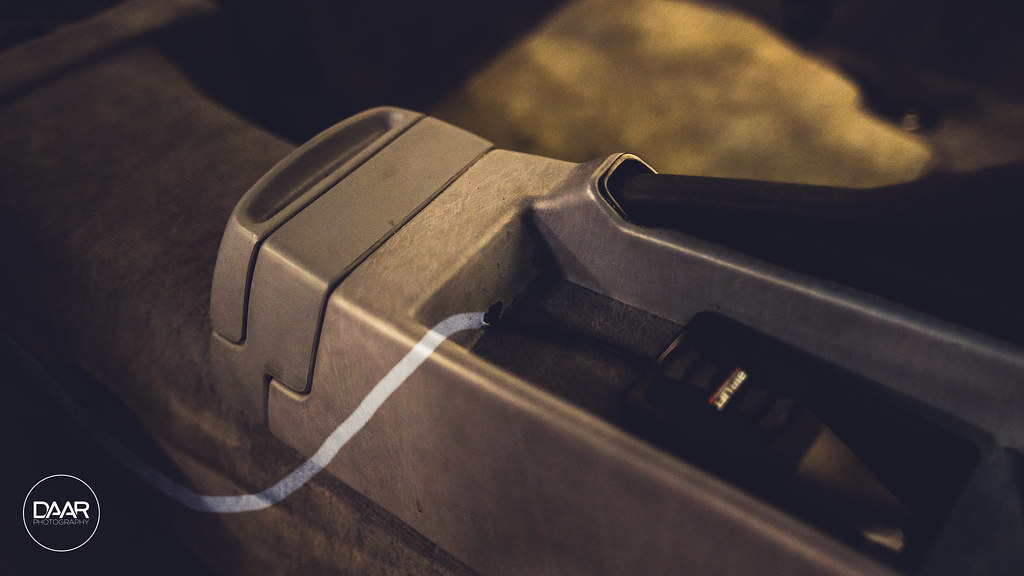
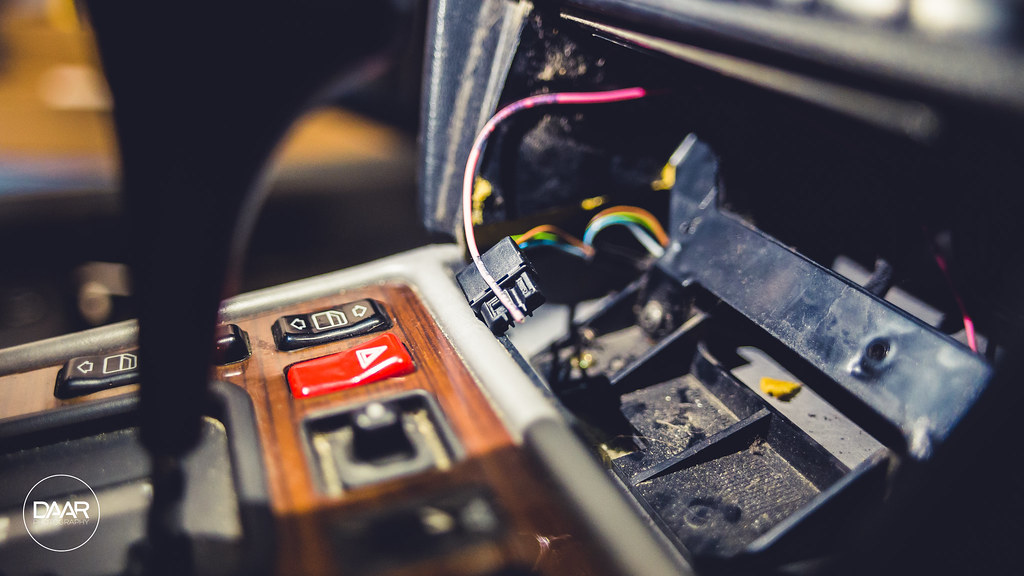
    Highlighted the route that the cable follows. I was able to do this by popping out the rear ash tray and the trim piece in front of it.
    Air Ride Install by David Arellano, on Flickr

    One day I'm going to make this arrangement work by building some sort of slot to recess the controller in to the ash tray. Otherwise I'm just going to have a whole new face cut without the pop-out slot to have the controller and the 12V side by side.
    Air Ride Install by David Arellano, on Flickr

    The temporary location for the controller unless I end up making it look like a more finished arrangement. I have a plan to possibly cut some MDF to fill the entire tray and vinyl wrap it black (to match the wood trim once I vinyl wrap it)
    Air Ride Install by David Arellano, on Flickr

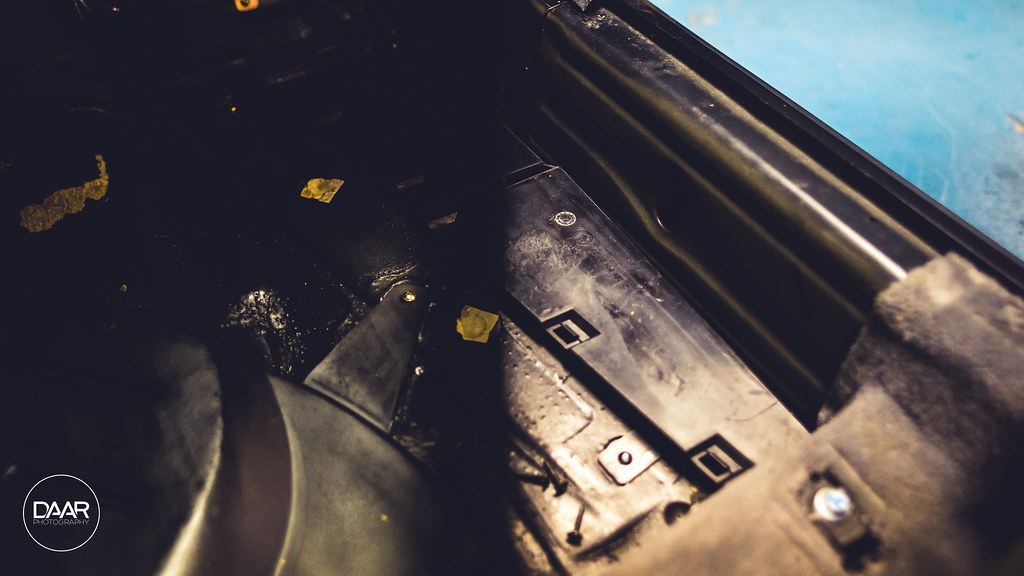
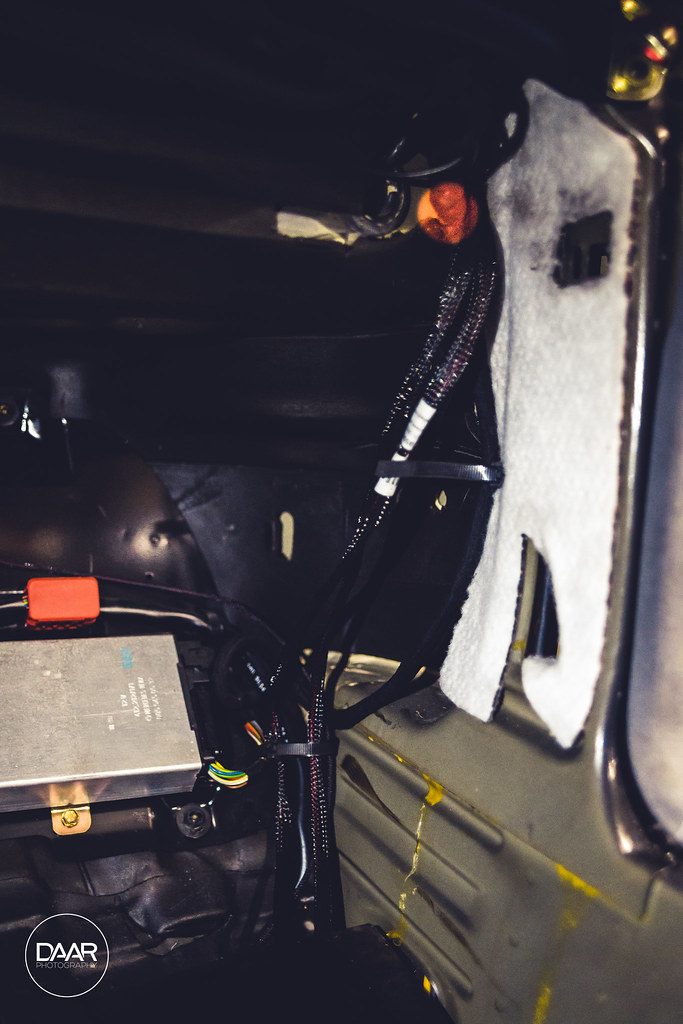
    OEM routing utilized next to the B pillar
    Air Ride Install by David Arellano, on Flickr

    Air Ride Install by David Arellano, on Flickr

    Air Ride Install by David Arellano, on Flickr
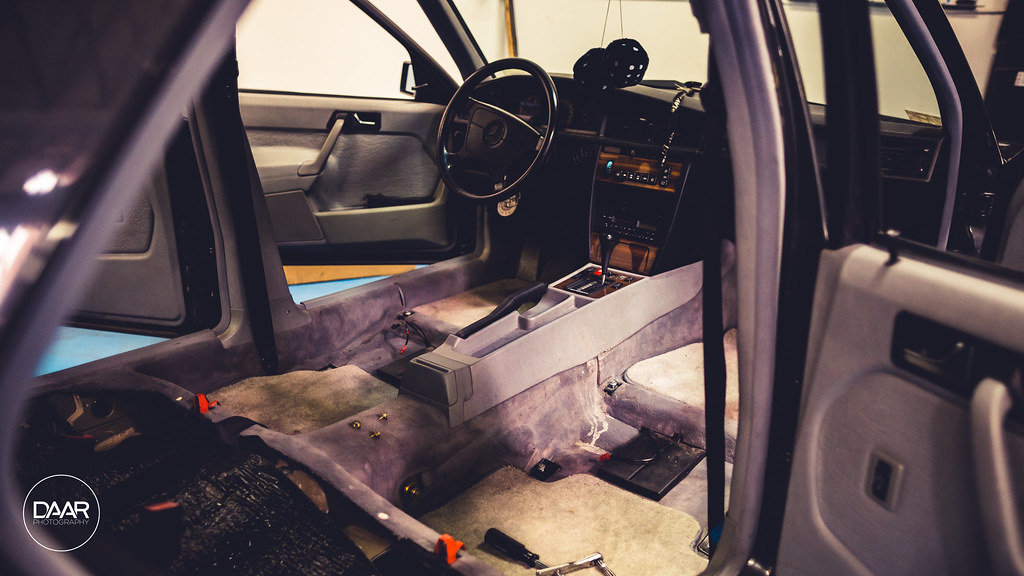
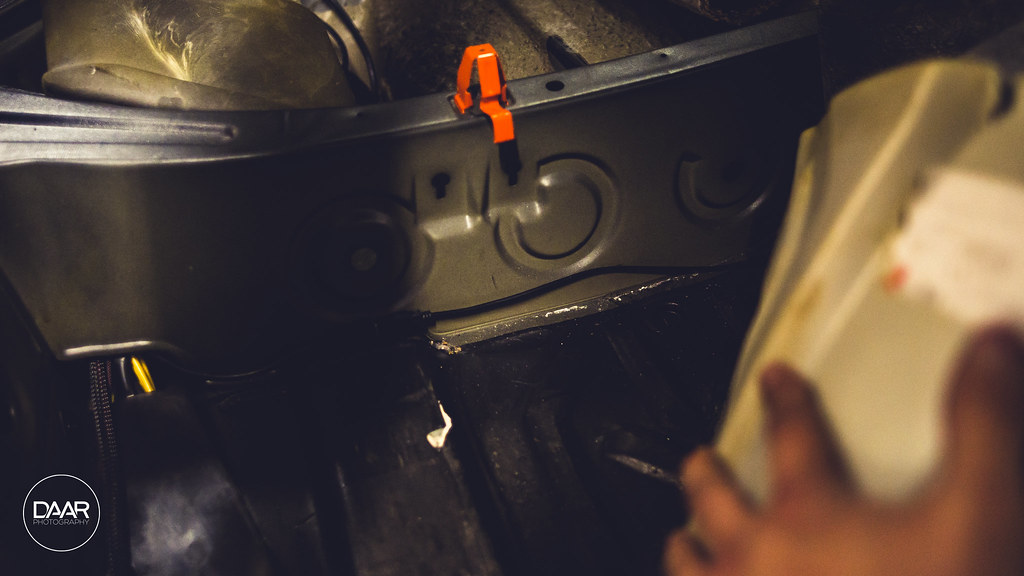
    Again, following the OEM routing up to the grommet just under the dash (grommet location highlighted in red)
    Air Ride Install by David Arellano, on Flickr
    My switch wire will be tapped in to the 12V cigarette lighter
    Air Ride Install by David Arellano, on Flickr
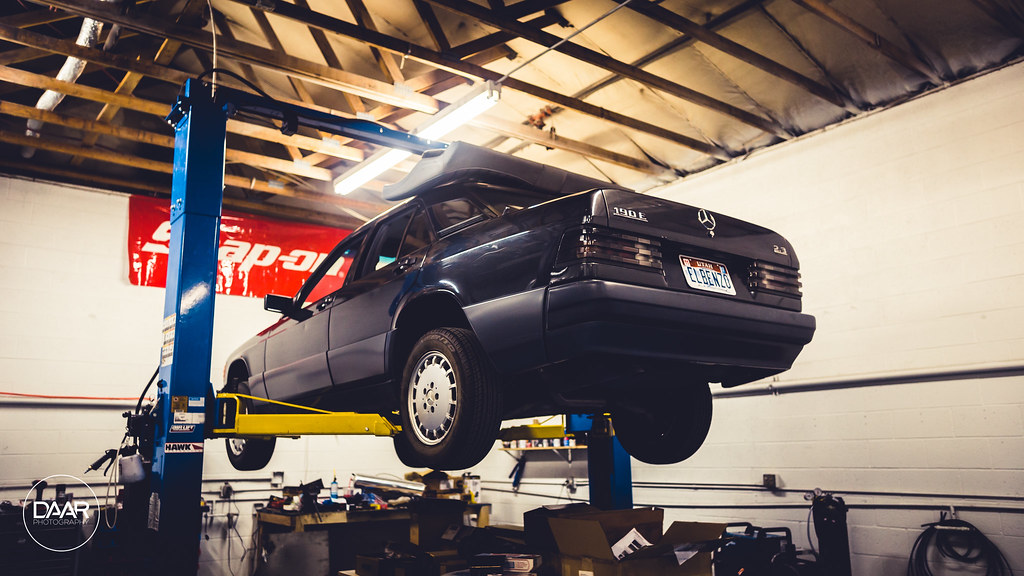
    And up on the lift to finish the night! Today will be suspension bits!
    Air Ride Install by David Arellano, on Flickr
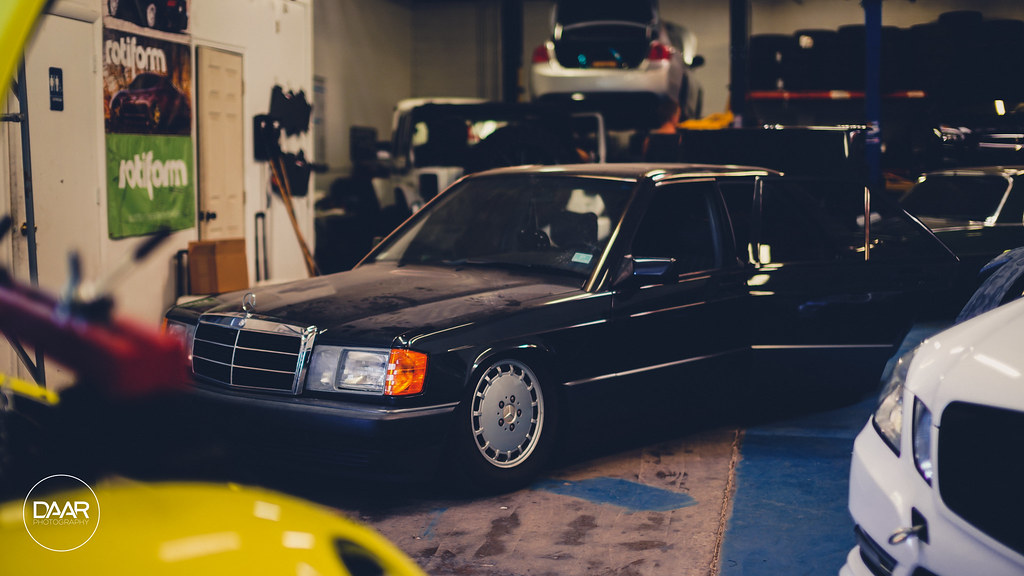
    ALMOST FORGOT! They currently have another bagged benz in their shop. Snapped a quick pic before I left for the night.
    Air Ride Install by David Arellano, on Flickr
    Last edited by JDMexican; 05-21-2017, 02:28 PM.

    Leave a comment:


  • JDMexican
    replied
    Thanks man! I have it envisioned in my head and I think it's gonna come out great. I wish I didn't have to rush to make it to Wuste but oh well, parts trickle in.

    Another teeny tiny update!

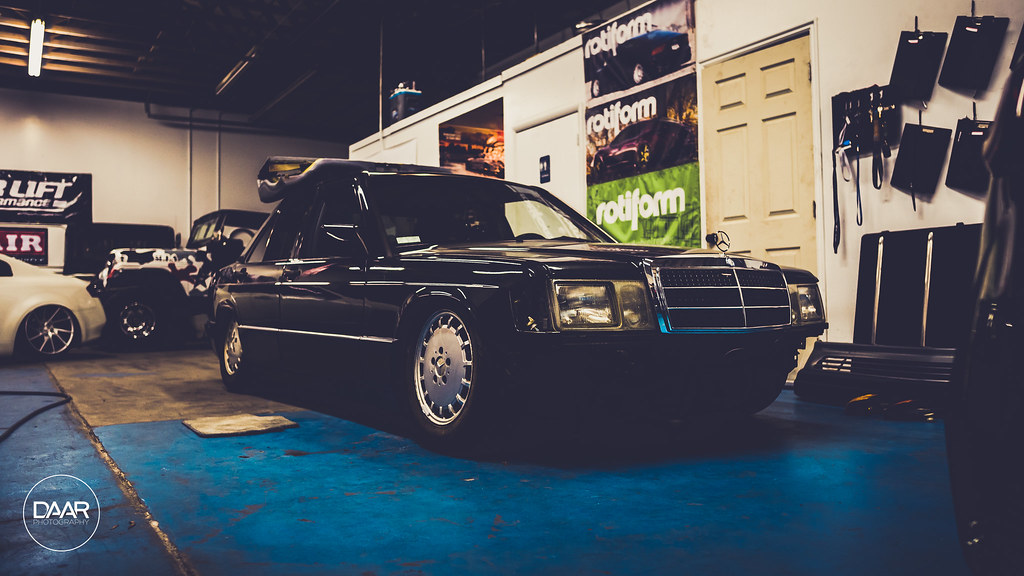
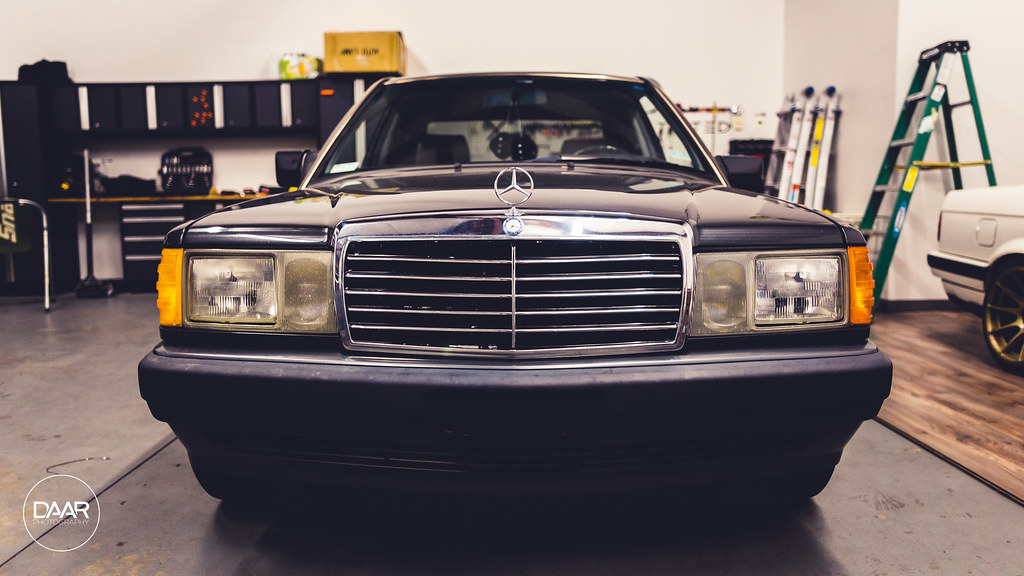
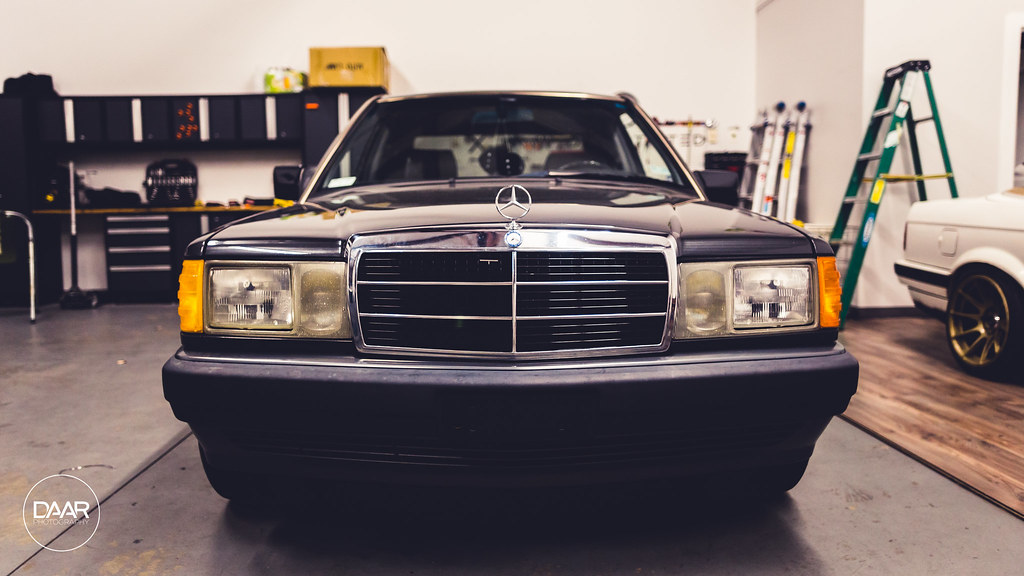
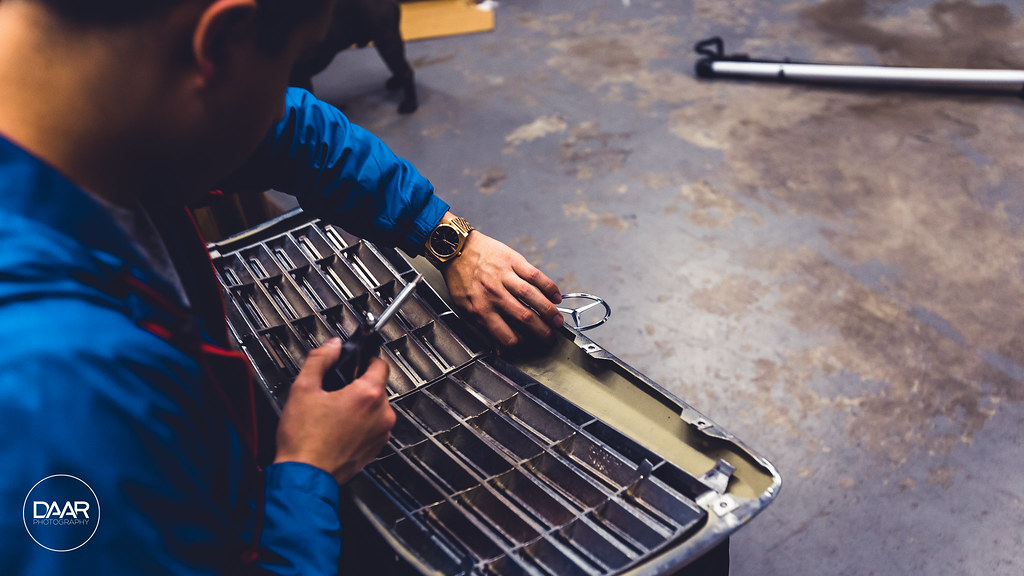
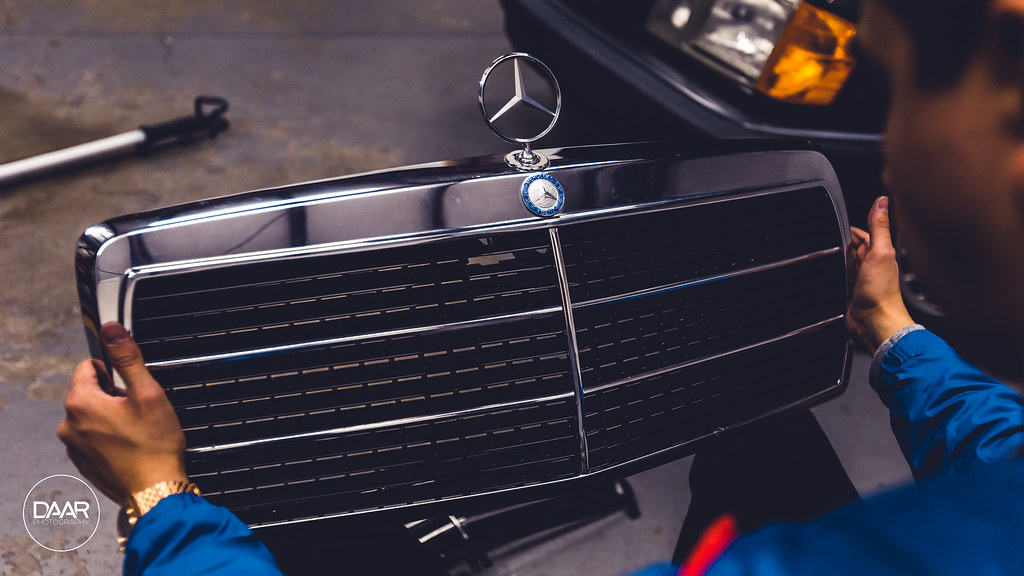
    Decided to install the refreshed grill and try to sort out the new chrome strips mounting situation. I decided against running the new chrome strips, here's why: The chrome strips are bi-directional. Meaning, they have a "cut" end which means that end must be on the outside of the grille. The strips are also directional in how they "hang" on to the grille itself. They have a lip at the top which effectively hangs over the small ridges where they attach to from factory. So what happens as a result is when you set them on the left side of the grill they "hang" properly, but when you flip them around on the other side of the grille they "hang" upside down because of the lip at the top of the strip. They end up getting cocked and the strips no longer align with the opposite side. Ideally you'd have three left side strips and three right side strips, but they can't be ordered for left or right which is surprising.

    Oh well, not really a big deal and I can try to figure it out later by just cutting the tapered end off so that they can be used on either side. In the meantime I went ahead and installed it anyway.
    Before:
    Refreshed OEM Grille by David Arellano, on Flickr

    After:
    Refreshed OEM Grille by David Arellano, on Flickr

    My buddy also picked up my camera and grabbed a couple shots of me in action
    Refreshed OEM Grille by David Arellano, on Flickr

    Refreshed OEM Grille by David Arellano, on Flickr
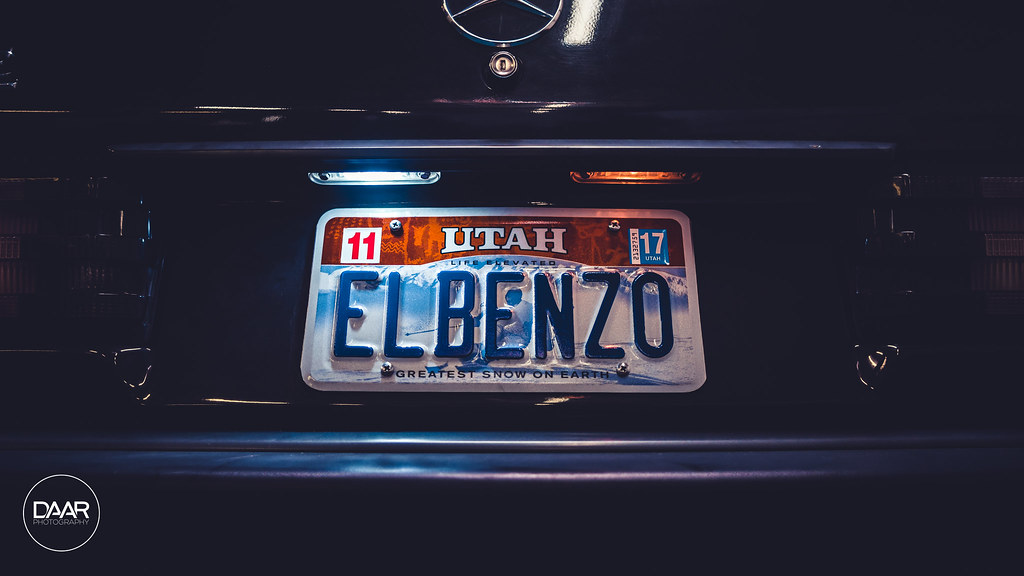
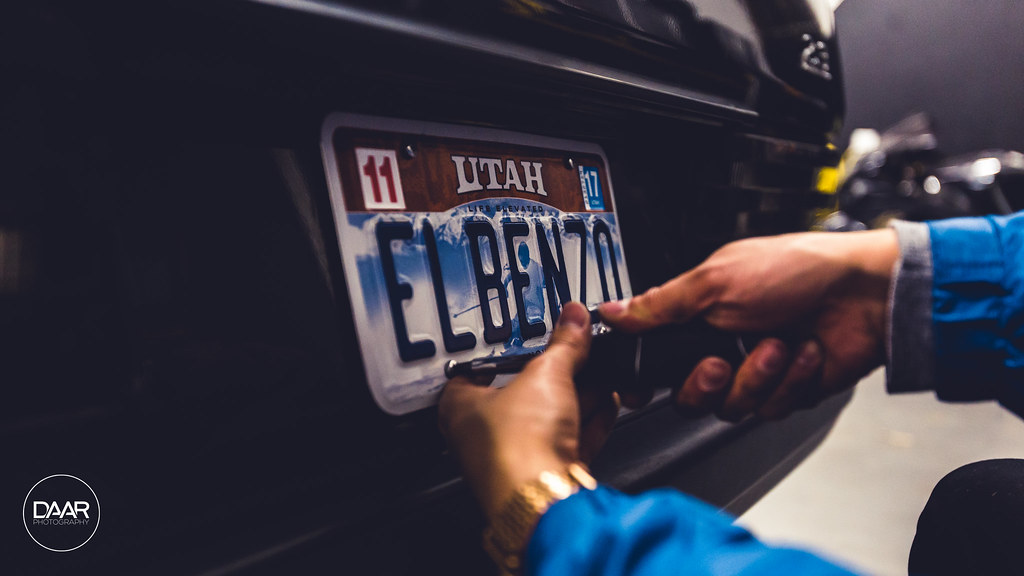
    And I installed my new plate!
    I crown thee, Elbenzo by David Arellano, on Flickr

    Had some company
    Refreshed OEM Grille by David Arellano, on Flickr

    Taking the car down to my other friend's shop to do the actual air install today!

    Leave a comment:


  • scweet14
    replied
    looking forward to seeing everything installed man! great choices in everything so far, gonna look great seeing it all tie together!!

    Leave a comment:


  • JDMexican
    replied
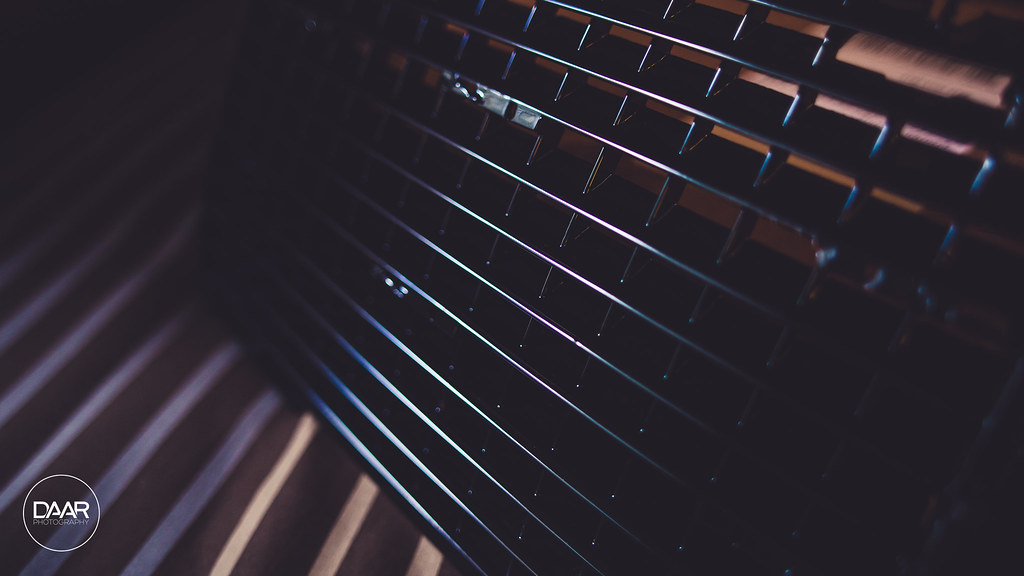
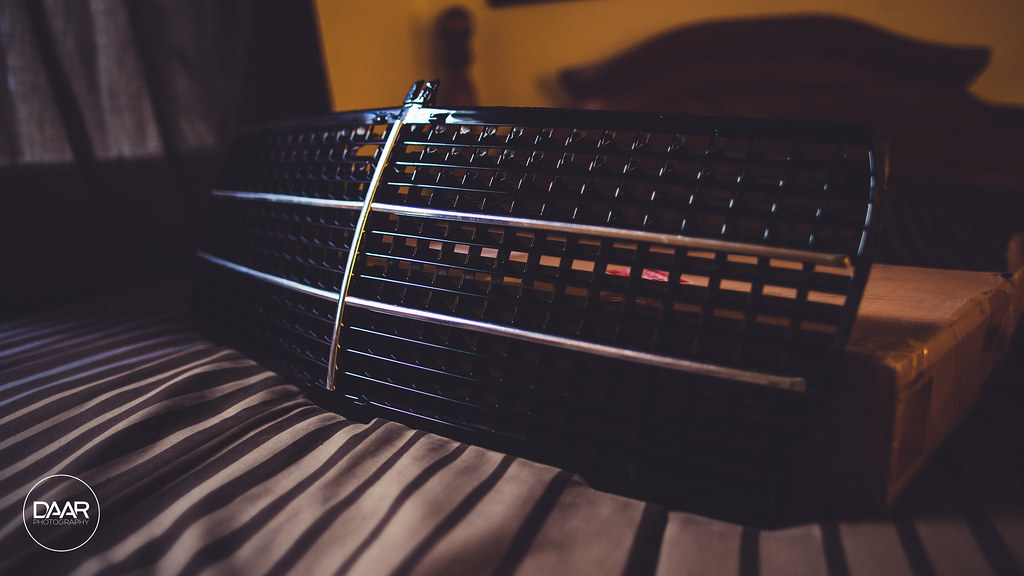
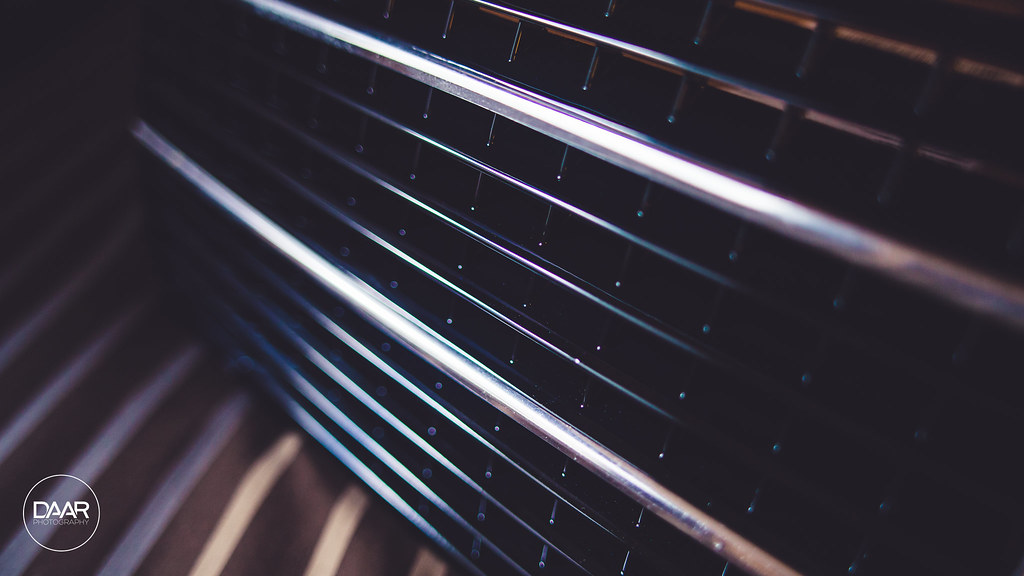
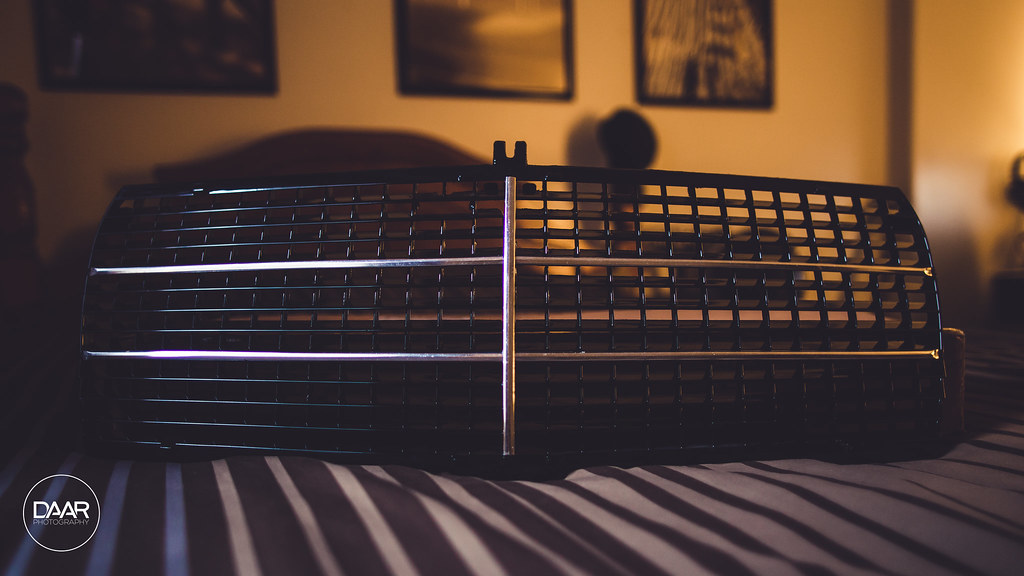
    Oh! And one more thing! My grill got painted! Just went and picked it up today and BOY does it look good! Gonna try to find the best way to add the additional chrome strips when I get a chance.

    Refreshed OEM Grille by David Arellano, on Flickr

    Refreshed OEM Grille by David Arellano, on Flickr
    Refreshed OEM Grille by David Arellano, on Flickr
    Refreshed OEM Grille by David Arellano, on Flickr
    Refreshed OEM Grille by David Arellano, on Flickr
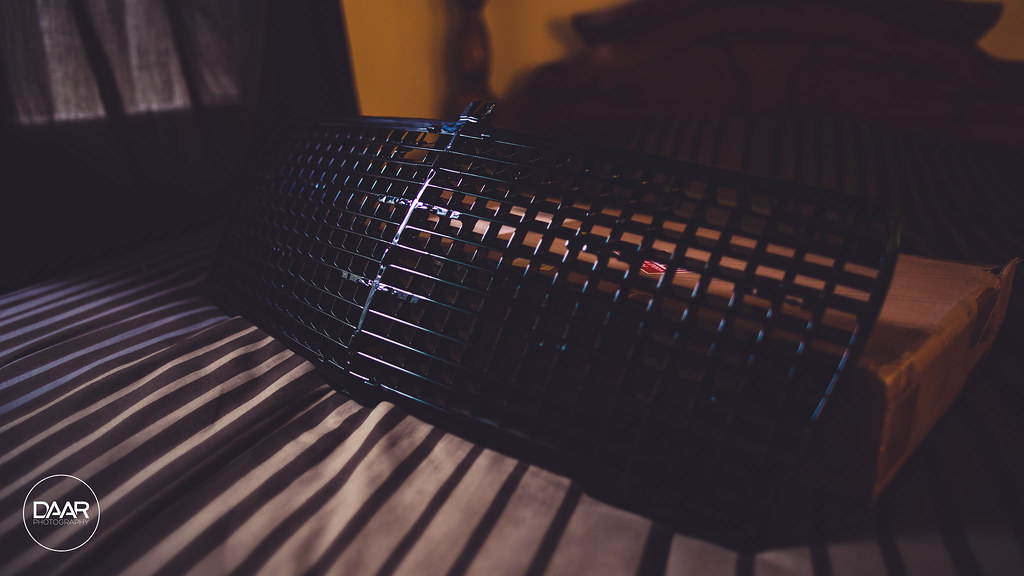
    Compared to how it looked originally
    Last edited by JDMexican; 05-19-2017, 09:22 PM.

    Leave a comment:

Working...
X