Originally posted by fackinsteve
View Post
-
Thanks man, after winter it'll definitely be getting it closer to the ground as I can't handle all this wheel gap. We'll have to see how low I can get this thing without rubbing with these wide offset wheels, should be fun haha -
Nice to see someone save a B5, I got to drive one around for a day and it was a fun car to drive with the 1.8T. I hope to see this thing on its face in the somewhat near futureLeave a comment:
-
Go on. I enjoyed reading your progress so far.
Happy for you the engine is no goner.Leave a comment:
-
Thanks man! I love your Cactus Green S4 btw, it's so clean.Originally posted by JJ. View Post
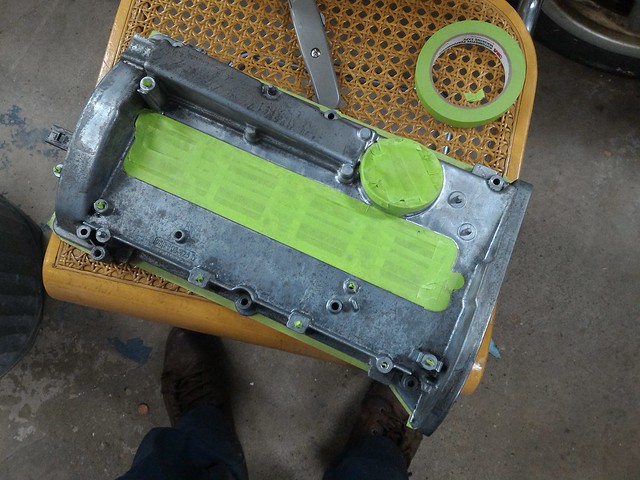
After I restored my shift knob I also decided to paint my valve cover as it looked a little tired and my plastic cover had a massive hole in it.
 P_20150721_175341 by Ayrton @ Drive19, on Flickr
Primer
 P_20150721_175932 by Ayrton @ Drive19, on Flickr
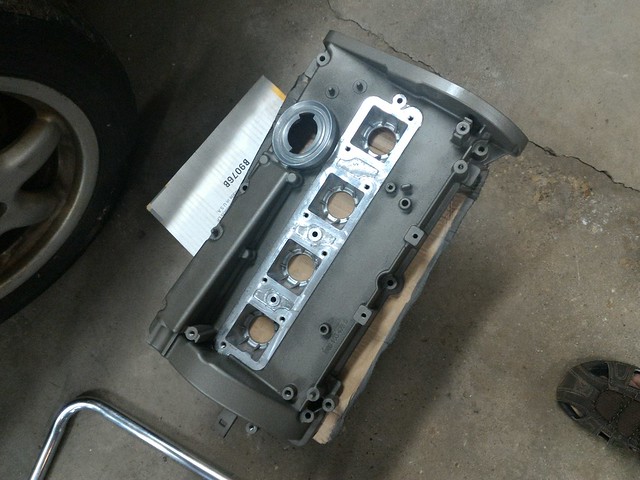
Finished product
 IMG_20150721_194010 by Ayrton @ Drive19, on Flickr
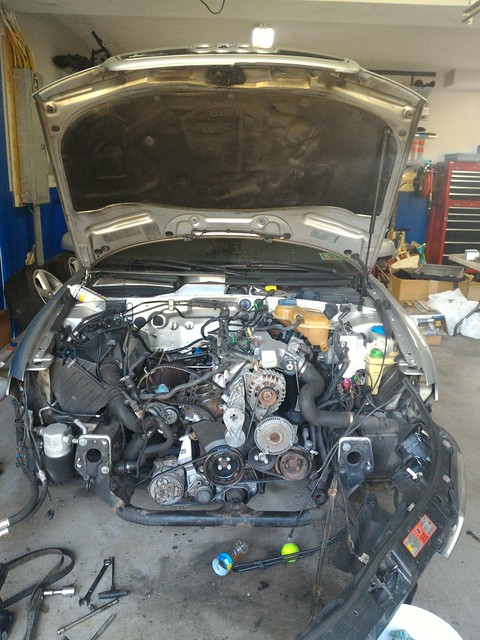
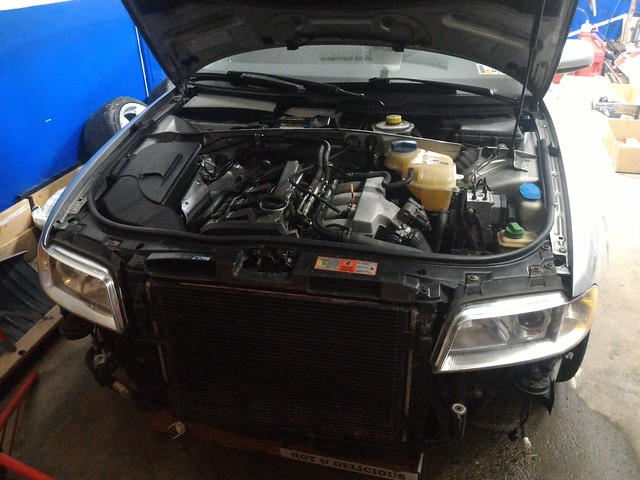
Then I tore apart the front end to take care of the thermostat, water pump, ac belt, timing belt, tensioners etc.
 IMG_20150802_184139 by Ayrton @ Drive19, on Flickr
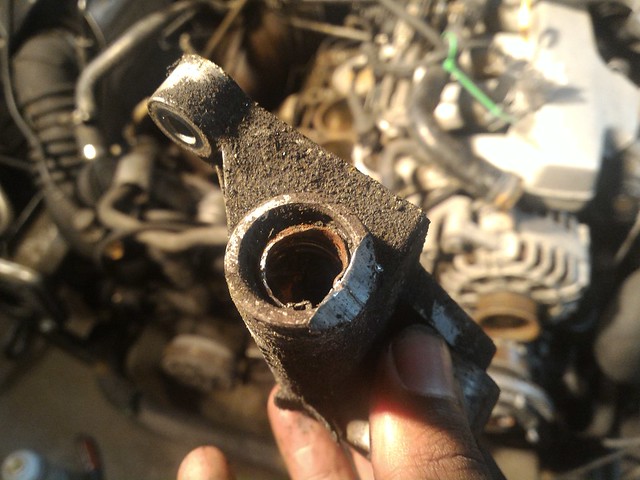
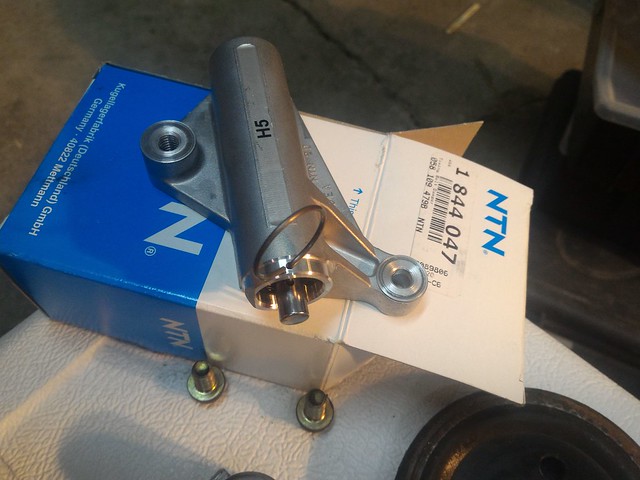
Old tensioner
 P_20150731_215940 by Ayrton @ Drive19, on Flickr
New
 P_20150731_220138 by Ayrton @ Drive19, on Flickr
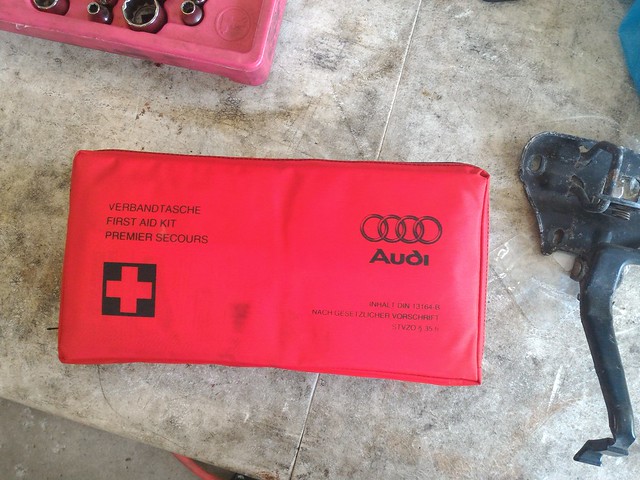
I don't have many pics of this stage as I was in a hurry to get the car back together before school which at this point was only a few days away. I destroyed an exhaust manifold bolt during the tear down and a local pick n'pull happened to have a 1.8T B5 listed on their site so I took my first trip to the pick n'pull. I got the bolt for free and bought a few other things as well.
Unopened OEM first aid kit, my car already had one so I gifted this to my dad to put in his
 P_20150814_174046 by Ayrton @ Drive19, on Flickr
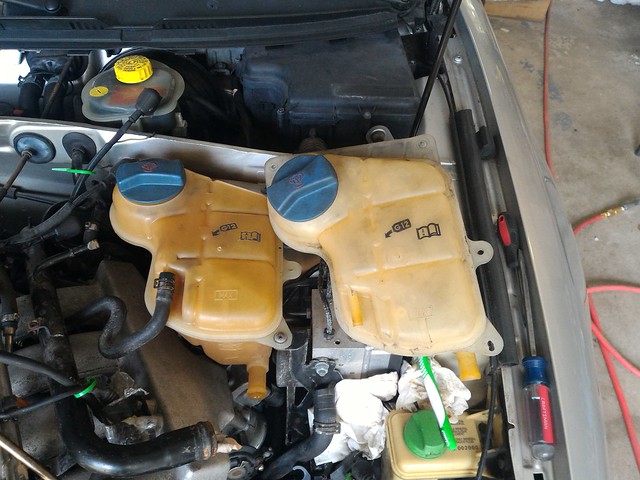
A much nicer coolant reservoir, mine was completely yellowed and beginning to crack:P
 P_20150814_174010 by Ayrton @ Drive19, on Flickr
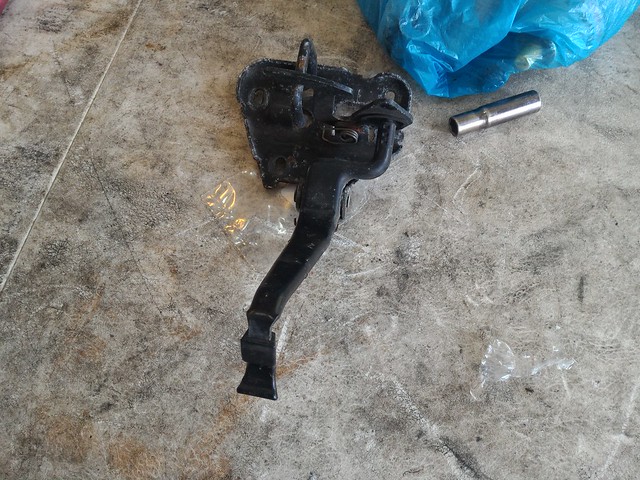
And a New hood pull as the pull tab on mine broke
 P_20150814_174030 by Ayrton @ Drive19, on Flickr
Not but a day later I went back again haha, decided I wanted the option of an engine cover, one of my coil packs split when i removed it and I wasn't sure if it would still be functional so I grab four coil packs, the car I was pulling stuff out of also had upgraded rear deck speakers with factory wiring hooked up to them so I snagged those as well. Also, my driver's side door handle (interior) had a worn out spring and rattles when I shut the door so I grabbed a full set of door handle assemblies (I have plans for the actual handles too)
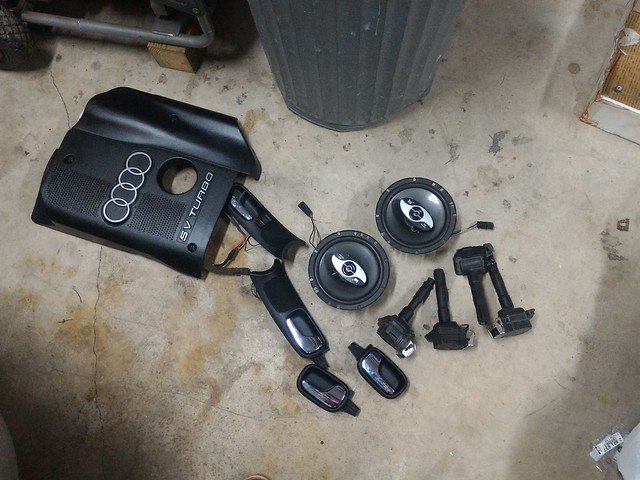 P_20150815_213240 by Ayrton @ Drive19, on Flickr
Also grabbed this ABS module out of a 2004ish B5.5 Passat for only $25, and it has the pump on it too! These are $800 new!
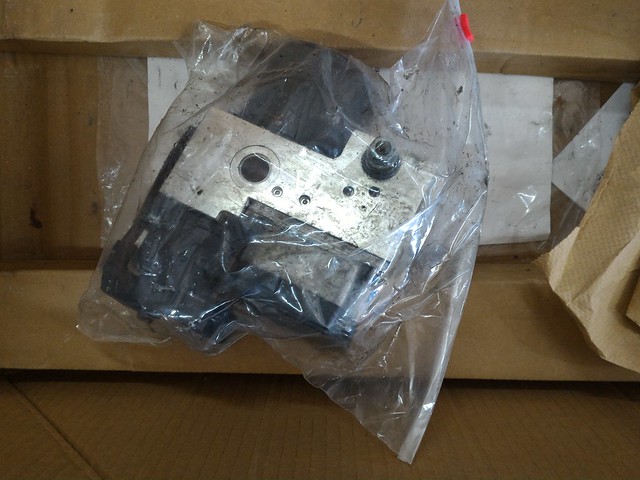 P_20150816_142508 by Ayrton @ Drive19, on Flickr
Got her back together and took her for a test drive around the block.
 P_20150815_213305 by Ayrton @ Drive19, on Flickr
The oil feed on the turbo wasn't tight enough and there was a small coolant leak coming from the flange on the back of the engine, but it ran! Got those taken care of and went for a trouble free test drive around the block.
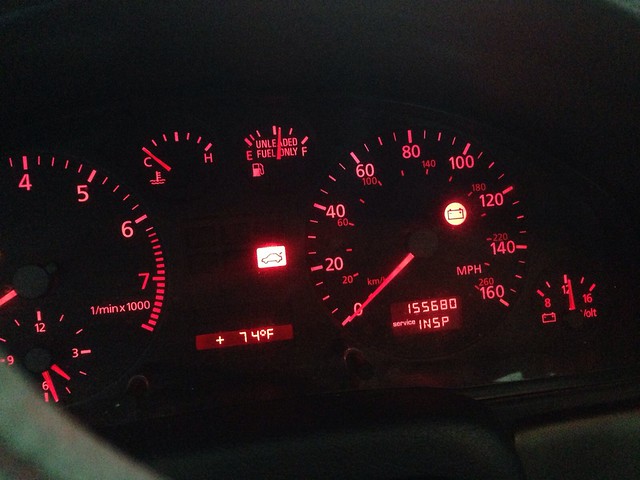
This is how I left the car when I left for school. Bald tires, bumper zip tied on (I snapped the bolts when trying to remove it ) and dash lit up like a christmas tree because of old codes and no abs (didn't get to install module) but she didn't look half bad.
 P_20150816_155426 by Ayrton @ Drive19, on Flickr
After I left I had my dad take care of a few things as I need the car after thanksgiving and I only have a 5 day break during which I need to get tyres and get an appointment for an inspection and alignment at the dealer (sub frame needs adjusted and dealer is one of the few places who will do that).
He gave it a wash and got the bumper installed with the new bolts I bought after drilling out the snapped fragments.
 IMG-20150823-WA0002 by Ayrton @ Drive19, on Flickr
 IMG-20150823-WA0000 by Ayrton @ Drive19, on Flickr
Then he installed my ABS module and cleared all my codes
 IMG-20150911-WA0004 by Ayrton @ Drive19, on Flickr
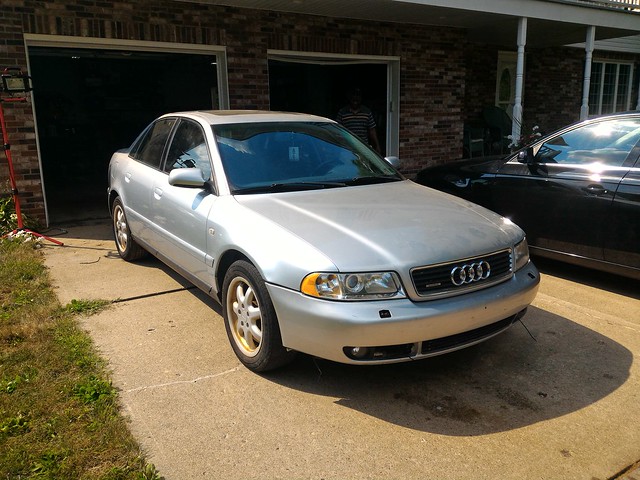
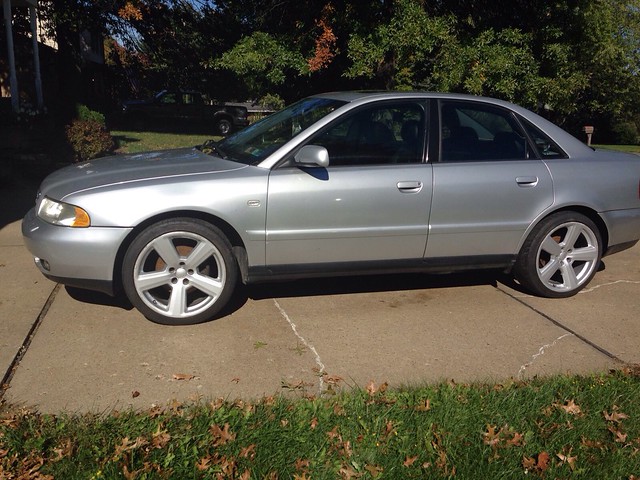
And then I realized I forgot to actually test fit my wheels and I was kinda worried as to whether or not they fit so I had him install them so I didn't order tires for wheels that don't fit.
 Untitled by Ayrton @ Drive19, on Flickr
Unfortunately he did't take a stance shot but these are a much wider offset than stock, she needs to get low but for now I'd say she looks pretty good
And then as of last weekend she was loaded up and off to get resprayed! As you may remember my bumpers were trashed and I had pealing clear on the trunk so all of that will be taken care of.
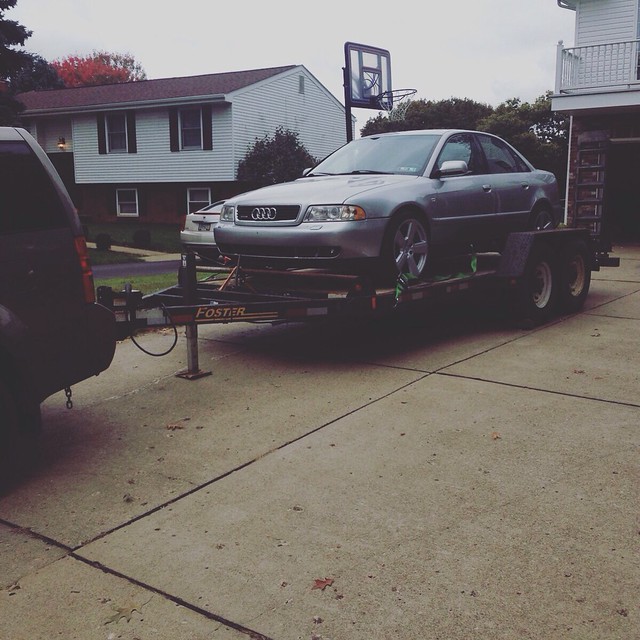 Untitled by Ayrton @ Drive19, on Flickr
Let me know what you think!Leave a comment:
-
Good work, I love revival threads like this, especially when they are about B5's
Reminds me on how I started with my A4 a couple of years ago.Leave a comment:
-
Thanks! When I got the car I thought there was a ton of mods I wanted to do to it, but then I asked myself what would I do to it if it was a much newer car like my dad's 2012, and my list got much shorter. I then realized that a lot of my planned mods were sort of to compensate for the car being as rough as it was so I decided that my first order of business (besides getting it on the road lol) would be to make it look and feel as new as possible, from fixing the tear in the seats to getting rid of the glossy sheen on the steering wheel leather. Even the smallest details make a big difference.Originally posted by becausephilchow View Post
The more focused one is on the details the better the final outcome IMOLeave a comment:
-
I like watching build threads where people fix the issues at hand before adding mods. Good work!Leave a comment:
-
This is tight. Shouts out to you for saving a car! Looking forward to this.

Leave a comment:
-
No love for the B5? Here's another update of sorts.
Got the head pulled once the tool came in
 IMG_1257 by Ayrton @ Drive19, on Flickr
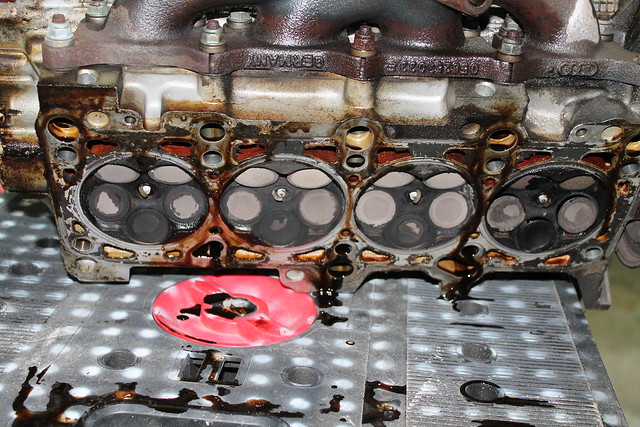
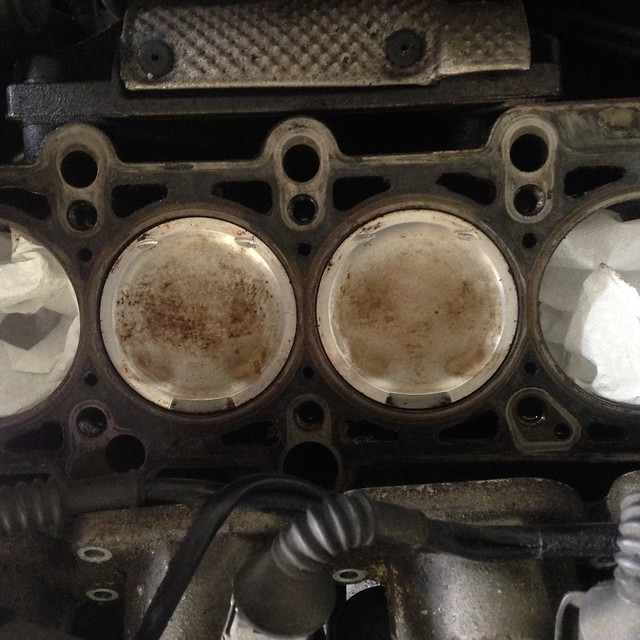
You may notice here that there are some valve reliefs in the pistons that aren't supposed to be there haha other than that they were fine, no crack or anything. There was a ton of carbon build up on them though.
 IMG_1262 by Ayrton @ Drive19, on Flickr
The head
 IMG_1265 by Ayrton @ Drive19, on Flickr
 IMG_1266 by Ayrton @ Drive19, on Flickr
Kinda random, but one day I decided to try out the sound system just to see how the stock setup was (not bad actually) and found that the po left all of his CDs in the 6-disc changer located in the trunk lol
 Untitled by Ayrton @ Drive19, on Flickr
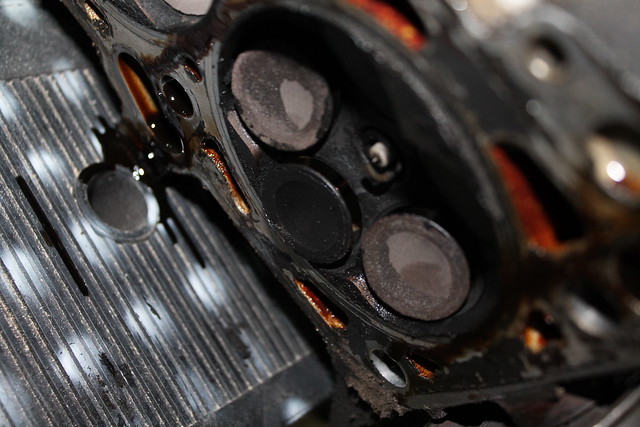
Anyways I could leave all that carbon on the pistons so I grabbed a razor to lightly scrape off the massive chunks and then used a scotch brite pad and some engine cleaner to get the rest off
before
 Untitled by Ayrton @ Drive19, on Flickr
after
 Untitled by Ayrton @ Drive19, on Flickr
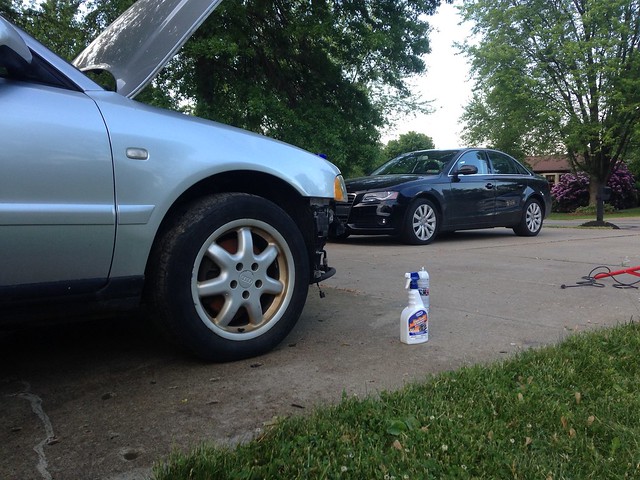
Then I pushed her outside to clean the engine bay with the pressure washer
 Untitled by Ayrton @ Drive19, on Flickr
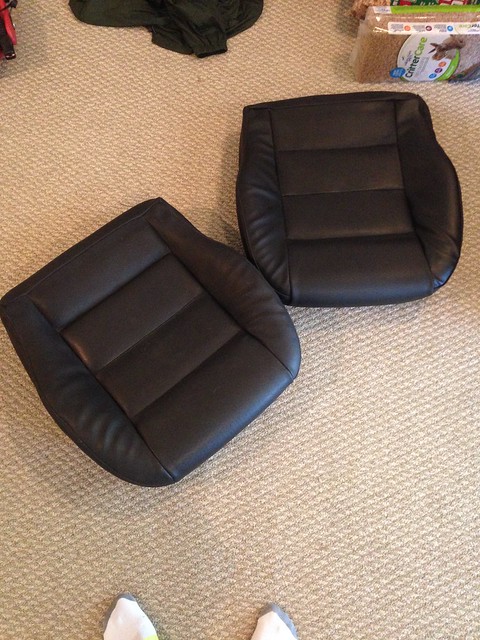
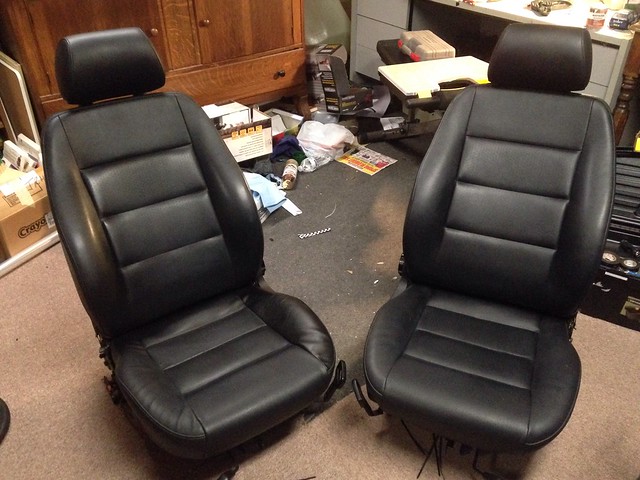
So remember when I said I was going to do something about those seats? Well a friend of my dad agreed to reupholster the bottom cushions for free in exchange for me giving him some lessons at the race track (I race karts). Here was the result
 Untitled by Ayrton @ Drive19, on Flickr
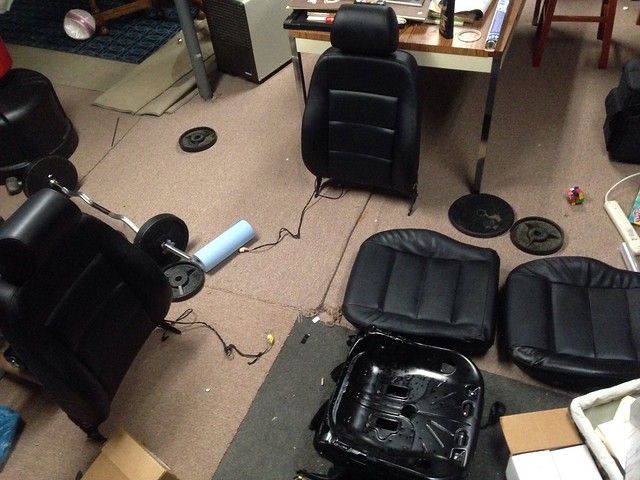
I am beyond pleased with the result, they look brand new! After getting them home I reassembled the seats which was a bit of a pain
 Untitled by Ayrton @ Drive19, on Flickr
 Untitled by Ayrton @ Drive19, on Flickr
After getting them together I cleaned them with a brush an all purpose cleaner, and then conditioned them. The material was very dry so I conditioned them a couple time over the course of a few days. If you have leather or leatherette seats I highly recommend you do this to reduce wear as well as to give them a nice supple feel.
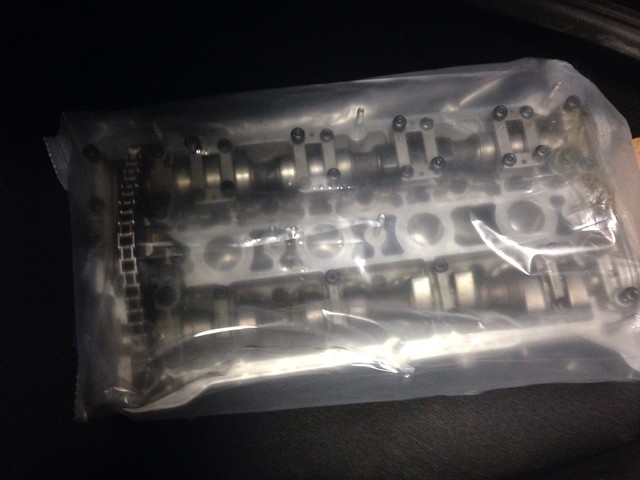
Fast forward quite a ways to late summer and I had just gotten my cylinder head back form the machine shop. 20 brand new valves, new seals etc.
 Untitled by Ayrton @ Drive19, on Flickr
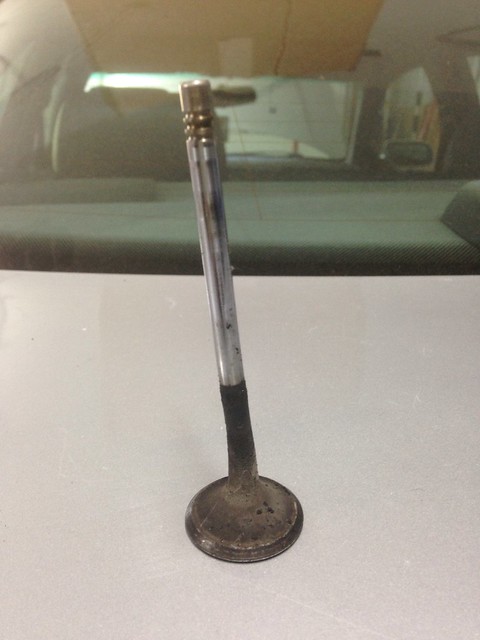
How bent were my old valves? very
 Untitled by Ayrton @ Drive19, on Flickr
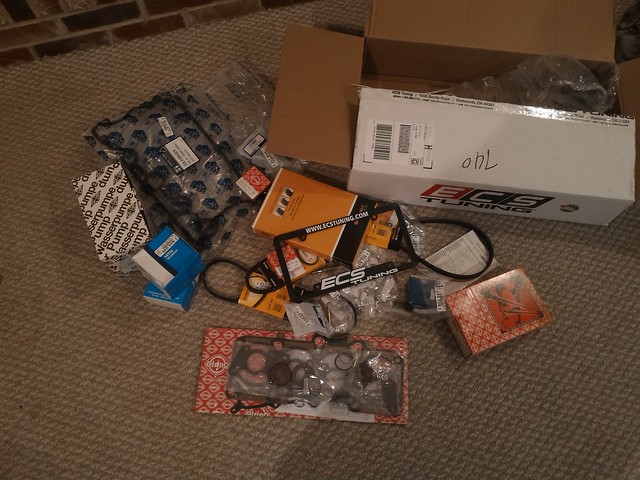
Also got a big box from ECS Tuning not long after
 P_20150718_210452 by Ayrton @ Drive19, on Flickr
In the mean time, my plan to refinish my stock wheels didn't seem like it would materialize, I needed the car running before school and the wheels needed a ton of work. But one day I was browsing Craigslist and came across these 18" Audi RS6 reps on some very bald tires haha.
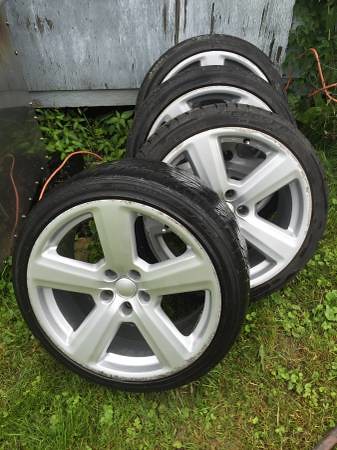 01717_gPUPqYCmoRX_600x450 by Ayrton @ Drive19, on Flickr
I had been hunting for a set of OEM wheels but the seller only wanted $100 for them and besides a little curbing and one missing center cap they looked great so I jumped on them
Quick mock up
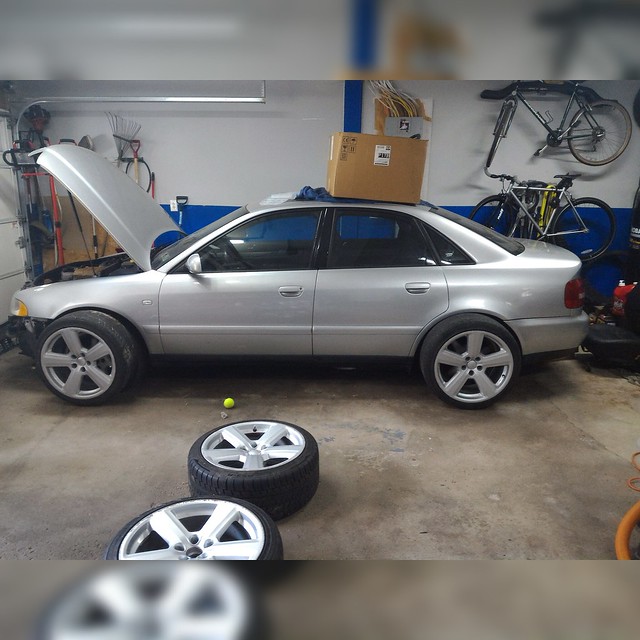 IMG_20150719_152714 by Ayrton @ Drive19, on Flickr
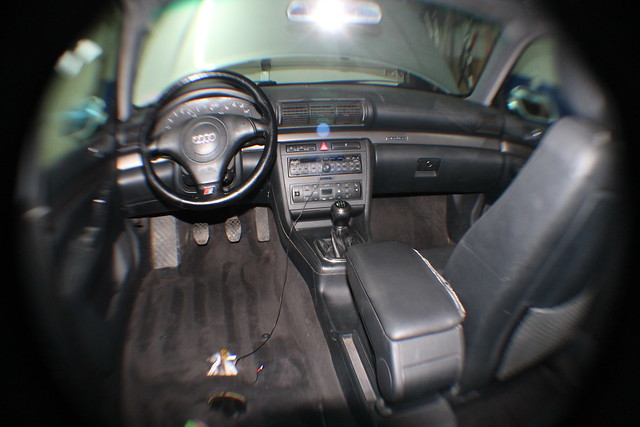
Finally got the chance to throw my interior back together, it no longer smells and actually looks pretty decent IMO, still not where I want it but getting close.
 P_20150724_201441 by Ayrton @ Drive19, on Flickr
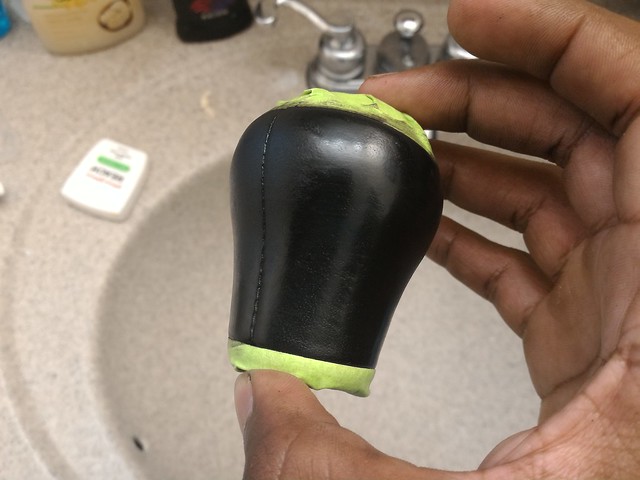
My leather shift knob was really worn out so I decided to take care of it.
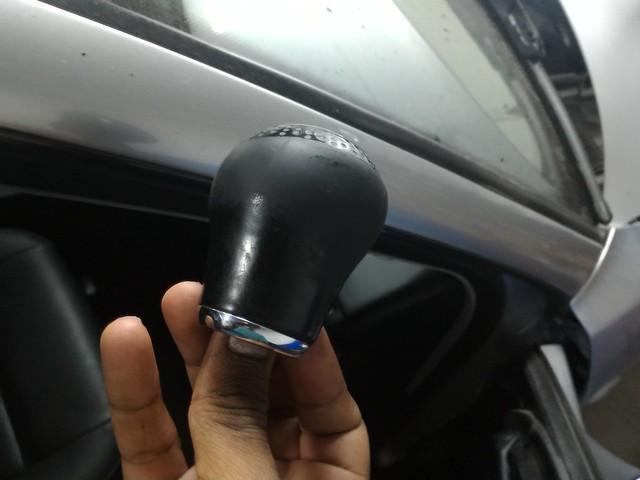 P_20150724_201633 by Ayrton @ Drive19, on Flickr
masked off plastic and chrome trim
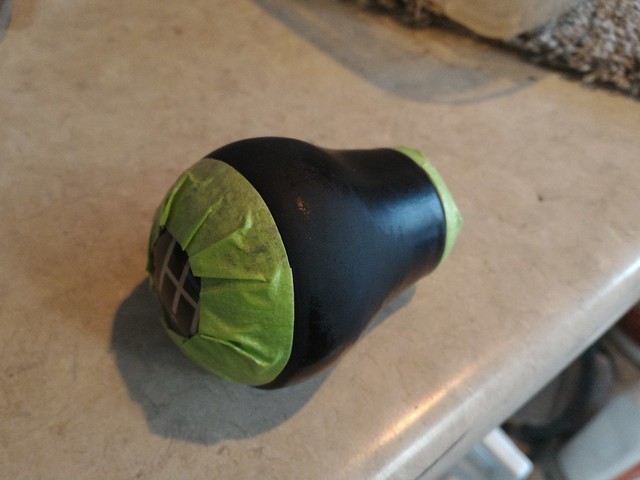 P_20150724_202052 by Ayrton @ Drive19, on Flickr
and used this to restore the color, worked a charm
 P_20150724_202351 by Ayrton @ Drive19, on Flickr
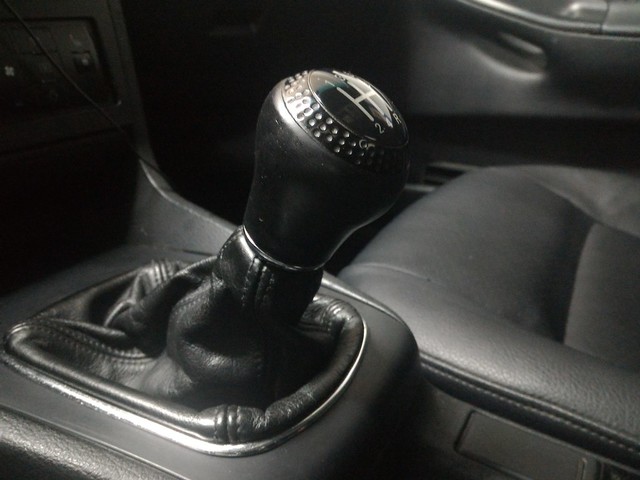
after
 P_20150724_202720 by Ayrton @ Drive19, on Flickr
 P_20150725_131303 by Ayrton @ Drive19, on Flickr
Let me know what you guys think! The thread is almost completely up to date, maybe 1 or 2 more posts. The way the interior is in this update is exactly as it is now by the way. Thanks for looking!Leave a comment:
-
Nice, 2.8 or 1.8T?Originally posted by d0wse View Post
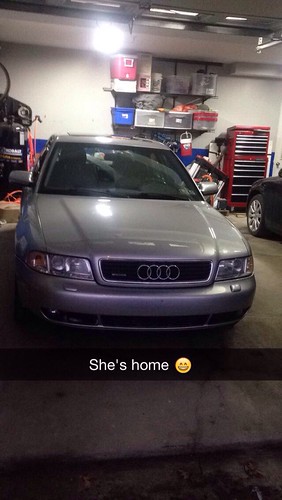
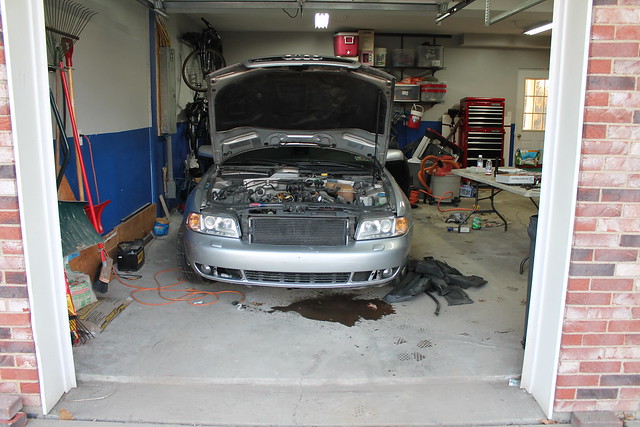
So fast forward a couple months after the end of the last update and thats when I finally got the car in the garage
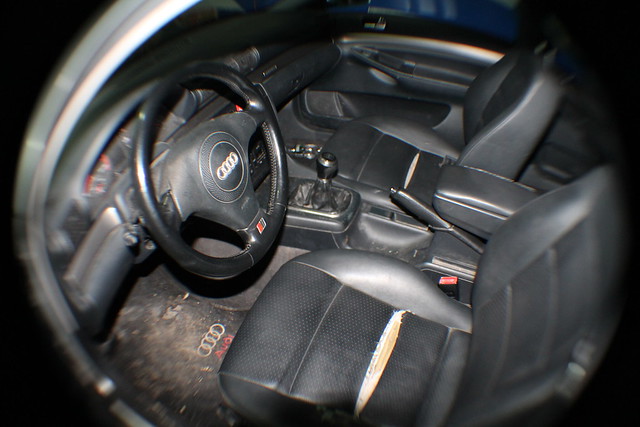
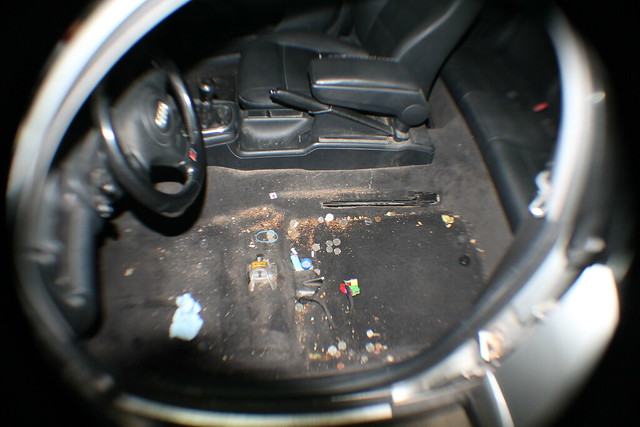
Before I started any work on the engine, I had to clean the interior. It smelled just as bad if not slightly worse than it looked lol
 IMG_1202 by Ayrton @ Drive19, on Flickr
Rear wasn't too bad
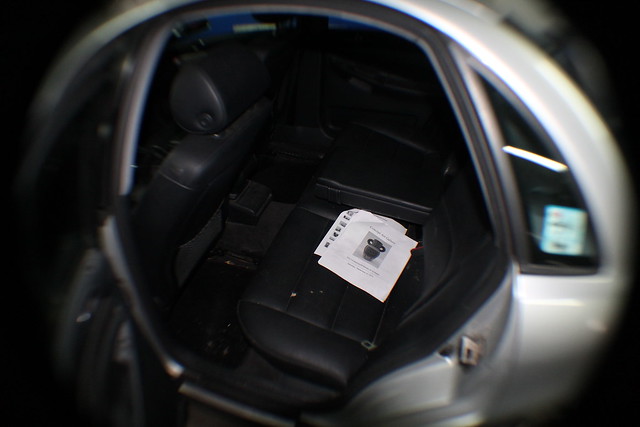 IMG_1201 by Ayrton @ Drive19, on Flickr
Random bits of wood in the trunk? Check, at least I also got some coolant, power steering fluid, and synthetic oil too
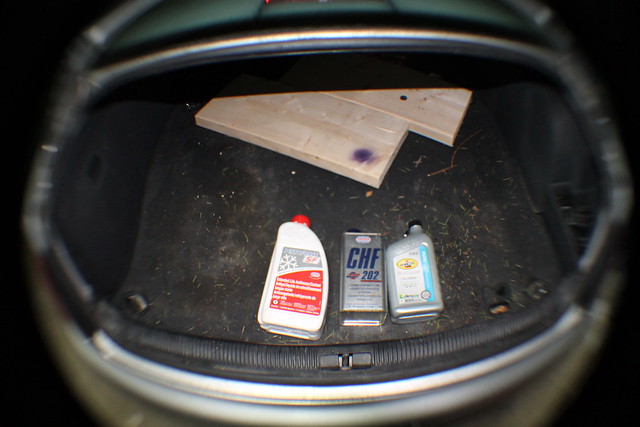 IMG_1203 by Ayrton @ Drive19, on Flickr
Removed the driver seat (did the same with the passenger seat later, but no pics)
 IMG_1209 by Ayrton @ Drive19, on Flickr
After vacuuming and shampooing the carpets
 IMG_1211 by Ayrton @ Drive19, on Flickr
 IMG_1218 by Ayrton @ Drive19, on Flickr
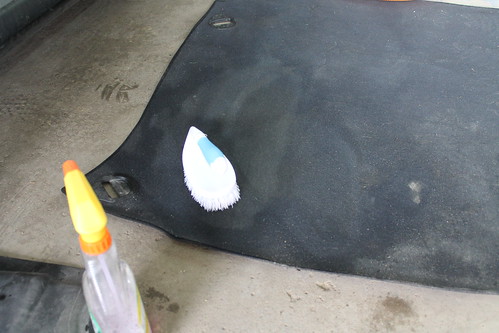
The trunk carpet was covered in stains too
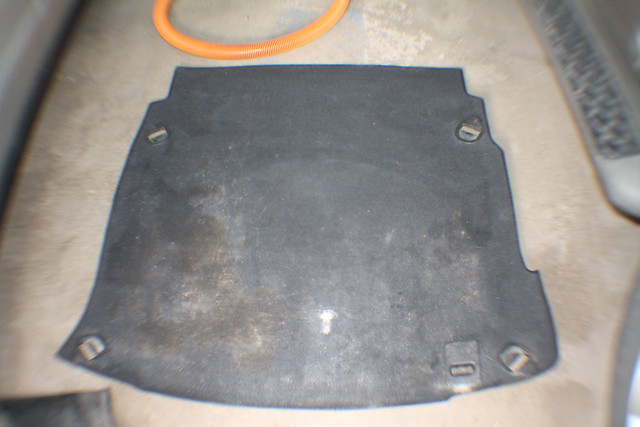 IMG_1206 by Ayrton @ Drive19, on Flickr
 IMG_1207 by Ayrton @ Drive19, on Flickr
Even the plastic trim had turned brown...
Before
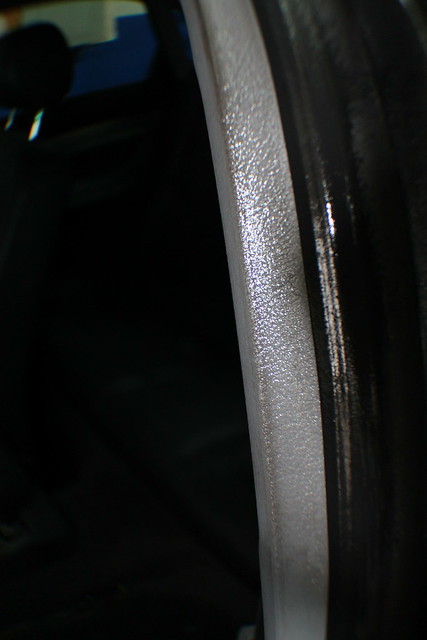 IMG_1215 by Ayrton @ Drive19, on Flickr
After
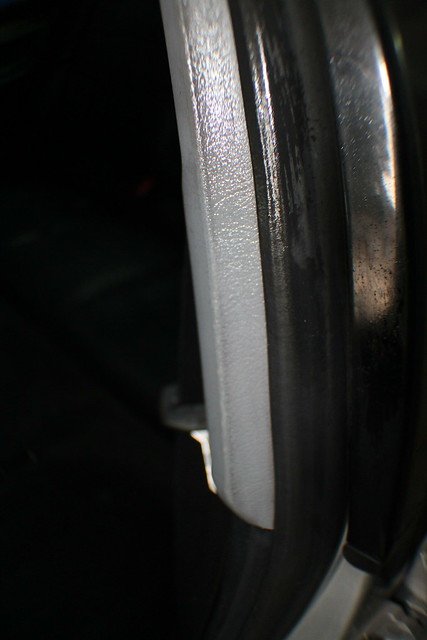 IMG_1214 by Ayrton @ Drive19, on Flickr
Even After this I had to shampoo the carpets yet again to get the smell out, I found $6 or so in change, 5 working lighters, a bit of corn husk under the rear seats, and a few unidentifiables lol. I also didn't bother reinstalling the front seats, I decided I was either going to try to fix them or replace them as they were just so bad.
After that I decided to tear into the engine.
disconnected the injectors
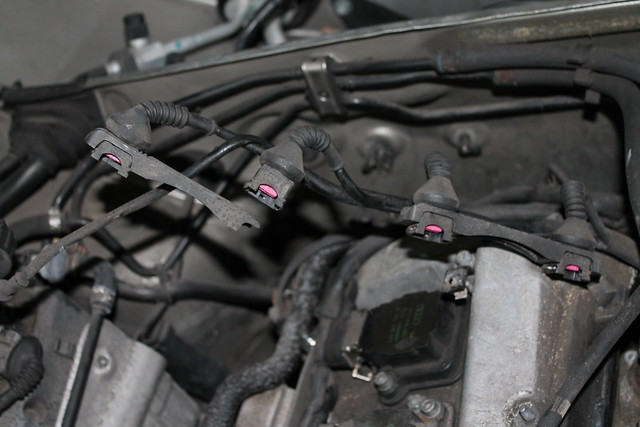 IMG_1228 by Ayrton @ Drive19, on Flickr
 IMG_1229 by Ayrton @ Drive19, on Flickr
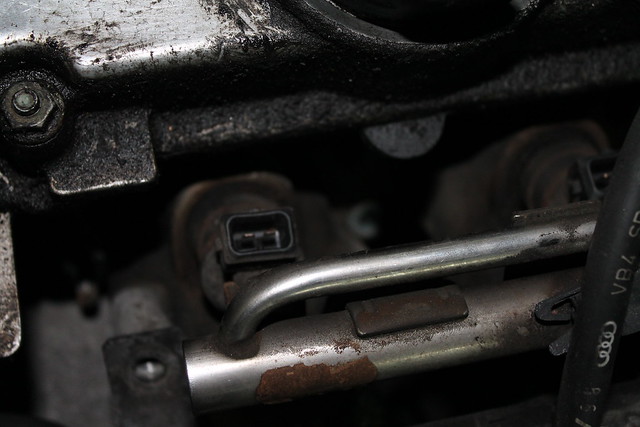
Unbolted the fuel rail
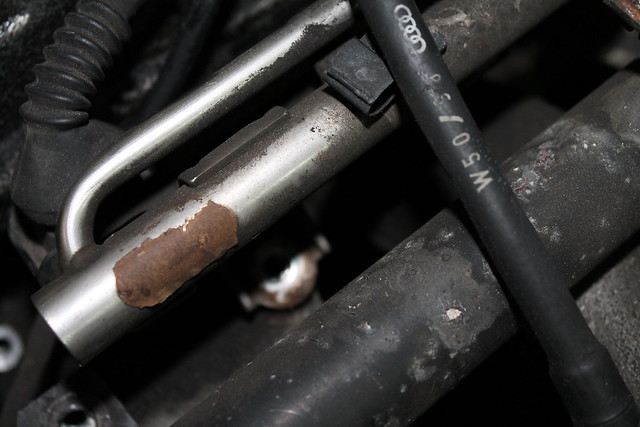 IMG_1225 by Ayrton @ Drive19, on Flickr
Stuff like this was kinda hard to reach, but because nothing is torqued on super tight, as long as you have an extension its easy enough.
Disconnected and removed the coil packs
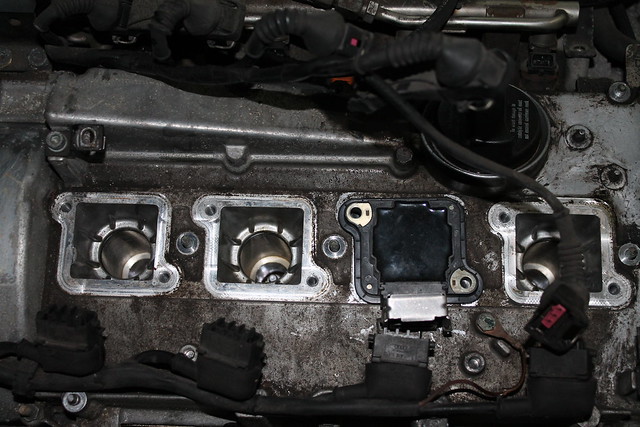 IMG_1235 by Ayrton @ Drive19, on Flickr
As you may have noticed, there's one still in there, it's the only non oem coil pack and it decided to split in two when I went to pull it, had to press it back together and finagle it out
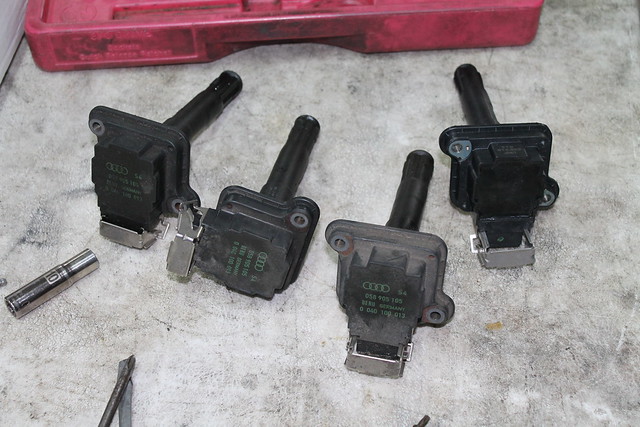 IMG_1236 by Ayrton @ Drive19, on Flickr
The OEM coils have the audi logo on them.
valve cover removed
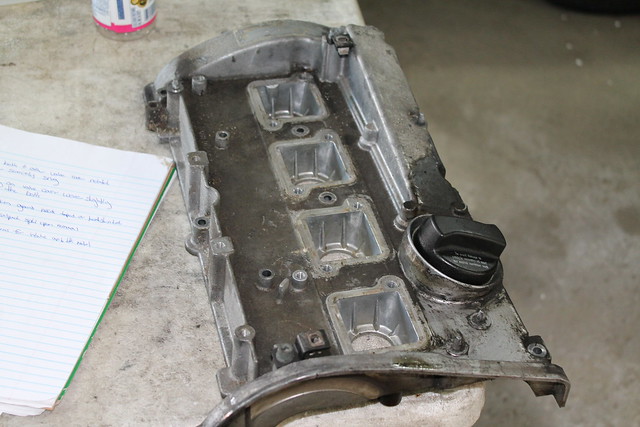 IMG_1243 by Ayrton @ Drive19, on Flickr
Cams actually looked good, no scoring, or sludge build up.
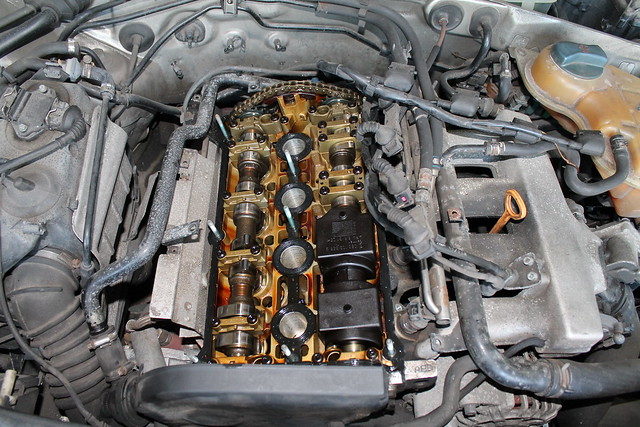 IMG_1244 by Ayrton @ Drive19, on Flickr
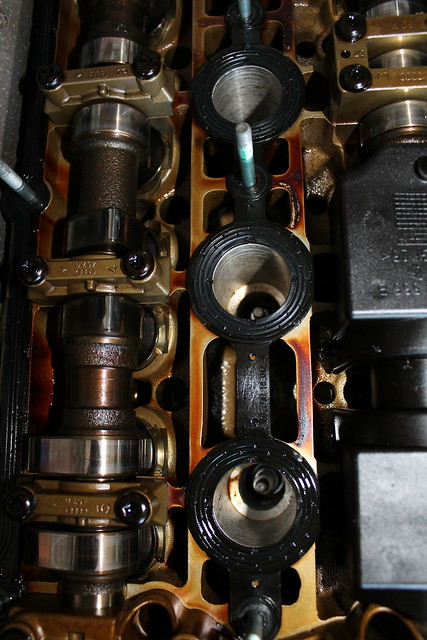 IMG_1246 by Ayrton @ Drive19, on Flickr
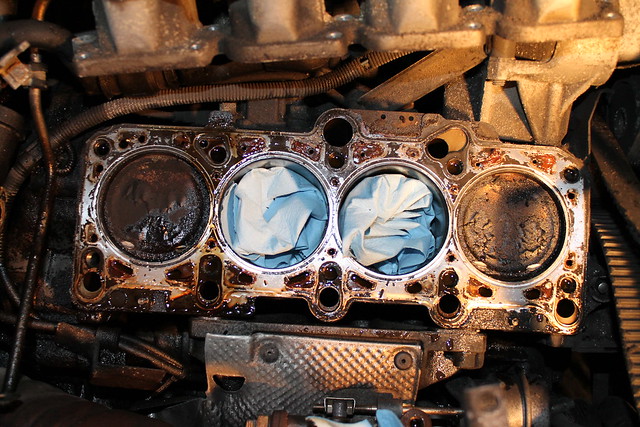
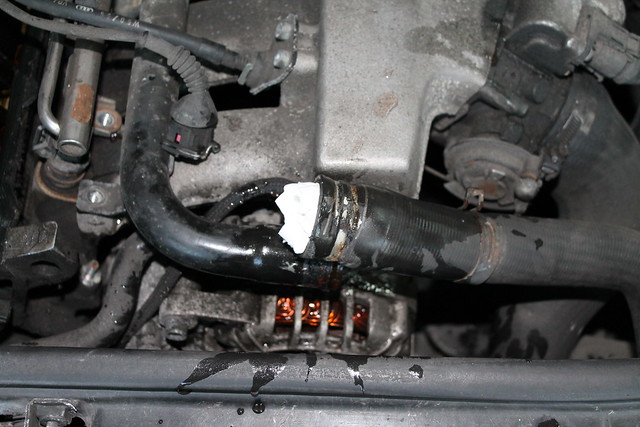
Next I had to disconnect some coolant hoses to get access to the intake manifold so I would be able to unbolt and move it out of the way to get the cylinder head off without completely disconnecting it. Unfortunately I may have forgotten to drain the coolant first...:roll eyes
 IMG_1250 by Ayrton @ Drive19, on Flickr
Got it plugged up quick enough though haha
 IMG_1251 by Ayrton @ Drive19, on Flickr
Then unbolted the intake manifold
 IMG_1254 by Ayrton @ Drive19, on Flickr
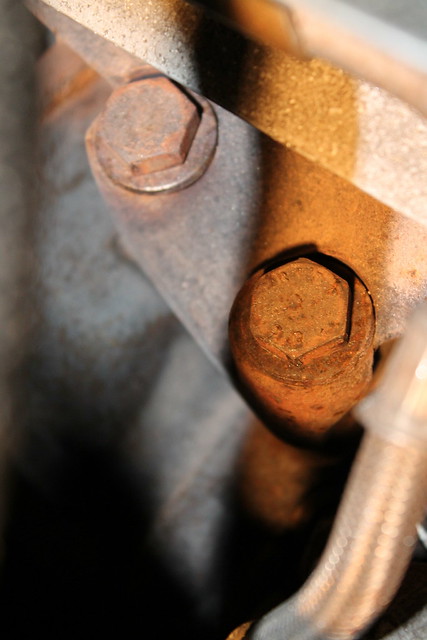
After that was the exhaust manifold, the bolt closest to the head was the biggest PITA ever, I ruined the bolt trying to remove it. Don't have a go at any of these without drowning them in PB Blaster first or you're gonna have a bad time
 IMG_1255 by Ayrton @ Drive19, on Flickr
The bolt I'm referring to is hidden under that heatsheild which also gets removed (there are three bolts total)
At this point I was just waiting for my tool to come in to remove the head bolts (VW Audi uses a specialty socket for the head bolts) and then I'd really get to assess the extent of the damage. Would there be a valve sized hole punched on one of my pistons? Would I get away with just dealing with the cylinder head? Find out in the next update
Leave a comment:
Leave a comment: