Announcement

Collapse
No announcement yet.

She Was a Stunner | 19Birel's B5 Audi Revival

Collapse
X
 
  • Filter
  • Time
  • Show
Clear All
new posts

  • 19birel
    replied
    A couple shots I took of the car the other night

    zzza4 (1 of 1)-7

    zzza4 (1 of 1)-8 (1)

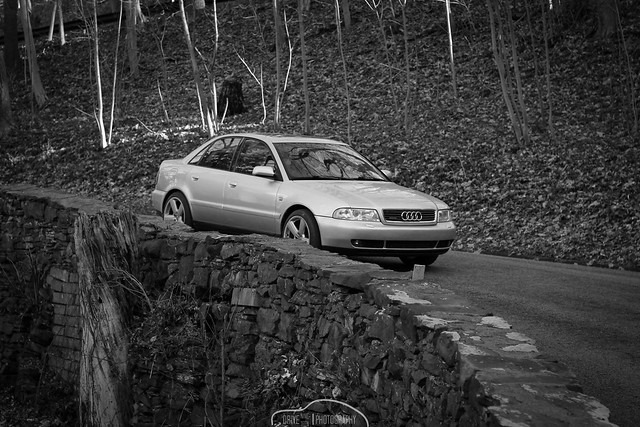
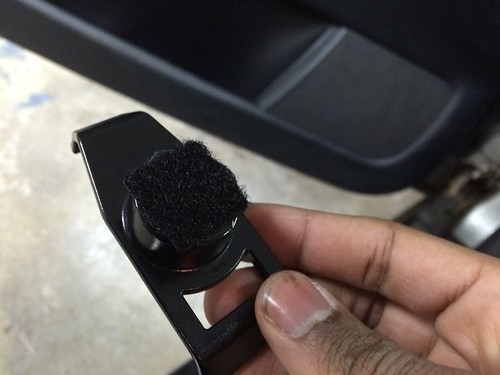
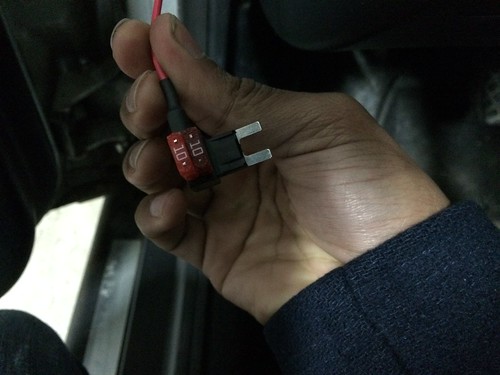
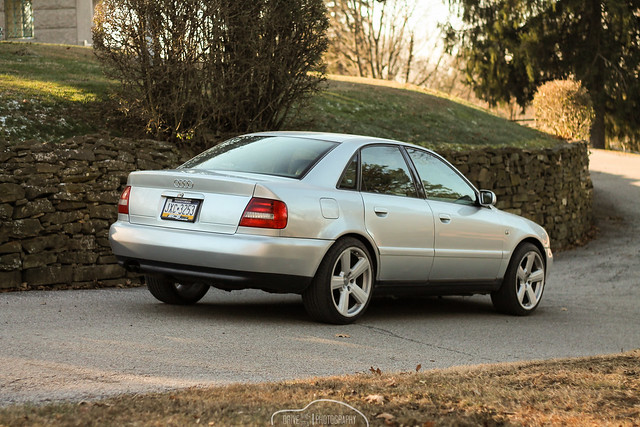
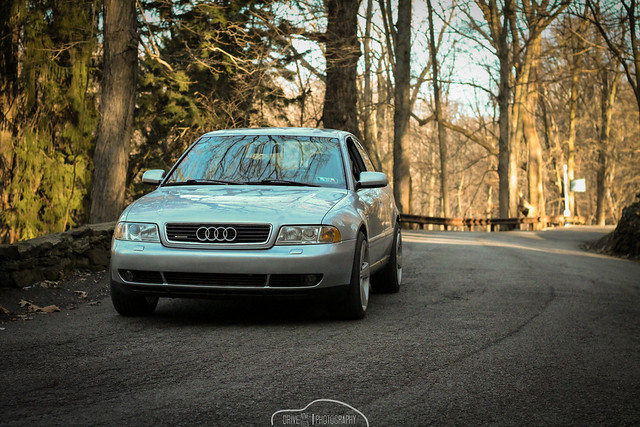
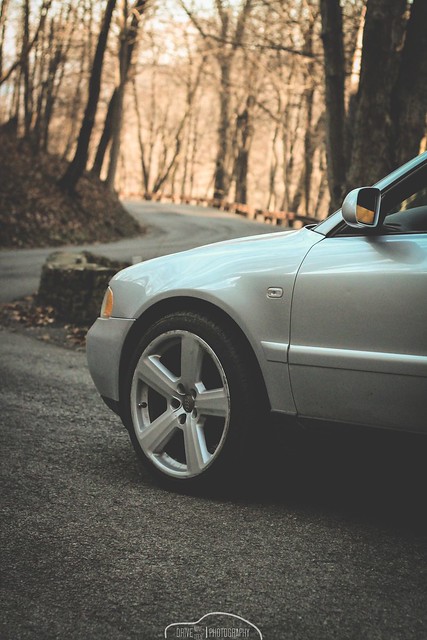
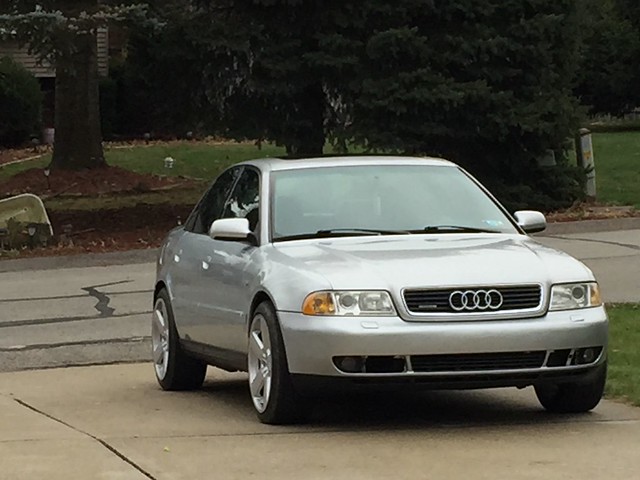
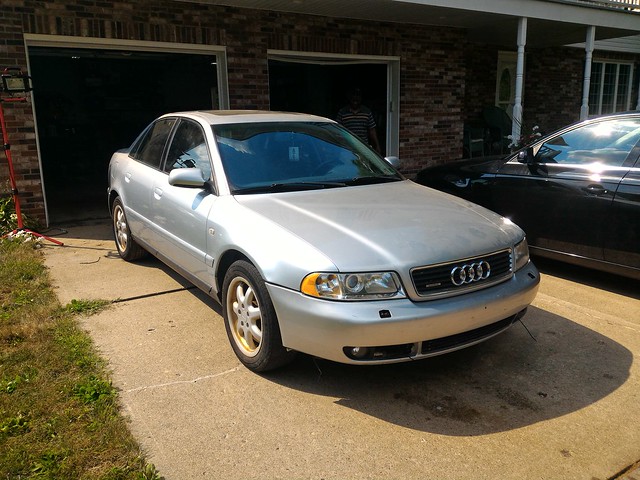
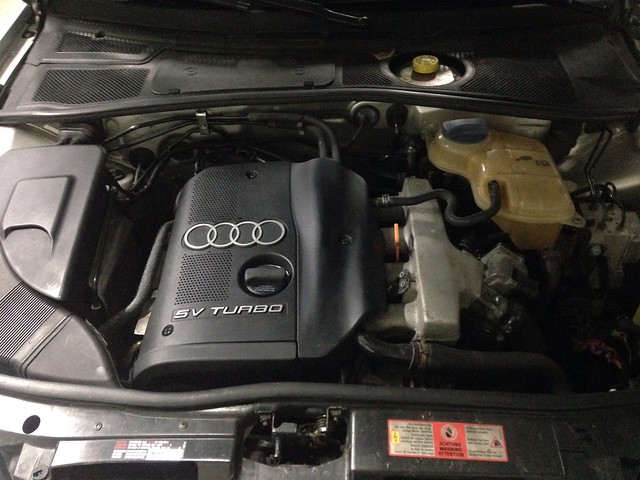
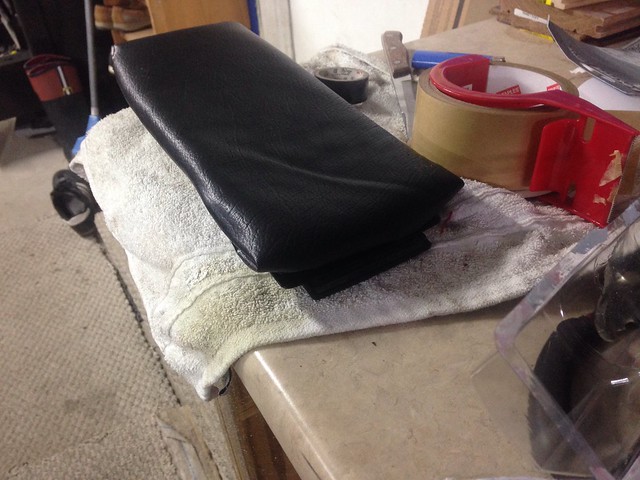
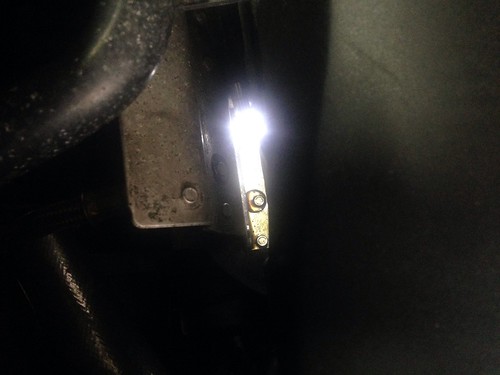
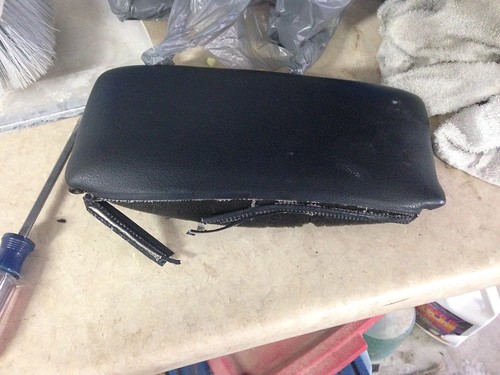
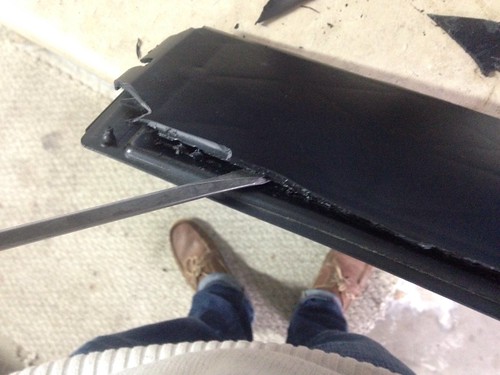
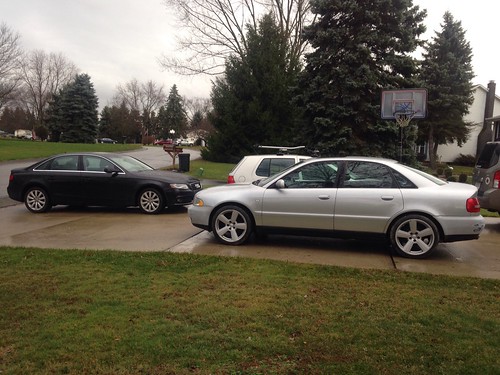
    Unfortunately the list of maintenance the car will need this summer is growing, here is what's on the agenda.

    - Fix leaky power steering rack (probably going to get one second hand and replace the seals)
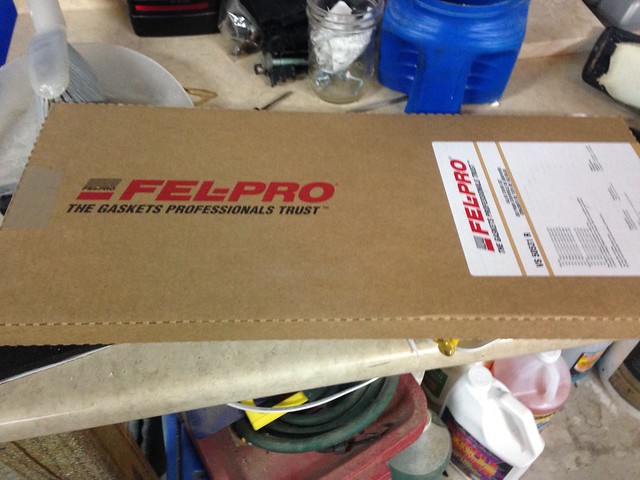
    -Gearbox & diff fluid change
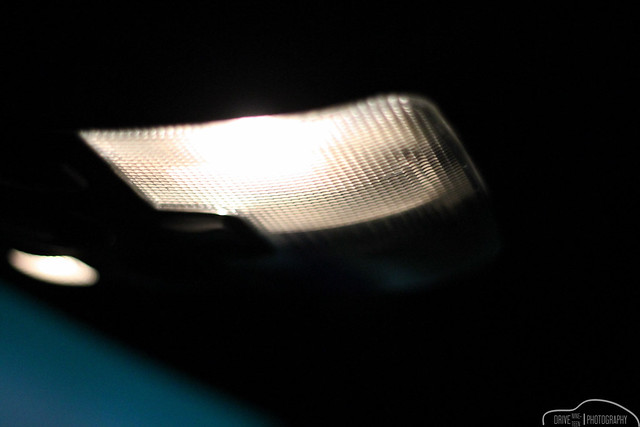
    -Headlight projector lens cleaning (believe this is the reason for the poor light output)
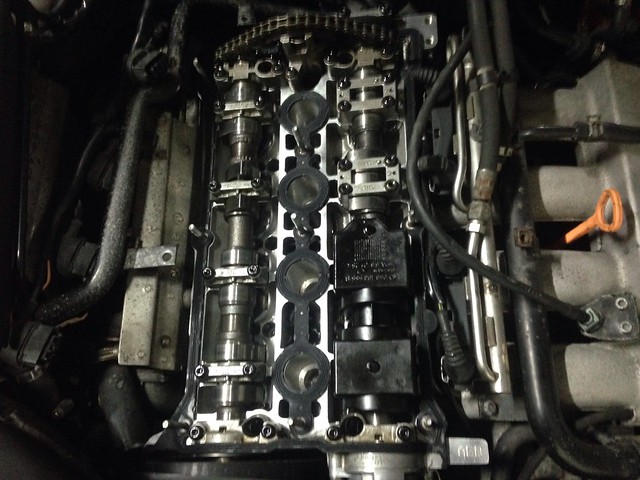
    -PCV system refresh (on of the hoses has perished, should be a simple fix)

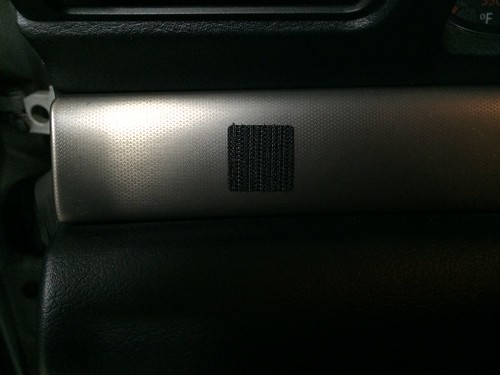
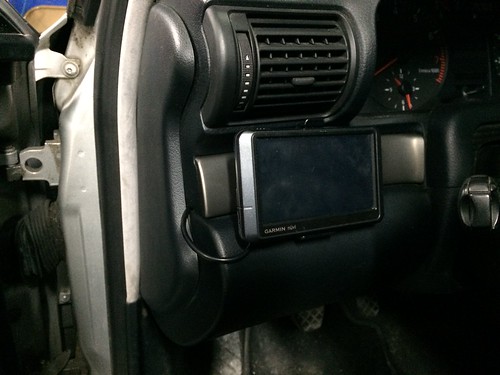
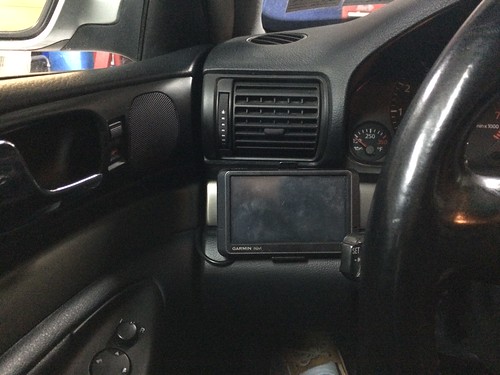
    Don't worry though, there will be some mods as well! Just have to price a few things out and decide on what direction I want to take the build!

    Leave a comment:


  • 19birel
    replied
    Video!!! CLICK ME!!!

    Let me know what you guys think!

    Leave a comment:


  • 19birel
    replied
    So the original Garmin died of natural causes, but I would've fried the crap out of it had I actually connected it as I wired it directly to 12 volts because I was under the assumption that's what it ran on. Thankfully a helpful Audiziner pointed out to me that the garmin runs on a 5volt connection minutes before my replacement Garmin arrived so here was my solution. I basically hacked up the part of the original car charger that goes into the 12volt socket and moved it to the middle of my charging cable. The small circuit board with the LED has resistors on it and steps the voltage down from 12 to 5 (confirmed by a multimeter and the fact that I had the Garmin connected and running for 4 hours straight without issue). As a general rule USB devices run off of 5volts for anyone trying to do something like this themselves.

    Untitled by Ayrton @ Drive19, on Flickr

    Untitled by Ayrton @ Drive19, on Flickr

    Untitled by Ayrton @ Drive19, on Flickr

    Everything tucked behind the dash exactly the same as before and the install still looks the same except for the new Garmin being gloss black vs. graphite, I'll take a picture of it in action next time I drive the car.

    Oh and these stock halogen headlights suck haha, looks like I'm going Bi-Xenon this summer...
    Without fog lights on


    With fog lights on (how I usually have to drive)


    Found another pic from the photoshoot the other day, add me on insta @19birelcrg for more
    Untitled by Ayrton @ Drive19, on Flickr
    Almost 1k on the rebuild and she's still going strong, so much more to do though haha

    Leave a comment:


  • 19birel
    replied
    So one feature I really wanted to have in the A4 is Sat Nav. Having to drive to and from ROC for school and driving around ROC, I decided that having to use my phone to get everywhere was a little impractical. While I'd like to eventually get an RNS-E, I wanted an inexpensive sat nav solution that wasn't sitting in my ash tray or suction cupped to my windshield.

    That's where this comes in, my parents old Garmin they quit using and gave me.
    Untitled by Ayrton @ Drive19, on Flickr
    It's older so the maps may be a little out of date, but if I find myself using it frequently enough I'll upgrade it this summer if I can't get hold of an RNS-E or aftermarket nav headunit

    first task was mounting it, here is the back of the windshield mount after the suction cup part has been removed.
    Untitled by Ayrton @ Drive19, on Flickr

    I traced that circle on a clear piece of plastic, cut it out, and glued it on with some epoxy
    Untitled by Ayrton @ Drive19, on Flickr

    Untitled by Ayrton @ Drive19, on Flickr

    next I attached some velcro to it, and then to the corresponding place on my belt-line trim where I wanted to mount it
    Untitled by Ayrton @ Drive19, on Flickr

    Untitled by Ayrton @ Drive19, on Flickr

    Next part is the wiring, first I cut the end of the Garmin charger that plugs into the 12v power outlet in the car. It's one sheathed wire wrapped by a bare wire, the sheathed wire is your positive, the bare one is your ground; to make things easier I twisted my ground wire together so it wasn't a bunch of thin strands.
    Untitled by Ayrton @ Drive19, on Flickr

    Crimped the positive wire into this add a fuse from pep boys
    Untitled by Ayrton @ Drive19, on Flickr

    Added my fuses and connected it to the fuse for the interior lights (can't remember fuse # off the top of my head)
    Untitled by Ayrton @ Drive19, on Flickr

    All hooked up, the ground wire is wrapped around a bolt for the fuse box
    Untitled by Ayrton @ Drive19, on Flickr

    GPS connected and fuse cover back on
    Untitled by Ayrton @ Drive19, on Flickr

    Untitled by Ayrton @ Drive19, on Flickr

    Unfortunately I haven't gotten to use it because while I was doing the wiring, the GPS, not connected to anything, randomly started beeping and then wouldn't turn back on. Given that it the boot screen was really messed and it took forever to get a satellite signal, I'm not entirely surprised that it died, just annoyed that it happened 3/4 of the way through my install. I ordered another one though, used for $23 off Amazon, so I'll update you guys when that arrives tomorrow.

    Questions and Comments always welcome!

    Leave a comment:


  • 19birel
    replied
    Originally posted by Fuzzytaint View Post
    Absolutely phenomenal work my man. Great attention to detail. All it needs now is the wheels touched up and lowered an 1" or 2" and it will be a perfect classy daily. Props my man


    Sent from my iPhone using Tapatalk
    Thanks man! Refinishing the wheels is definitely on my to do list for this summer. Still debating lowering it, I'd prefer the look and handling but my inner old man likes the semi comfortable ride of the stock sport setup haha. I'll probably end up biting the bullet though haha.

    Leave a comment:


  • Fuzzytaint
    replied
    Absolutely phenomenal work my man. Great attention to detail. All it needs now is the wheels touched up and lowered an 1" or 2" and it will be a perfect classy daily. Props my man


    Sent from my iPhone using Tapatalk

    Leave a comment:


  • 19birel
    replied
    Finally got to do a photoshoot today! She's come a long way!

    a4 (1 of 1)-9 by Ayrton @ Drive19, on Flickr

    a4 (1 of 1)-10 by Ayrton @ Drive19, on Flickr

    a4 (1 of 1)-11 by Ayrton @ Drive19, on Flickr

    a4 (1 of 1)-13 by Ayrton @ Drive19, on Flickr

    a4 (1 of 1)-12 by Ayrton @ Drive19, on Flickr

    a4 (1 of 1)-15 by Ayrton @ Drive19, on Flickr

    a4 (1 of 1)-14 by Ayrton @ Drive19, on Flickr

    a4 (1 of 1)-16 by Ayrton @ Drive19, on Flickr

    Leave a comment:


  • 19birel
    replied
    So I was looking for my speakers in the basement today when I found these door handles with factory Bose tweeters installed, which made me realize I have almost everything I need for a complete speaker upgrade
    Untitled by Ayrton @ Drive19, on Flickr

    Now as the last thing i really NEED are speakers (although the stock ones are garbage) I told myself I'd buy some with whatever loose change I could find in my pockets etc. now I have a budget of $30 haha.

    Looking at these, I'm no audio expert so opinions and suggestions will be much appreciated.

    [ame="http://www.amazon.com/gp/product/B00BF6HWF4?keywords=4%26%2334%3B%20car%20speakers&qid=1452034760&ref_=sr_1_3&s=gift-cards&sr=8-3"]Rockford Fosgate 4"[/ame]

    Leave a comment:


  • 19birel
    replied
    So I got the car back the other day and it looks great! Feels good to finally be able to daily drive the A4! Here is a sneak peek of how she looks with painted bumpers and trunk haha, this afternoon I'm going to snap some better ones with my DSLR hopefully.

    IMG_7008 by Ayrton @ Drive19, on Flickr

    IMG_7007 by Ayrton @ Drive19, on Flickr
    Had the painter debadge the rear[]

    Anyways after I got it back, my painter gave me some left over paint incase I wanted to touch up some chips on the doors and hood (I didn't have him paint those) I took care of the drivers side door but my camera had trouble picking it up so I didn't take pics.

    Then I replaced my wheel bolts. When I got the car aligned, the Audi dealer said mine were too short and there was a danger of them backing out, upon further inspection, I noticed that my wheels are extended by 15mm past the face that normally would mate with the wheel hub (basically it's like the wheels have 15mm spacers built in) so 35mm anti corrosion bolts were ordered from ECS and installed.

    a4 (1 of 1)-5 by Ayrton @ Drive19, on Flickr

    One of my interior dome lights was dead so I ordered a pair of new ones from ECS, I think it was ~$3 for the pair
    a4 (1 of 1) by Ayrton @ Drive19, on Flickr

    a4 (1 of 1)-2 by Ayrton @ Drive19, on Flickr

    a4 (1 of 1)-3 by Ayrton @ Drive19, on Flickr

    This pic better illustrates the warmer color they have, I purchased aftermarket sylvania ones, but they look the same as OEM
    a4 (1 of 1)-4 by Ayrton @ Drive19, on Flickr

    Installed my armrest that will hopefully get redone this week
    a4 (1 of 1)-6 by Ayrton @ Drive19, on Flickr

    This little cover for the cupholder had fallen off so I got some epoxy out and now it won't be going anywhere
    a4 (1 of 1)-8 by Ayrton @ Drive19, on Flickr

    Lastly, I installed all of my OEM Audi center caps, but I only had 3 so I took one of my blanks and sprayed it with some grey paint I had laying around. This is just temporary until I get another OEM center cap
    a4 (1 of 1)-7 by Ayrton @ Drive19, on Flickr

    Today I'll be detailing the interior and seeing about adjusting my headlights as I currently can't drive at night without my fog lights on. I also have a pair of 2-way rear deck speakers I may look into installing. My A6 blindspot glass does not fit, so I'll have to buy some A4 glass at some point.

    That's it for now, questions, and comments always welcome!

    Leave a comment:


  • 19birel
    replied
    So today I placed and order with ECS Tuning

    Ball seat wheel bolts- 14x1.5x35mm

    Sylvania Interior dome light bulbs (I wanted LEDs, but one of my bulbs is burt out and at $2 for the pair it's not a big loss if I swap them out later)

    Key fob cover (my key still won't stay in one piece so I need something to hold the fob together)

    Also did some more research on the H&Rs and their claim of a 1.25" drop is compared to the standard suspension, not the optional sport suspension which lowers the by about .75". that being said, with only a .5" drop, I'm not sure if the springs are worth it, if anything they'll just start to cause rubbing and I'd probably get more performance out of an upgraded rear sway bar. Oh well, we'll see.

    Also need some opinions, I plan on repainting the center of my grill either gloss or matte black, what do you guys think of me vinyl wrapping the chrome part in gloss black as well?

    Something like this, but with the stock grill not the RS4 mesh


    vs what I have now (best pic I have, sorry)
    P_20150816_155426 by Ayrton @ Drive19, on Flickr

    I just feel like the chrome grill looks a little out of place without the window trim, and as I have yet to find someone selling the trim, I figured I'd embrace the whole "Black Optics" OEM style look and hunt down some window trim if I decide I don't like it...or If I do like it, hunt down some trim and wrap it gloss black as well to complete the look.

    Anyways let me know!

    Leave a comment:


  • 19birel
    replied
    Originally posted by handsomeasspandy View Post
    When you lower it the natural camber will tuck the wheels under a bit at the top, you might get away with it.

    Also, I've got those Nankangs on a set of speedlines and they were perfect on the motorway and when I went blasting down some back roads
    Yeah, It'll definitely be close! I'll have to find out exactly how much the H&Rs will lower the car by as I'm pretty sure the quoted measurements from H&R are compared to the standard suspension, and I have the sport suspension which lowers the car a little bit already. After checking out the last pic I posted though, I must say the current ride height is growing on me, we'll see how long that lasts though! haha

    That's good to hear about the Nankangs! I actually the car out on some damp backroads and the grip was phenomenal. That earlier that day I had taken my Golf (lowered on Bilstein sport dampers and H&R sport Springs) on the same roads in similar conditions and the difference was night and day. I was able to push the A4 well past the limits of the Golf and it still gripped phenomenally with the Nankangs.

    On another note, the car should be back from paint either this Friday or Saturday, Finally!

    Leave a comment:


  • handsomeasspandy
    replied
    When you lower it the natural camber will tuck the wheels under a bit at the top, you might get away with it.

    Also, I've got those Nankangs on a set of speedlines and they were perfect on the motorway and when I went blasting down some back roads

    Leave a comment:


  • 19birel
    replied
    So the dealer got the car tracking straight, they didn't adjust the camber the first time (the entire reason I brought them the car to begin with) but they took care of it without charging any extra and even washed the car so i can't complain.

    After getting it back I decided to take care of my nasty oil leak. Rather than order another valve cover gasket from ECS I just grabbed one from AutoZone since I was short on time.
    Untitled by Ayrton @ Drive19, on Flickr

    Untitled by Ayrton @ Drive19, on Flickr

    Untitled by Ayrton @ Drive19, on Flickr

    New gasket installed
    Untitled by Ayrton @ Drive19, on Flickr

    Surprisingly this one felt like it was much higher quality than what I got from ECS, and I didn't have to fight it to stay on like I did with the other one. I buttoned everything back up, and the next morning there wasn't a drop of oil under the car so I'd say that fixed it.

    Today I finished up the armrest, it doesn't look very good to be honest so I'll have my mum help me re-do it this time around as she's pretty good at this sort of thing.

    Here's some pics of it "finished" but it'll get re-done
    Untitled by Ayrton @ Drive19, on Flickr

    Untitled by Ayrton @ Drive19, on Flickr

    Untitled by Ayrton @ Drive19, on Flickr

    Yesterday however, the car was dropped off with the painter, I'll call him Tuesday to see how things are going as the time frame is pretty tight. Also, I need to get some longer wheel bolts, I wasn't sure if the stock ones would be fine or not, but on the service report from the dealership they mentioned that there wasn't much thread going into the actual hub, so I'll be ordering some 35mm bolts from BFI this coming week.

    Questions and Comments welcome as always!

    Leave a comment:


  • 19birel
    replied
    did some work on the car last night,but mostly just putting some miles on her. At the dealer now getting realigned, the car doesn't track straight and despite them being unable to adjust the right rear as far as tracking goes the front end it what should effect that most.

    Anyways here's what I did last night.

    First the car has a very nice oil leak so I did some inspecting
    Untitled by Ayrton @ Drive19, on Flickr
    You can see oil collecting on the heatsheild there, and around the valve cover there appears to be some moisture so I'm going to pick up another vc gasket and get that installed.

    Then I turned my attention to the interior and the broken arm rest lid
    Untitled by Ayrton @ Drive19, on Flickr

    Removed the leather and was left with this, the top piece of plastic is actually melted onto the lower piece
    Untitled by Ayrton @ Drive19, on Flickr

    After much prying I was able to remove it.
    Untitled by Ayrton @ Drive19, on Flickr
    Untitled by Ayrton @ Drive19, on Flickr

    After sanding it down (sorry no pics) so its completely flat, I traced the lid onto a piece of plastic and cut it out.
    Untitled by Ayrton @ Drive19, on Flickr

    Untitled by Ayrton @ Drive19, on Flickr

    I then cut the original foam down to size
    Untitled by Ayrton @ Drive19, on Flickr

    The leatherette it too worn/ripped to be reused so I'm going to use some new material (my mum has some laying around) and today I'll hopefully get the armrest finished up! Stay tuned!

    Oh an a pic of her in the driveway with the B8 from yesterday. old vs. new haha
    Untitled by Ayrton @ Drive19, on Flickr

    Leave a comment:


  • 19birel
    replied
    So not Audi related, but I snapped some pics of my Golf last night while I was trying out light painting. This is the car that the Audi will be relieving from daily driver duty, and it'll become my main project once I get the Audi sorted to my liking.

    golf (1 of 1) by Ayrton @ Drive19, on Flickr
    Let me know what you guys think!

    Edit: I also took a short video though it's a little rough because I didn't have any of my stabilizers or a slider haha
    Click Me!!!
    Last edited by 19birel; 12-07-2015, 09:35 PM.

    Leave a comment:

Working...
X