 Tweet
Tweet
Hey everyone! Love the all the builds here and finally registered and figured I'd start my own. Nice to see a forum with a lot of different types of cars.
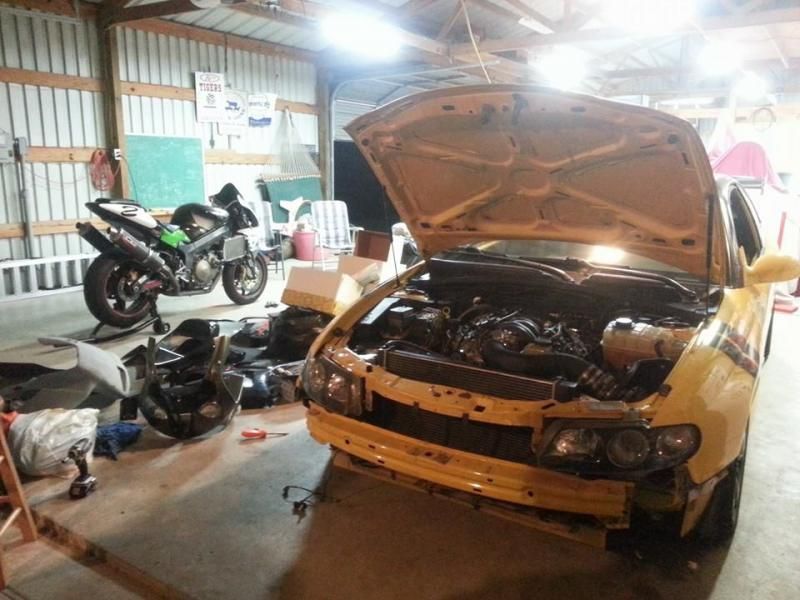
Just a bit of history on Pipsqueak. After selling my last street bike I picked up a 2004 GTO project car that was mostly stock to romp the track a streets with summer 2013. I wanted to swap a LS into a 240sx, but while cruising craigslist I found this 2006 GTO for sale for cheaper than I could buy a LS engine swap and a 240sx chassis. Winning!
The project is definitely a work in progress. Bought it with a terrible misfire, drove it home and it felt super lethargic. Went to swap out the plugs and found out half of them were loose. Replaced plugs and wires and the power was much better up top, but the misfiring stuck around intermittently. Took it to get it tuned after replacing the Spintech exhaust in case the previous owner's tune was bad. It turned out the tune was pretty iffy, but the problem was in the ignition. After the tune I replaced all 8 coils and the misfire was gone. Then it was time for power and suspension mods!

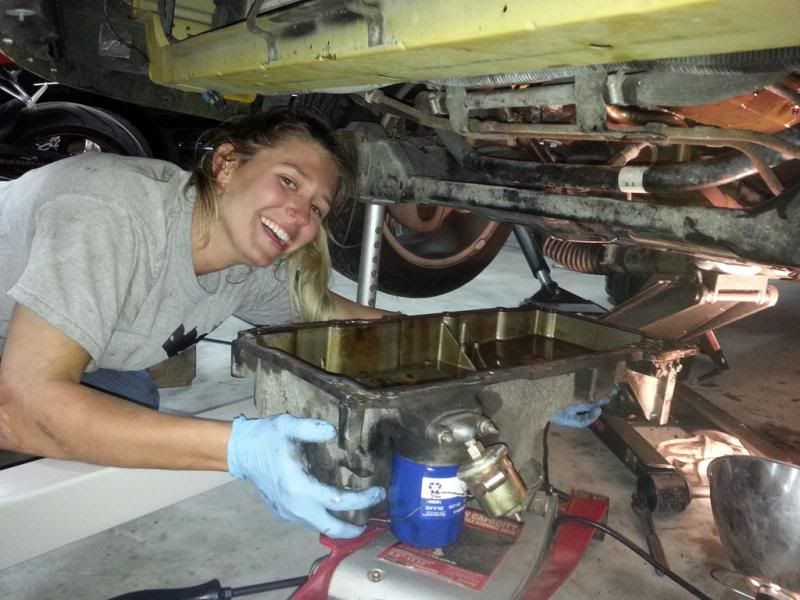
Photo by GM EFI Magazine
Current mod list September 2015
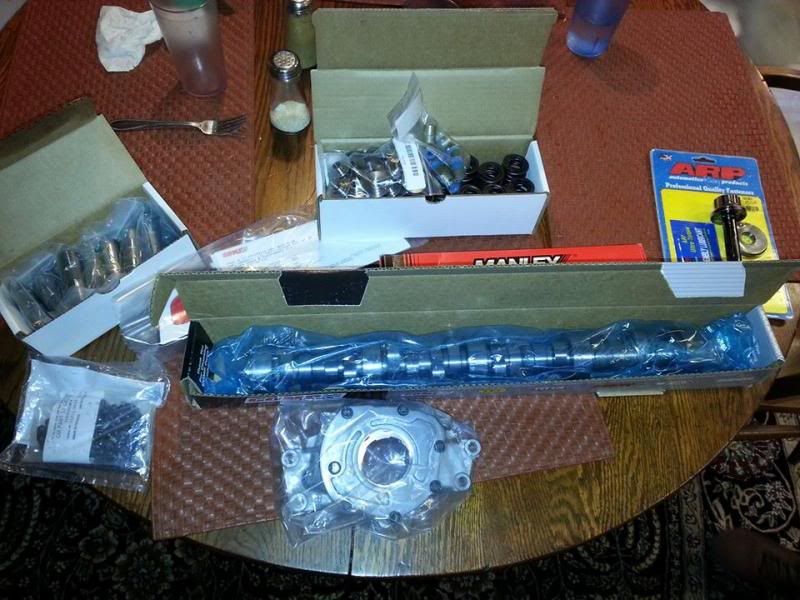
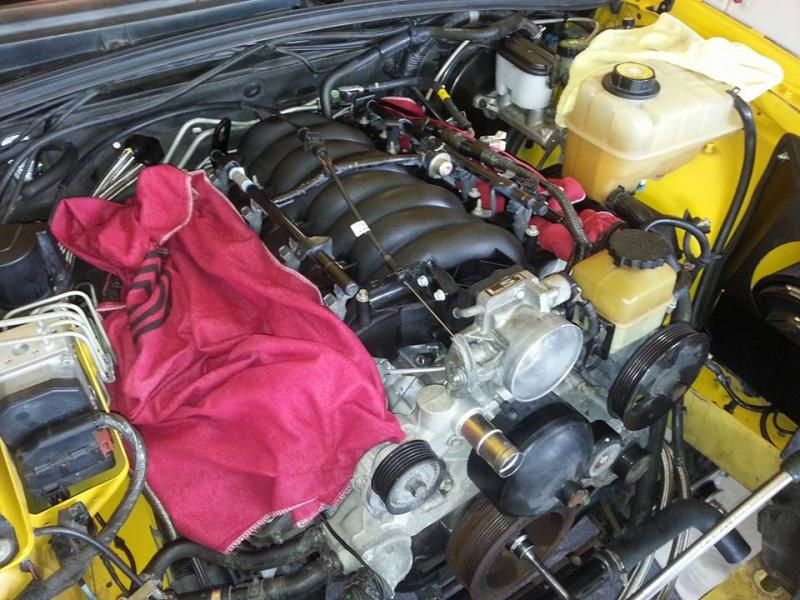
Engine
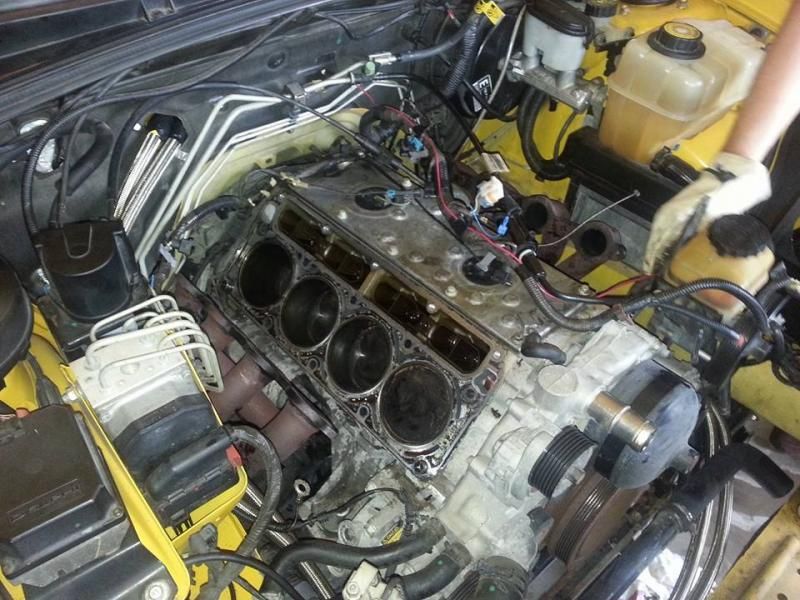
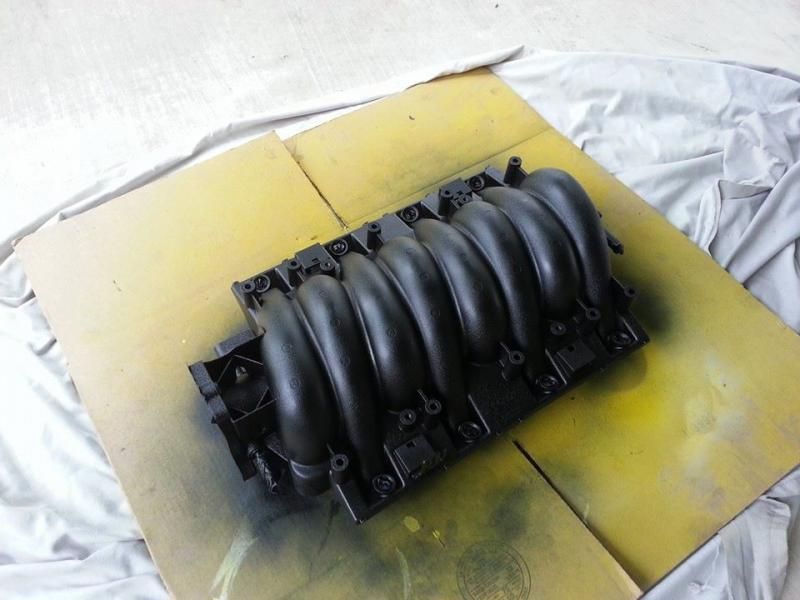
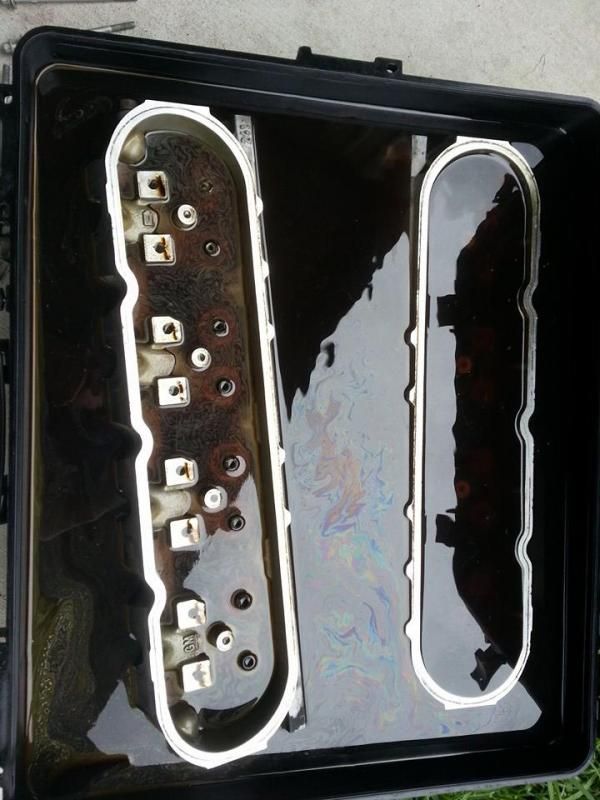
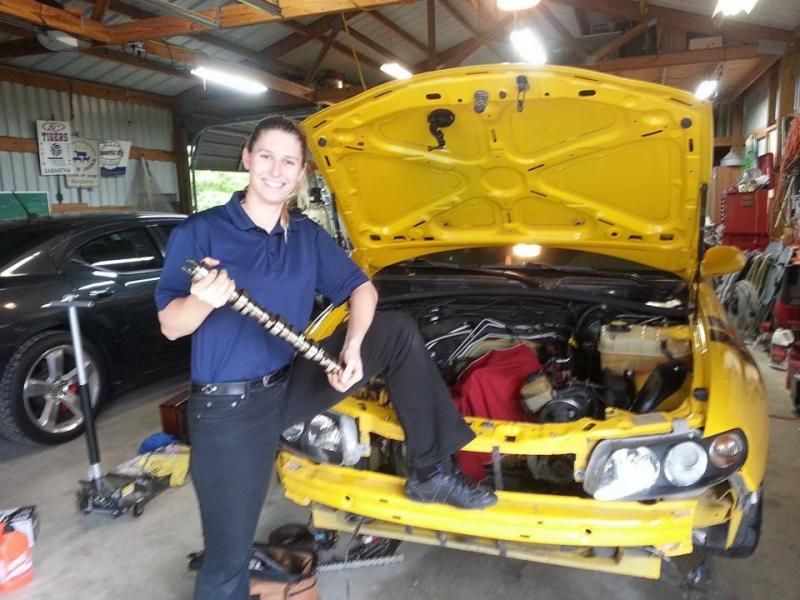
TSP 233/239 112 LSA Cam
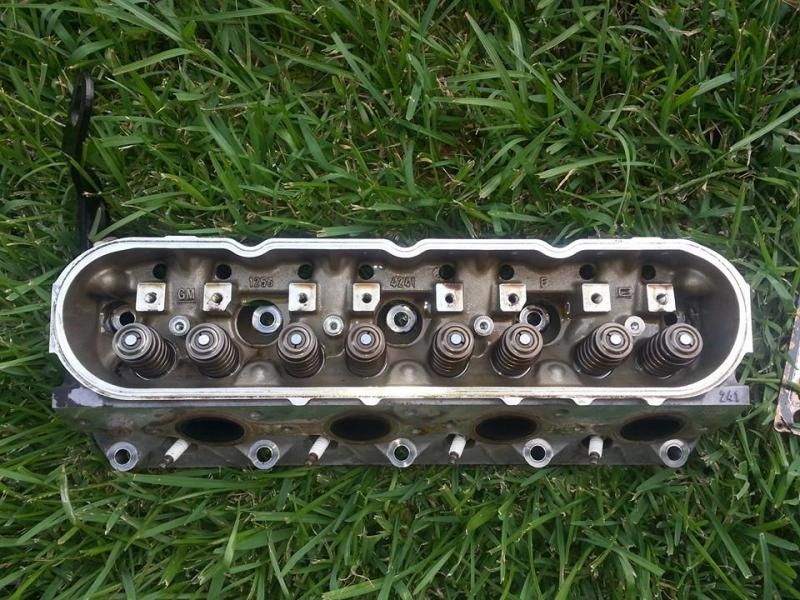
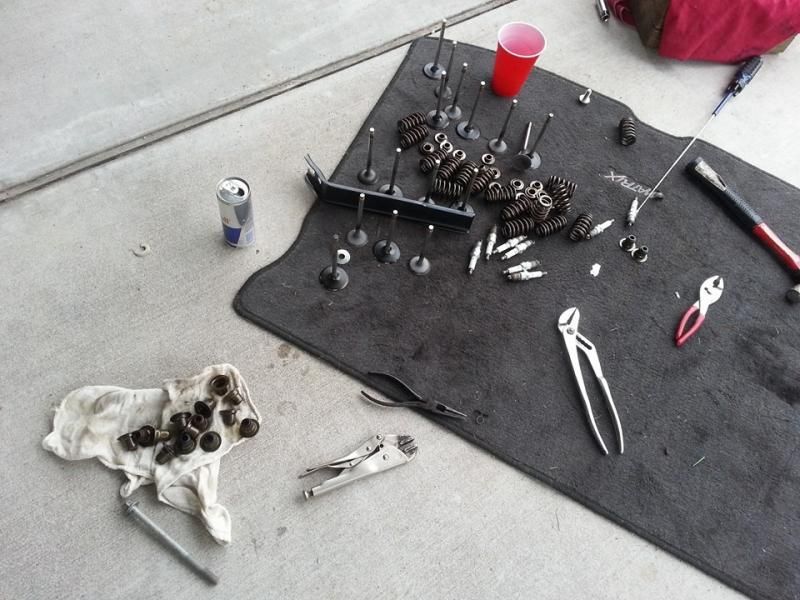
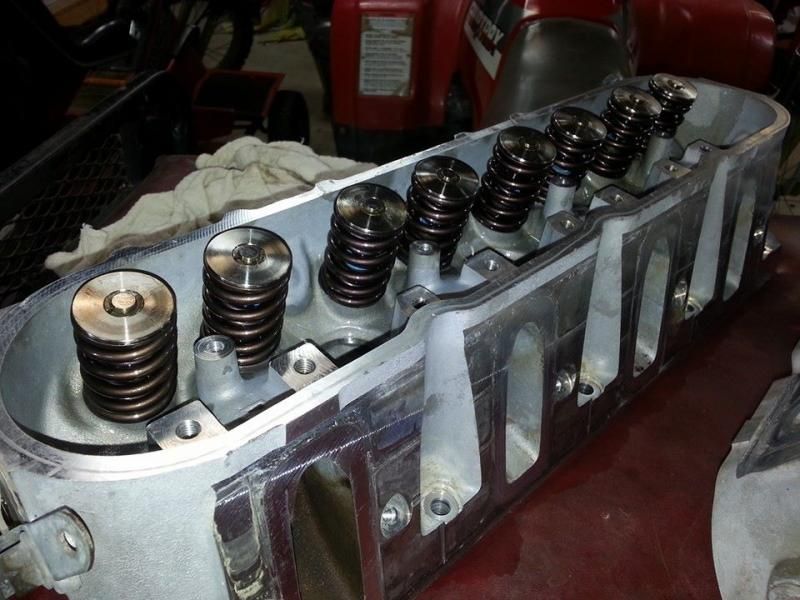
Dual Valve Springs, Titanium retainers
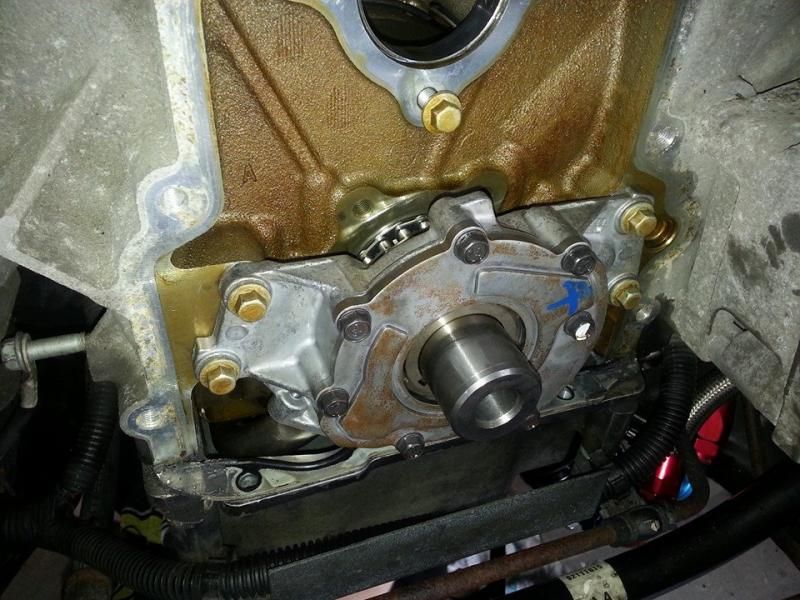
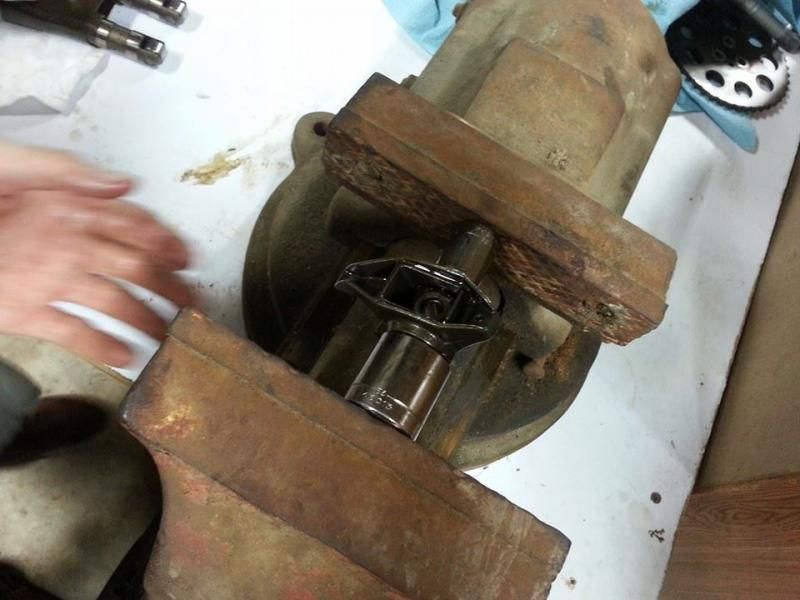
Ported LS6 oil pump
LS7 lifters
LS2 lifter trays
Lifter Trunnion bearing upgrade
ARP crank pulley bolt
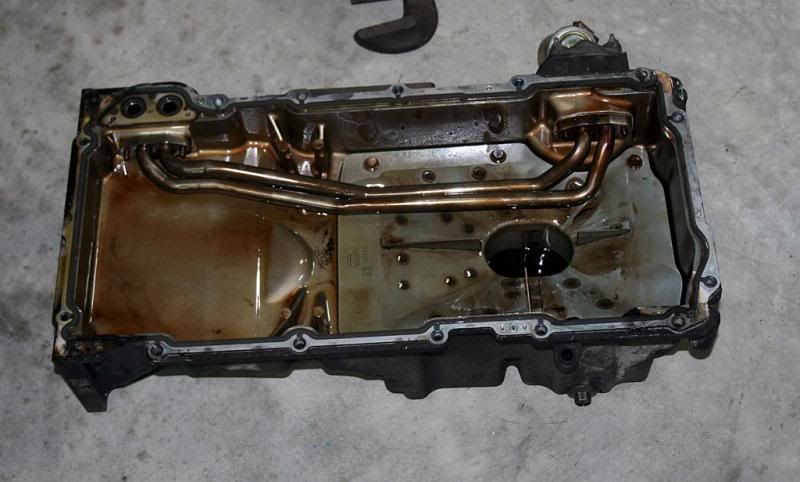
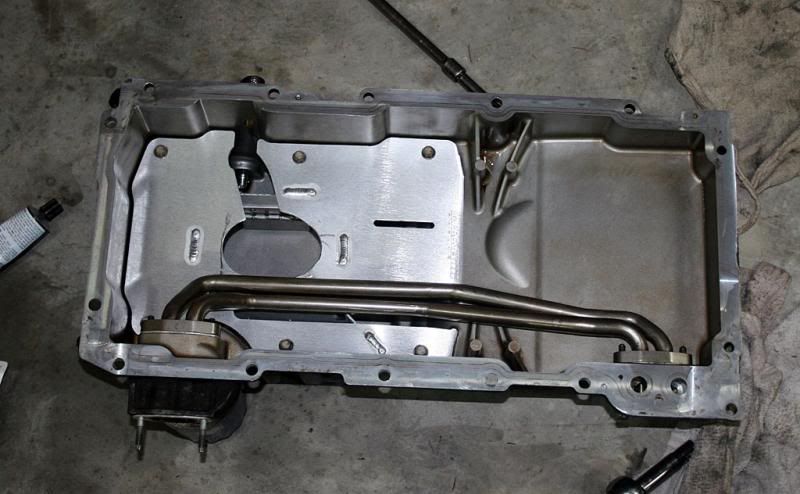
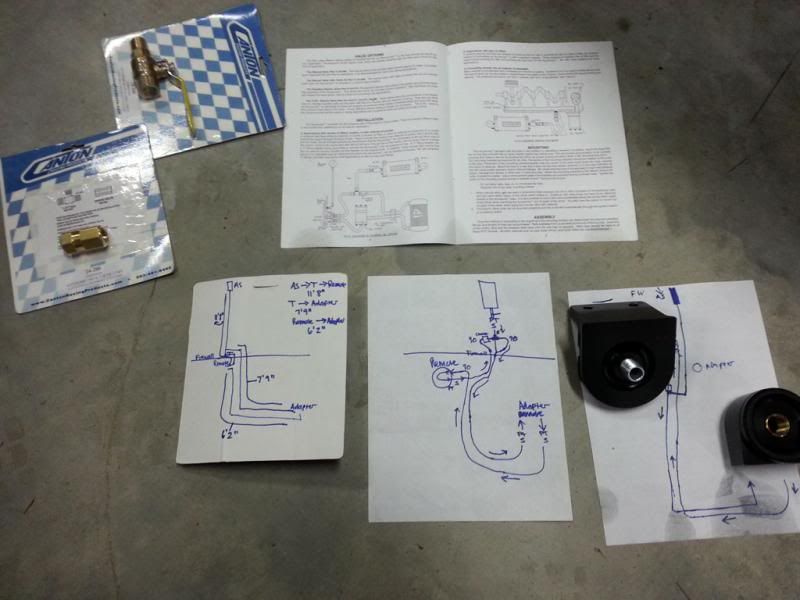
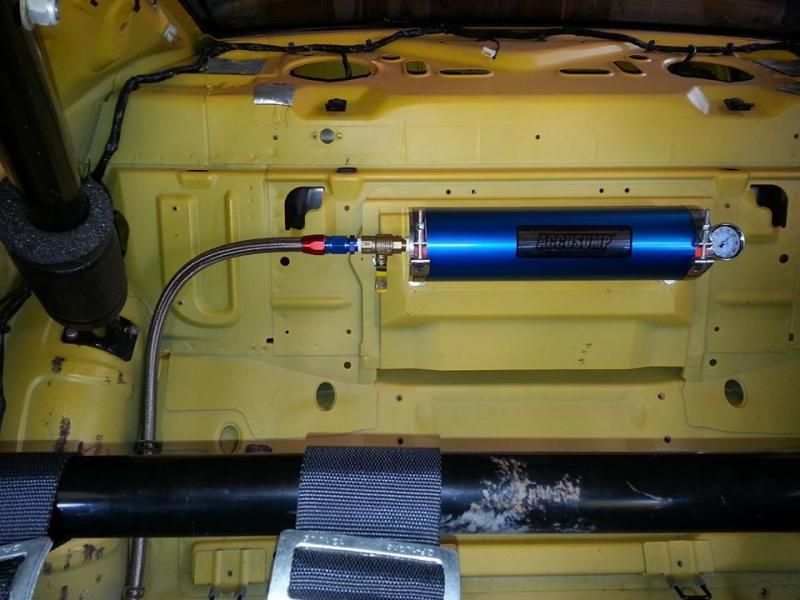
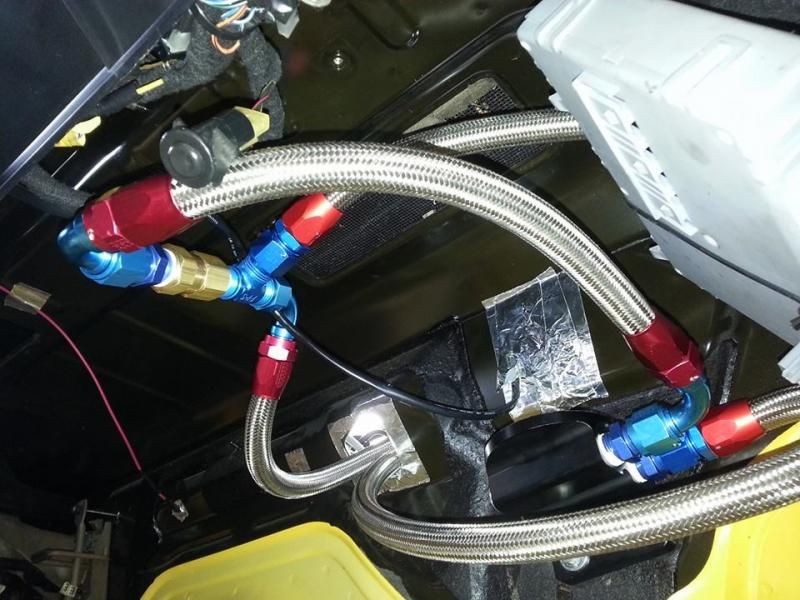
Canton Racing 3QT Accusump
Improved Racing oil pan baffle
Pacesetter long tube headers w/ extenders
SLP LM2 exhaust w/resonator delete
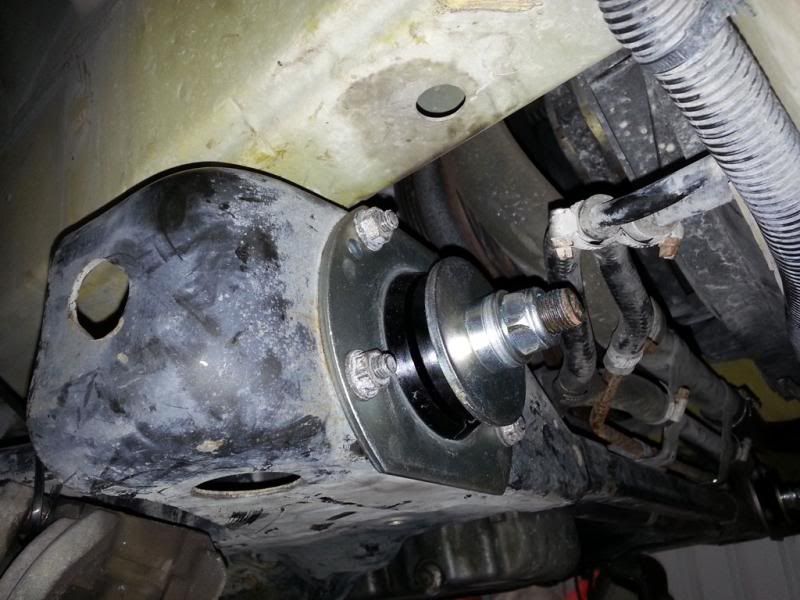
Solid engine mounts
K&N Intake
MSD 8.5mm plug wires
Fiberglass wire protectors
OEM coil pack replacement
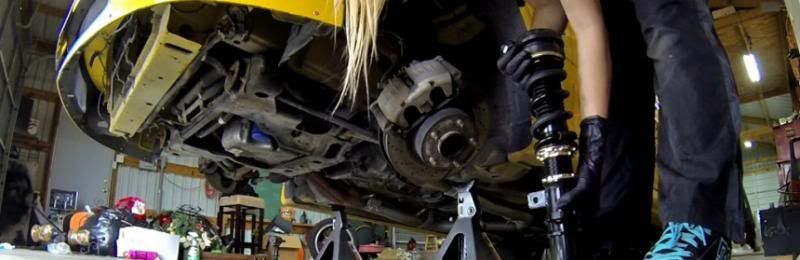
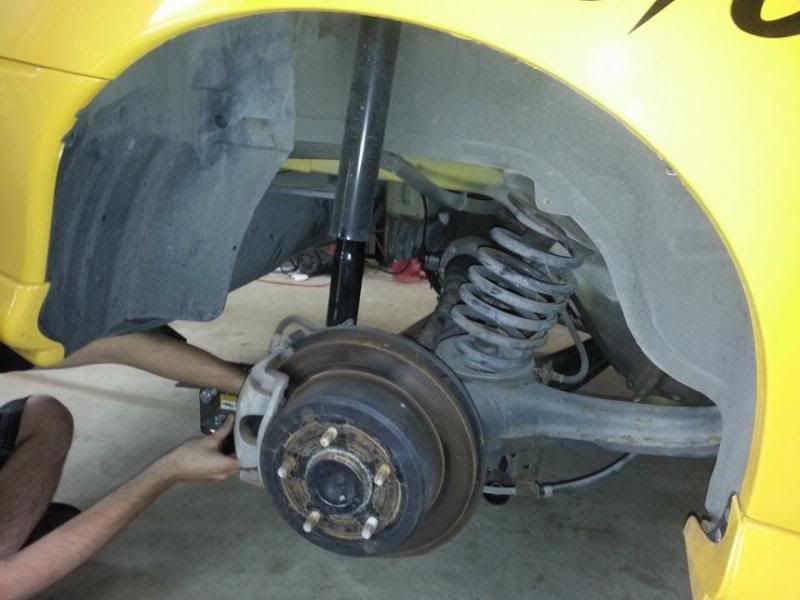
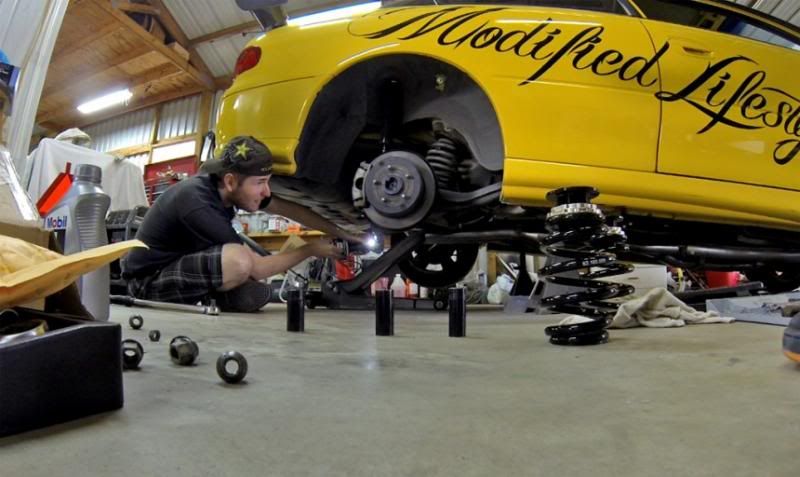
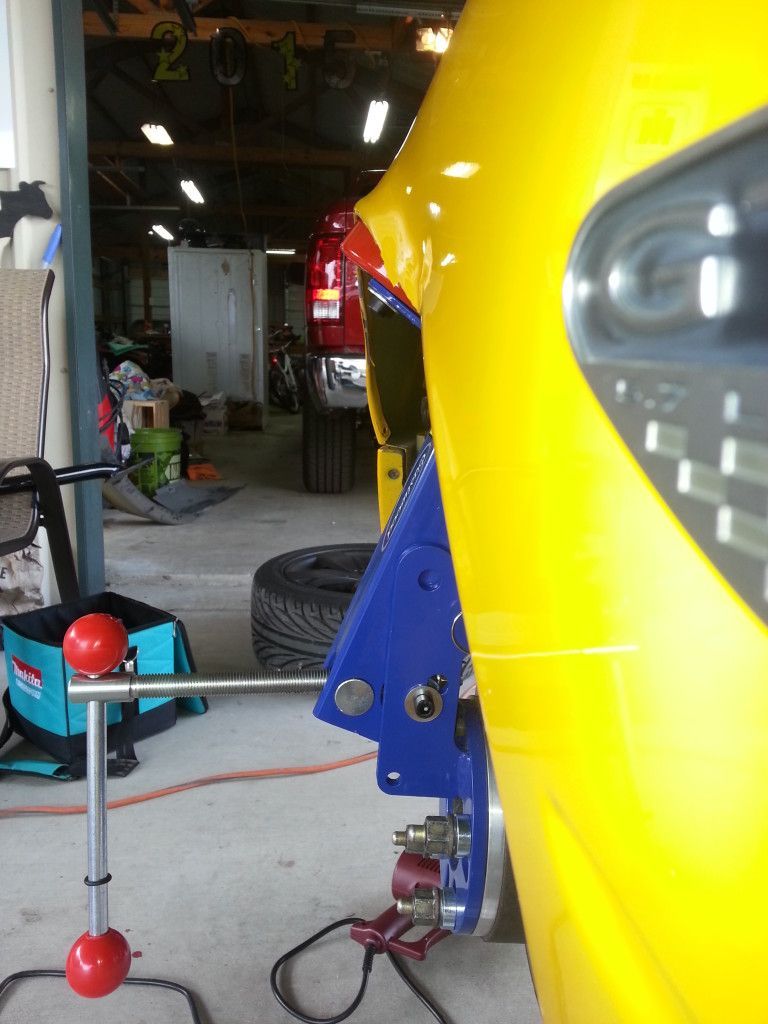
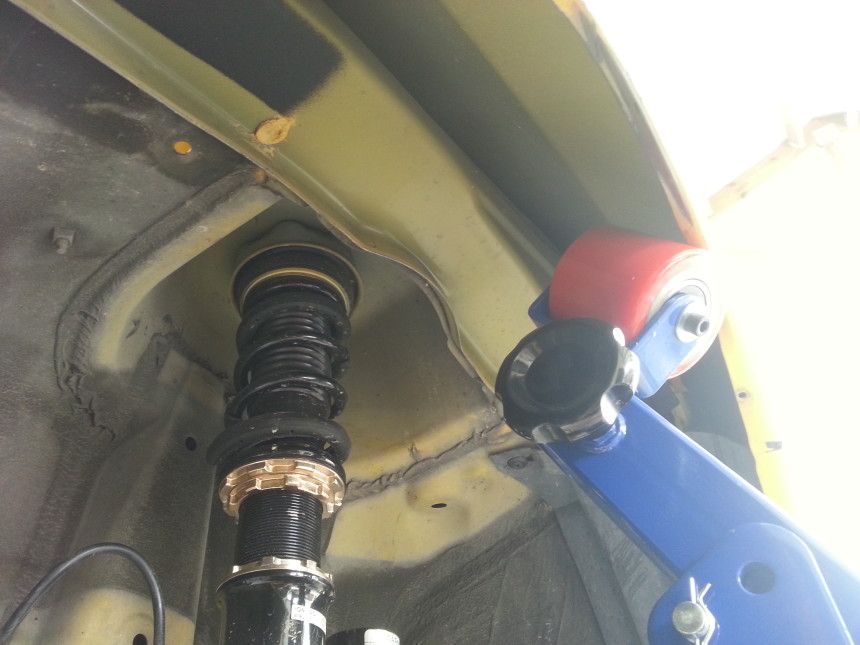
Suspension
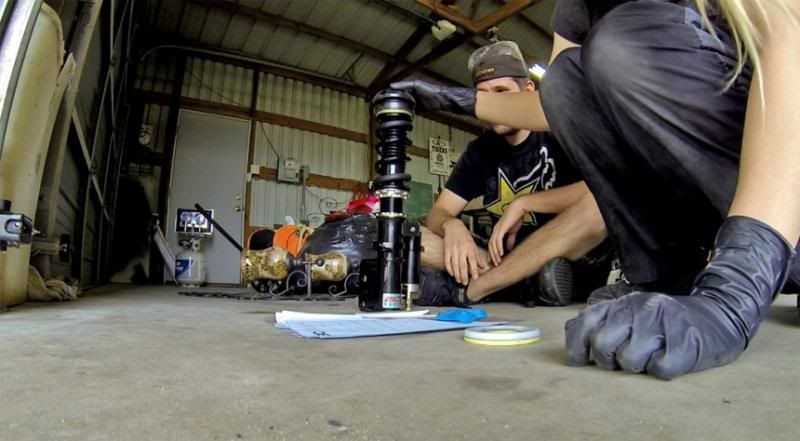
BC ER Series Coilovers
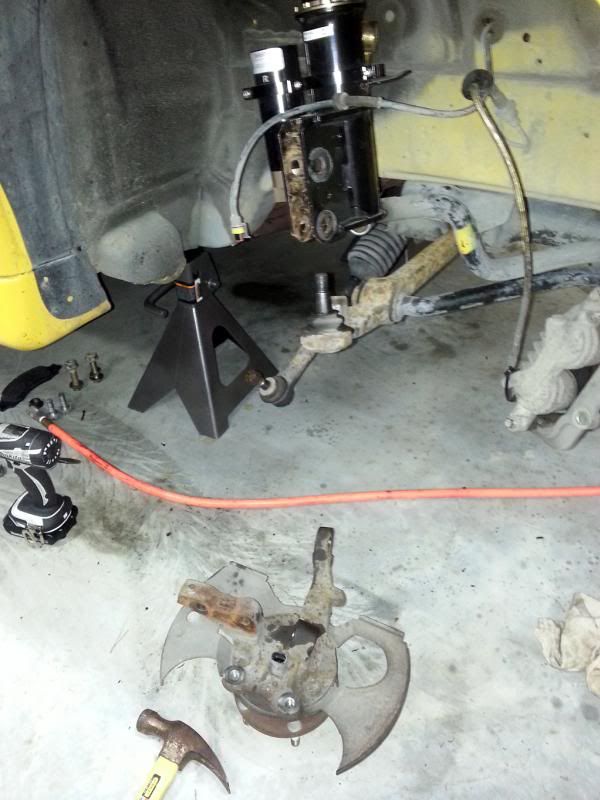
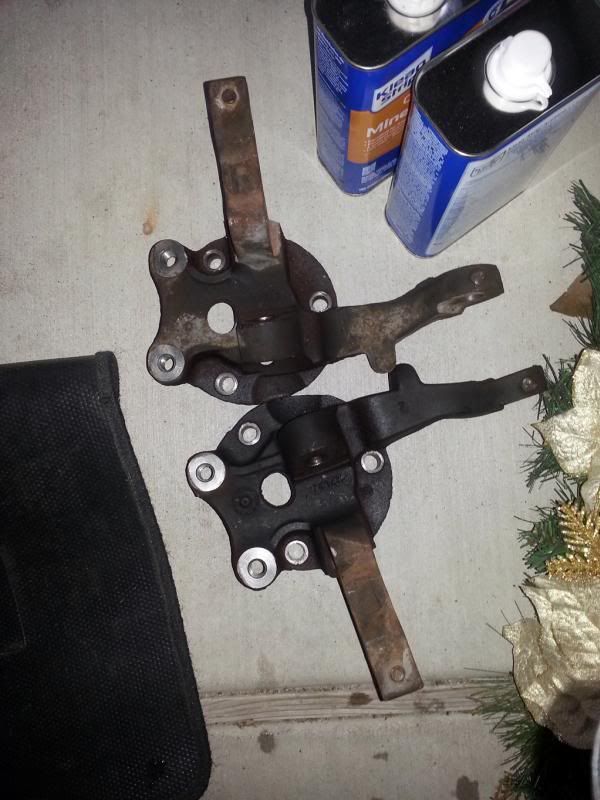
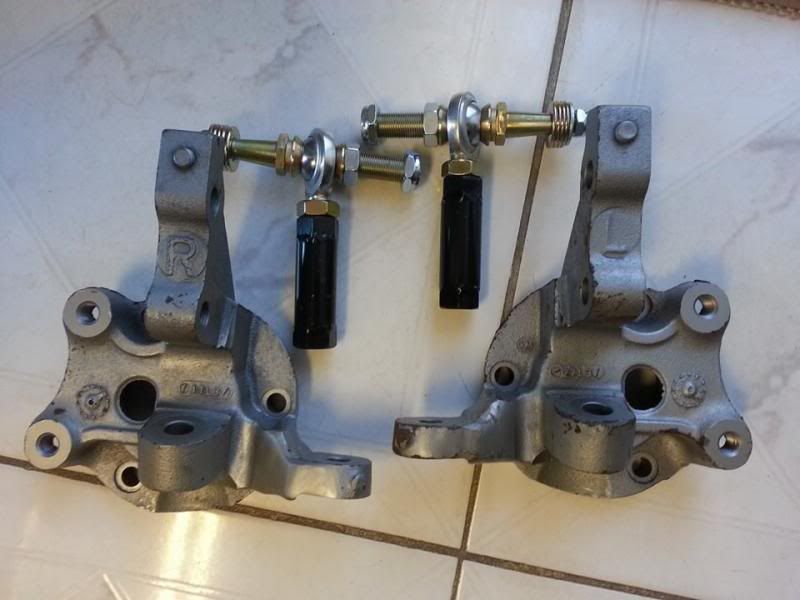
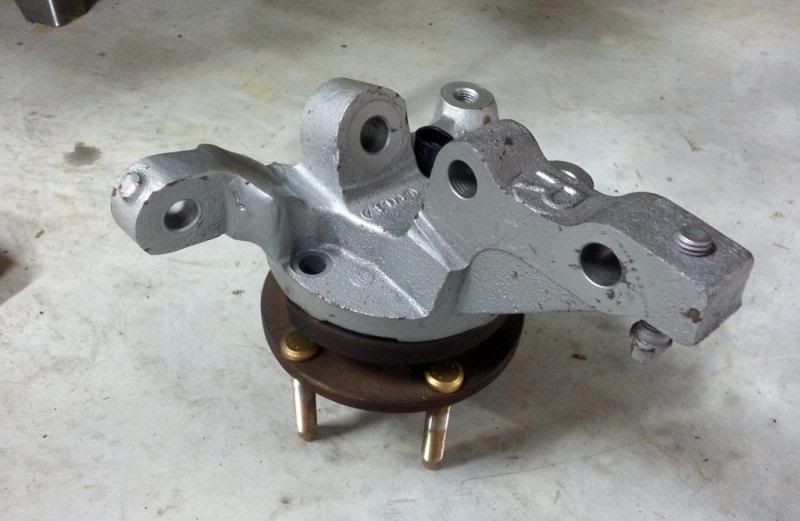
Shane Whalley Cut knuckles and tie rod ends
Shane Whalley Adjustable tubular front arms
Hotchkis swaybars
Whiteline rear camber bushings
Aftermarket rear toe links
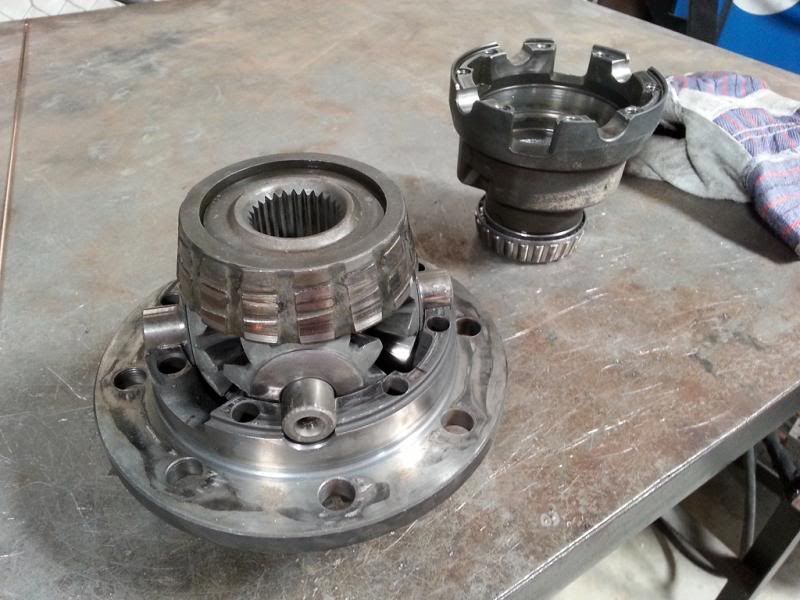
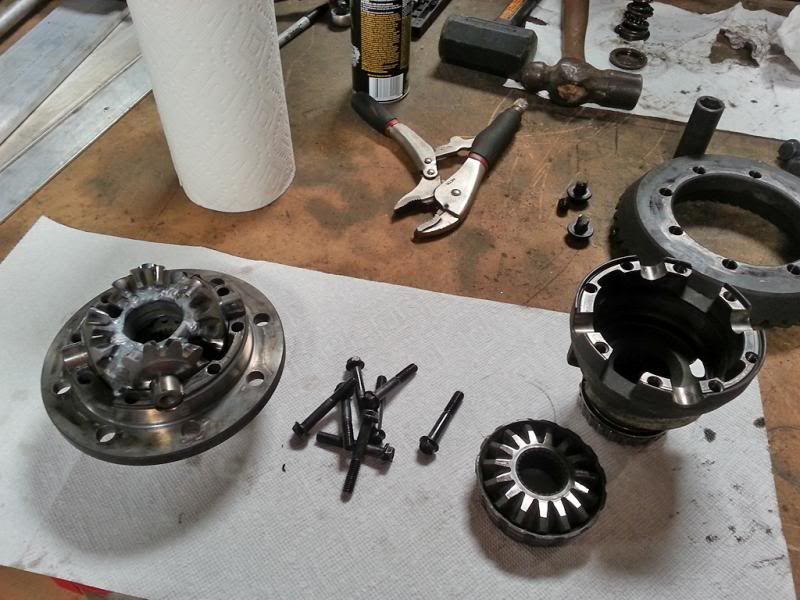
Drivetrain
Aftermarket clutch slave cylinder
Six Puck clutch
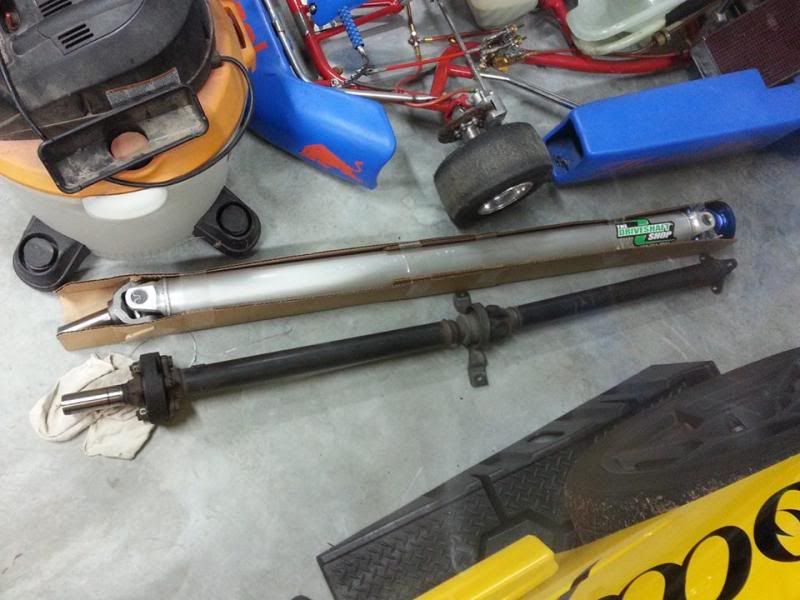
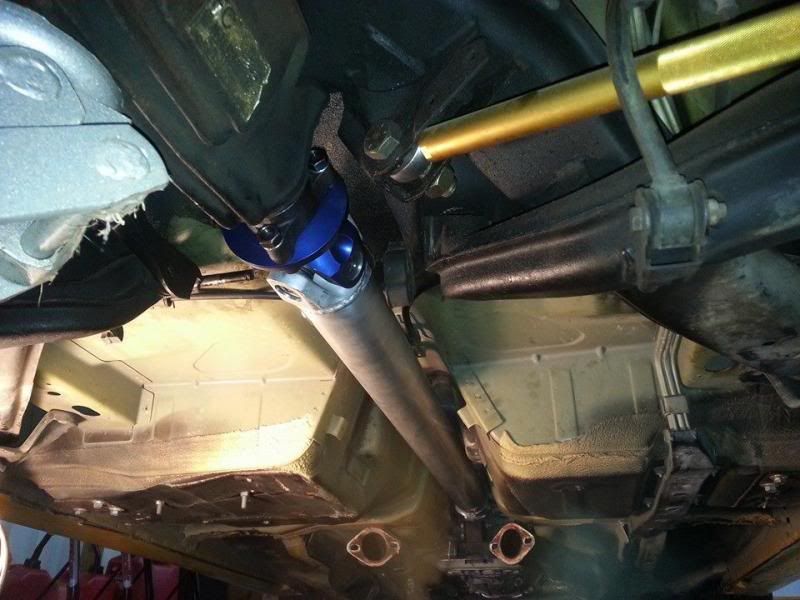
Driveshaft Shop 4″ aluminum 1 piece drive shaft
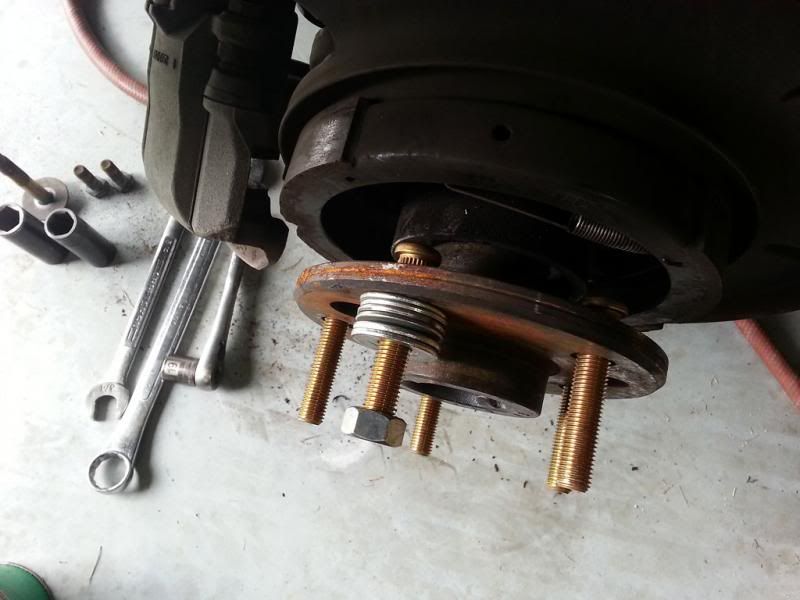
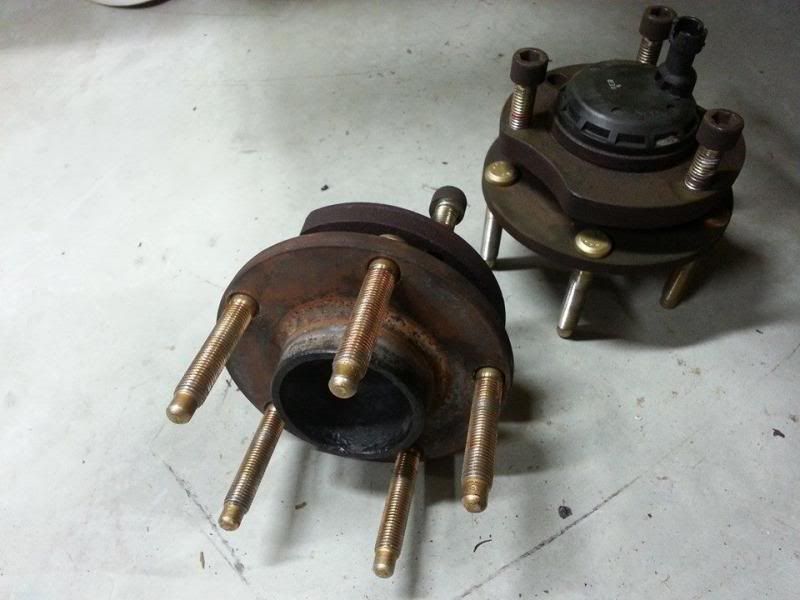
ARP extended studs
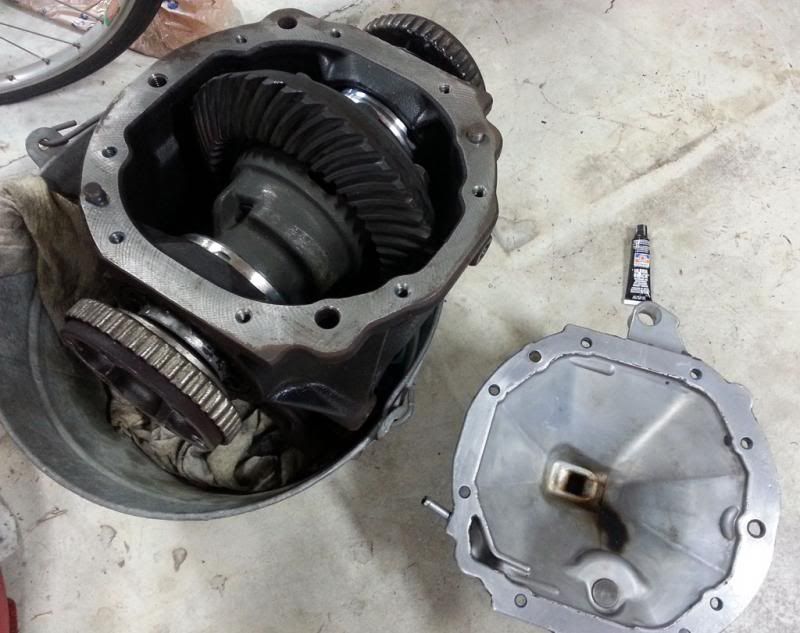
Welded differential
Brakes
Dimpled and slotted front brake rotors
Steel braided brake lines
Ceramic painted calipers
Hawk front brake pads
Interior
NRG 2.5 quick relase with 350mm leather wheel
Autopower 4 pt cage
Bimarco Grip racing seat (driver) w/ 5pt harness
Sparco racing seat (passenger) w/ 5pt harness
AEM AFR gauge
Autometer oil pressure gauge
Exterior
18�9.5 +30 Focal wheels
Plastidipped OEM 17�8 wheels, drift spares
20mm spacers on the front
Two inch roll and pull on front fenders
Cut and roll on rear fenders
Rockey Bunny style rear spoiler
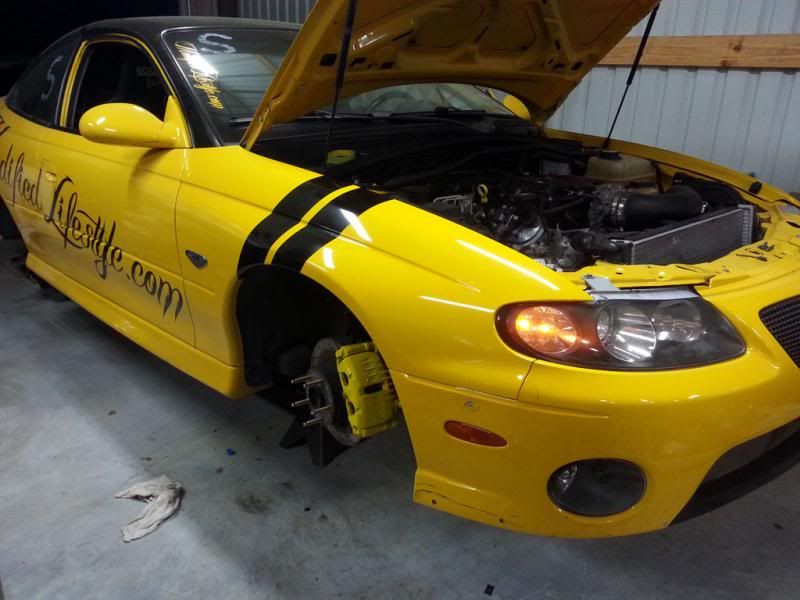
Sideways Vinyl graphics

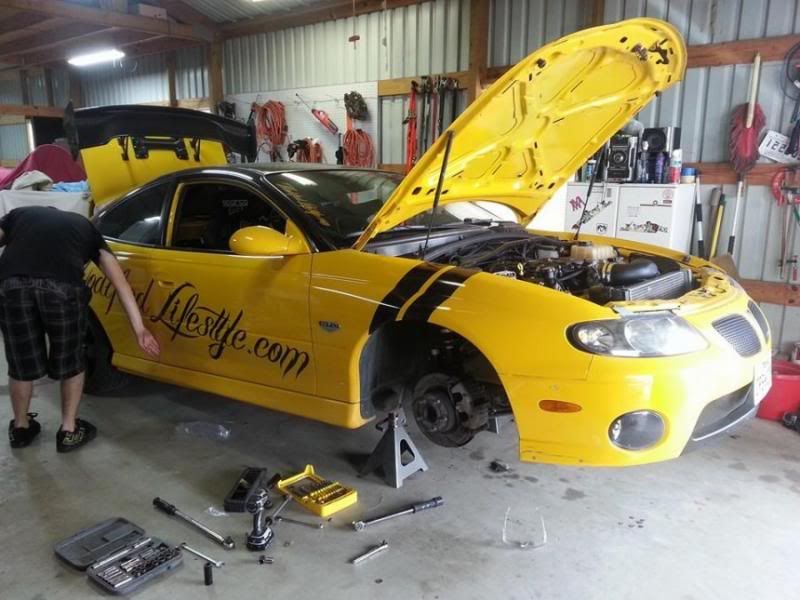
Photo by strangerhythms.net
I'll post up the mod and event highlights from the early build in some posts below.
Just a bit of history on Pipsqueak. After selling my last street bike I picked up a 2004 GTO project car that was mostly stock to romp the track a streets with summer 2013. I wanted to swap a LS into a 240sx, but while cruising craigslist I found this 2006 GTO for sale for cheaper than I could buy a LS engine swap and a 240sx chassis. Winning!
The project is definitely a work in progress. Bought it with a terrible misfire, drove it home and it felt super lethargic. Went to swap out the plugs and found out half of them were loose. Replaced plugs and wires and the power was much better up top, but the misfiring stuck around intermittently. Took it to get it tuned after replacing the Spintech exhaust in case the previous owner's tune was bad. It turned out the tune was pretty iffy, but the problem was in the ignition. After the tune I replaced all 8 coils and the misfire was gone. Then it was time for power and suspension mods!
Photo by GM EFI Magazine
Current mod list September 2015
Engine
TSP 233/239 112 LSA Cam
Dual Valve Springs, Titanium retainers
Ported LS6 oil pump
LS7 lifters
LS2 lifter trays
Lifter Trunnion bearing upgrade
ARP crank pulley bolt
Canton Racing 3QT Accusump
Improved Racing oil pan baffle
Pacesetter long tube headers w/ extenders
SLP LM2 exhaust w/resonator delete
Solid engine mounts
K&N Intake
MSD 8.5mm plug wires
Fiberglass wire protectors
OEM coil pack replacement
Suspension
BC ER Series Coilovers
Shane Whalley Cut knuckles and tie rod ends
Shane Whalley Adjustable tubular front arms
Hotchkis swaybars
Whiteline rear camber bushings
Aftermarket rear toe links
Drivetrain
Aftermarket clutch slave cylinder
Six Puck clutch
Driveshaft Shop 4″ aluminum 1 piece drive shaft
ARP extended studs
Welded differential
Brakes
Dimpled and slotted front brake rotors
Steel braided brake lines
Ceramic painted calipers
Hawk front brake pads
Interior
NRG 2.5 quick relase with 350mm leather wheel
Autopower 4 pt cage
Bimarco Grip racing seat (driver) w/ 5pt harness
Sparco racing seat (passenger) w/ 5pt harness
AEM AFR gauge
Autometer oil pressure gauge
Exterior
18�9.5 +30 Focal wheels
Plastidipped OEM 17�8 wheels, drift spares
20mm spacers on the front
Two inch roll and pull on front fenders
Cut and roll on rear fenders
Rockey Bunny style rear spoiler
Sideways Vinyl graphics
Photo by strangerhythms.net
I'll post up the mod and event highlights from the early build in some posts below.


Comment