Announcement

Collapse
No announcement yet.

1972 Tvr Vixen (LS6 Pro-Touring Build)

Collapse
X
 
  • Filter
  • Time
  • Show
Clear All
new posts

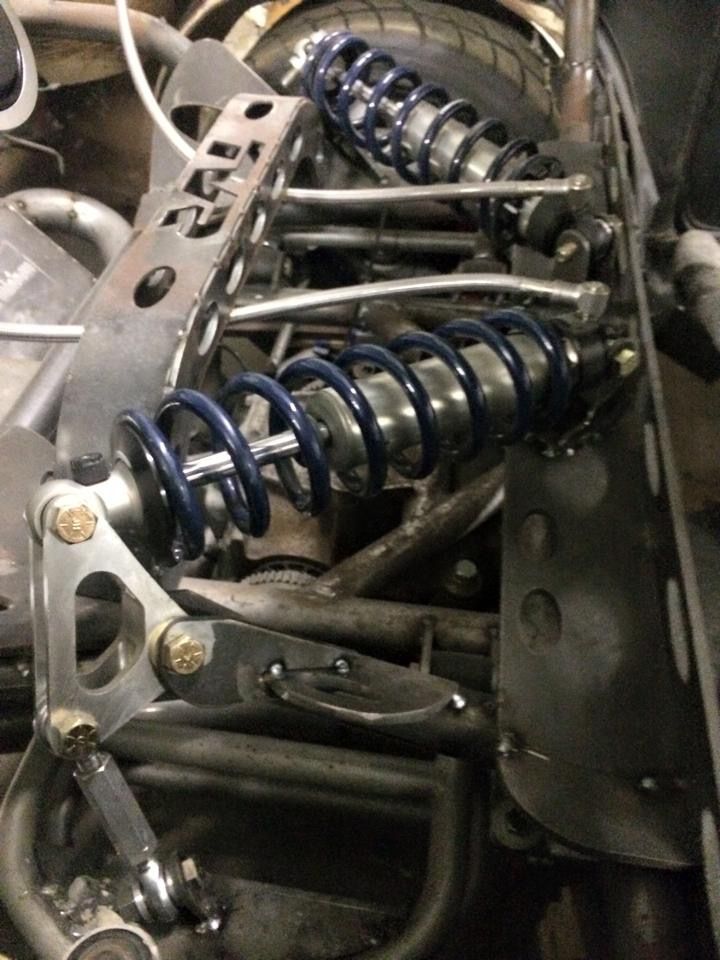
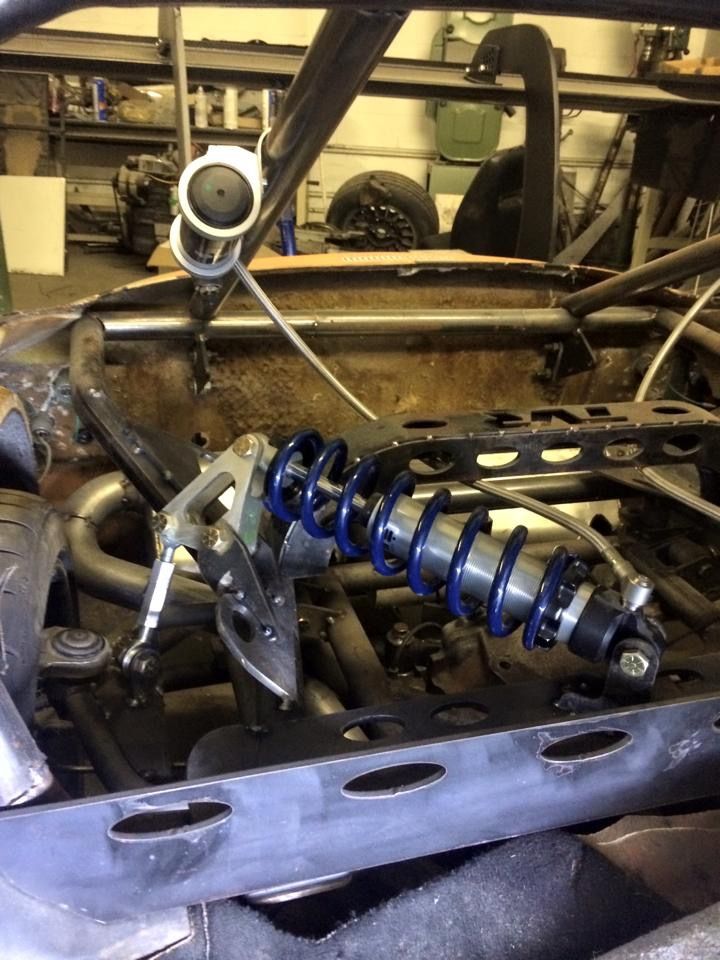
  • The TVR is sitting on sprung suspension right now, and it all seems to be very fluid movement through full suspension travel with no issues, so now it is time to start getting ready for final fab and welding of the rear cage/cantilever setup after I get the rear sway bar mounted and additional link tabs added to the upper rear control arms.

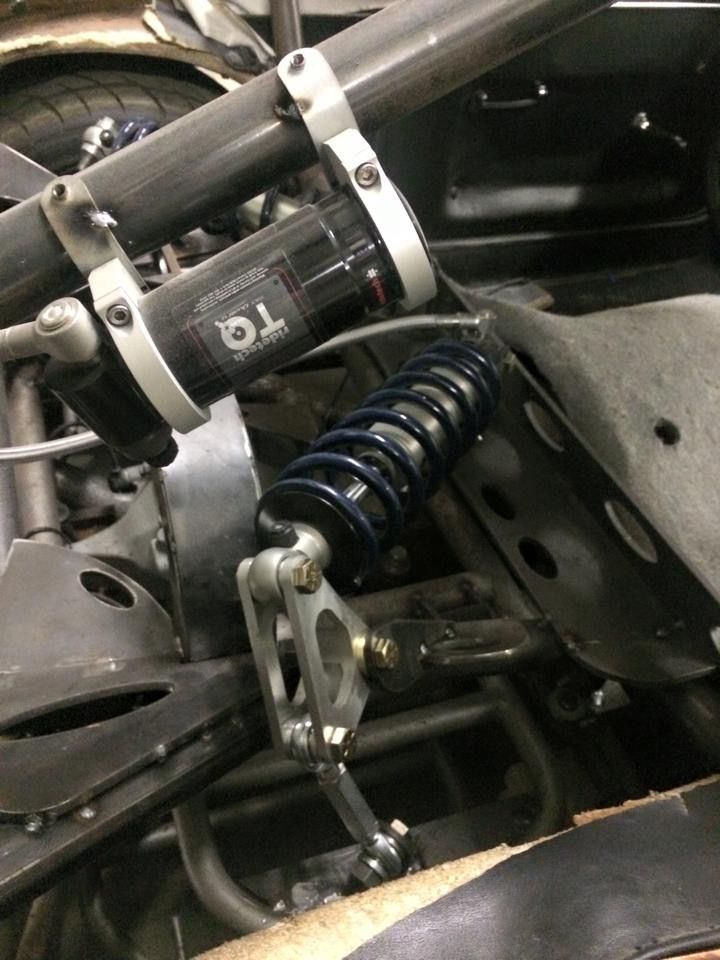
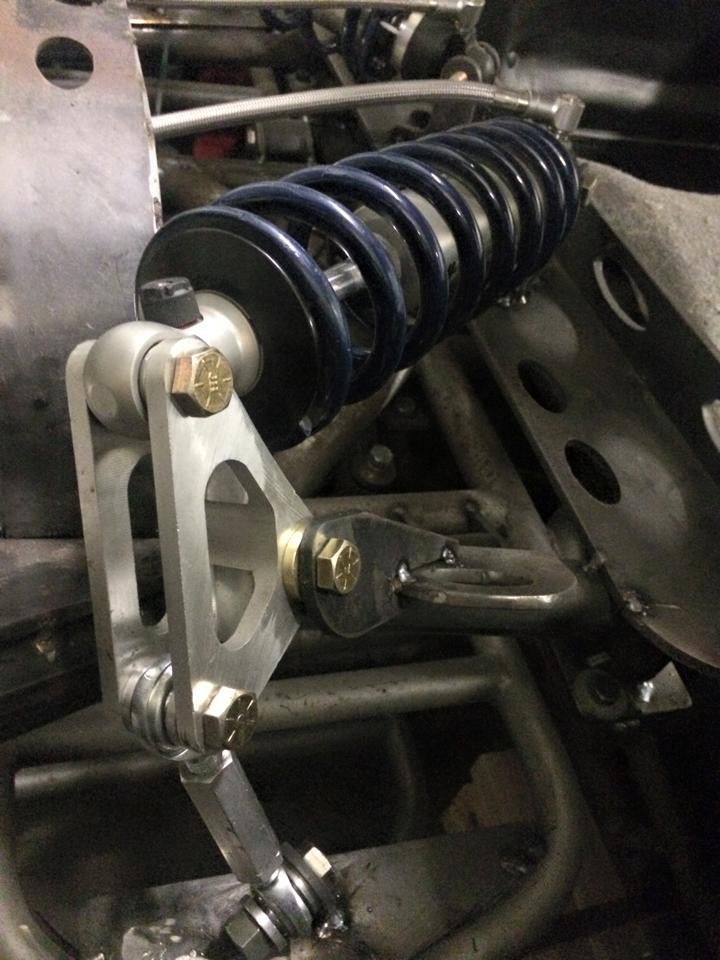
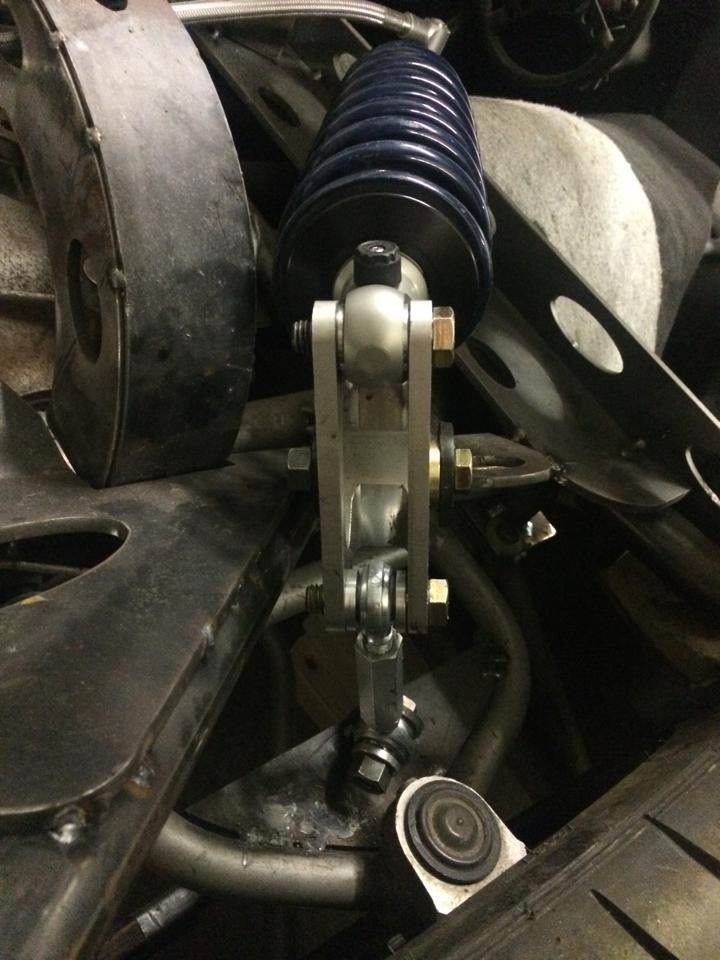
    I will have to get with the experts at Ridetech for our spring rate analysis soon so I can get that dialed in eventhough the 275# rear and 350# front springs I had on hand seem very close. I will of course replace the pictured mock up hiem joint linkage to a more bulky piece for strength and durability , because I was only using the cheaper pieces pictured to avoid ordering the wrong high dollar parts by getting impatient.


    Comment


    • Nice! You may want to consider placing all attachment points on the same axis and plane. Depending on how that coilover's range of motion, you could have high stress bending moments and or bind between the coilover mount and the chassis mount.

      Comment


      • Originally posted by 2GRX7 View Post
        Nice! You may want to consider placing all attachment points on the same axis and plane. Depending on how that coilover's range of motion, you could have high stress bending moments and or bind between the coilover mount and the chassis mount.
        Thanks.. The pictures are kind of deceiving and do not show the range of motion of the parts very well. The upper control arm has an up an down motion, along with a Inward/Outward motion from the center rear of the car, and the Bell Crank has an Up and Down motion, along with a Forward/Back motion from front to rear of the car, and that is the reason for the mounting you see of the heim on the control arm.

        I have run the suspension through full exaggerated motion and it works very smoothly this way, and the Heim Joint linkage forces always remains centered to the Bell Cranks motion with no outward or sideways forces that would add stress.. I hope that makes sense, because the pictures don't really show that very well, and I have tried several attachment points and mounting angles to the upper control arm.

        Comment


        • Awesome build, this car is turning out killer! Thanks for keeping the thread on topic, no need to drag other business in and clutter it up.
          1949 Ford F1 Build:
          http://www.stanceworks.com/forums/sh...ad.php?t=93274

          Comment


          • This thread is amazing, it's like a great movie unfolding.
            You can't build a car this cool without some drama!
            97 328i
            07 GTI
            95 XV535

            Comment


            • What do we think about this front chassis cross brace design? It will bolt into place with hidden hardware when I am done, and it will provide a lot of extra strength to the upper coil over mounts, while tying into the same style as the rear brace that can be seen through the back glass.

              The Top Bent Bar in the pictures will be removed and is only there to keep everything square and sturdy until final welding of the chassis.. And on a side note, Just look at the Motor Position relative to the tires and how well the motor is sunk right into the tread.. LOL


              Last edited by BadassVixen; 04-04-2016, 11:22 PM.

              Comment


              • VERDI NIZE! Hurry up and finish, man! ;-)

                Comment


                • I have the rear sway bar mounted in position, and it all looks like it is going to layout and work nicely. This freehand and space necessity design is coming out pretty damn cool, and I am really liking the complex mechanical look that will be seen through the rear glass, because it allows this car to stand out even more with uniqueness that won't be seen on other cars at spectator events.

                  It is hard to capture everything with the camera, but some of the clutter should disappear once the floor and wheel wells are built. And yes the heim joint links are going to be larger, I am just using those less expensive ones for mock up, and the bulky sway bar arms are going to be drilled or dimpled once the chopped ends are all smoothed out and rounded.


                  Comment


                  • Tired of building parts inside the body of the car due to all the One Off Items and lack of catalog sales for this build of any kind, so it was time remove the body since I have all the major components mock up good enough in their place on the chassis that I can build some better brackets and mountings, so hopefully this makes the task at hand much easier.


                    Comment


                    • Really coming together now!


                      "Never argue with an idiot; they'll drag you down to their level and beat you with experience"

                      Comment


                      • I knew the fuel tank position was going to be a challenge when I started this project, and the rear cantilever suspension and wanting to keep the complete exhaust tucked up in the chassis/body was only going to complicate it further, but I think it will all work out nicely.

                        The whole back end of the car is going to be open at the bottom of the body, so it will not necessarily be Trapped Heat versus Captured Heat at the floor of the body where the fuel tank is situated, but there should be adequate drawing of hot air out while the car is moving. I had planned on building a air space shield that will be insulated against Direct Heat, but Hot Air Heat is another issue that I am not sure will be that much of a factor if the tank is also insulated with basically open bodywork from the front of the back wheels all the way back?

                        I wanted the Cockpit Floor to separate the fuel tank from interior access for obvious reasons in the event of a collision of fuel pressure line issues, so it made more sense to set it up in this configuration for safety.

                        Side note. The original tank pictured will be modified for an internal pump with baffle, and the passenger side fill will be changed to a Top Center fill to compensate for its higher mount and to help take care of autocross/track sloshing during maneuvers. I will also do the finish modification and trimming to the exhaust resonator box to also give adequate clearance.


                        Comment


                        • Any updates?

                          Comment


                          • Originally posted by inline4door View Post
                            Any updates?
                            http://www.pistonheads.com/gassing/t...t=1572782&i=20
                            Lucas
                            Daily: 2004 Pontiac GTO. . . . . . . . . Daily Econobox: 2009 Mini Clubman Cooper
                            Originally posted by LCG
                            High 21! It's like a high 5 but includes both hands, both feet and a boner.

                            Comment


                            • Anymore news on this build (not interested in the personal stuff just the car)?

                              Comment


                              • Like I said earlier, innocent until proven guilty. Well, just take a look here;


                                If you look down the right side of the page, you'll see under the date of 6/01/2016, he plead "Not guilty", later switching it to a "Guilty" plea deal on 6/21/2016! What an A**hole!!!! At least he has to pay almost $96K in restitution! BOOM!

                                So, unfortunately, his personal life got in the way of this awesome build!
                                Last edited by 2GRX7; 02-06-2017, 10:28 AM.

                                Comment

                                Working...
                                X