Originally posted by FluidMotorUnion
View Post
-
I dont remember looking at this car before^^^ but i have the same reaction!Leave a comment:
-
I have never seen a build thread so well organized before.
Holy hell.Leave a comment:
-
I'm looking at the date of the posts and thinking why has this thread sat a whole year without anyone posting on it? :O
Amazing attention to detail. Excellent choice of parts and some nice DIY touches too.
Good read.Leave a comment:
-
amazing car and nice work man. looks like your taking this in the right direction.Leave a comment:
-
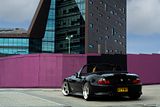
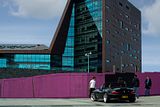
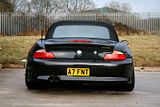
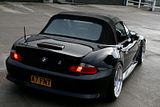
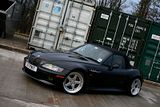
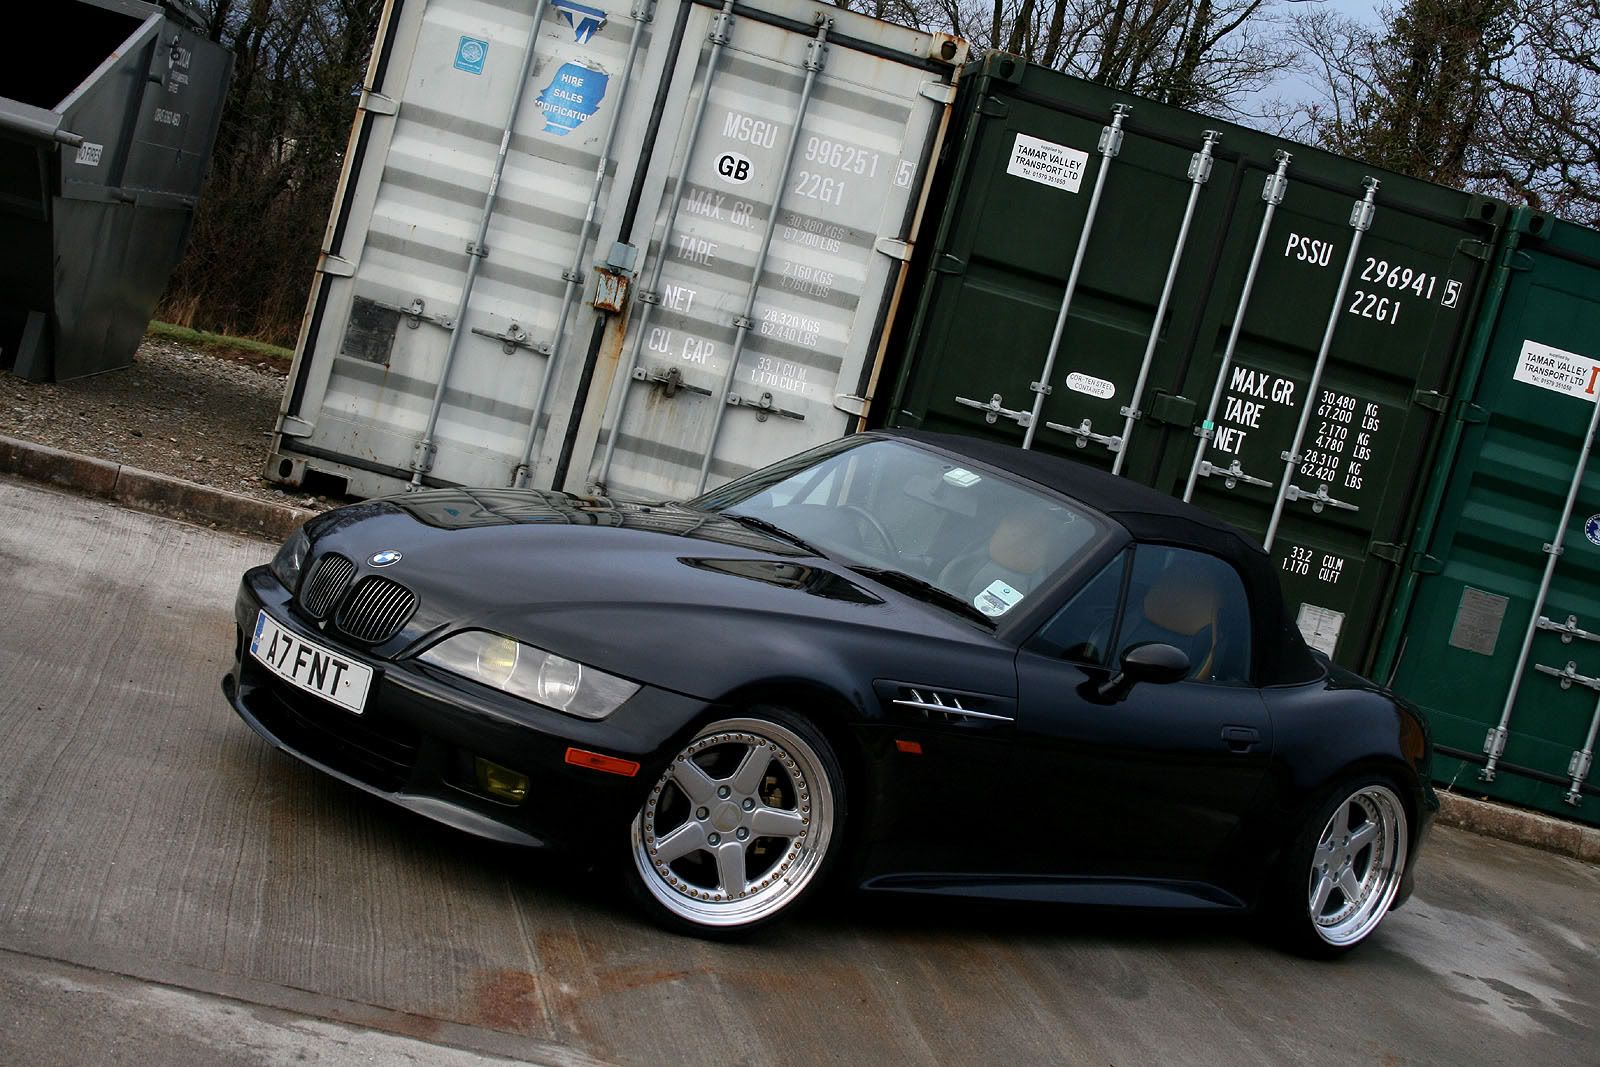
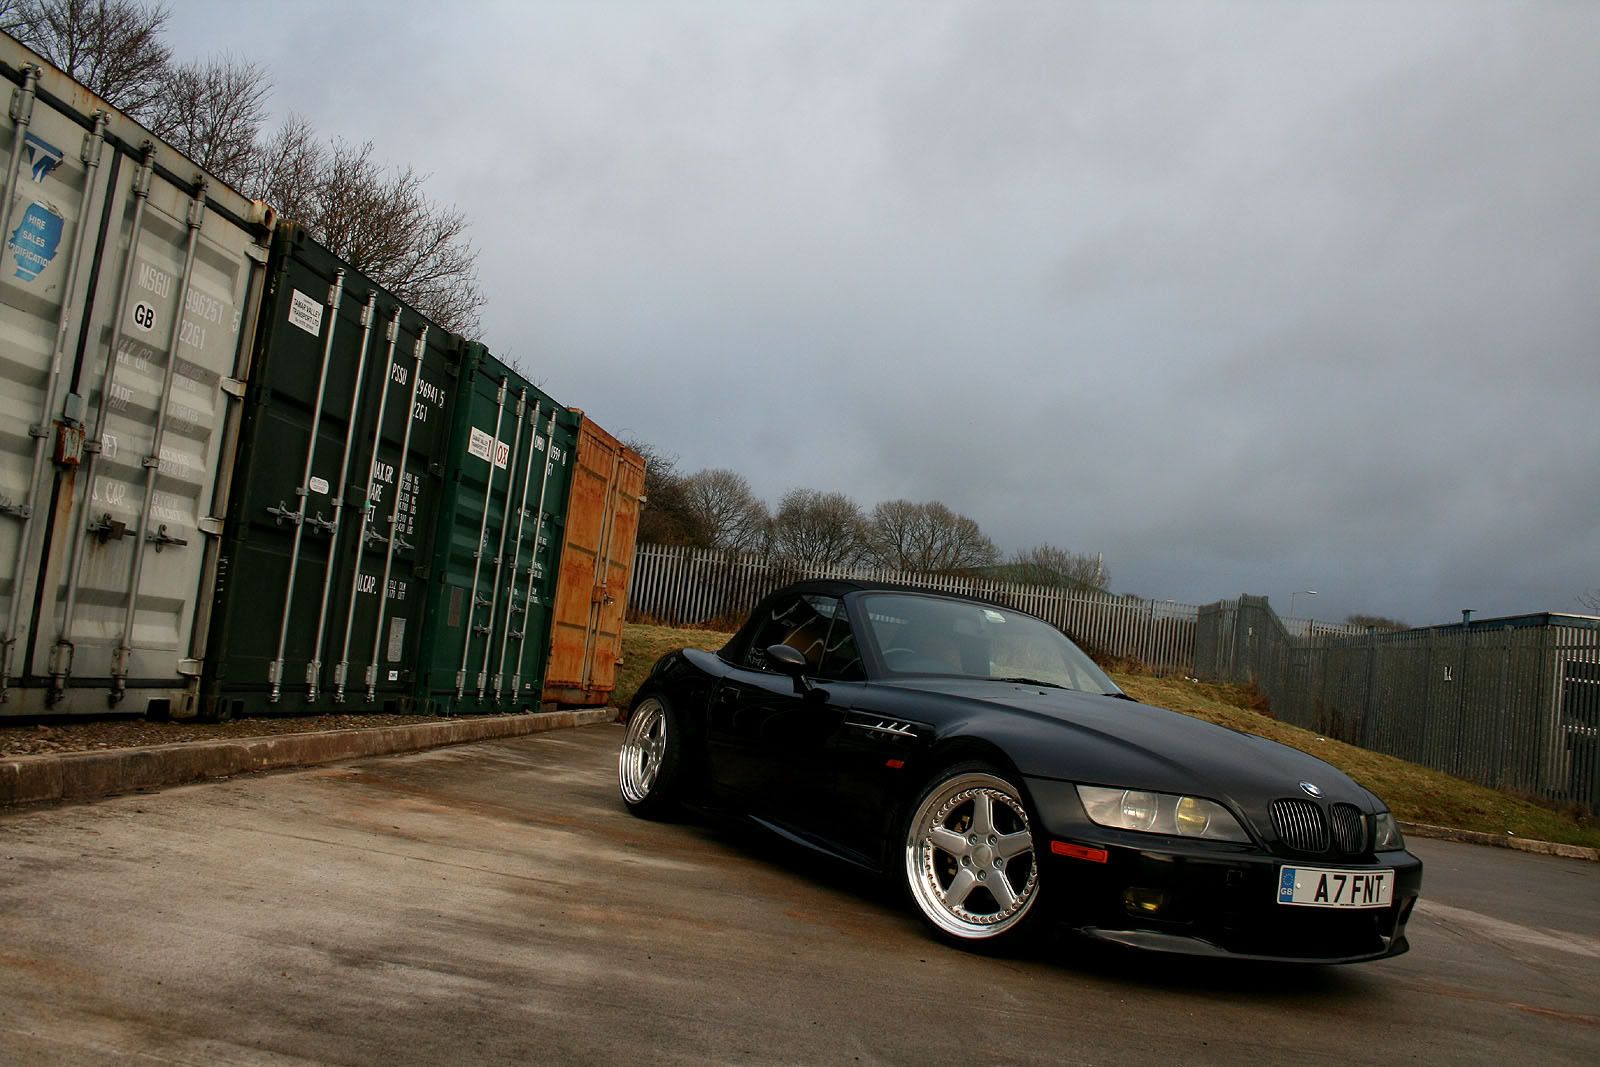
Exterior - Part 19
Front End Finished - 04/05/2010

With the car being 90% complete it was time to carry out the remaining 8%; I'd be lying to say it's ever 100% complete because they'll always be the Hamann hardtop sitting somewhere on my to-do list.
The necessary work was largely located at the front end of the car, but there was some work to be undertaken elsewhere...
With the wheels mounted I found the car occassionally rubbed on the inner lip of the rear arches under load. The obvious solution involved rolling the rear arches, however having had this done some paint on the inner lip of the arch flaked off as a consequence, despite being touched up I was of immediate concern that unless painted properly this could cause problems further down the line... roll on the bodyshop...
I decided to book the car into Spectrum Body Repairs (Saltash, Cornwall - 01752 842220) to get both rear quarter panels painted, this would of course rectify the issues encountered on the inner lips that had recently been rolled.
Whilst in the bodyshop it made sense to get the remaining bodywork brought up to standard. This included painting the bonnet and the front bumper to relieve the car of all marks, scratches, stone chips etc and also to repaint the Z3M gills as the flushed M recess was beginning to show.
To push the boat out even further I thought I'd buy some sport mesh from BMW and a front splitter to mount on the base of the front bumper! I originally planned to get hold of a Hamann splitter, but being �360 and made from fibreglass I decided to pass and opted for the far more reasonable Reiger front splitter. Costing just over �100 and being made from plastic it made a far more suitable choice and in hindsight is just as nice as the Hamann splitter, if not better due to the fact it's bound to last a fair while longer!
To finish off the work being undertaken, I decided to purchase a new front number plate and remove the yellow lamin-x from the high beams - whilst I tended to like the look, I sometimes doubted my decision... not being 100% I decided to peel it off!
Click to enlarge


Leave a comment:
-
There isnt a single thing about this car that I dont like.
Your taste is impeccable. Brilliant build. I can only dream of owning a Z3 as nice as this.Leave a comment:
-
wow, everything looks great. youve put a lot of time into the wheels. and you interior looks sickk
Leave a comment:
-
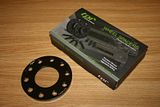
Performance/ Engine Cosmetics - Part 4
Spaced Out - 04/04/2010
As mentioned previously, with the AC's fitted I was unable to lower the front end sufficiently due to clearance issues relating to the front coilover struts.
I promptly ordered some 5mm hubcentric spacers from TPI:-
Click to enlarge
With the spacers fitted and a period of trial and error, coupled with a little trimming of plastic arch liner I managed to find a compromise that doesn't catch and allows me to tackle most of my local roads...
Click to enlarge

Leave a comment:
-
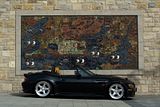
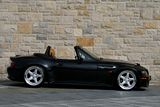
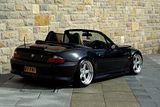
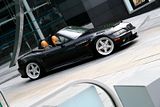
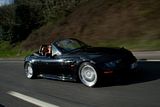
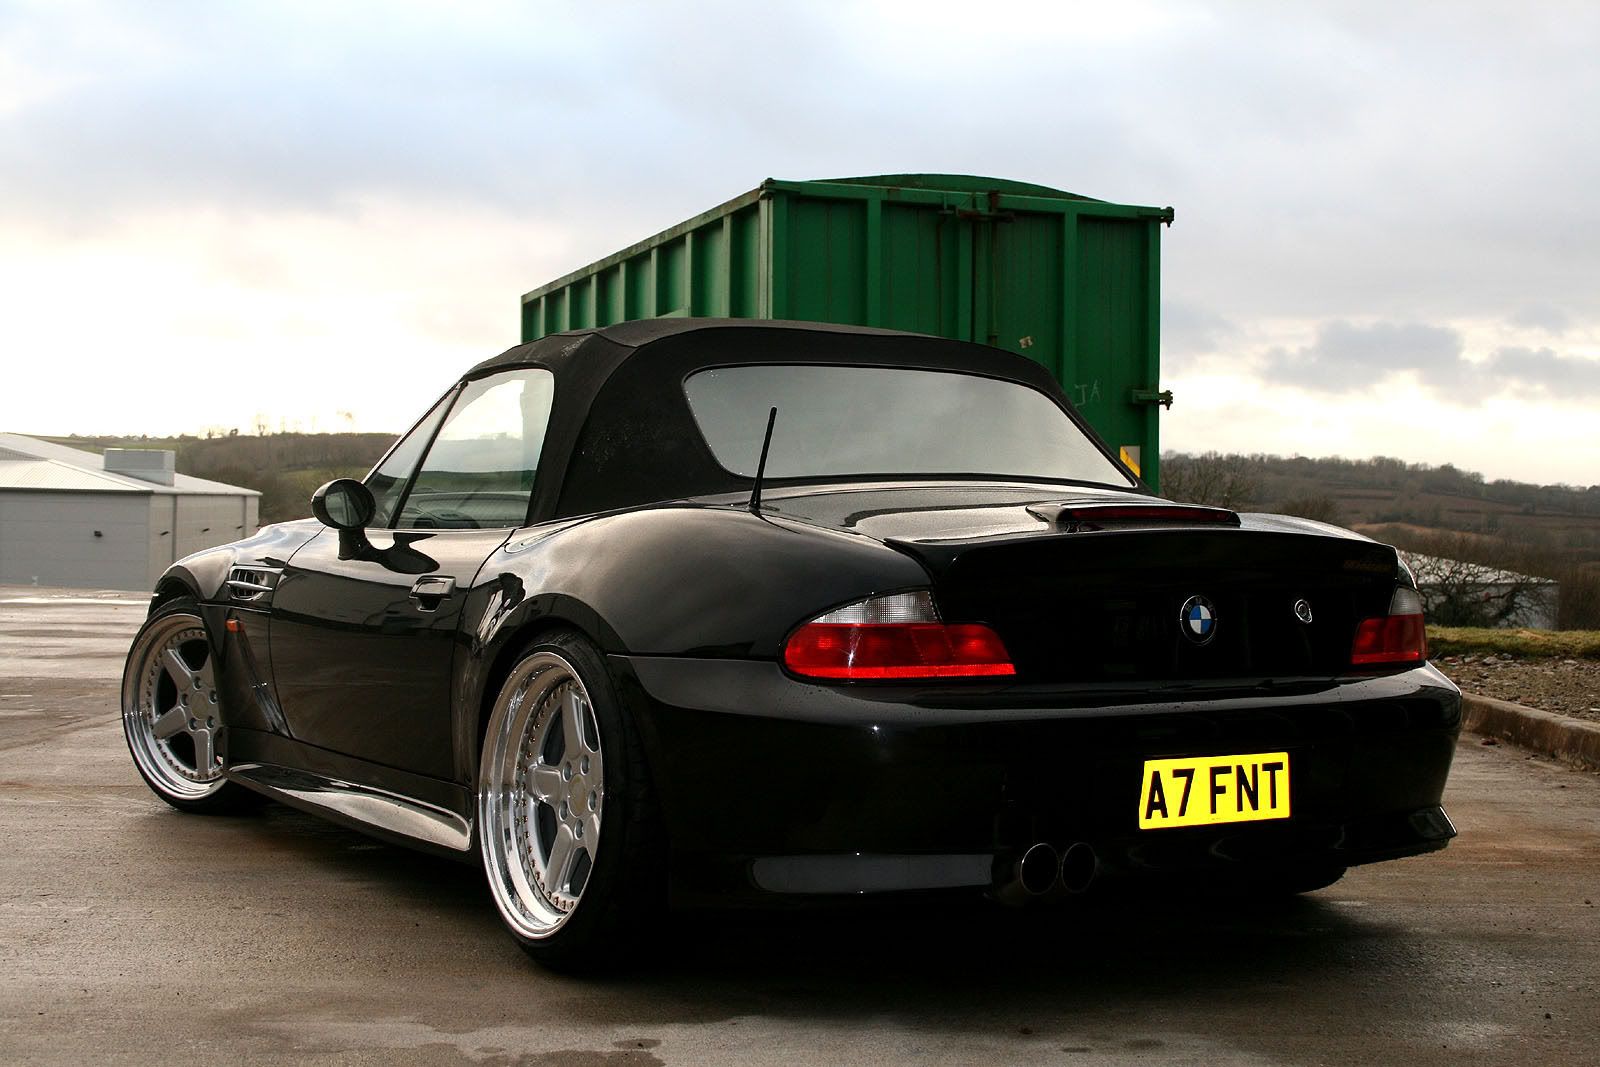
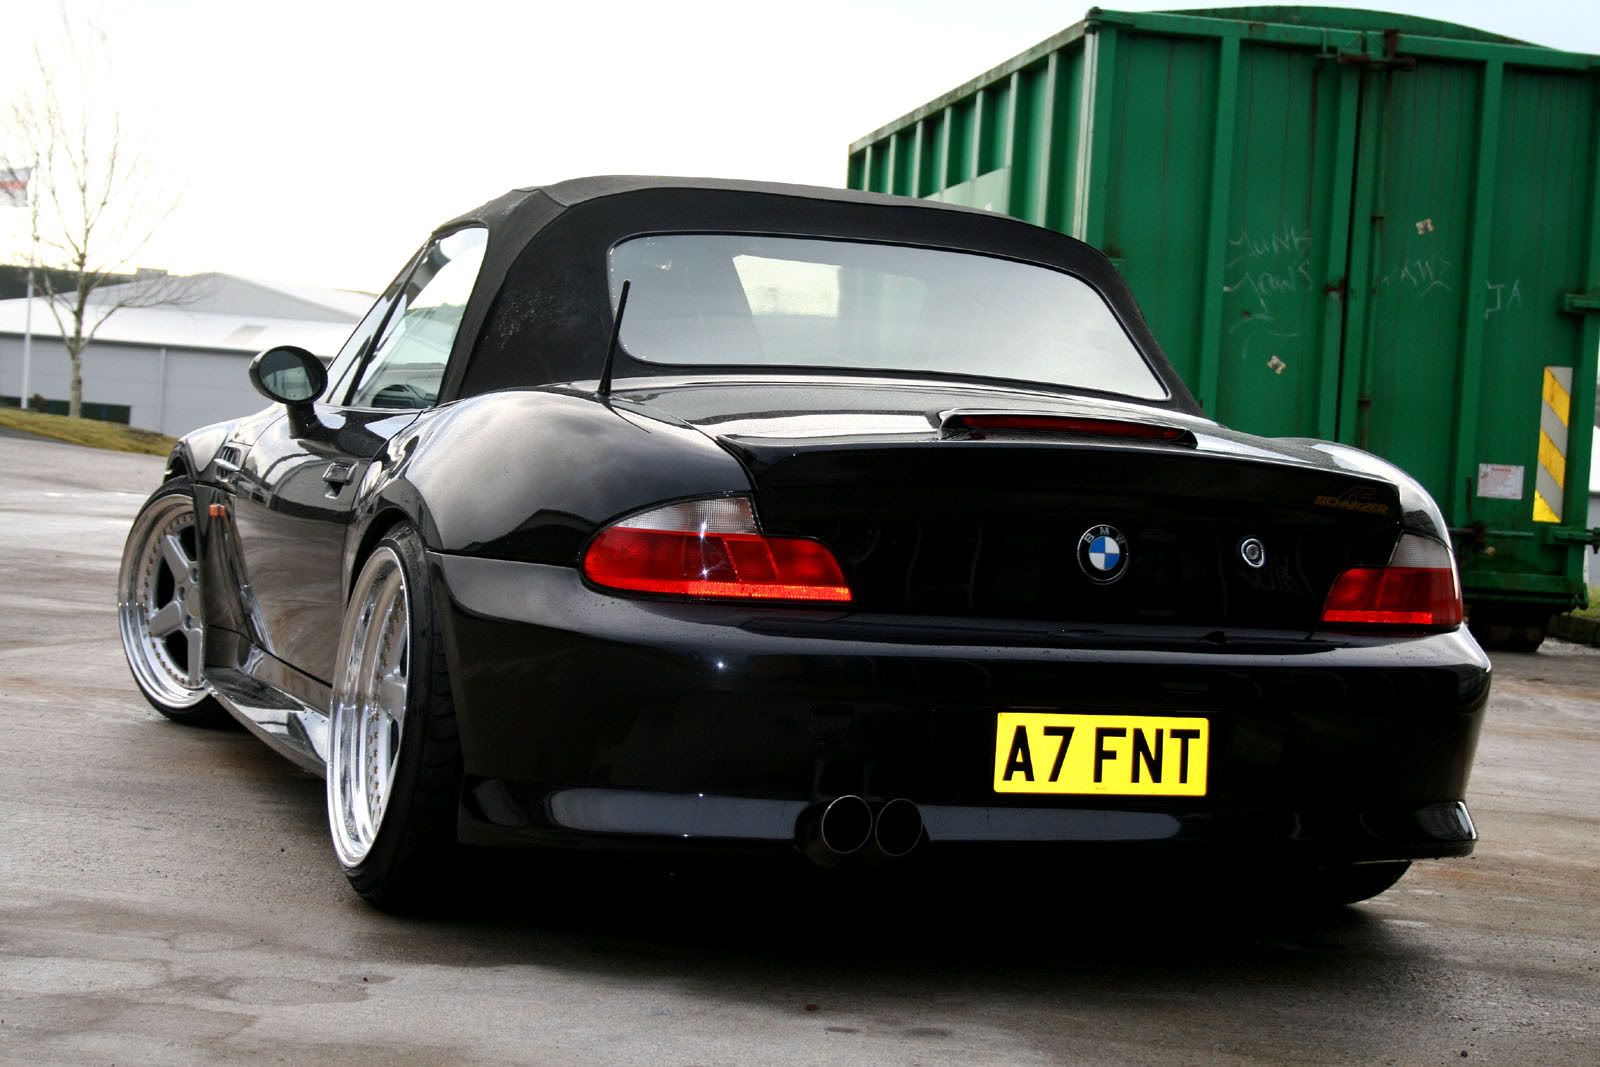
Exterior - Part 18h
Stretched Rubber - 20/03/2010
This may be the divide amongst purists and those with a taste for 'euro' fashion.
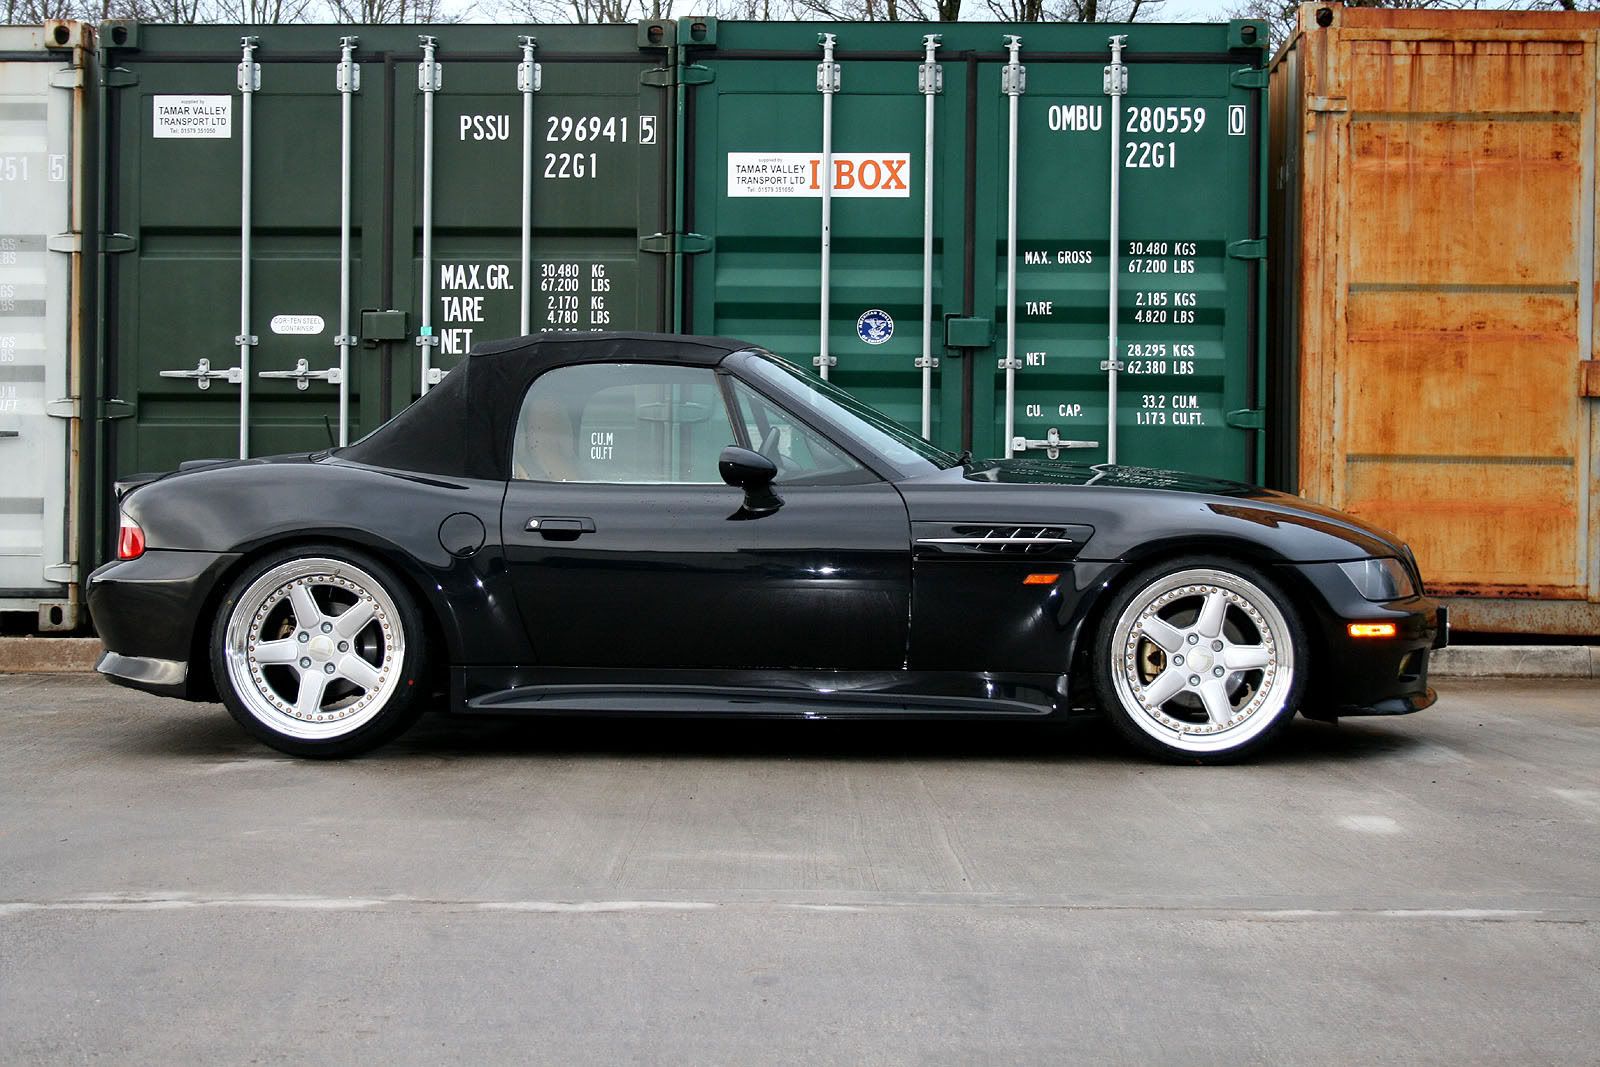
Clearly my 10.5J wheels aren't going to run on my car with well fitted 265/275 tyres; the only way to get them to fit would be to stretch the rubber to provide additional clearance within the arch.
I'm a big fan of the whole euro style and ran stretched tyres on my previous Hartge's. Despite popular belief, I've never heard of any tyre related problem caused as a result of running stretched tyres...
So, with that out the way - I ordered a set of Falken 452 tyres from www.camskill.co.uk. I opted to run 215/35/18's on the 9J fronts and 245/35/18's on the 10.5J out back.
Camskill offered incredible prices compared to other tyre suppliers (mytyres etc) and being that the tyres arrived in less than 24hrs from placing an order, it's safe to say that the service is second to none.
So, finallyyyyyyy... after all this time, the wheels have been fitted!
I must first say that with a passenger, when passing over bumps I can hear the tyres just catching the inner edge of the arch - but these are being rolled tomorrow morning. Furthermore, the fronts were catching on the coilover struts so I had to raise the front end about 8mm. I'll be purchasing a set of 3-6mm spacers in the week so that I can bring the front back down. But until then, the car will look like this (excuse the dull tyres, it seemed pointless adding any shine whilst the roads were wet).
Click to enlarge

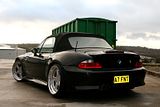
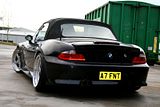

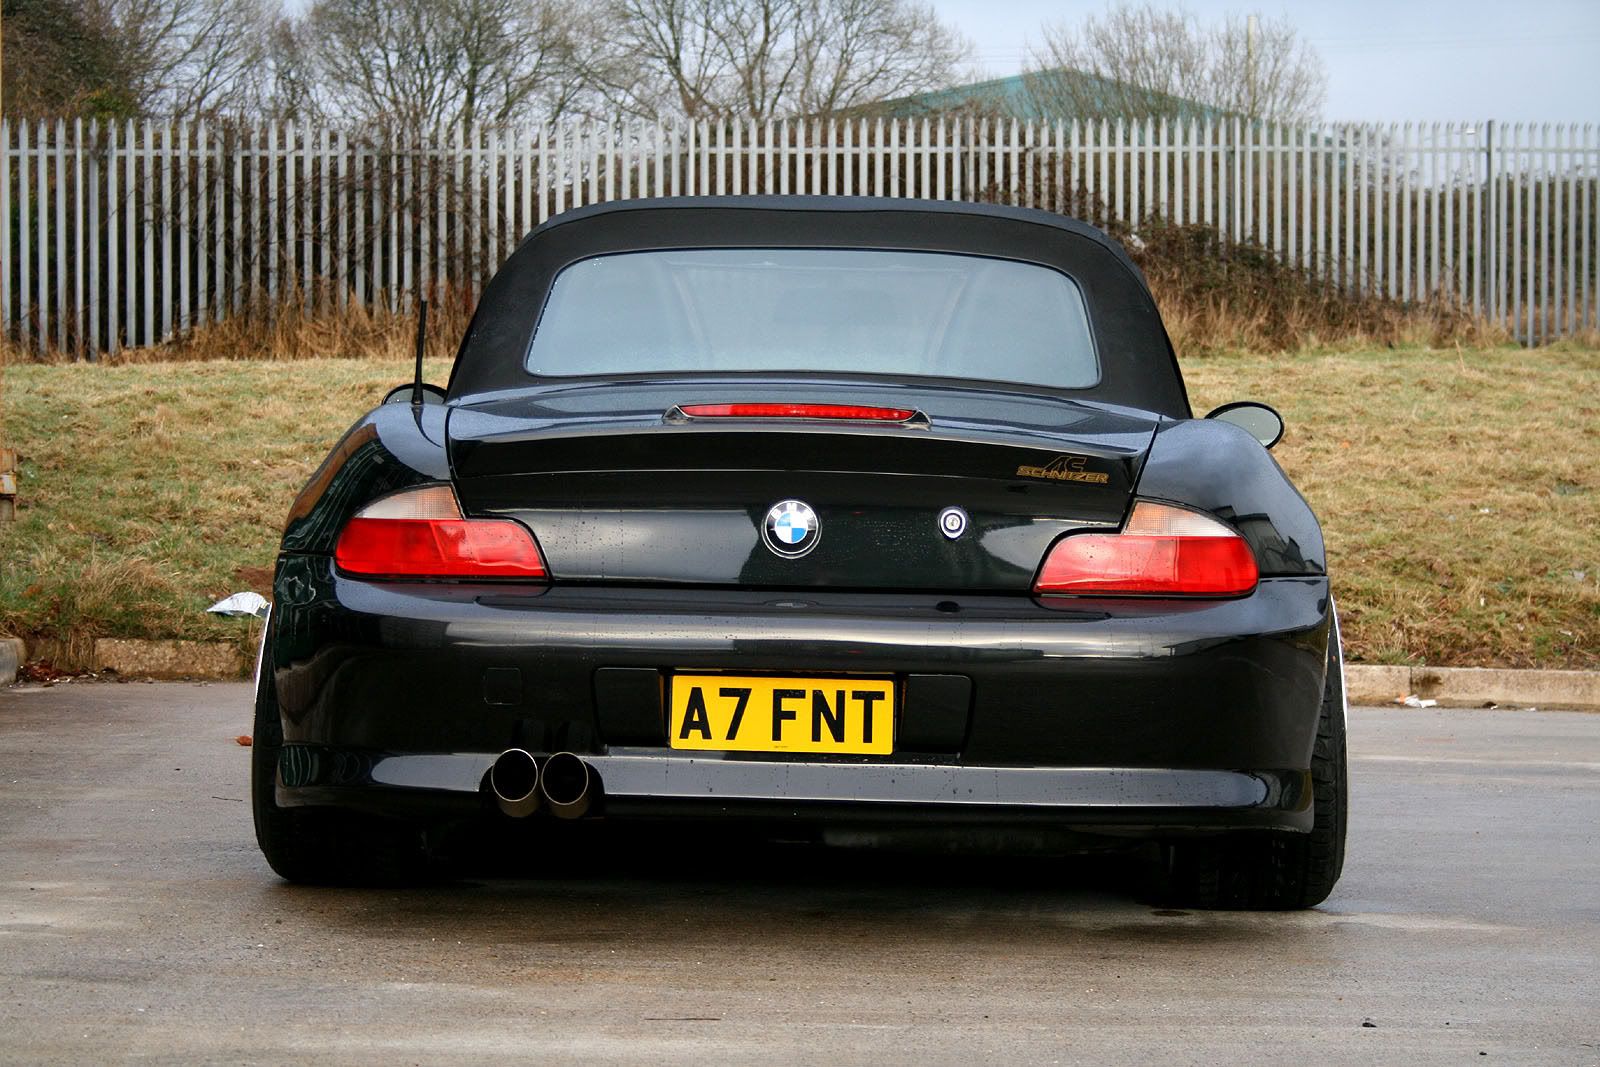
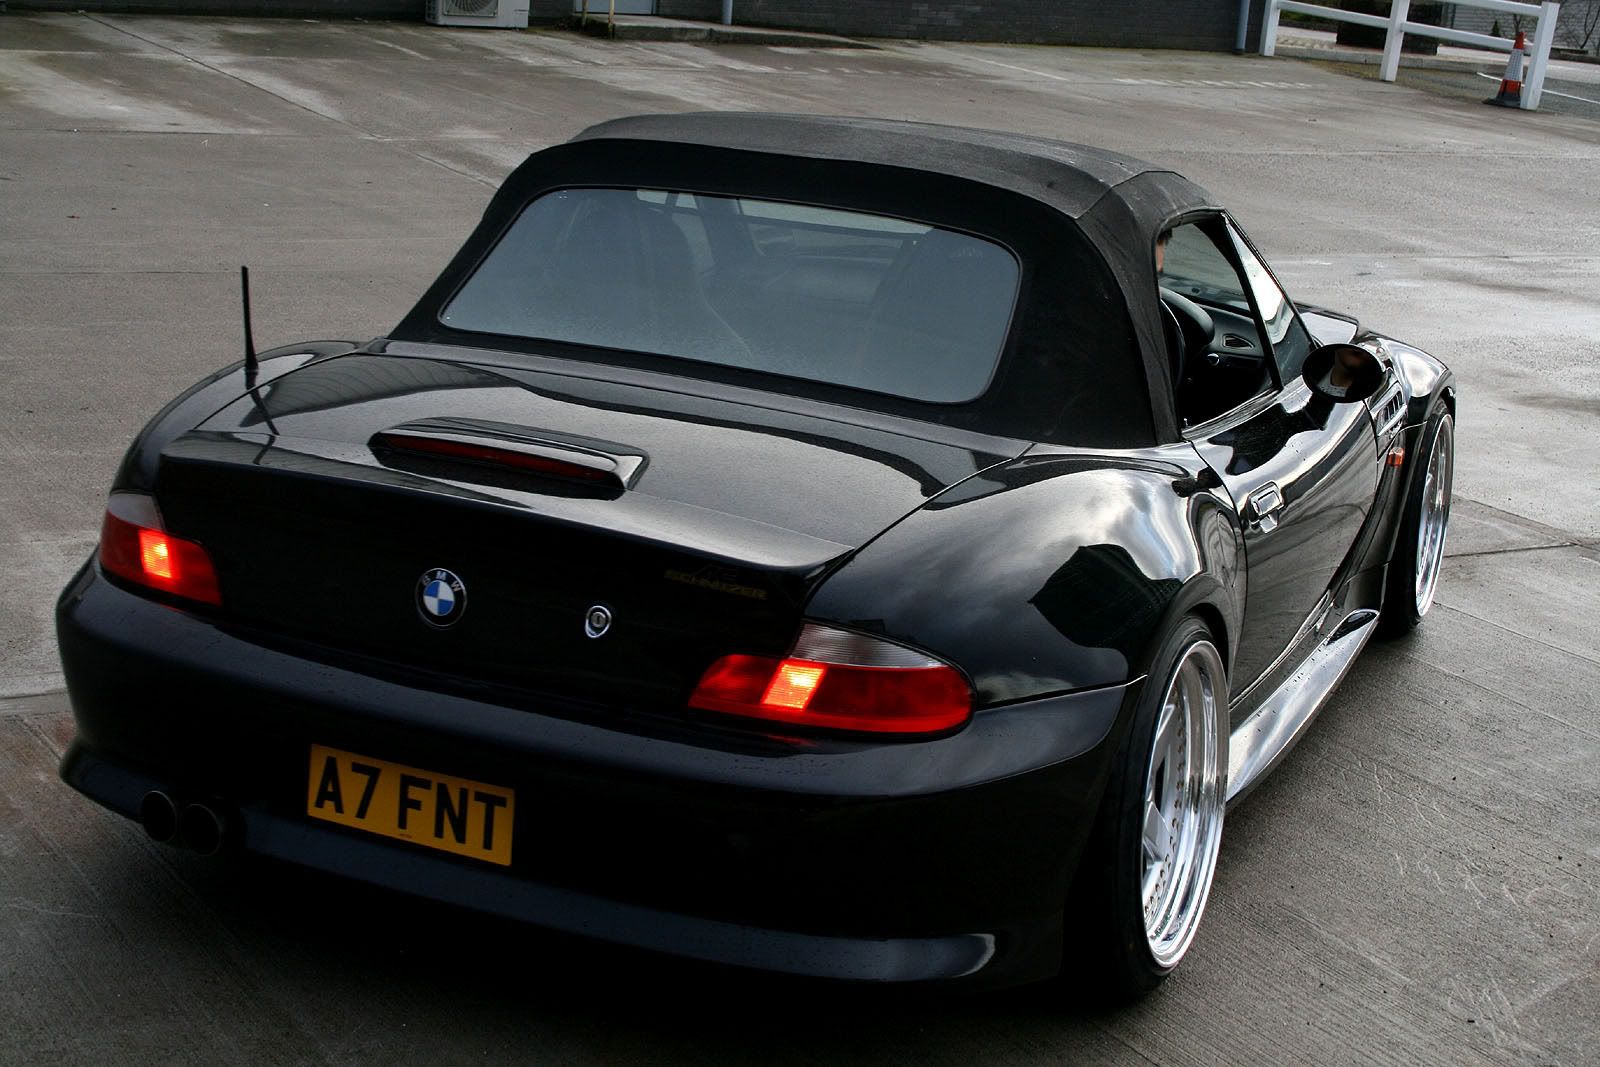
You'll also note the custom gold ACS decal on the tailgate, this was cut from vinyl to fit within the rear edge of the Aero spoiler - I think it adds a nice touch and compliments the gold detailing on the wheels 8-)
Leave a comment:
-
Exterior - Part 18g
Finishing Touches - 20/03/2010
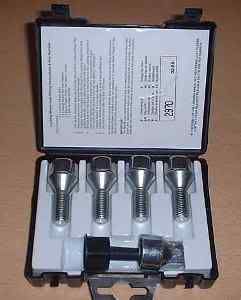
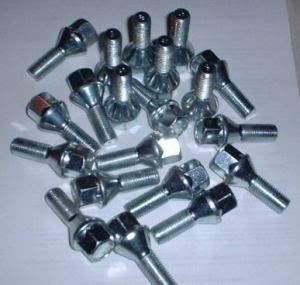
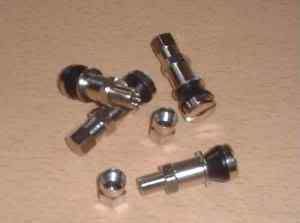
Having spent far too much money on the wheel build to date, it seemed daft to fit the wheels using the original OEM bolts and lockers - especially as these were discoloured and worn.
I decided to browse eBay and see what I could pick up; I noted a seller 'dvt1967' who ran an online store (Dave's Alloy Wheels and Accessories) that sold chrome wheel bolts, locking wheel bolts (with steel caps to make them look like regular bolts) and stainless tyre valves.
As I needed all three I managed to negotiate a deal, knocking off about 35% from the total price - bargain!
Click to enlarge
Leave a comment:


Leave a comment: