Announcement

Collapse
No announcement yet.

Euro Z3 - Build Thread...

Collapse
X
 
  • Filter
  • Time
  • Show
Clear All
new posts

  • yalden
    replied
    Maintenance
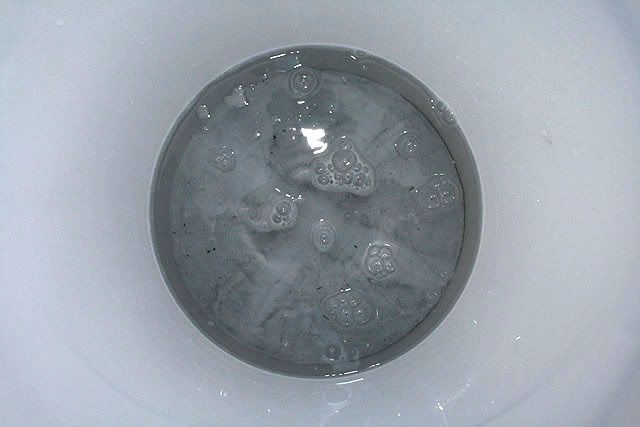
    Oil Service - 09/03/2010


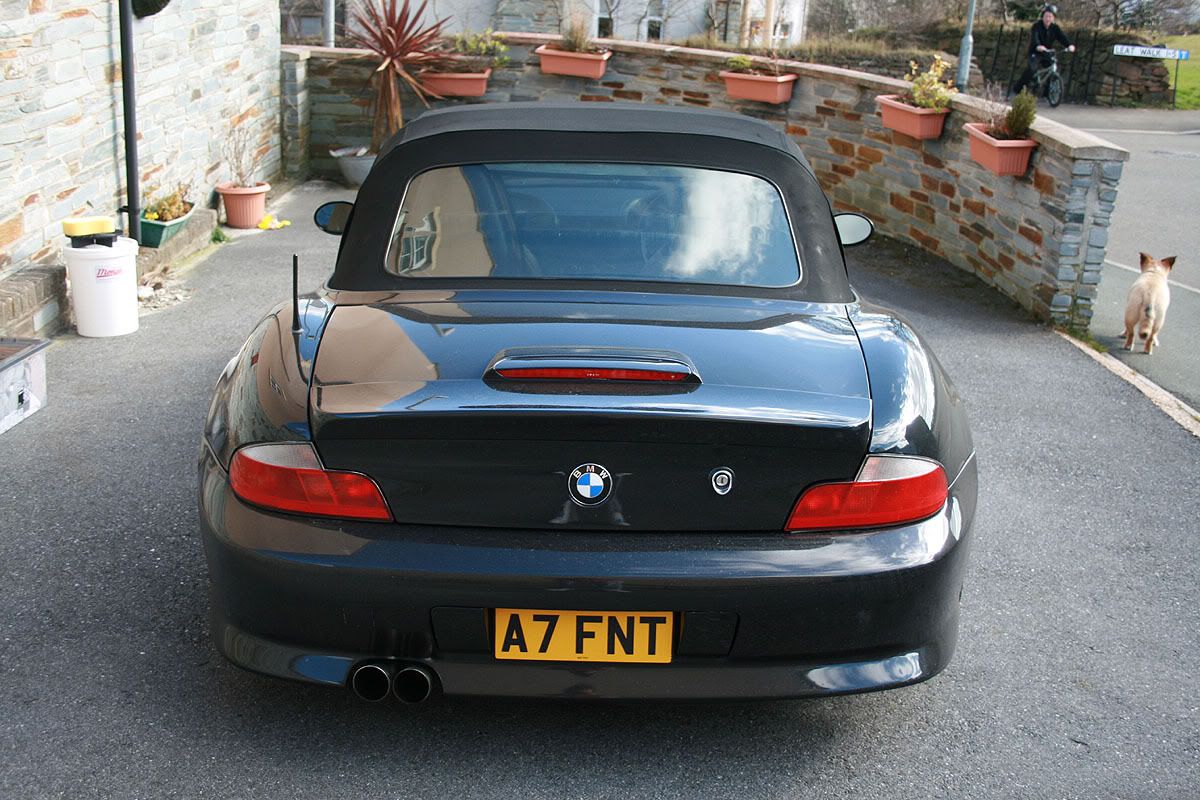
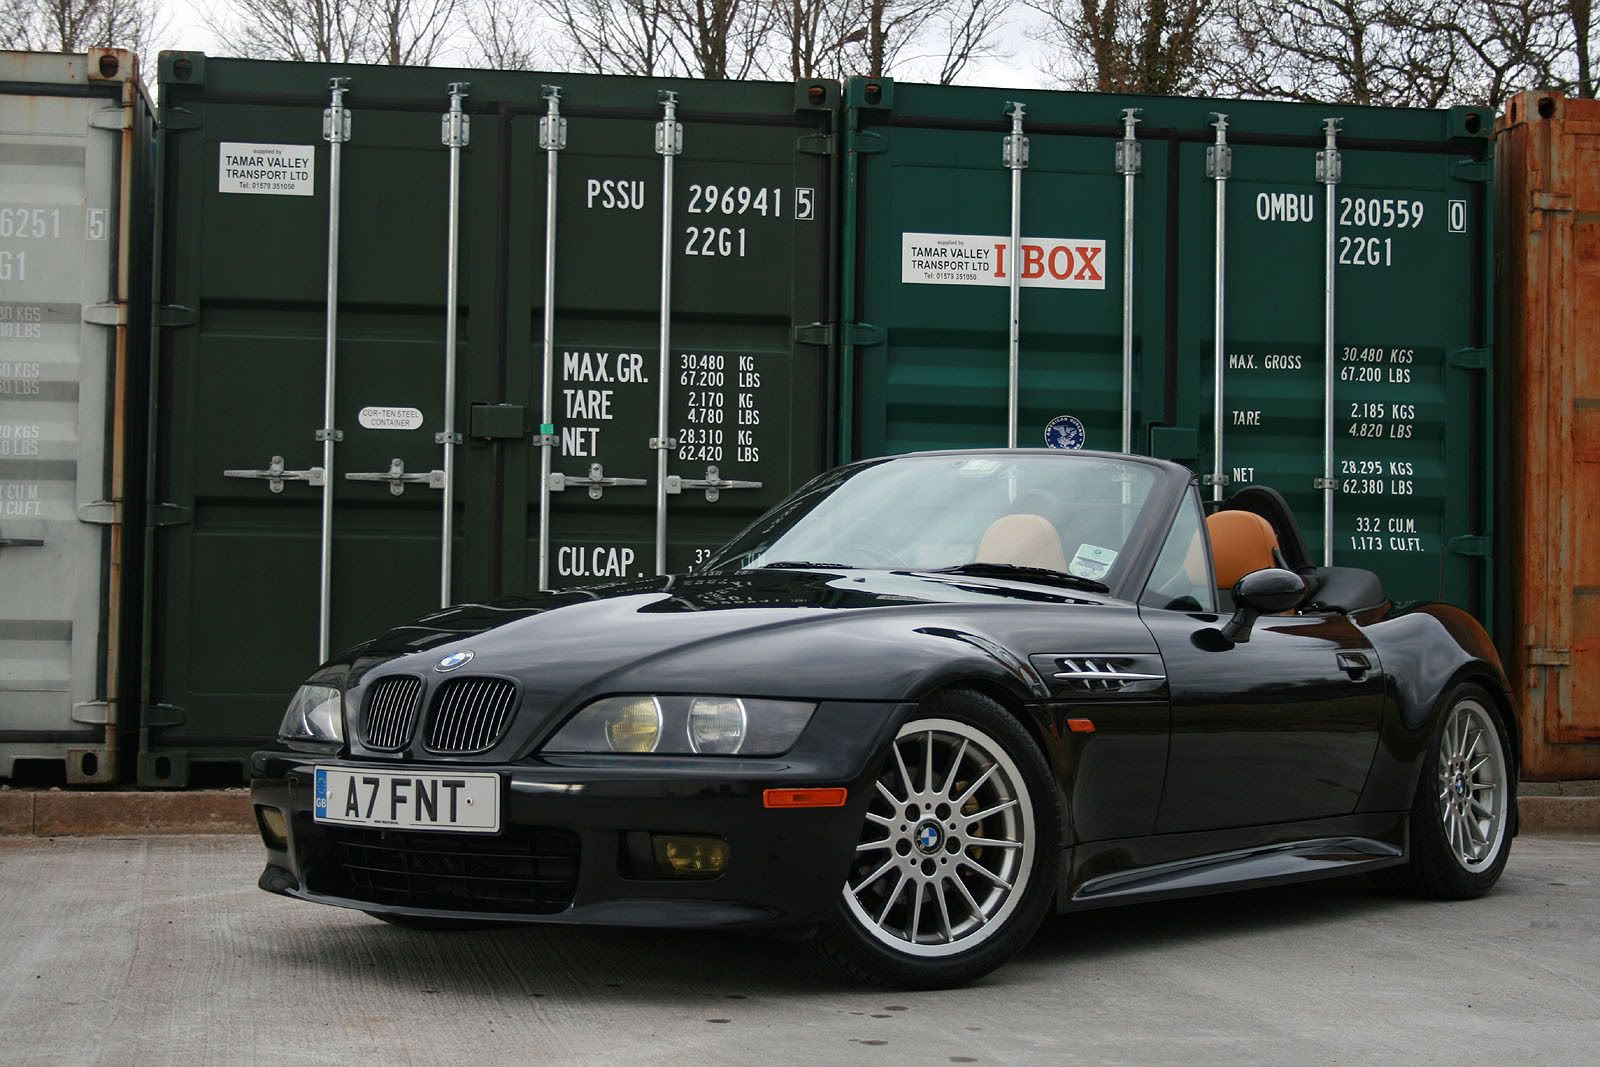
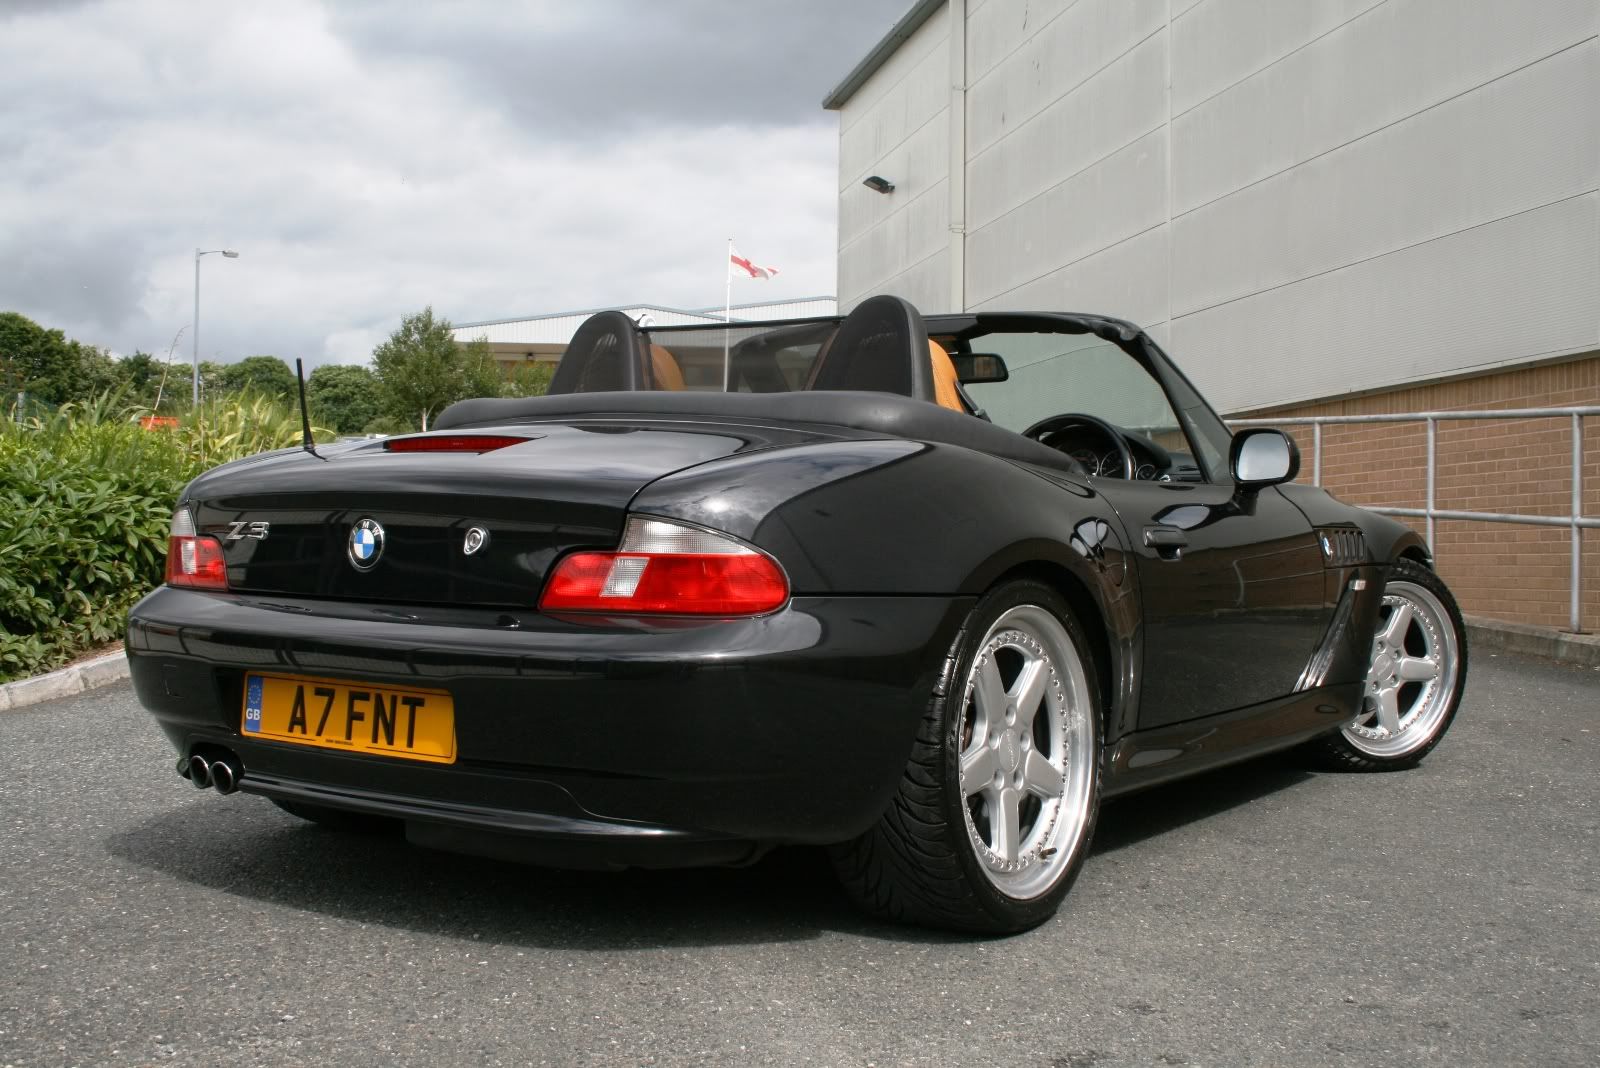
    I had the car booked in to BMG (Borringdon Manor Garage, Plympton, Plymouth) for an oil service.

    They conducted with excellent service, fitting me in at last minute and hanging the keys back in no time at all. They carried out customary level checks and topped up anything where needed etc. Top guys and a good service at a reasonable price!

    Leave a comment:


  • yalden
    replied
    Miscellaneous
    Full Valet - 06/03/2010


    over the last month or so I've been accumulating a whole load of new valetting products, I've even gone through the efforts of purchasing some storage containers to keep things tidy!

    I've been using Monza Car Care, owner Eamon has been a tremendous help with selecting the right products and offering advice whenever needed. I can't recommend them enough so be sure to visit their website and place an order 8-)


    The car started off looking pretty sorry for itself, although nothing in comparison to Jonttt's dirty Imola M!


    I decided to give it a fairly extensive detail, ensuring the paint was thoroughly rinsed off prior to washing with Zymol Auto Wash whilst making good use of my new 25l bucket with grit guard (more on this later).


    Once washed, I dried the car using a series of Meguiars water magnet towels (I have three - one for the roof, one for body and one for wheels ops: ).

    I then broke out my Dodo Juice Born Slippy clay lube and my Meguiars Professional Mild Detailing Clay; using the Born Slippy to provide lubrication I ran the clay bar over each panel, removing lots of dark-tar bonded contaminents.


    After an extensive clay session, I diluted the remaining lube residue by rinsing the car down again and re-drying. The next stage was to prepare the paint for wax, for this I used Meguiars Stage 2 Deep Crystal Polish - applied using a foam application pad, removed using microfibres.


    With the whole car polished, it was time to apply my latest purchase - Dodo Juice's Purple Haze soft carnuba wax. I had seen a few testimonials on the Detailing World forum which highly commended this wax when used on dark paints and I can certainly see the appeal! I applied the wax sparingly with a cotton applicator before allowing to cure and then buffing with a microfibre.


    The final touches included tyre dressing (using my new Meguiars tyre gel applicator), glass polish (buffed using blue engineering paper), exhaust polish (applied using blue engineering paper and buffed using microfibres) and a very quick interior wipe over.


    The photos really don't do the car justice, partly due to my photography and mostly to do with the somewhat overcast weather and deminishing sunlight!

    In reality, the paint looks to have a permanent glaze which really adds a new depth to the cosmos paintwork.


    Going back to the aforementioned Grit Guard, I'd highly recommend this product to anyone... after washing my car I decided to photograph the amount of grit deposits that had settled beneath the guard... better here than on the surface of the sponge :nerd:


    Leave a comment:


  • yalden
    replied
    Exterior - Part 18f
    Custom ACS Centre Caps - 27/02/2010


    Being that I had chosen to fit gold plated split rim bolts during my wheel build, I decided it'd be a great touch to have a set of customised centre caps with gold detailing.

    Initially I was going to run the original caps and carefully detail the ACS logo with a fine brush; then I realised the better solution would be to cut a vinyl logo and flush the caps. After a playing around with a couple ideas, I decided to go a step further - I had the caps flushed/smoothed and sprayed ready to apply a graphic. I then started working on Photoshop to design something a little different, I wanted to incorporate the AC Schnitzer leaf rosette as seen on the ACS Mini's or any Anniversary press material.

    After finalised a custom logo, I visited my local sticker store (Mr Sticker, Saltash) and discussed the options. Due to the fine detail within the logo, they decided to use a gold leaf ribbon and print the design to a clear transparancy, this was then applied to the wheel and a second layer of transparancy added again to protect the print.

    Click to enlarge


    Leave a comment:


  • yalden
    replied
    Performance/ Engine Cosmetics - Part 3
    Magpie - 05/12/2009


    Being over a year since I last purchased any engine-'tart', I decided to take the plunge and relieve a fellow forum member (Adonis @ BMW Owner) of the Mirage Stainless Steel covers which he'd removed from his previous E36:

    Mirage Stainless oil filler cap cover
    Mirage Stainless power steering reservoir cover
    Mirage Stainless power steering reservoir cap cover
    Mirage Stainless oil puralator cover
    Mirage Stainless oil puralator cap cover
    Mirage Stainless fuse box lid cover

    Later in the month I got sucked in again; I spotted a rare Strong Strut Competition Light Alloy 'Black Textured' front strut brace with the Strong Strut small-accessory installation kit.

    These braces are only available from the US (albeit through a UK distributer such as CA-A) and for that reason they demand a premium. I managed to save a bit of cash by purchasing second hand but ultimately these braces carry the title of the best brace for any model of Z3 and for that reason they're never going to be cheap.

    Click to enlarge


    At the same time as fitting the strut brace, it made sense to also fit the Jamex coilover set up I'd managed to get at a bargain price from a fellow Z3 member. The set up offered the one thing I wanted, adjustable front ride height - as the front sat just too high in comparison to the rear!

    Click to enlarge


    Leave a comment:


  • yalden
    replied
    Exterior - Part 18e
    OZ Racing - 29/08/2009


    Something I wasn't happy doing whilst building the wheels was fitting the OZ Racing sticker; I had no reference material so was worried I'd place them incorrectly.

    I've tried to ensure that the wheels are built as originally intended, the minor detail is to ensure that the valve is located central between two spokes, with the OZ Racing sticker directly opposite. Needless to say, this is now done.

    Click to enlarge


    Leave a comment:


  • yalden
    replied
    Exterior - Part 18d
    It's Schnitzer Time - 28/08/2009


    I purchased my AC Schnitzer Type 1's 60 weeks ago to the day, although they came second hand and were probably built circa '97, around 12 years ago. It's fair to say, they hadn't aged particularly well - but tonight they underwent a well deserved facelift.

    I got the relevant parts together and began by using a mixture of saturated aliphatic and alicyclic C7 to C12 hydrocarbons with a maximum content of 25% of C7 to C12 alkyl aromatic hydrocarbons (e.g. white spirit) to ensure a clean/degreased surface for the sealant to take to).

    Click to enlarge


    A narrow bead of sealant was laid around the perimeter of the barrel, once complete, the wheel sections were laid into place and secured by quarterly bolts.


    Once secure, the remaining bolts were inserted, dabbed with a single component thixotropic chemical called dimethacrylate ester (e.g. Loctite 243 / Threadlock) and torqued to 22.7 ft/lbs.


    A final bead of sealant was applied to the outer edge, where the lip and barrel meet. Although my efforts might not have been as 'neat' as some, I'm confident there'll be no air-leaks on my watch.


    The fronts remain 2-piece, so none of the sticky stuff necessary. Ideal - a quick and easy bolt on affair (with the aforementioned threadlock/torque settings).


    And hey-presto...


    Just valves, centre caps and tyres to go...

    Leave a comment:


  • yalden
    replied
    Exterior - Part 18c
    Centre of the Schnitz - 28/08/2009


    Albeit that the centres of my wheels weren't in awful condition, they were showing some light marks/scratches/chips and general discolouring. Originally I was going to get my bodyshop to respray them, but I had concerns over the durability of the finish and the overall coverage within each split rim bolt-recess.

    I did a little bit of digging, which was later reinforced by a few recommendations and decided to send the centres via courier to the Leeds based shop of The Wheel Specialists.

    I opted for the Hi-Power silver powdercoated finish; and have no regrets!

    Click to enlarge


    They were also asked to smooth the centre caps however I'm not 100% satisfied with the overall finish (there appears to be a slight imprint of bubblewrap texture embedded into the paint - assuming they wrapped them before the paint had fullly cured). Rather than send them back I'll probably just get my local shop to repaint them.

    Leave a comment:


  • yalden
    replied
    Exterior - Part 17b
    More AerOEM+ - 12/08/2009


    I left work early today to ensure I got chance to collect my rear bumper from the bodyshop before they lock their doors.

    The plan was to wait till the weekend before fitting, just to ensure I didn't run out of daylight. As is often the case, things didn't go as planned... I began trying to remove the original bumper around 7pm. Considering I had no idea how it came off, and tried removing all the boot trim to locate the rear bumper shock mounts I later realised that it had to be removed from behind (i.e. underneath the car).

    Anyhow, two hours later and the light has gone, but the bumper is on... fitment is 90% of the way there, two of the mounting points along the upper edge are different to the original bumper and with no new fixings I'm a little stuck. Likewise, the lower mounting to the arch liner doesn't align, it looks like I need a longer fixing bolt with a spring retainer - something I can knock up on the weekend.

    The darkness has hindered the photos, but here are a few tasters...

    Original/Aerodynamic comparison:-

    Click to enlarge


    Quick and dirty fitted shots:-


    Leave a comment:


  • yalden
    replied
    Exterior - Part 18b
    Tools, Stickers and Trials - 07/08/2009


    After looking into the simplistics of splitting my wheels I came to realise that the bolts used by Oz Racing to secure the wheels are custom 10-spline, as opposed to regular 12-spline.

    A little digging soon unveiled that two custom sockets (8mm/10mm) would set me back £100, thankfully a fellow member on www.wheel-whores.com had already forked out for such tools and was now loaning them out for a small fee... ideal! Needless to say, they were on the door mat within a couple days.

    Click to enlarge


    On the same day as the sockets arrived, I also received my original OZ Racing lip decals from Germany, to be located opposite the tyre valves on the outer edge of the dish - the lips would've had these fitted prior to polishing through the clearcoat.


    Whilst splitting the rims, I thought it'd only be right to have a quick trial fit on the rear... Got Camber?


    The centres are being shipped to www.thewheelspecialist.co.uk next week for the final touch, a refurb in their exclusive Hi-Power Silver coating. I'm hoping to have them all back next weekend... fingers crossed!

    Leave a comment:


  • yalden
    replied
    Exterior - Part 18a
    Dishing it out - 14/07/2009


    I wasn't expecting to see these boxes waiting for me when I got home from work today, but I'm sure as hell glad they were! :twisted:

    Click to enlarge


    Up front I've gone for genuine OZ Racing 9J x 18" ET 32 2-piece tubes (dated July 1997 - no wonder they hold a premium). These provide a 2.0" dish, just 0.5" over stock.


    Out back I've gone for a genuine OZ Racing 10.5J x 18" 3-piece set-up, comprising inner barrels (dated May 1995) and 3.0" lips, 1.5" over stock; producing a final offset of ET 26.


    Final measurement... 11.5" 8-)


    The final item in the box was my new set of genuine OZ Racing nuts, I thought better to replace the originals during the rebuild just to be safe.


    I couldn't help but play around with the set up, if only to take a few more photos; bare in mind the centres of my wheels bolt from the front, so the bolts won't sit up against the dish as per the below photos, instead they'll sit within the recess of the centre.


    Time to hire out the custom 10-spline OZ Racing sockets and get wrenching :twisted:

    Leave a comment:


  • yalden
    replied
    Exterior - Part 17a
    More AerOEM+ - 14/07/2009


    Last week, whilst parked out on the street, some delightful individual decided to scuff my front bumper and damage my marker light in the process. Thankfully the bumper is long overdue a repaint anyway, however the light was an annoyance, albeit only £15 for a replacement it was a cost I'd rather not have to put up with!

    Damaged/Replaced:-

    Click to enlarge


    I contacted an online 'genuine BMW parts distributor' and explained the situation, I asked if they'd be willing to supply a replacement marker light free of charge should I spend over £170; needless to say they agreed, the perfect excuse to purchase the BMW Aerodynamics rear bumper I've been pining for. :lol:

    Earlier today I got the call telling me a great big box had been delivered, I immediately visioned my new wheel build, and began thinking 'what if', although deep down I knew that'd have to wait at least another week yet.

    The boring photos:-

    Click to enlarge


    You'll notice that the Aerodynamic rear bumper flares out along it's lower edge, this line neatly follows that of the recently fitted sideskirts; and should also set off the exhaust a little better.

    Aerodynamic/Standard comparison shots:-

    Click to enlarge


    Leave a comment:


  • yalden
    replied
    Exterior - Part 16b
    Clean fresh - 28/06/2009


    Having just got my car back from the bodyshop I thought it'd only be fair to share a few photos; of course this could only be done after a thorough afternoon of detailing!

    As aforementioned, the work undertaken includes:-

    Respray rear quarter panels
    Respray doors
    Respray front wings
    Respray bootlid
    Paint and fit BMW Aerodynamic rear spoiler
    Paint BMW Aerodynamic sideskirts
    Paint Z3M wing mirrors
    Paint kidney grill surrounds
    Paint and fit doorhandles
    Flush and paint petrol flap

    The detail consisted of:-

    2 bucket method with grit guards
    Meguiars NXT shampoo
    Meguiars Quick Detailer with Claybar
    Autoglym Ultra Deep Shine polish (x2)
    Meguiars NXT wax (x2)

    The photos:-

    Click to enlarge


    A few shots showing the closer details:-


    Leave a comment:


  • yalden
    replied
    Exterior - Part 16a
    Bits and Pieces - 21/06/2009


    Well, two days into my 9-day R&R holiday I decided to get my hands dirty and strip a few bits off the car; the car is now in the hands of my local bodyshop!

    Whilst having the BMW Aerodynamics rear spoiler, sideskirts and Z3M mirrors fitted I thought it'd only make sense to fit new rubber seals for the boot lock, aerial and door handles. I'm also having the doors, wings, rear quarters and bootlid repainted... just to freshen it up and aleviate the numerous stone chips, and a few carpark dents.

    (Click to enlarge)

    The 3rd brake light must've been out before... whoever refitted it decided to cake it with clear silicone (surely not a BMW job?). This was by far the most frustrating thing to remove, let's just hope it's work it!


    Kidney's are out... surrounds are being scotched ready for paint!


    Sideskirts and petrol flap off... note the stone chipped rear quarters and dents in door (one by handle, one central)


    The worst of my car park dents; they will not be missed!


    Quick tape-on trial fit of the new spoiler 8-)


    Leave a comment:


  • yalden
    replied
    Maintenance
    MOT - 28/05/2009


    I had my car booked in for MOT, thankfully it passed straight through! Advisory sheet indicated the following:-

    - Rear tyres low - Old wheels back on
    - Small chip outside of drivers view in windscreen - Needs filling

    Leave a comment:


  • yalden
    replied
    Performance/Engine Cosmetics - Part 6
    Golden Calipers - 19/04/2009


    Something I've been meaning to do for such a long time is clean and pain the calipers and hubs; such an simple and cheap job that only demands a couple hours should've really been done last year... still, better late than never.

    I chose gold for the calipers, which in time will compliment the gold plated split rim bolts I've got waiting to fit when I refurb the wheels. Meanwhile, the hubs have been painted black.

    Click to enlarge


    Leave a comment:

Working...
X