 Tweet
Tweet
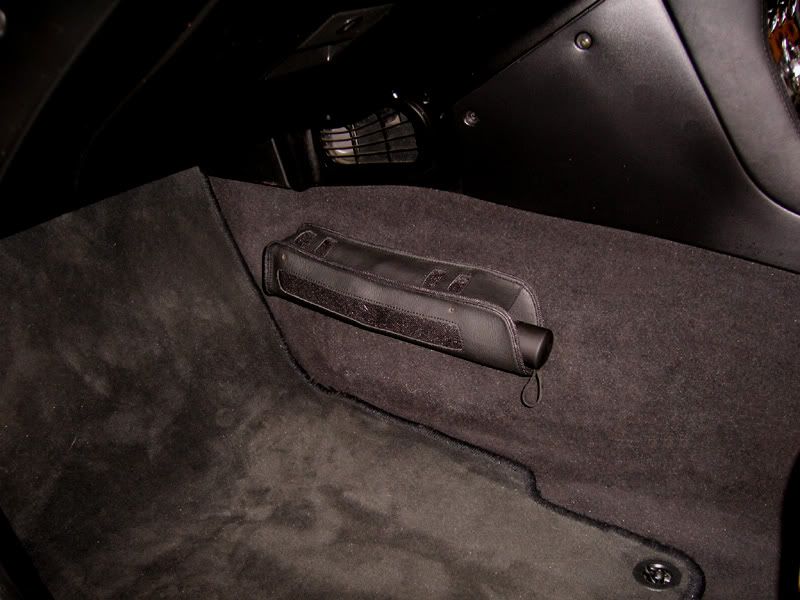
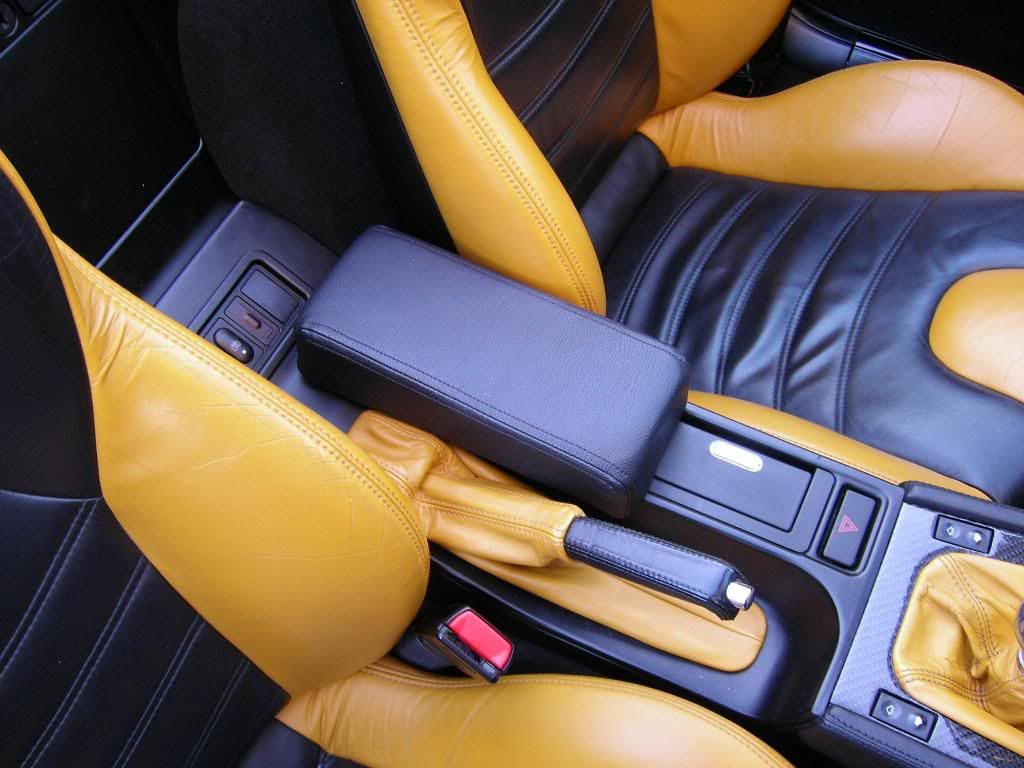
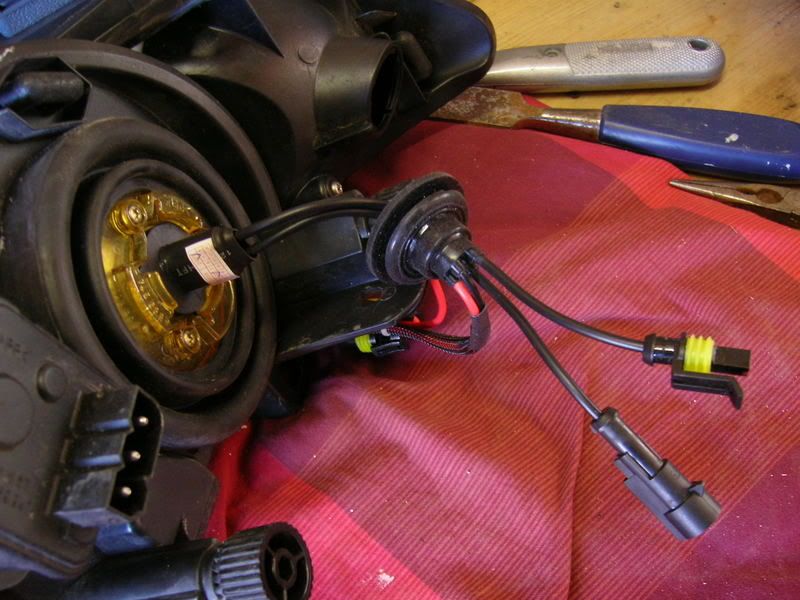
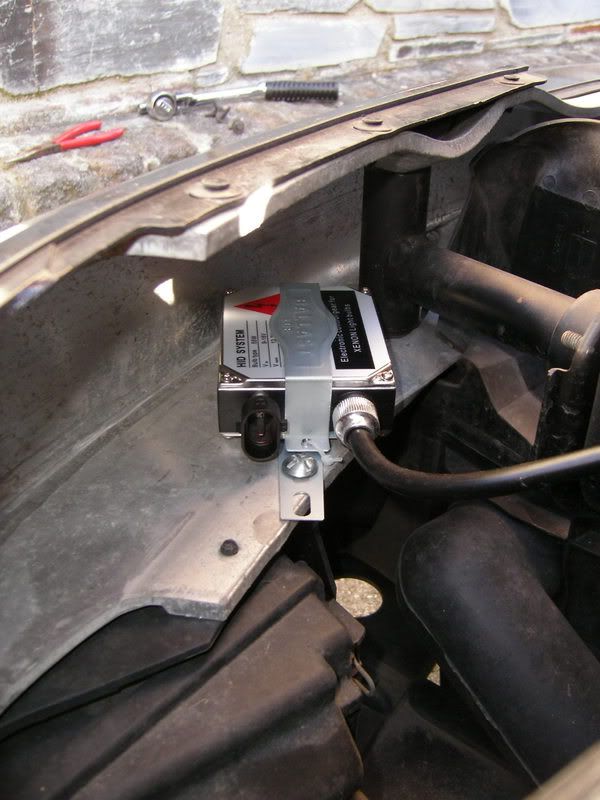
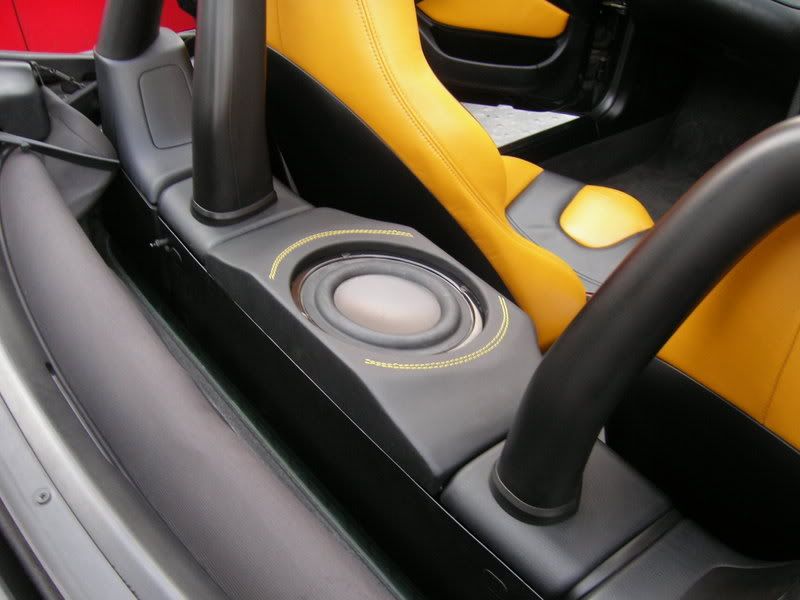
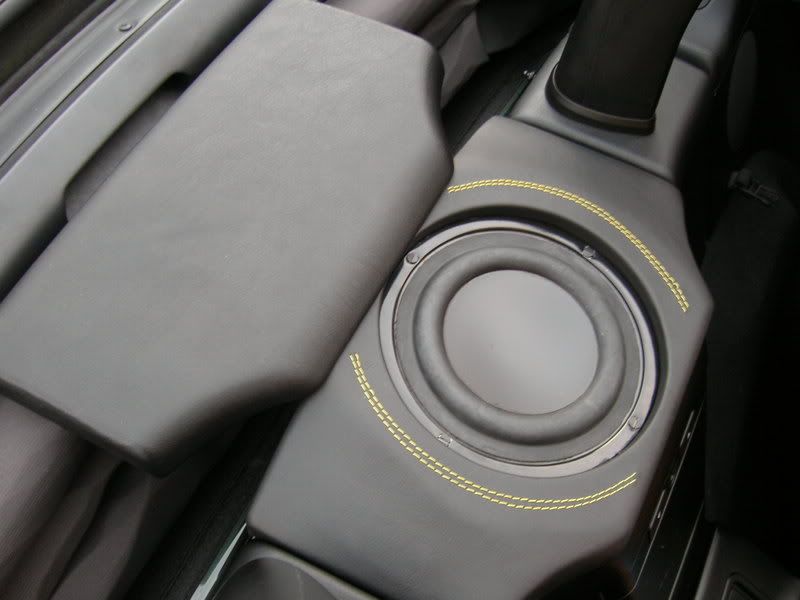
Miscellaneous
Full Valet - 24/01/2009

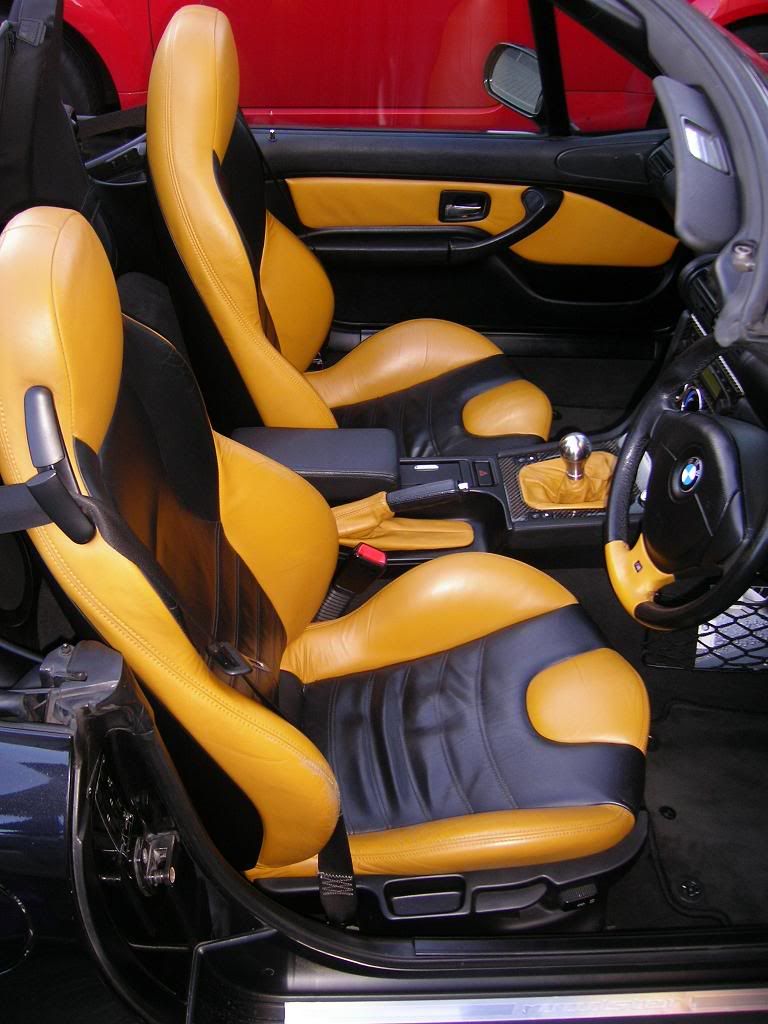
After much use on Englands salty roads, it was time to show the Z3 a little tender care...
Click to enlarge
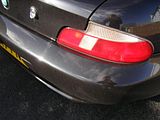
A quick before shot...
After...


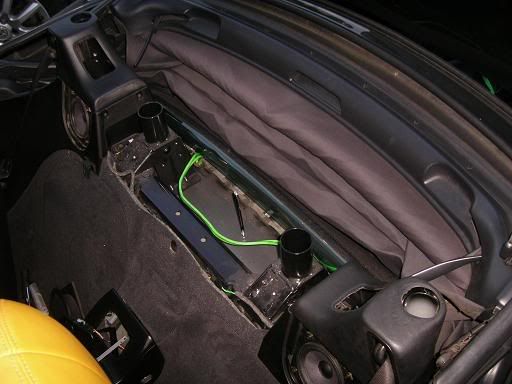
Engine bay...
Full Valet - 24/01/2009
After much use on Englands salty roads, it was time to show the Z3 a little tender care...
Click to enlarge
A quick before shot...

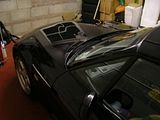
After...


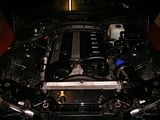
Engine bay...


 ops:
ops: 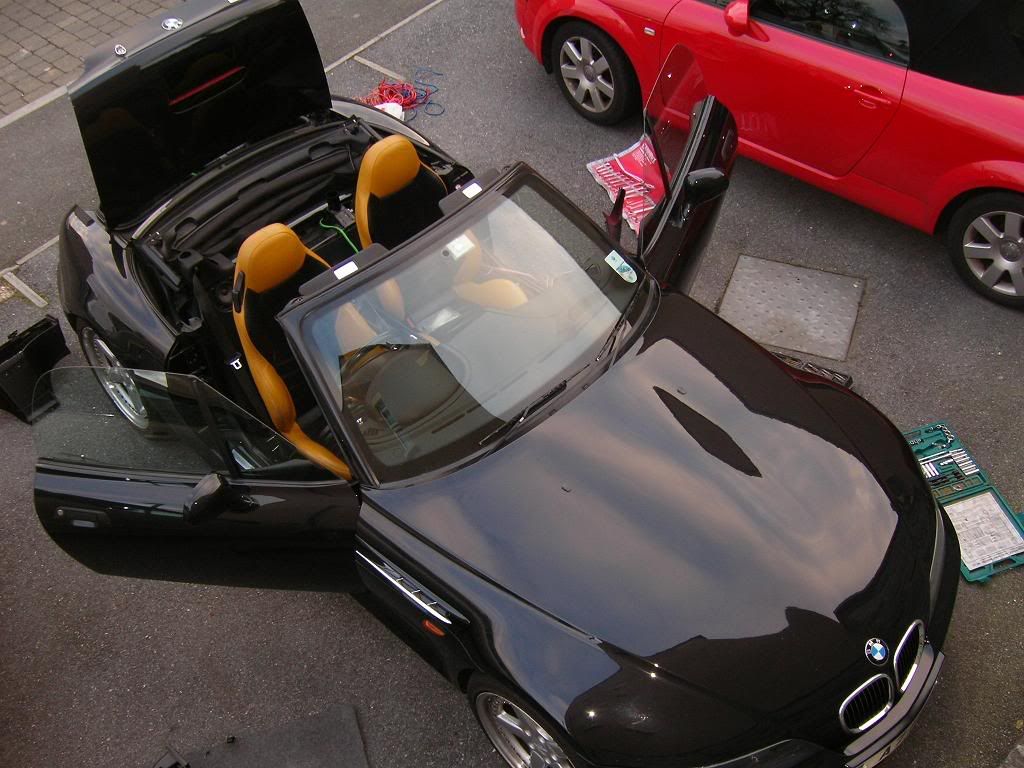


Comment