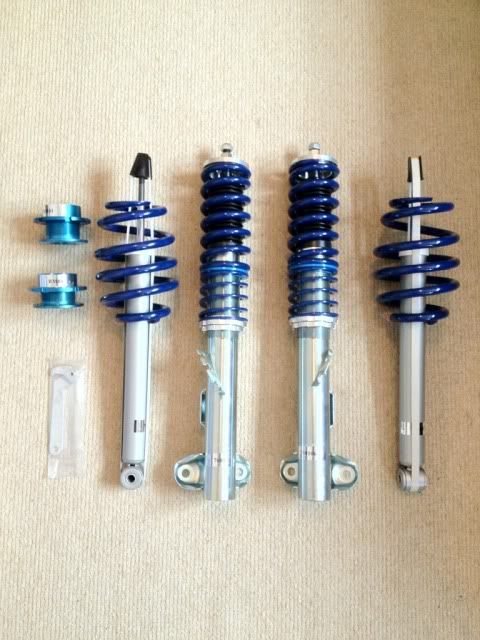
 . Seeing as I now supply JOM coilovers I wanted to trial run a set to see what they are like as a low budget entry level coilover. Upon opening the box and pulling everything out and having a good look all over I was impressed even if the rear adjusters felt a little cheap in the hand they are not bad at all once fitted. The height adjustment tool for the coilovers it must be said is pretty poor but more so for when you have to adjust the rear suspension height as the silly pivot setup is slightly frustrating to work with.
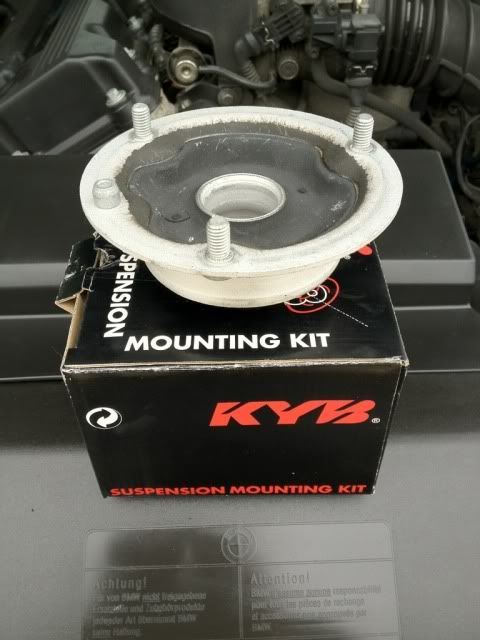
Now enough with the moaning after all they are a €250.00 coilover kit, all in all I am very impressed with the quality of this kit for the money, once fitted and adjusted I was out for a drive to see how it all felt, at this point I would also like to mention that I fitted new KYB front suspension mounts as mine were pretty shot and I did not feel like taking out the shocks again to do the mounts. I had previously replaced the rears with Meyle HD items along with the Z3 reinforcement plates.
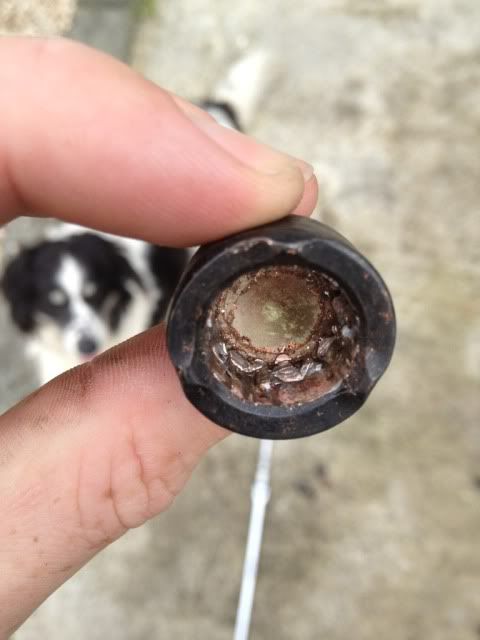
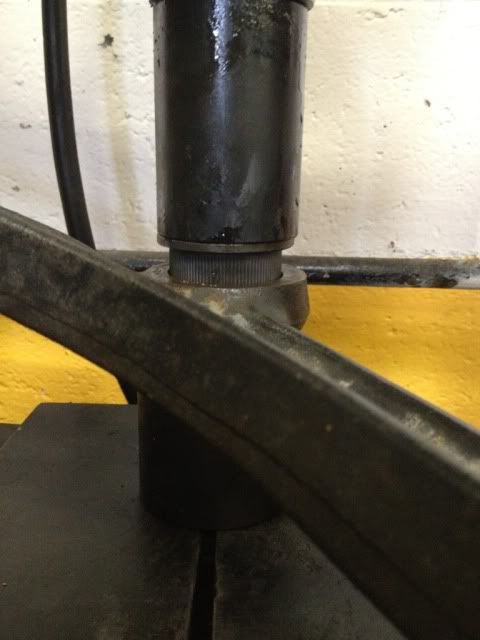
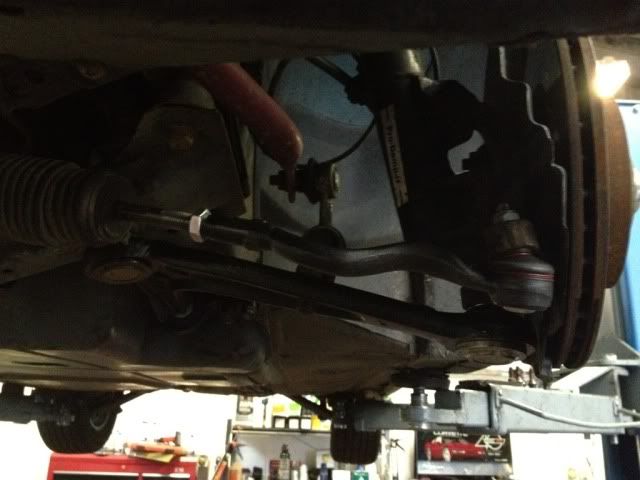
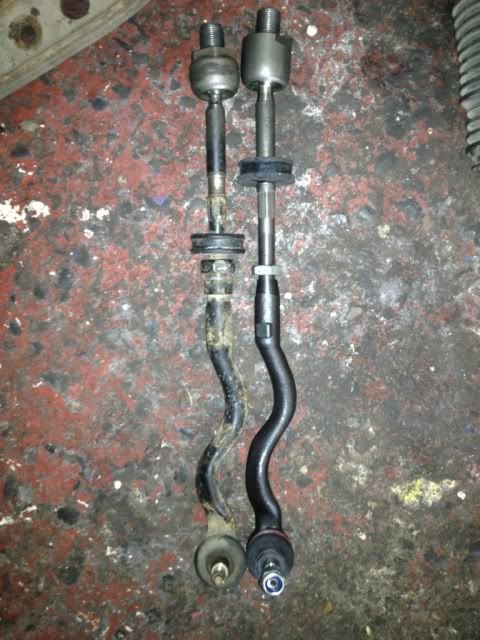
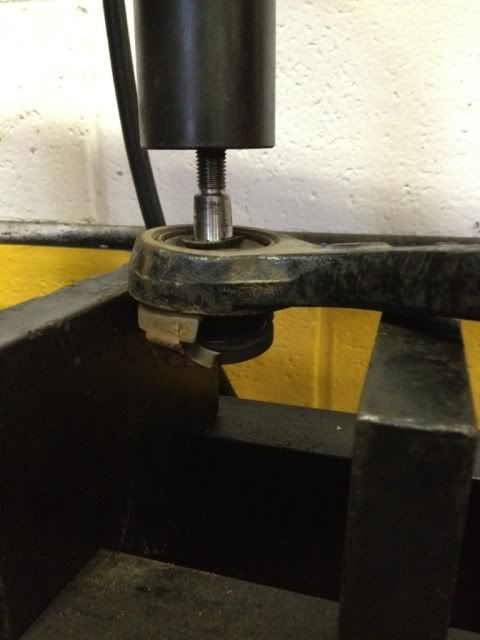
Before fitting could even start I had to work around the problem of getting off my BMW lock nuts without the lock nut tool as I seemed to have misplaced it
 , anyway after a couple of minutes pondering and eyeing it up I took my small half inch drive extension and hammered it into the lock nut then proceeded to loosen them with the breaker bar.....each lock nut took 5 mins max to get off. Happy days :thumbsup
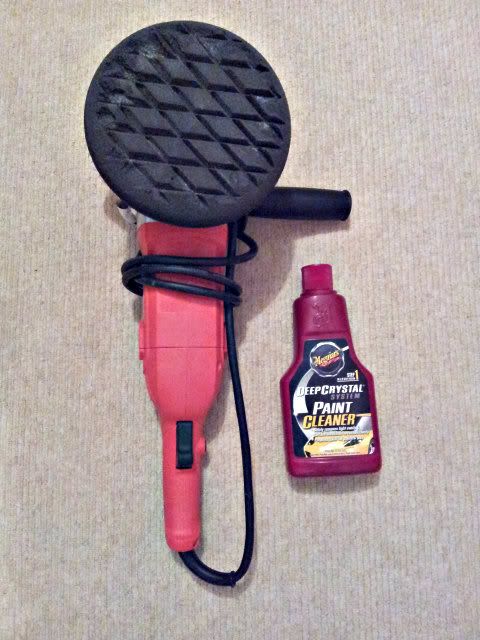
LOCK NUT REMOVAL : Weapon of choice

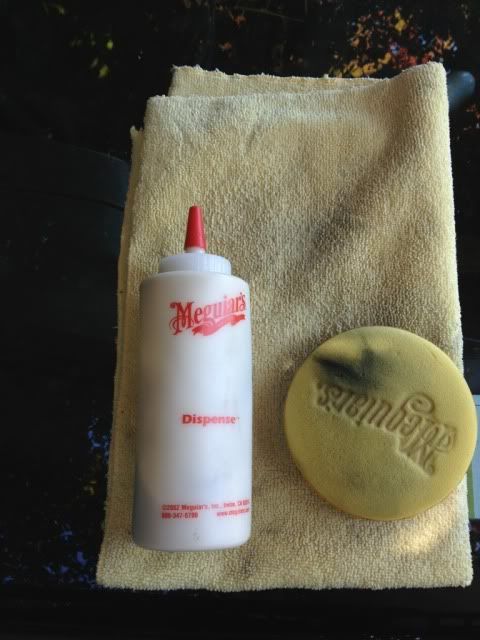
JOM COILOVER KIT :
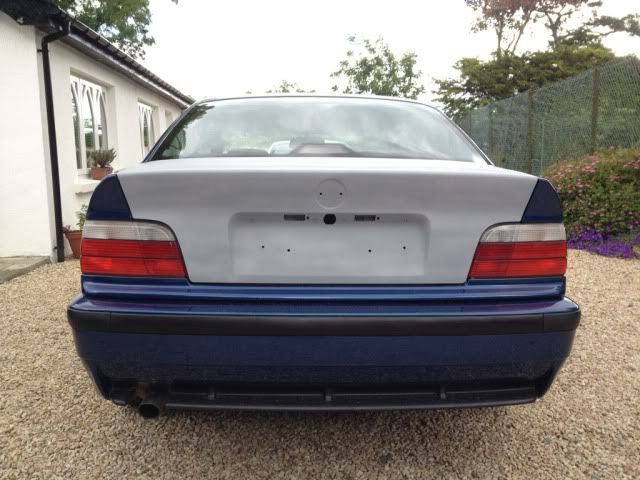
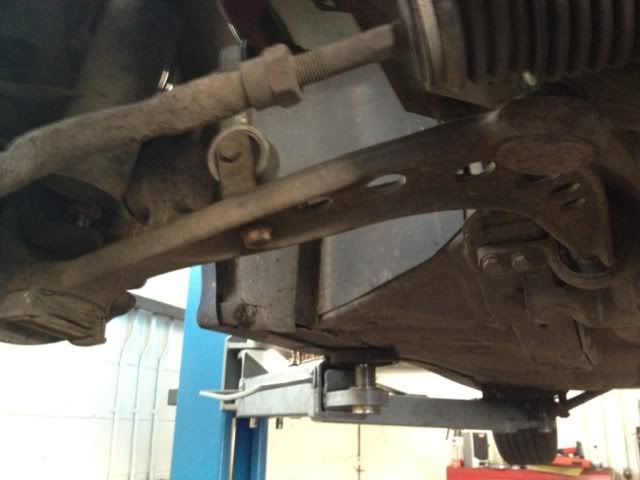
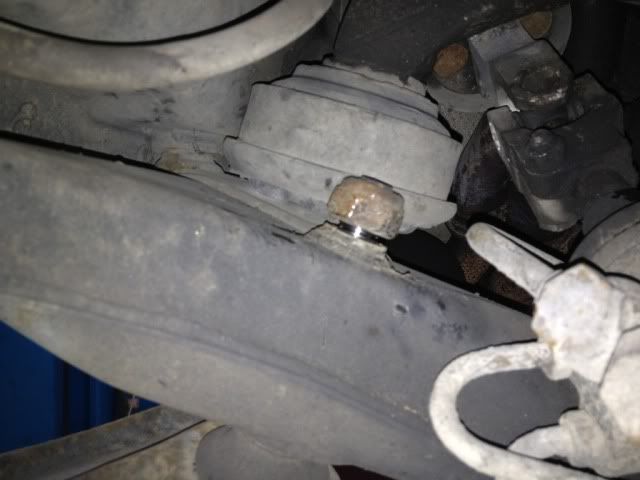
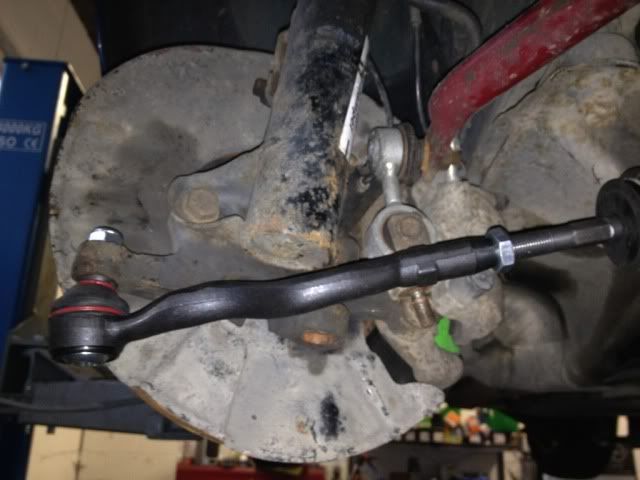
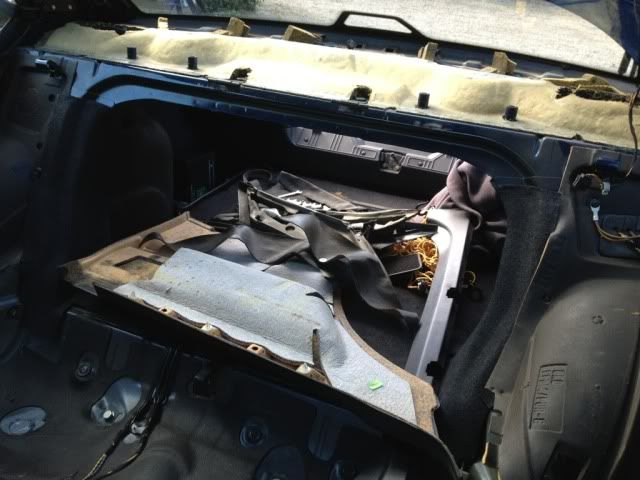
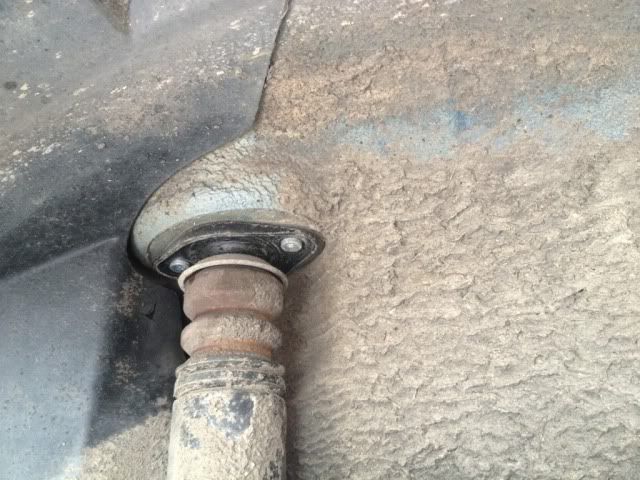
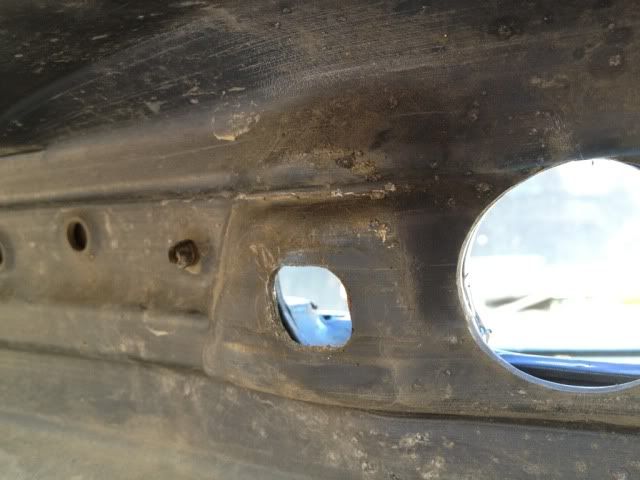
BEFORE REMOVAL :
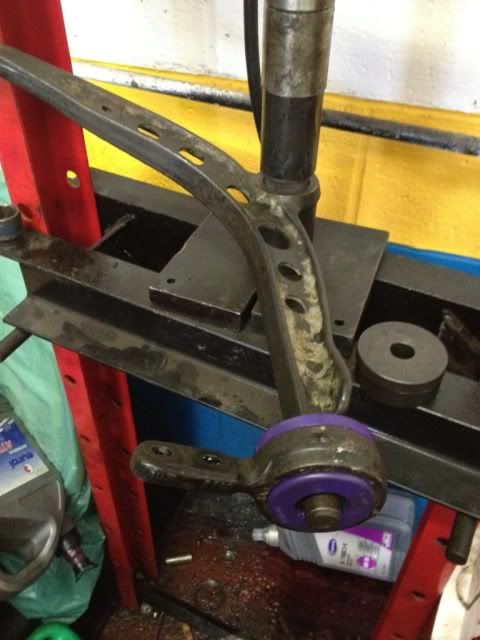
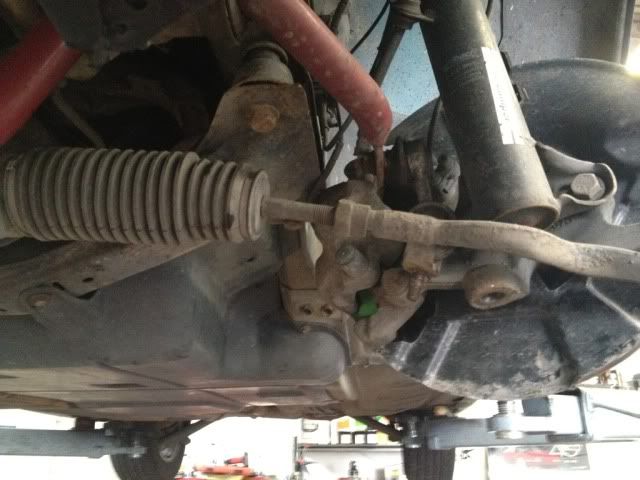
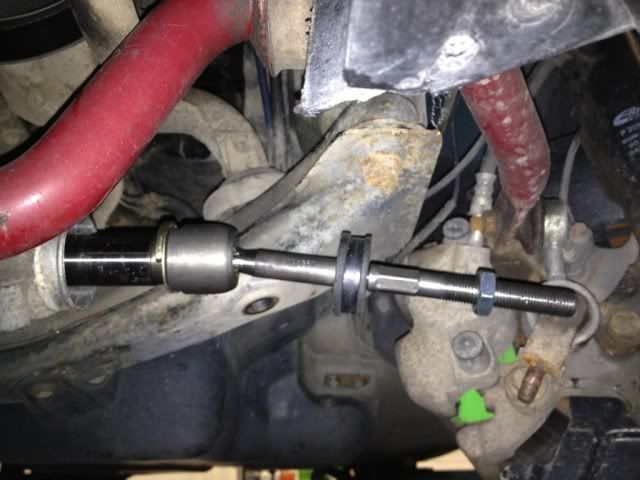
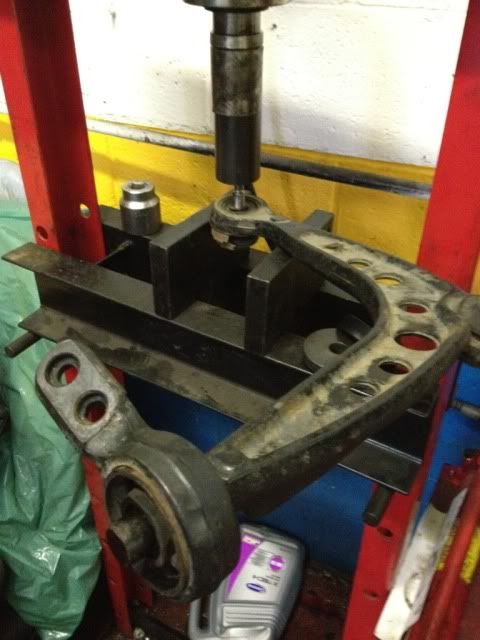
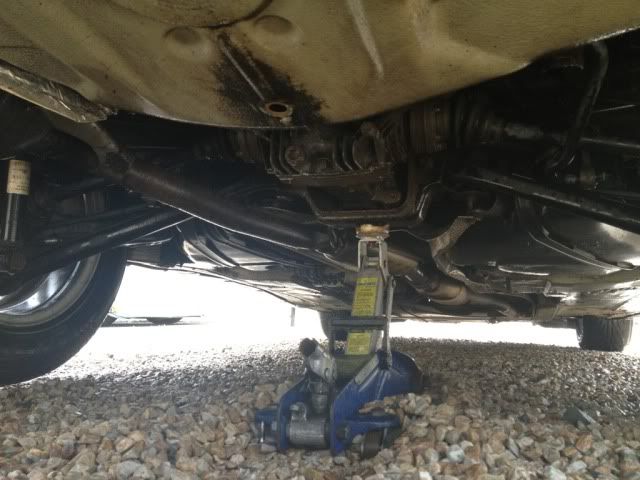
DURING :
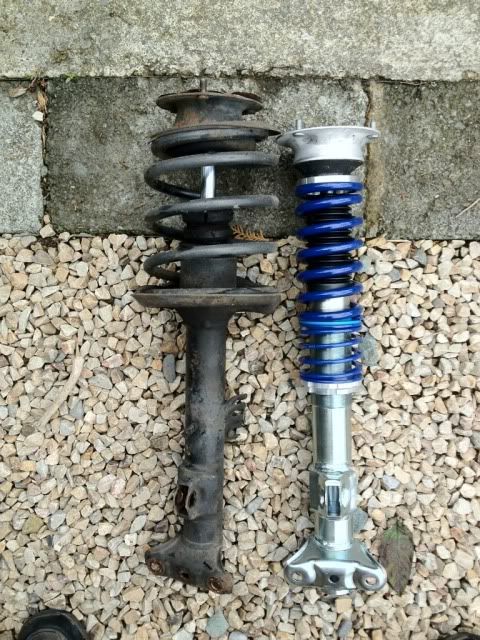
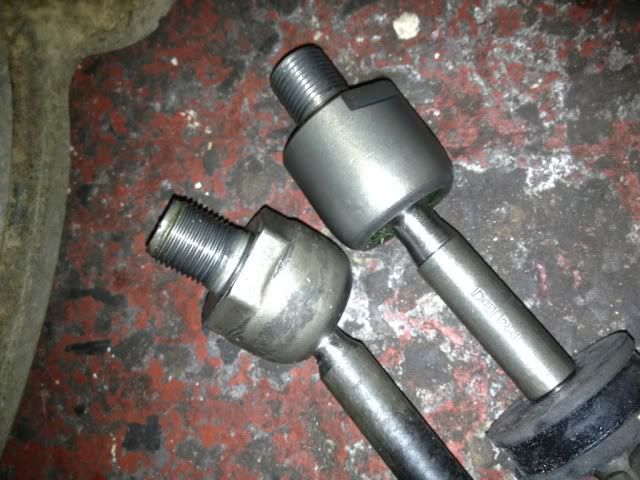
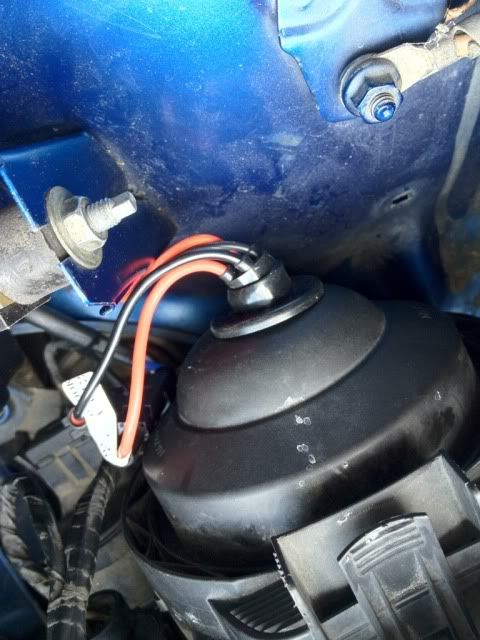
JOM COILOVER WITH NEW KYB MOUNT BESIDE MY EIBACH PRO DAMPER AND EIBACH SPRING :
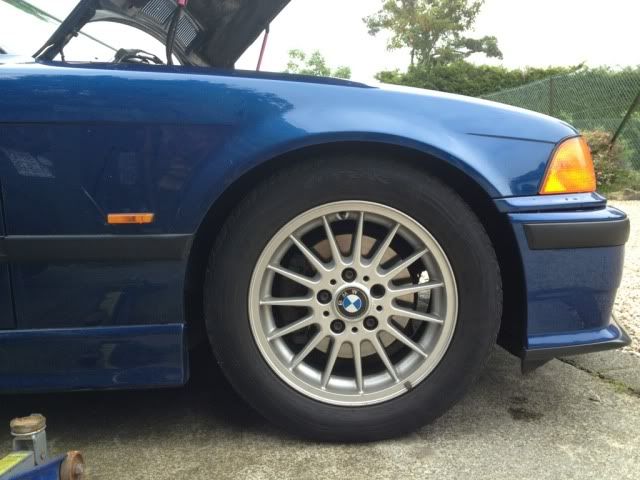
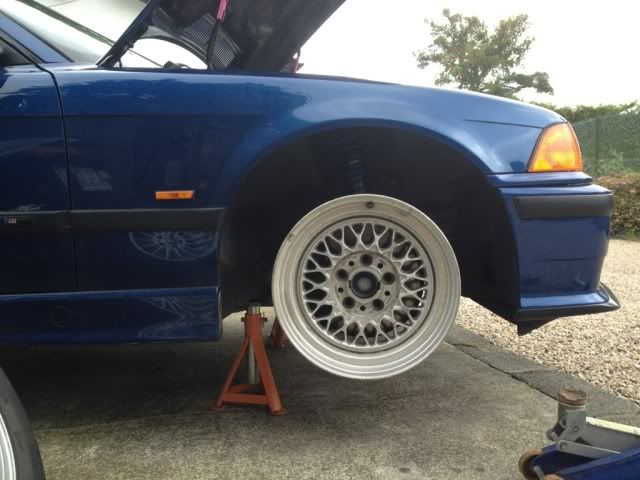
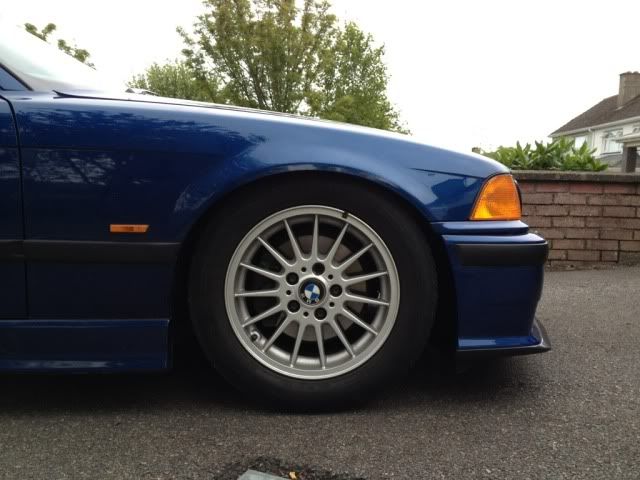
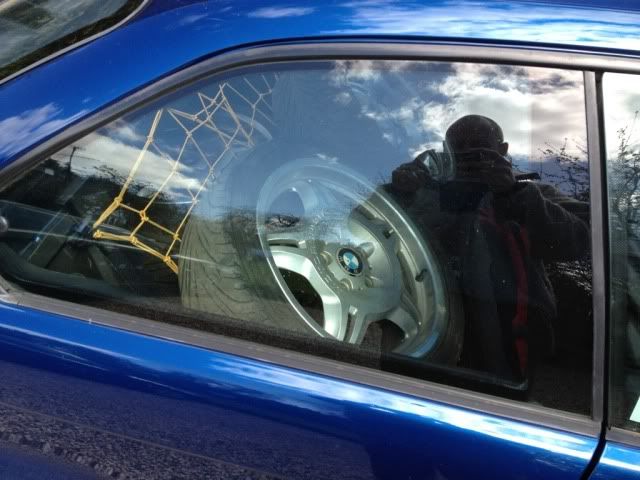
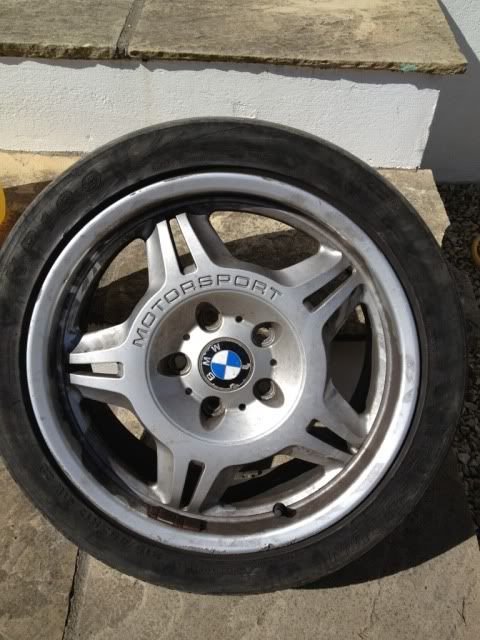
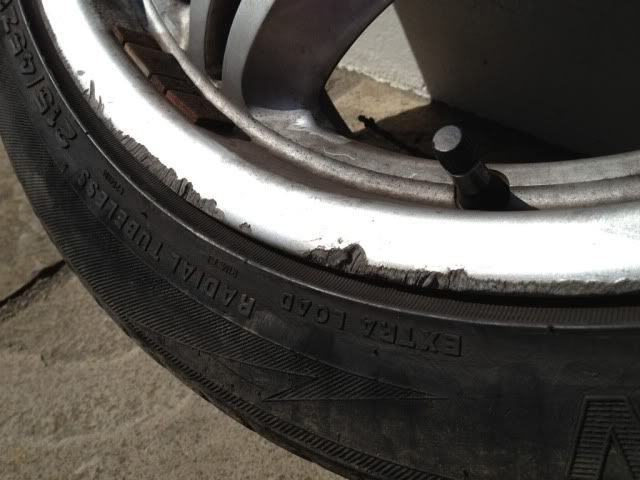
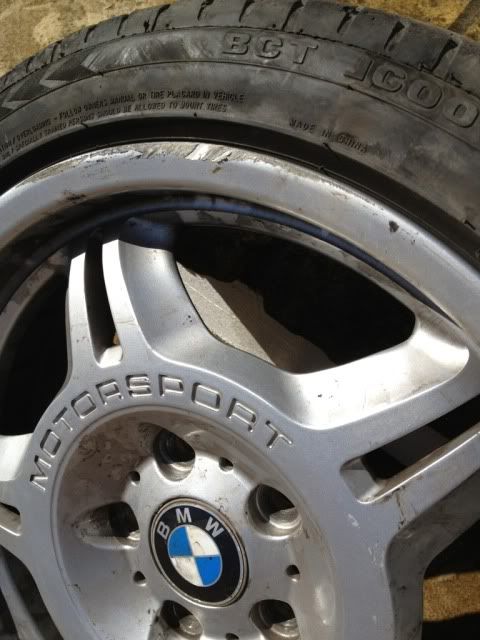
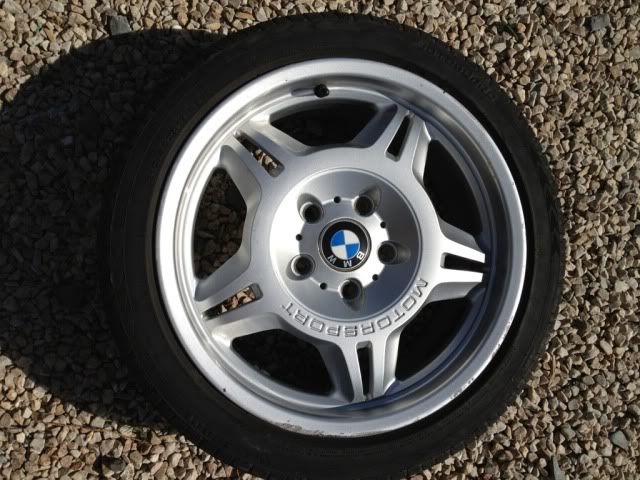
At this point i decided to take out one of a set of the BMW wheels I accquired during the previous week and sit it into place, the wheel is 16" x 7.5 with ET19. Needless to say it sits out pretty far but hopefully I can get it to work with some Falken tires and a bit of a stretch (not that I have much to stretch with). Need to look in to tire sizes now and start organising new boots.
NEW WHEELS :
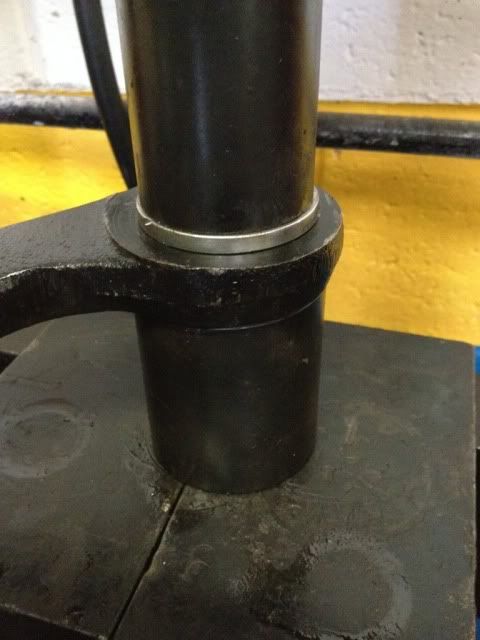
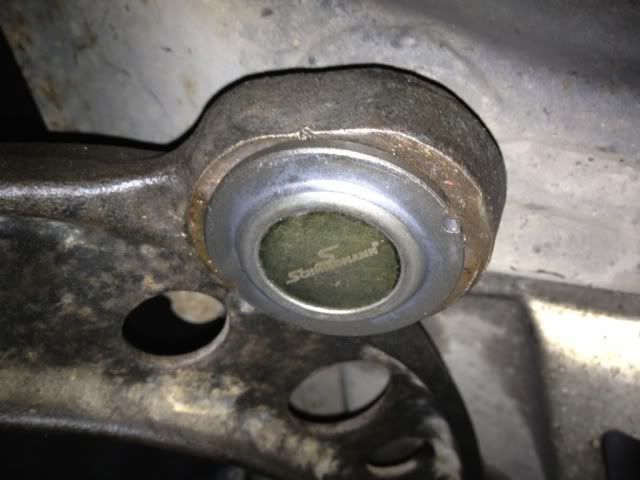
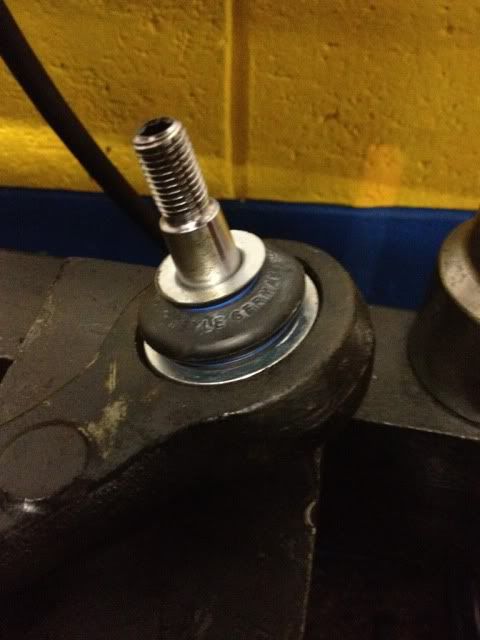
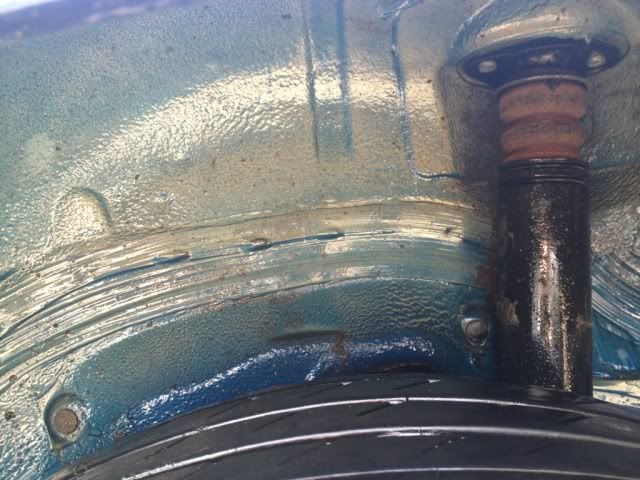
NEW KYB TOP MOUNTS :
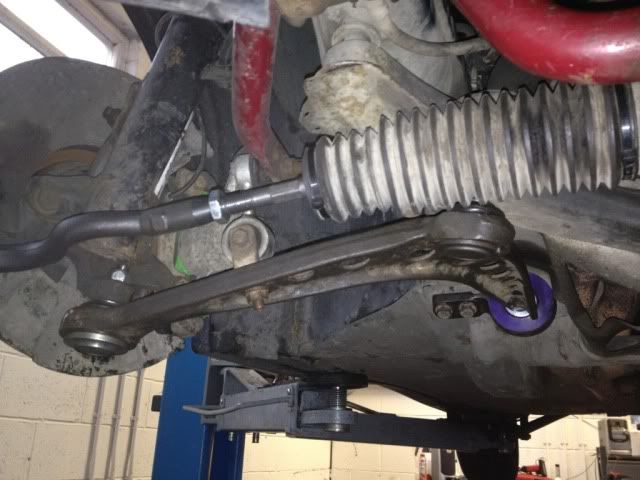
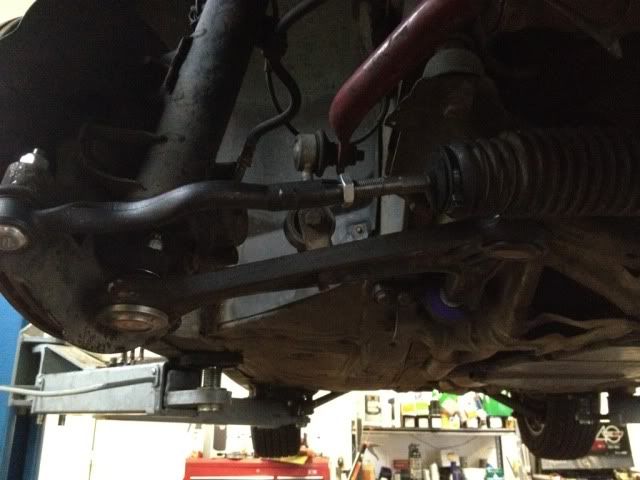
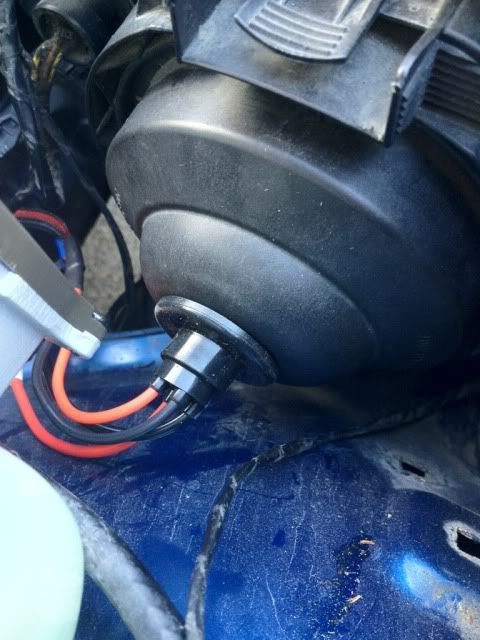
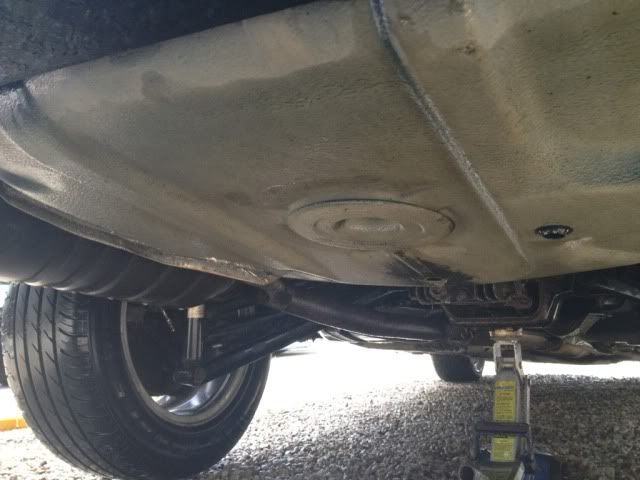
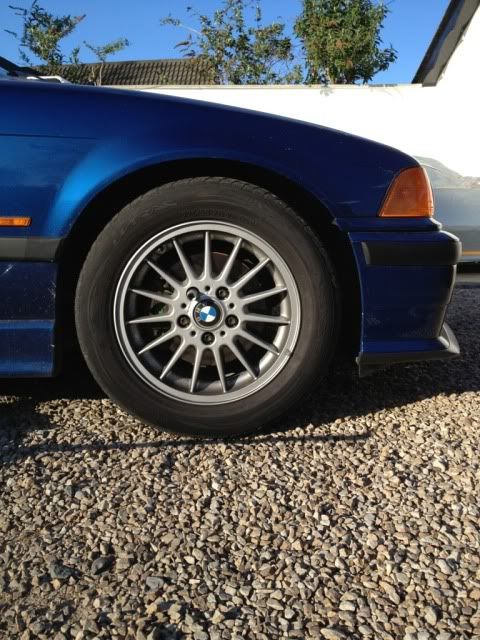
COILOVERS FITTED FRONT SHOT :
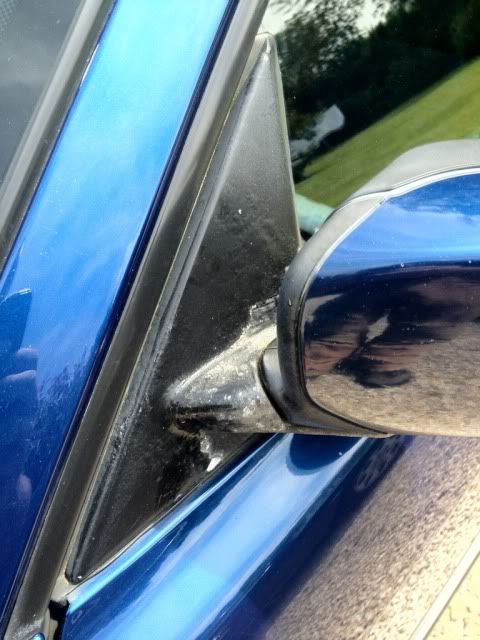
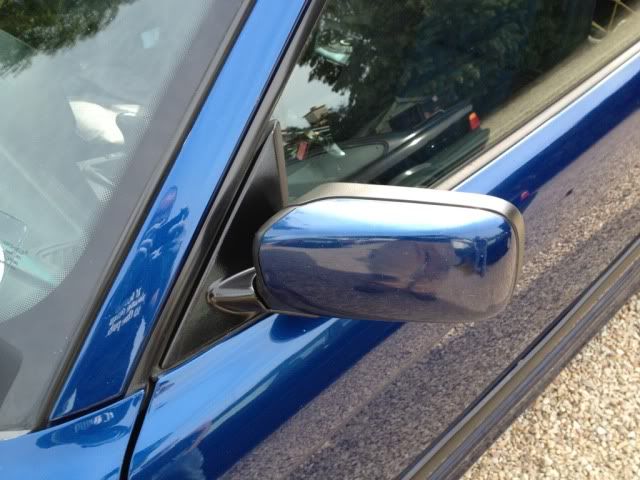
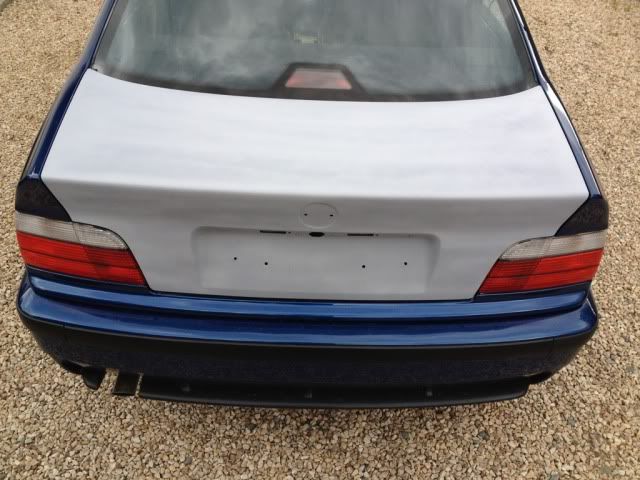
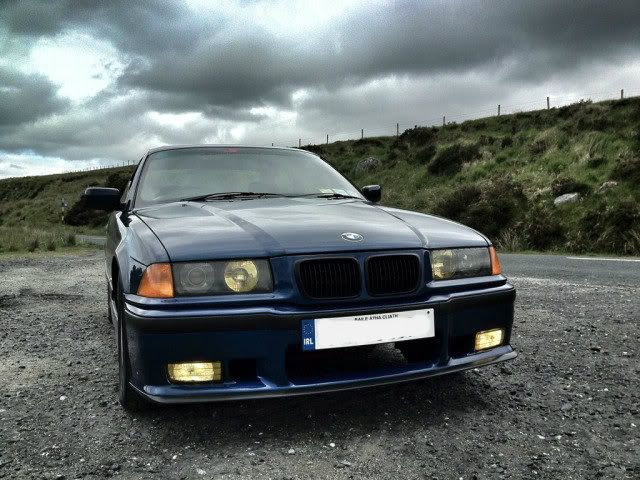
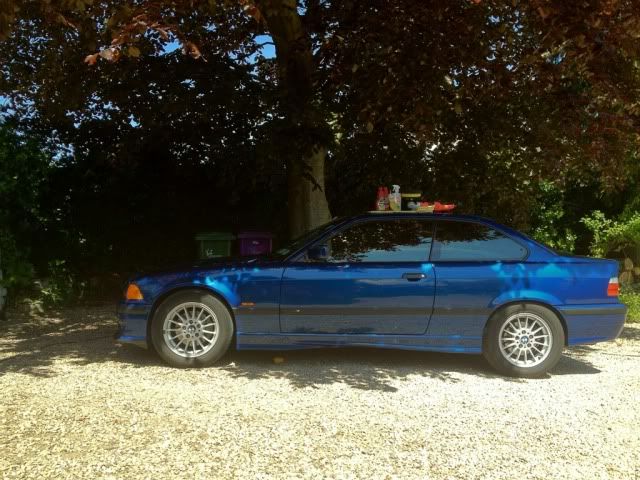
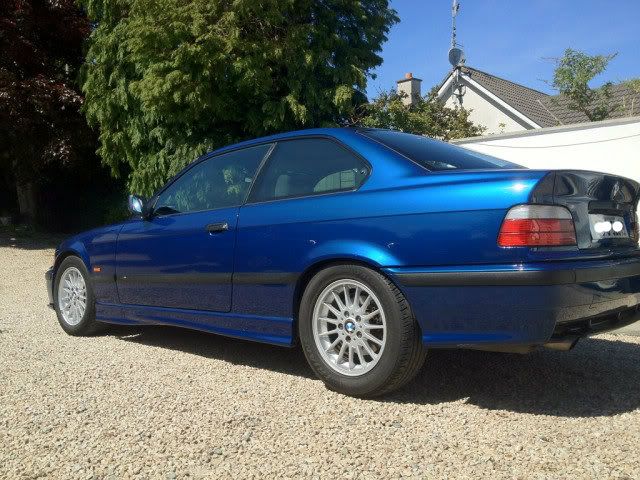
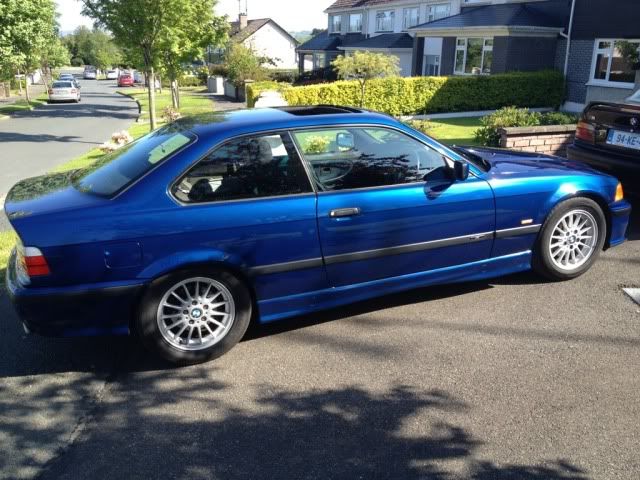
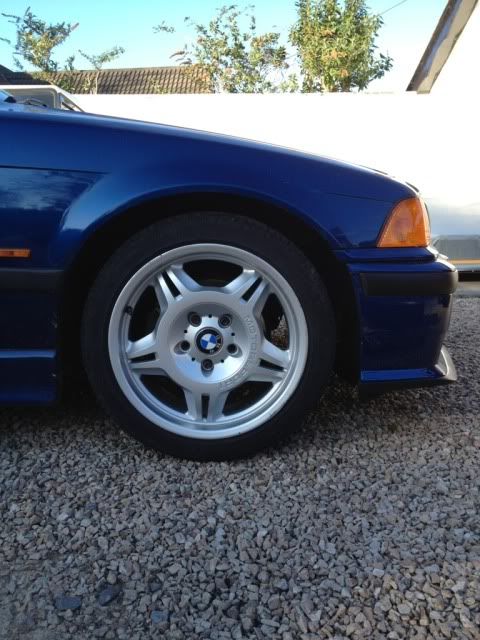
Sorry there are not more pictures of the fitting process however I shall get up some more over the coming days. I was also changing suspension in another E36 today so time did not permit lots of picture taking. I took the car out for a spin this evening and have to say from what little I have driven it I am fairly impressed. The ride is not overly harsh by any means and the car feels much tighter. Over the coming weeks time shall tell alot once they have settled and at that stage I shall report back with more information on them. Hopefully the rear has settled by then.....not really liking the drag look
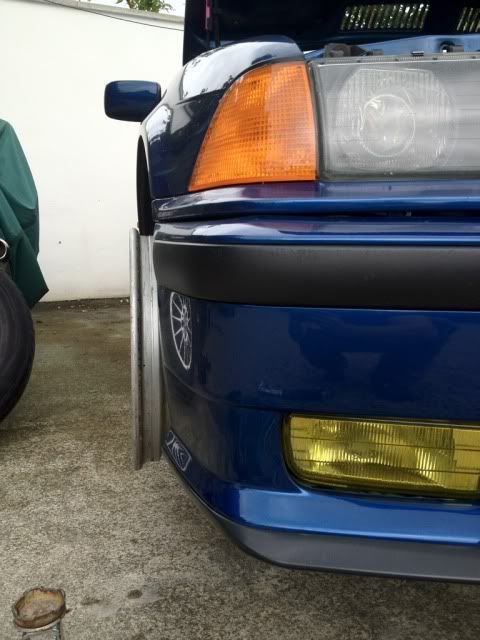
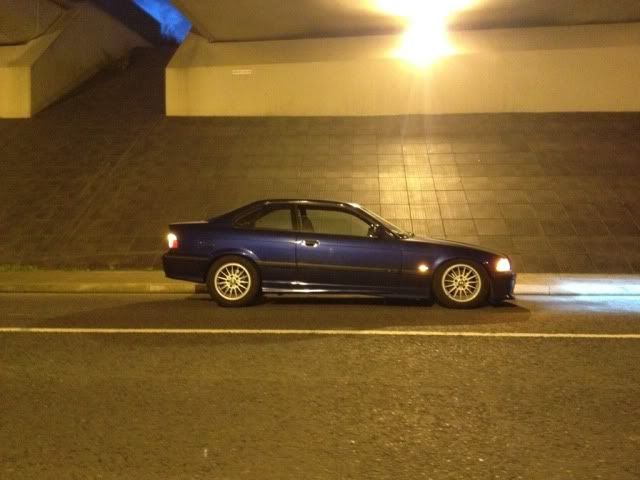
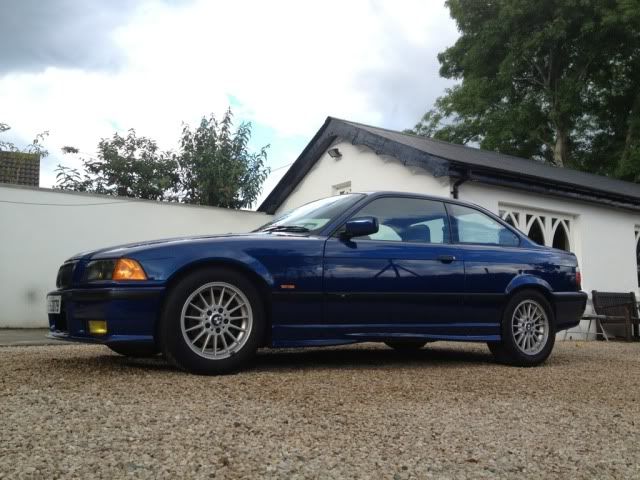
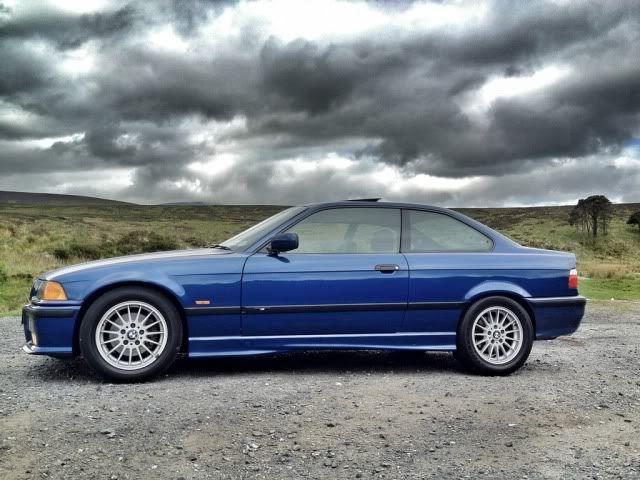
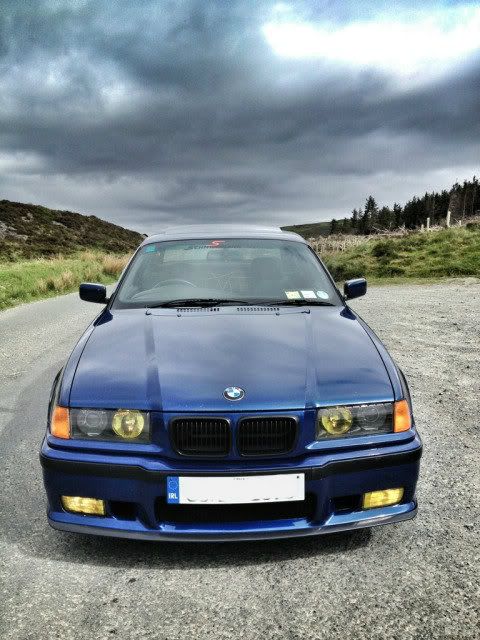
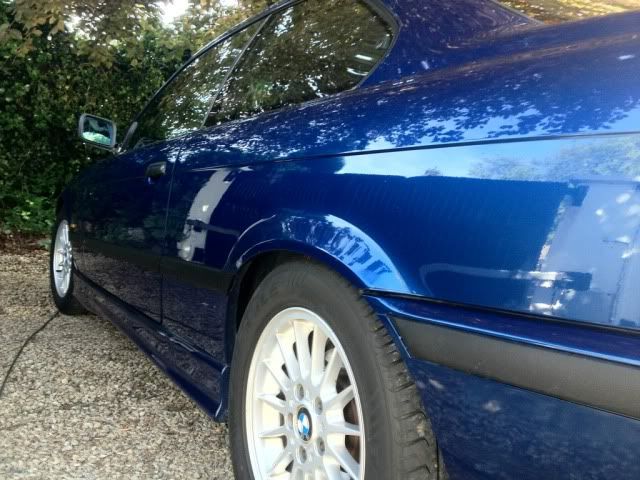
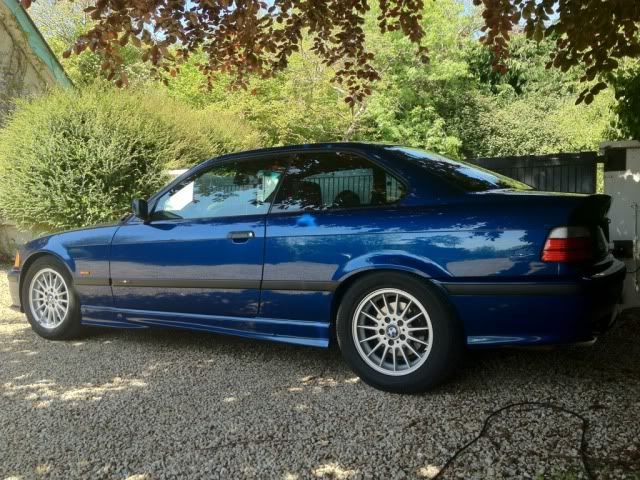
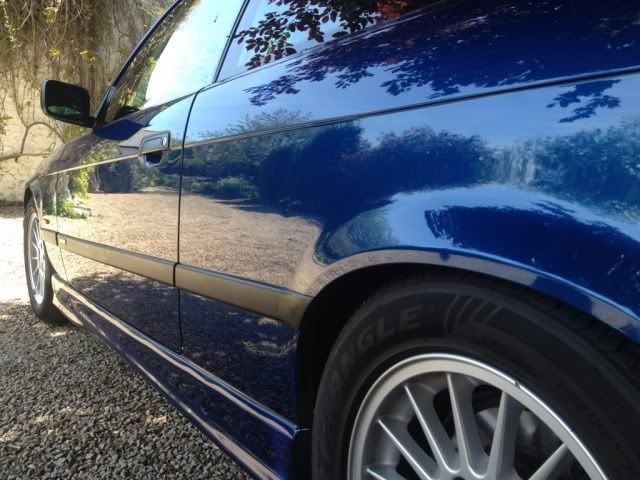
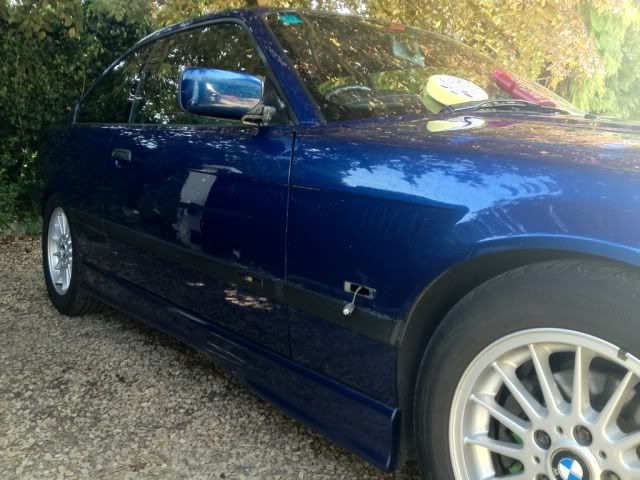
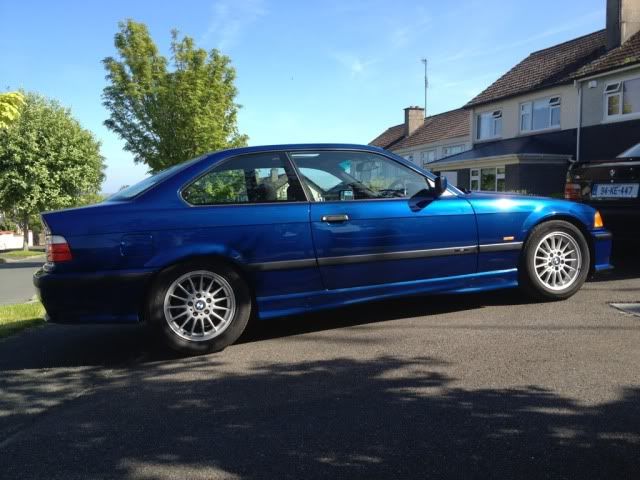
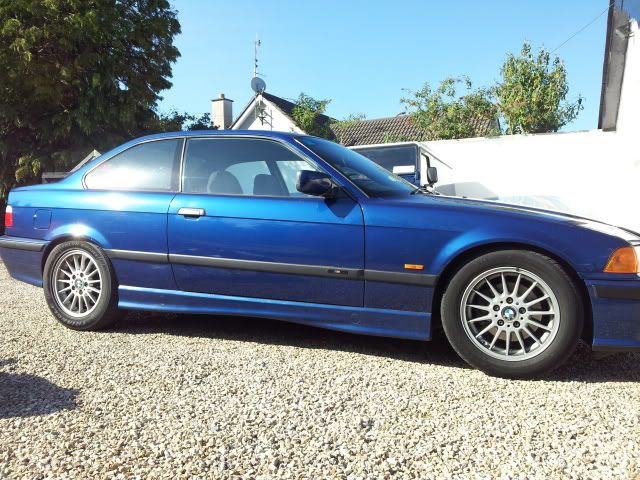
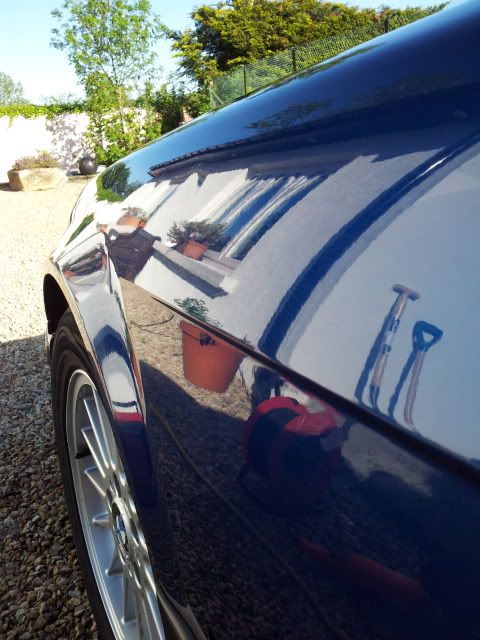
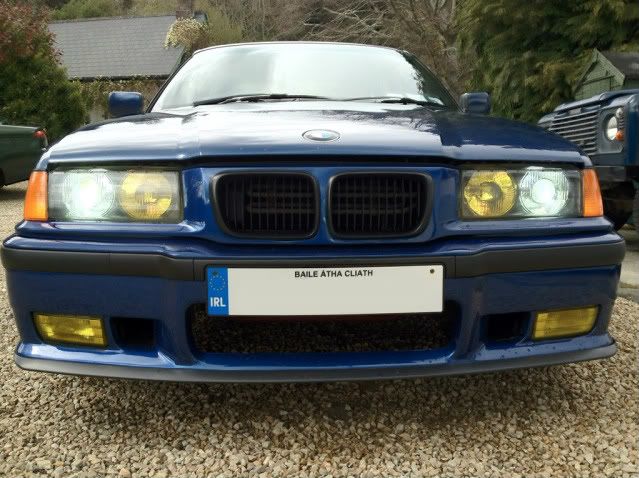
QUICK EVENING SNAPS :

Thanks for looking and opinions and comments welcome as always

 :
:


Leave a comment: