


Thanks for looking :smile:


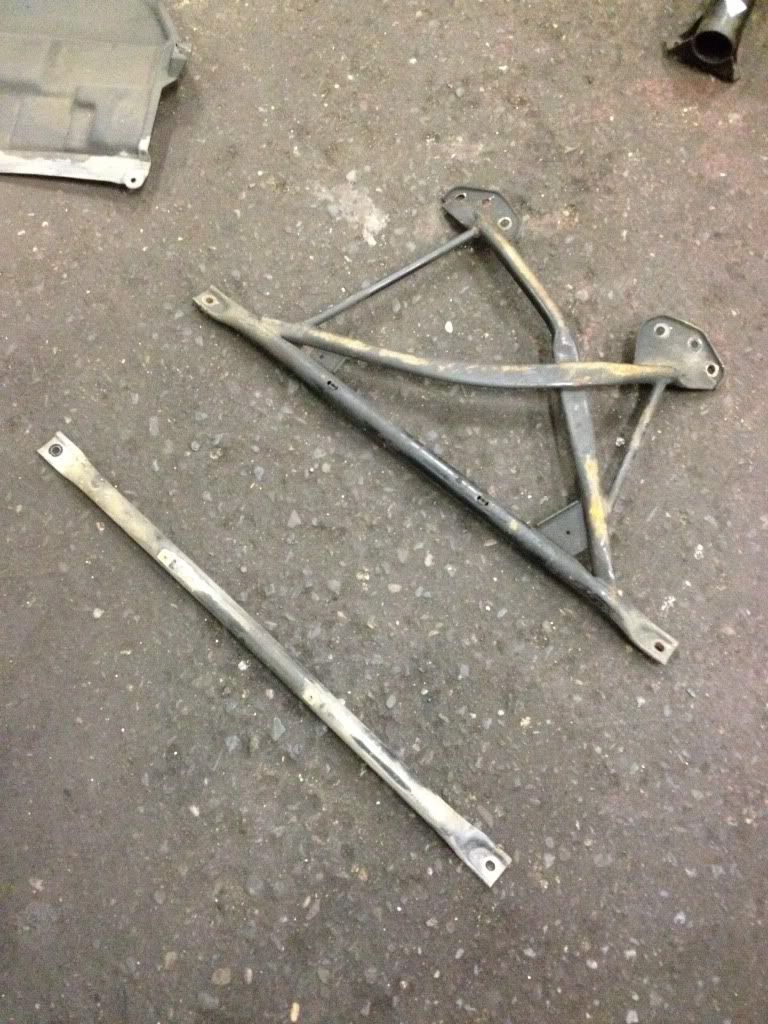
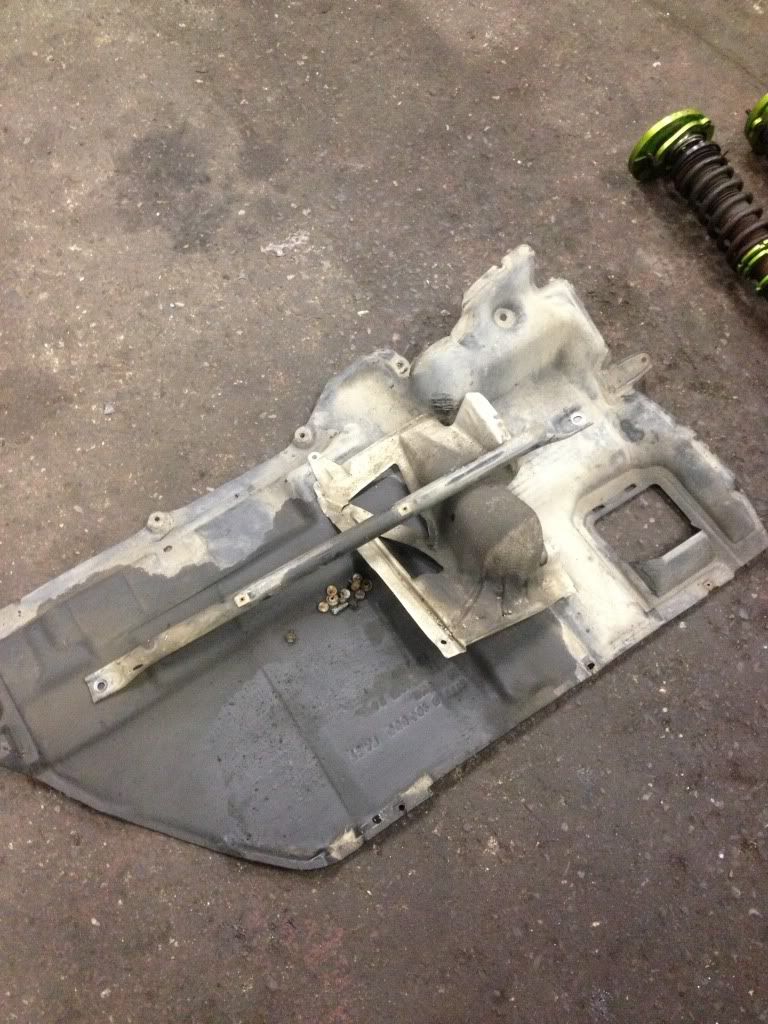
 . Basically where the under bonnet light mounts on some E36 bonnets hinders the closing of the bonnet with this brace installed so out came the Dremmel and removale of the light mounting under the bonnet was done. The first picture shows the cutting that was done however it is not the finished article, the cuts are now much neater looking now
  .
. 


 :
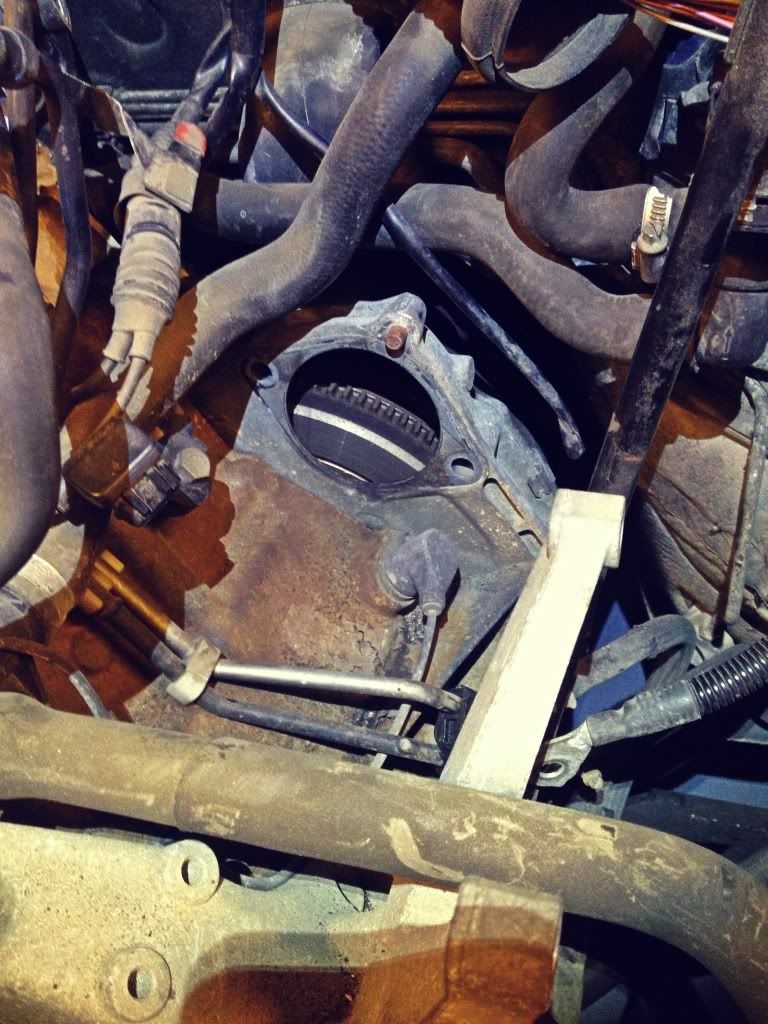
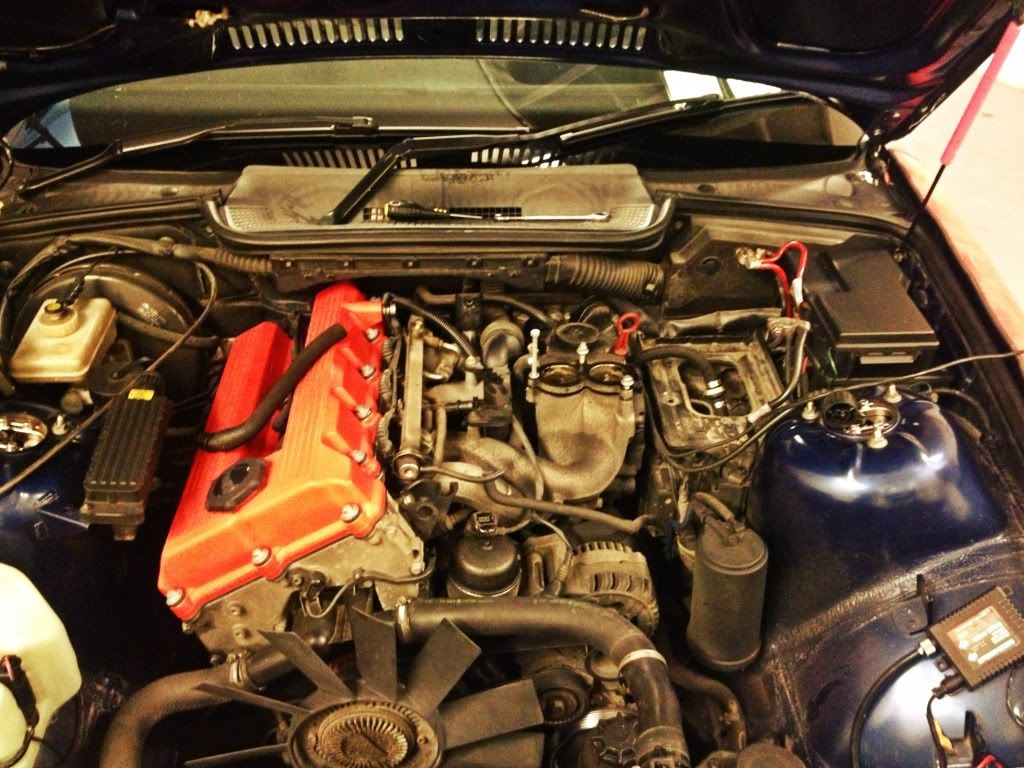
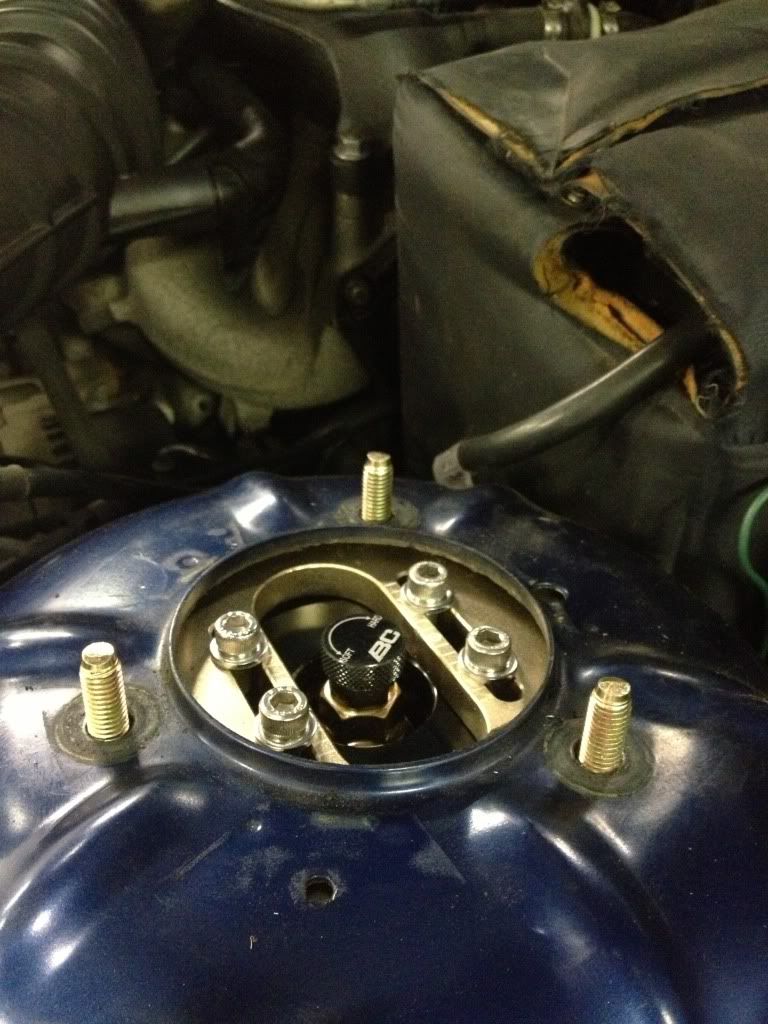
:  . I needed to mount the bracket in the picture that came in the kit so as I could then bolt the MAF support bracket in also. Downing have pretty much thought of everything and 98% of it is spot on too, the only things which are a slight let down were their solution around the DISA which was to tie to the dip stick chute and also the problem most DASC owners complain about which is the throttle cable layout. In time I shall address these and see can a more appropriate solution be found.
  .
. 
 :
:


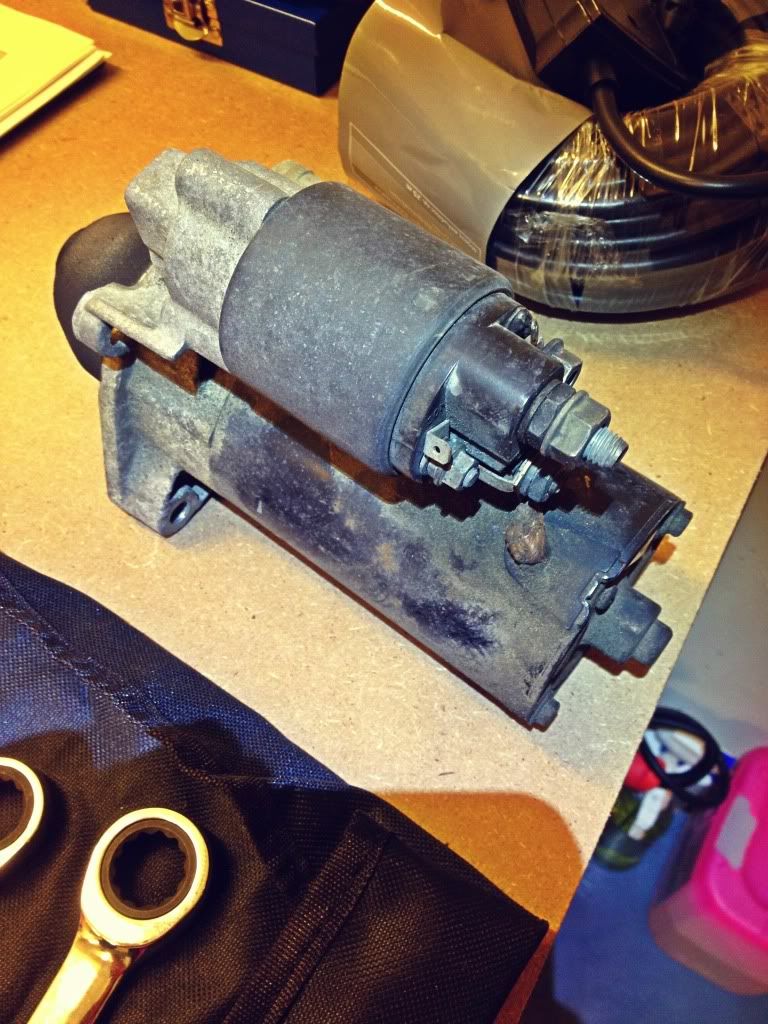
") :" 2004 320d, when I say I spent 25 seconds looking at it I am 100% honest it was such a ball of sh@t I just walked away without saying a word, got in the van and drove off
:" 2004 320d, when I say I spent 25 seconds looking at it I am 100% honest it was such a ball of sh@t I just walked away without saying a word, got in the van and drove off  :.
:. 


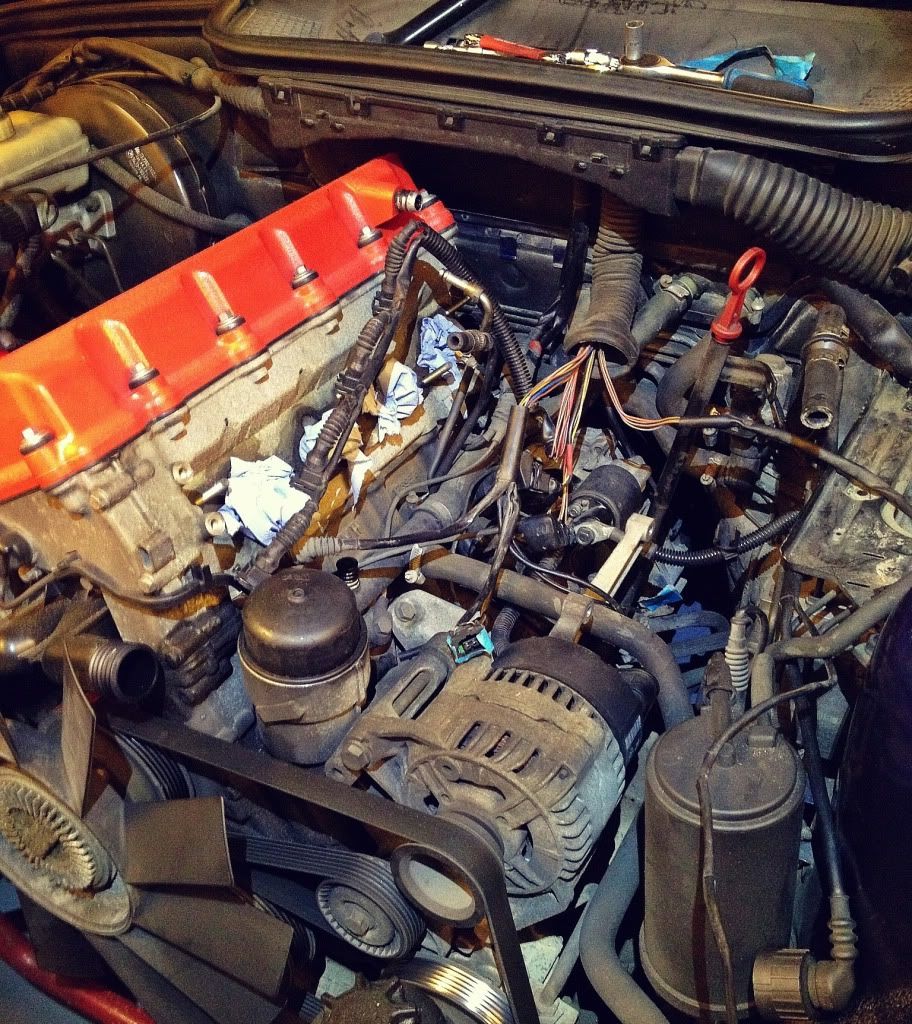
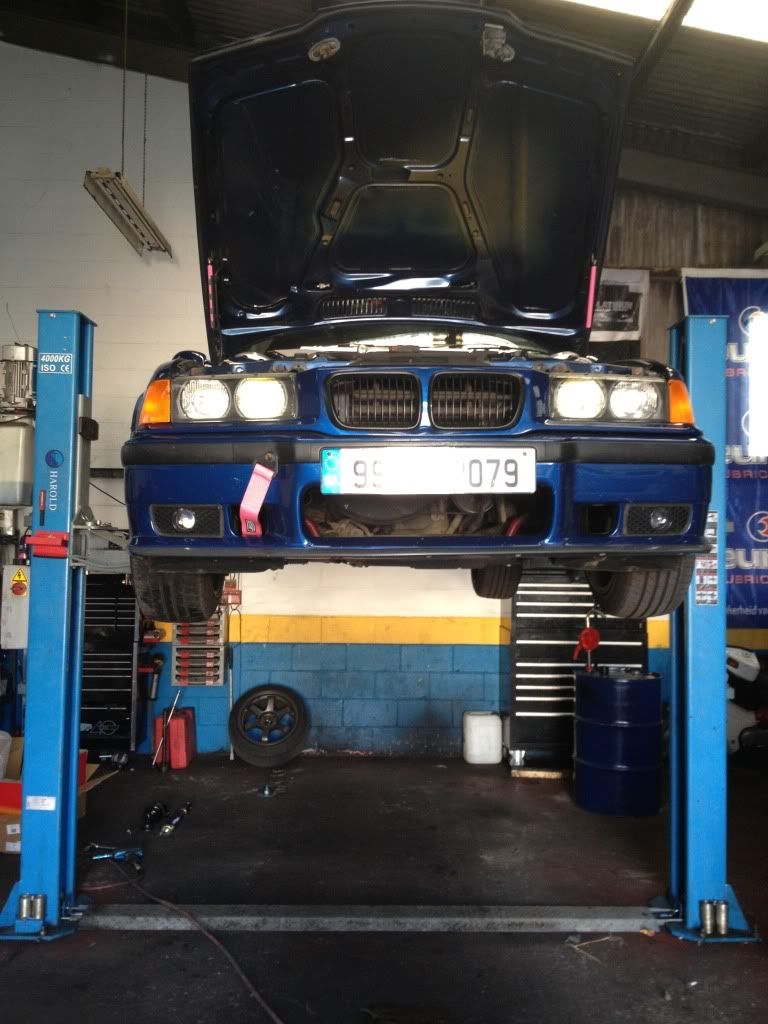
 . The workshop is slowly coming along and hopefully in the coming weeks will take shape. Once in I can run everything under the one roof which should make internet communication better for all and result in being more efficient .
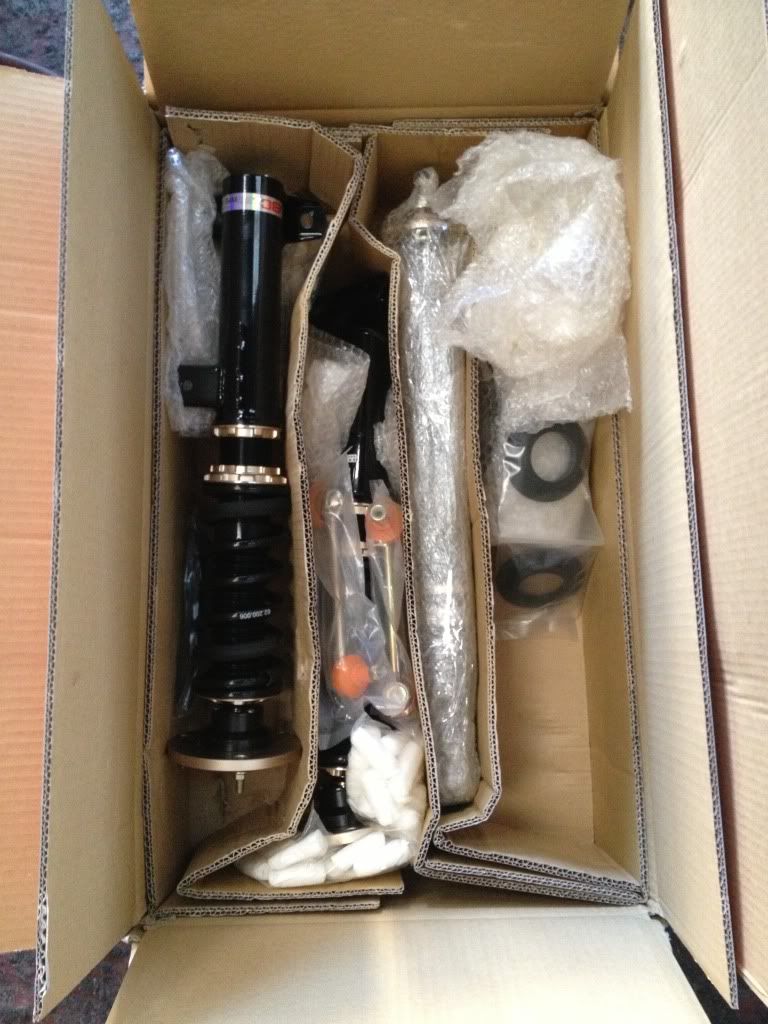
  . I shall let the one picture I do have do the talking, unlike the last DASC this one shall be getting fitted and very soon indeed .
  ::: to get it into place as it's a very very snug fit. For this particular short shift I would not recommend doing this on the drive way at home as there will not be enough room in order get the eye on slid onto the selector rod. A ramp is a MUST for this install. Once it was in it was a case of start the car check for gears and then drive it.
 :!!!!
:!!!! 


 :
:


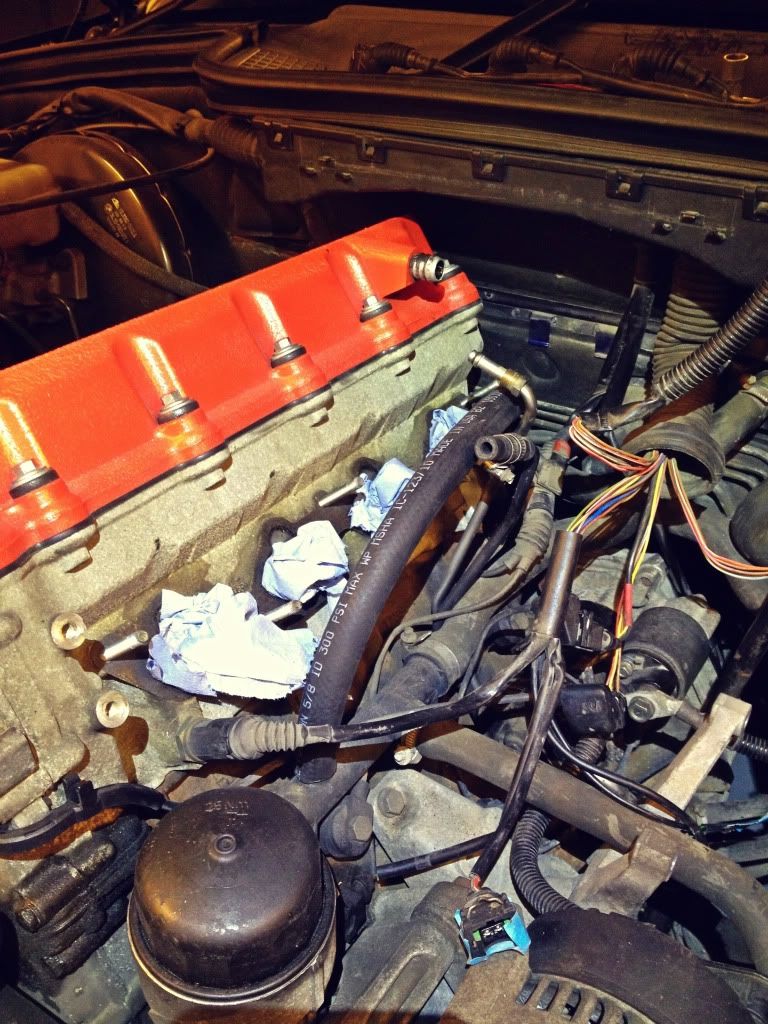
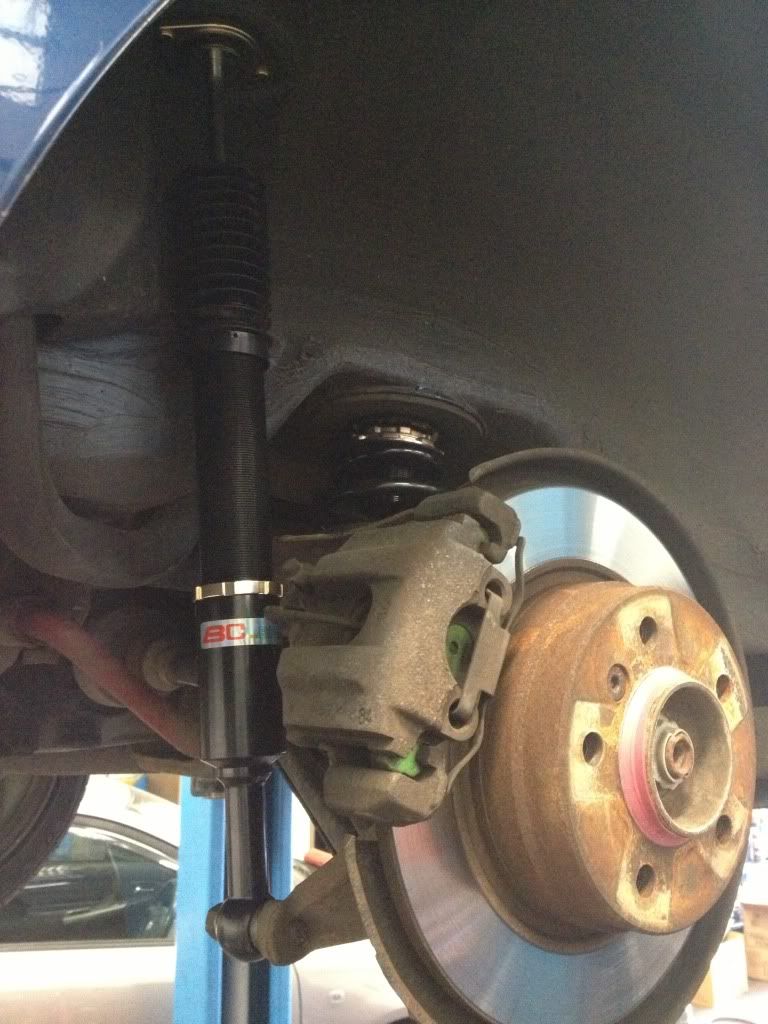
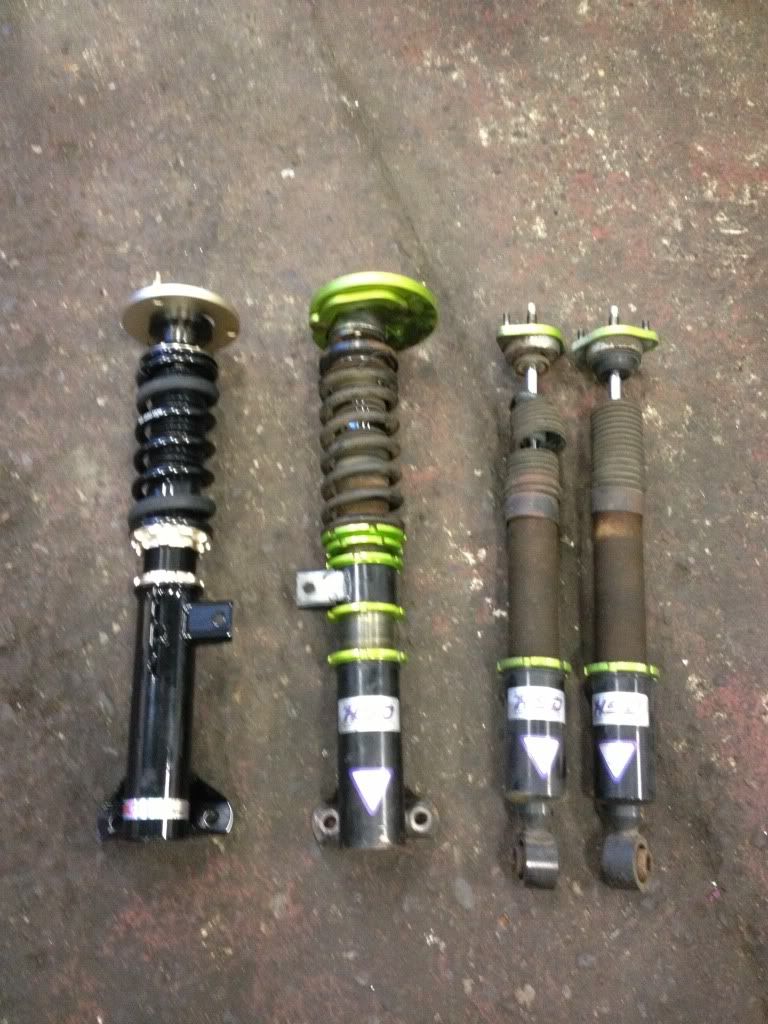
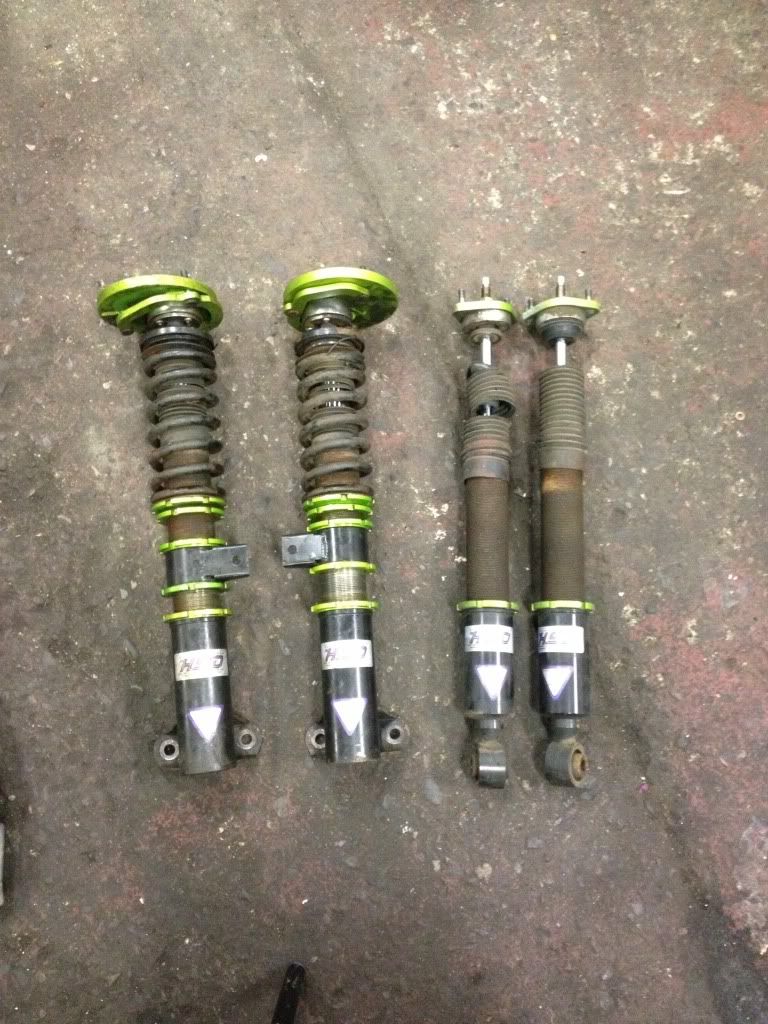
 ., I finished installing them the other night just not time to update with more pictures.
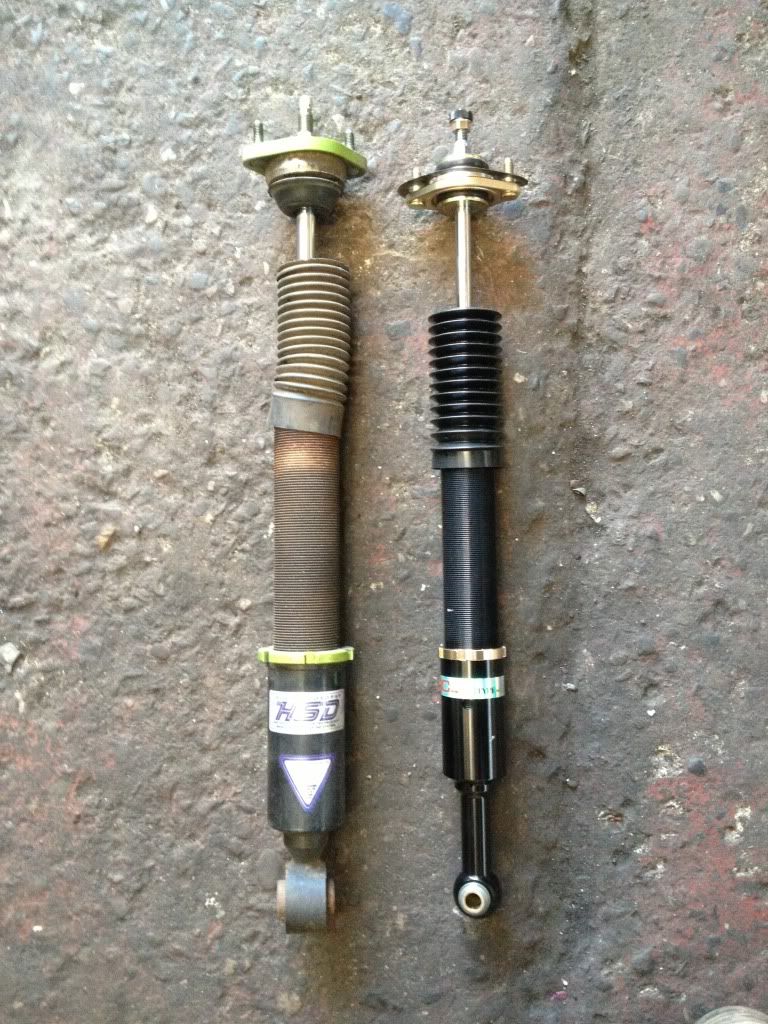

 :
:


Leave a comment: