Now bang upto date, from here on in what's posted shall be what's been done on the day or in the last few days 😊
-
PART TWO : Got some more done today on the Aero catches and one side is now complete. Hopefully tomorrow I shall get the other side done.
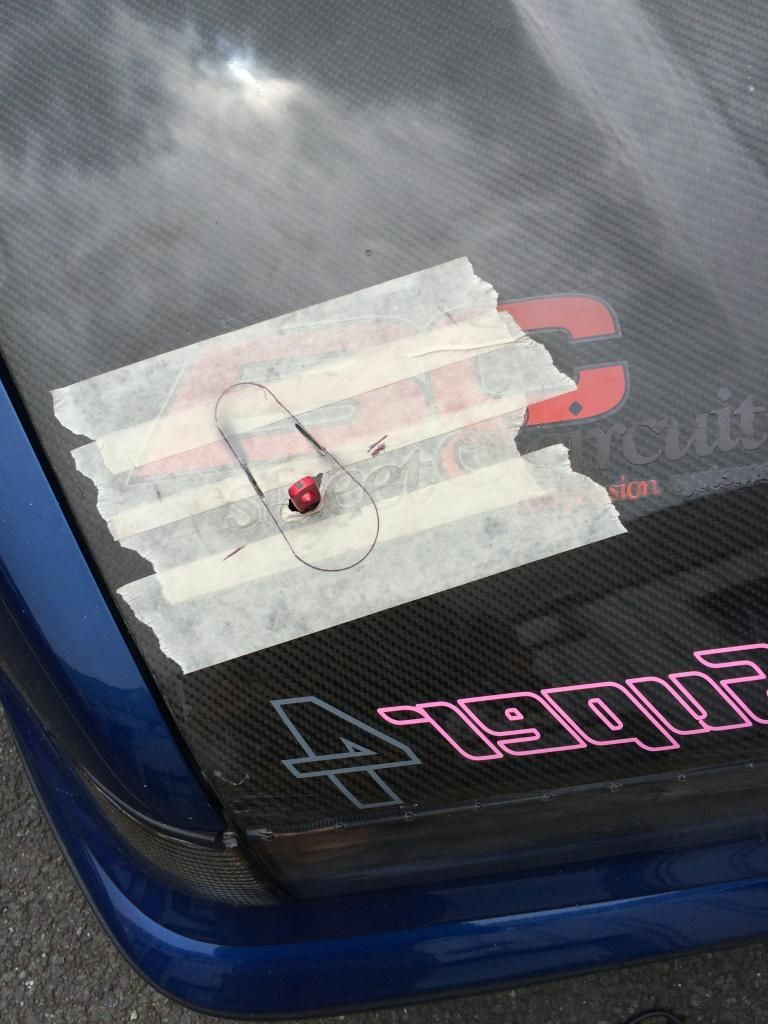
Marking out for the catches :
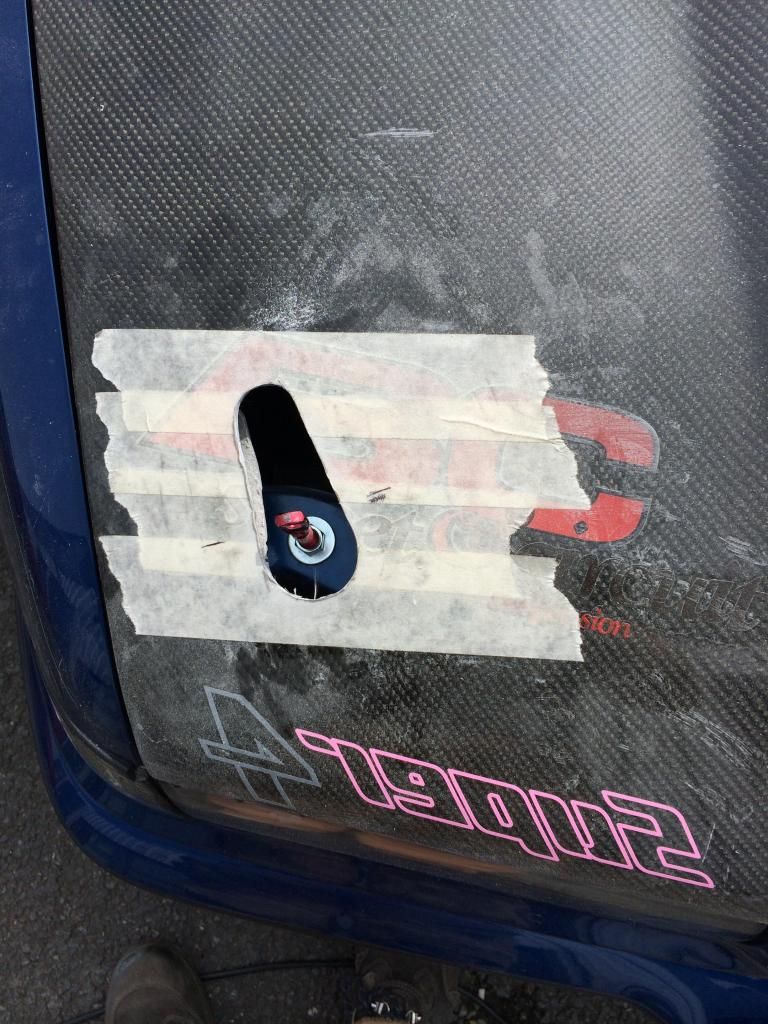
And cut :
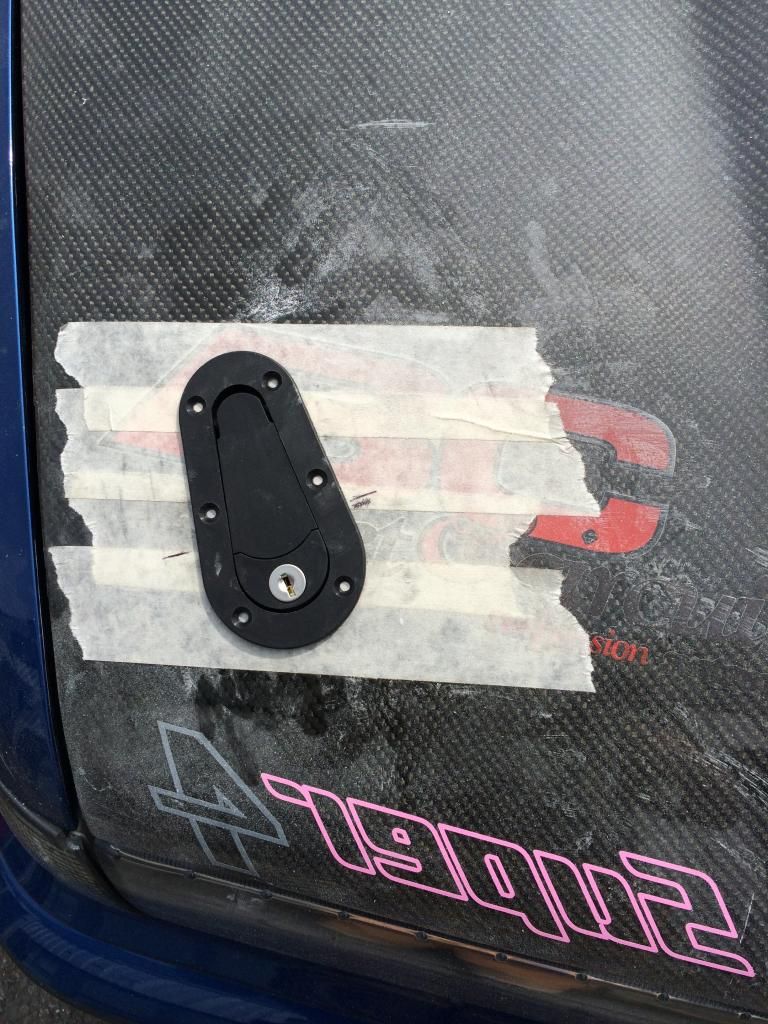
Sit in and bolt down :
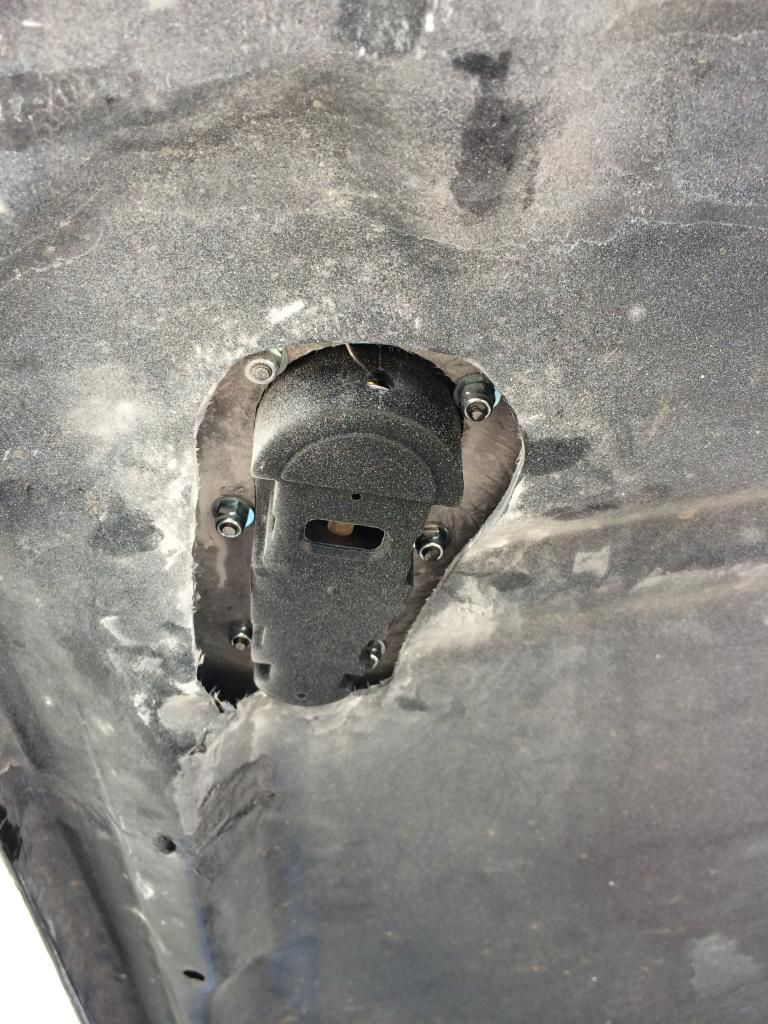
One down one to go :
Thanks for looking
Leave a comment:
-
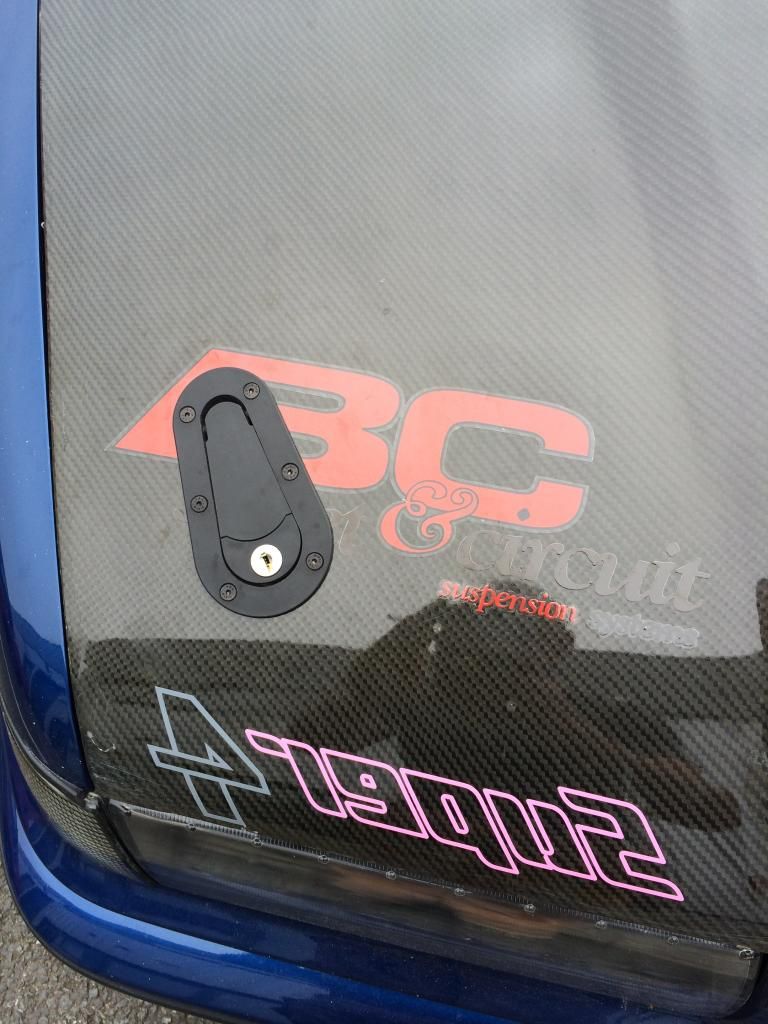
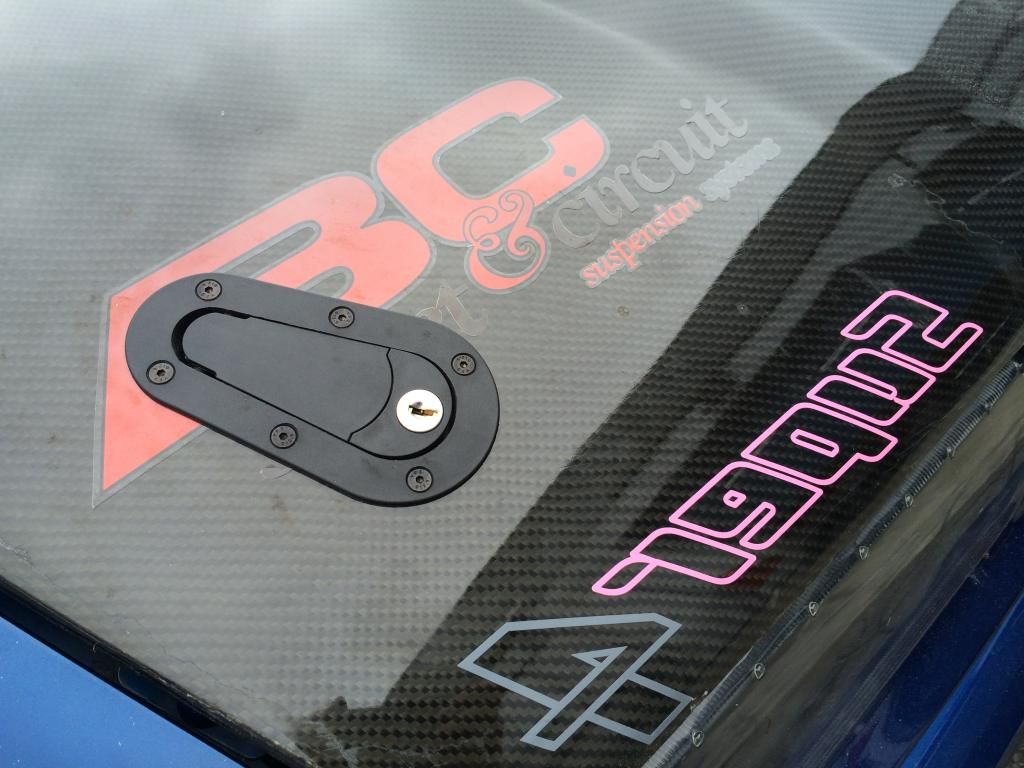
I managed to make a start on fitting the Aero catches to the carbon bonnet, relatively straight forward with the main thing being taking your time. Measure twice cut once and all that!.
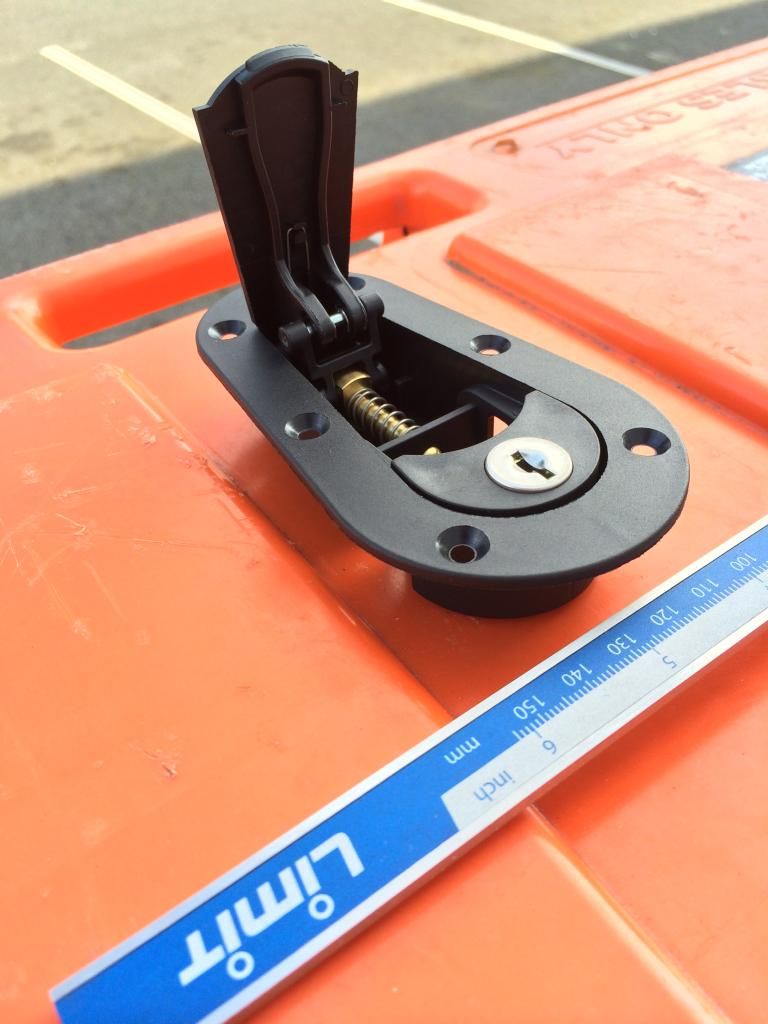
Aero Catches :
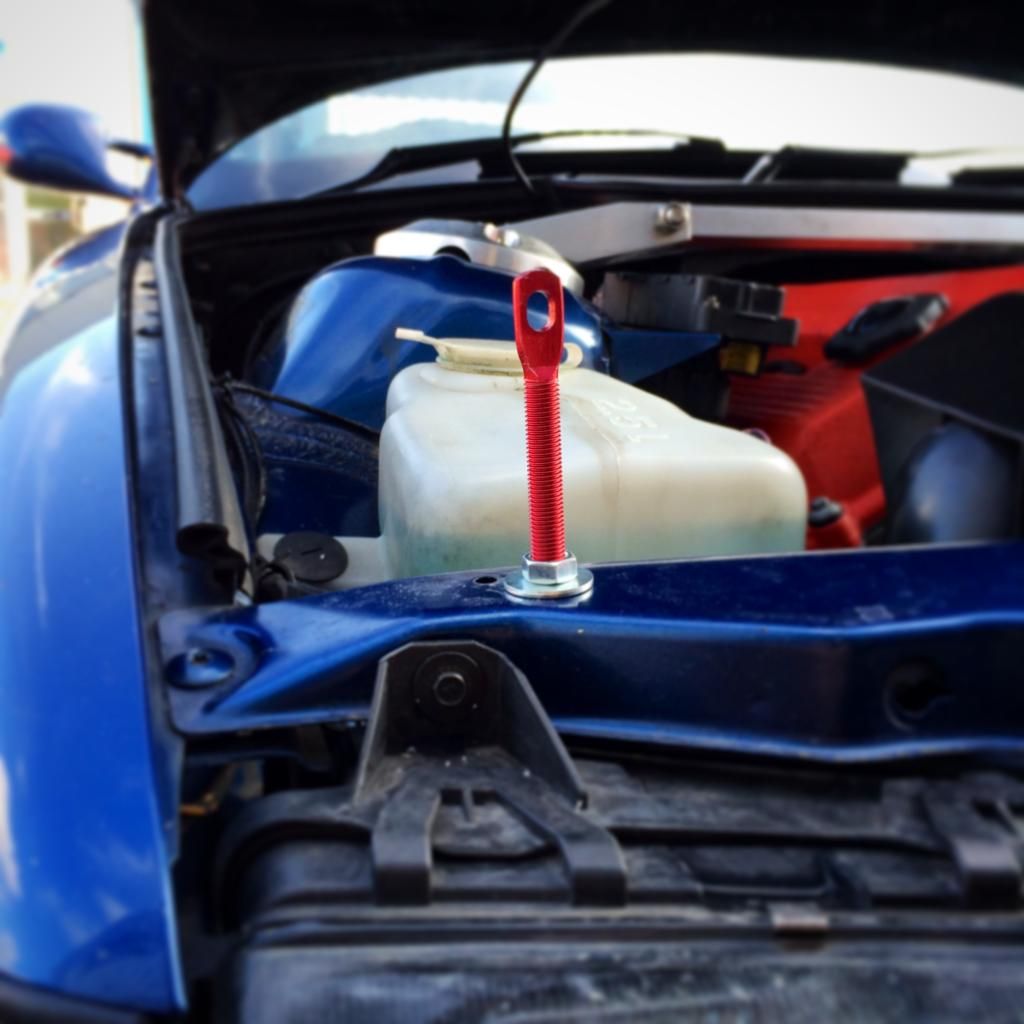
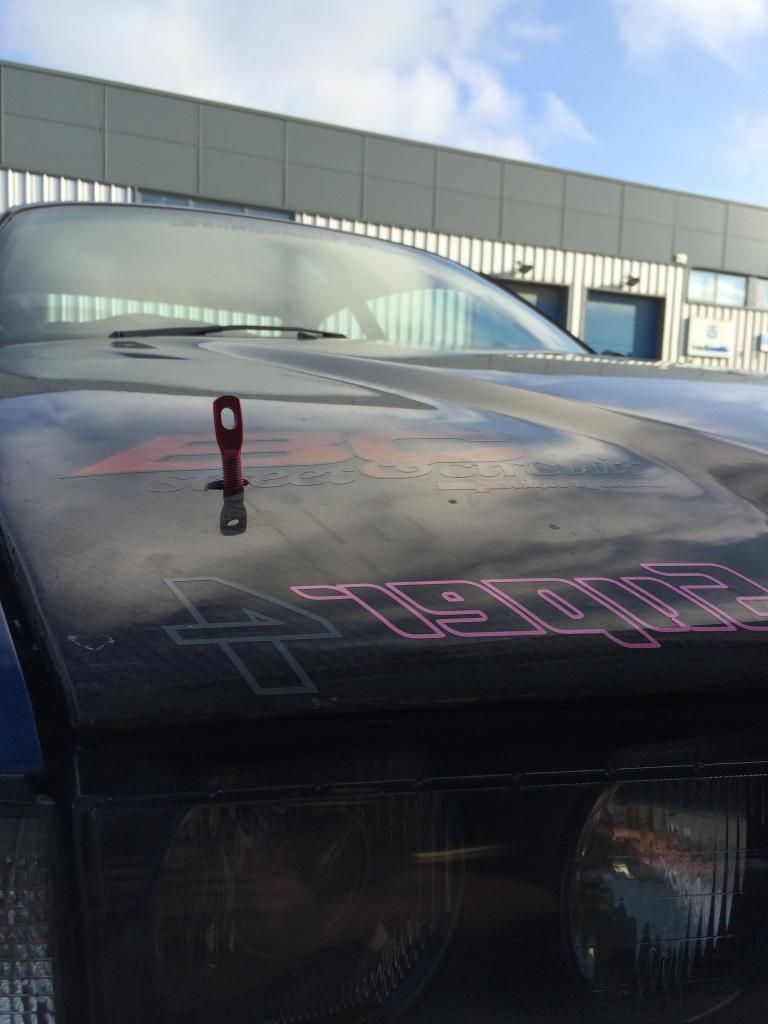
Holes drilled in the slam panel for the pins themselves and pins installed :
Next up was to drill a guide hole in the under side skin of the bonnet and the work up through the carbon. A good drill bit and wide masking tape shall be a must for this.
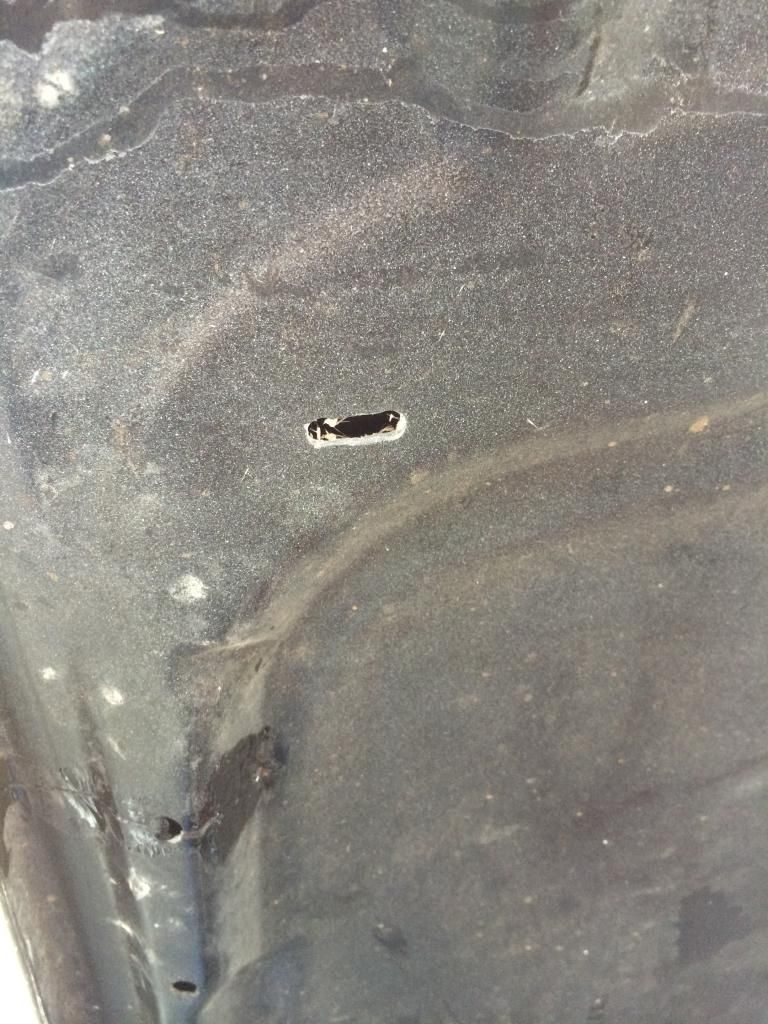
Once the holes has been drilled in the carbon fibre skin then the bonnet can be closed down to check for alignment.
Thanks for looking
Leave a comment:
-
Thanks MrViicc, its been 2 & 1/2 years in the making to get this far and I reckon another 2 & 1/2 years to get her the way I want it. I am planning some nice upgrades wheel wise but they shall most likely not surface till next year and then some much more refined stancing can be doneOriginally posted by MrViicc View Post.
Leave a comment:
-
Leave a comment:
-
Well after the car running poor for the last few days I finally got to look at it. Camshaft position sensor is the culprit and it going to be a bit to change with having the charger there.....maybe coming off, and if that's the case I shall do the crankshaft sensor whilst I'm there!!!
Fun times [emoji33]
After some mild swearing, it's out. Just have to wait till Monday now to get a new one into it. To say I have the car 2 and a 1/2 years this is the first time it's broken down. Not bad for 165,000 miles.

Thanks for looking
Leave a comment:
-
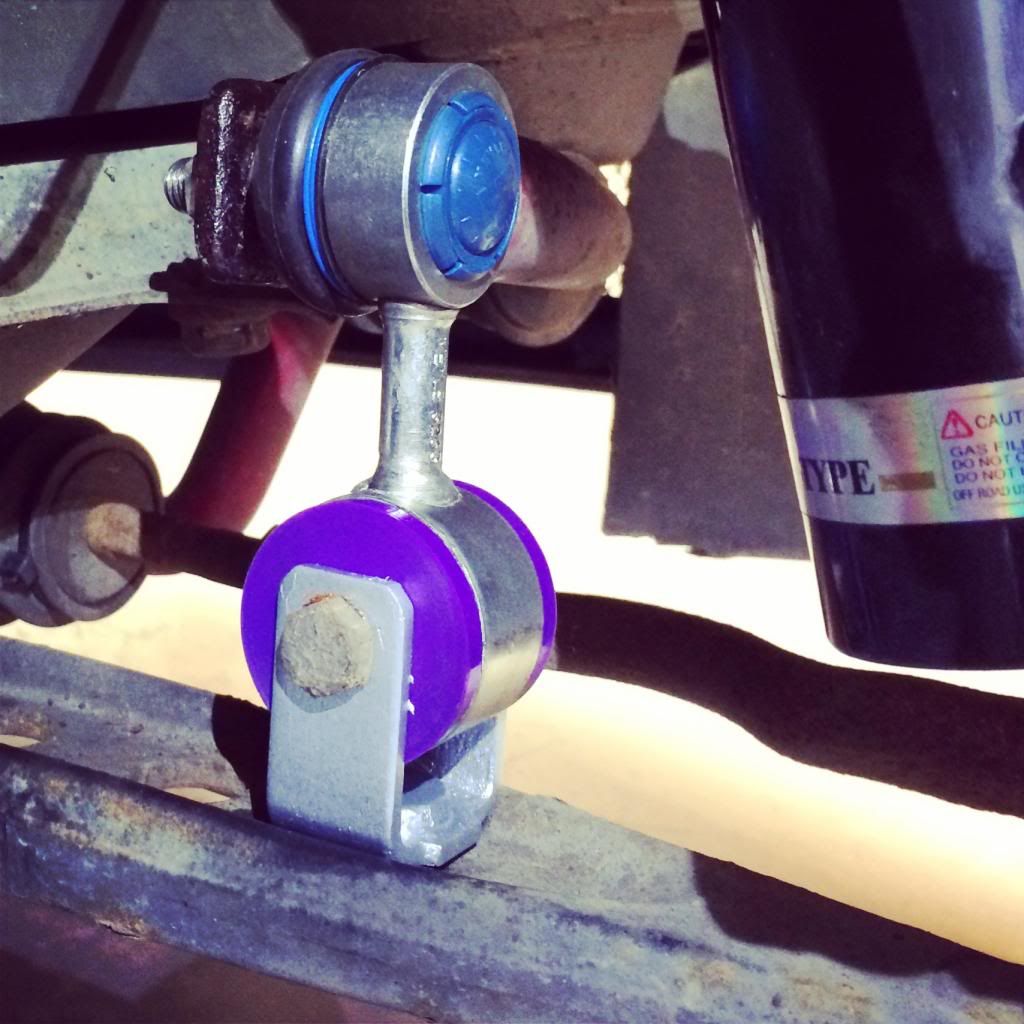
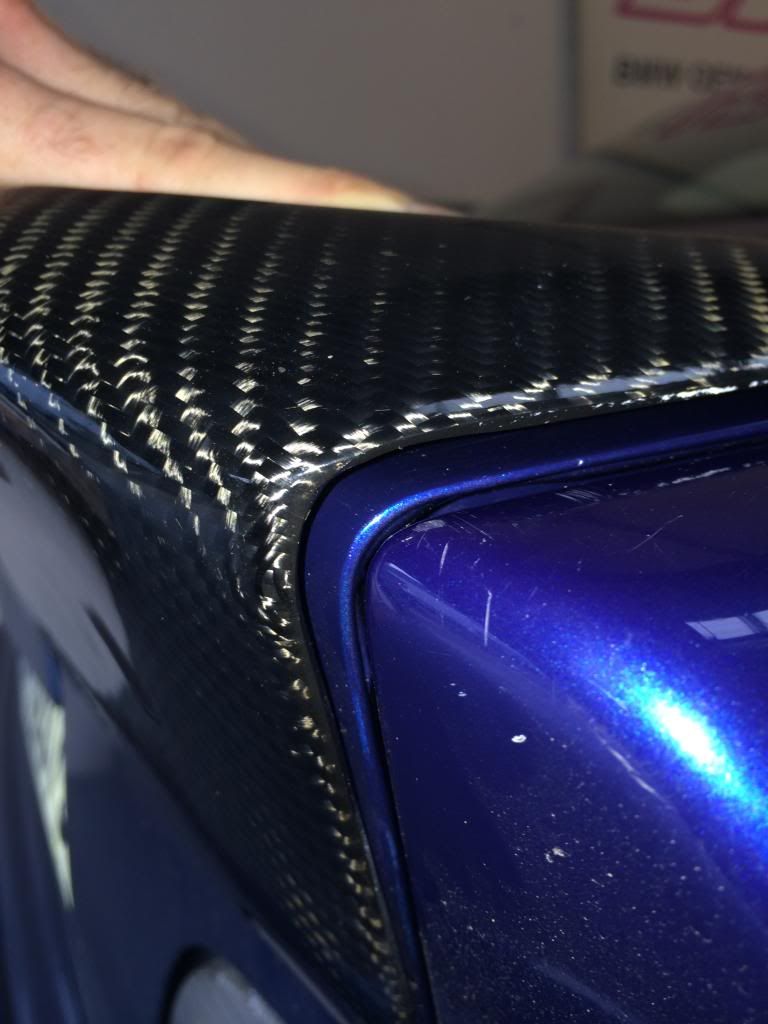
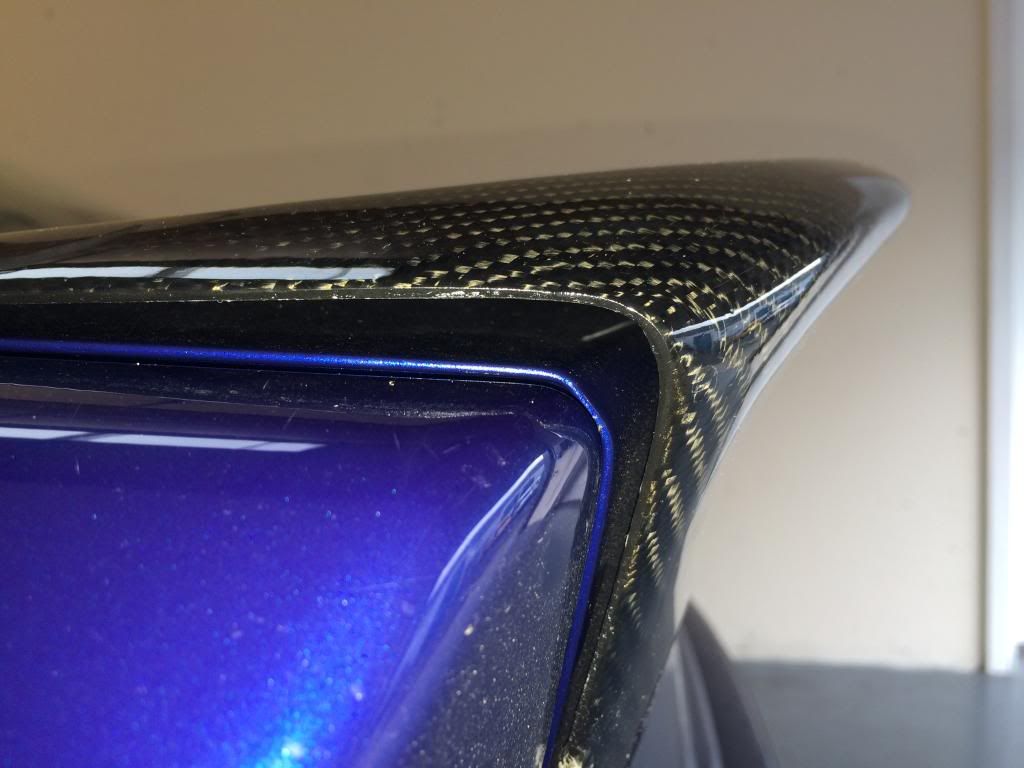
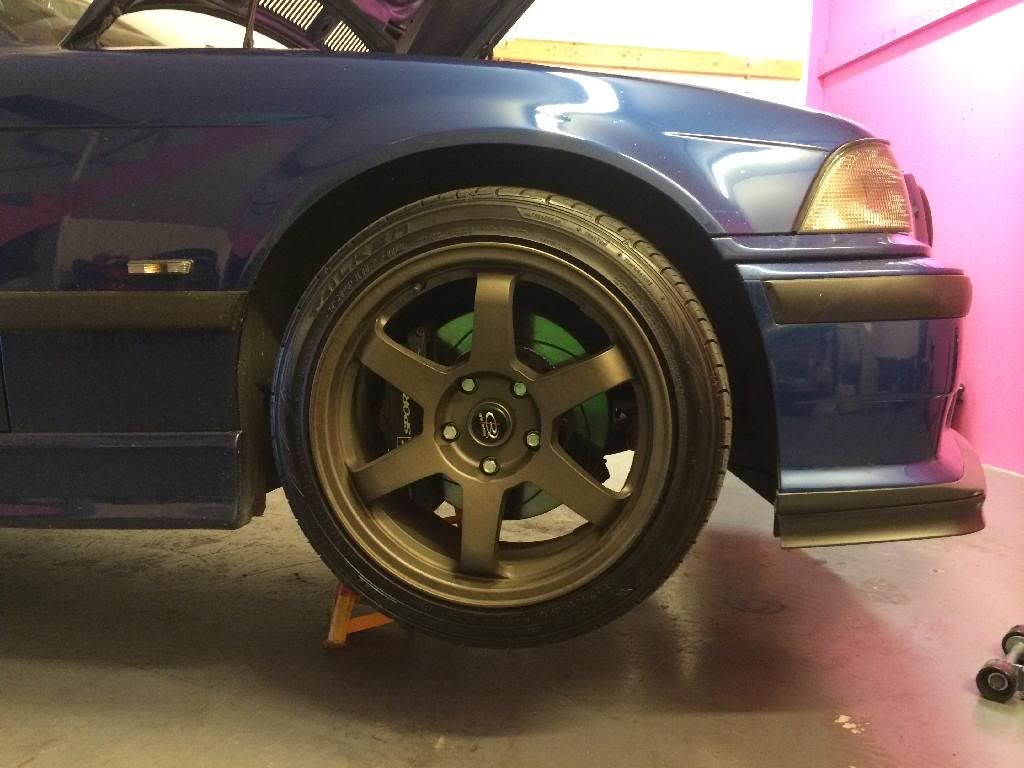
Not a huge amount getting done to the E36 at present, but here are some pictures of what's been done lately. Also my rough look boot lid has made an appearance again for some product testing in the form of Carbon Fibre CSL style rear boot spoiler fitting. I fitted new Meyle HD drop links with stronger Powerflex drop link bushes which should hopefully stand the test of time and painted up the drop link brackets. I then went about cleaning up the K-Sport calipers as they had not received a proper scrubbing up since I got them.
8smd LED side light bulbs were installed as well as 8smd rear number plate light bulbs which definitely make a nice difference to the car and freshen up the rear end at night time.
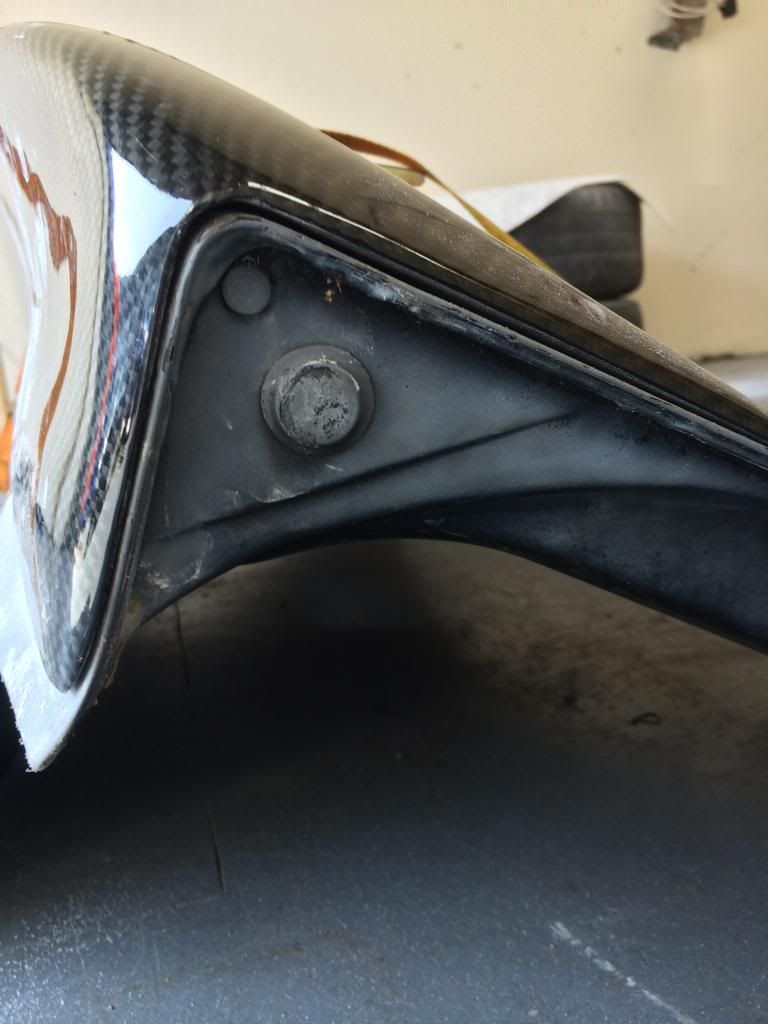
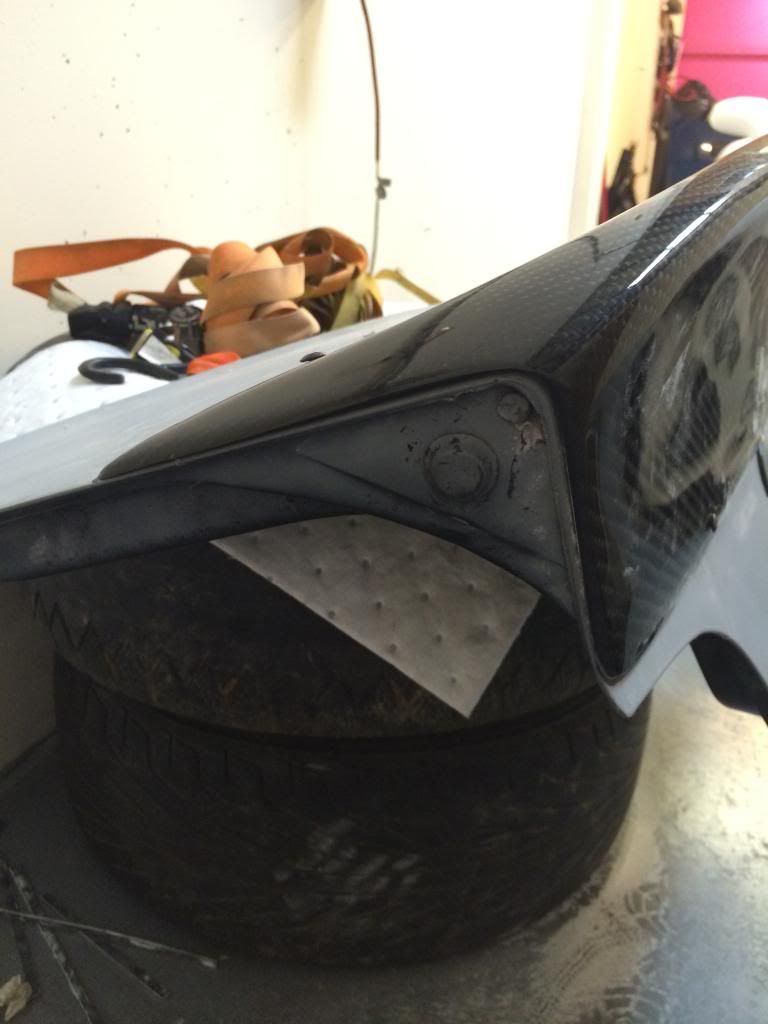
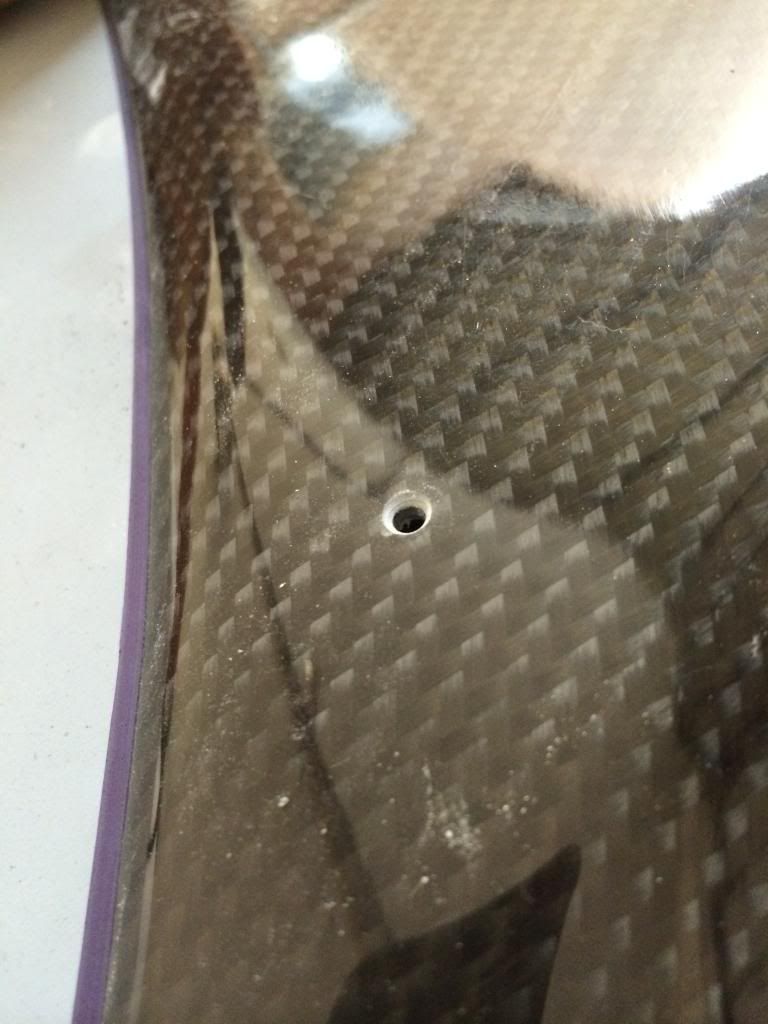
The Carbon rear spoiler has been fin to fit as with anything handmade it is never easy from the start, so I had to get it into place using small ratchet straps and proceed with drilling the carbon for the fixing points. At present it is held on with self tappers (classy I know) however I am awaiting on some black anodized counter sunk fixings for it which shall neaten it all up once finished.
So less talking and more pictures, starting with drop links.
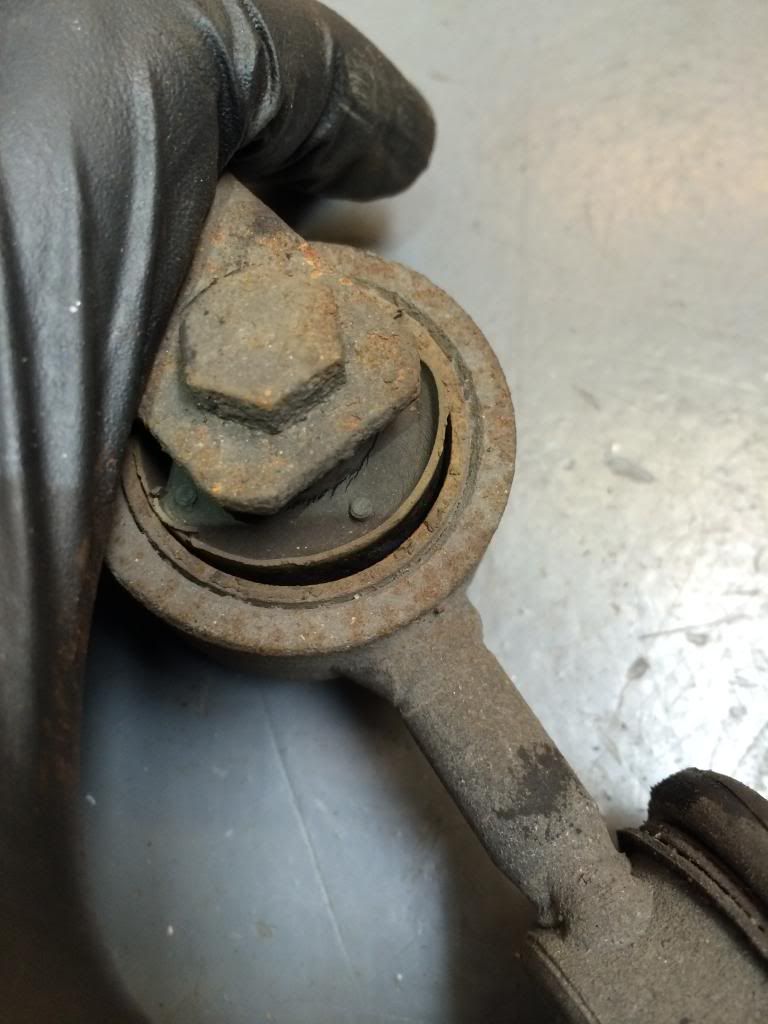
OLD V's New, Meyle HD links with Powerflex bushes :
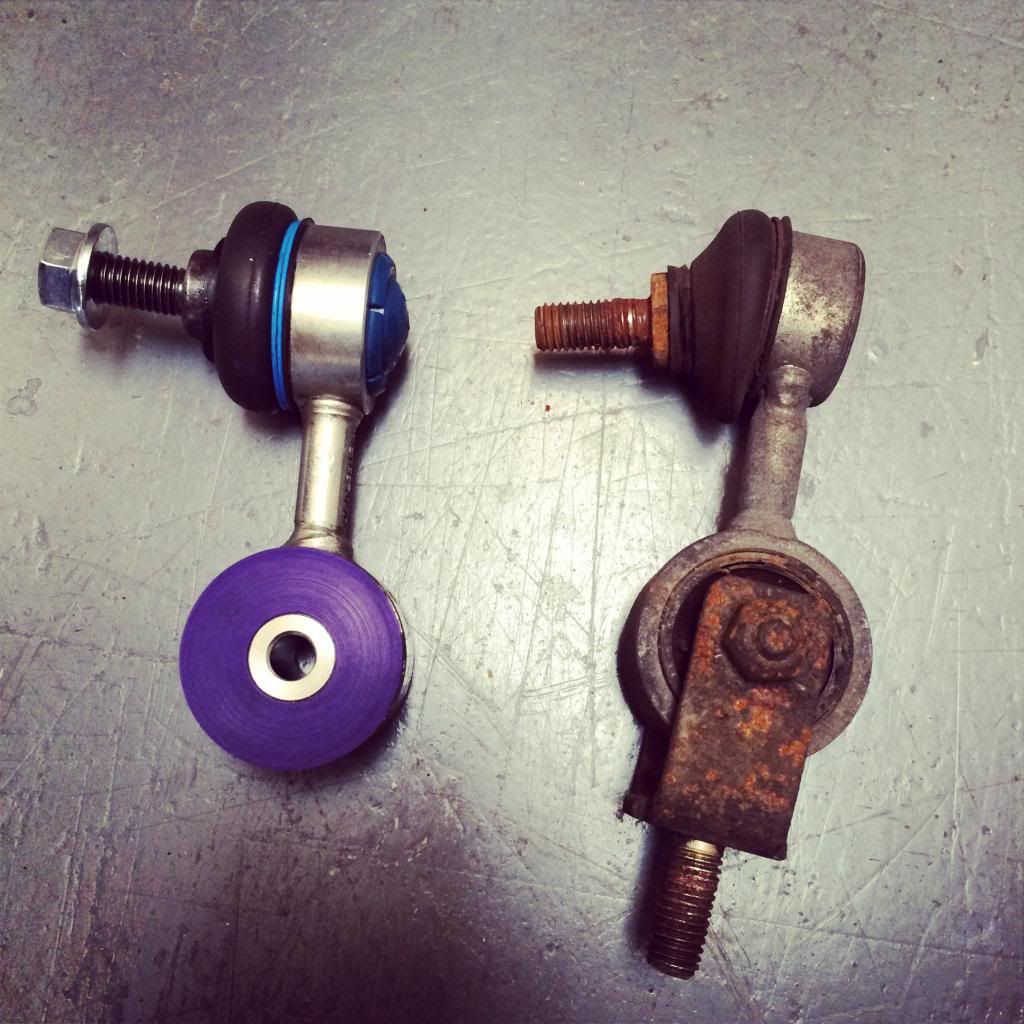
Slightly worn out :
Brackets sanded and kurusted :
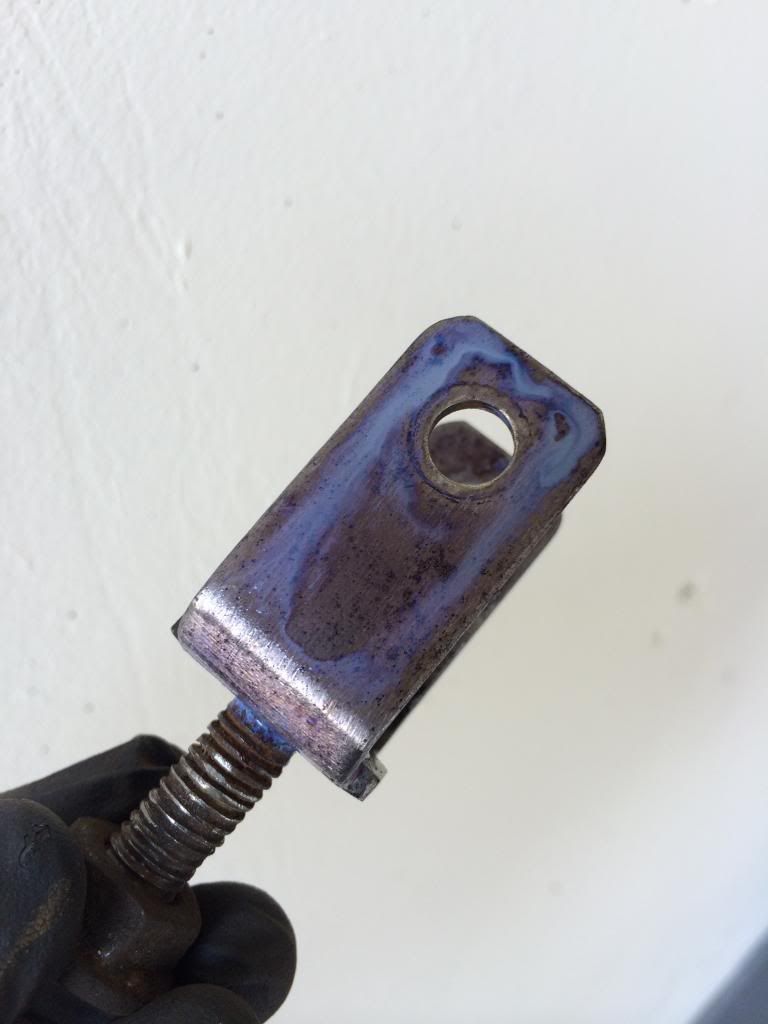
Brackets primed and painted :
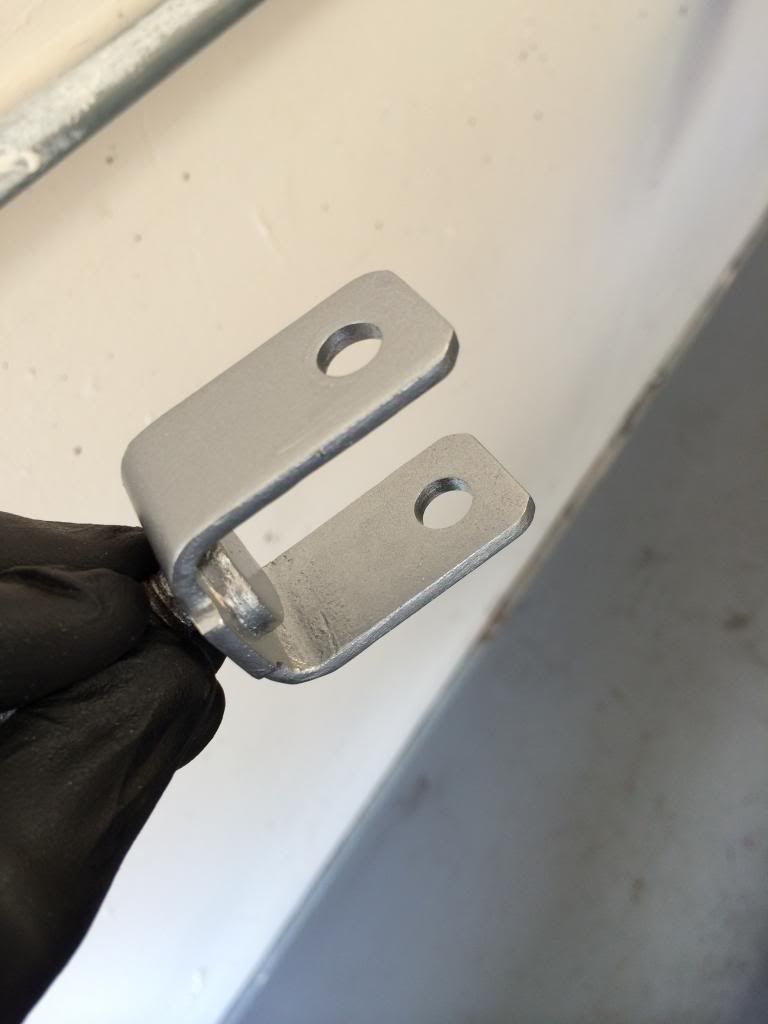
Time to get them on :
Then came LED side lights refresh, 8smd bulb fitted to driver side with old LED bulb on passenger side :
Now came spoiler fitting time, in the below picture you shall see how it was fitting with being affixed, there was large gaps on either side so drastic measures were called for and out came the ratchet straps :
How it sat on the rear boot lid :
Time for some cutting and shaving :
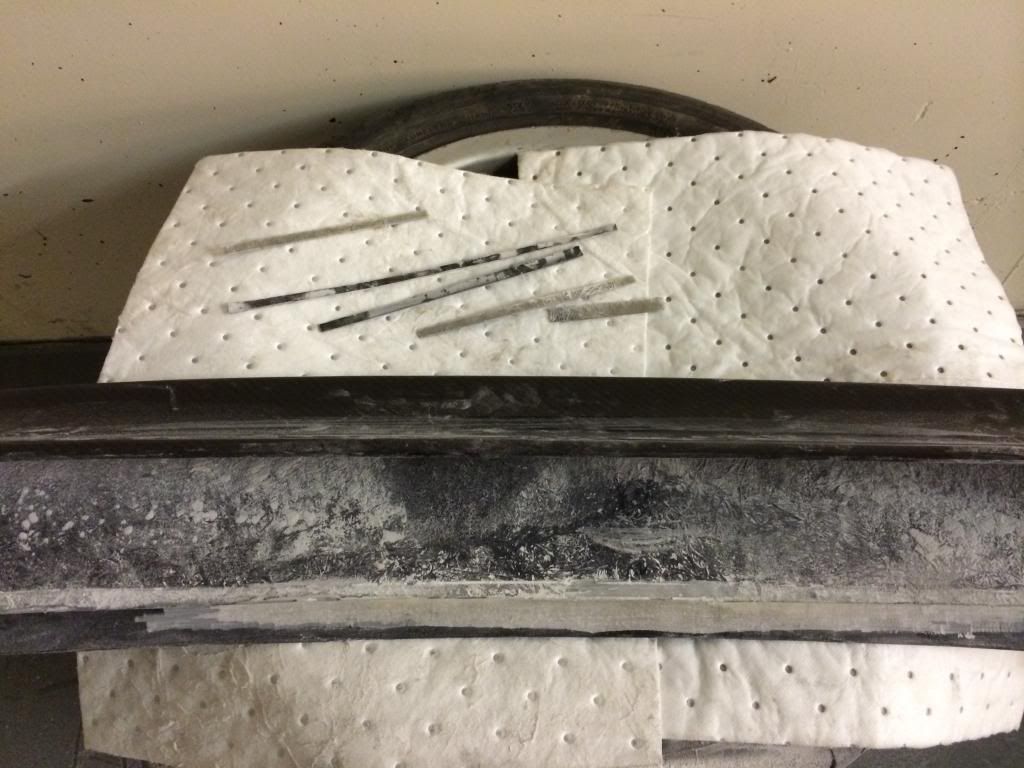
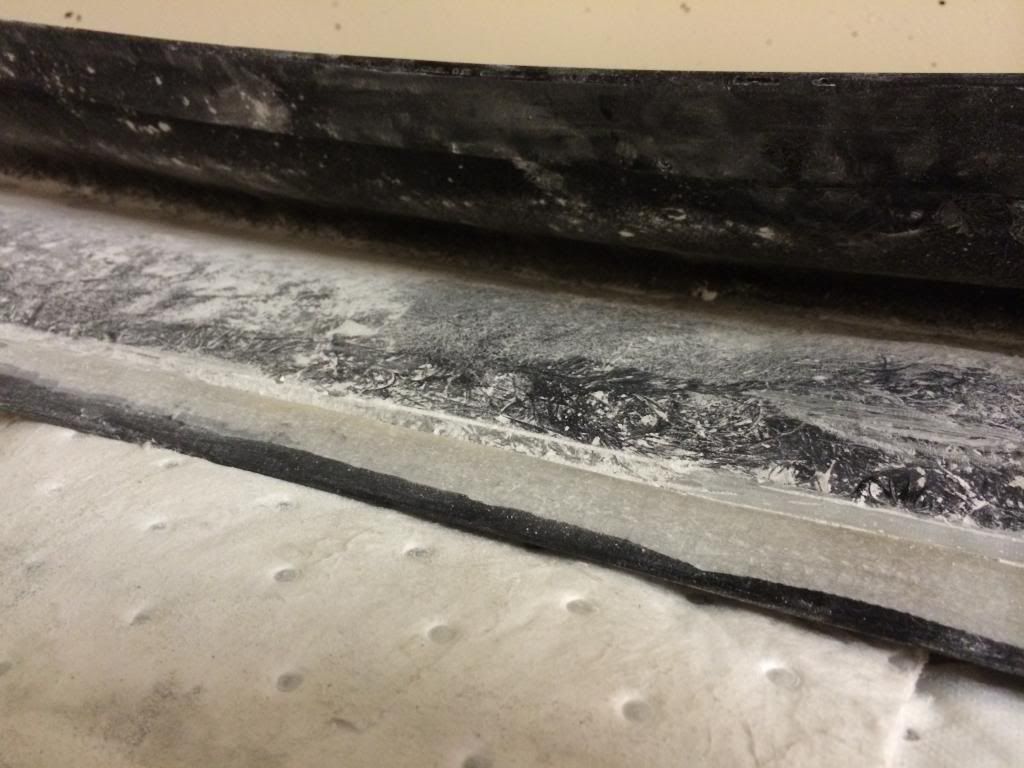
All tied down and ready to work on :
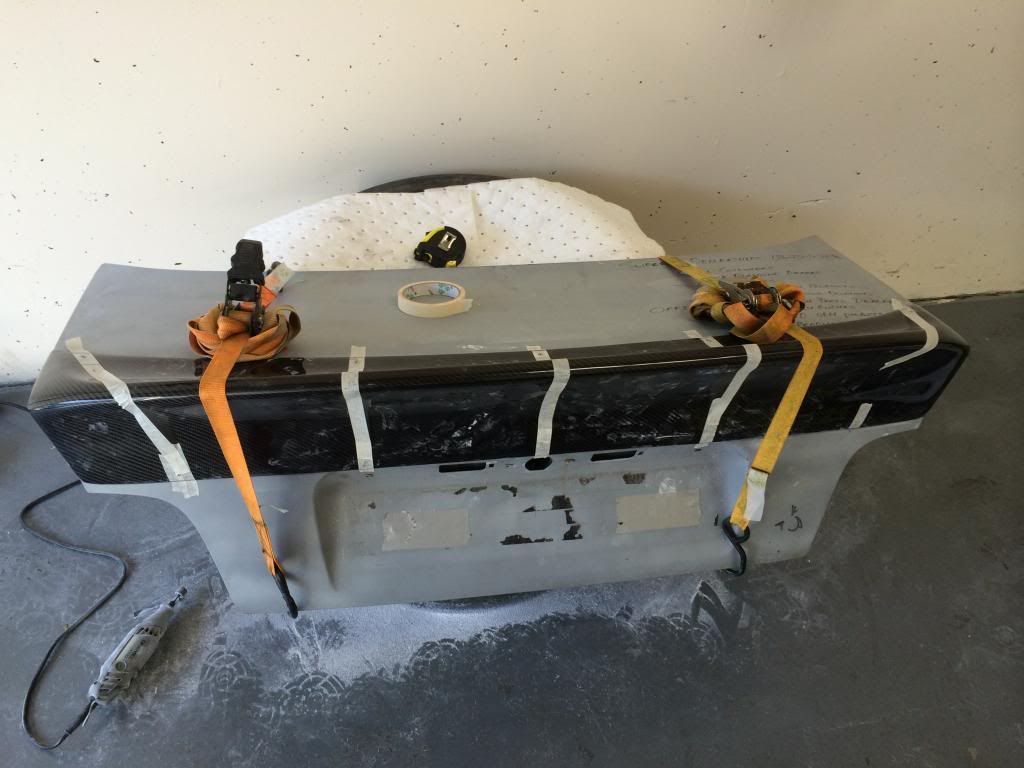
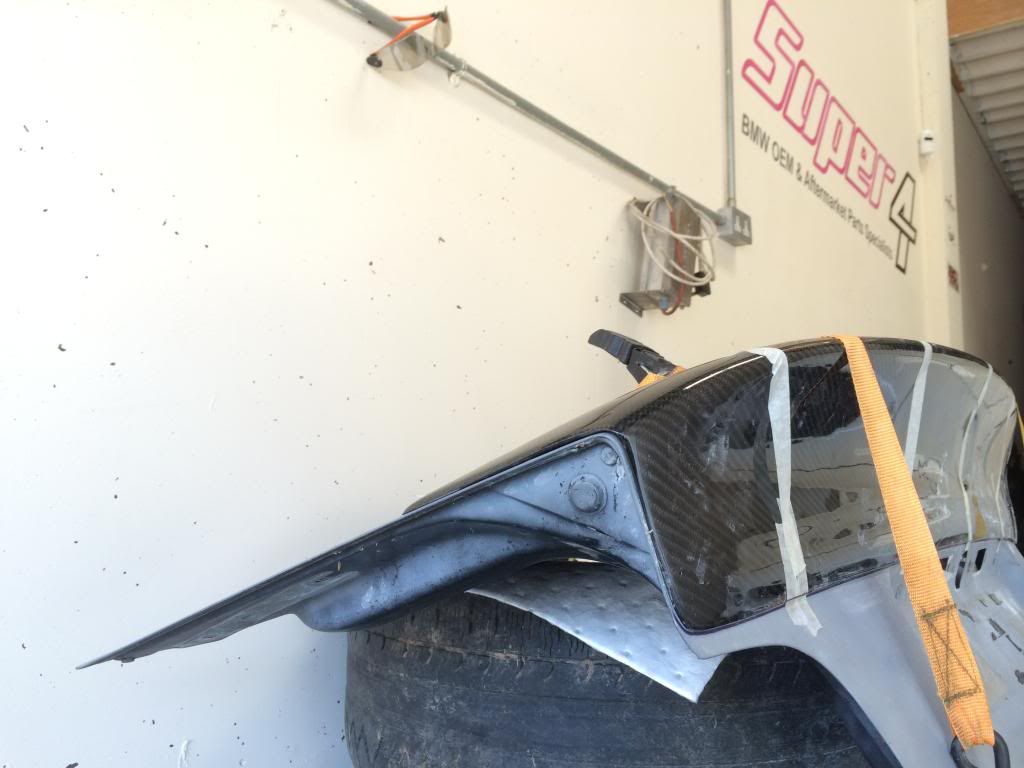
Straps let go and time to fit lid to the car for a couple of days to see how it all holds up :
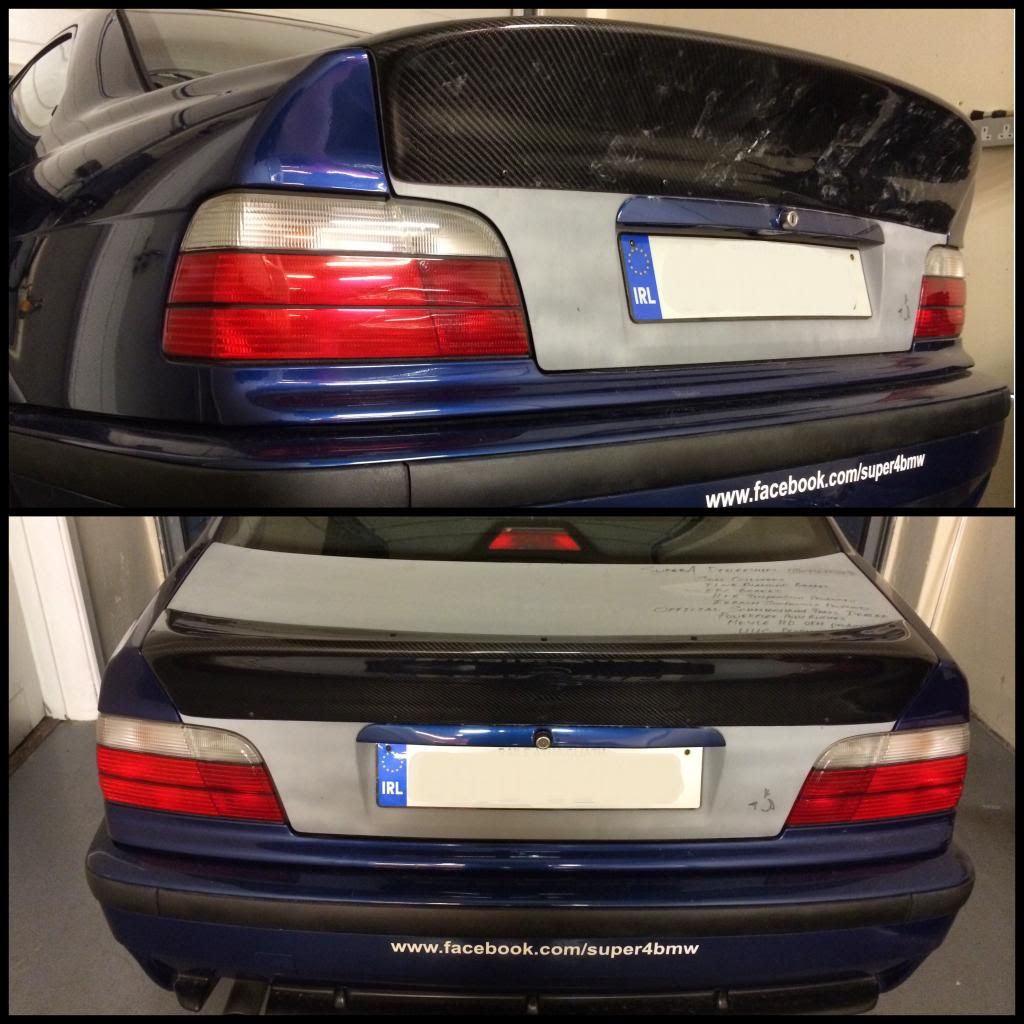
Peekaboo picture :
:
Side note :
Think that's it for now folks, but I am sure there shall be more over the coming days. Strongflex droplink bushes are in stock for E36 short drop links and Powerflex items are on there way. SF3 items shall be hopefully available very soon also.
Thanks for looking
Leave a comment:
-
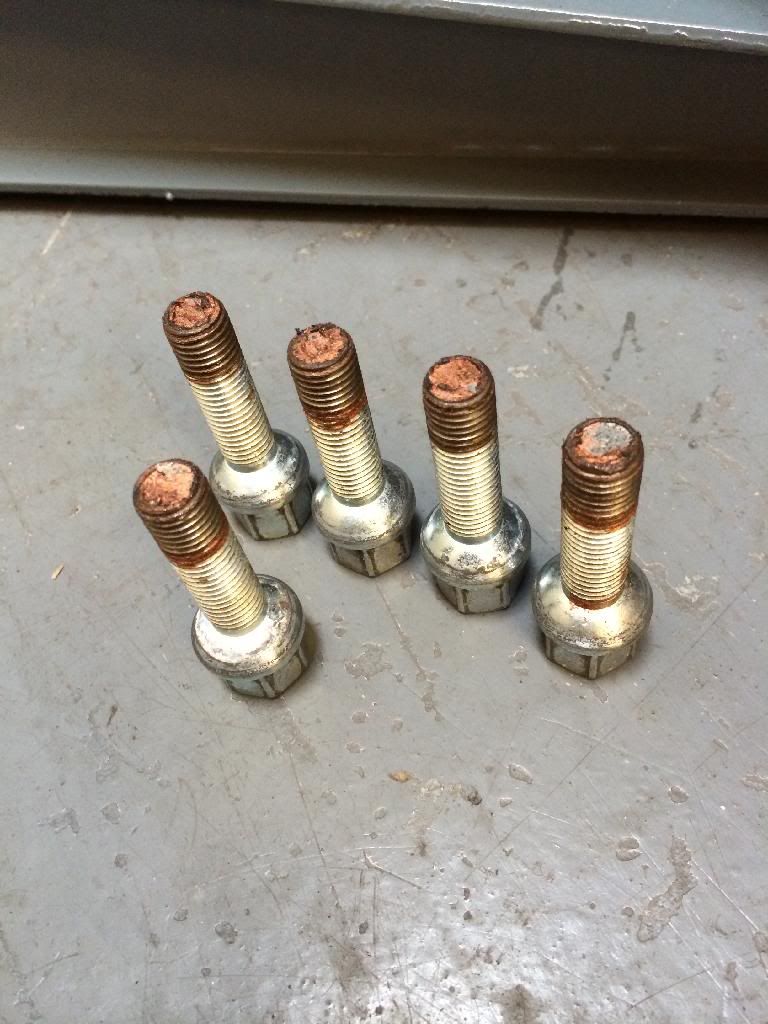
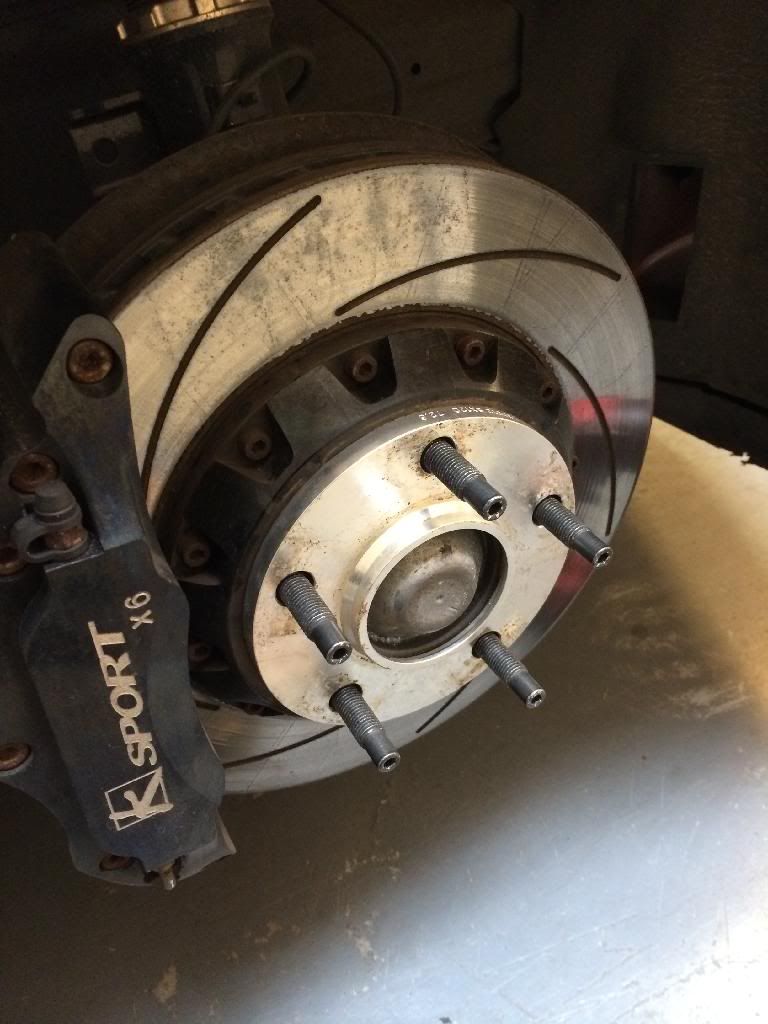
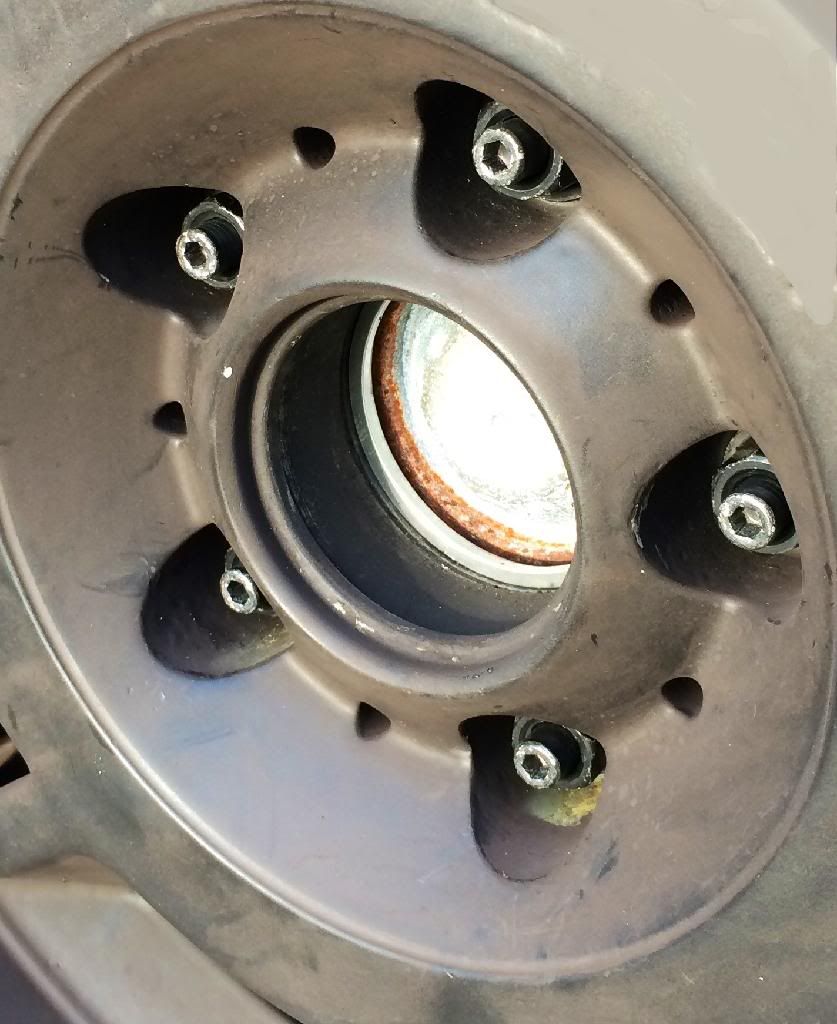
Another job I had been meaning to do for some time was fit my stud conversion. This makes life my handier for those who change wheels frequently, once the last nut is undone the wheels then rest on the studs as opposed to falling off the hub when the last bolt is undone.
These really do make for easy work when swapping over and removing wheels. Kits are available from Super4 and size options and pricing shall be up very soon.
OLD WHEEL BOLTS :
NEW STUD CONVERSION FITTED :
Thanks for looking
Leave a comment:
-
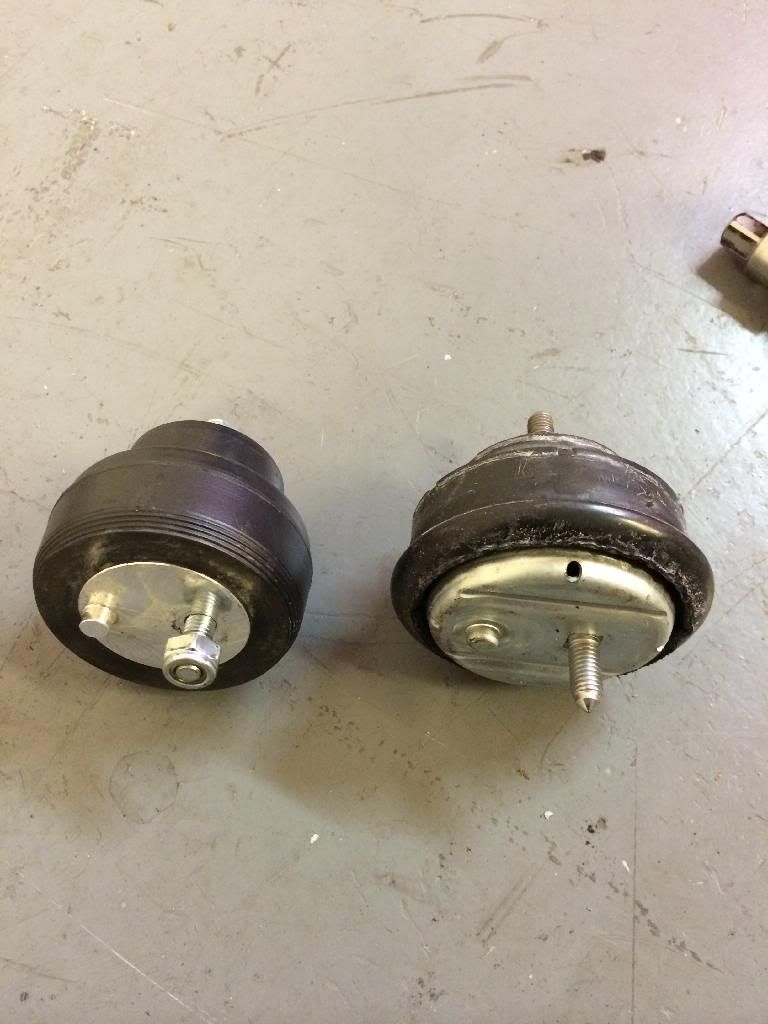
Managed to get some work done on the car last night finally which was nice, as there were something that were bugging me. As some may know I had installed hardened 95sha engine mounts into the car some weeks ago however whilst they made a huge difference during motorway driving they were too extreme on startup and around town so they were replaced last night with standard items for now. There maybe a substitute on the way just made with a softer grade Polyurethane.
Here is the list of small bits that were done last night:
Standard engine mounts installed (Race mounts up for sale)
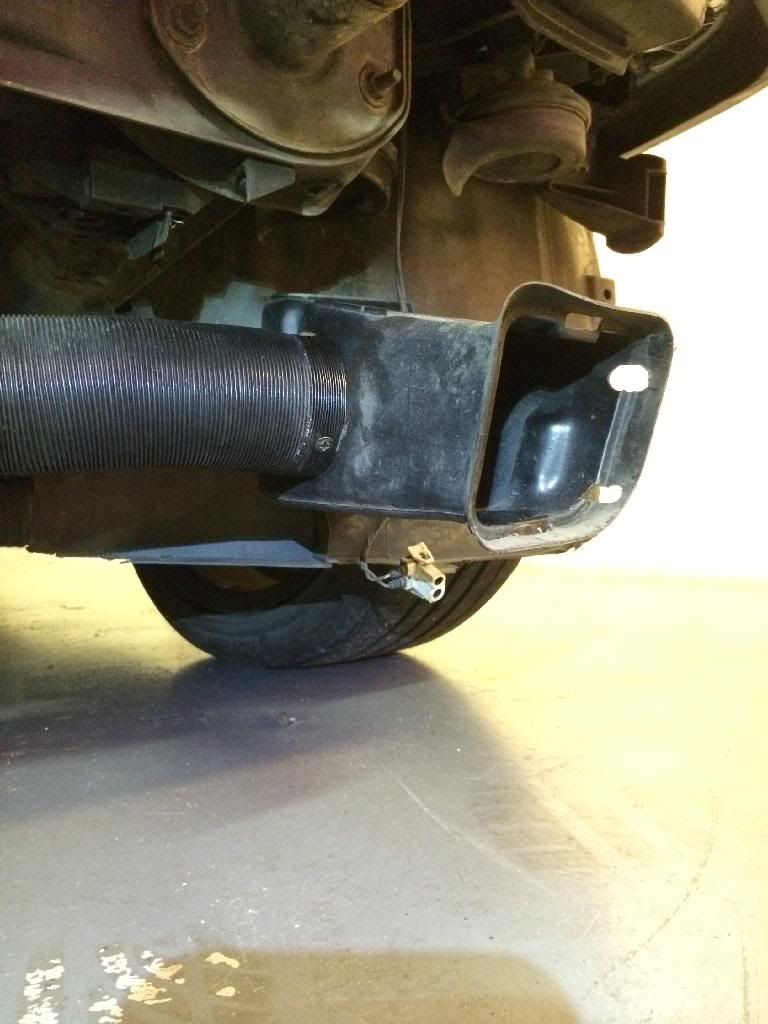
Front bumper removed and mesh installed
Front bumper under plastics removed fixed and reinstalled with new clamps etc
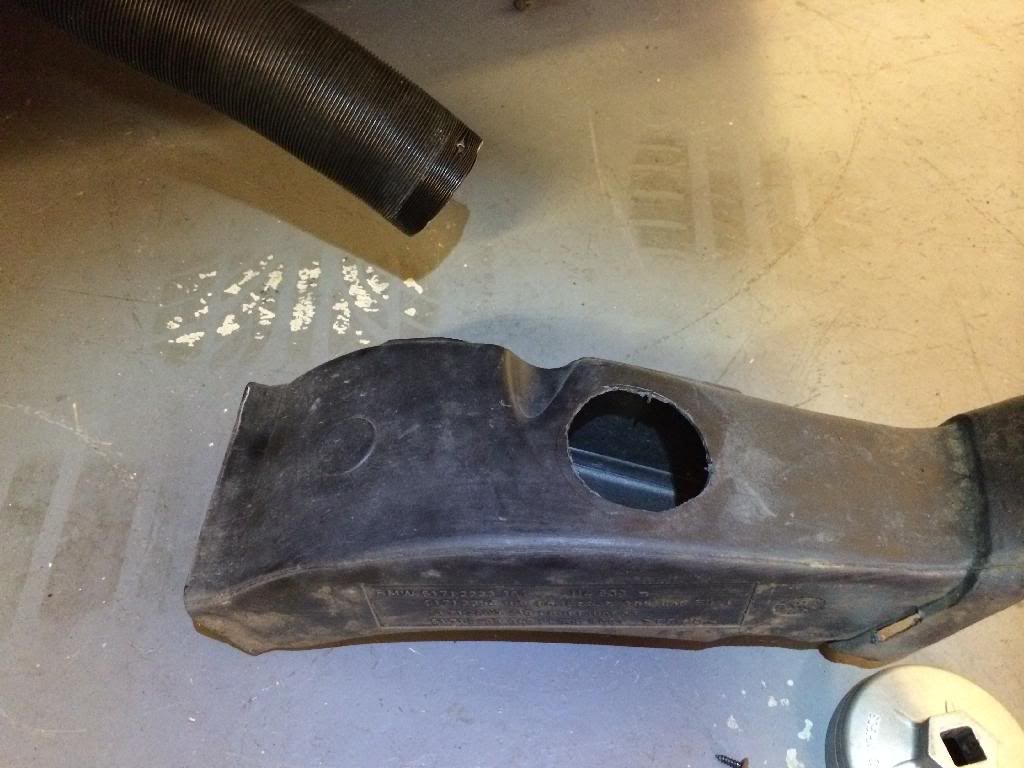
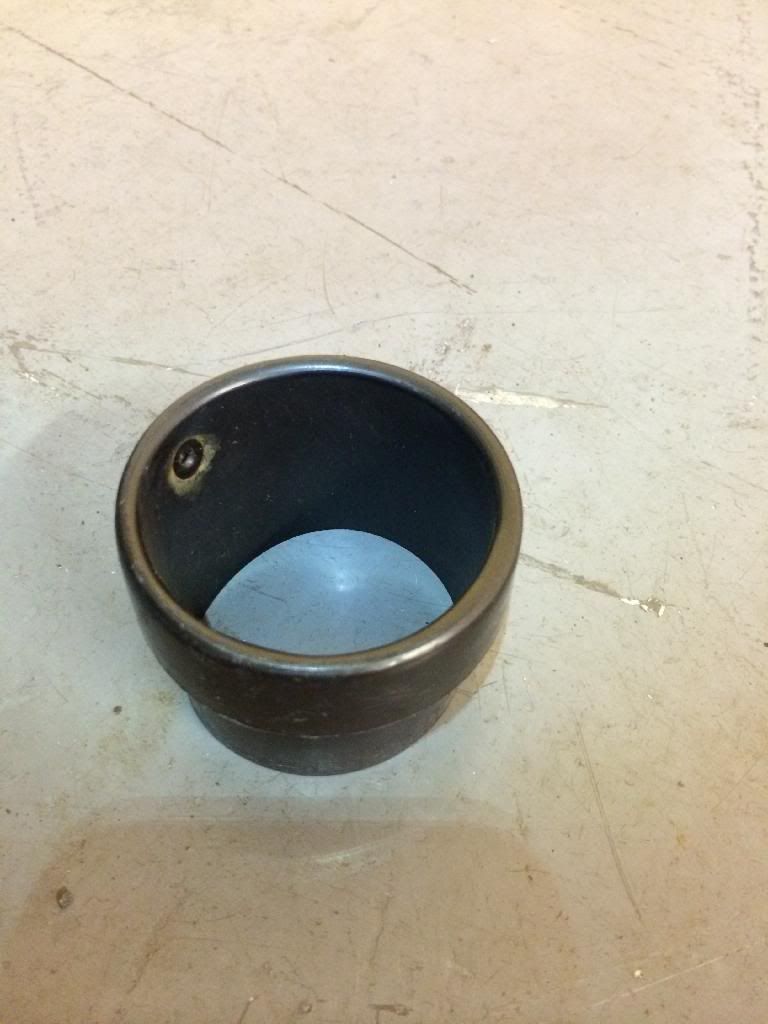
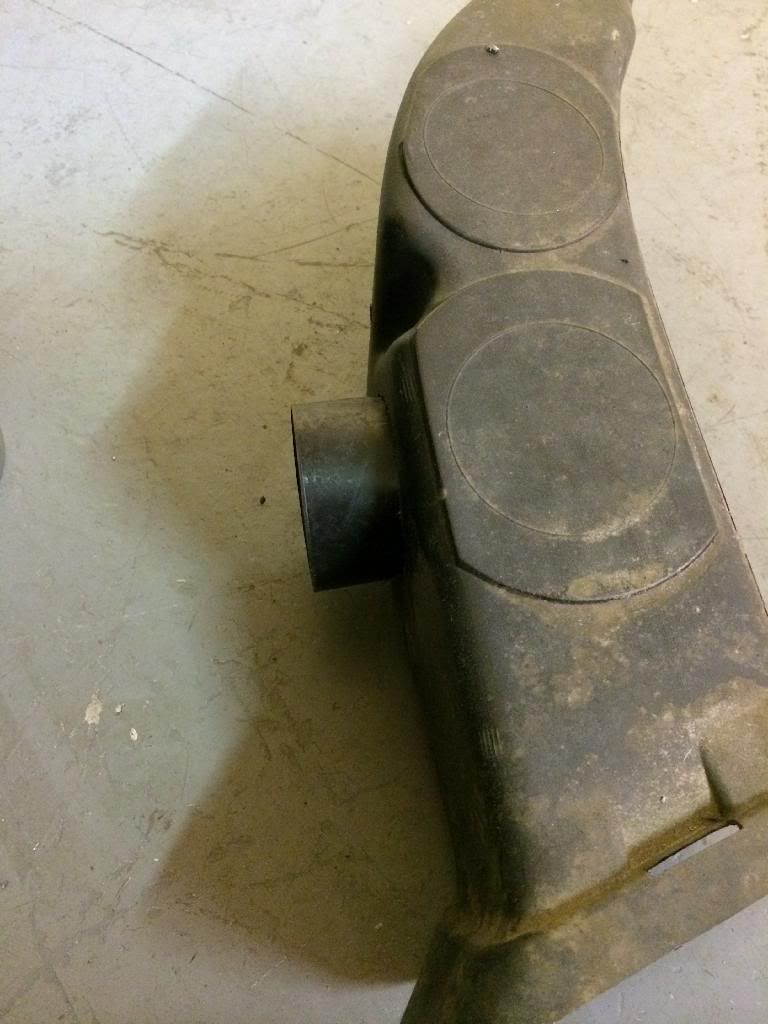
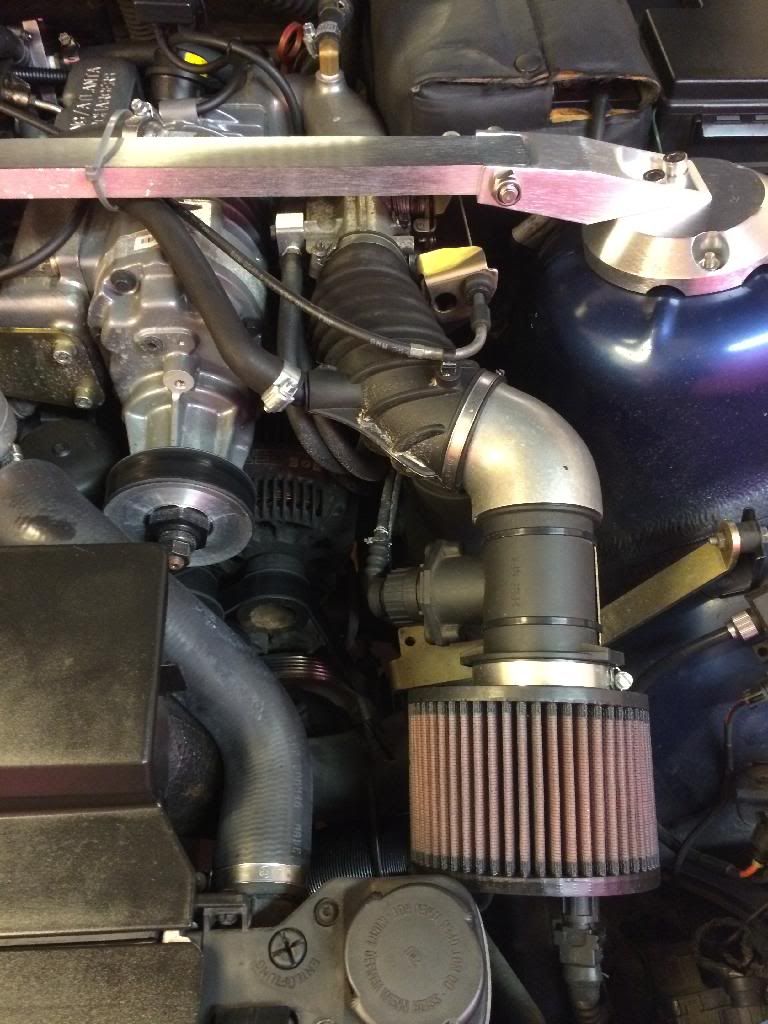
Air intake for the K&N relocated to passenger side brake duct (With mesh installed it need to be moved)
Washer jet holes in the carbon fibre bonnet were filled and made larger to accommodate the washer jets
New wipers fitted (stone chips on the windscreen are killing my wipers quicker)
Cooling system flush and refilled using MPM coolant G12
COP conversion reinstalled (engine mounts were rattling it loose)
Headlights aligned
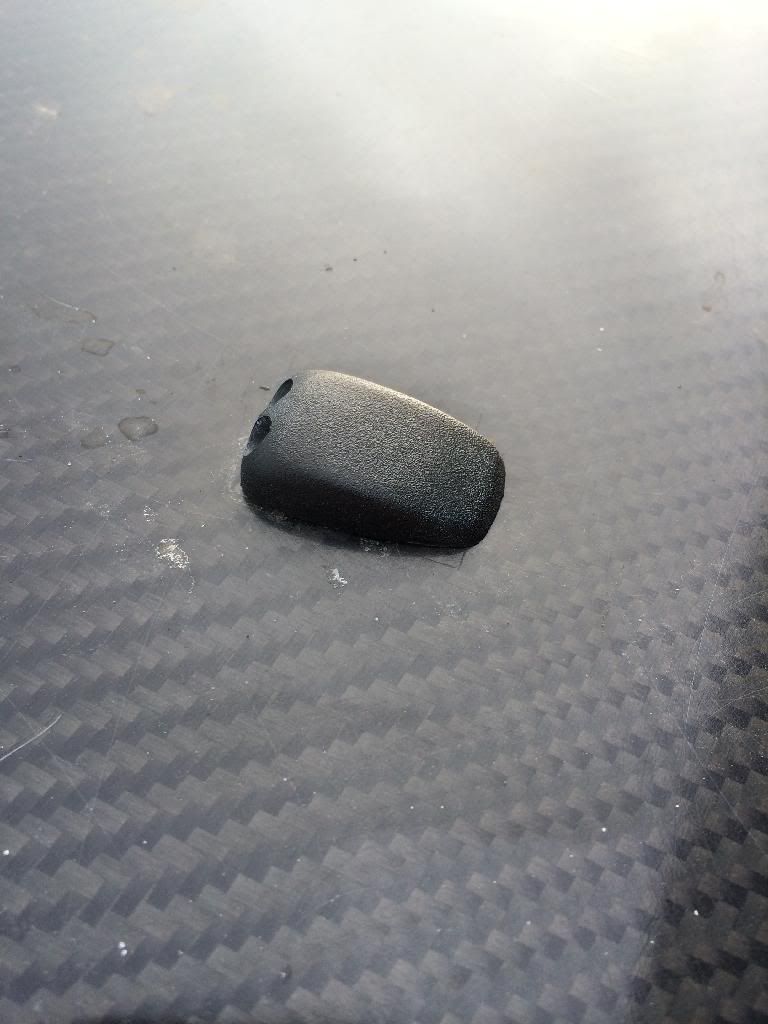
Number plate delete fitted
Door rubbers treated with seal spray
Made a list of what's next too do :sad:
PICTURES :
Thanks for looking
Leave a comment:
-
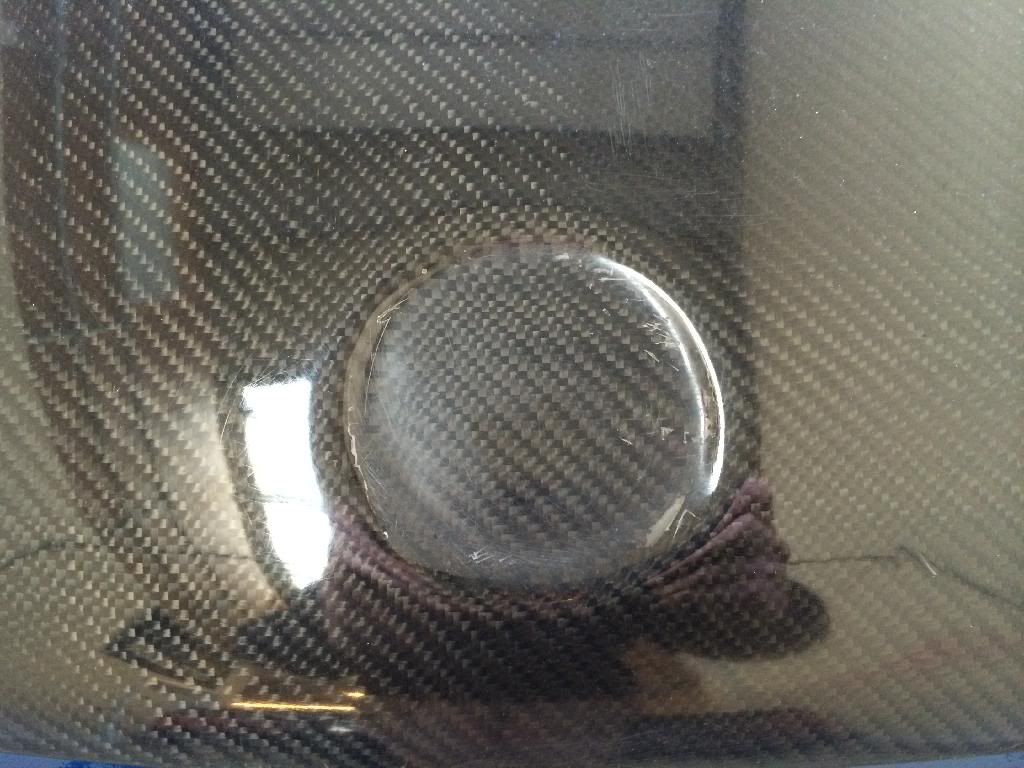
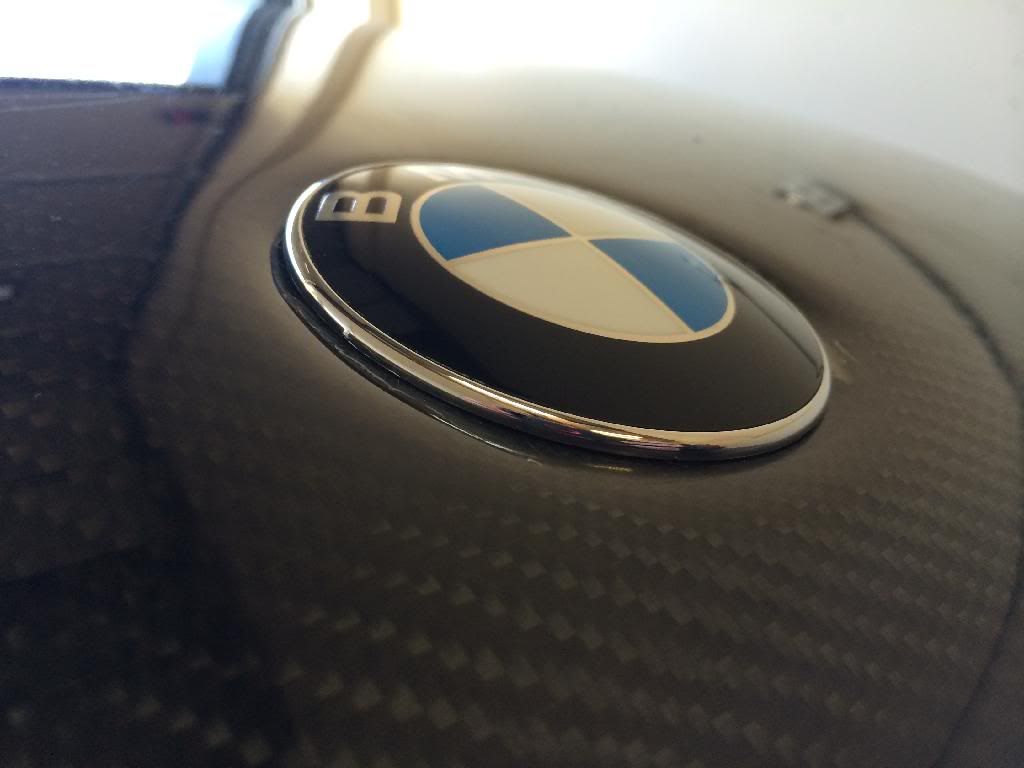
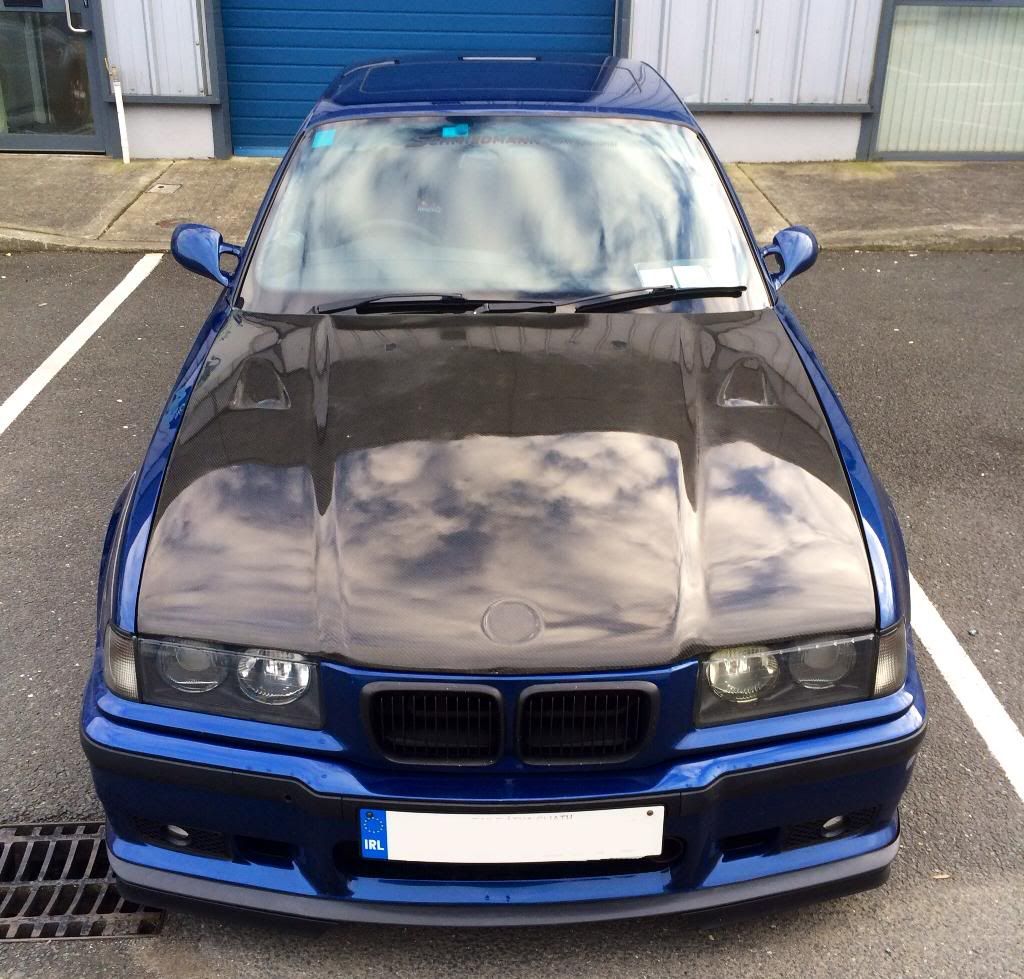
Some badge fitting done today, the carbon bonnet without it was doing my head in so I took 5 minutes out and sorted it.
2 wholes were drilled using smallest bit first and working the way up to a bit size slightly smaller than the tabs on the back of the OEM bonnet badge.
The tabs were then covered in a door rubber lube, the badge was gently pressed into place so it could rest by its self. Then out came the rubber mallet and very thick deep pile microfiber cloth which was placed over the bonnet badge. A few taps later with the mallet and it was not going anywhere. Nice snug fit, some bonnet polishing also started but I shall speak more of this later.
COUPLE OF PICS :

Thanks for looking
Leave a comment:
-
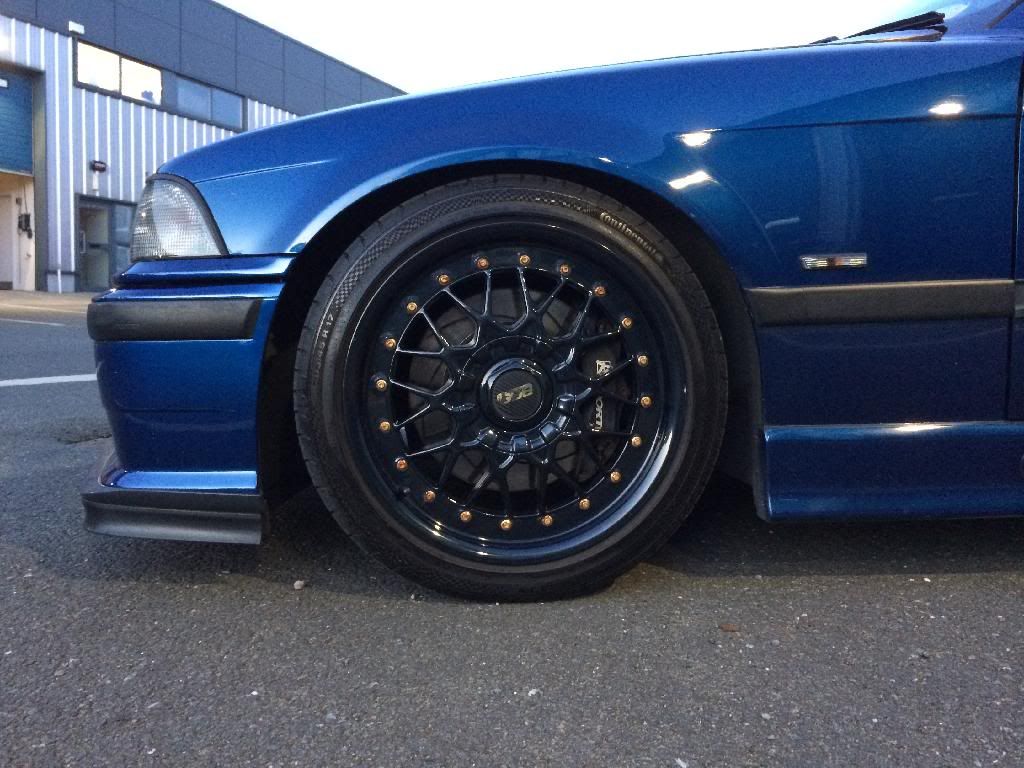
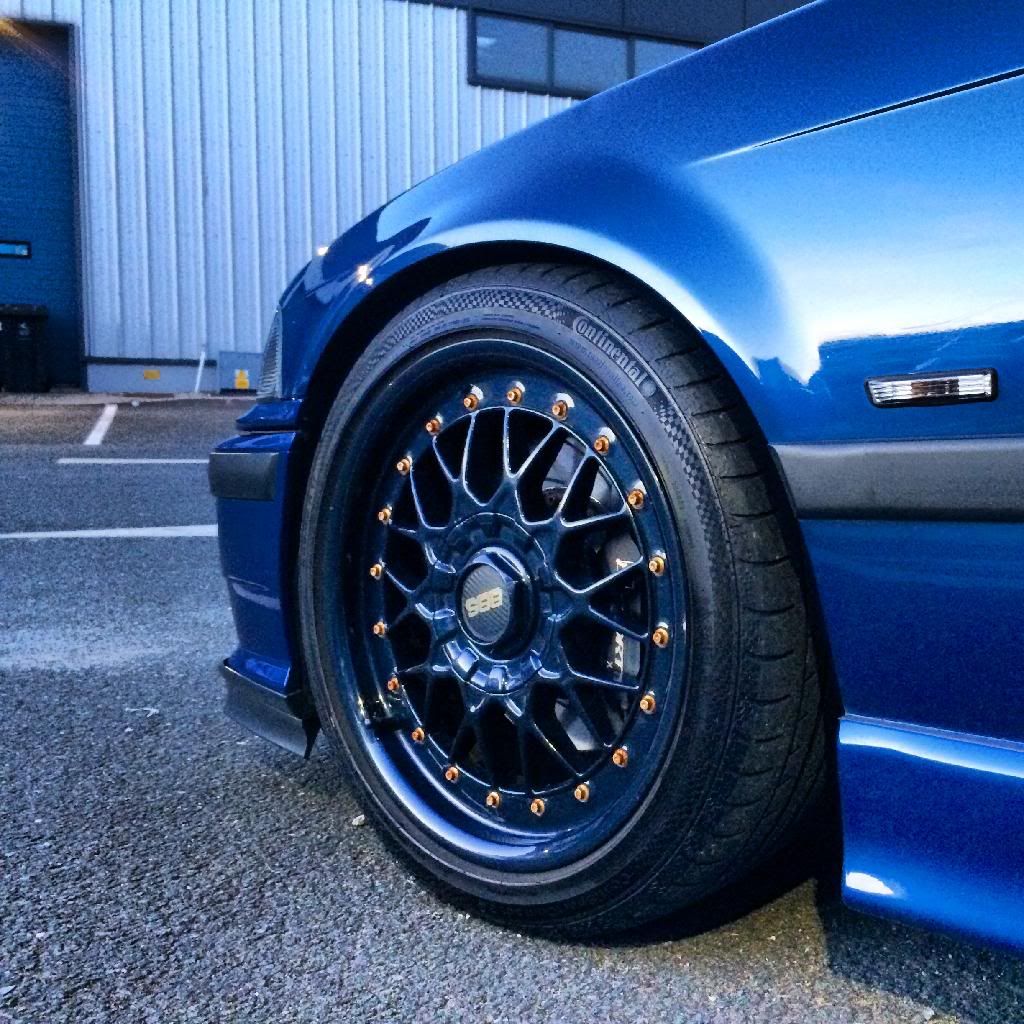
Bye bye Rota's hello BBS RC's and possibly something else if all works out. Thanks to Satumashirt who as always is a pleasure to deal with.
Thanks for looking
Leave a comment:
-
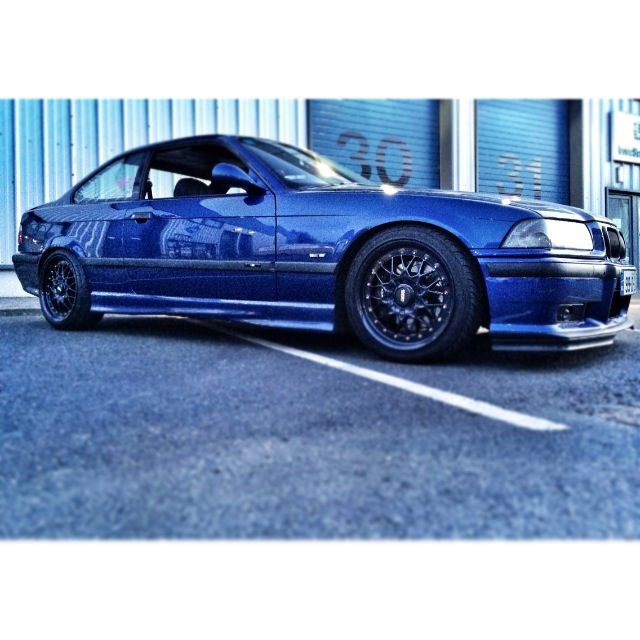
Picked this up today, it's not as clean as it looks in the photo and requires some work. I bought as (surprise, surprise) it's light and plus I wanted to see if I liked a carbon bonnet on the car before shelling out for a new item towards the end of the year.
Have to say I love how it looks against the Avus and on weekends I shall be able to spend some time freshening it up.
Thanks for looking
Leave a comment:
-
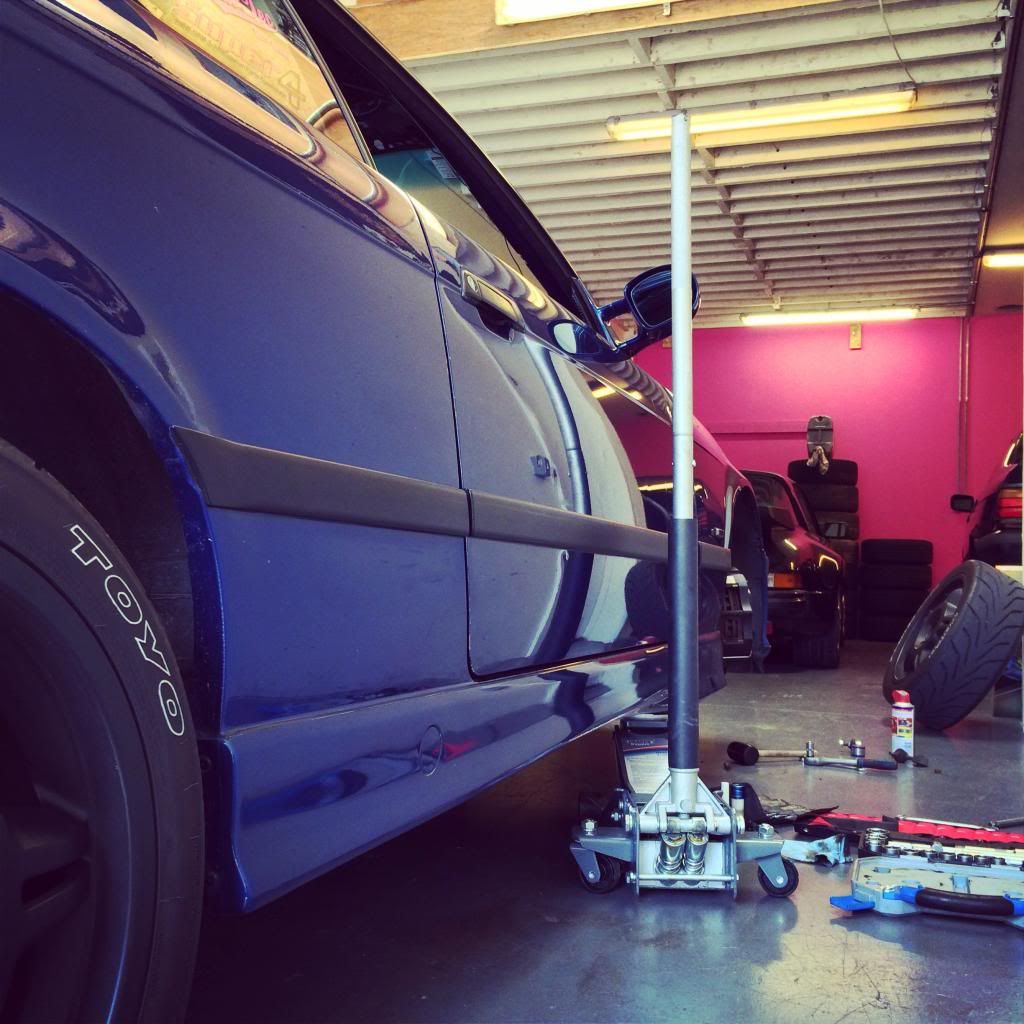
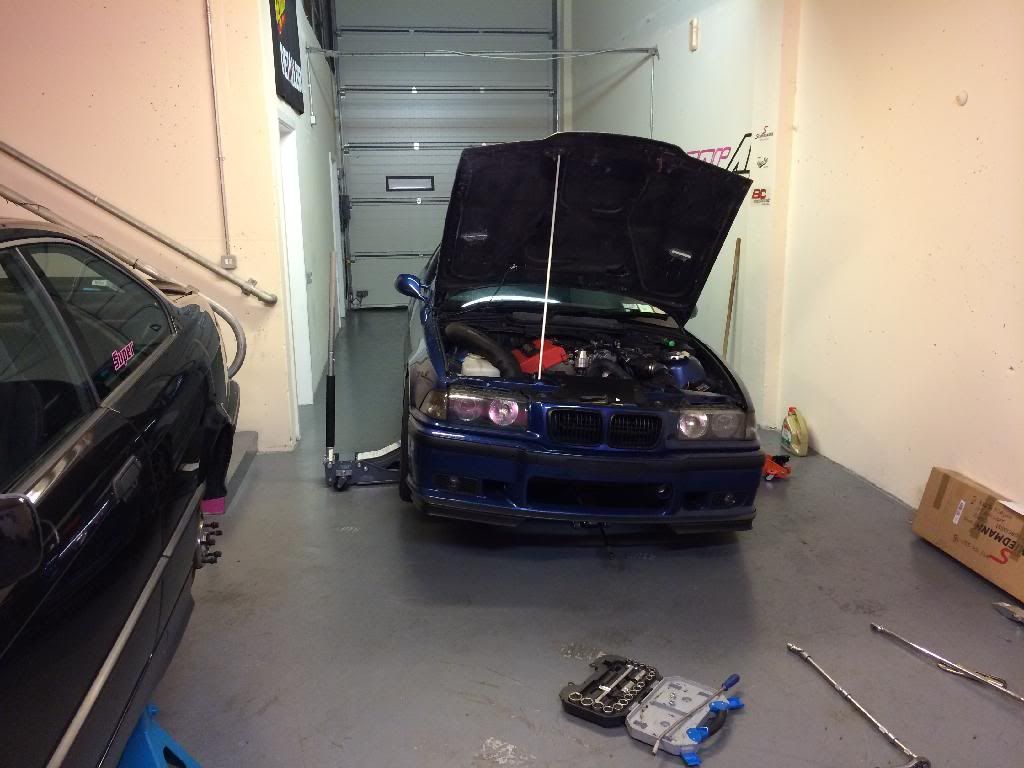
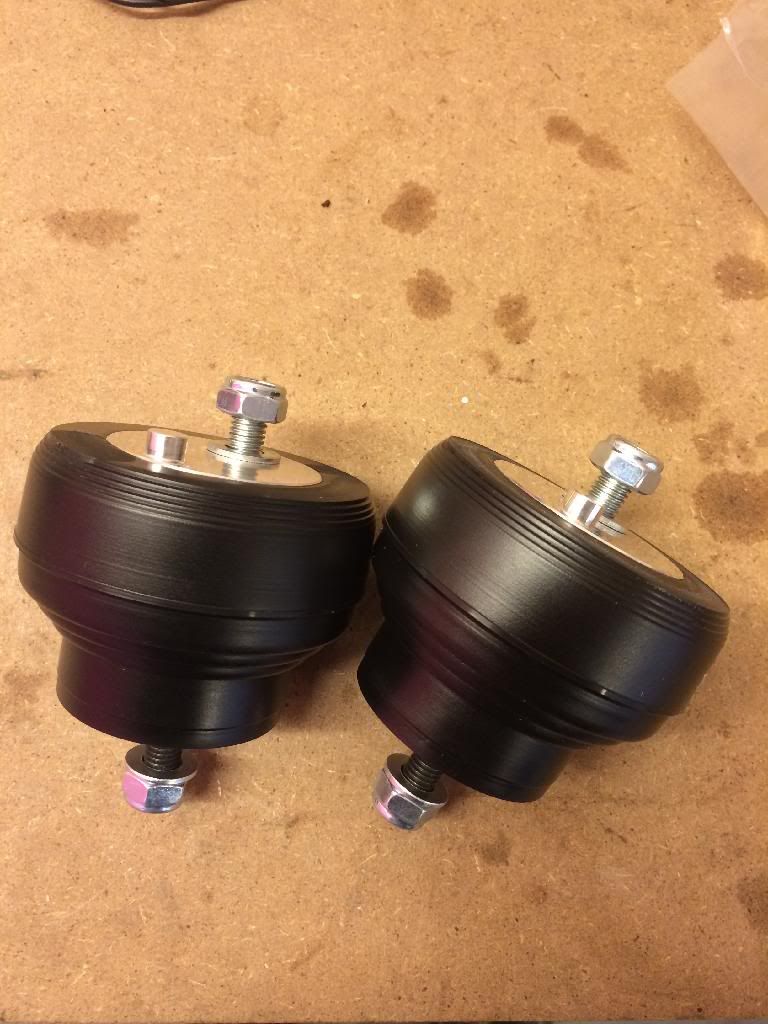
Well I decided this evening would be the evening to change my very knackered engine mounts, the charger accelerated they're condition so much so that the left hand side mount had split in two.
Like always I have had these AKG Motorsport uprated mounts sitting in the corner for quite some time. These as you will see are the black version which = street use. So without any more delay here are some pics etc.
TOOLS NEEDED :
Trolley jack
Axle stands
1/2" ratchet
1/2" 6" extension
1/2" 16mm deep socket
Flat head screw driver
HOW TO GO ABOUT IT :
This was done on an M44 lump so is specific to the how too, however it shall roughly be the same throughout the E36 range.
1. Jack up the car
2. Place axle stands on both sides in suitable positions, lollipop bush holders work.
3. Release jack and lower car onto stands
4. Get a piece of timber, I used 4x2 and place on the trolley jack pad.
5. Slide trolley Jack under the the sump and jack until taking the engines weight.
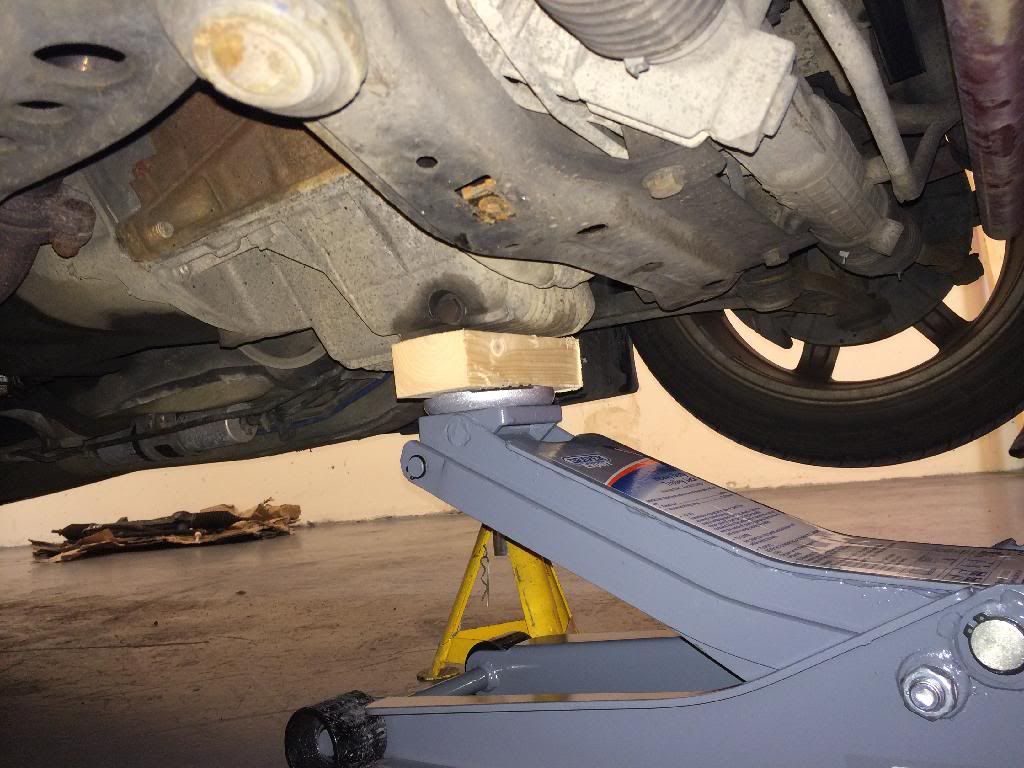
6. Remove front wheels (easier access)
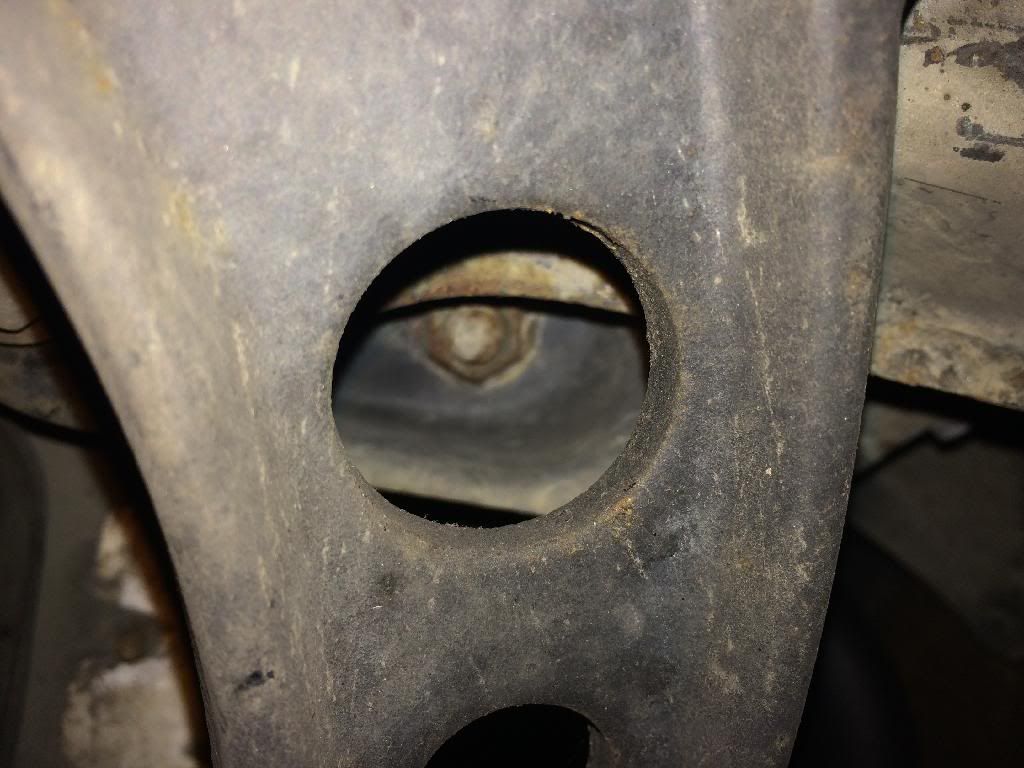
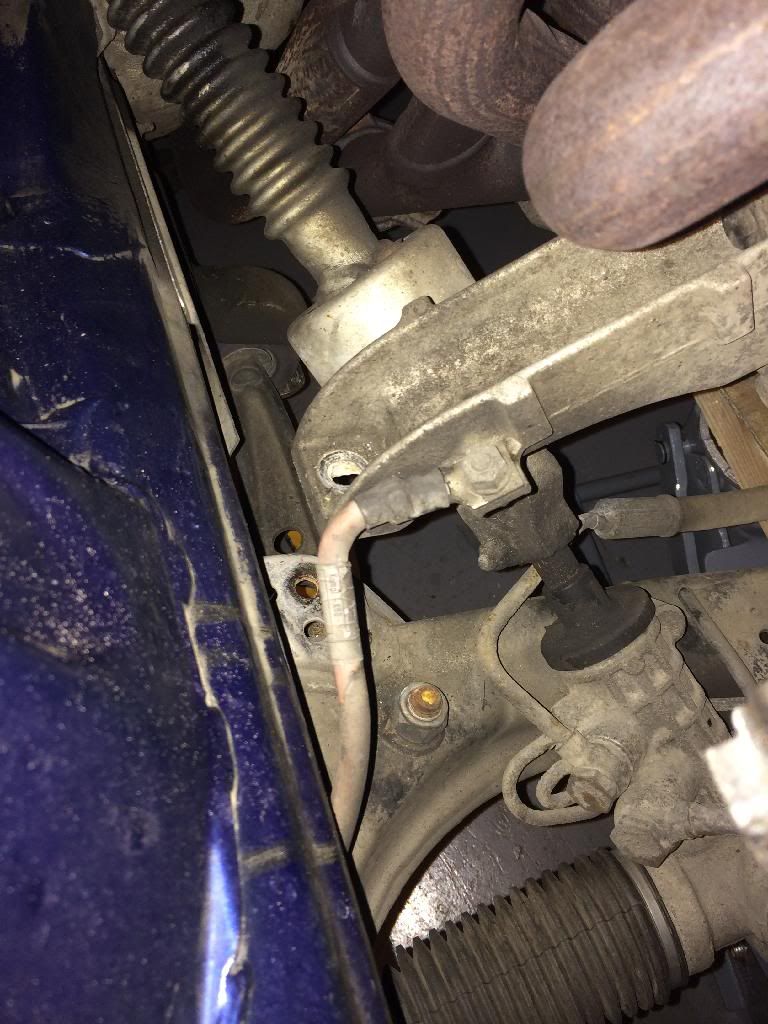
7. Pick a side to start on and then take your ratchet, extension and 16mm socket and get under the car. Locate the bottom engine mount nut, for this you shall be sliding the 16mm socket through the holes in the front wishbones.
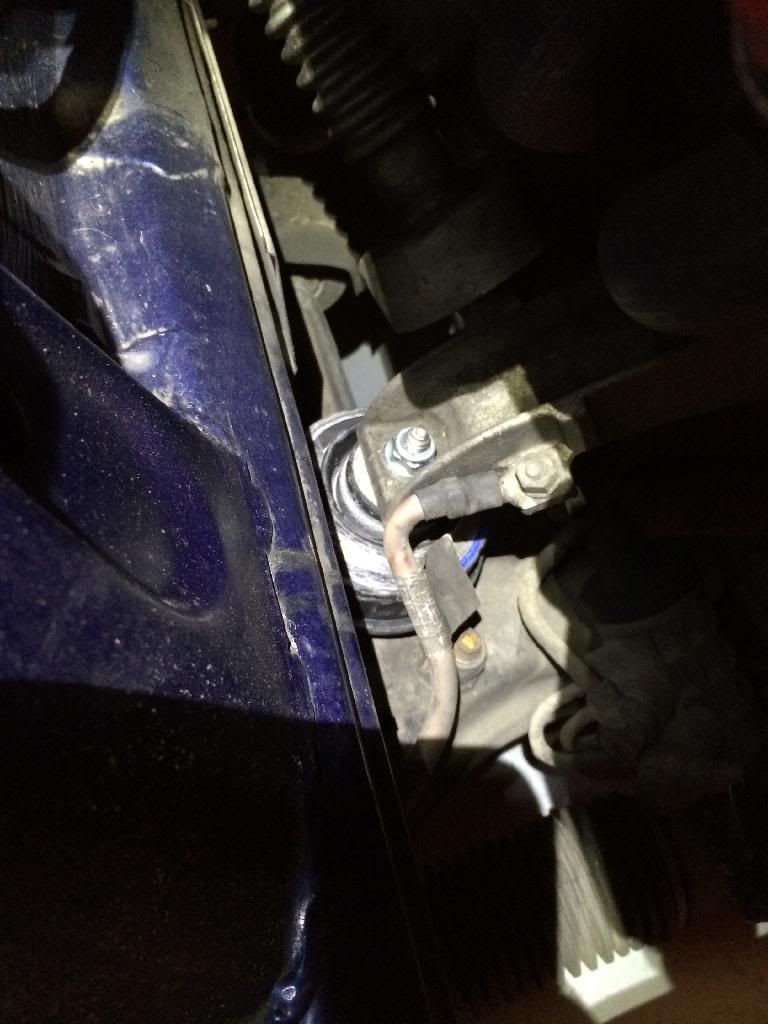
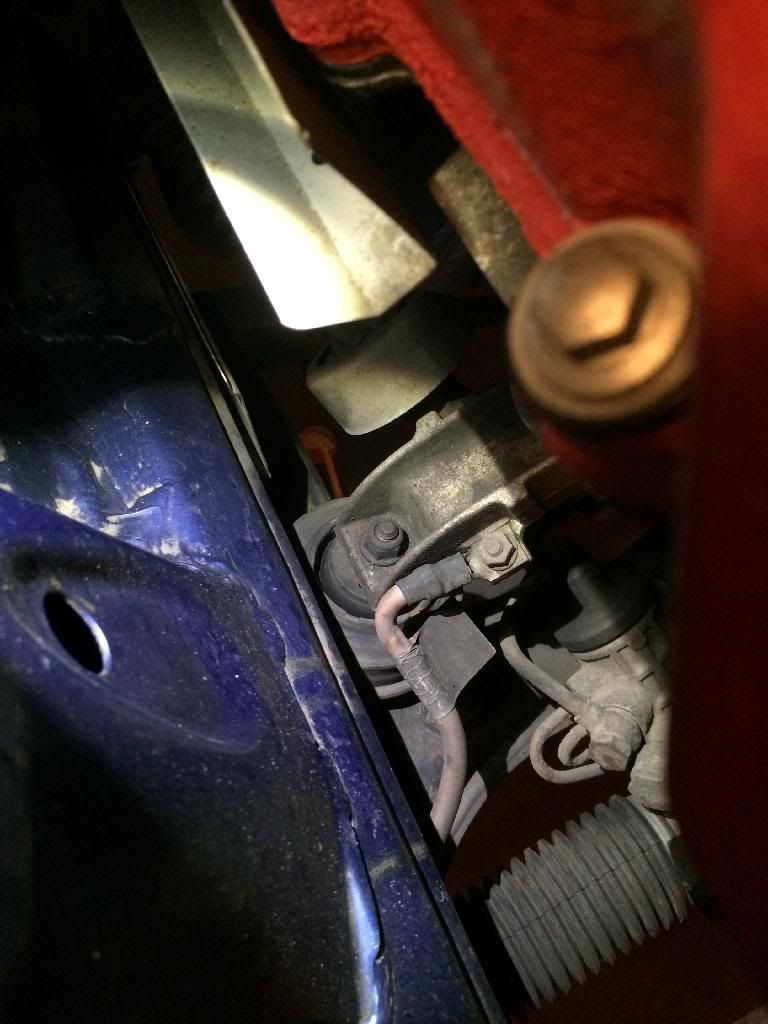
8. Once the lower nut is undone go back up top and get plenty of extensions and a knuckle with your 16mm socket attached and undo top mount nut. See below.
9. For the M44 you shall have to remove the fan cowling and rubber intake boot as the fan blades could get broken. There maybe other items that need removal depending on application/model.
10. Slowly jack the engine always making sure that no wires or pipes are snagging anywhere. Jack the engine until you can pull out the old mount. My passenger side one was split in two!
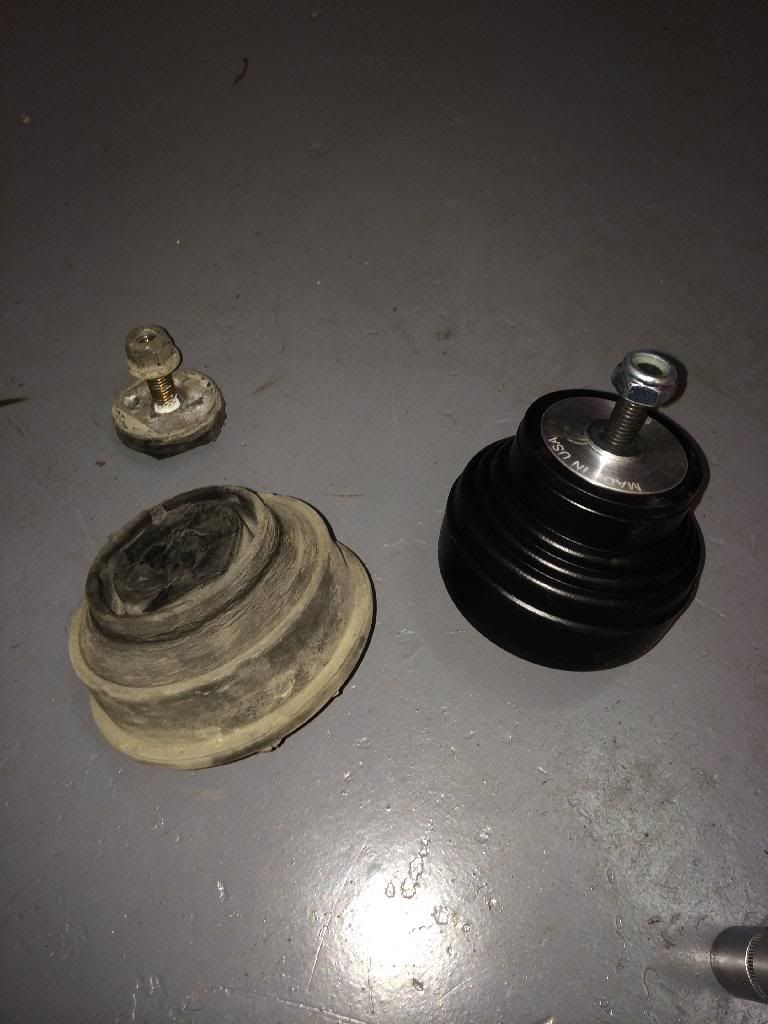
11. Once out install the new mount paying particular attention to the way the old one came out. The bottom of the mount has a guide pin for slotting into the subframe so be sure it is sitting in place correctly before lowering the engine onto its new mount.

12. Tighten the new mount up top and from underneath and proceed to the other side.
For the passenger side you may want to remove the air box and pipe work altogether in order to make access to the top engine mount nut easier.
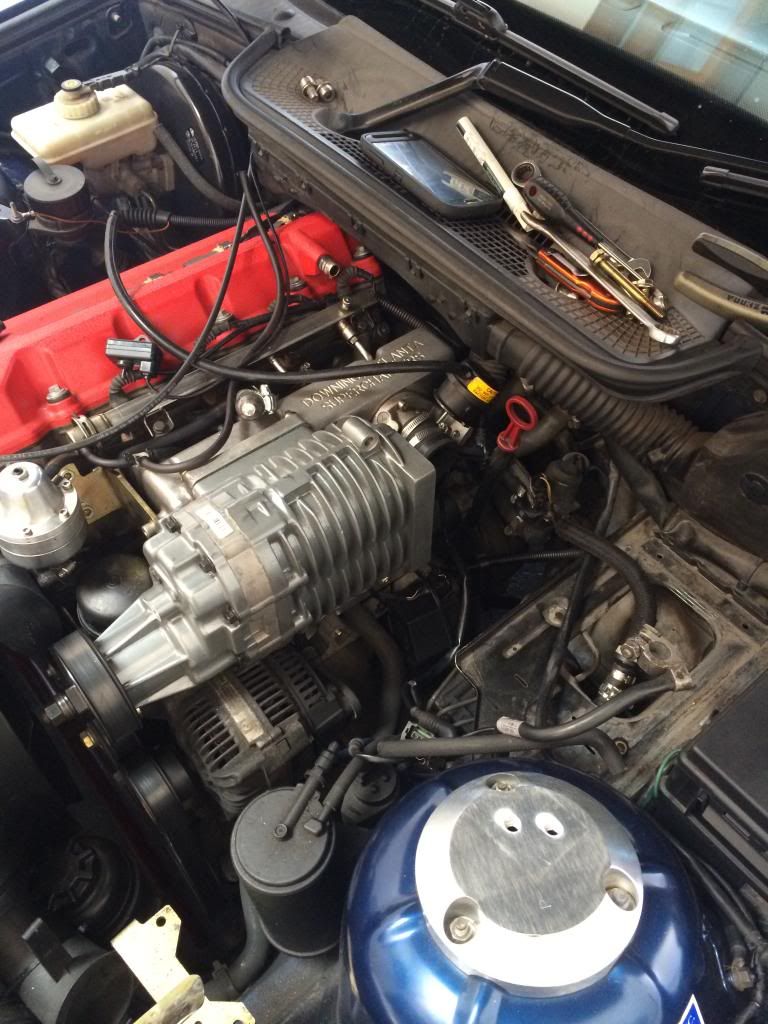
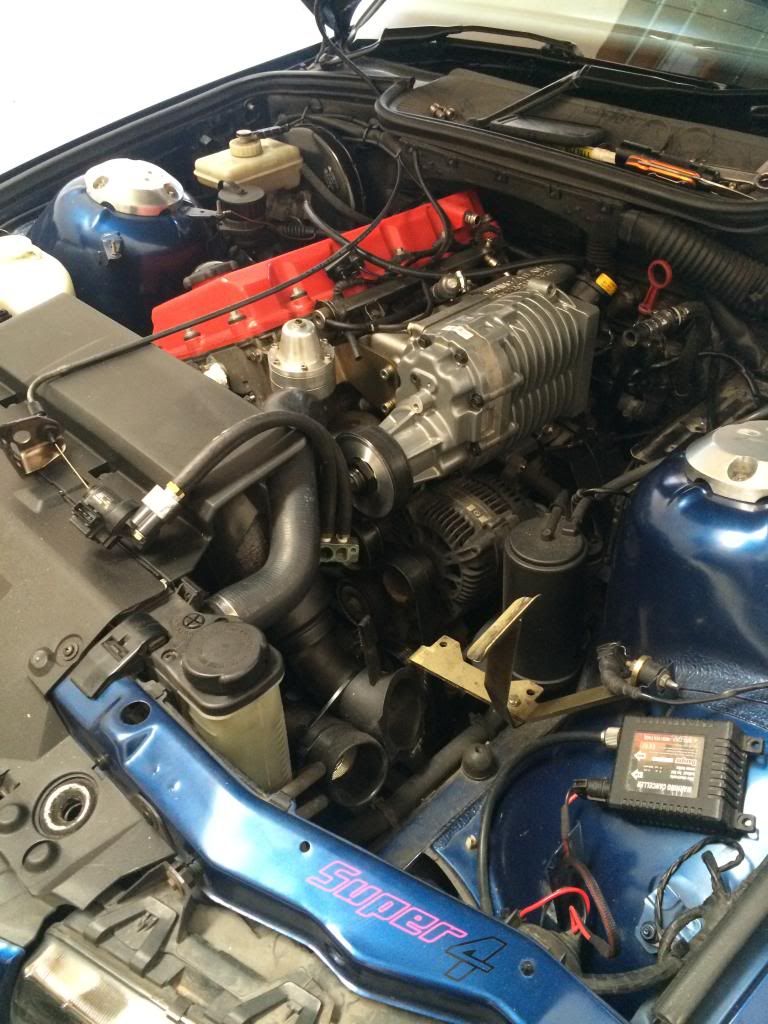
UNDER HERE :
You are undertaking this work at your own risk (I am in no way responsible for any work you carry out) and this "how to" is not gospel. If unsure of what you are doing bring the car to a garage and have them do it.
I would also like to claim, I have successfully created the worlds largest VIBRATOR by installing these uprated mounts.......talk about extreme!!!!
Sent from AutoGuide.com Free App
Leave a comment:
-
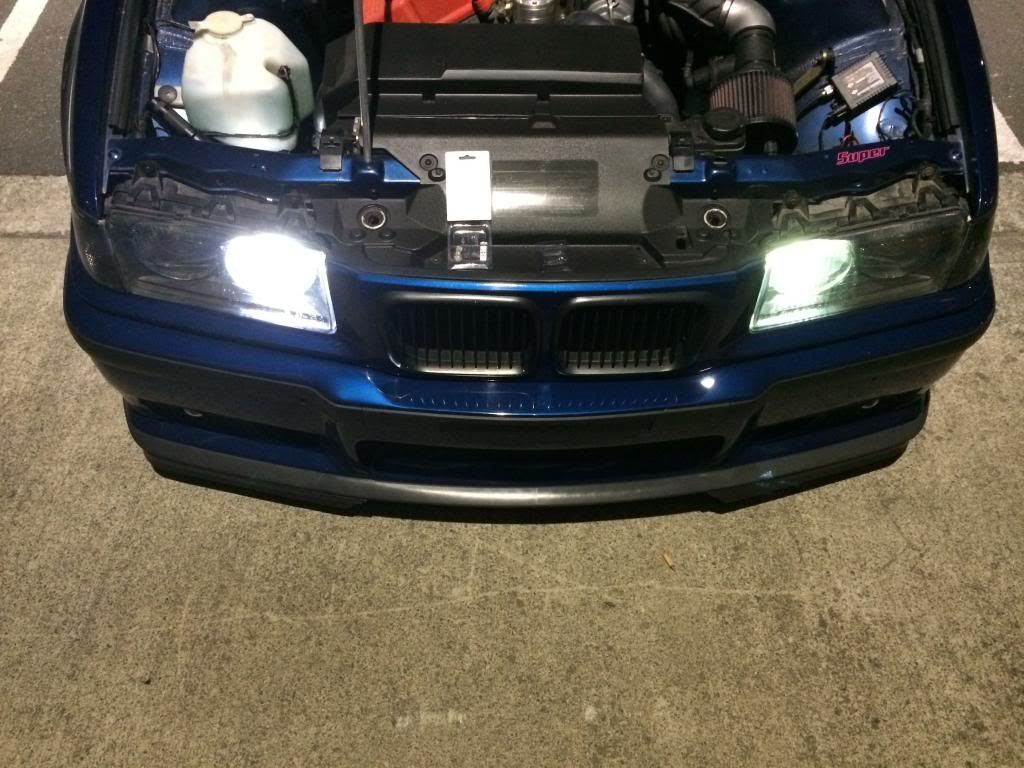
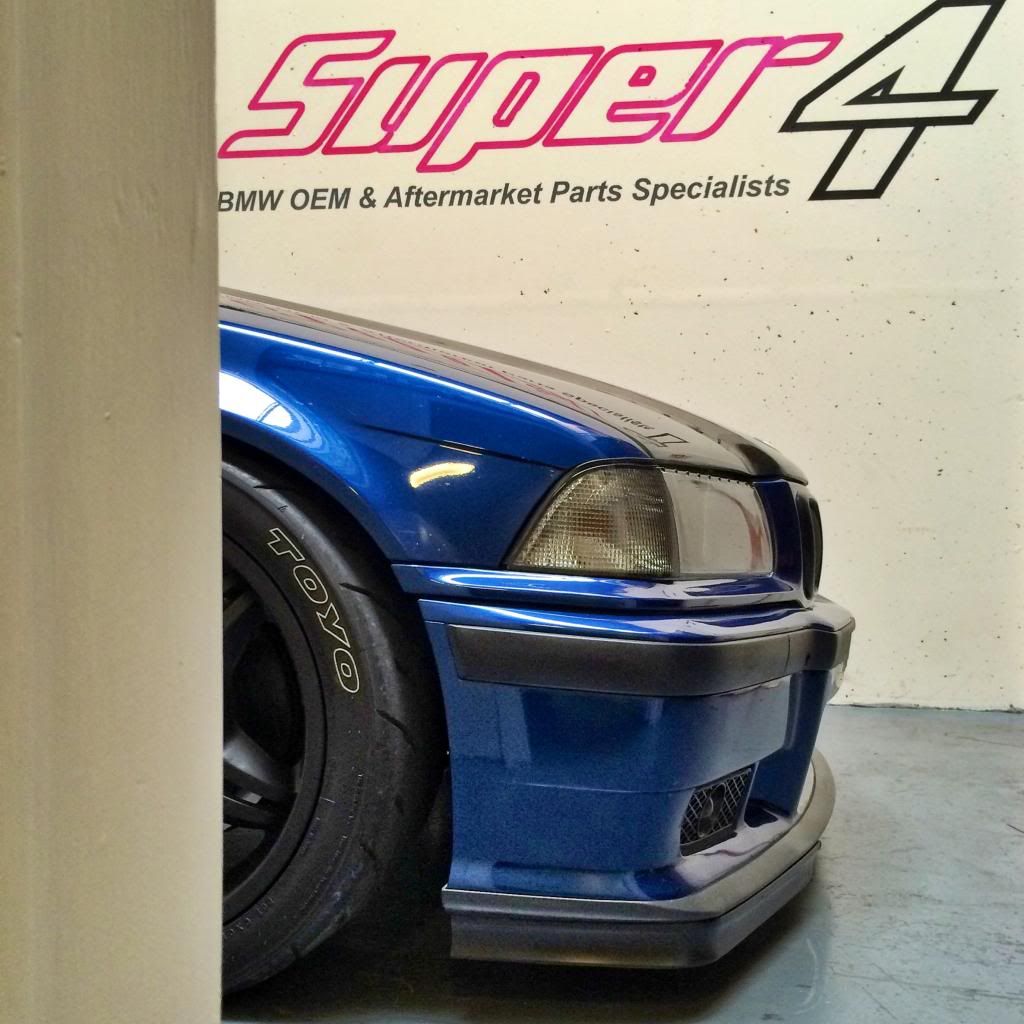
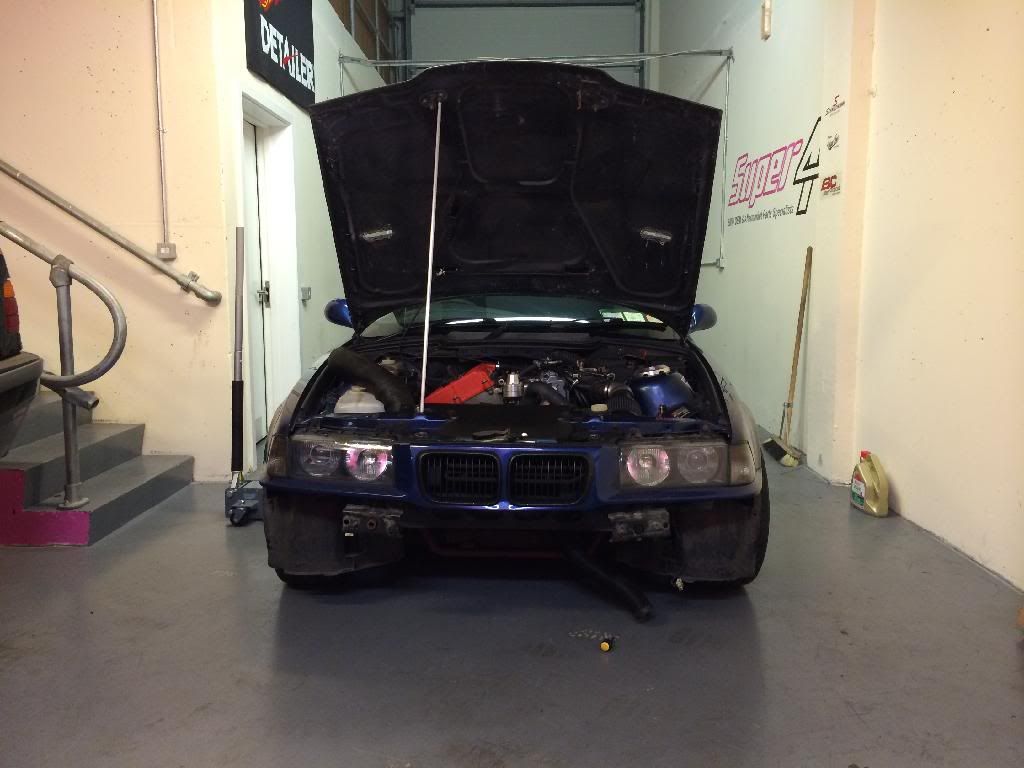
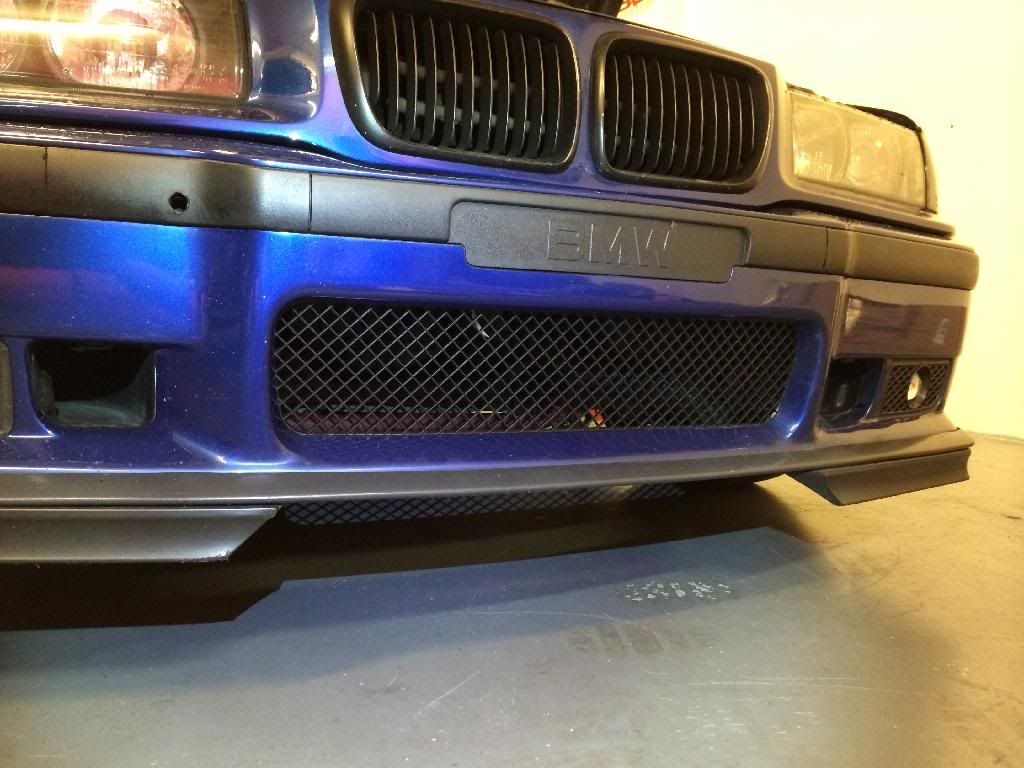
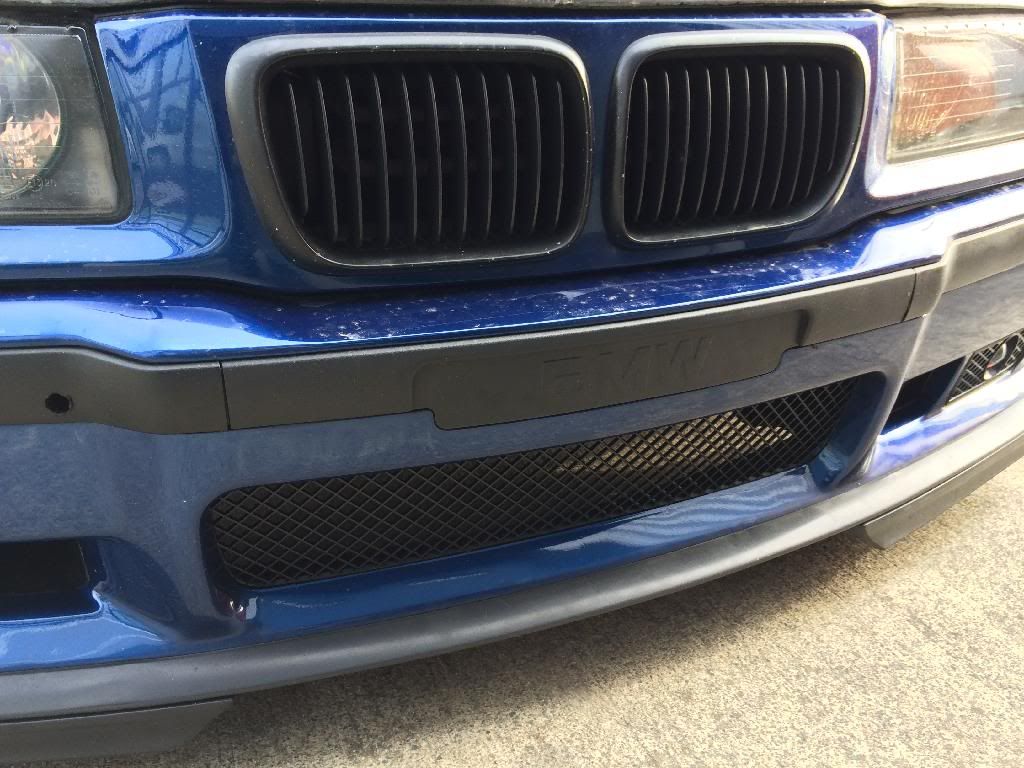
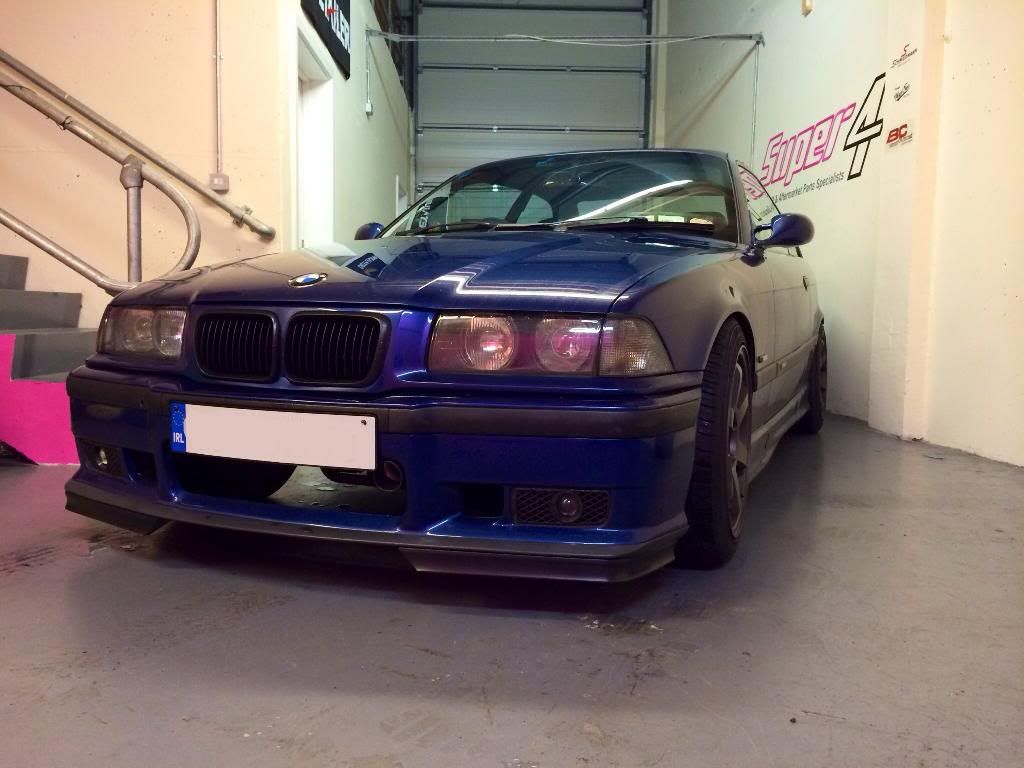
Not much happening with the Super4 daily at present however the first steps to a stealthier front end have been taken :
WHATS NEW :
Thanks for looking
Leave a comment:


Leave a comment: