 Tweet
Tweet
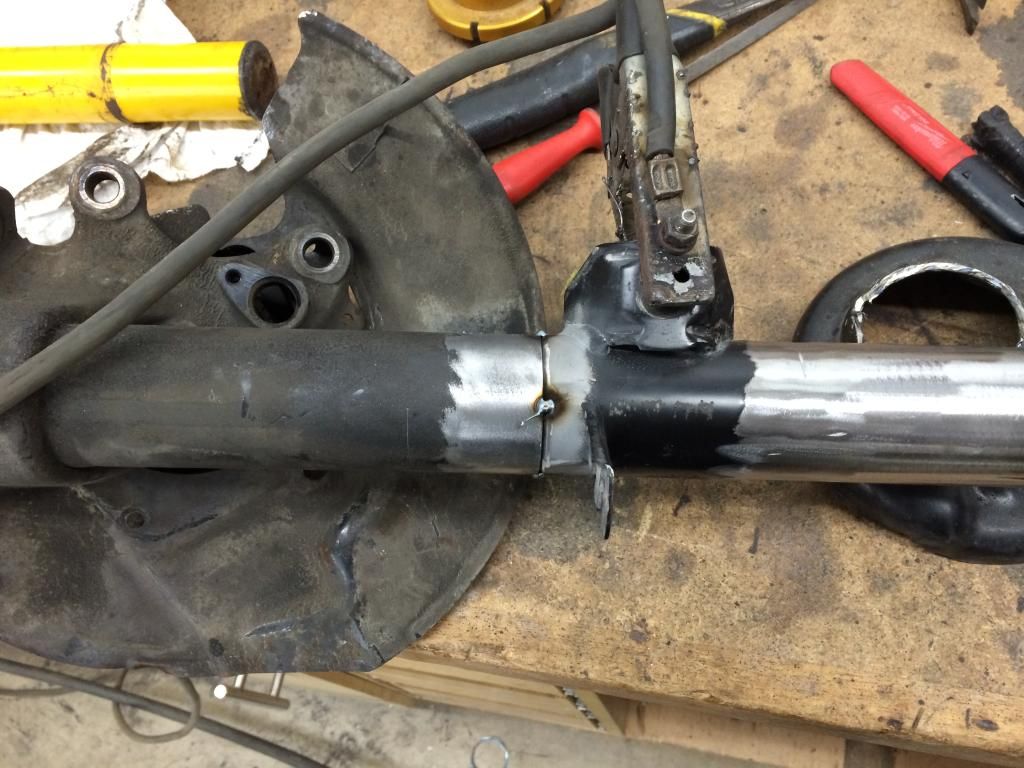
I brought back the suspension from the black car, but the strut housings were rusty from living life in New England, and I couldn't have that, so I had to track down a set of good ones out here. I couldn't use the stock 318i ones because BMW in their infinite wisdom made the diameter a few mm smaller, probably to save weight since it's a racecar, and my strut inserts wouldn't fit. Once I found a good set, I started by cutting them into pieces.
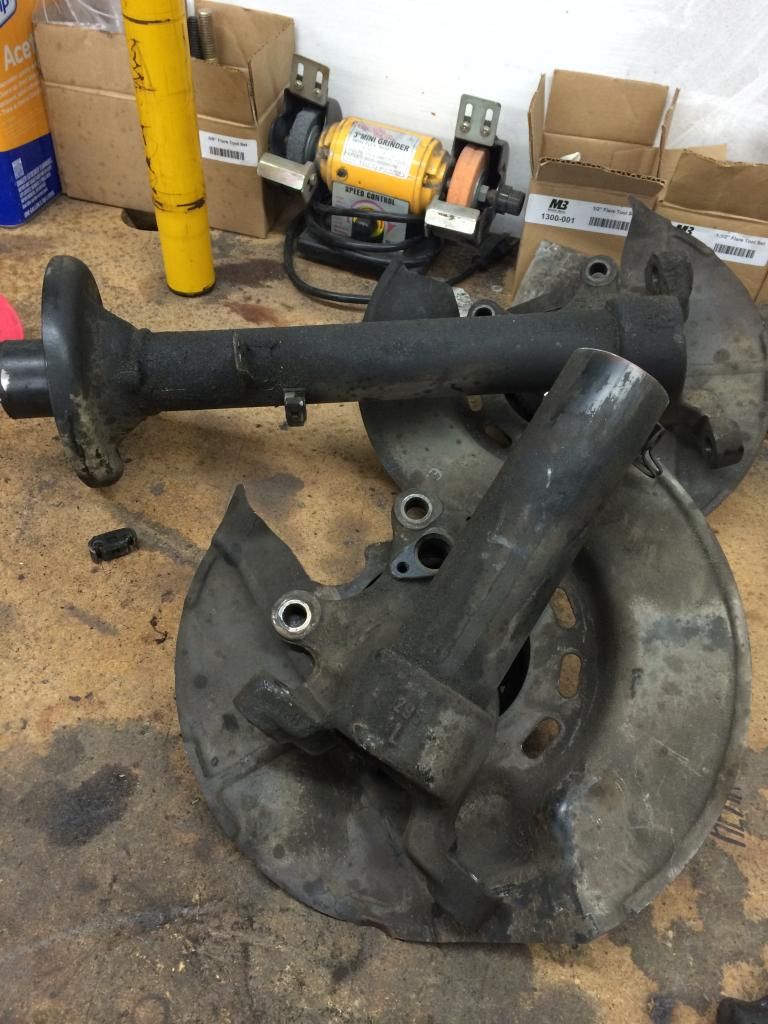


The eagle eyed nerds out there might notice the mounting tab for the sway bar links on the strut tubes. I somehow ended up with the top halves of some e30 M3 strut tubes earlier in the year and I wanted those tabs, so I combined the M3 top halves with the lower halves of the stock 325i housings.
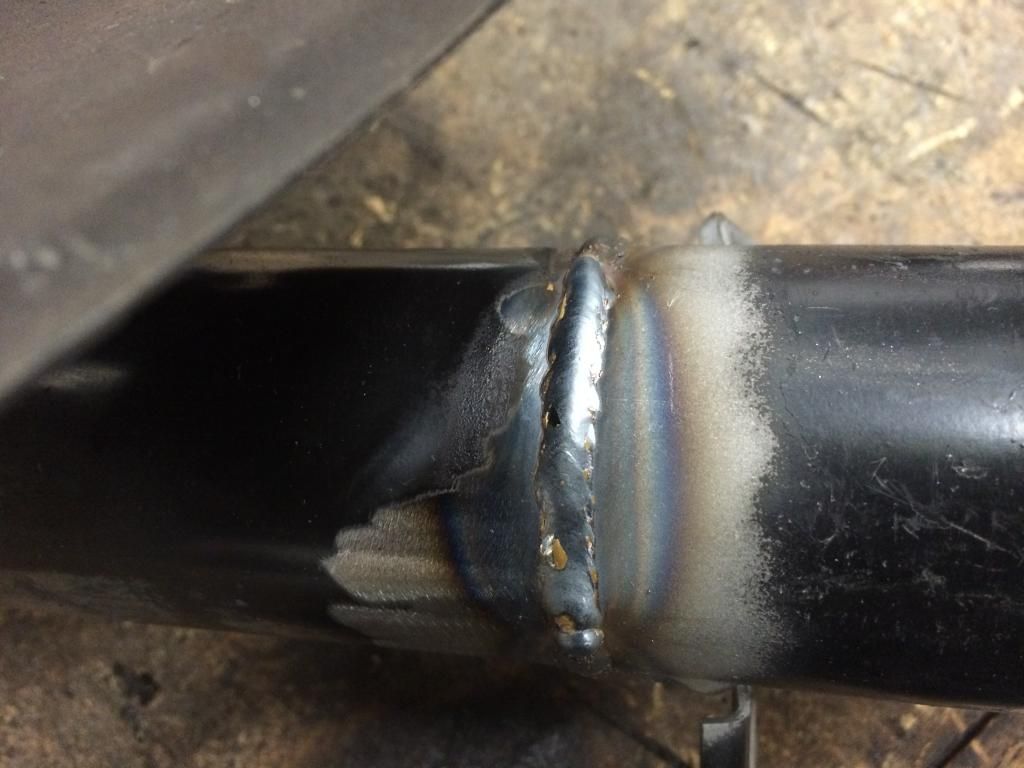
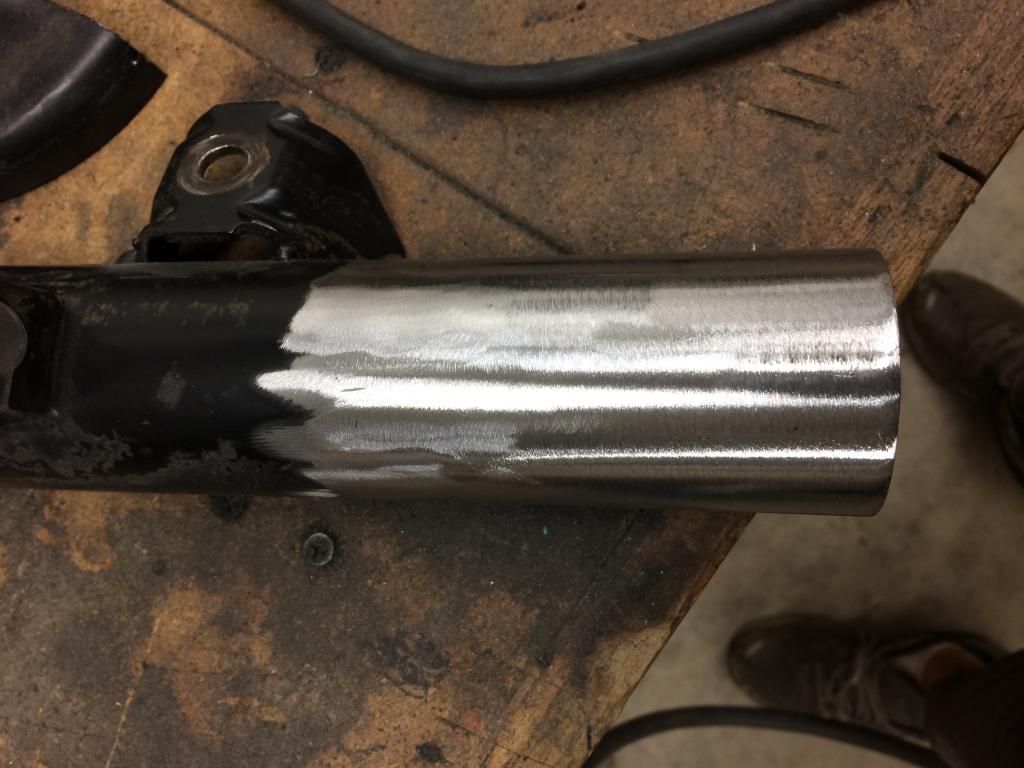
I shortened the housings 2" for good measure while I was in there.
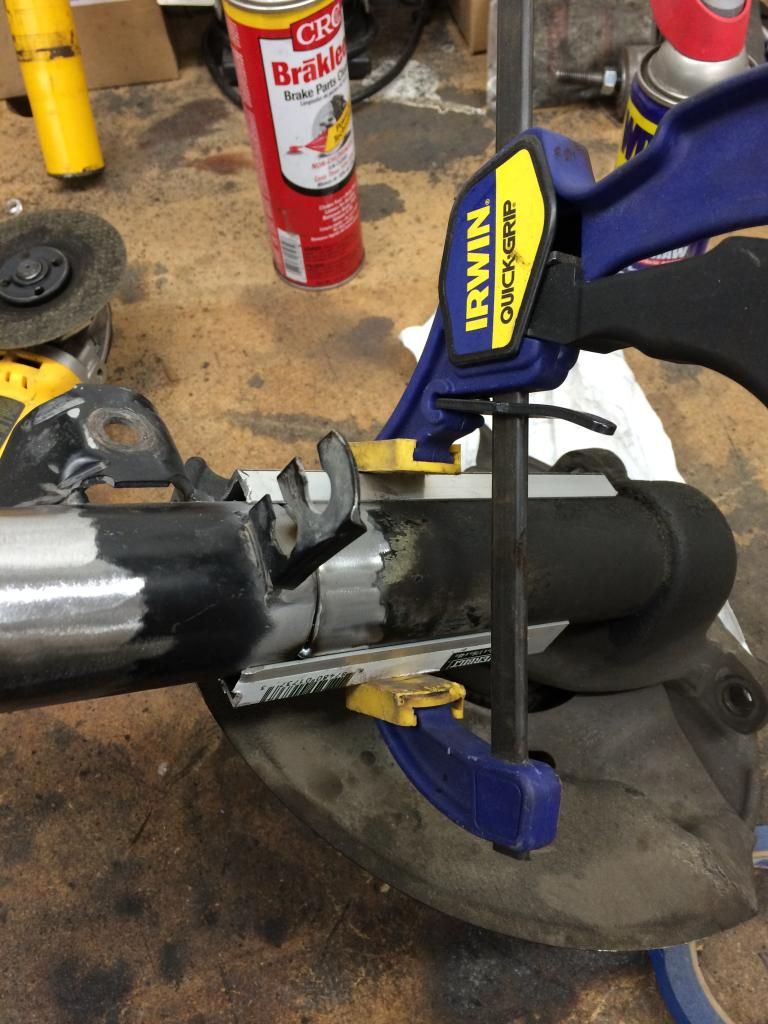
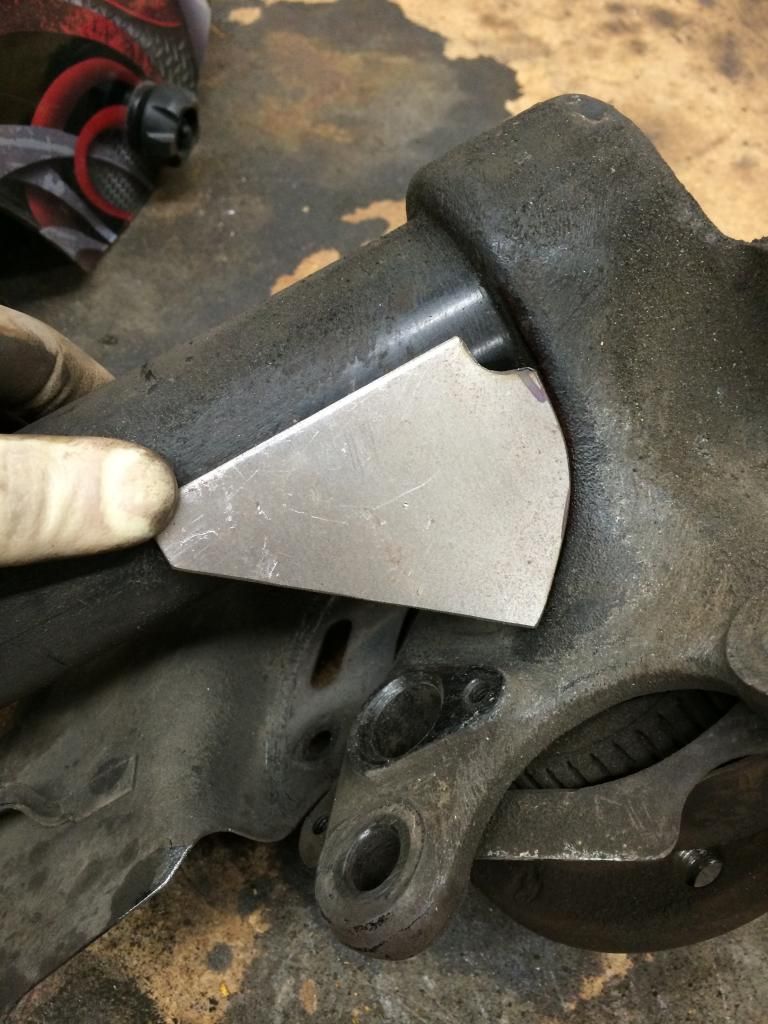
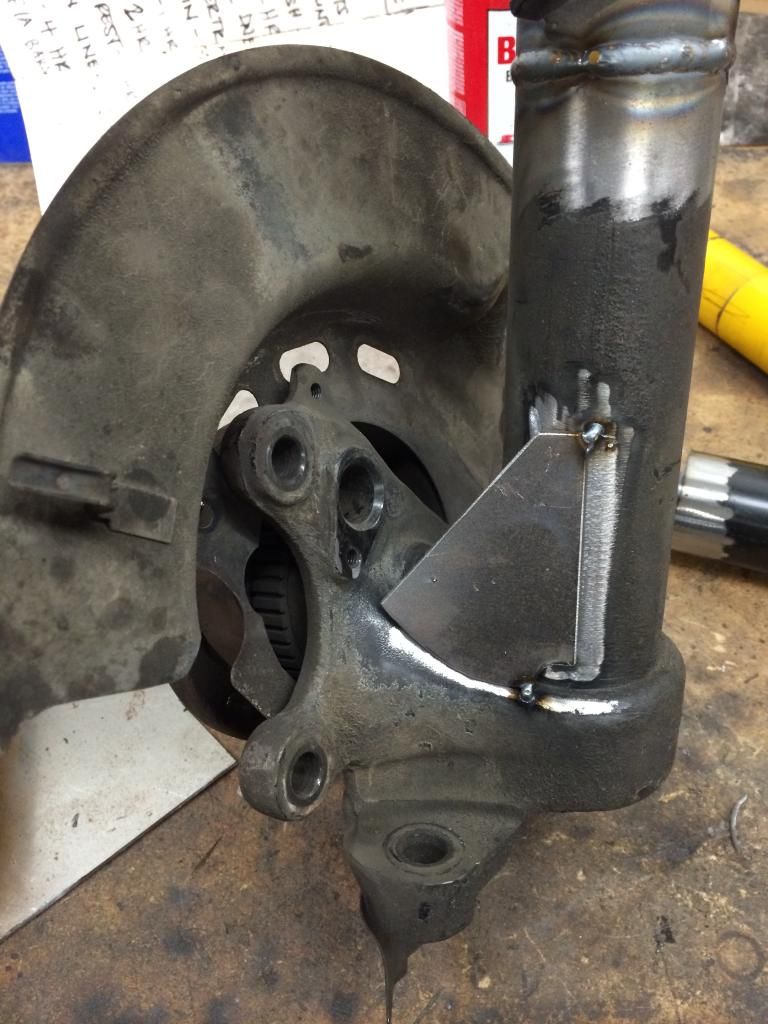
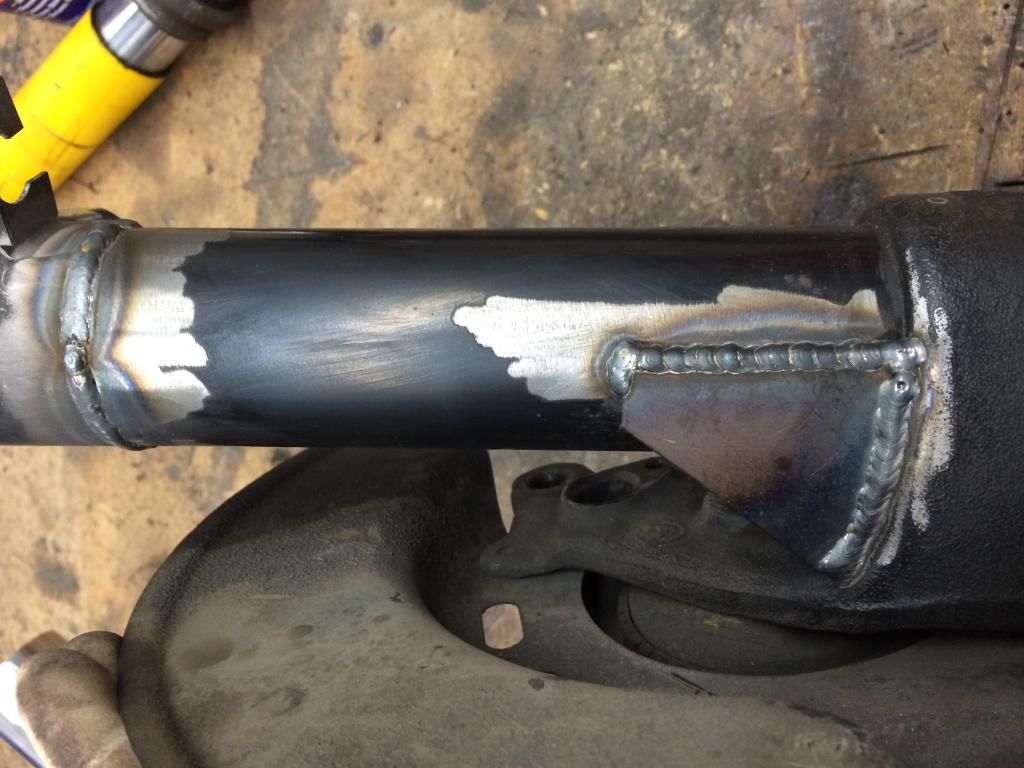
I've seen people and companies brace the hub to the strut tube before and it seemed like a good idea, so I made some gussets and welded them in
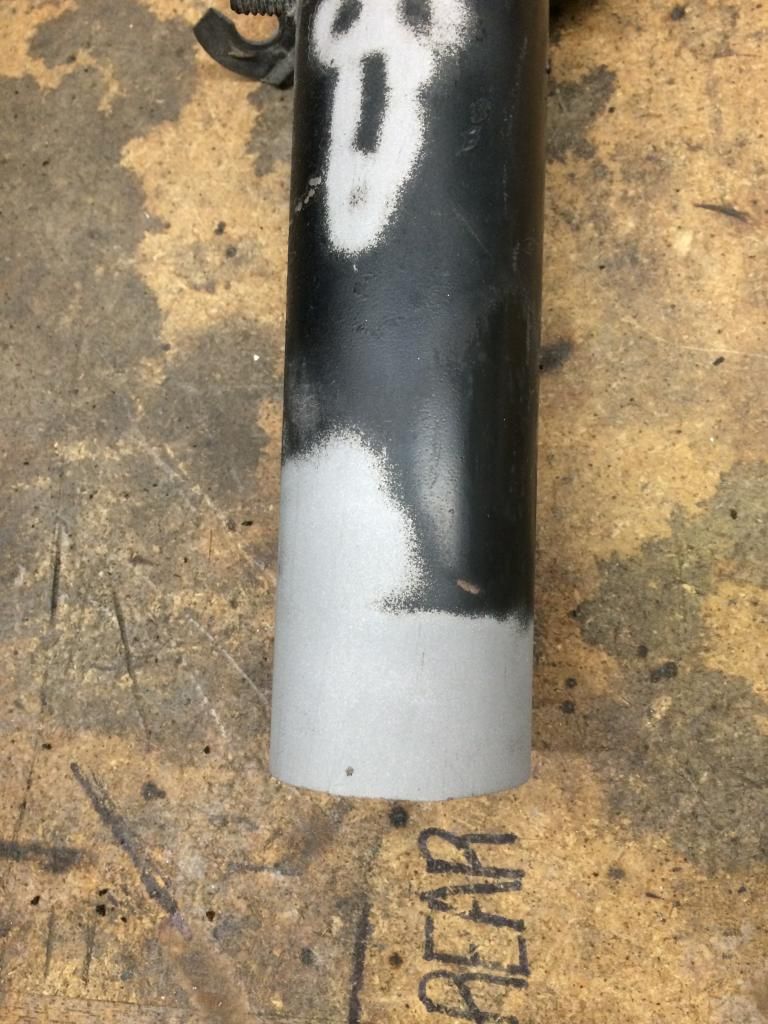
Even though I shortened the housings 2" over stock, the strut inserts I had made are 3" shorter than factory, so I needed spacers for the bottom of the strut insert. Find some pipe
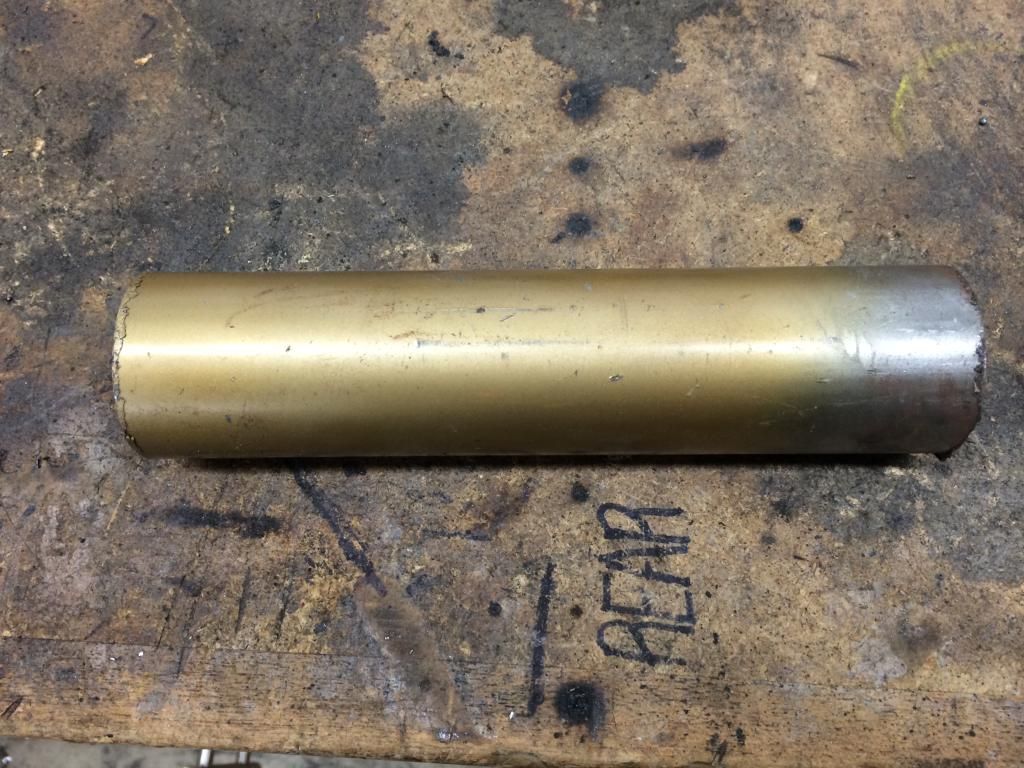
And make spacers
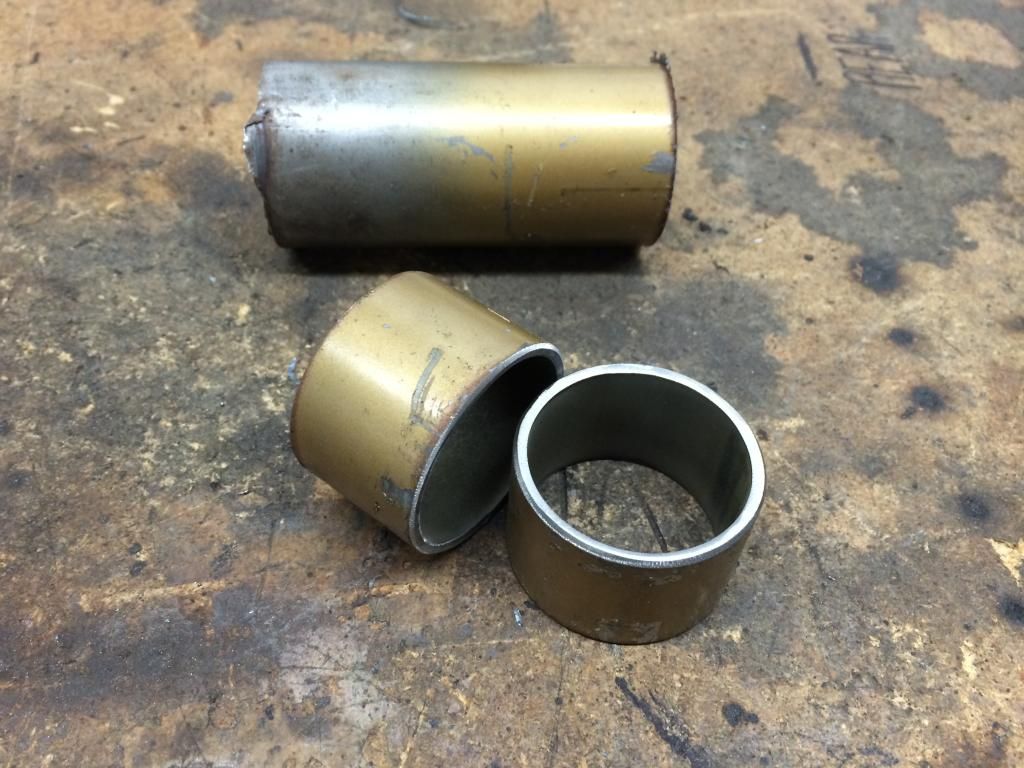
Simple
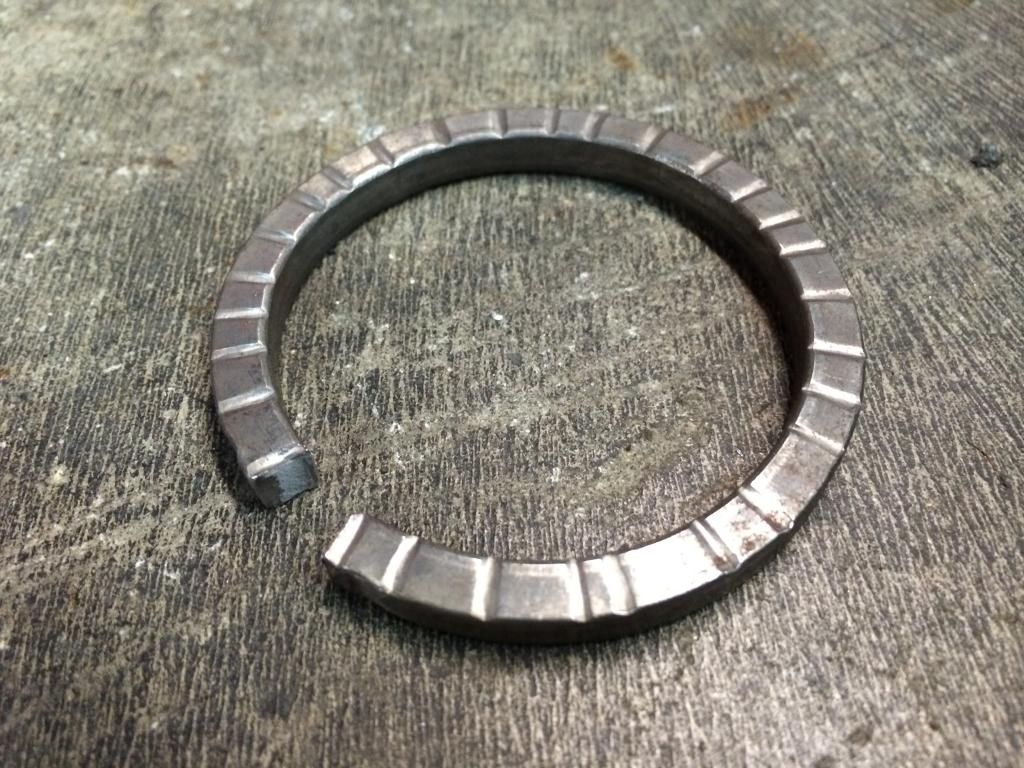
Then since I cut the stock spring seats off, I needed some new ones. I found these decorative thingys at the metal store that would work perfect.
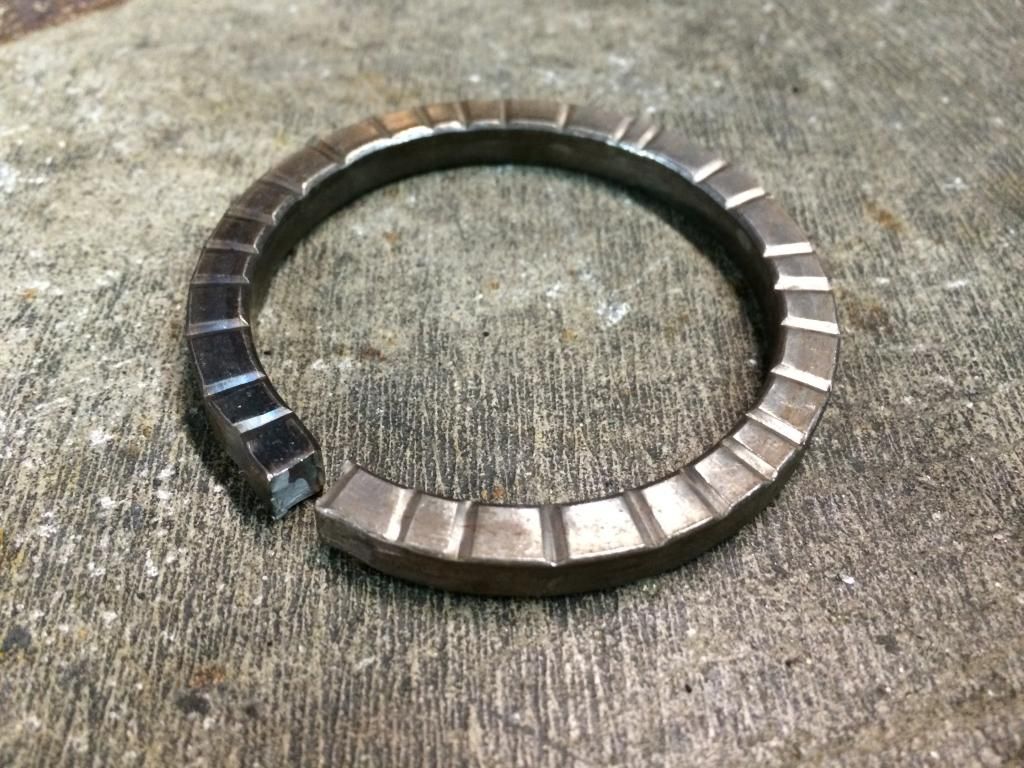
Just open them up slightly
Line them up
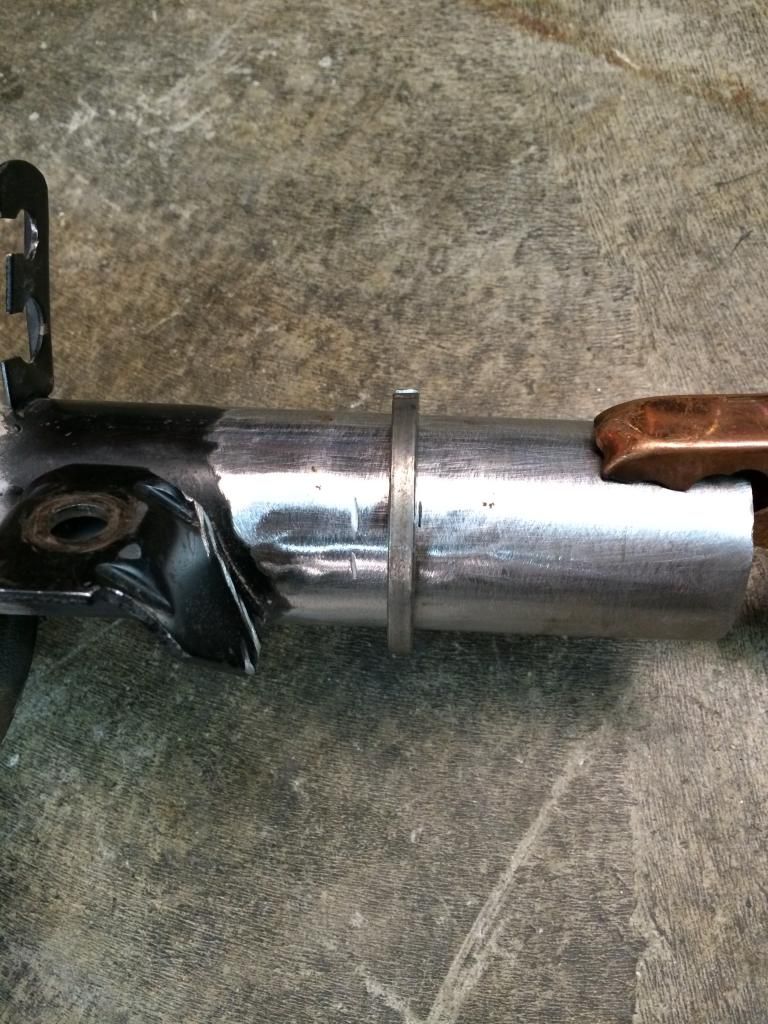
And stick them on
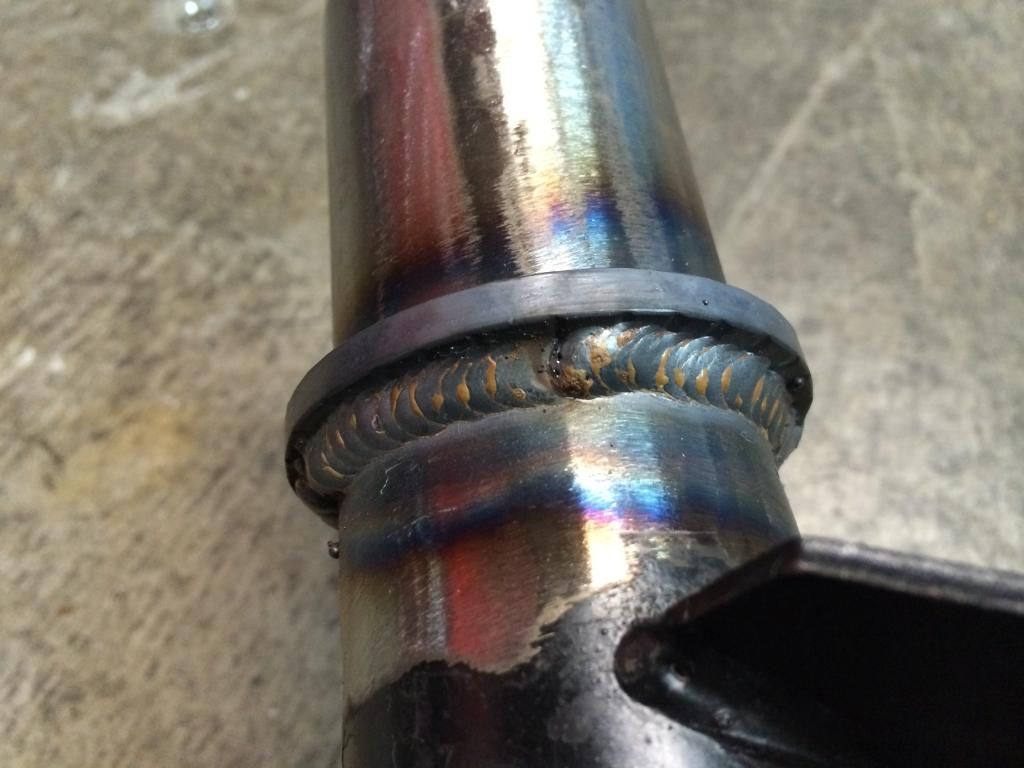
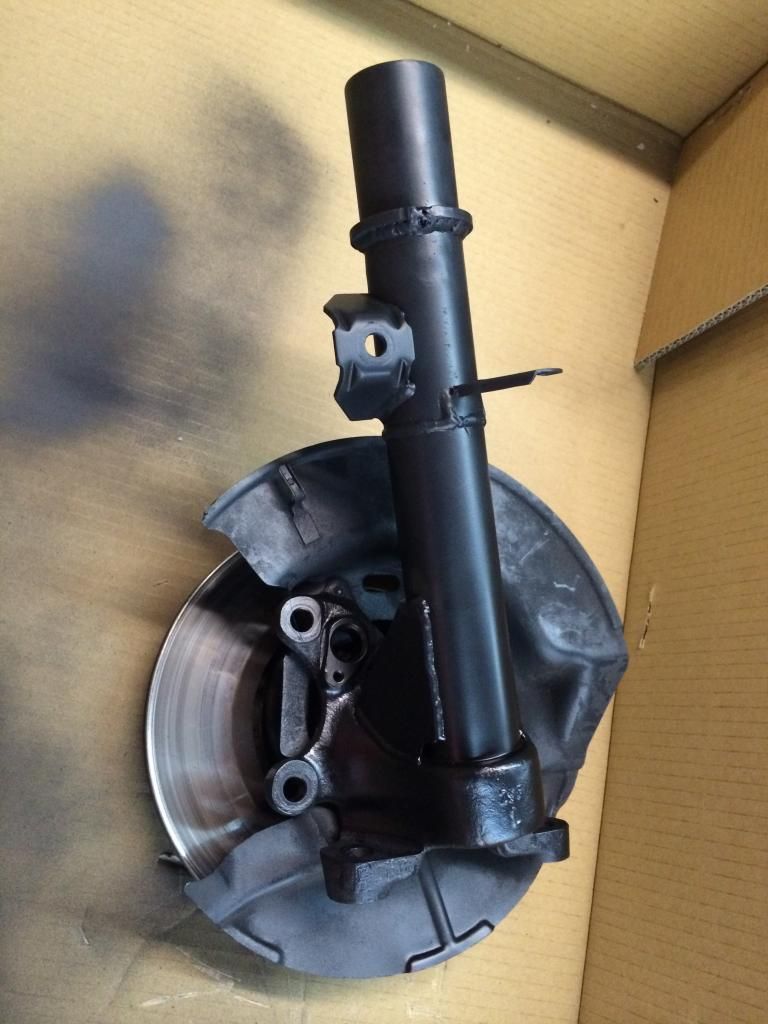
Then paint the housings all pretty with a spray can at night
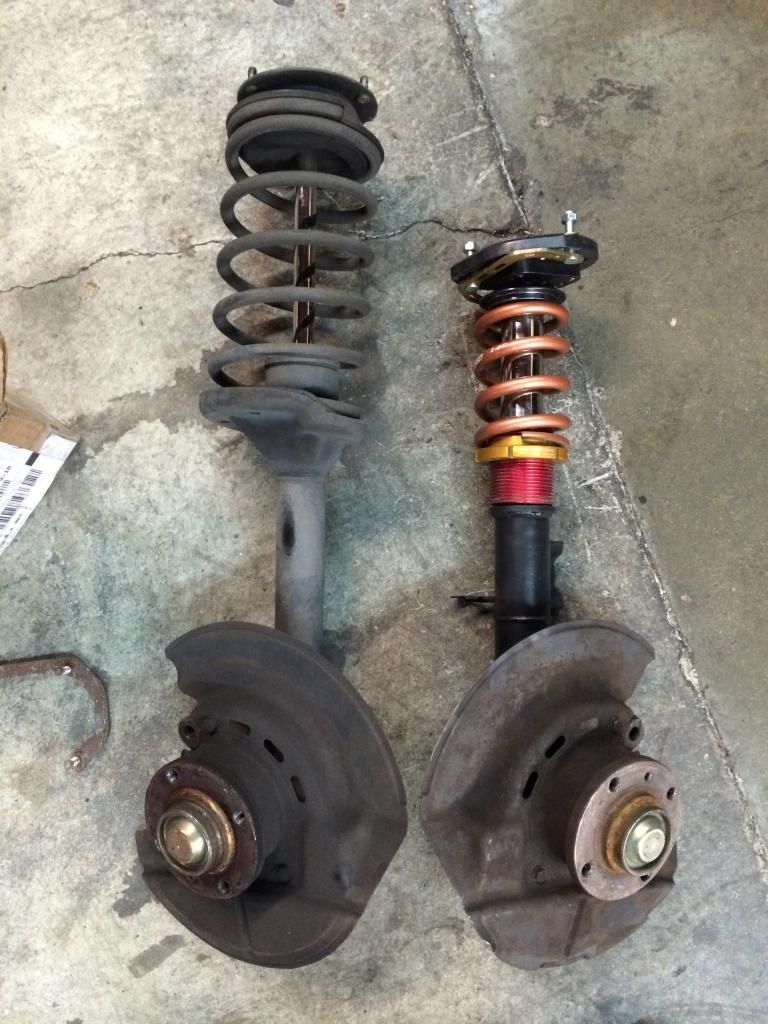
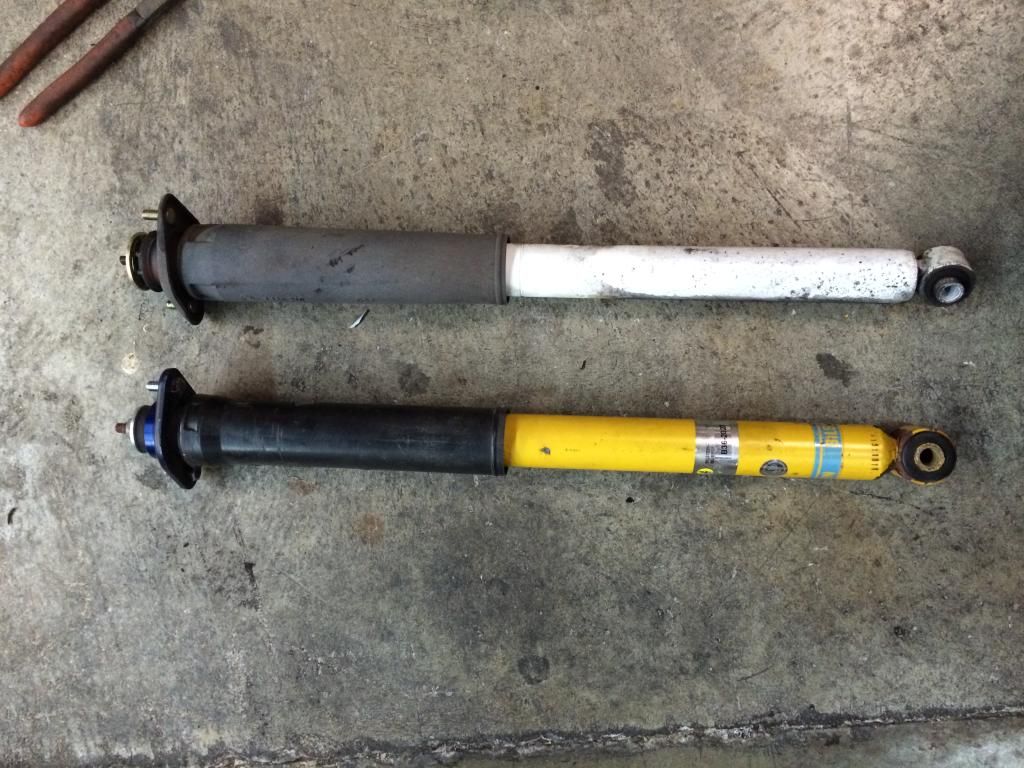
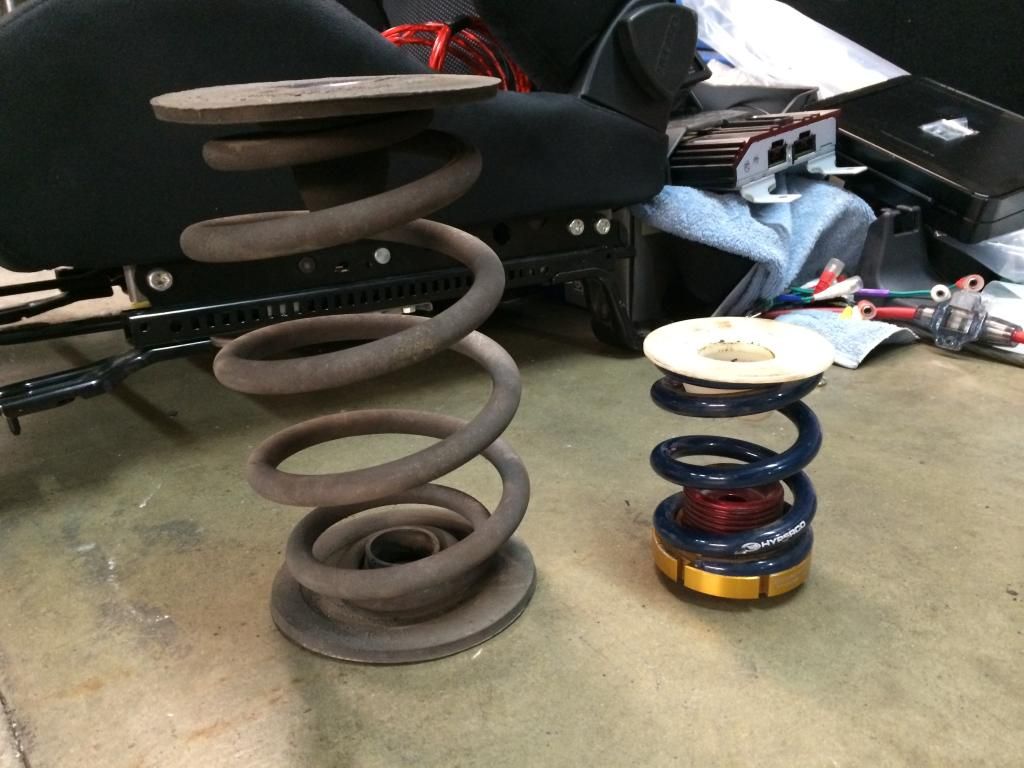
Assemble and compare to stock
I had my camber plates rebuilt sometime during this as well, which was a story in itself, but here they are before. Open raceplate design used for 3 years in New England means they weren't pretty
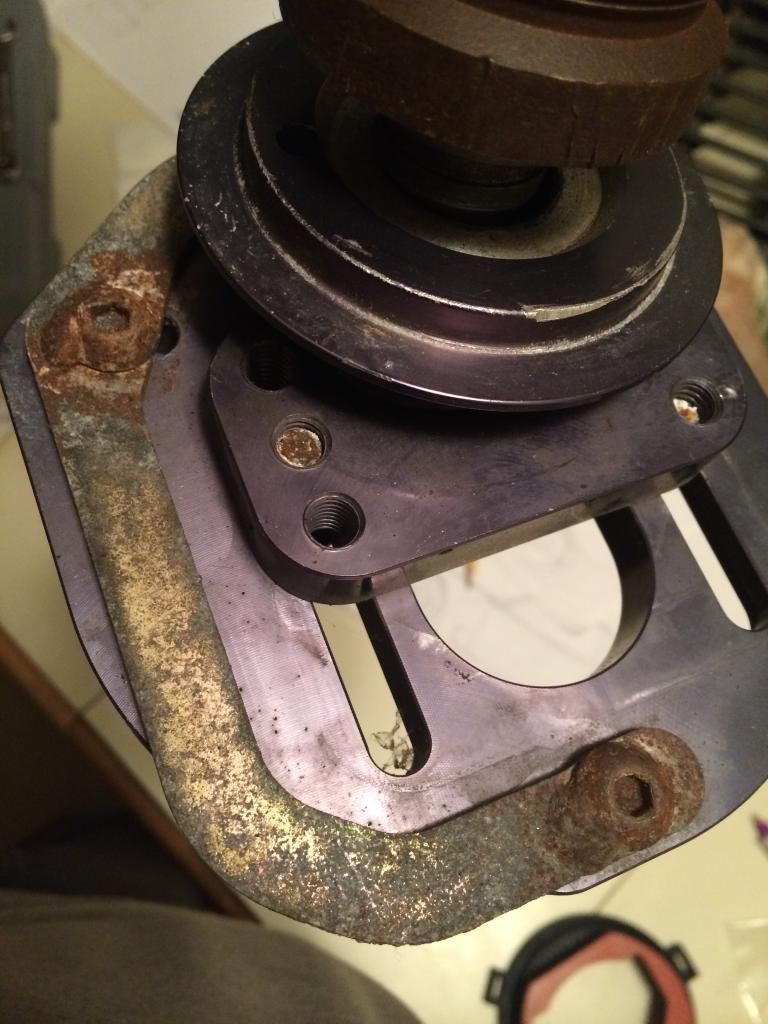

Of course I didn't take pictures afterwards.
But back to the struts
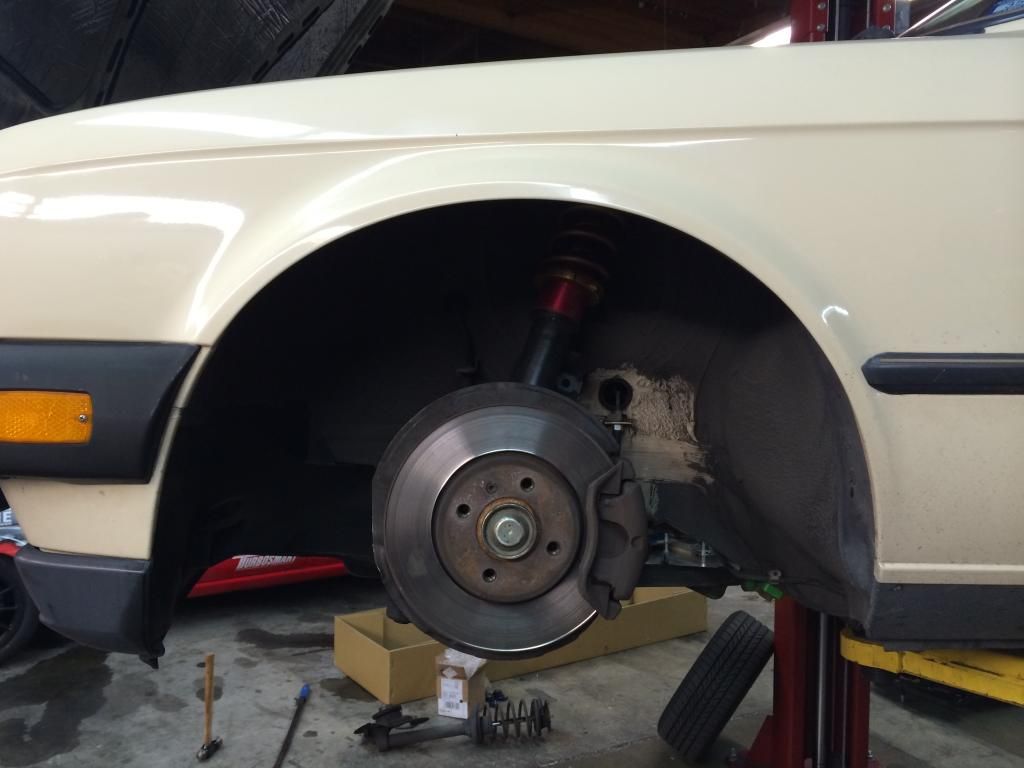
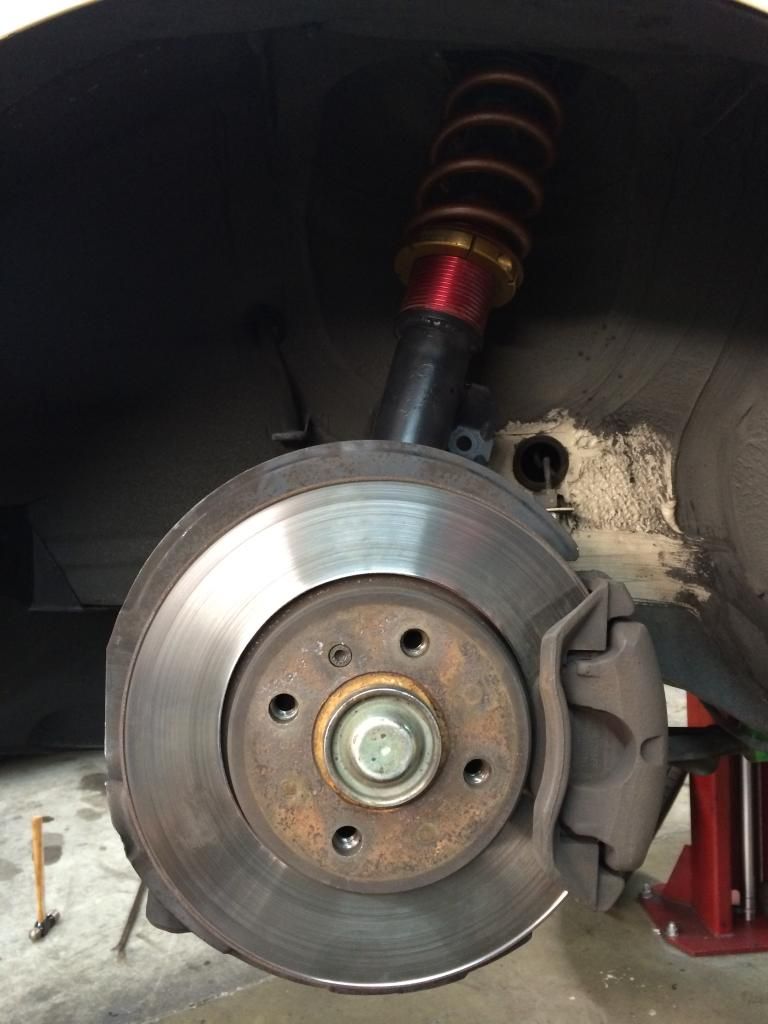
I just put the stock 318i front brakes on the new housings for now since the rear is still drum and my new housings didn't come with the vented rotor calipers.
I got these new sway bar links from a friend to use in those swanky new tabs
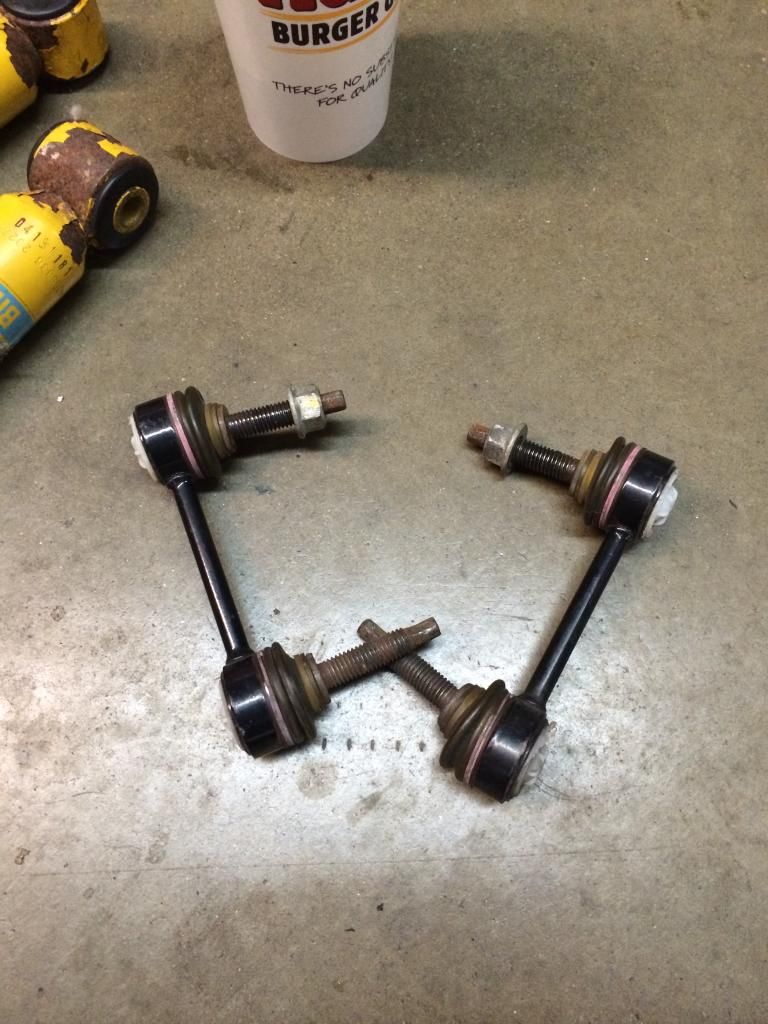
But they're from a mustang so they're nowhere close to working. I'm going to cut and sleeve them in order to extend and rotate them, but I still need to get material. I'm still using the stock control arm mounts for now.
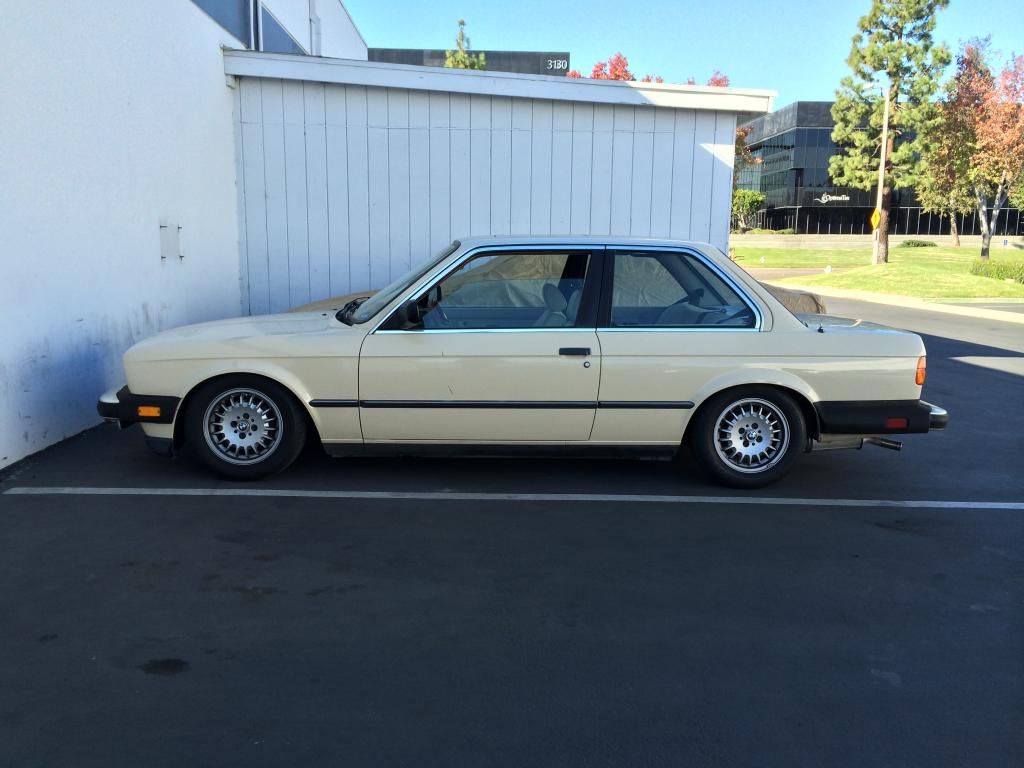
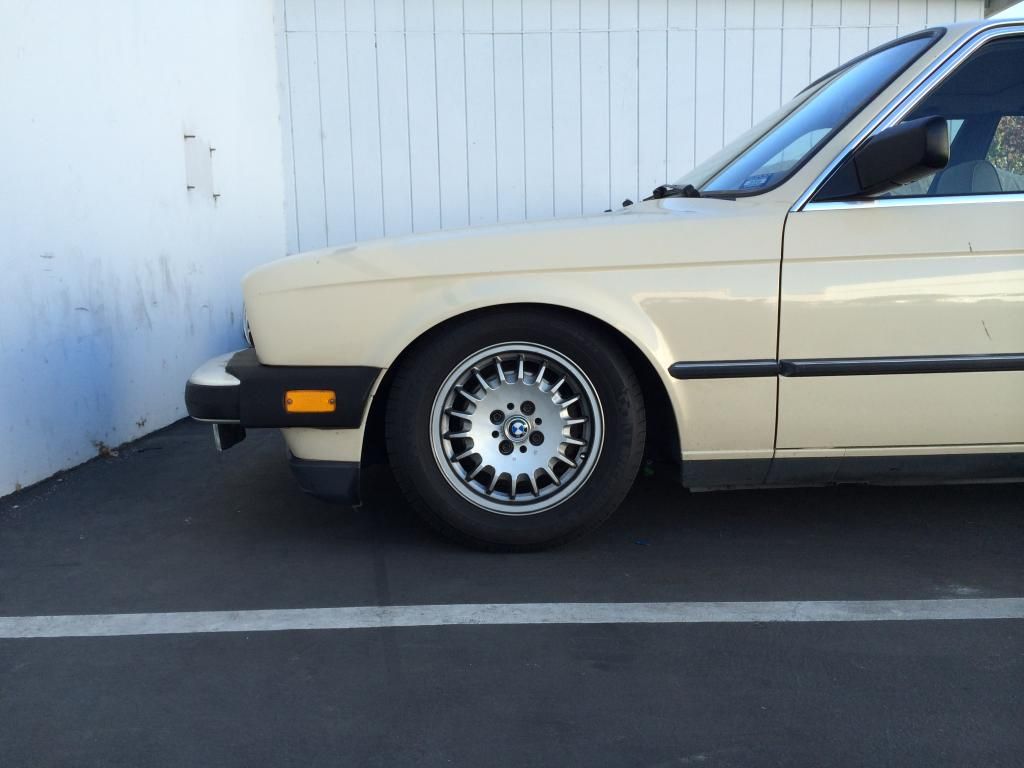
Laugh at how much lower it is before moving on to the rear suspension
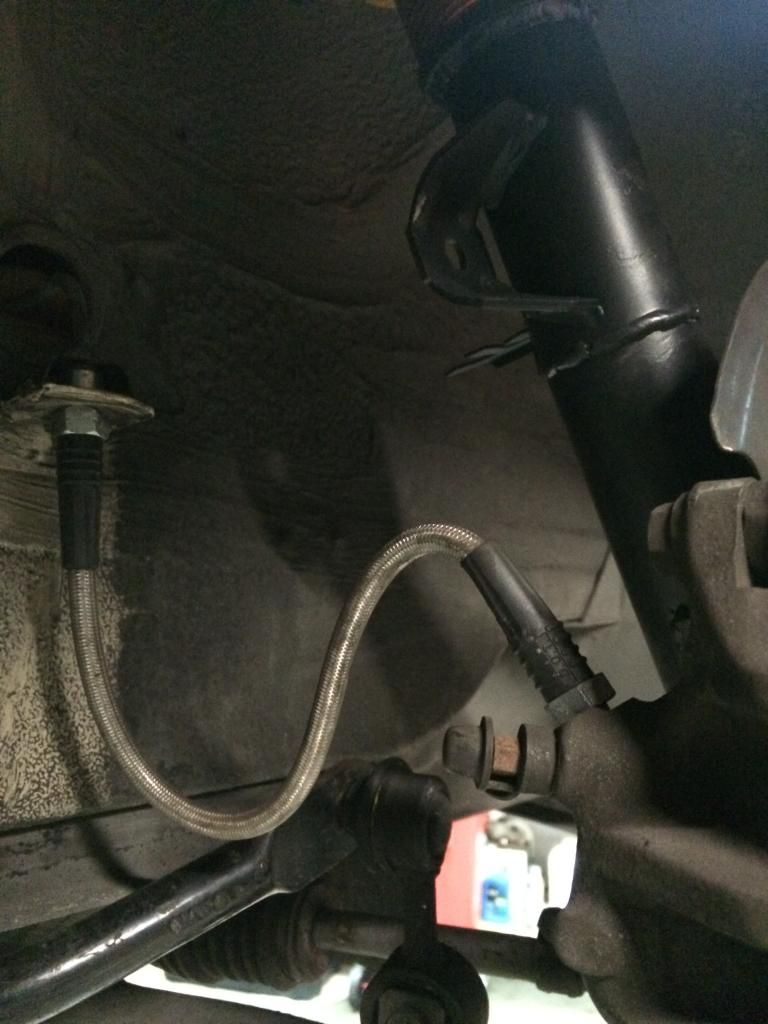
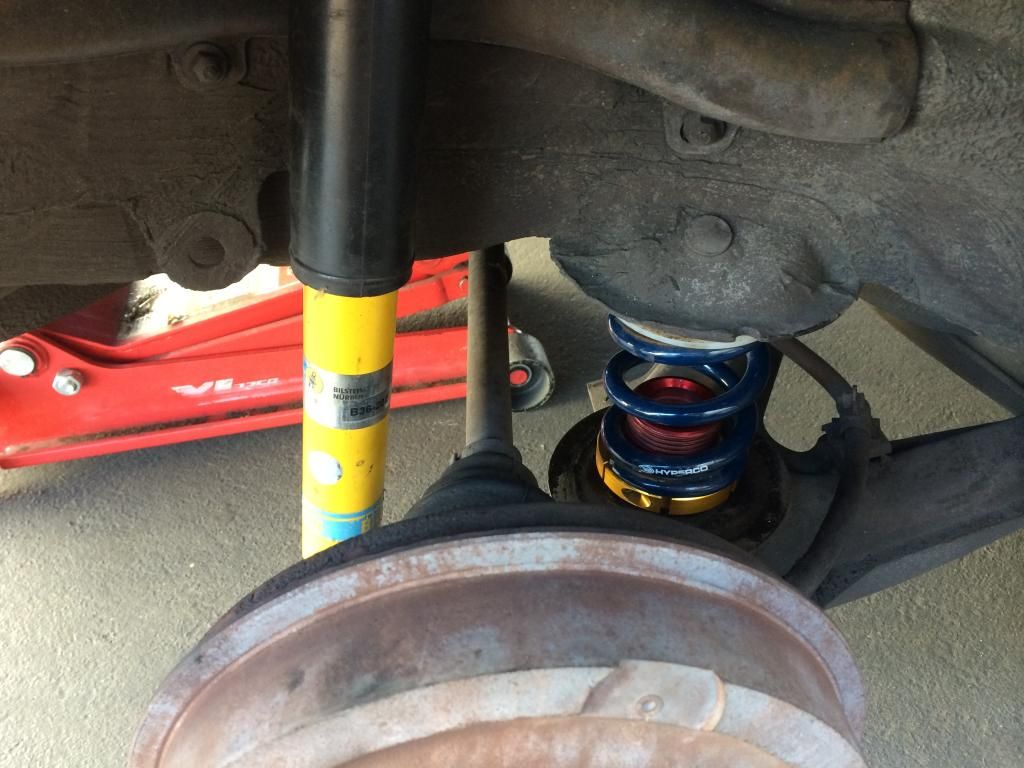
Then pull the rear apart and put the new stuff in.
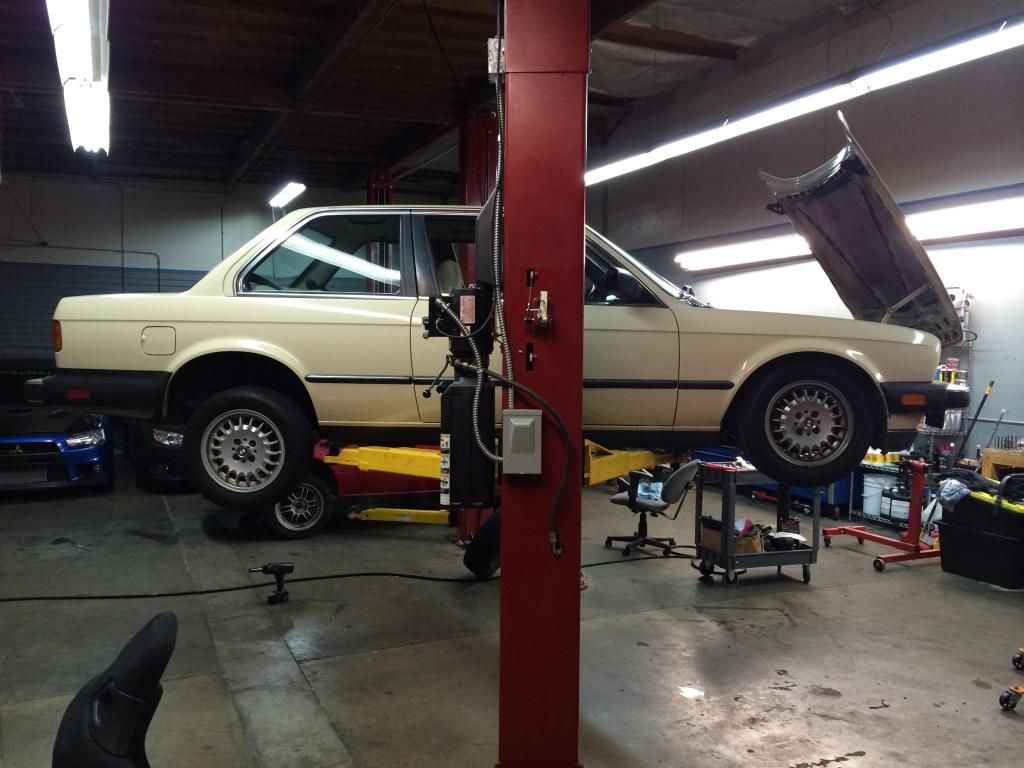
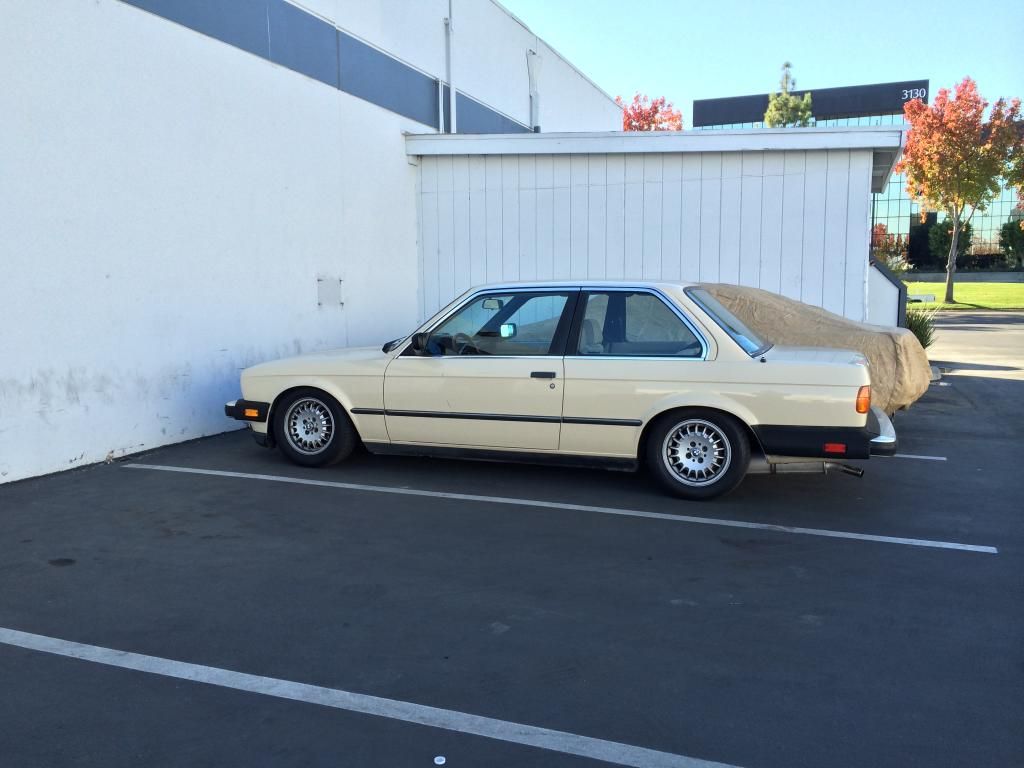
Then pull it outside and think about how you just ruined a nice car

The suspension is very stiff since I originally built it for the black car that was 1/4" off the ground, so it rides quite a bit different. The suspension is basically all tire at the moment. It handles so much better than it did before, but now I'm gonna need some new wheels so I can get better tires. I have all new bushings for the rear end, but I'm waiting on some new trailing arms for the brake swap before I put them in.


The eagle eyed nerds out there might notice the mounting tab for the sway bar links on the strut tubes. I somehow ended up with the top halves of some e30 M3 strut tubes earlier in the year and I wanted those tabs, so I combined the M3 top halves with the lower halves of the stock 325i housings.


I shortened the housings 2" for good measure while I was in there.
I've seen people and companies brace the hub to the strut tube before and it seemed like a good idea, so I made some gussets and welded them in


Even though I shortened the housings 2" over stock, the strut inserts I had made are 3" shorter than factory, so I needed spacers for the bottom of the strut insert. Find some pipe

And make spacers

Simple
Then since I cut the stock spring seats off, I needed some new ones. I found these decorative thingys at the metal store that would work perfect.

Just open them up slightly

Line them up

And stick them on

Then paint the housings all pretty with a spray can at night

Assemble and compare to stock

I had my camber plates rebuilt sometime during this as well, which was a story in itself, but here they are before. Open raceplate design used for 3 years in New England means they weren't pretty


Of course I didn't take pictures afterwards.
But back to the struts

I just put the stock 318i front brakes on the new housings for now since the rear is still drum and my new housings didn't come with the vented rotor calipers.

I got these new sway bar links from a friend to use in those swanky new tabs

But they're from a mustang so they're nowhere close to working. I'm going to cut and sleeve them in order to extend and rotate them, but I still need to get material. I'm still using the stock control arm mounts for now.

Laugh at how much lower it is before moving on to the rear suspension

Then pull the rear apart and put the new stuff in.


Then pull it outside and think about how you just ruined a nice car


The suspension is very stiff since I originally built it for the black car that was 1/4" off the ground, so it rides quite a bit different. The suspension is basically all tire at the moment. It handles so much better than it did before, but now I'm gonna need some new wheels so I can get better tires. I have all new bushings for the rear end, but I'm waiting on some new trailing arms for the brake swap before I put them in.


Comment