 Tweet
Tweet
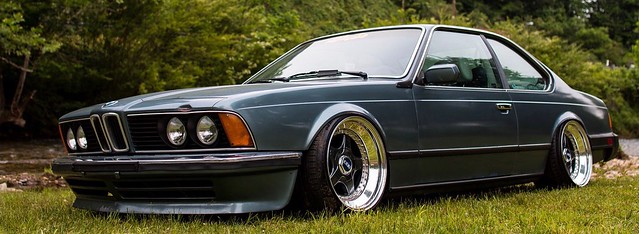
As promised I said I would be posting my build thread, this is going to be a really long post since I have been working on this car for 2 years. Anyways here is a little about myself if you didn't read my intro. Hello, my names is Raymond. I spent most of time the past year with school, work, fixing up an e39 540i that needed the motor to be replaced, and many other things. Because of that I have been very busy and neglected my e24. Now that I have sold the e39 I get to spend time building up my e24 635csi! To answer some of your questions my main plans with the car is to make it a clean car, that I will be daily driving, tracking, and taking to shows!
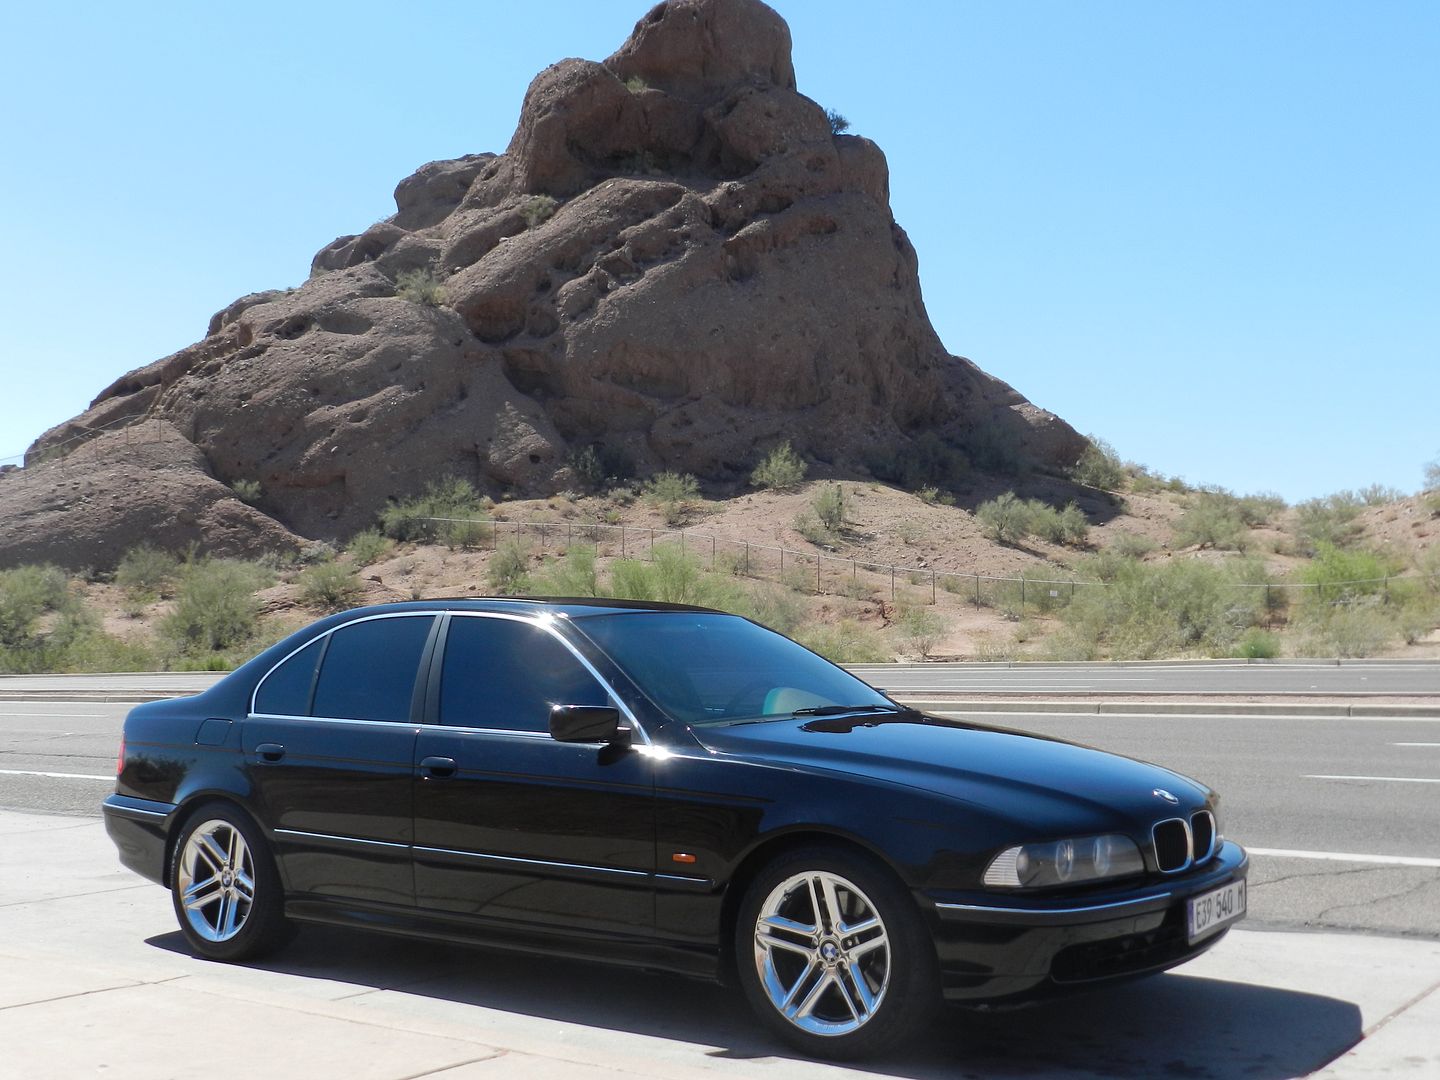
This is the 1997 e39 540i I restored; If you are interested you could check out the build on my local BMW forum here:
Video of the Car:
[ame="http://www.youtube.com/watch?v=UJV6tkvH6k8"]E39 540i - Flyby Compilation (Muffler / Resonator Delete) - YouTube[/ame]
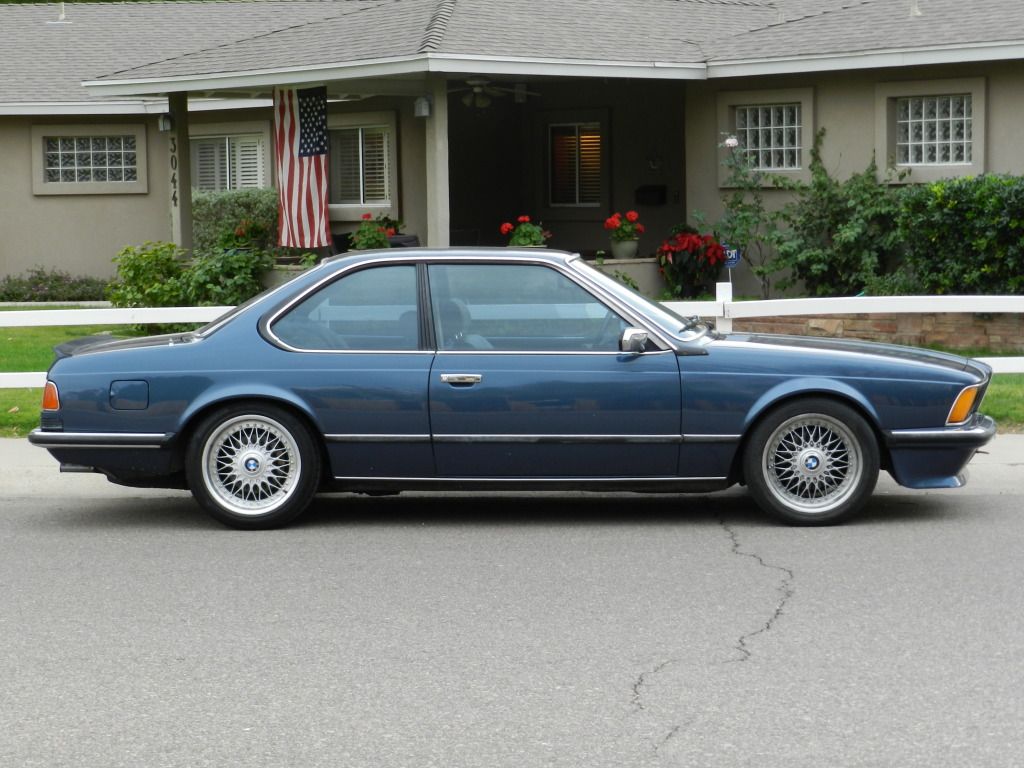
Anyway here is some of the past write ups I have on my 6 series.
It all started when I traded my prior to this car that I owned which was a 1991 e30 318is and loved it very much. Here is a picture:
 Though, after seeing an add on craigslist with a Euro e24 for sale I just had to buy it...well I actually just traded cars. Why? Because I really love the look of the e24's and the power of a dirty m30. I also wanted something a little bit more unique then an e30. My e30 was no where near perfect and I took some parts offs to make the trade fair.
QUICK INFO:
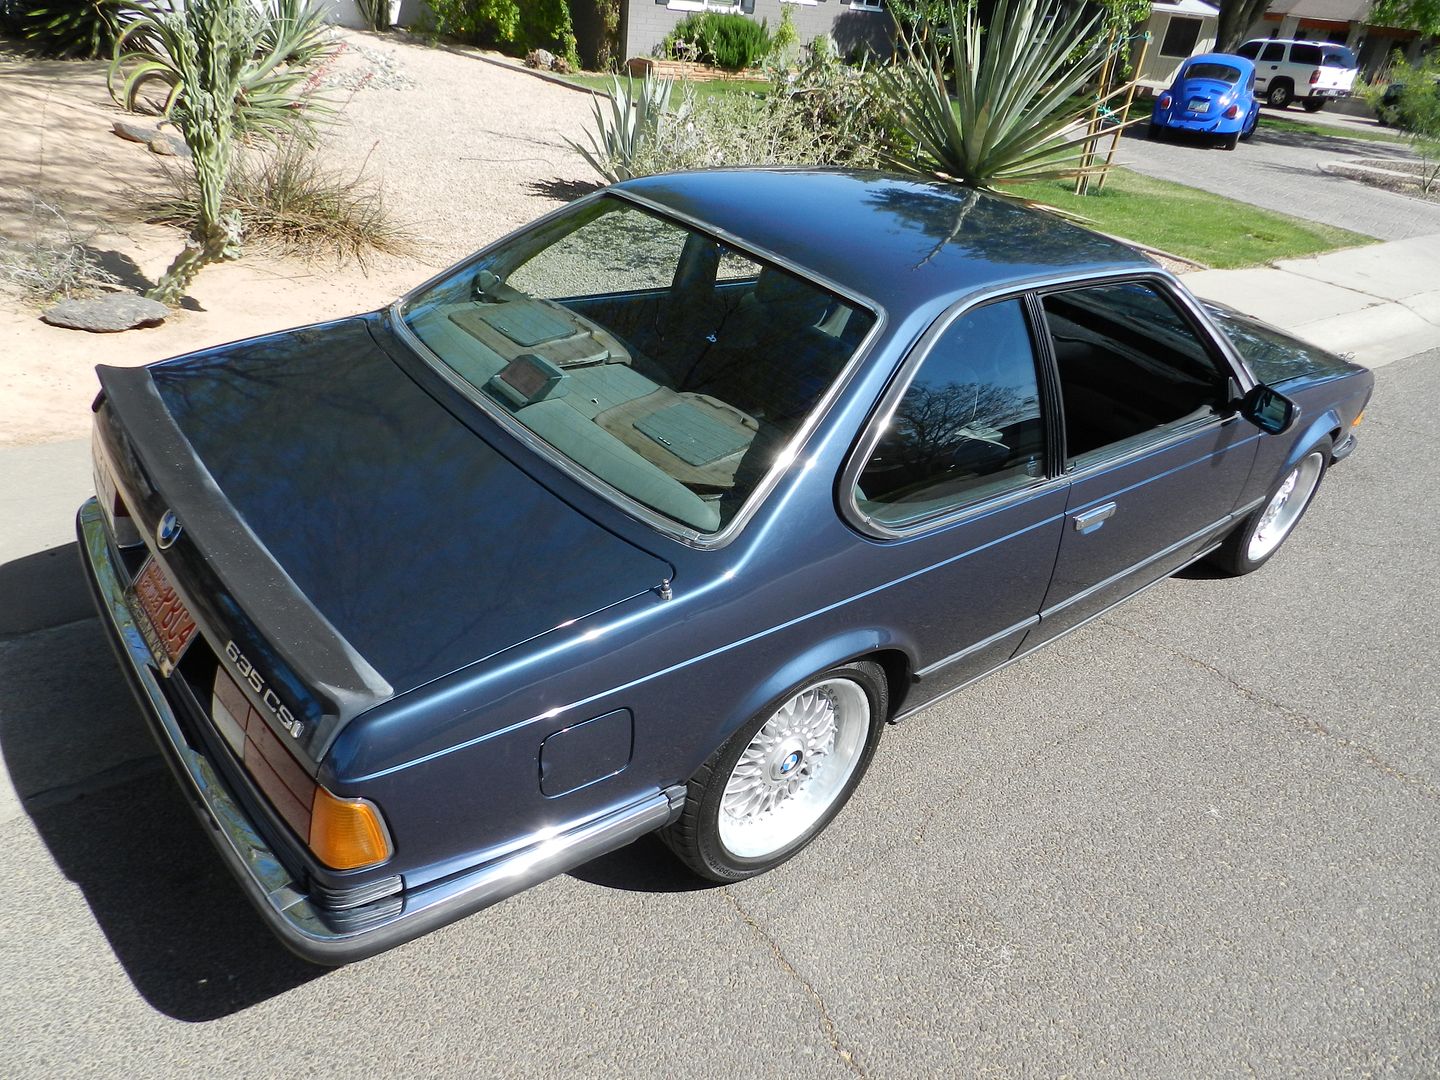
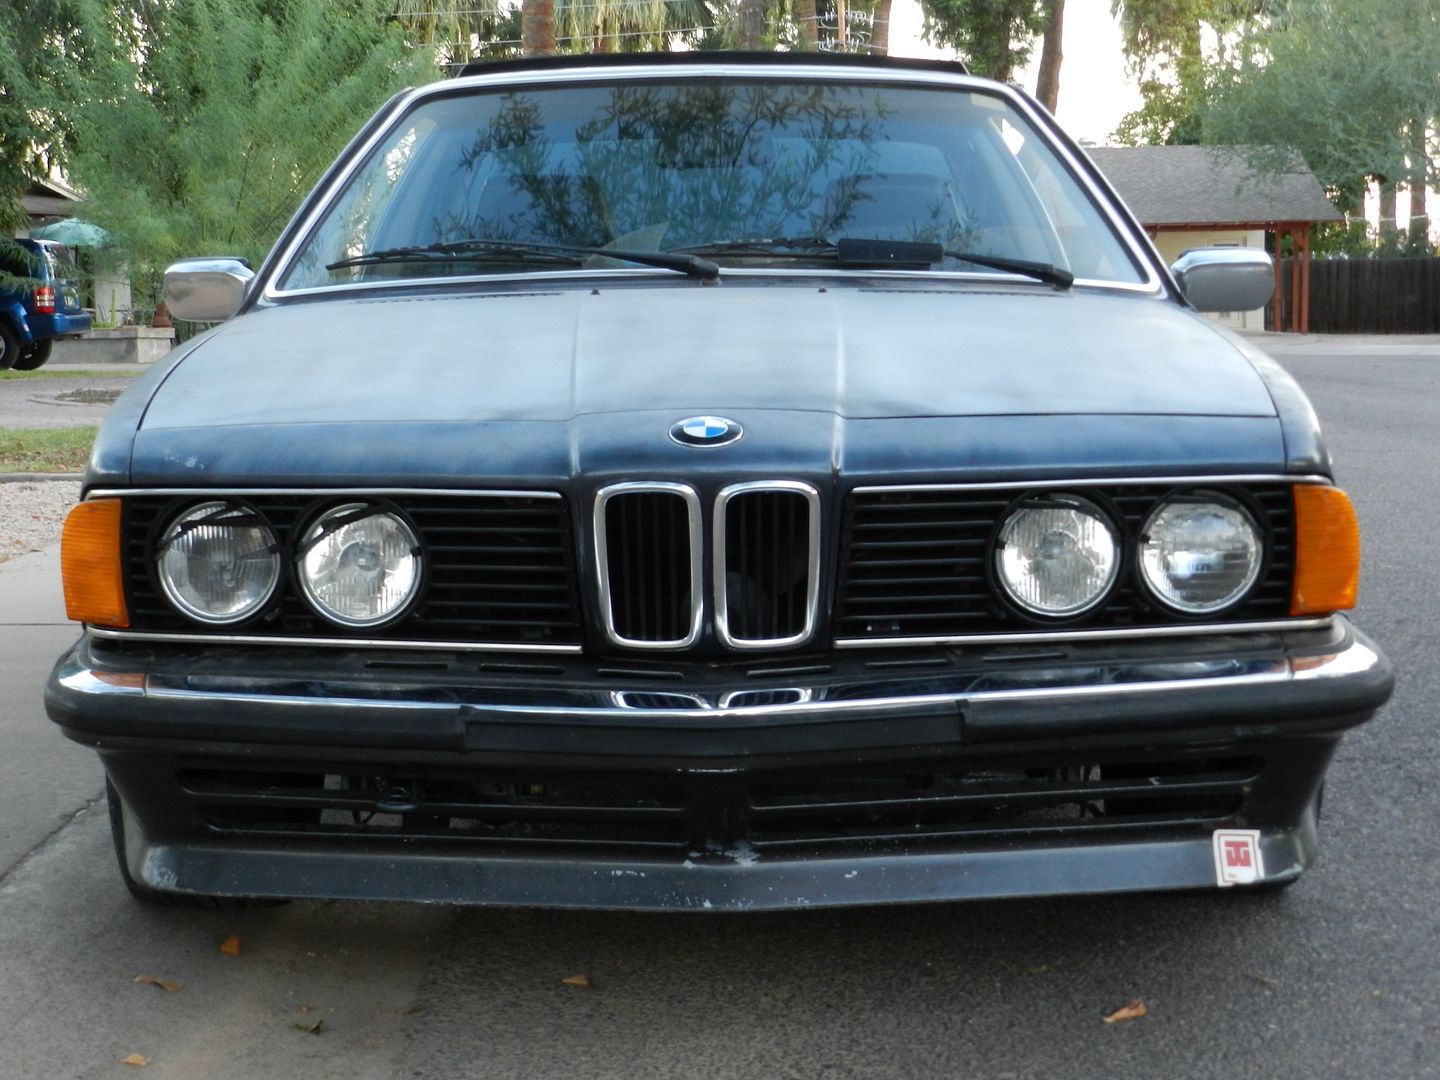
The car is a 1983 euro e24 635csi with 204,xxx miles.
It's a 5-speed with a m30b34 high compression engine.
It has euro lights and wipers system.
It also had no sunroof.
It came with style 5's with bavauto lowering springs.
FIRST DAY HOME:
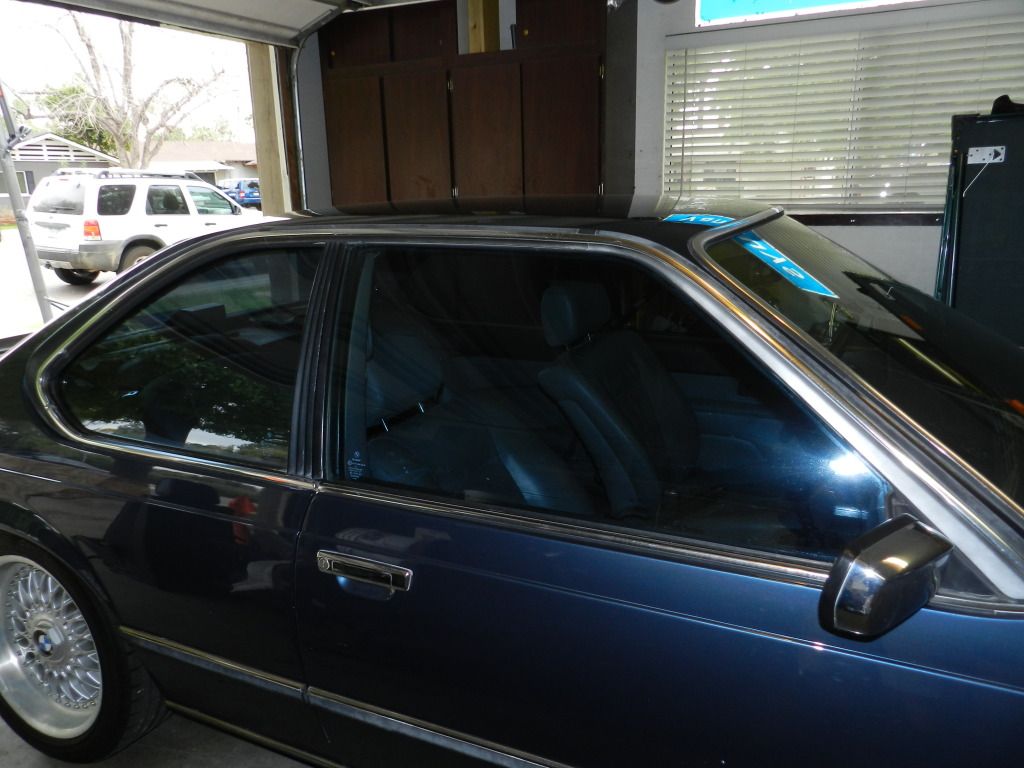
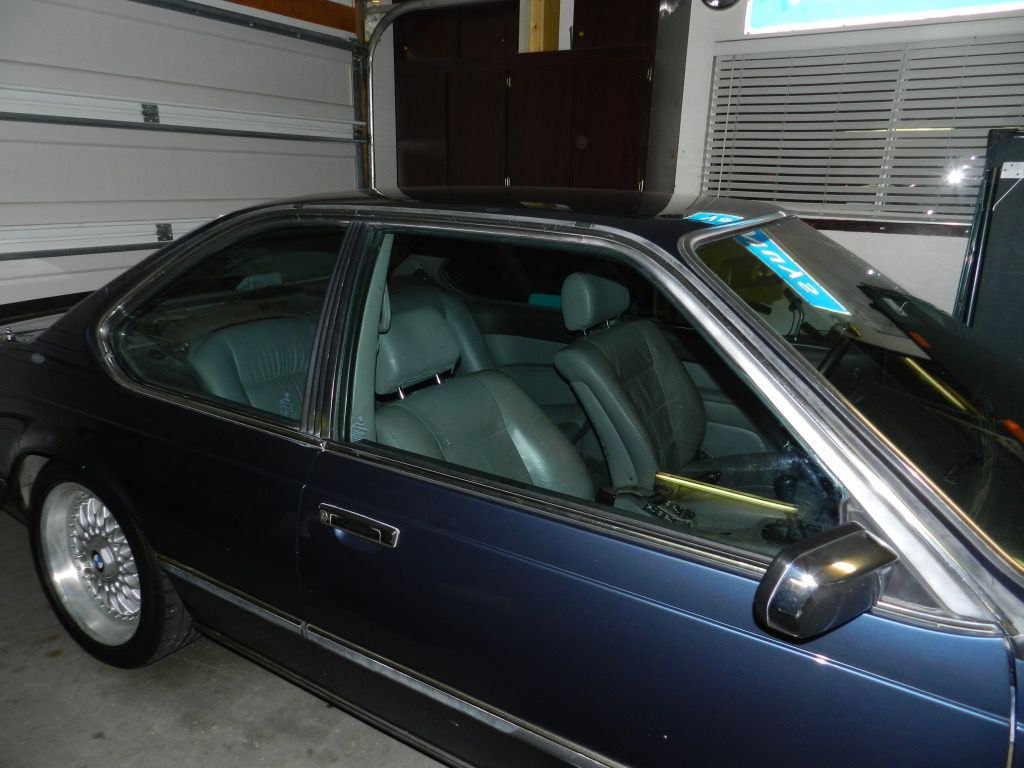
She was a little dirty and need some maintenance but nothing major.

After drying the car I couldn't stand to see through the matching tint! So I decide to grab some razor blades and the heat gun. I spend an hour or two pulling the tint off and it was well worth it.
BEFORE & AFTER
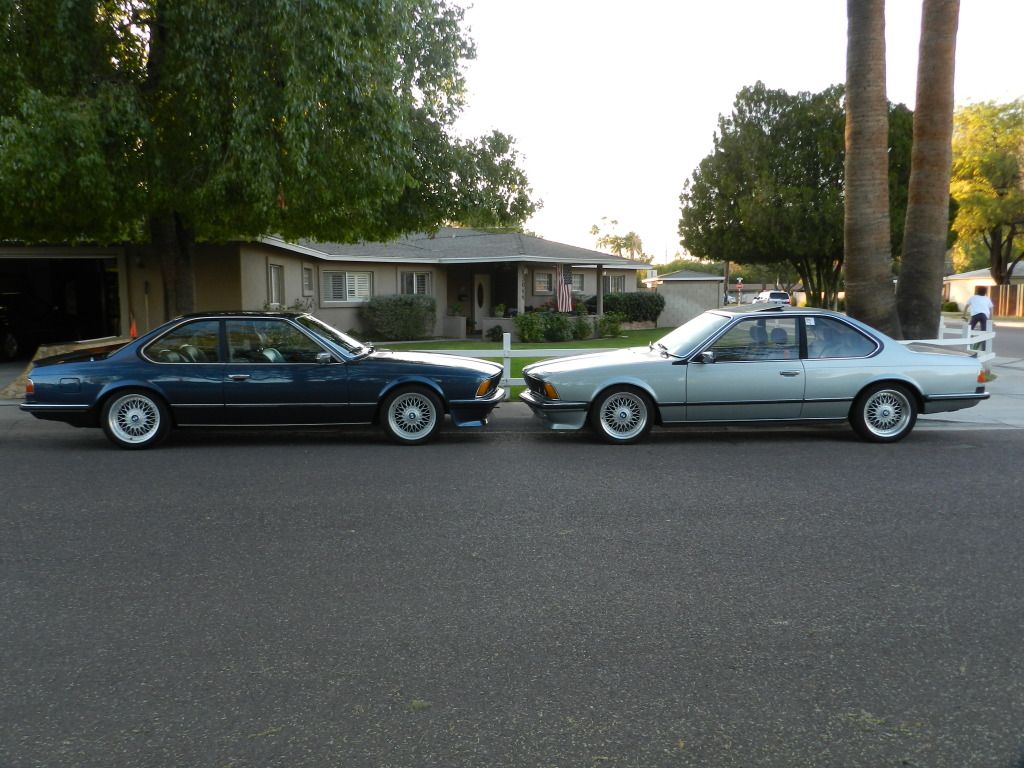
With just a little bit of cleaning up the car had already started to look a lot better then how I got it. The two finally meet! Right one is my dad euro e24 with now 400,000 miles.
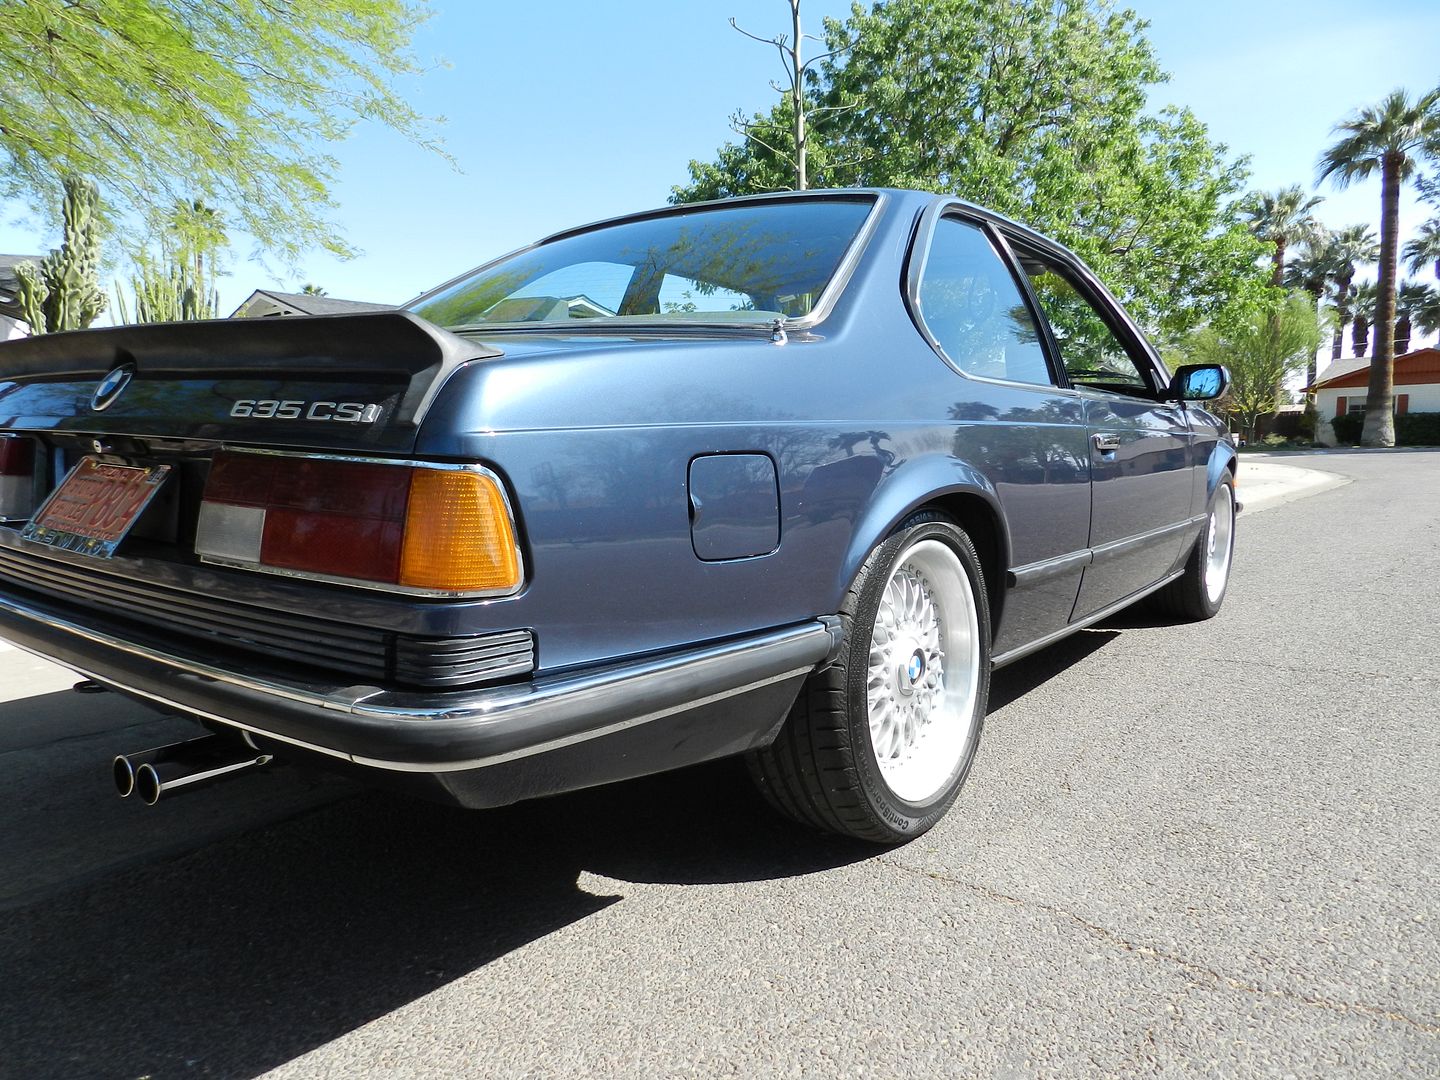
Two days later me being a clean freak I am and love to detail cars, I decided to give the car a detail. Though I am no professional detailer, I felt I was able to get out most of the scratches and dull areas. The detail really made the color "pop" and show it true beauty.

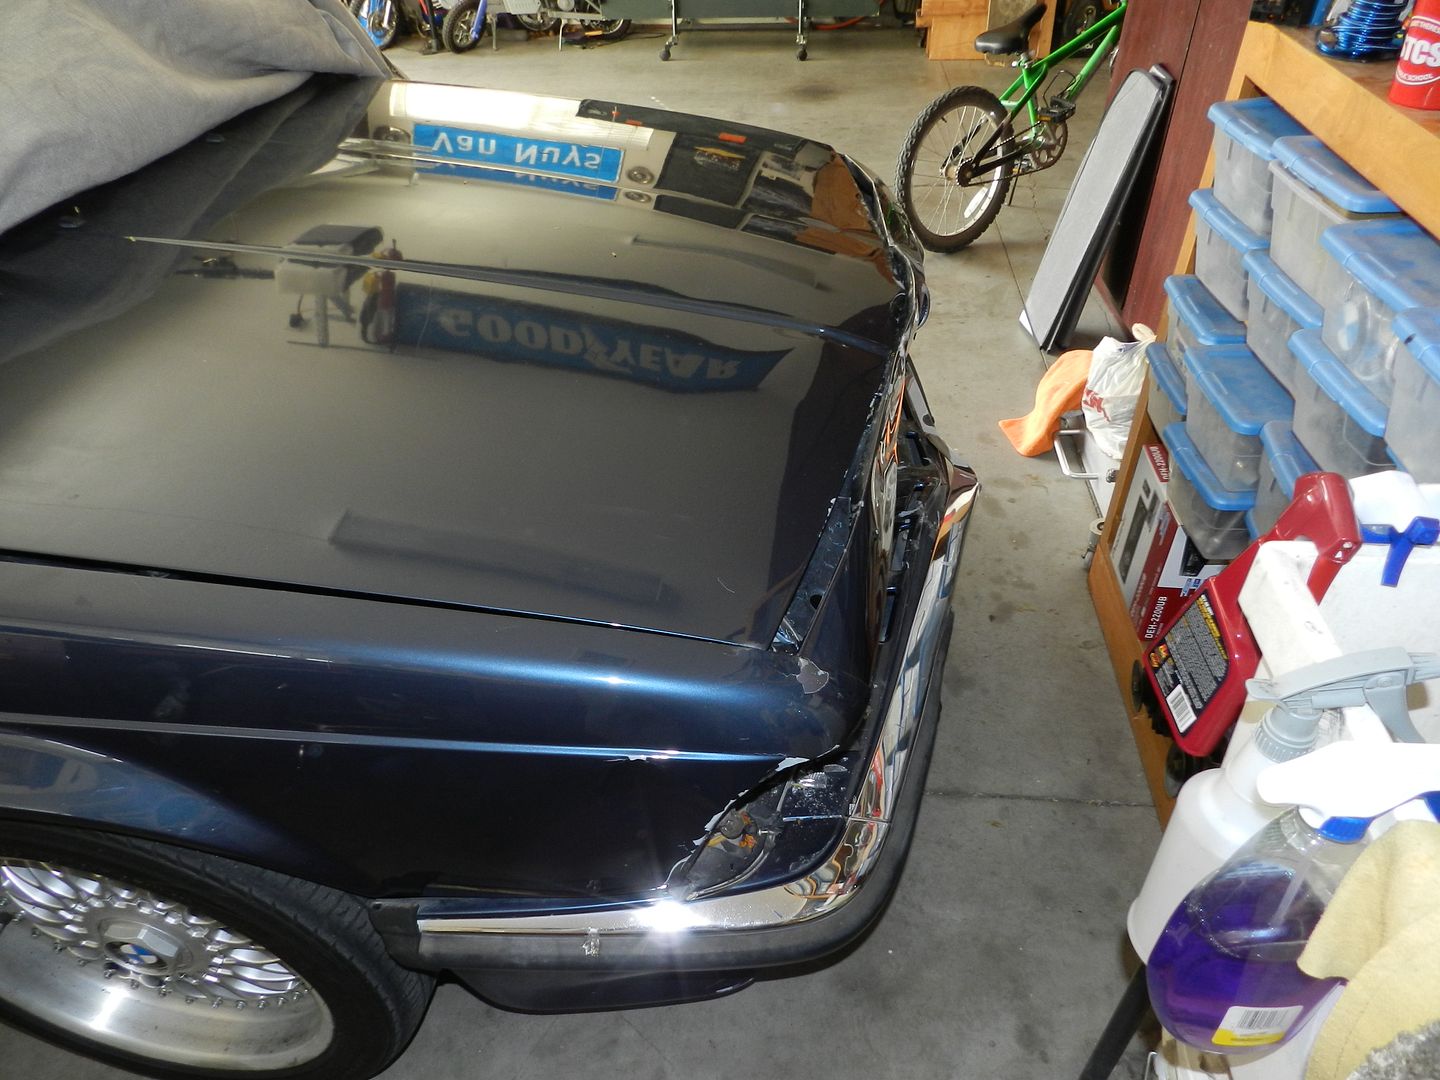
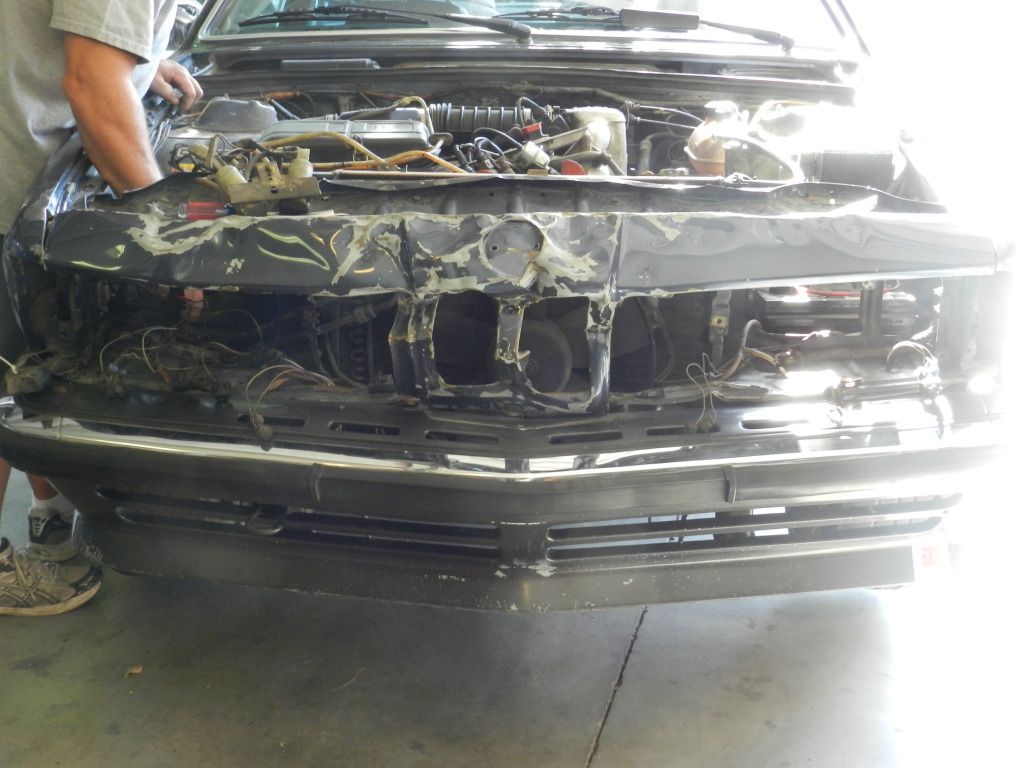
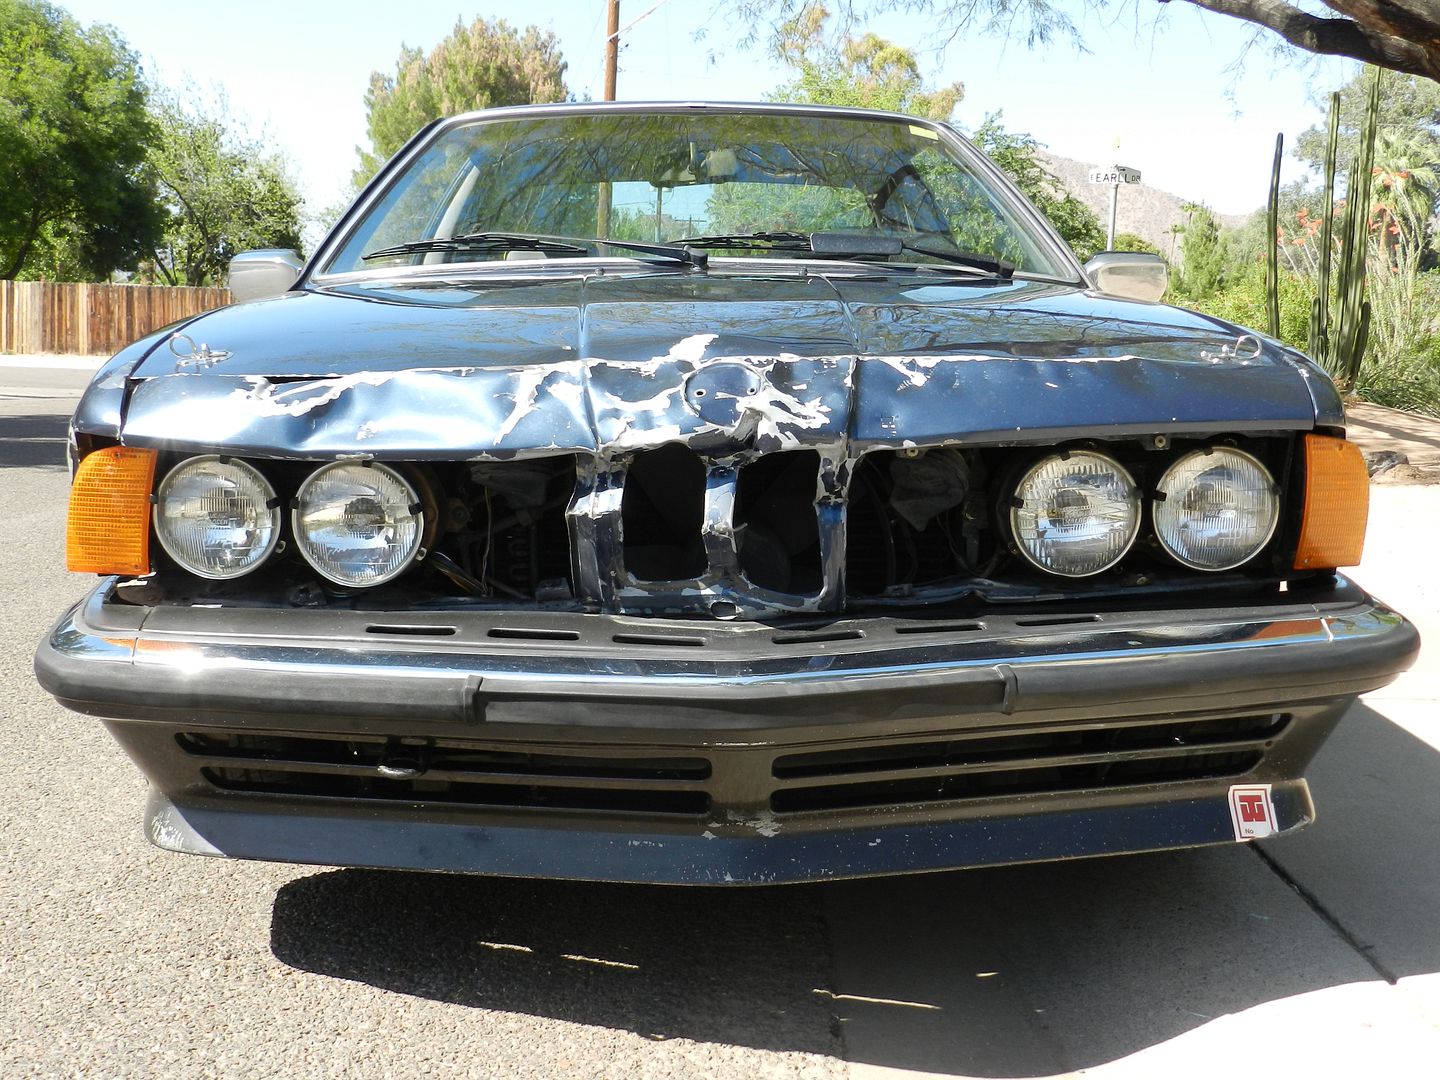
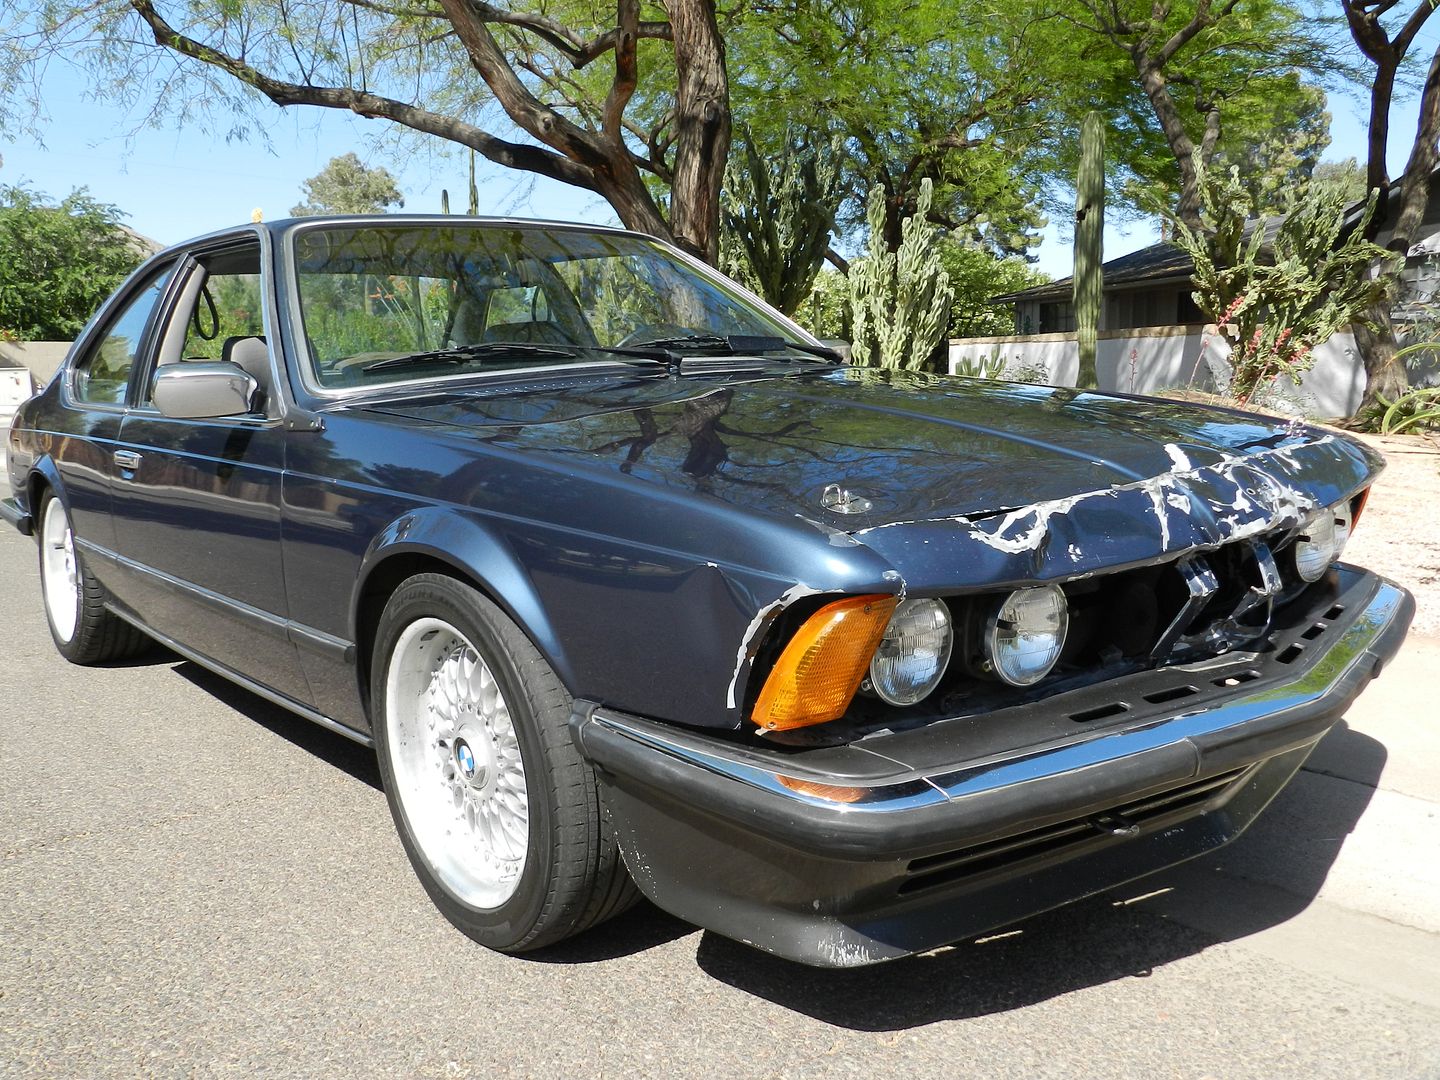
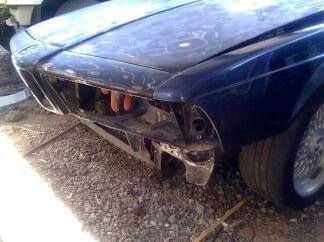
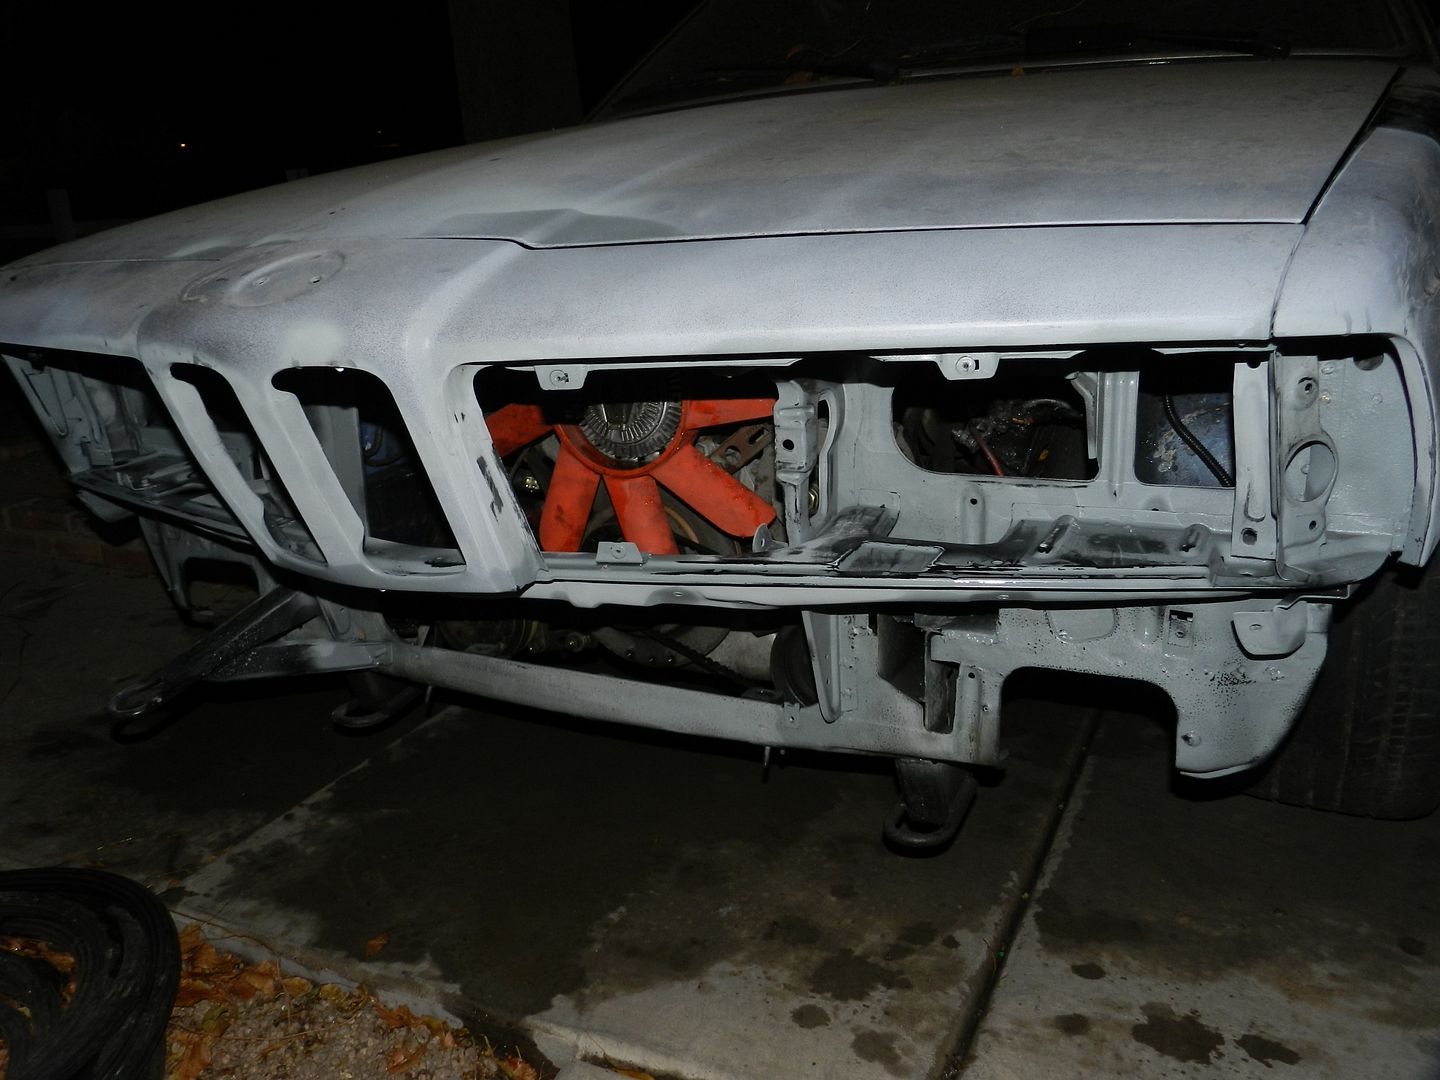
After two weeks of ownership of the car I f***ing rear ended someone. Long story short, it was a 4 car accident each car except the first rear ended the other. I didn't cause the accident but got f***ed with a ticket that read "failure to avoid an accident". Though, it wasn't the ticket that pissed me off but fact that I crashed my car. Here are some pictures of the damage:


Well I am back, where was I? Ohh Ya, so once the weekend had finally rolled around and baseball tryouts were done. I started to tear here apart and asset the damage. Luckily since I hit a SUV it was only the top of the car that took the damage and nothing happened to the frame! (at least that's the positive way to look at it). More pictures as promised.
More Accidents Damage:
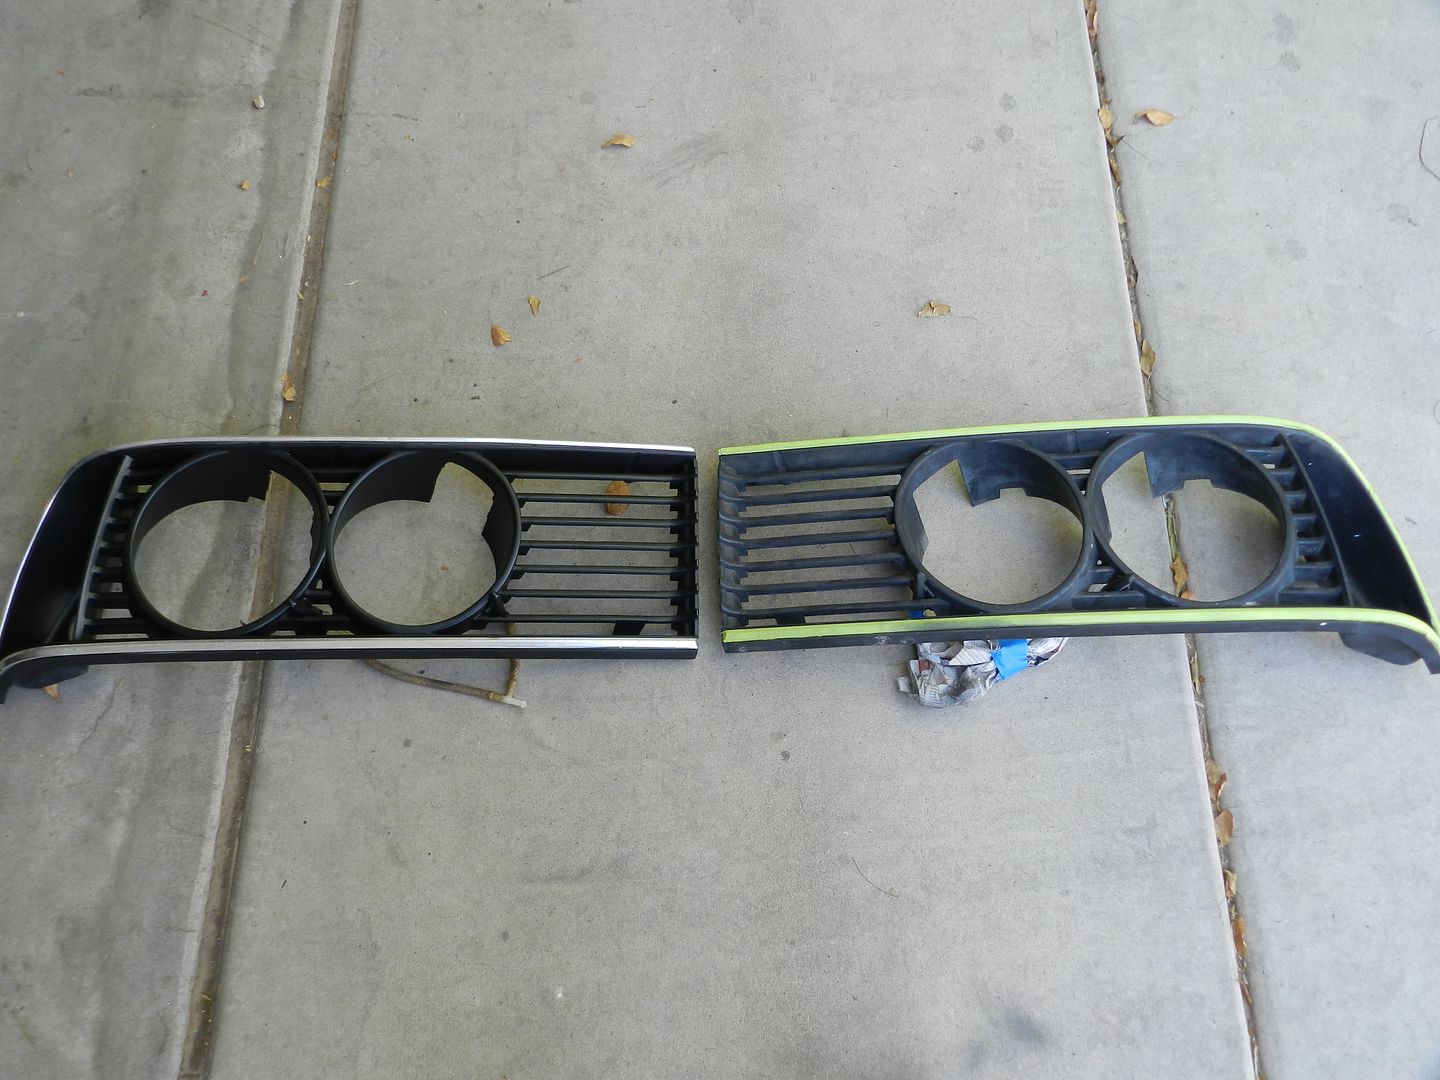
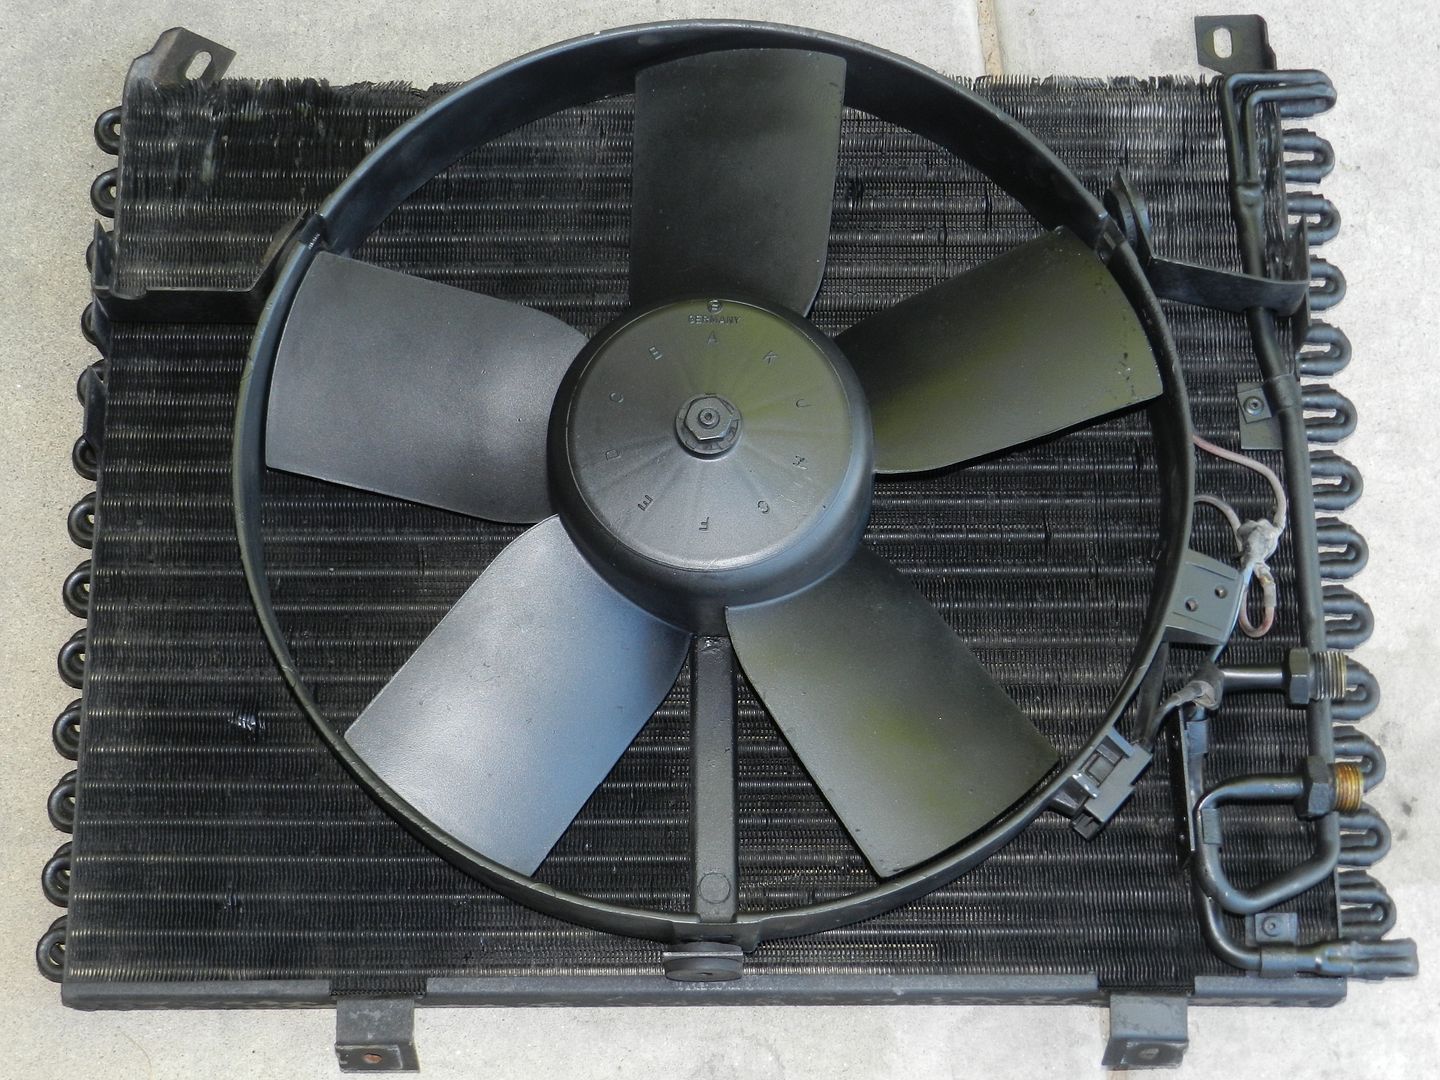
After taking everything apart I made a huge parts list of what needs to be replaced:
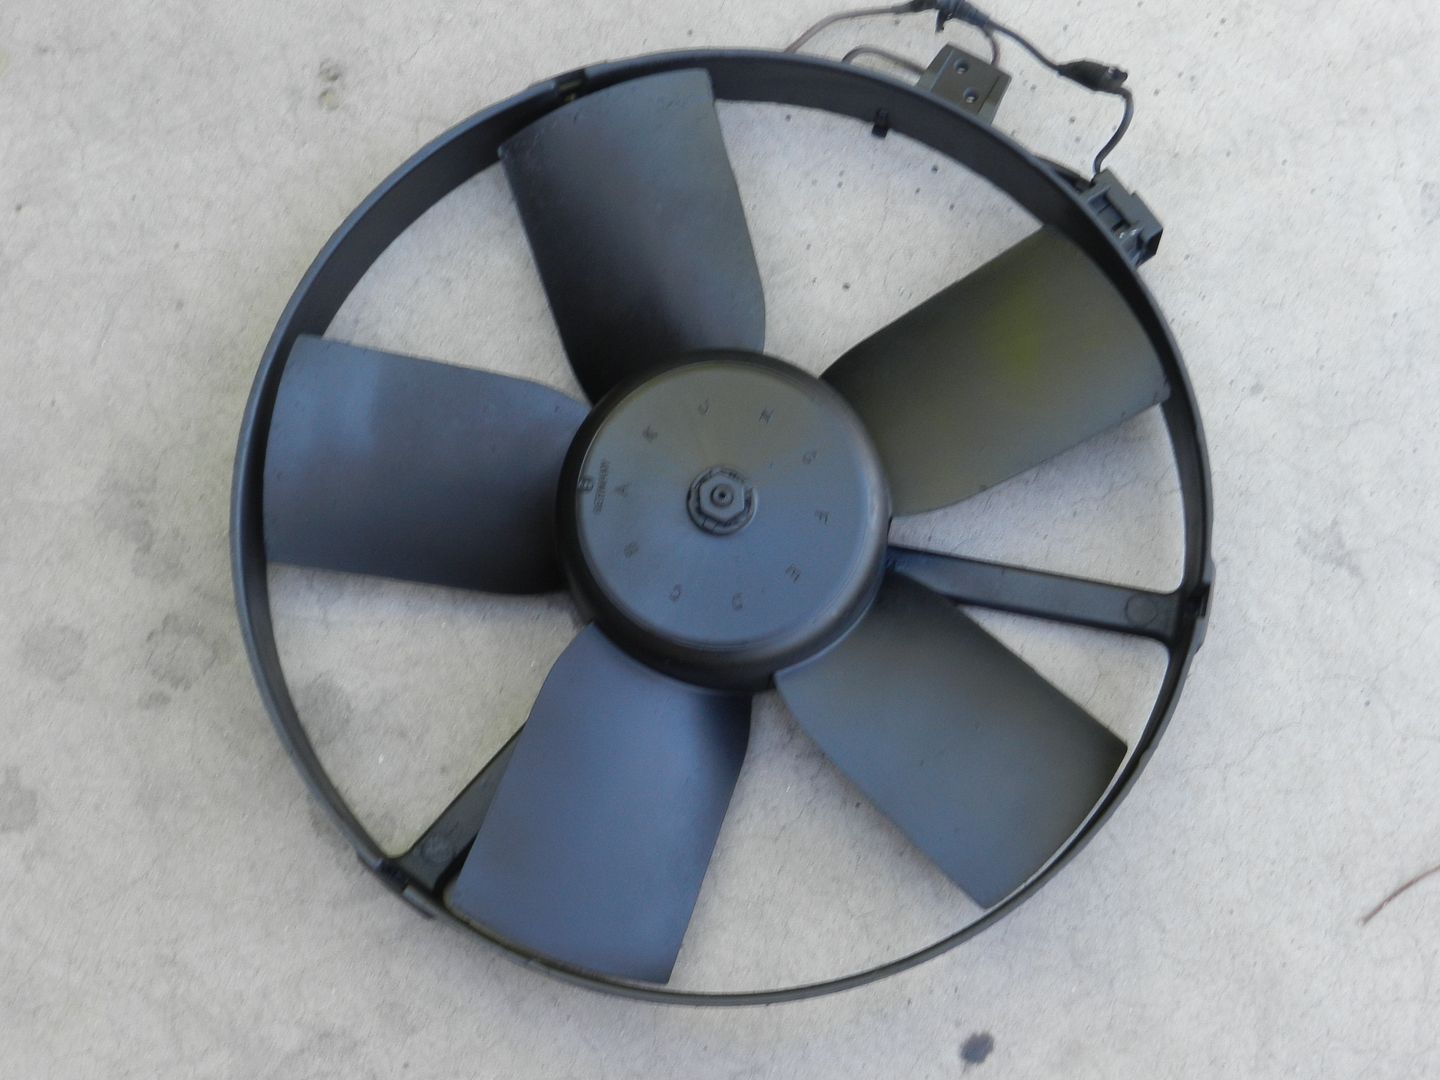
Clutch fan, radiator, condensor, A/C fan, left headlight assembly, euro headlights, euro side-marker lights, bumper, kidneys and grills, fender, hood, core support.
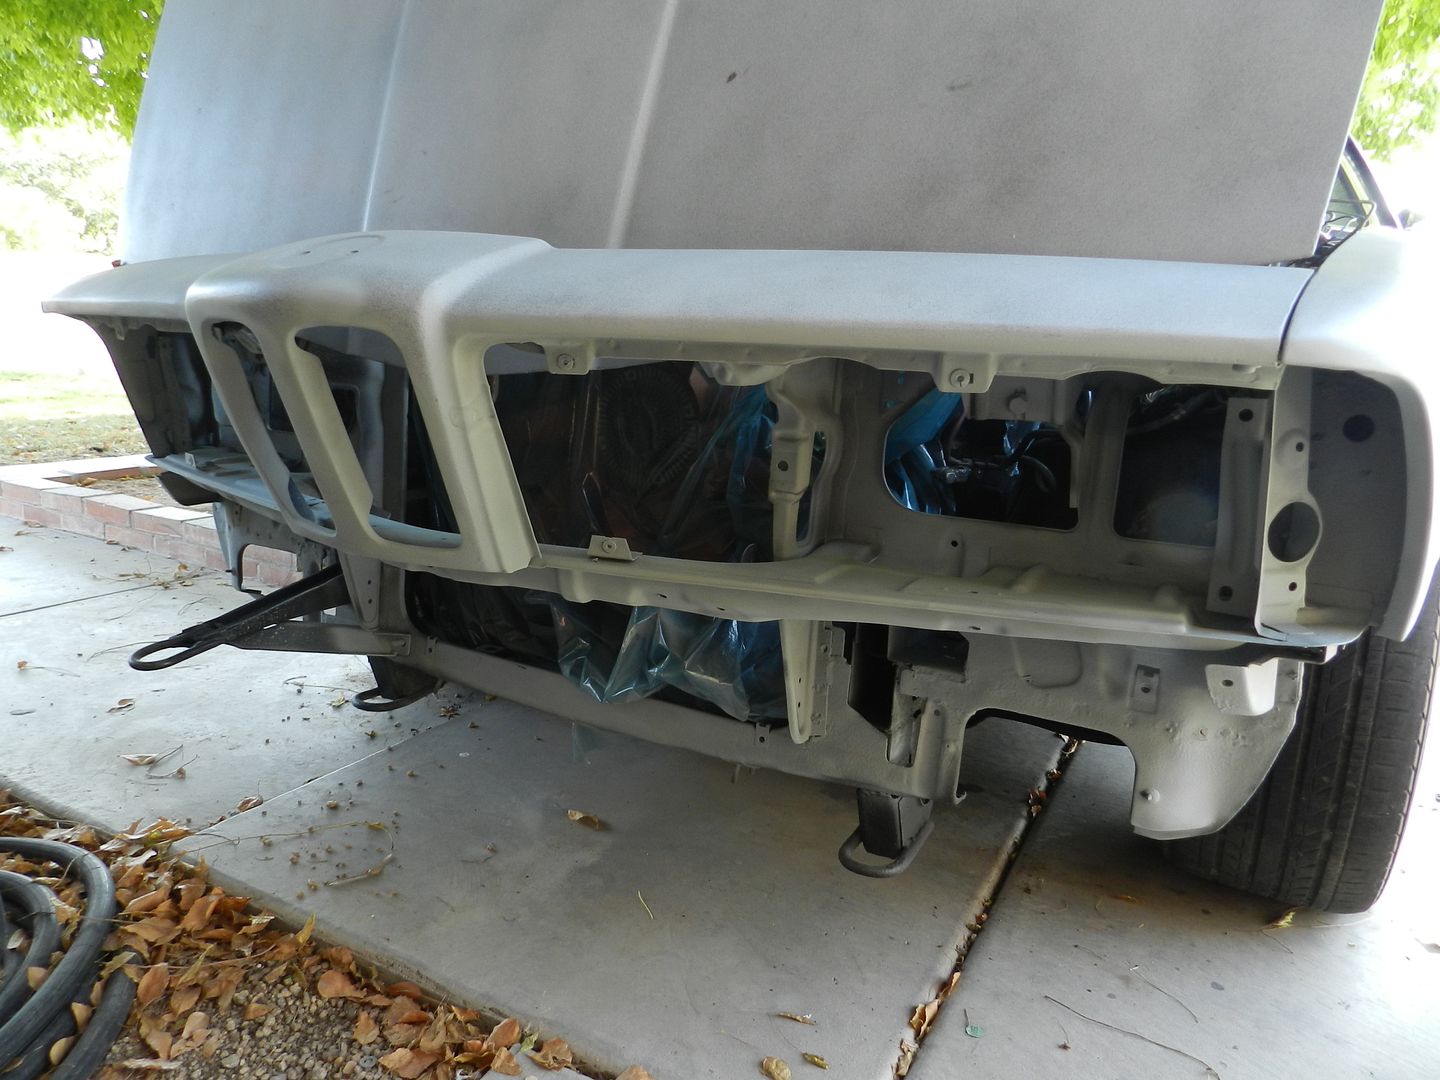
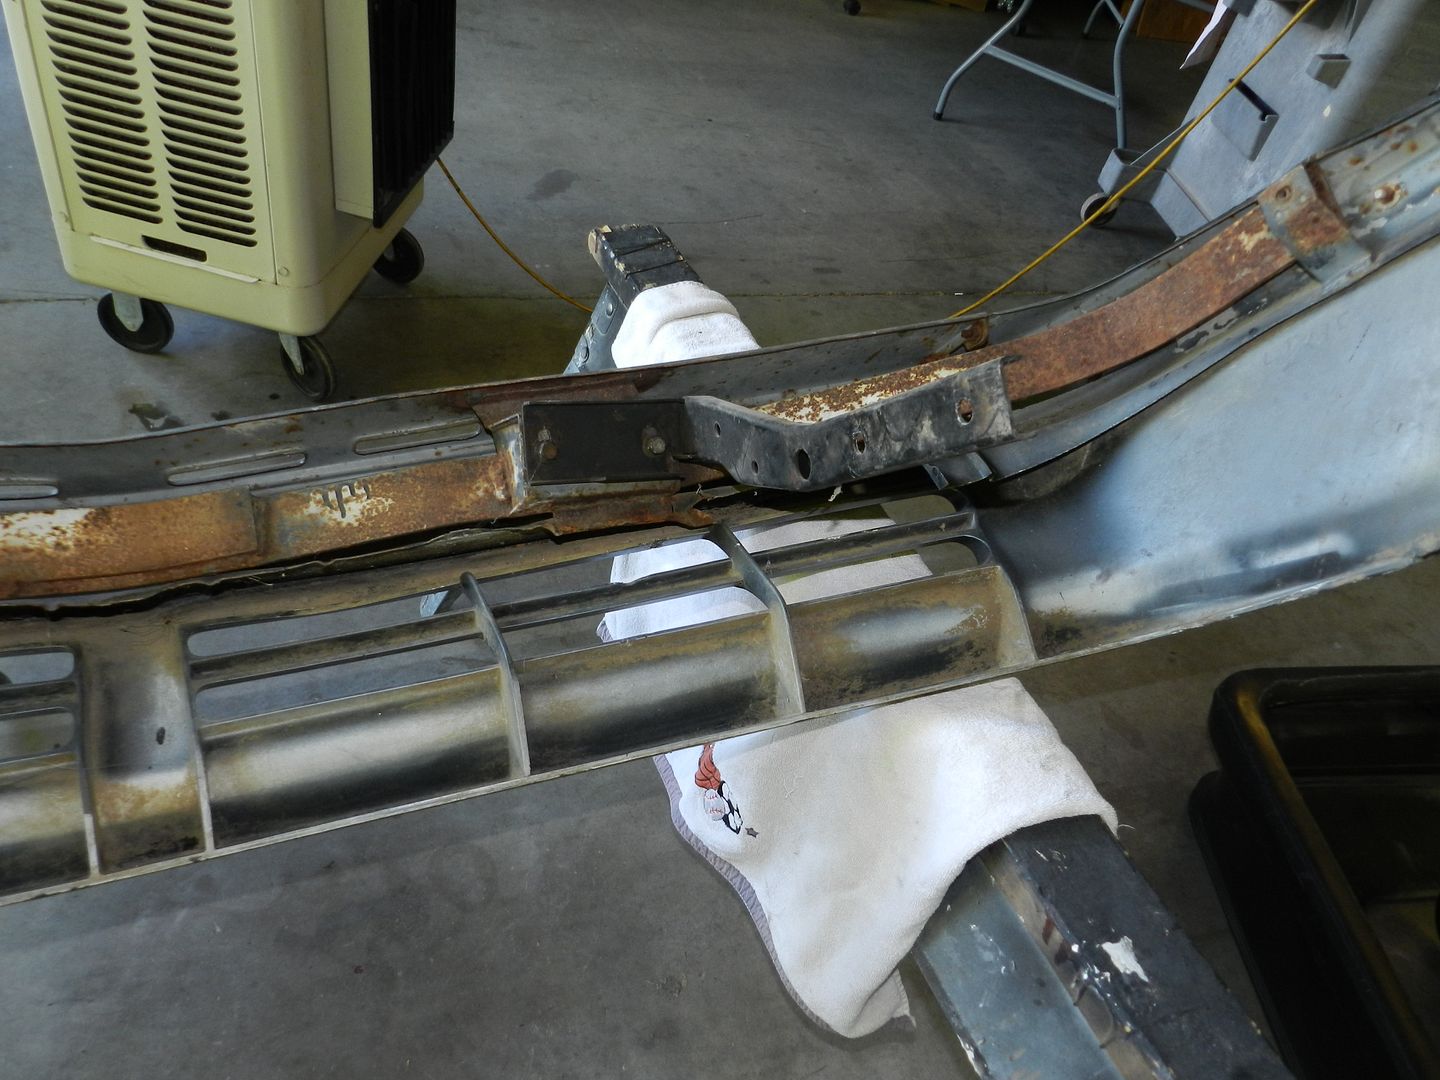
After that weekend, the car sat around for about two weeks until some of the parts to have finally been delivered and gathered so that it would be drivable. I realized that the core support had actually been pushed back about an inch making it so a radiator and clutch fan couldn't fit. Not having anytime because of baseball, school, and work I wasn't able to send it to the body shop since i needed something to take me back and fourth. So I borrowed my neighbors winch put it around the tree and cranked it until i had enough room for everything to properly function.
Quick Fix Pics:
Now that's a facelift!!!
Hood clips "Because Wrecked Car!"
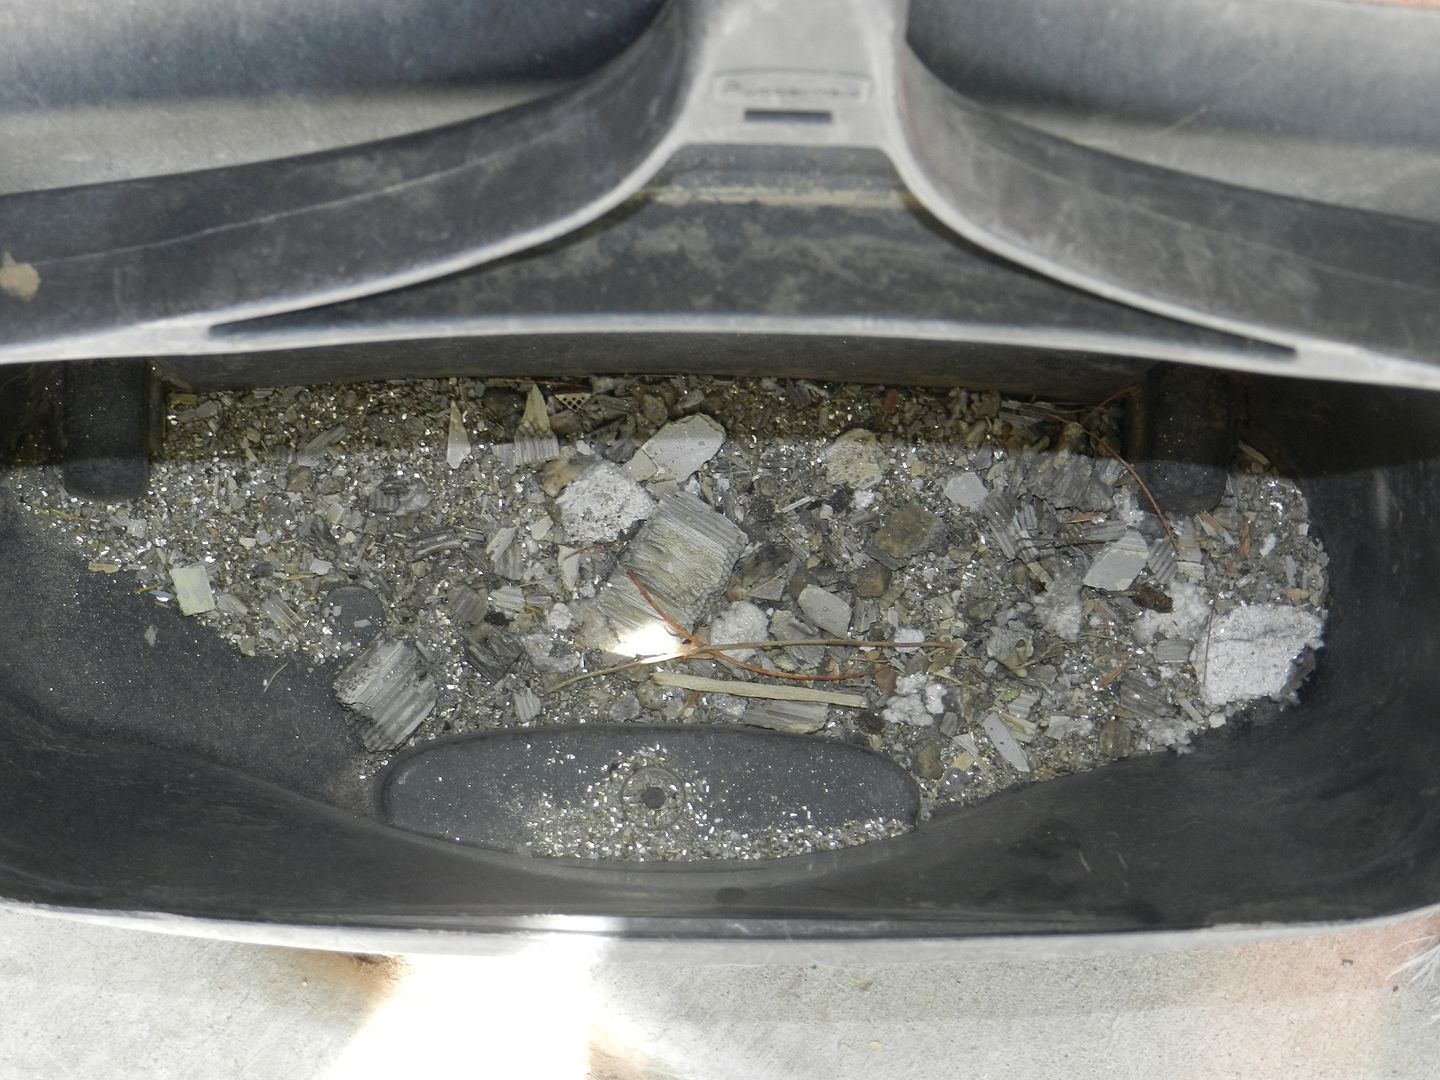
When I finally start the car after sitting for two weeks it wouldn't turn over. We then looked around to find out that the crack position sensor was bad so i replaced that. After replacing that it finally turned over, but was idle extremely high. We then checked around some to find out the temperature sensor had gone out. So I replaced that. We then had to adjust the idle control valve until we finally got it running smooth. I also replaced the spark plugs. The next thing was at it idle i saw metal shaving coming the exhaust manifold only to find out that the catalytic converter was destroyed from the car running extremely rich. When the previous owner said he put the CAT in about a year ago!
What is left of the CAT:
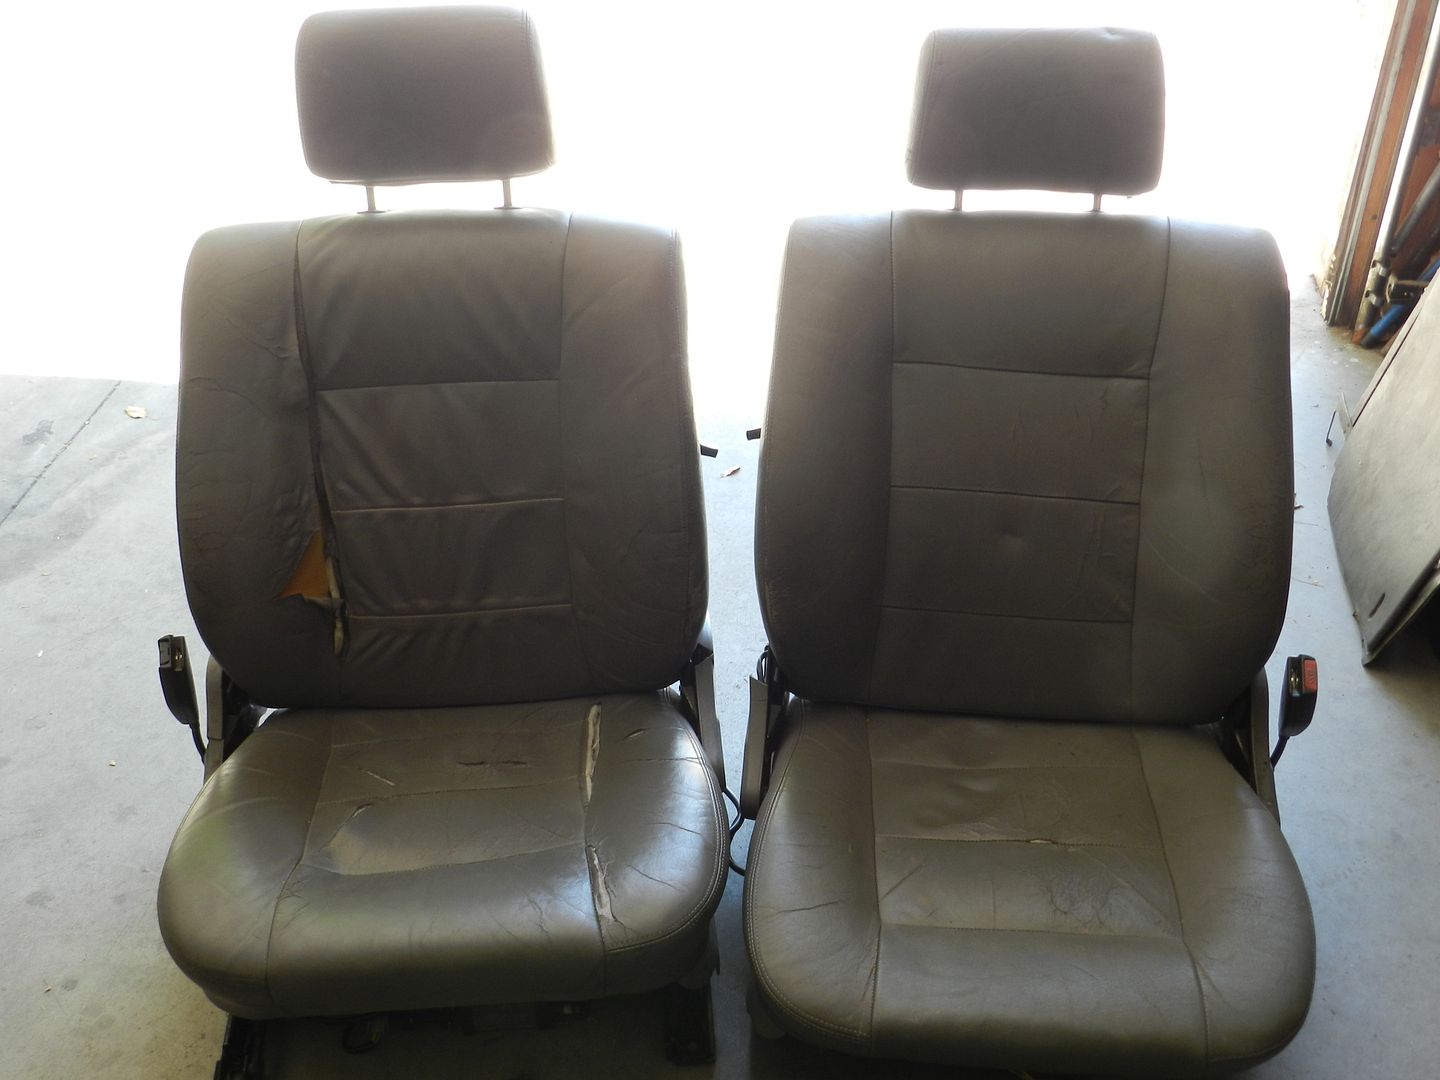
After driving around awhile all the shit got blown out, and ran great. Busy throughout the rest of my senior year the car looked like that until I graduated. During that time I was able to get rid out my shitty ass comfort seats and replace them with some shitty ass e24 recaros! I also picked up an early m-tech steering wheel, rear headrests and clam shells, as well as a new parcel shelf.
Seats
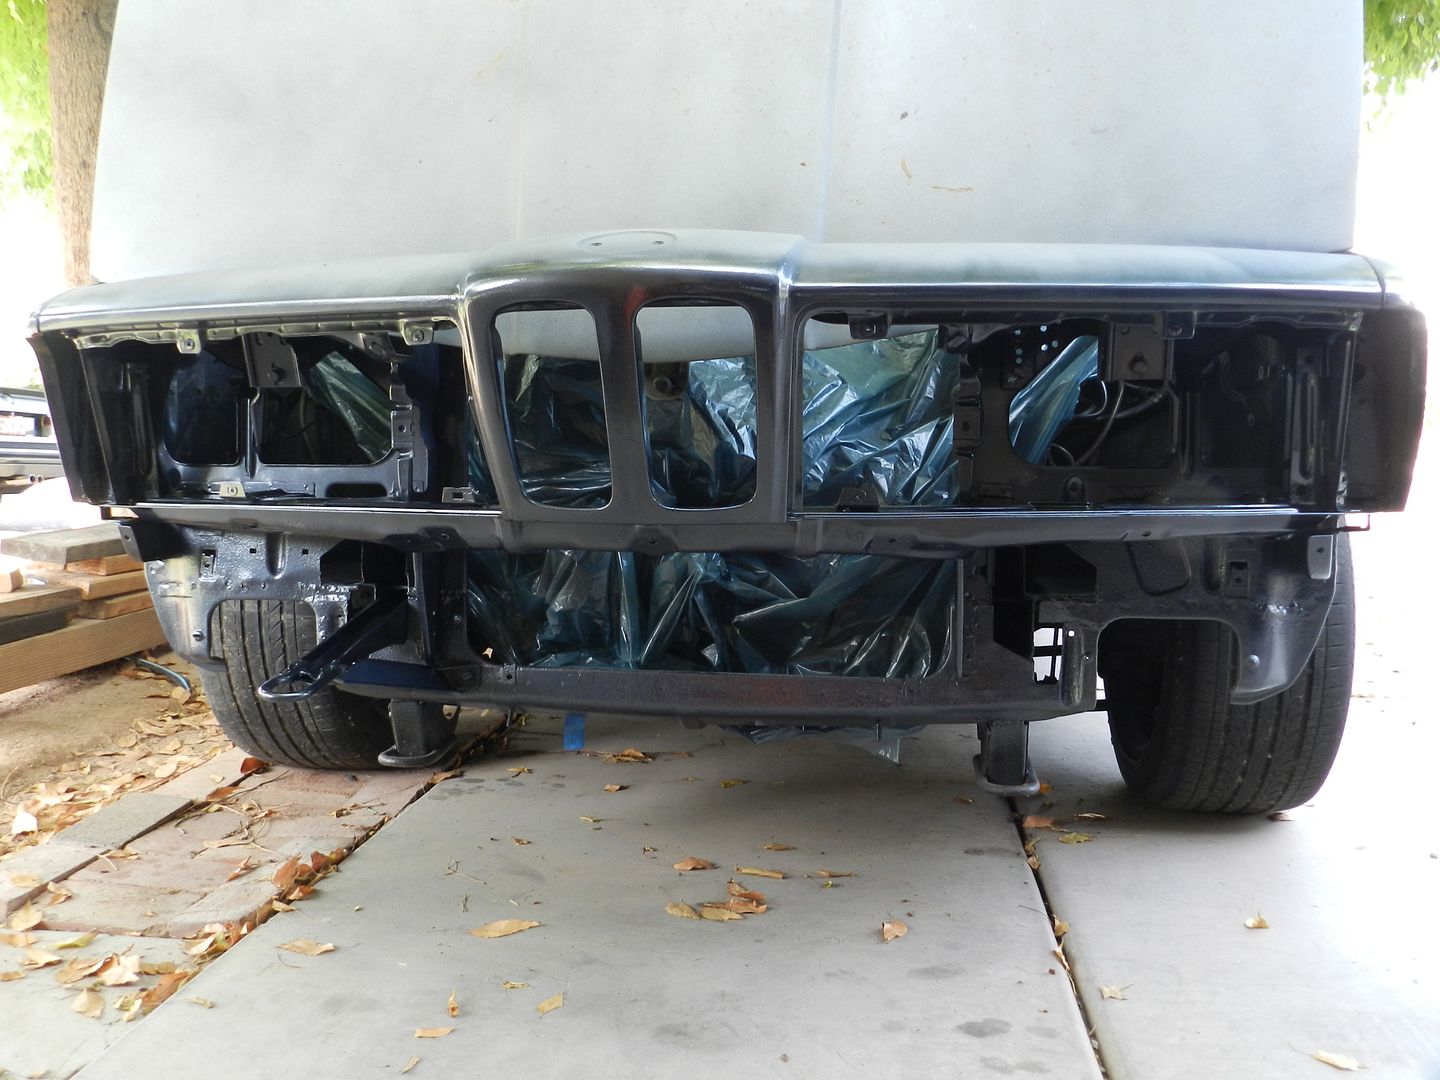
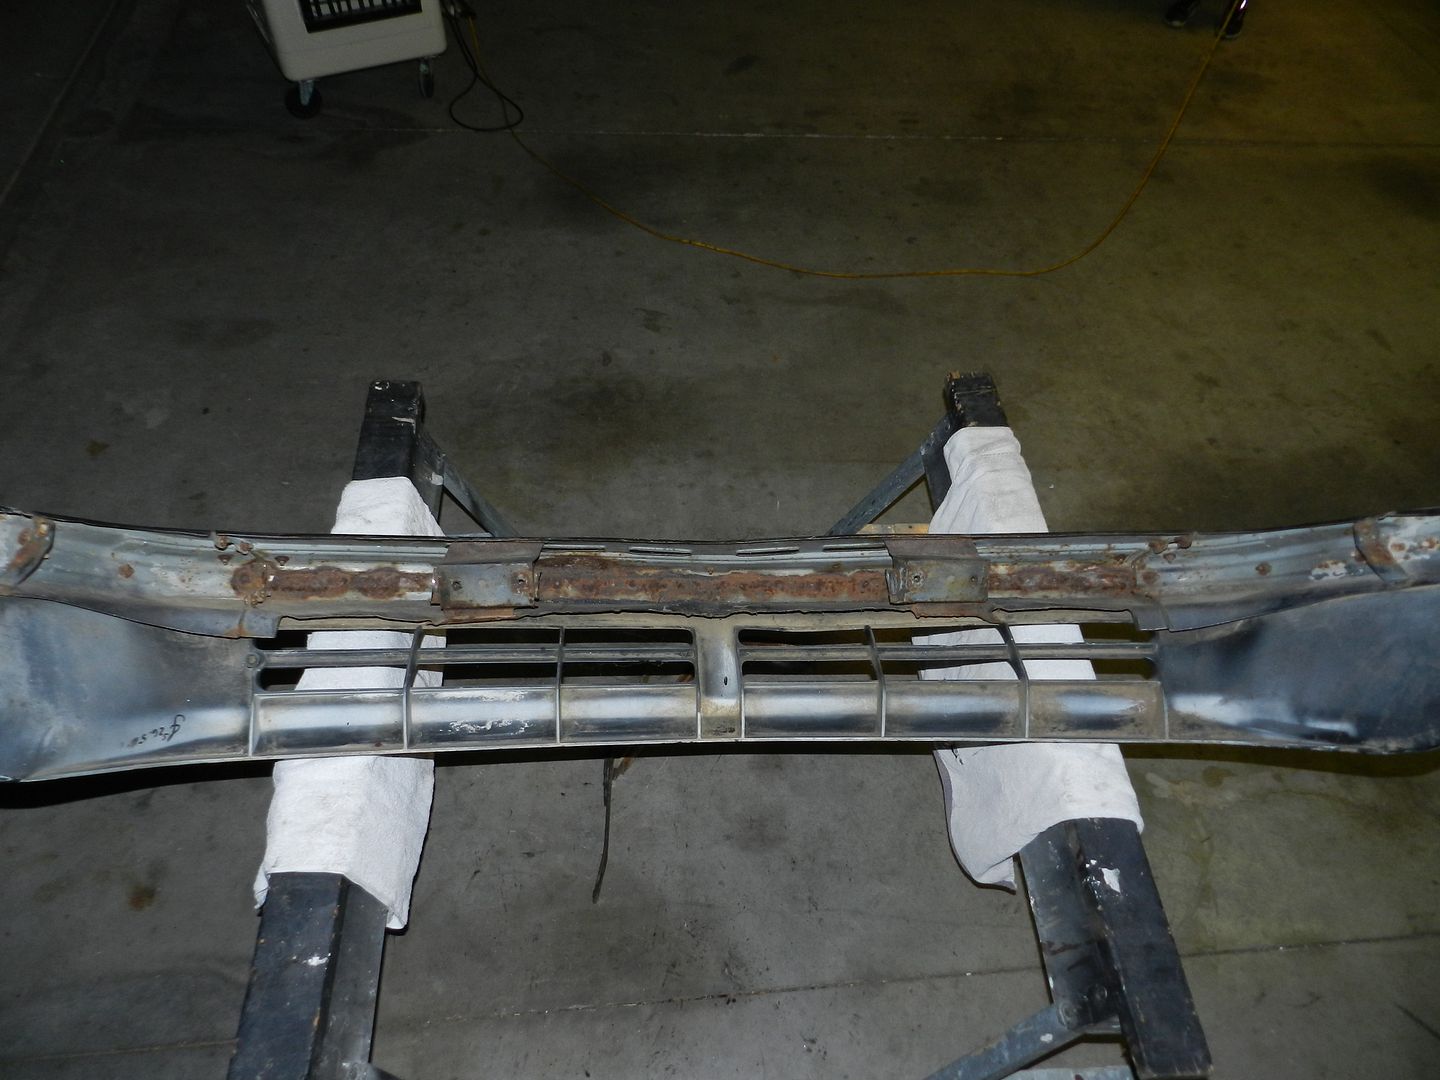
Finally when July came around with the help of dad, I was able to collect a core support, fender, and hood being able to send the car body shop. I got the core support replaced, and rear quarter panel fixed.
Body Work:

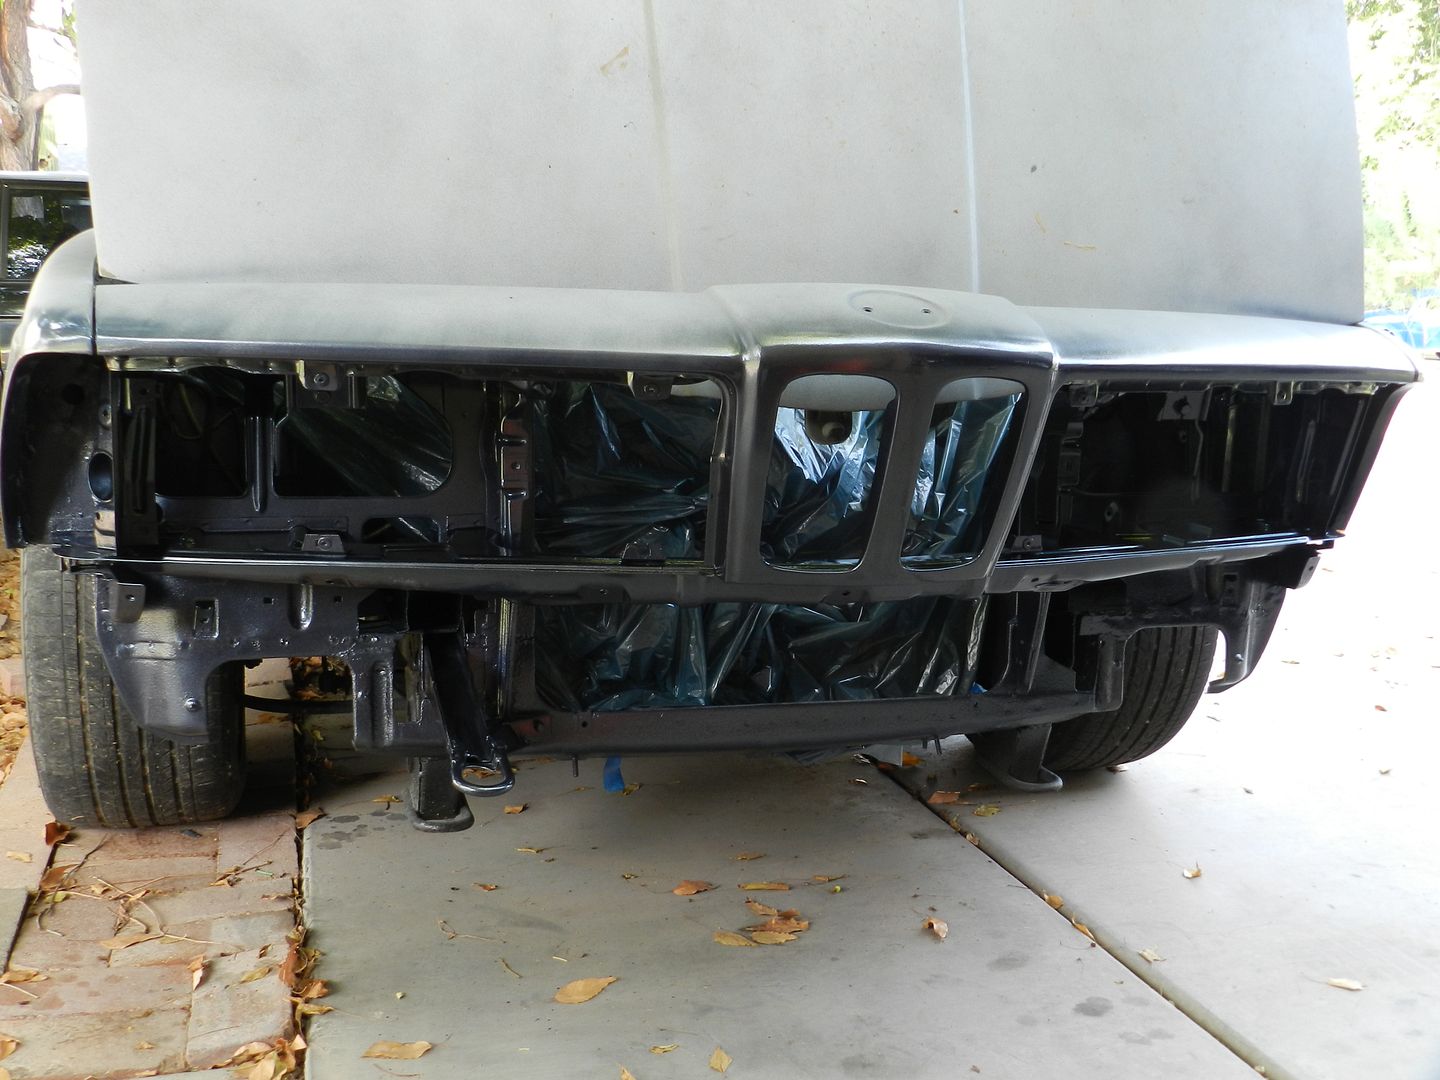
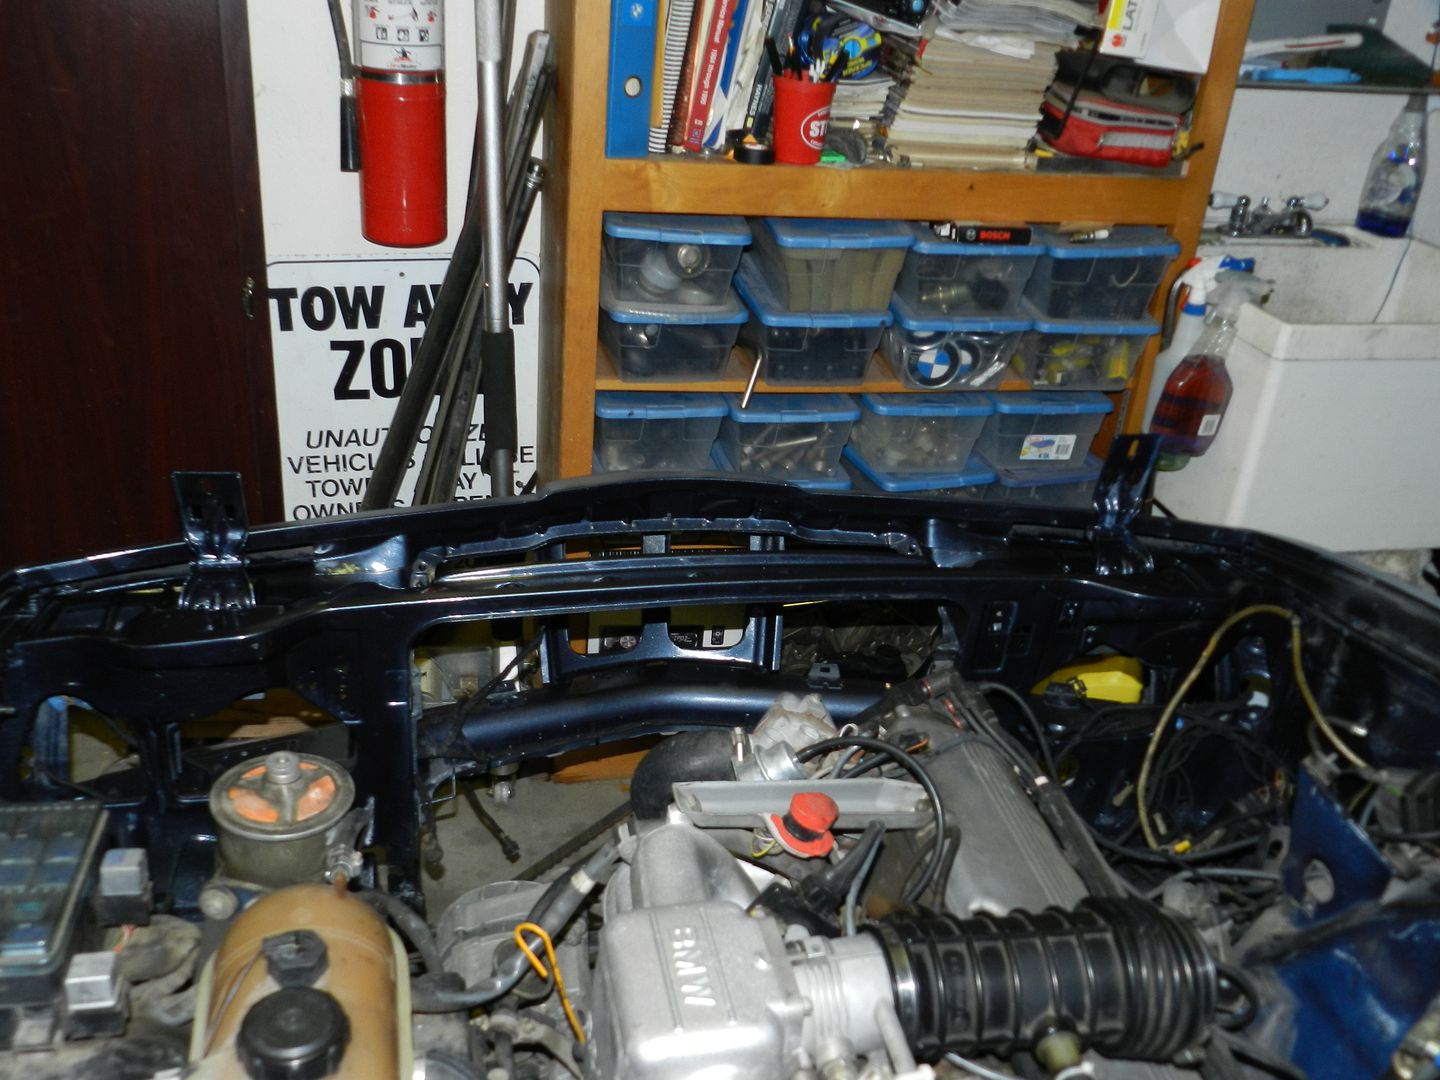
It was from there on that I realized that I am putting good amount of money into it so I might as well make it and do everything how I want. Here is just the beginning. Well since the whole front end was taken apart I and decided to go to space age have them make me some paint that matched so i could paint the core support.
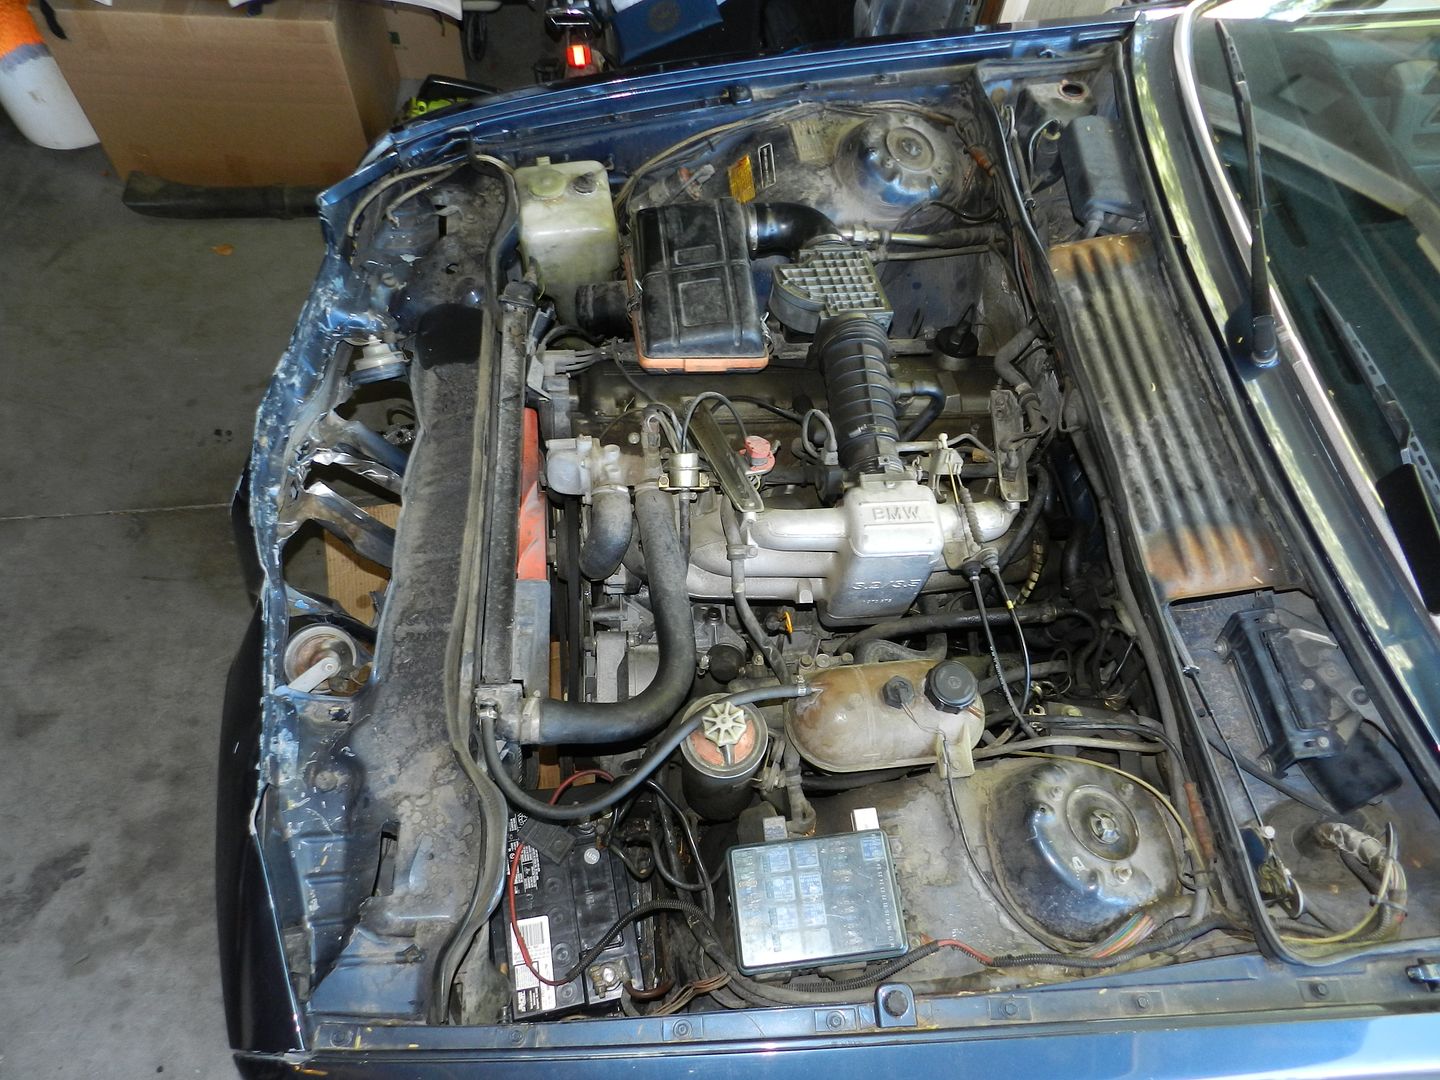
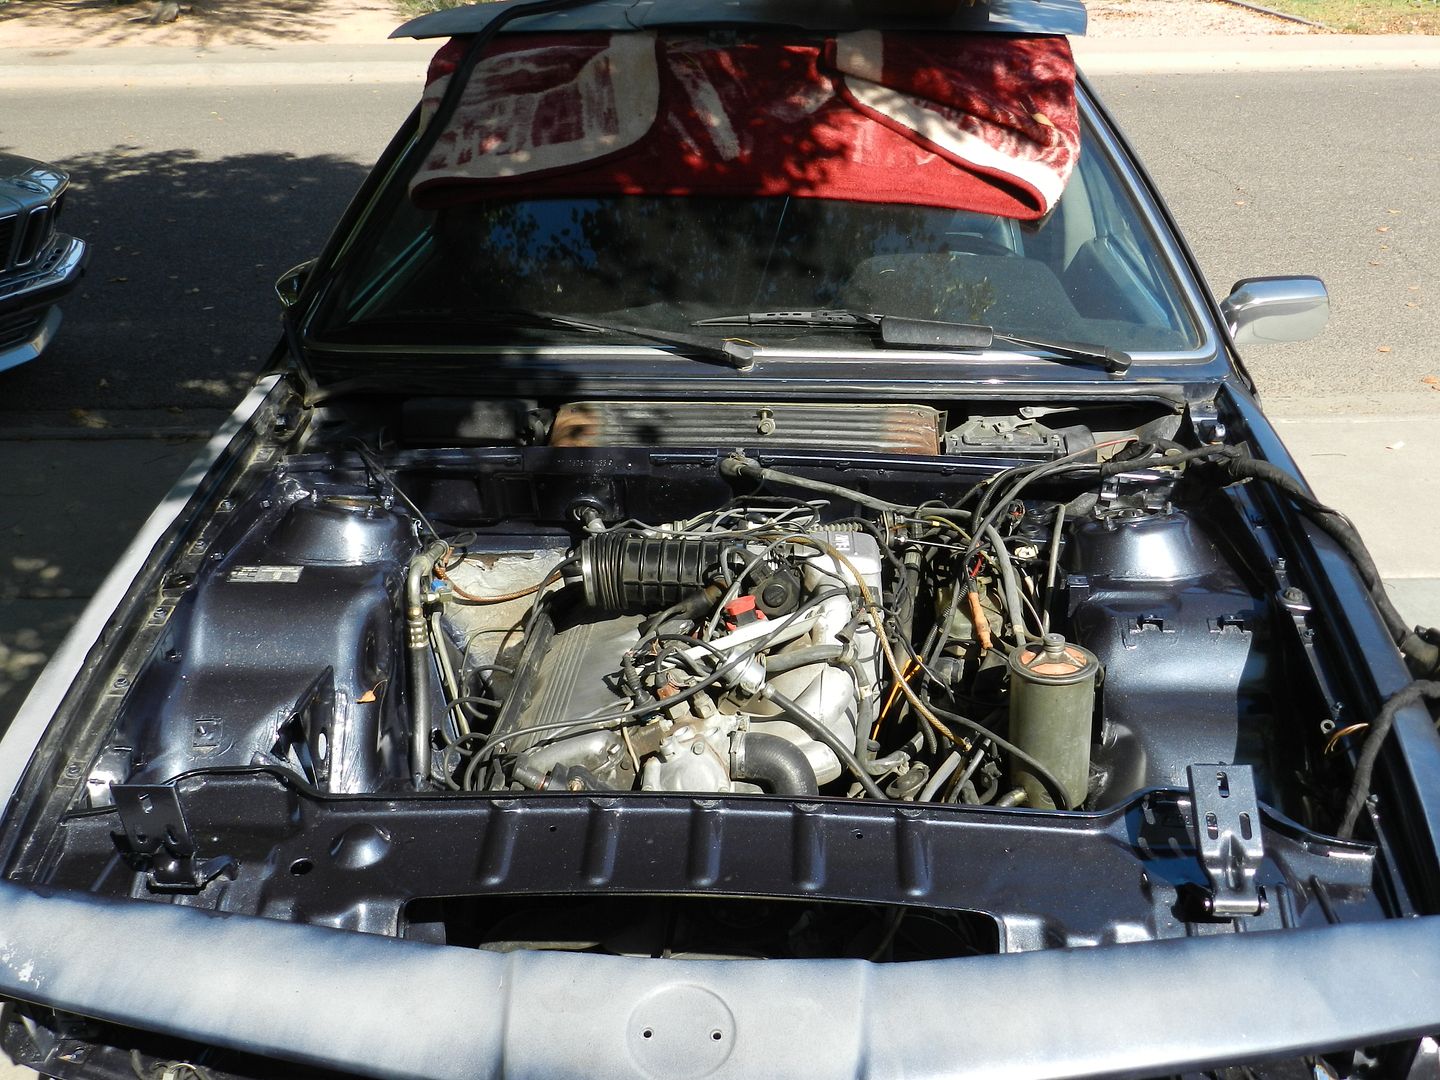
Dirty Engine Bay:
Sanding and Priming:

Paint:
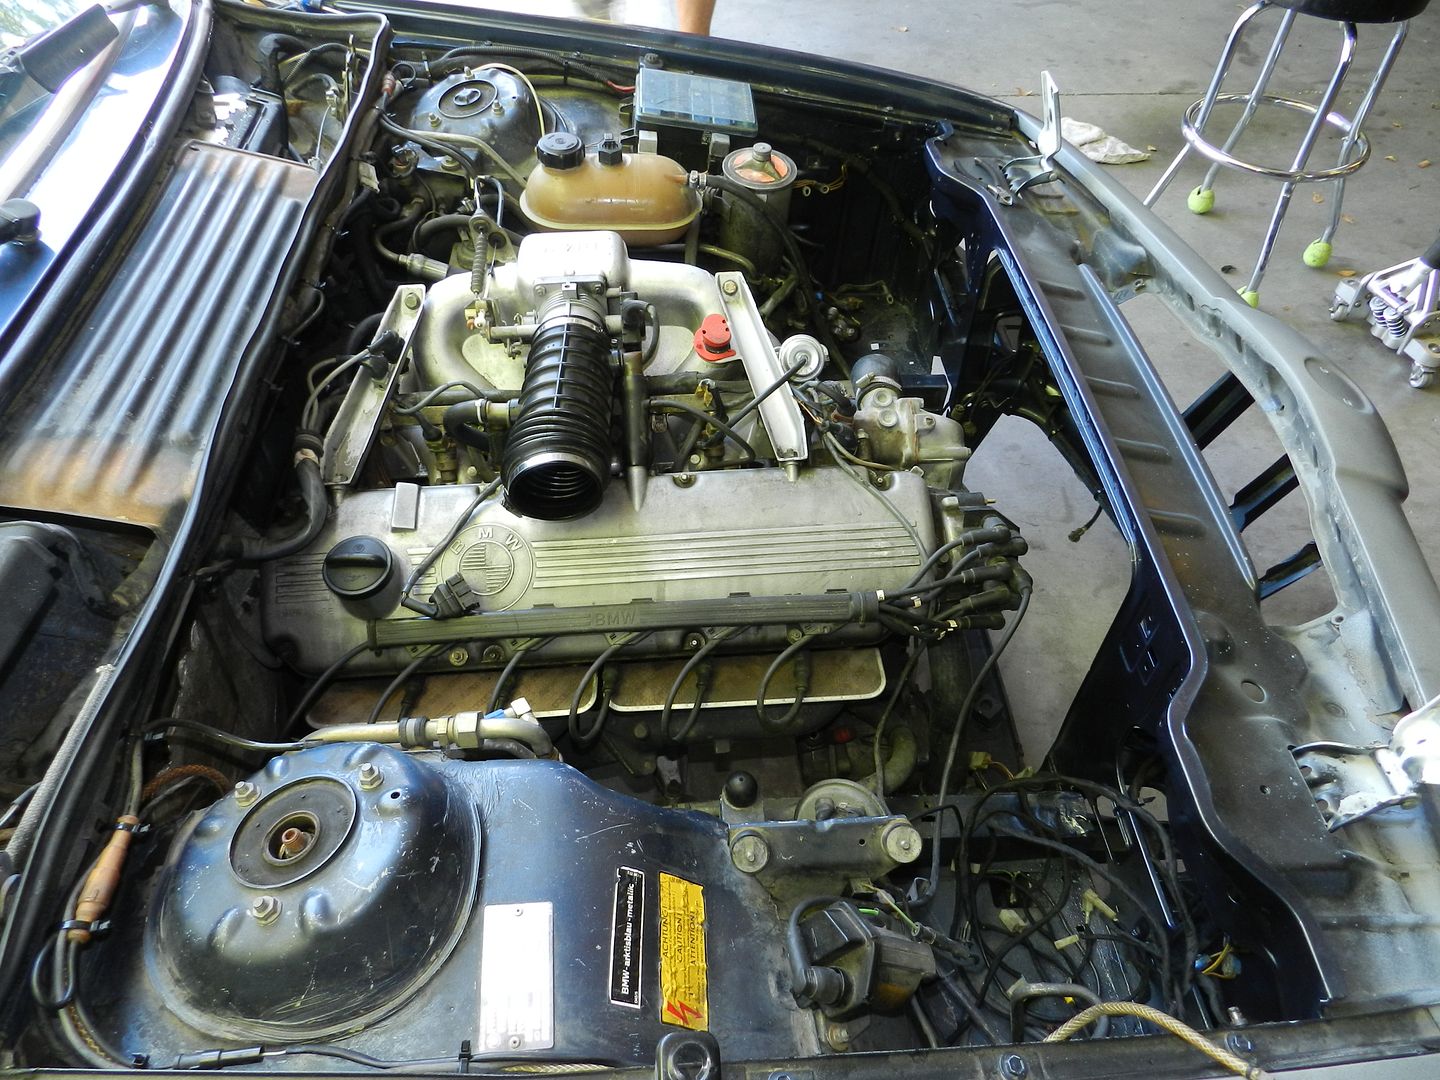
After painting the core support I decided to just go ahead and paint the rest of the engine bay since it looked like shit. Since I pretty much had everything else apart I went ahead to finish and refresh the engine bay.
Wet Sanding:

After:

As you can see the paint was very dirty and faded and didn't match the rest of it.

After a few hour of washing, sanding and prepping it was finally time to paint. It is no where near perfect but I very pleased with the results I got, especially looking at the pictures of how terrible it looked before.
[b]Before:[b/]
After:
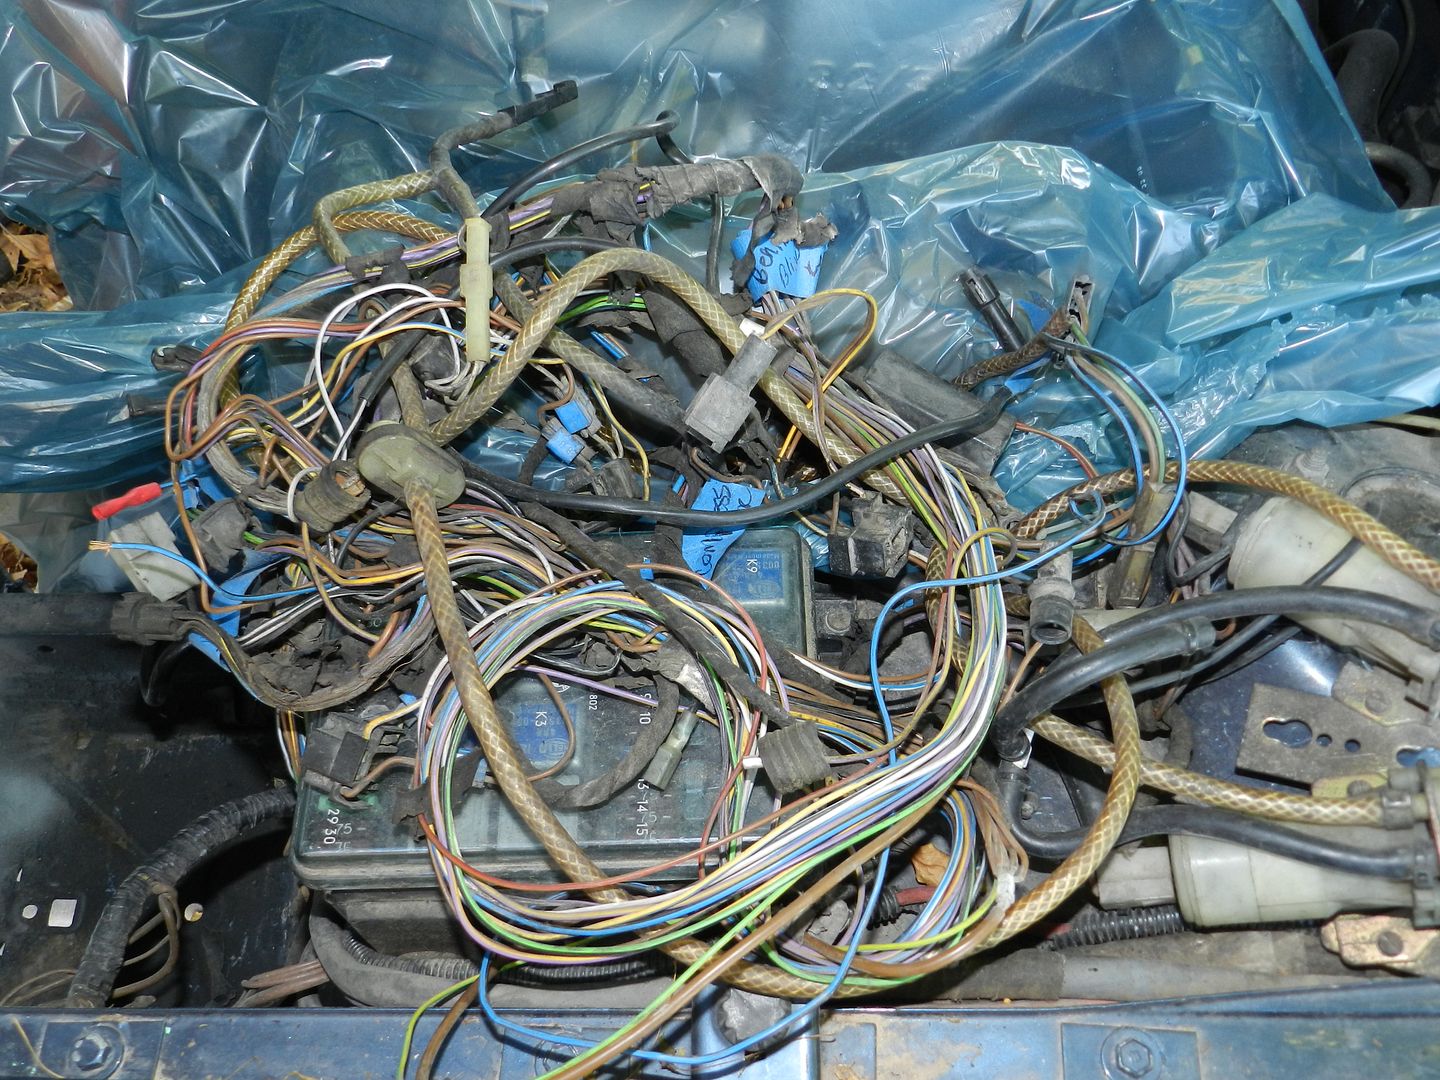
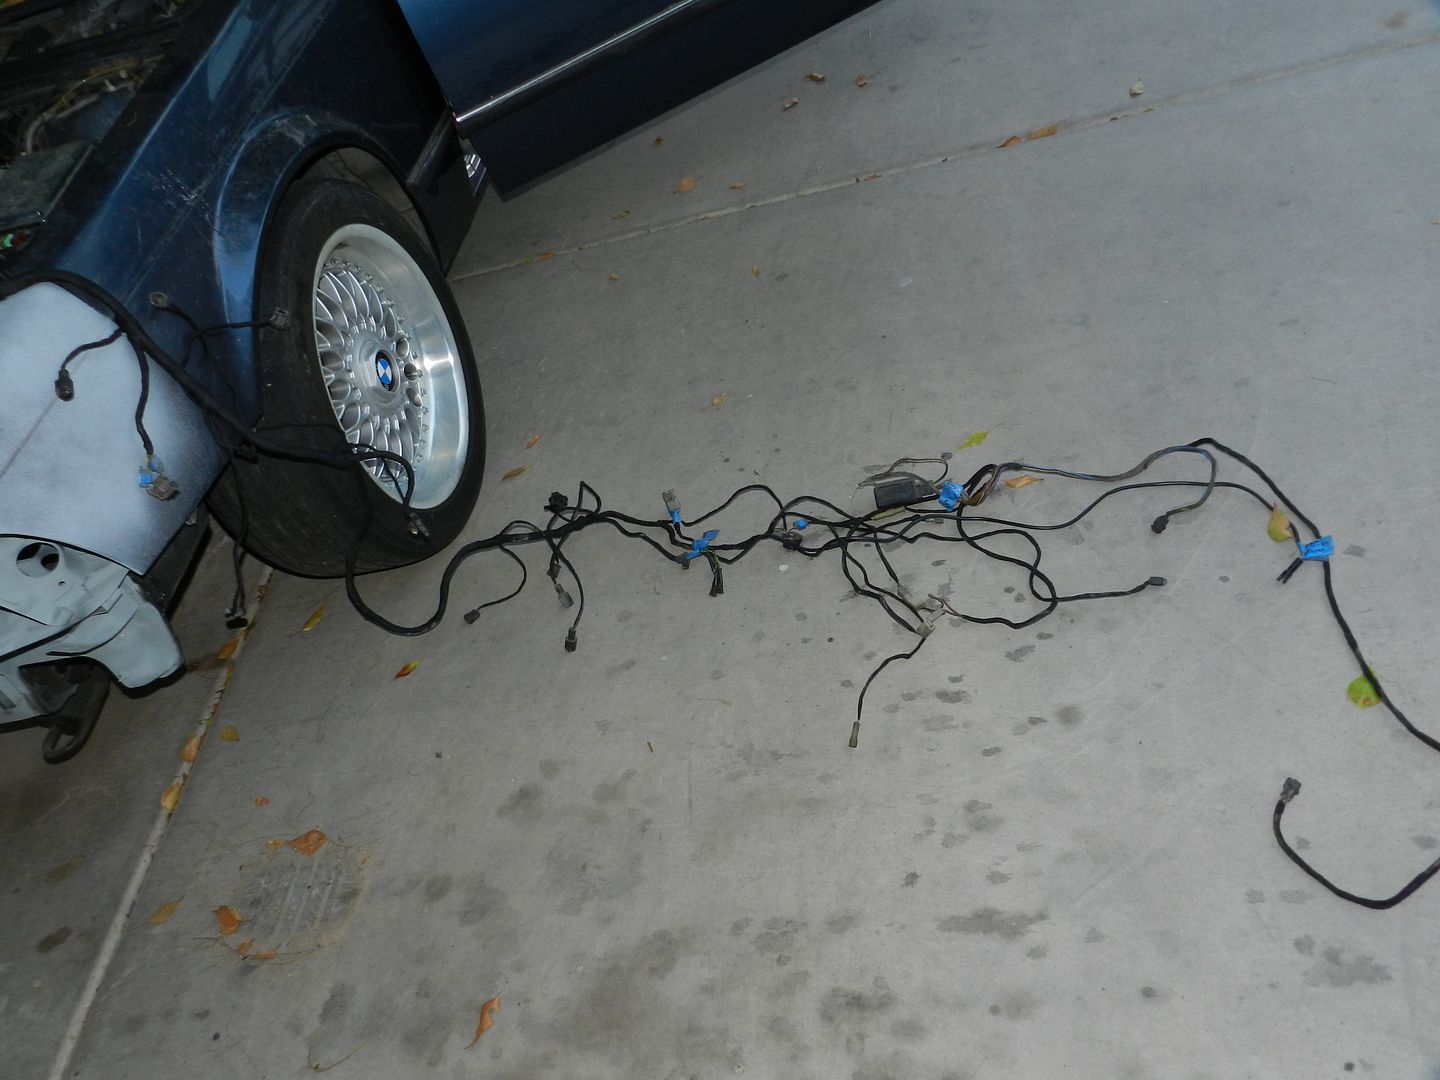
I also took off all the old tape that wraps the wires and re-wapped all of it. I also did the other side but don't have pictures. I also went through and fixed any ugly spliced wires on the engine and then shrink wrapped them.
Before:

After:
Since I was pretty much cleaning up everything I did the buckets for the headlights and cleaned the chrome trim around them. Finally i was able to do something inside for it was so f***ing hot and humid out all week.
All Finished:
Other Parts Cleaned Up:

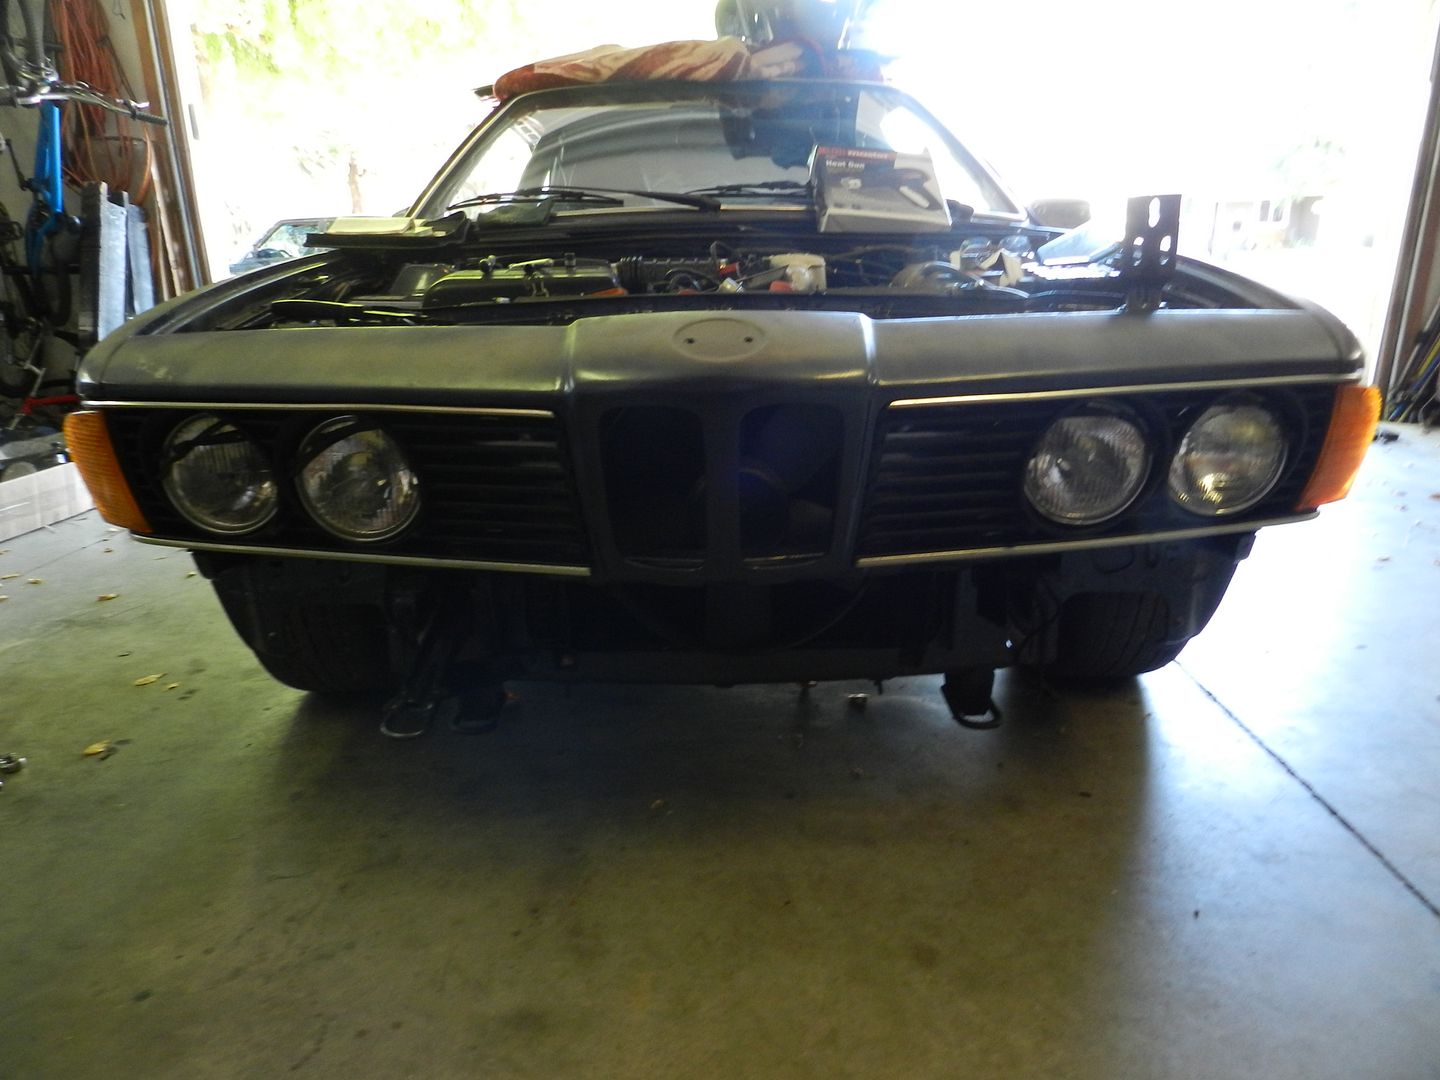
I purchased a whole front euro bumper and spoiler. I eventually want to switch the early front spoiler to the one I have with fog light. The only way to get to bolt I needed to take out DOT bar. So I went to Harbor Freight bought a $10 grinder and some cutting wheels and went to work.
Before:

I got it out and was able to remove 10lbs of useless, rusty metal.
After:
Was finally able to put her back together a have her back up and running on the road.
I just ordered some new euro turn signals and should be here in a few day so I can get rid of those hideous elephant ear that are on there. I am also still looking for one more euro low beam so if anyone has one around. I'd be happy to BUY it off you! My dad found a very dull half-assed polished valve cover and thermostat housing. So I took the time to shine it up a LITTLE bit more! I bought some 1500 grit wet sand paper, buffing wheel, polishing compound, and some mother aluminum polish. Here are the results of the valve cover still need to do thermostat housing.
Before:
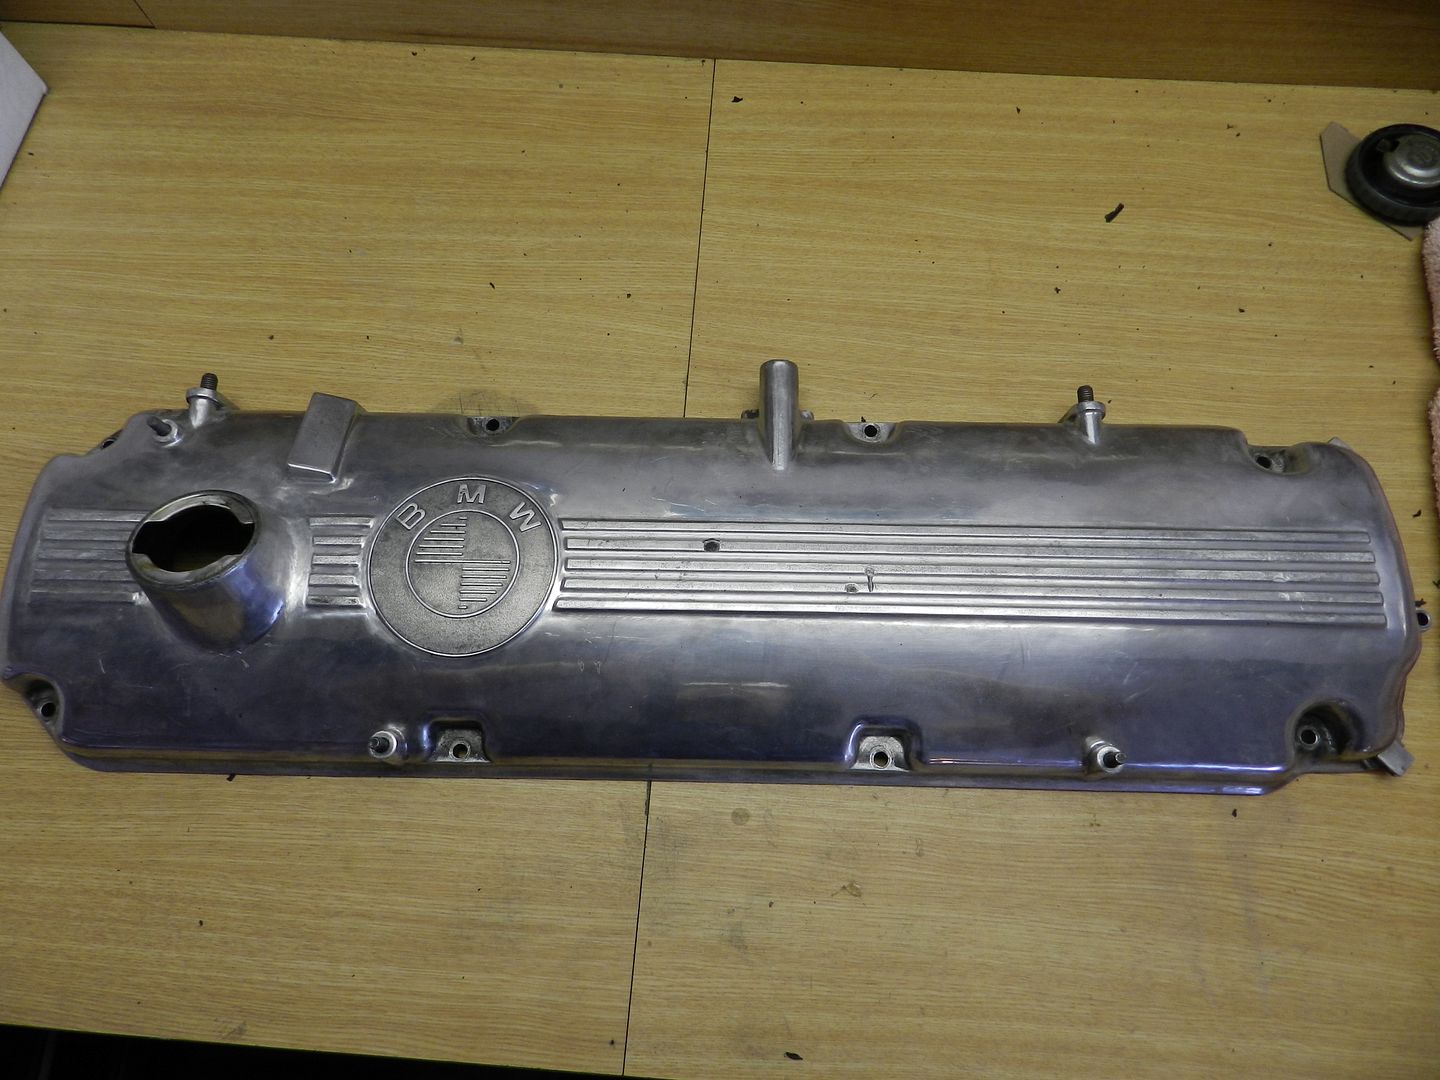
After:
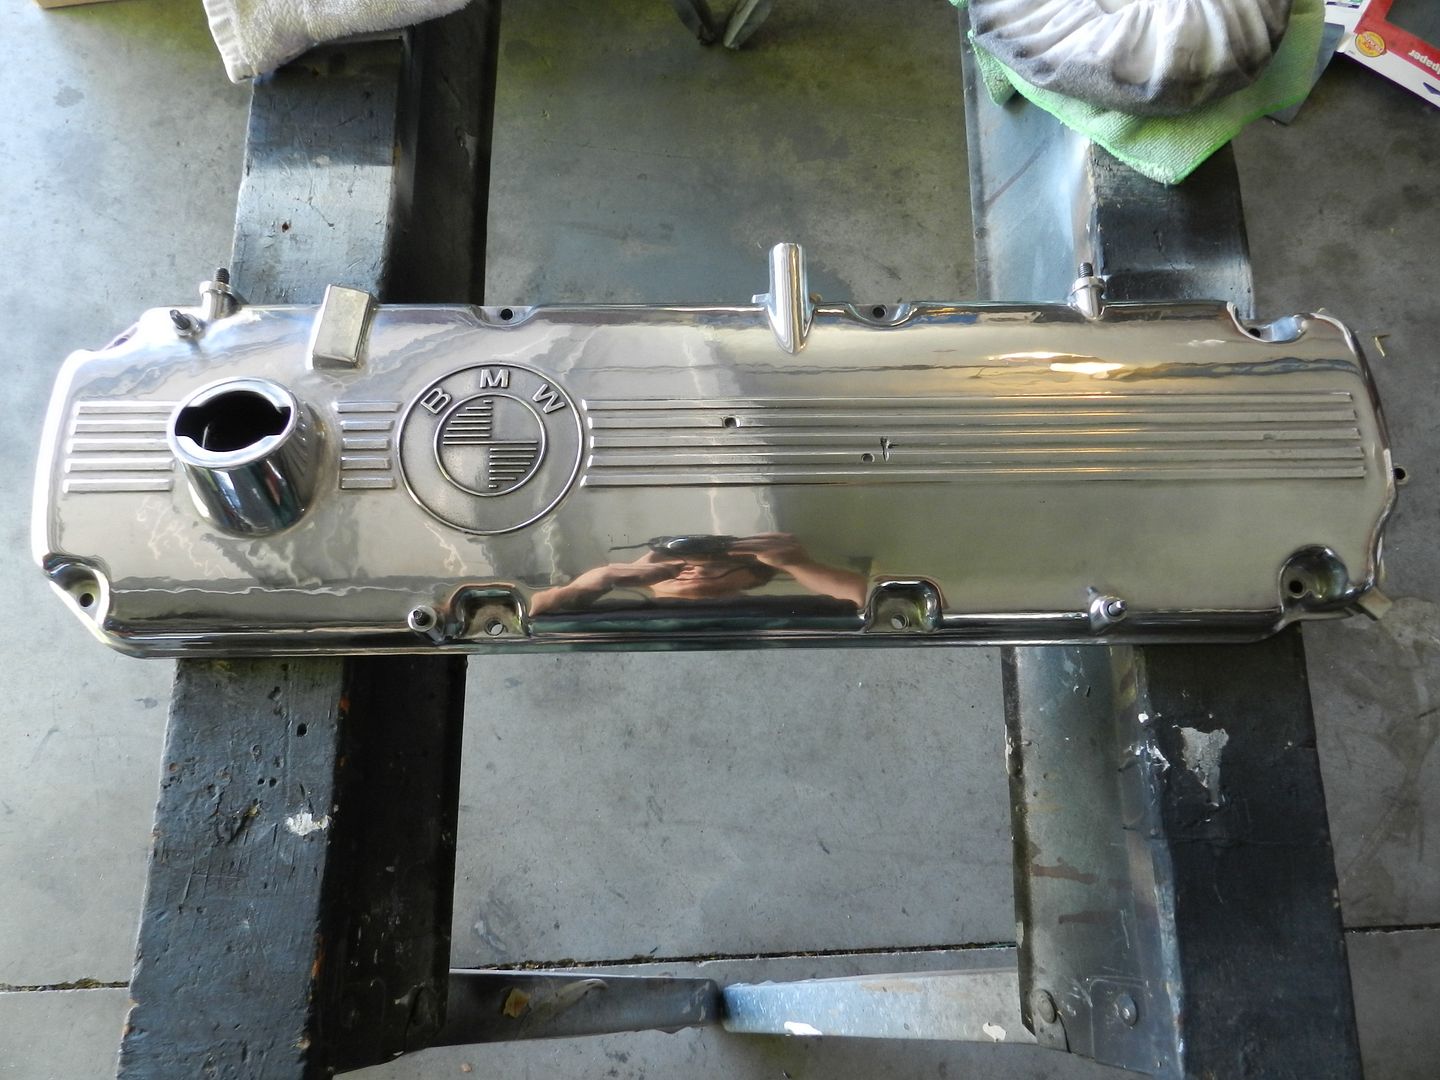
How It's Going to Look In Engine Bay: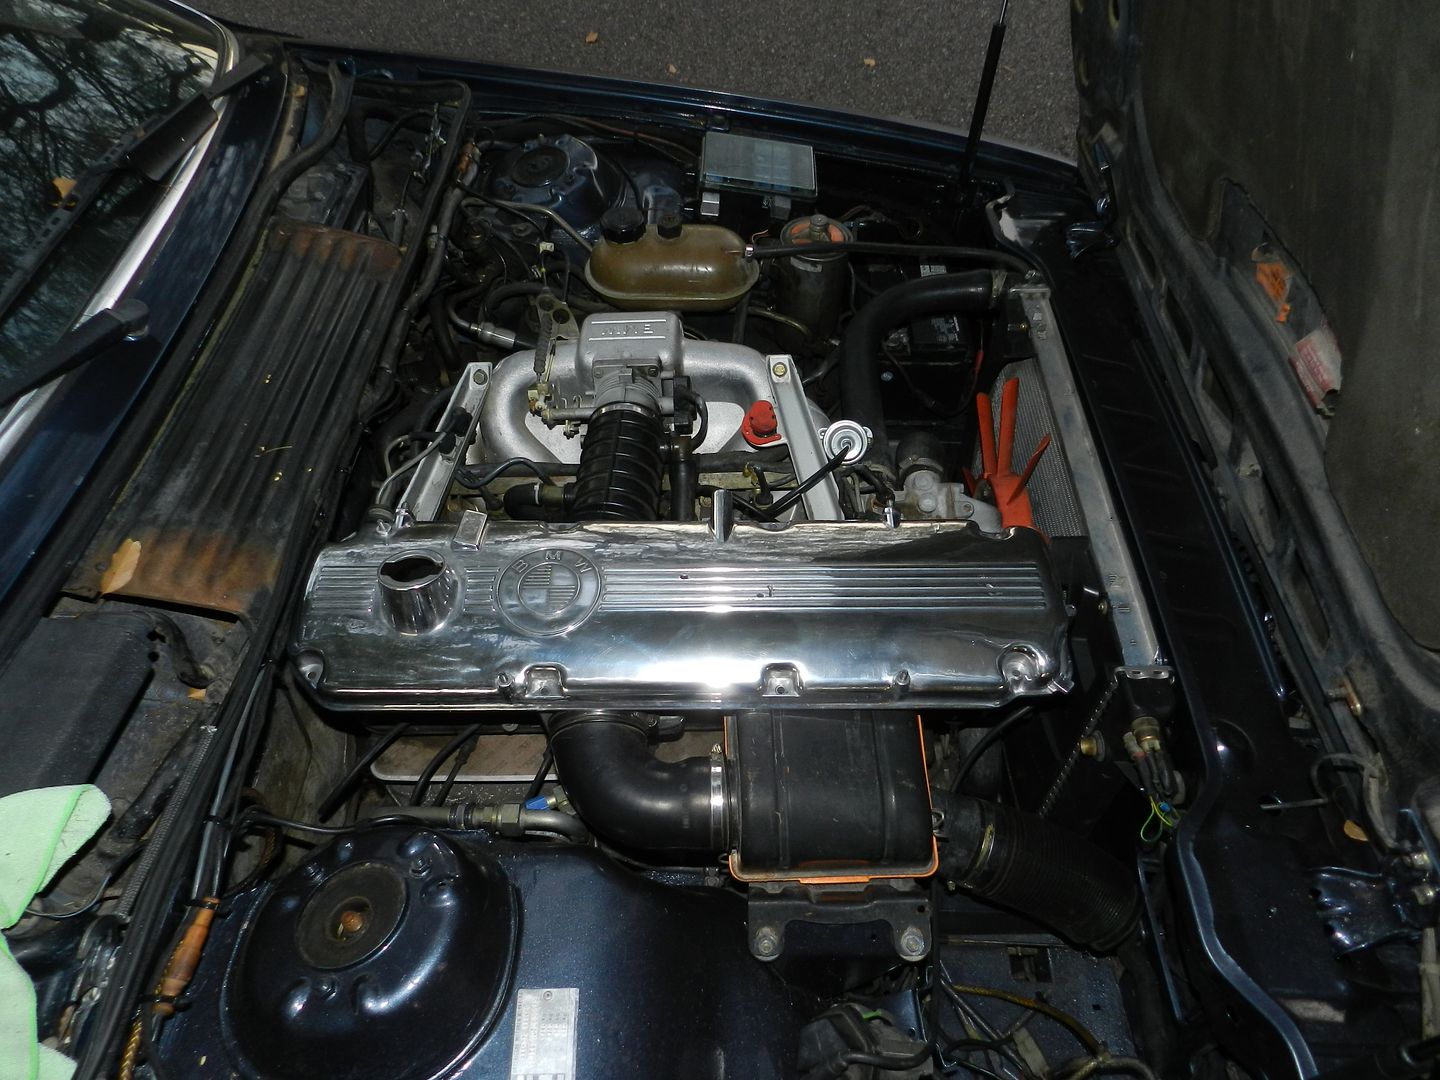
Also cleaned the intake filter casing.
Before
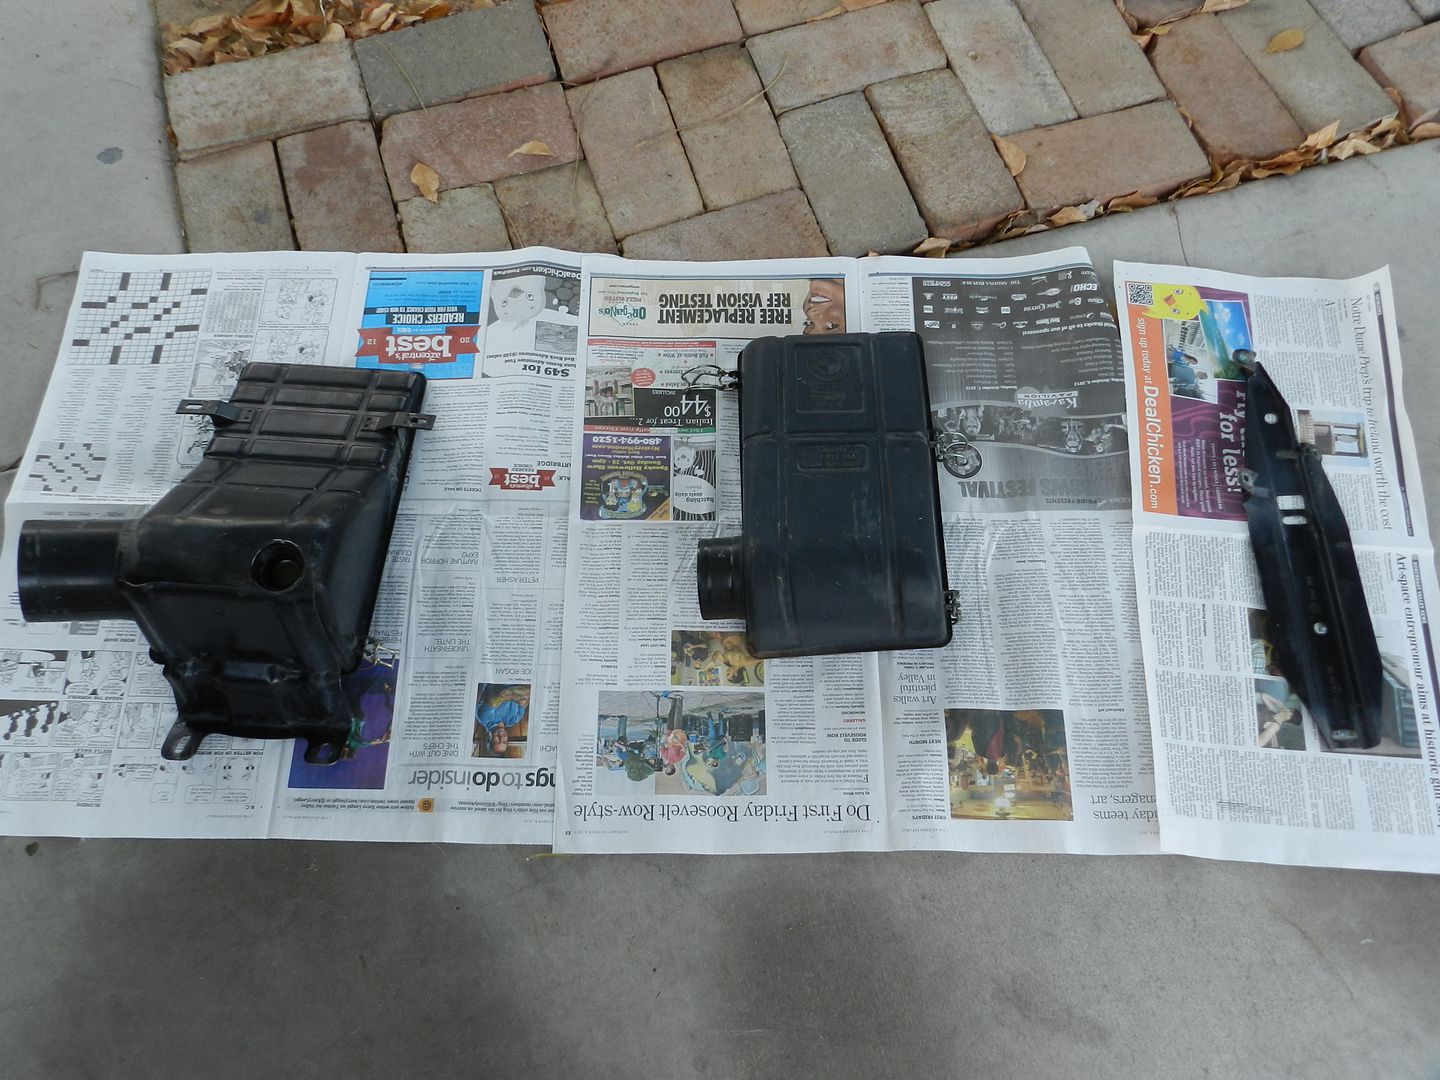
After
Well now that the e39 project was finished and now sold it is time to start on the e24 again! It seems like this car needs one of everything but I had to start somewhere. I had left off with the engine bay last summer but never got to painting the cover for the heater blower motor. Let it begin!!!
Before:
Wet Sanded:
After:
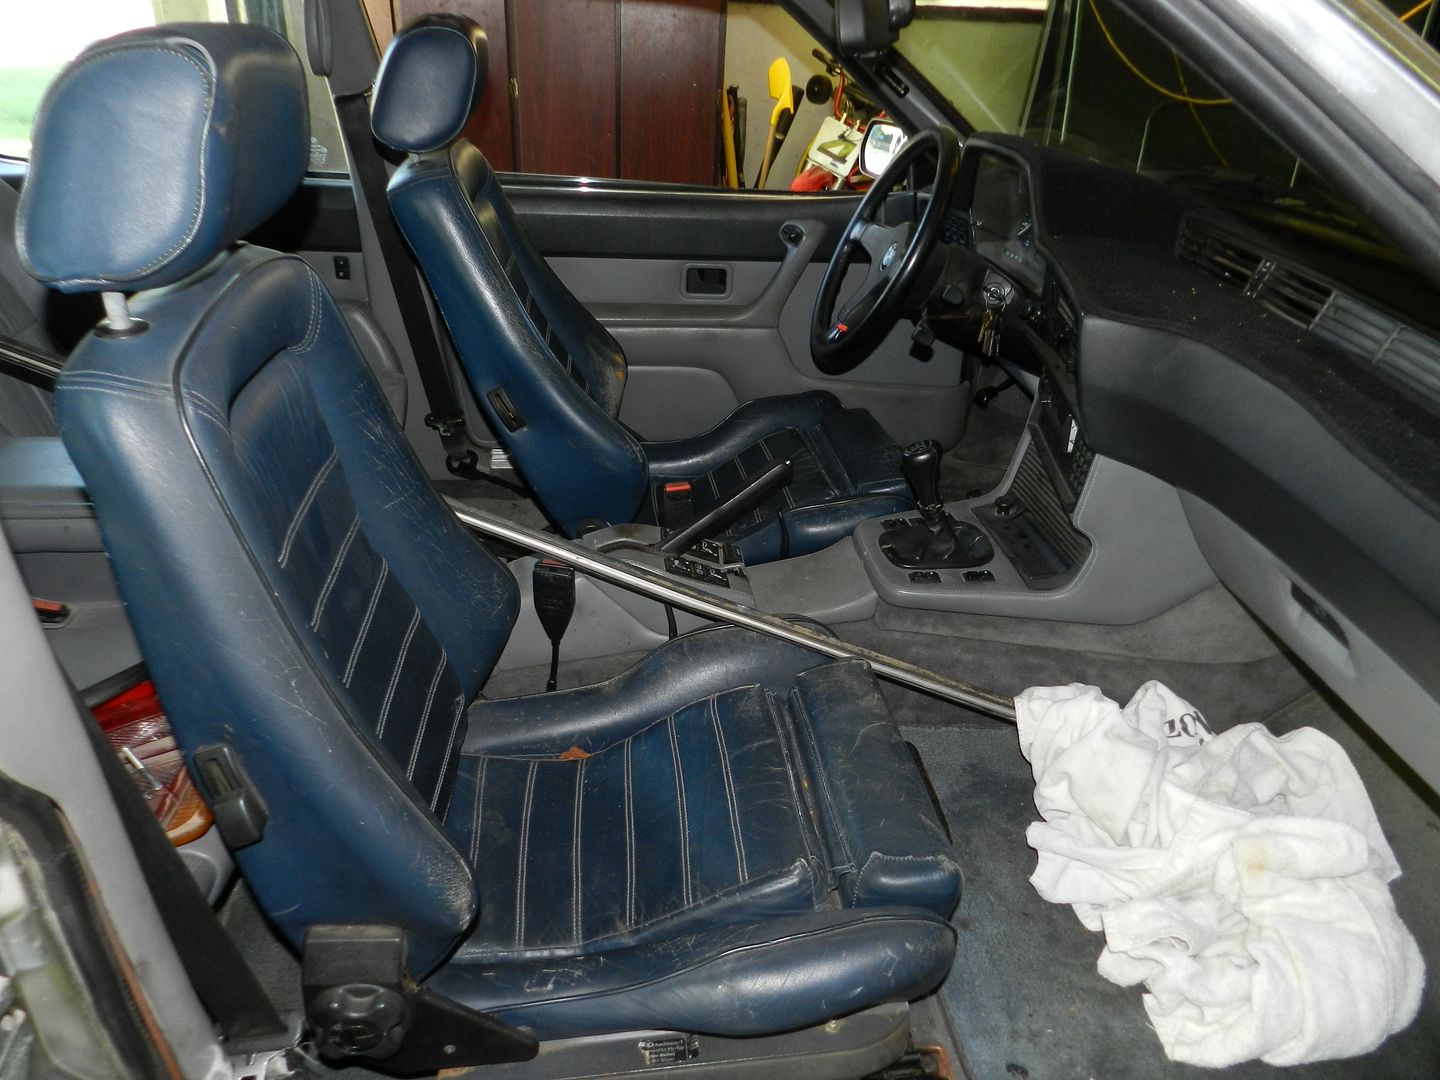
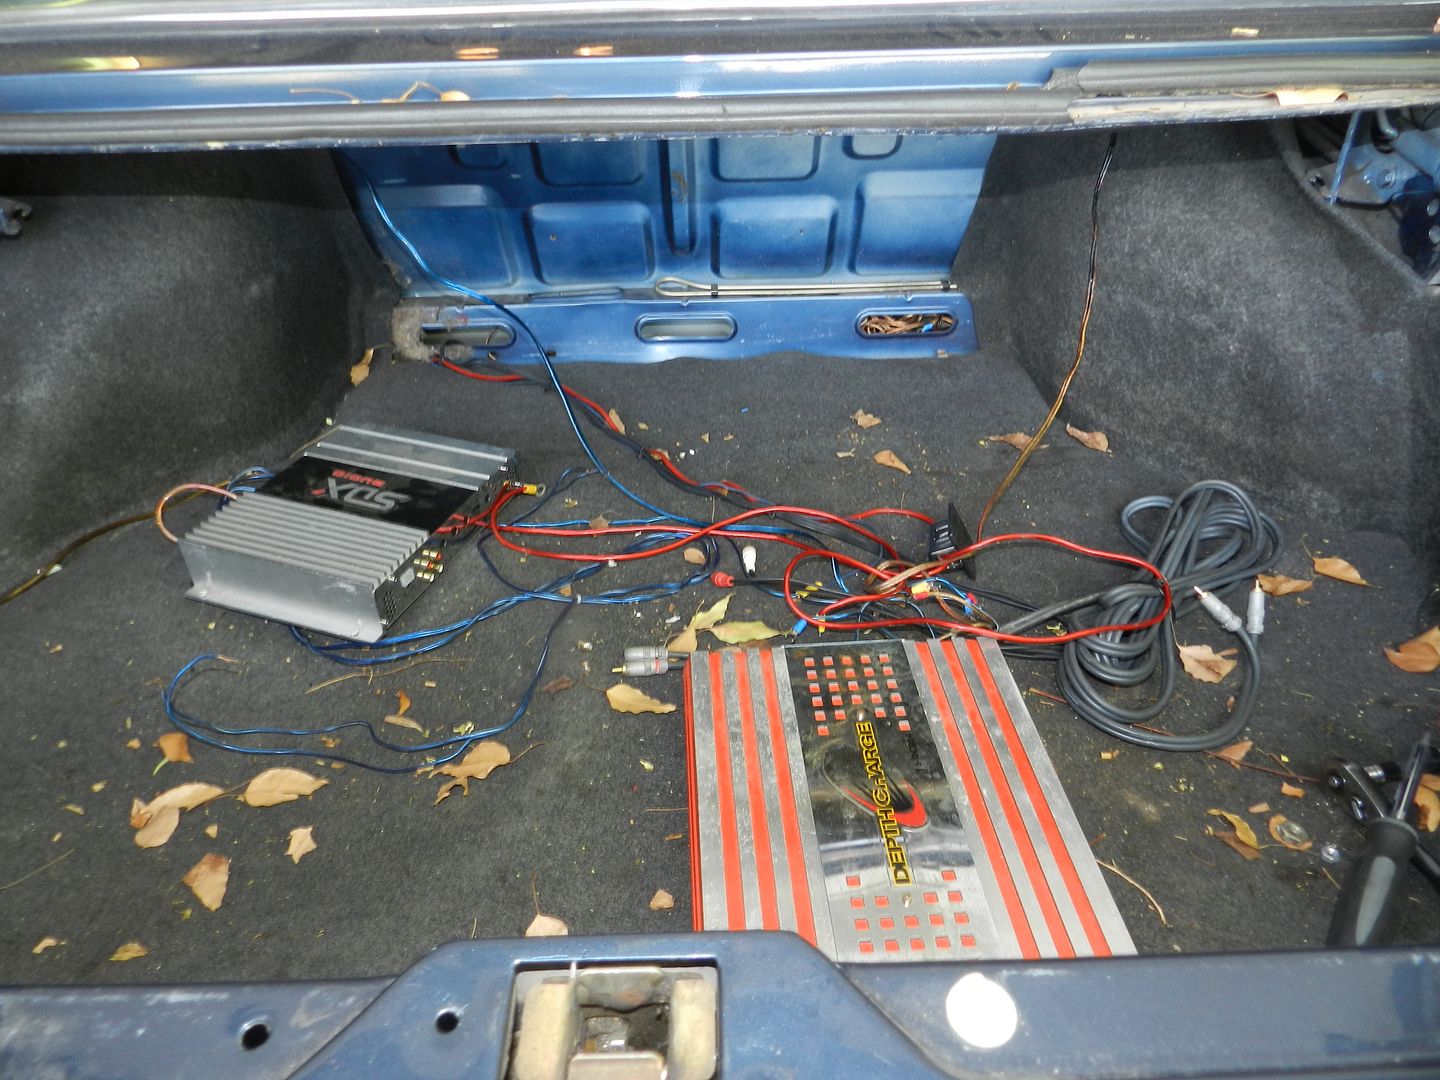
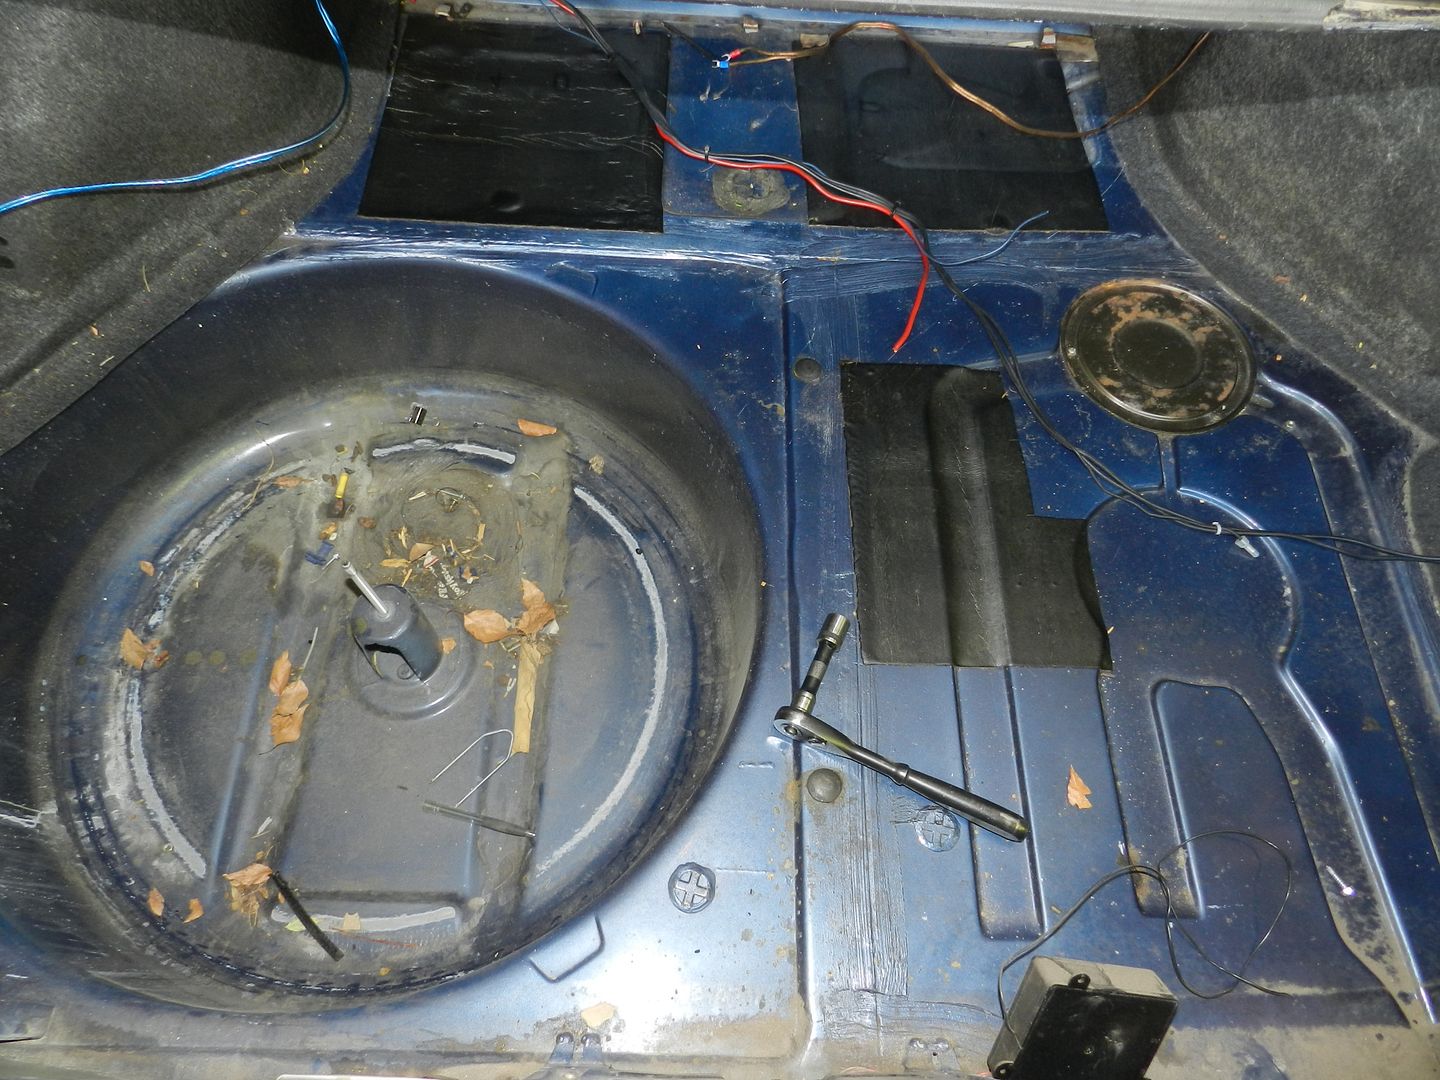
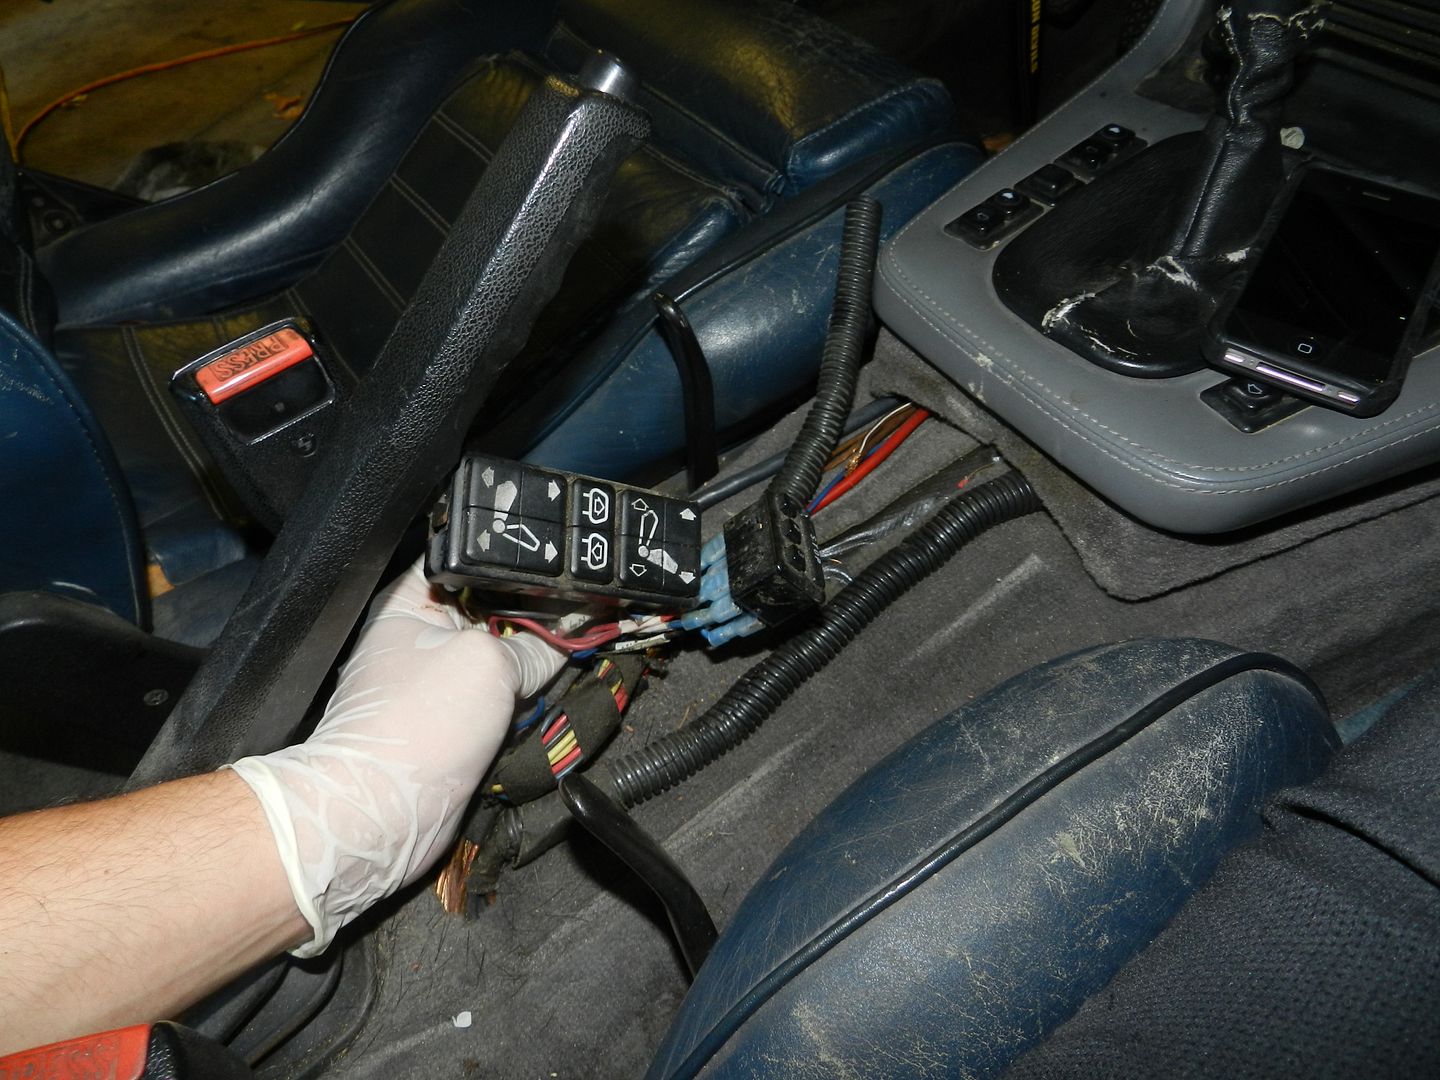
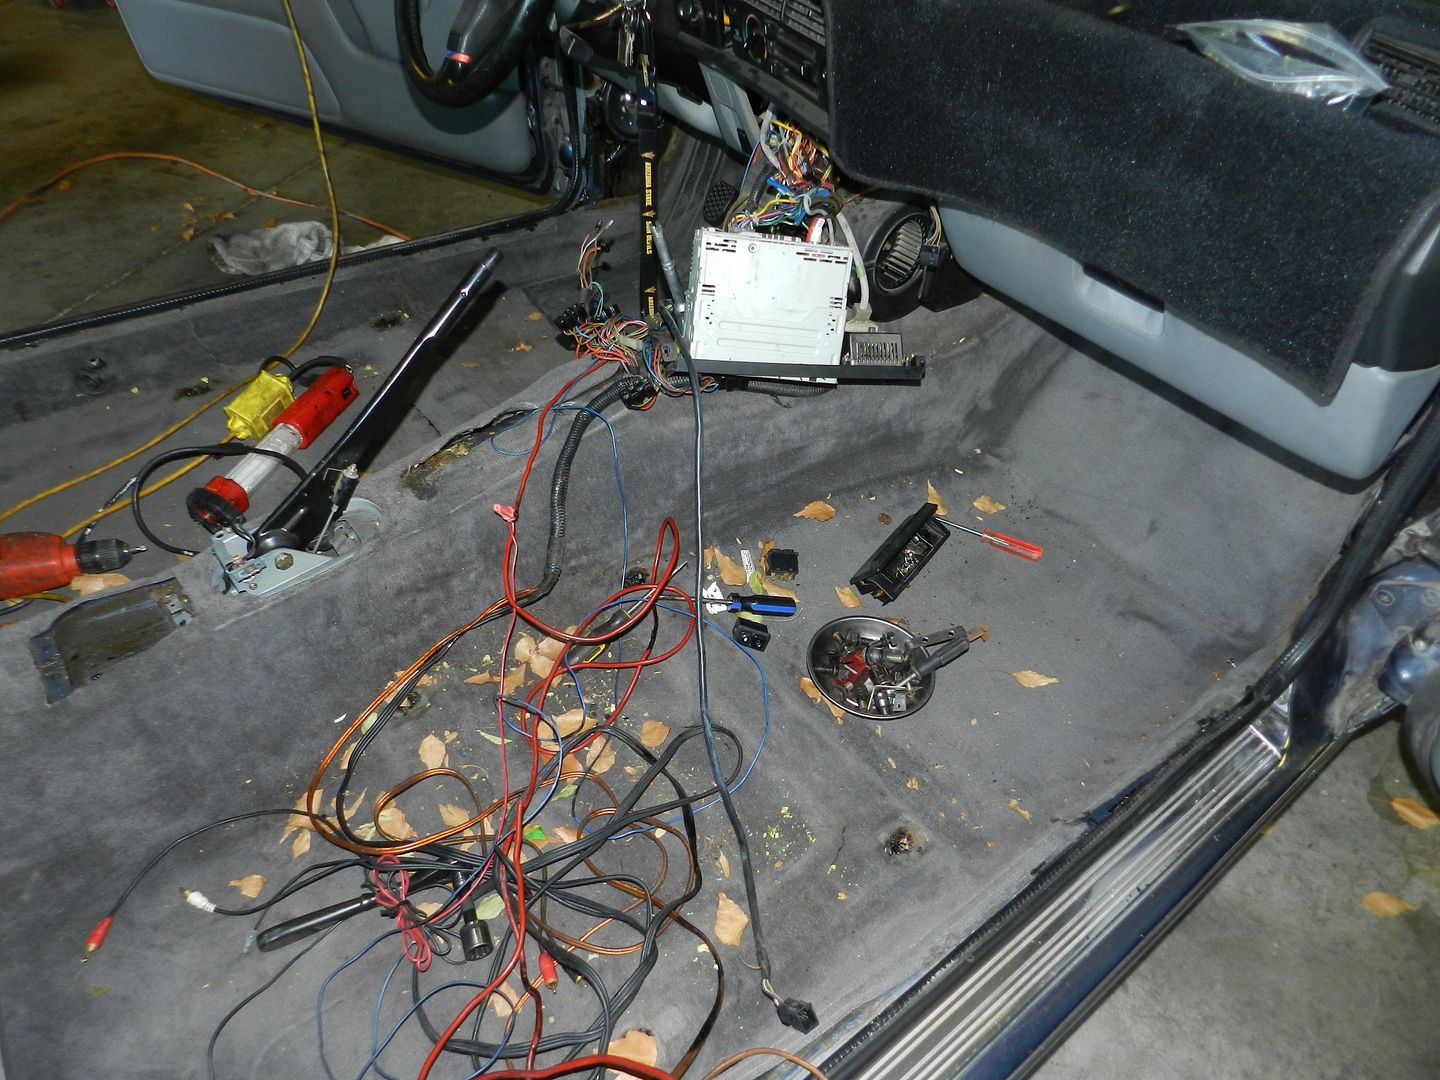
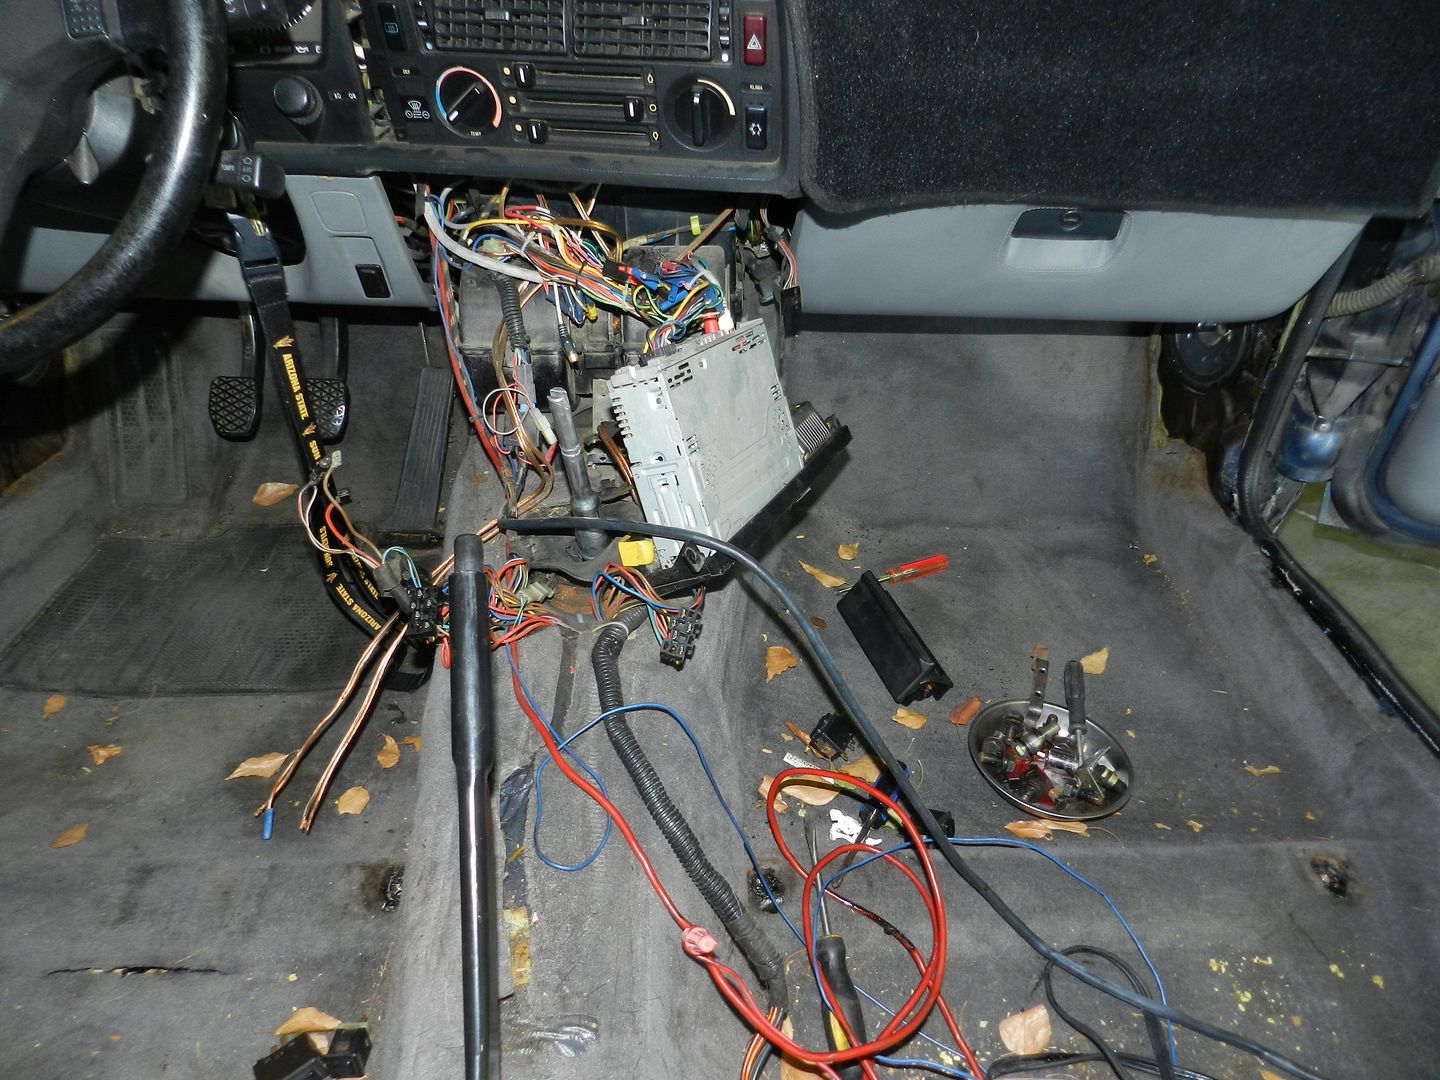
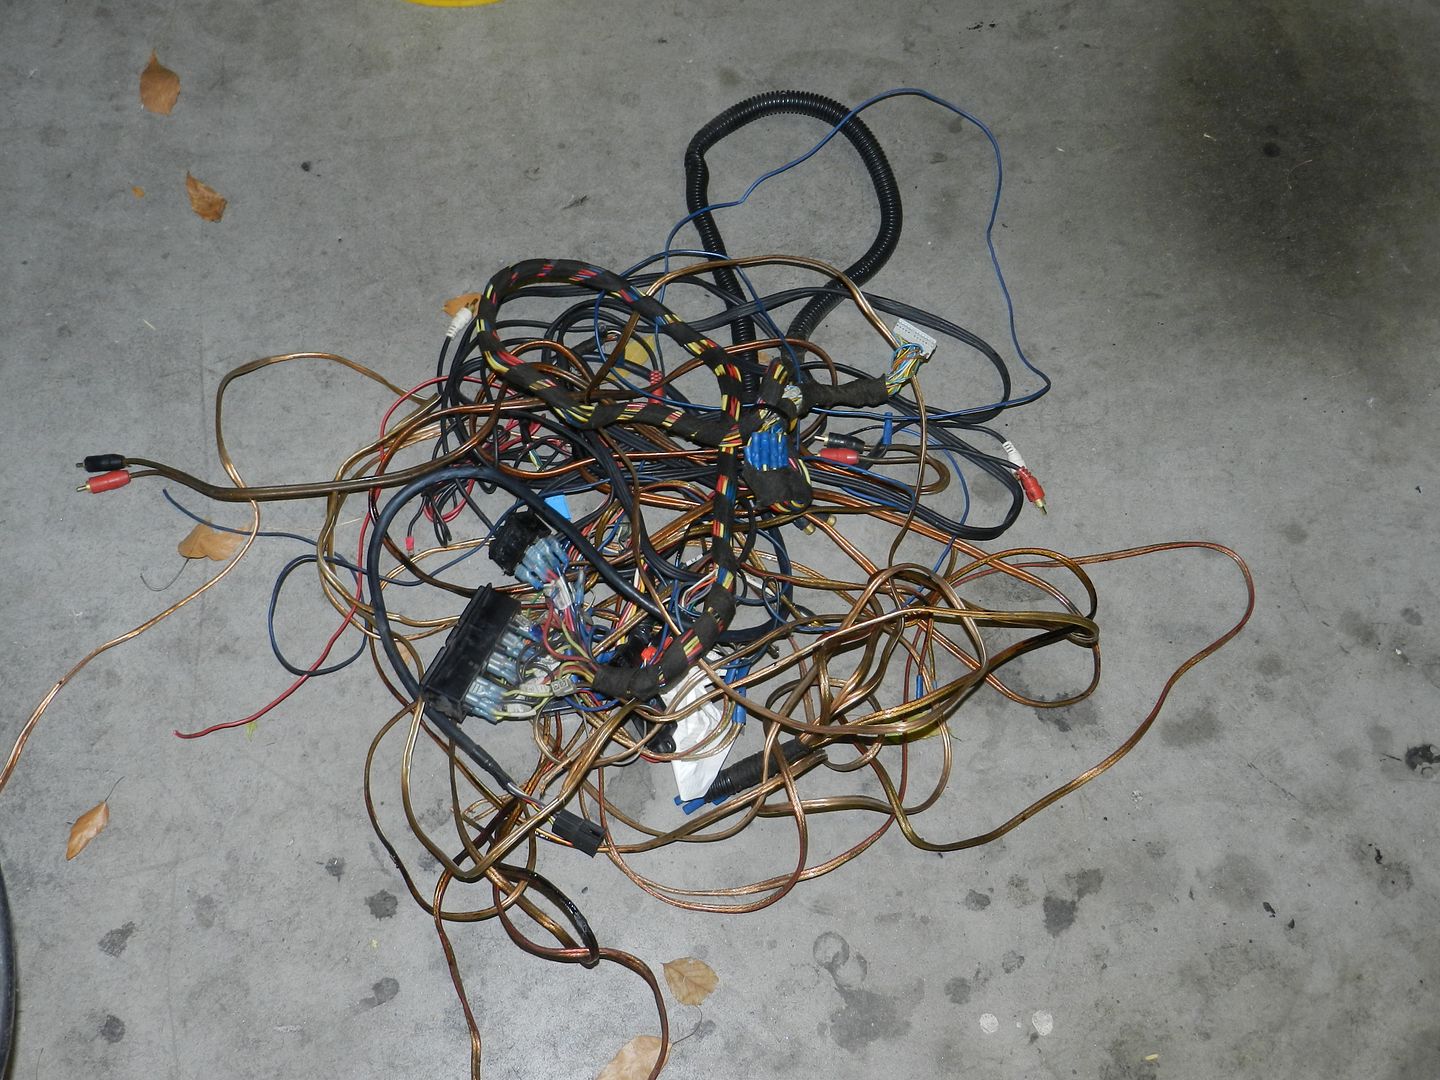
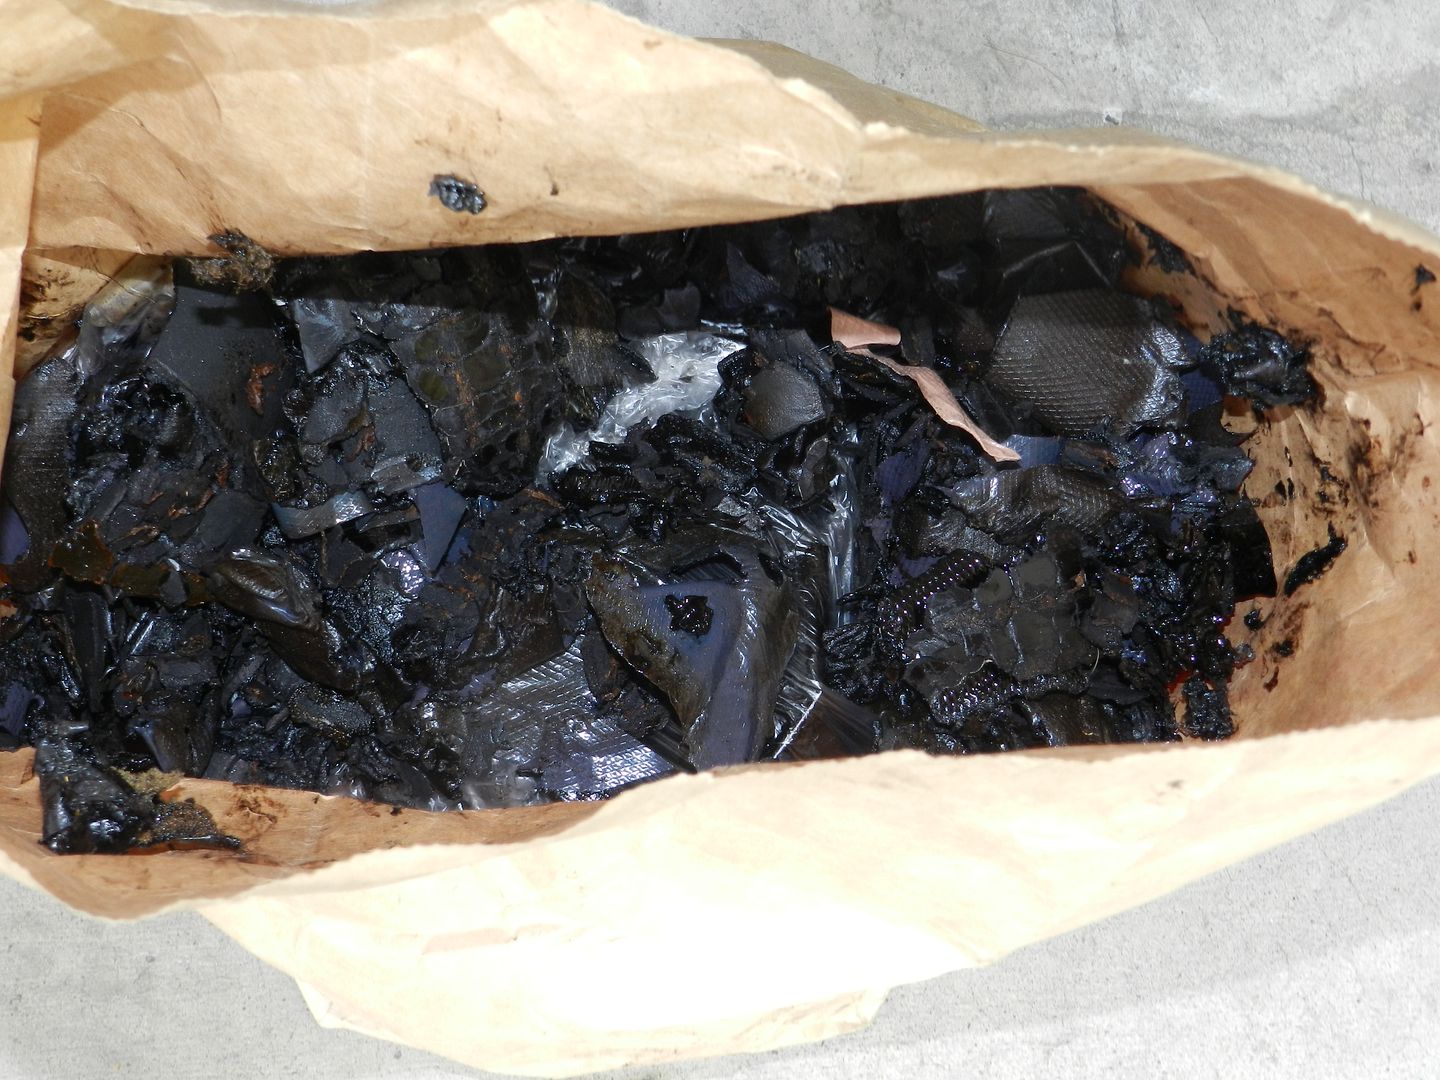
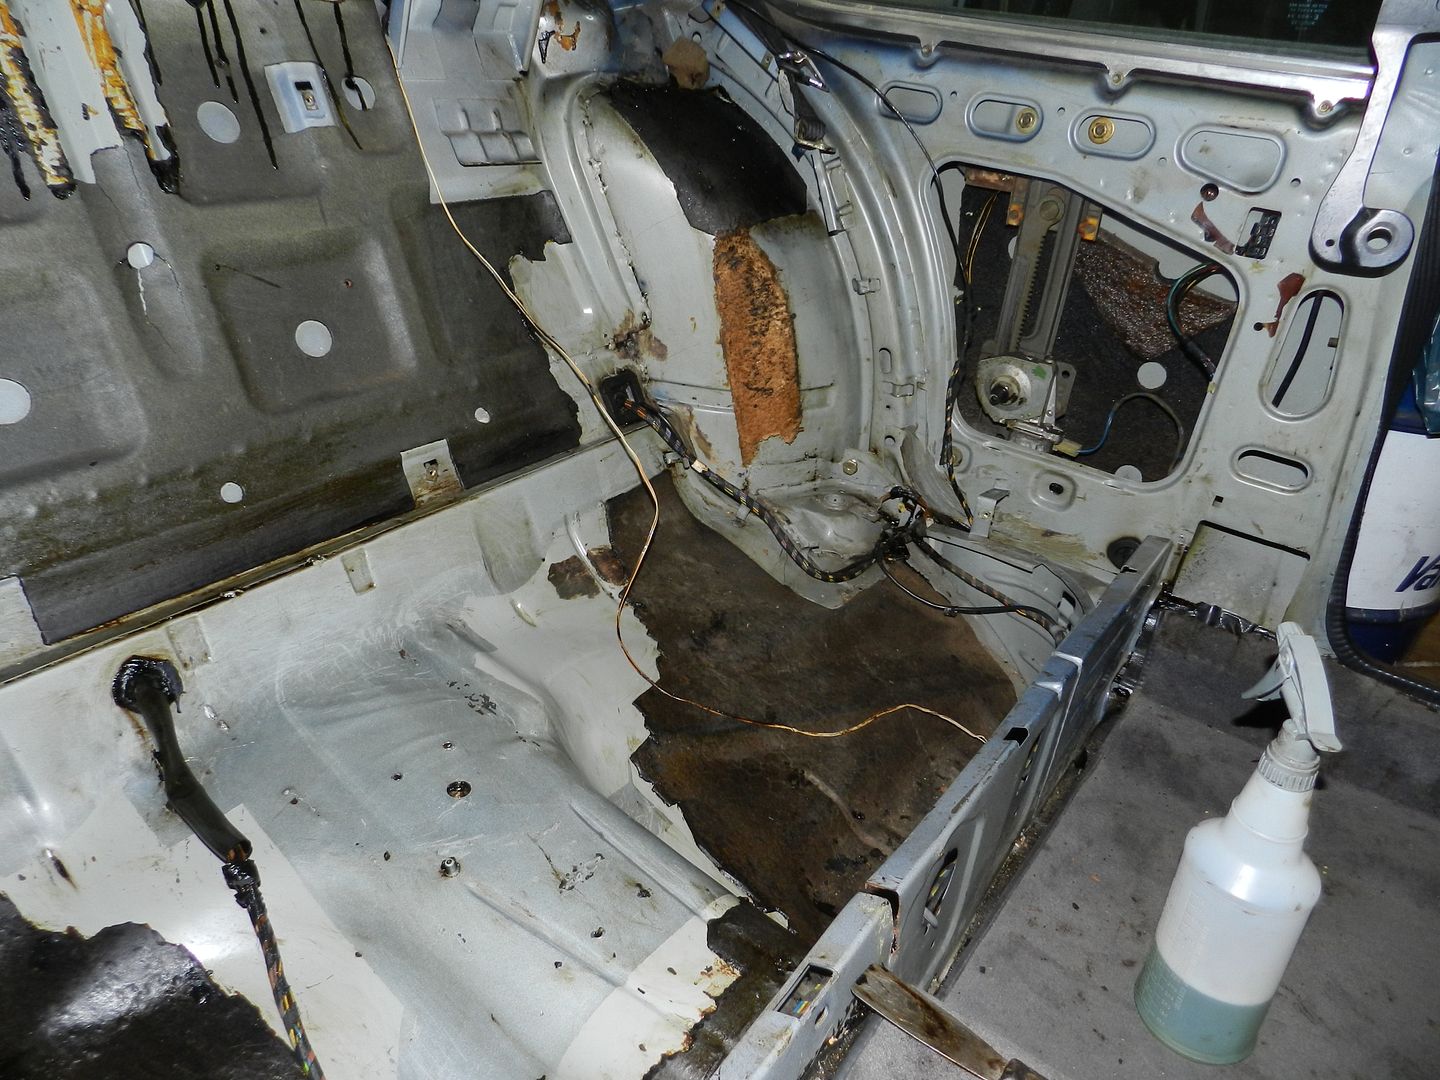
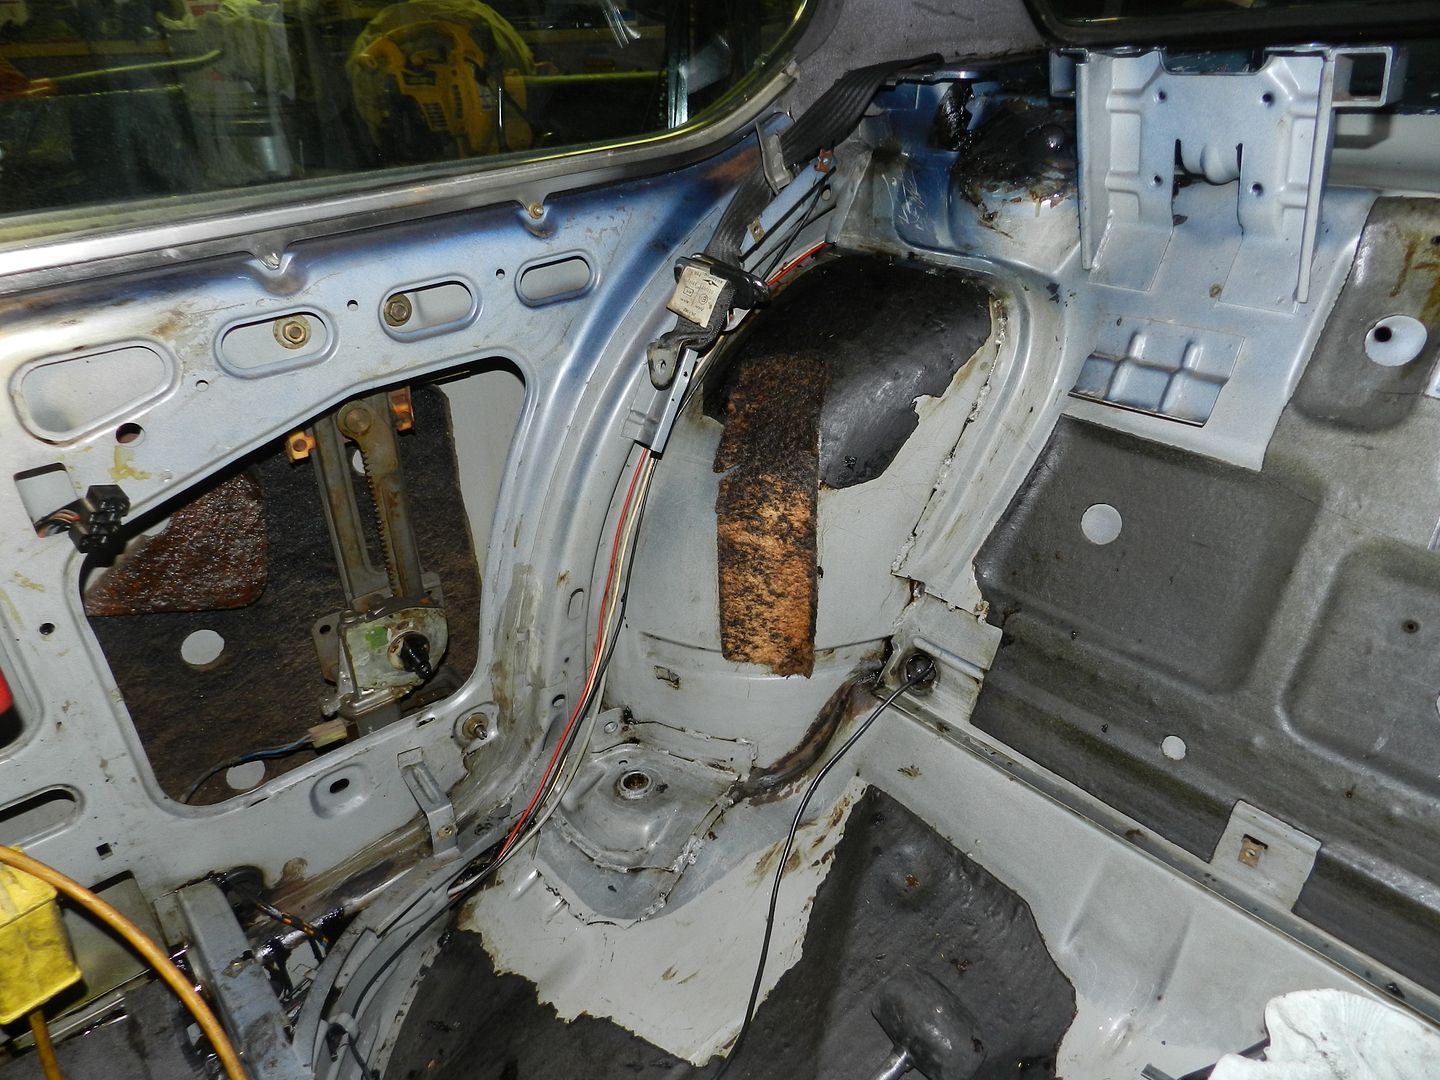
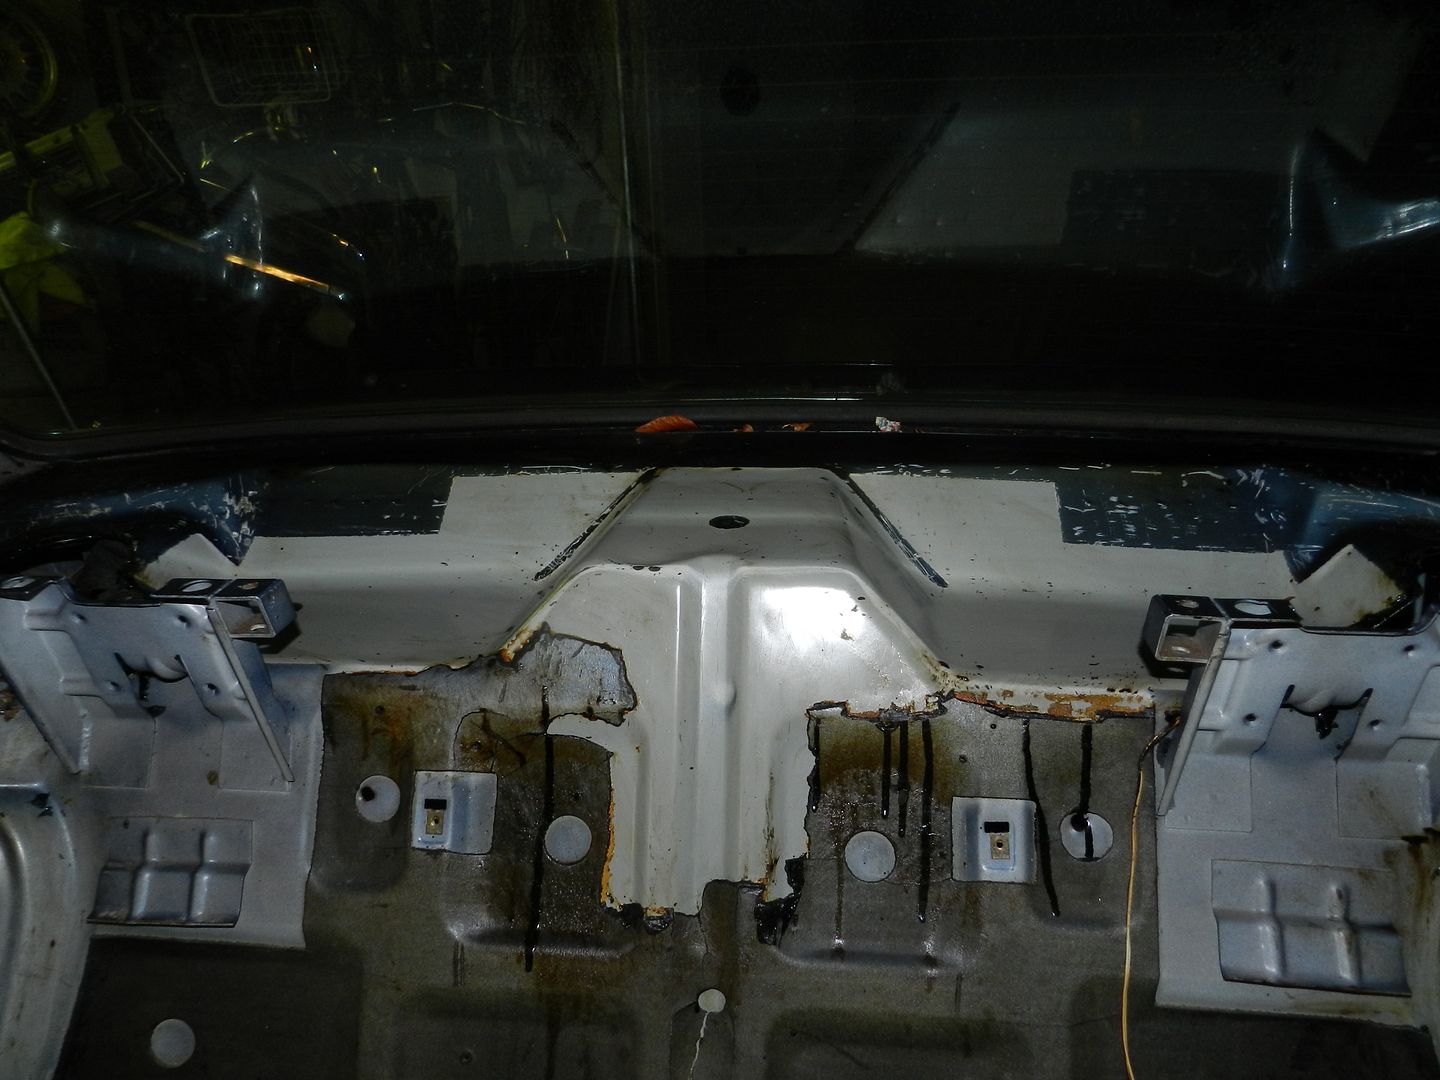
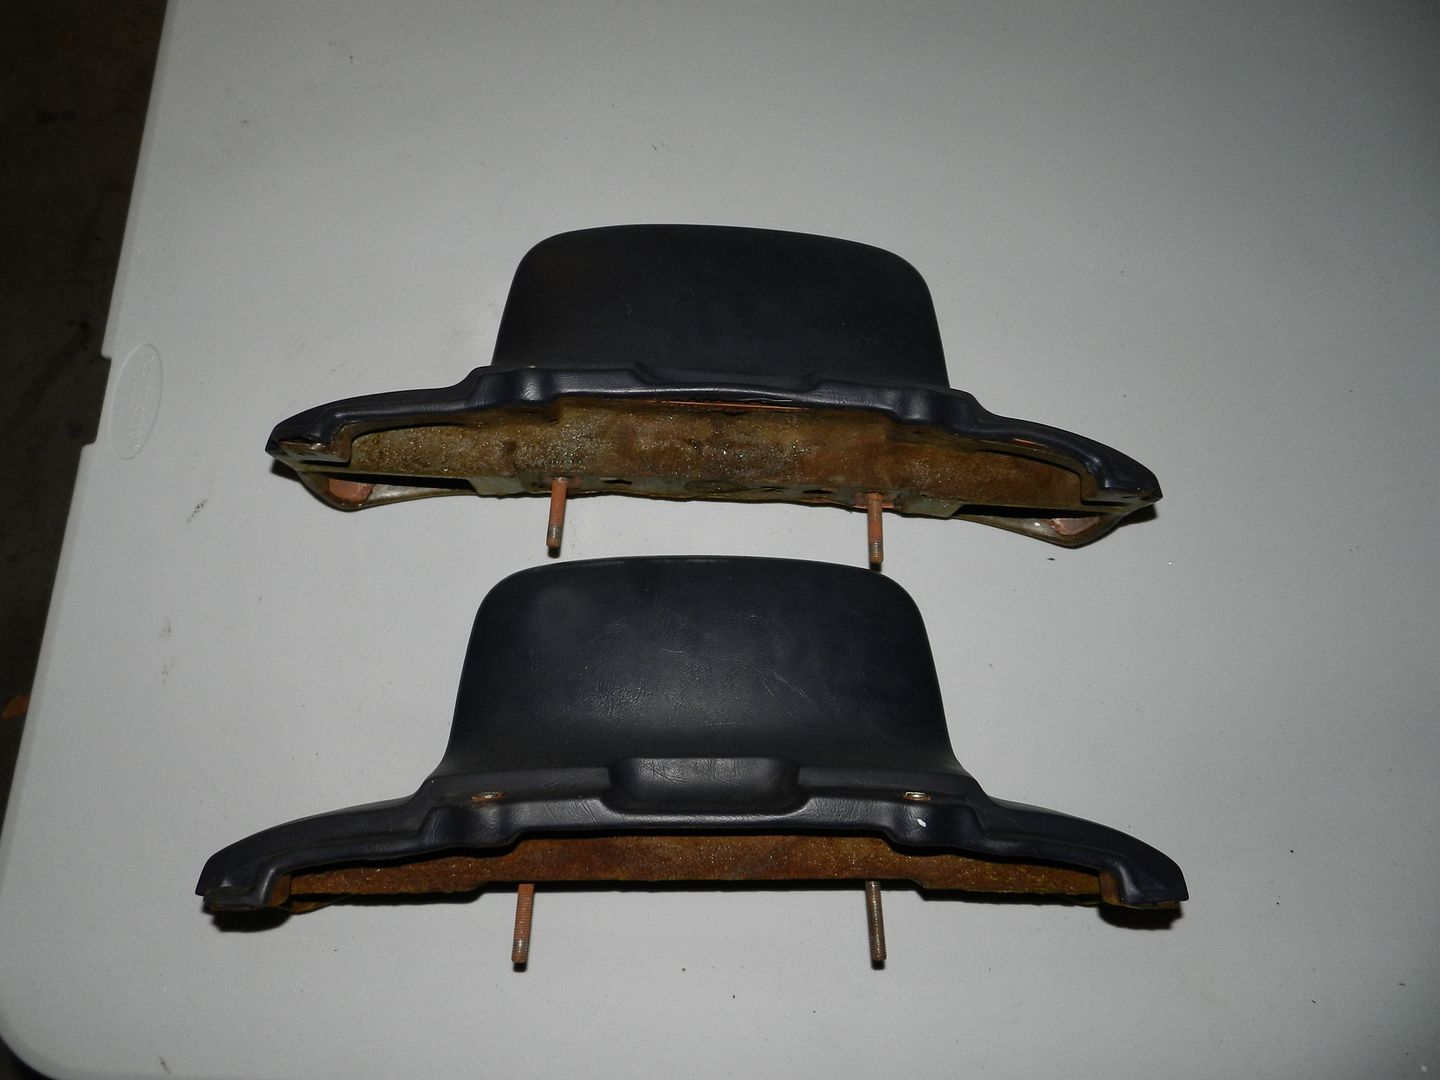
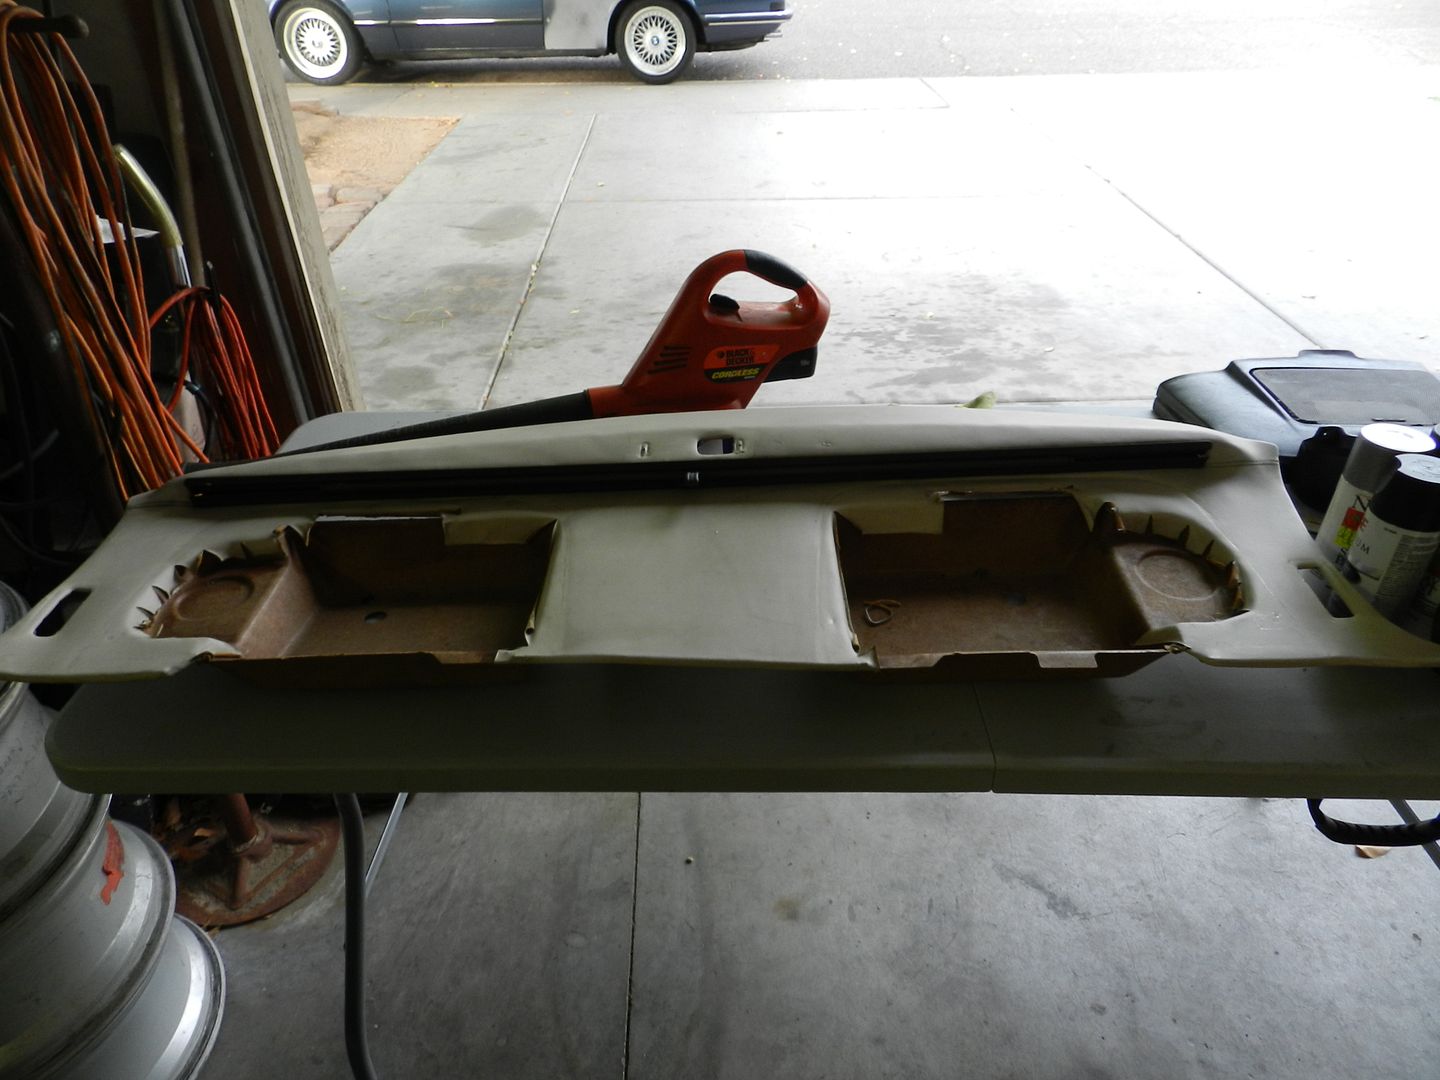
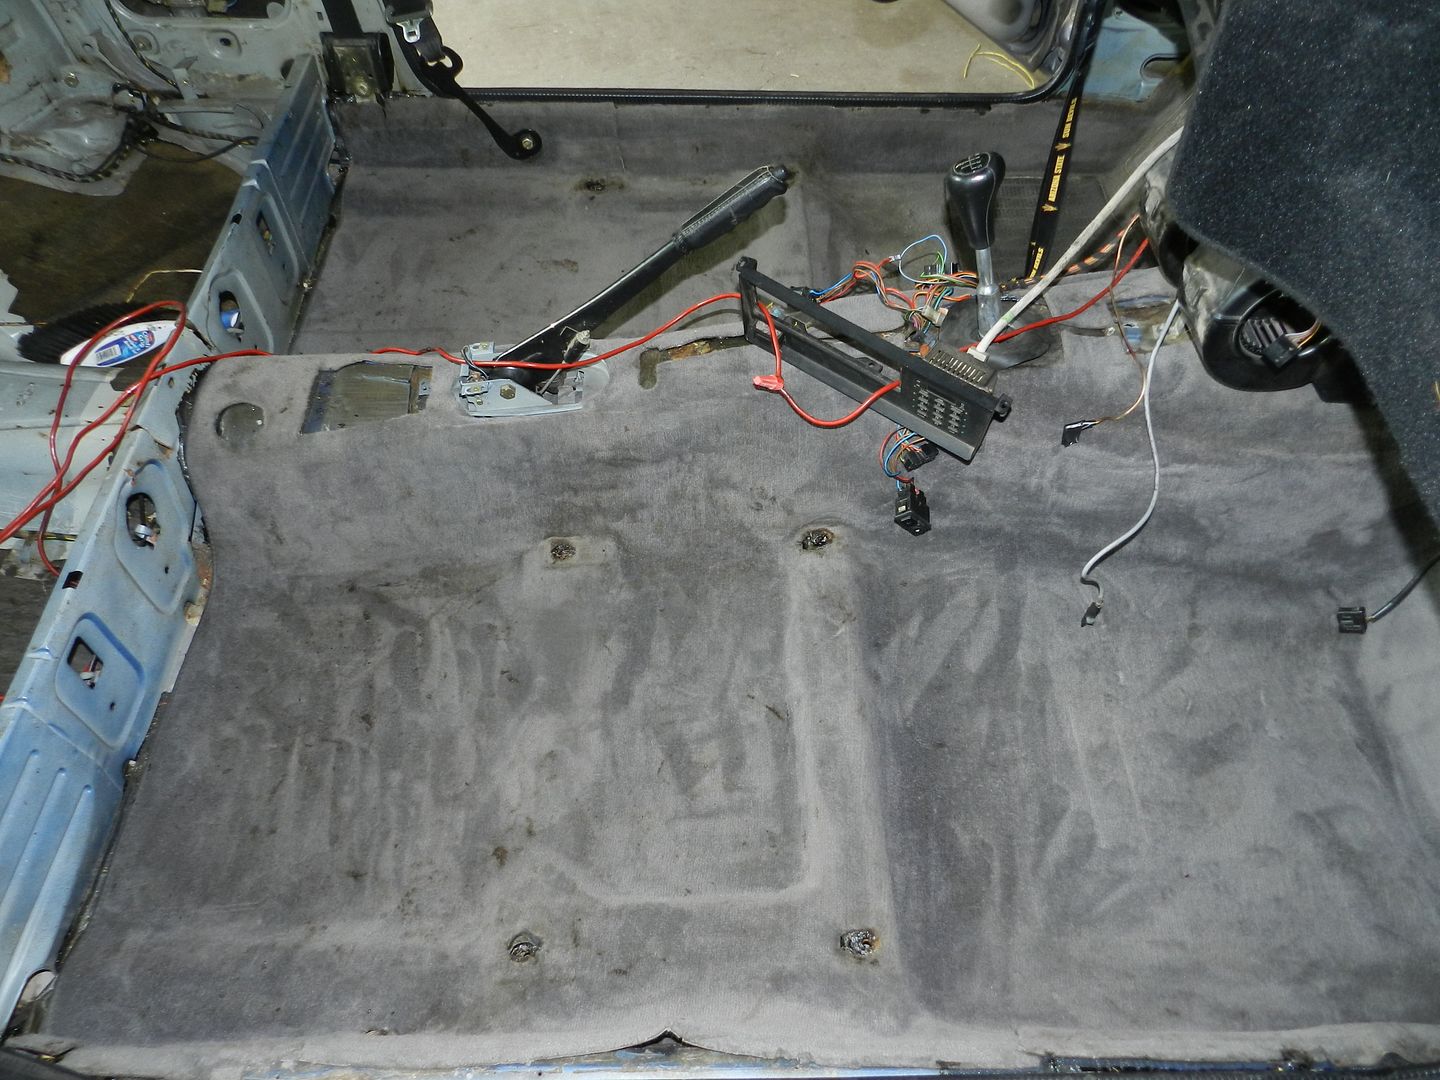
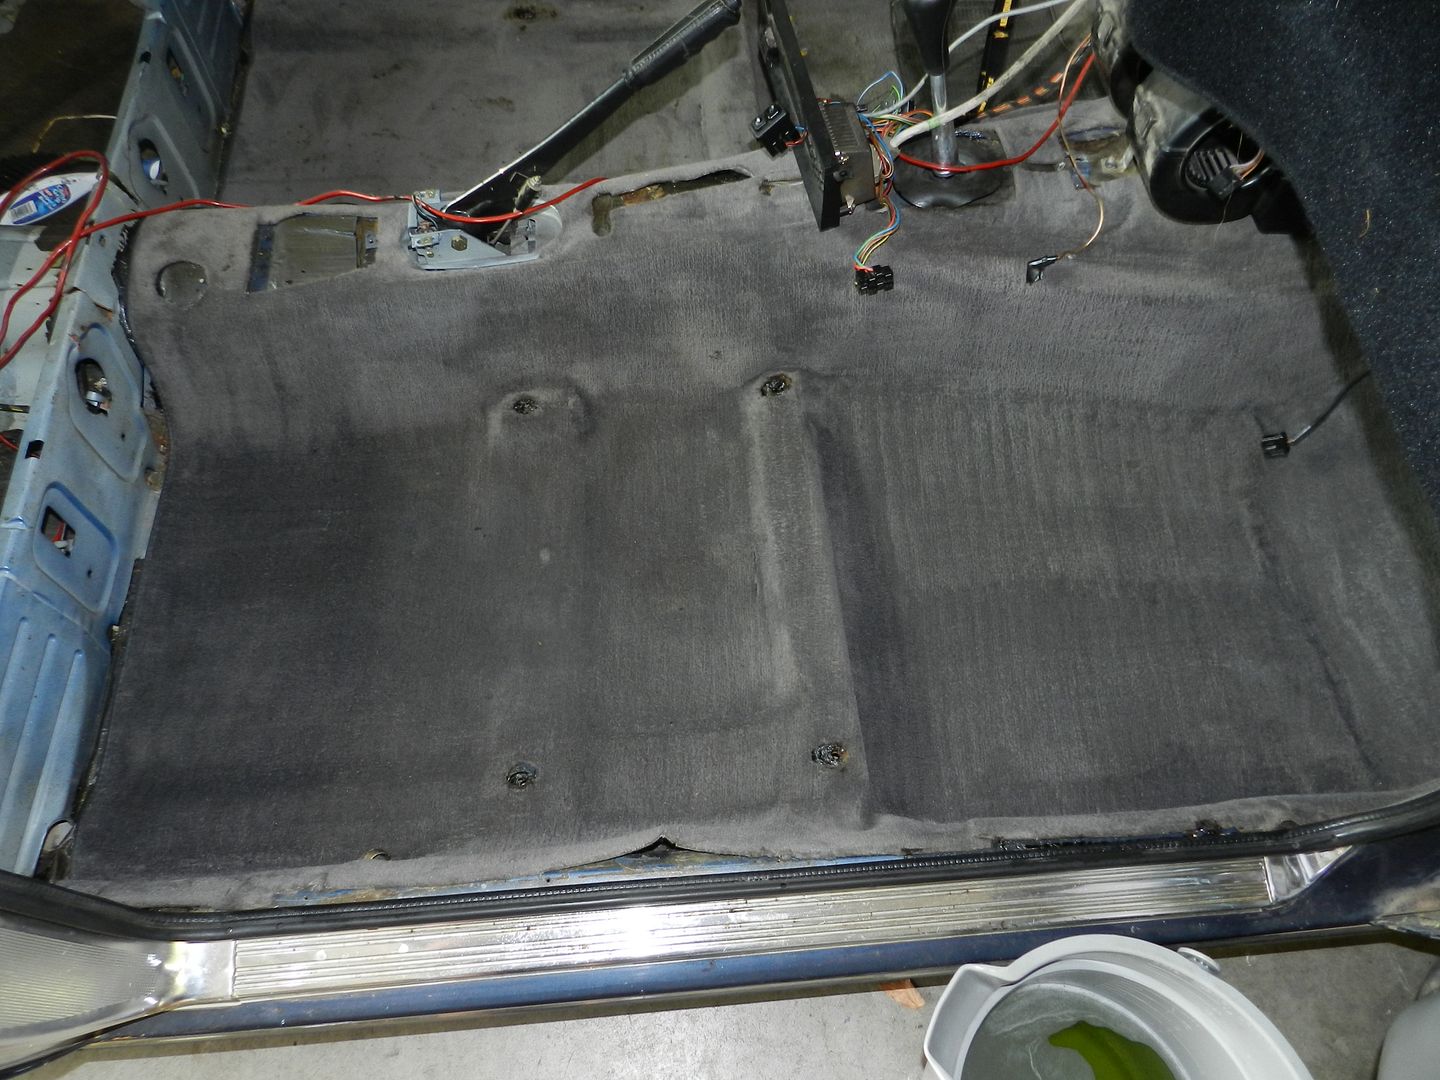
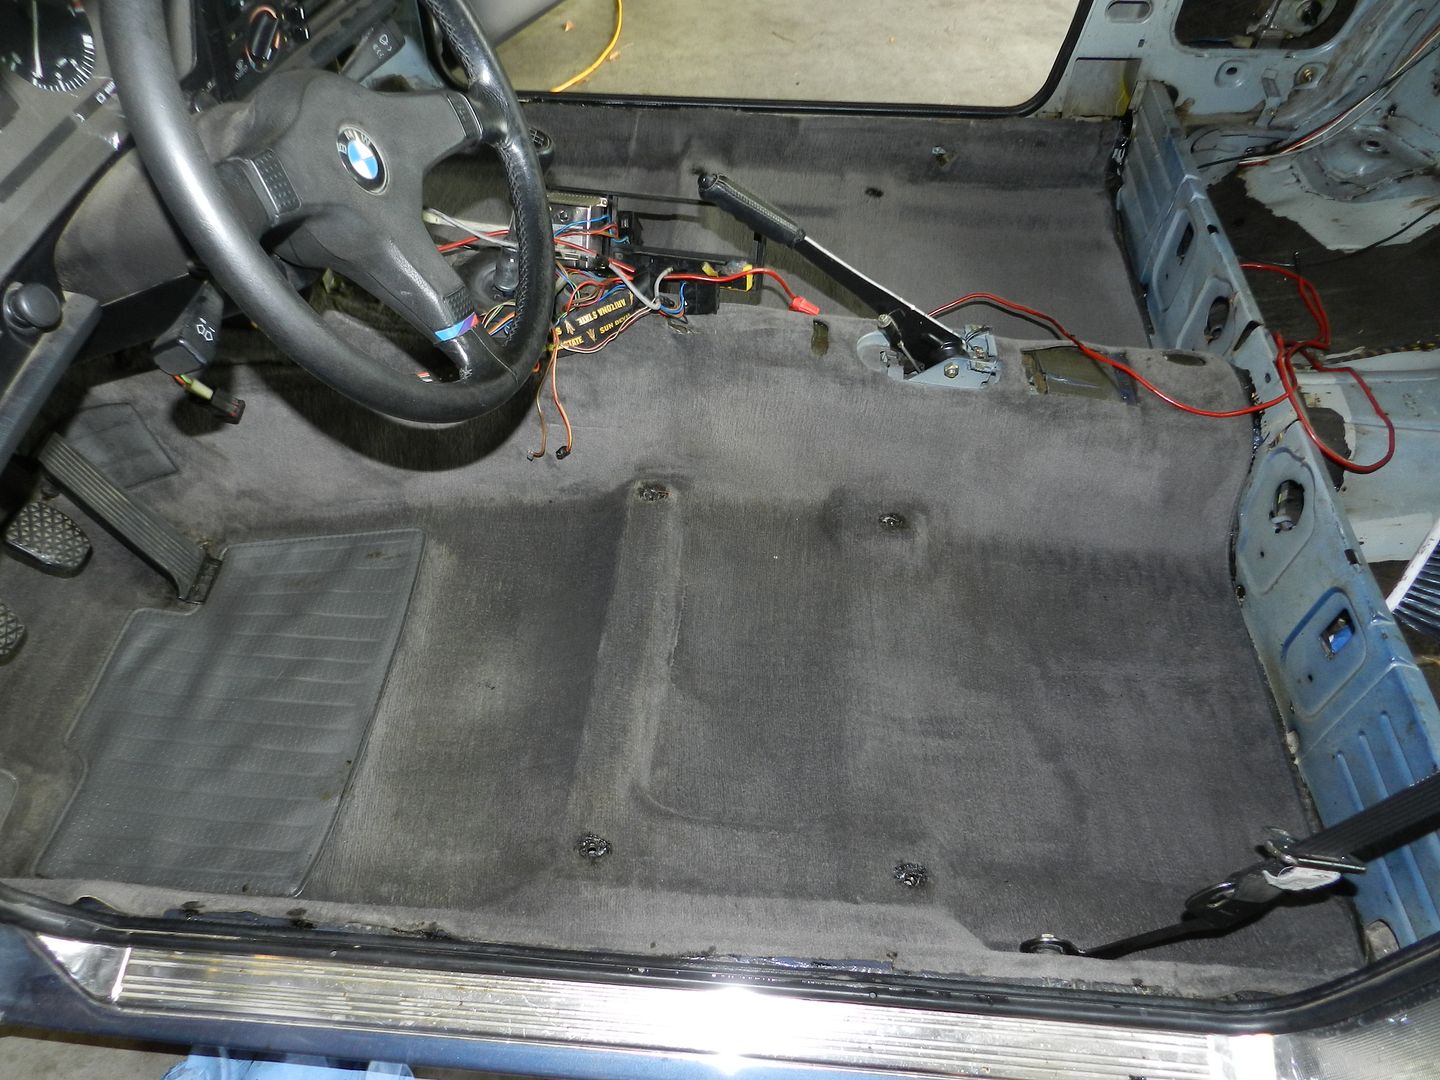
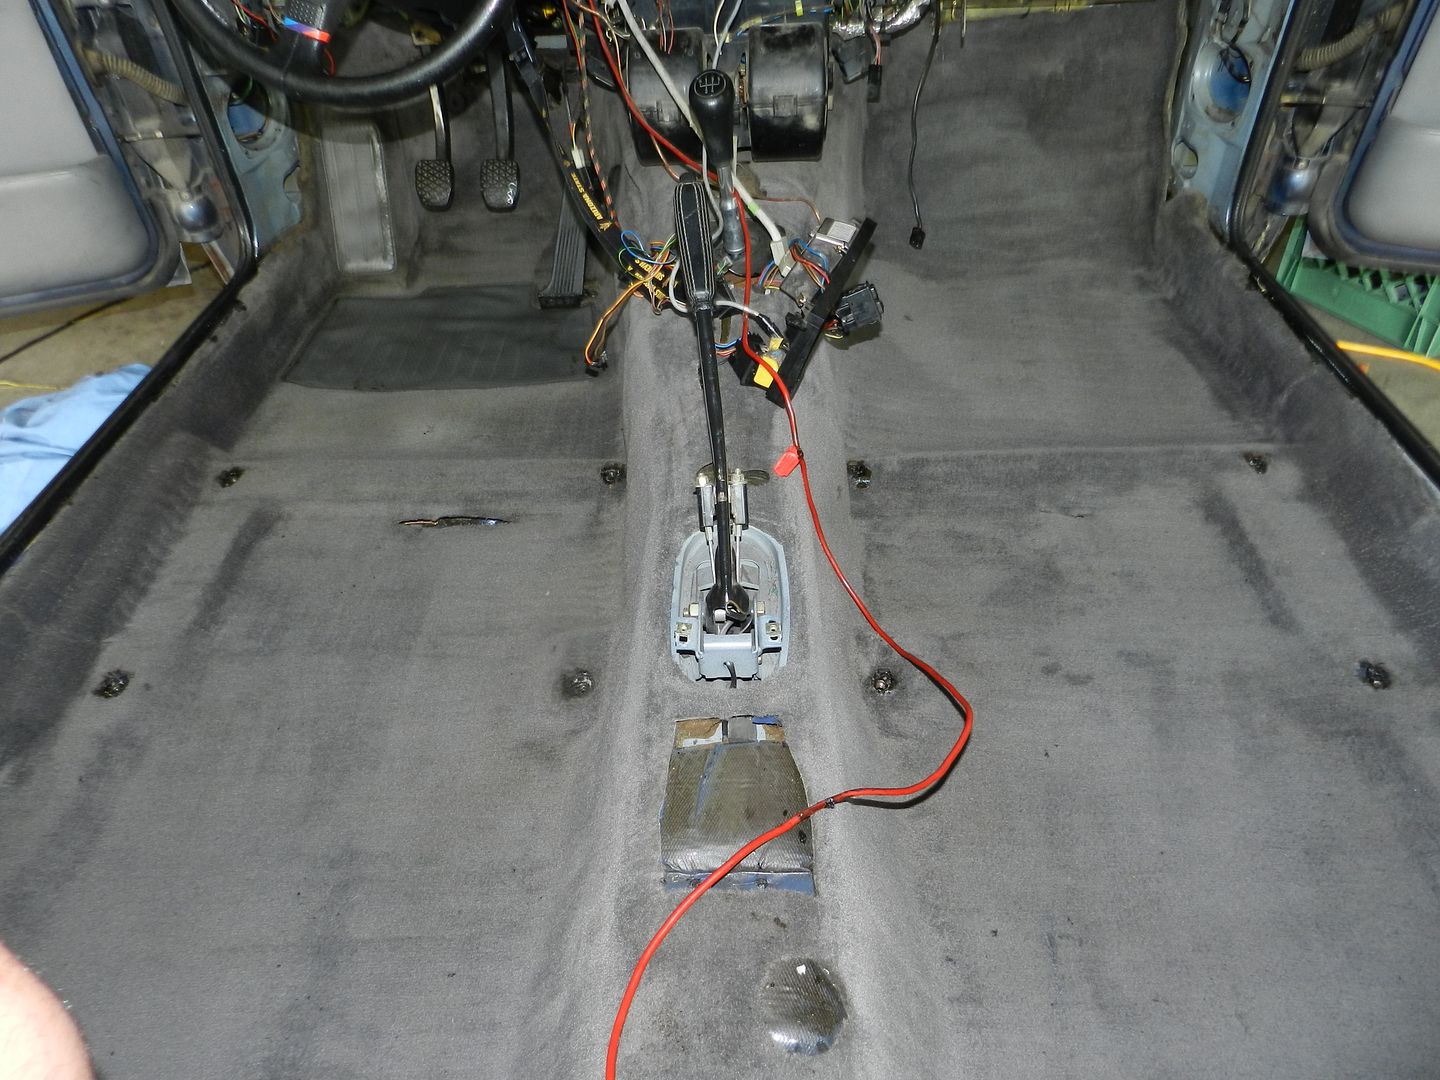
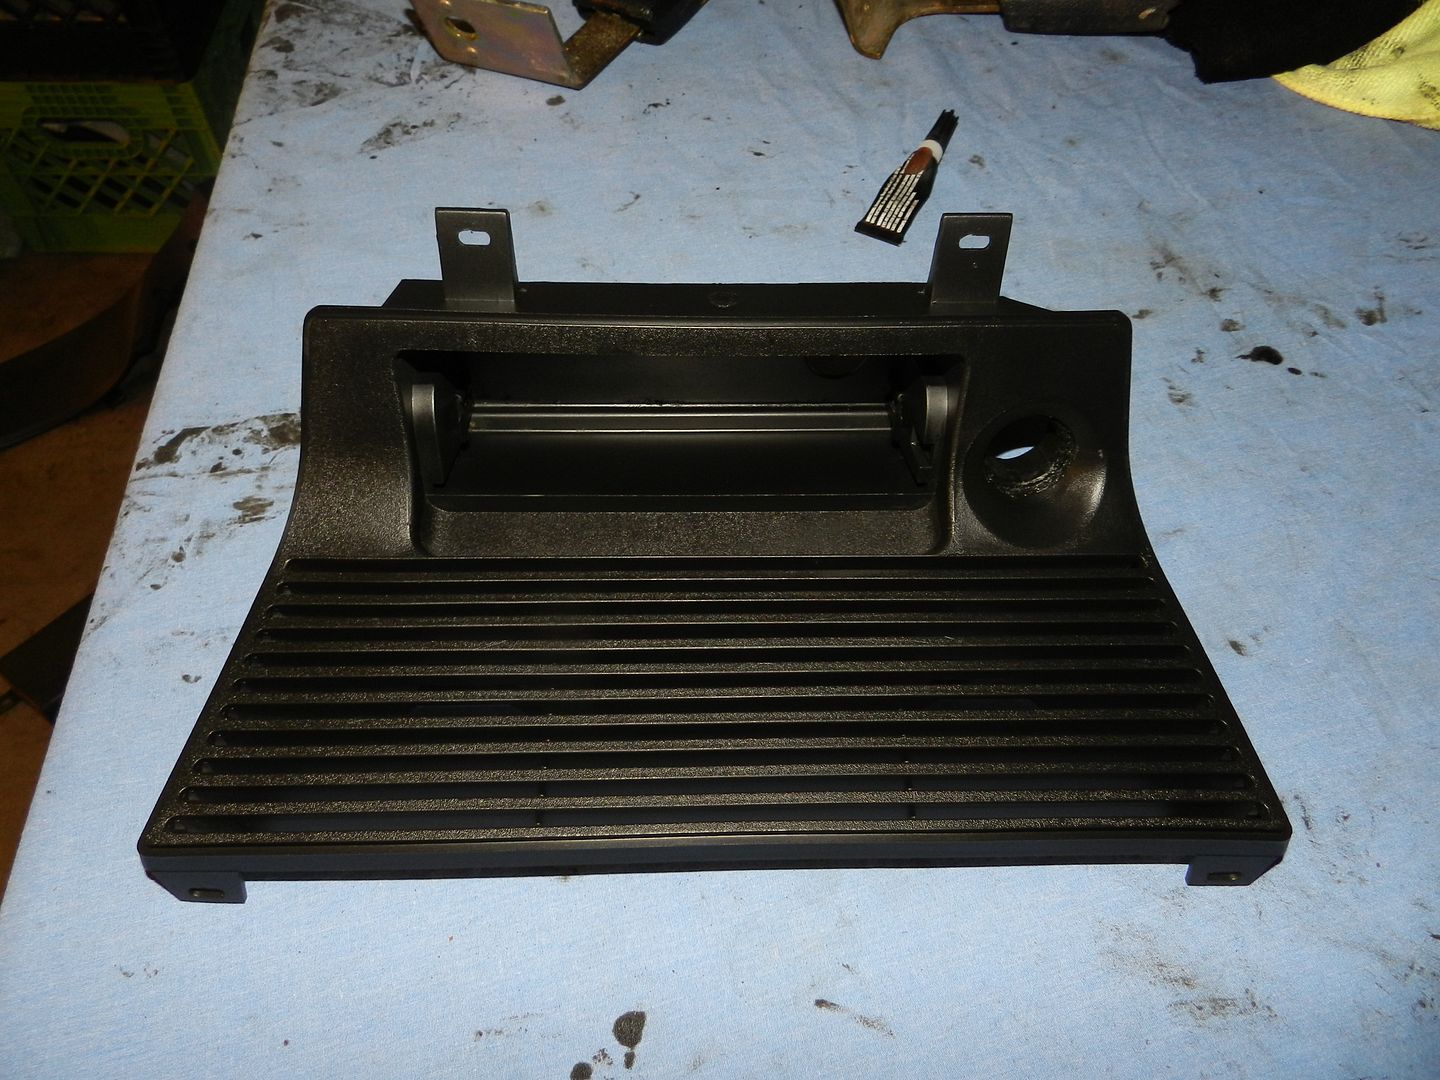
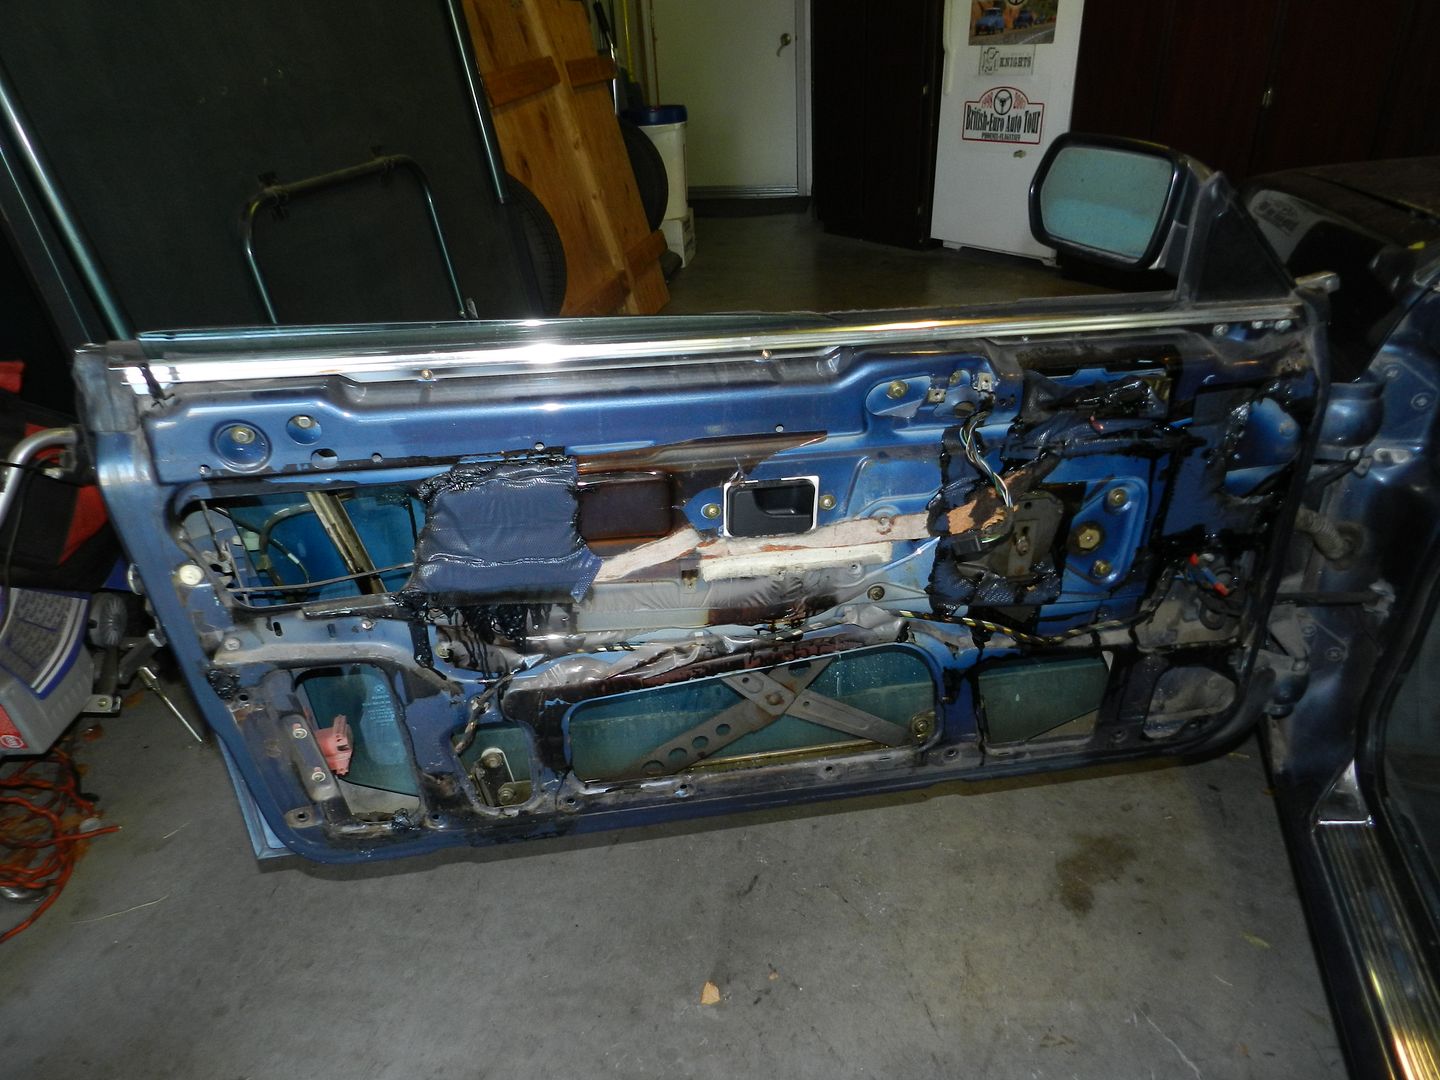
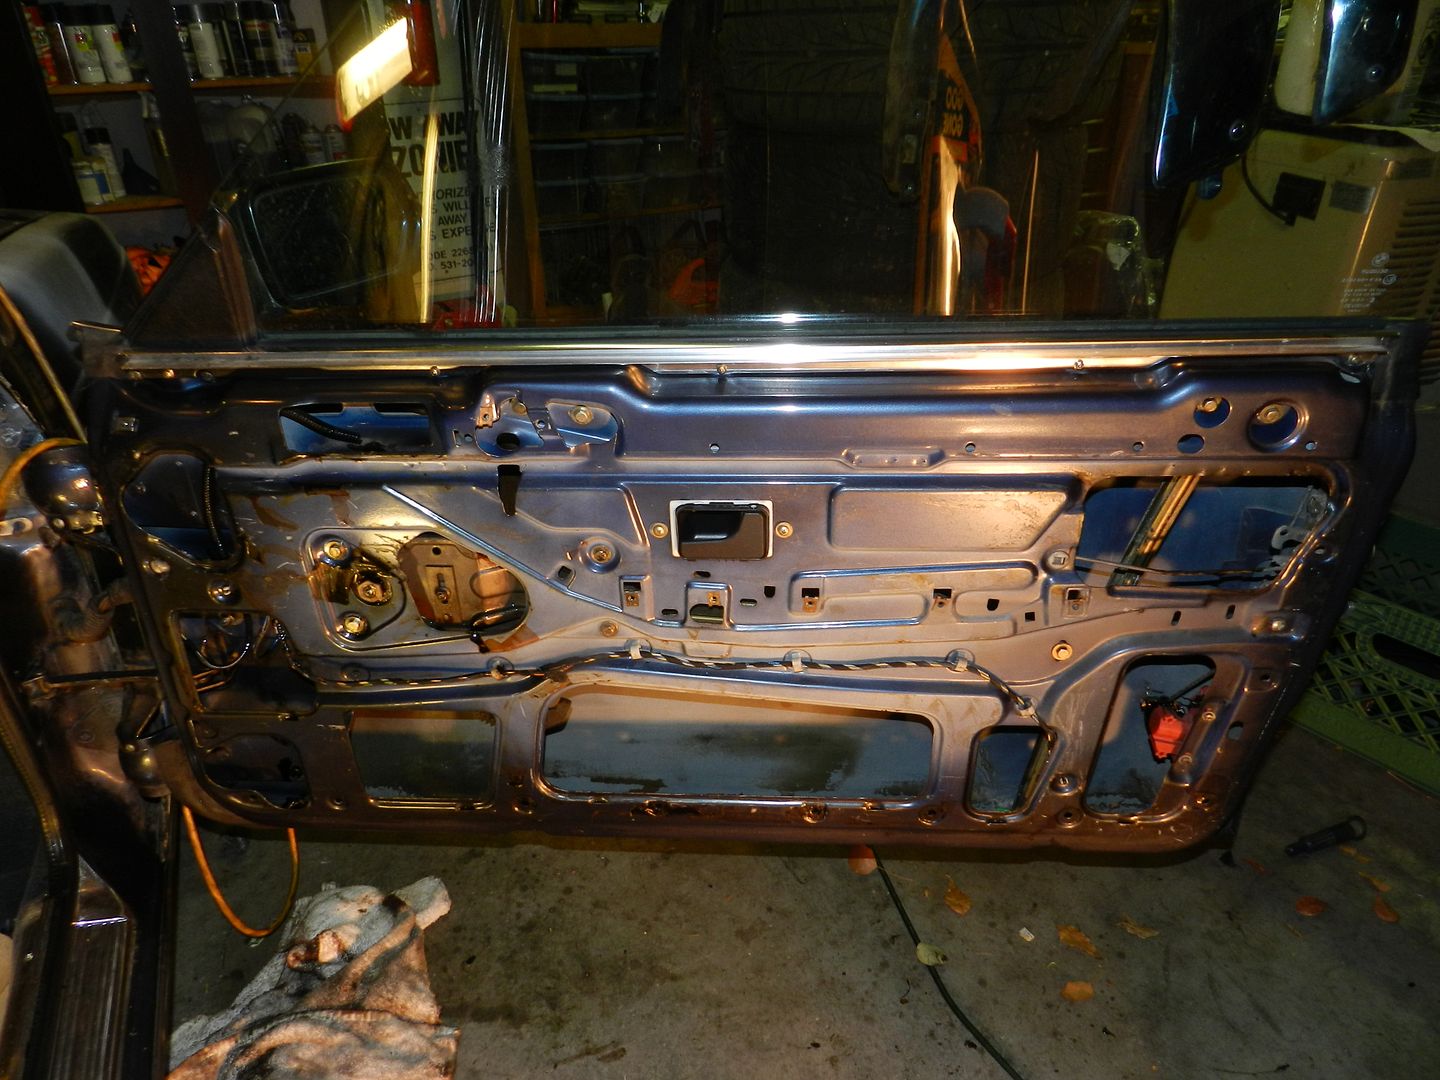
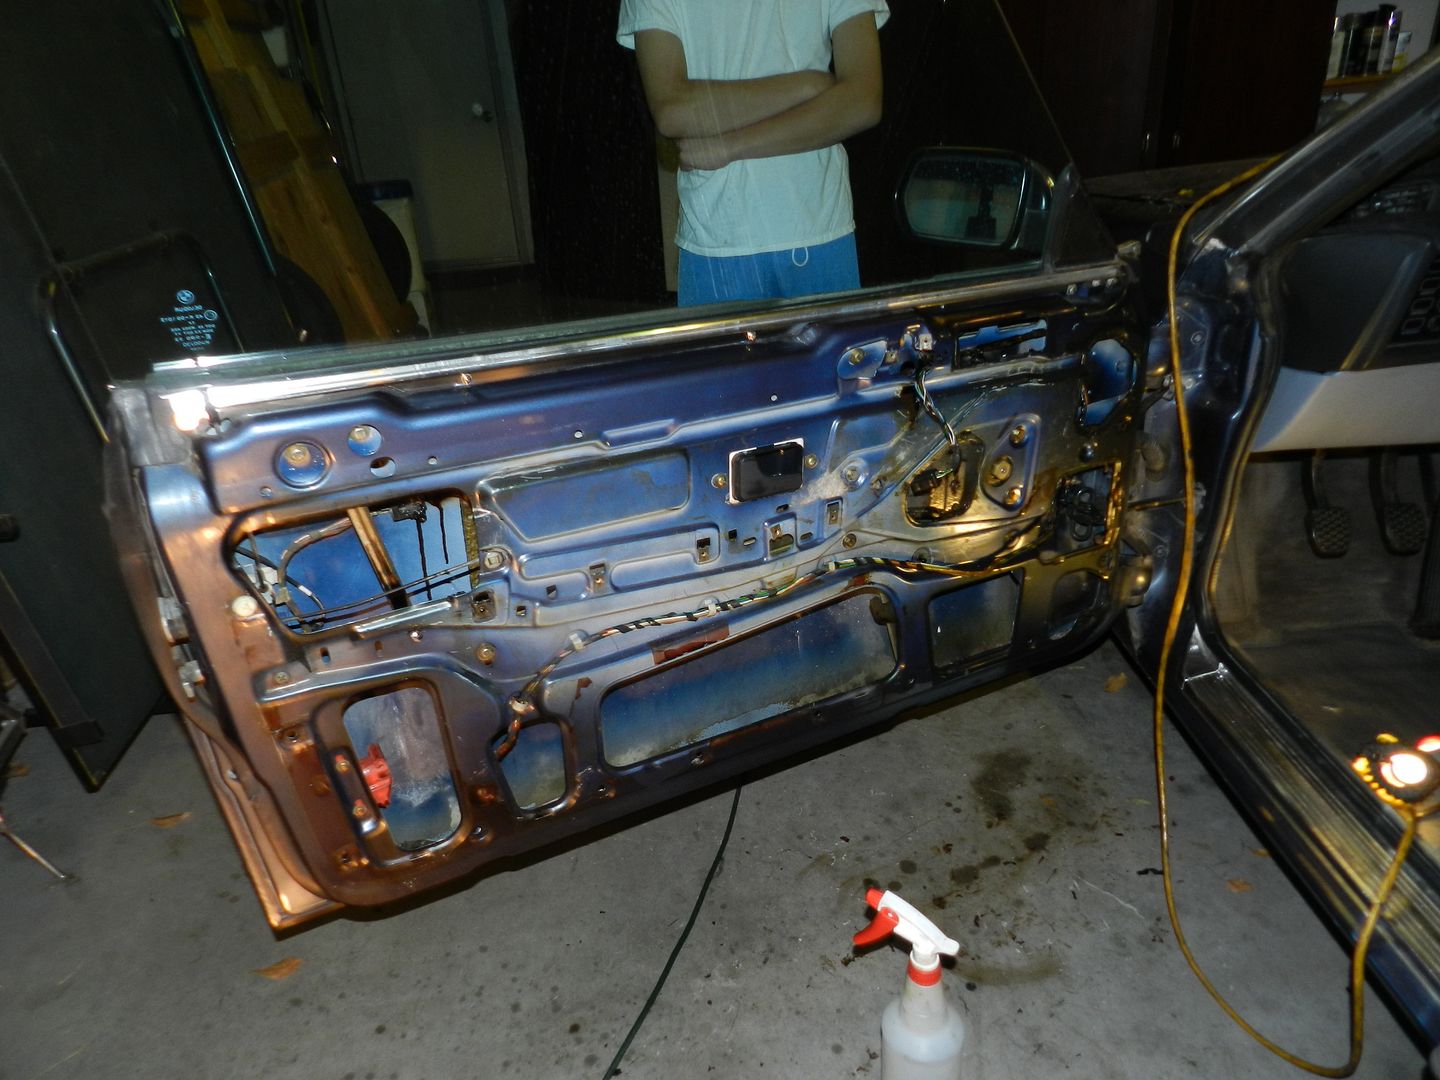
While I wait for parts I decided to take apart the interior and remove all the old stereo wiring. The interior wasn't good to begin with but as I started to tearing it apart it seemed to be just a disaster. The wires to the stereo system were a mess and some of the wires just went to nothing. Also, since I no longer had comfort seats I decided to take the wiring harness for that out. Not only were the wires a mess but once I took out the back seat I found this S****Y sound deadening material everywhere. This stuff sucks a fat one and is a pain in the ass to get off. It almost like tar with really thin paper skin over it.
Before:
After:

Before:
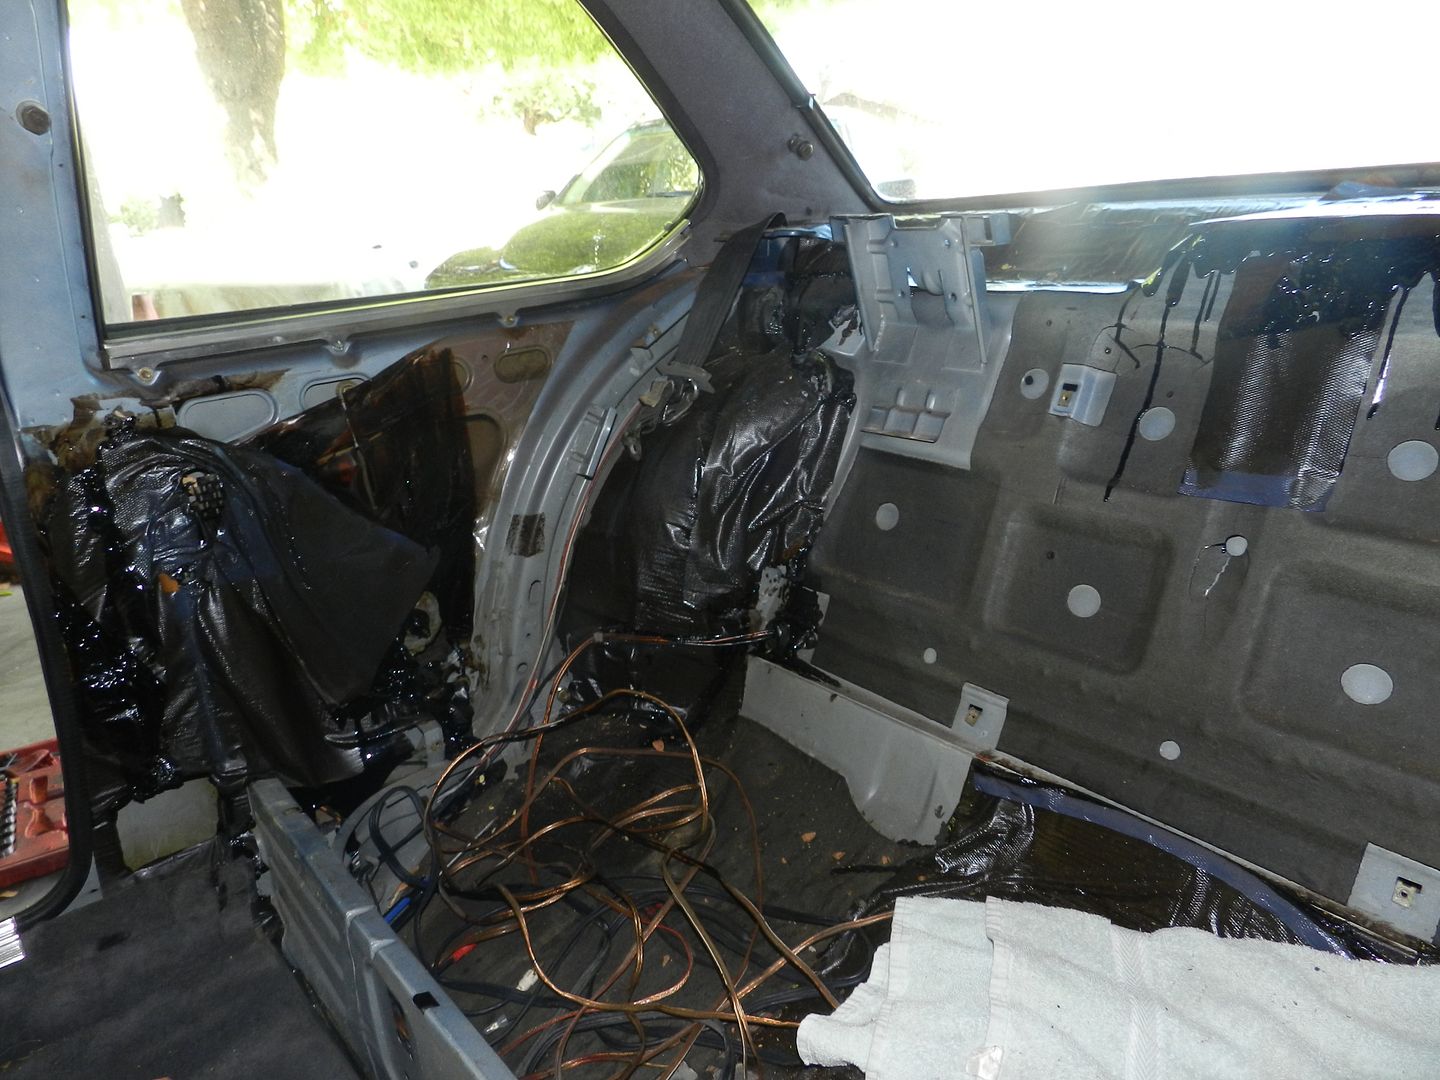
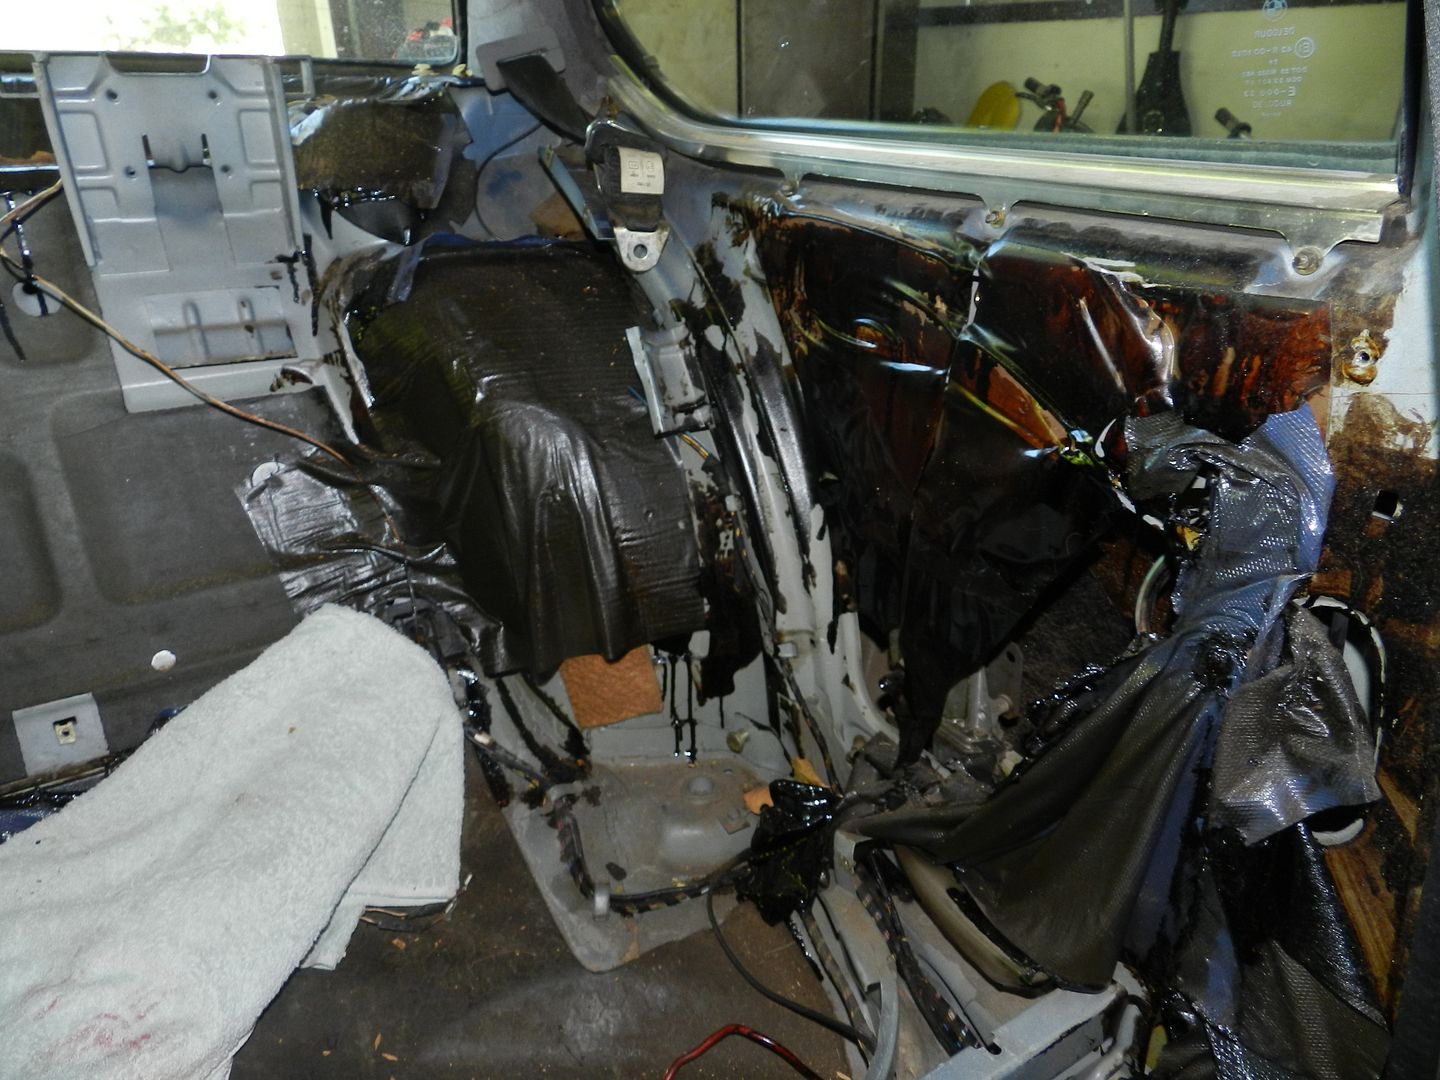
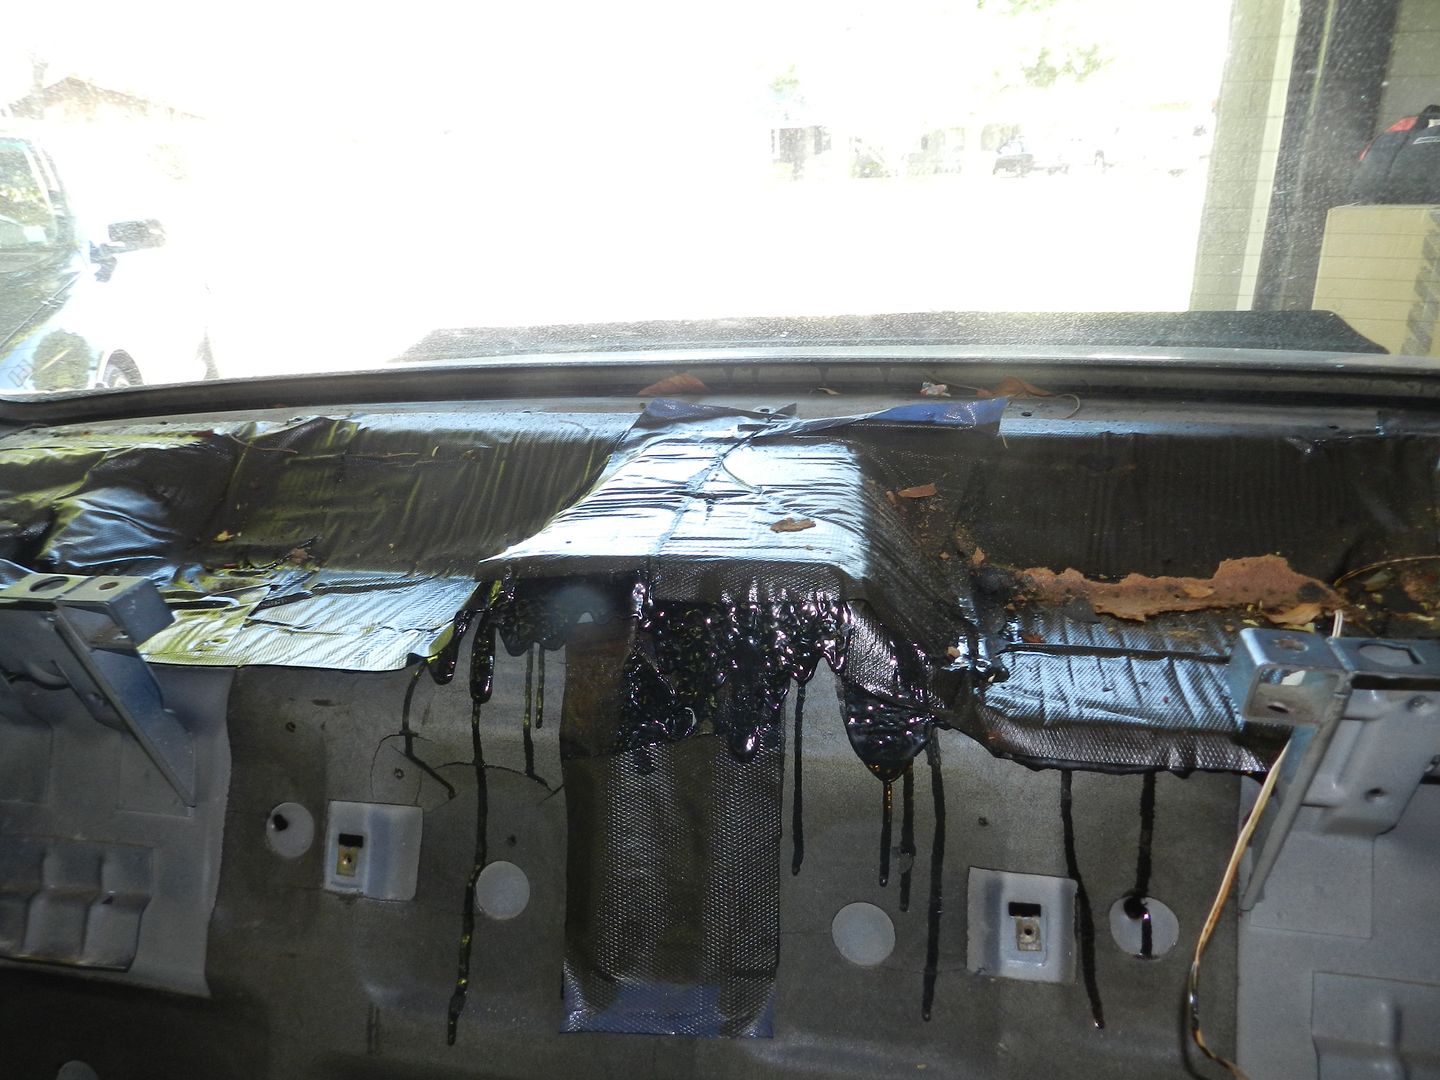
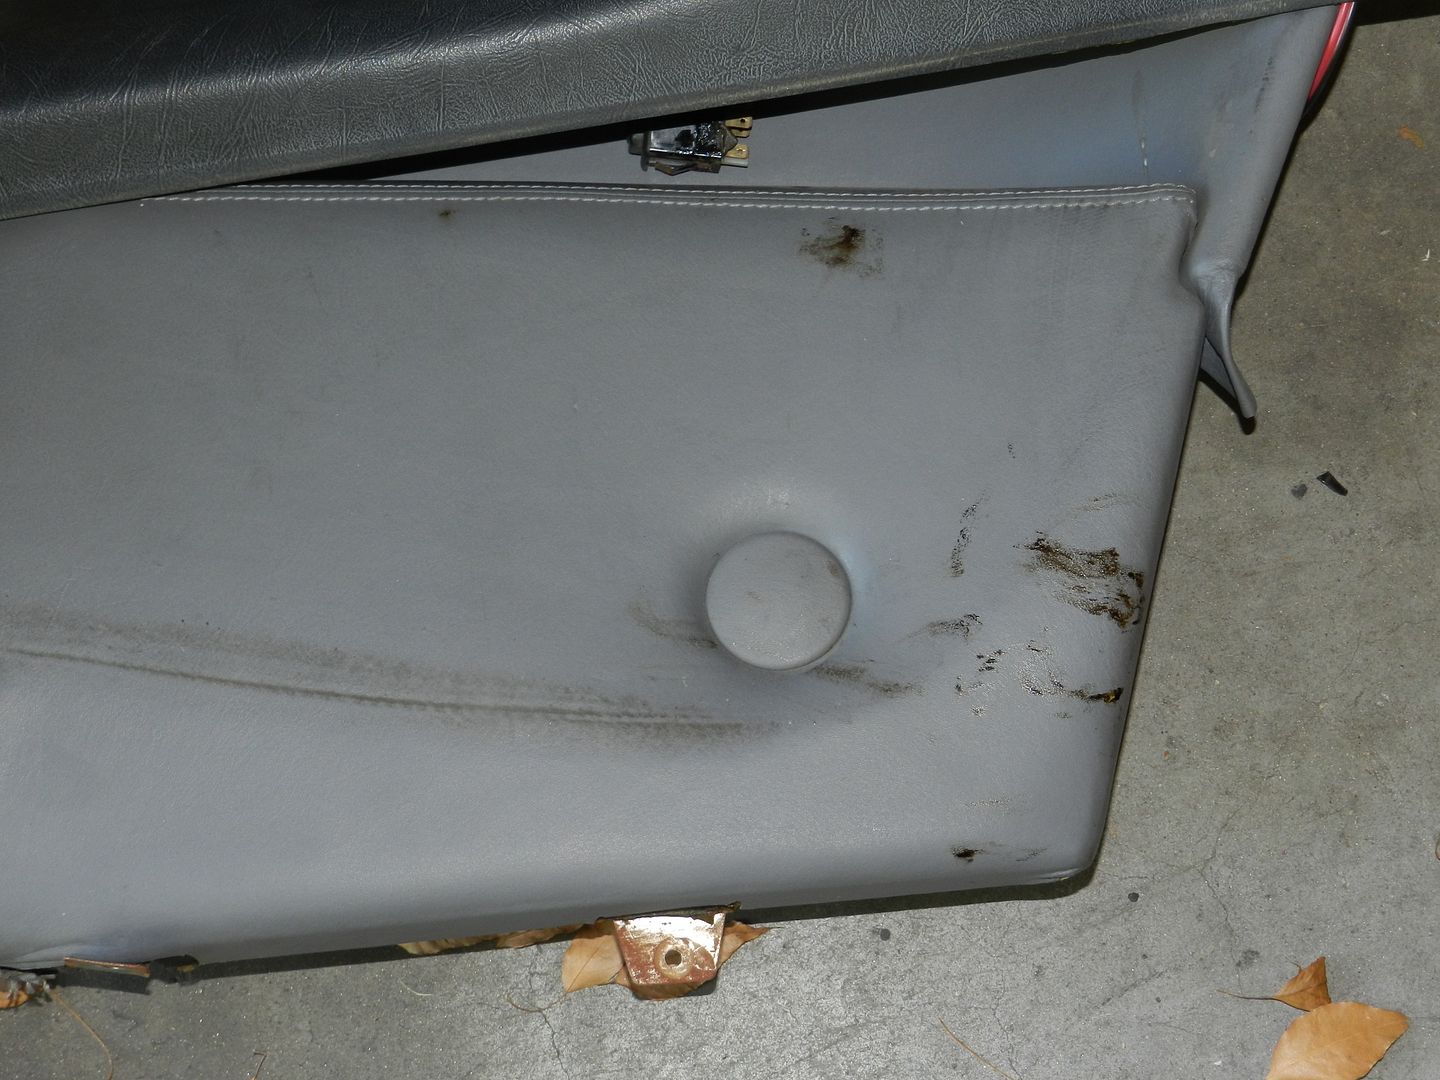
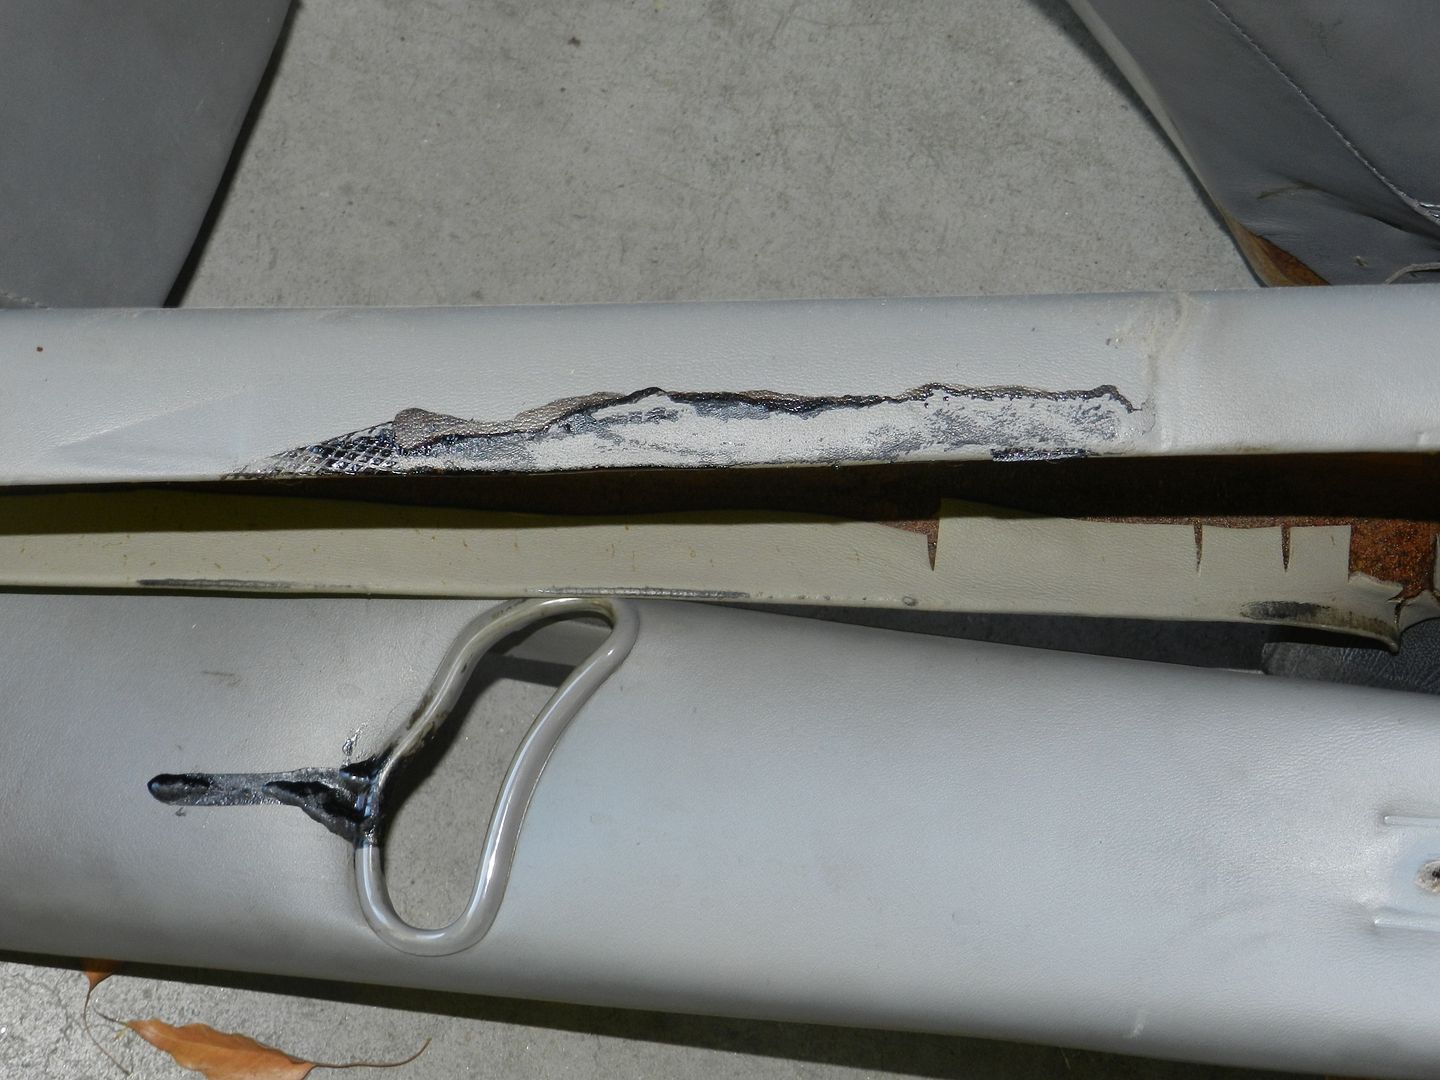
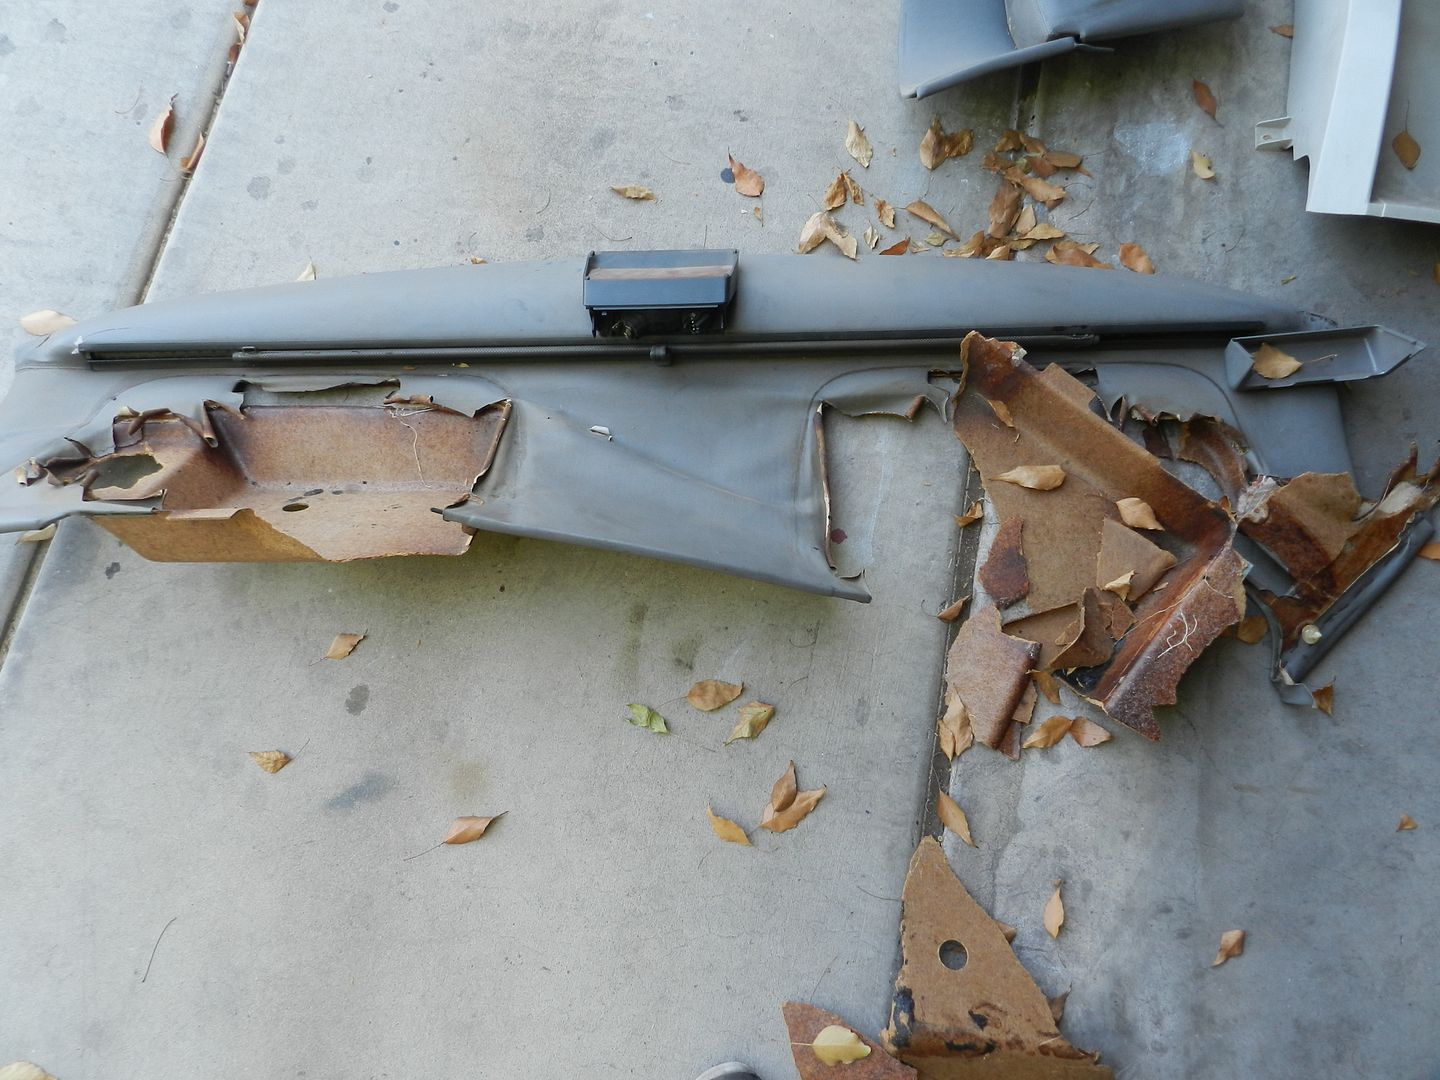
This stuffed is a mess and got all over my rear interior and even jammed the two front seat belts. It was so sticky it totally destroyed my rear partial shelf, but good thing I have an extra one!
I read up on a few other forums to seem what would work best, most suggested dry ice which didn't really work to well in my situation since most of the stuff was in tight or incline places. So I had to take a chisel and hammer and spent all day messing with it. Here is the final result: "It isn't perfect but by the end of the day I didn't give a F*** but was satisfied knowing most of it was gone!" I would probably estimate that it was all the crap weighed around 15lbs.

After:
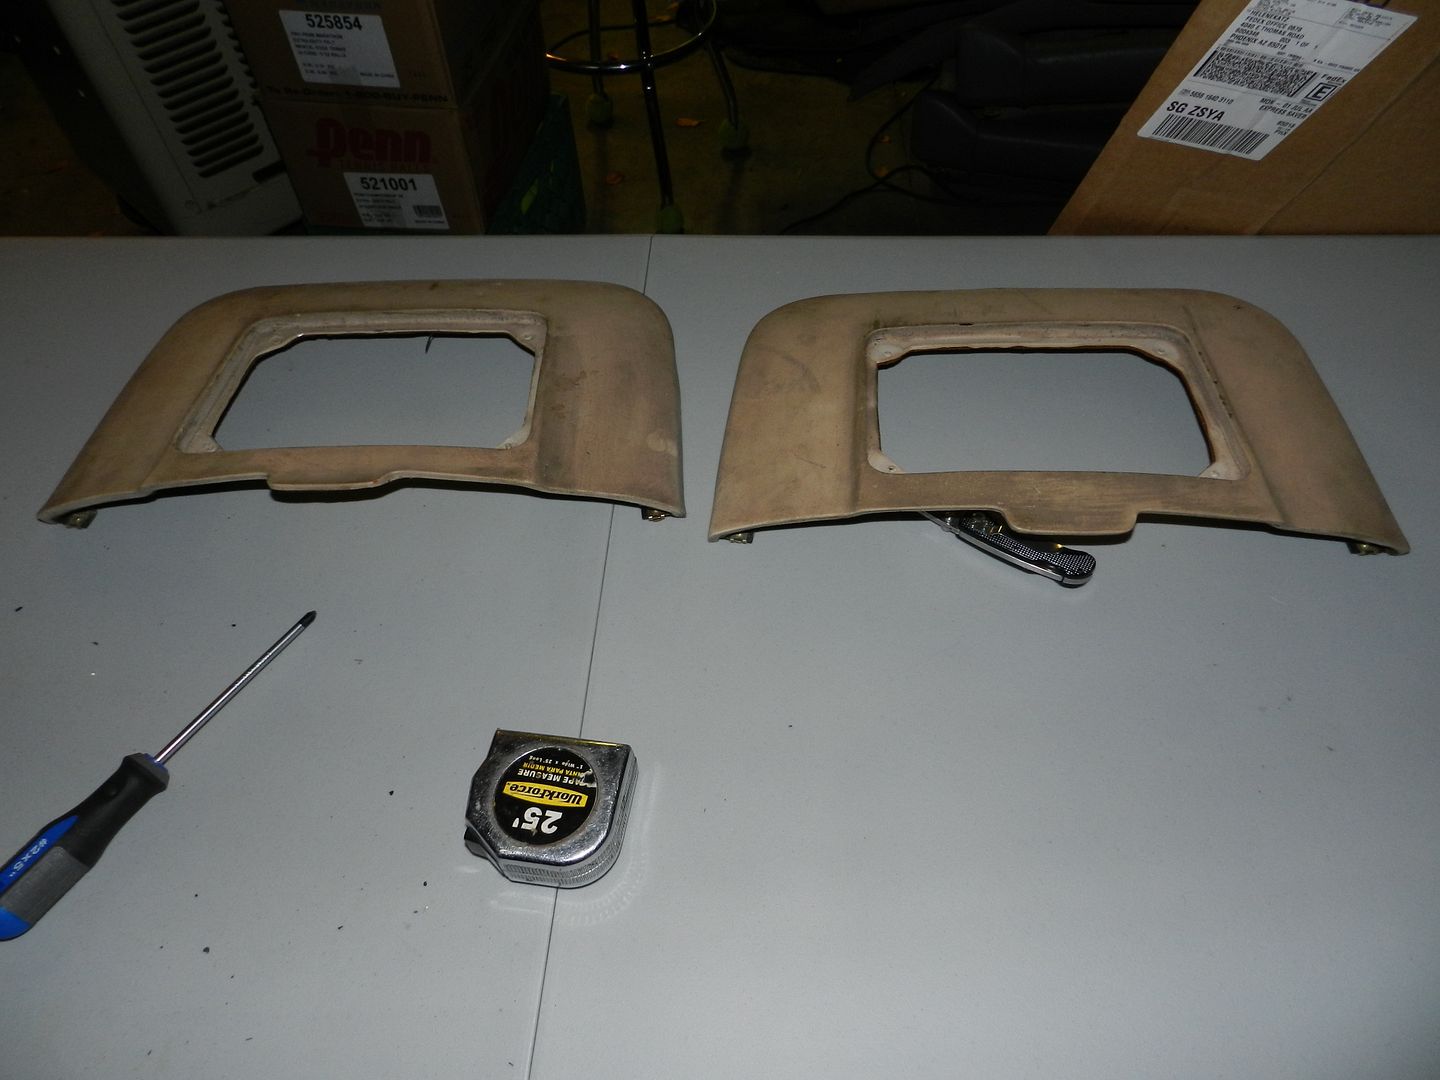
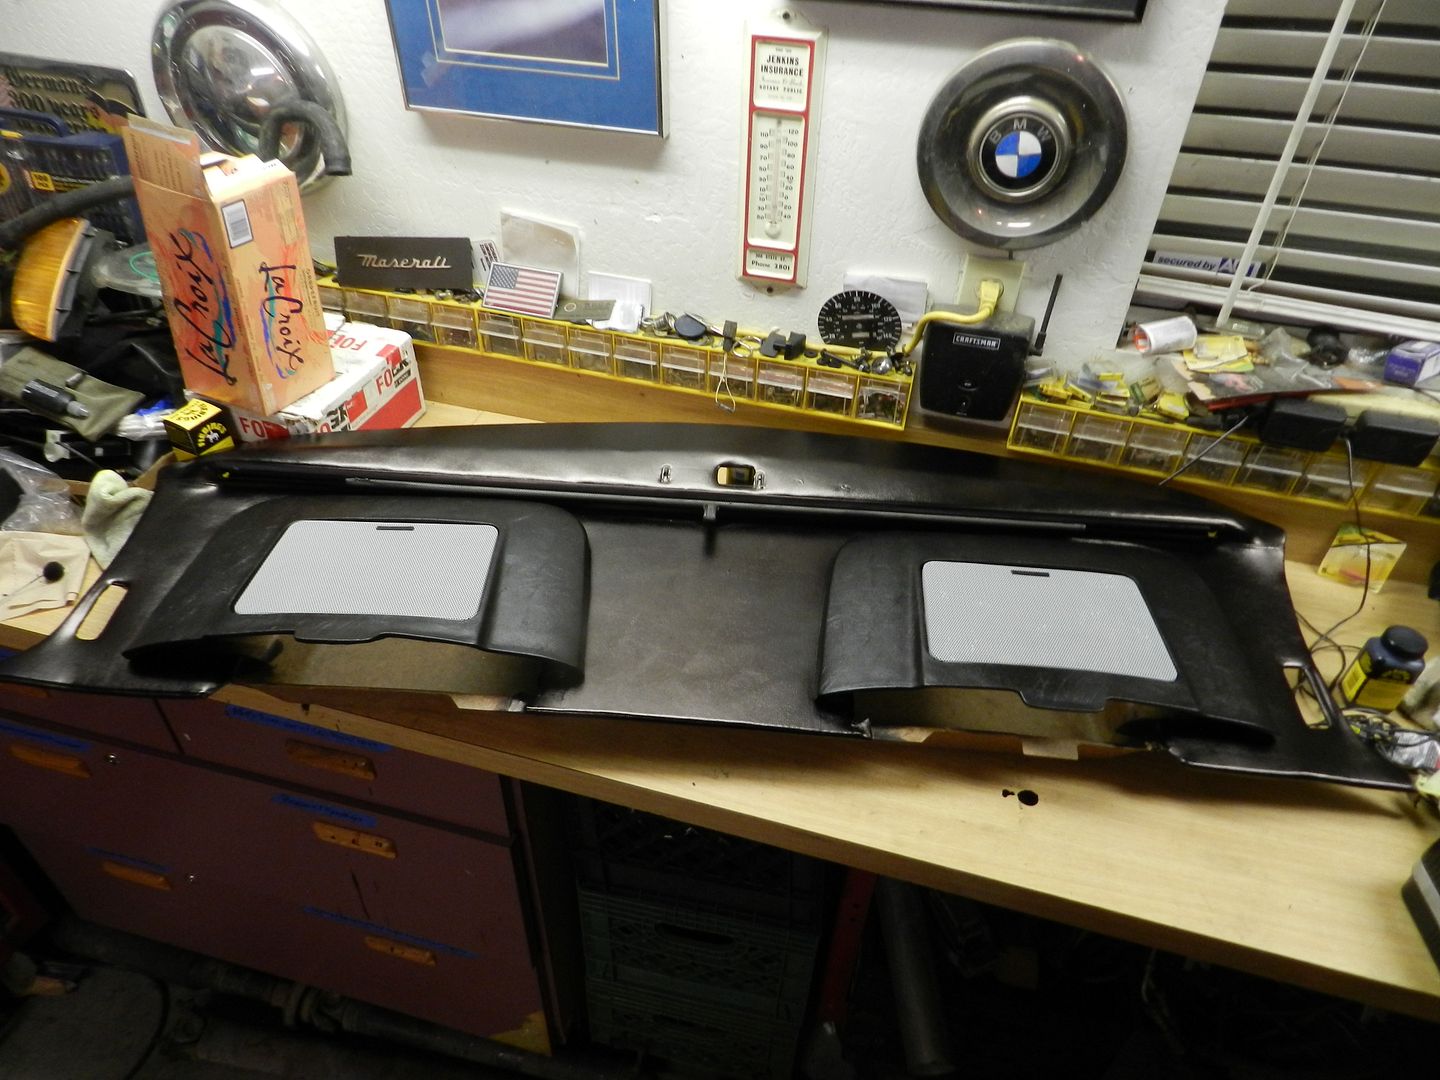
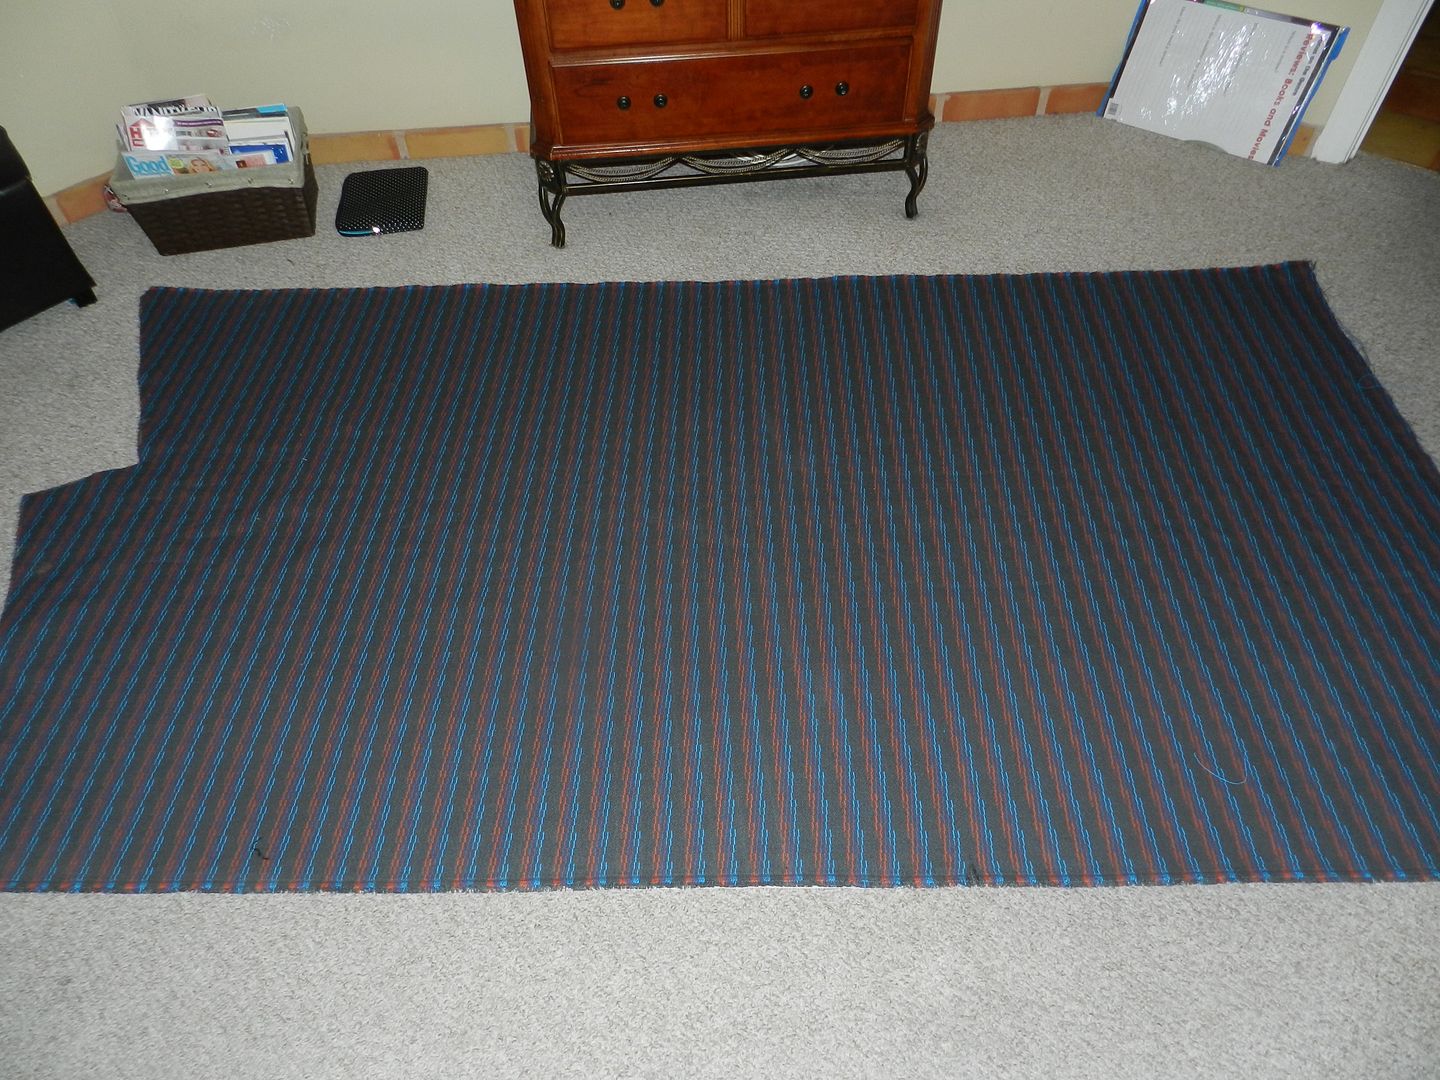
Now, I wait and wait on parts to slowly come from here the build will be getting serious! Awhile back I had bought an extra parcel shelf and claim shells since the ones I had were total trash! They didn't match interior, still won't even though I getting the seats redone. I also scored a deal on some rare e24 headrests! Since nothing really matched I dyed and spray painted the shelf and shells. I was able to get ahold of a gentleman who had some m-tech cloth which I will be putting fabric inserts into my retro recaro seats and door panels!
Before Pics of Parcel Shelf and Claim Shells:
After Pics of Parcel Shelf and Claim Shells:

Some of the Goodies that Came In:
BBS RK
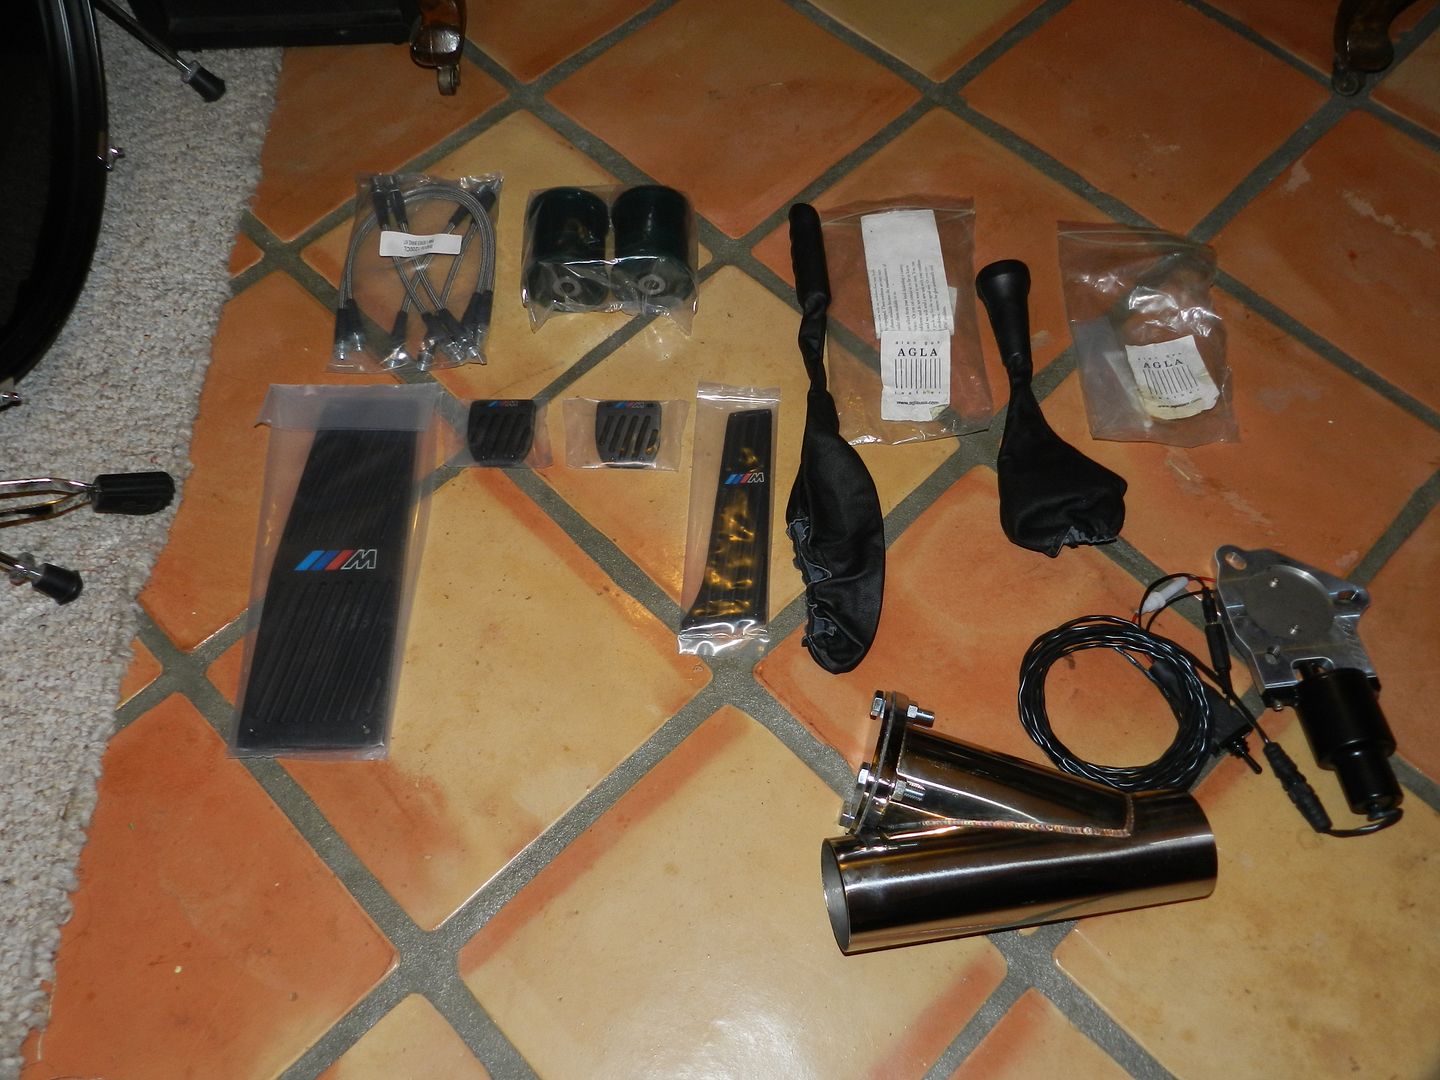
///M Pedal Covers, QTP 3" Electric Cutout, New AGLA Leather e-brake handle and Shift Boot, Stainless Steel Brakes, Polyurethane Subframe Bushings.
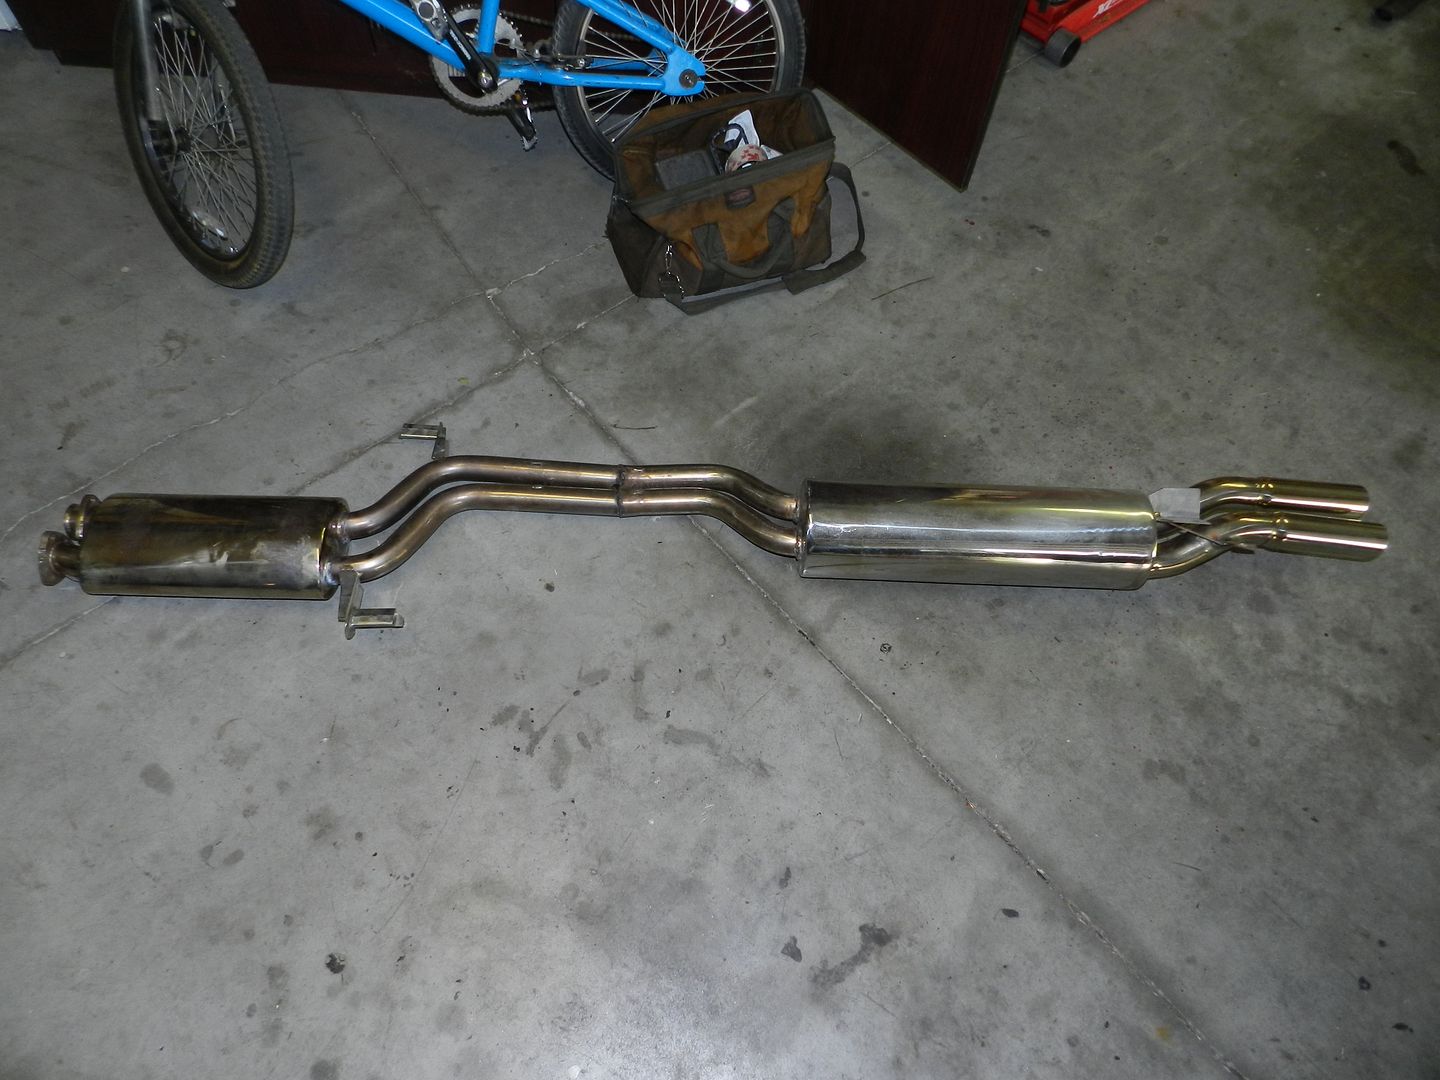
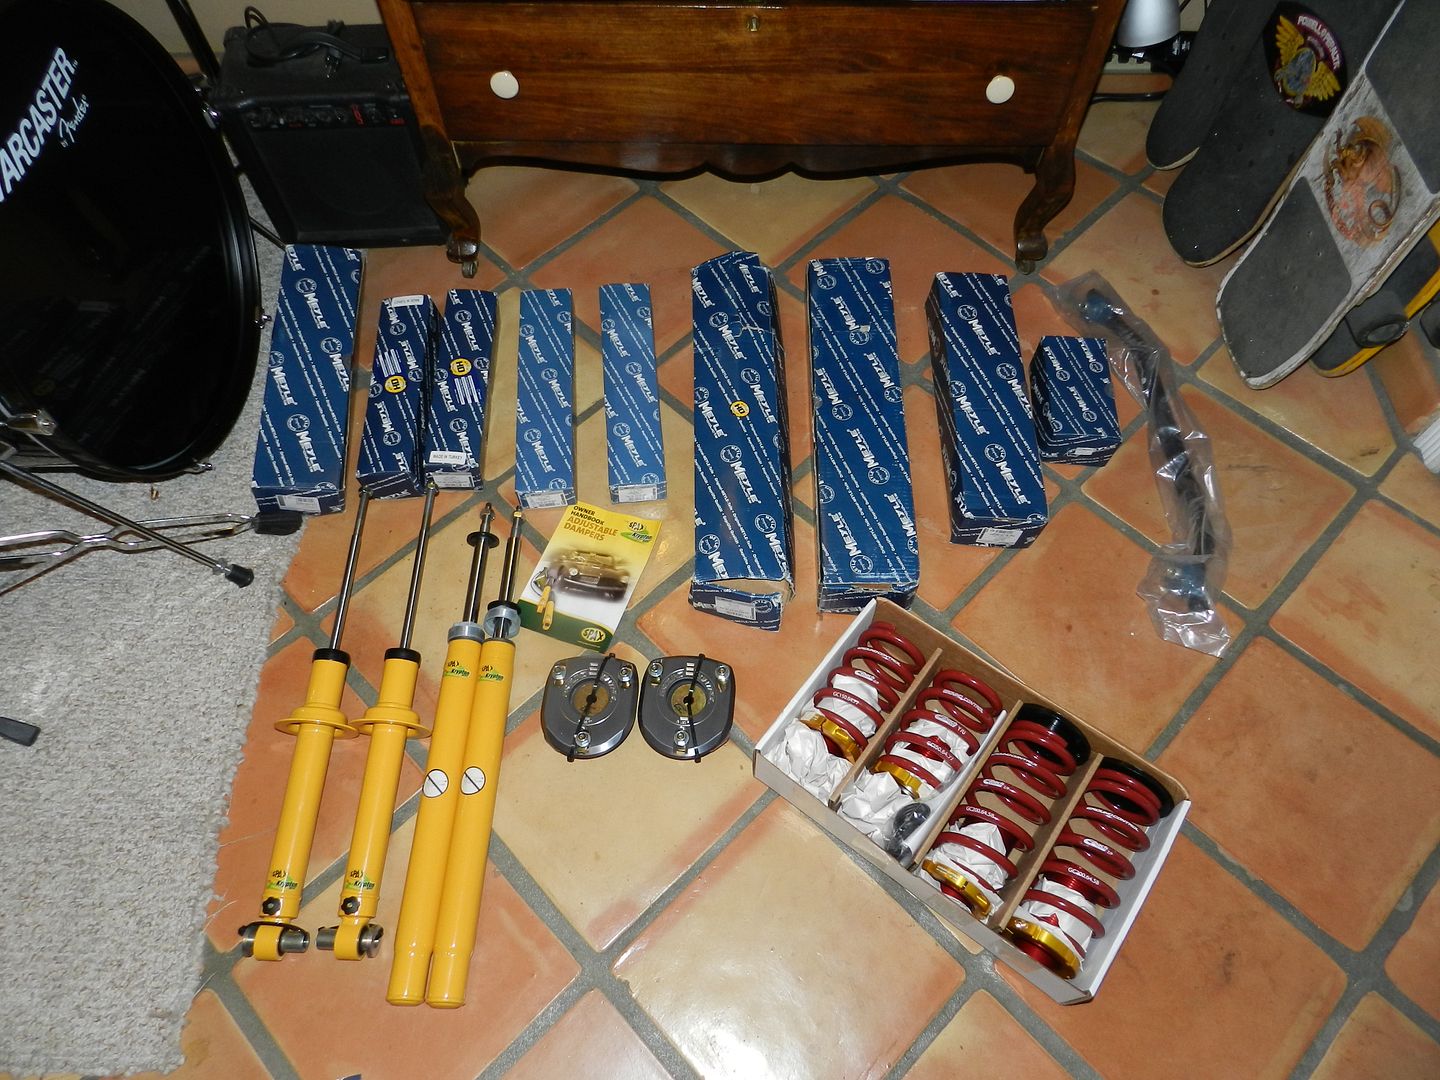
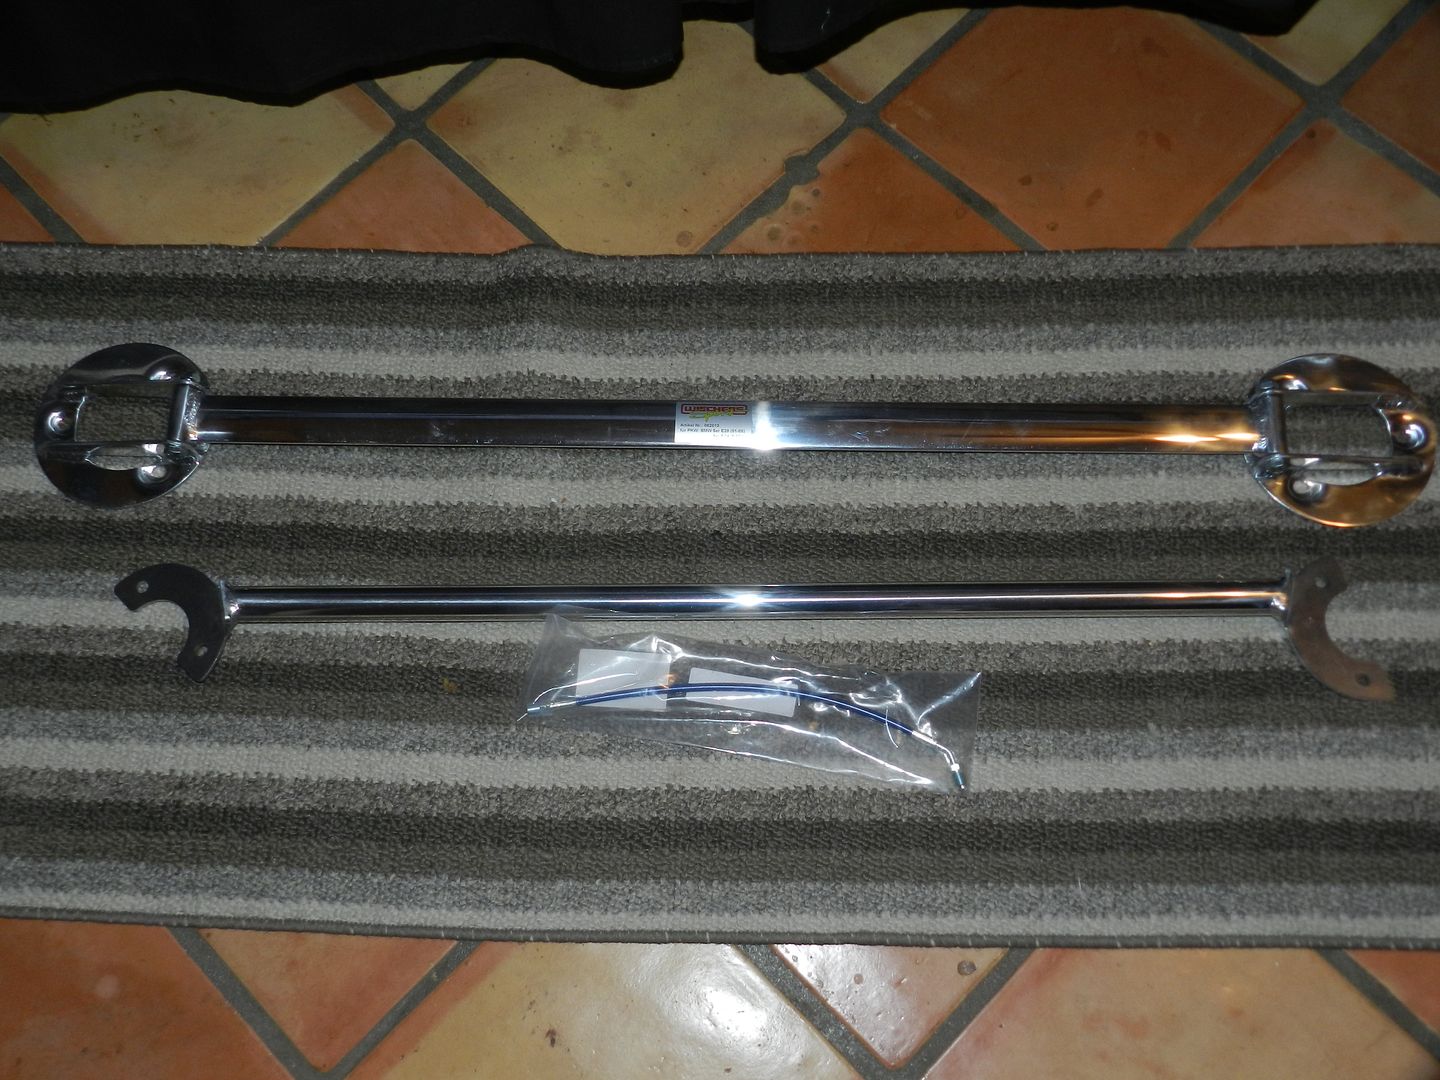
Now I am still waiting on my ground control coilover sleeves and camber plates, spax shocks, meyle front suspension components, schmeidmann front and rear strut brace, ireland engineering stainless steel exhaust, schmeidmann stainless steel clutch line, and m-tech cloth.
Now the fun can begin! After having a few troubles with trying to get my parts the majority of them are finally here! I still need a few more parts but the rest of the stuff I can get locally through autohaus, etc.
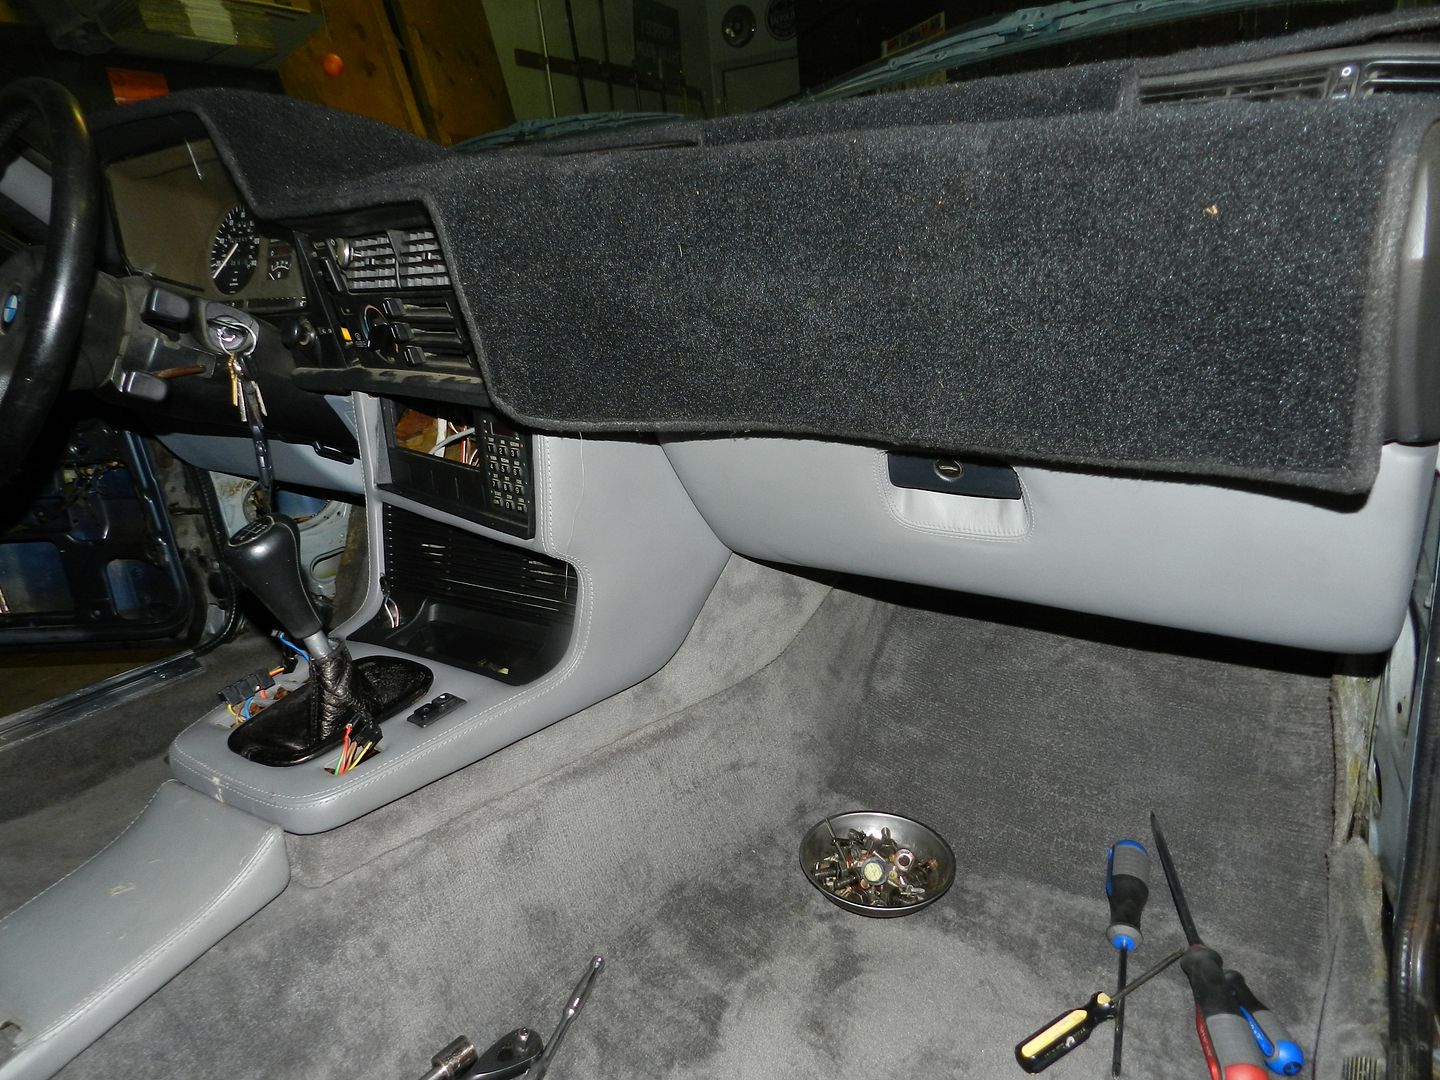
While I waited for parts to come, I tried to clean up the interior and put it in back into the car. I spent some time cleaning and repaint all the trim pieces in the interior. Since I had all the interior out I decided to shampoo and scrub the carpet. I still need to get the front and rear seats along with the headrests redone but until I can get ahold of the guy with mtech cloth this will work for now.
Before:
After:
Before/After Painting:

Before:
After:
Of course with my luck I would find more of this tar sound deadening stuff. I really **** this stuff.
Before:
After:
Got some mtech cloth today! Will probably be getting the seats done in a week or two!

I have been real busy between school and work so I haven't been able to post any updates. As of right now I am really struggling with passing emissions test and have failed 4 times already. :evil: But each time I go through I am getting closer! Hopefully the next time I go through testing I will pass since I barely failed last time by 0.45% with the help of Chris Kholer who let me borrow his extra CAT! (THANKS).
Also more parts have came in and here is where build starts to get serious!
(Front/Rear Strut Brace and Stainless Steel Clutch Line).
About two weeks ago my dad and I made a business/car trip to San Diego to drop off my interior (front/rear seats) to get reupholstered at Jim's Upholstery Shop. The seats should be done around the beginning of October.
I would give you all a preview of how they will look, but I am going to keep those pictures of the final product as a surprise!
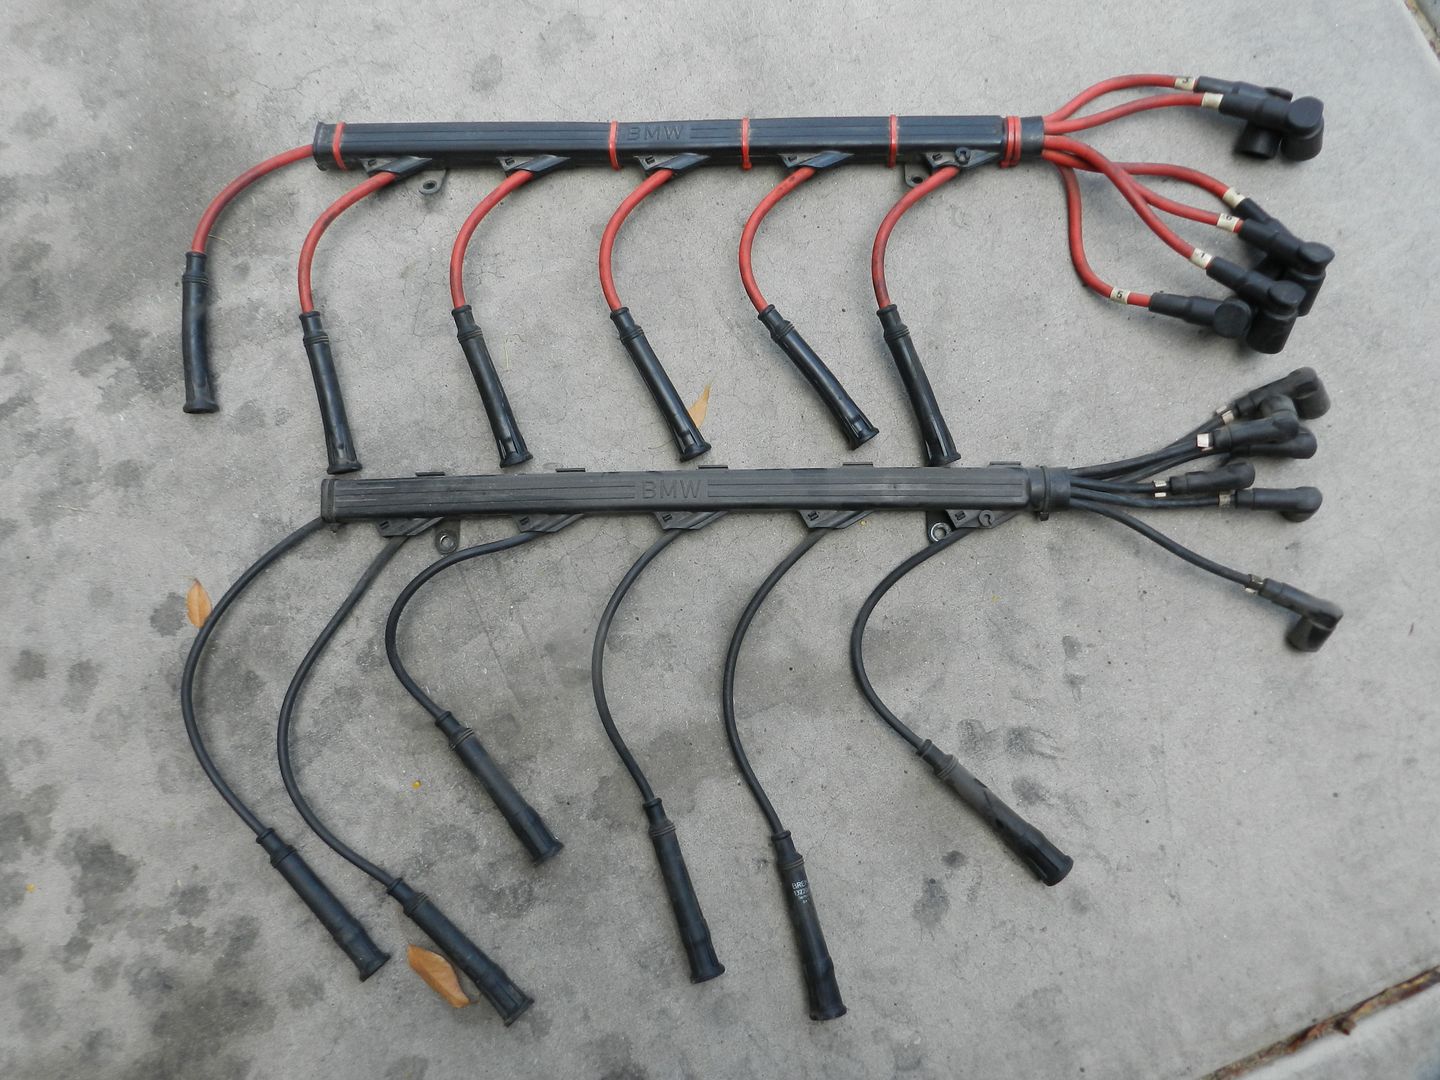
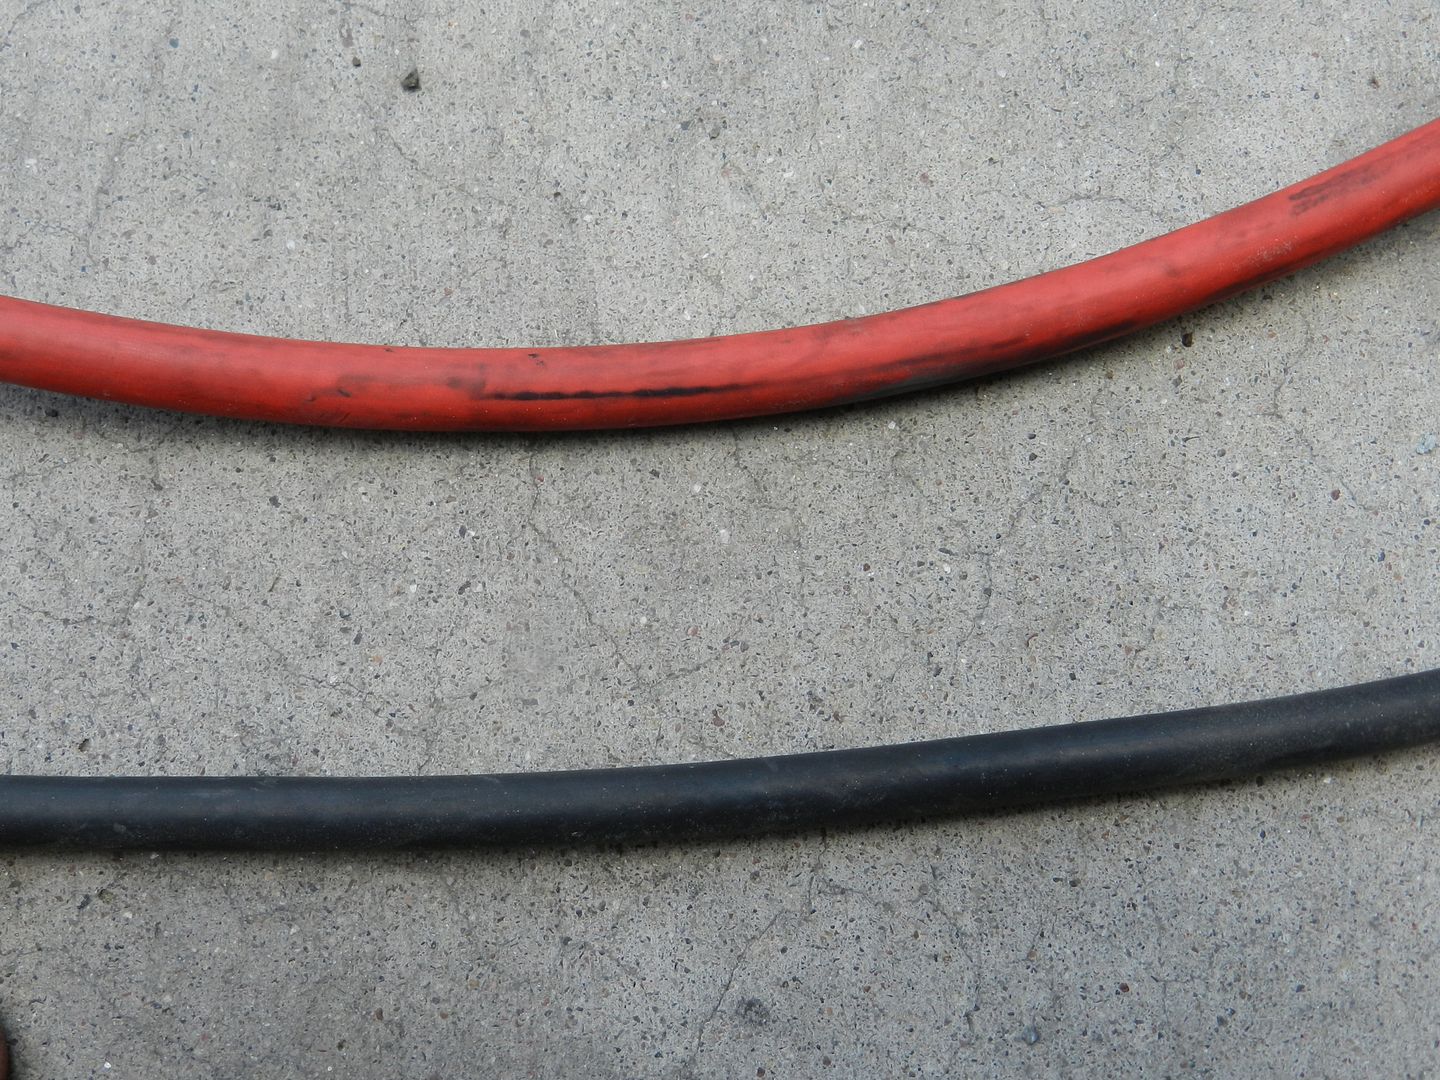
There are many benefits to having a cool Dad who likes cars too! Honestly, if it wasn't for him finding most of the parts and using his connections I needed to be able to fix the car it would have been totaled and parted out. He also seems to find a lot of cool stuff, if he doesn't want them or sell them he tosses parts my way! Recently he gave me some BavAuto spark plug wires!
(Red BavAuto/ Black OEM BMW).
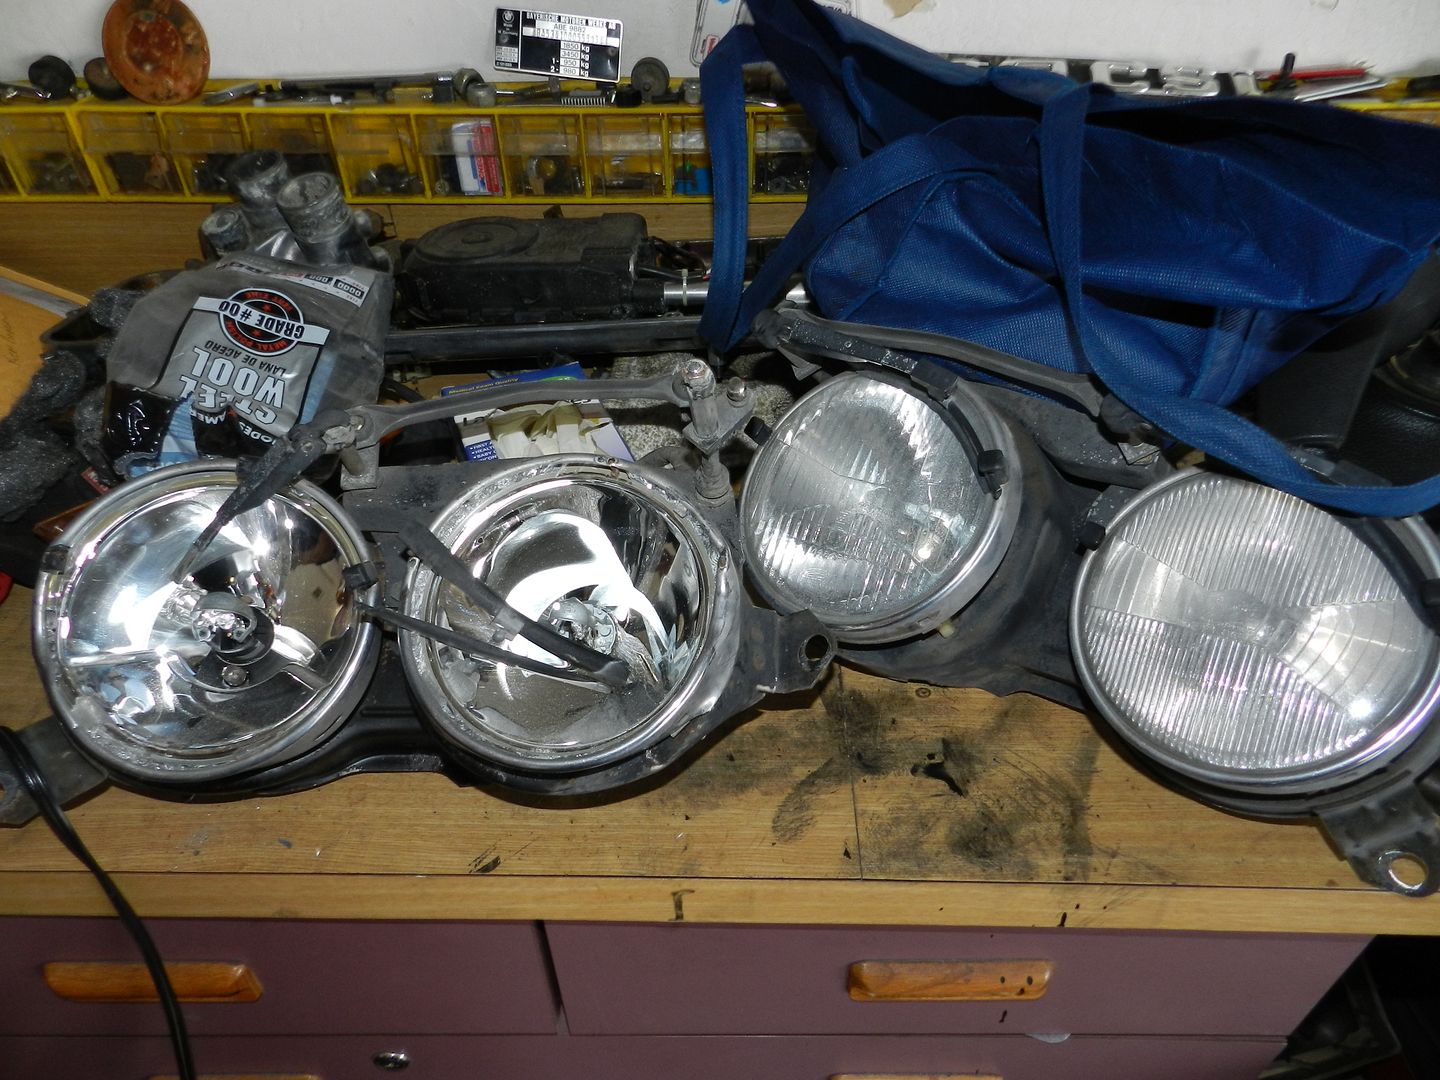
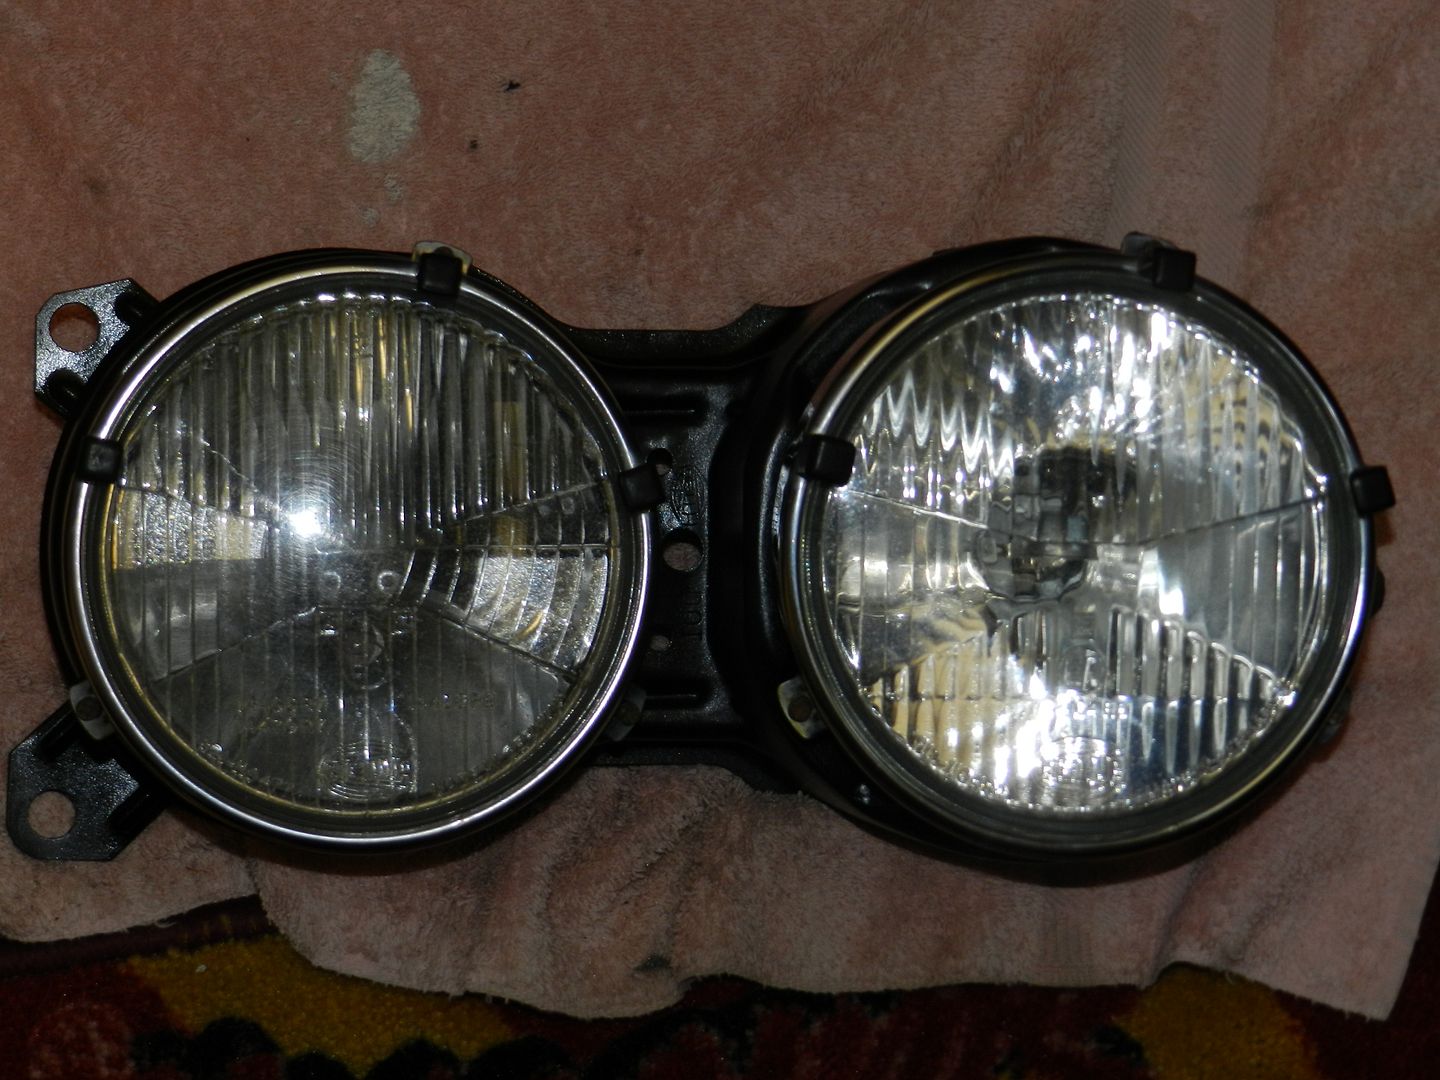
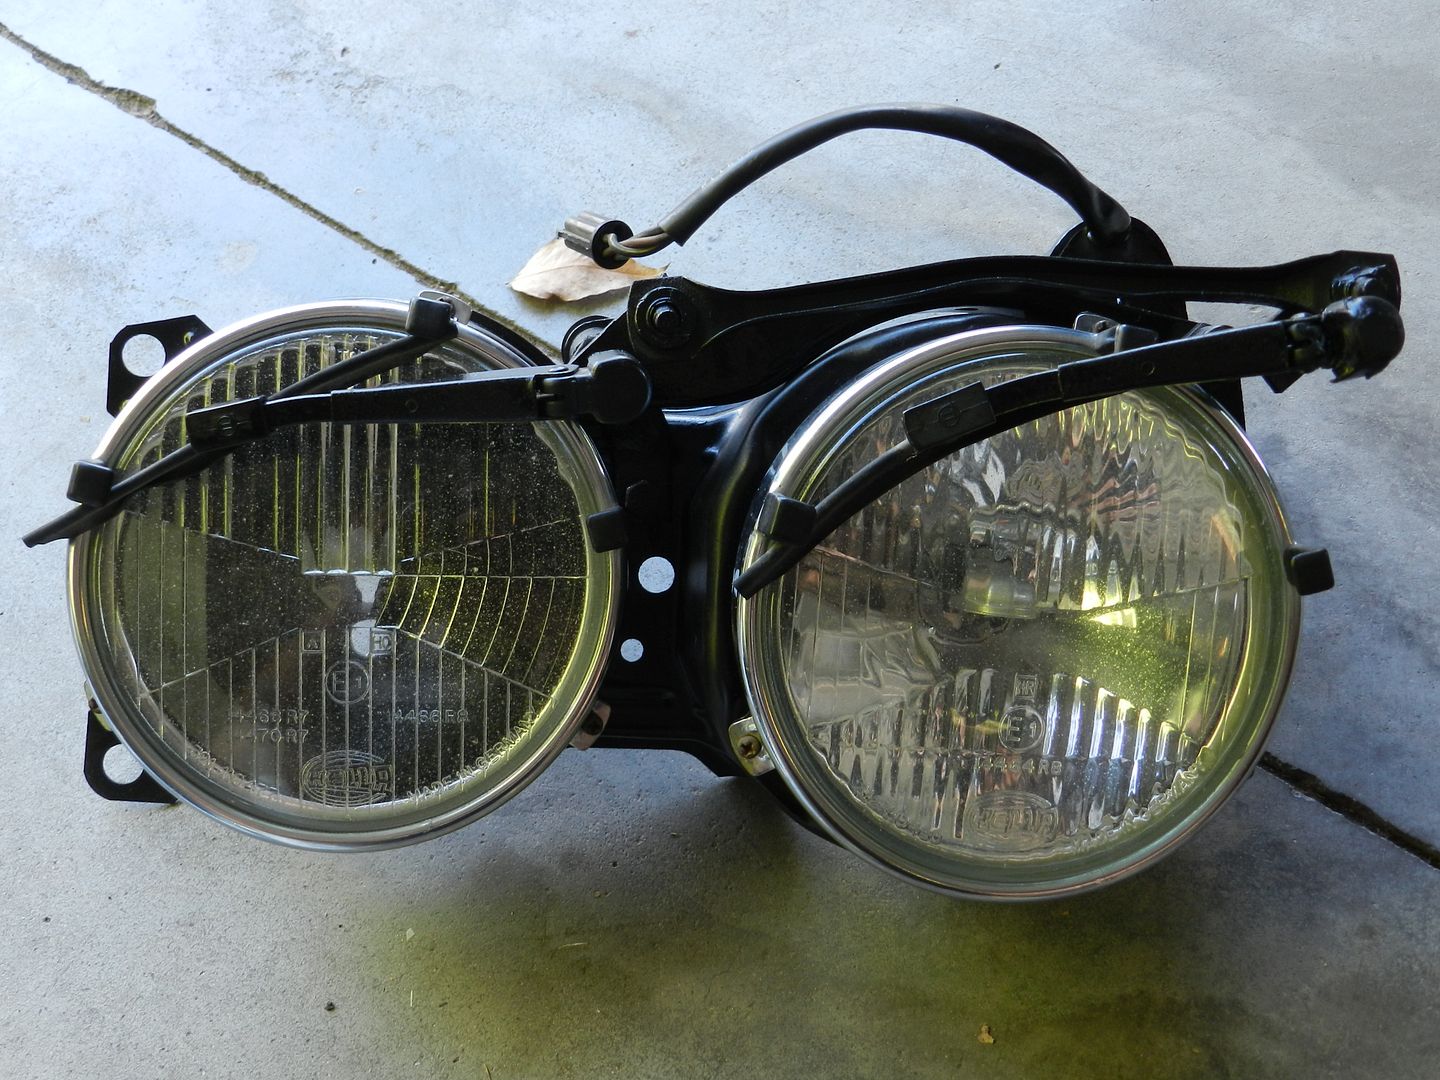
I recently found another Hella E1 Euro low beam headlight, so now I will have a matching pair instead of that ugly sealed beam! I was also able to score some Yellow Hella E1 Euro high beams from one of my dad's friend! (THANKS!!!)

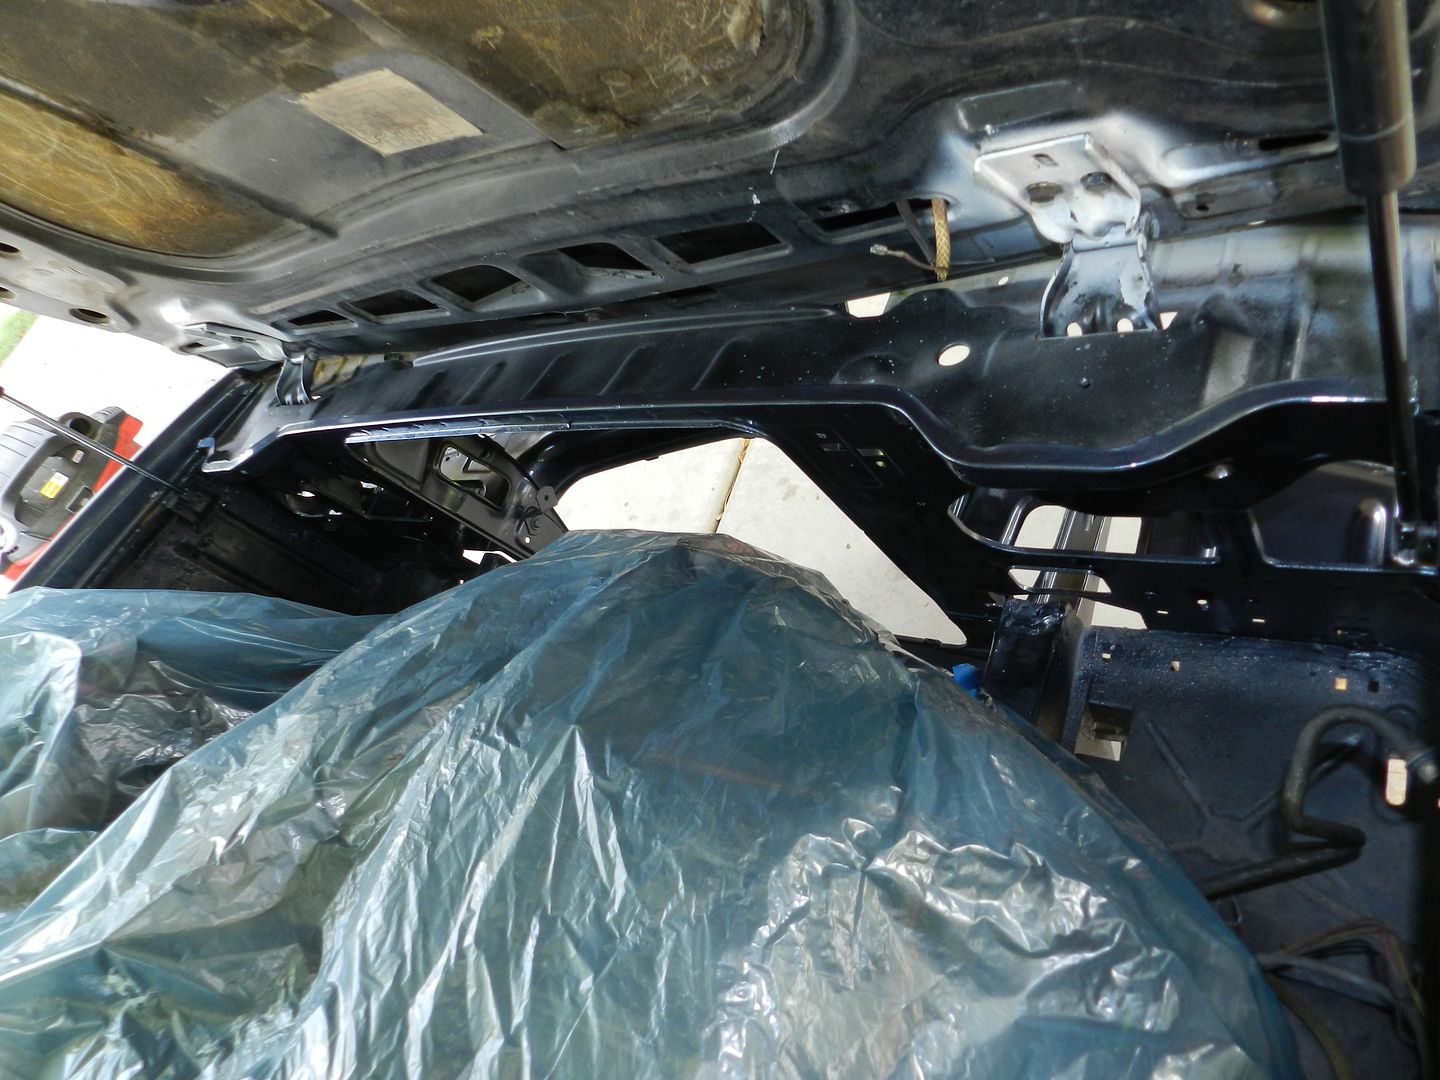
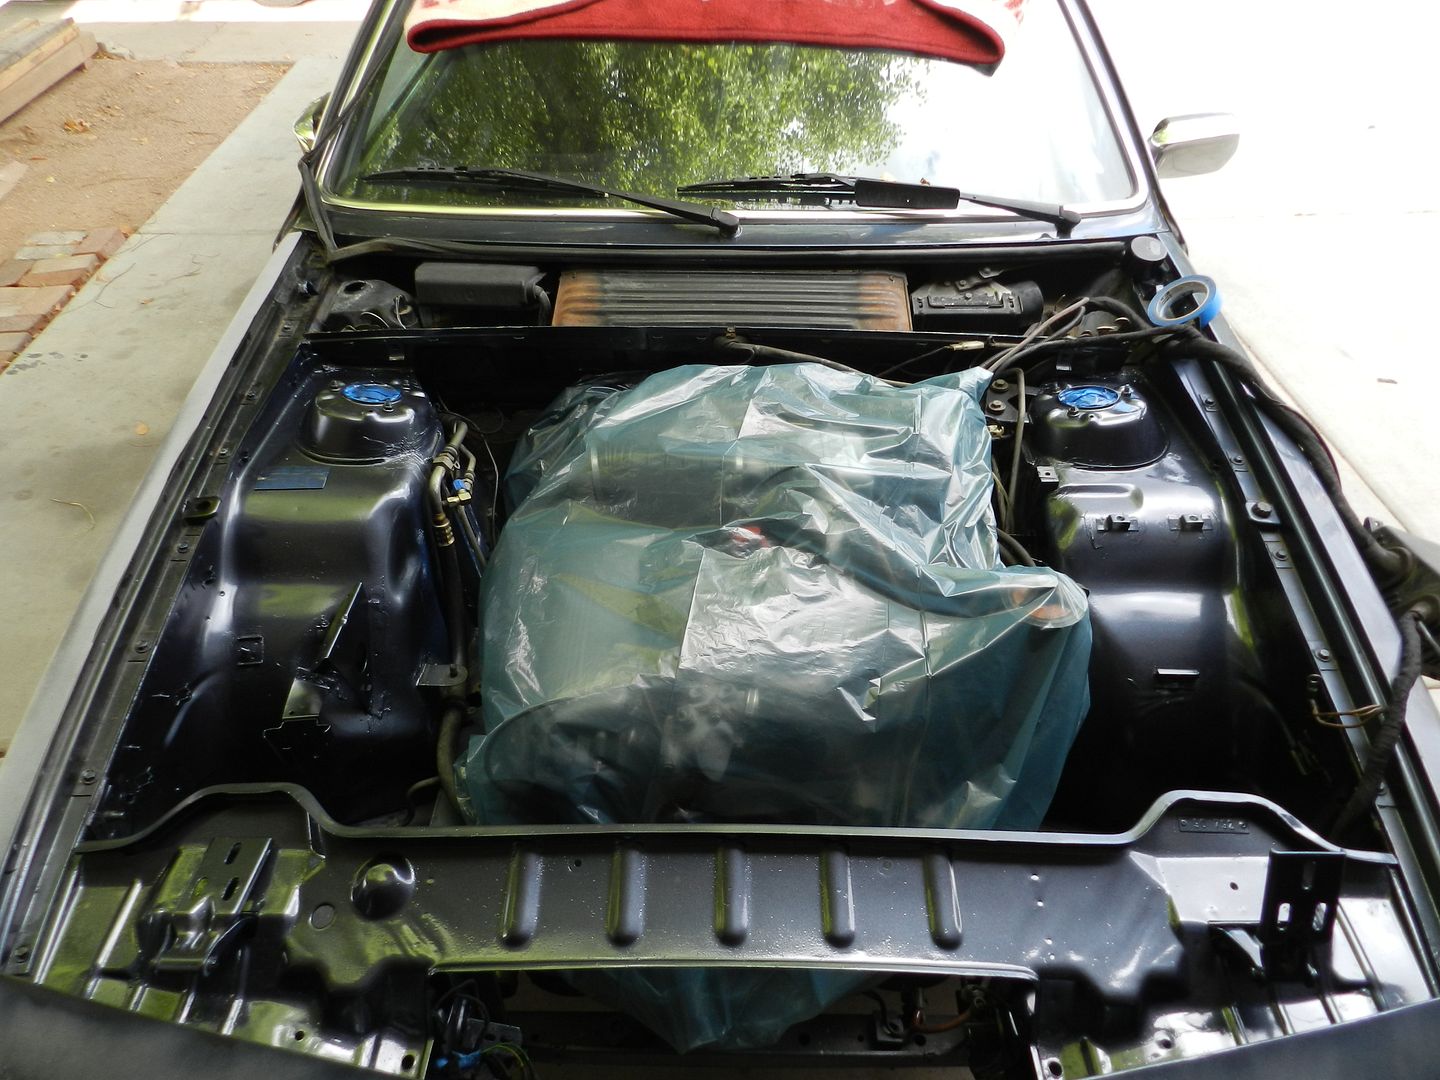
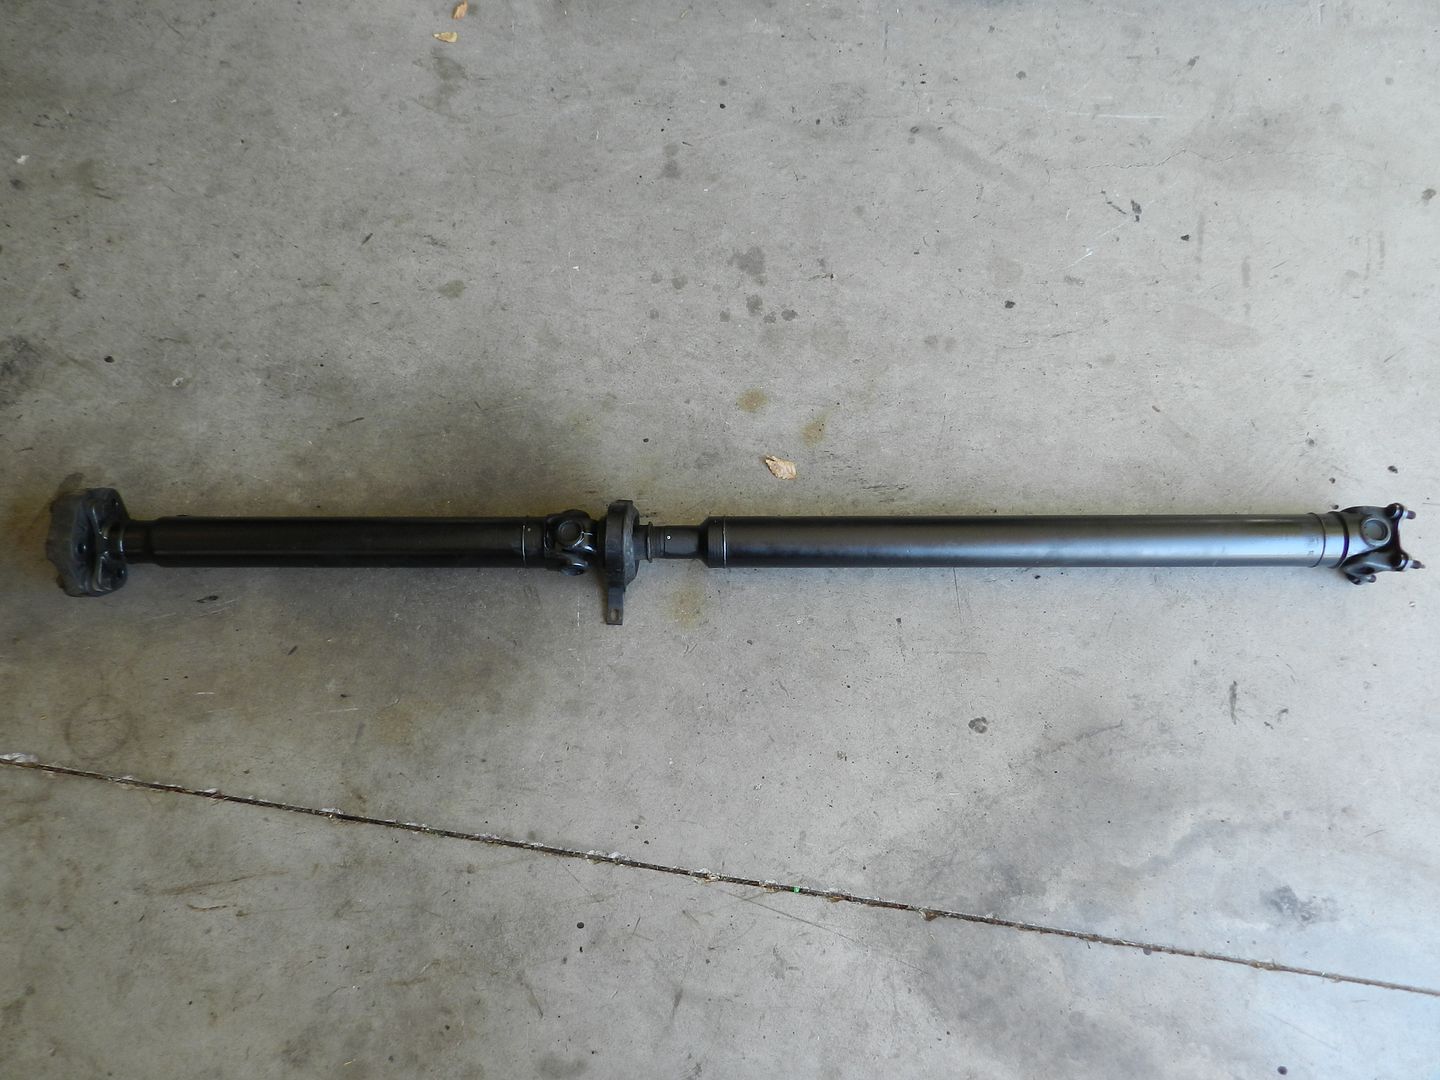
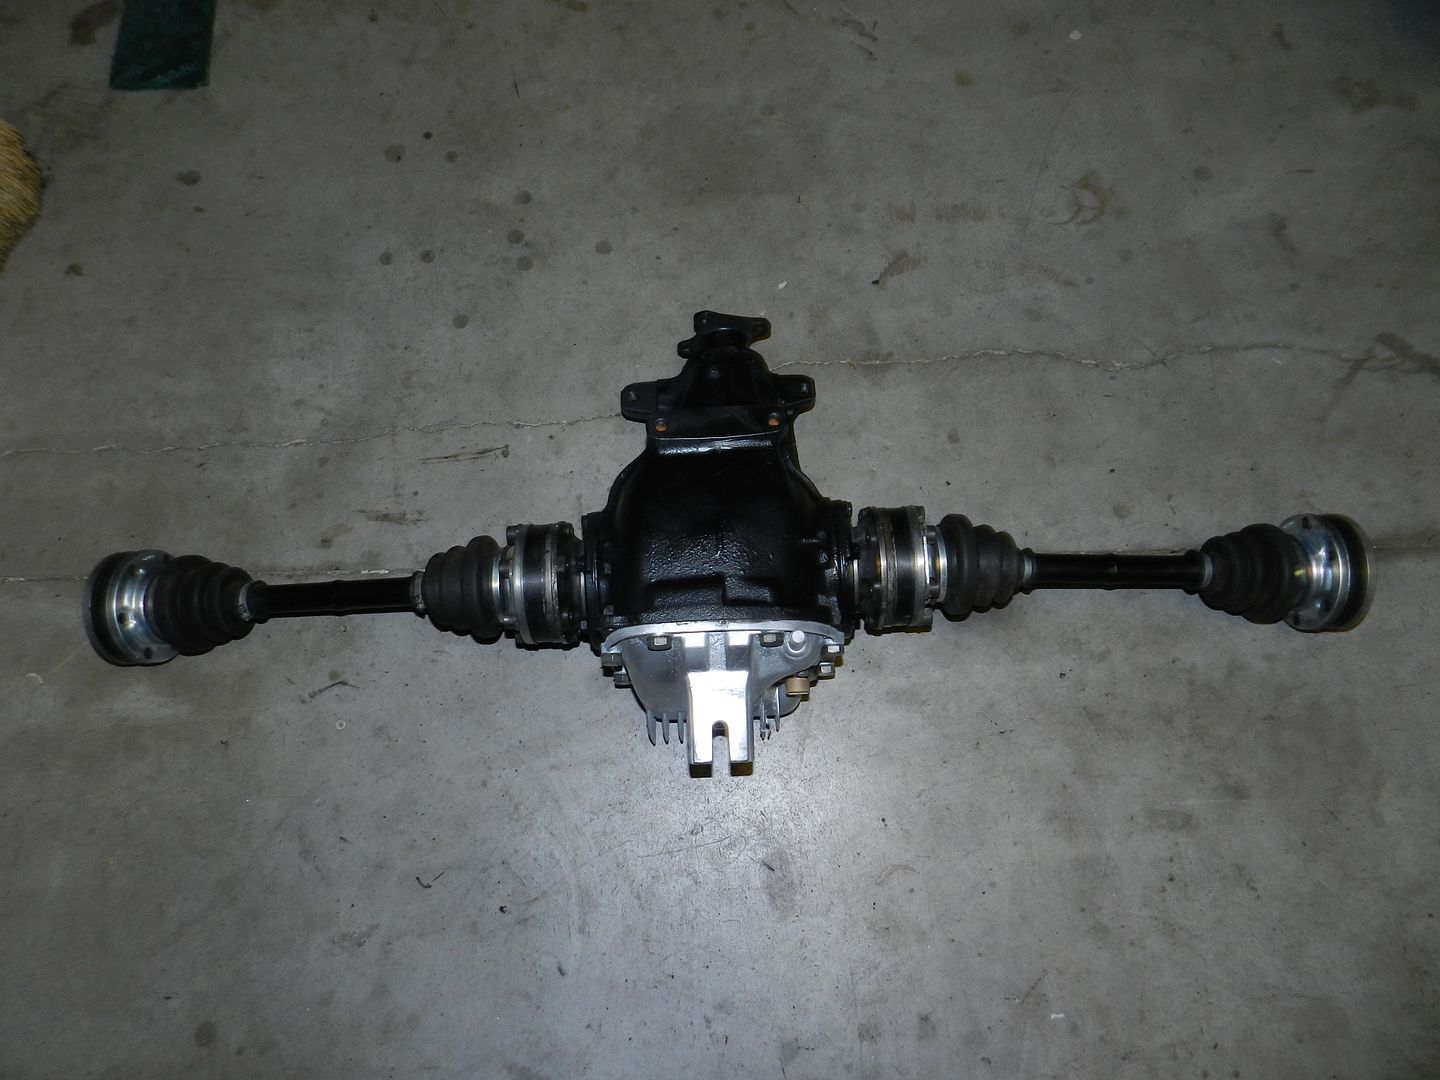
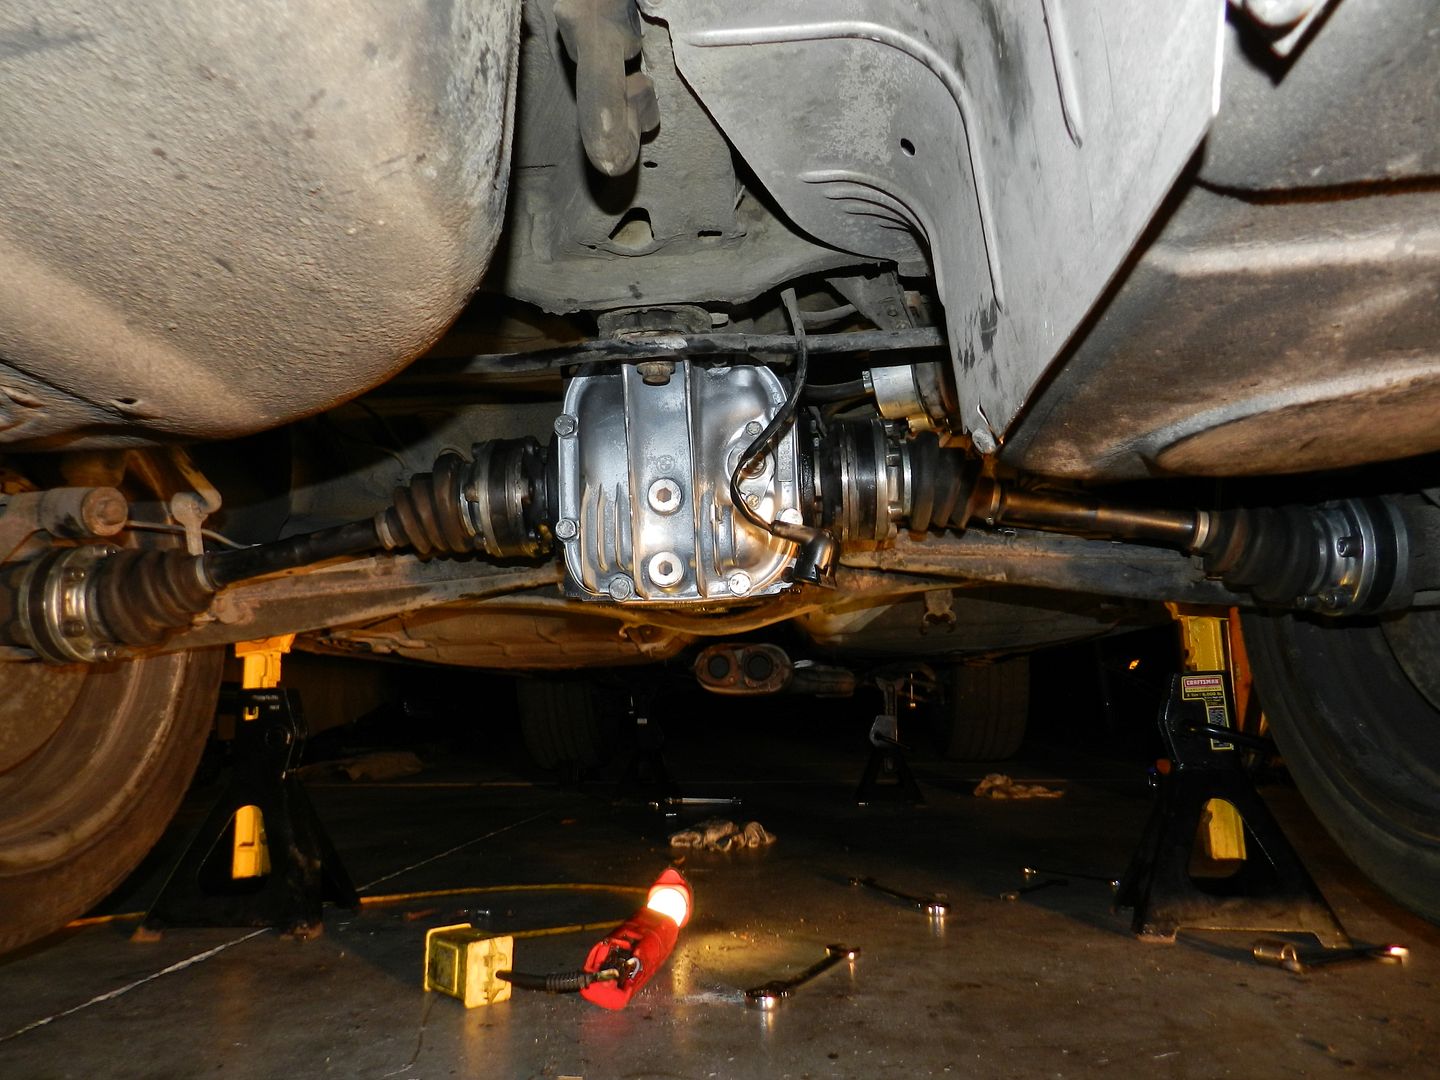
Probably the biggest update on the car was that I put a rebuilt driveshaft by Beyer Motor Works and a 3.25lsd with hardly used half shafts. While the differential was out of the car I ordered a new gasket and put some Redline 75w90. The car is extremely dirty and needs a lot of cleaning underneath it. I will slowly be cleaning more and more of the car as replace parts. It took me practically all day to clean and replace the drive train of the car. Also sucks no having a lift, having to work on your back the whole time as well as not having any air tool ; but some how I seem to make everything work! haha Here are some pictures of the before and after replacing the differential.
Before:


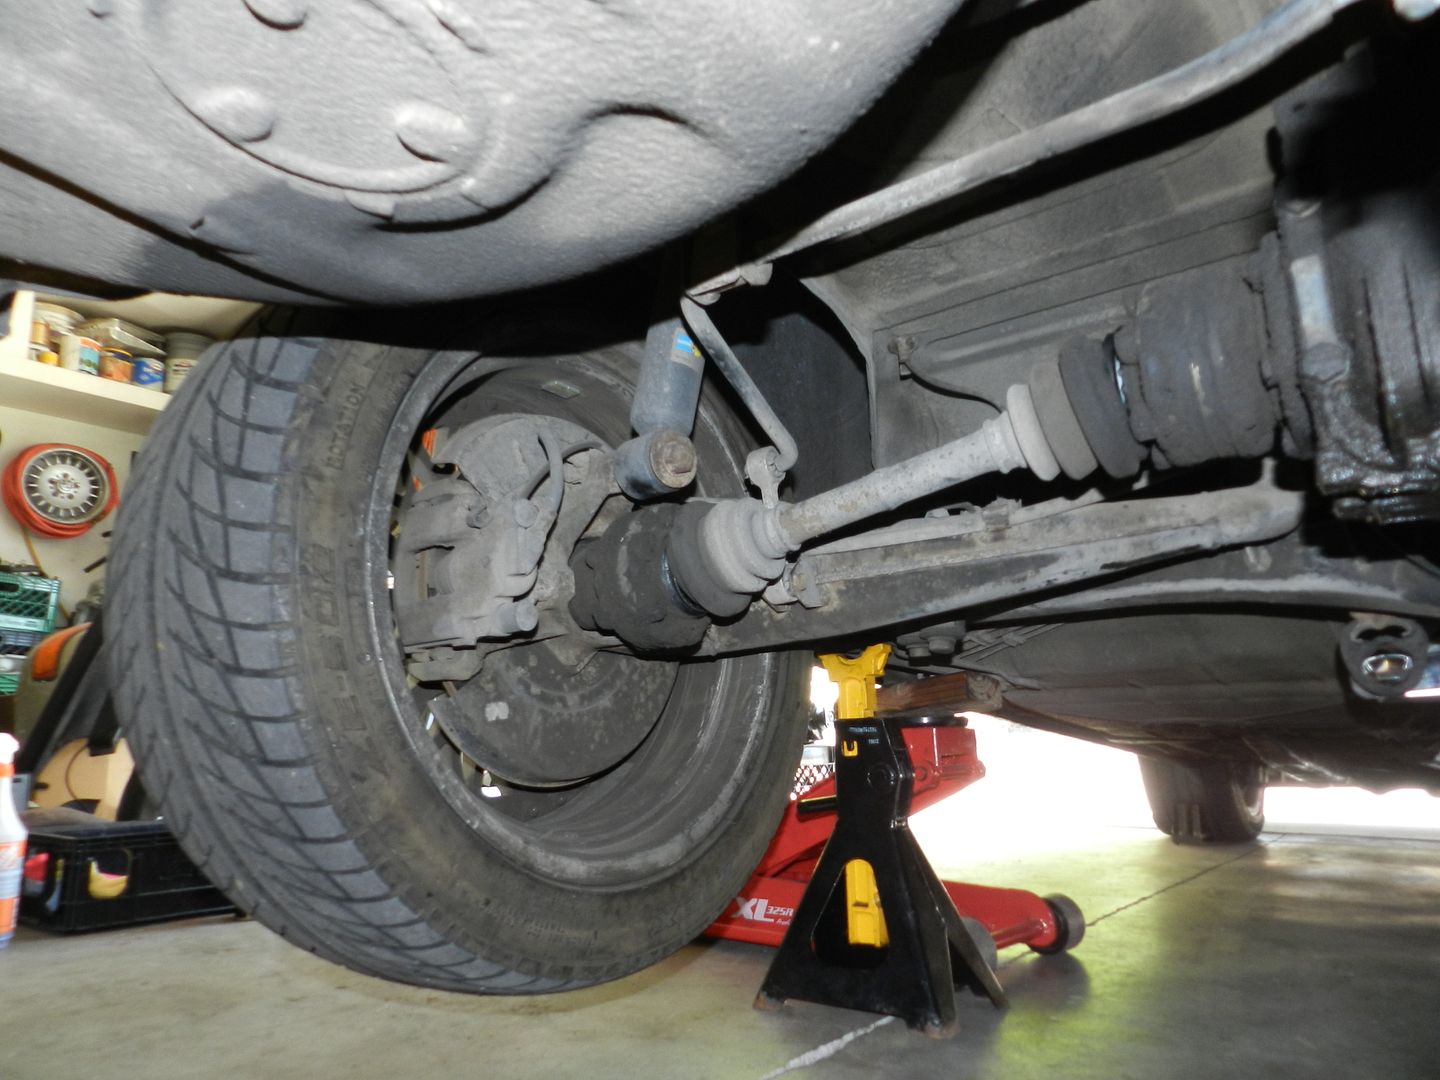
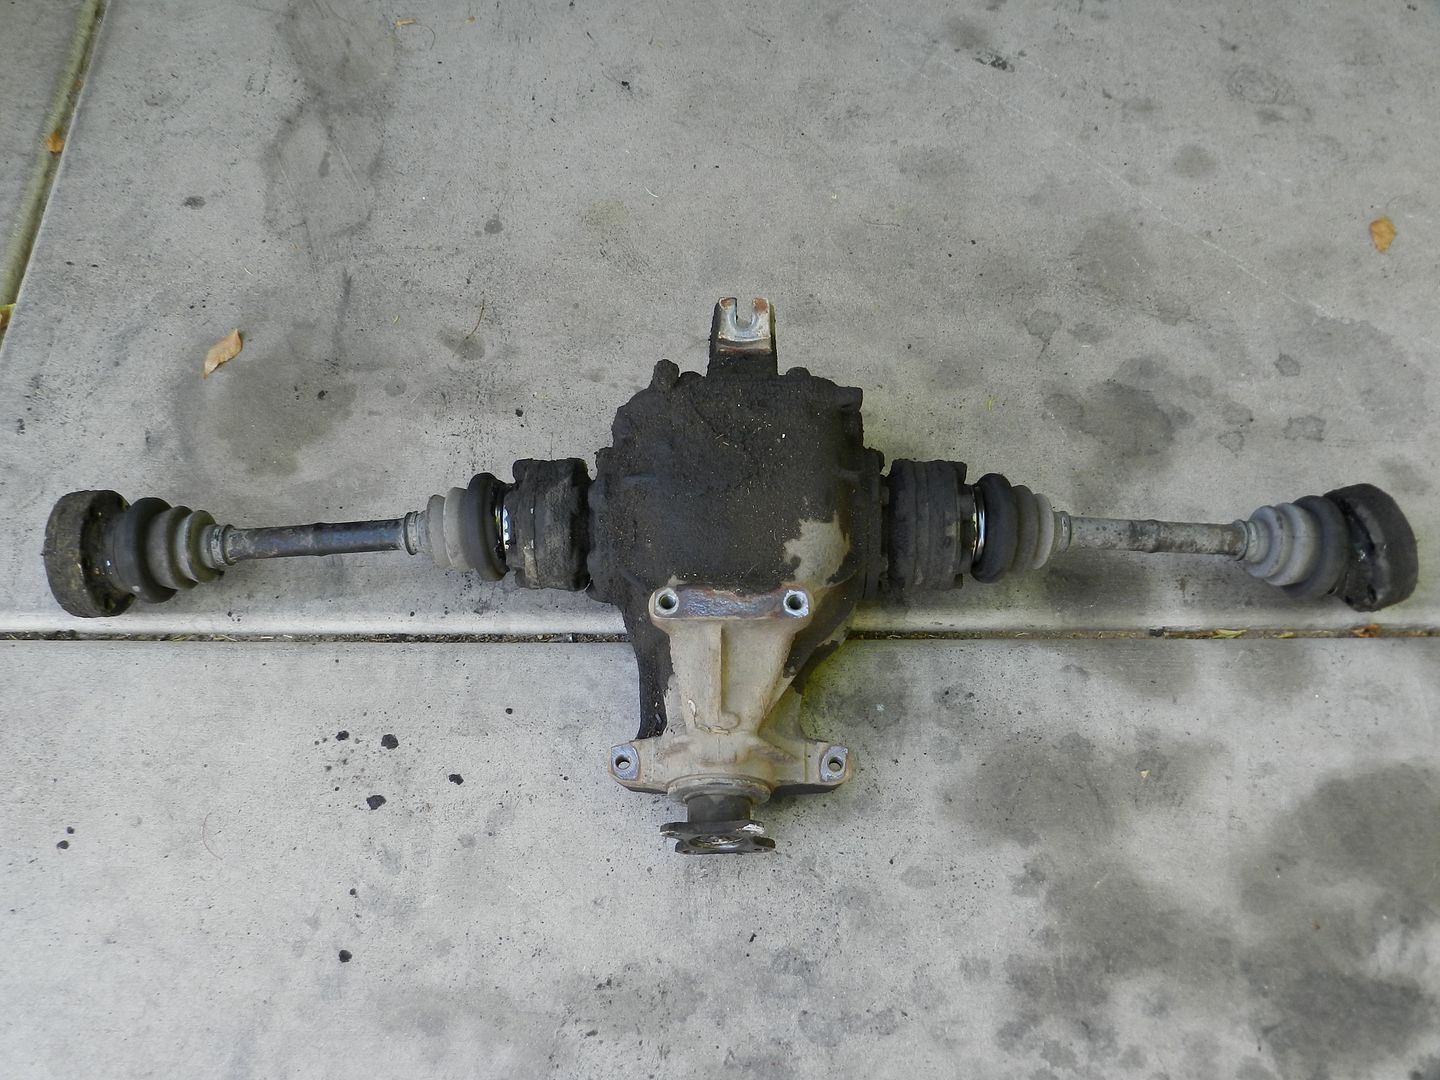

After:

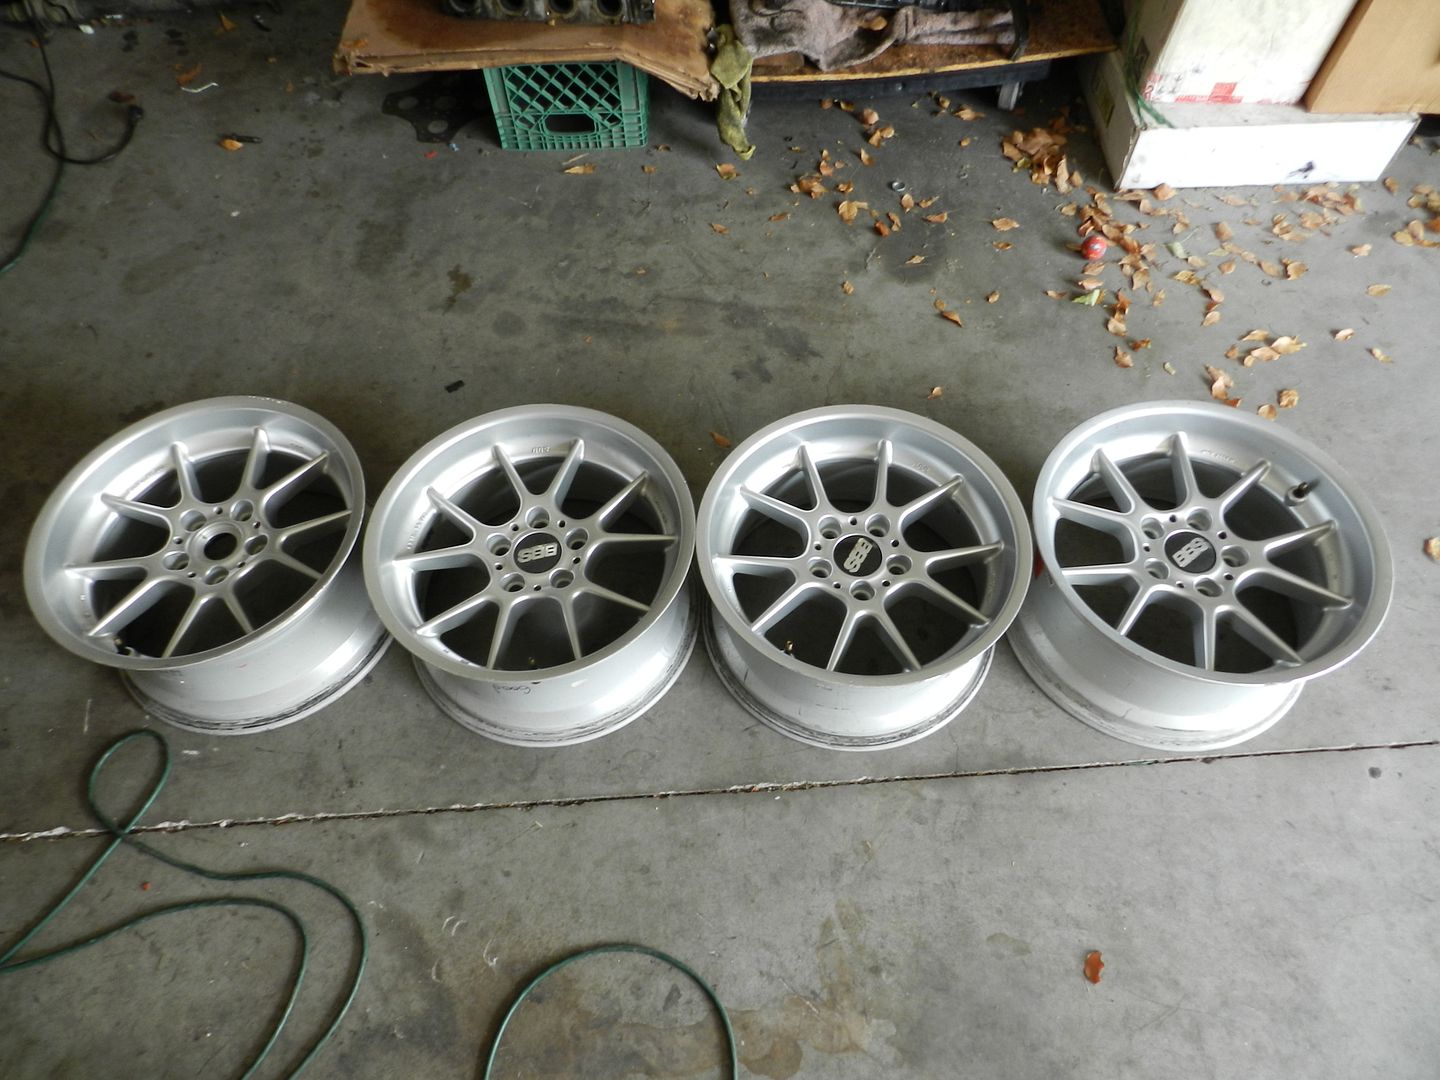
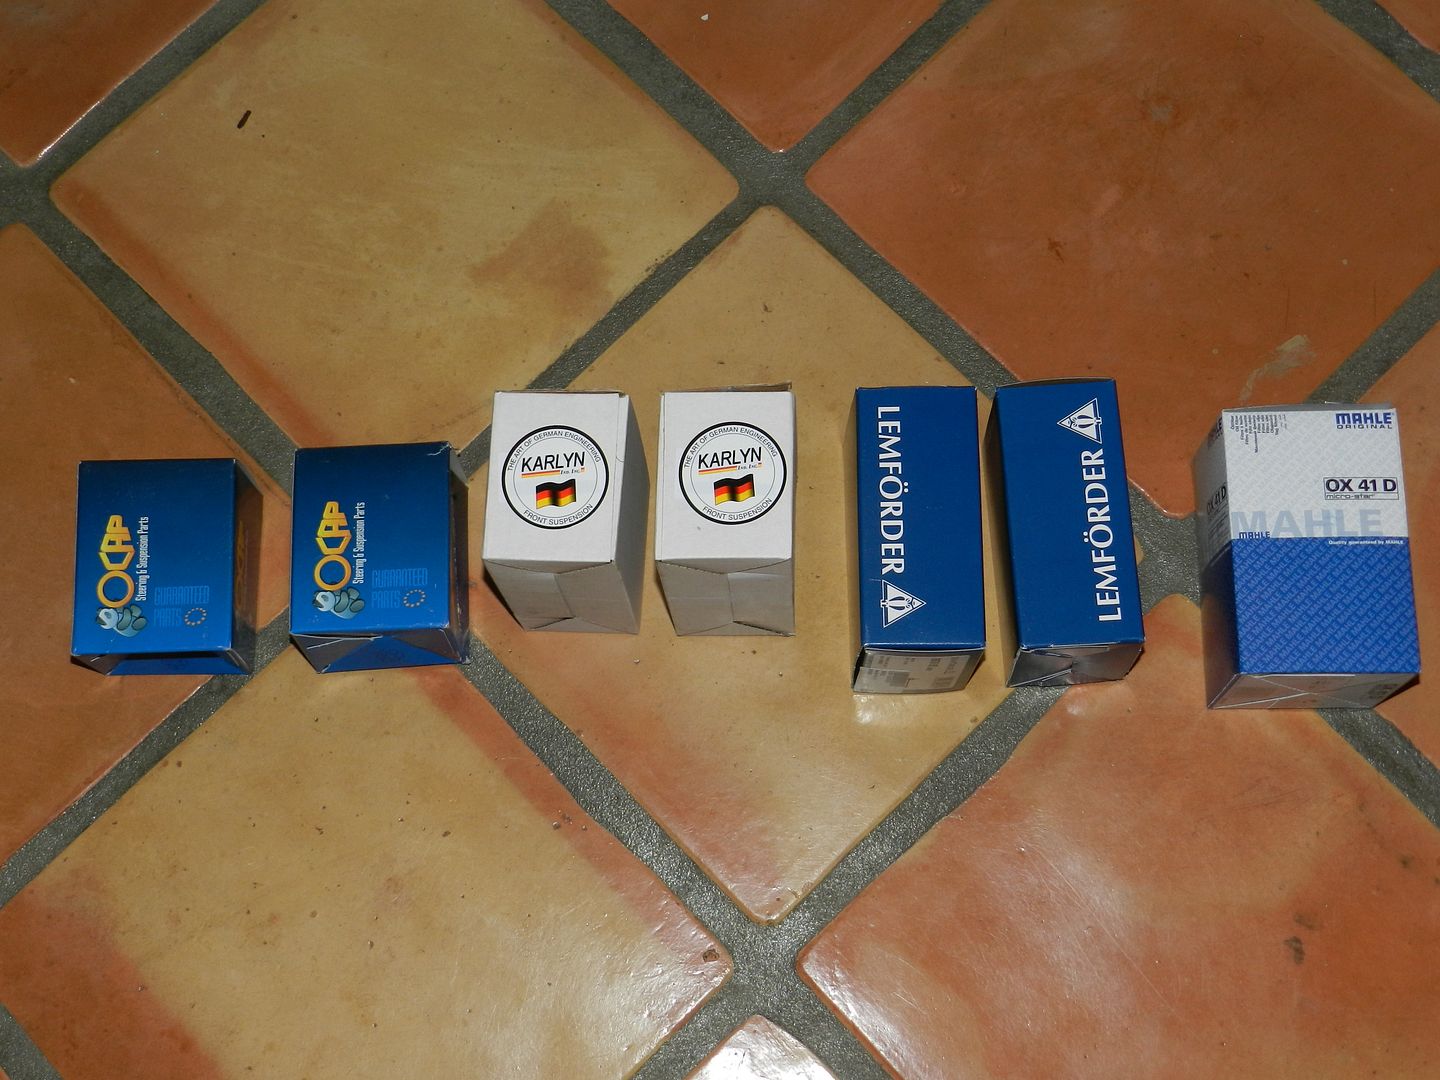
While I installing the differential I noticed some other suspension components that will need replacing so some of those parts recently came in! I am still waiting on a differential mount and my sway bar bushings since the warehouse needed to special order them. Also got another BBS RK so now I will have a full set! Hopefully in the next couple of weeks I will be getting the rest of my suspension done and coilover corner balanced!
(Front Sway Bar Bushings, Rear Sway Bar Links, Pitman Arms "Dog Bones").
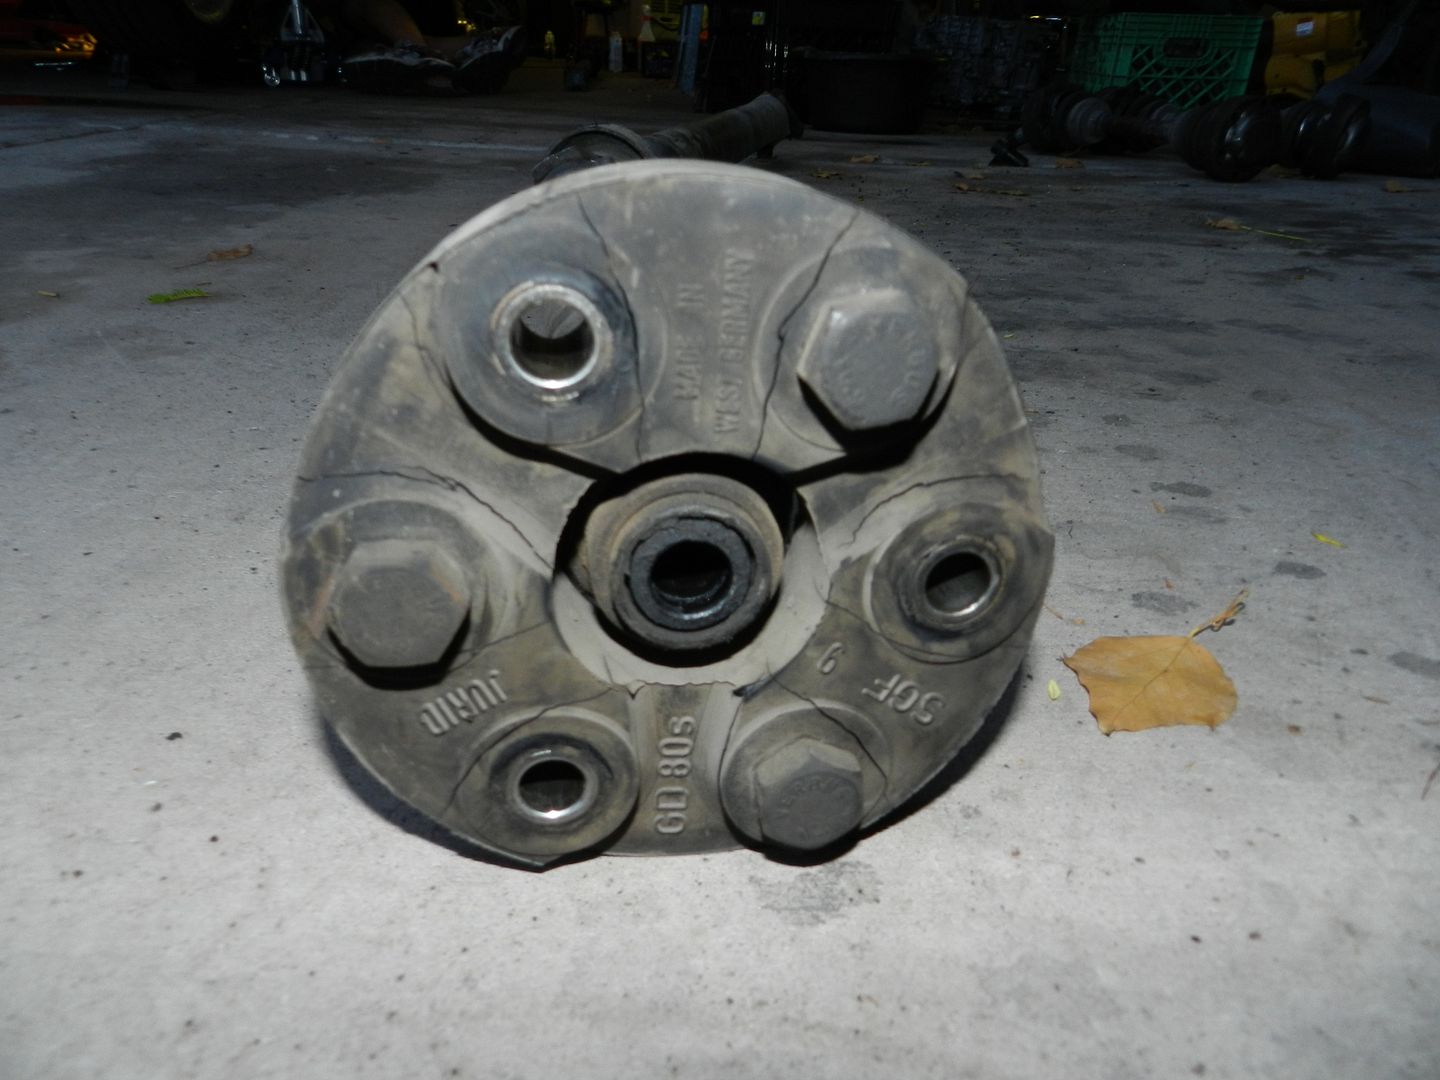
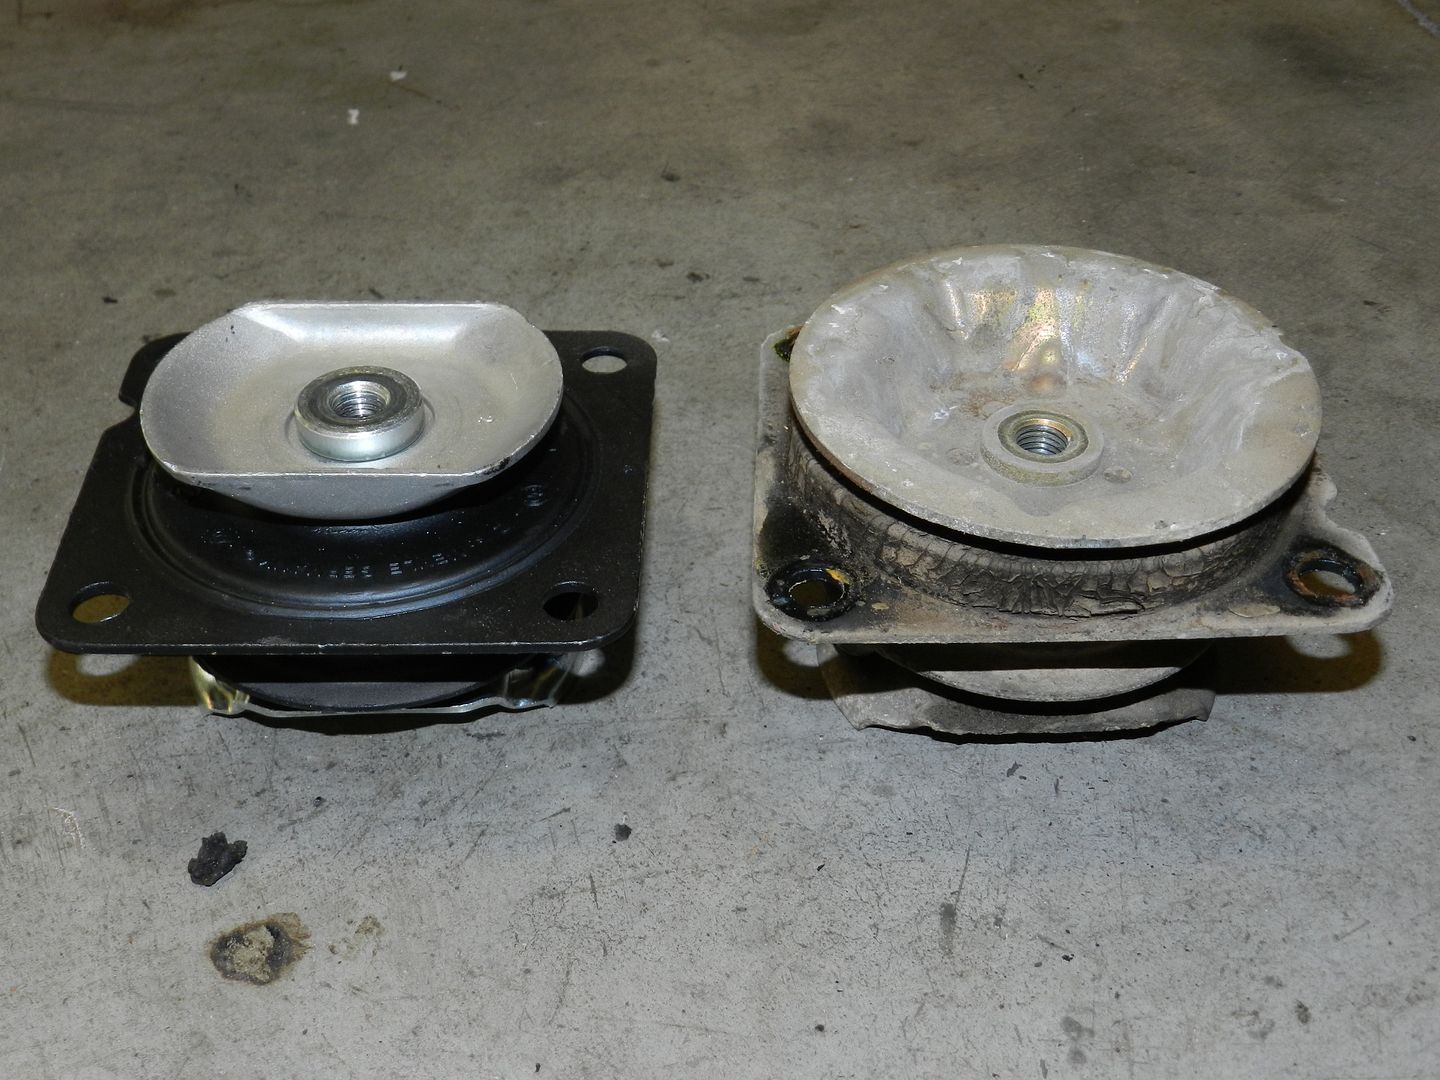
Here is an update. This weekend I made a quick turn around trip to San Diego to pick up at Jim's Upholstery my seats now they are done. I also replaced my old rear differential bushing because it was s**t.
Pictures old differential bushing compared to the new one.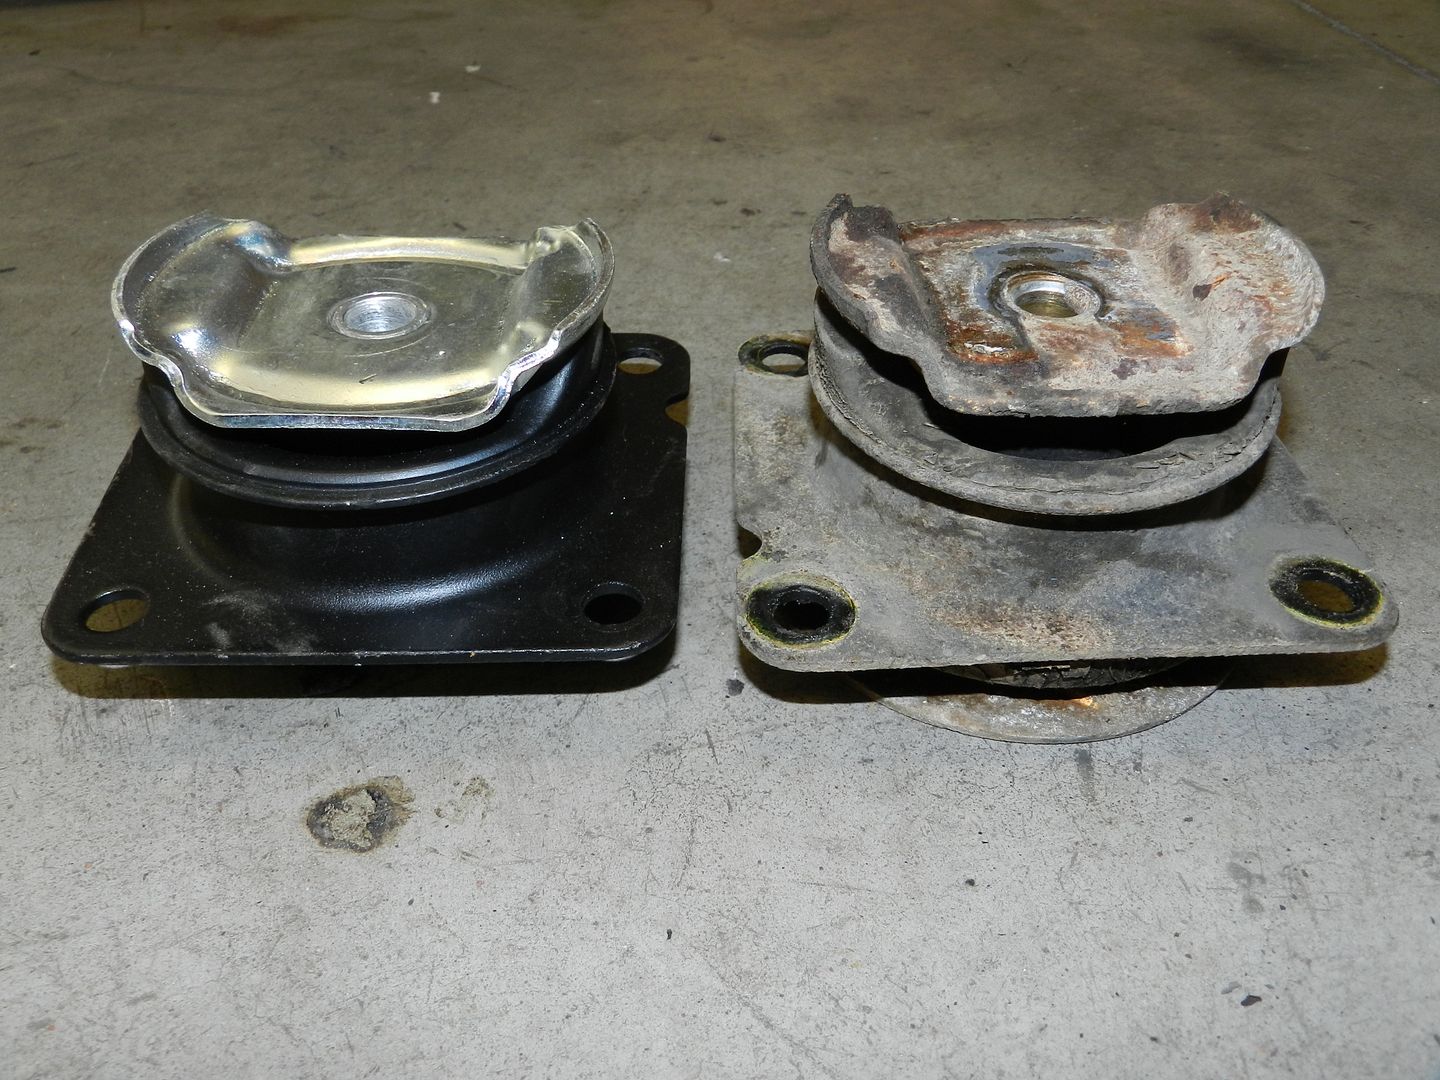
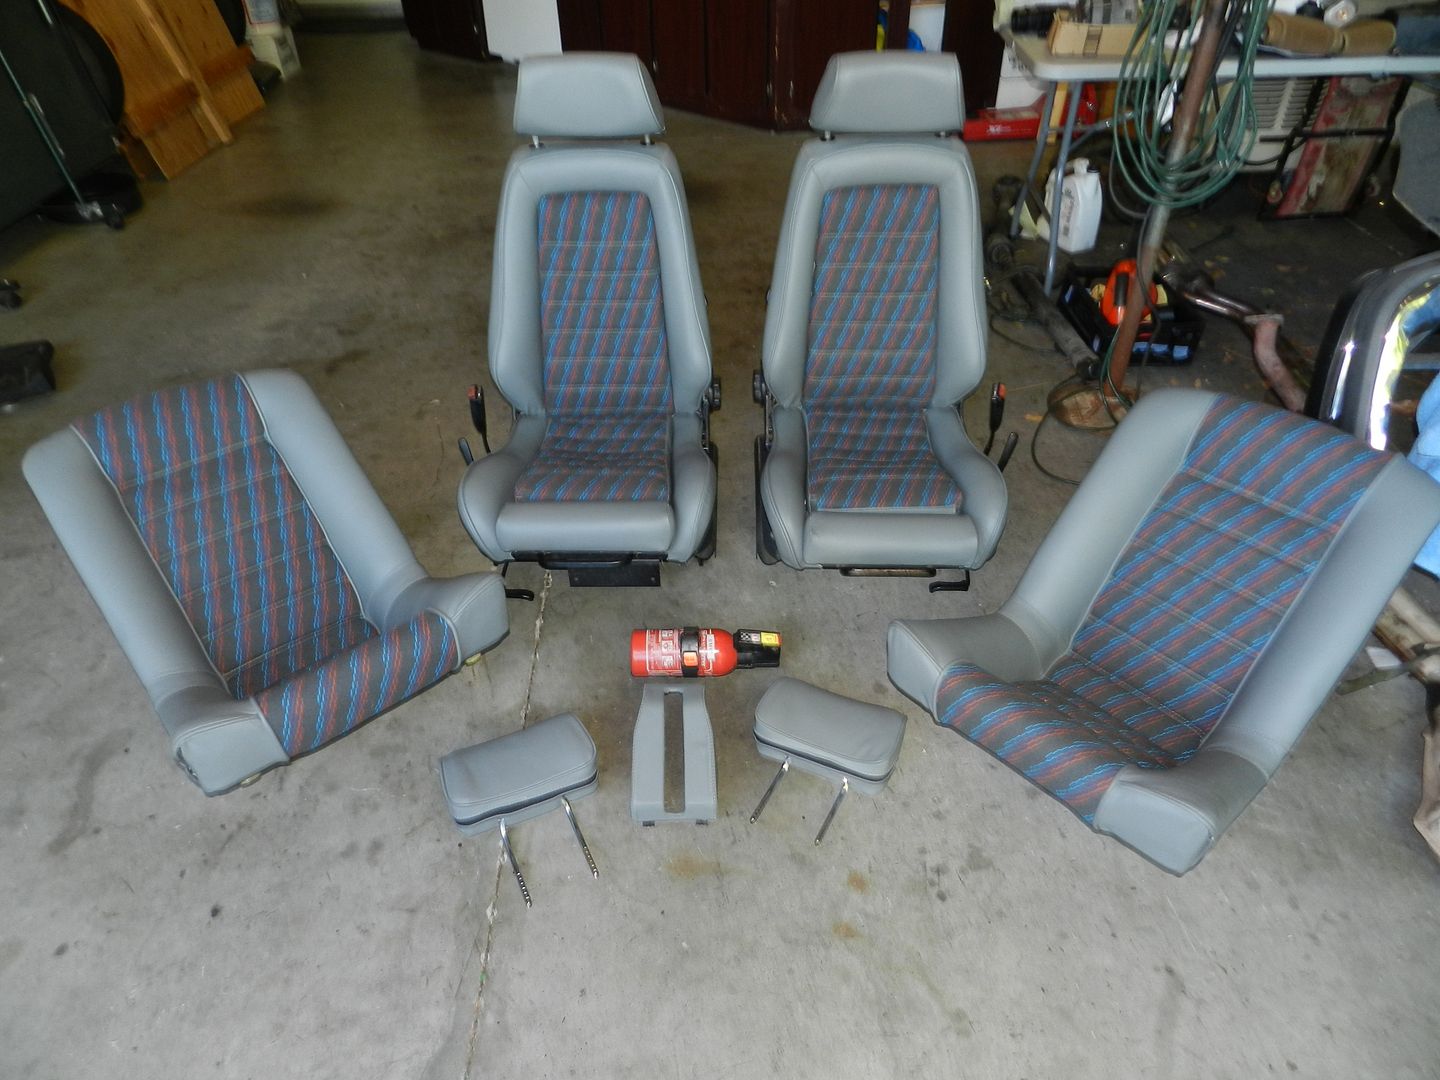
Not the best picture but here is a little teaser of how my seats came out. I will try to finish cleaning up the rest of my interior and installing my stereo!
This is the 1997 e39 540i I restored; If you are interested you could check out the build on my local BMW forum here:

Video of the Car:
[ame="http://www.youtube.com/watch?v=UJV6tkvH6k8"]E39 540i - Flyby Compilation (Muffler / Resonator Delete) - YouTube[/ame]

Anyway here is some of the past write ups I have on my 6 series.
It all started when I traded my prior to this car that I owned which was a 1991 e30 318is and loved it very much. Here is a picture:
Though, after seeing an add on craigslist with a Euro e24 for sale I just had to buy it...well I actually just traded cars. Why? Because I really love the look of the e24's and the power of a dirty m30. I also wanted something a little bit more unique then an e30. My e30 was no where near perfect and I took some parts offs to make the trade fair. QUICK INFO:
The car is a 1983 euro e24 635csi with 204,xxx miles.
It's a 5-speed with a m30b34 high compression engine.
It has euro lights and wipers system.
It also had no sunroof.
It came with style 5's with bavauto lowering springs.
FIRST DAY HOME:
She was a little dirty and need some maintenance but nothing major.
After drying the car I couldn't stand to see through the matching tint! So I decide to grab some razor blades and the heat gun. I spend an hour or two pulling the tint off and it was well worth it.
BEFORE & AFTER
With just a little bit of cleaning up the car had already started to look a lot better then how I got it. The two finally meet! Right one is my dad euro e24 with now 400,000 miles.
Two days later me being a clean freak I am and love to detail cars, I decided to give the car a detail. Though I am no professional detailer, I felt I was able to get out most of the scratches and dull areas. The detail really made the color "pop" and show it true beauty.
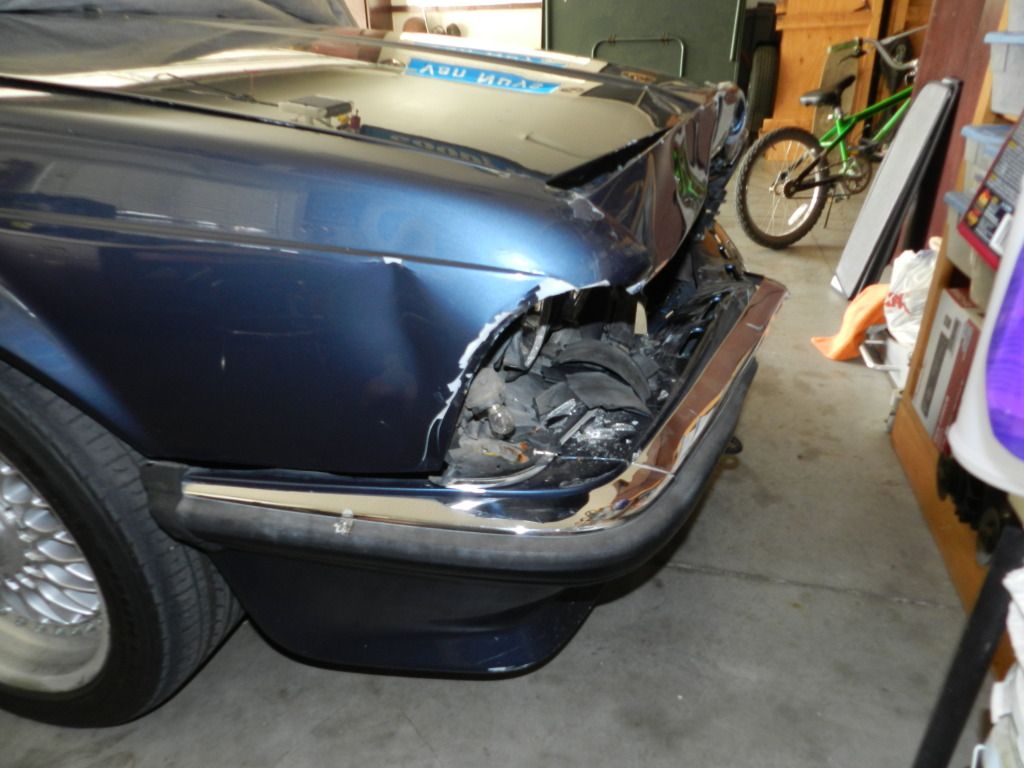
After two weeks of ownership of the car I f***ing rear ended someone. Long story short, it was a 4 car accident each car except the first rear ended the other. I didn't cause the accident but got f***ed with a ticket that read "failure to avoid an accident". Though, it wasn't the ticket that pissed me off but fact that I crashed my car. Here are some pictures of the damage:
Well I am back, where was I? Ohh Ya, so once the weekend had finally rolled around and baseball tryouts were done. I started to tear here apart and asset the damage. Luckily since I hit a SUV it was only the top of the car that took the damage and nothing happened to the frame! (at least that's the positive way to look at it). More pictures as promised.
More Accidents Damage:
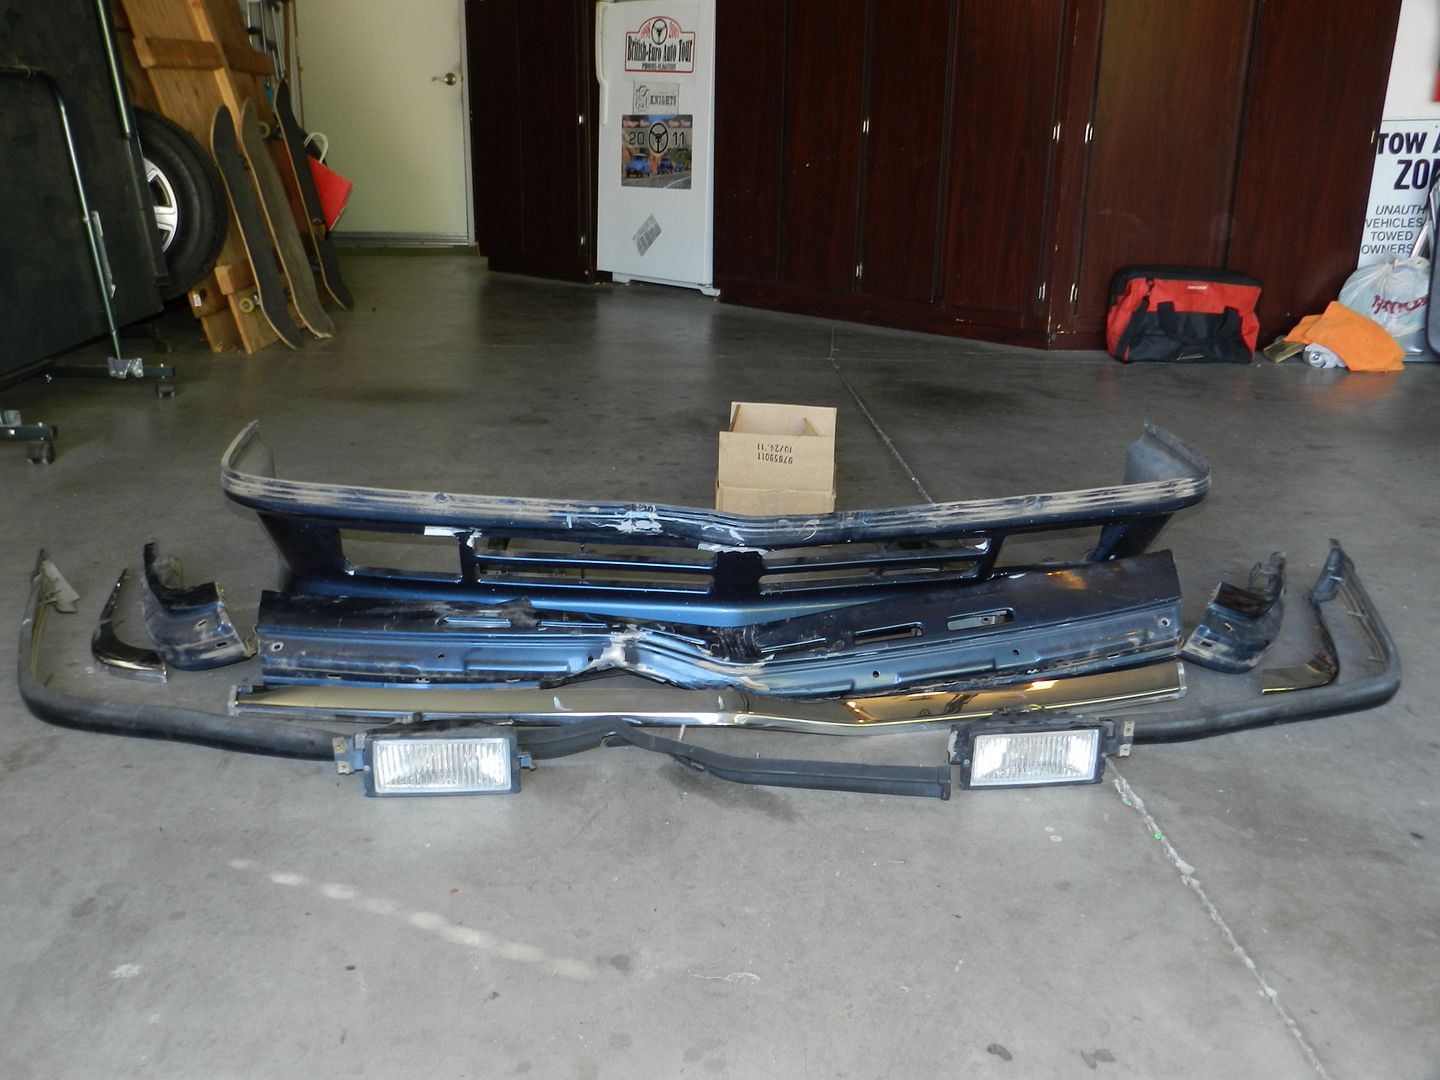
After taking everything apart I made a huge parts list of what needs to be replaced:
Clutch fan, radiator, condensor, A/C fan, left headlight assembly, euro headlights, euro side-marker lights, bumper, kidneys and grills, fender, hood, core support.
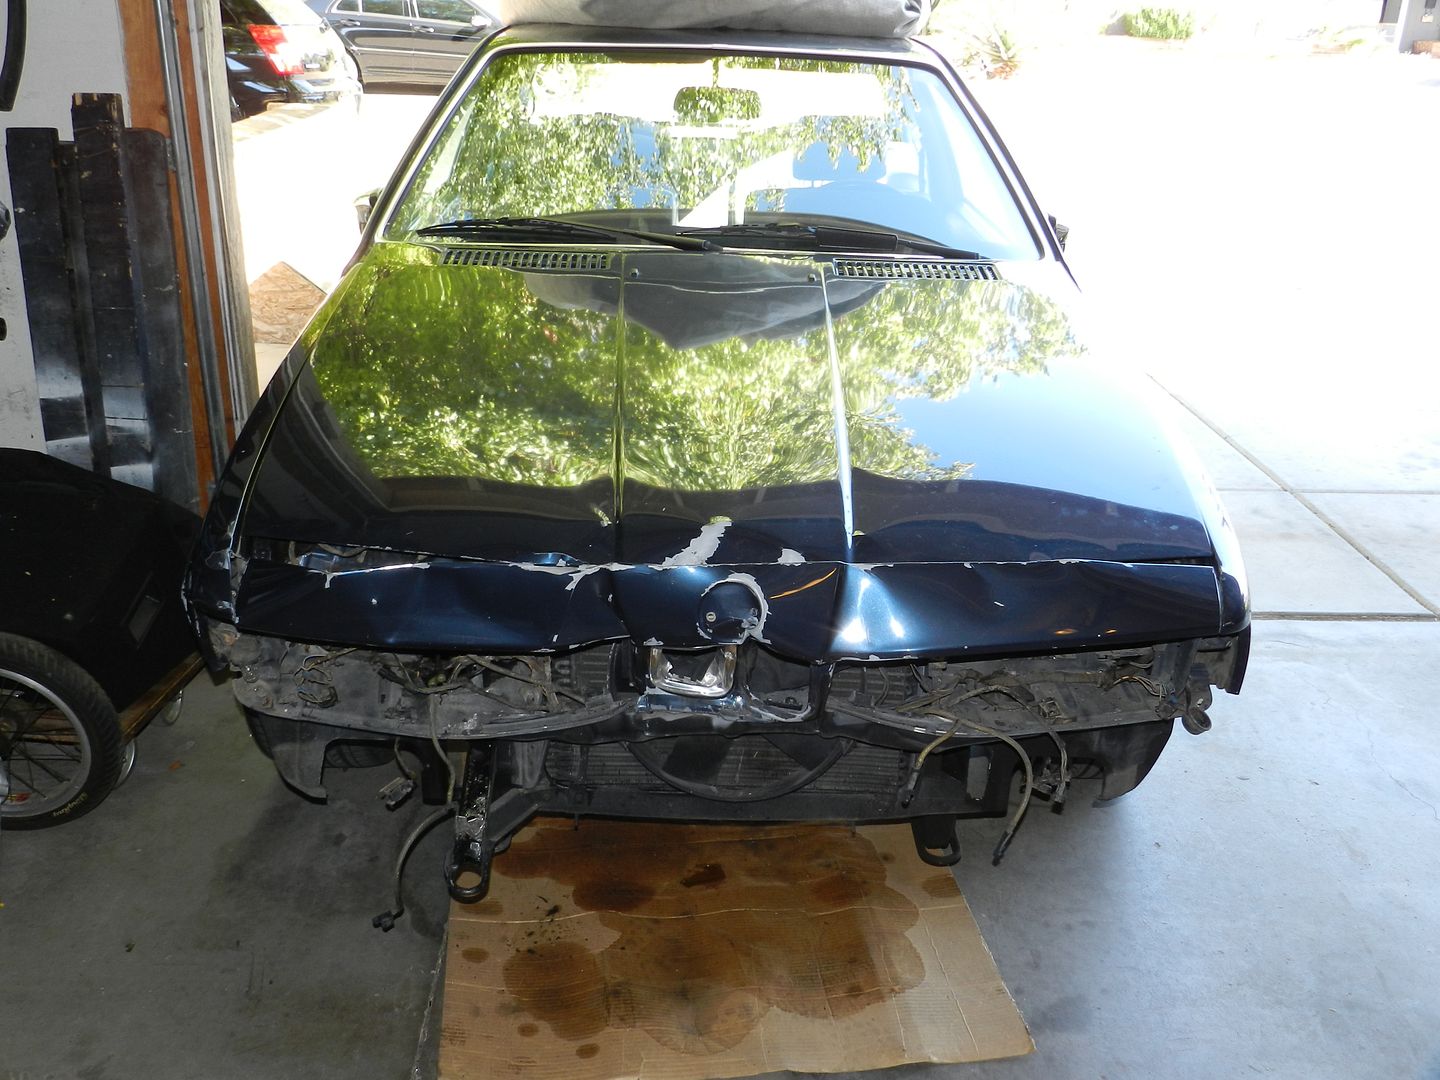
After that weekend, the car sat around for about two weeks until some of the parts to have finally been delivered and gathered so that it would be drivable. I realized that the core support had actually been pushed back about an inch making it so a radiator and clutch fan couldn't fit. Not having anytime because of baseball, school, and work I wasn't able to send it to the body shop since i needed something to take me back and fourth. So I borrowed my neighbors winch put it around the tree and cranked it until i had enough room for everything to properly function.
Quick Fix Pics:
Now that's a facelift!!!
Hood clips "Because Wrecked Car!"
When I finally start the car after sitting for two weeks it wouldn't turn over. We then looked around to find out that the crack position sensor was bad so i replaced that. After replacing that it finally turned over, but was idle extremely high. We then checked around some to find out the temperature sensor had gone out. So I replaced that. We then had to adjust the idle control valve until we finally got it running smooth. I also replaced the spark plugs. The next thing was at it idle i saw metal shaving coming the exhaust manifold only to find out that the catalytic converter was destroyed from the car running extremely rich. When the previous owner said he put the CAT in about a year ago!
What is left of the CAT:
After driving around awhile all the shit got blown out, and ran great. Busy throughout the rest of my senior year the car looked like that until I graduated. During that time I was able to get rid out my shitty ass comfort seats and replace them with some shitty ass e24 recaros! I also picked up an early m-tech steering wheel, rear headrests and clam shells, as well as a new parcel shelf.
Seats
Finally when July came around with the help of dad, I was able to collect a core support, fender, and hood being able to send the car body shop. I got the core support replaced, and rear quarter panel fixed.
Body Work:
It was from there on that I realized that I am putting good amount of money into it so I might as well make it and do everything how I want. Here is just the beginning. Well since the whole front end was taken apart I and decided to go to space age have them make me some paint that matched so i could paint the core support.
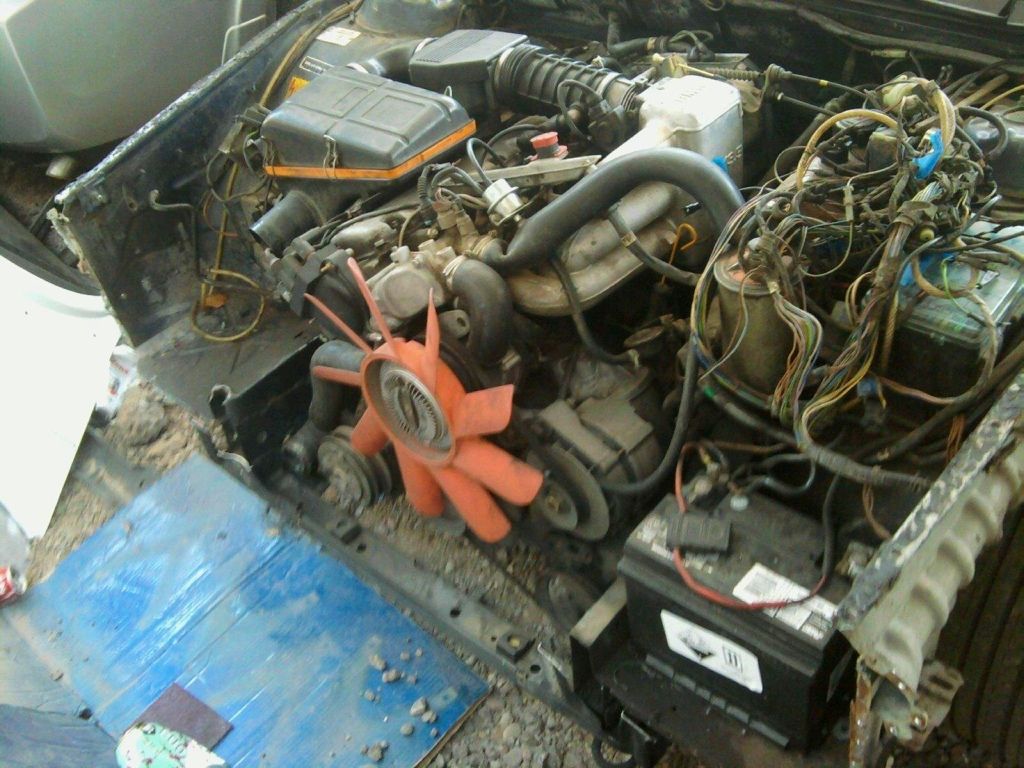
Dirty Engine Bay:
Sanding and Priming:
Paint:
After painting the core support I decided to just go ahead and paint the rest of the engine bay since it looked like shit. Since I pretty much had everything else apart I went ahead to finish and refresh the engine bay.
Wet Sanding:
After:
As you can see the paint was very dirty and faded and didn't match the rest of it.
After a few hour of washing, sanding and prepping it was finally time to paint. It is no where near perfect but I very pleased with the results I got, especially looking at the pictures of how terrible it looked before.
[b]Before:[b/]
After:
I also took off all the old tape that wraps the wires and re-wapped all of it. I also did the other side but don't have pictures. I also went through and fixed any ugly spliced wires on the engine and then shrink wrapped them.
Before:
After:
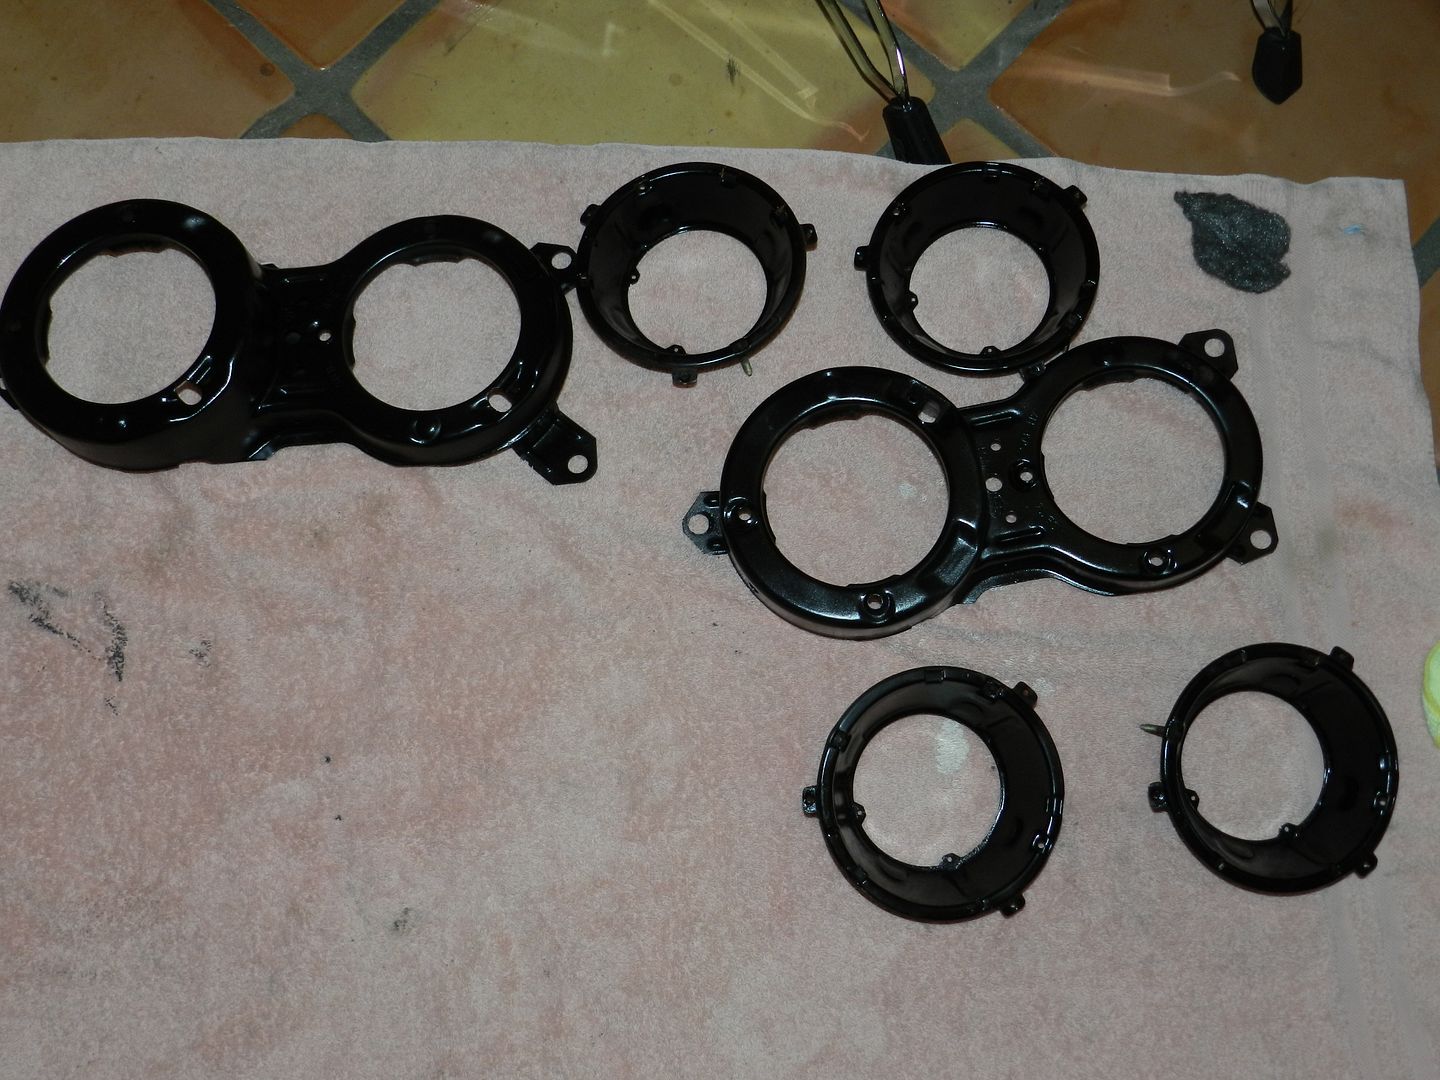
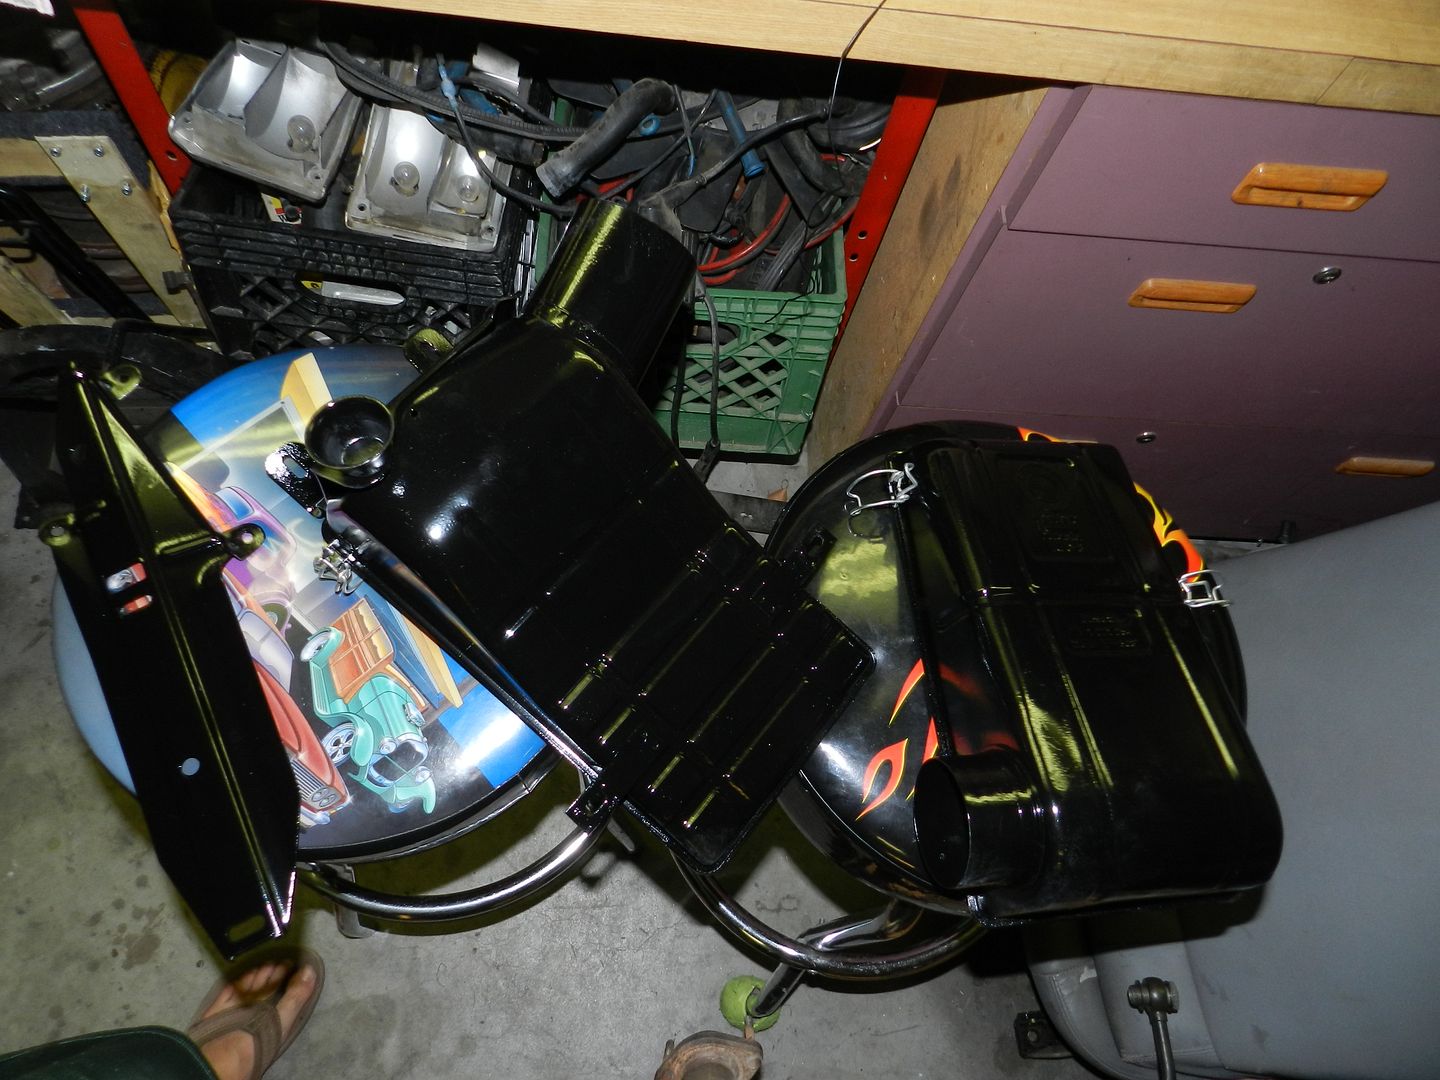
Since I was pretty much cleaning up everything I did the buckets for the headlights and cleaned the chrome trim around them. Finally i was able to do something inside for it was so f***ing hot and humid out all week.
All Finished:
Other Parts Cleaned Up:
I purchased a whole front euro bumper and spoiler. I eventually want to switch the early front spoiler to the one I have with fog light. The only way to get to bolt I needed to take out DOT bar. So I went to Harbor Freight bought a $10 grinder and some cutting wheels and went to work.
Before:
I got it out and was able to remove 10lbs of useless, rusty metal.
After:
Was finally able to put her back together a have her back up and running on the road.
I just ordered some new euro turn signals and should be here in a few day so I can get rid of those hideous elephant ear that are on there. I am also still looking for one more euro low beam so if anyone has one around. I'd be happy to BUY it off you! My dad found a very dull half-assed polished valve cover and thermostat housing. So I took the time to shine it up a LITTLE bit more! I bought some 1500 grit wet sand paper, buffing wheel, polishing compound, and some mother aluminum polish. Here are the results of the valve cover still need to do thermostat housing.
Before:
After:
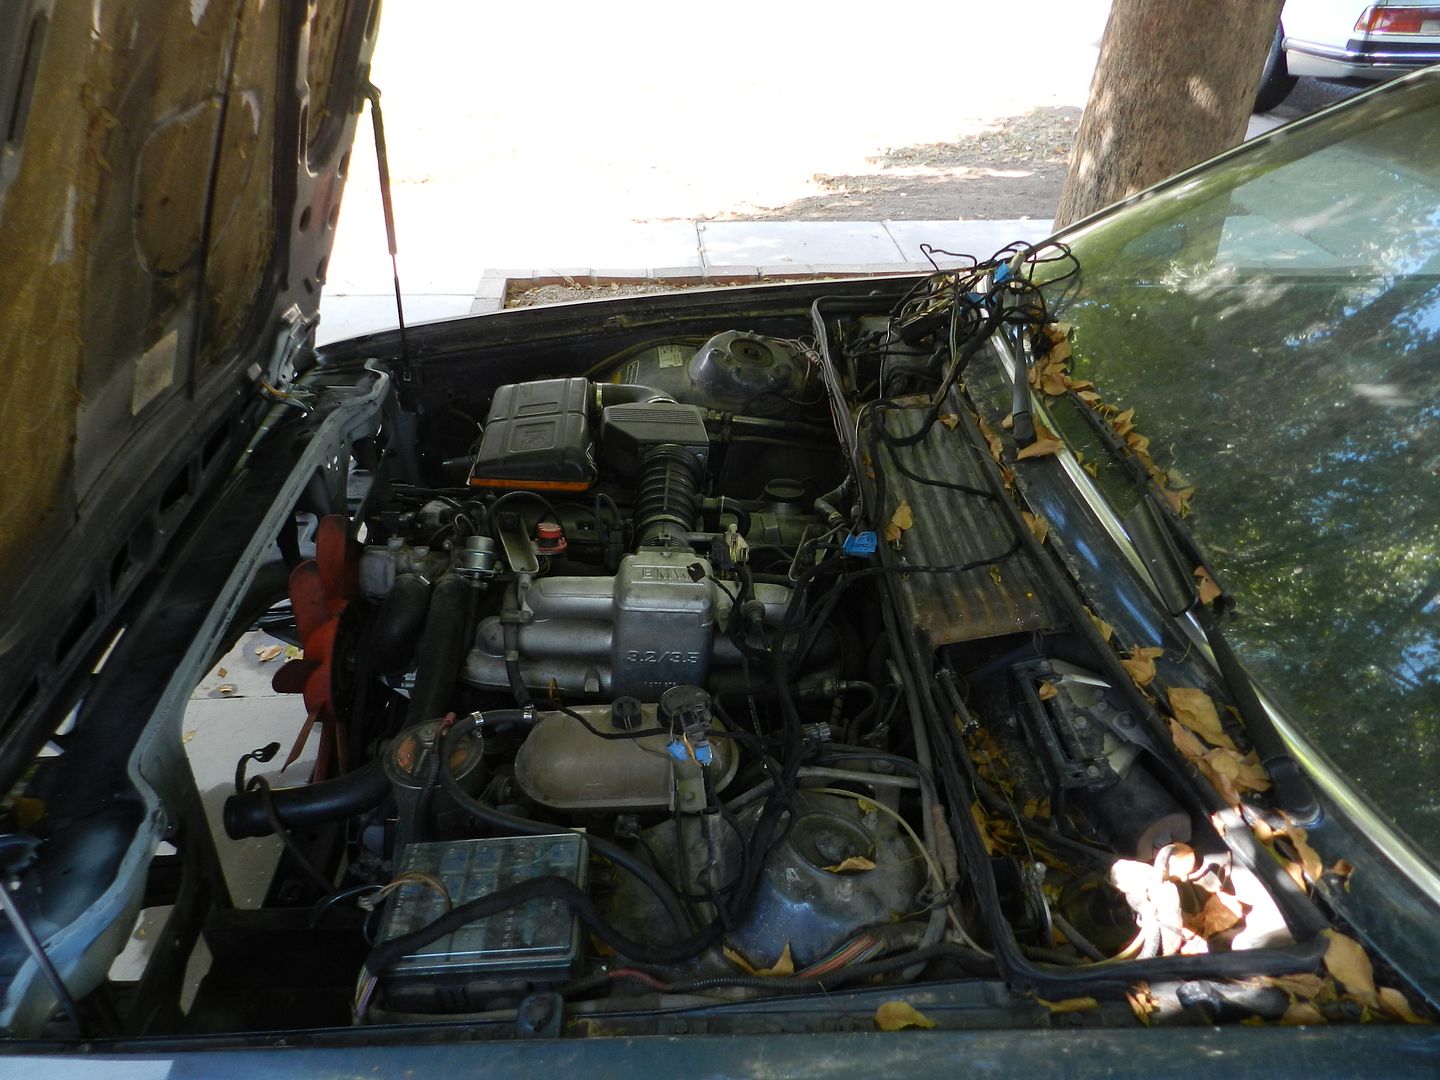
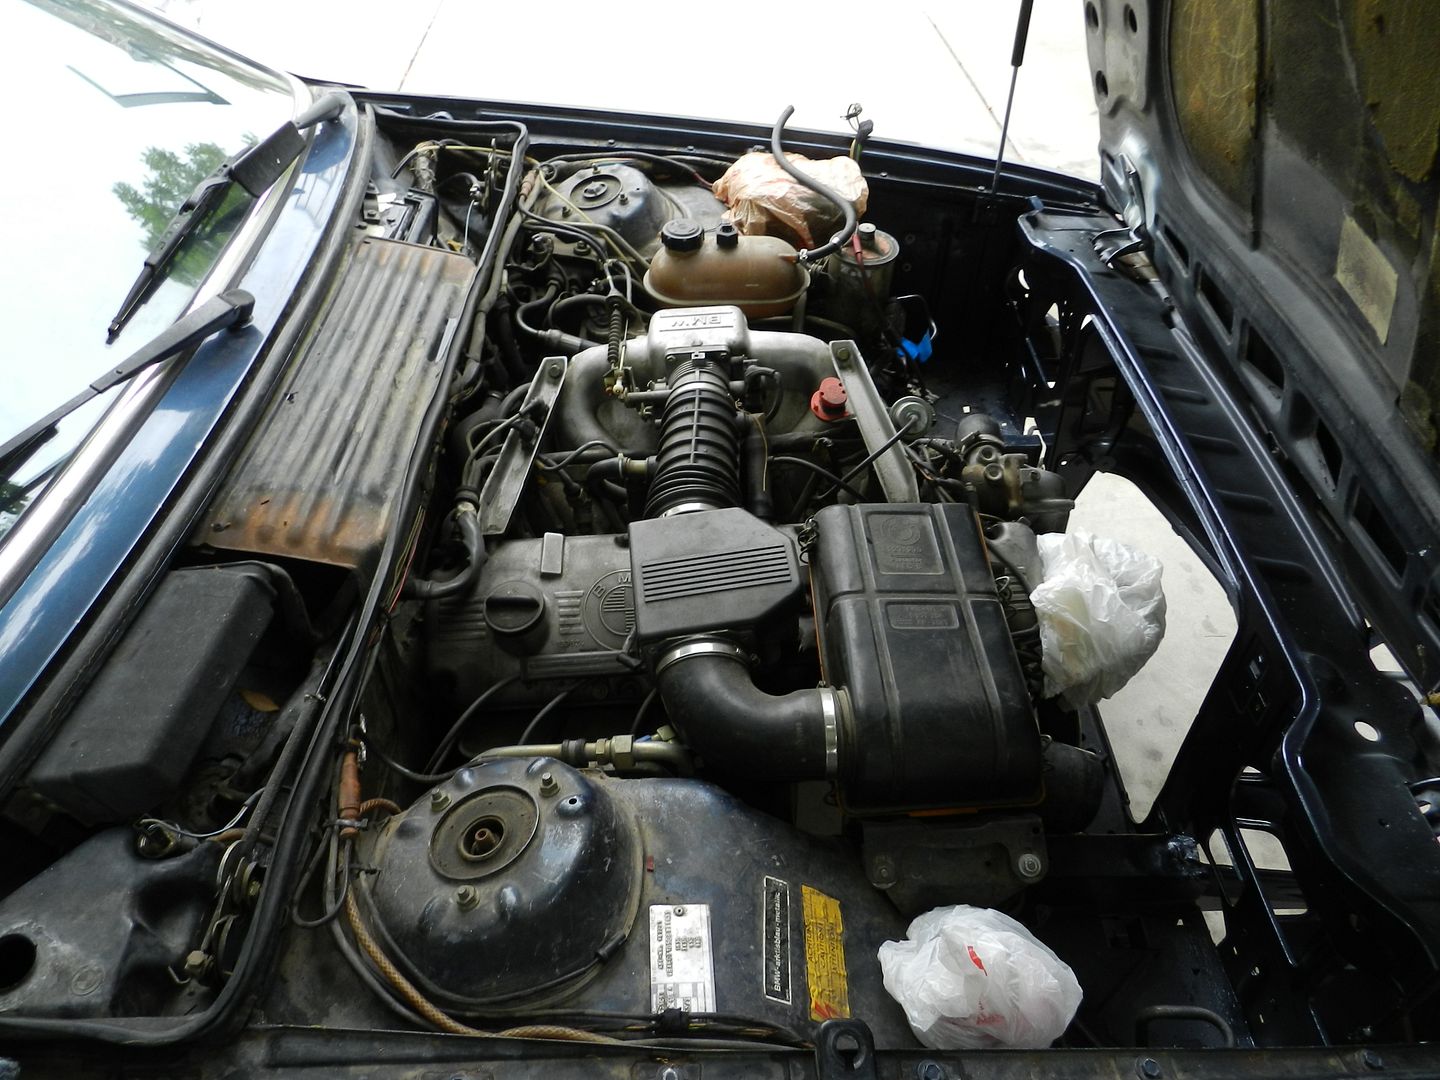
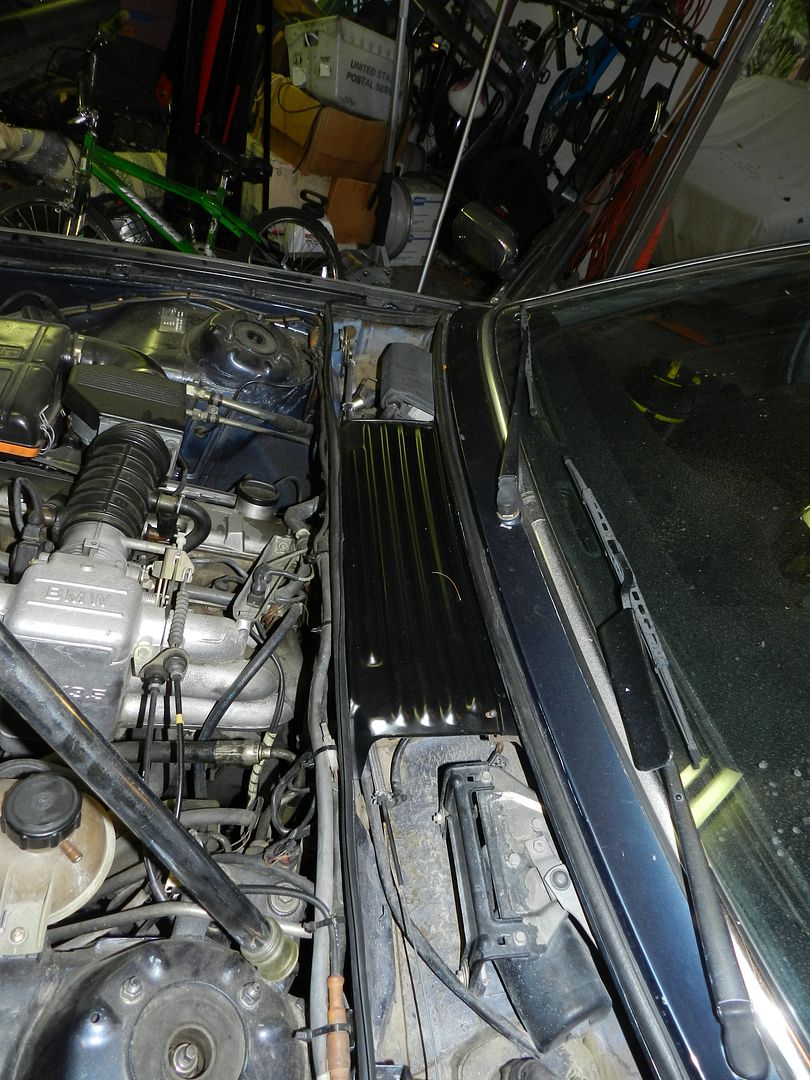
How It's Going to Look In Engine Bay:
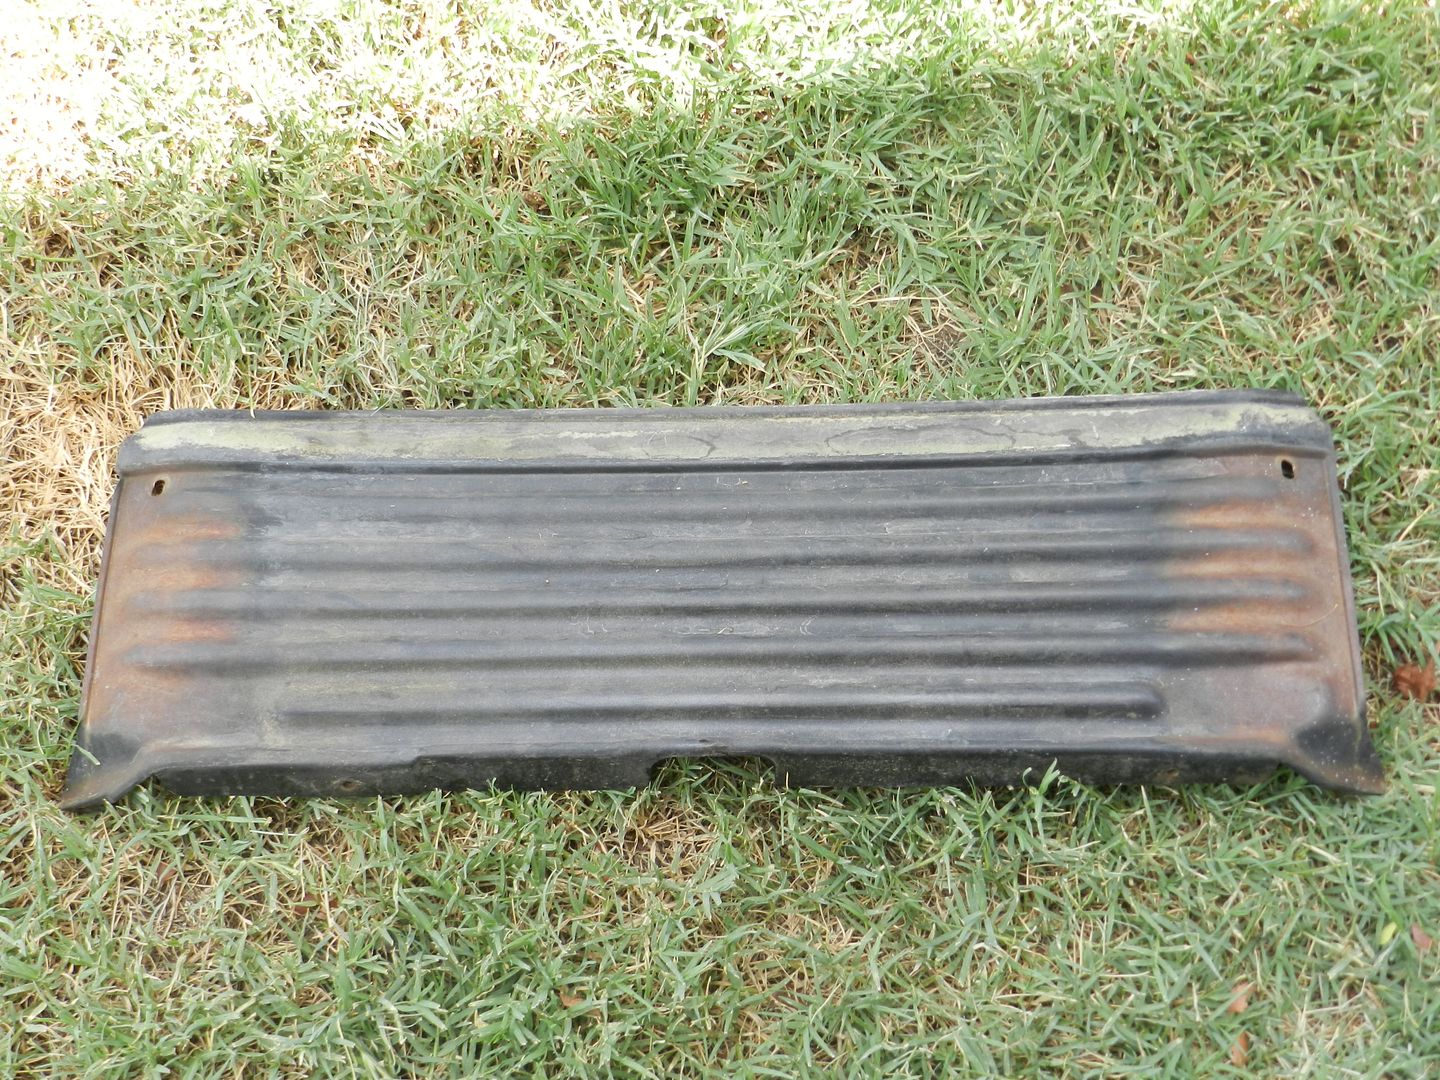
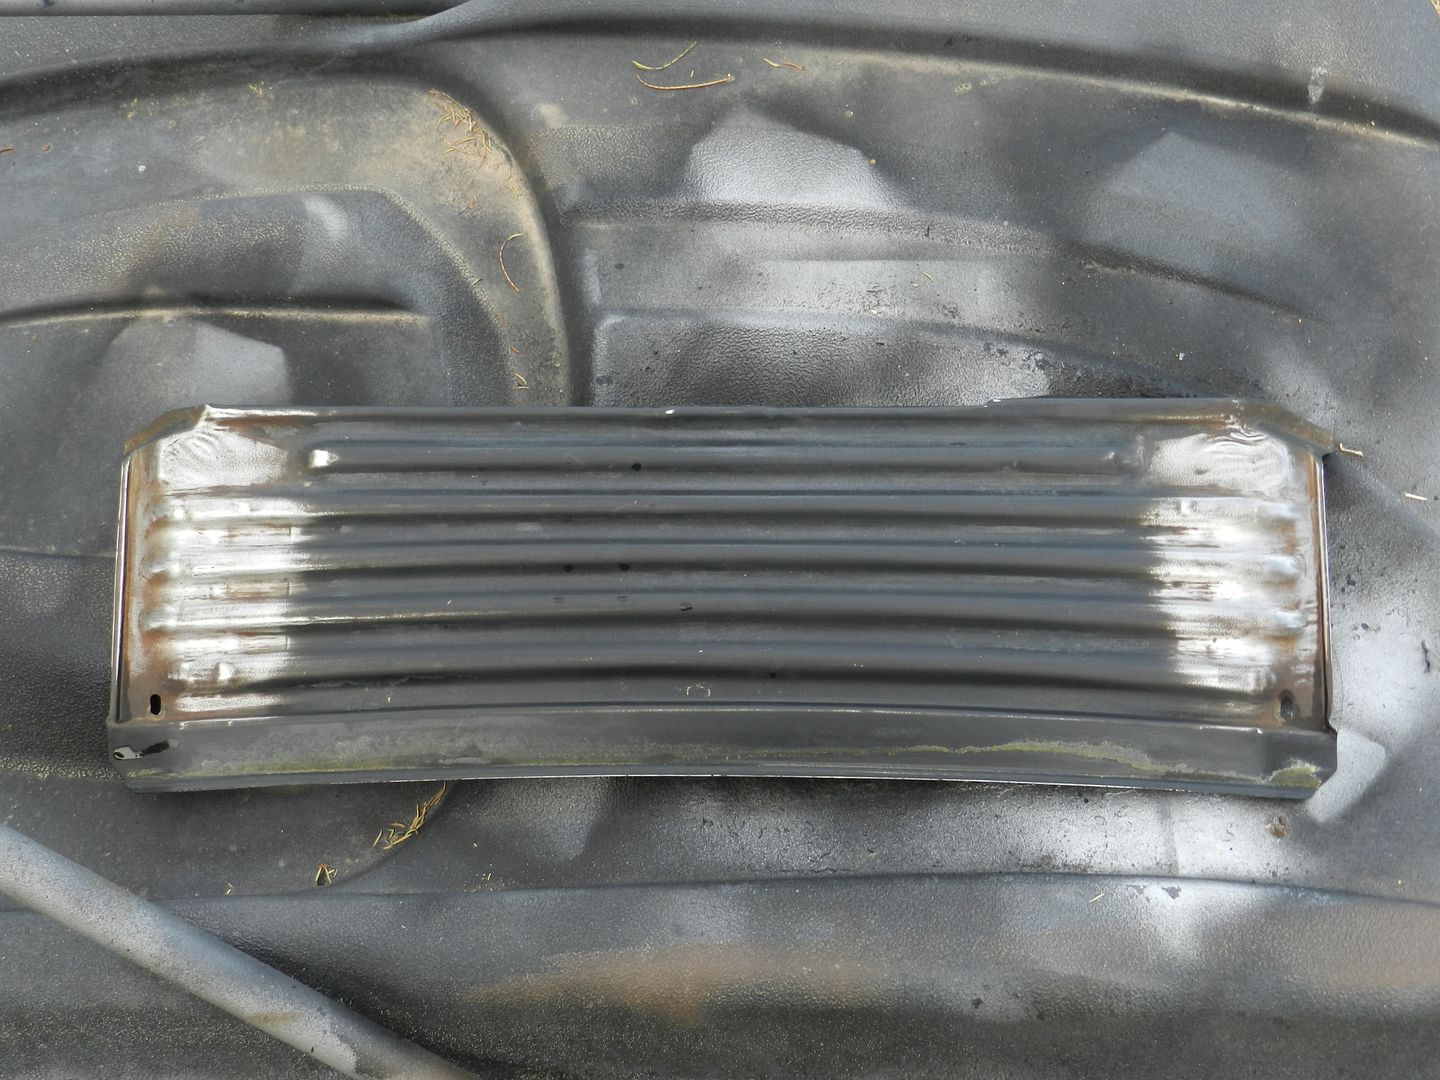
Also cleaned the intake filter casing.
Before
After
Well now that the e39 project was finished and now sold it is time to start on the e24 again! It seems like this car needs one of everything but I had to start somewhere. I had left off with the engine bay last summer but never got to painting the cover for the heater blower motor. Let it begin!!!
Before:

Wet Sanded:

After:

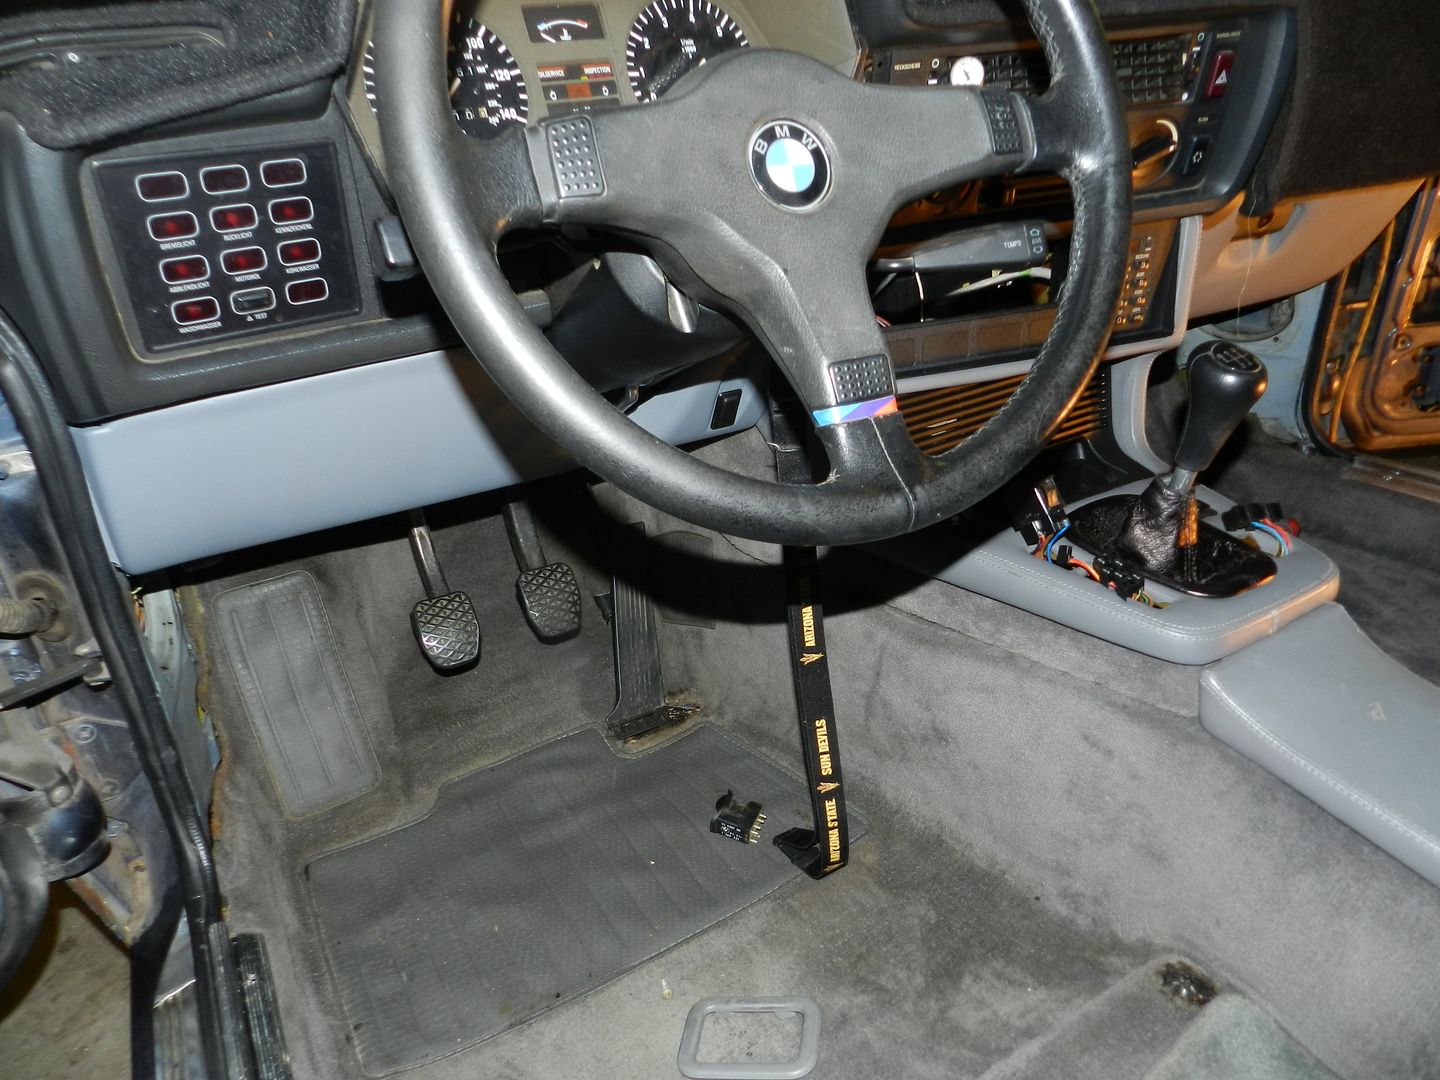
While I wait for parts I decided to take apart the interior and remove all the old stereo wiring. The interior wasn't good to begin with but as I started to tearing it apart it seemed to be just a disaster. The wires to the stereo system were a mess and some of the wires just went to nothing. Also, since I no longer had comfort seats I decided to take the wiring harness for that out. Not only were the wires a mess but once I took out the back seat I found this S****Y sound deadening material everywhere. This stuff sucks a fat one and is a pain in the ass to get off. It almost like tar with really thin paper skin over it.
Before:


After:

Before:


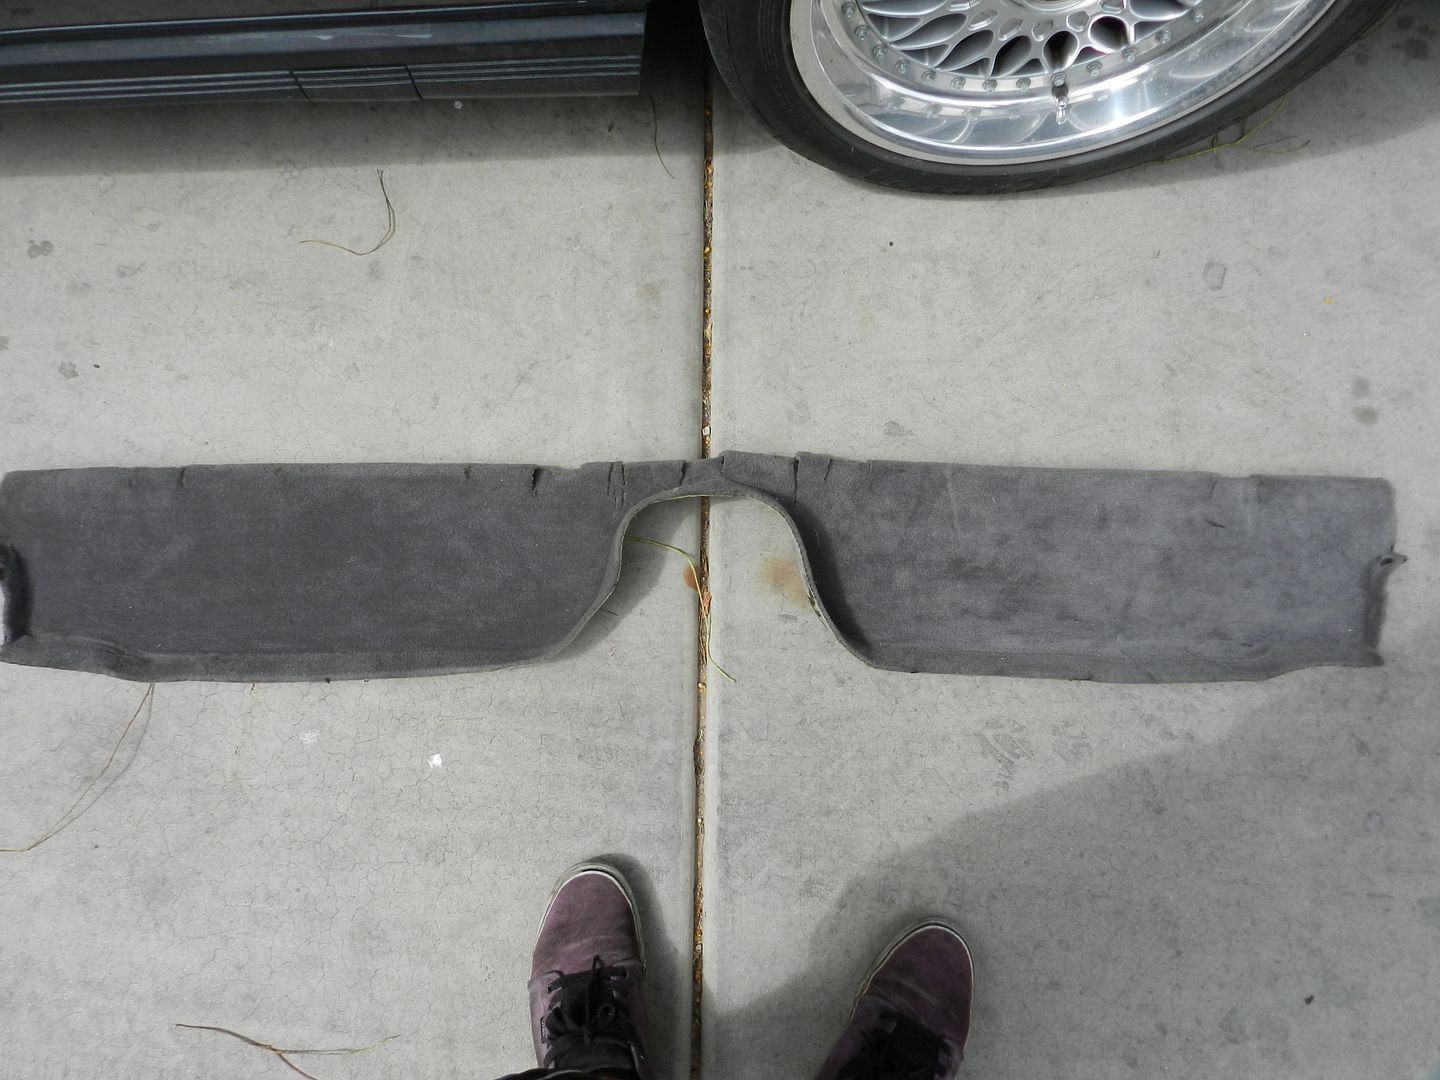
This stuffed is a mess and got all over my rear interior and even jammed the two front seat belts. It was so sticky it totally destroyed my rear partial shelf, but good thing I have an extra one!


I read up on a few other forums to seem what would work best, most suggested dry ice which didn't really work to well in my situation since most of the stuff was in tight or incline places. So I had to take a chisel and hammer and spent all day messing with it. Here is the final result: "It isn't perfect but by the end of the day I didn't give a F*** but was satisfied knowing most of it was gone!" I would probably estimate that it was all the crap weighed around 15lbs.


After:


Now, I wait and wait on parts to slowly come from here the build will be getting serious! Awhile back I had bought an extra parcel shelf and claim shells since the ones I had were total trash! They didn't match interior, still won't even though I getting the seats redone. I also scored a deal on some rare e24 headrests! Since nothing really matched I dyed and spray painted the shelf and shells. I was able to get ahold of a gentleman who had some m-tech cloth which I will be putting fabric inserts into my retro recaro seats and door panels!
Before Pics of Parcel Shelf and Claim Shells:


After Pics of Parcel Shelf and Claim Shells:


Some of the Goodies that Came In:
BBS RK

///M Pedal Covers, QTP 3" Electric Cutout, New AGLA Leather e-brake handle and Shift Boot, Stainless Steel Brakes, Polyurethane Subframe Bushings.

Now I am still waiting on my ground control coilover sleeves and camber plates, spax shocks, meyle front suspension components, schmeidmann front and rear strut brace, ireland engineering stainless steel exhaust, schmeidmann stainless steel clutch line, and m-tech cloth.
Now the fun can begin! After having a few troubles with trying to get my parts the majority of them are finally here! I still need a few more parts but the rest of the stuff I can get locally through autohaus, etc.


While I waited for parts to come, I tried to clean up the interior and put it in back into the car. I spent some time cleaning and repaint all the trim pieces in the interior. Since I had all the interior out I decided to shampoo and scrub the carpet. I still need to get the front and rear seats along with the headrests redone but until I can get ahold of the guy with mtech cloth this will work for now.
Before:

After:


Before/After Painting:


Before:

After:

Of course with my luck I would find more of this tar sound deadening stuff. I really **** this stuff.
Before:

After:


Got some mtech cloth today! Will probably be getting the seats done in a week or two!


I have been real busy between school and work so I haven't been able to post any updates. As of right now I am really struggling with passing emissions test and have failed 4 times already. :evil: But each time I go through I am getting closer! Hopefully the next time I go through testing I will pass since I barely failed last time by 0.45% with the help of Chris Kholer who let me borrow his extra CAT! (THANKS).
Also more parts have came in and here is where build starts to get serious!
(Front/Rear Strut Brace and Stainless Steel Clutch Line).

About two weeks ago my dad and I made a business/car trip to San Diego to drop off my interior (front/rear seats) to get reupholstered at Jim's Upholstery Shop. The seats should be done around the beginning of October.
I would give you all a preview of how they will look, but I am going to keep those pictures of the final product as a surprise!
There are many benefits to having a cool Dad who likes cars too! Honestly, if it wasn't for him finding most of the parts and using his connections I needed to be able to fix the car it would have been totaled and parted out. He also seems to find a lot of cool stuff, if he doesn't want them or sell them he tosses parts my way!
Recently he gave me some BavAuto spark plug wires!(Red BavAuto/ Black OEM BMW).


I recently found another Hella E1 Euro low beam headlight, so now I will have a matching pair instead of that ugly sealed beam! I was also able to score some Yellow Hella E1 Euro high beams from one of my dad's friend! (THANKS!!!)

Probably the biggest update on the car was that I put a rebuilt driveshaft by Beyer Motor Works and a 3.25lsd with hardly used half shafts. While the differential was out of the car I ordered a new gasket and put some Redline 75w90. The car is extremely dirty and needs a lot of cleaning underneath it. I will slowly be cleaning more and more of the car as replace parts. It took me practically all day to clean and replace the drive train of the car. Also sucks no having a lift, having to work on your back the whole time as well as not having any air tool
; but some how I seem to make everything work! haha Here are some pictures of the before and after replacing the differential. Before:


After:


While I installing the differential I noticed some other suspension components that will need replacing so some of those parts recently came in! I am still waiting on a differential mount and my sway bar bushings since the warehouse needed to special order them. Also got another BBS RK so now I will have a full set! Hopefully in the next couple of weeks I will be getting the rest of my suspension done and coilover corner balanced!
(Front Sway Bar Bushings, Rear Sway Bar Links, Pitman Arms "Dog Bones").

Here is an update. This weekend I made a quick turn around trip to San Diego to pick up at Jim's Upholstery my seats now they are done. I also replaced my old rear differential bushing because it was s**t.
Pictures old differential bushing compared to the new one.


Not the best picture but here is a little teaser of how my seats came out. I will try to finish cleaning up the rest of my interior and installing my stereo!


 Just wanted to say thanks to everybody for the compliments. The car still has a lot work needed to be done. Since the semester is coming to an end, it will be a week or two before my next update.

Comment