 Tweet
Tweet
Anyways here is a the newest update.
Got some more upgraded parts:
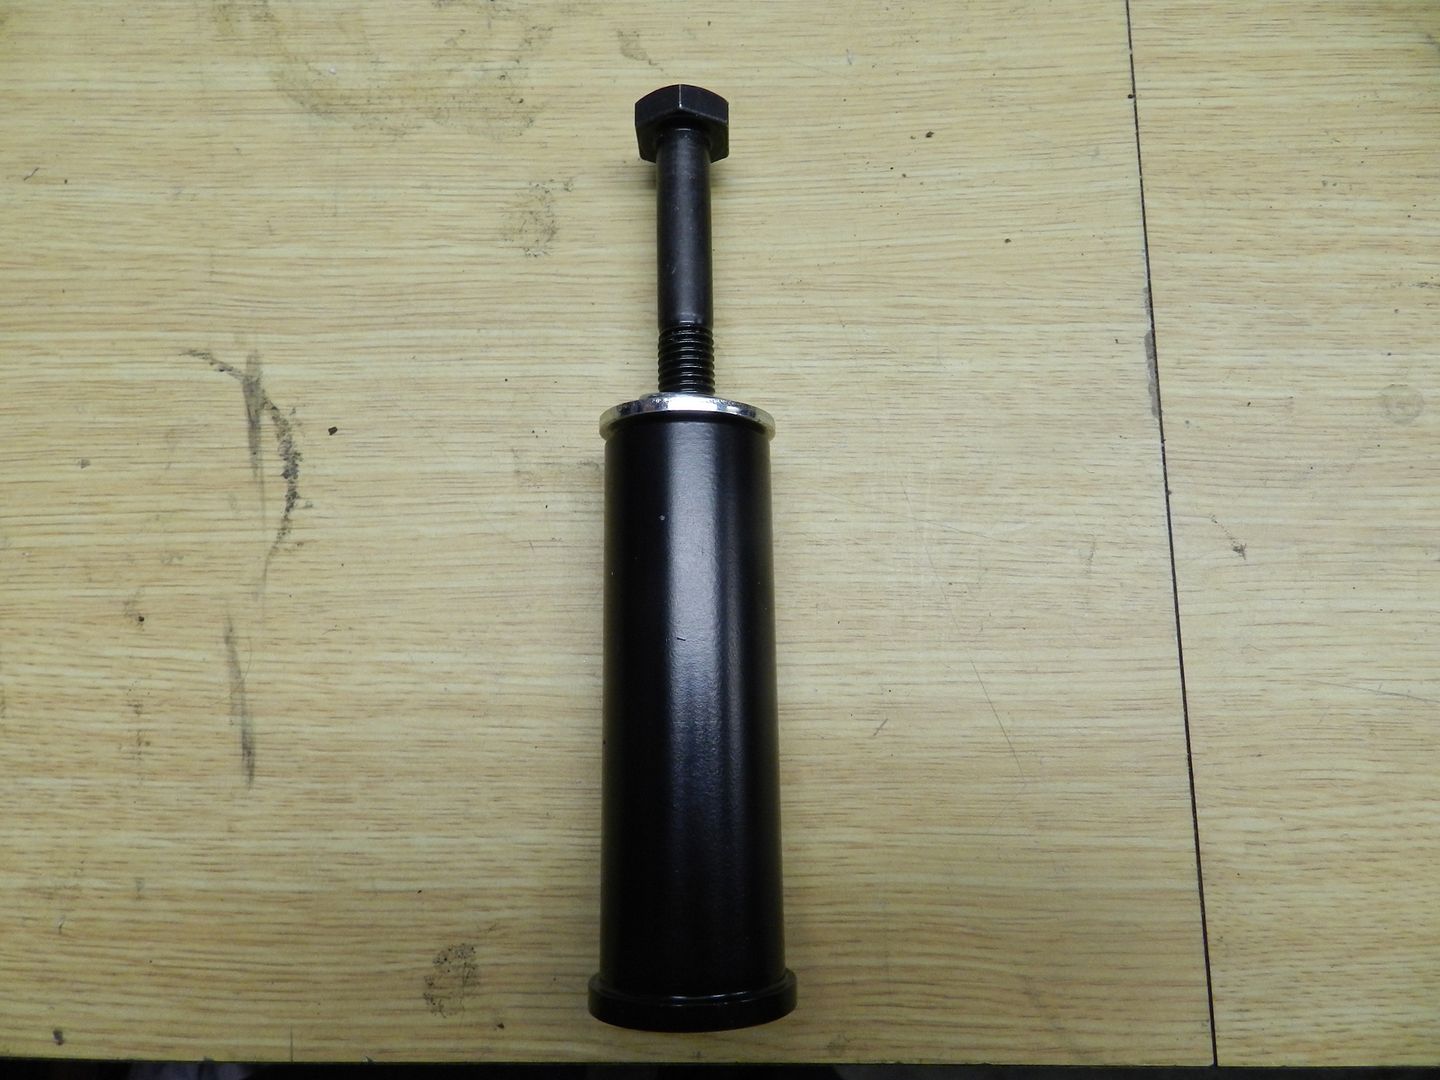
1.)Steering Box Reinforcement
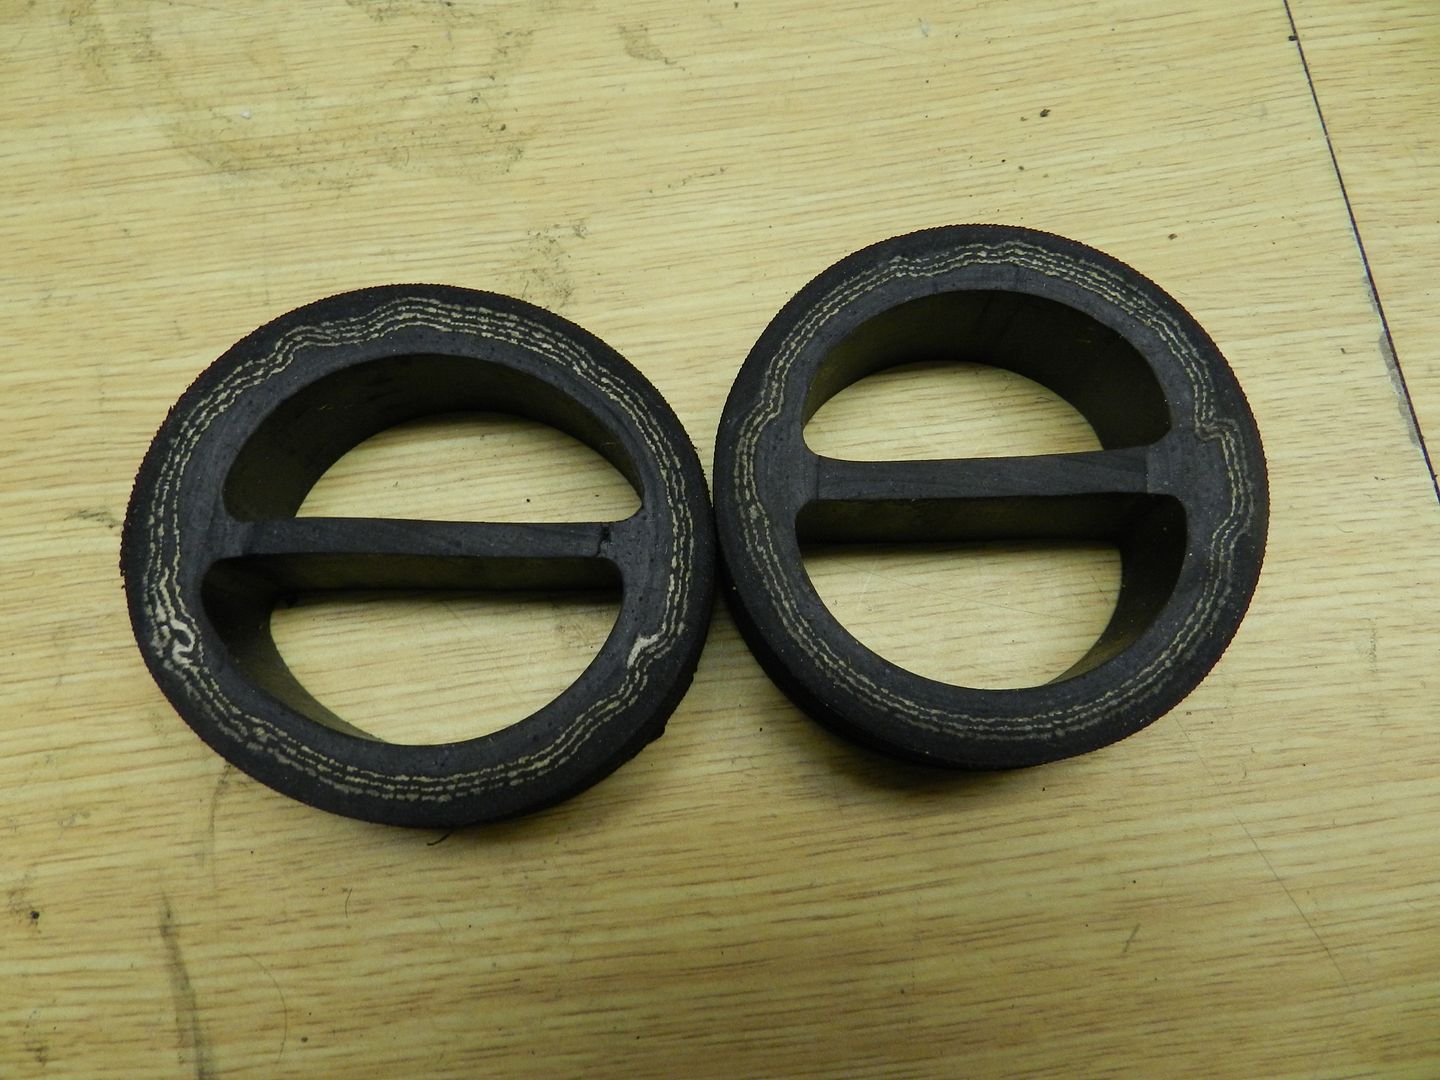
2.) New Exhaust Hangers.
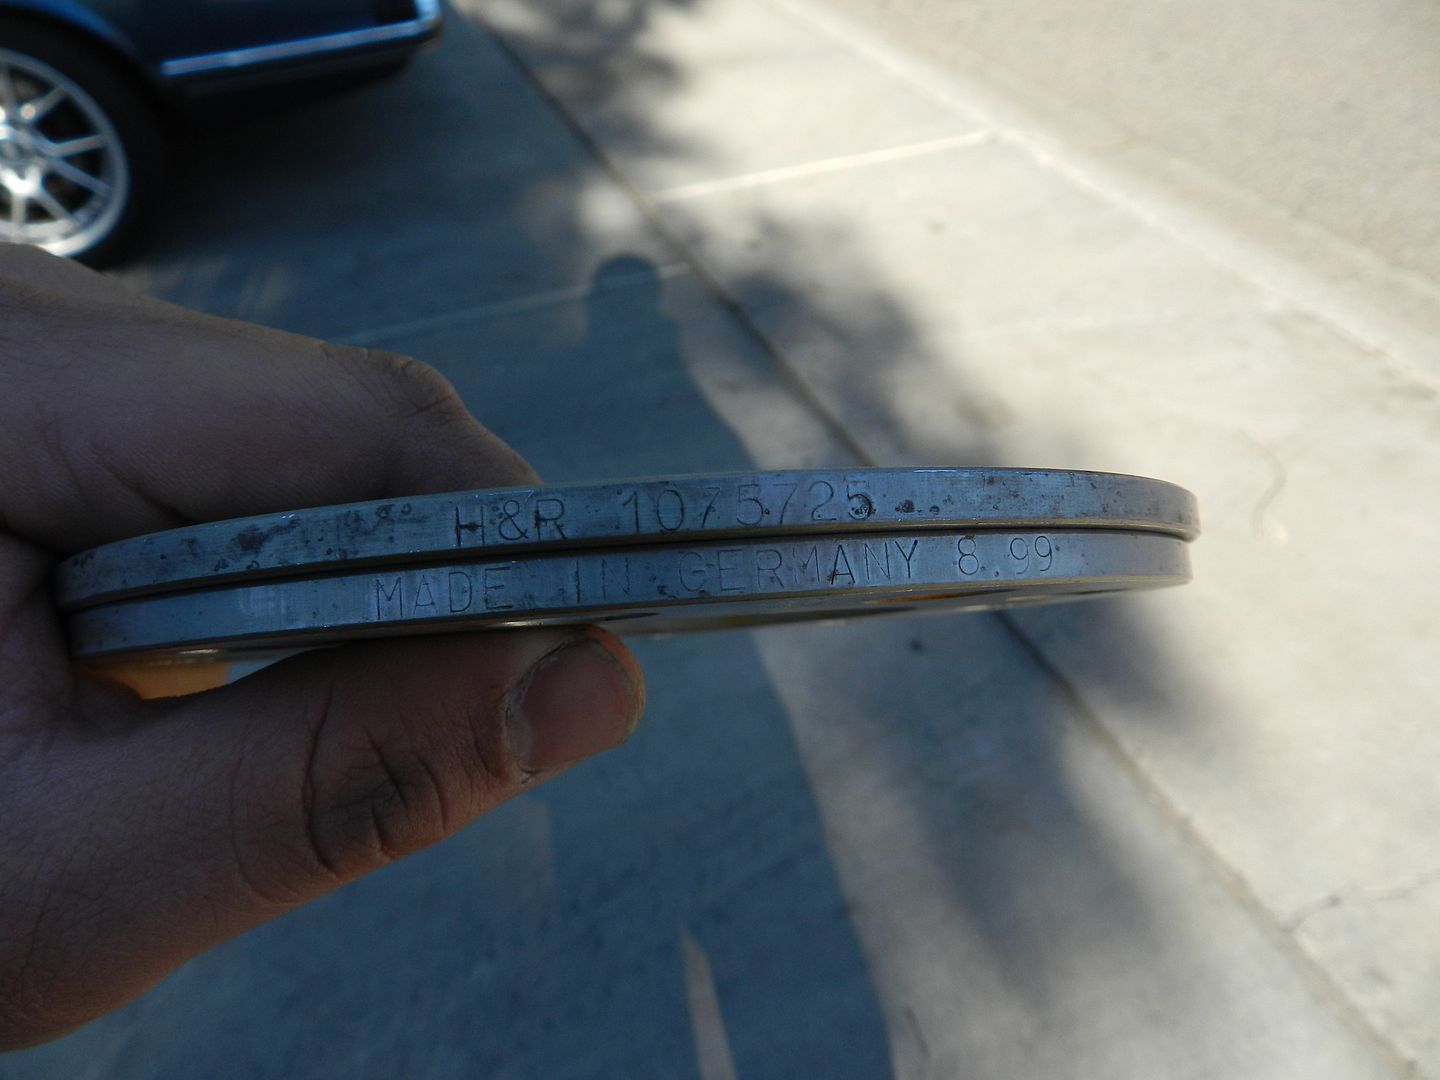
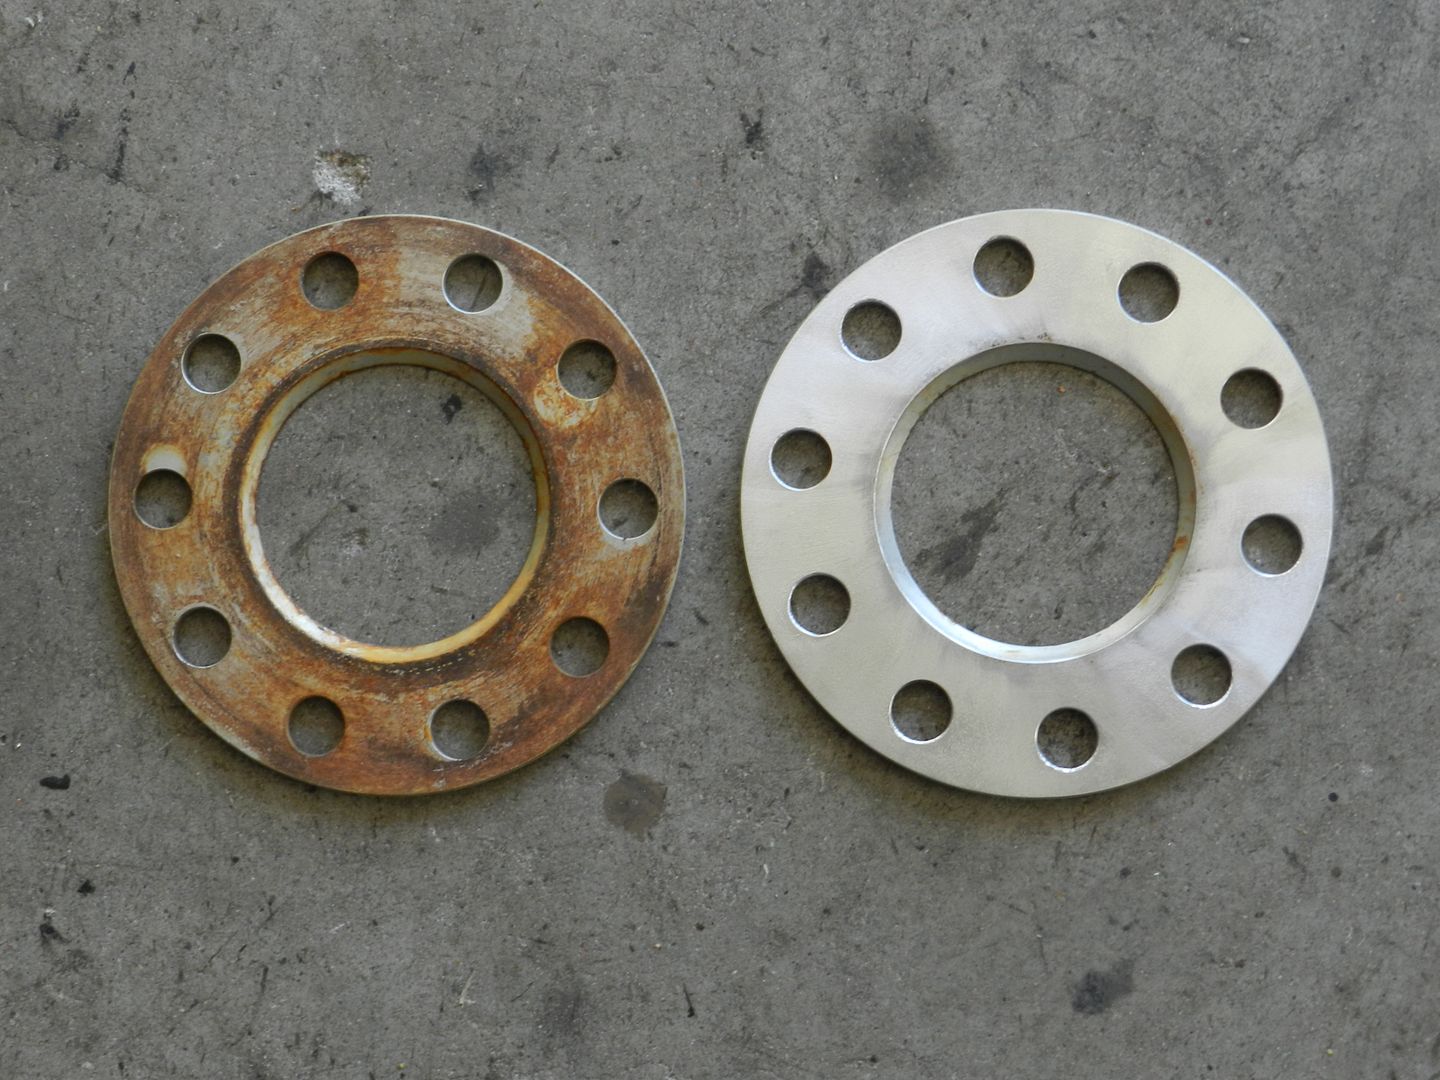
3.) H&R 5mm Spacers
I actually found the spacers on a car at the yard! They were a little rusty when I found them but I hit them with a wire wheel and removed pretty much all the surface rust. Then sprayed them with a clear coat some they won't start rusting again.
Installation:
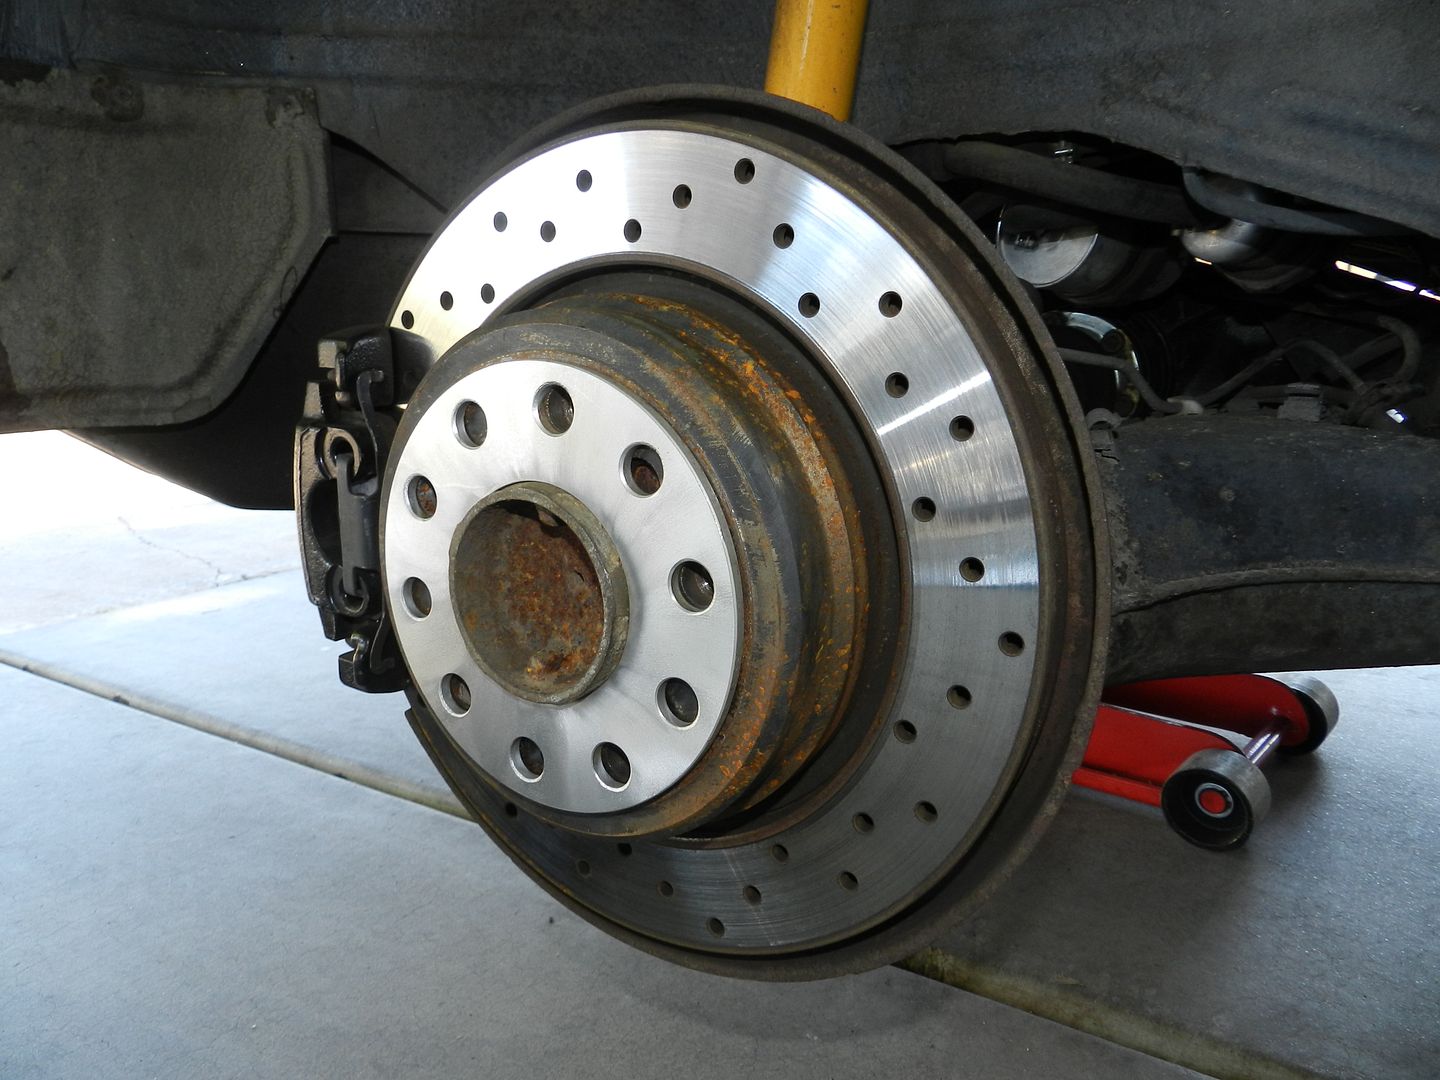
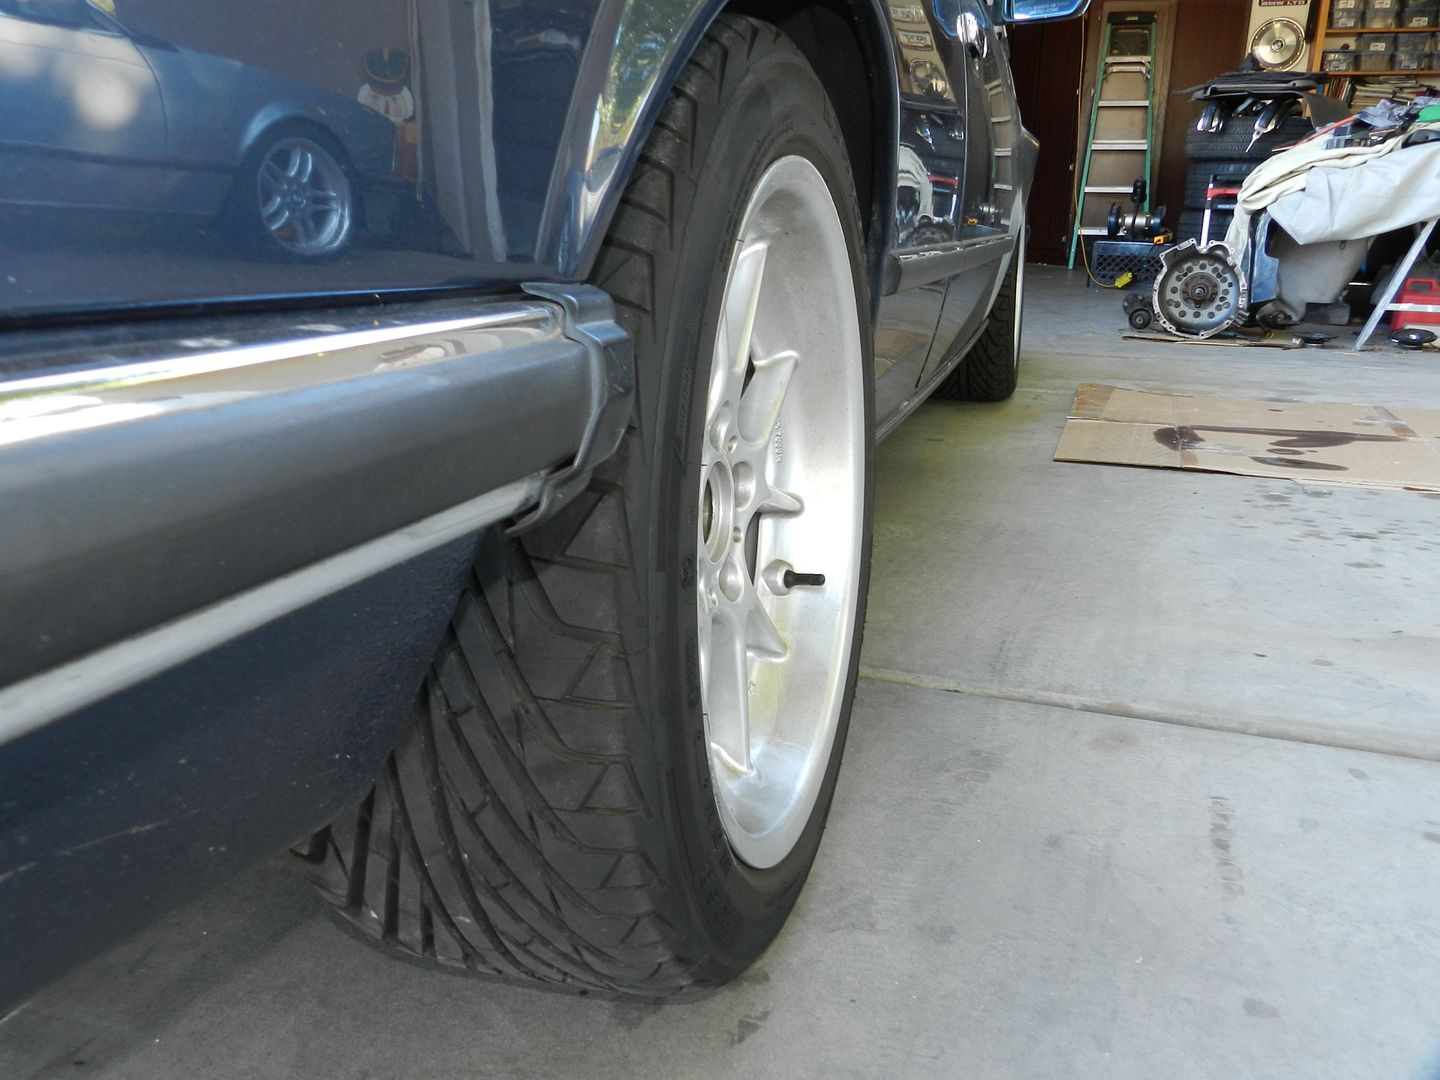
Fitment Before Spacers:

Driver Side:
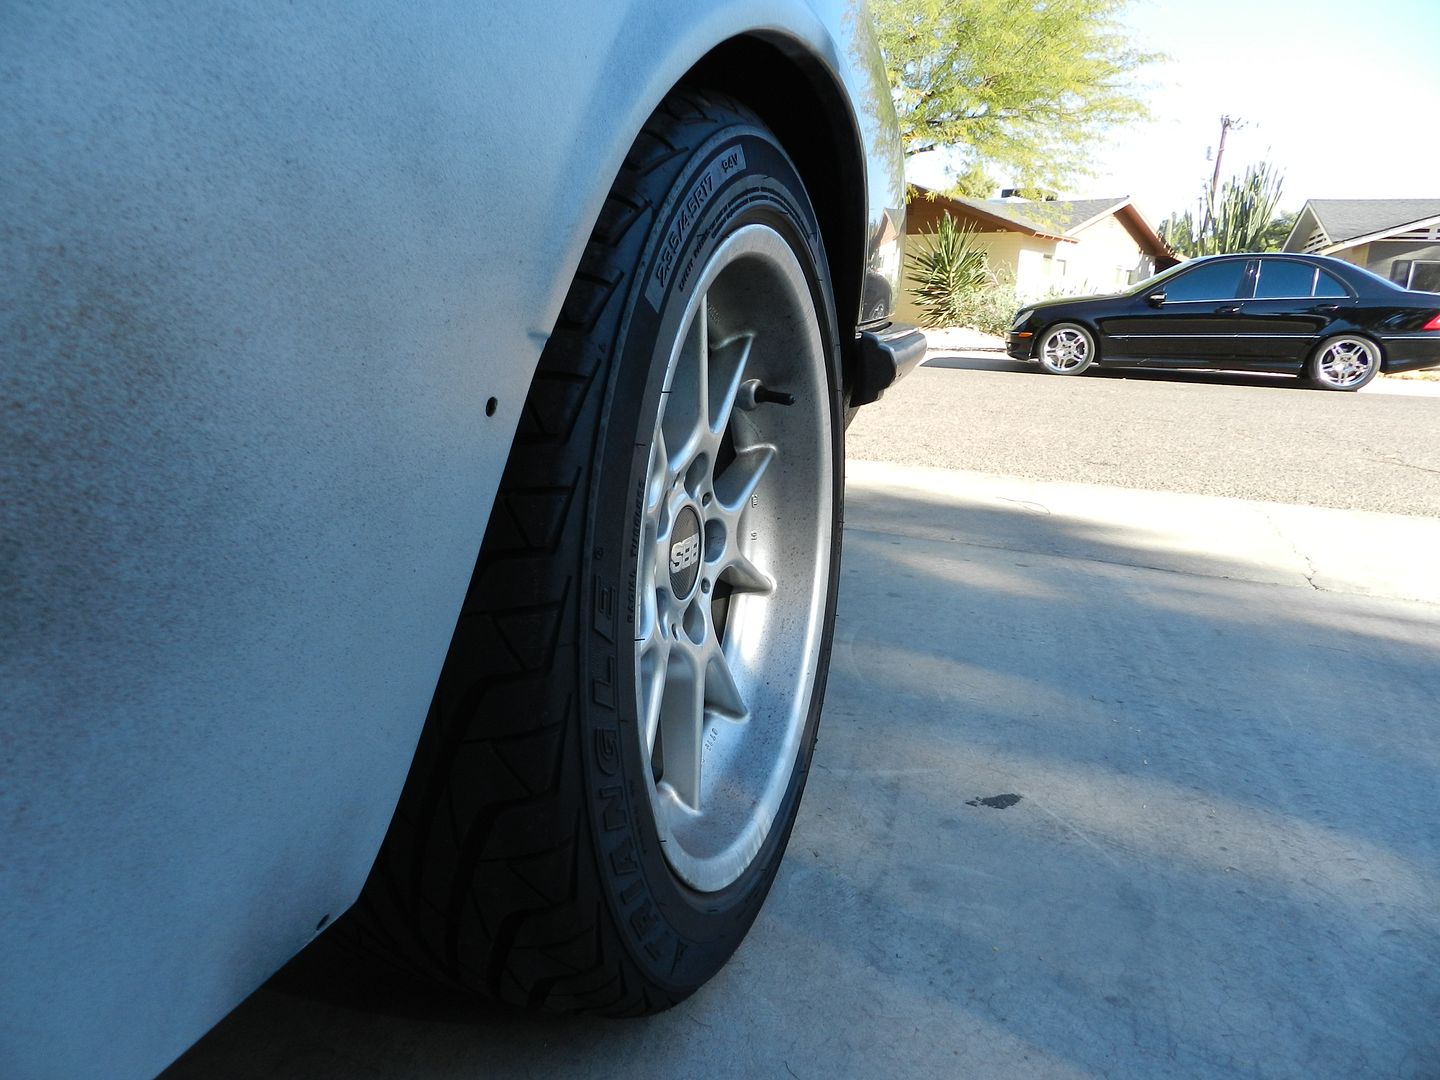
Passenger Side:
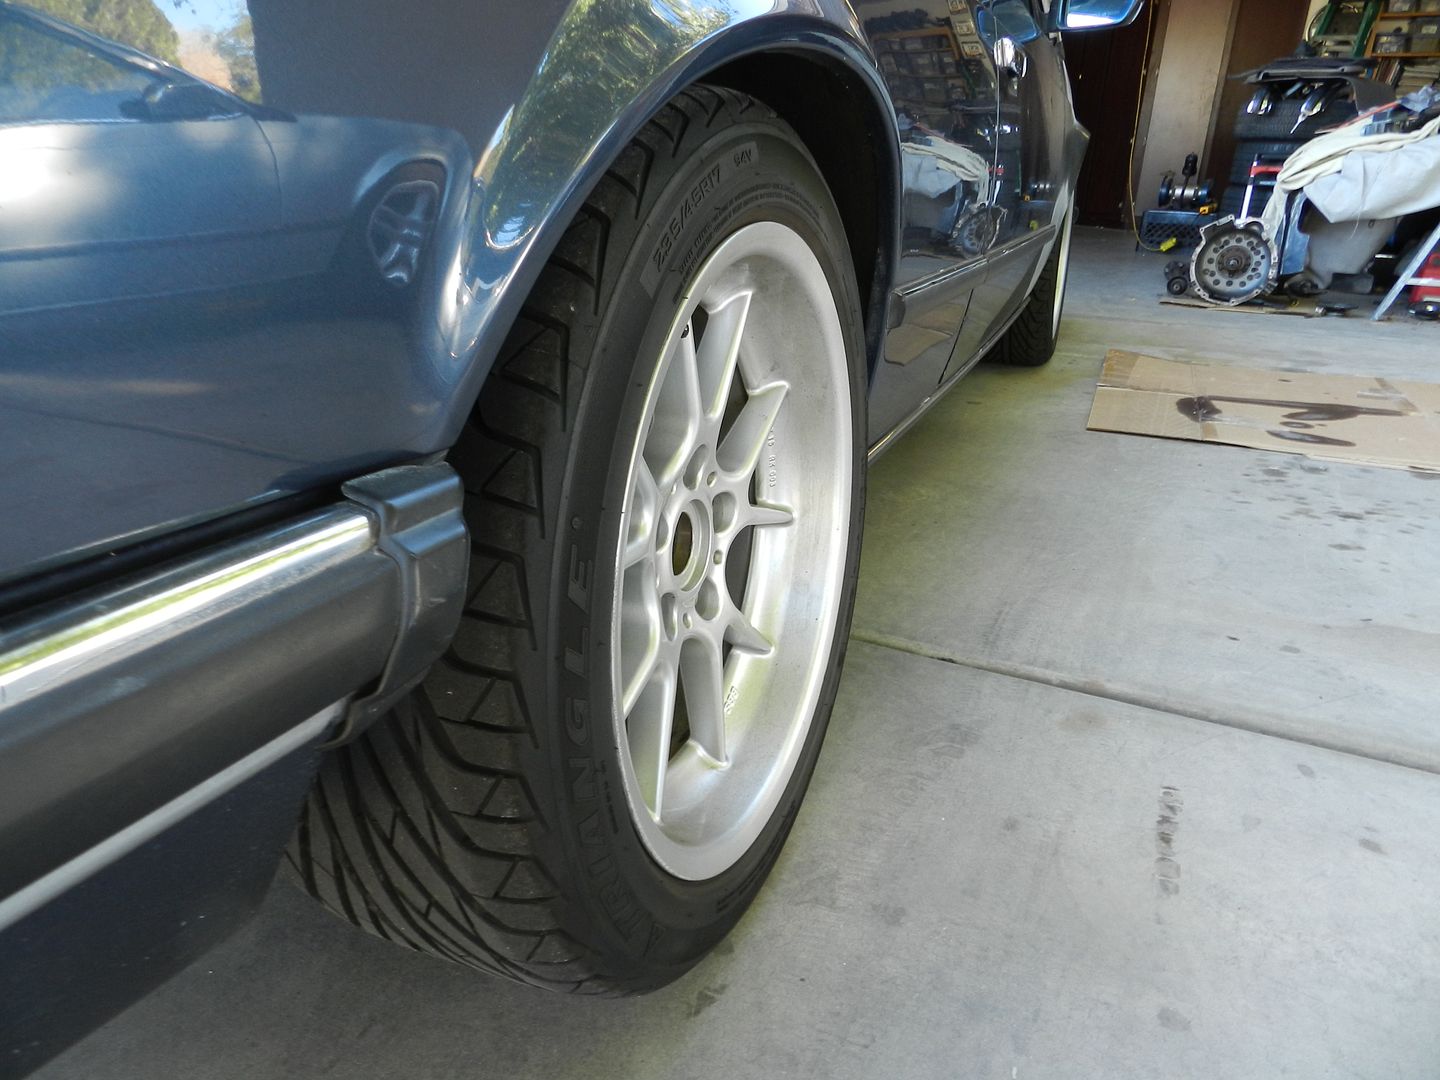

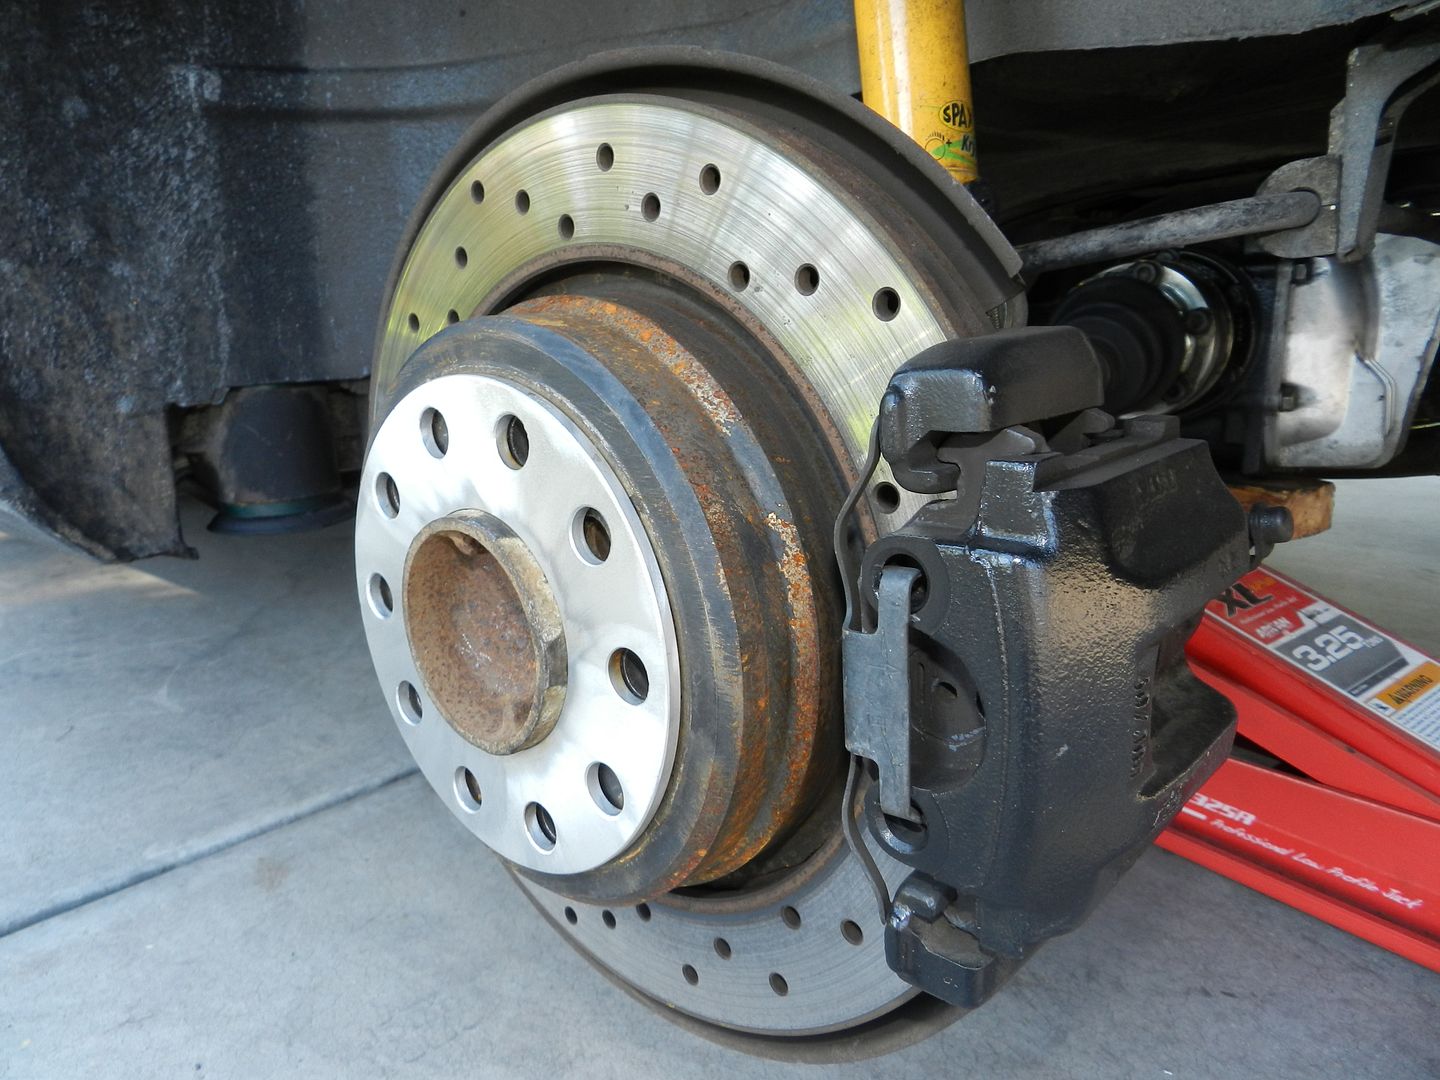
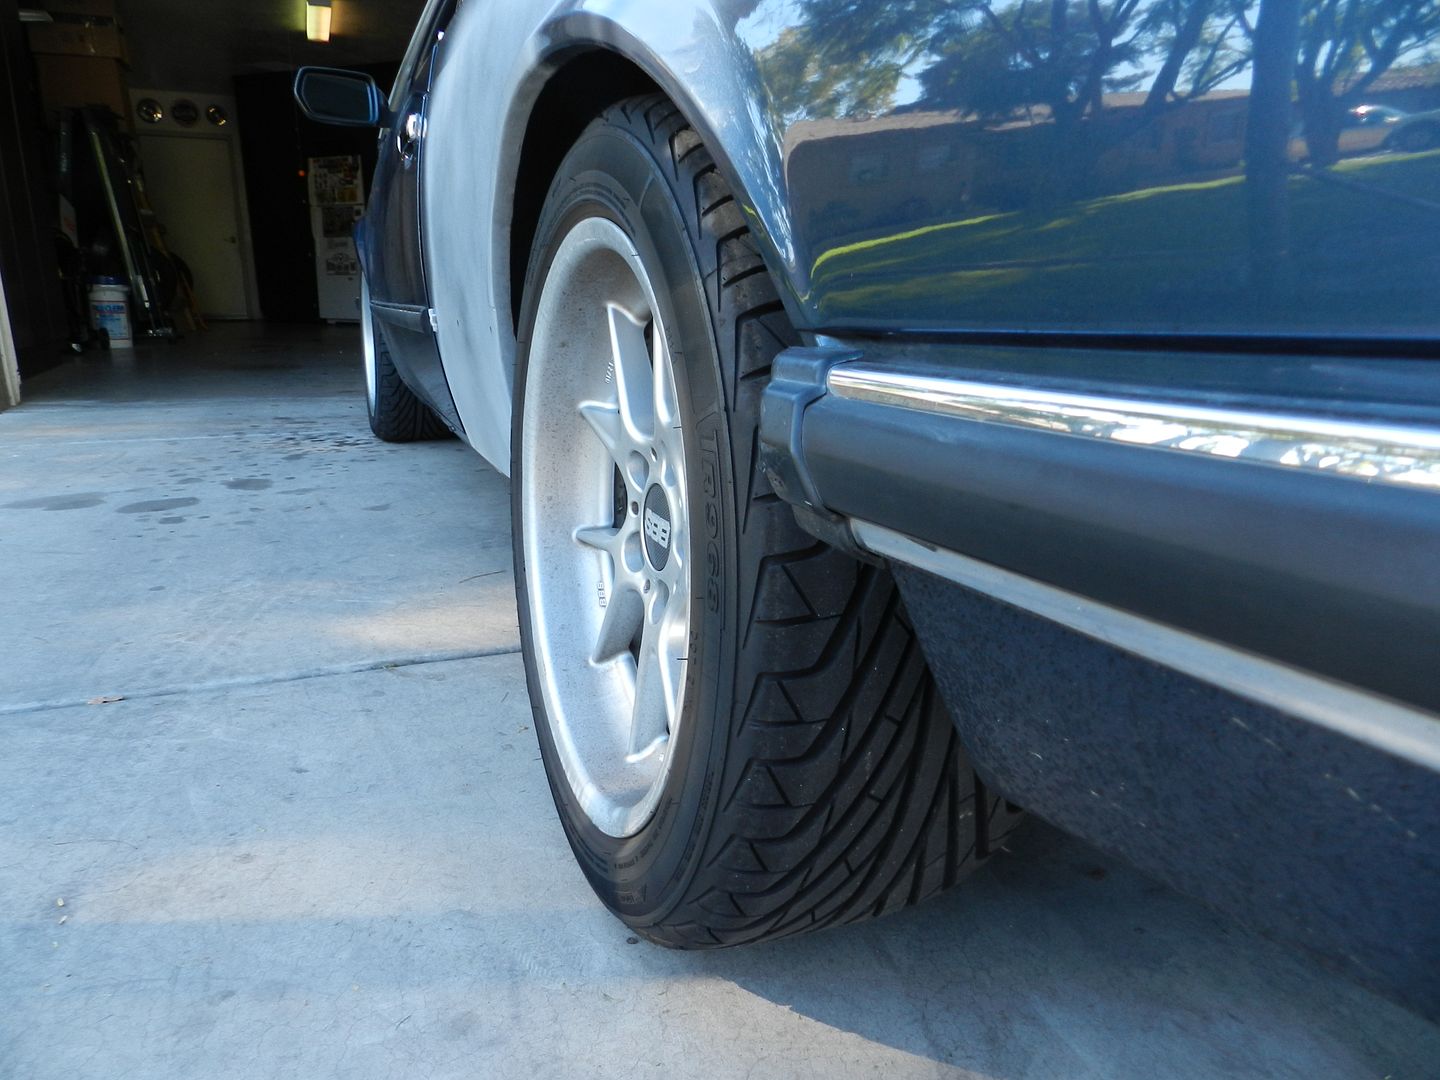
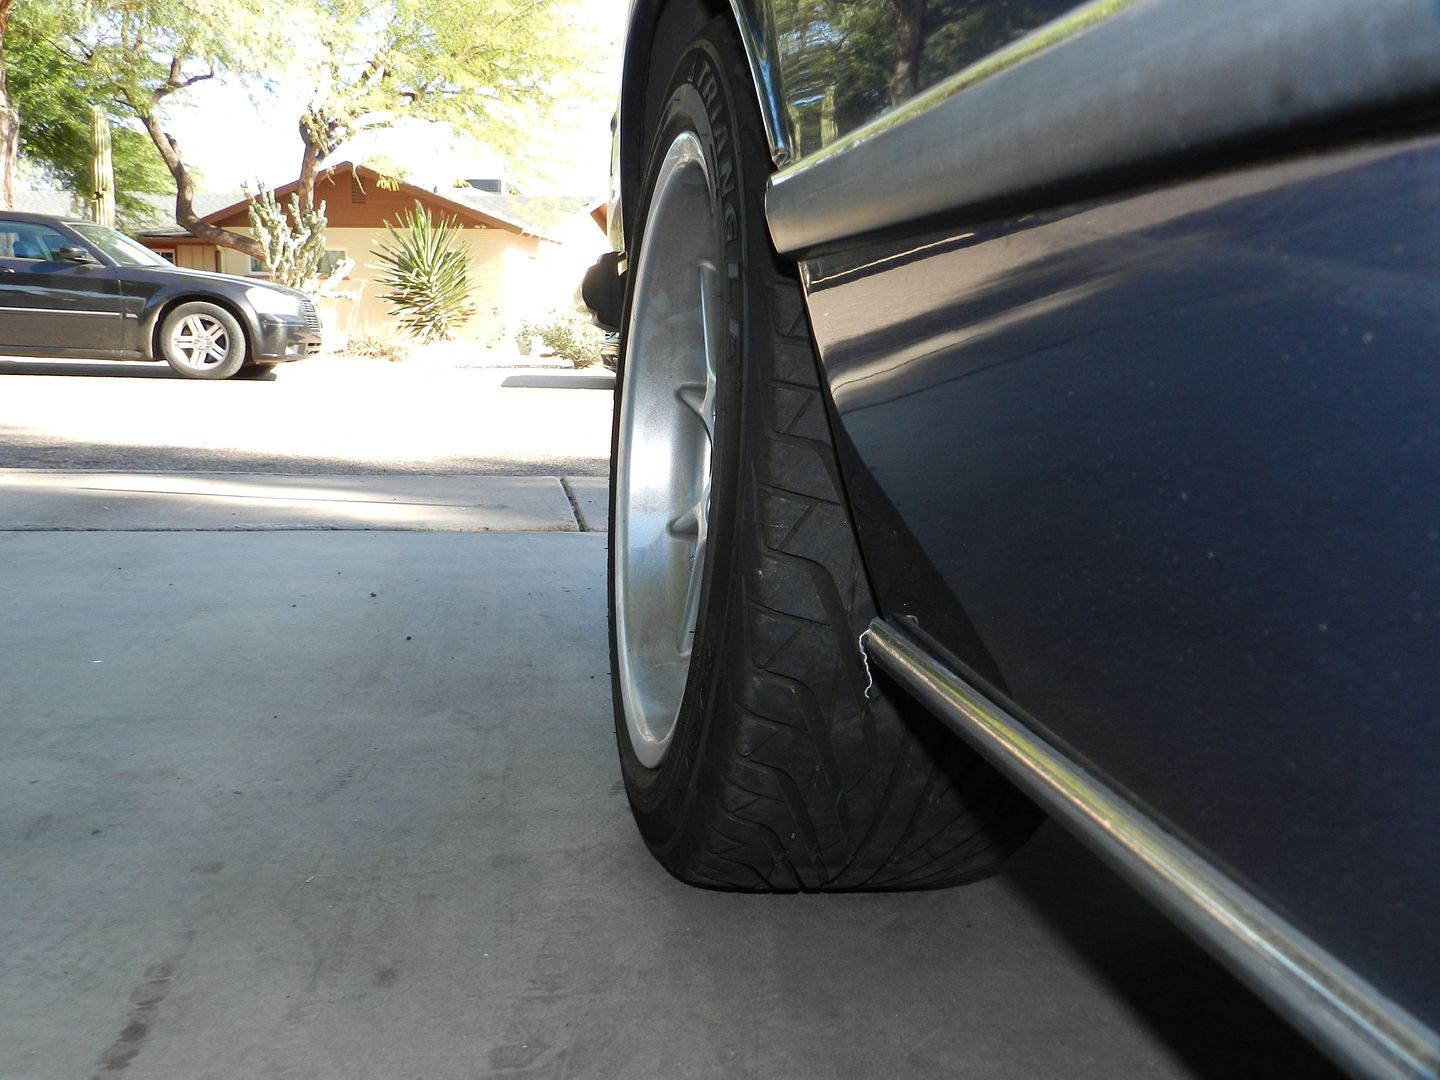
After Spacers Installed:
Driver Side:
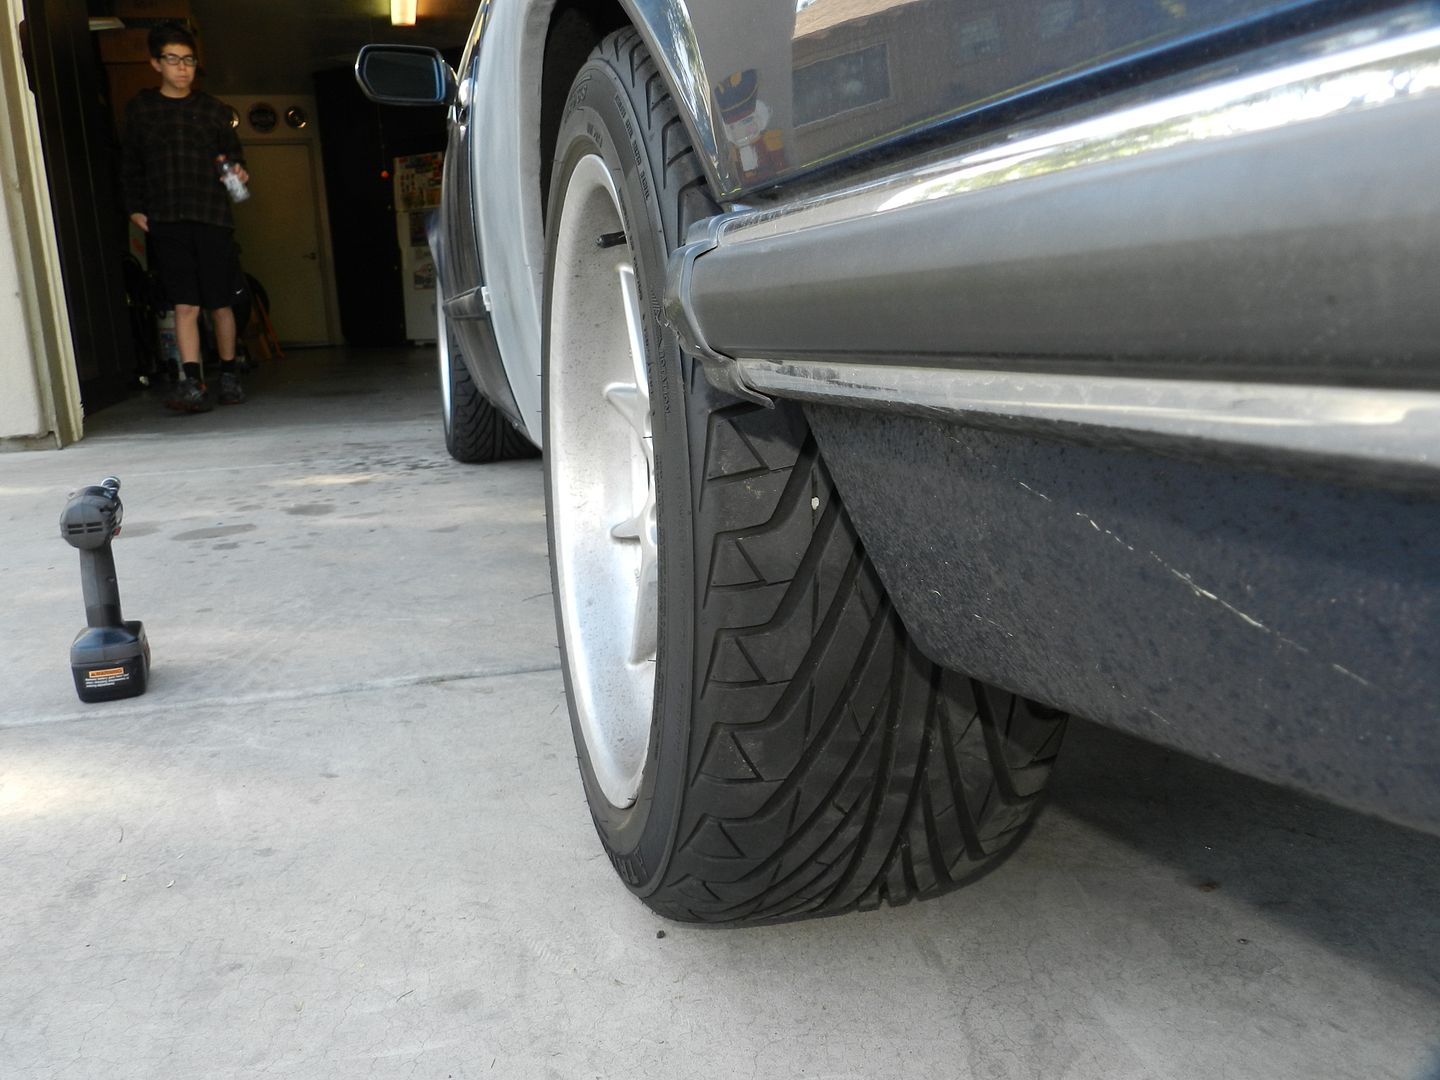
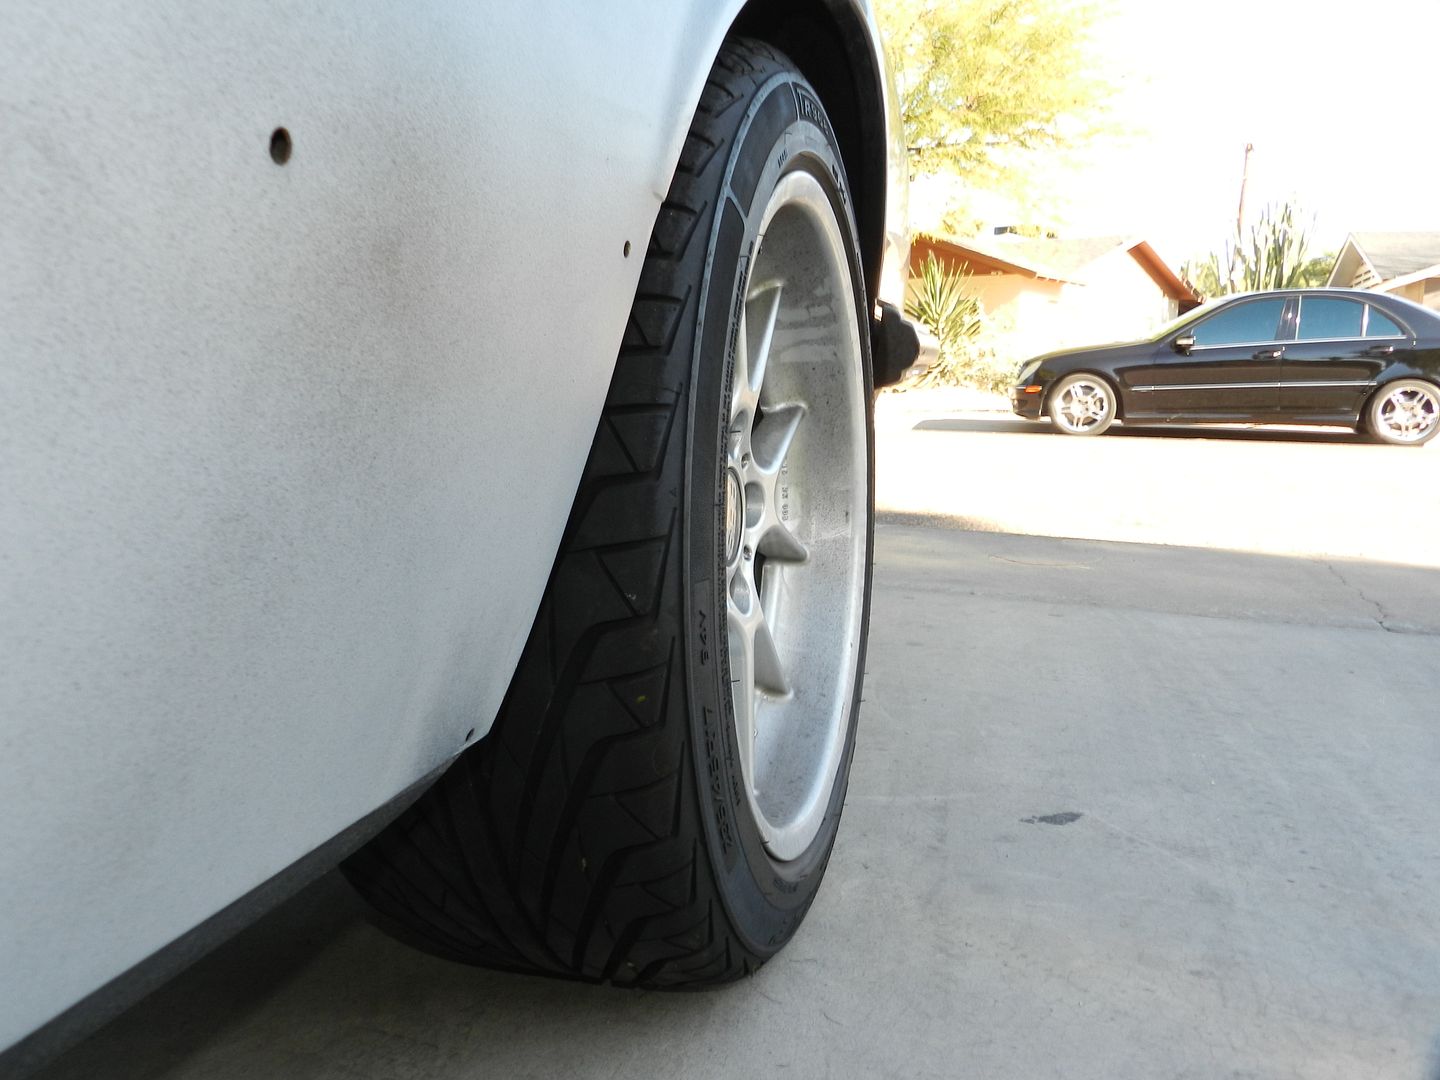
Passenger Side:
I still want to order before getting the corner balancing done:
1.) Sway Bar Reinforcements
2.) Ireland Engineering Rear Camber Kit (mainly this)
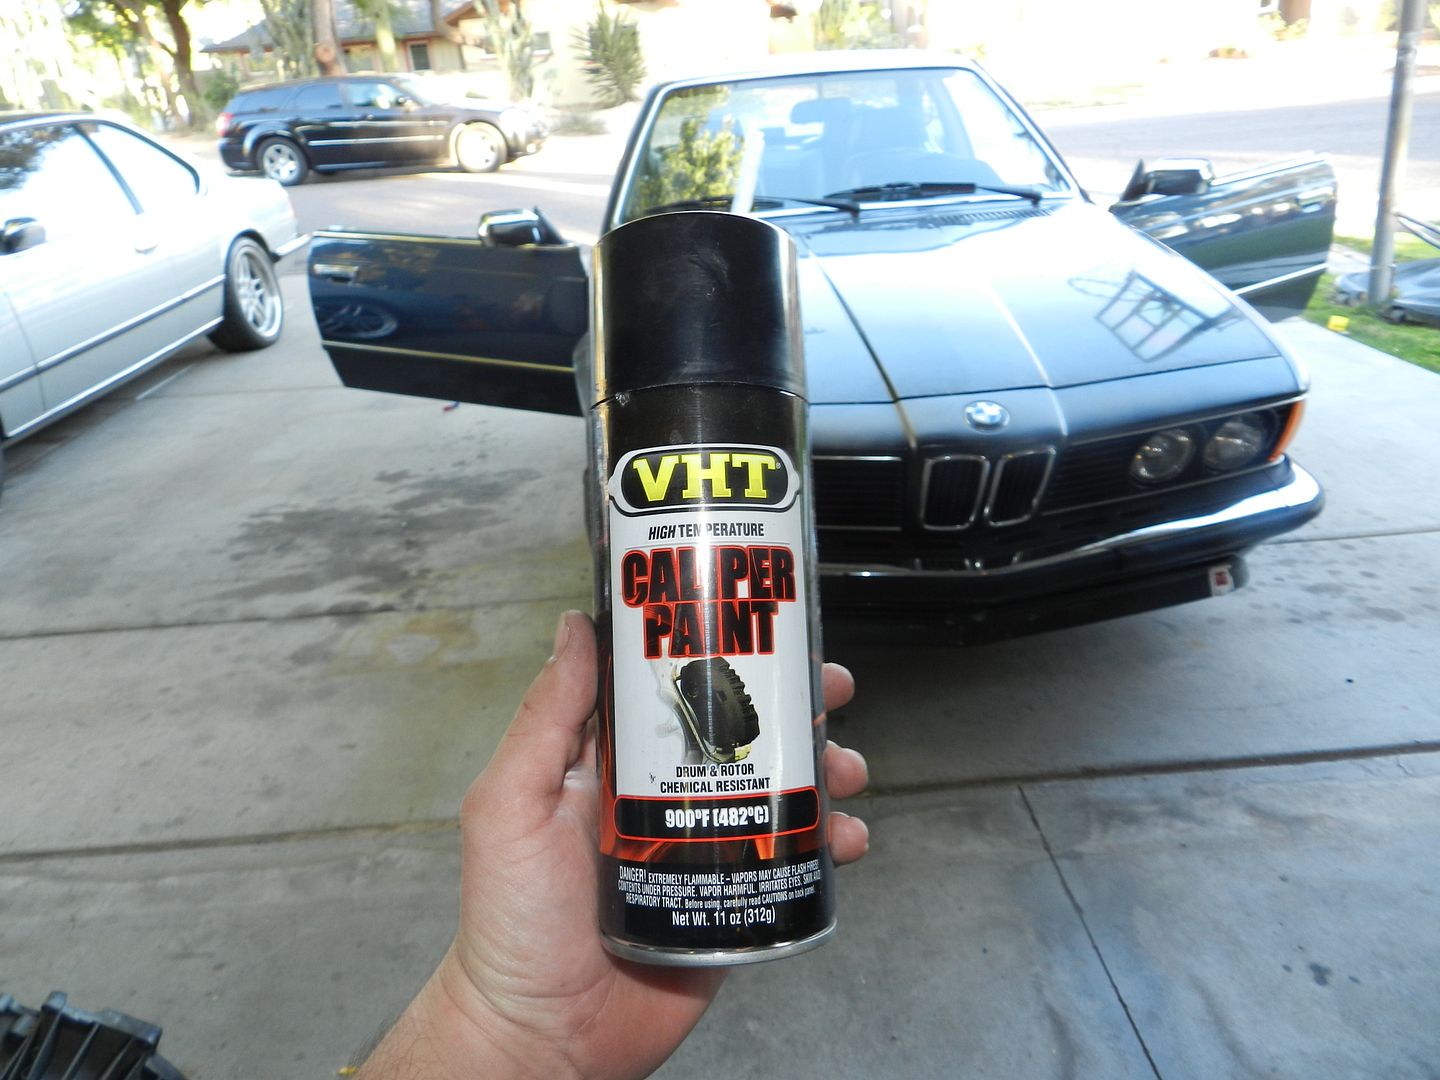
Some of peopler were wondering what I used the paint my calipers and I probably sprayed about 5 coats on each Caliper.
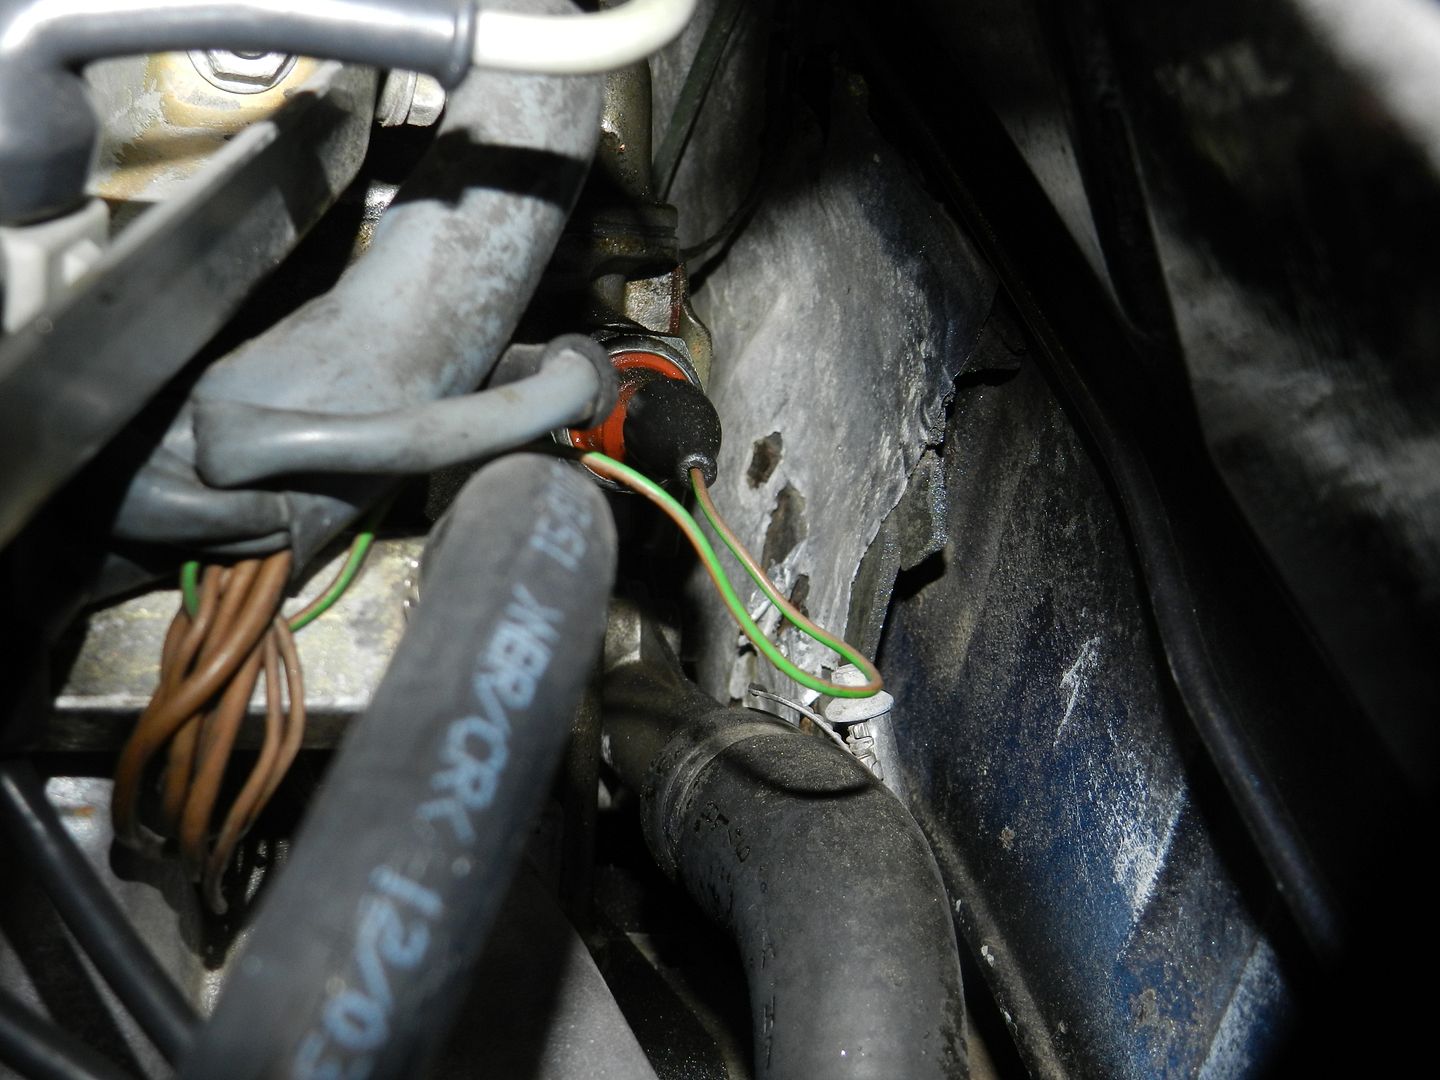
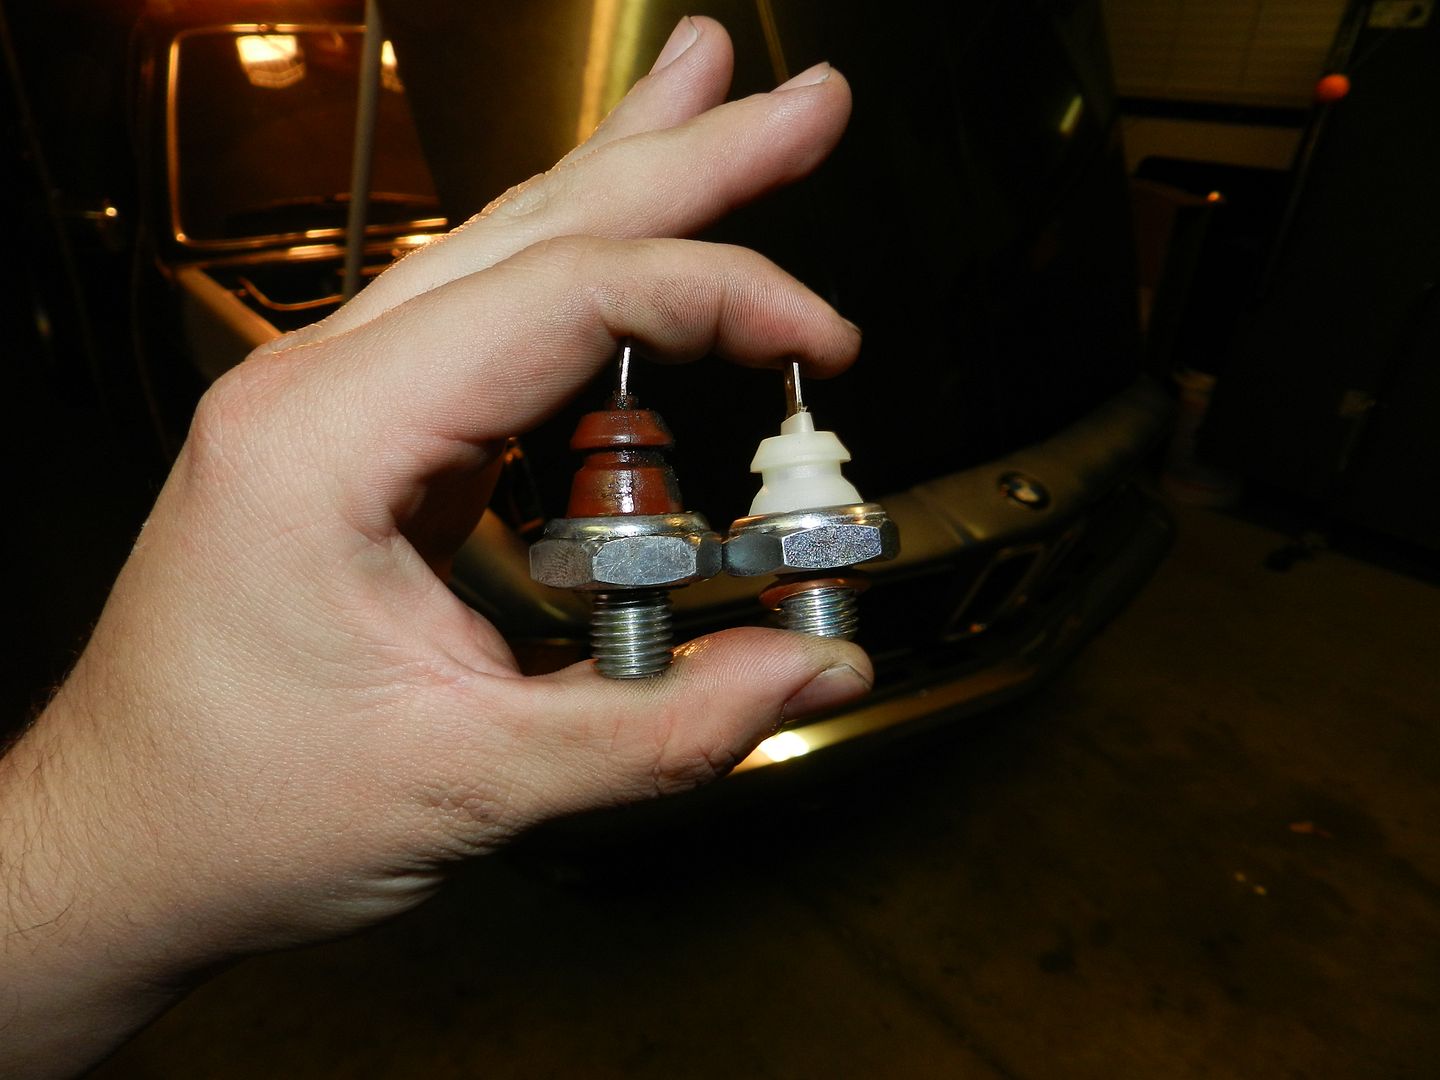
So I was able to fix the oil leak. It was the oil pressure sensor. I knew that was the problem I was just to lazy to change it until now! Here are pictures of the culprit!

Old vs. New
Installed: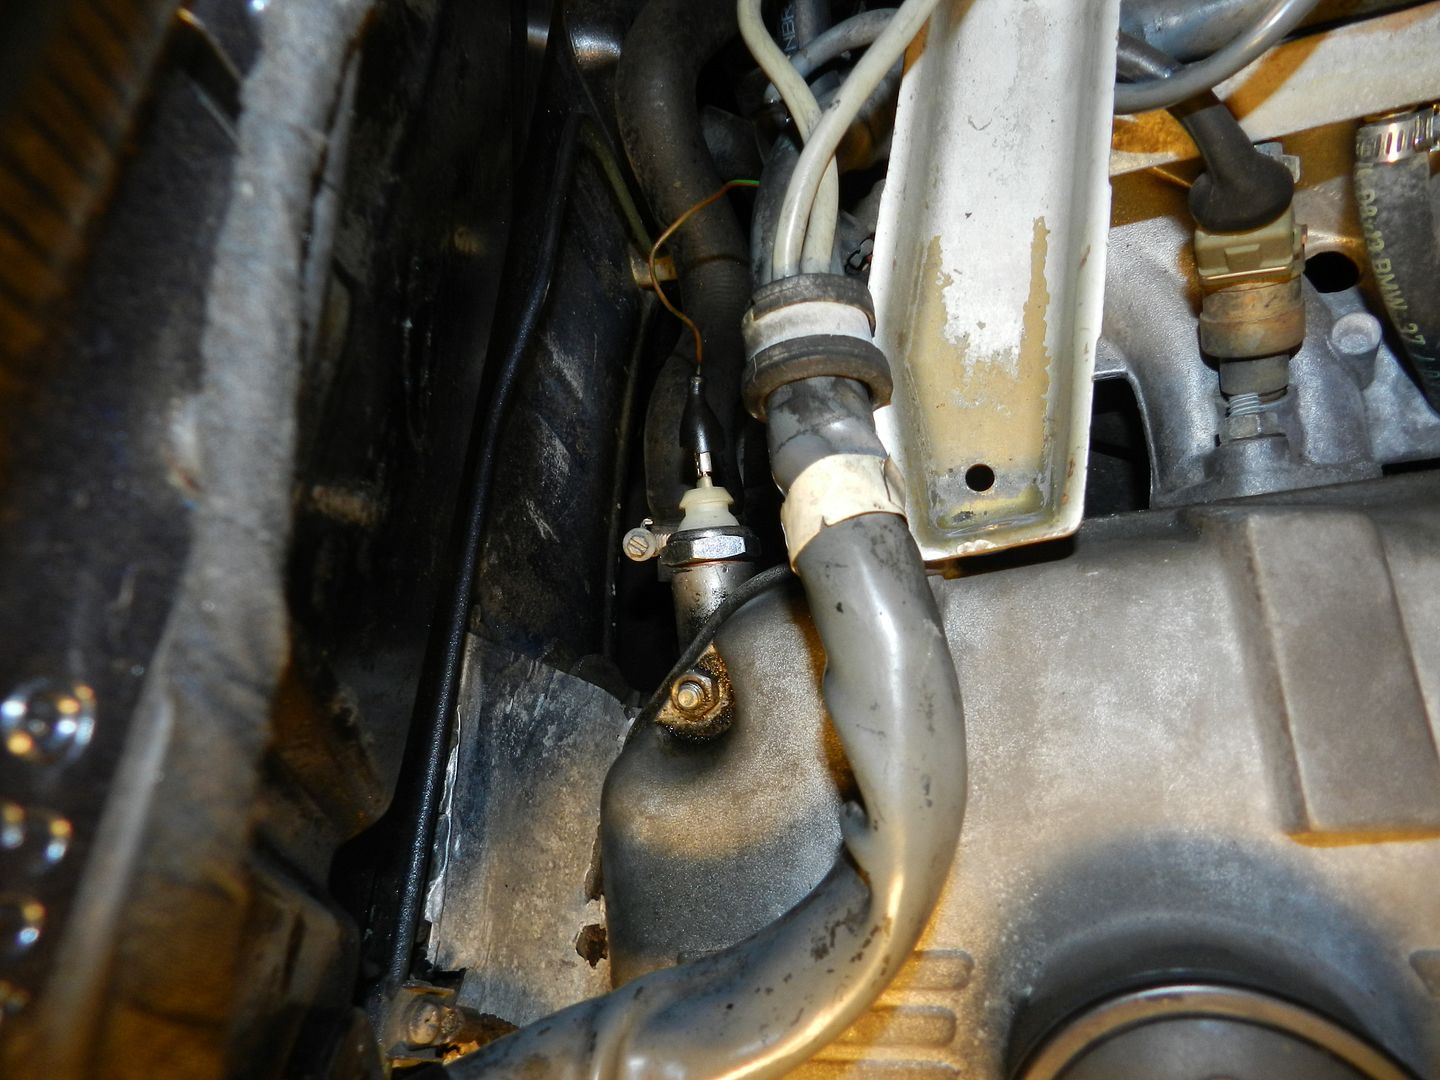
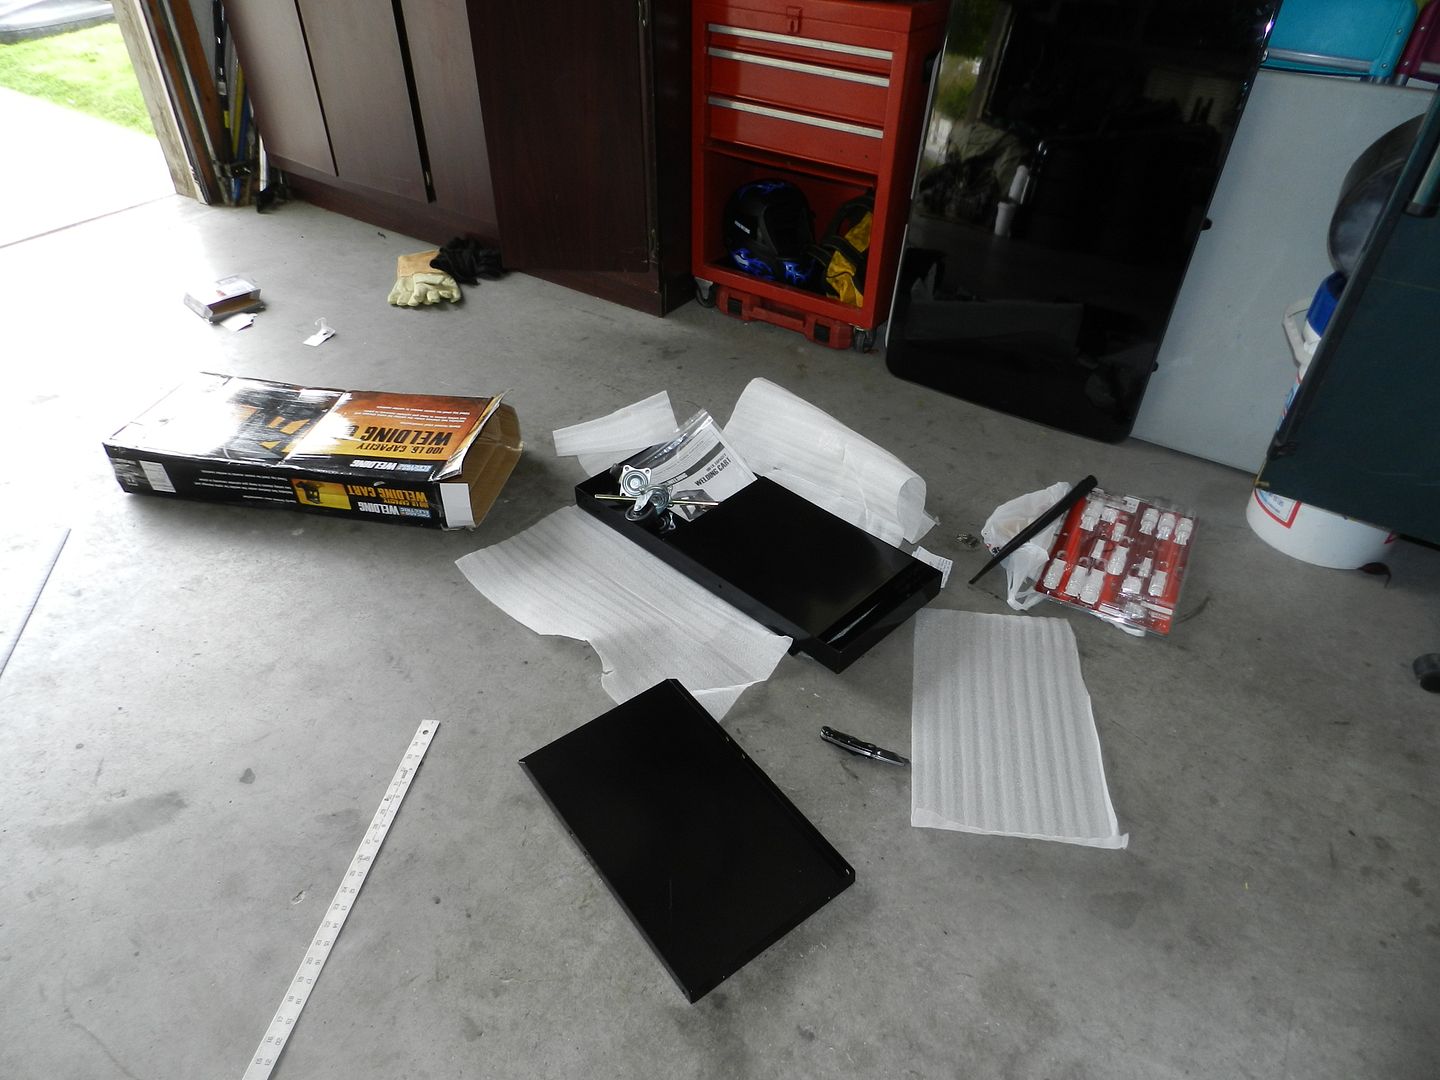
I also got a 140v Hobart Handler Welder for christmas: I went and bought the welding cart but still need to buy the Argon.
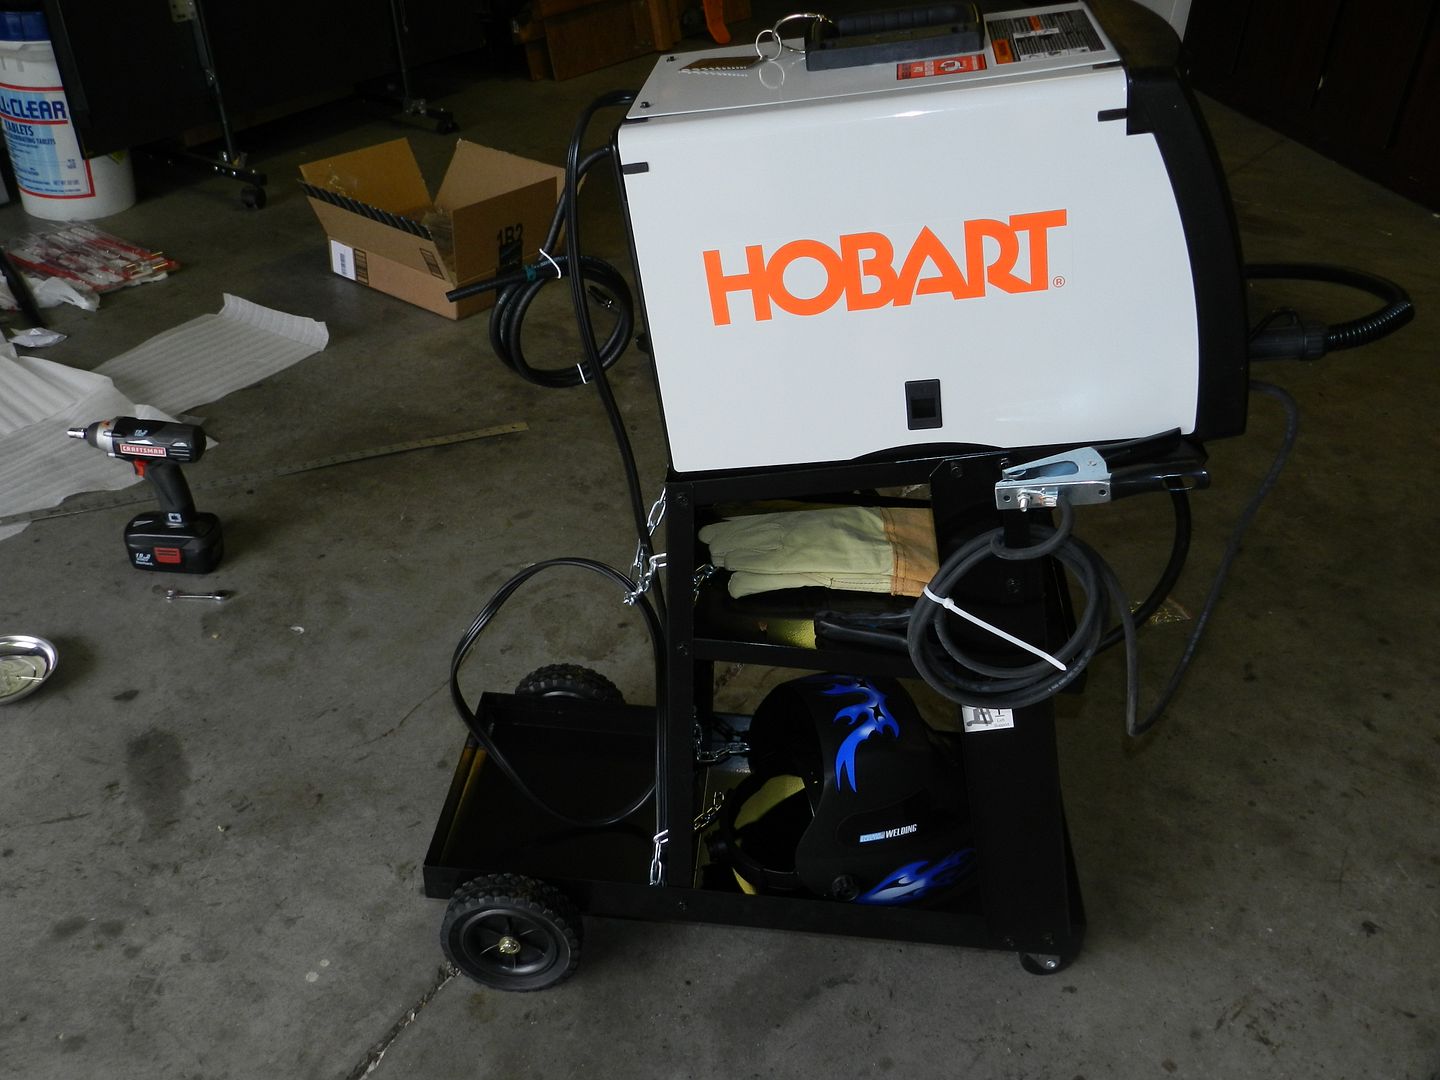
Its go time now!
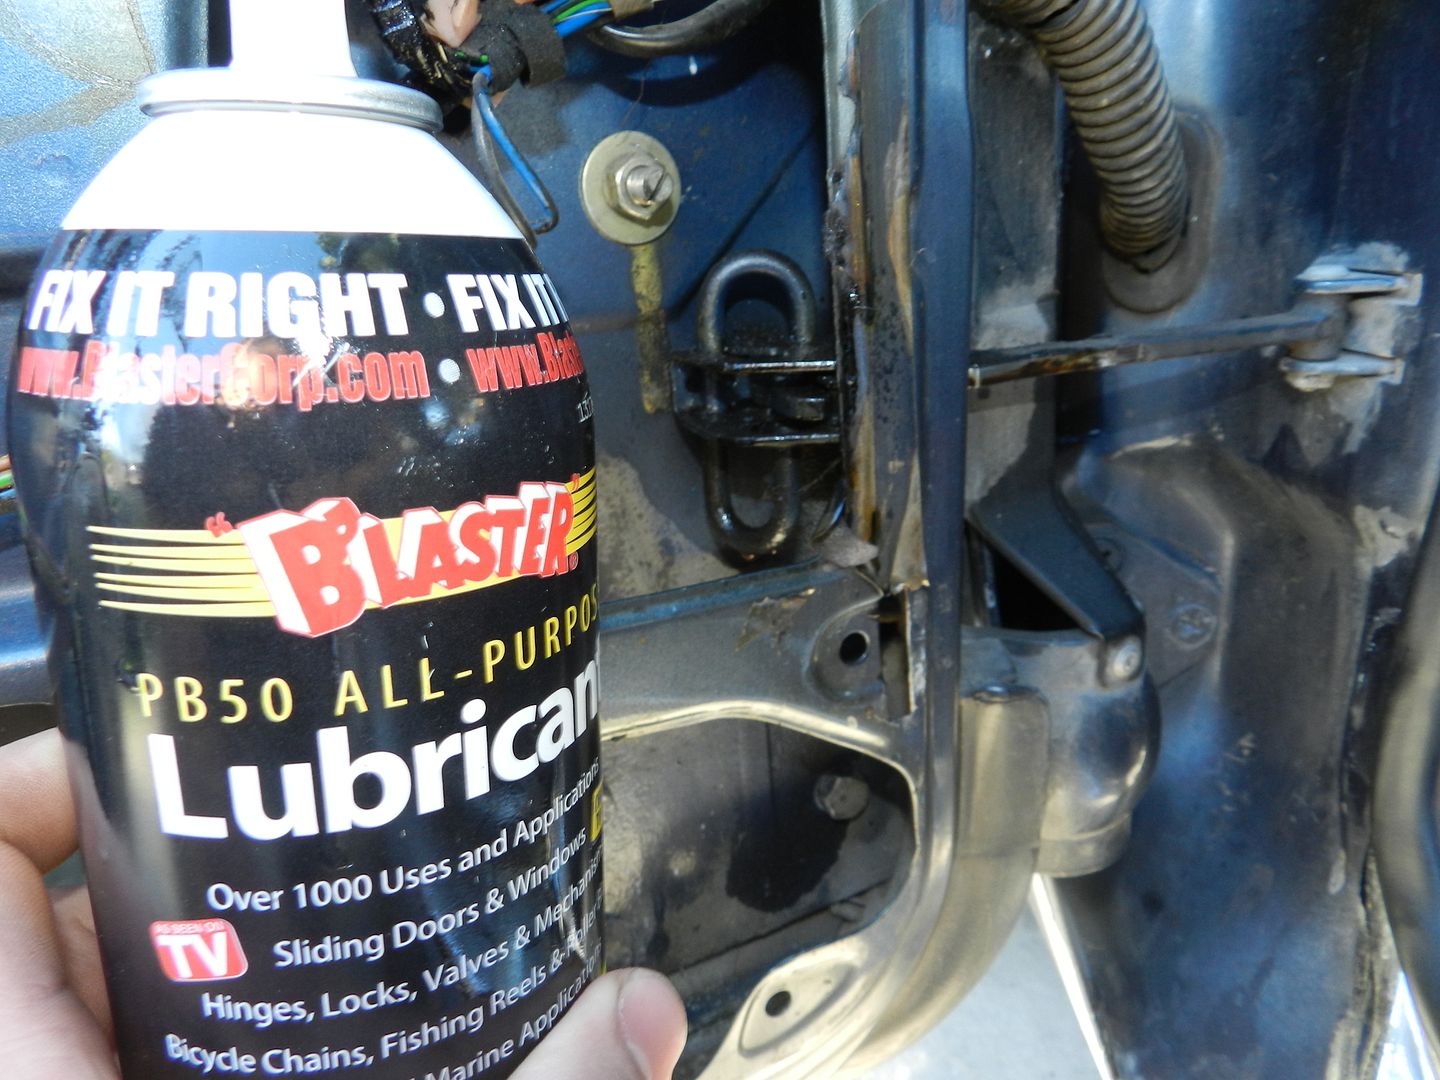
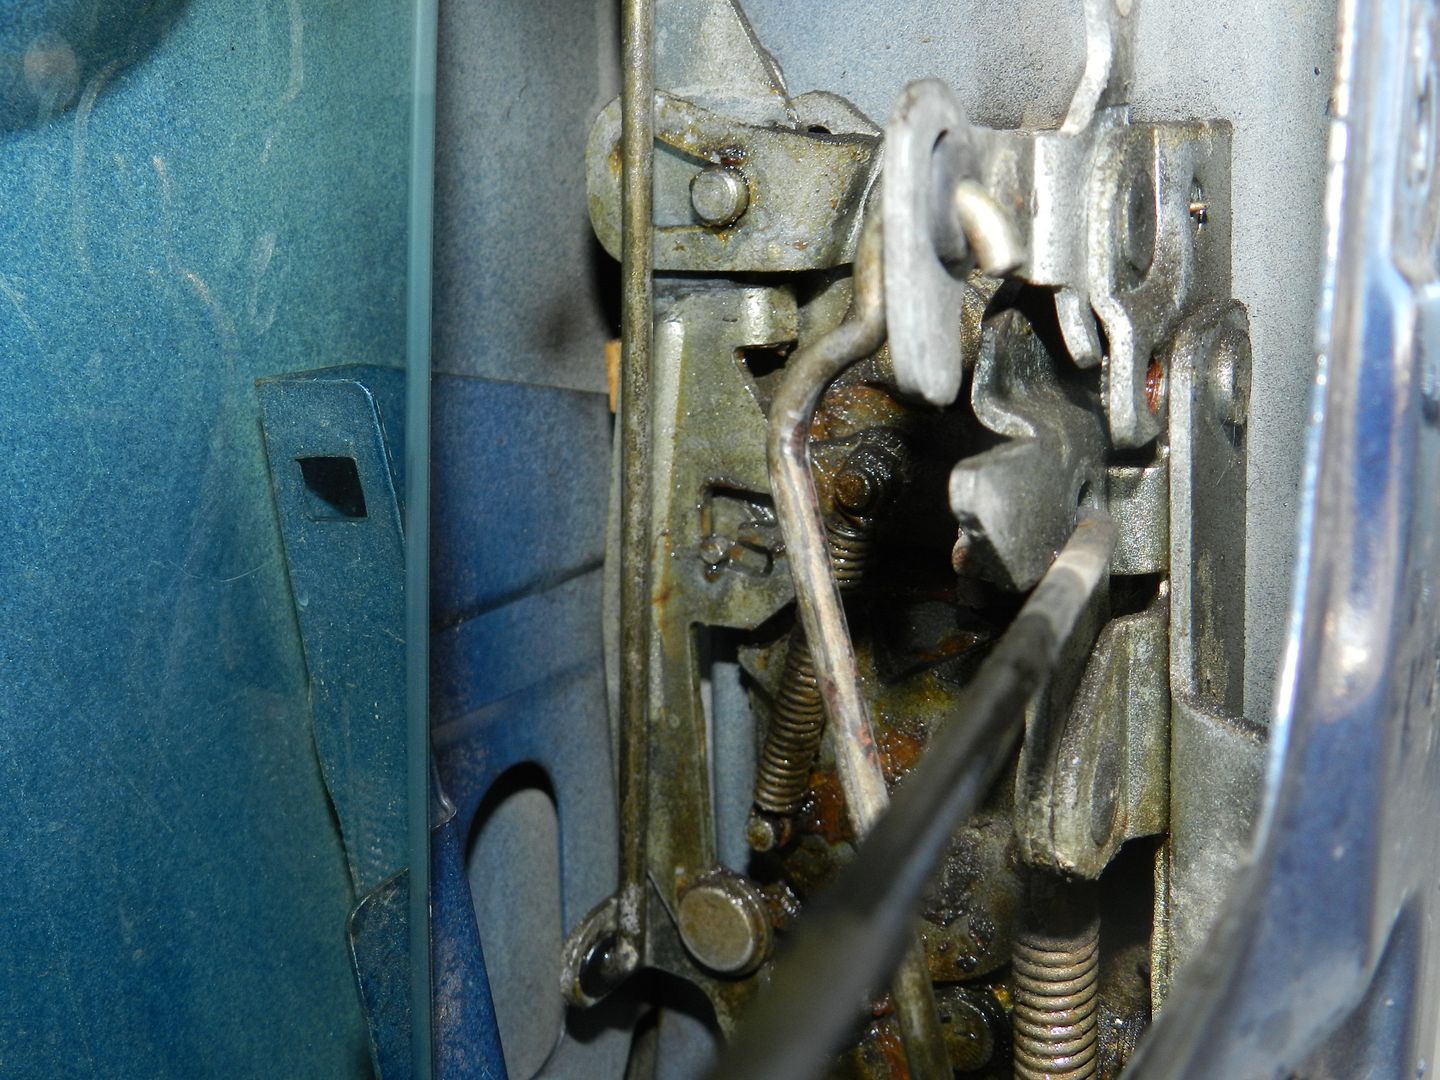
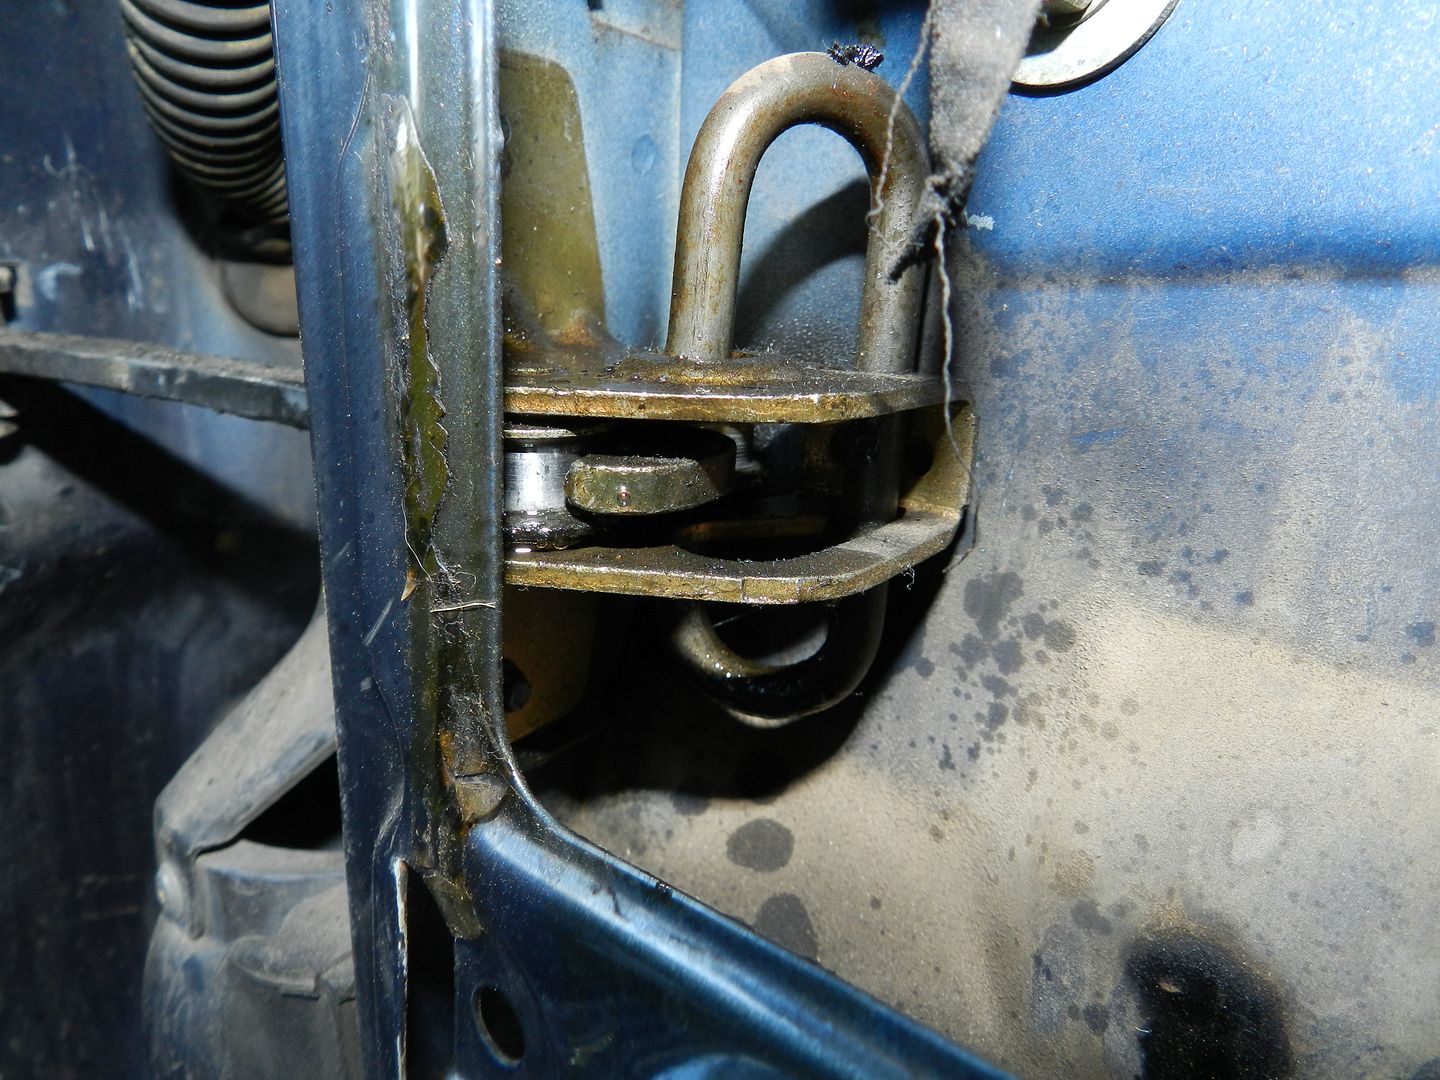
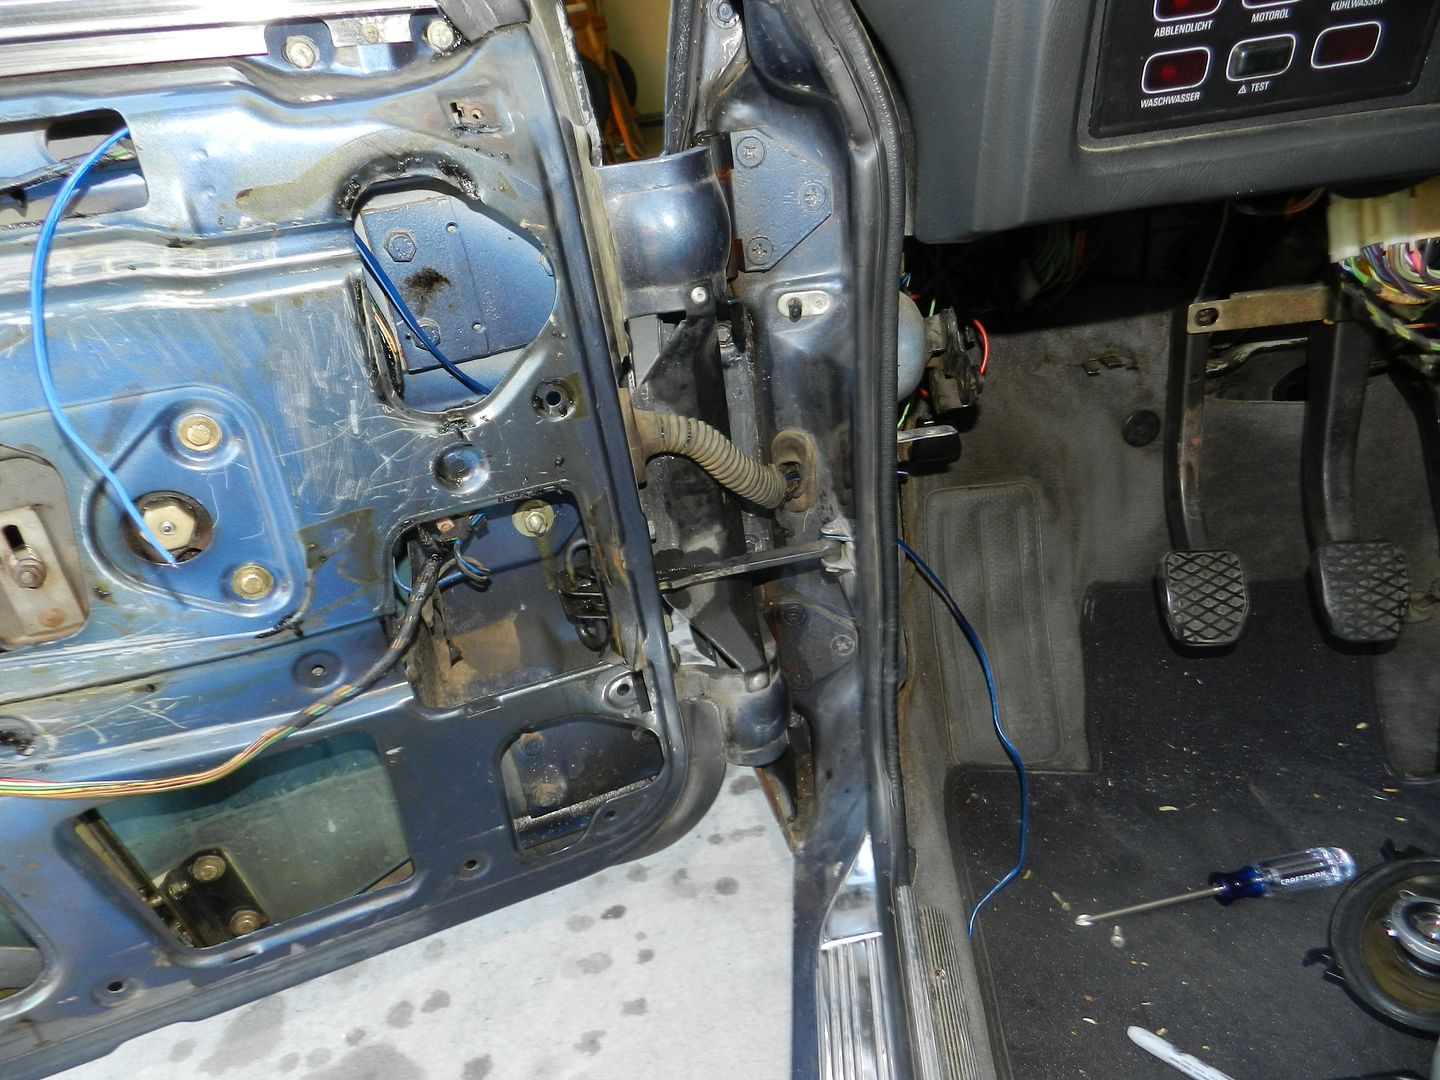
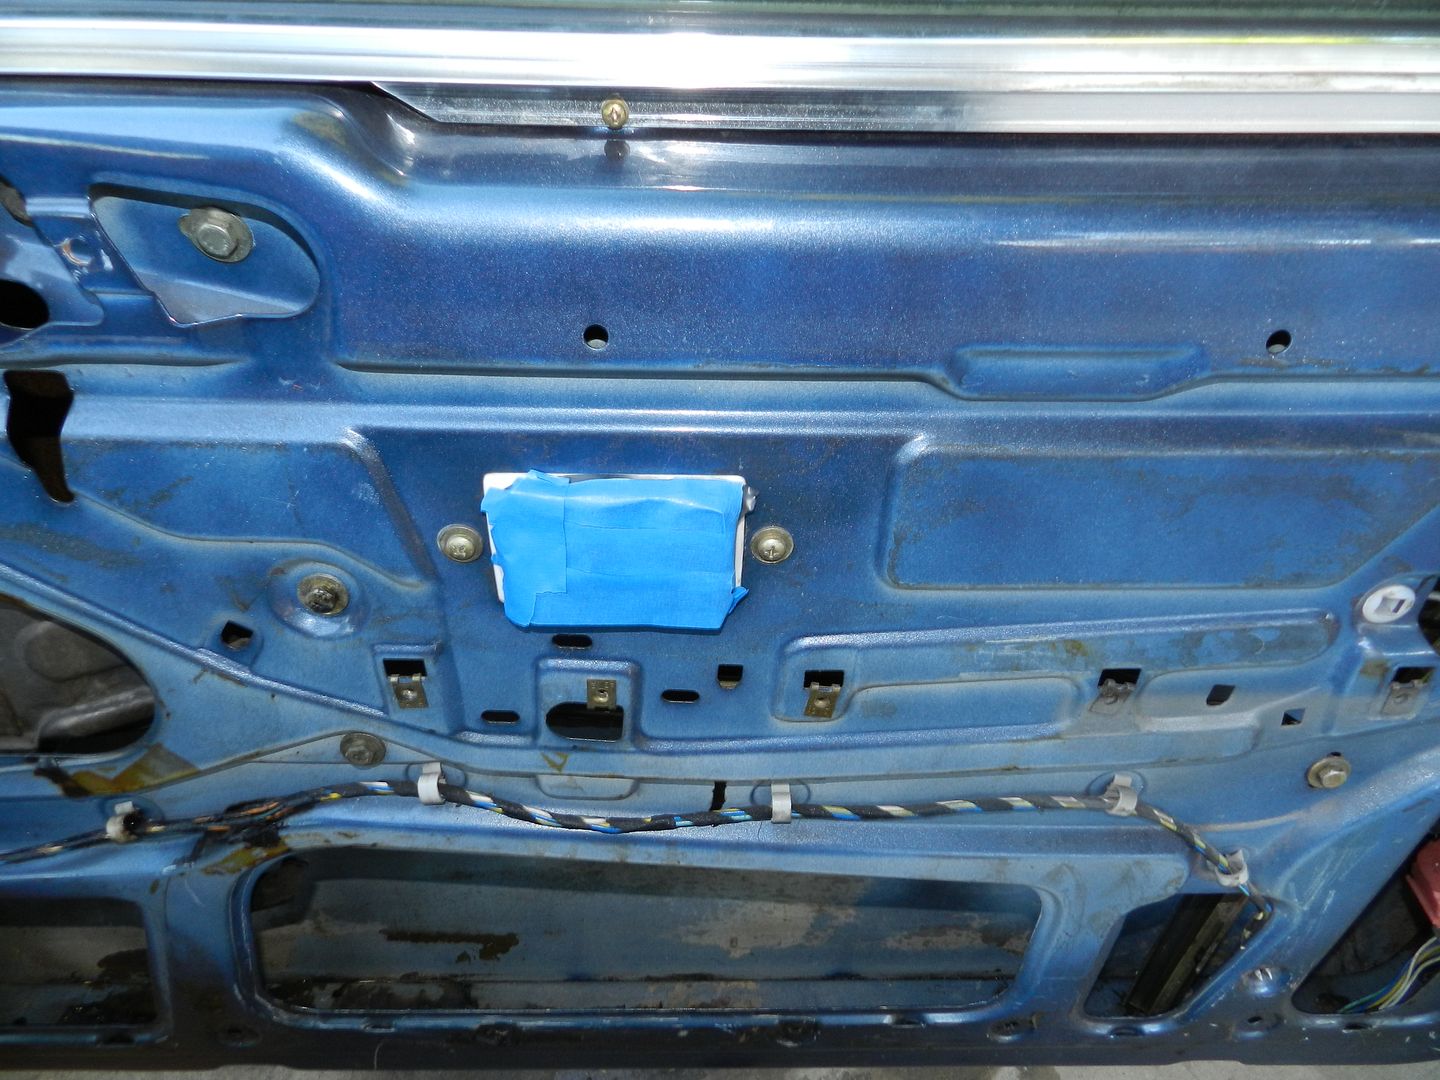
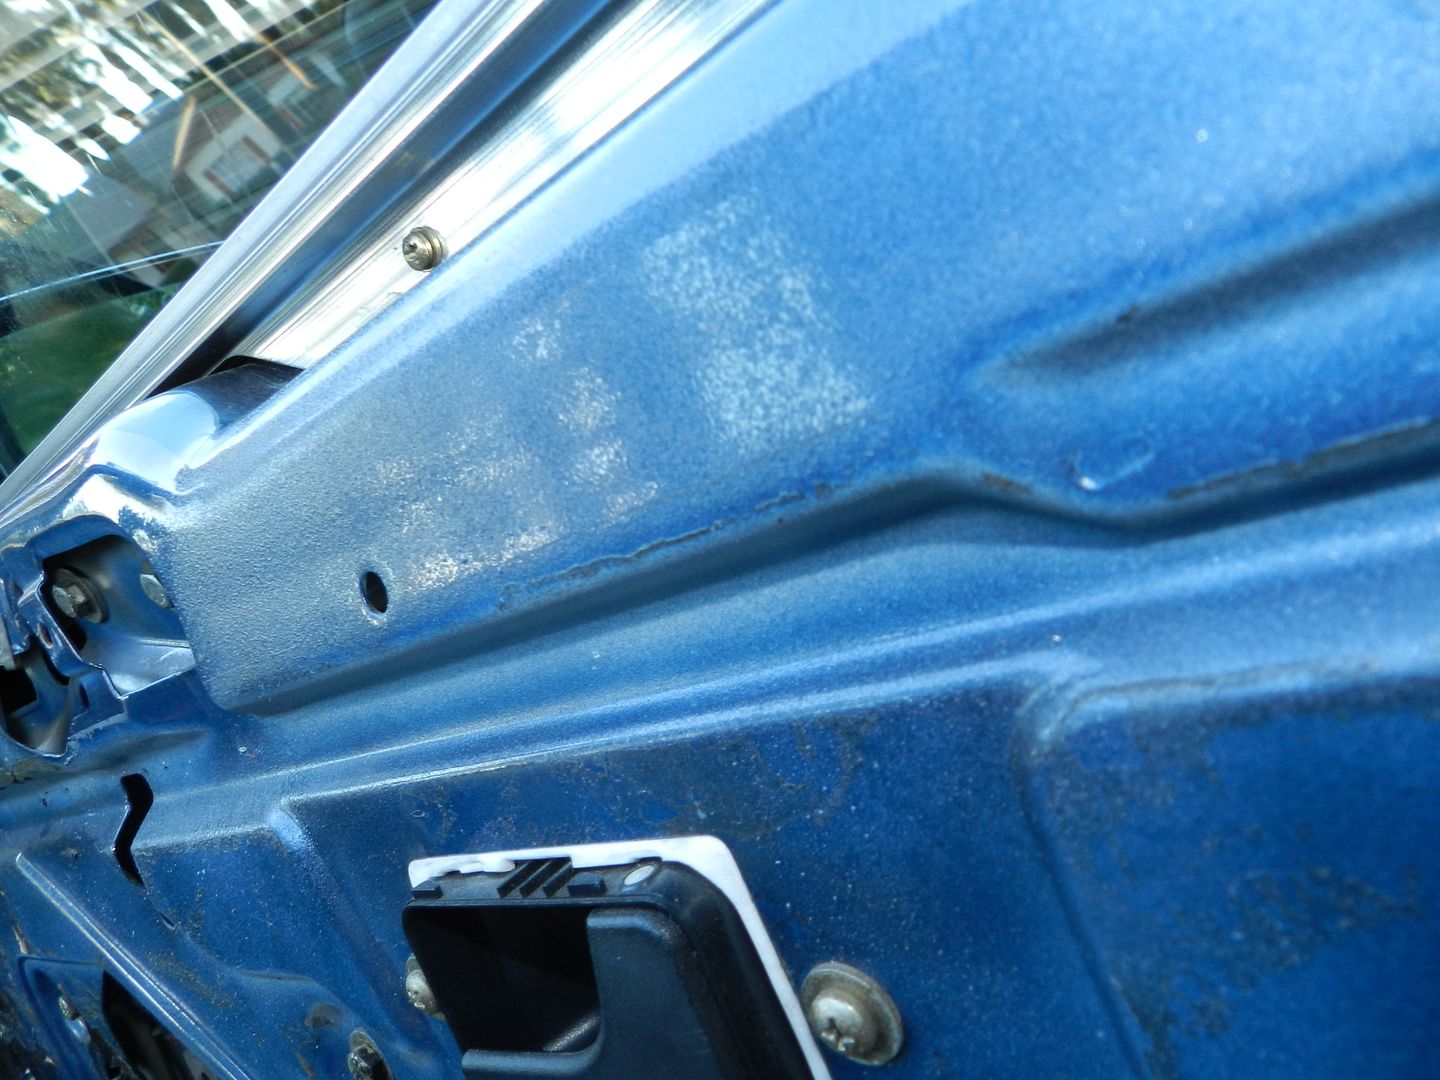
One day I had tried to unlock my car from the passenger side but wasn't able to lock it either. When I would drive I would here somethings rattling in the door. When I took a second to look at what it was I found this. Glad it was an easy fix.
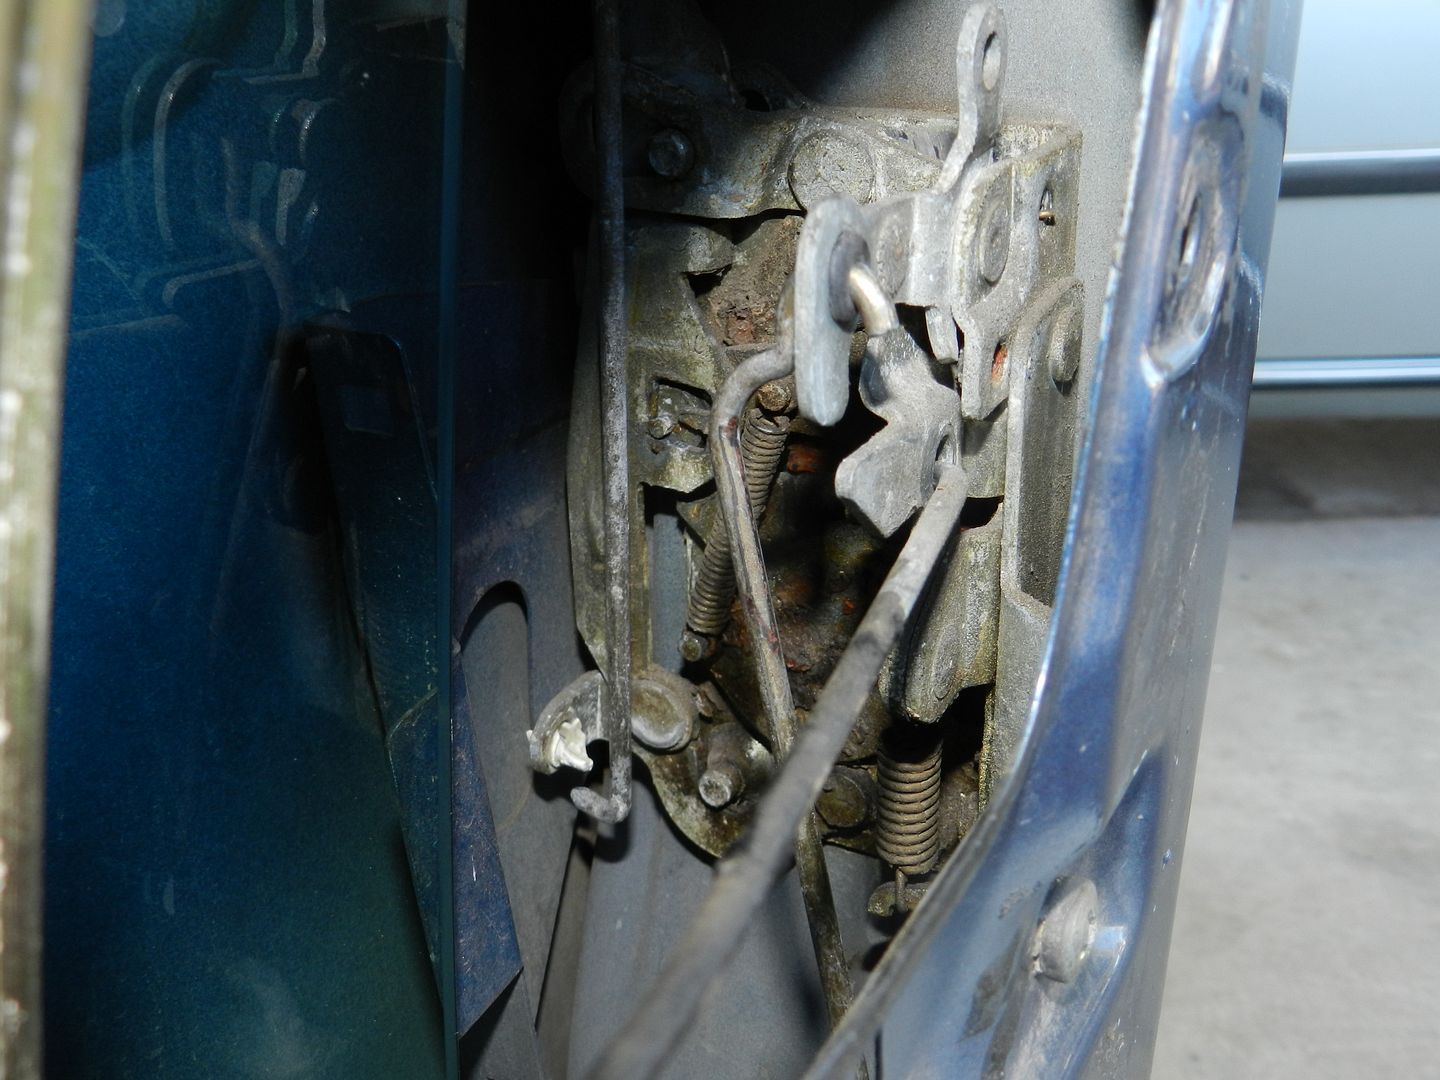
Installed a new rubber piece:
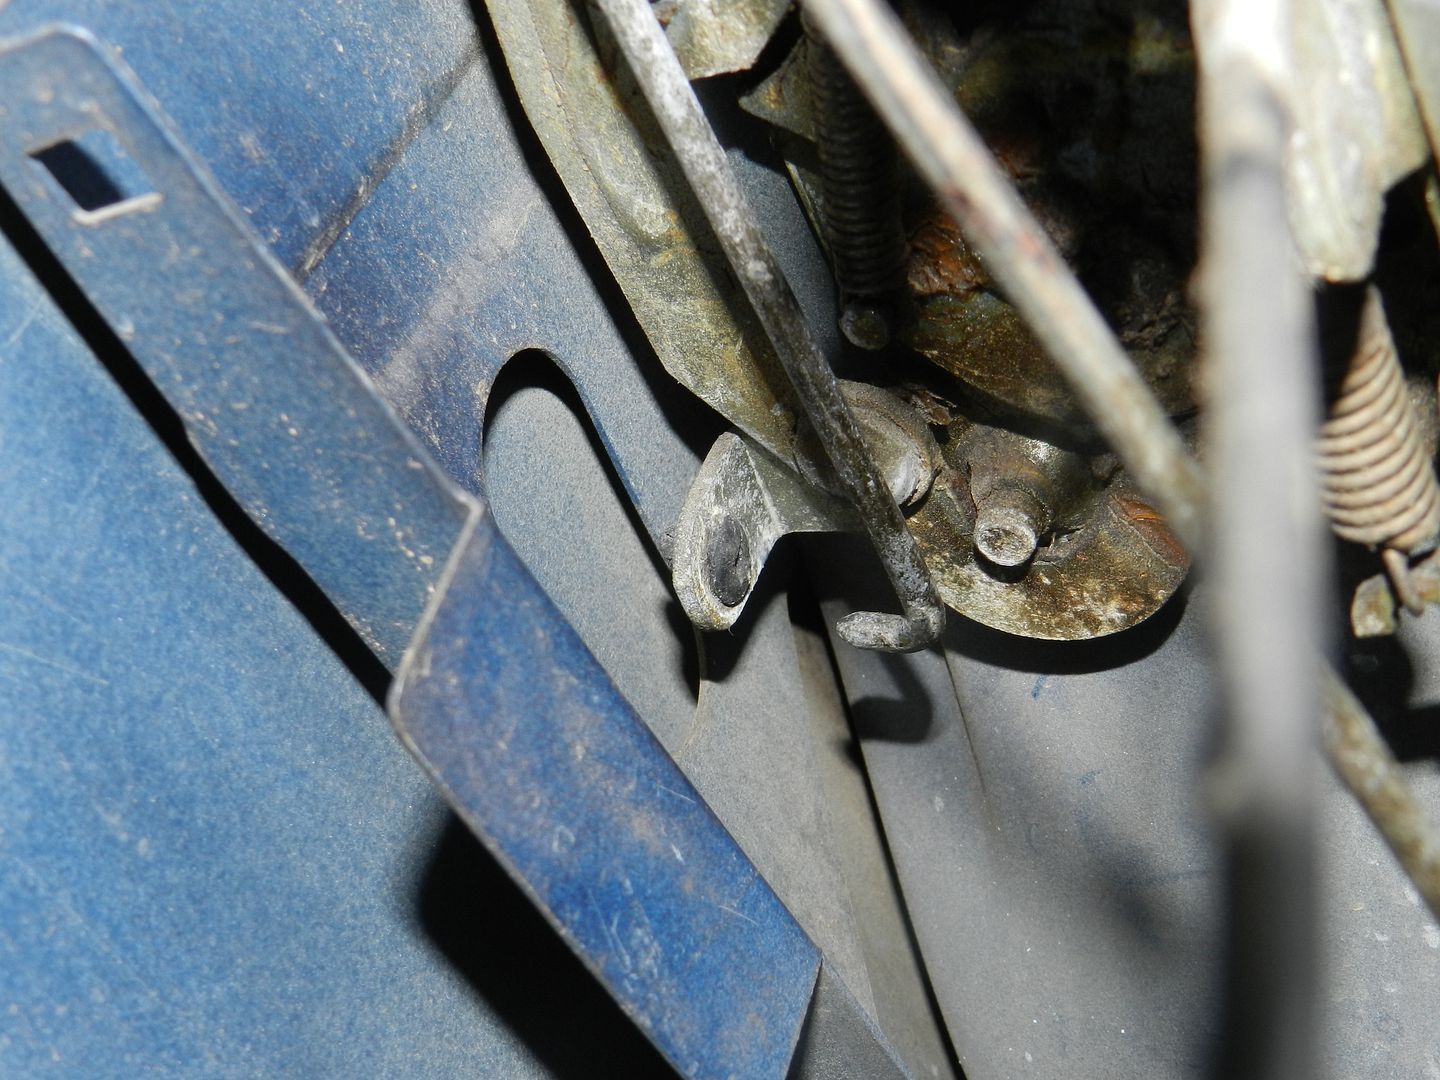
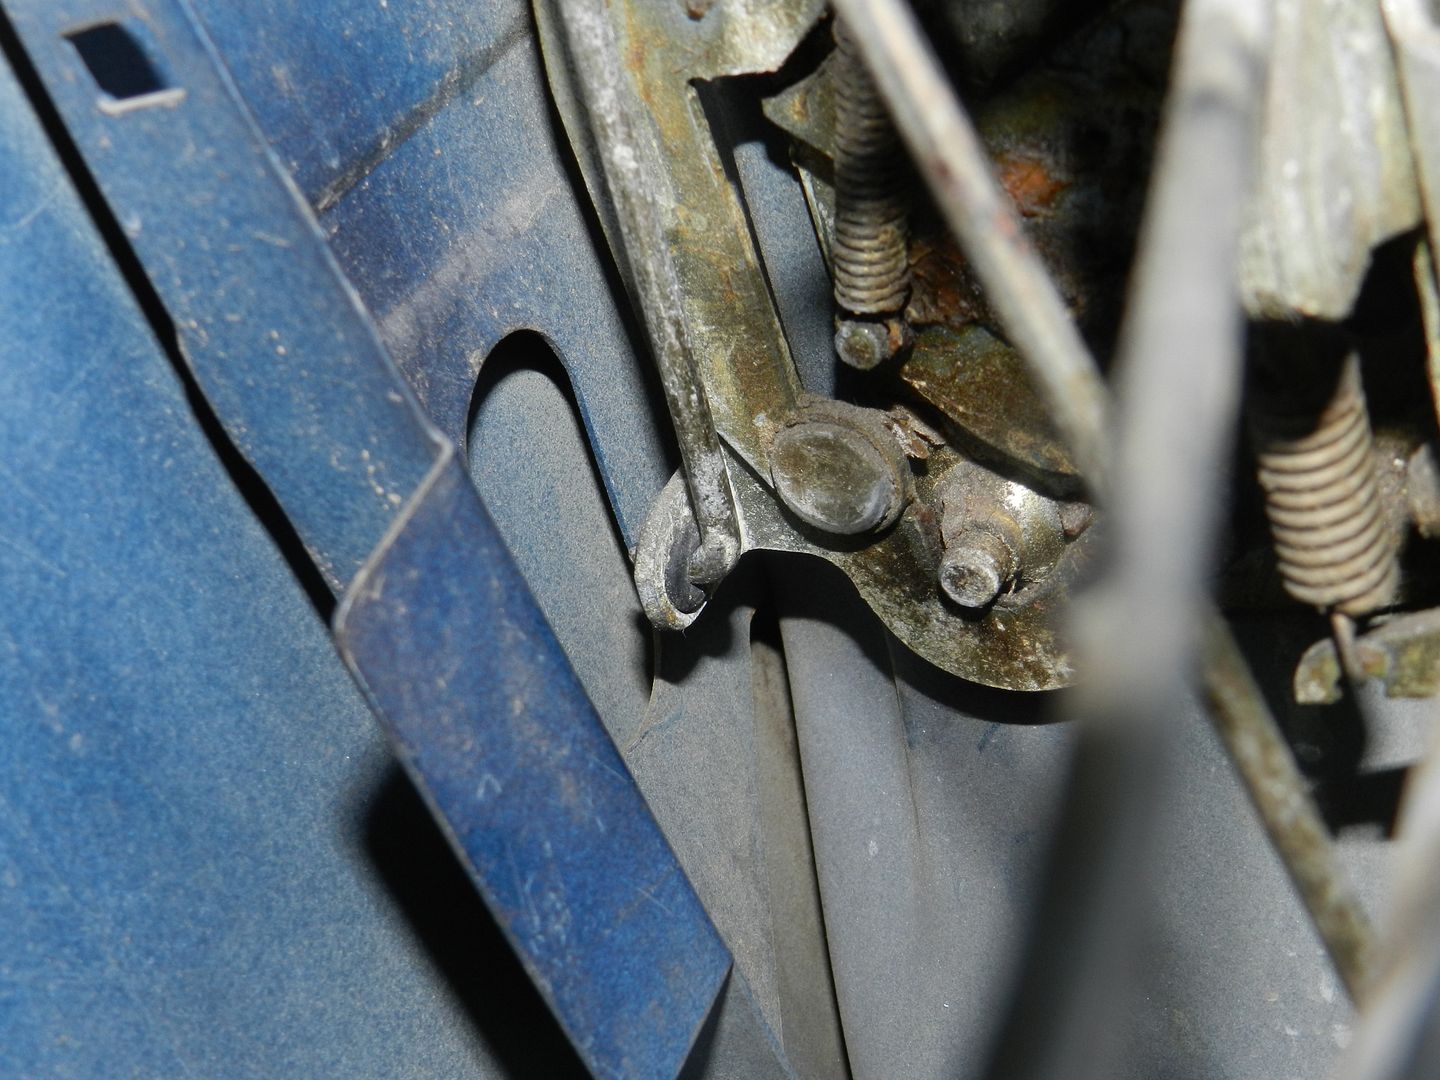
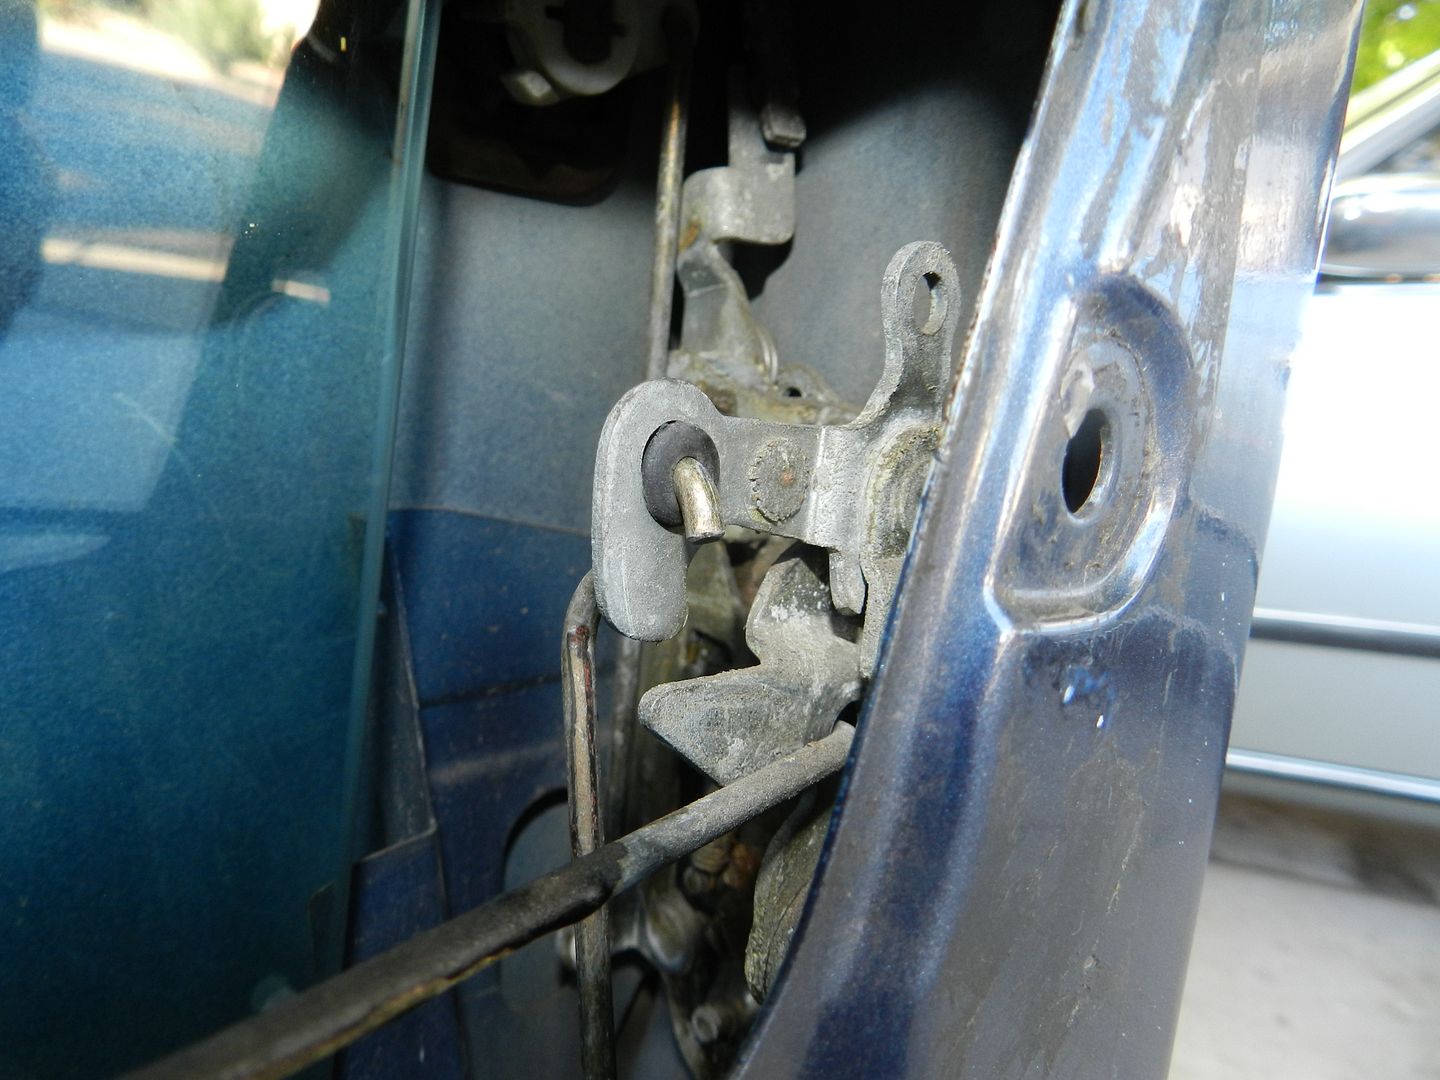
While I had it opened up I might as well Lubricate all the lock mechanisms and window rails.
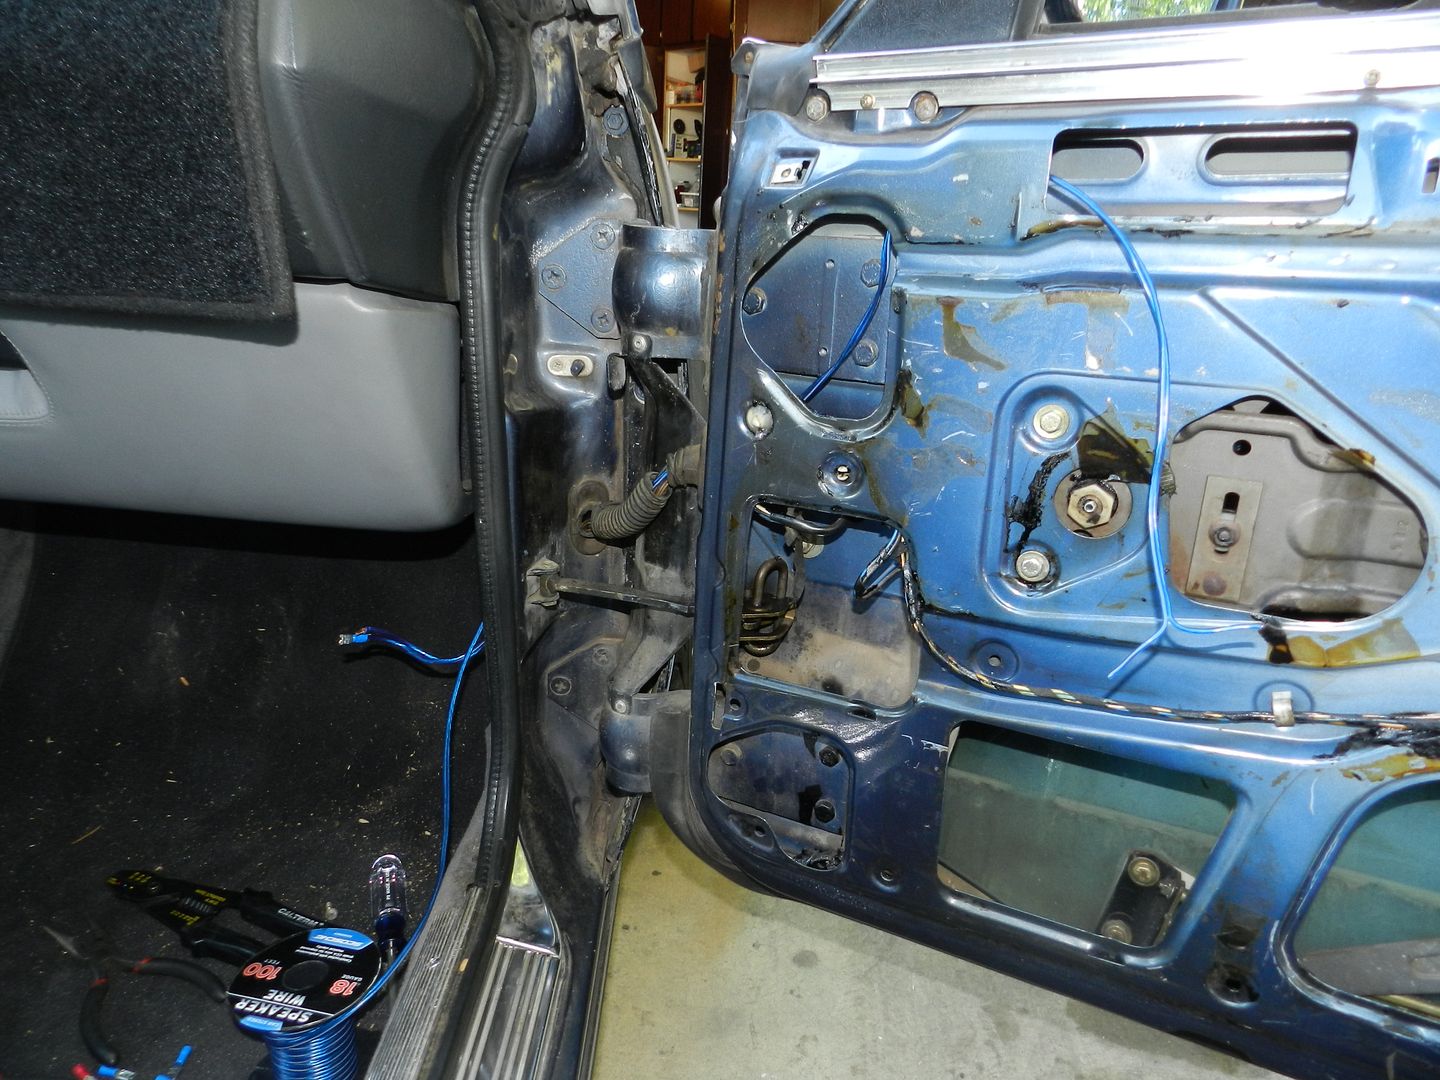
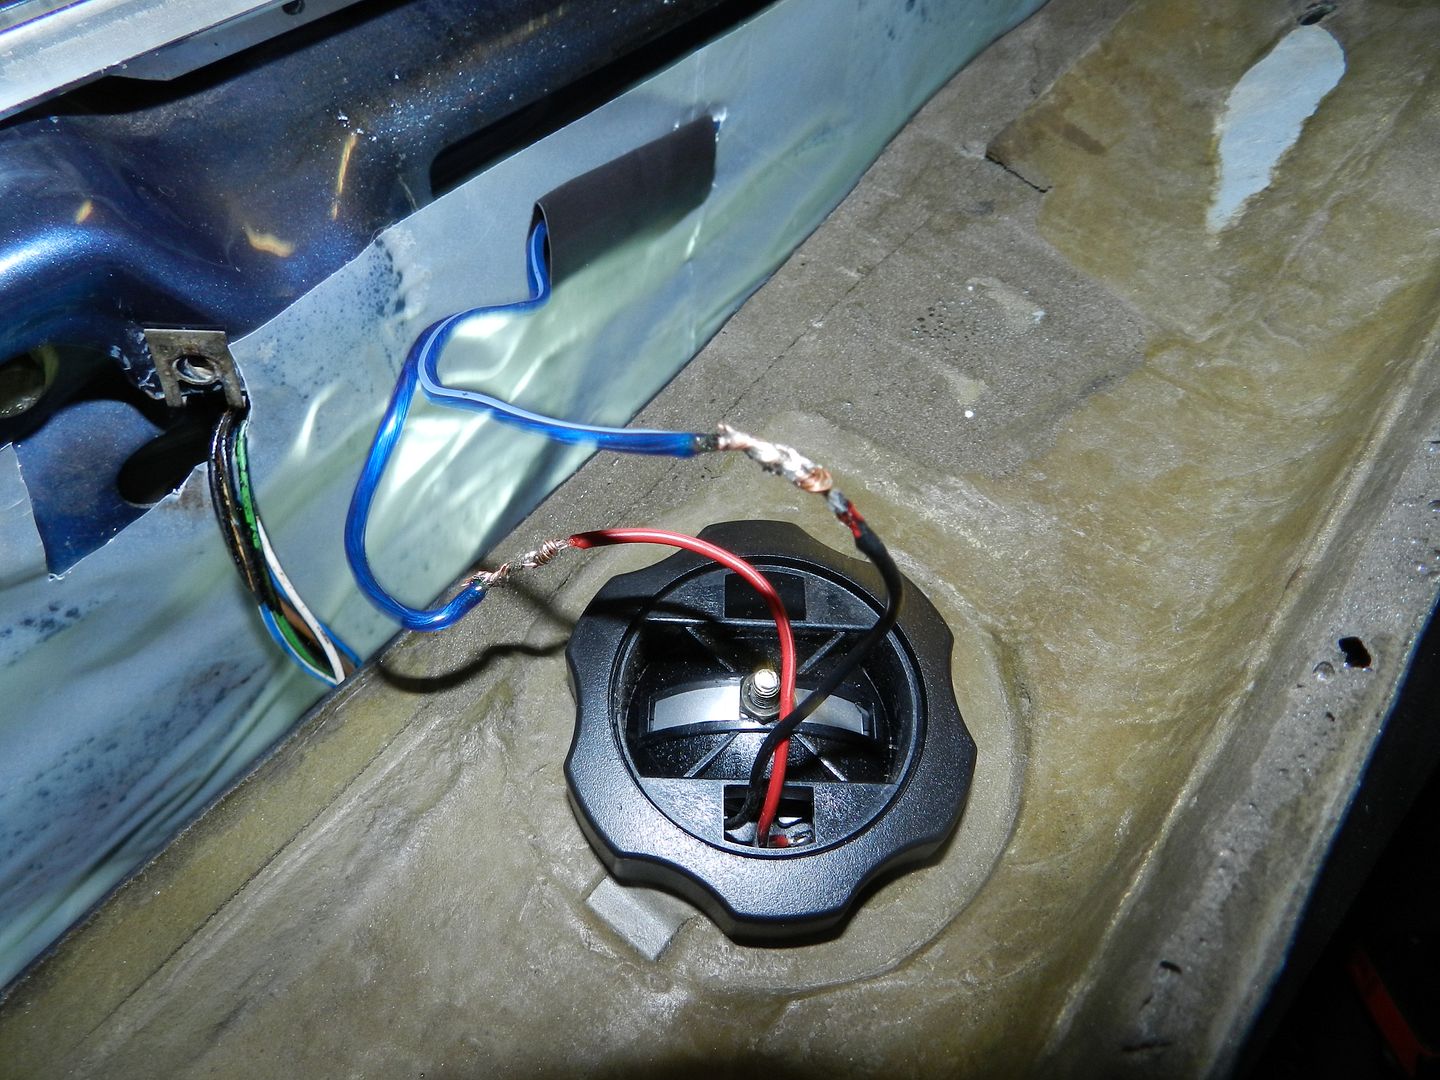
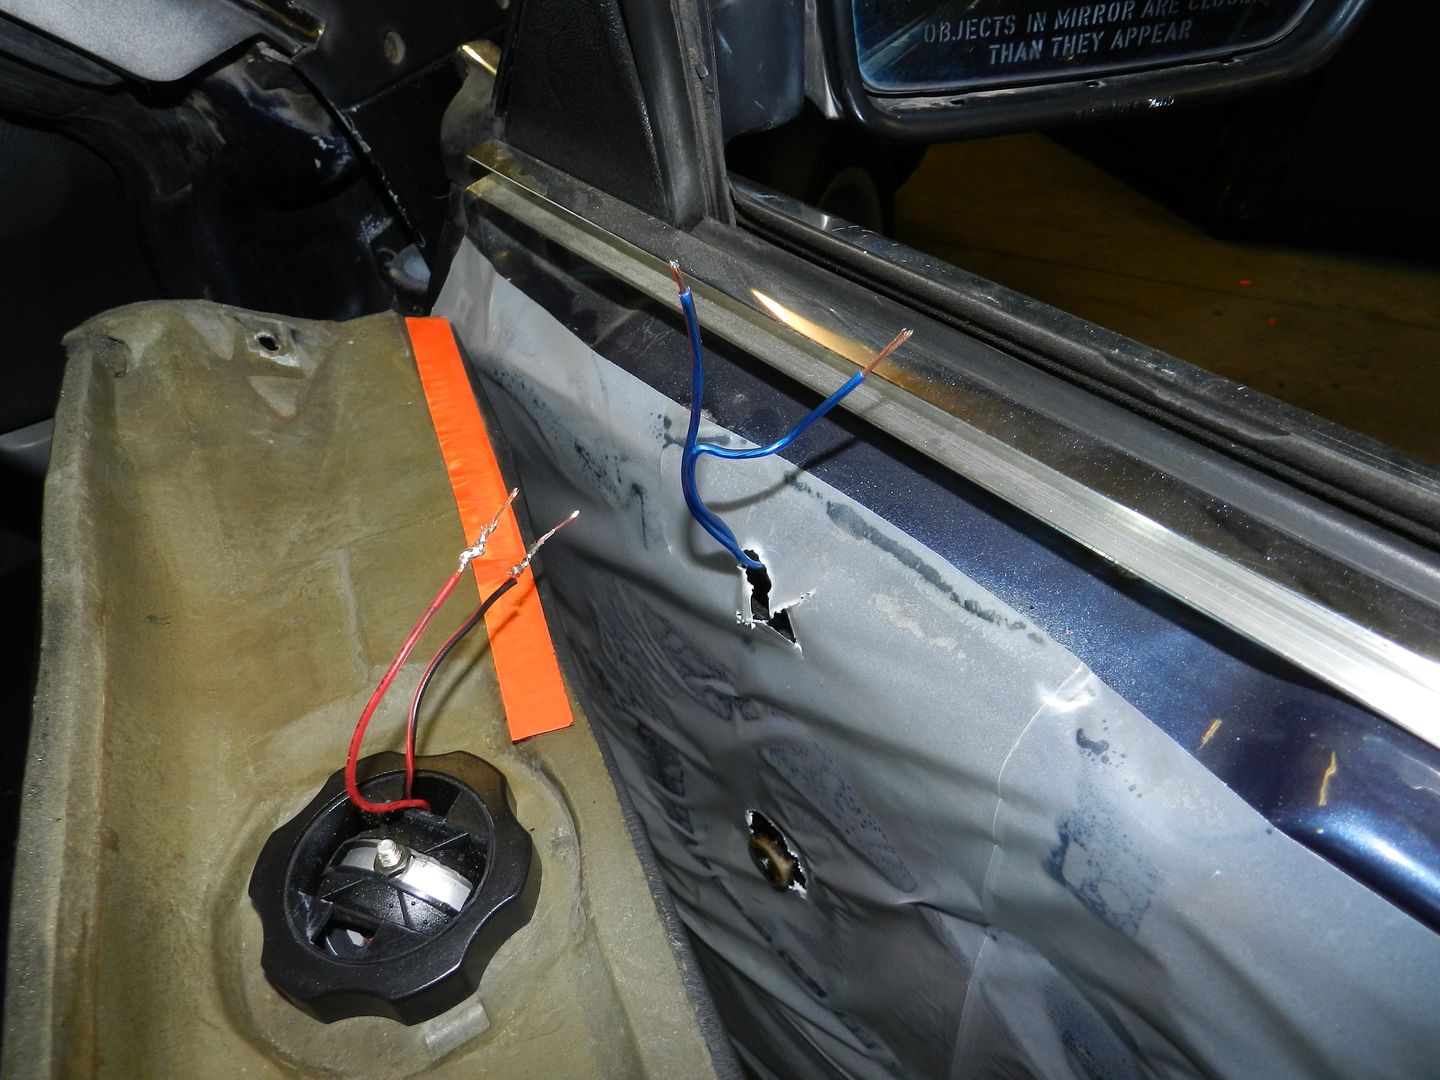
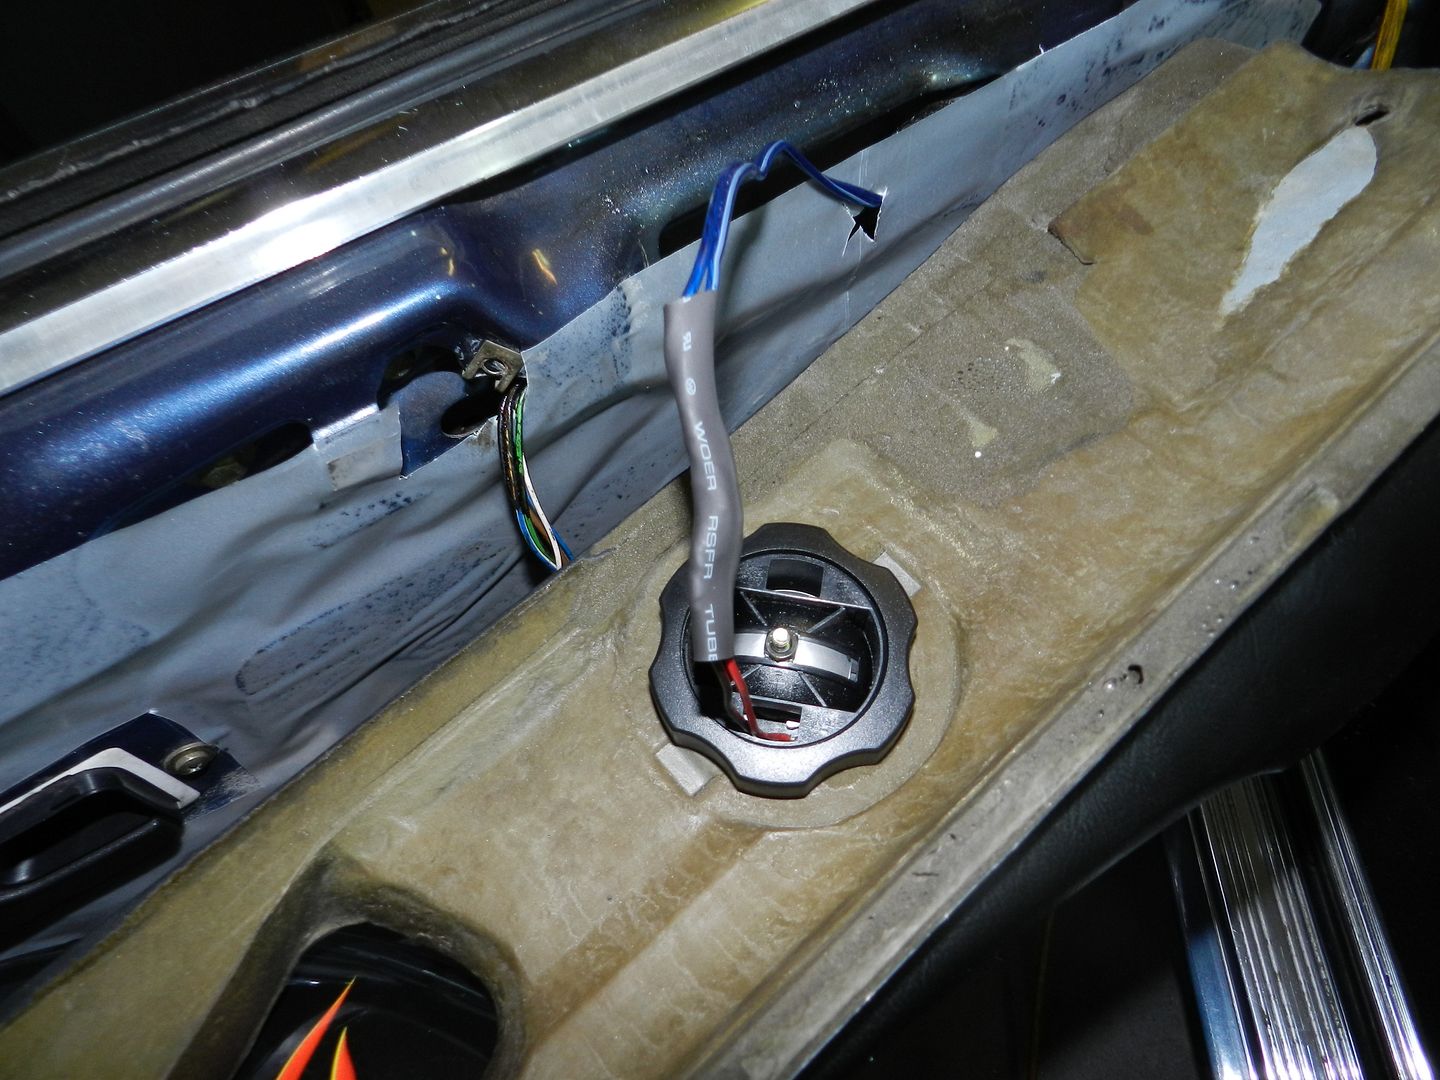
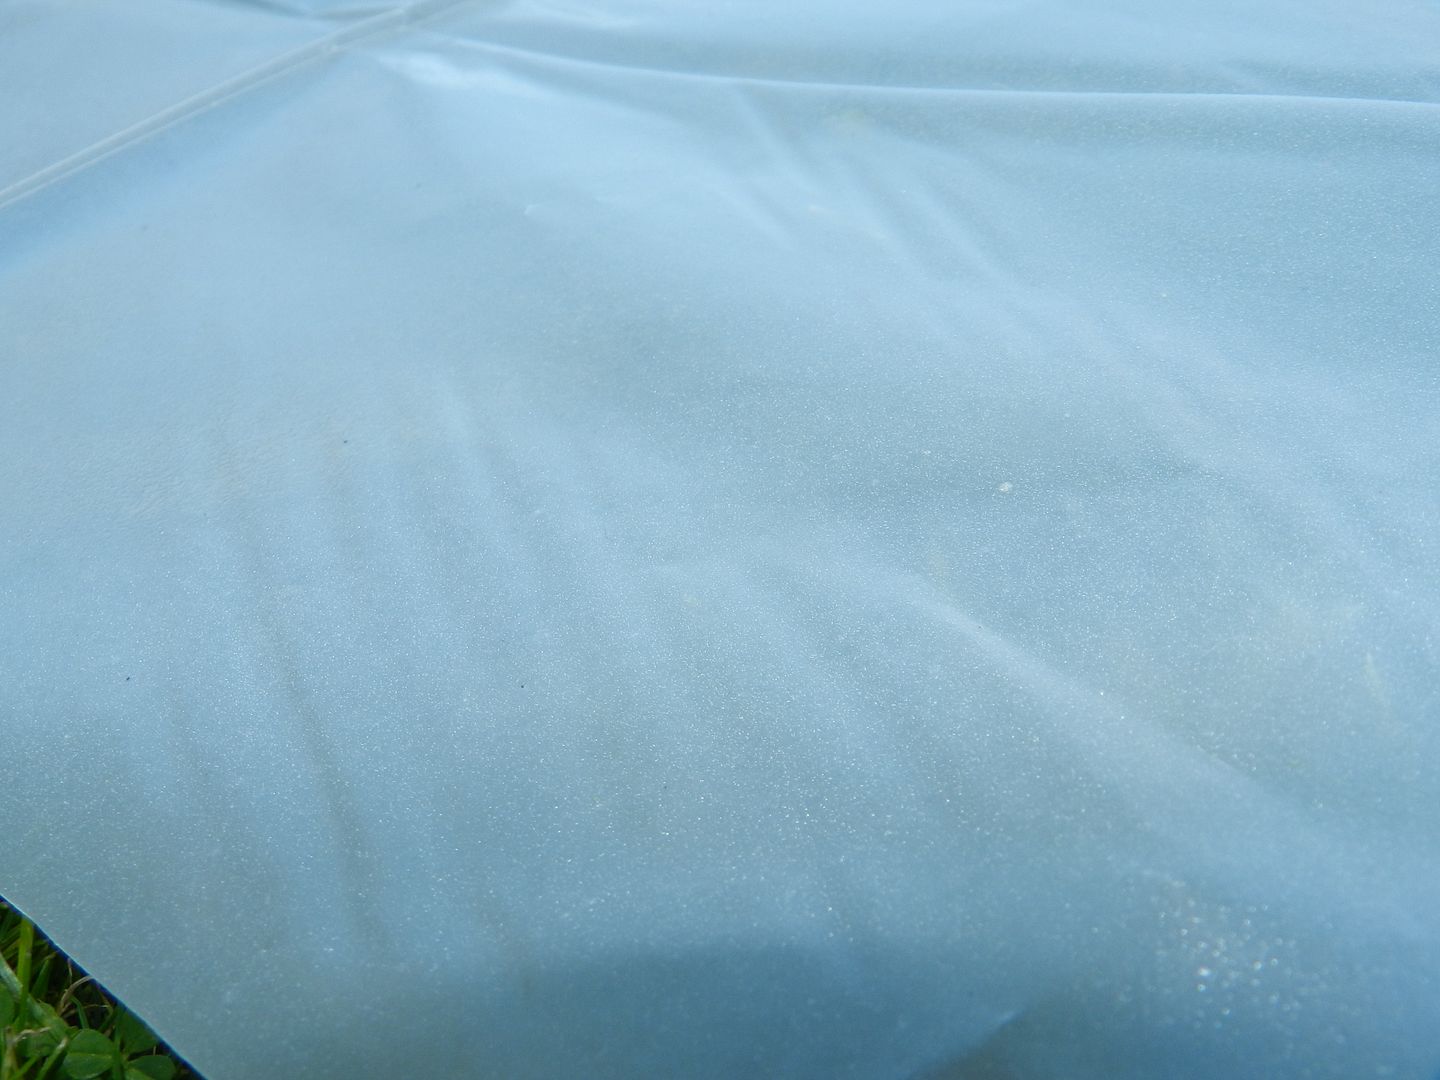
Before, I installed my new door panels, I decided to make a plastic sheeting so no water could damage the door cards which are made of a cardboard like material. Since the door panels have tweeter in them I needed to run some wire to them.
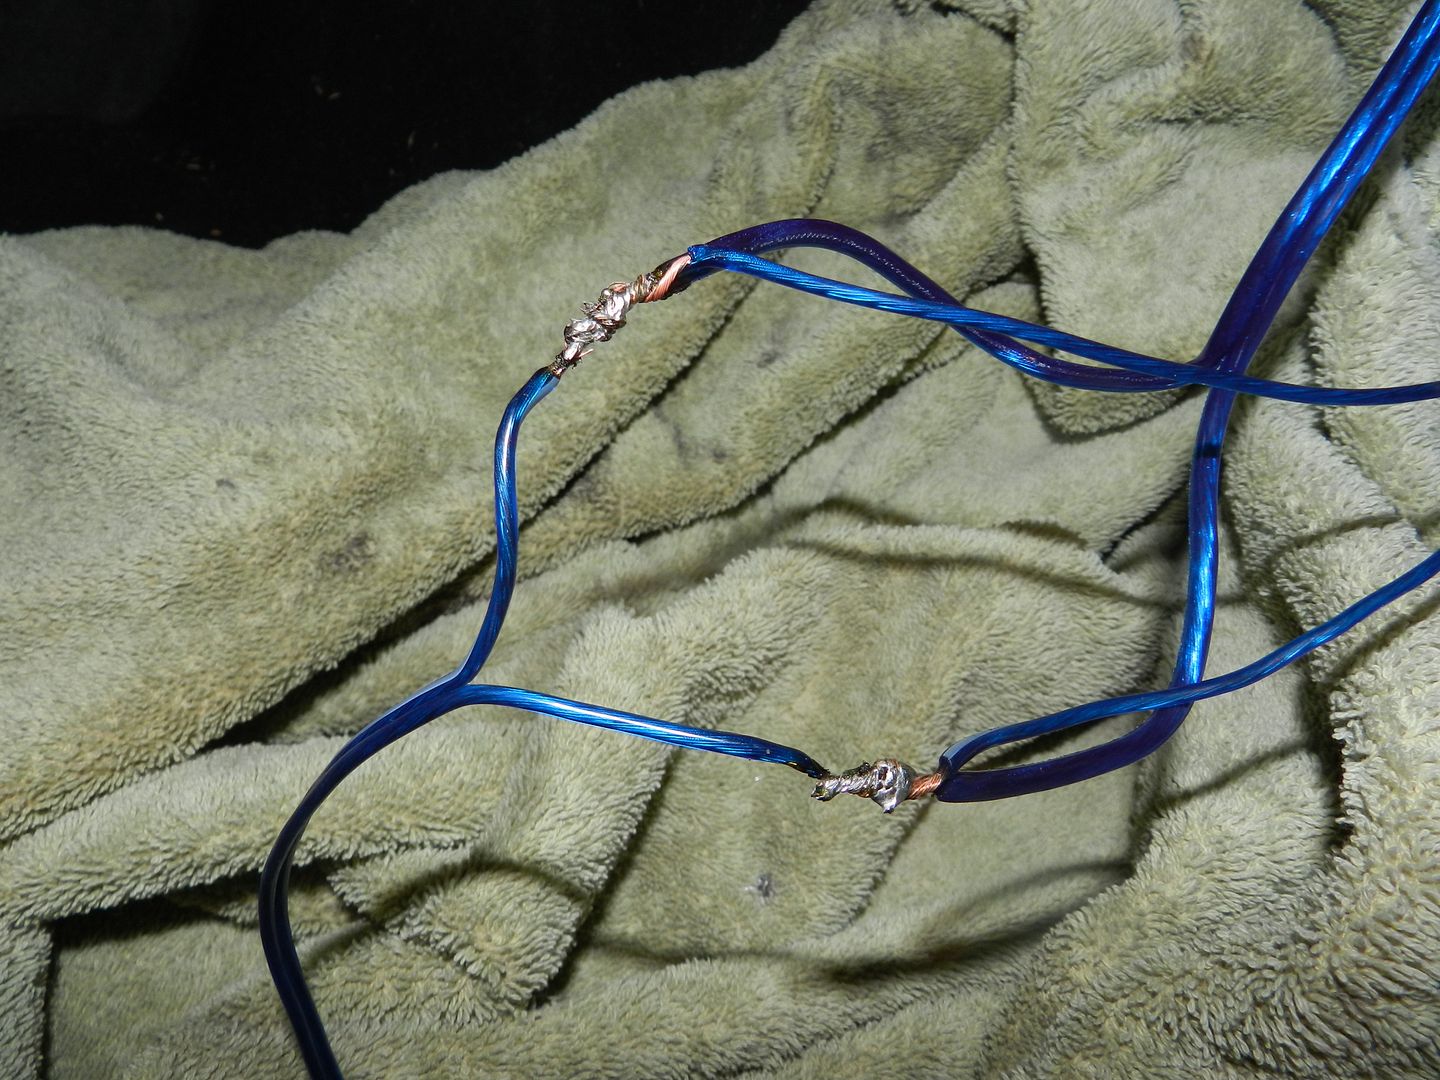
Running all the wiring to the doors. I really **** doing wiring!
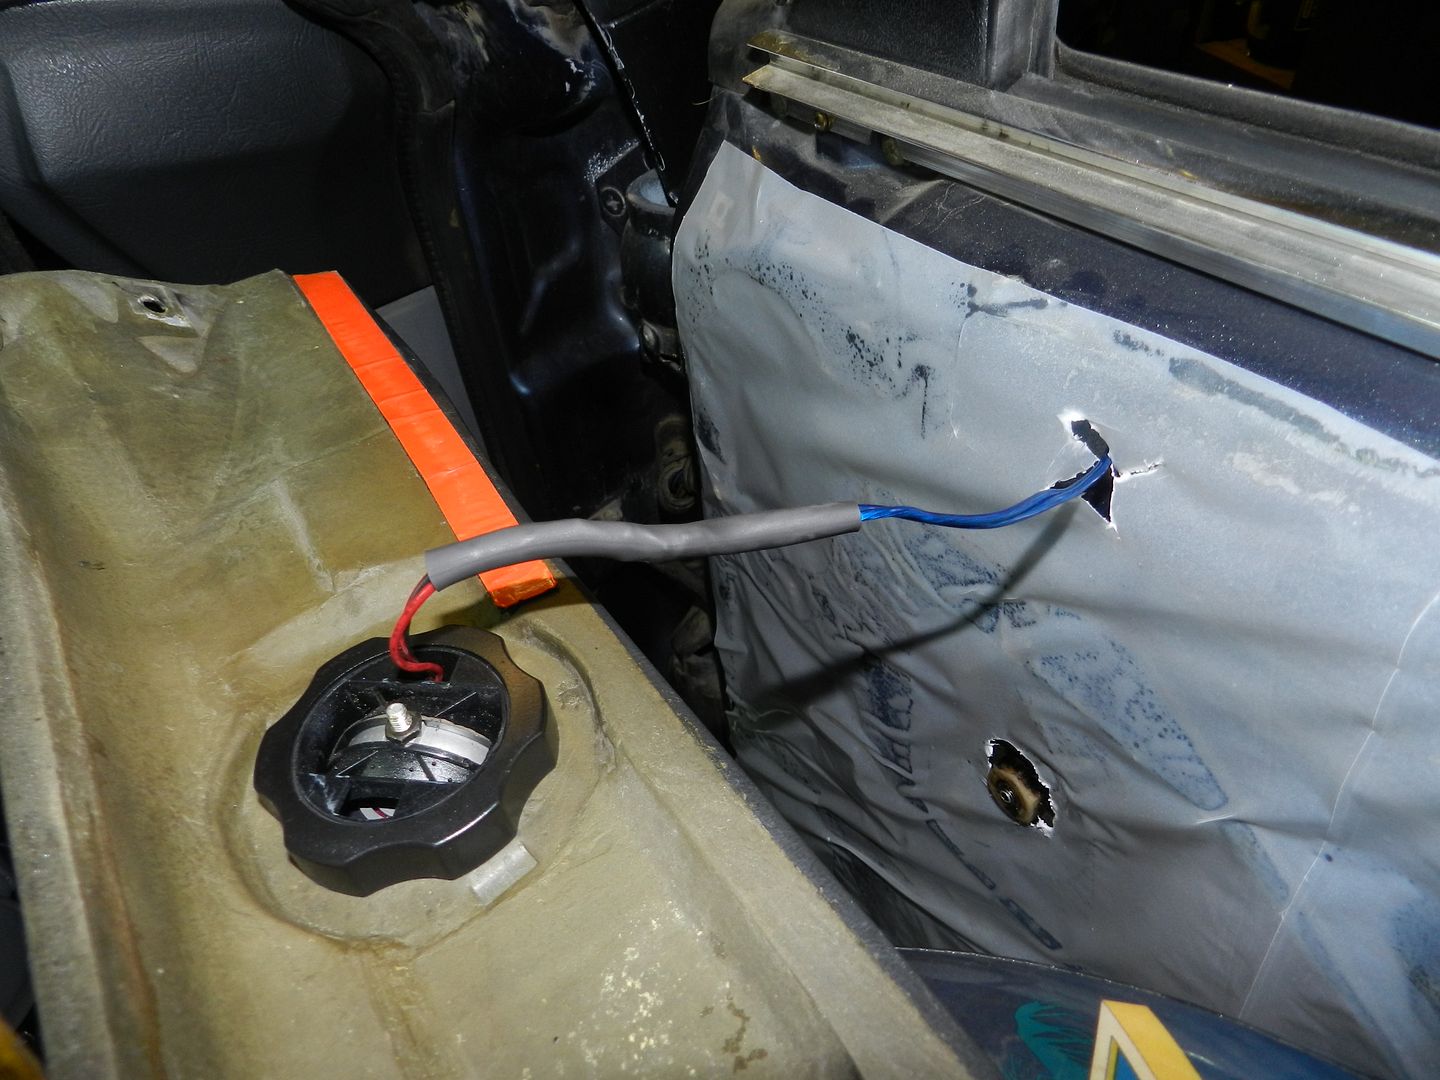
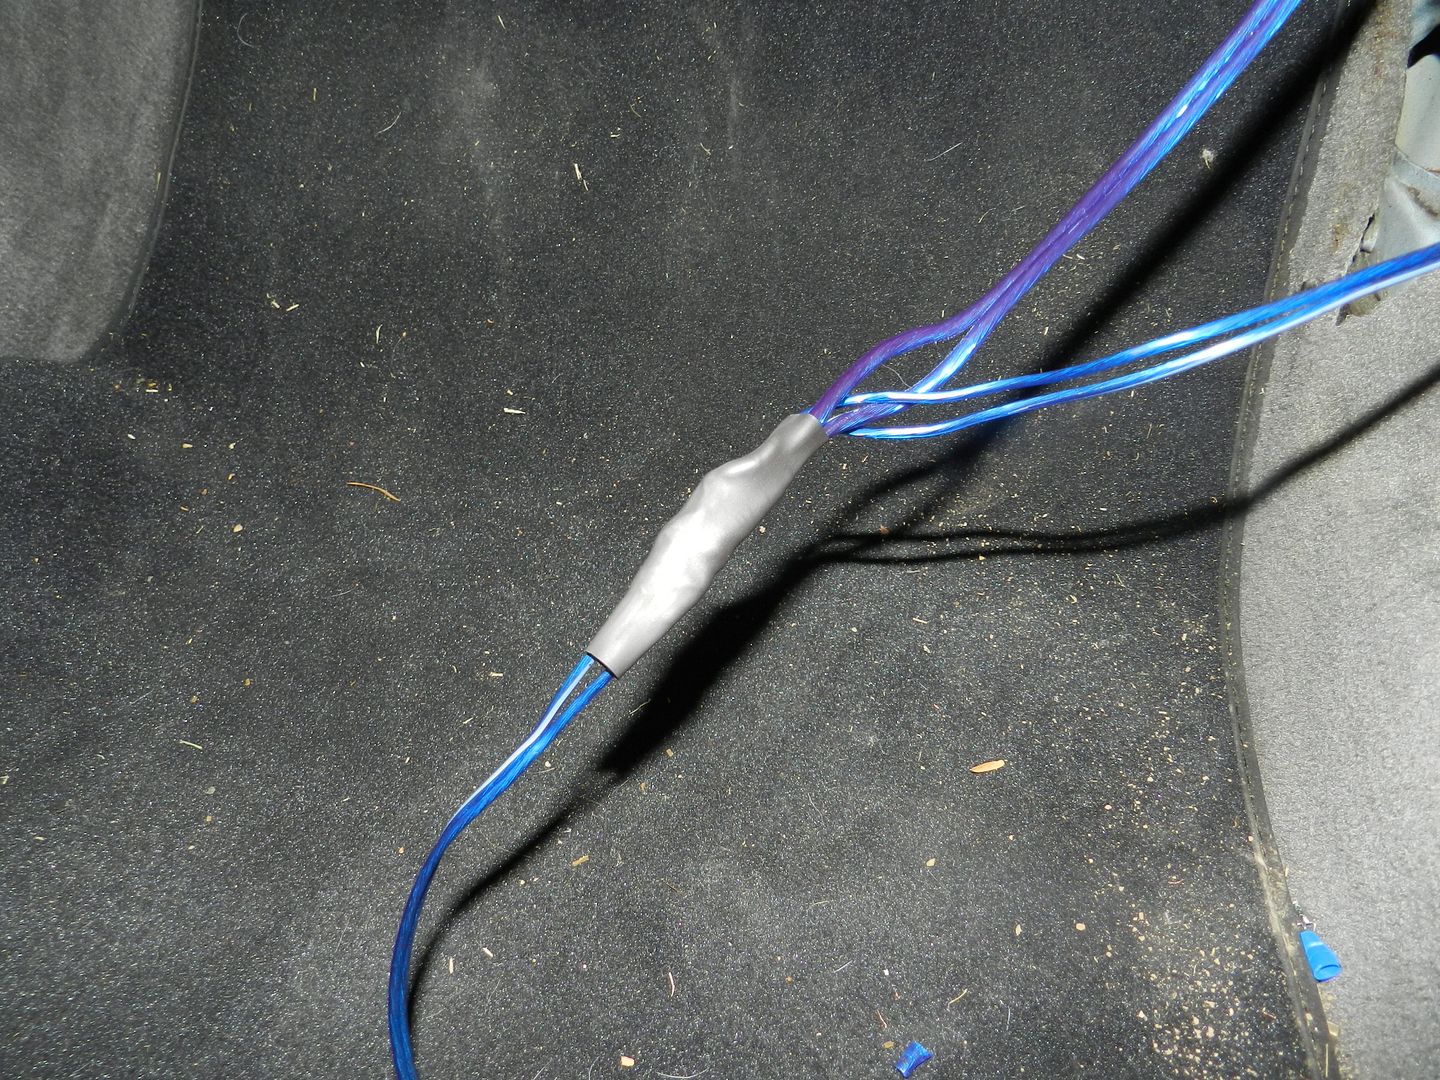
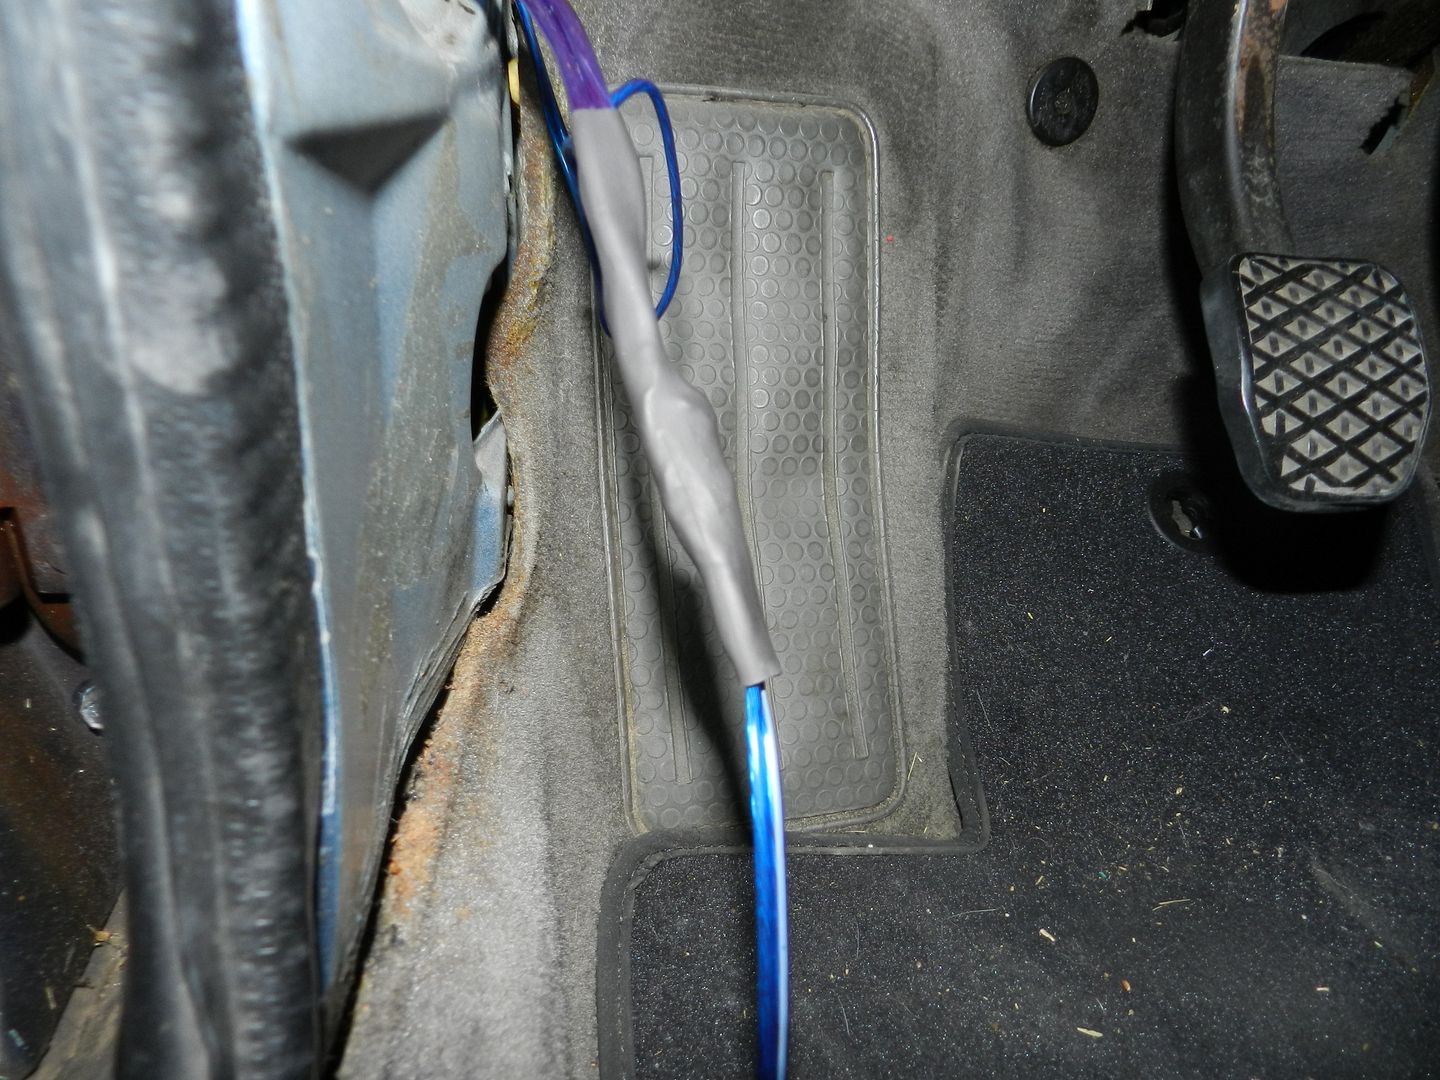
Needed to solder all the wires together:
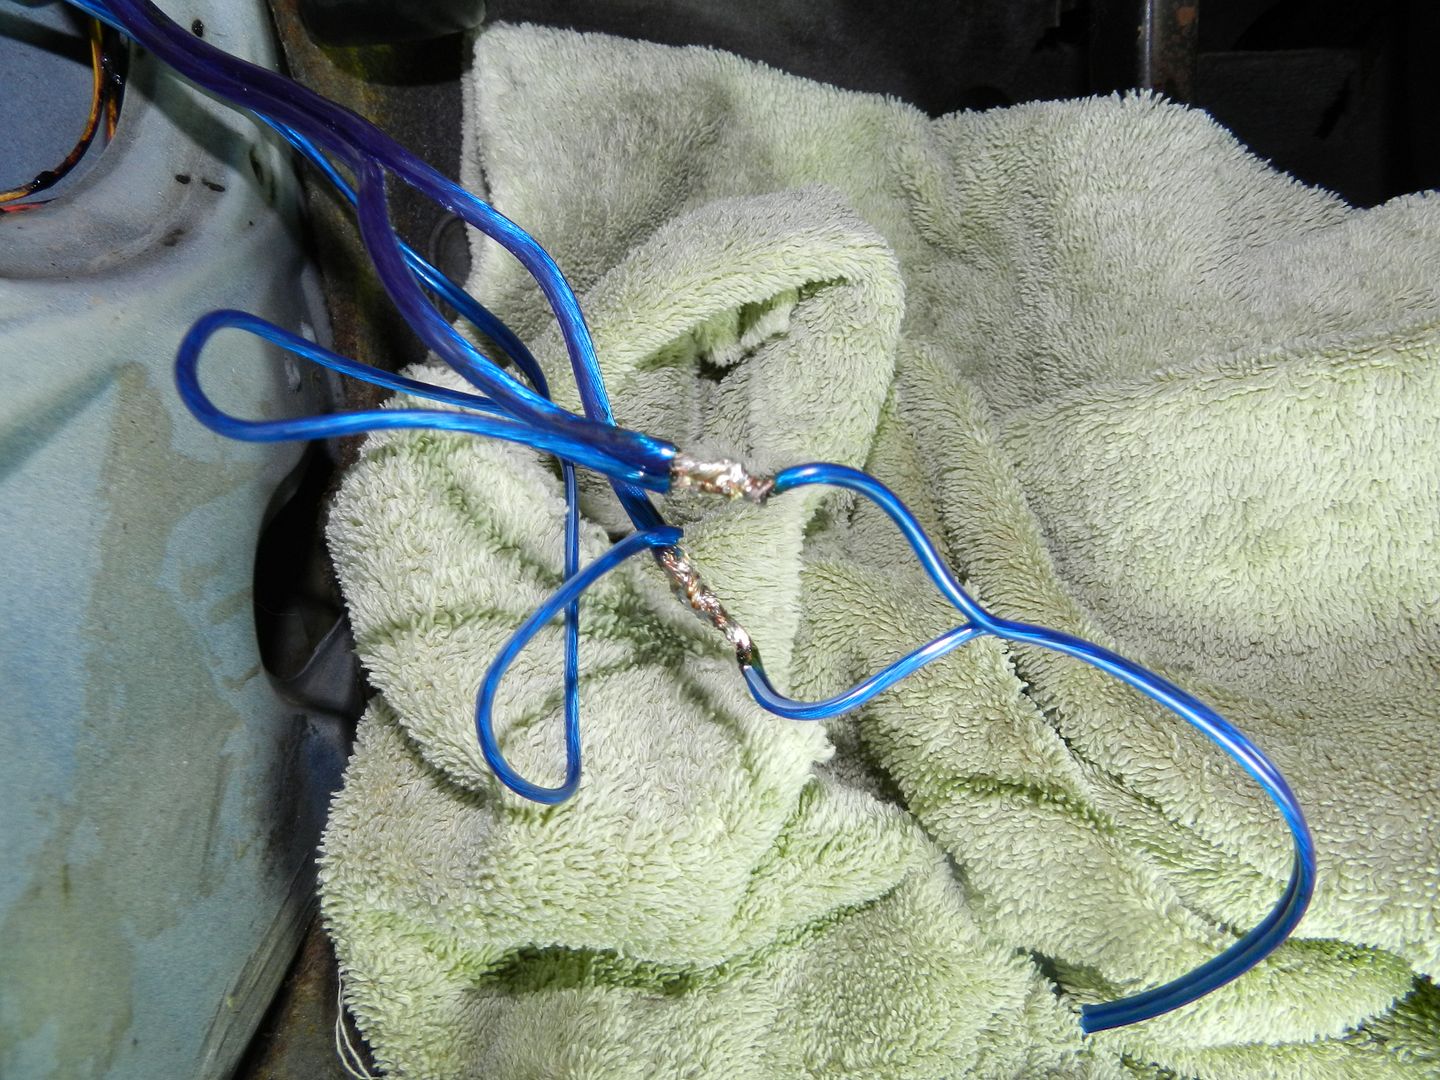
Solders the wires and forgot to put the shrink wrap on this one! :evil:
Quick Fix:
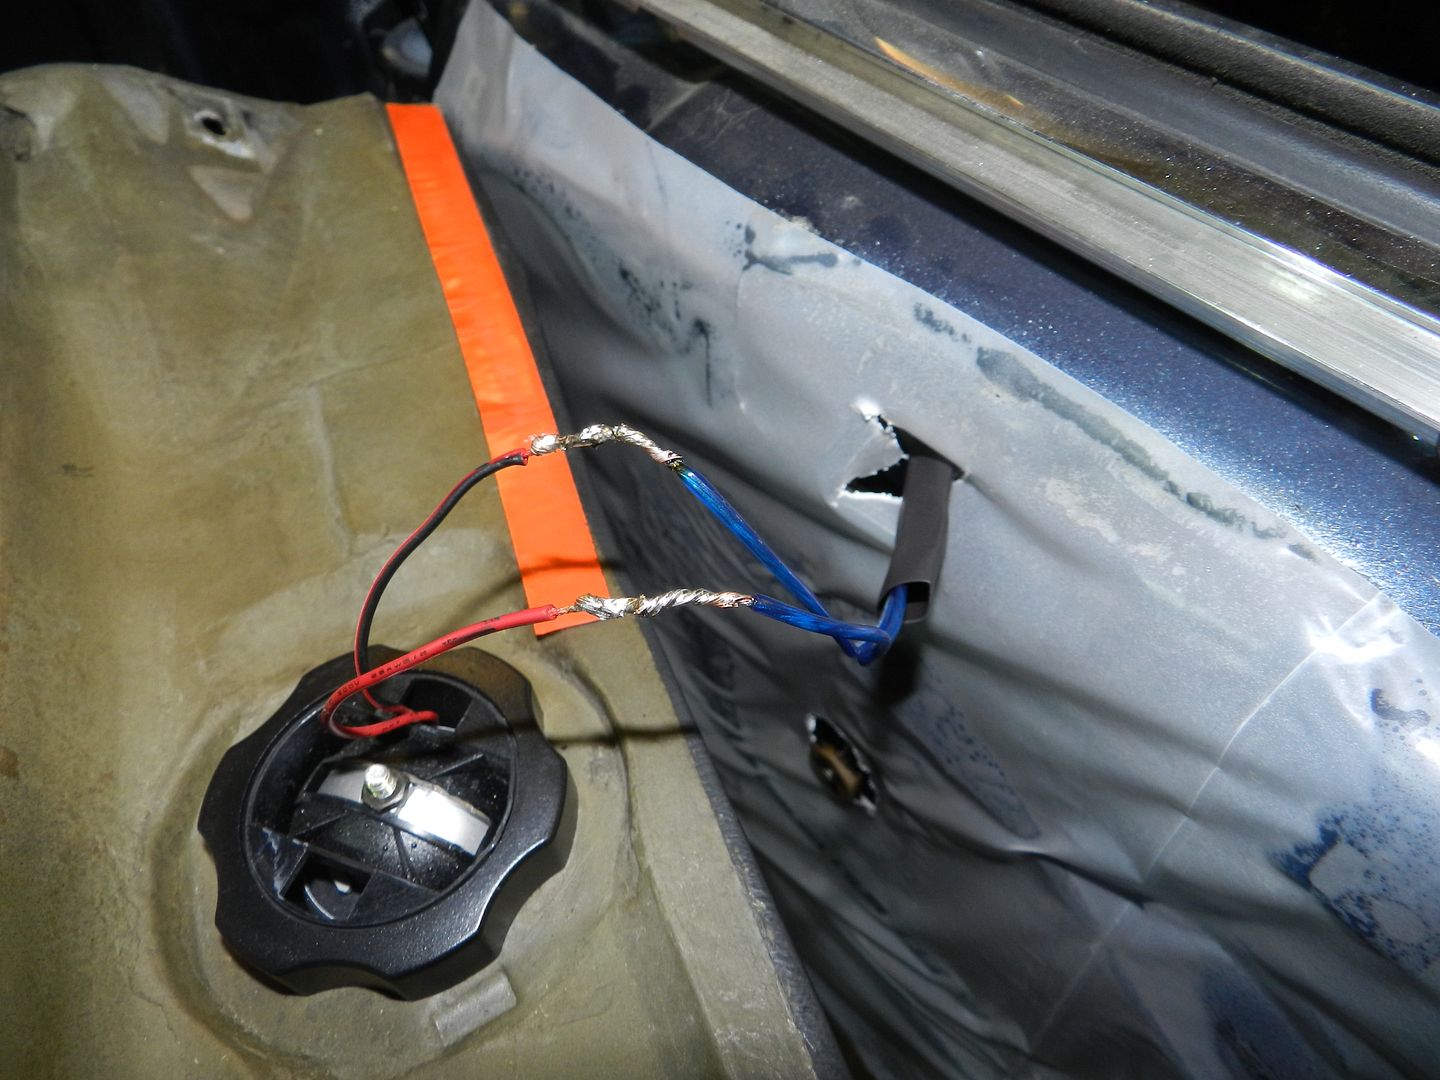
Wrapped them up with some electrical tape and then shrink wrap:
Materials for installation of speakers and door panels.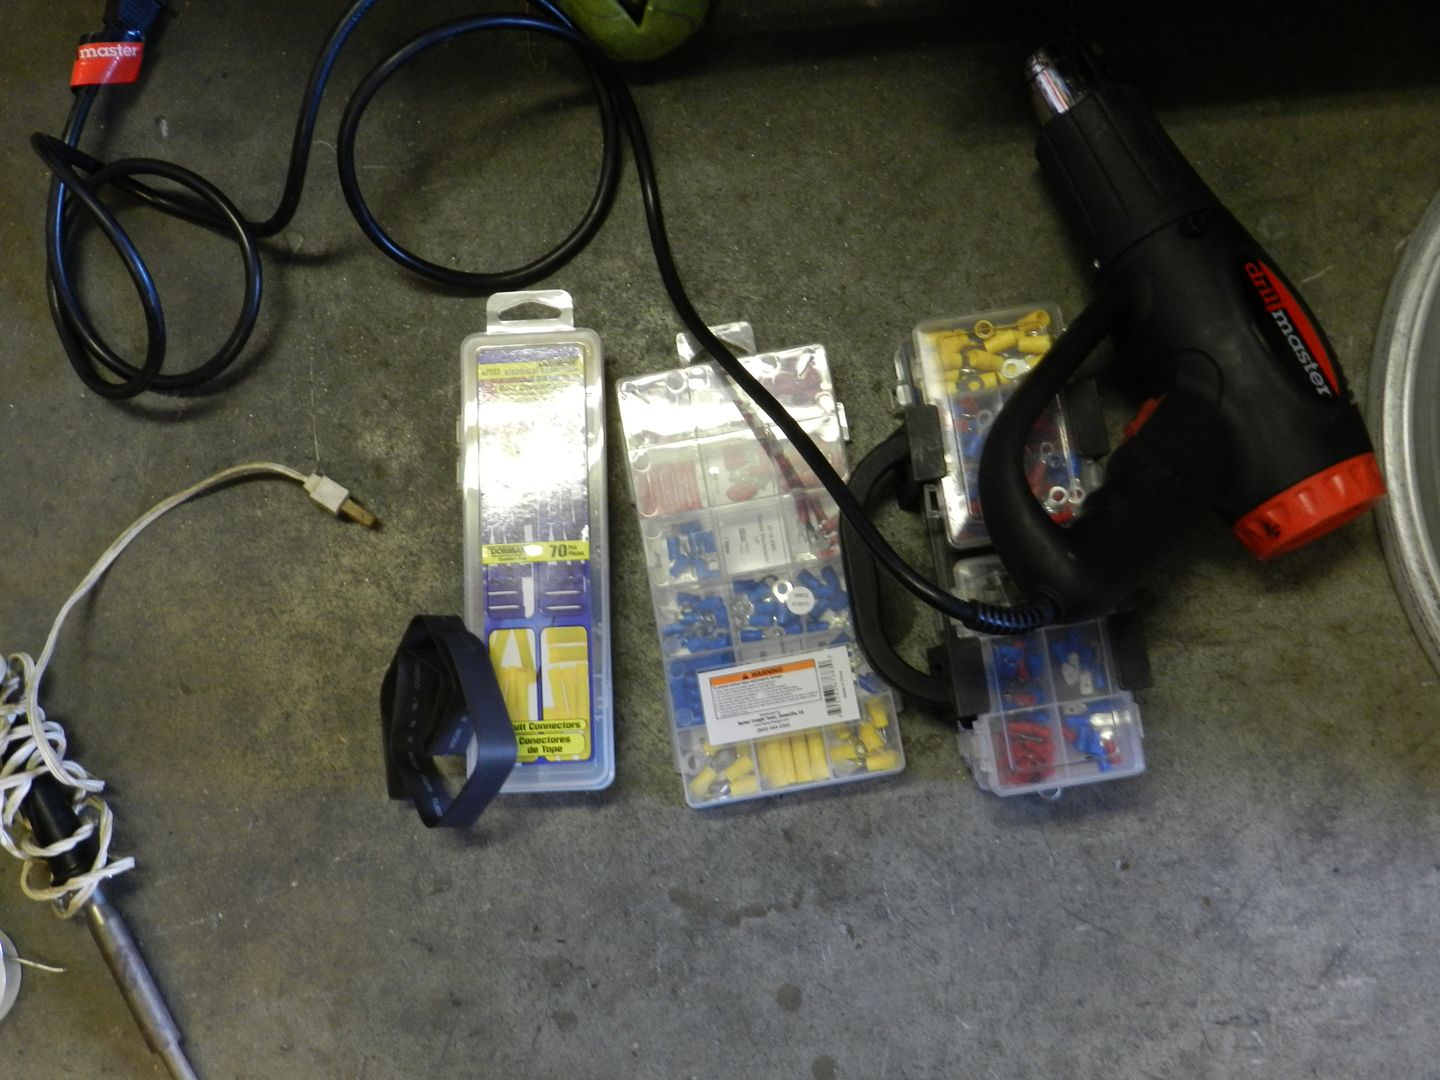
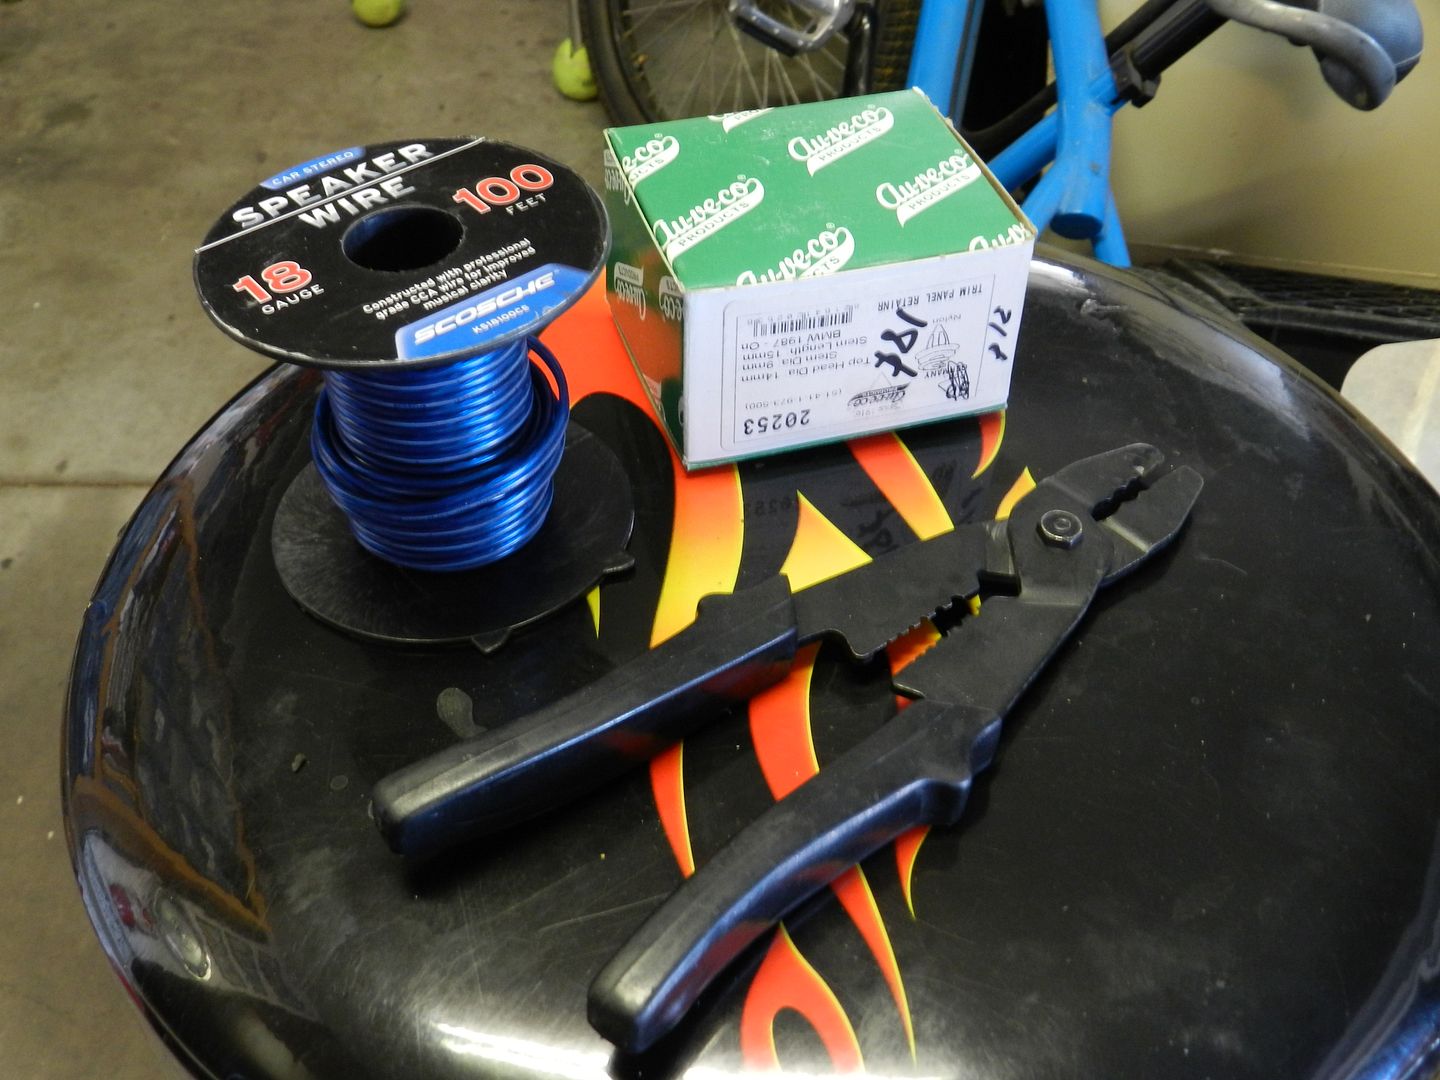
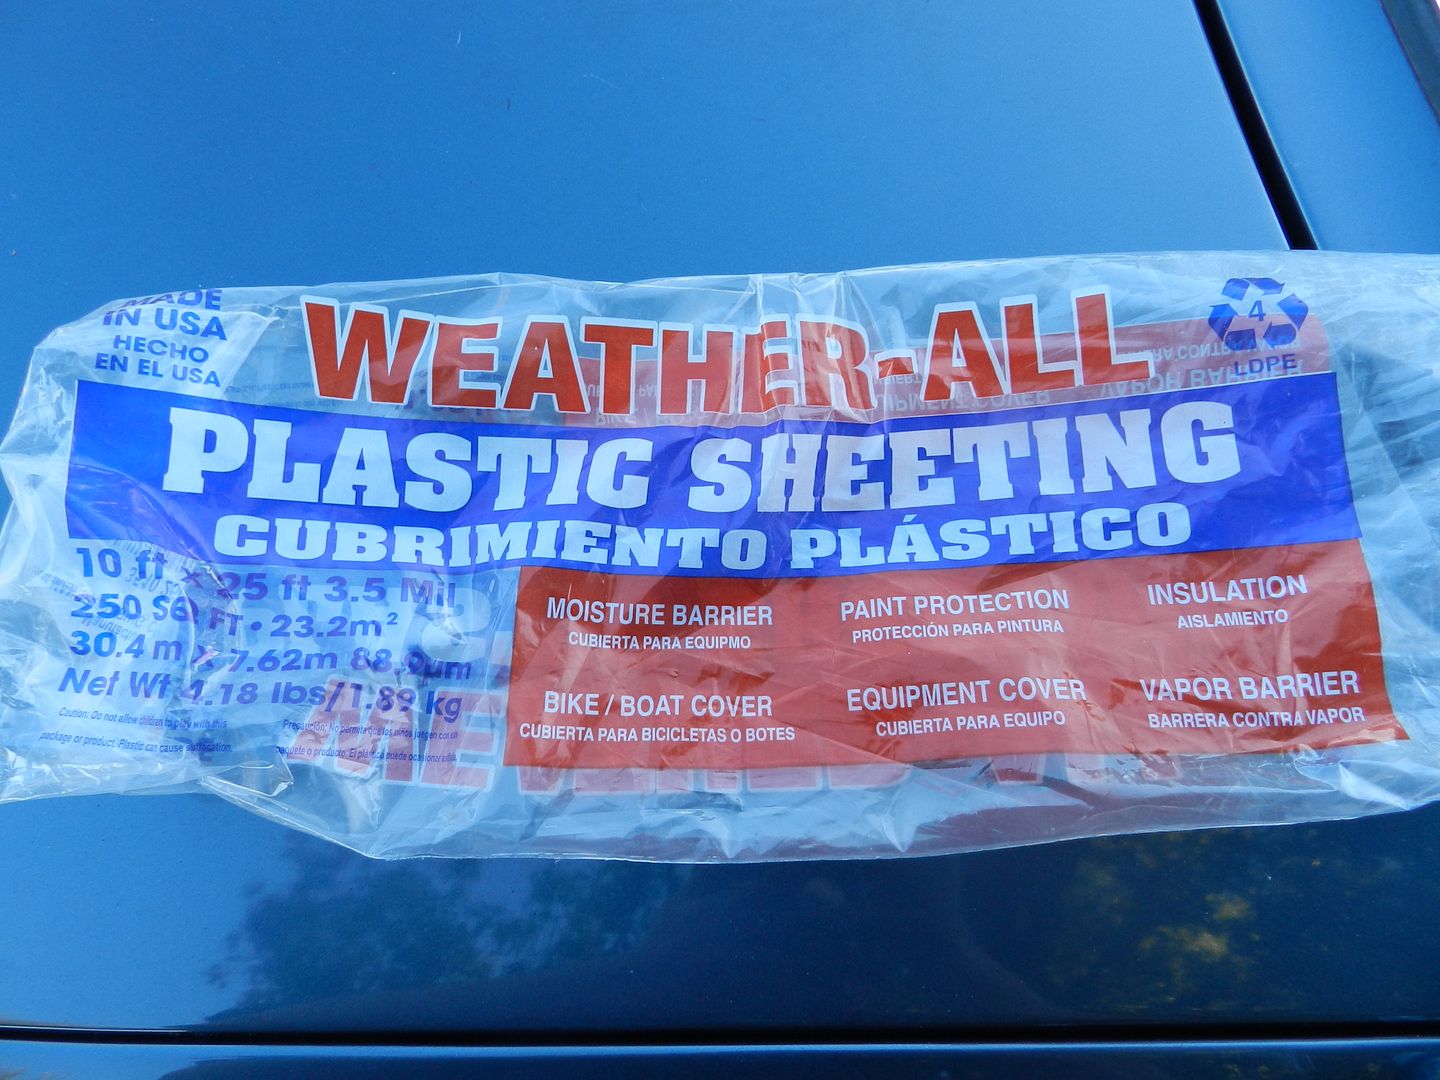
Seems as if I might have bought to much! haha Good thing it was only about $10 for all this material!
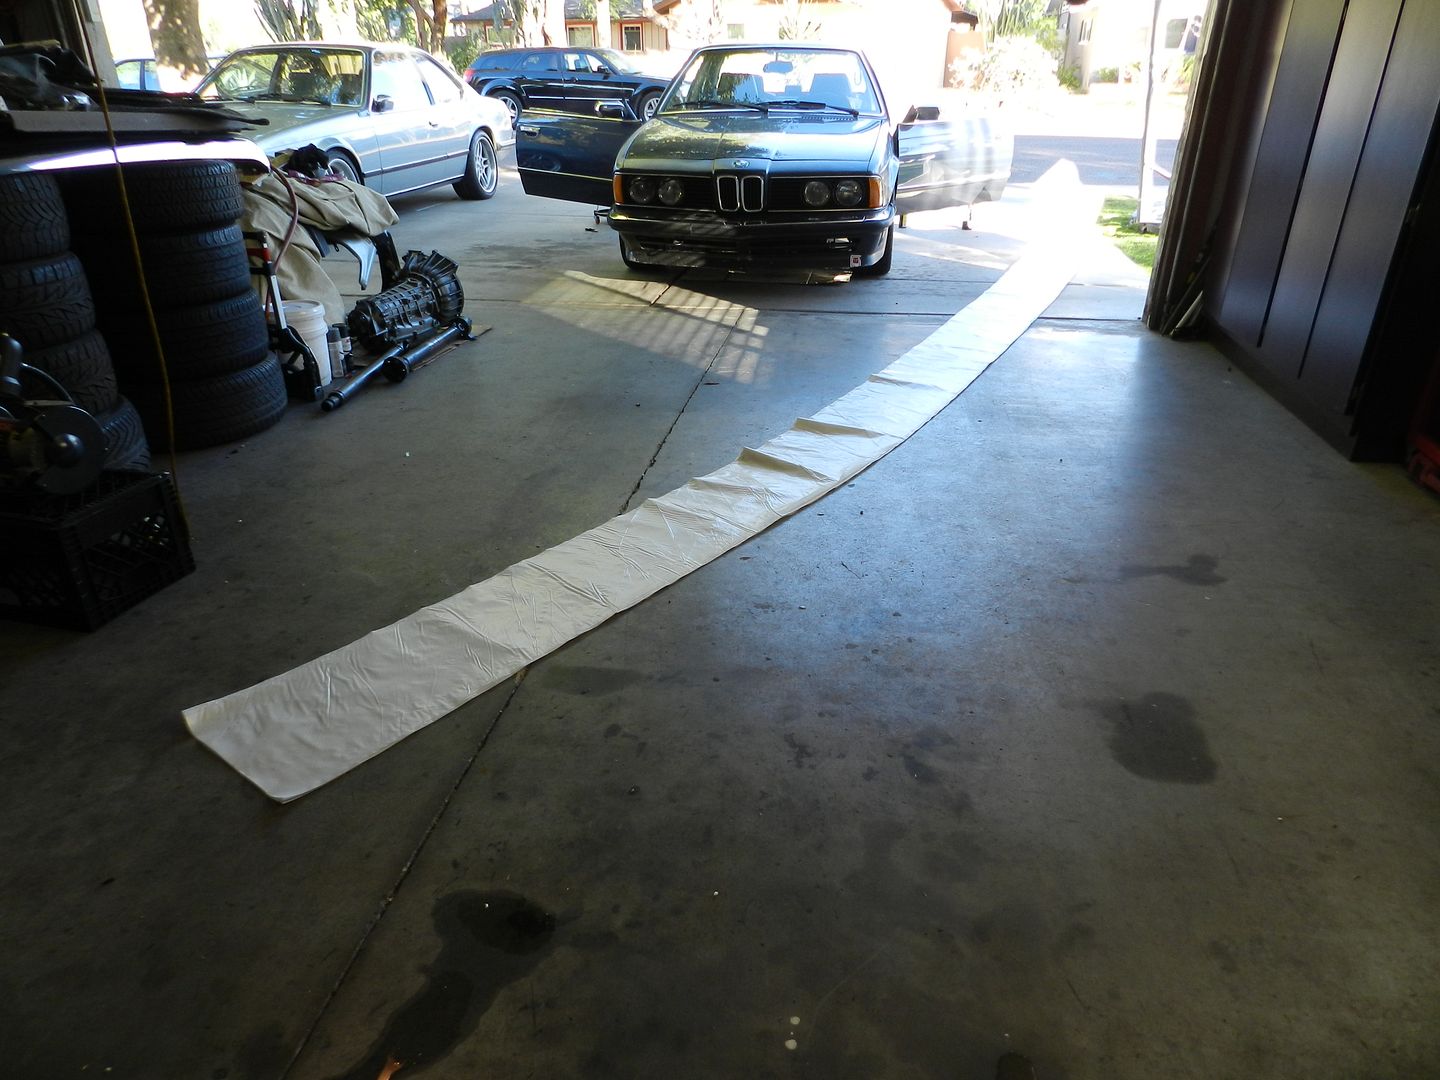

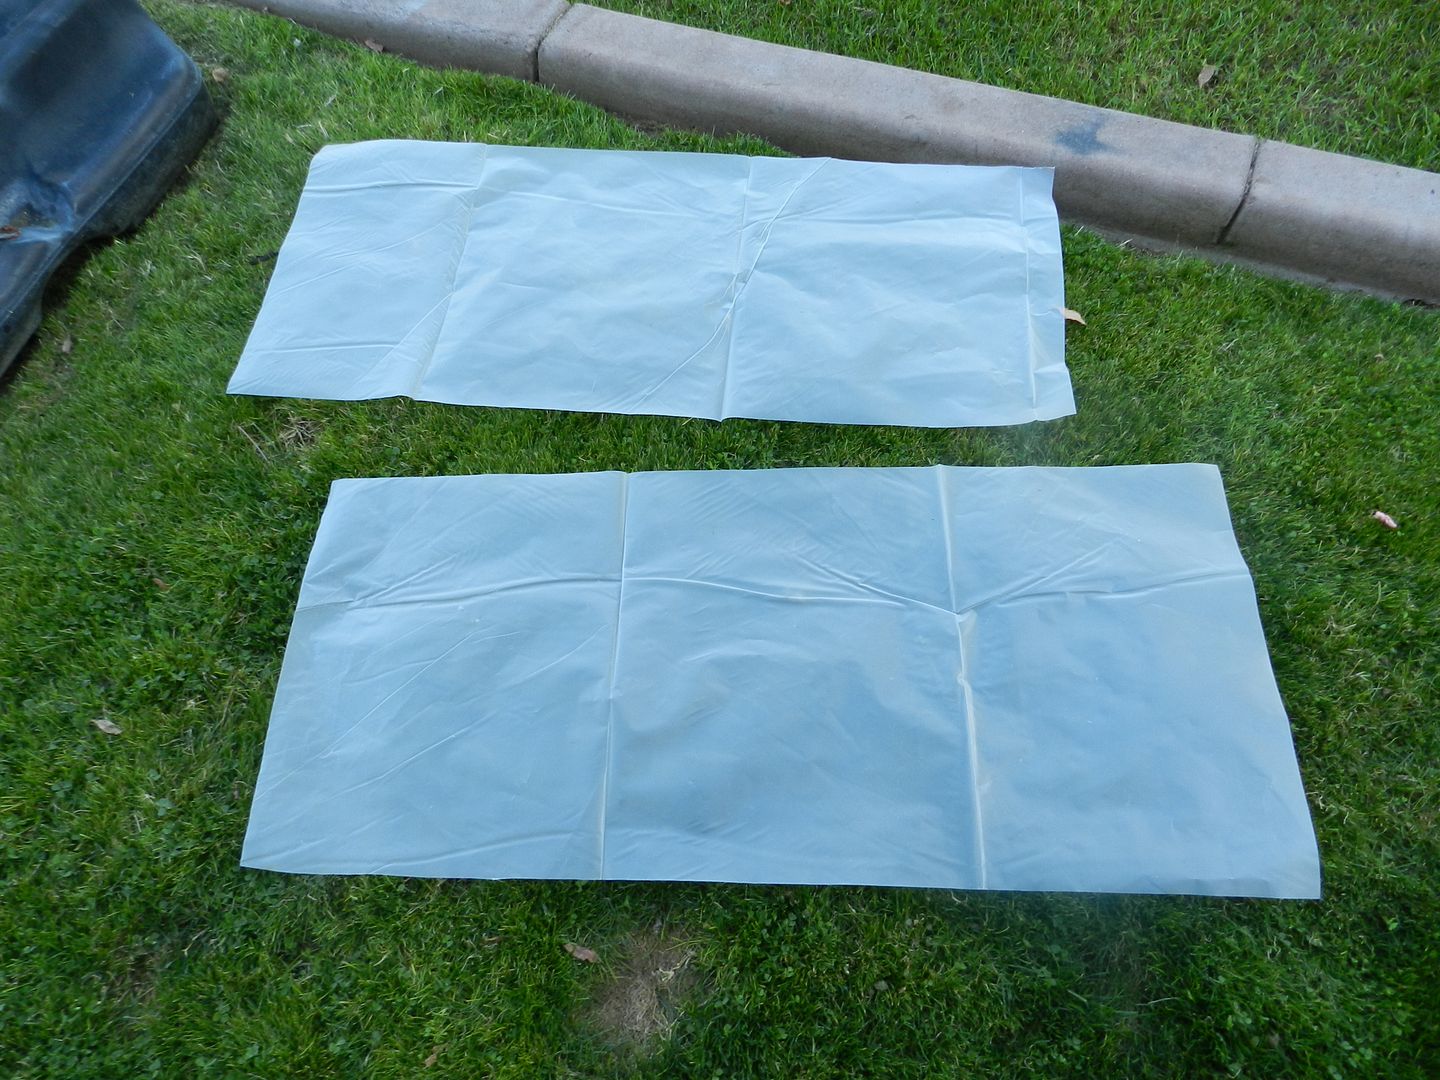
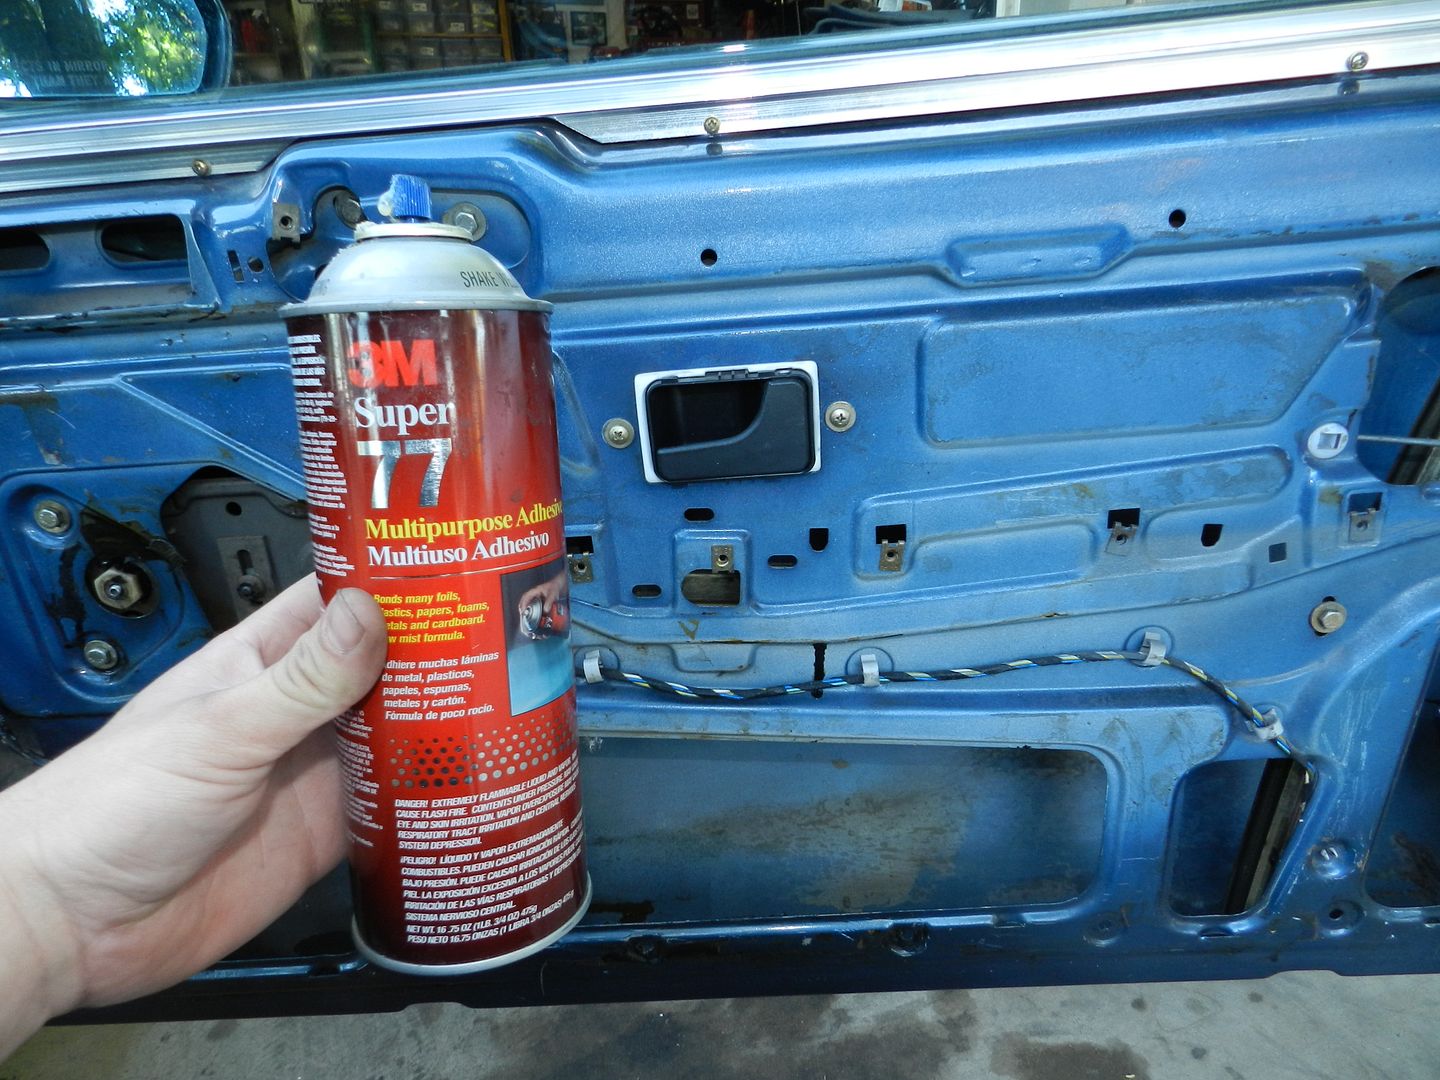
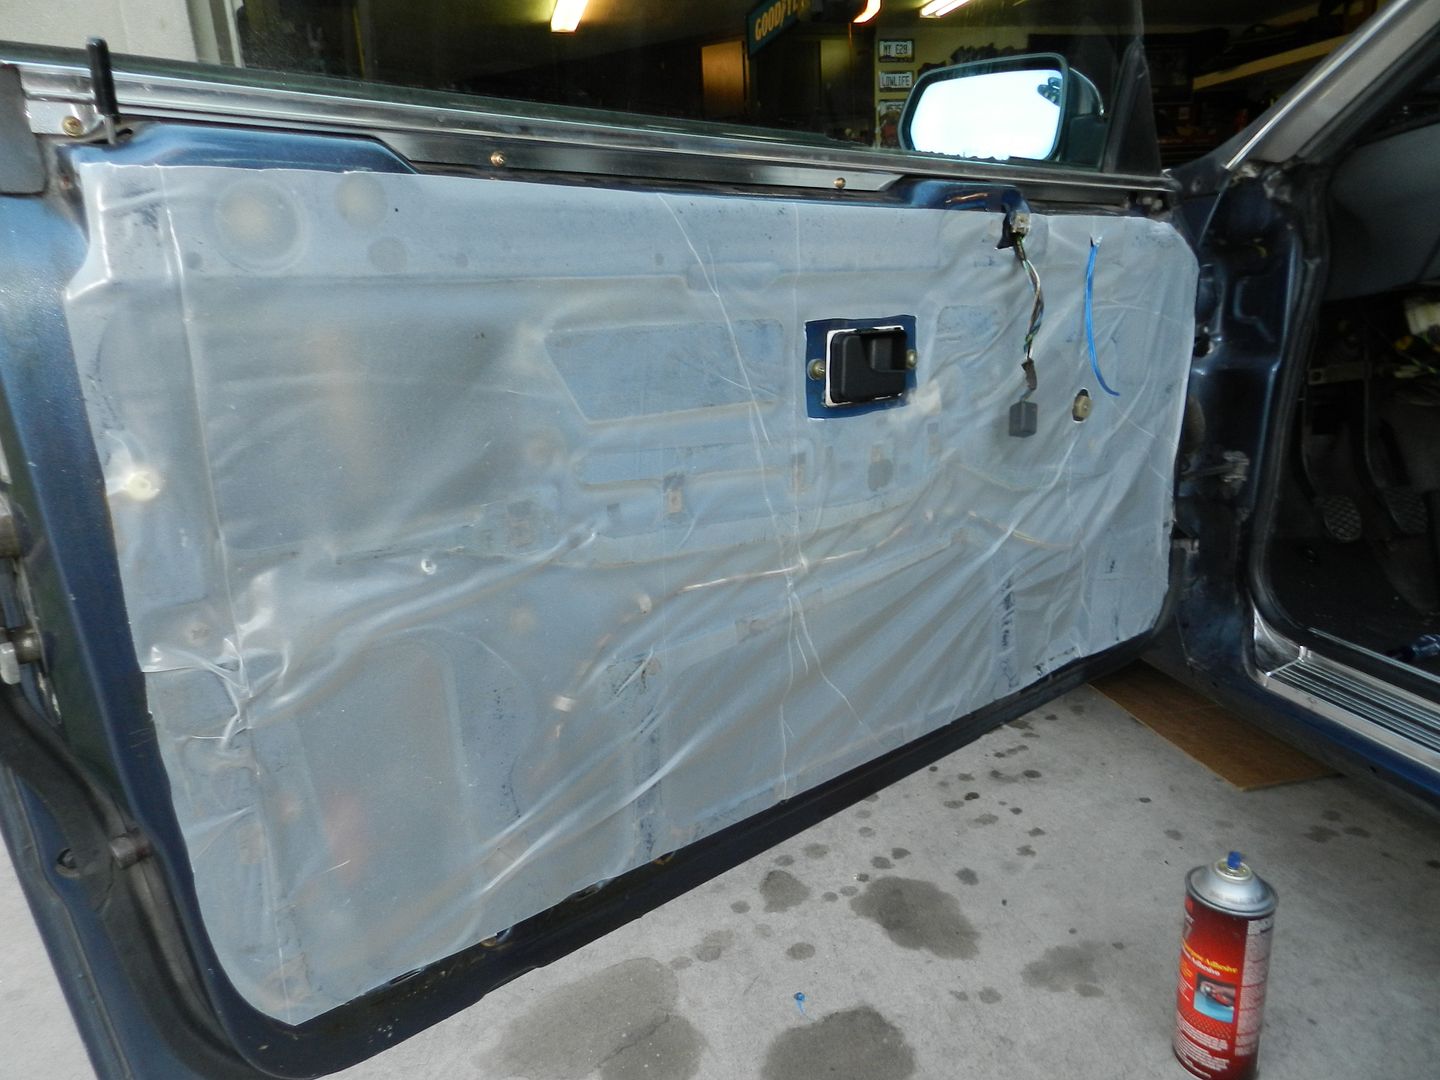
Sprayed the 3m adhesive all over the door and the plastic sheeting:
They aren't perfect but I am was pretty happy with the result. I still need to do some final trimming when the door cards and panels are installed.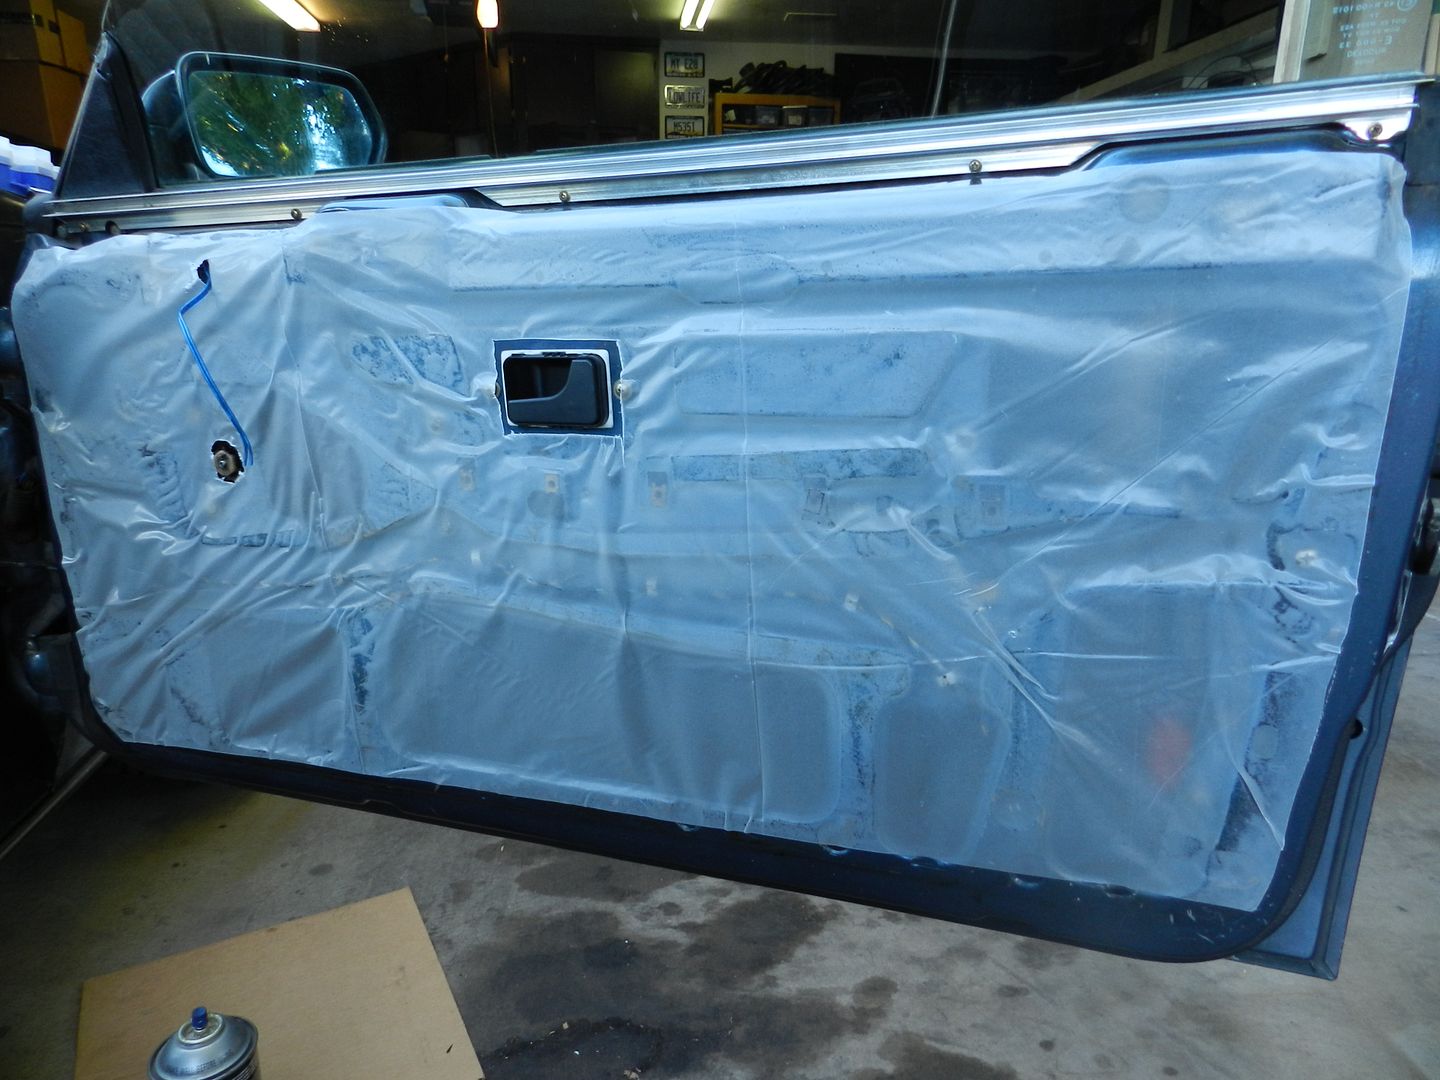
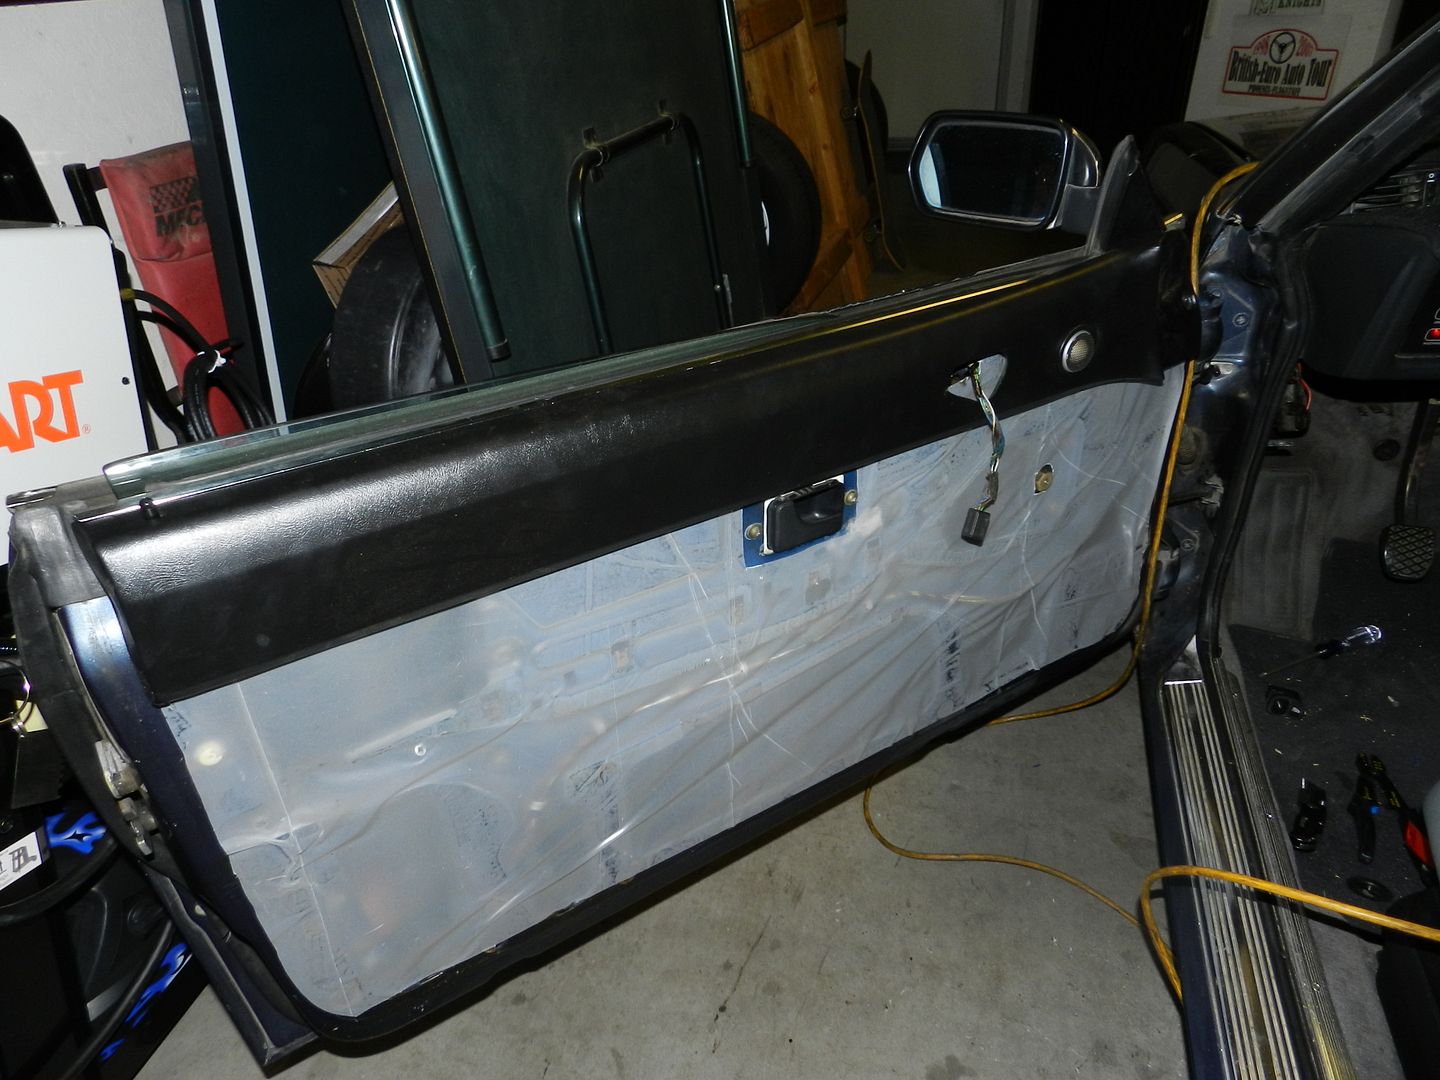
Finally after all that work I get to install the door panels! Here is the easy part or at least thats what I first thought..
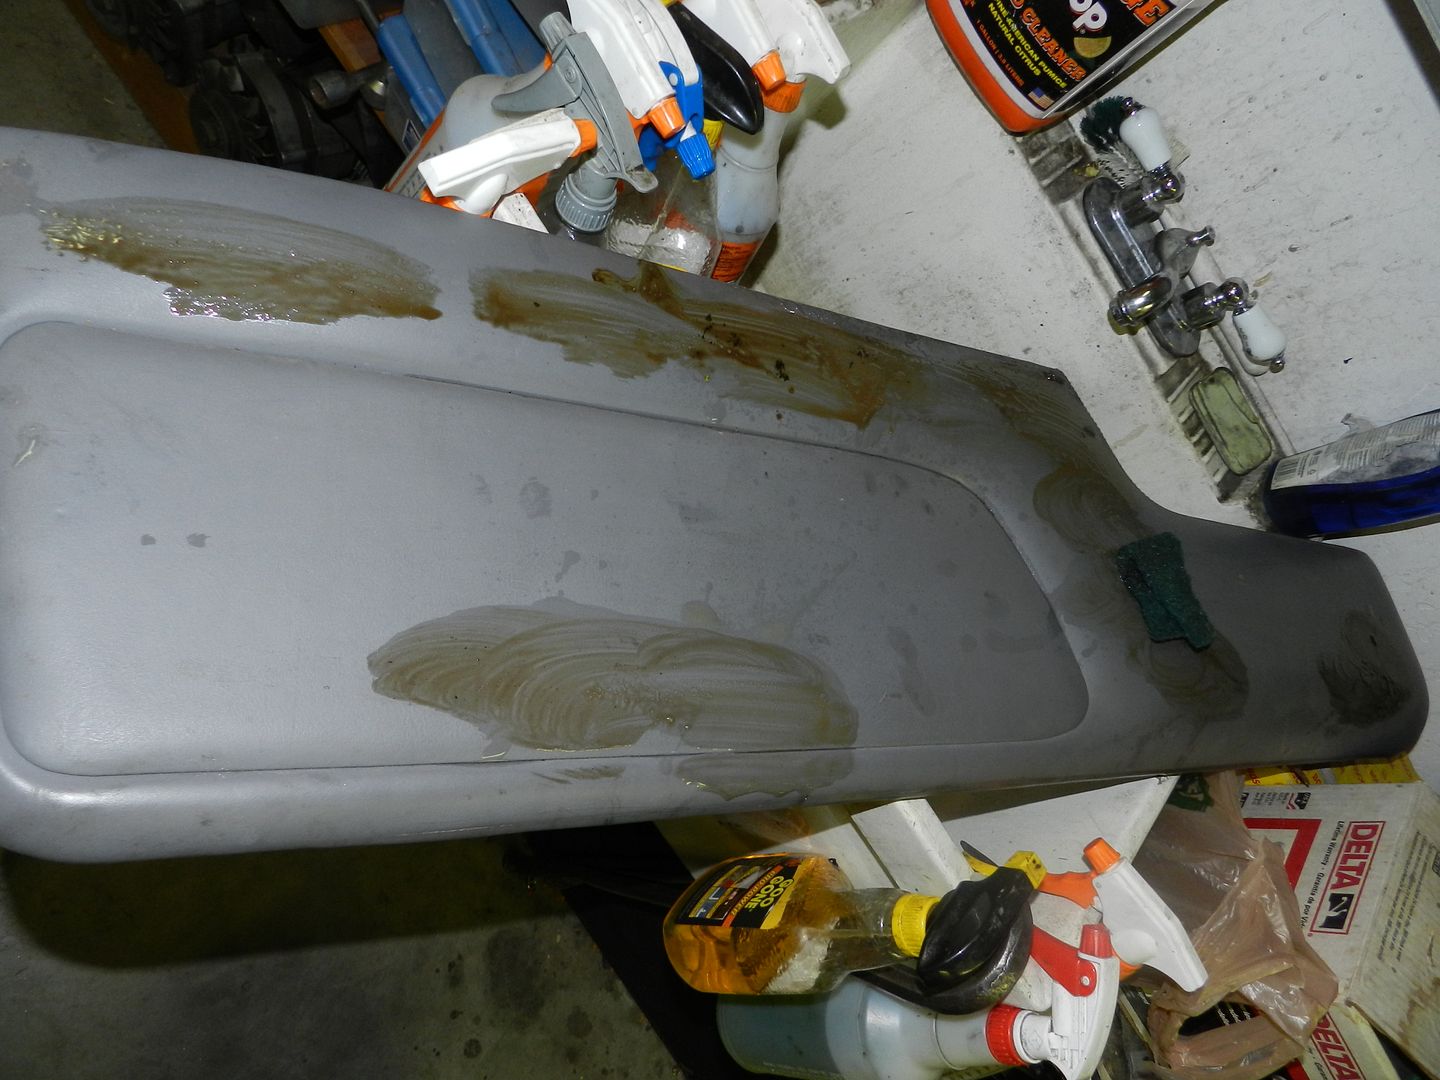
Installation of the door caps:

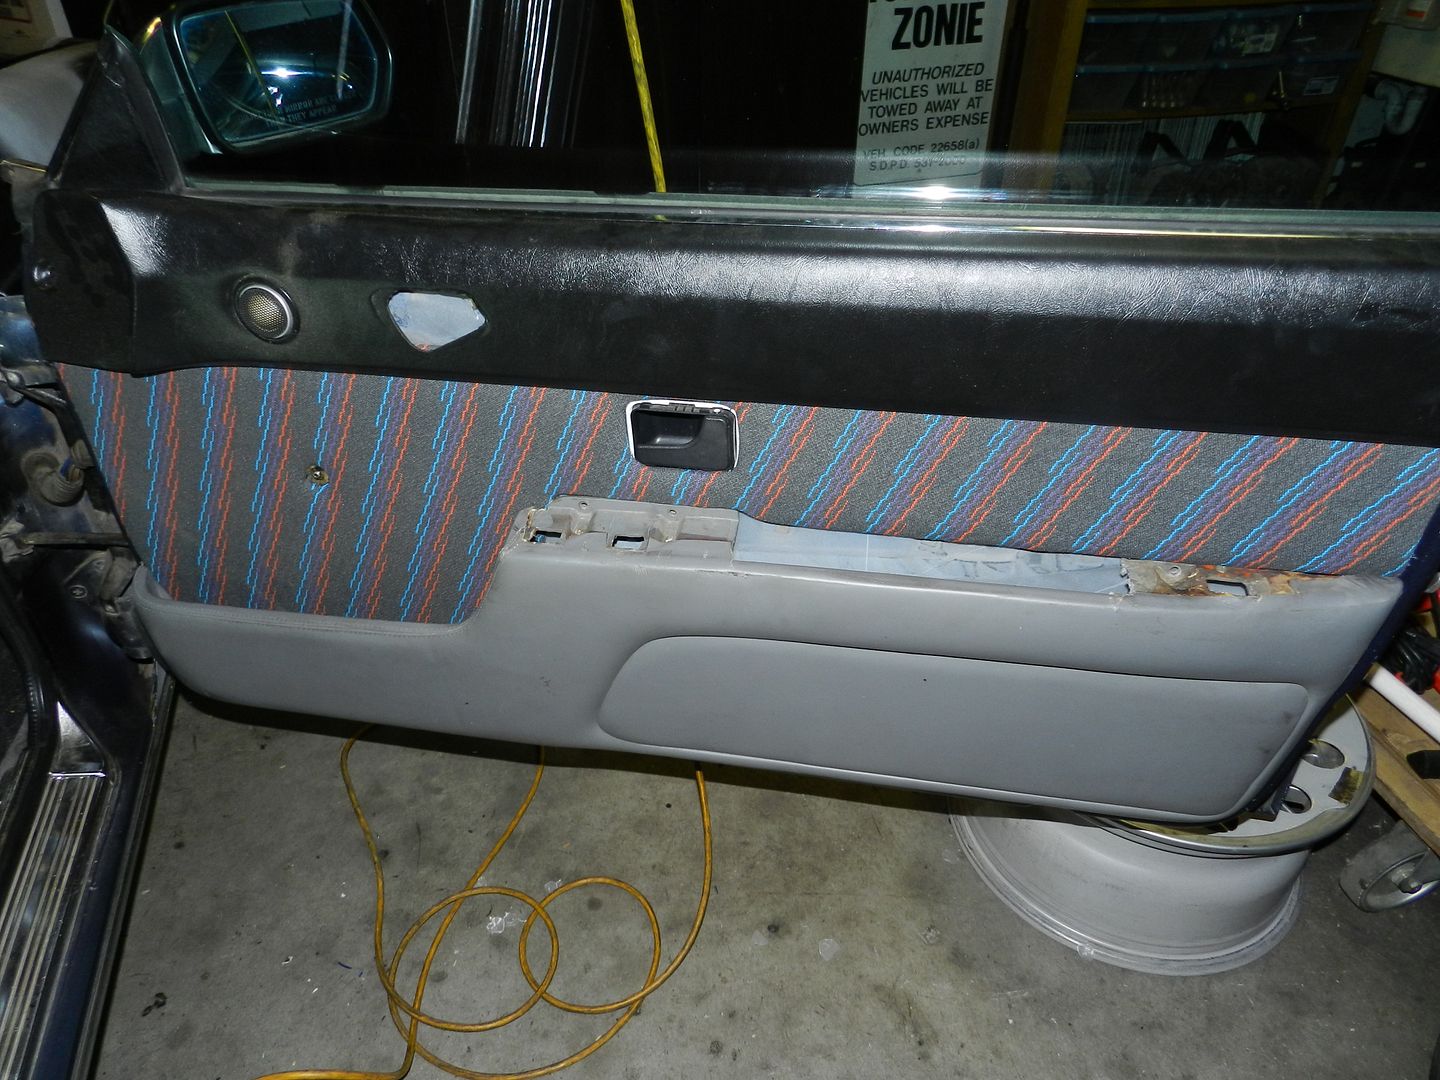
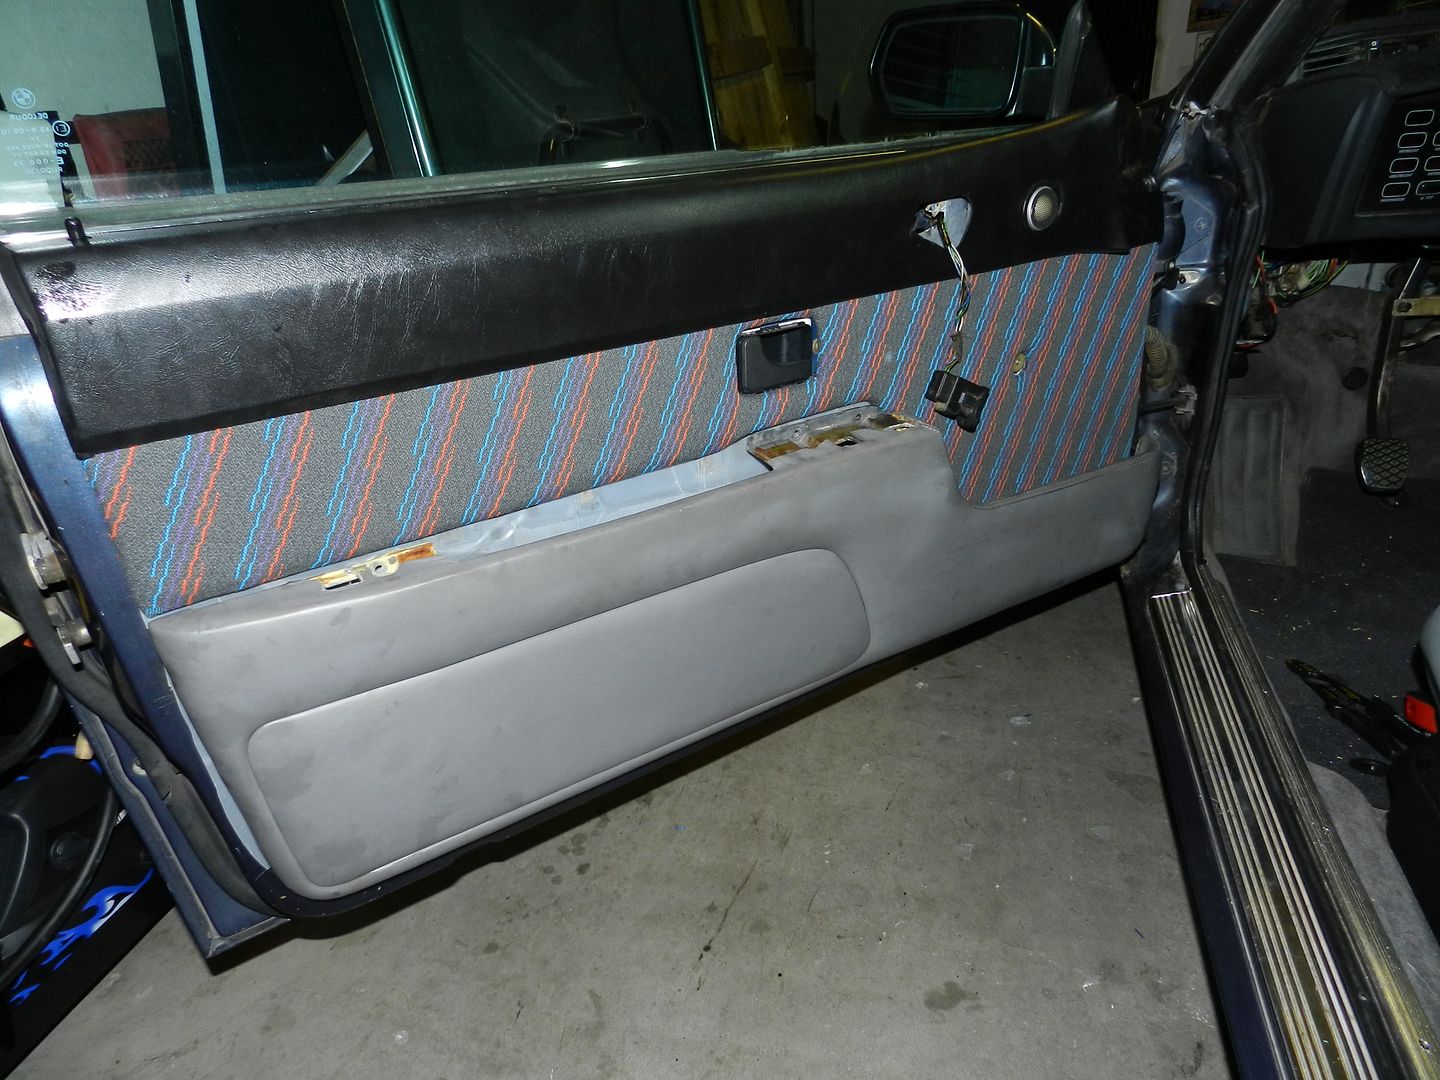
Now the door cards: SOOO PRETTY!!
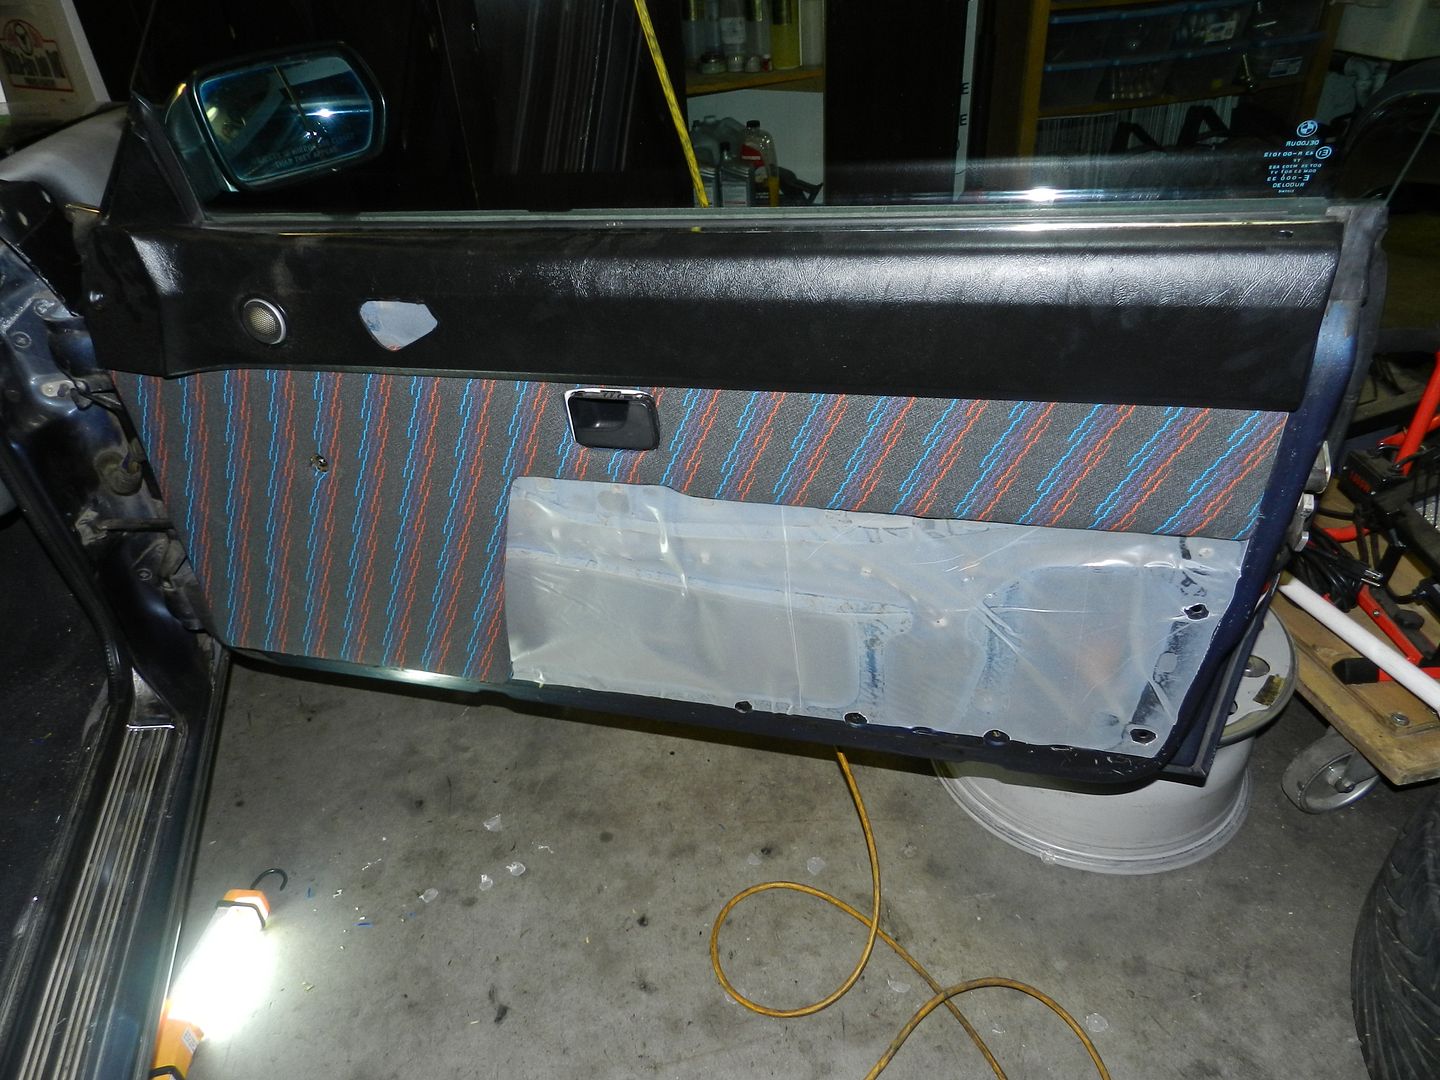
Before Installing the rest of the panels needed to put some new clips and clean them up a little:
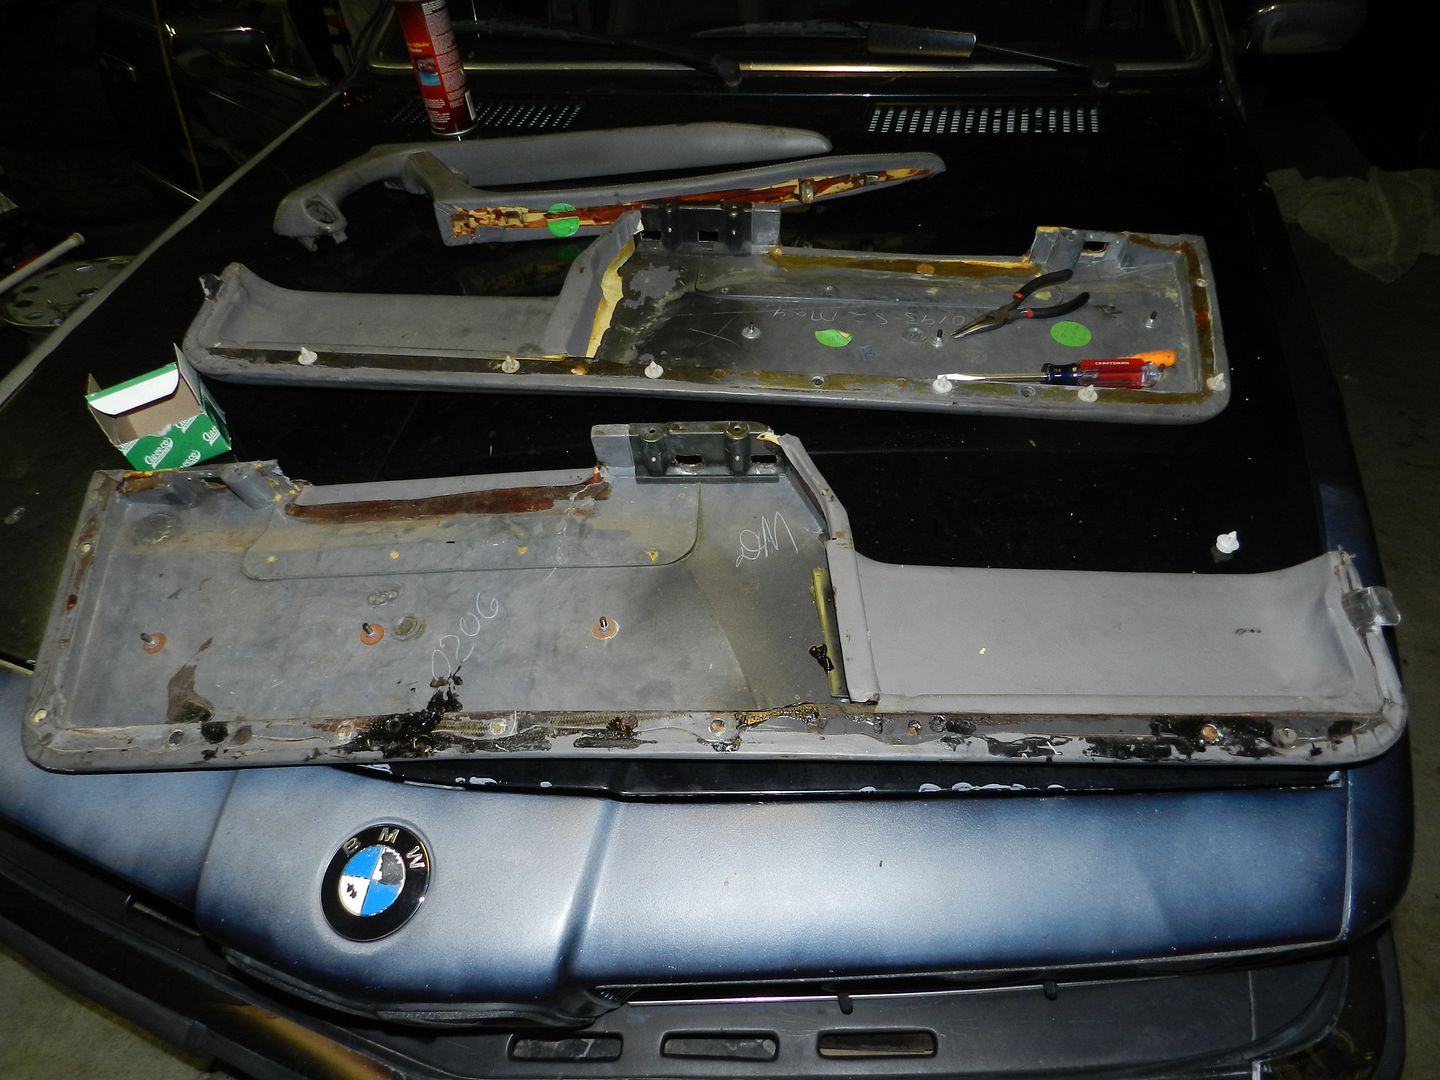
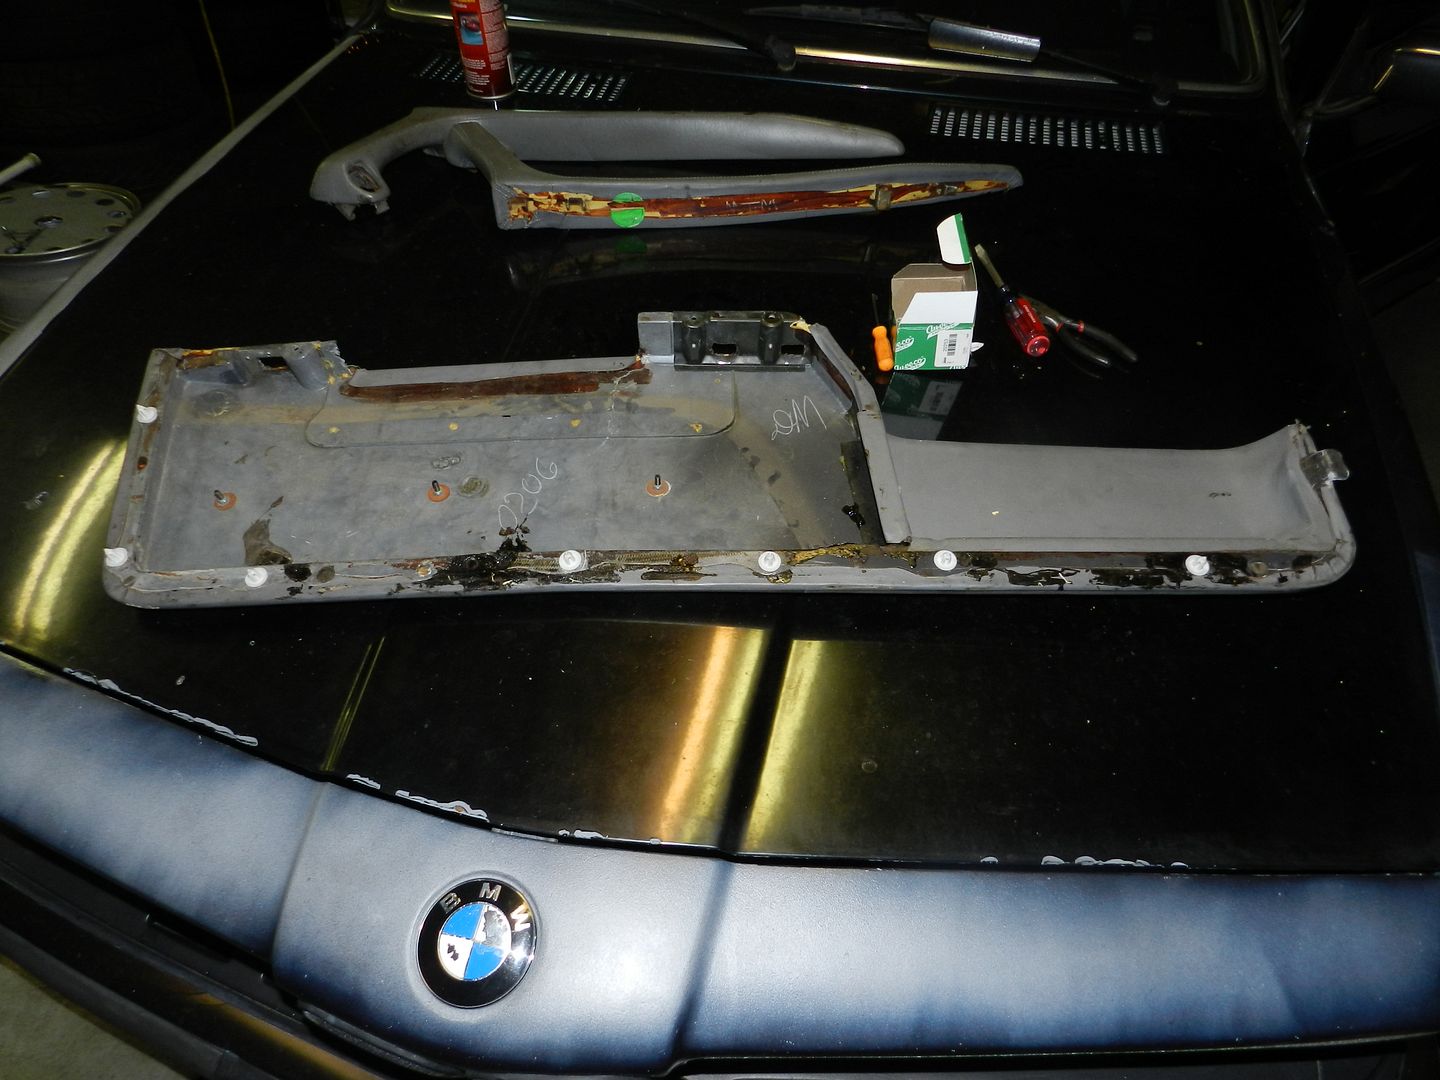
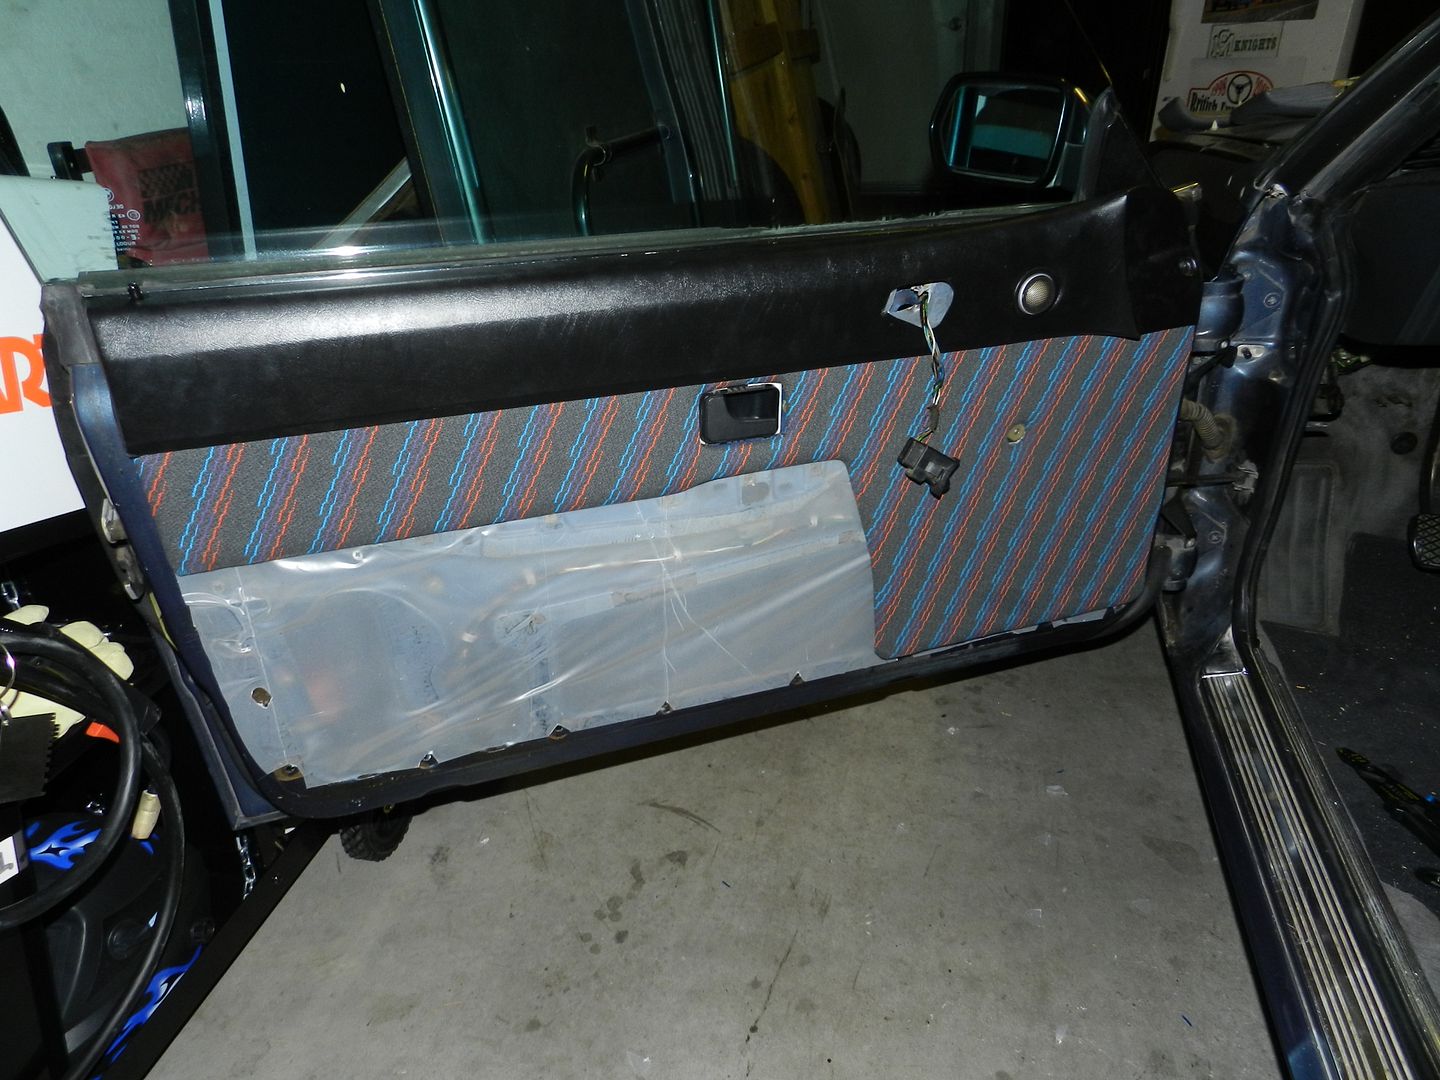
Installed:
I thought I would be able to finished and put the door handles on but was able to because of these few problems..caused by previous owners. (I really tired of fixing his fuck ups!)
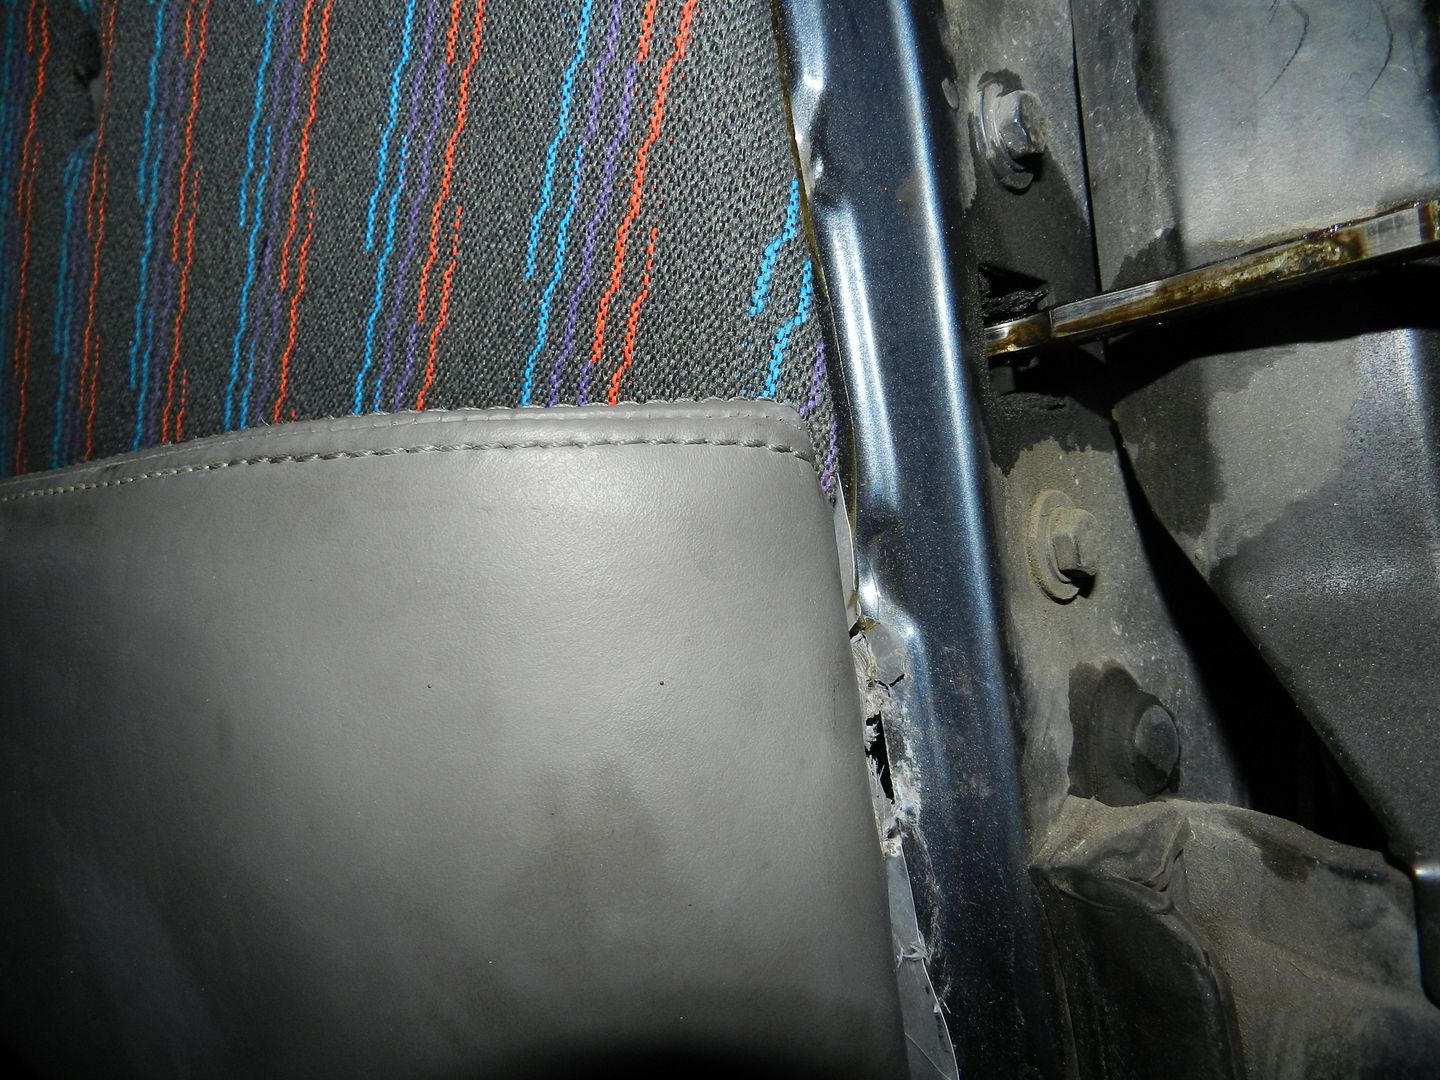
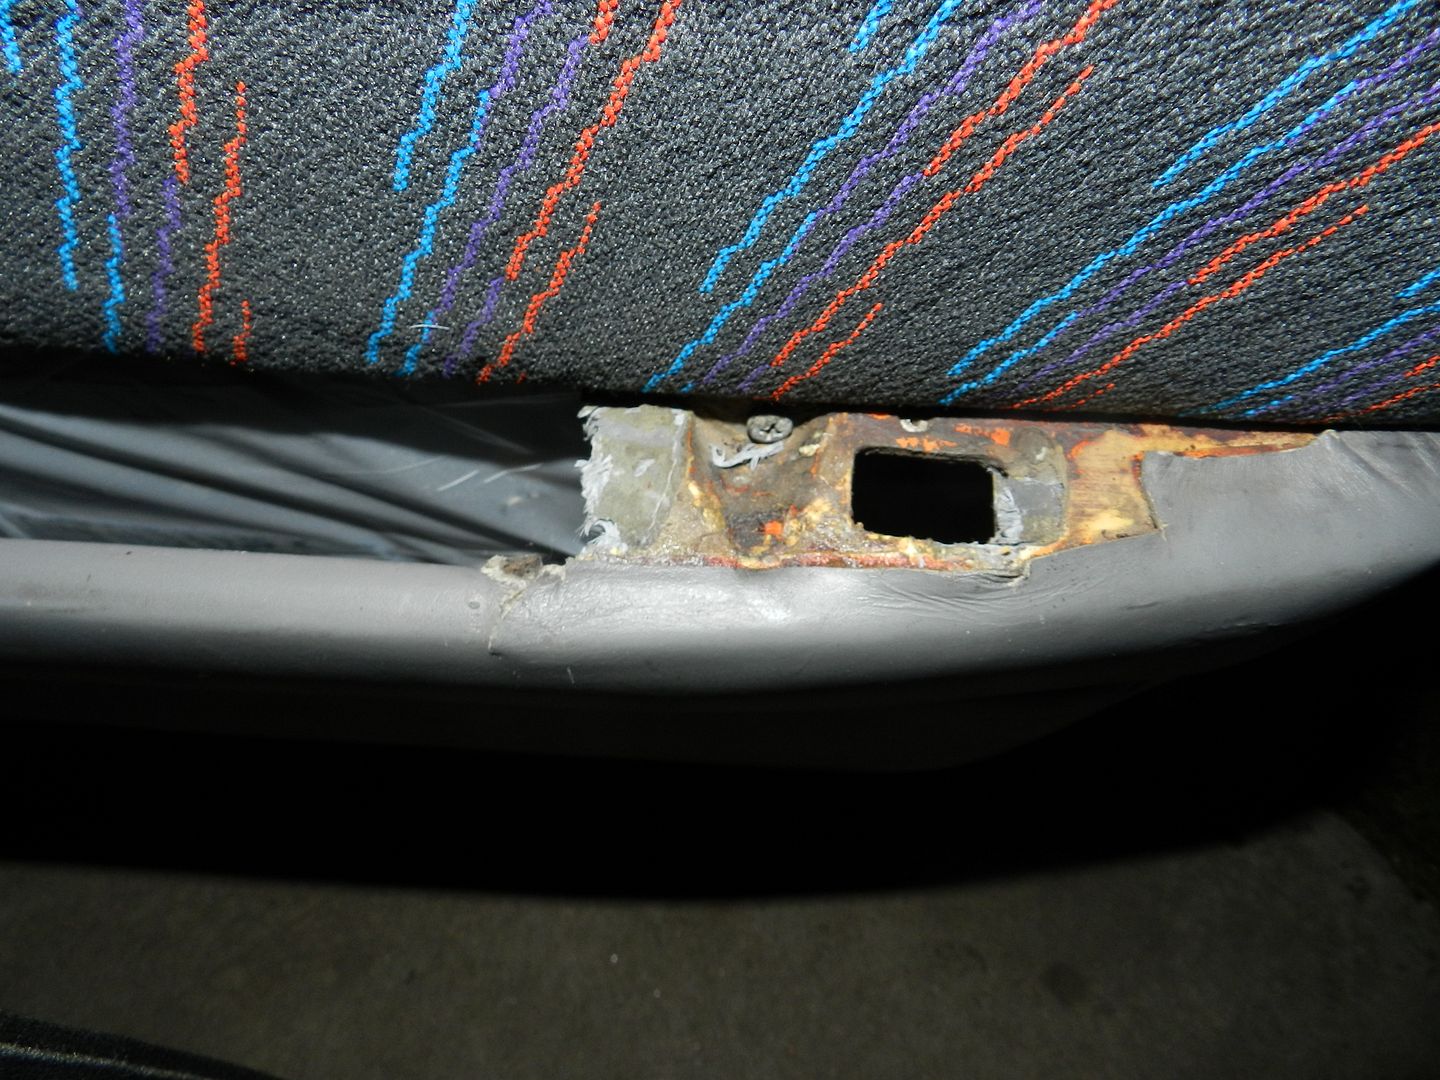
I am sure I will find a way to make it work some time today, but that all for now thanks for looking!
Got some more upgraded parts:
1.)Steering Box Reinforcement
2.) New Exhaust Hangers.
3.) H&R 5mm Spacers


I actually found the spacers on a car at the yard! They were a little rusty when I found them but I hit them with a wire wheel and removed pretty much all the surface rust. Then sprayed them with a clear coat some they won't start rusting again.


Installation:


Fitment Before Spacers:

Driver Side:


Passenger Side:


After Spacers Installed:

Driver Side:


Passenger Side:


I still want to order before getting the corner balancing done:
1.) Sway Bar Reinforcements
2.) Ireland Engineering Rear Camber Kit (mainly this)
Some of peopler were wondering what I used the paint my calipers and I probably sprayed about 5 coats on each Caliper.

So I was able to fix the oil leak. It was the oil pressure sensor. I knew that was the problem I was just to lazy to change it until now! Here are pictures of the culprit!


Old vs. New

Installed:

I also got a 140v Hobart Handler Welder for christmas: I went and bought the welding cart but still need to buy the Argon.


Its go time now!
One day I had tried to unlock my car from the passenger side but wasn't able to lock it either. When I would drive I would here somethings rattling in the door. When I took a second to look at what it was I found this. Glad it was an easy fix.

Installed a new rubber piece:


While I had it opened up I might as well Lubricate all the lock mechanisms and window rails.


Before, I installed my new door panels, I decided to make a plastic sheeting so no water could damage the door cards which are made of a cardboard like material. Since the door panels have tweeter in them I needed to run some wire to them.
Running all the wiring to the doors. I really **** doing wiring!


Needed to solder all the wires together:


Solders the wires and forgot to put the shrink wrap on this one! :evil:

Quick Fix:

Wrapped them up with some electrical tape and then shrink wrap:


Materials for installation of speakers and door panels.


Seems as if I might have bought to much! haha Good thing it was only about $10 for all this material!


Sprayed the 3m adhesive all over the door and the plastic sheeting:


They aren't perfect but I am was pretty happy with the result. I still need to do some final trimming when the door cards and panels are installed.


Finally after all that work I get to install the door panels! Here is the easy part or at least thats what I first thought..
Installation of the door caps:


Now the door cards: SOOO PRETTY!!


Before Installing the rest of the panels needed to put some new clips and clean them up a little:


Installed:


I thought I would be able to finished and put the door handles on but was able to because of these few problems..caused by previous owners. (I really tired of fixing his fuck ups!)


I am sure I will find a way to make it work some time today, but that all for now thanks for looking!


Comment