
-
Really enjoying reading the process and excited to see where she's at now! Props for being so passionate about something so differentLeave a comment:
-
Like has been said, I love the updates but I'm a bit lost in the timeline. At what point are we at now?Leave a comment:
-
After the body was all finished up, it was time to buckle down and attack the oil issue. I'd clean the motor and 2 days later it'd be covered in a mist of oil residue.... plus I could smell it after drivng the car.Originally posted by Chuckdee View Post
I started to fear that it was the turbo since A.) thats where the general area that I was finding the most residue, and B.) This car and I have had a love h@te relationship...everything has broken at least once...except for the turbo. It'd make sense that the gods would piss on my parade.
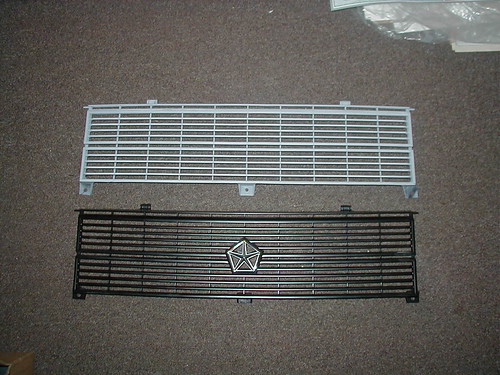
Well it turned out to be a host of things; bad rear main seal, a few other seals, and a cracked rear crank case seal. While we had it all apart, I decided to relocate the battery in the spare tire well, and run a kill switch on the back panel.

Because I'm a silly designer, I cant just be fine with a random on/off switch... so I designed a graphic to go with it.

Leave a comment:
-
Thanks
Got the bumpers mounted up, but since they are so much tighter to the body, it required some modification to the plastic bumper corners.
How it was before:


Hopefully you can see the difference in the distance from the wheel well to the end of the bumper. I had to cut a solid 2.5" out of the length of the corners and re angle the back side cut to match the angle of the wheel flare:

I wish that I had some pics looking down from above the bumper before and after so you could see the distance that the stock bumpers sat from the car. You could drop a beer can through the gap and not hit anything...Leave a comment:
-
Right on, those cars are gangster as hell. There was a time when I considered doing that type of wide body on mine. There was a few Conquests at the local scrap yard that woulda donated their fender flare sheet metal to the cause. In the end, I found that I liked how large the stock flares are on my car. (plus it would been a whole lot bigger/more $$ project if i decided to graft em onOriginally posted by Yonkers320is View Post )
)
Leave a comment:
-
I had one, and I always thought of them as the "poor man's Delta Integrale"Originally posted by dart165 View PostLeave a comment:
-
This looks so super BA. I love it. And the fitment is on point.
Now I want one.Leave a comment:


Leave a comment: