-
Love it! I've been wanting to convert my Wilwood pull- type slave cylinder setup to a push style, so the write up on the Miata Slave conversion is awesome! -
So much update, I feel pathetic Good progress though, it looks like it's coming along great!
Leave a comment:
-
awesome update bro, and super glad to hear about the alternator. Ill be sure to update my build as soon as deployments over.. Since Blake never updates his thread yours is the only one keeping me motivated.. Keep it upLeave a comment:
-
thank you, I do try to not hack things. lolOriginally posted by M.Doban View Post
Originally posted by LaMaR- View Post
oh maybe I wasn't clear, yes there will be a grannies style shifter extension. I don't actually have one from my kit and haven't found a picture of one. Anyone able to help with a pic? Im planing to just make one that will extend it to where the original hole is but the steeda itself hits the panel. So room under there will be tight.
and funny you mention the alternator...
I put the hood on the hinges and the alt was still hitting but only a little corner. So I covered it for protection (nobody wants bits of metal near magnets in their alt right?) and took a grinder to it.
worked!
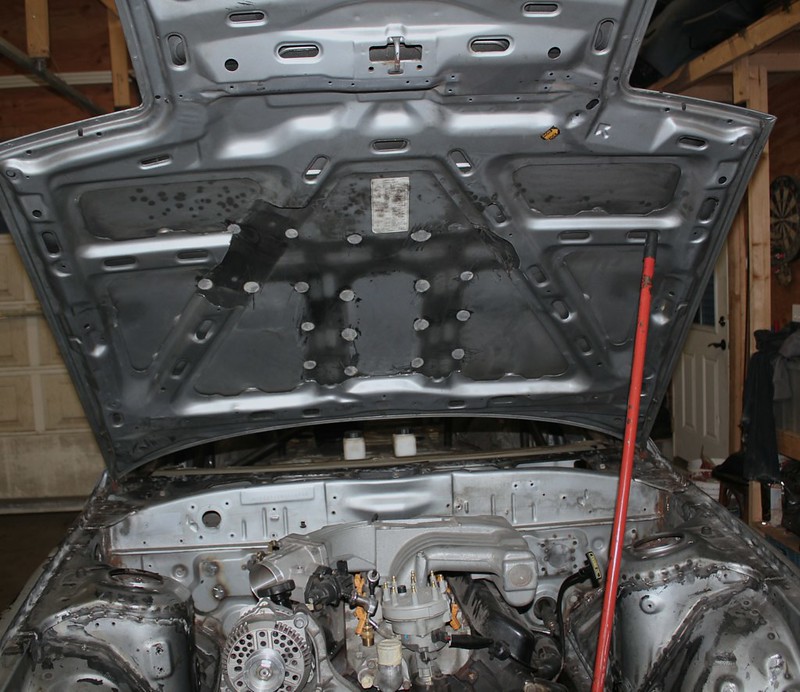
this is my final hood trimming, just a little bit here and there to allow some wiggle room. And then debur those sharp edges
and to be absolutely sure heres the headlights in place with the hood on the rubber stops
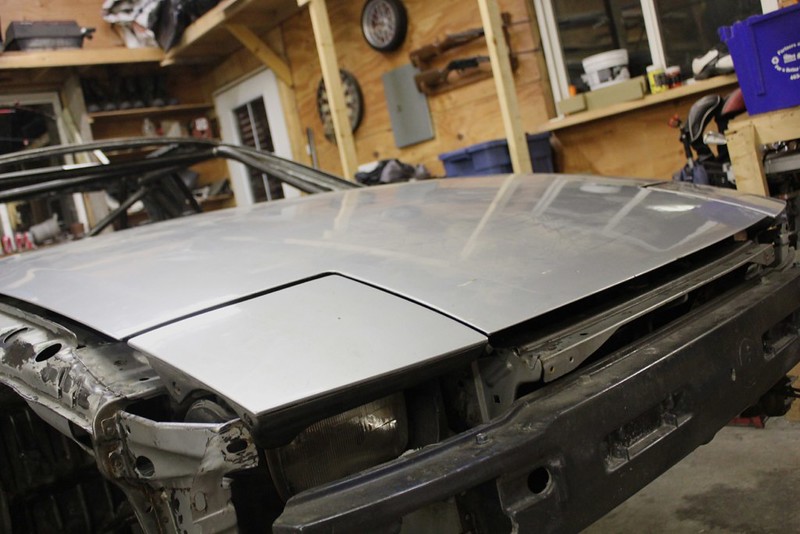
no nothings lined up at all
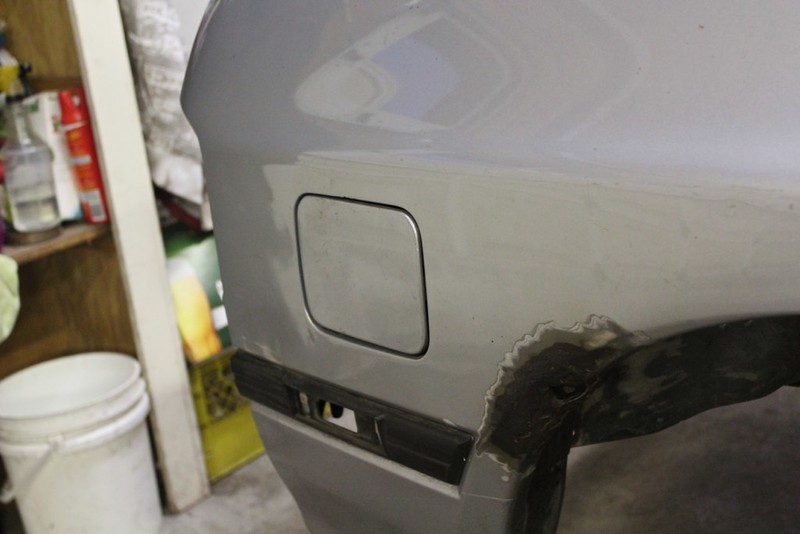
then put the gas door in place, I deleted the cable pull so I got creative and have it staying closed but openable with a self tapping screw. I just push on the front side before the hinge and it pops open, pressure keeps it shut. simple. until the first wall tap lol
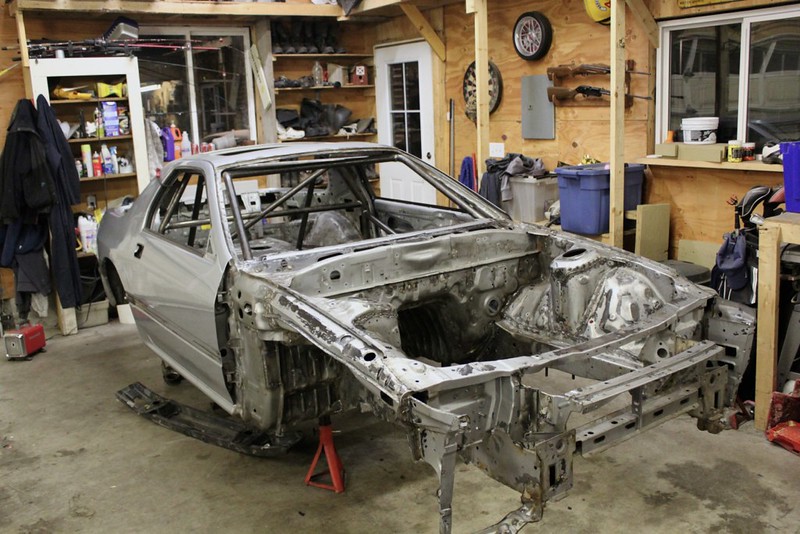
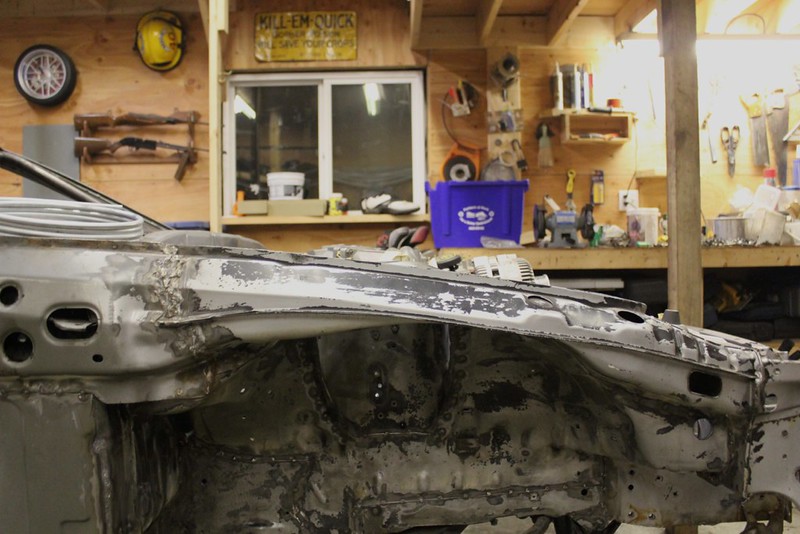
then striped the car of everything. I mean everything. the plumbing, engine, little rubber grommets clips etc. Some welding will take place before paint, but I'm basically now waiting for warmer weather. will do small things until painting happens.
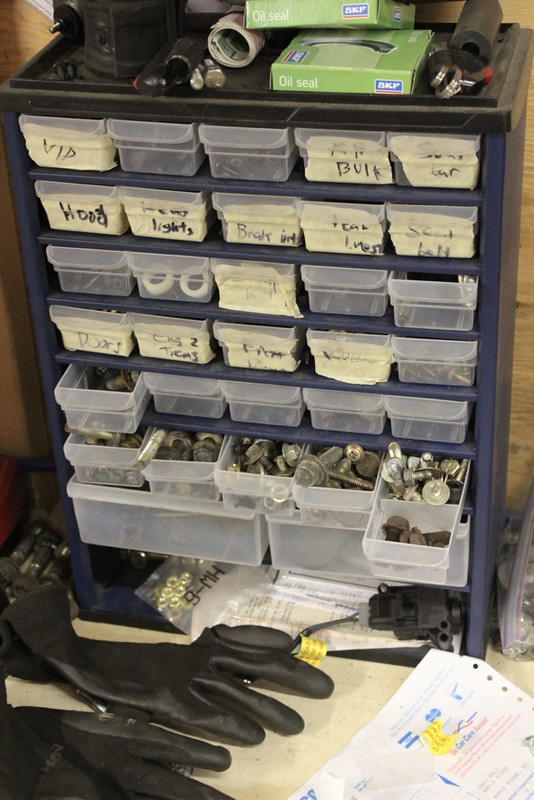
also organizing and labelling this time! should make putting it back together a breeze.
and that was my night, now I'm going to stay up all night to watch Canada hopefully win gold!Leave a comment:
-
looking awesome man, why not build a shifter extension? Or if you want Grannys sells the extension to bolt to the T-5. Thats my personal plan I **** that my forward gears hit my switch panel.
Either way good job and cant wait to see what you do for the alternator.Leave a comment:
-
this weeks album of choice:

it feels a little early to break this out, as I would normally liken it to end of summer type music.
really southern and soulful, Ray's voice is just something all on its own. Pariah Dogs make it even better, I like this even more than Ray Lamontagne on his own.
So put the Abercrombie kit on the steering rack
fairly certain this is per instruction (someone correct me if I have to cut anything) but i'll find out when I go to align it.
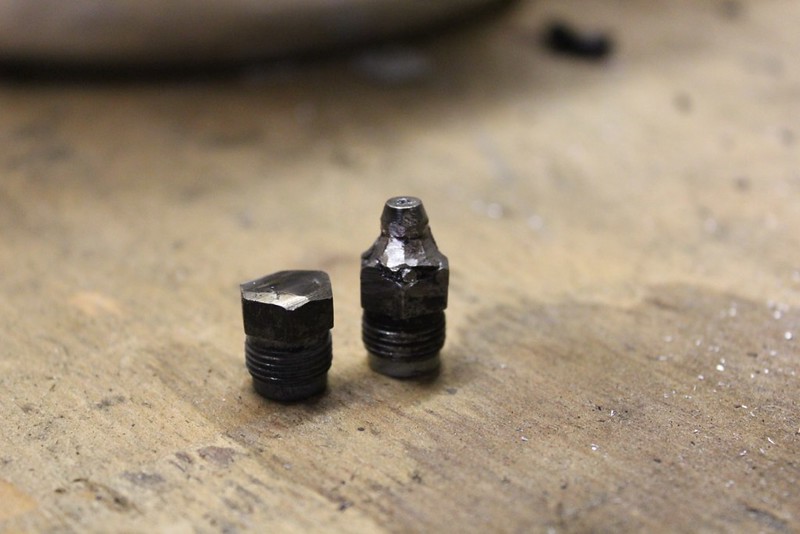
then I welded 2 caps and 2 grease nipples out of the old line ends. Had to grind a bit to make my grease gun fit on the nipple, which surprisingly survived the heat of welding.
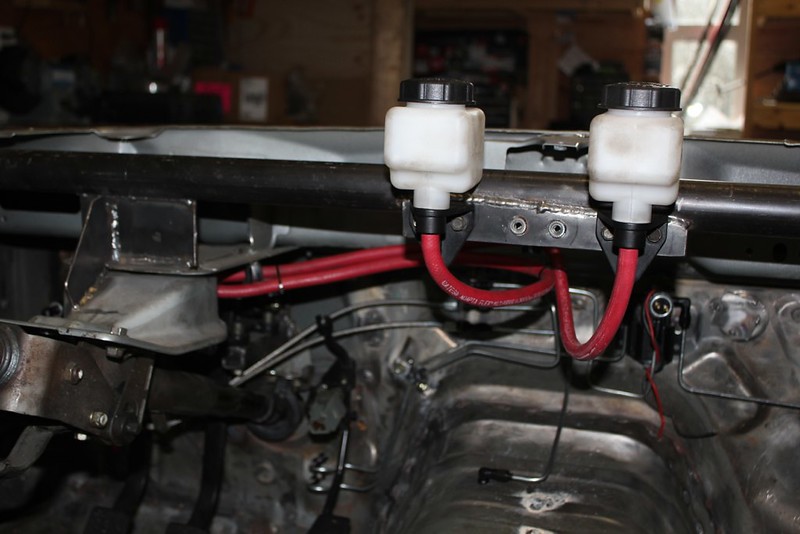
finished the fuel lines and rear brake lines
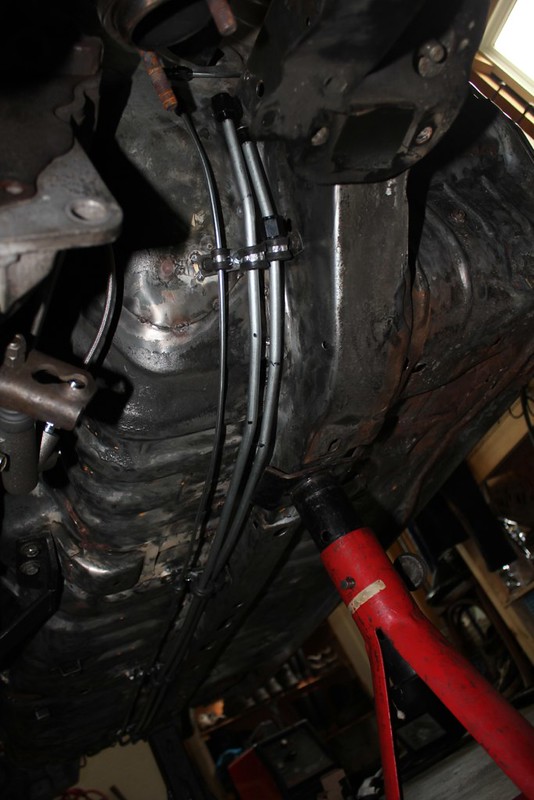
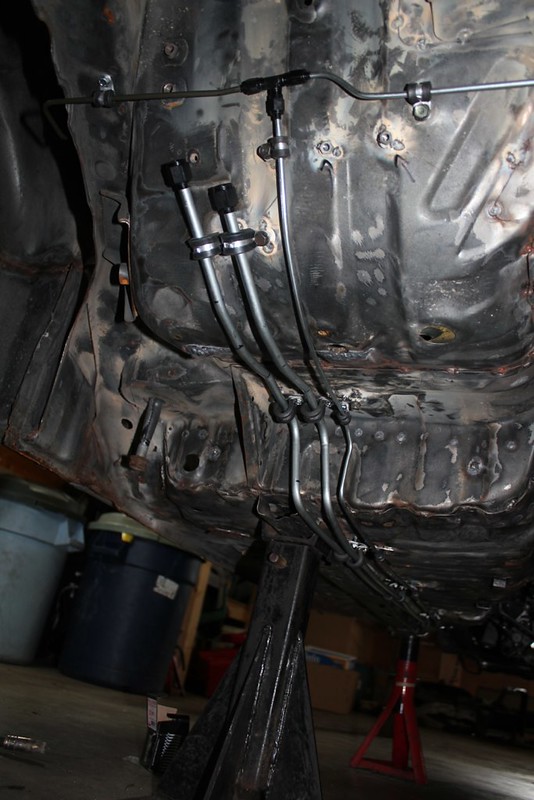
glad thats over, 3/8s line is a bear to work with...
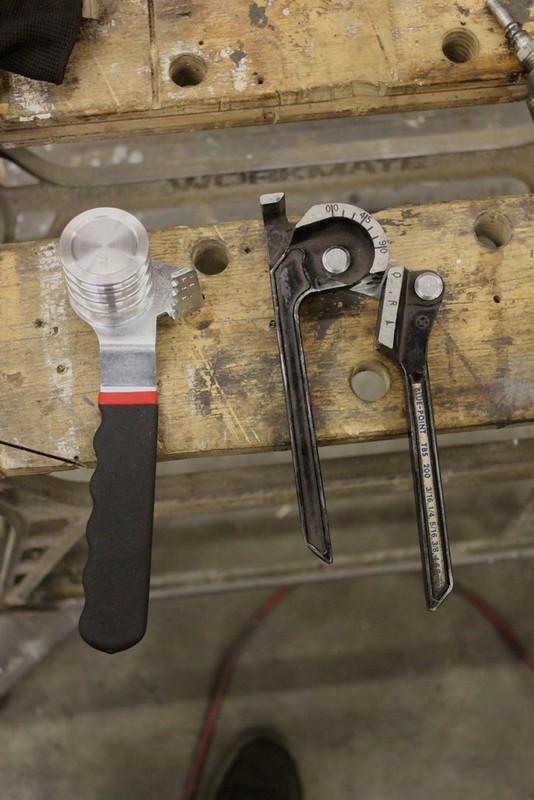
this is where good tools come in. I wasted an entire roll of 3/8"s line trying to figure out how to safely bend it with out kinks. Couldn't. Bought a cheap bender, still kinked. does smaller 1/4" and 3/16" fine though. Ended up borrowing a bender from a friend that goes up to 3/8", still not easy to work with, but did work.
will be getting some braided steel line to go from the tank to the lines, and then the lines to the engine via Ford EFI connectors.
then went and busted out a bunch of wiring
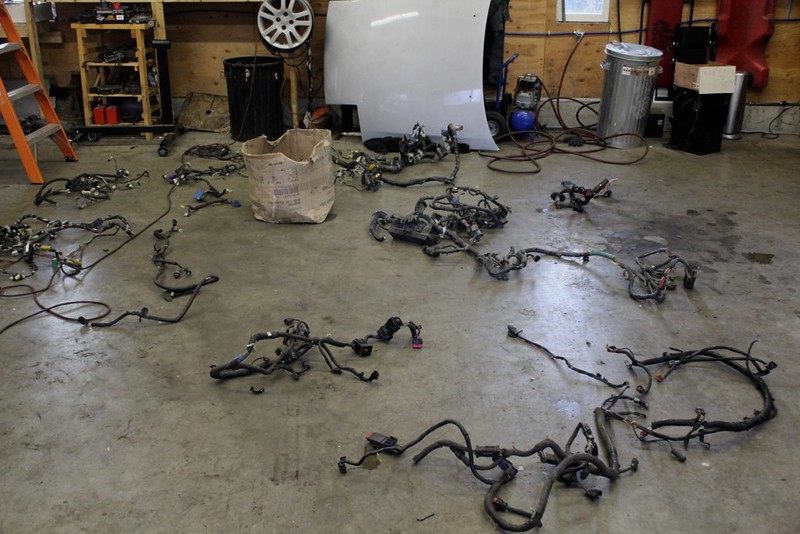
to find these:
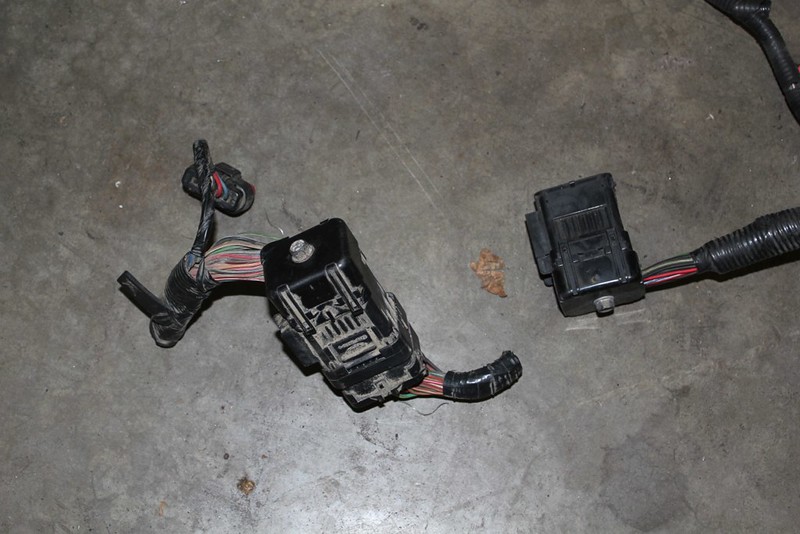
I have about 3 and 1/2 cars worth of wiring in that pile, I definitely have my work cut out for me. In the harness that came from the 98 Explorer is the same type of connector thats on the mustang. I'm going to have to do a pin count and see if I need both of these, but this is what I'm using for a bulkhead connector. Its not baller mil spec stuff, but its free and was good enough for Ford to use for over 6 years of production.
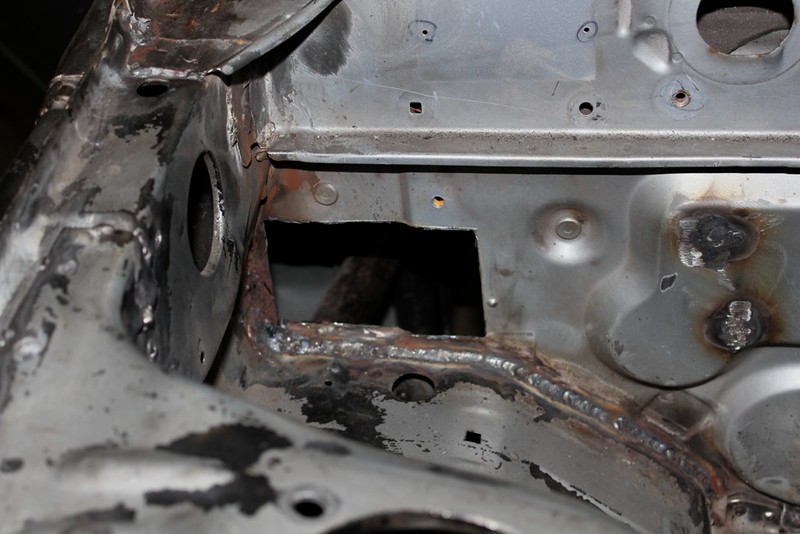
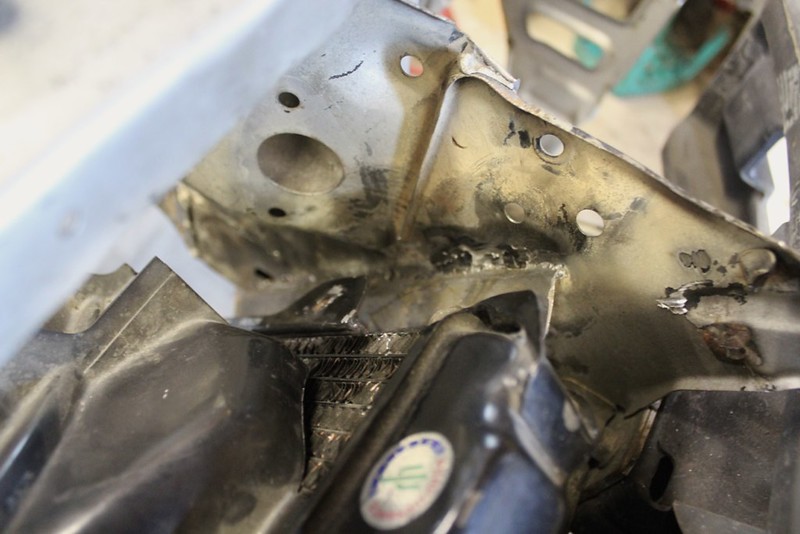
cut a hole that i'll be plating with the piece I have yet to figure out to connect to the Ford connectors.
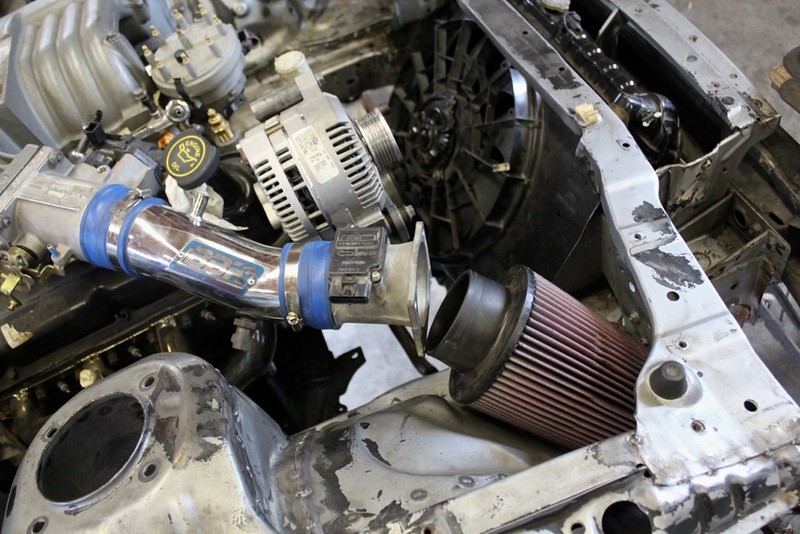
mocked up an intake tract, probably going to work as is with a little trimming of the other pipe (not pictured)
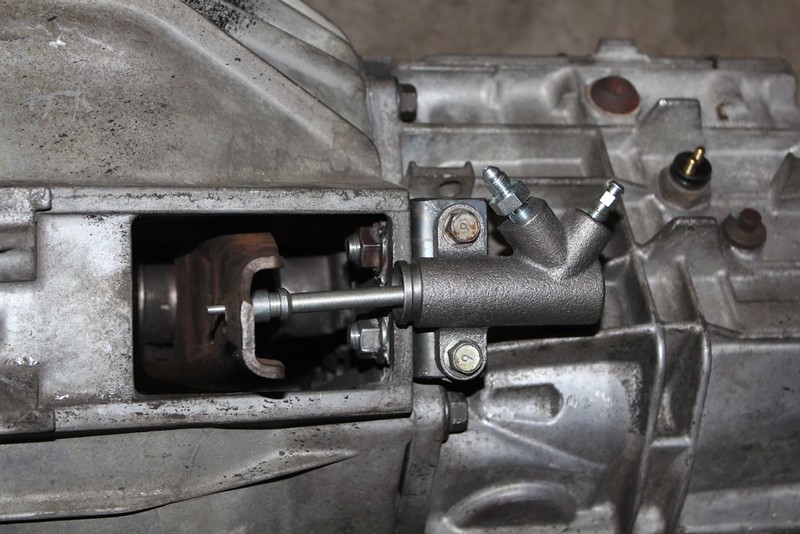
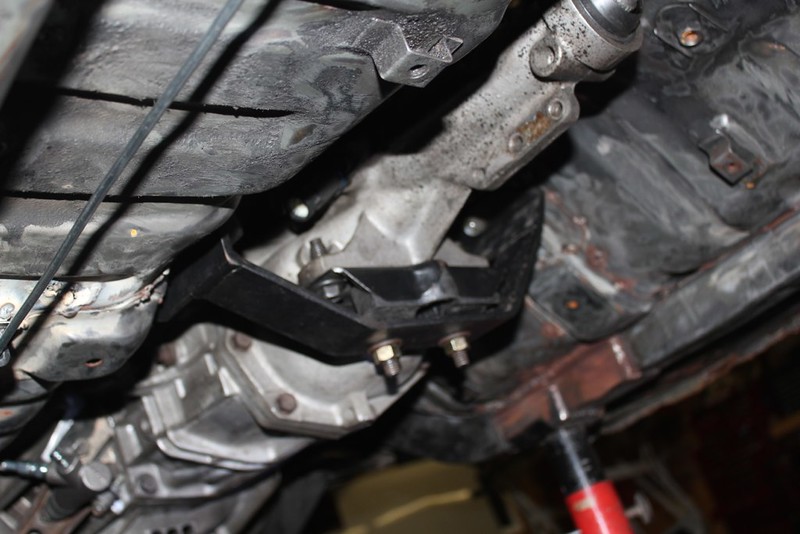
now going to get specific for a bit, and explain my T5 hydro conversion mount in detail.
started here
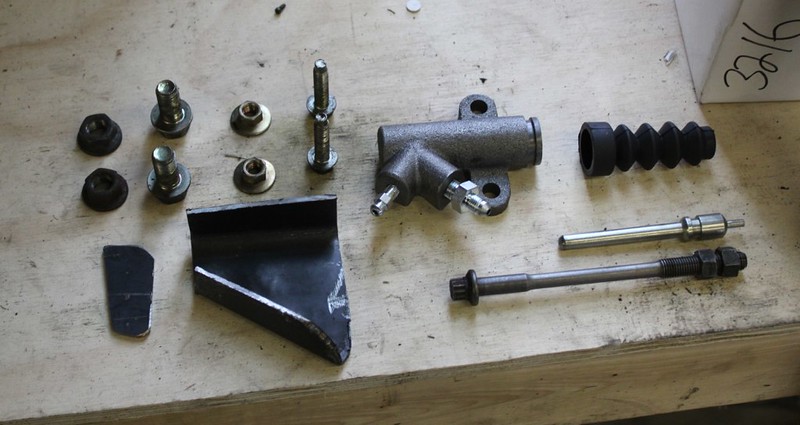
we have a NA Miata slave cylinder, which came with a pin and dust boot, also a carefully selected bunch of bolts from previous cars (great idea to keep these when doing projects)
2 are for mounting the slave to the bracket (also in there, but not yet welded) and 2 are for mounting the slave to the bell house.
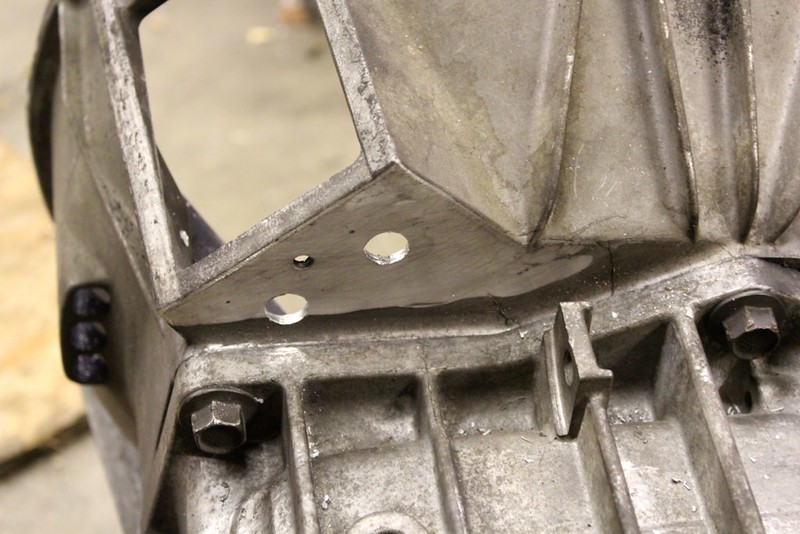
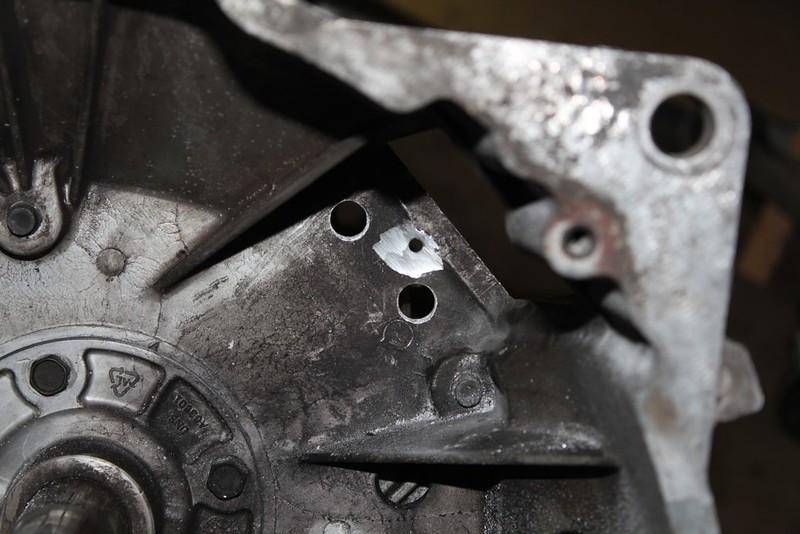
now to mount it to the bell house I first grinded off the logos and numbers that wouldn't allow it to sit flat.

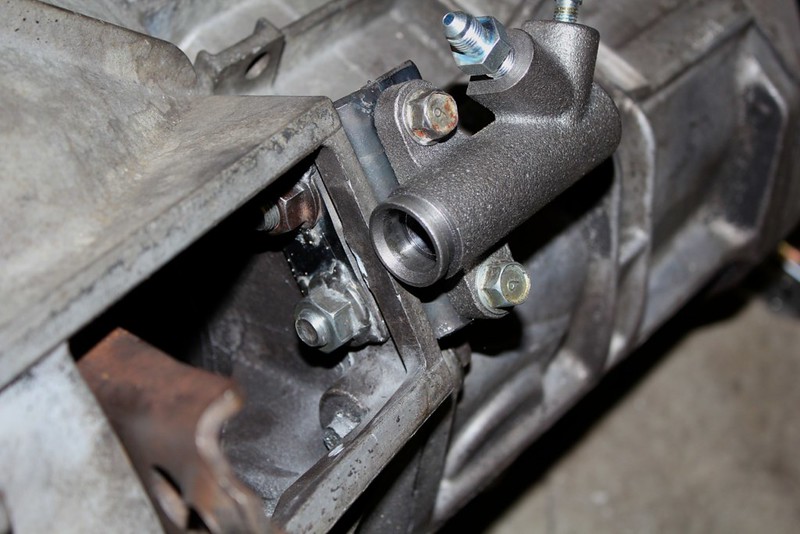
then welded up the bracket being careful to make sure everything fit and no bolts interfered with each other.
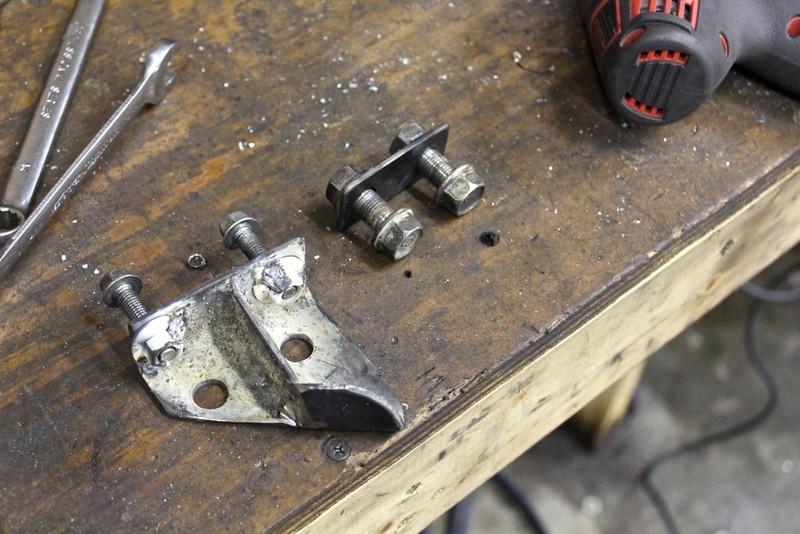
also made a plate for the back nuts to spread load, and make it easier to disassemble and reassemble. I can get the bracket mounted with the clutch fork in place if need be.
Then drilled holes for the bracket to bolt to, and ground off a little nub preventing the bolt plate from siting flat
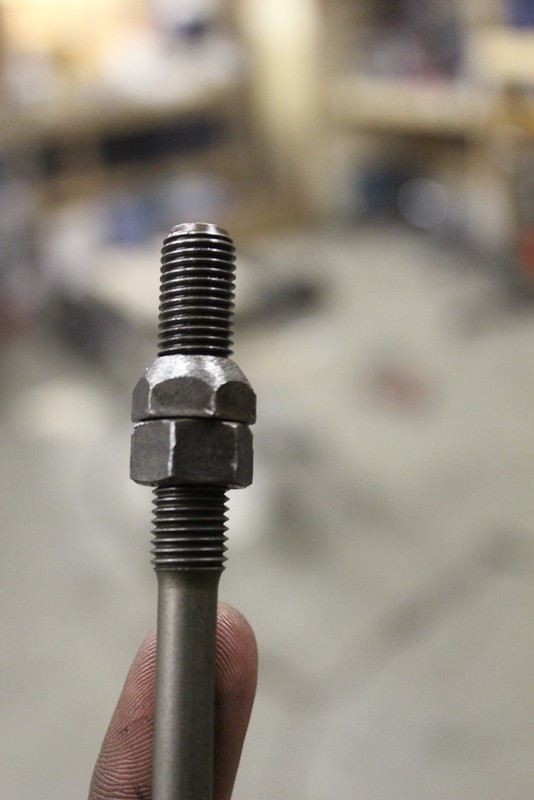
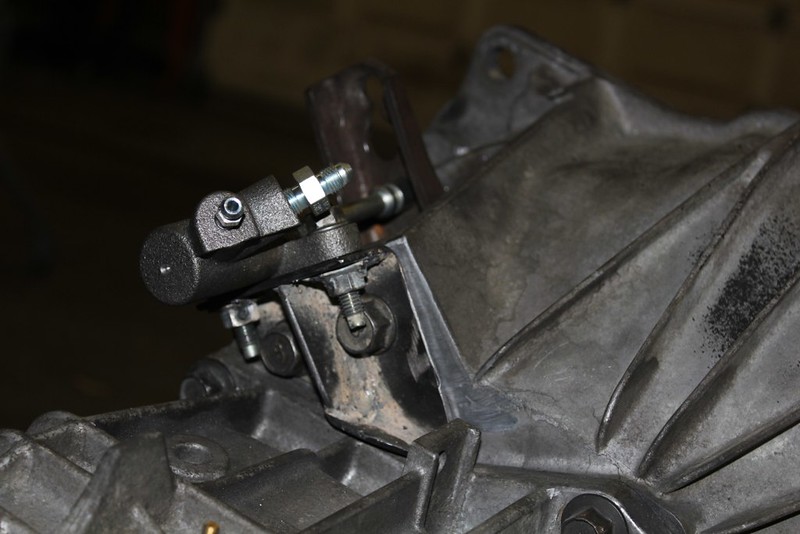
then took the bolt I planned to use for the rod, and rounded one of the nuts to allow for some necessary pivoting
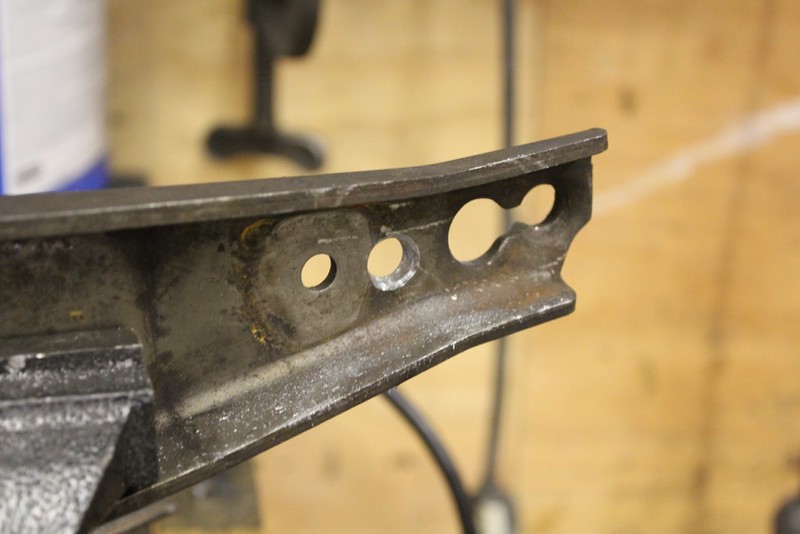
made the same type of seat but inverse (obviously lol) on the fork. Which btw is hardened steel, nothing I had wanted to even scratch it unless it was carbide.
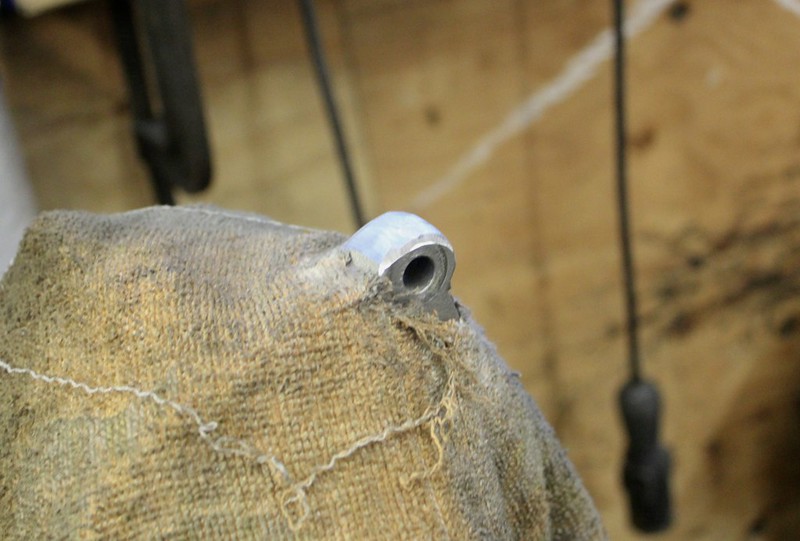
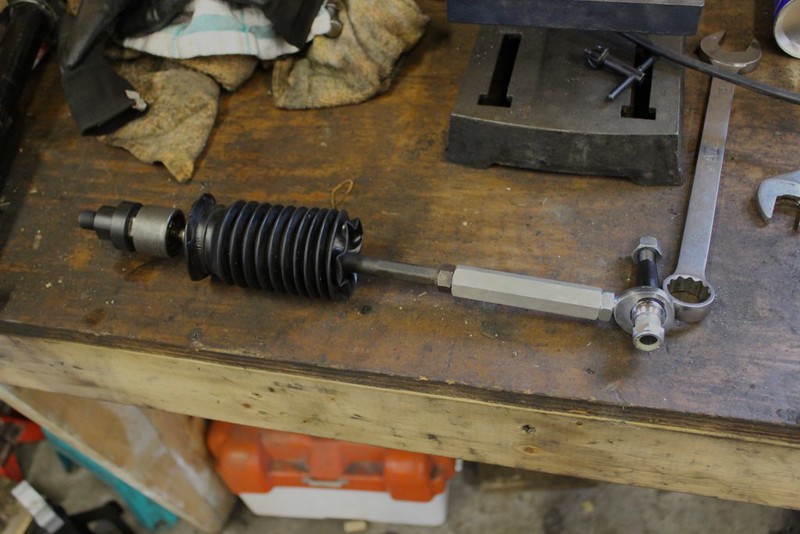
then cut the rod/bolt and rounded the end to mimic the stock miata rod
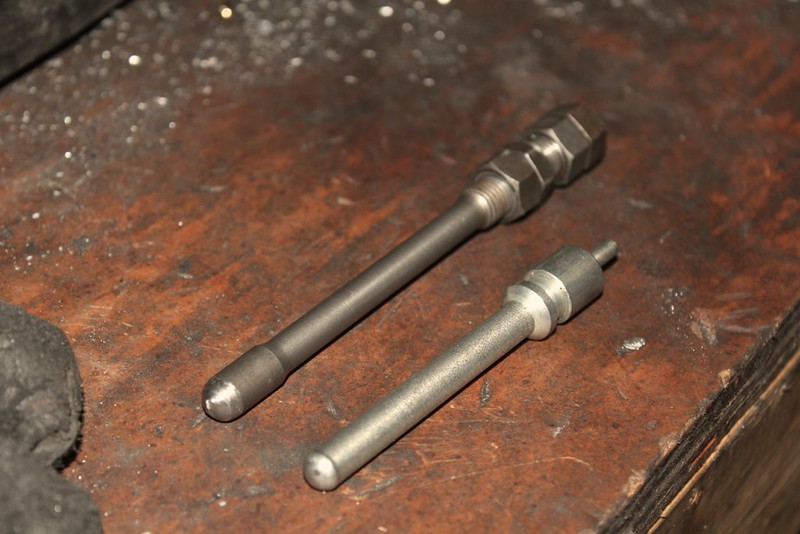
I later ended up taking off another 1/2" or so off (where the rod flares in, basically its the same length as the stock miata one, just the threading goes longer)
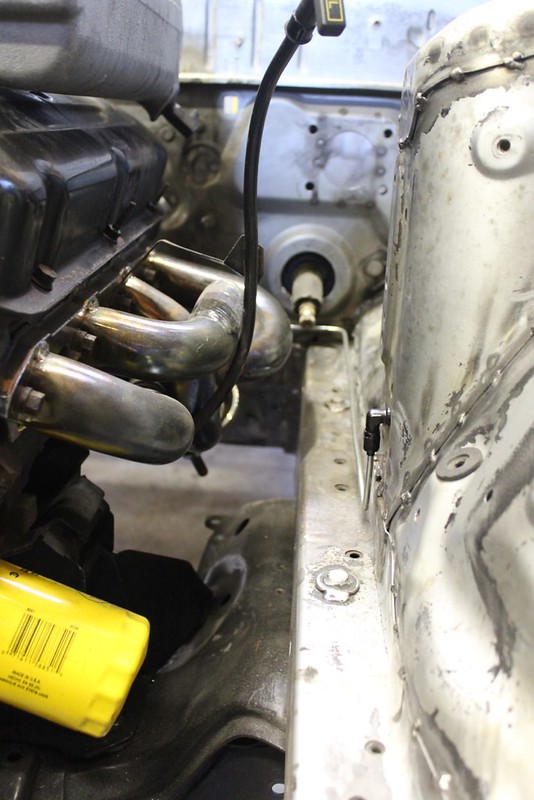
mocked up on the floor
and in car (with the slop taken out but hidden behind a boot)
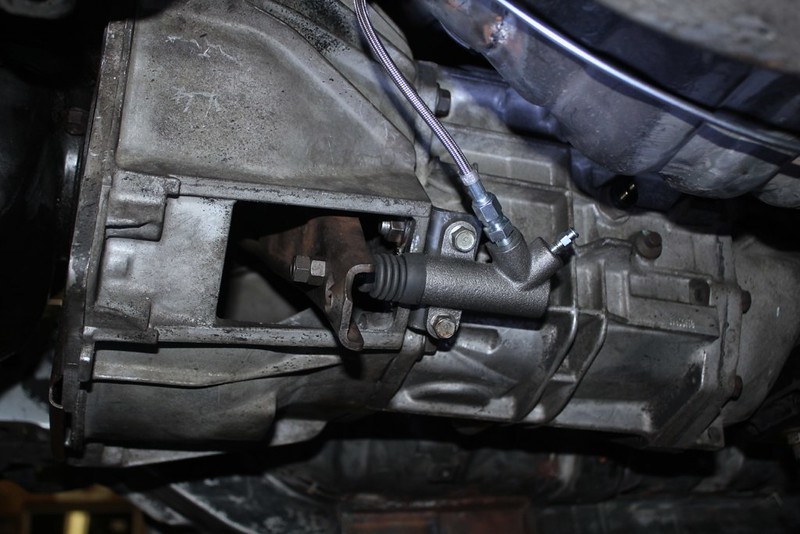
an Earls adapter to go from stock M10x1.0 to -3 AN, and boom hydro T5
heres a blurry shot of the Grannies trans kit, had a bit of trouble lining it up too. somethings got to be off a hair
which let me cut the required hole in the trans tunnel (yay)
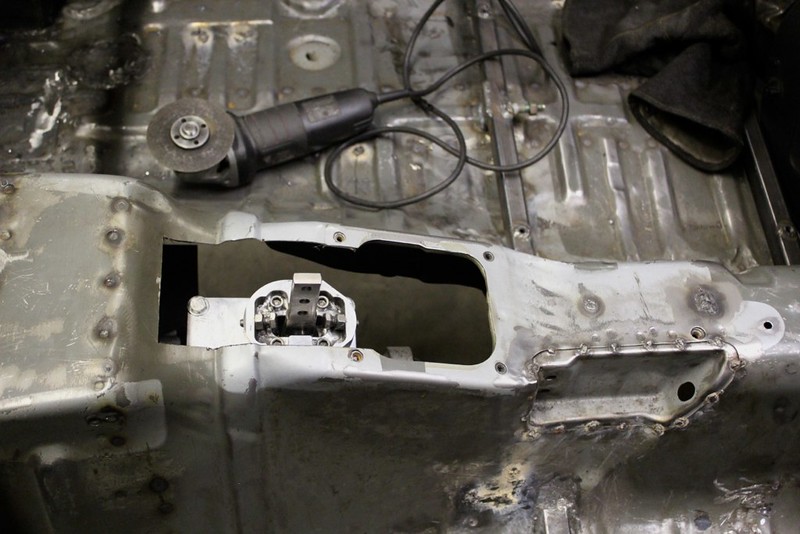
and the dashboard too

however, it hits my panel :'(
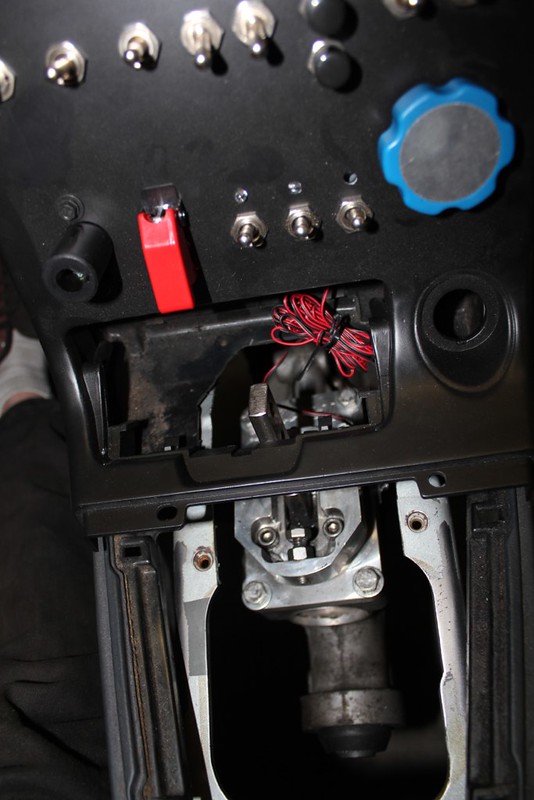
so I'm going to have to make the ashtray a cover, and cut the Steeda shifter. It has 3 bolts when it only uses 2 so between those 2 things it should fit.
ran a few other small things while working in the area
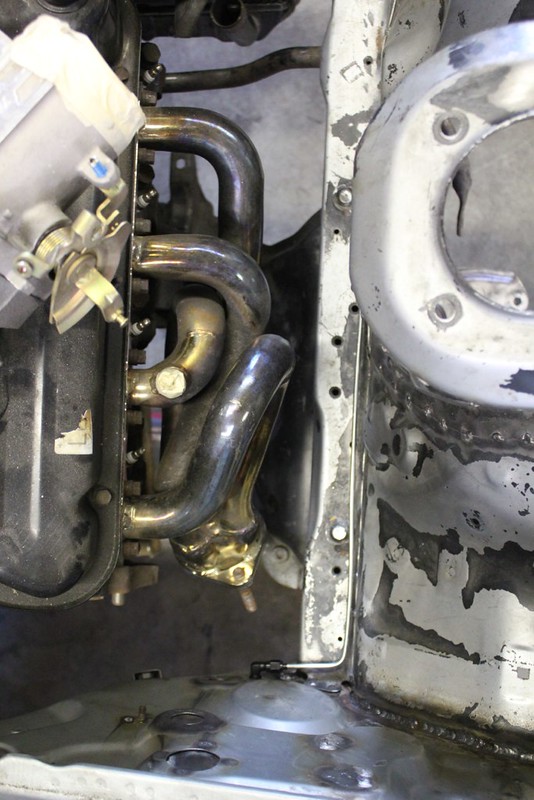
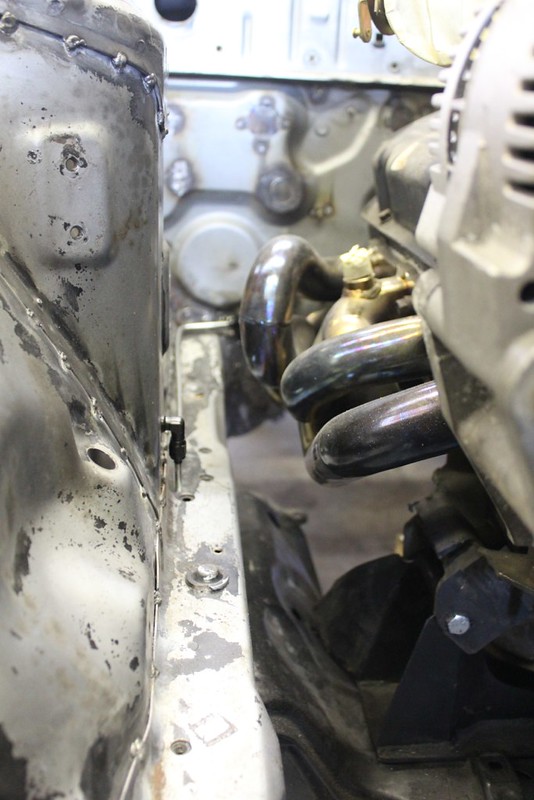
and heres how the engine sits with the trans in place
and that is all for now, a few more things to do and I start disassembling for paint (yay but ew)Last edited by Teeson1111; 03-12-2014, 10:08 PM.Leave a comment:
-
-
This is great. Love the manhours going into this and I cant wait to see more!Leave a comment:
-
i bought the car with the motor in it, it had a ton of wiring issues and didn't run for shit. The headers are BBK, not sure if those are shortys or notLeave a comment:
-
thanks! glad you enjoyOriginally posted by LowElementStar View Post
ya I think it will have to be a custom exhaust but one of the things I got from the SN95 was a 3" catless X pipe I'm going to see if I can use somehow.Originally posted by LaMaR- View Post
you not use a granny's kit? if you did and used any shorty mustang header the clearance should be the same...Leave a comment:
-
thanks, kinda wondering how your clearance will be when you add the down pipe, I'm guessing a lot better then mine lol.Leave a comment:
-
Bring it to life!! The build is very interesting keep it up manLeave a comment:
-
so minor update

rediscovered this album, its so good. "Only Love" first got me onto Ben Harper's music but "Oats In The Water" provoked me to listen to the rest of it. Even has a few live tracks at the end that remind me of John Mayer live.
after a mix up at the post office in sumas blah blah blah I got my hands on these:

my Abercrombie steering rack kit! everything looks good quality, and the heims look similar to the ones a local place sells if I ever need to replace them.
just for a comparison does anyone have a Parts Shop Max spacer kit? would like to see if its longer or just looks different in pictures.
mounted my radiator/fan combo

made some brackets and welded them on with my lack of skills... but a grinder helped cover that up
this is my clearance between crankshaft pulley and the fan (ya the connector broke )
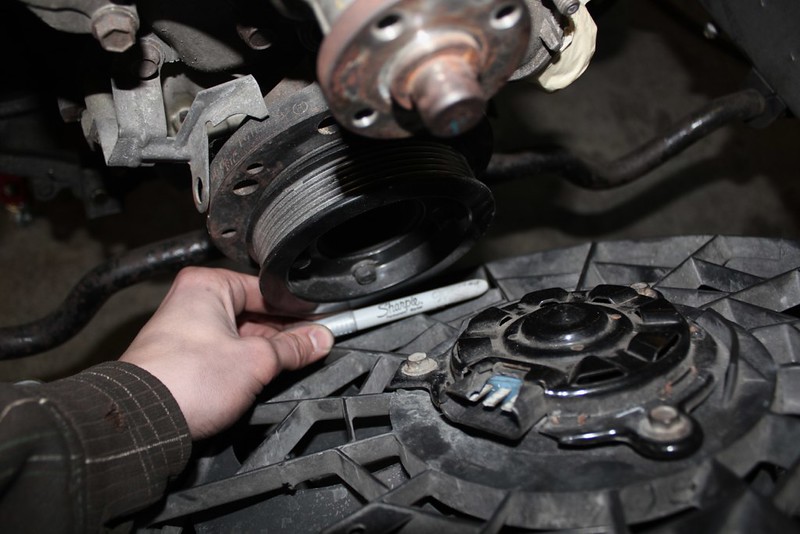
I would make it farther but the fan sits pretty high, I can always trim it down if need be the fan is kinda fatter than it needs to be, and a Spal slim fan can buy me at least another inch.
The sharpie fits through with room to spare btw, picture aint so good.
went back to old work, scored a scrap piece of ABS and borrowed my boss' 4" hole saw
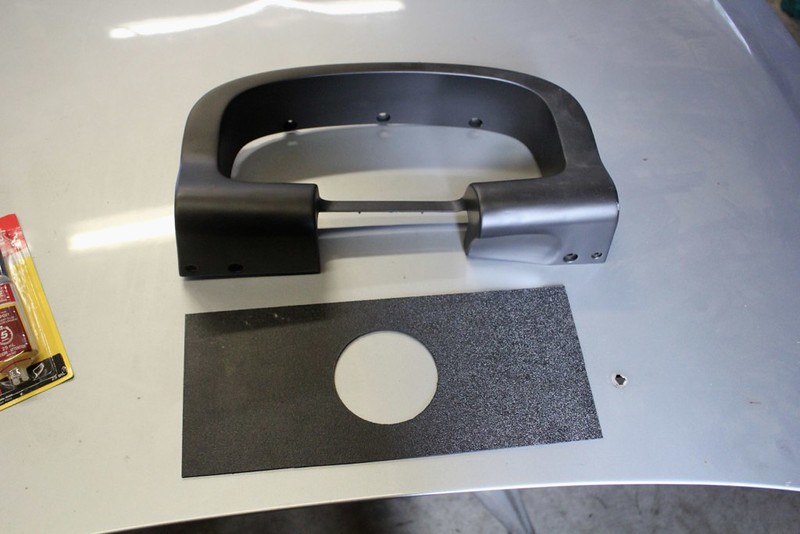
more work to come on that
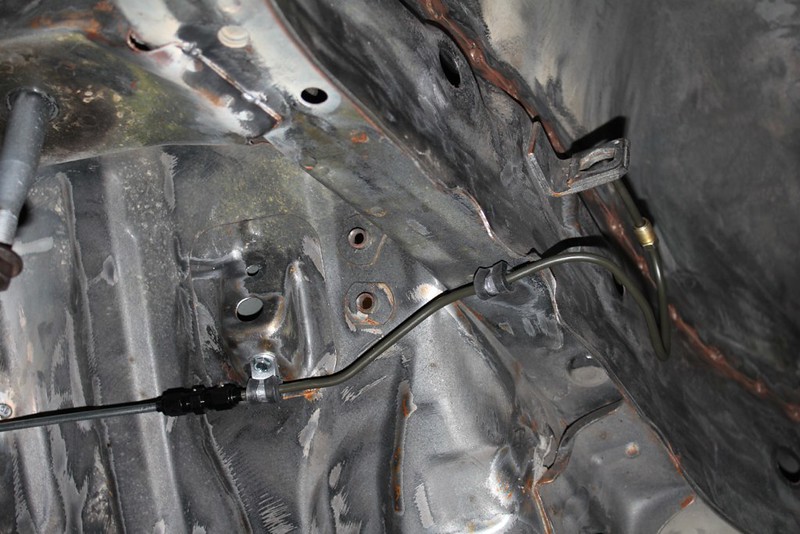
got fuel line
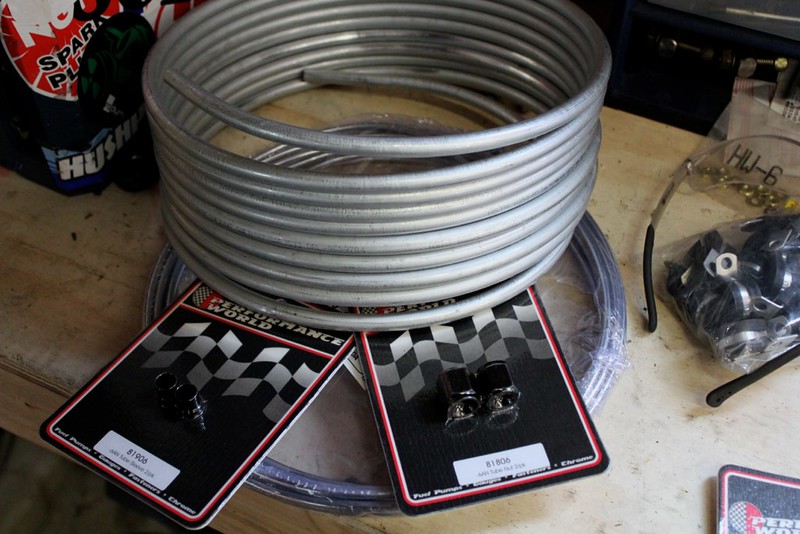
fun fact: 3/8 hardline is really hard to bend. like reeeeaaaallly hard. so this will be fun
got -6 stuff too
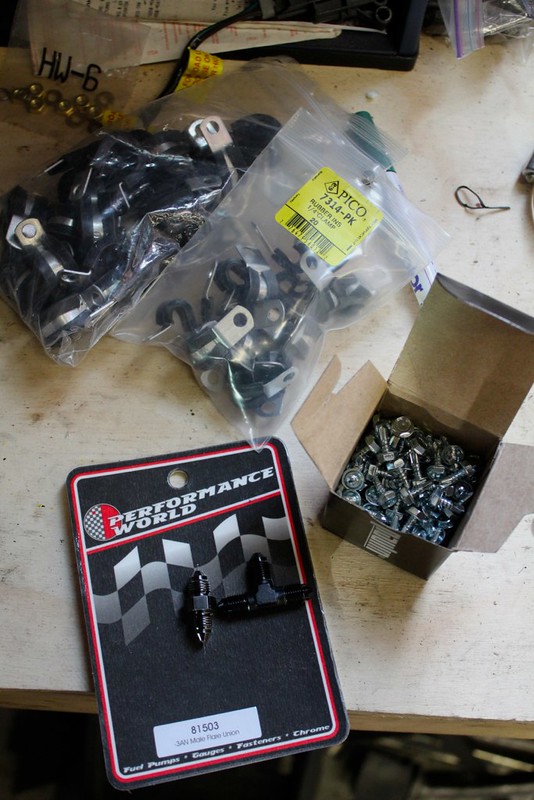
and more -3, nickel and dime-ing meeee
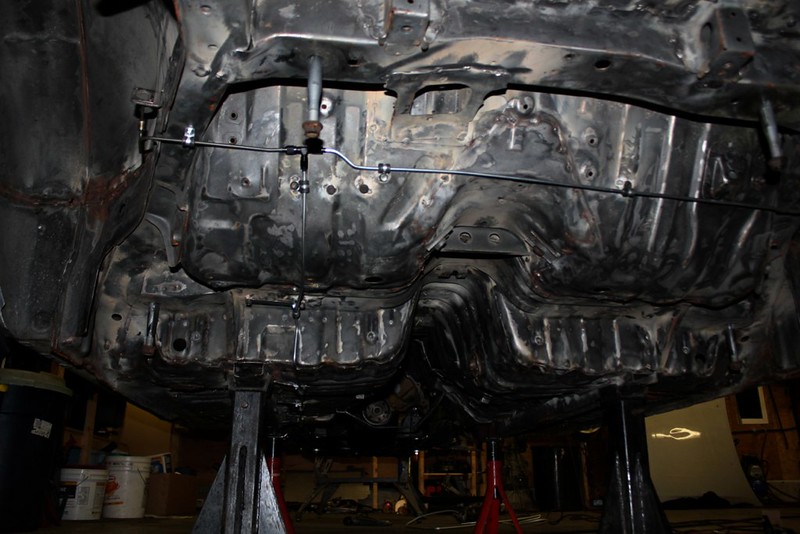
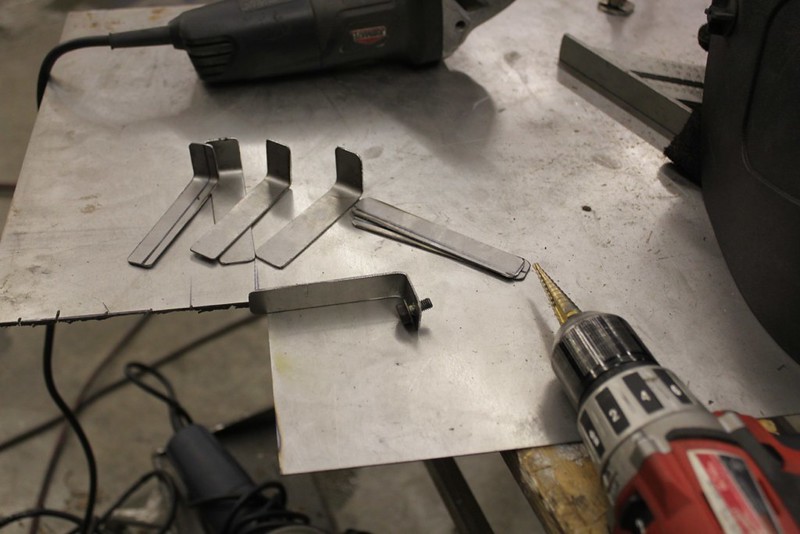
started making brackets and welding nuts to attach the lines securely to the car
and progress continues amidst snowboarding. local mountains are finally getting some decent snow so one has too take advantage of it while its here.Last edited by Teeson1111; 03-12-2014, 10:03 PM.Leave a comment:
-


Leave a comment: