
-
Any particular reason for the Iron block if you're just spraying it? Really nice build, had to link it on a few other forums.Leave a comment:
-
Exceptional work.
Have you had the car on scales yet?
I'd be interested to know how using an iron block instead of aluminum affects weight distribution.Leave a comment:
-
At least when I get on here and see you sig I know those wheels are MINE! muah ha ha haLeave a comment:
-
When I see all these pics on a thread it seems right. When I get them texted to me throughout the day it just feels like bragging
Leave a comment:
-
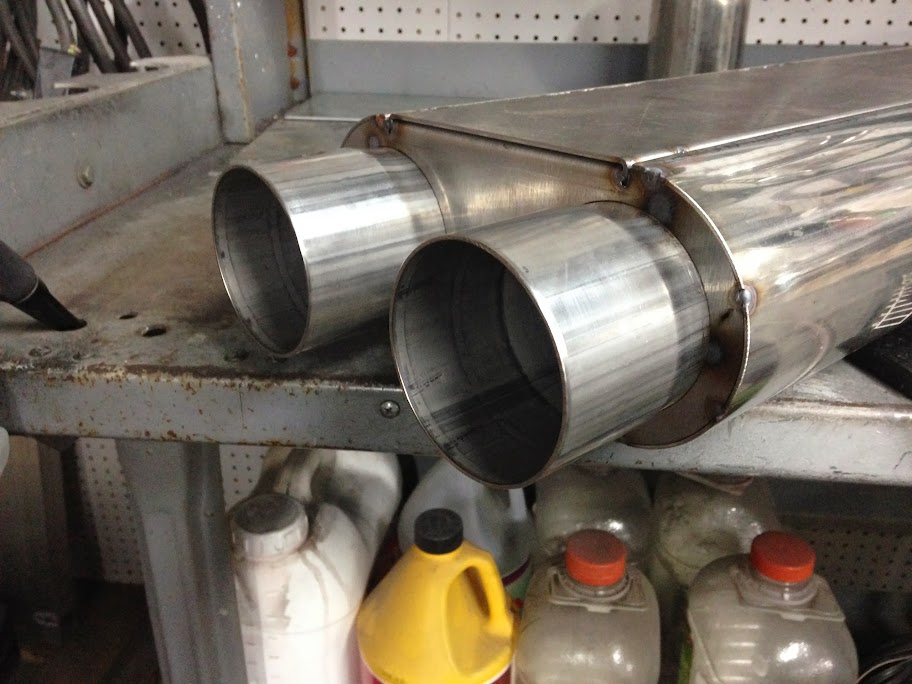
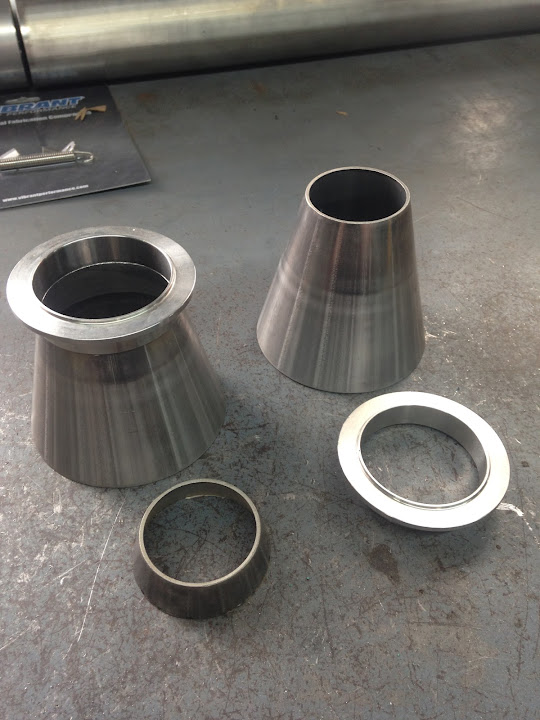
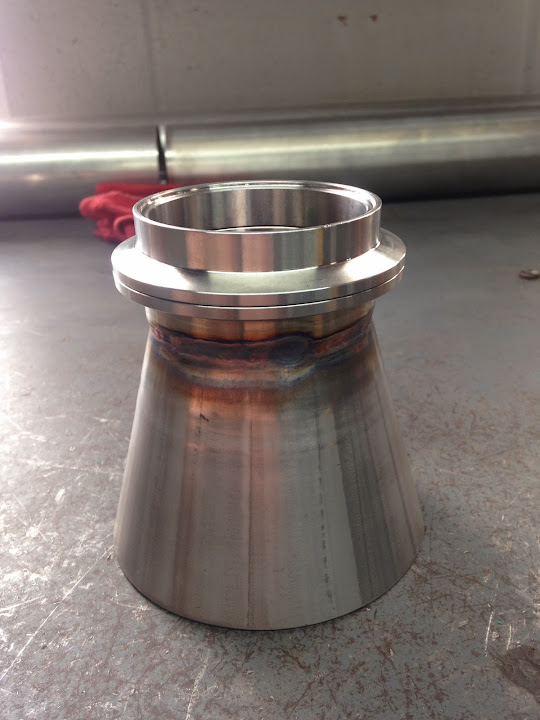
Update time. I started off fabbing up the exhaust termination box. We lasered out a few pieces at our fabrication facility for the end caps and main middle parts of the box, then added the necessary brakes to them. I used a 4" .065 wall stainless tube and split it down the center on each side to create the sides. No easy way to do that, so it was taking my time with a thin wheel and did it by hand. Everything being used here is T304 stainless. I tacked it all together and then made the transition pieces. It's dual 3" slip fit in, to a 4" to 2.5" transition out, all V-Banded. I need to finish welding the box, but it's tacked strongly, and I can mock up the rest now.
Today, I started on the pipes from the headers to the box. It's hard to tell in the photos, but the box is really tucked up in the tunnel, so I had to do compound bends to get from the headers to there. Lots of piecuts and test fitting, I finally had the driver side ready to go. The passenger side will be much easier as there is a lot more room top work with there.








Leave a comment:
-
Unreal!! Been a long time since I read a 5 Page build thread start to finish. Inspired me so much for my engine I am resembling right now!Leave a comment:
-
Doing some fine tuning and building a termination box for the exhaust currently. It helps with exhaust pulse waves, and if built correctly, it can add a LOT of cheap HP. It's a black art overlooked by nearly everyone unfamiliar with this setup. There is a lot of math involved in building one and correct placement, but I'll get into that more when all the materials arrive to fabricate it.
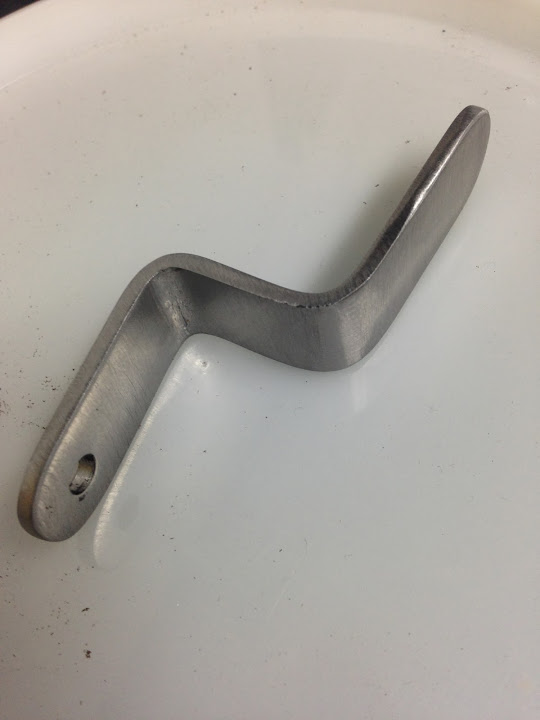
I made a little bracket to keep the heater hoses away from the headers, now I have plenty of clearance. Adding the body nut into the painted strut tower was very nerve racking, a right angle drill and a lot of patience. It's getting powder coated now, like all the other bracketry.
I never posted close up of the radiator plumbing. It's all 1/4" stainless hardline, with the steam vent tied into a T mounted to the radiator, it's hidden under the intake, out of sight. I added a custom bracket to the side of the radiator to mount the expansion tank as well.



Leave a comment:
-
looks sick man. I wish i would of gone to cavalcade, it would of been worth it just to see this.Leave a comment:


Leave a comment: