Its no a bad one for your first car mate
Keep up the good work!
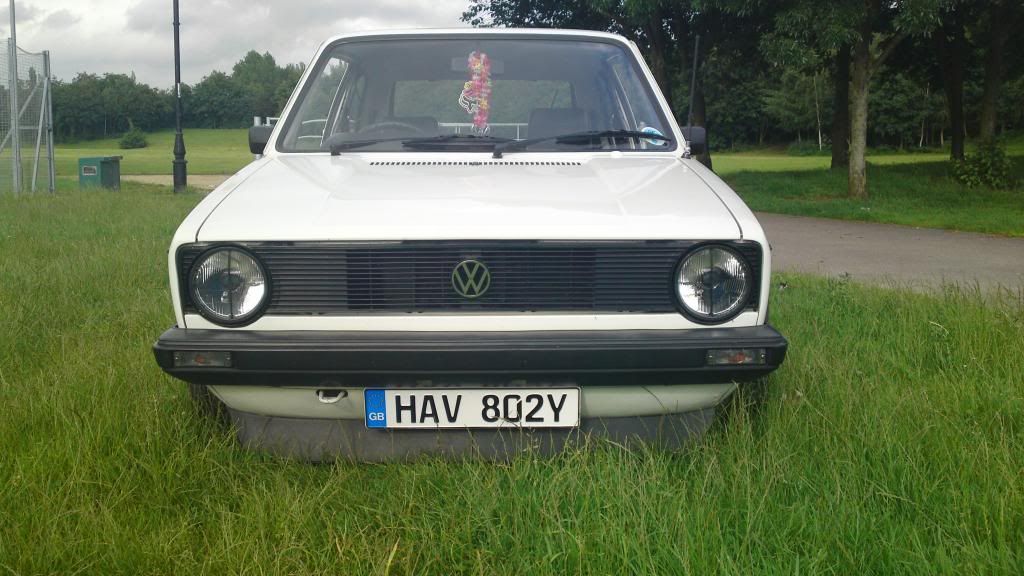
Mk1's Rule!!
-
Nice MK1, too bad it's gonna look like every other one on BBS. Use your imagination, and get sum original wheels...Leave a comment:
-
loove it! cant beat a white mk1, whereabouts in the west midlands are you?Leave a comment:
-
LOVING THIS!!!!
MK1's are simply the best.
Keep it up bro
SUUUUUUUUB'D !!!Leave a comment:
-
Nice work. MK1's have such a clean look, and the classic BBS's are perfect.Leave a comment:
-
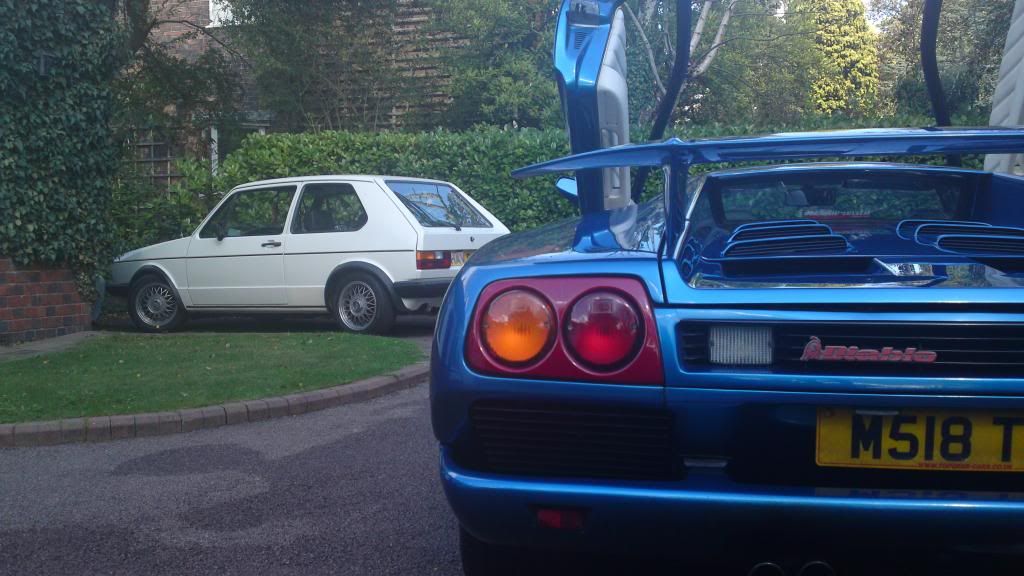
A friend popped round today in his new toy! Rather strange as he was drooling over my Mk1, and i was drooling over his big blue lambo!
The winter was here, and having planned a list of things i wanted to get done, i decided it would be easier if i took her off the road untill i had done almost everything i wanted to do for this moment in time!
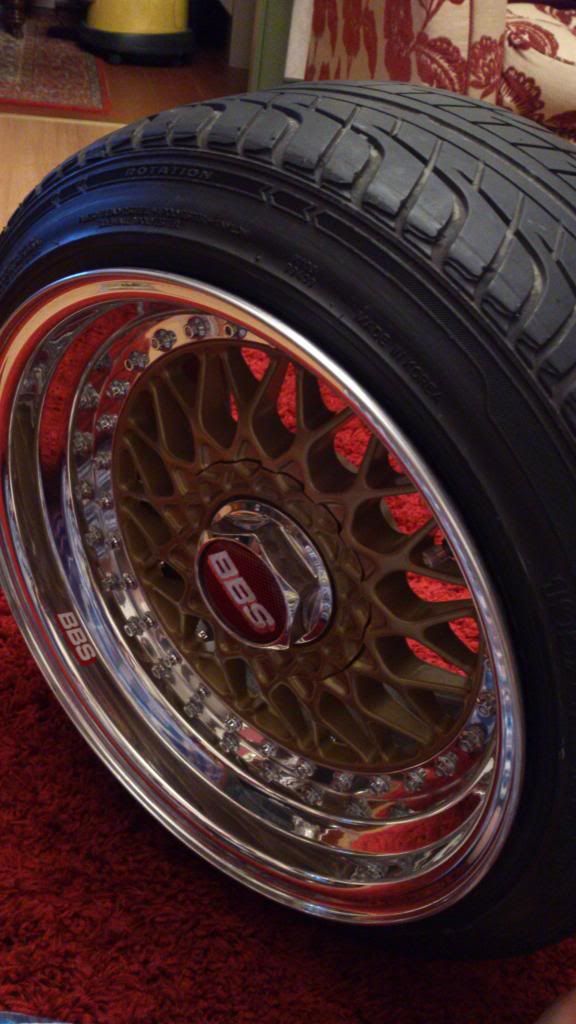
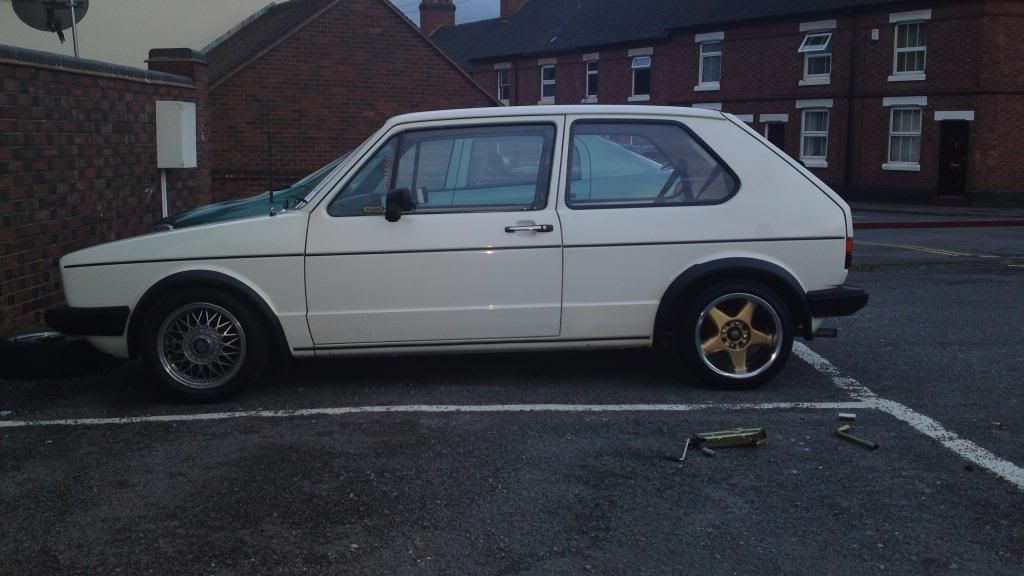
Before i took her off the road, she ran a 6 and a half hour round trip in the pouring rain with no problems, she never missed a beat! This was to pick up the wheels i had just bought!
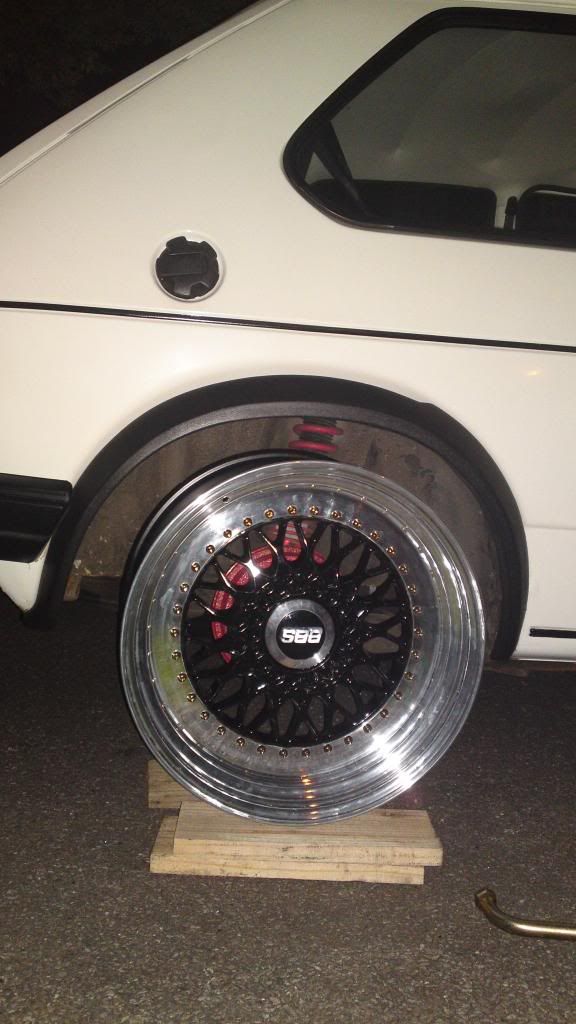
They were 15x8 up front, and 15x9 on the rear. I am unsure of the offset, but they fitted perfectly how i wanted them to, so i paid the man his money and it was a done deal!
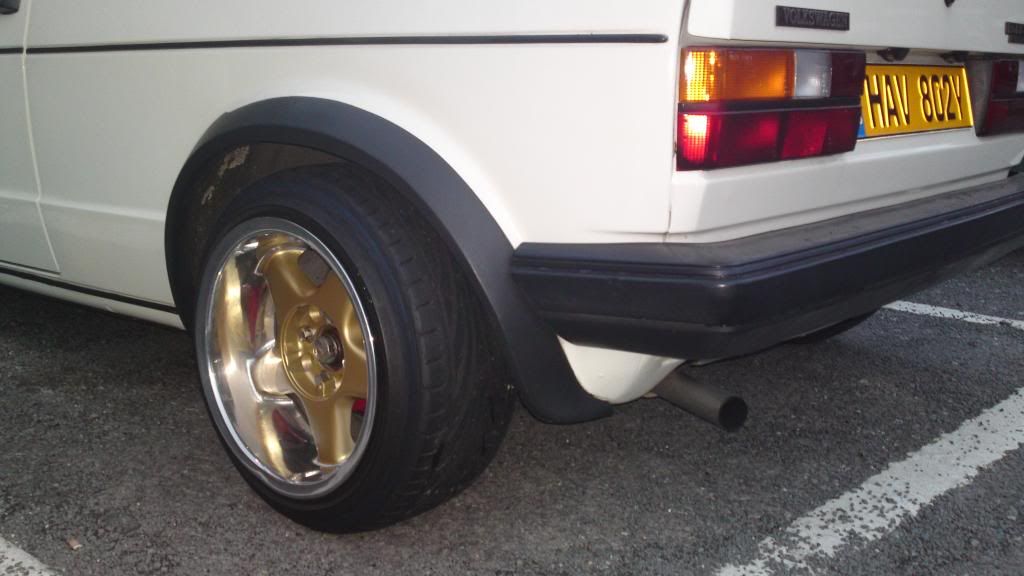
And here they are! BBS RS', with plenty of stretch all round!
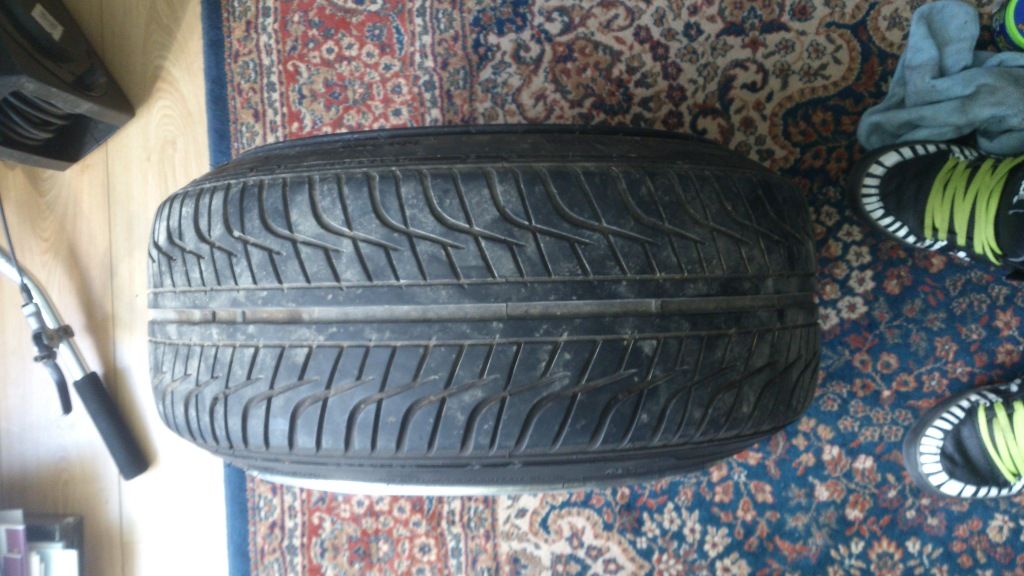
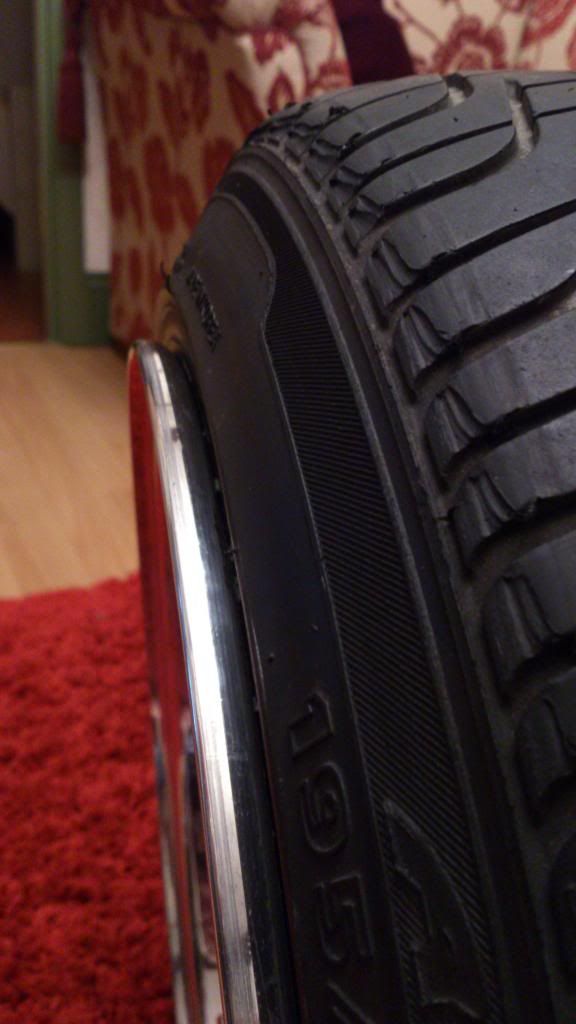
The marks on the tyre were from me taking her for a spin round the block with the new wheels on, and it was then very clear, i needed to take more material out of my arches!Leave a comment:
-
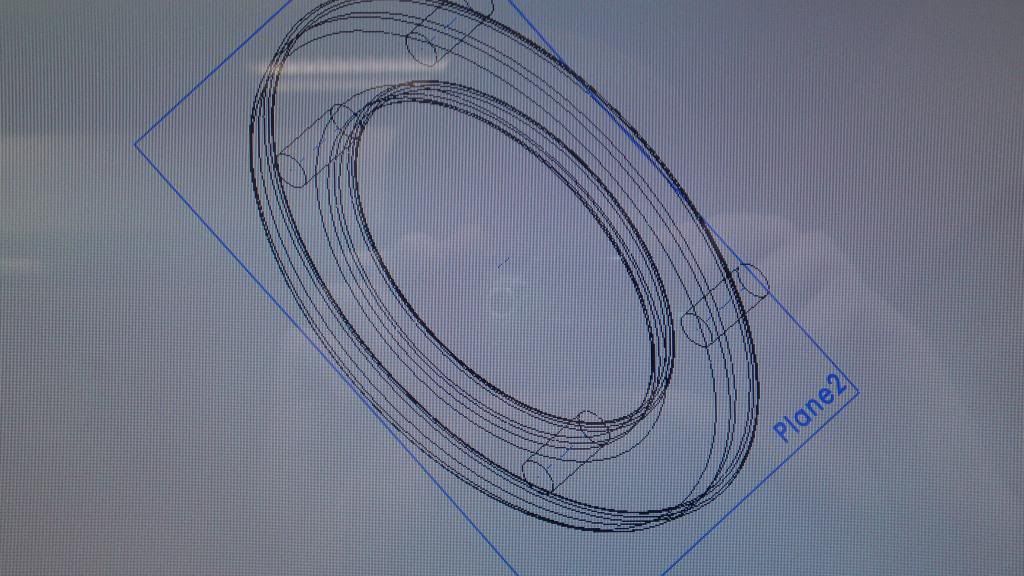
I managed to gain use of a Rapid Prototype 3D Printer!
I set about designing the plastic part of the horn push (under the rubber part) on CAD software, as the clips had broke on my Wolfsburg steering steering wheel, and didnt fancy paying �250 for another wheel that would most likely have the same brittle plastic.
I designed the main body, excluding the clip ends and the brass horn connection fittings, and made a prototype just the make sure that it would fit on the wheel first before i continued with it!
Awesome, it fit! I began to design the brass horn connection ring fittings, and recessing them properly allowing the small brass tabs to be bent into position to hold it in place.
I then ran another prototype through the machine to check that all the connections were in the right places.
Even better, it worked perfect!
Before i finished designing the clip ends, i managed to find the horn push centre on ebay, in Cyprus, with the rubber in a bad way! But looking at the photos in the advert closer, all the clips were intact with all the springs! I won it for �15ish!
When it came, i binned the rubber outer, and the plastic was perfect!
I ended up using the real one instead, with the comfort of knowing if this one broke, i had my back up one!
Heres a few pictures of the design in CAD

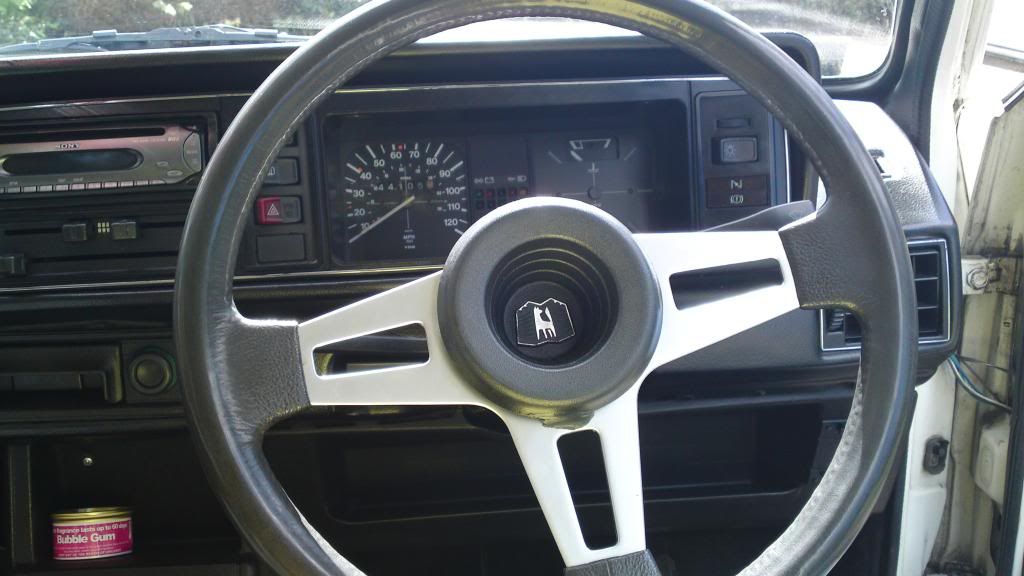
This was the steering wheel before, and you can see where someone had used some black sealant to attach the horn push.
I managed to cut this off, and carefully used a dremel to remove the sealent off both the metal of the wheel, and the rubber!
I had always loved the poke look with plenty of stretch, and was unsure what wheel i would like to go with, width, size etc.
I fancied a set of 8s on the front, and 9s on the back.
A friends let me try one of his 9s on the rear of mine for size, and i quite liked it! Maybe would be better with a little more poke!
This made my mind up, i wanted 9s on the rear! But with slightly less ET so it would poke more!
To accommodate the wide wheels, i knew i could need to have my arches cut alot!
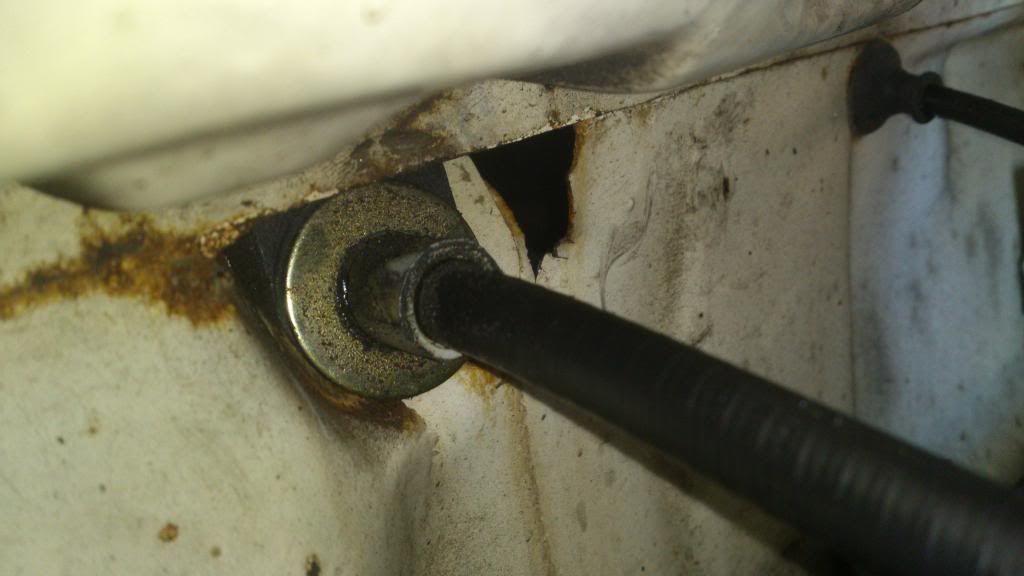
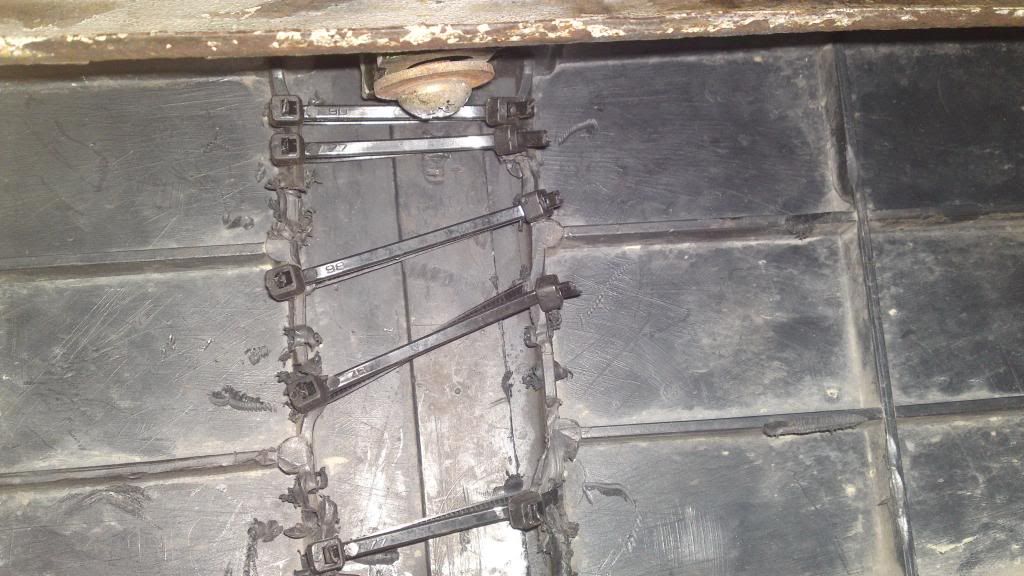
A little more time passed by, and the area of my bulkhead around the clutch cable pulled through - very common problem on Mk1s
As i had never welded before, i decided i had better play it safe and allow someone else to do it for me!
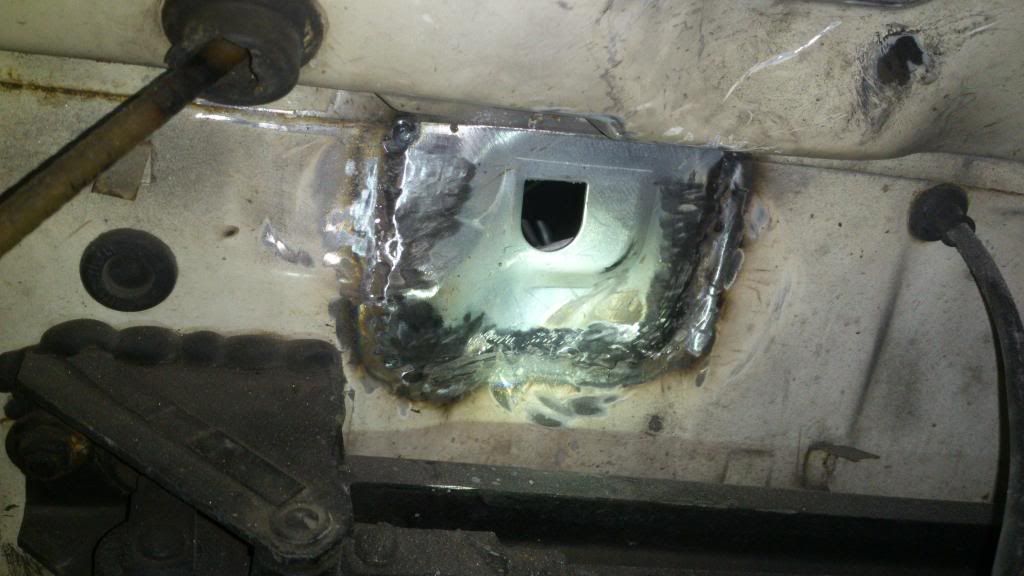
Cut the old part out, and welded in the new repair panel that cost �15! Bargin!

Just found a pic of when i tried a friends set of 10.5" BBS RS' on!
I think i had finally made up my mind of what wheels to get!
 Last edited by Mk1Sam; 03-24-2014, 04:07 AM.
Leave a comment:
-
Continuing from my last post, i managed to find another 1.1 engine and gearbox on ebay and won it for �90! Bargin!
I also got an extra gearbox from a chap on the owners club for �10!
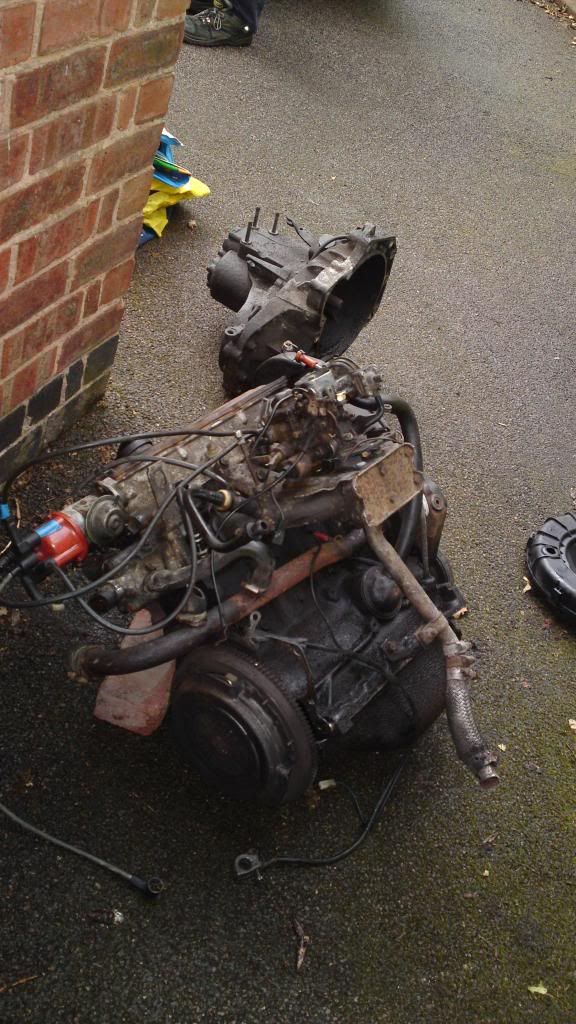
I cant see why my dad wasnt very happy with the fact i wanted to squeeze the engine and gearbox into the boot of his Bmw 3 series coup�... haha! Needless to say it was a bit of a ball ache, but we managed it, just!
Here she was, not a prity sight, but it worked!
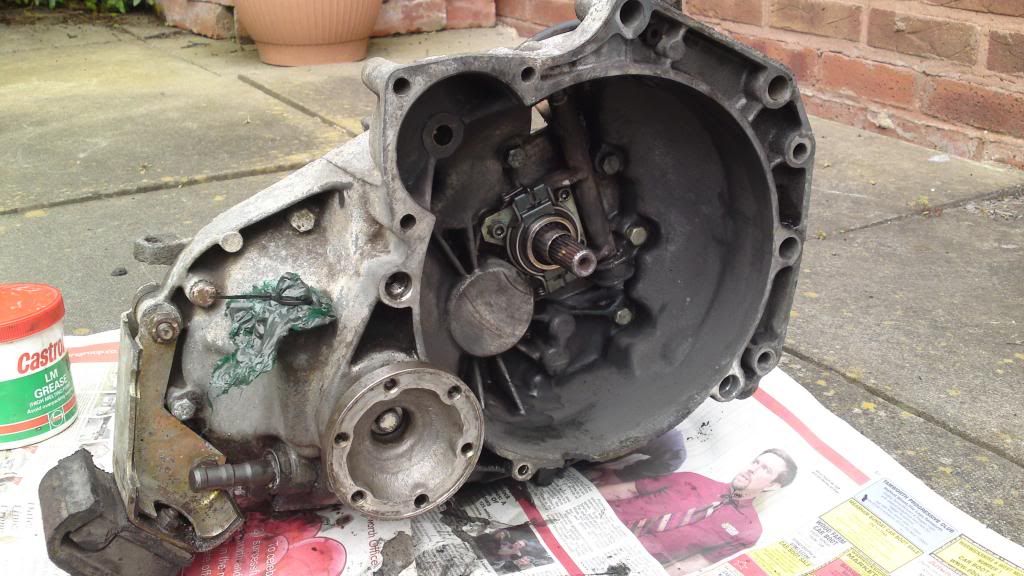
I took the box off the engine to make it easier to fit into the boot.
I put the engine straight into the shed, and began to clean the new gearbox with Gunk once again.
I then removed the release bearing from the old box onto this new box Job done, just needed to fit the new box into the car.
I removed all the grease from the inner cv joints, and the drive shaft flanges on the box, and repacked them with new grease (I didn't use that castrol stuff in the photo, i when and got the correct grease)
Box fitted, took her out for a spin, and happy days, she worked again!
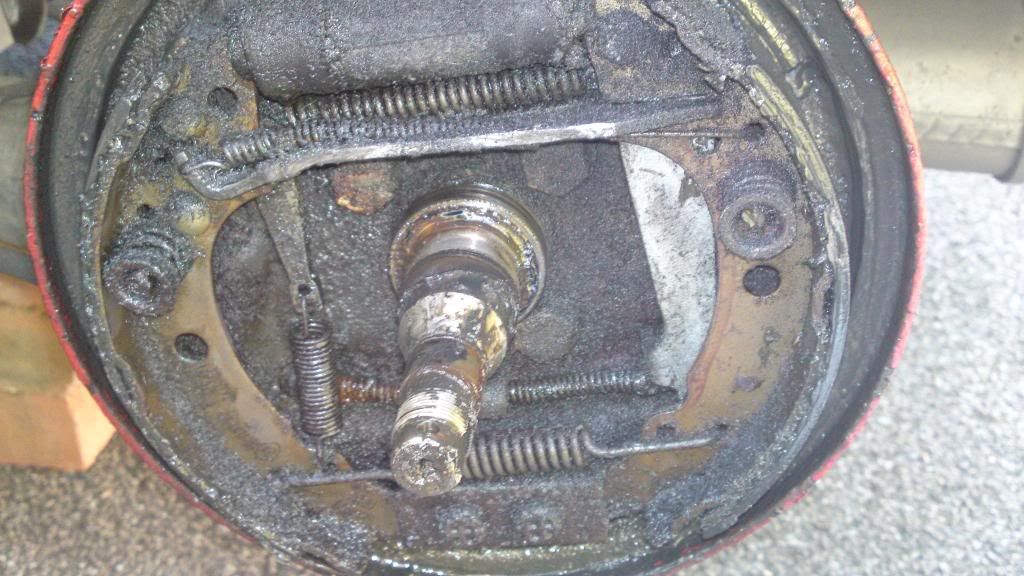
Next on the to do list was the rear brakes. I got a friend of my dads to check the brakes in his MOT garage, and he found that one of the rear brakes hardly worked.
So i went away and ordered some new brake shoes and cylinders for the drums, might as well do both rear brakes while im at it!
Once i took the effected drum case off, it was very clear what had happened. The cylinder had been pissing fluid into the drum!
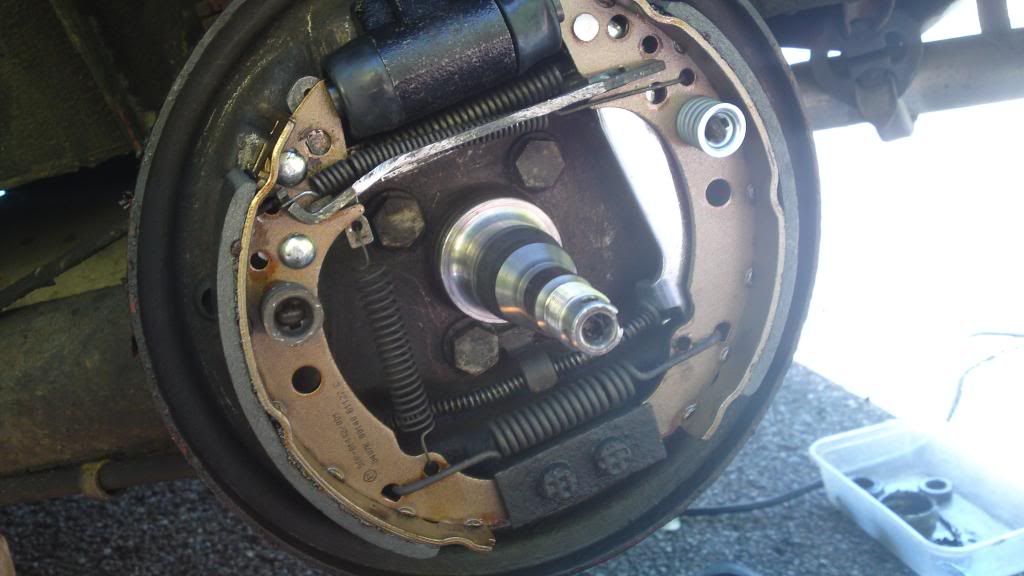
While i was rebuilding the drums, the shoe retaining string and top hat clip type thing decided to slip out of the thin nose pliers and fly off into the bush next to the car! Balls! After about 10 mins looking for them with a magnet, i gave up and walked to Megaspares where they just happened to have the brake kit with all the springs etc! I decided just to use one spring and clip, and to use the rest of the kit the next time i replace the rear shoes.
Heres a before and after - huge difference!
I fancied a bit of a change on the outside of the car, and i always had a softspot for the large GTI front splitter! I managed to get my hands on a very good condition one, with only a few scuff on the underside of the splitter, which didnt bother me as i know i would put more into it!

Fellow Mk1 owners will im sure be aware that these 2 pieces very rarely meet up in the center, and you usually have on average a 5mm gap between them when they are fitted to the car.
I wanted to over come this so i used a dremal and elongated the fixing holes to allow for more adjustment. I then also drilled a series of holes in the webbing on the rear of the splitter and attached cable ties to help keep the splitter together when it is fitted to the car.
Bit of a fiddly job, wasn't very neat as some numpty had tried to do this idea before and failed!
I was trouble free for a while after this! But then i began to have problems with my carb. Some times i would be slowing down to stop at a junction, and the bloody things would just cut out! Once it happened when i was about to turn right at a crossroad, then it cut out just as the lights changed, and would not start!
Some times it started after a few goes, others it did not.
After about the 10th time of this happening, i got a friend to check the carb out for me, and he found there was a small bit of crap in the carb that was sitting on the float needle valve, allowing petrol to just flood into the engine, effectively choking it to death.
My friend cleared this problem, but i could see there was a large amount of crap still remaining in the bottom of the carb... possibly due to the old fuel filter being so crapped up!
After this, i could not get the car to tick over, but it did keep hunting up and down in the revs on its own.
I gave up and began the search for a rebuild kit for the standard carb - i was having no luck at all. Once again the Mk1GolfOwnersClub saved the day and a chap pointed me in the direction of http://gowerandlee.co.uk/ ! Admittedly the website looked very shady, but i gave the guys a phone call and they were immensely helpful and really knew their stuff. I would highly recommend them!
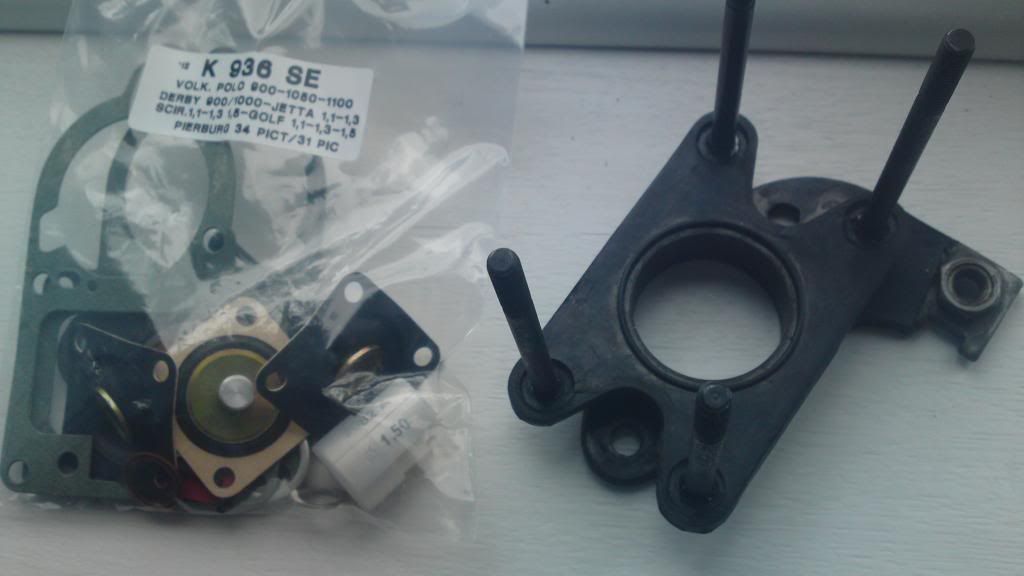
I order the rebuild kit for the carb over the phone and it came in lightning speed!
I also ordered a rubber carb gasket from VW Heritage to replace the old worn one, which had started to split.
Having never rebuilt a carb before, i was looking for hours to find a youtube video of someone rebuilding an original carb, but i was having no luck. But i managed to stumble across an exploded diagram of all the parts in the carb! WIN! Ive added the diagram below in case anyone else reading this thread could find it useful!
I set about cleaning it with carb cleaner, and it was filthy!
I mixed and matched a couple of things from the carb that was on the spair engine, such as the float as it was in slightly better condition.

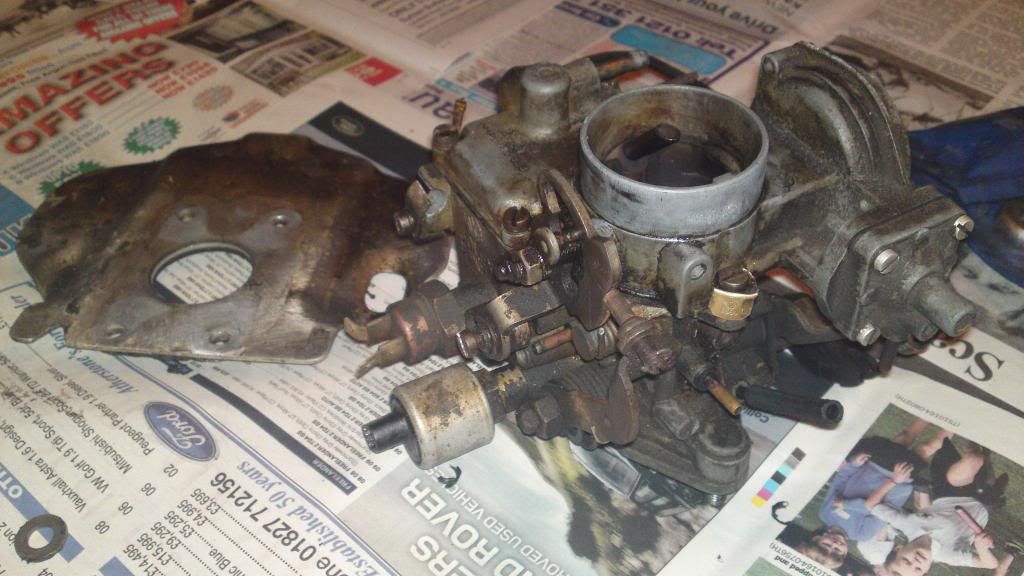
Im sure i could have got the carb to look much more presentable by polishing things, but i just wanted it to work and serve its purpose!
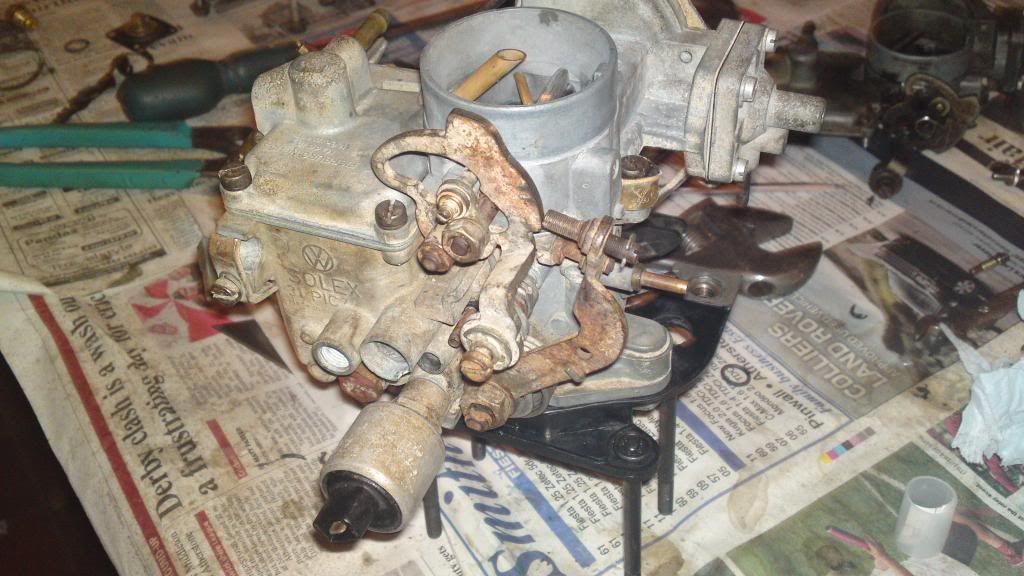
I changed everything i could, the only things i did not change were the jet and the float (swapped float from the spare carb however). I changed all the gaskets, seals, o rings, diaphrams etc etc.
I did away with the temperature sensor type thing on the side of the carb, as its not really of any use in England. Its only really of any use in very cold country's.Last edited by Mk1Sam; 07-23-2013, 06:44 PM.Leave a comment:
-
Leave a comment:


Leave a comment: