
-
Thanks guys. Sucks that its winter, I want to put these wheels on and drive the thing.Leave a comment:
-
wow this thing is awesome great job man really enjoyed the build thread.Last edited by kittenpuncher; 01-15-2013, 04:47 PM.Leave a comment:
-
reading this build makes me want a miata...maybe l just might have ro get one now. lol awesome build. +1 to you.Leave a comment:
-
Another small project I've been working on this winter. The stock miata intake manifold has a bunch of ugly casting marks on the runners, ports that I'm not using and some connections for smog. It generally just looks pretty ugly.

So I got a grinding bit and got to work. Took out the big casting lines on the rear runner, took out the smog connection at the rear of the manifold.
Mid grinding.

After taking out some of the bigger chunks.

And took out the big blocky casting marks between each intake runner.

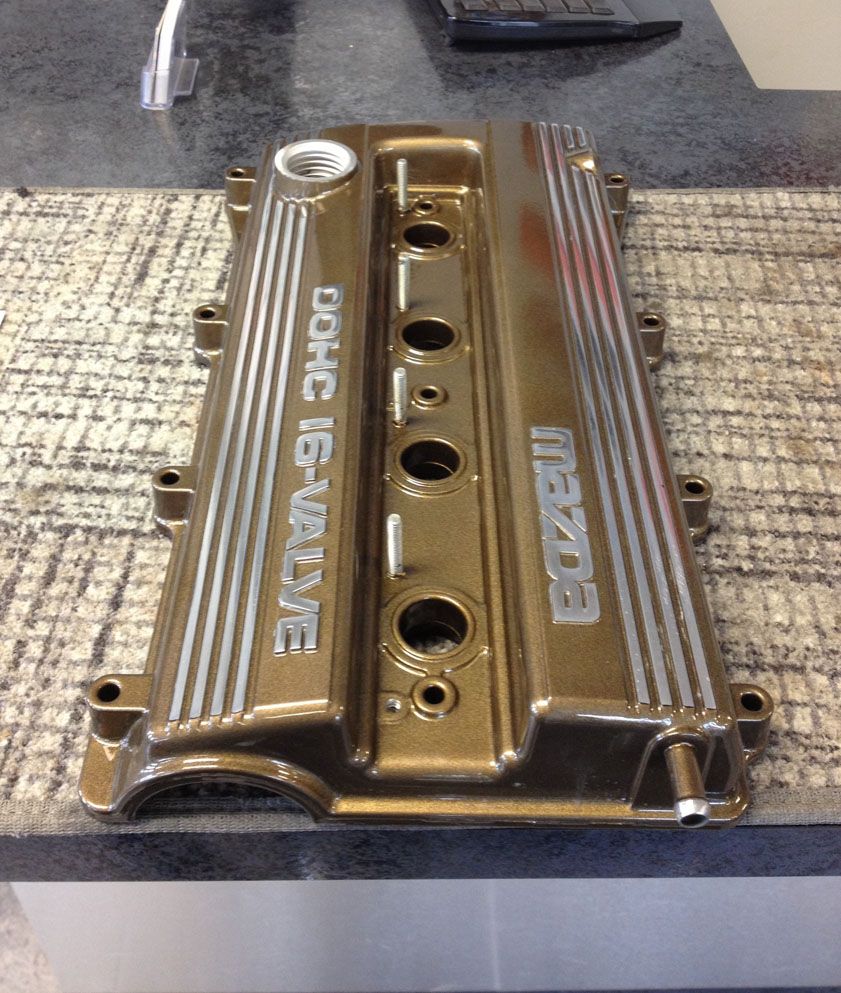
And I picked up a valve cover from a mazda protege which will let me run exposed cam gears.

Sent everything out for powdercoating. So far just the intake has been finished so I threw that on. And while everything was apart, I polished the throttle body and painted some of the intercooler piping that was getting scratched up.

The color is tomic black with gloss clearcoat.

Should look alot better when I get the valvecover back.
Oh and a quick teaser. I'm ditching the rotas and ordered some real wheels. Took 2.5 months from order to arrival.
Got some tires on them already.

Leave a comment:
-
New day and more work to do.
Ground down the welds on the inner panel

And then cut the sheetmetal for the outer panel.

External panel welded and welds ground.
The new metal painted up for protection.
And done.
Leave a comment:
-
And now for the most PITA project of the entire winter. Rust repair.
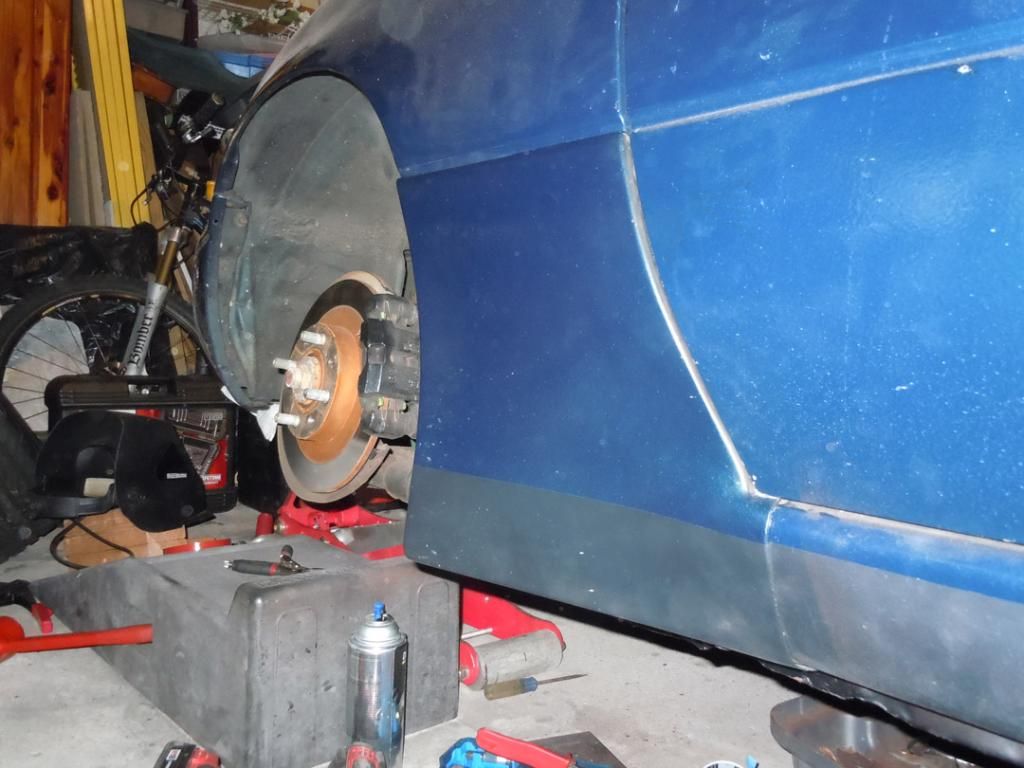
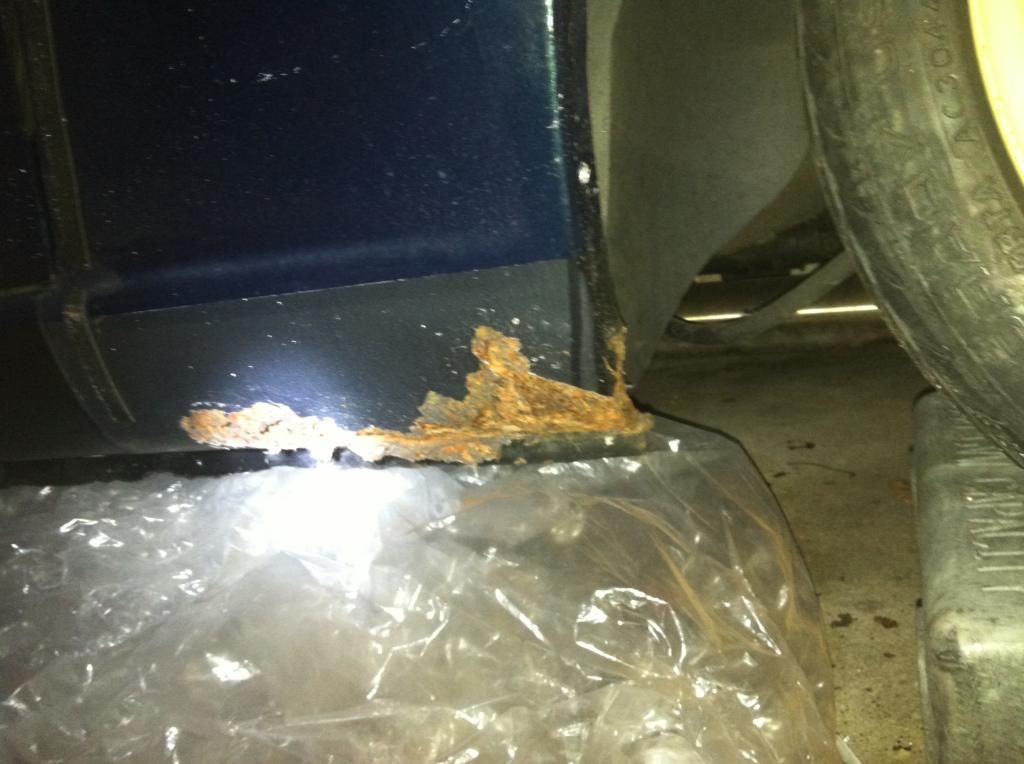
So this one has been bugging me for a while. There has been some rust bubbling through the paint on the drivers and passenger side rocker panels. I don't think the addition of the skirts and corner flares is helping the matter either since more debris gets caught up against the panel. So I decided to attack the panel with a screwdriver and see just how bad it is.
Starting with the drivers side.
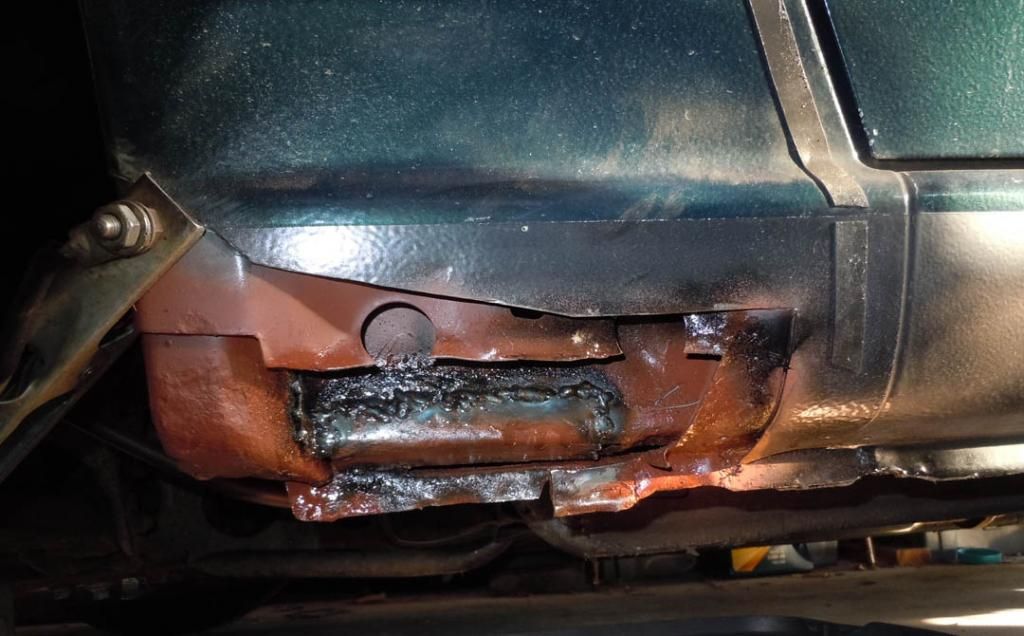
Not good, time to get to cutting.
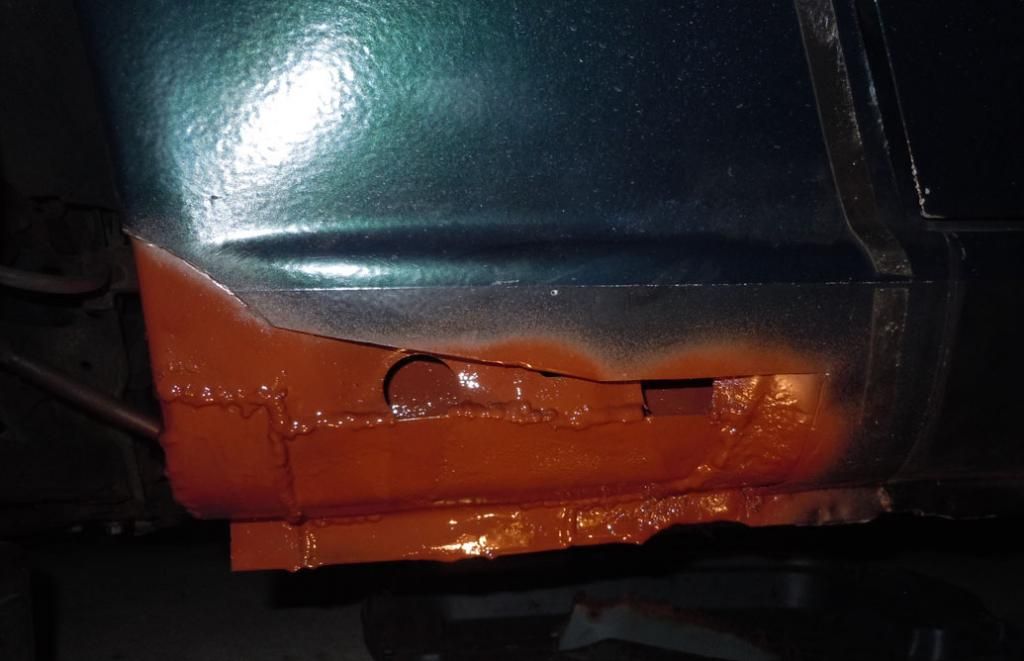
There ended up being a medium sized hole (bigger than the 2 holes that should be there) in the inner panel. This panel is made of thicker metal so I think its somewhat structural. I ended up buying some thick sheetmetal for another project and used it to patch the hole on the far right. I wire brushed the bulk of the rust off of the panel, coated it in rust converter and then put some brownish paint over it.
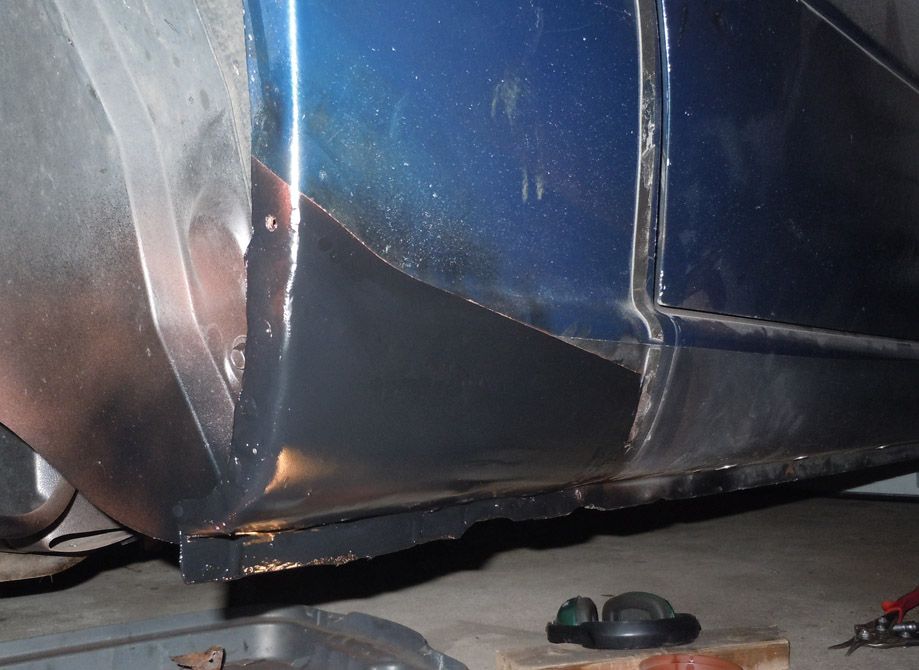
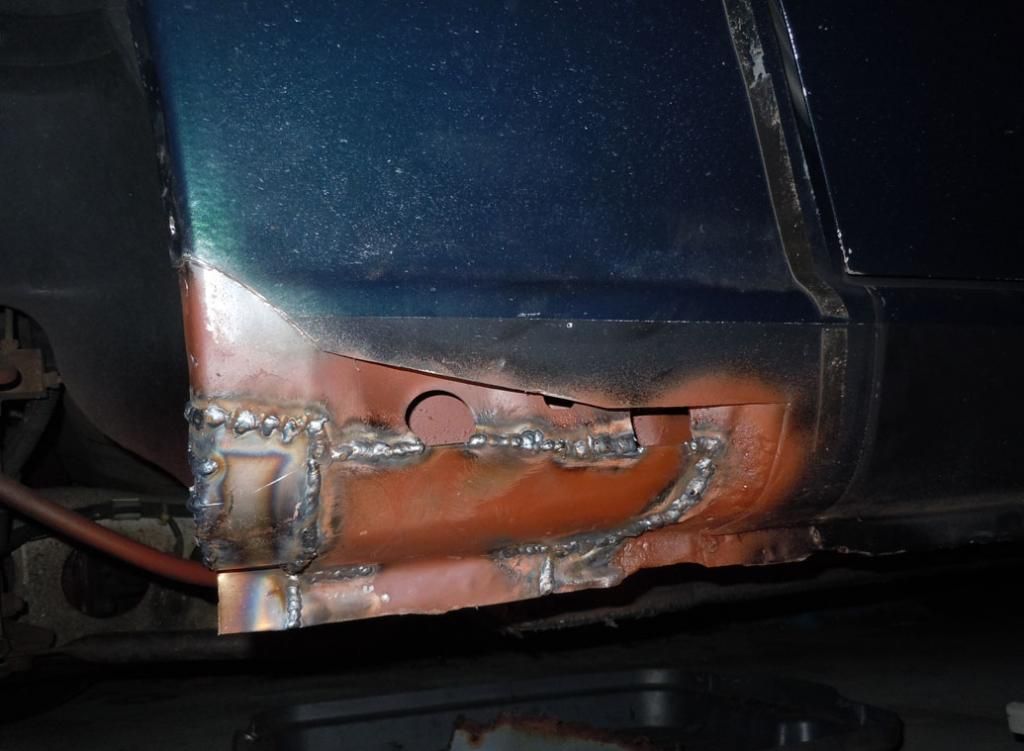
Then I made a patch panel for the outer sheetmetal and welded it in place.
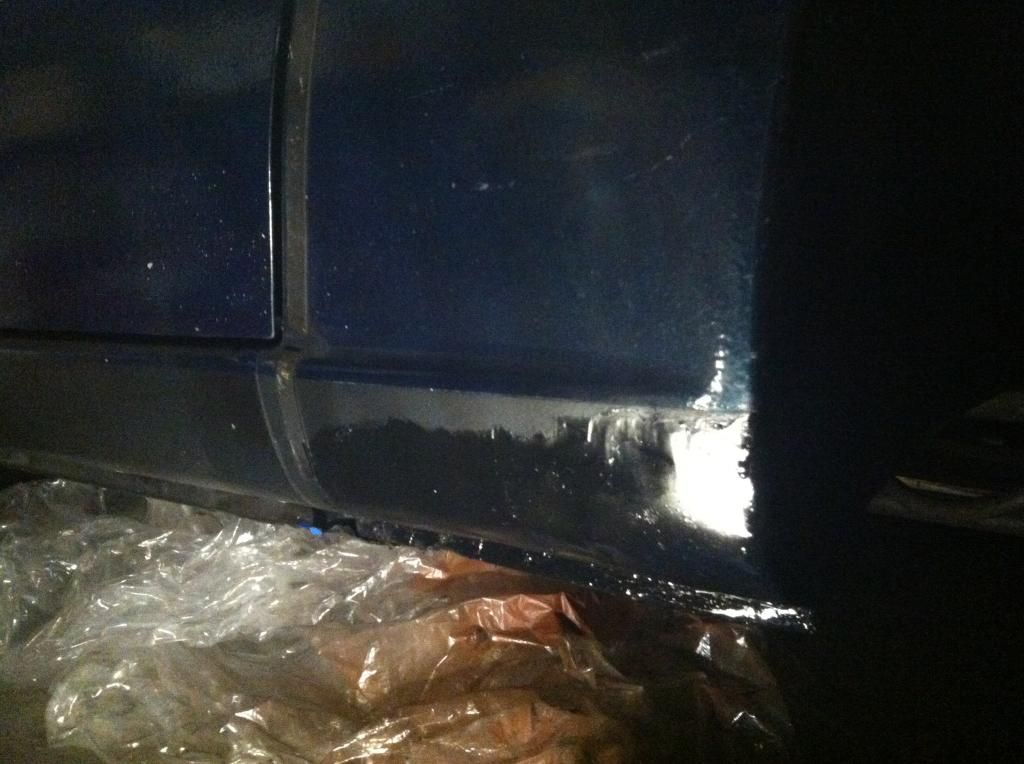
Then I sprayed some black paint over the panel so it sorta matched. I'm not going all out with this one with bondo and texture paint since my corner flares will end up covering this. But at least I'll have good metal underneath now.
Next is the worse off passenger side...
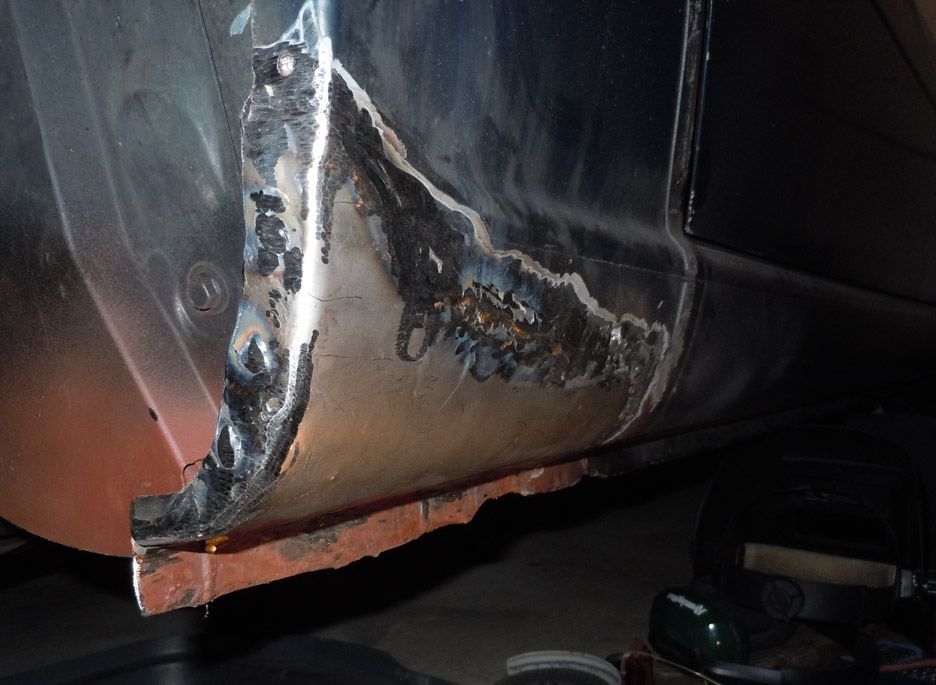
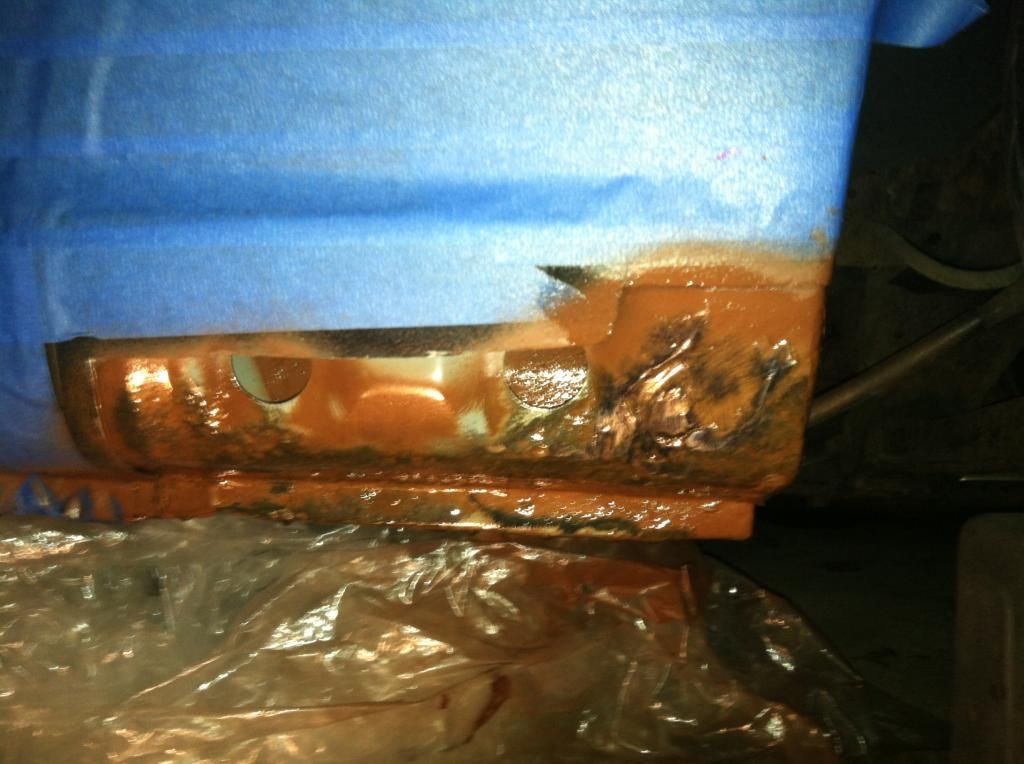
So, the passenger side I was expecting to be worse, but definitely not this much worse.

After cutting out the outer sheetmetal to see how bad the inside was, its looking pretty bad. Large holes in structural metal. The outside skin of the pinch weld basically falling apart. The inner rail completely open and visible. Not good.
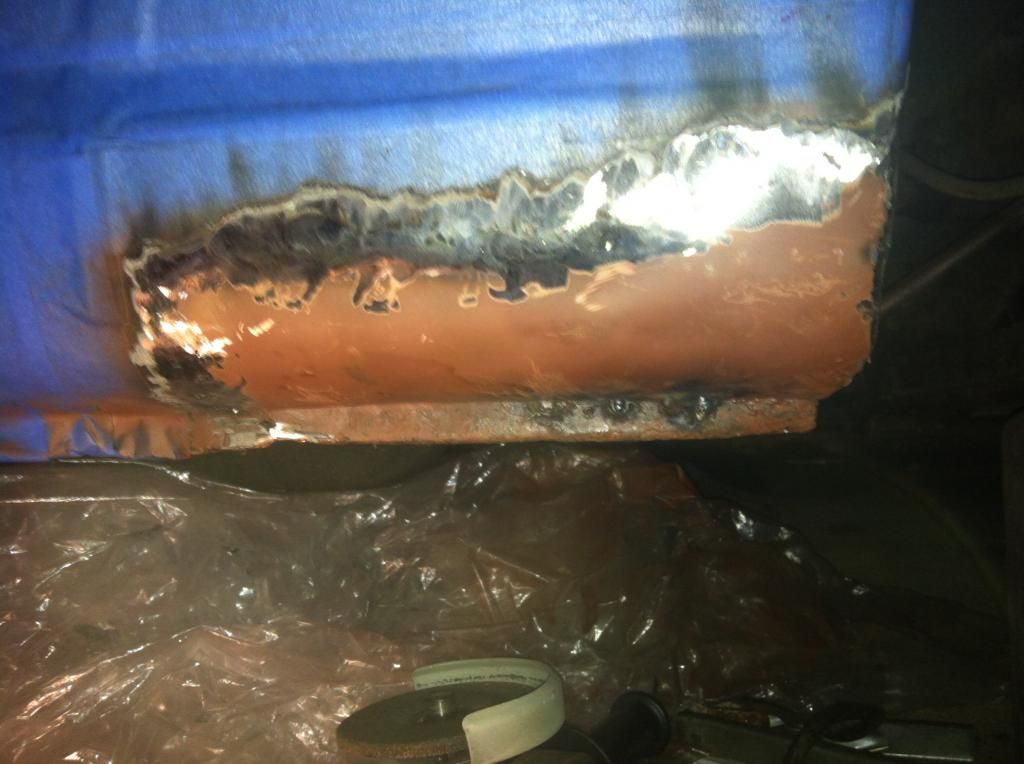
So I cut out all of the metal that had more than just surface rust. Some other parts that were just minor surface rust I scraped, wire brushed and then coated in rust converter.

So first I patched up the inner panel. This was thinner gauge so I don't think its quite as structural as the middle layer but I'm going to tie everything together and plug weld a bunch of overlapping areas so everything stays strong.
Then I bent up a patch panel from 16 gauge steel to fix up the middle structural panel and the pinch weld. I think the original metal was only 18 gauge so this should be plenty strong. Massive pain to bend by hand though. Wishing I had a bench vice right about now.
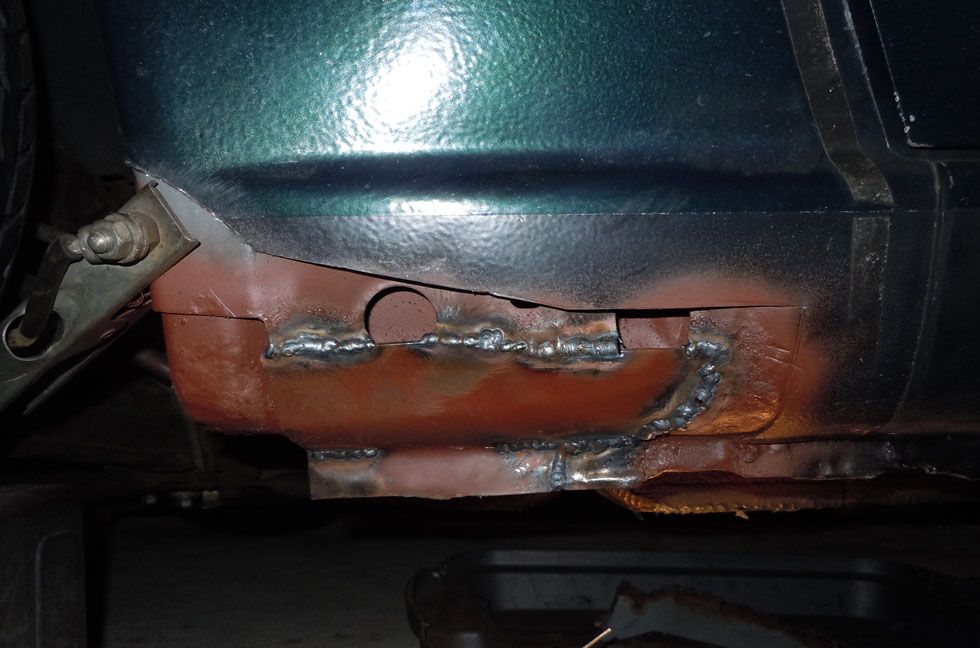
Then I made a piece to finish up the rear part of the middle panel since the original panel curves outward and goes flat across. This piece also wrapped around the back of the panel into the wheelwell and tied into the other pieces that converged back there.
Then I called it quits for the night and covered everything in a rust protectant primer to keep everything I just did from rusting overnight. I plan on grinding down a few of the welds that will interfere with the outer skin. I also plan on drilling some holes through the outer layers and plug welding the layers together for strength.
Leave a comment:
-
So lately I've been working on some random winter projects.
My front bumper has been getting pretty rough. The clearcoat was beginning to turn white and flake off in spots so I decided to do something about it.
Yanked the bumper off...
and stripped off the clearcoat and built myself a basement paint booth. Went down to the automotive paint store again and had some basecoat mixed up and picked up a can of clear.

Blasted it with paint/clearcoat
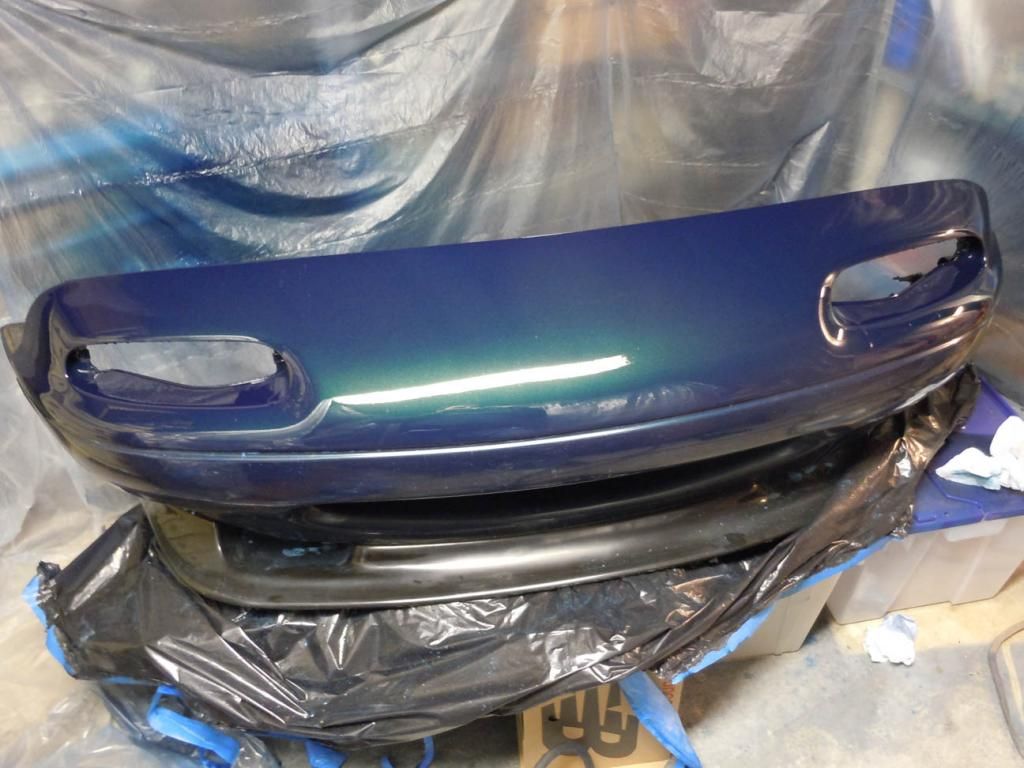
And buffed it up.
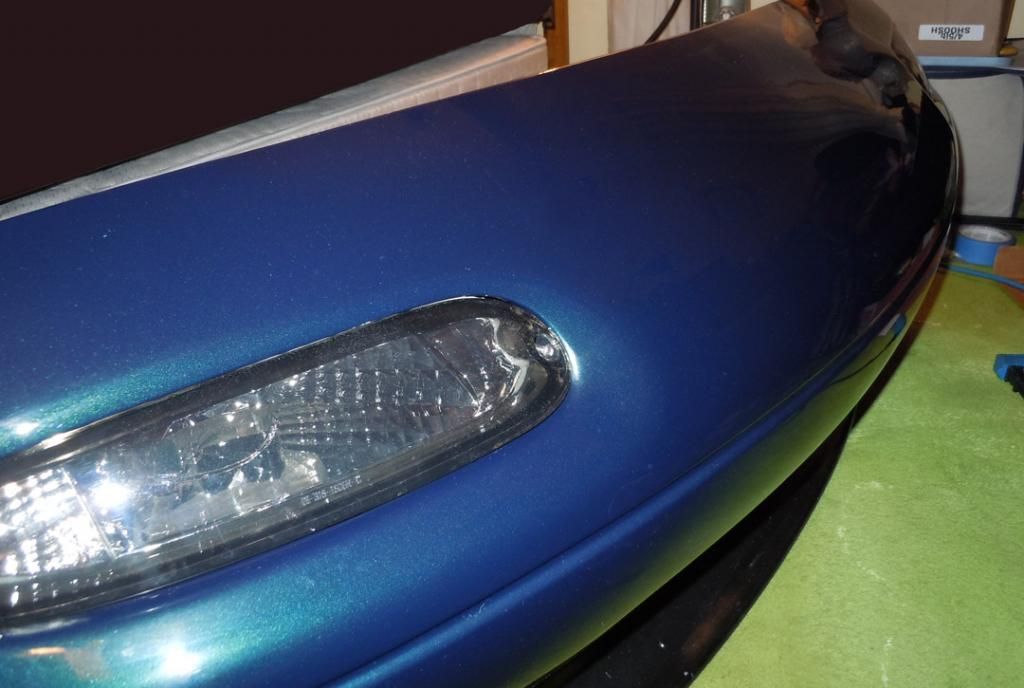
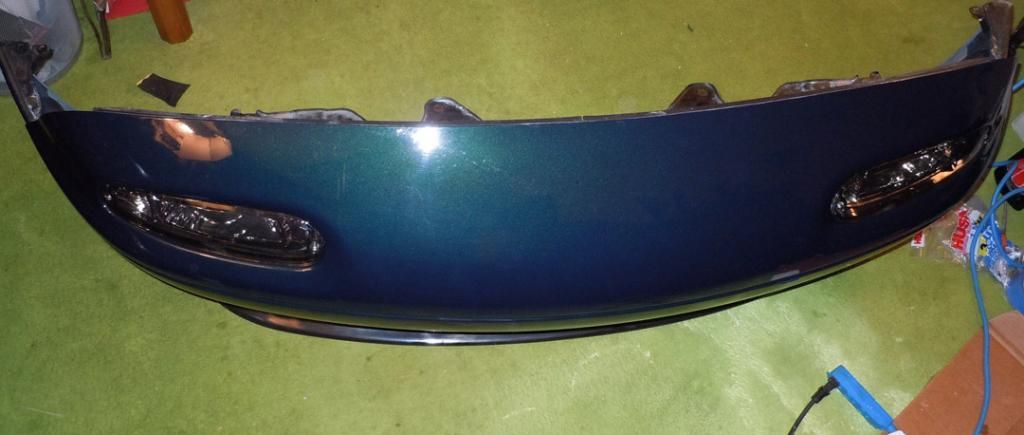
I also deleted the toilet bowl front badge while I was at it. Much better.Last edited by Dragula; 01-12-2013, 09:18 PM.Leave a comment:

Leave a comment: