Announcement

Collapse
No announcement yet.

Fiona: A 1975 2002

Collapse
X
 
  • Filter
  • Time
  • Show
Clear All
new posts

  • Oxer
    replied
    Amazing quality. All the hard work will one day pay off. I admire your patience.

    Leave a comment:


  • TinkWithanR
    replied
    Haha, yeah you got it. I think somebody mentioned it a ways back.

    Thanks!

    Leave a comment:


  • jimbo
    replied
    Fiona/Mica - Eurotrip? Am I right? (Don't know if someone already guessed)
    But yeah, I've been distracted by your awesome build!

    I have a '02 in the garage too - blood brothers? lol!

    Can't wait to see it finished!

    Leave a comment:


  • TinkWithanR
    replied
    Originally posted by 244Brick View Post
    jelly of your tool setup
    Thanks, I'm really lucky to have the stuff I do. Lots of time and money invested in em.

    Originally posted by Henndoe. View Post
    You definitely seem like you know what you're doing. It's a pleasure to read this thread, reminds me of my 2002 which I had to sell sadly. That CNC tool board is amazing too, great idea. Keep up the nice work, I look forward to these updates a lot!
    Glad to hear I at least look like I know what I'm doing lol.

    Originally posted by Heist View Post
    just let me pull out my lathe..... come on cnc cut board for the tools topping it off with "Tinker engineering" on it. Can we trade lives for a few weeks?
    Sure, considering my g/f is in Cali right now I'm sure she would be pretty happy with that.

    Originally posted by montgomery View Post
    Gah! Tool board is beautiful. You should make more and sell them.
    Thought about it, but the real time consuming part is getting the tool recesses cut out in the plywood. By the time I did all that and bought the material they would cost more than the tool set lol.

    Originally posted by wobbie View Post
    If you brought the pedal assembly closer would it eliminate having to cut out the frame like that? or was there a reason for having it that far forward?
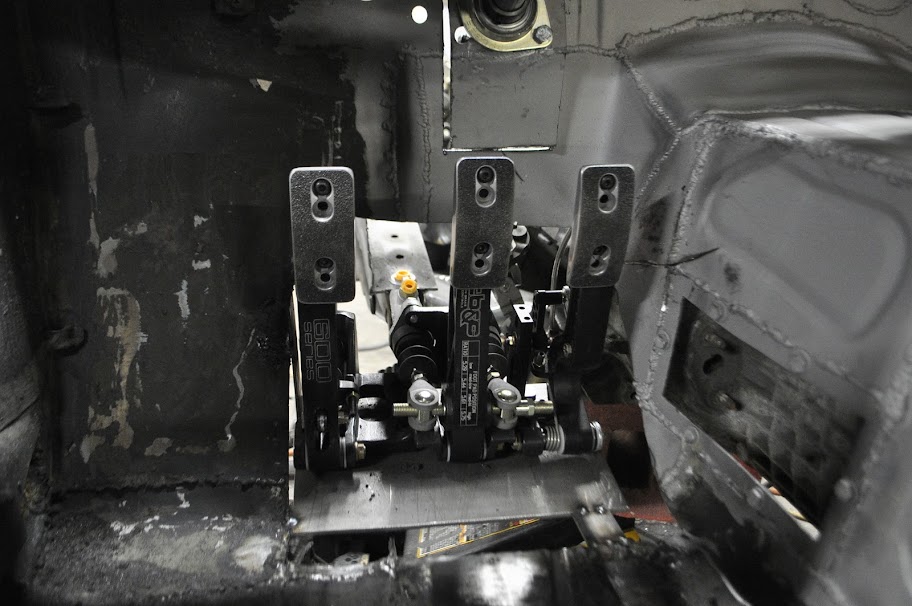
    It's that far forward because of the seating position of the driver. If I moved the pedals back, the seat would have to move equally far back, which would make the rear seat useless on the driver side (something I wanted to avoid).

    Originally posted by Paul S View Post
    Wow, amazing work, this is defiantly inspiring me to start building my cabby, subbed for sure
    Thanks man!

    Leave a comment:


  • Paul S
    replied
    Wow, amazing work, this is defiantly inspiring me to start building my cabby, subbed for sure

    Leave a comment:


  • wobbie
    replied
    Originally posted by TinkWithanR View Post
    So as I alluded to earlier, I decided to deleted the stock pedal assembly and replace it with a Tilton floor mount assembly. There were a number of reasons I decided to do this. First, the itb setup meant that the stock brake booster wouldn't fit anymore. Likewise, with the G260 trans in place, the stock throttle linkage would be very close to the outer bell housing. By switching to the Tilton setup I am able to avoid those issues.

    The pedals in question are are Tilton 72-603, which is a three pedal assembly. The brake pedal uses a balance bar, which lets you adjust the bias front to rear from the driver seat (with the optional cable adjuster). It also keeps the front and rear brakes on separate master cylinders, so if one of the circuits ended up getting damaged I will still have brakes to help bring the car to a stop.


    If you look at the above picture, you'll notice that the pedal pads are also adjustable. There are 4 vertical positions and three horizontal, for a total of 12 per pedal. I am also thinking of machining a new gas pedal pad to help with heel-toe driving. I'll wait until I can try it out before going down that road though.


    In the next picture you can see the throttle linkage assembly. The linkage, like the rest of the pedal assembly, is completely adjustable. This will allow me to dial in the throttle plate position relative to the gas pedal, avoiding a laggy or on-off feeling.


    Of course the new pedal assembly isn't without it's issues. Mainly the fact that the driver side frame rail goes right through the same area, so it needs to be cut out and rerouted. Also the clutch master cylinder is much further off to the right than the old setup, so much so that it sticks into the driver side footwell. If it end up interfering with the steering at full lock I'll need to make up a simple linkage that moves the clutch master cylinder up and over, away from the wheel/tire. I'll wait to make that decision until the front suspension is back in though.


    Here is the pedal assembly bolted in place:


    Here you can see clutch cylinder, it sticks into the wheel well an inch or so.


    And here you can see how much of the frame rail/firewall needed to be trimmed out. The frame rail will be remade with 1/8" or 3/16" steel boxed and welded flush much like the motor mounts, but out of the way of the brake and clutch cylinders.


    I also picked up a new tool to help strip the old tar and POR-15 off the floor boards so I can make sure they are clean and rust free.


    And the progress after ~15 seconds of grinding:


    Then I got the steering column support bearing tacked in place. Ironically it fit in the stock location of the old column mount, it just needed to be angle downward slightly.


    Then I took a break from work and took a few pictures with my other '02. Once I get Fiona finished I want to paint this one as a 'mini-me' and it in her glovebox or center console area lol.


    Thanks for looking!

    If you brought the pedal assembly closer would it eliminate having to cut out the frame like that? or was there a reason for having it that far forward?

    Leave a comment:


  • montgomery
    replied
    Gah! Tool board is beautiful. You should make more and sell them.

    Leave a comment:


  • Heist
    replied
    just let me pull out my lathe..... come on cnc cut board for the tools topping it off with "Tinker engineering" on it. Can we trade lives for a few weeks?

    Leave a comment:


  • Henndoe.
    replied
    You definitely seem like you know what you're doing. It's a pleasure to read this thread, reminds me of my 2002 which I had to sell sadly. That CNC tool board is amazing too, great idea. Keep up the nice work, I look forward to these updates a lot!

    Leave a comment:


  • 244Brick
    replied
    jelly of your tool setup

    Leave a comment:


  • TinkWithanR
    replied
    Wrote up a nice update and it deleted itself right before I posted it, so I'm just gonna throw a bunch of pictures up and maybe explain it later lol.


    New storage for the socket sets. I laid them out how I wanted and drew it up in CAD. Then used that to engrave some signs and underlaid that with plywood:


    Fits in the drawers of my craftsman box:


    Then I worked on the front struts. Removed the spring perches and cut them in half. Then I turned down what was left of the perches on the lathe and trued up the cut edge. Could use the lathe on the bottom half of the strut housings because the spindle didn't clear the ways, so I trued those ends by hand. Then I made an aluminum spacer that will keep the halves in line when I go to reweld them. With the welding done the spacer will then be cut down and used to space up the Koni inserts from the bottom of the strut tube (they are shorter than the housings, so they need to be spaced up for the gland nuts to have something to hold on to).


    Happy Holidays!

    Leave a comment:


  • Khalil
    replied
    Holy fuck this is insane dude. Awesome work.

    Leave a comment:


  • jon4862
    replied
    Almost would seal this car up in a glass-box and preserve it but then would also defeat the purpose of building it. I truly admire your work!

    Leave a comment:


  • Nickswagen
    replied
    awesome work!!

    Leave a comment:


  • 99sil-teg
    replied
    This build is both awesome and depressing... I need to get to work on my e21 lol.

    Leave a comment:

Working...
X