 Tweet
Tweet
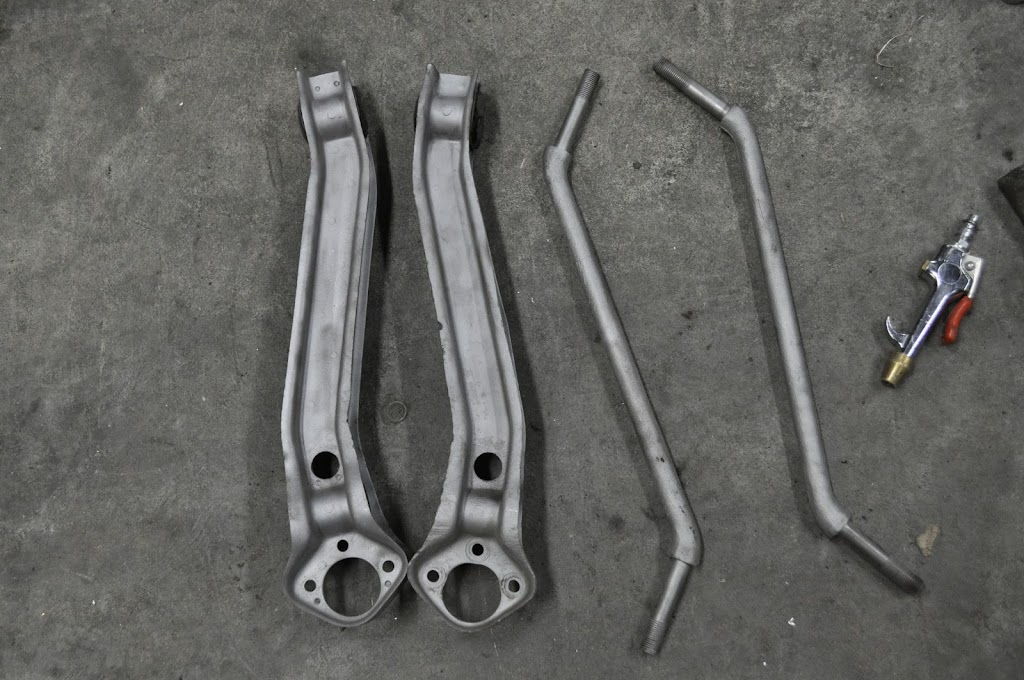
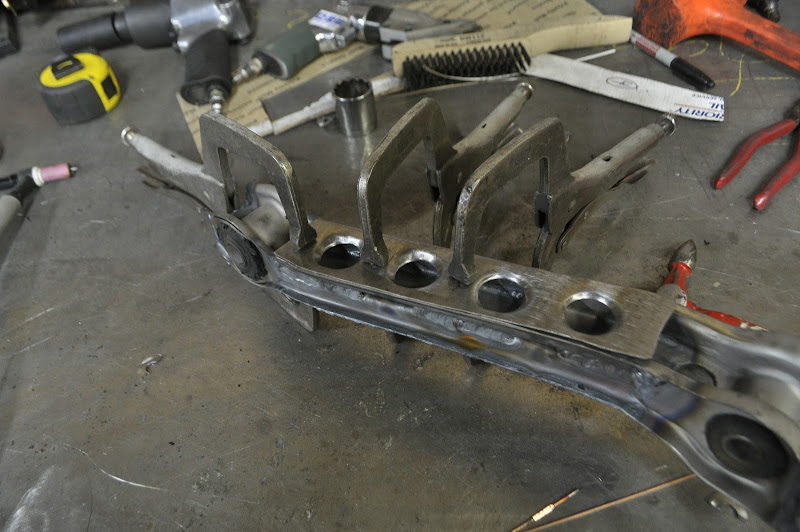
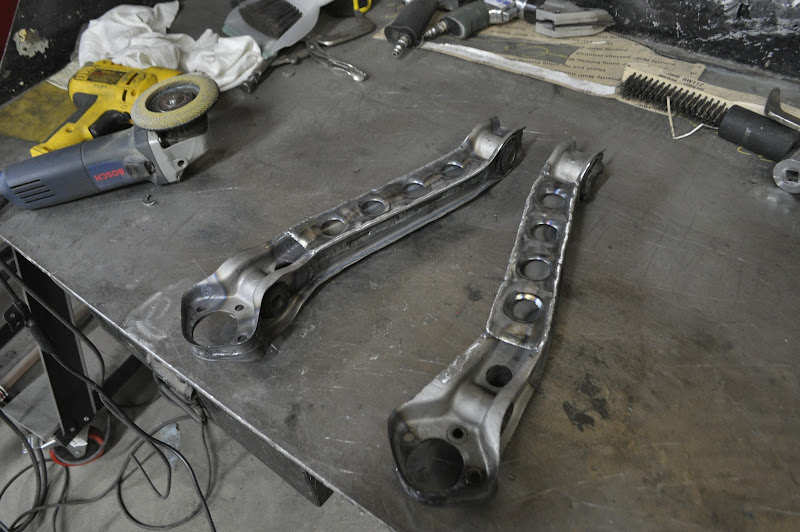
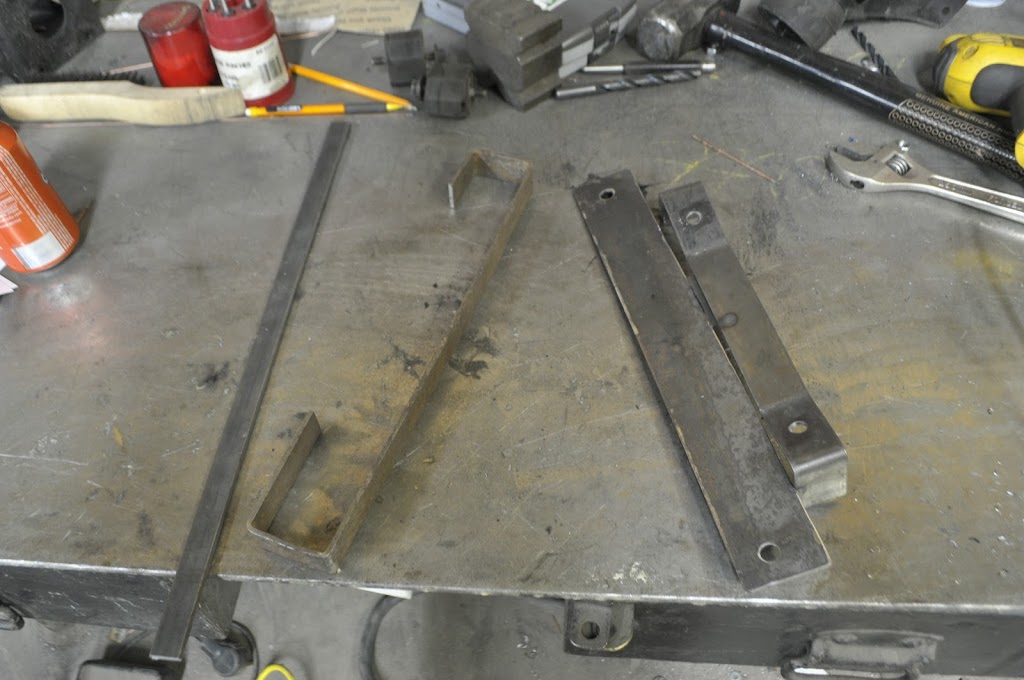
Worked on the front suspension some more tonight. First up was to remove, clean up, and shorten the steering arms. Here they are sandblasted before shortening:

The stock length between centers is 175mm. The stock e21 length is ~130mm, but I ended up at 125mm exactly on both arms. I was shooting for slightly faster than stock, so this should be perfect.
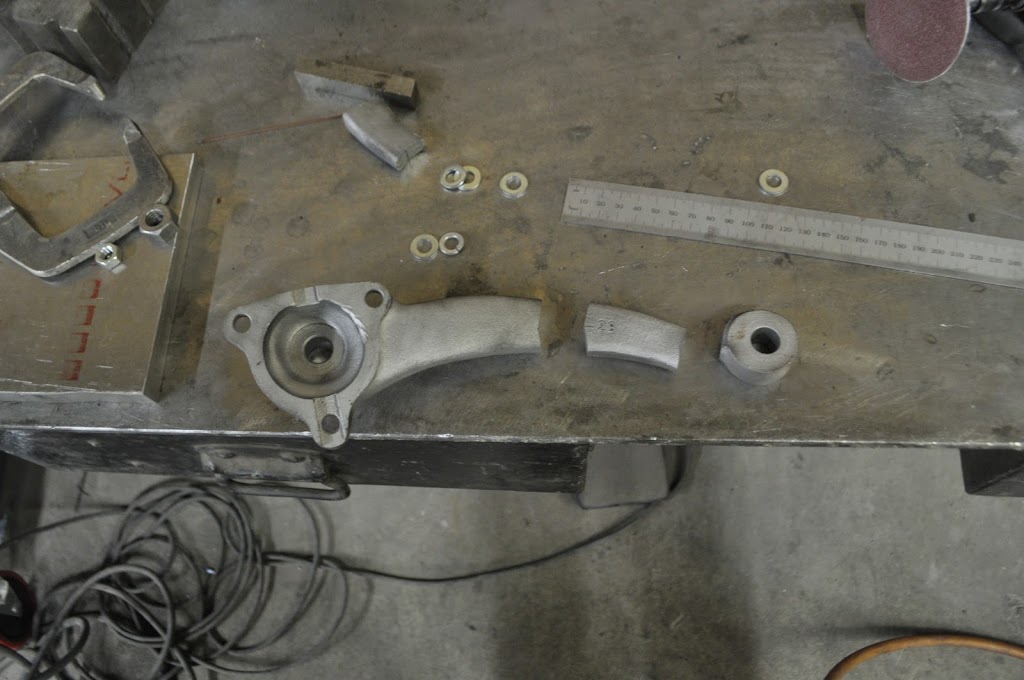
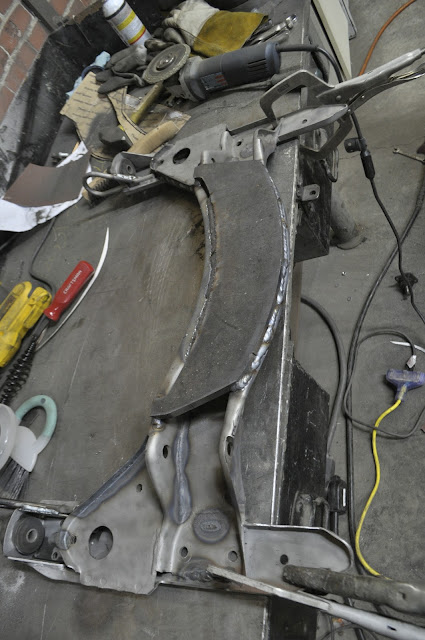
Here is the arm after cutting:
A shortened arm next to the unshortened arm:

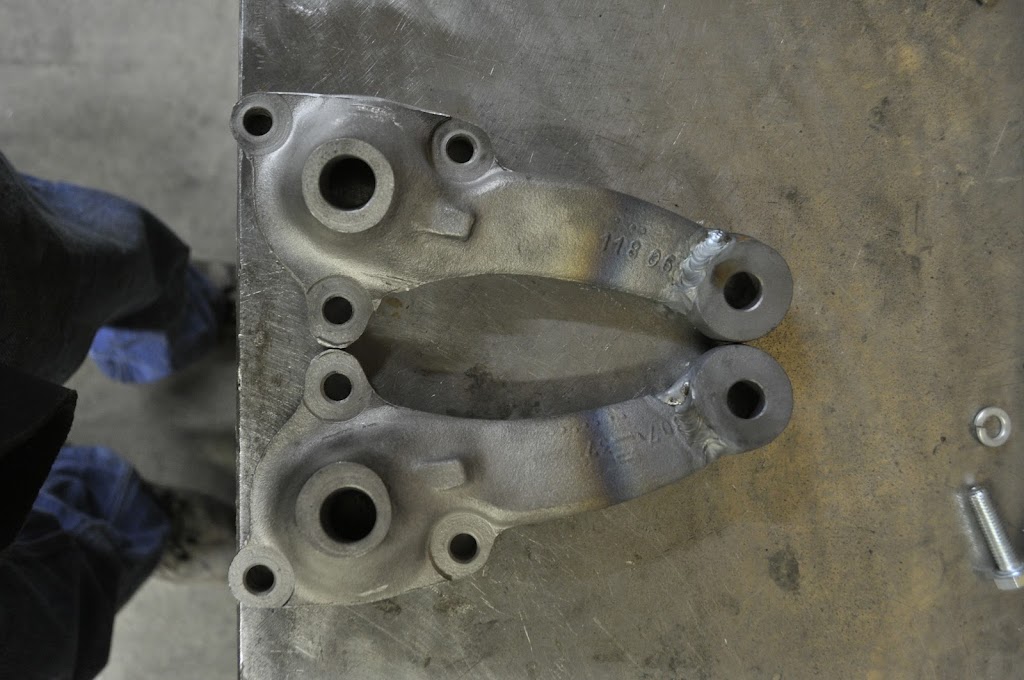
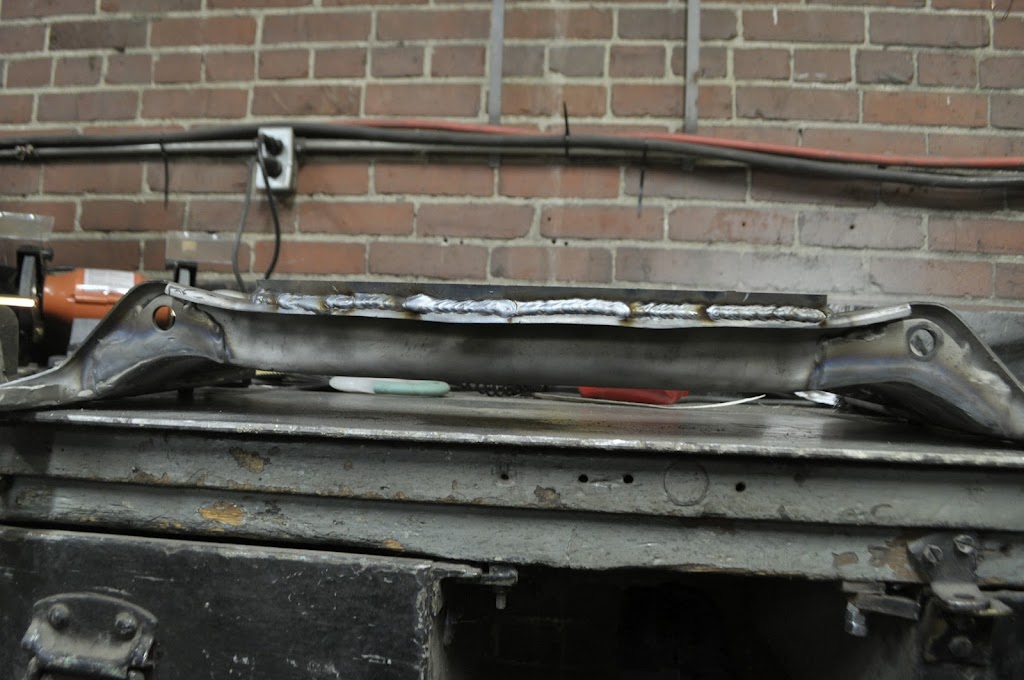
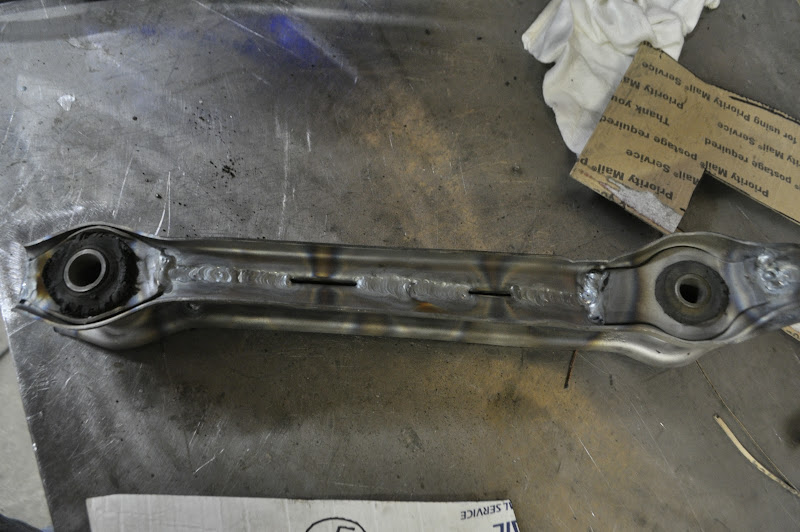
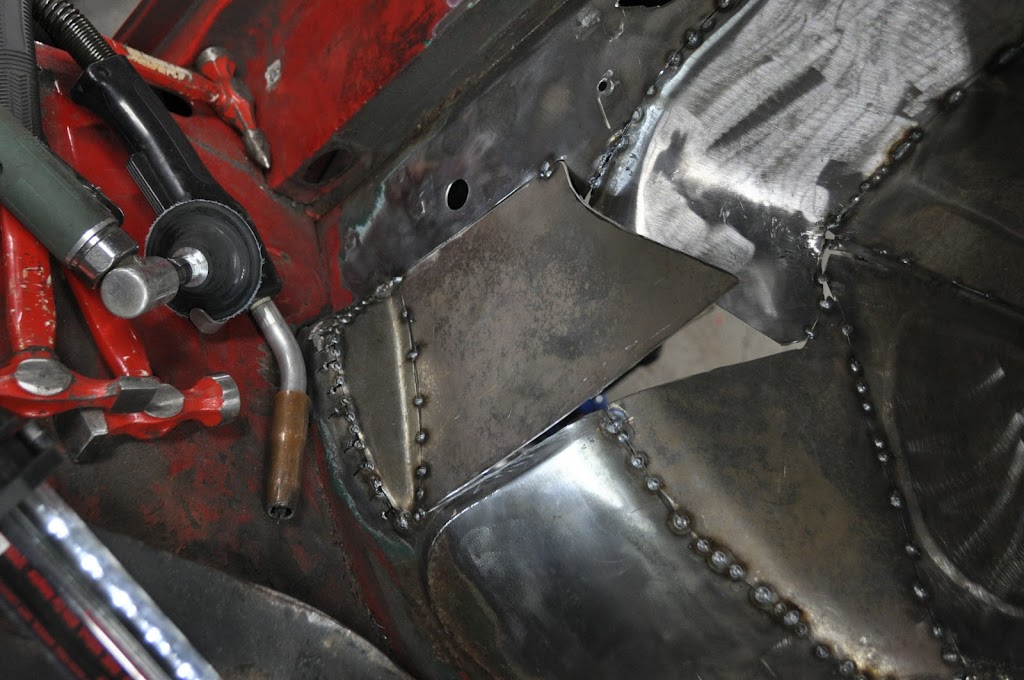
Both arms welded up:
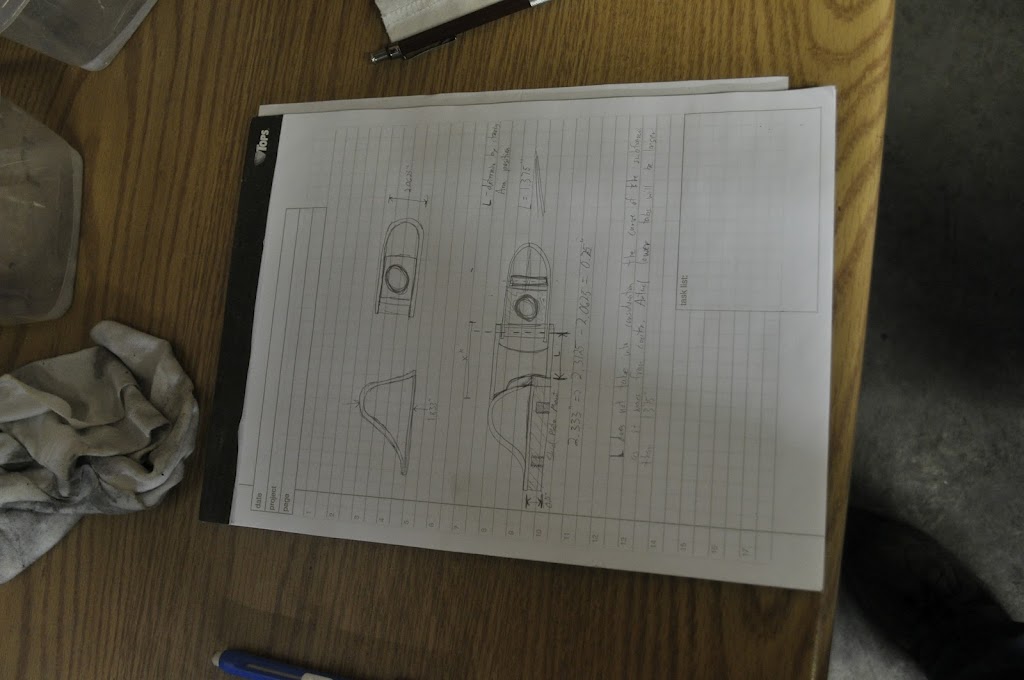
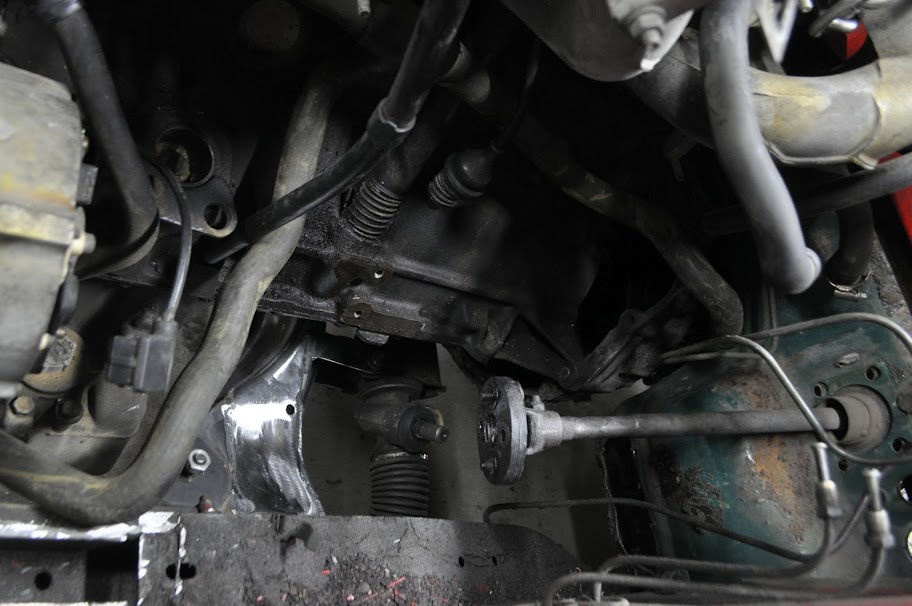
When figuring out the placement of the steering rack in relation to the rest of the suspension there are a number of things to take into consideration. So I made sure to take some notes and measurements, and try to preserve the stock traits as much as possible.
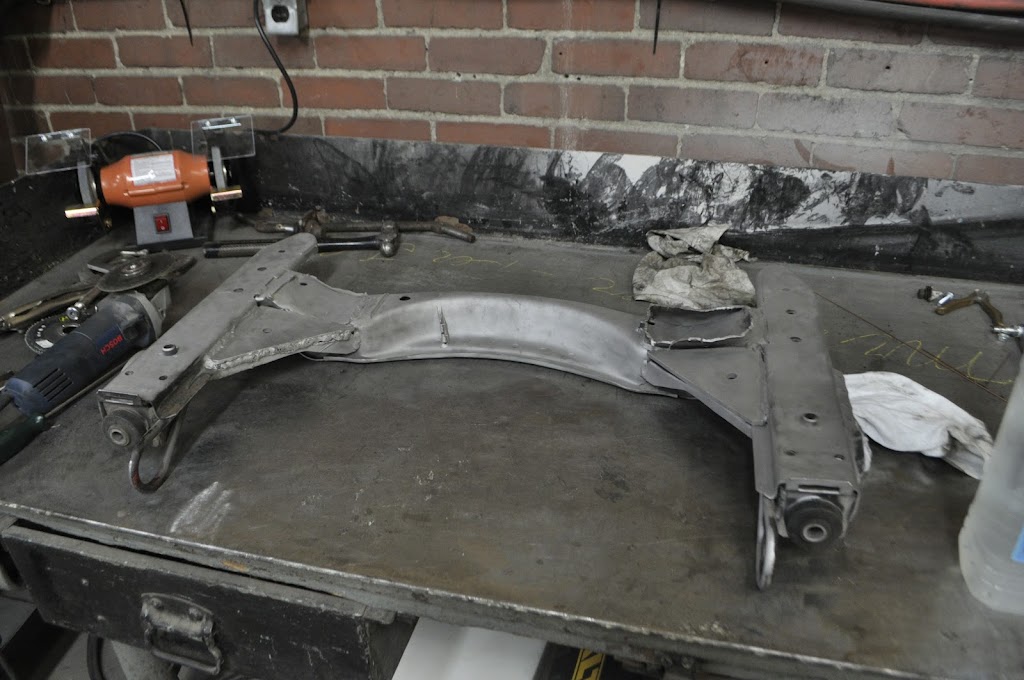
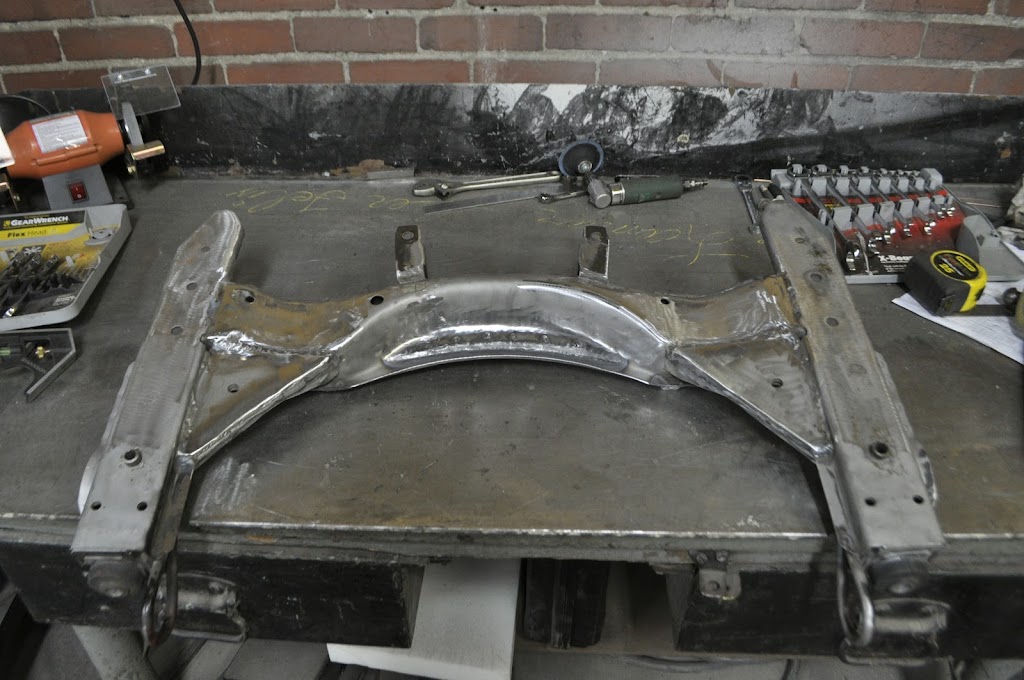
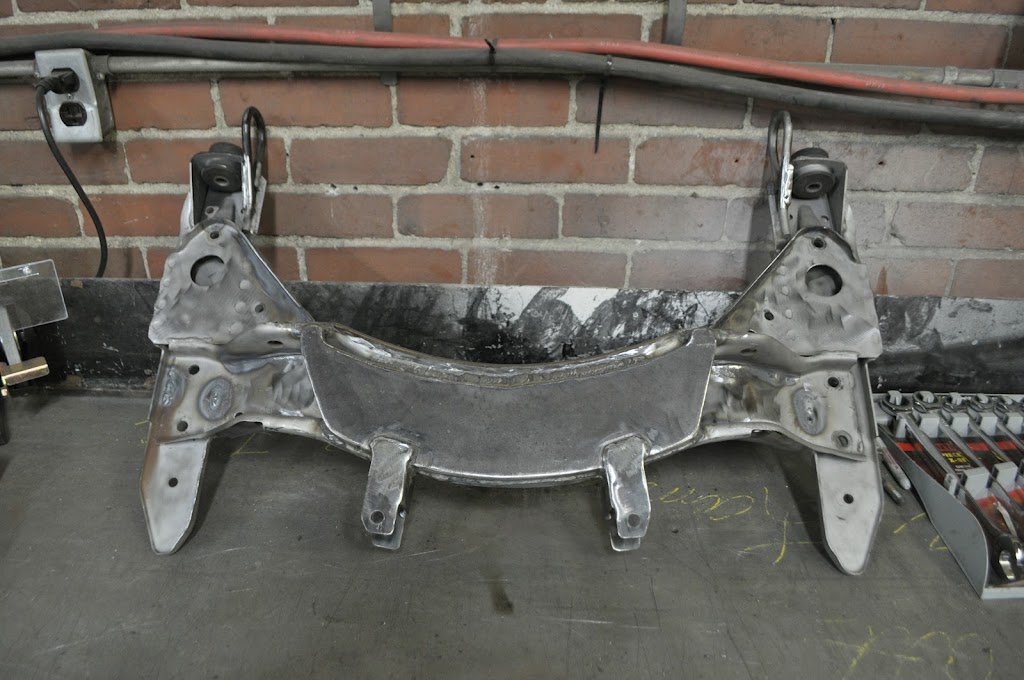
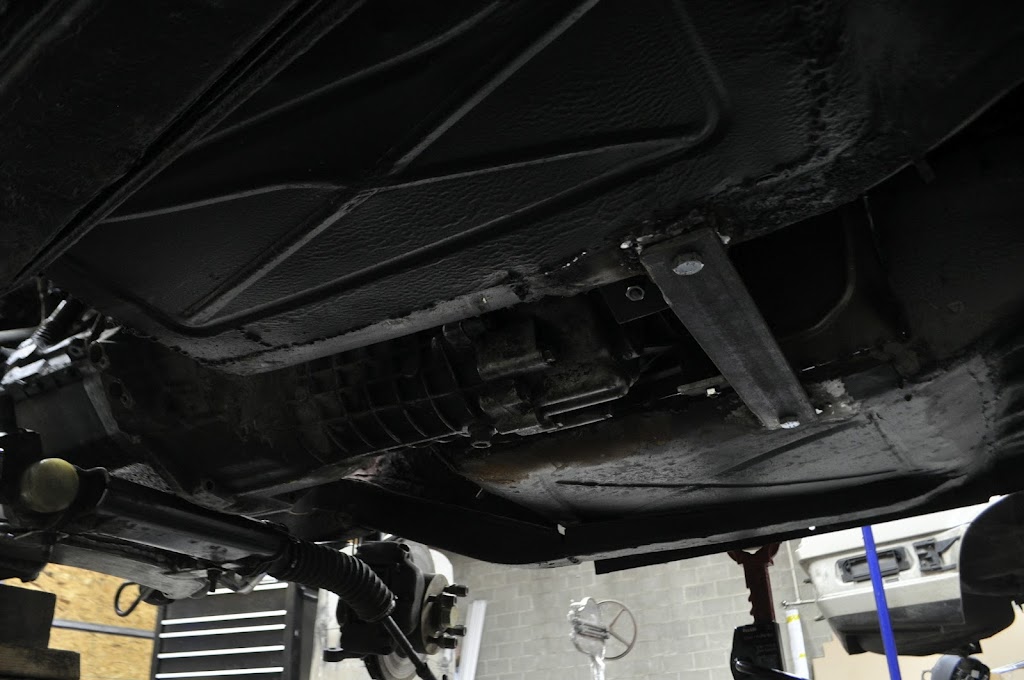
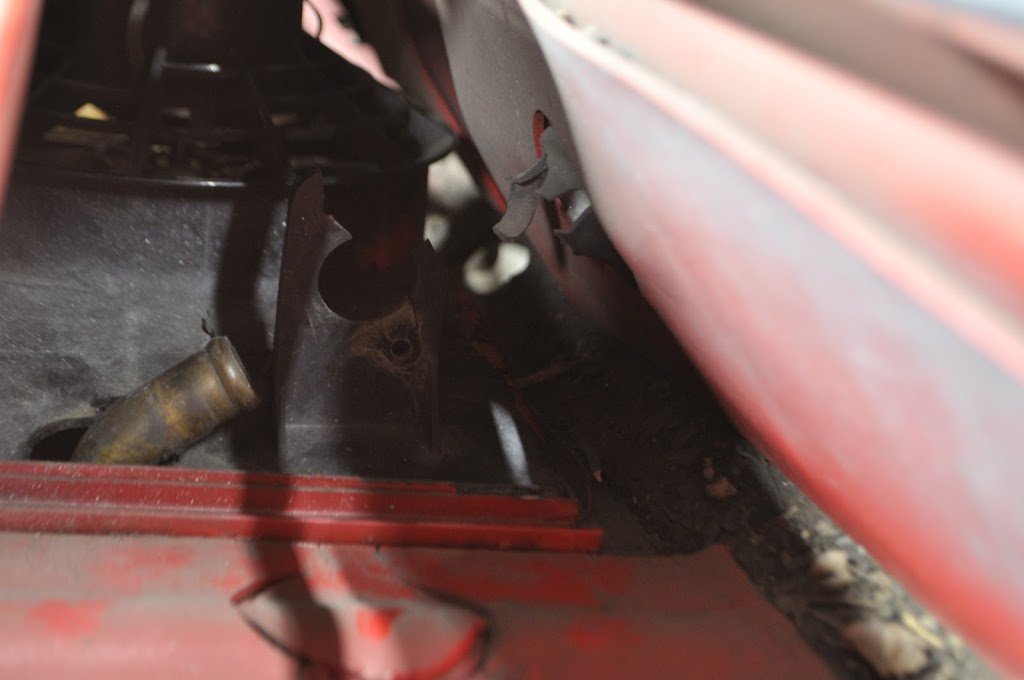
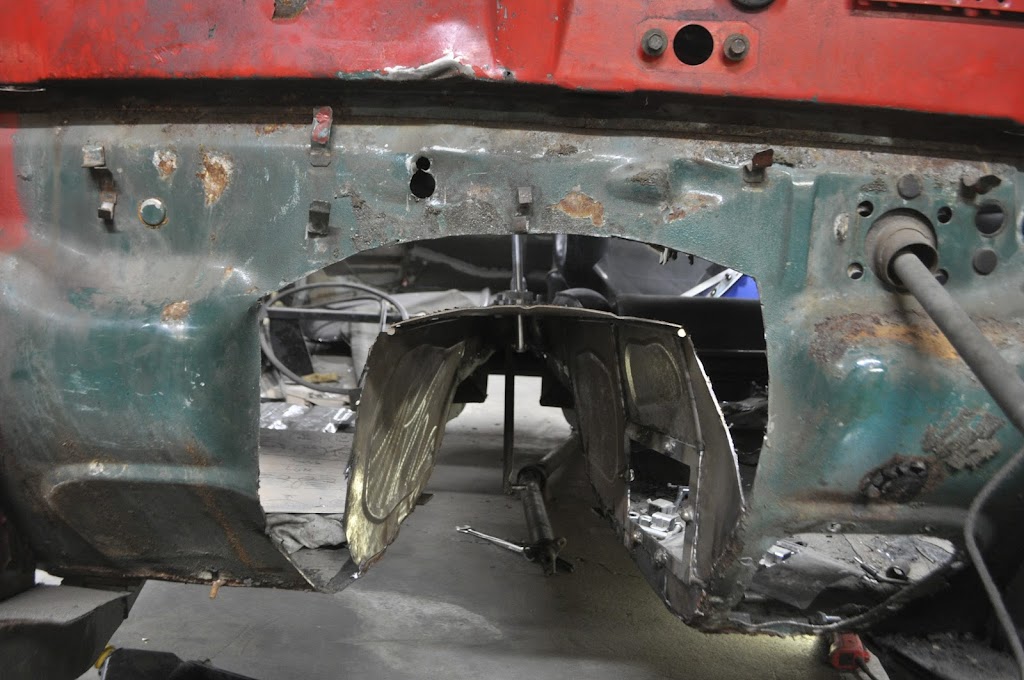
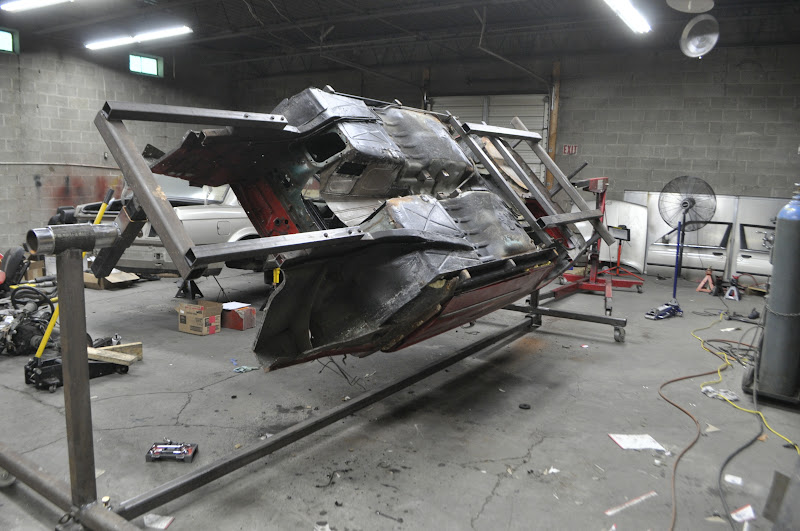
But in order to mount the steering rack, I first wanted to finish cleaning up the subframe. So first was to drop it out of the car:

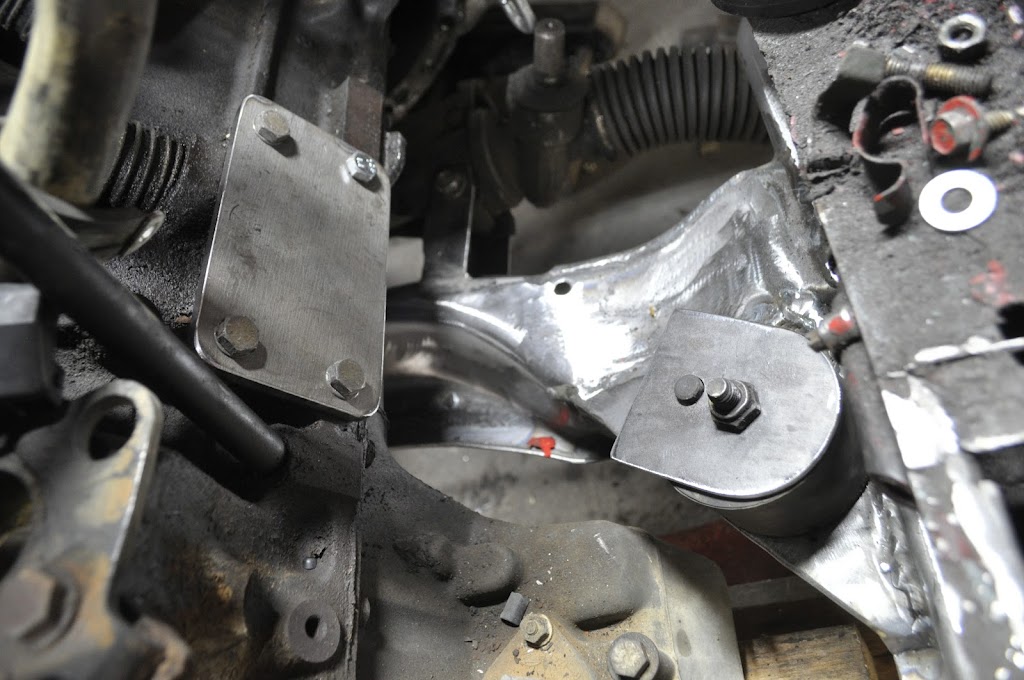
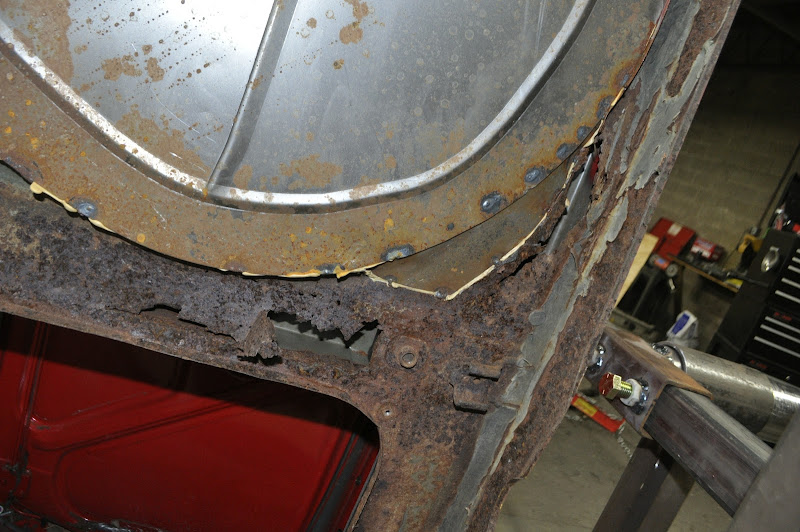
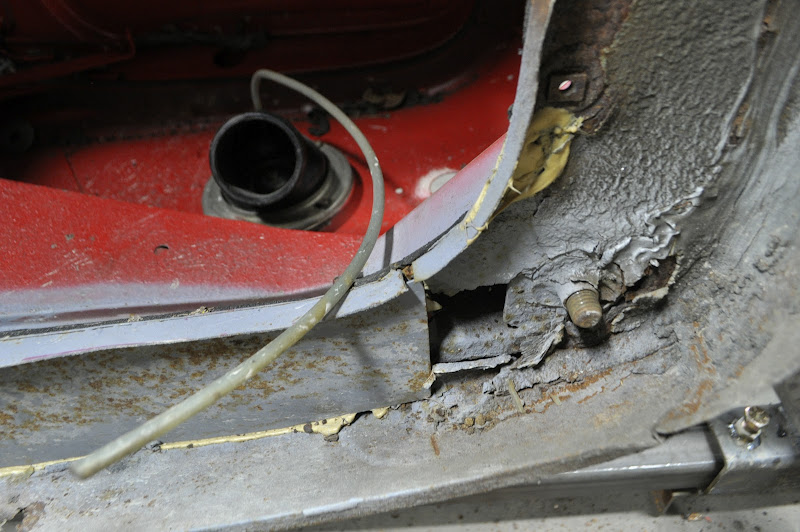
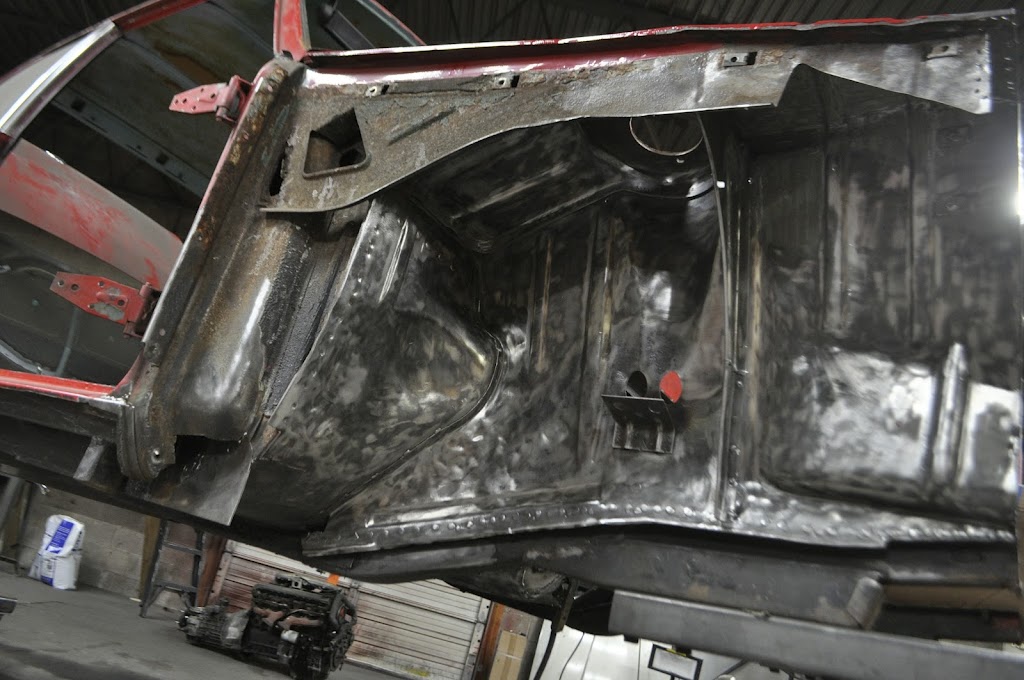
After looking it over there was minimal rust, just lots of grease and grime:

And here it is after sandblasting. Next is to finish grinding smooth the old steering mounts and put the new rack mounts in place. Then it will be off to powdercoat with the rest of the front suspension pieces.
That's all for the night. More to come tomorrow.
The stock length between centers is 175mm. The stock e21 length is ~130mm, but I ended up at 125mm exactly on both arms. I was shooting for slightly faster than stock, so this should be perfect.
Here is the arm after cutting:
A shortened arm next to the unshortened arm:
Both arms welded up:
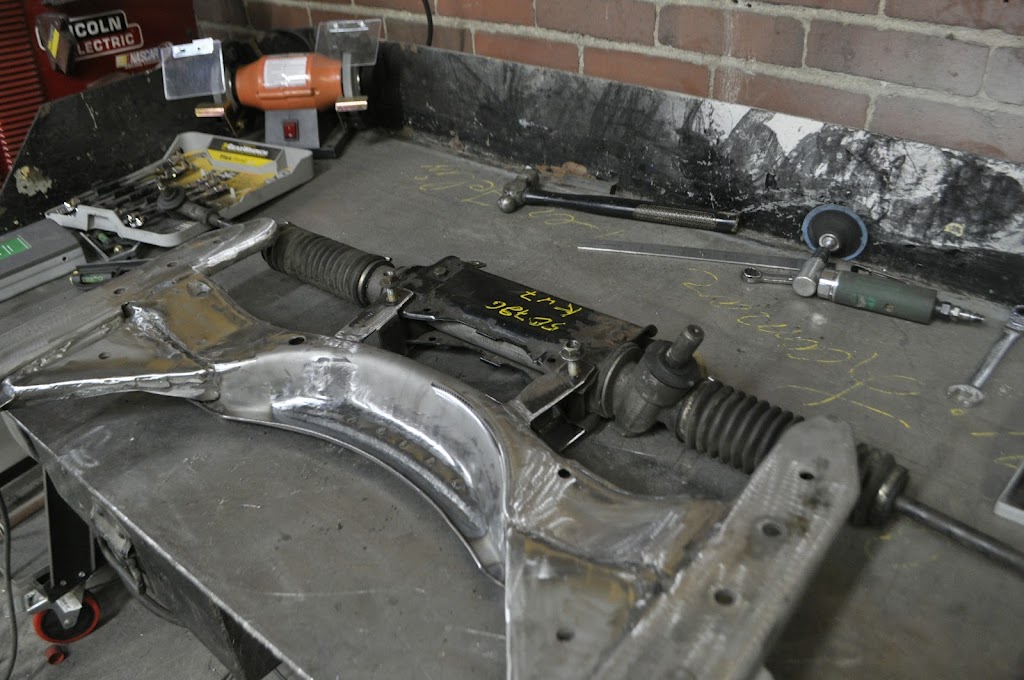
When figuring out the placement of the steering rack in relation to the rest of the suspension there are a number of things to take into consideration. So I made sure to take some notes and measurements, and try to preserve the stock traits as much as possible.
But in order to mount the steering rack, I first wanted to finish cleaning up the subframe. So first was to drop it out of the car:
After looking it over there was minimal rust, just lots of grease and grime:
And here it is after sandblasting. Next is to finish grinding smooth the old steering mounts and put the new rack mounts in place. Then it will be off to powdercoat with the rest of the front suspension pieces.
That's all for the night. More to come tomorrow.


Comment