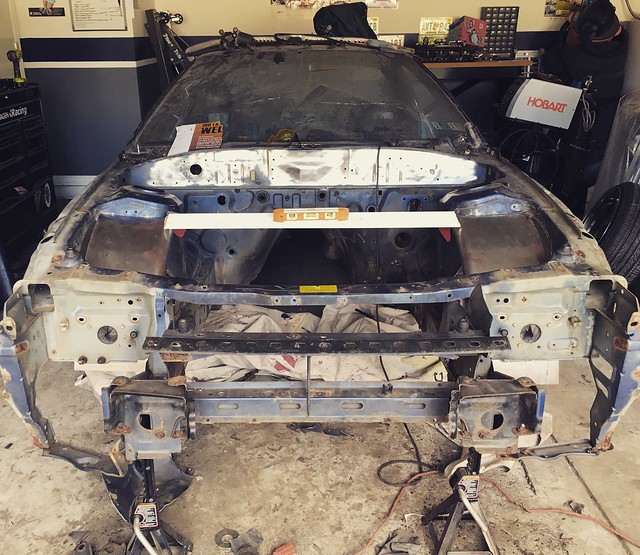
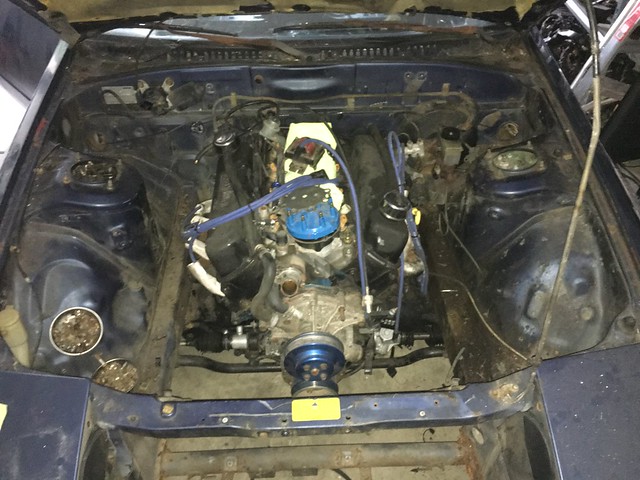
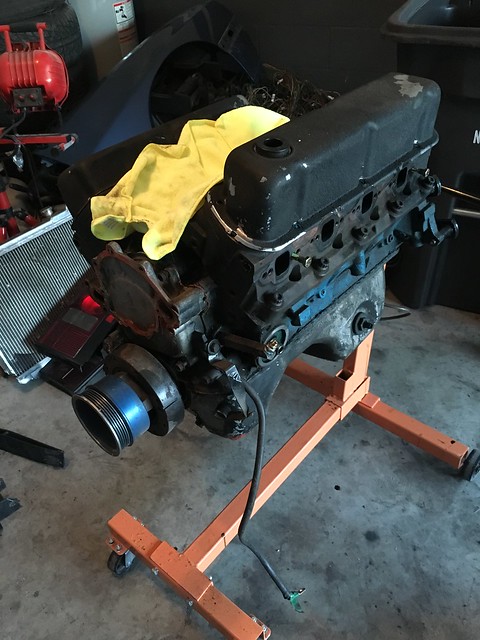
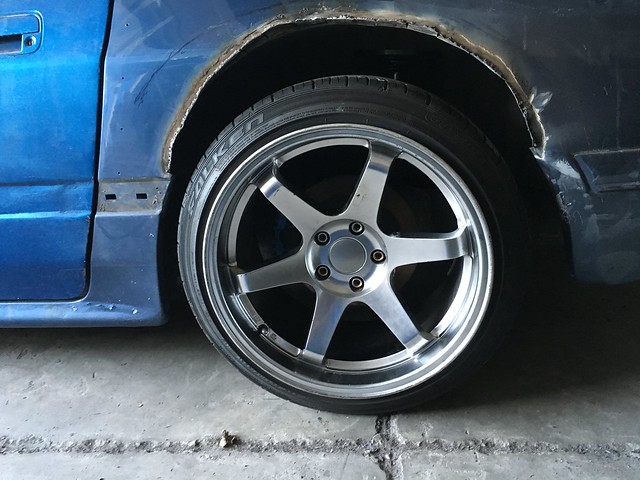
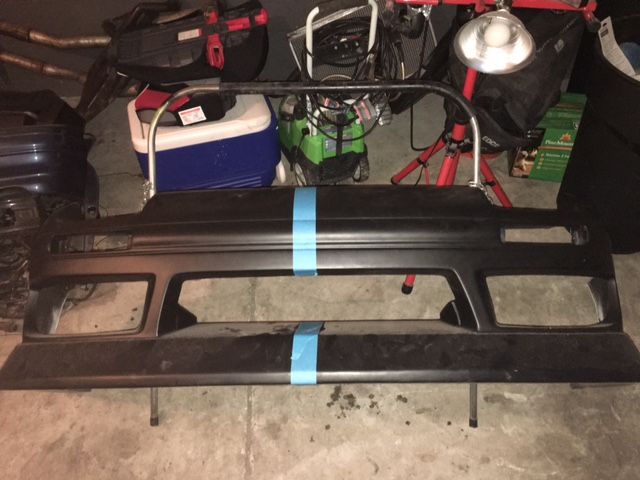
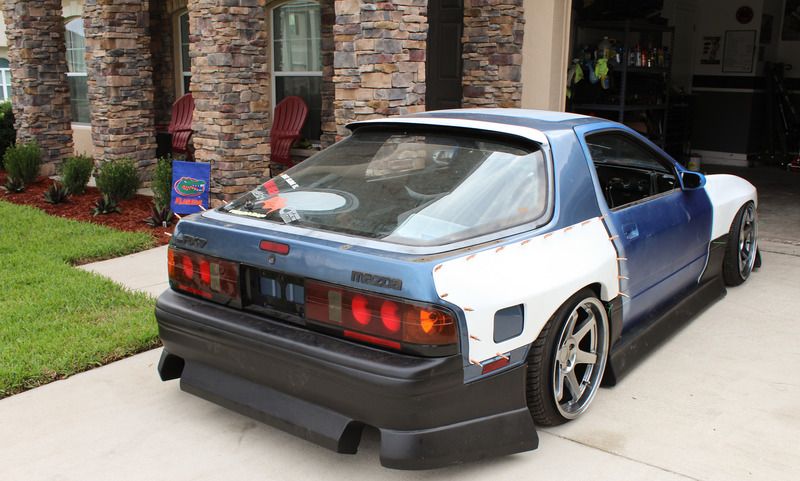
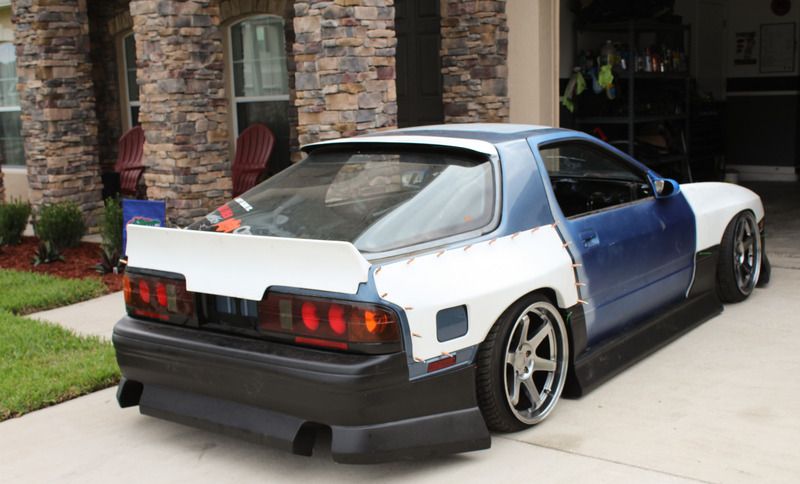
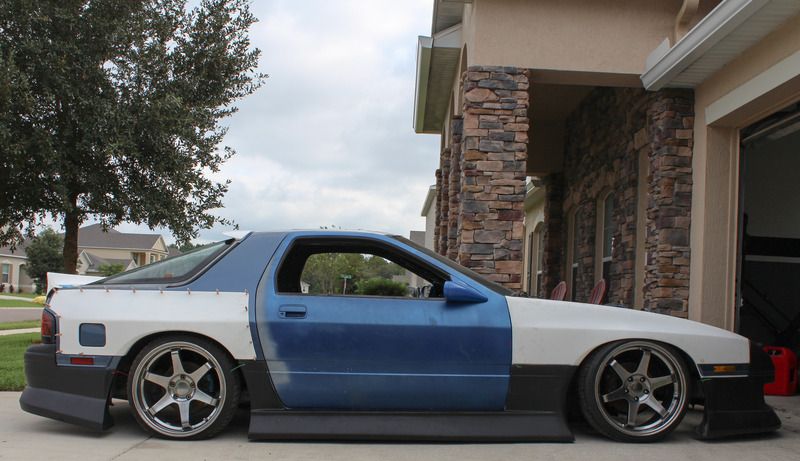
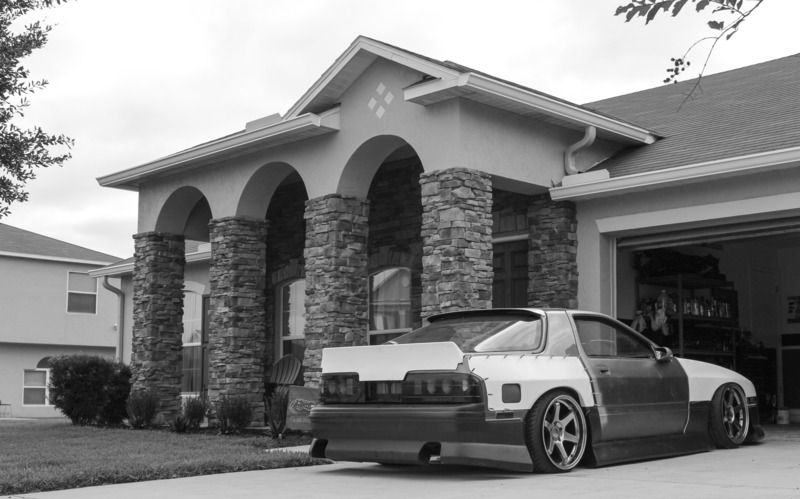
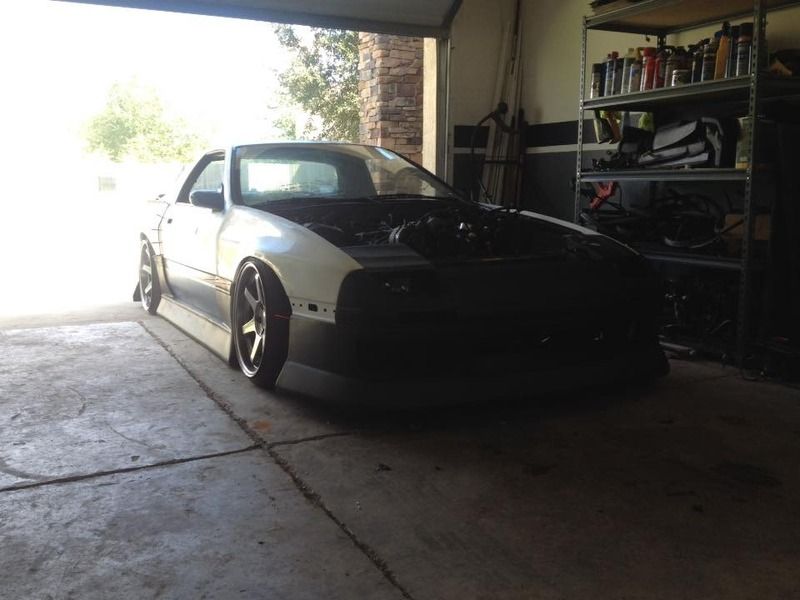
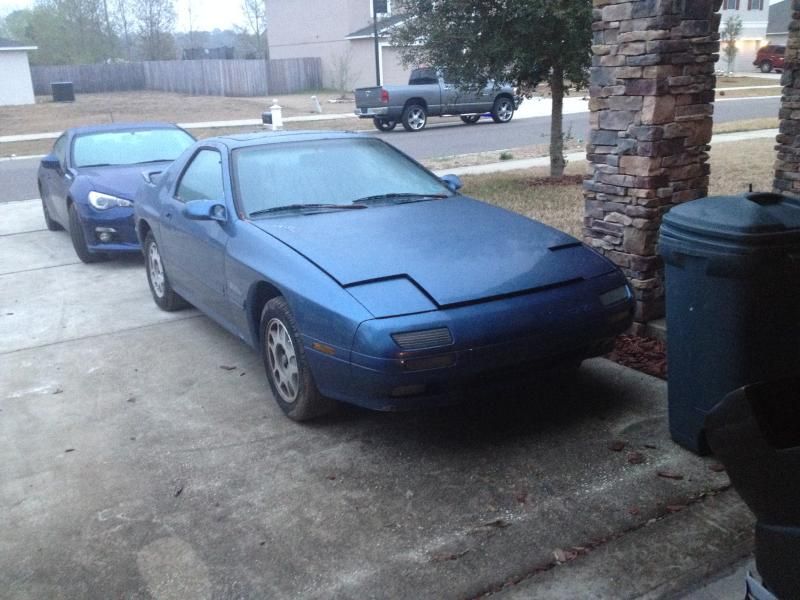
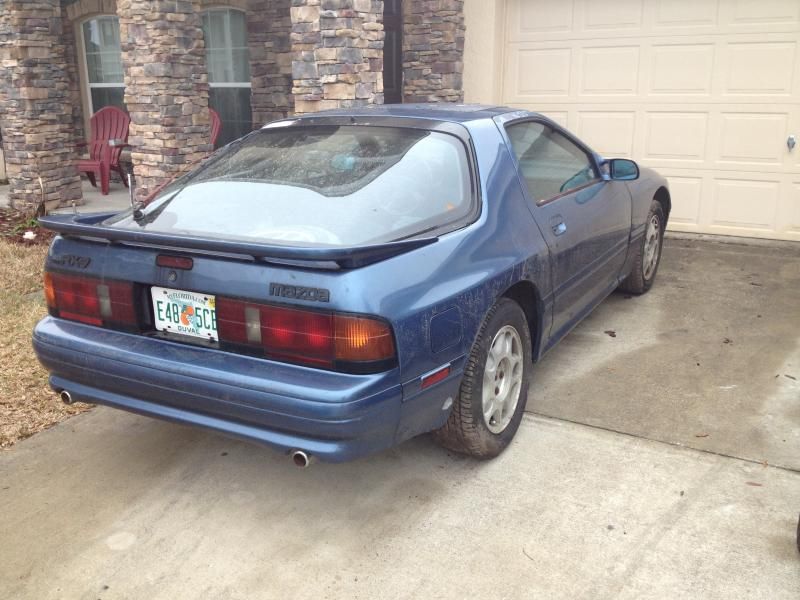
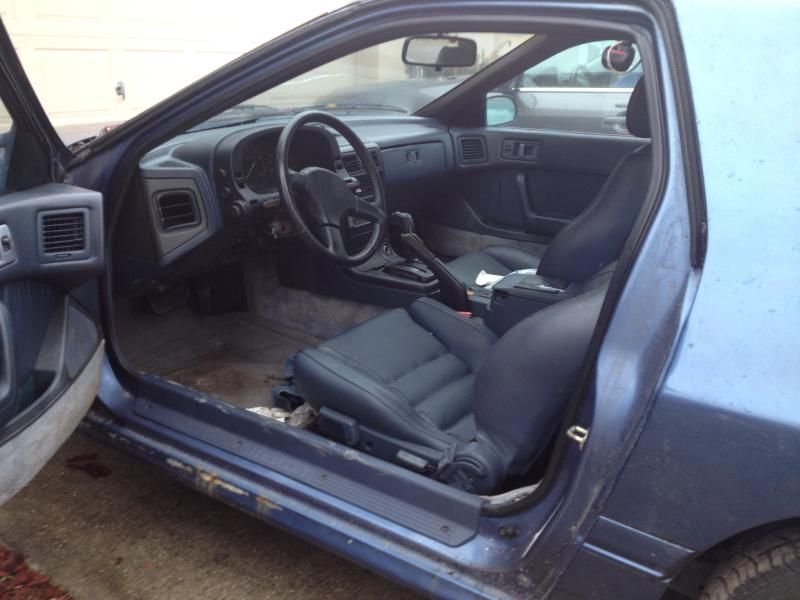
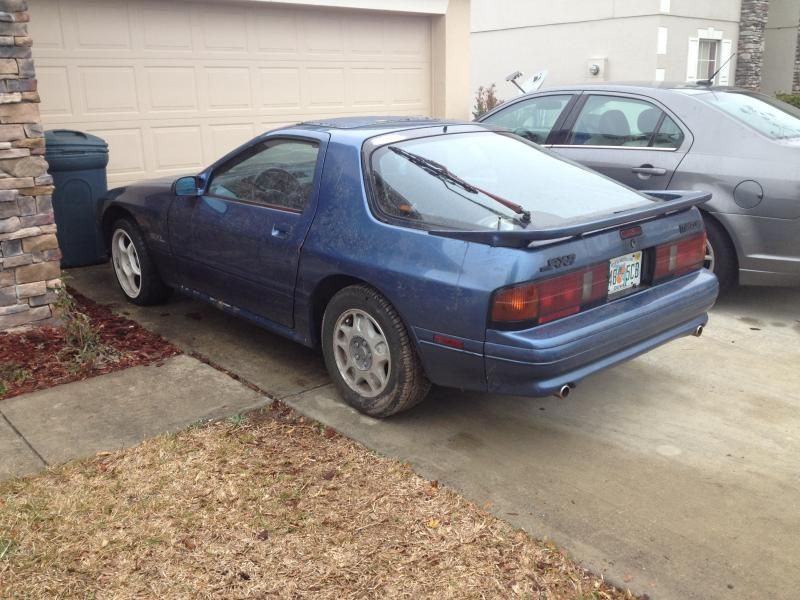
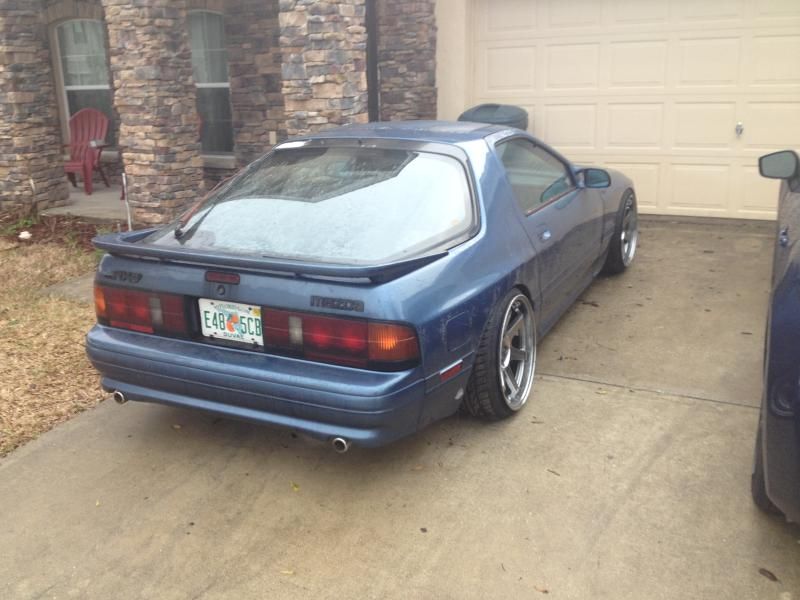
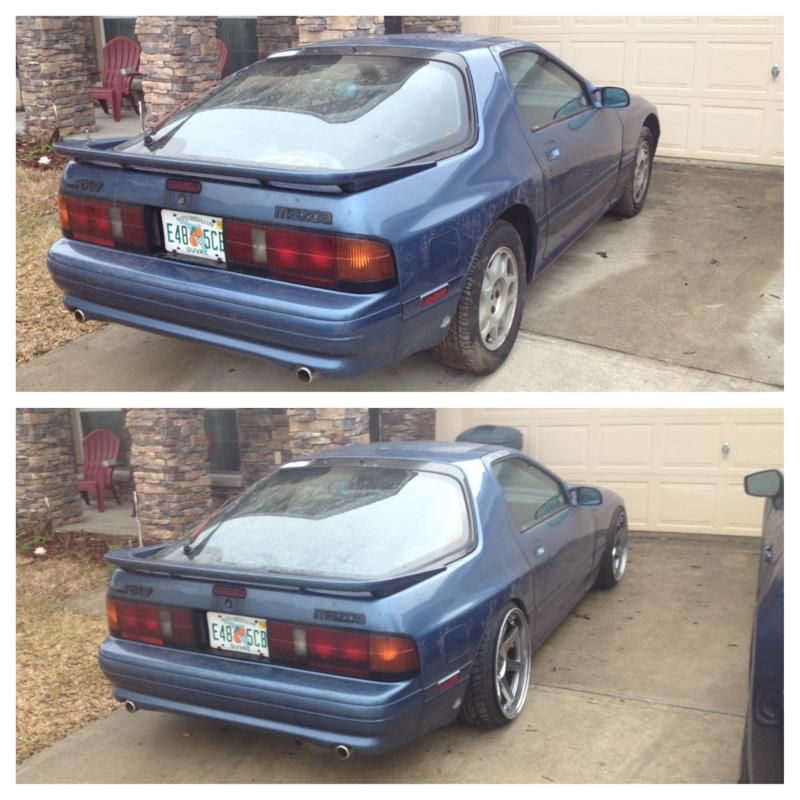
The mandatory "Before"
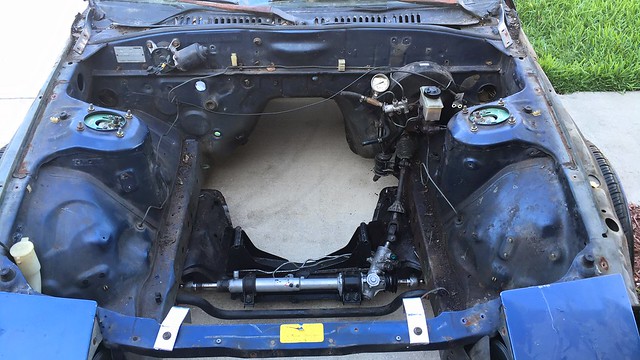 Rx7 project by J Manderville, on Flickr
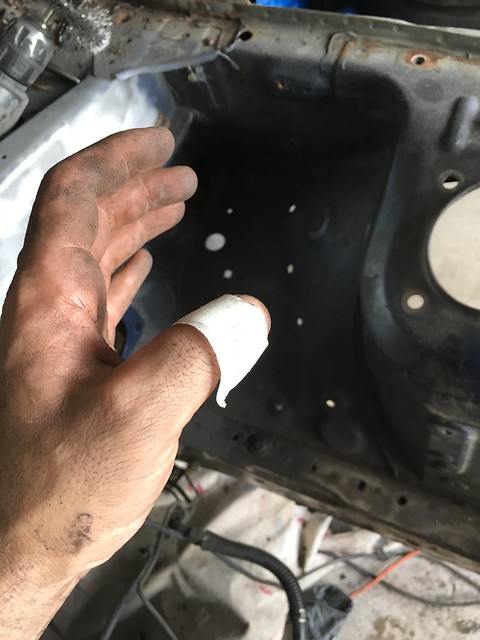
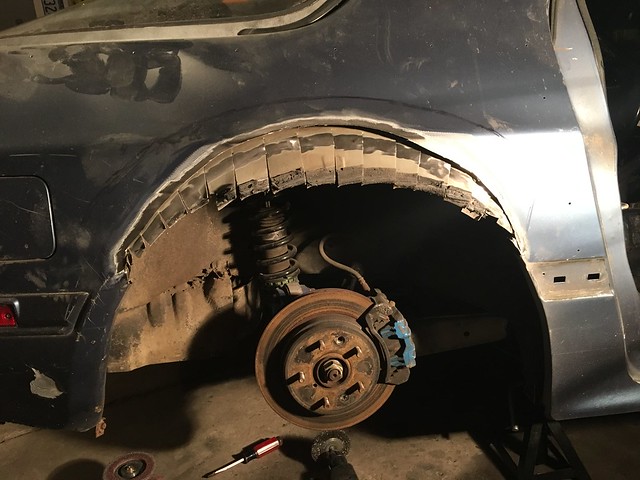
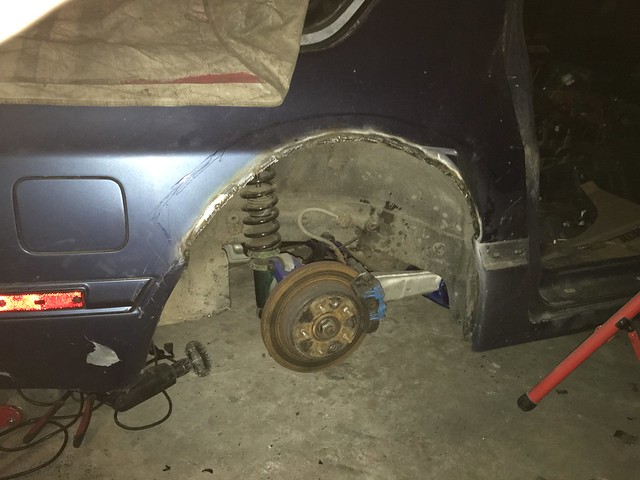
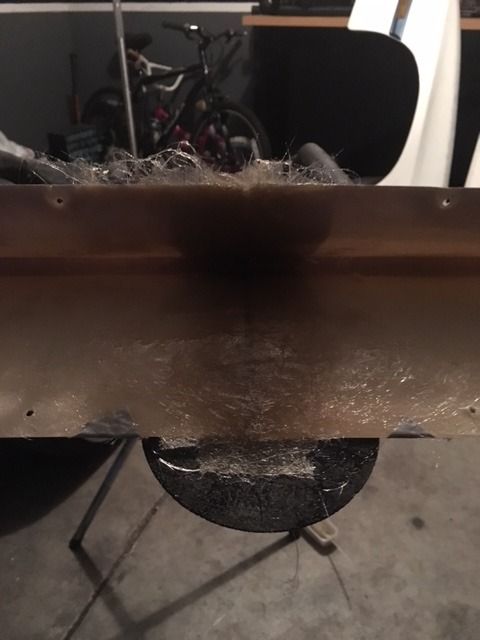
beginning to cut out the original tubs and realizing that the metal is a bit sharper then my thumb could handle lol. Not a bad cut but just enough to sit there and bleed constantly. Nothing a little tape can't fix right?
 Rx7 project by J Manderville, on Flickr
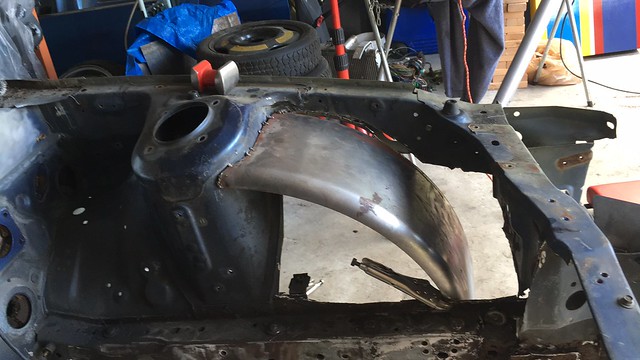
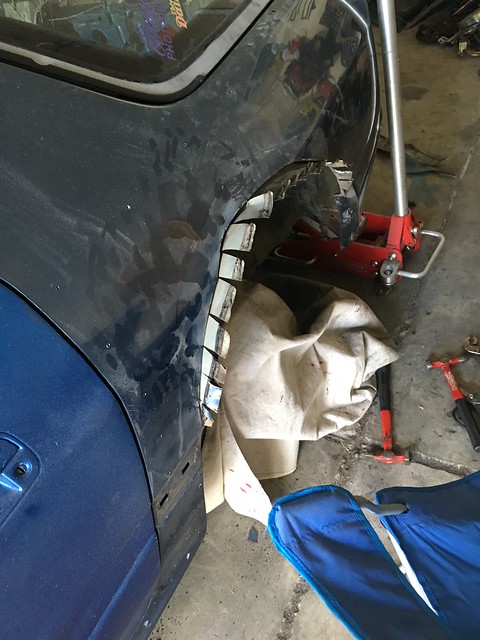
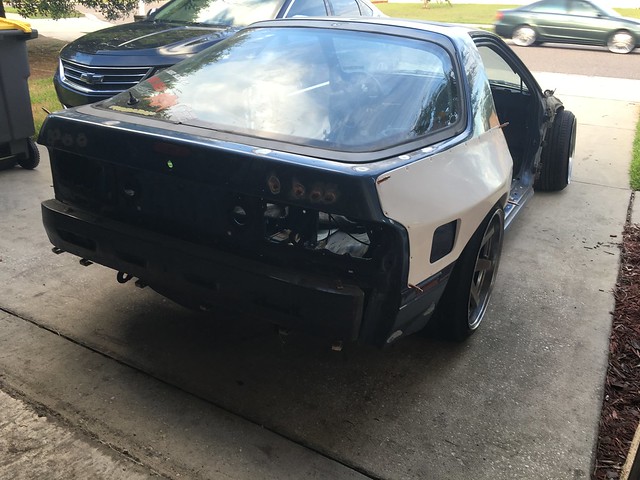
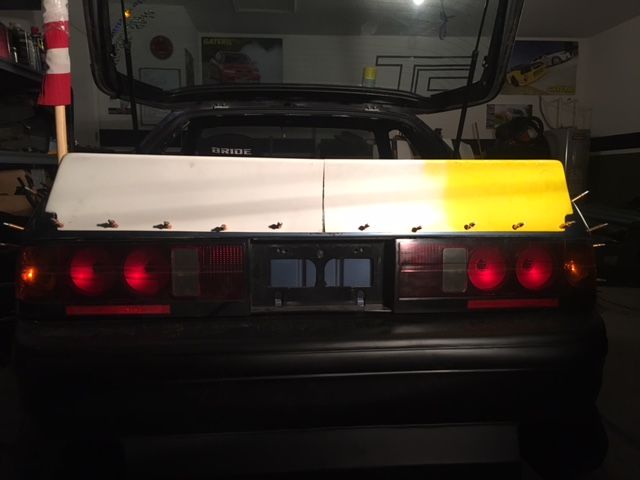
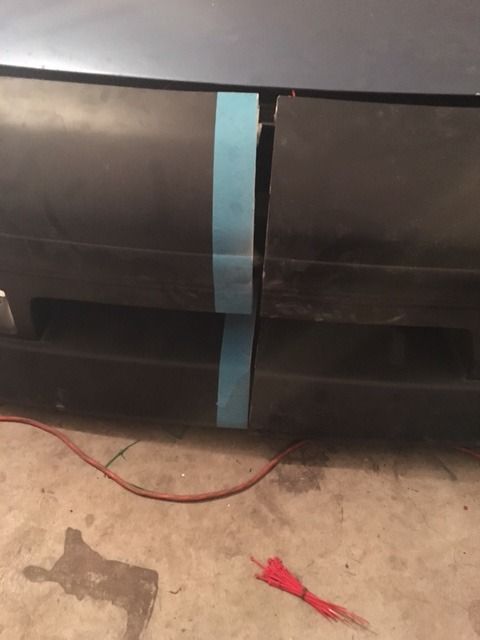
Test fitting the first side, just a note, those "welds" up top are from another shell that I previously sold. The welds were from a flux core welder and looked like absolute garbage. I learned my lesson and they have now been ground off to prepare for the install.
 Rx7 project by J Manderville, on Flickr
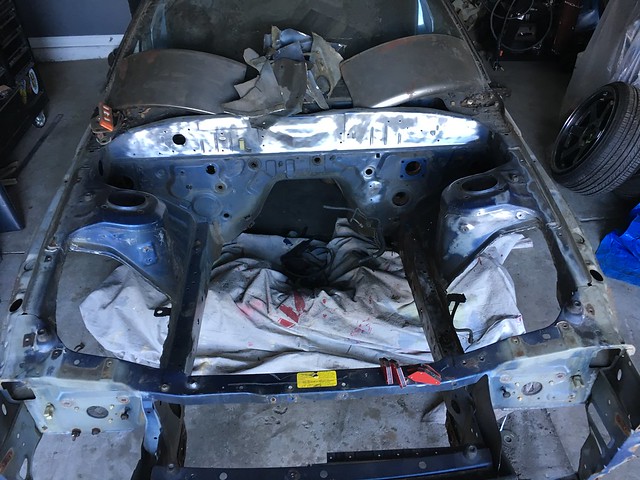
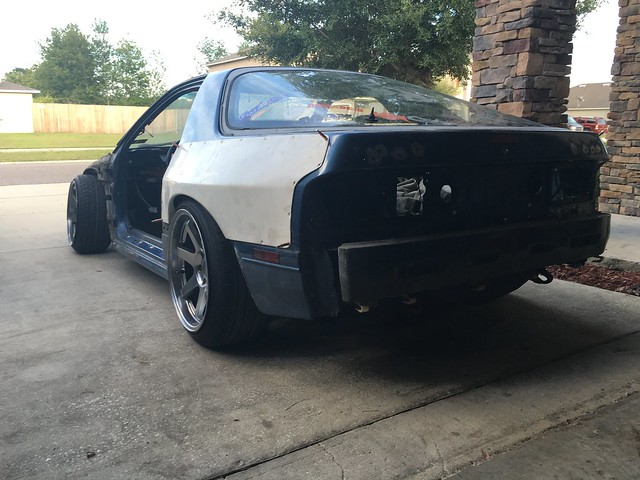
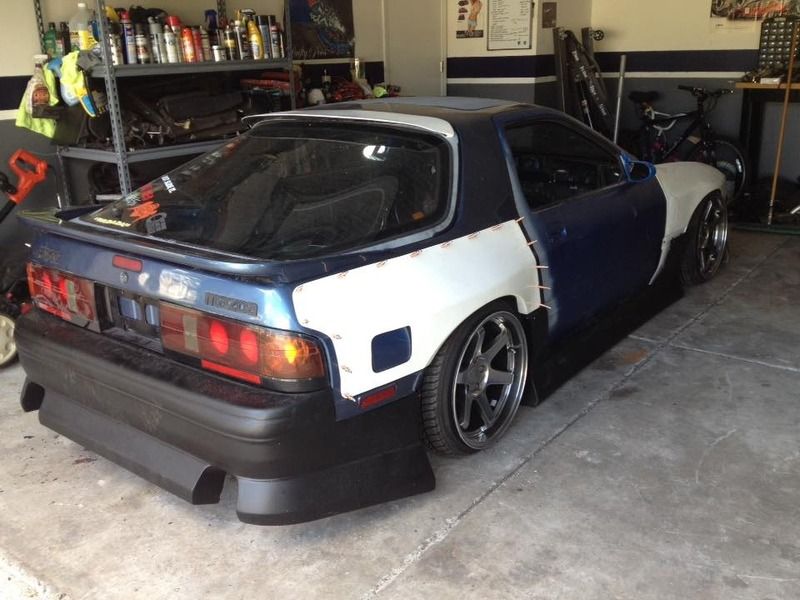
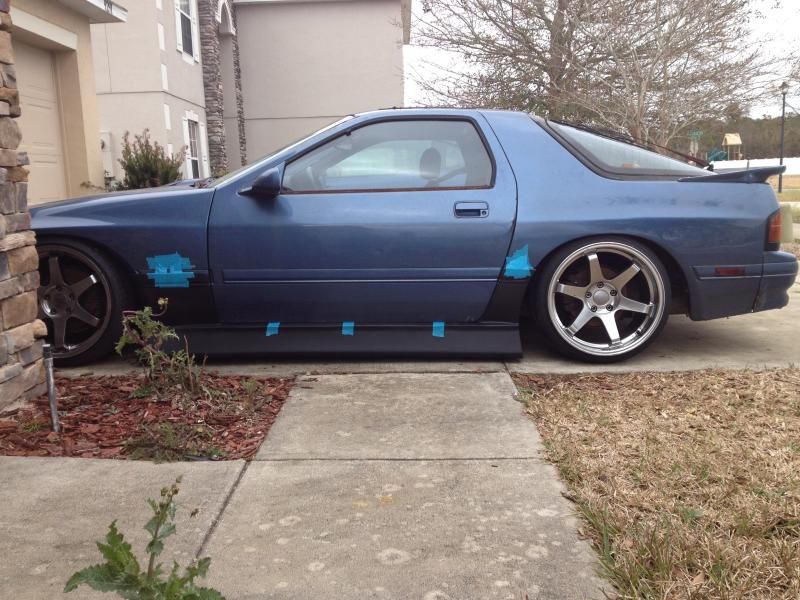
How I left her two nights ago
 Rx7 project by J Manderville, on Flickr
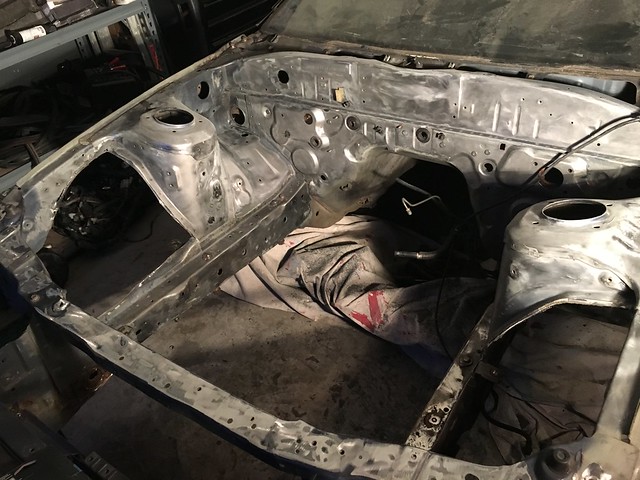
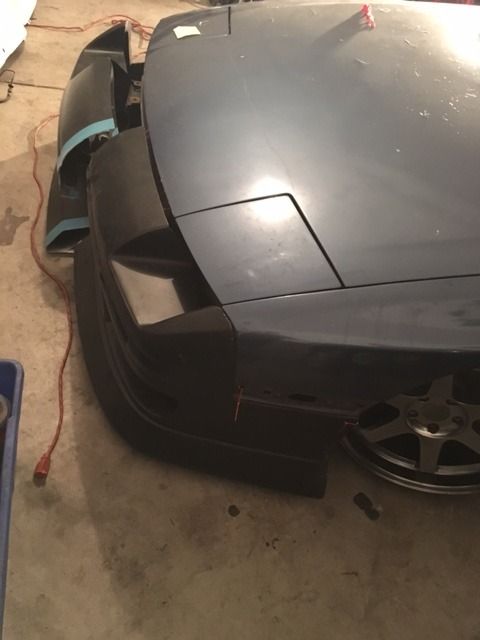
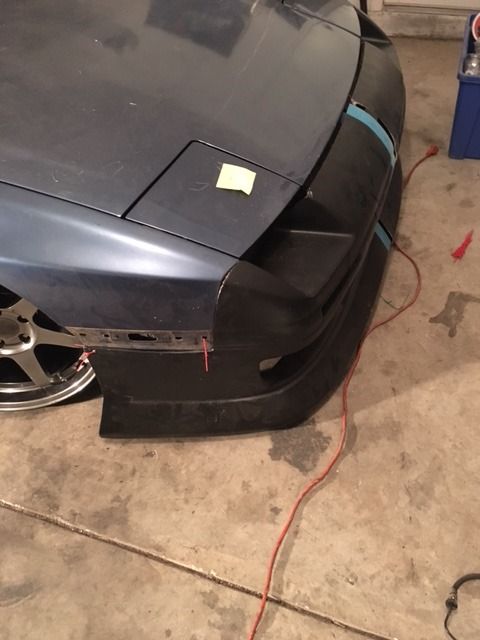
Yesterday after work I got home and began working again.
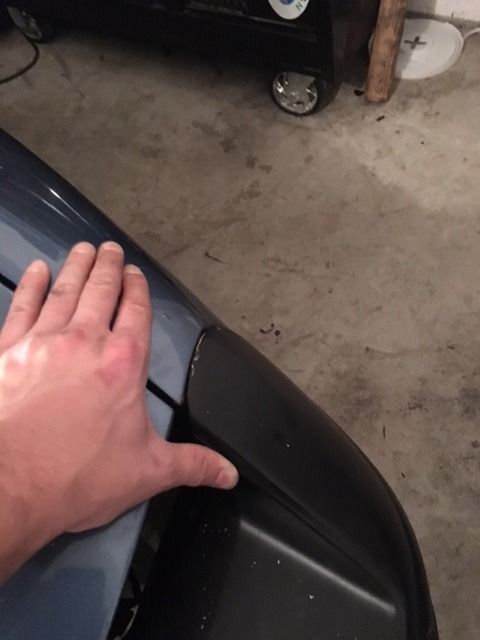
First things first, I wanted to verify that I had enough of the factory tubs removed and placed but of the new tubs in place and made sure they were even side to side. As I stated before, I want this thing to look identical side to side since it'll be shown off quite frequently.
 Rx7 project by J Manderville, on Flickr
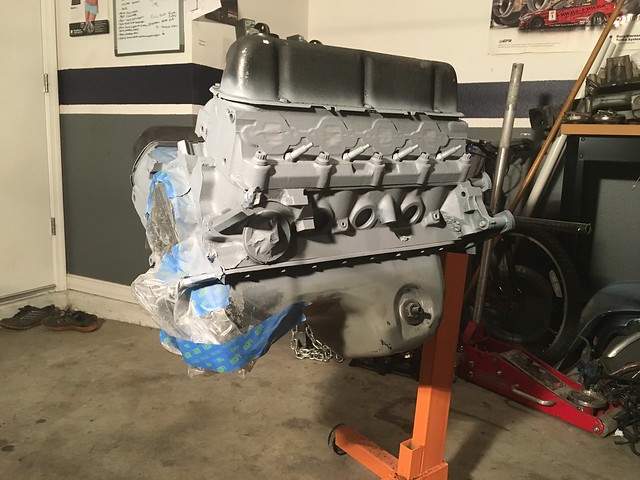
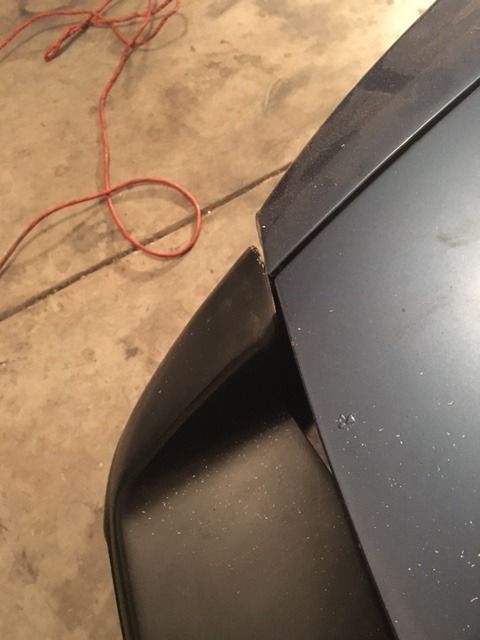
Everything looking pretty good so now its time to strip it all the way down.
 Rx7 project by J Manderville, on Flickr
Finally getting close but sick of sanding everything down I decided to tackle another job since the materials finally came in. Instead of running long tube BBK headers this time around I opted for a set of shorties. Going this route will change the amount of torque I end up having but it will allow me to lower the car quite a bit more which in my opinion is a better option.
Just a quick before and after. Not too bad for my first time wrapping headers.
 Rx7 project by J Manderville, on Flickr
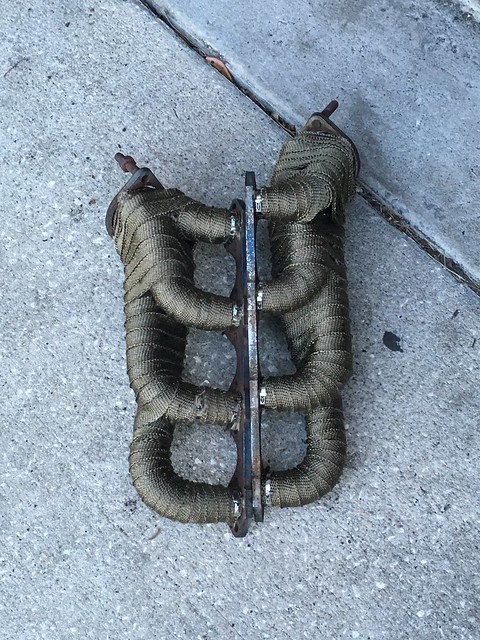 Rx7 project by J Manderville, on Flickr
 Rx7 project by J Manderville, on Flickr
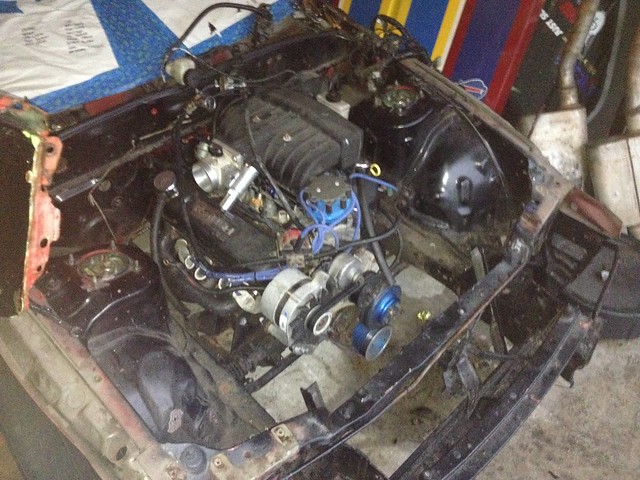
Thats all for now but I am working on the car daily so expect more updates to come. If anyone has any comments or suggestions I would love to hear them.


Leave a comment: