Announcement

Collapse
No announcement yet.

318is Slicktop M52 Swap -- Pic Heavy

Collapse
X
 
  • Filter
  • Time
  • Show
Clear All
new posts

  • 318is Slicktop M52 Swap -- Pic Heavy

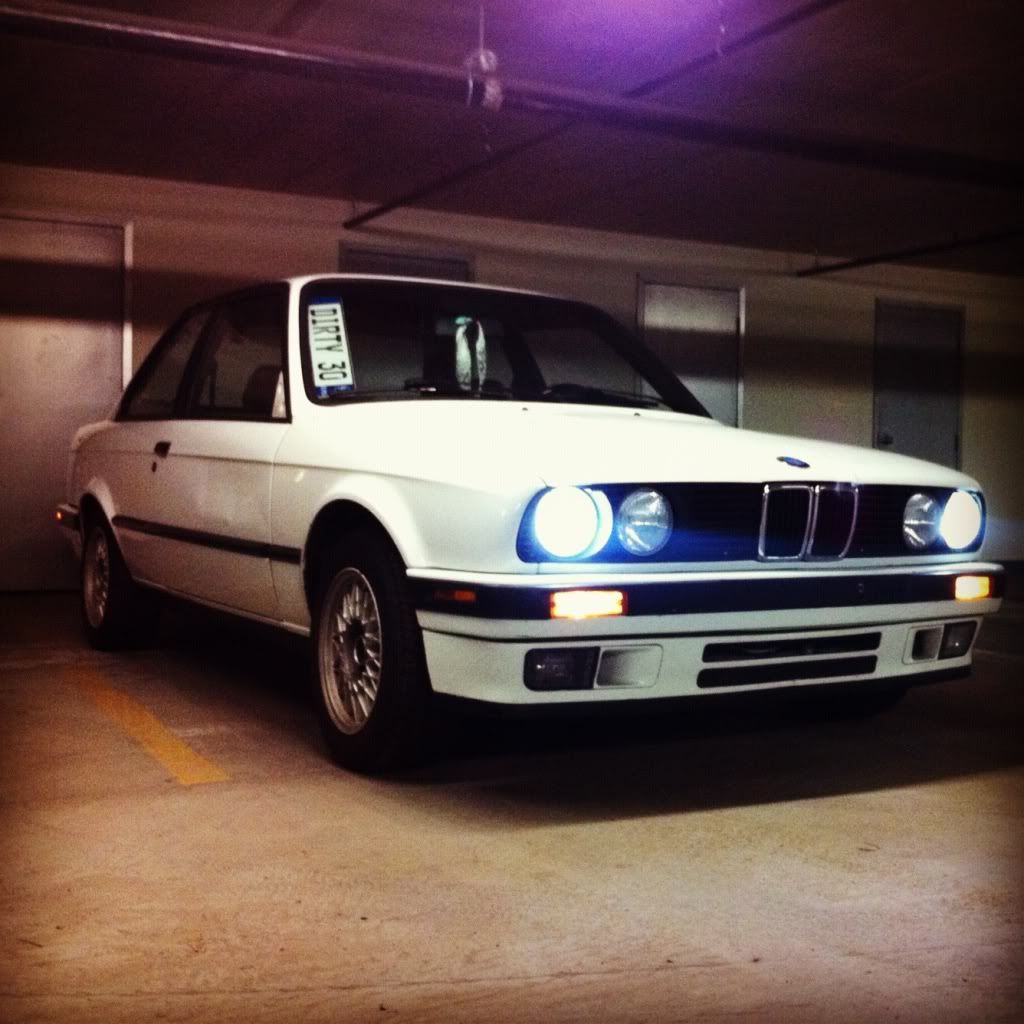
    In the summer of 2010 I went to a BMW CLUB lapping event at Mont Tremblant, Quebec. A few friends that were taking part in the event had two E30 and my cousin with a MINI JCW. I had never been for a spin in a E30 but always appreciated the beauty. That sexy front end. Instantly admired the dashboard layout and the drive, SOLD! Saved up some bread and after 4-5 months on searching/seeing different e30s, I fell upon this.


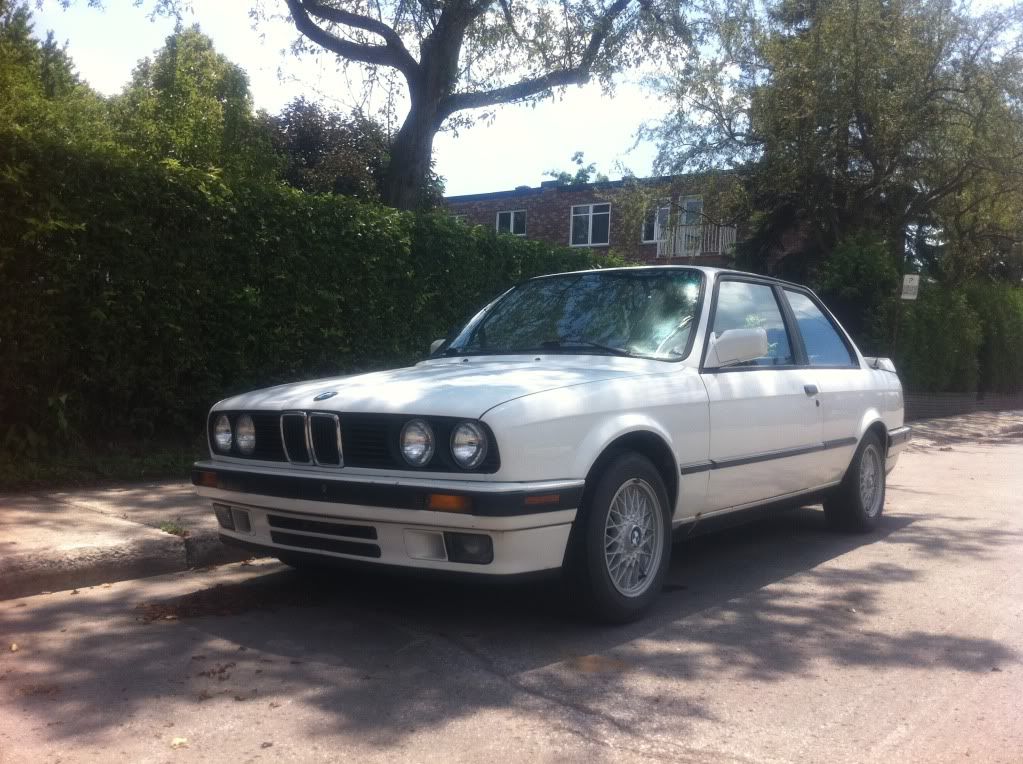
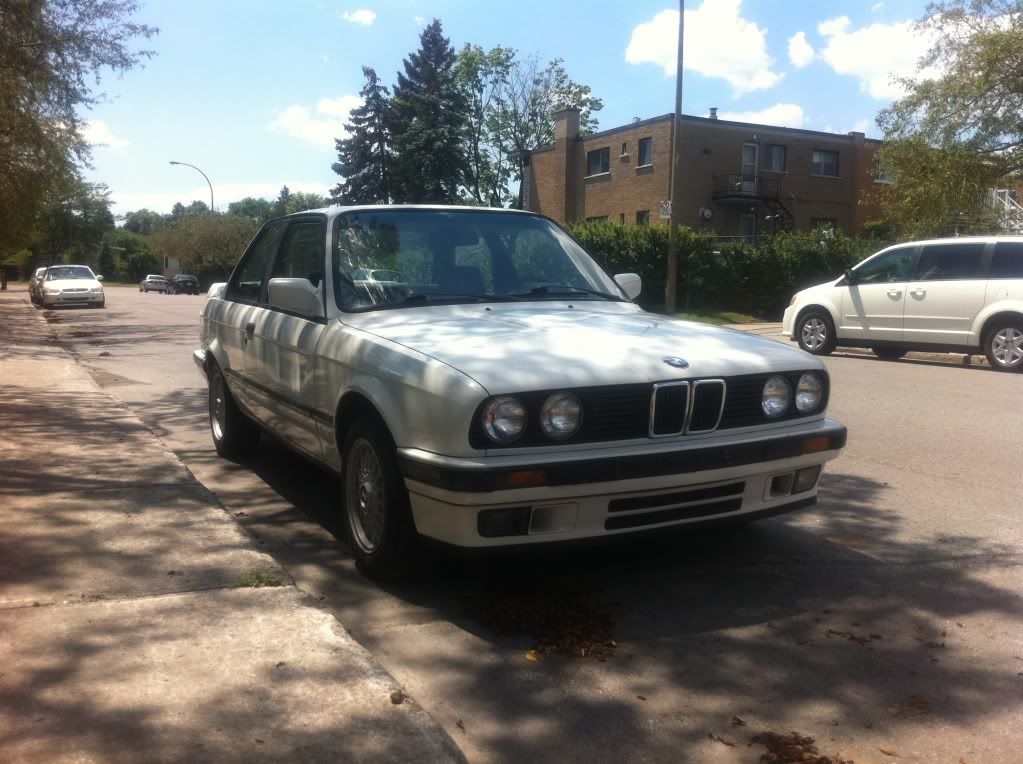
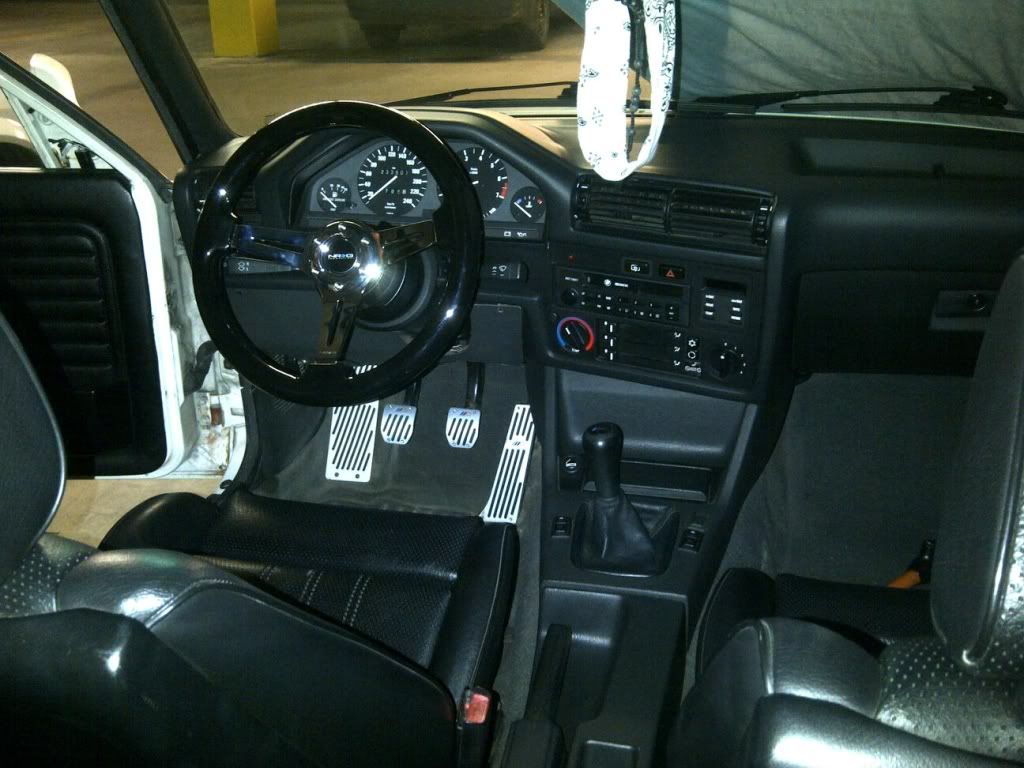
    I paid 3500$ with CLEAN Black leather interior
    230 000 KM-142 925 Miles
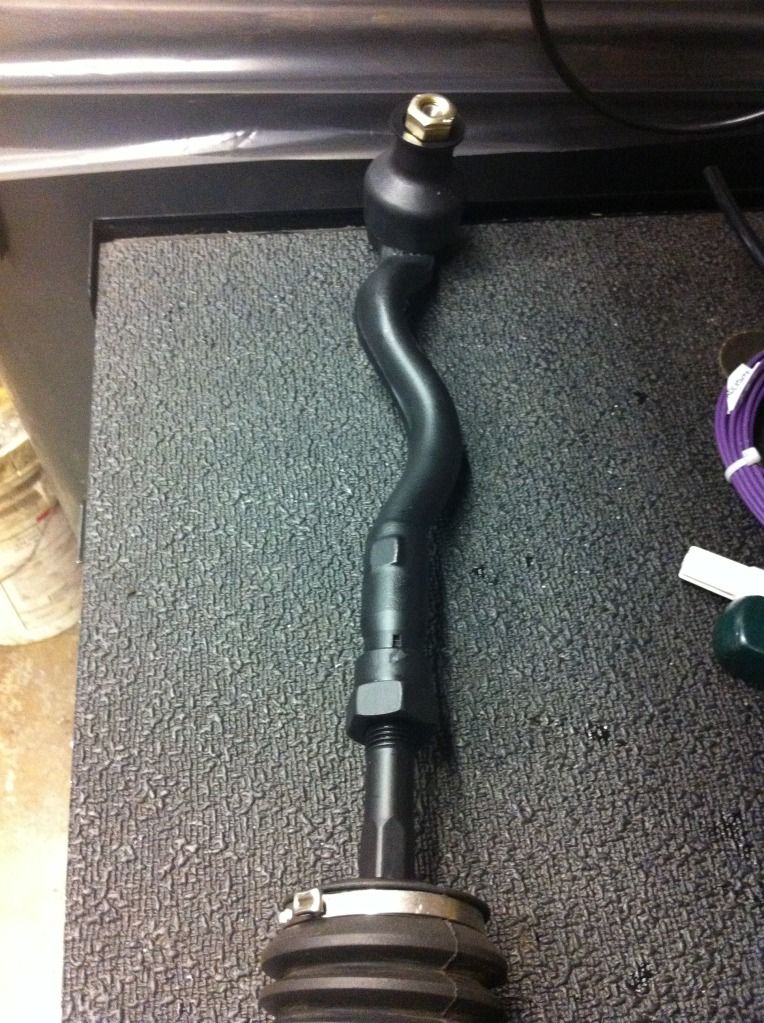
    Rebuilt calipers, new brakes, brake lines,fluid
    Billy sports with H&R "lowering" springs
    New rad
    Tranny Mounts/ Flush
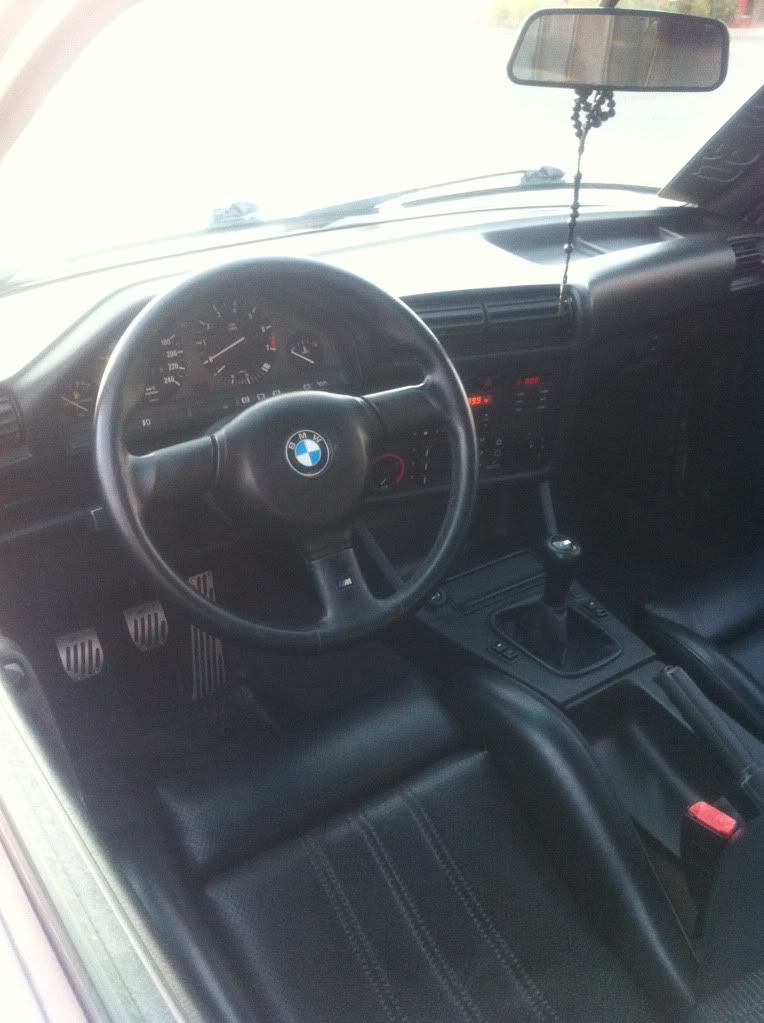
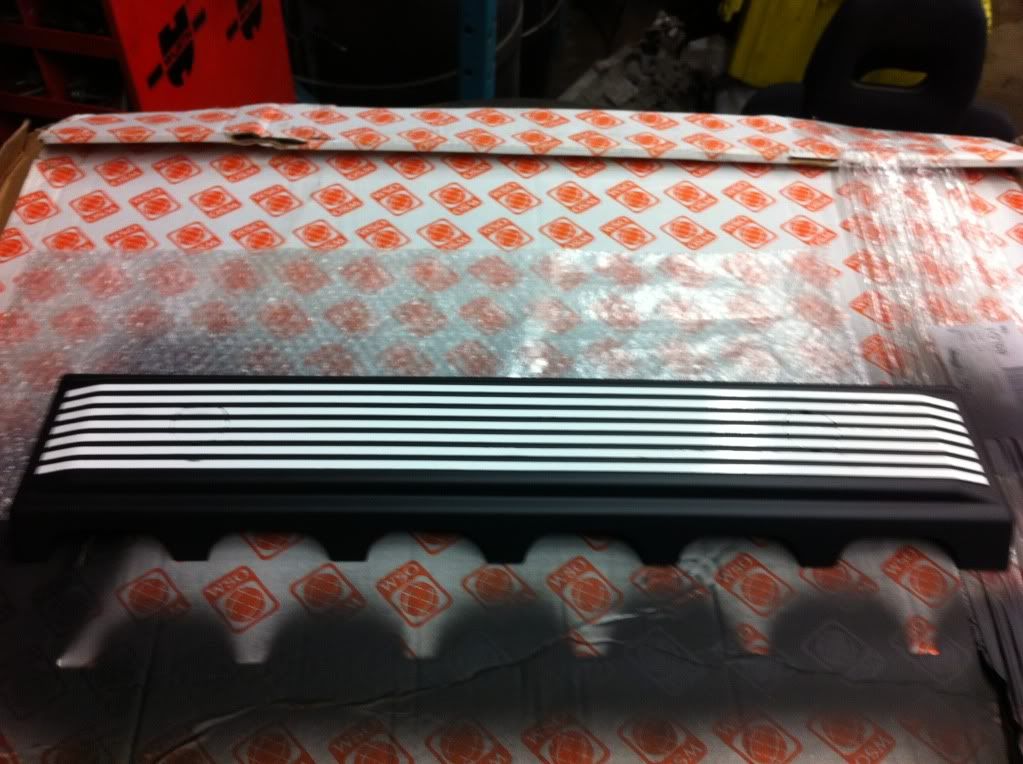
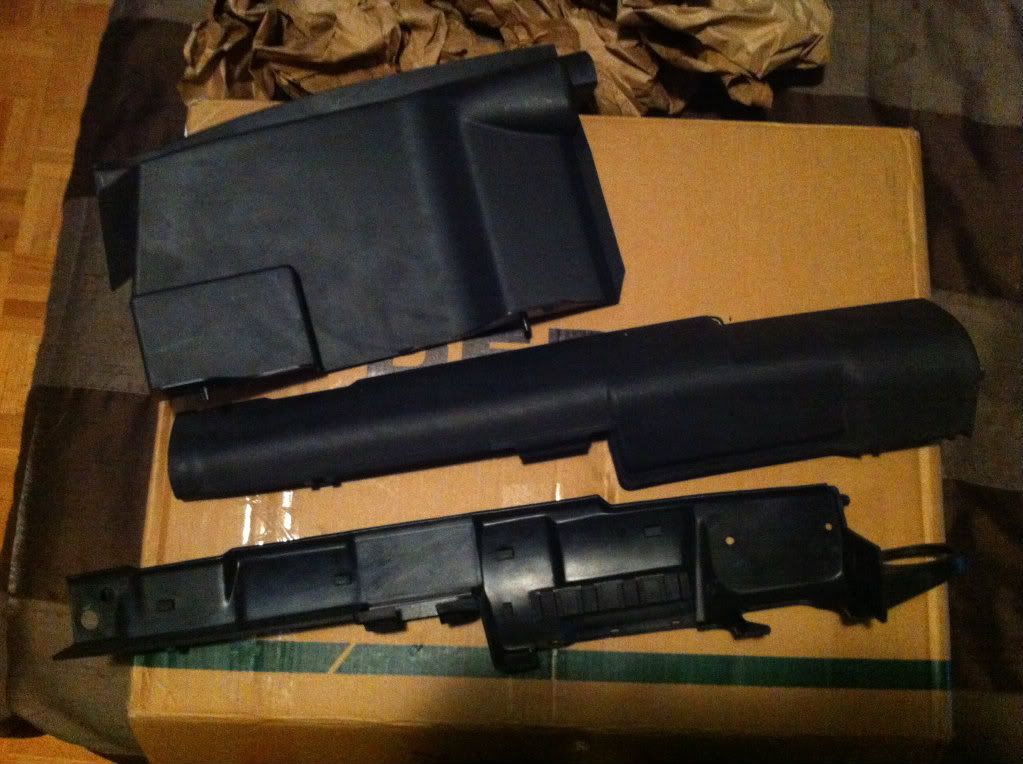
    Crack free dash
    These are a just few things replaced from previous owner. I was given a folio with the bills.
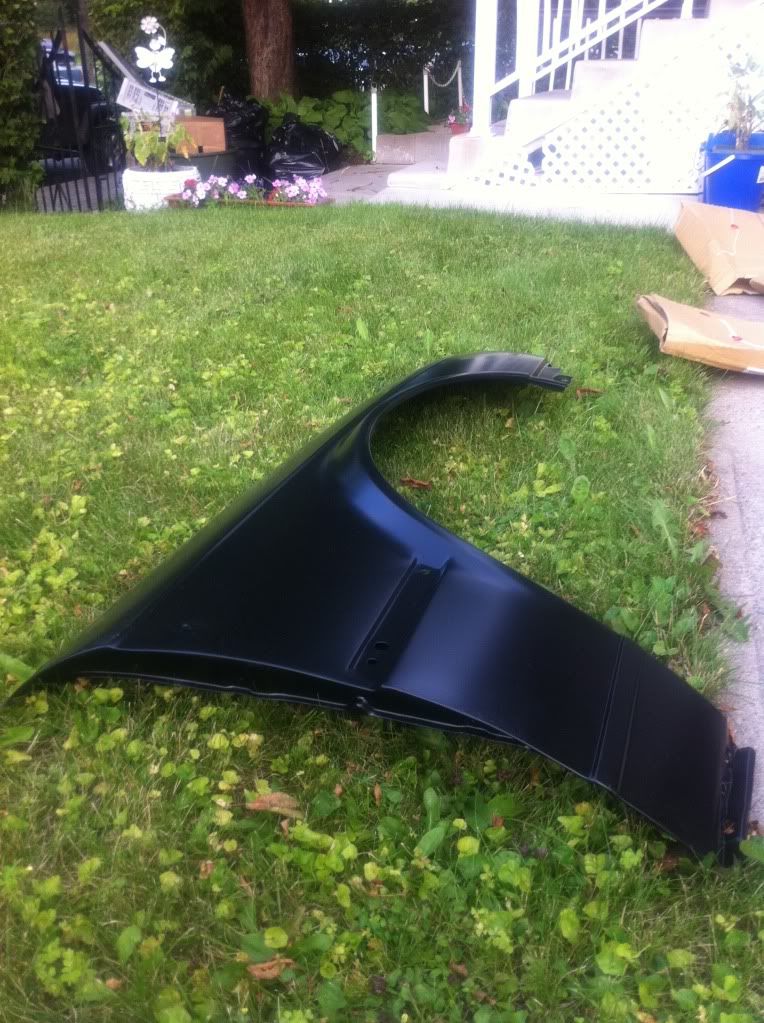
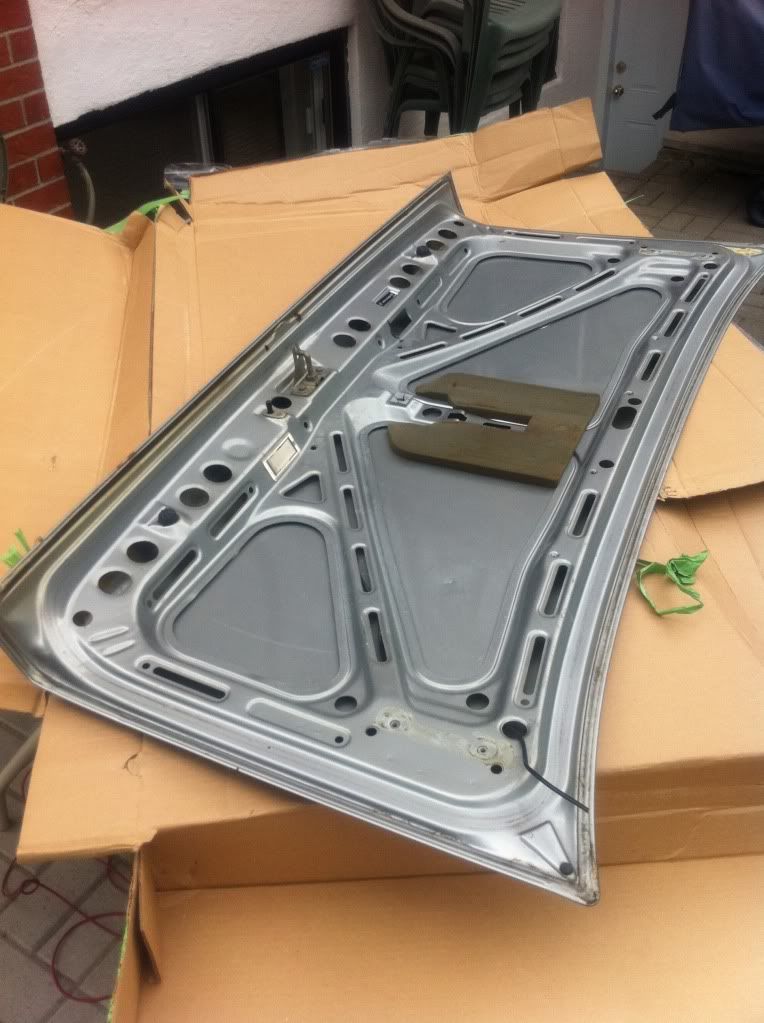
    I decided to start buying parts so the car could be repainted.
    Found clean doors from a local add. I went to see the seller, he was fed up of having these parts in his garage, so he sold all this for 100$


    Got fed up of the MTECH 1


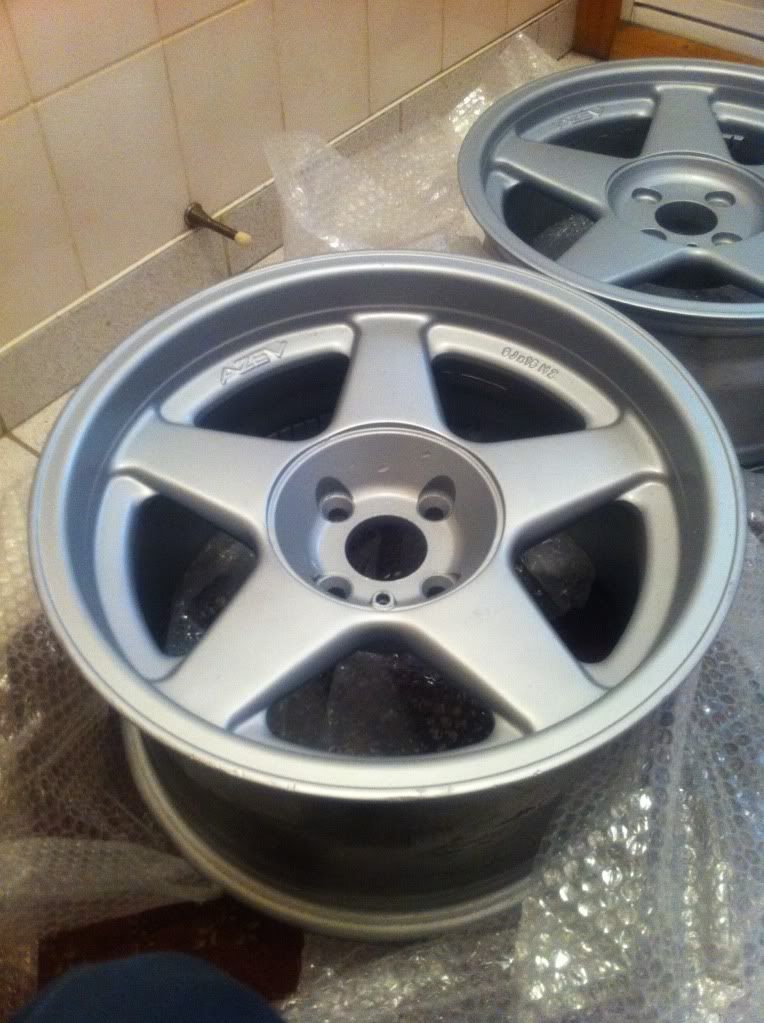
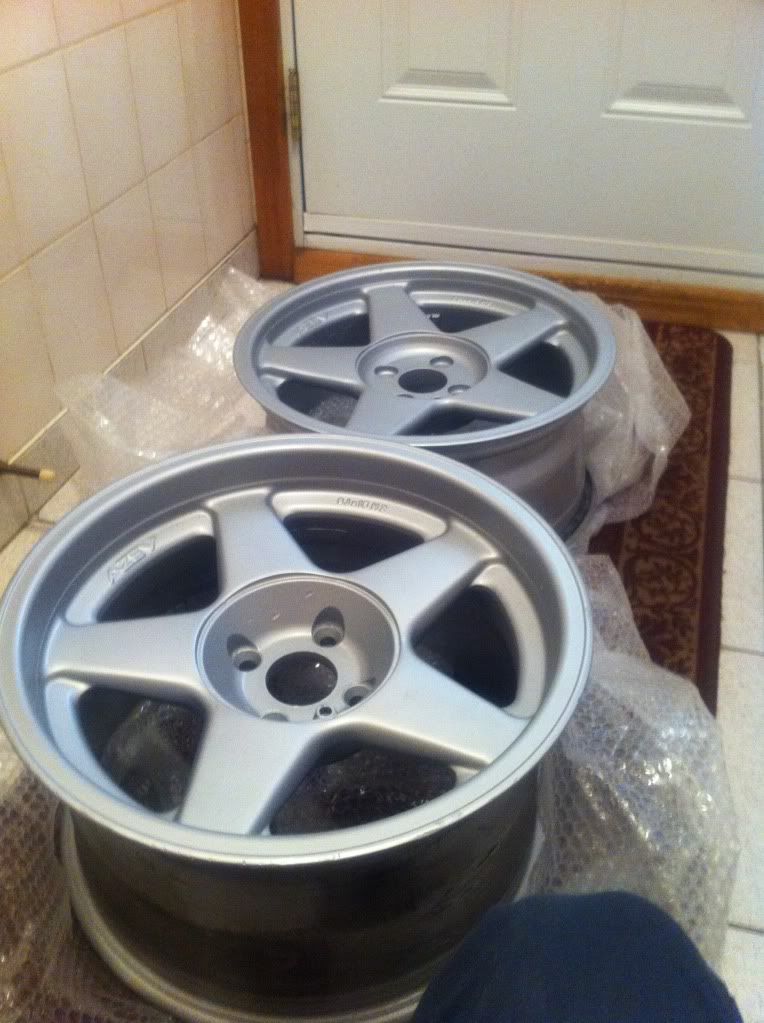
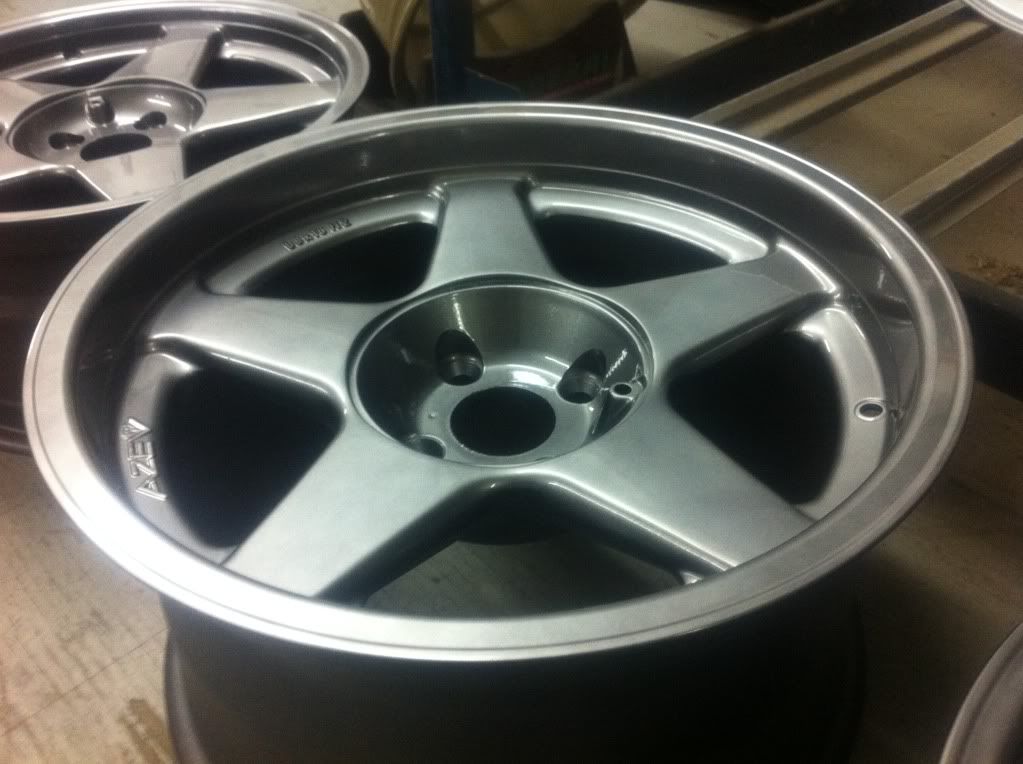
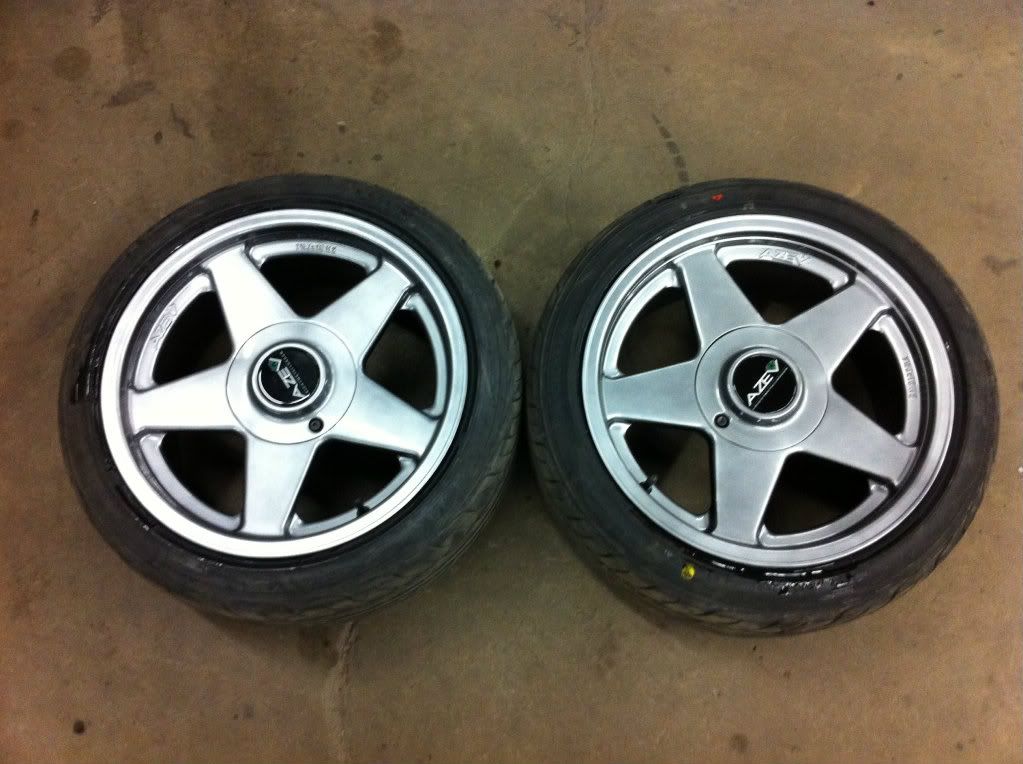
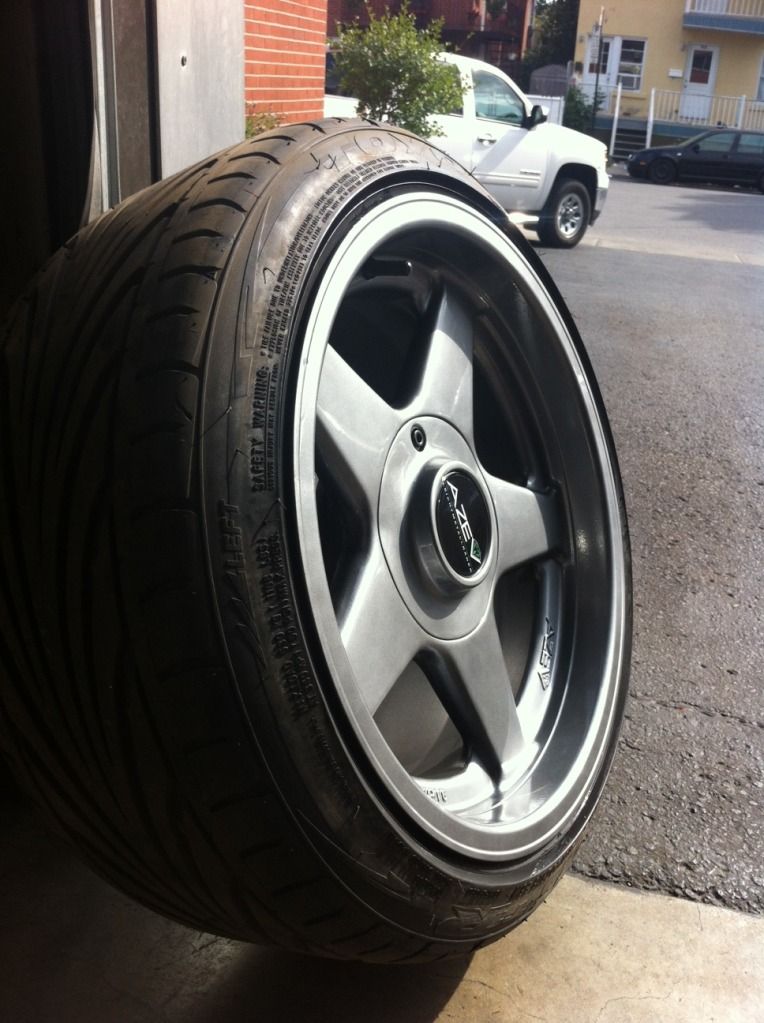
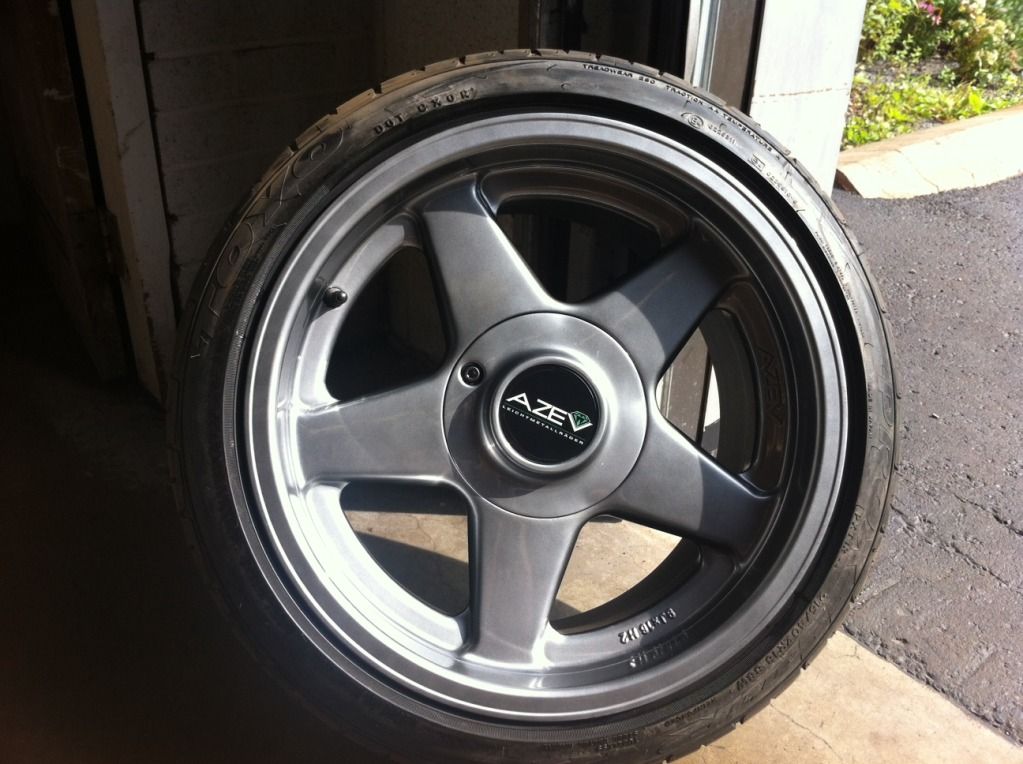
    I needed wheels right? Got these shipped to me.
    Avez Type A: 16x7.5 ET 20
    16x9 ET 15


    I got a used front bumper from a pick and pull for 20$
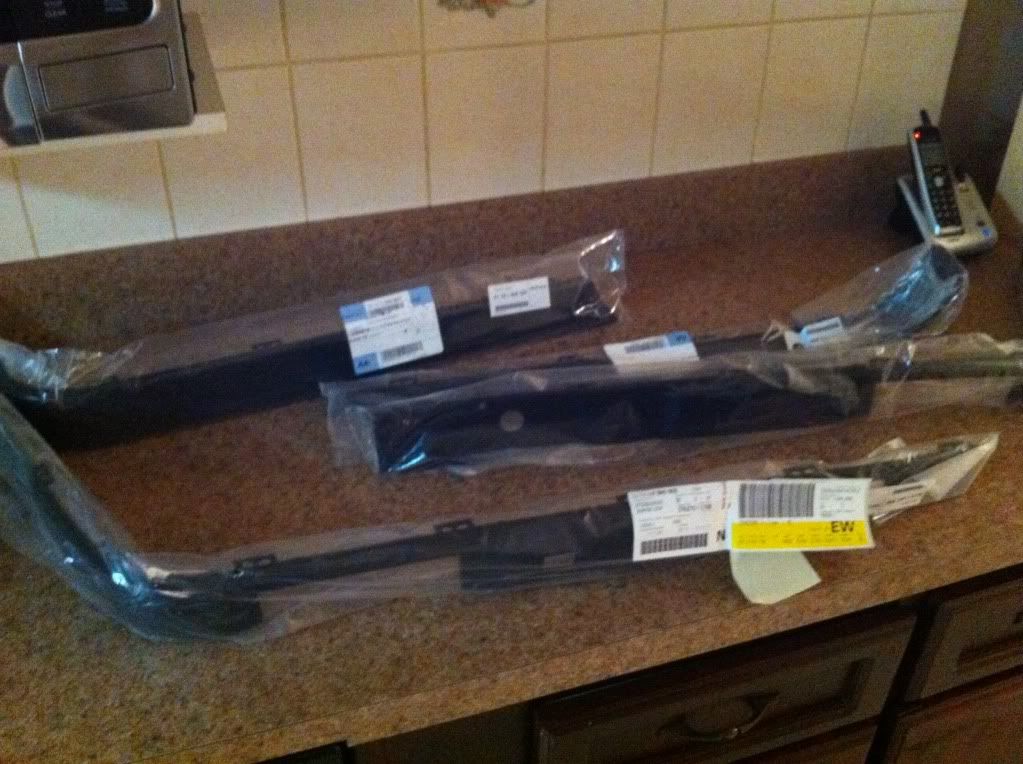
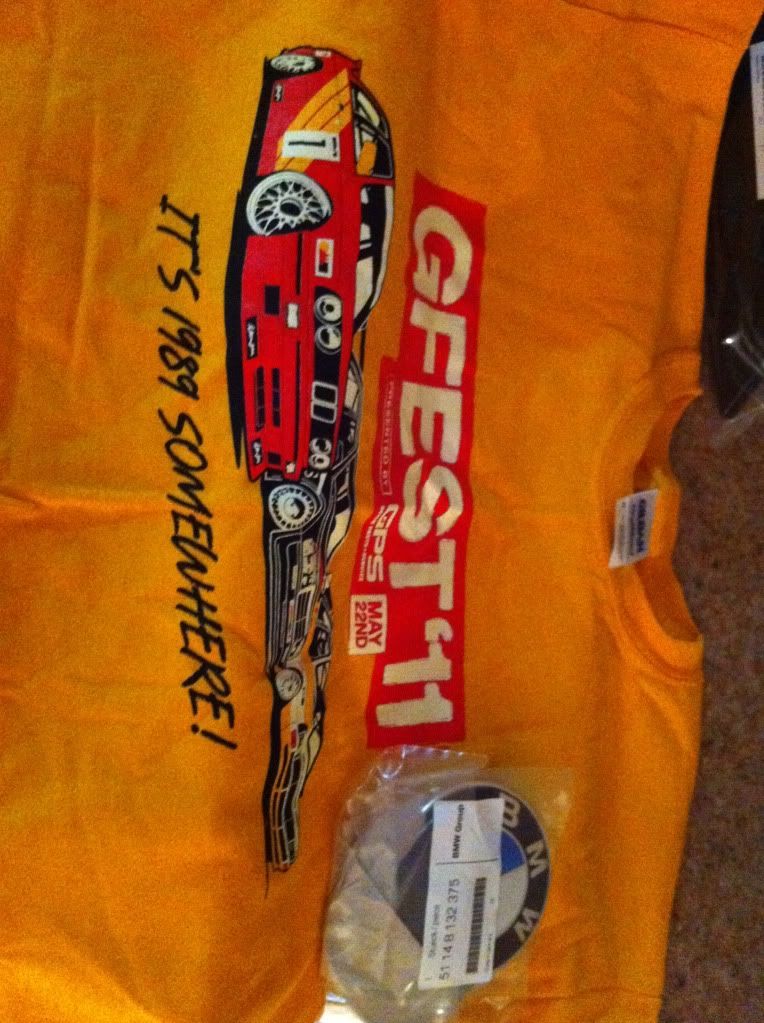
    Spoke to Levent and got, Euro bumper trim all around with Euro grills and new front/back emblems. Thanks for the Tshirt.


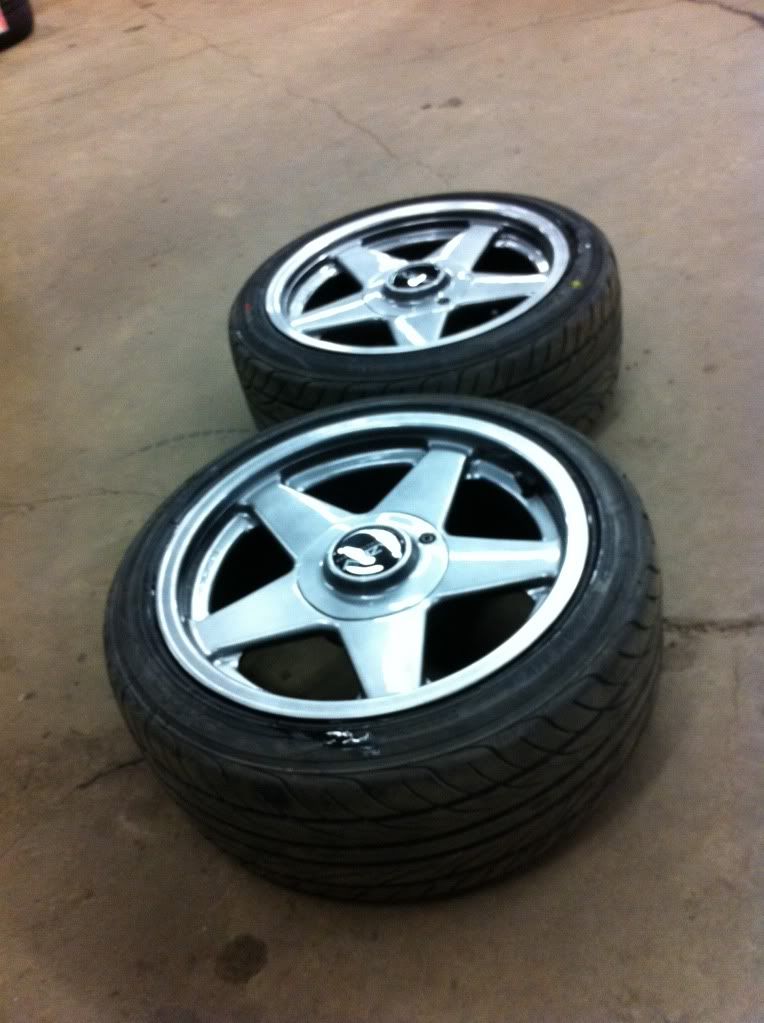
    Late September, I sent out the wheels to be straightened/restored.
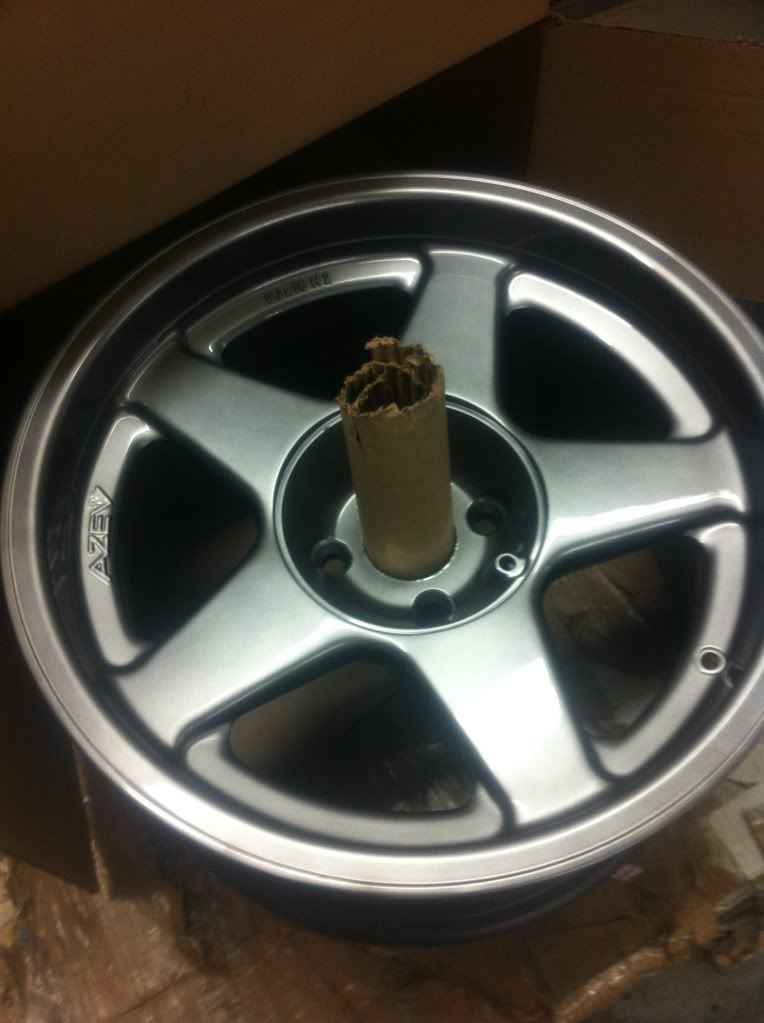
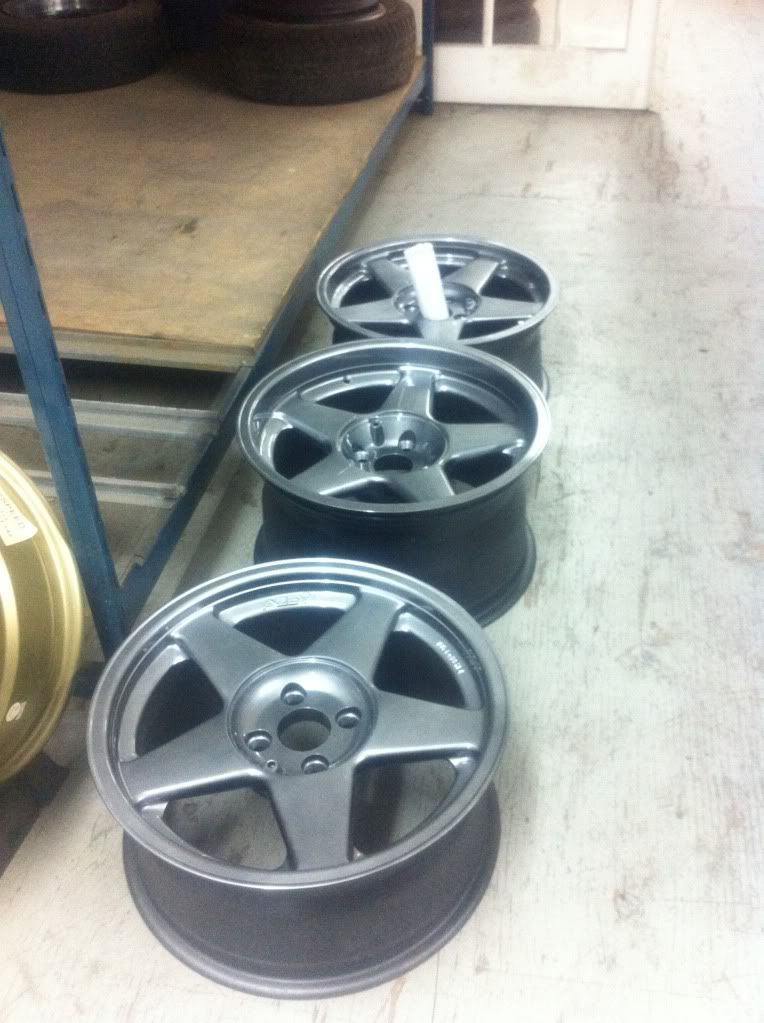


    Love the outcome.

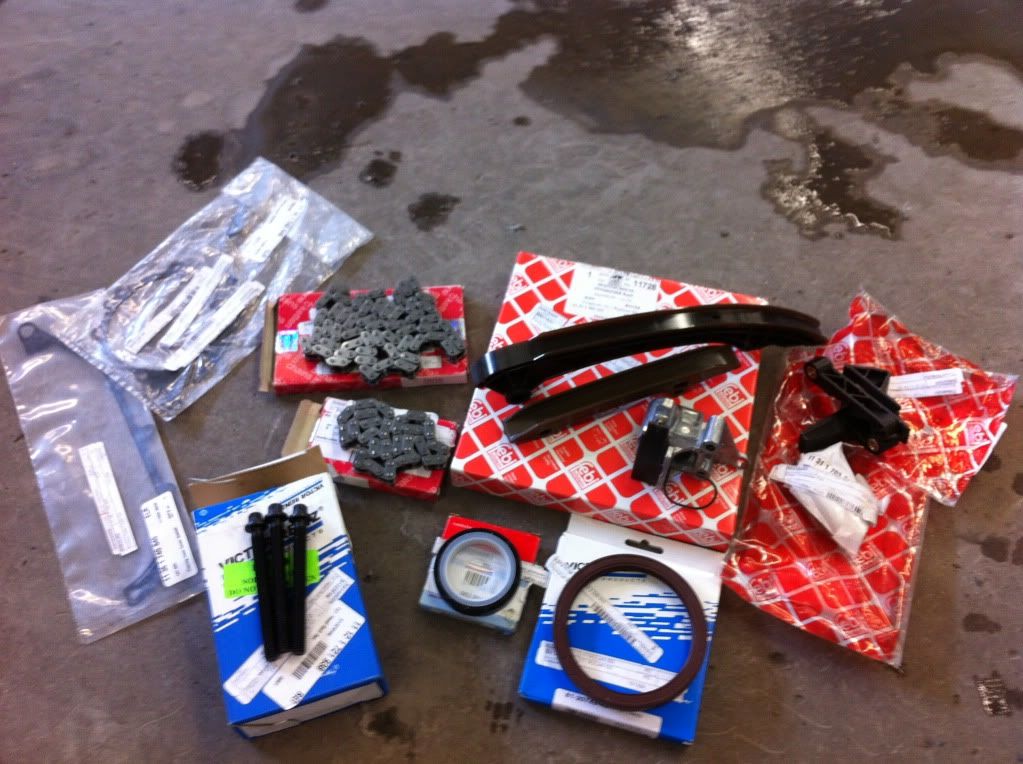
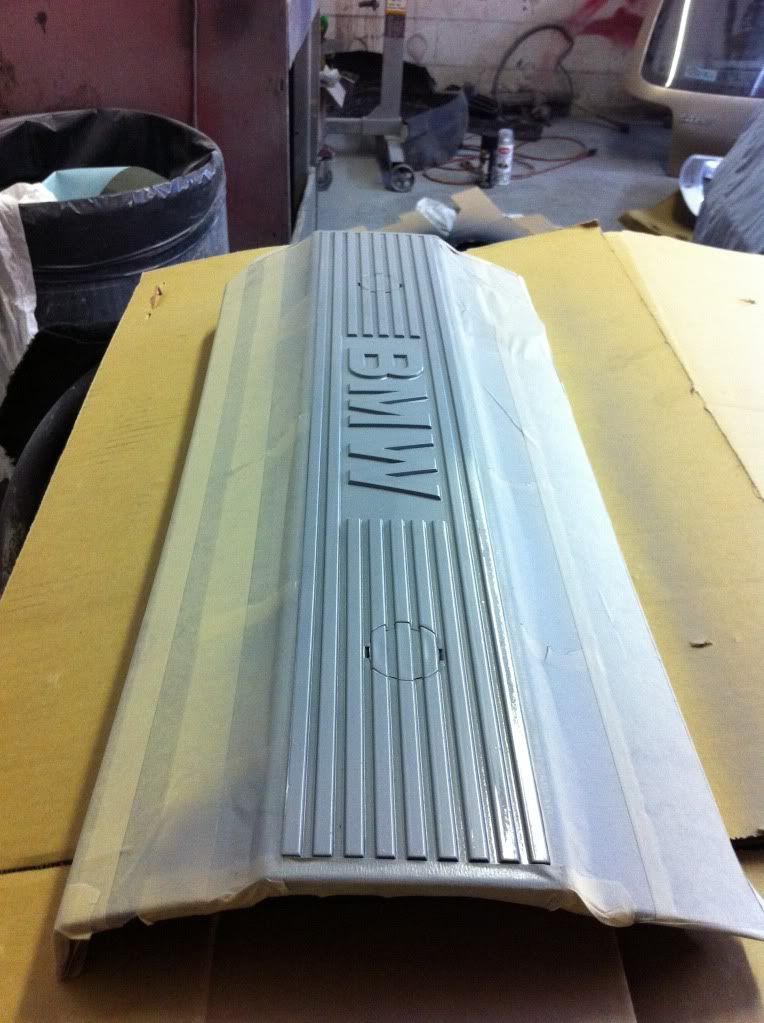
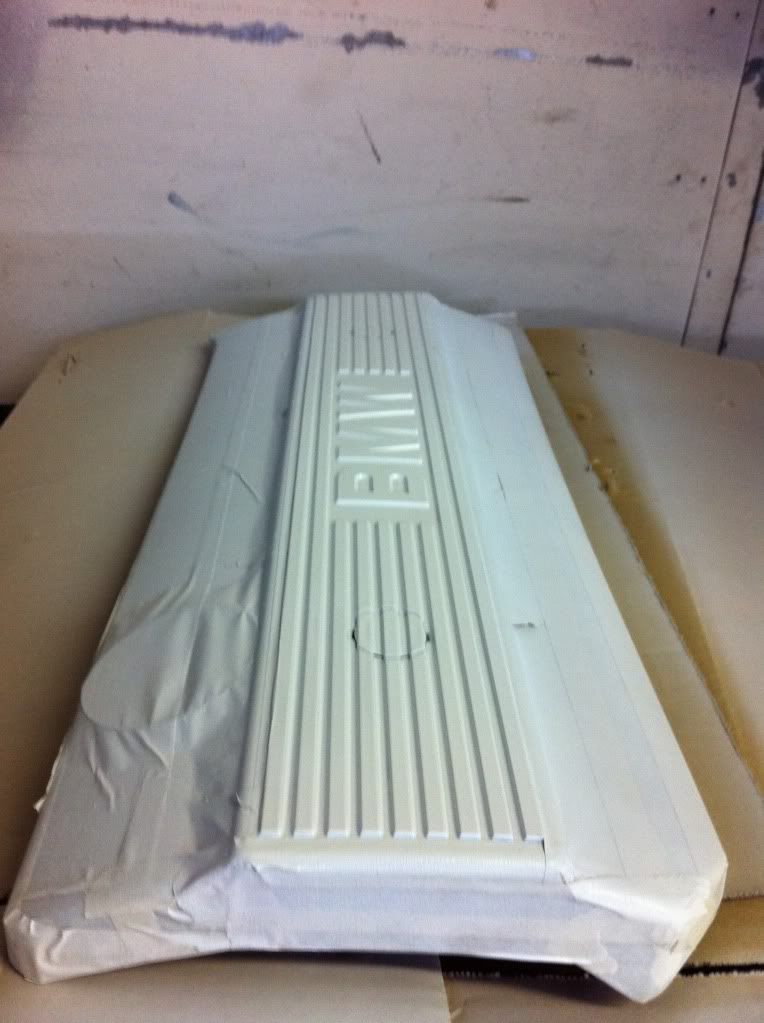
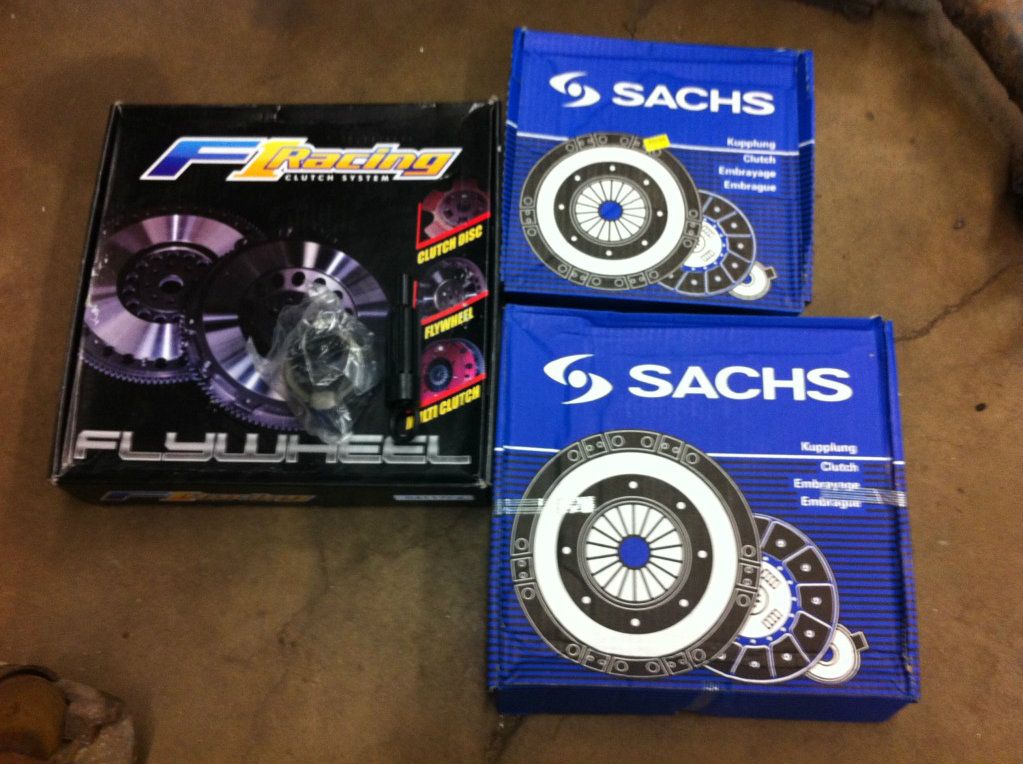
    Now that the car is in storage, I was suffering from a dilemma. Have the car painted or touch the mechanical side. Choice? Motor. A good looking car isnt gonna make it run better. Spoke to a friend which is specialist in VW/AUDI about taking part in this build. He agreed due to the fact that we''re good buds and because he wants to branch out his knowledge into BMW. R3V is the major part of my knowledge on this swap. Im still learning and reading builds every day. Thank you for all the time and effort people take on this forum. Here's what we will be working.


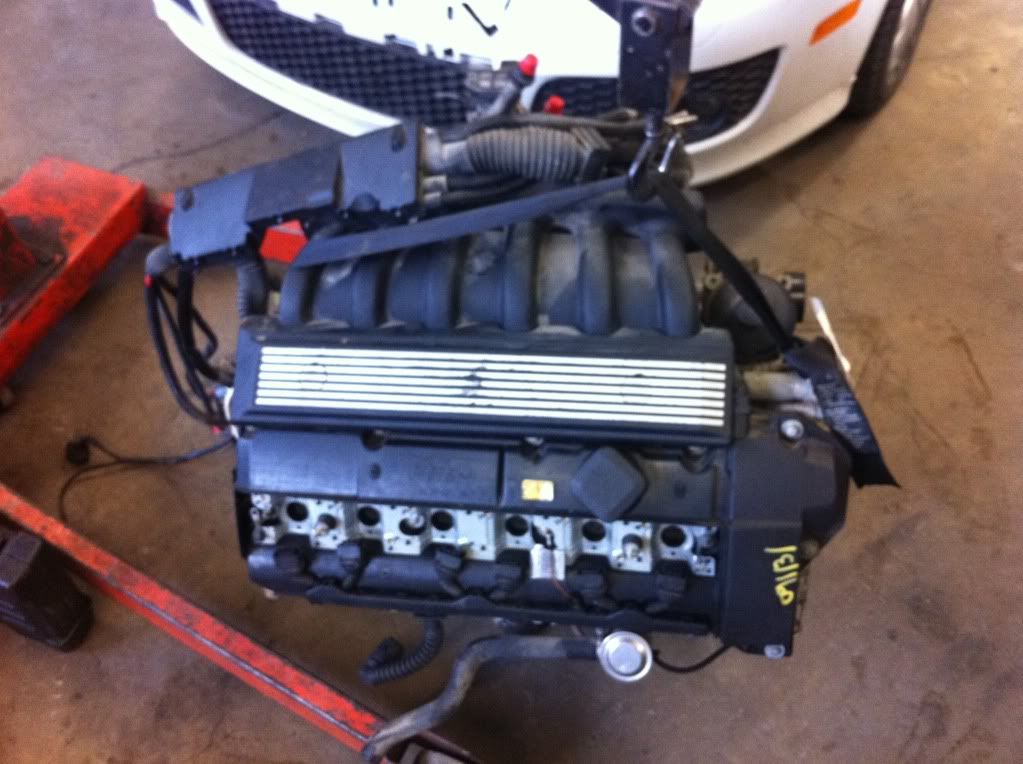
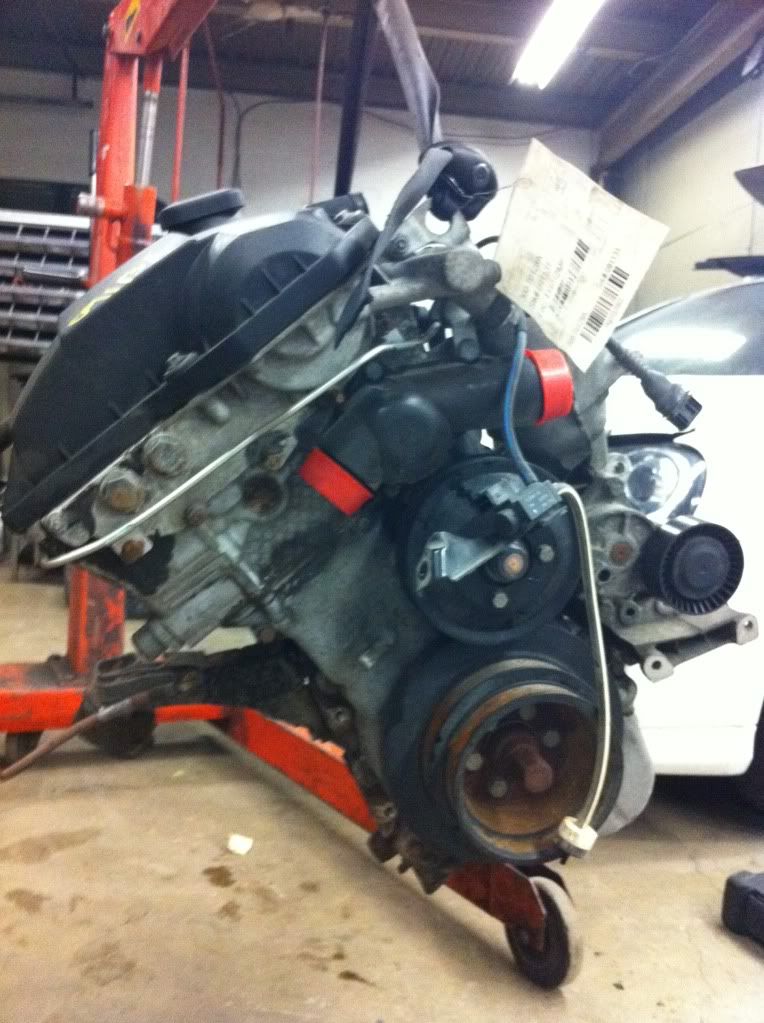
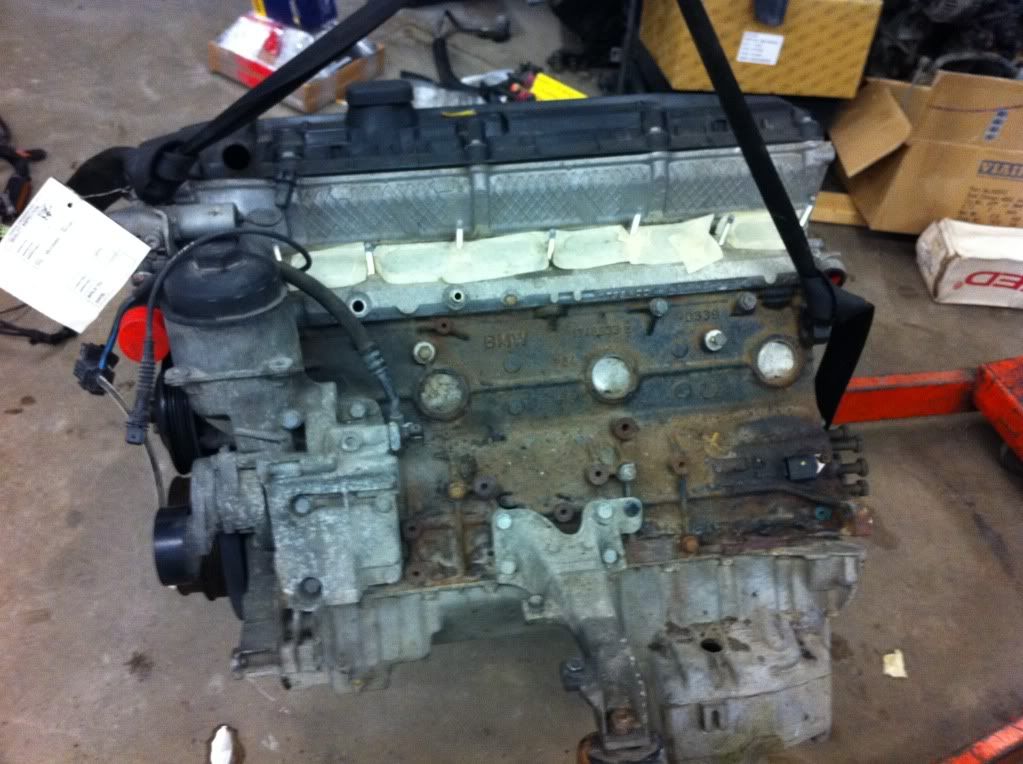
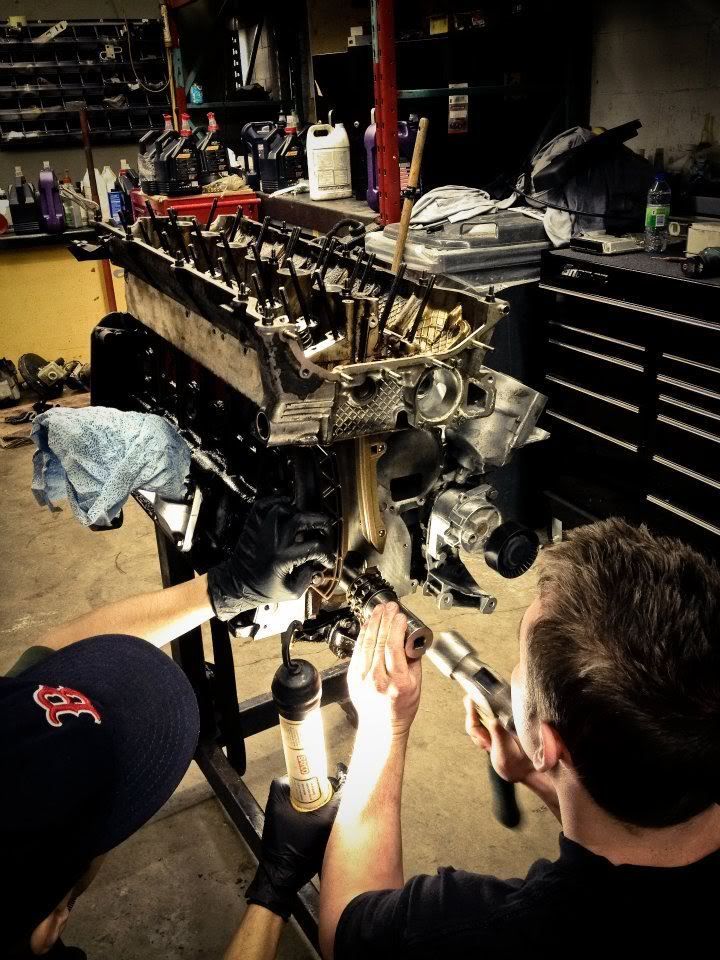
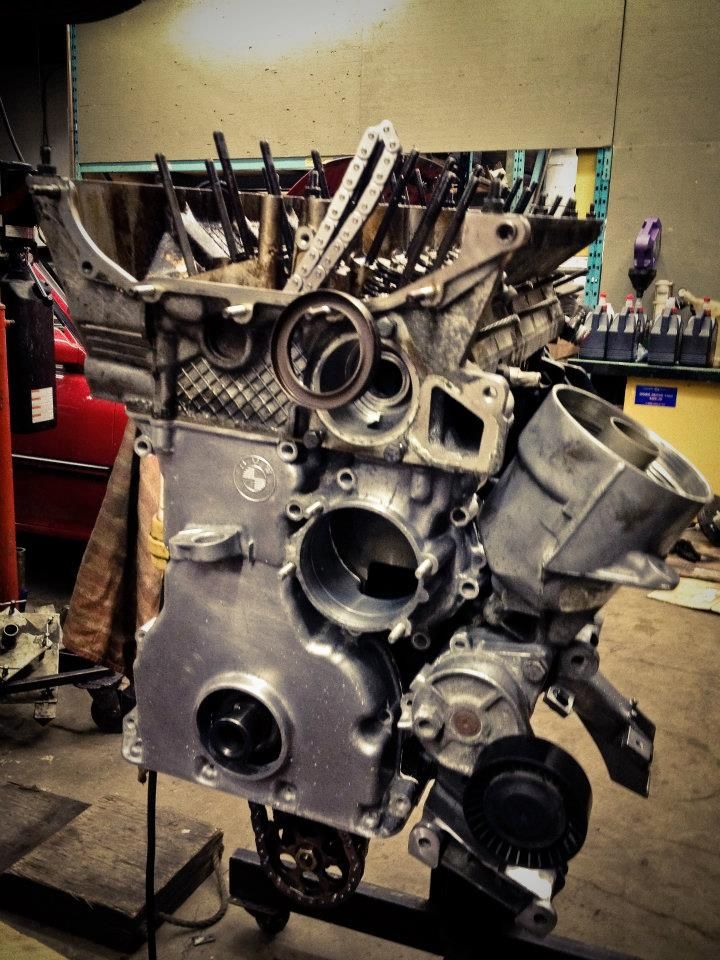
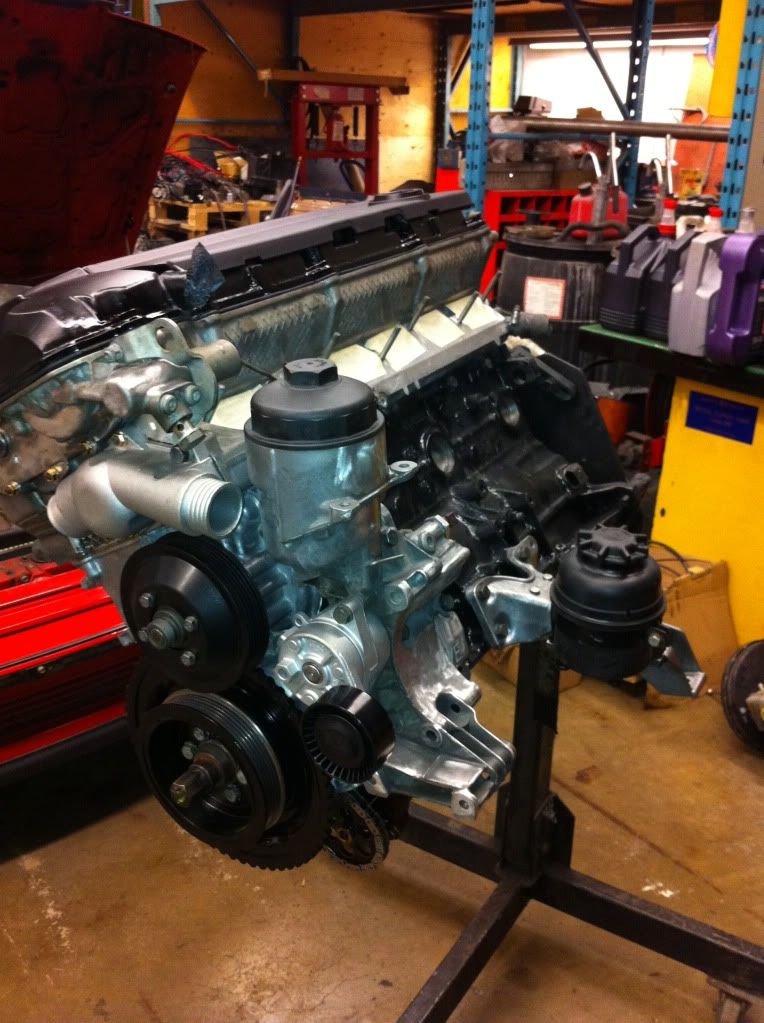
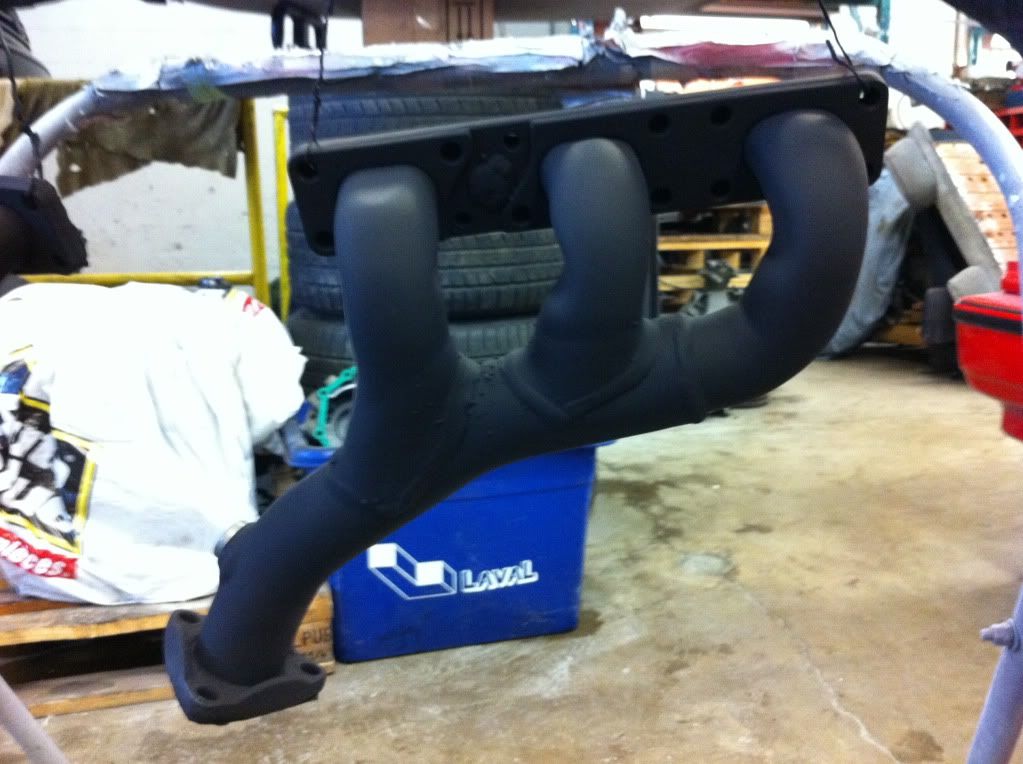
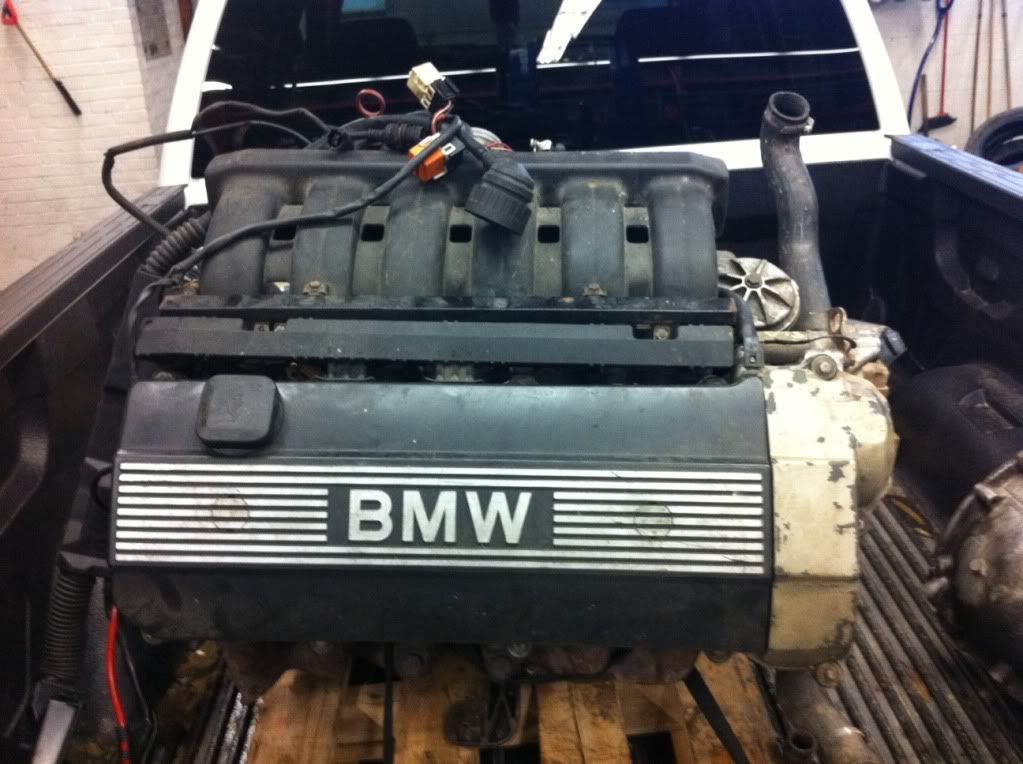
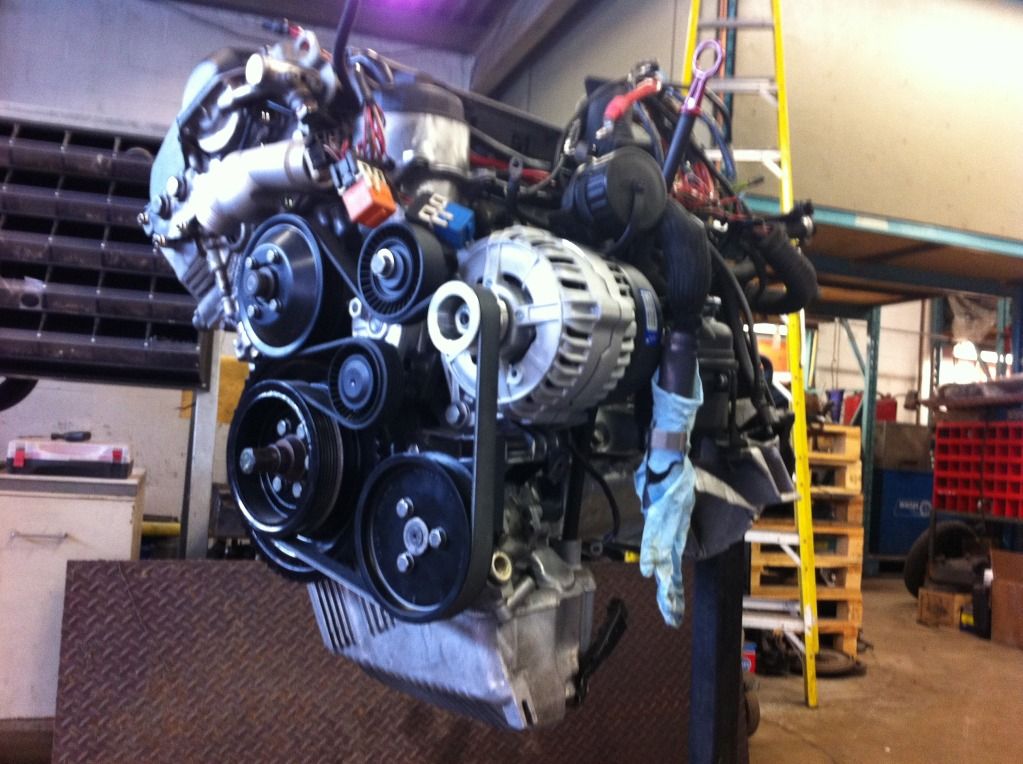
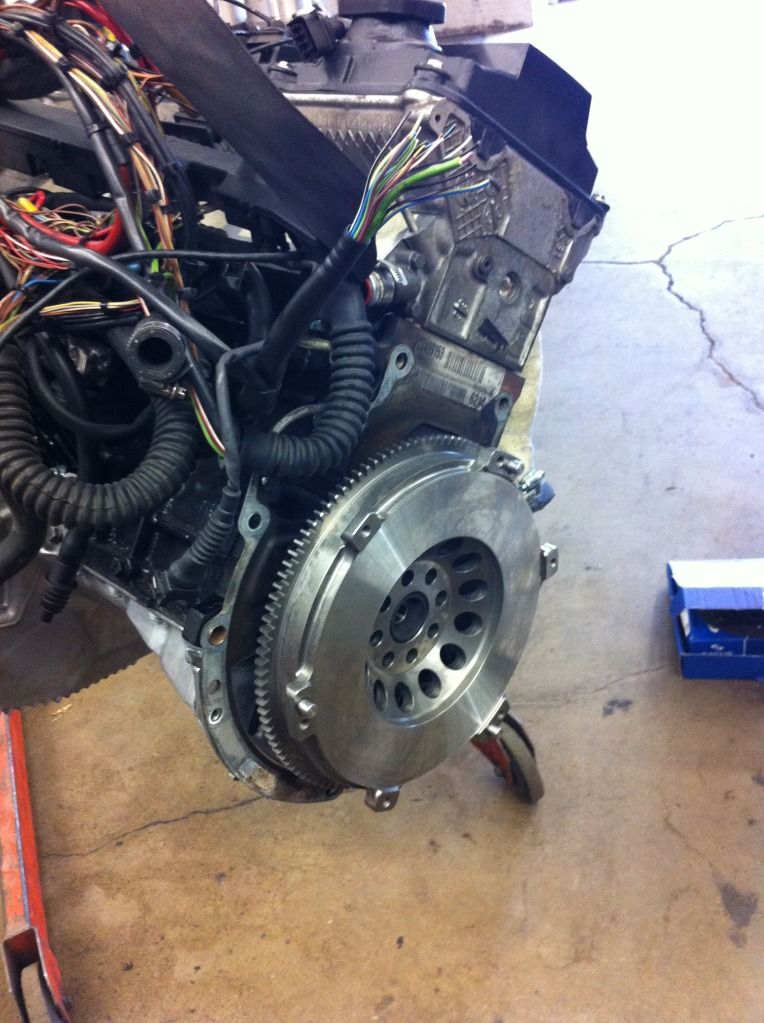
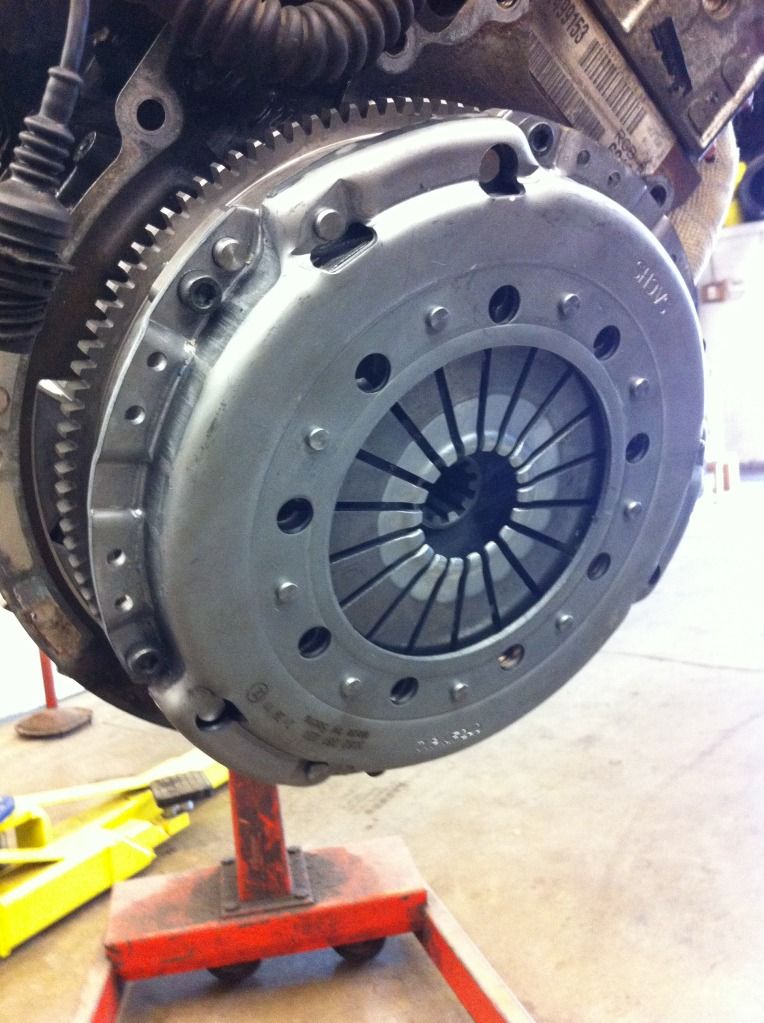
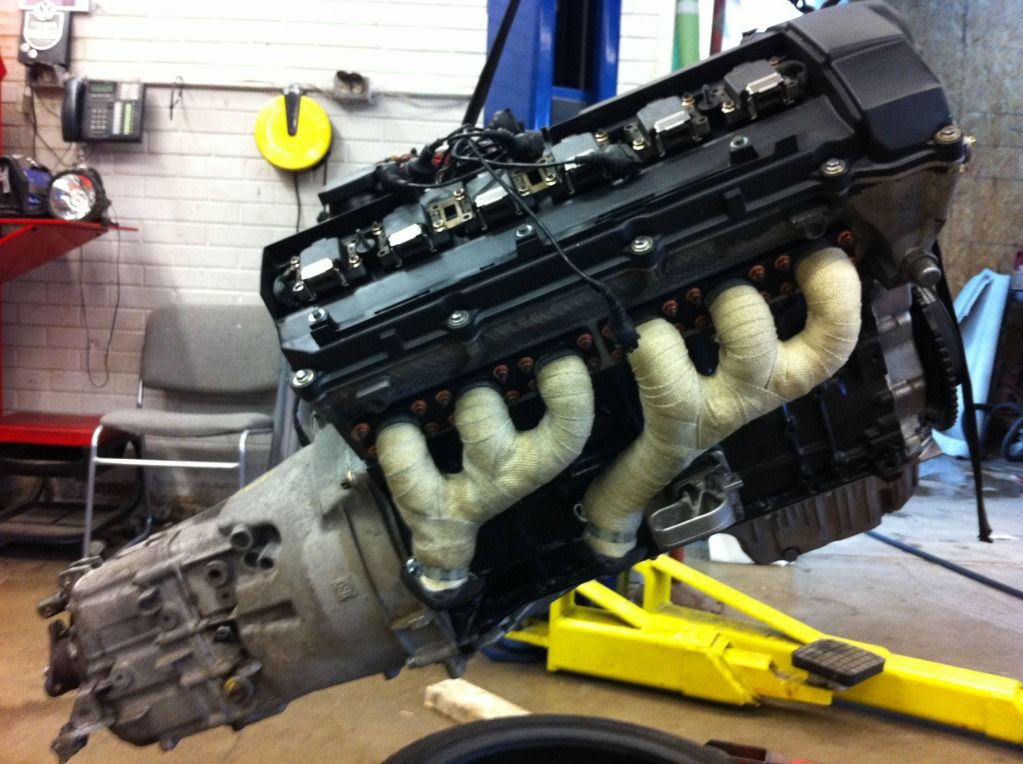
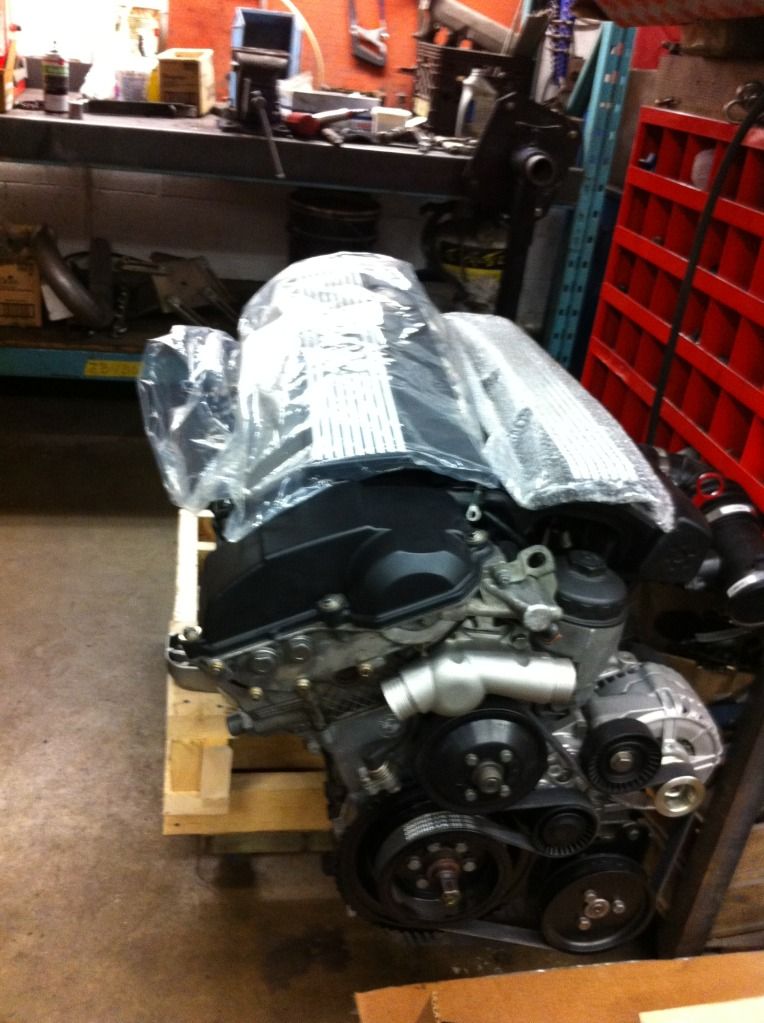
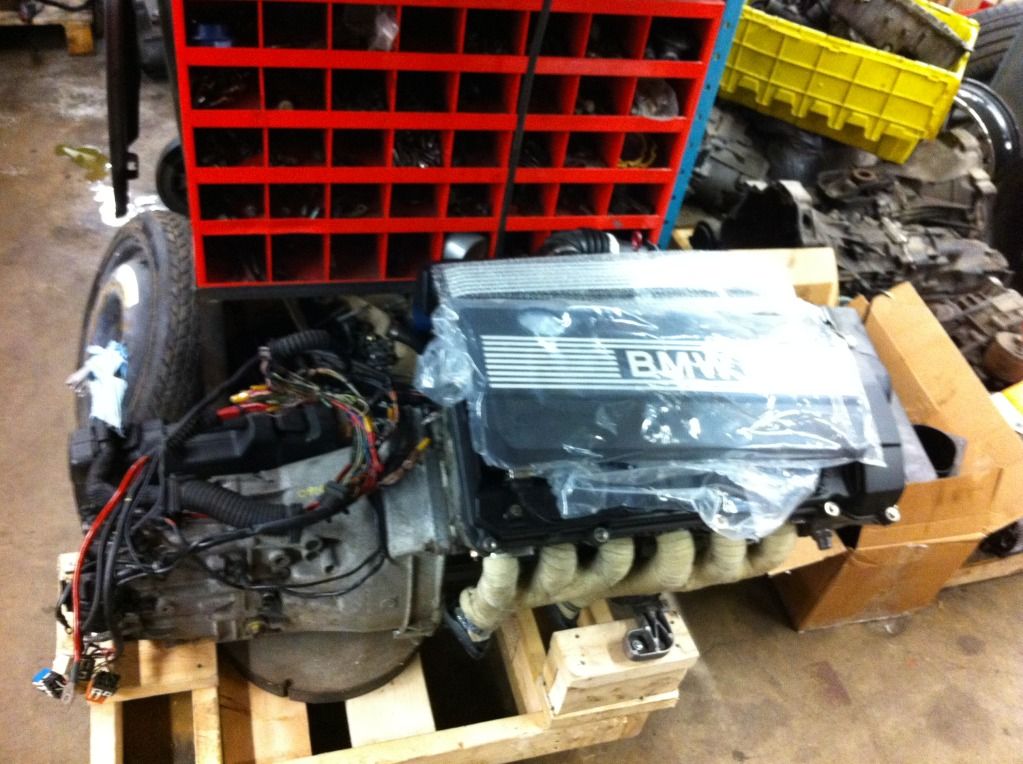
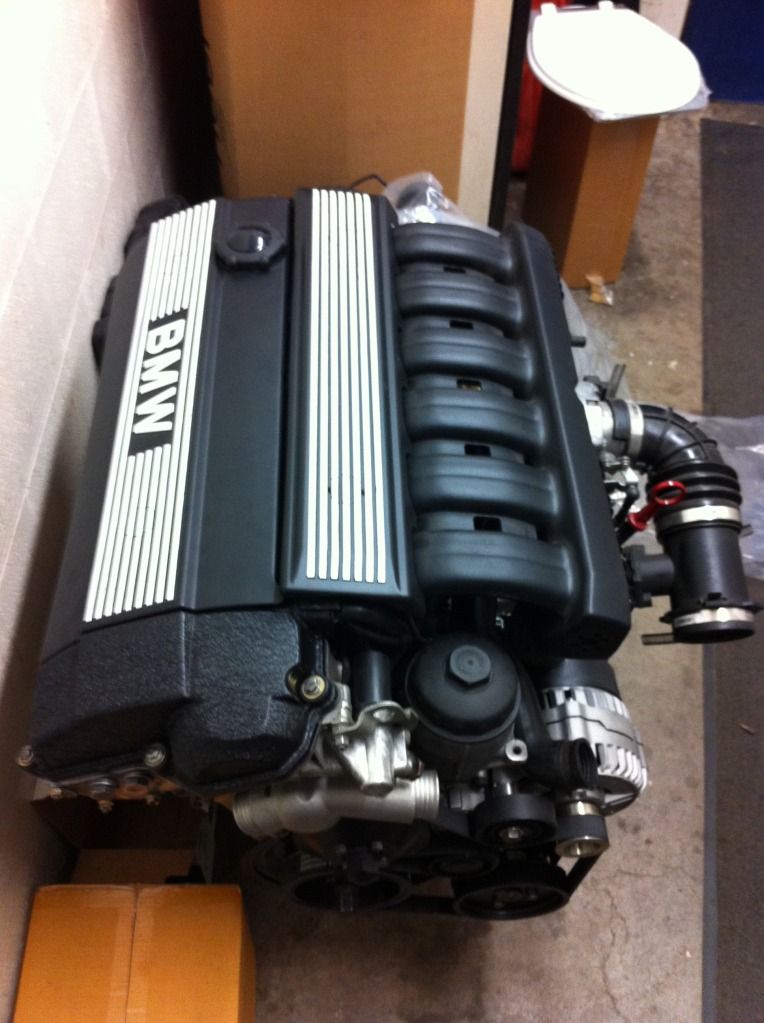
    1999 328 M52 from a soft top with 172 000 KM.
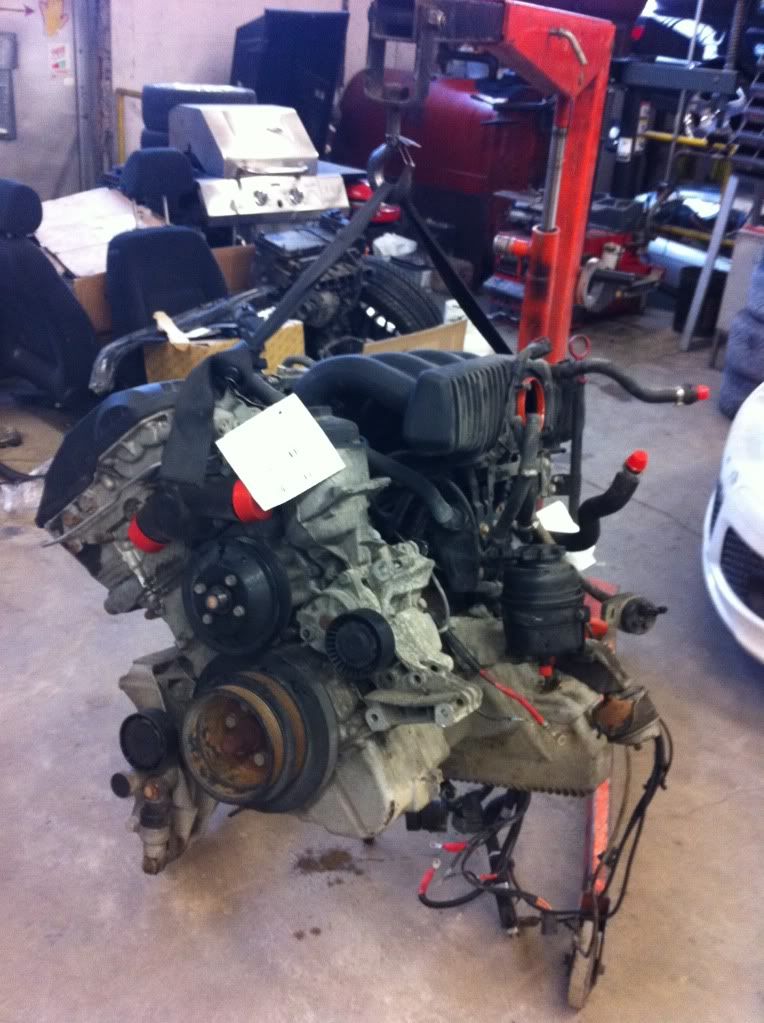
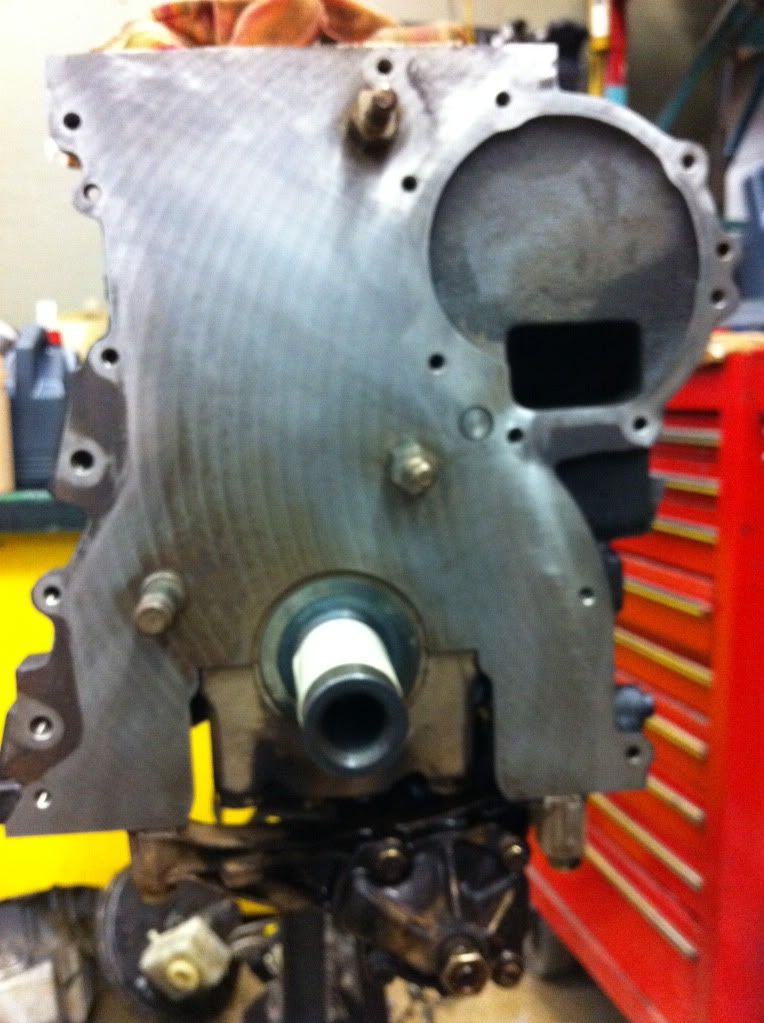
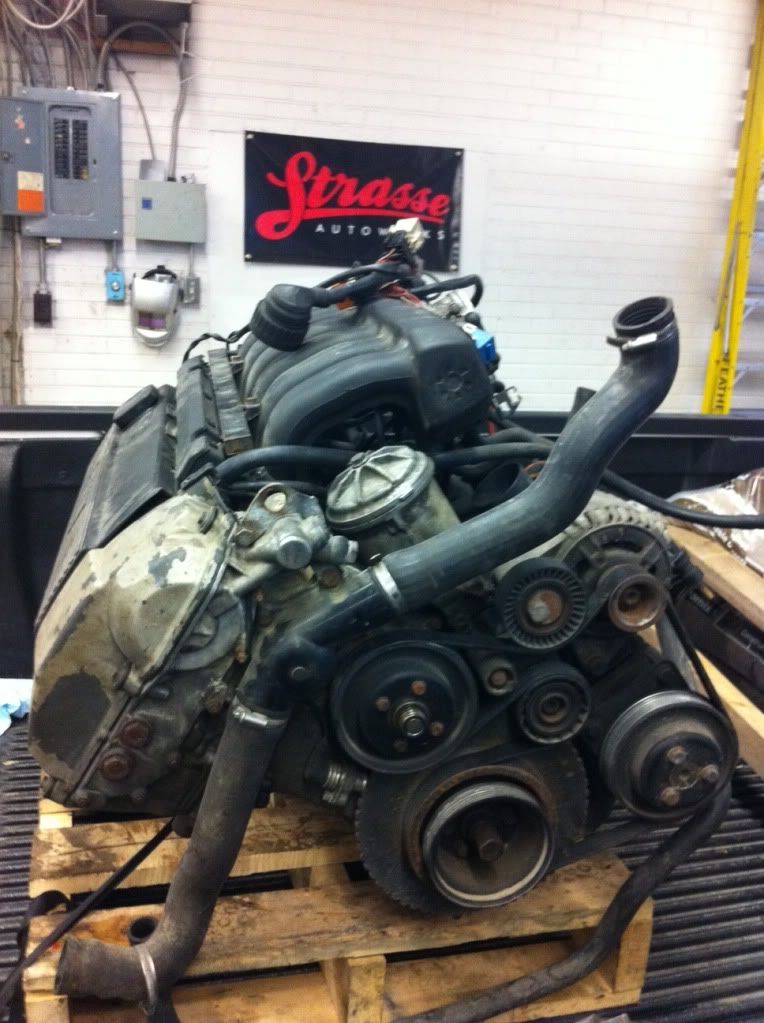
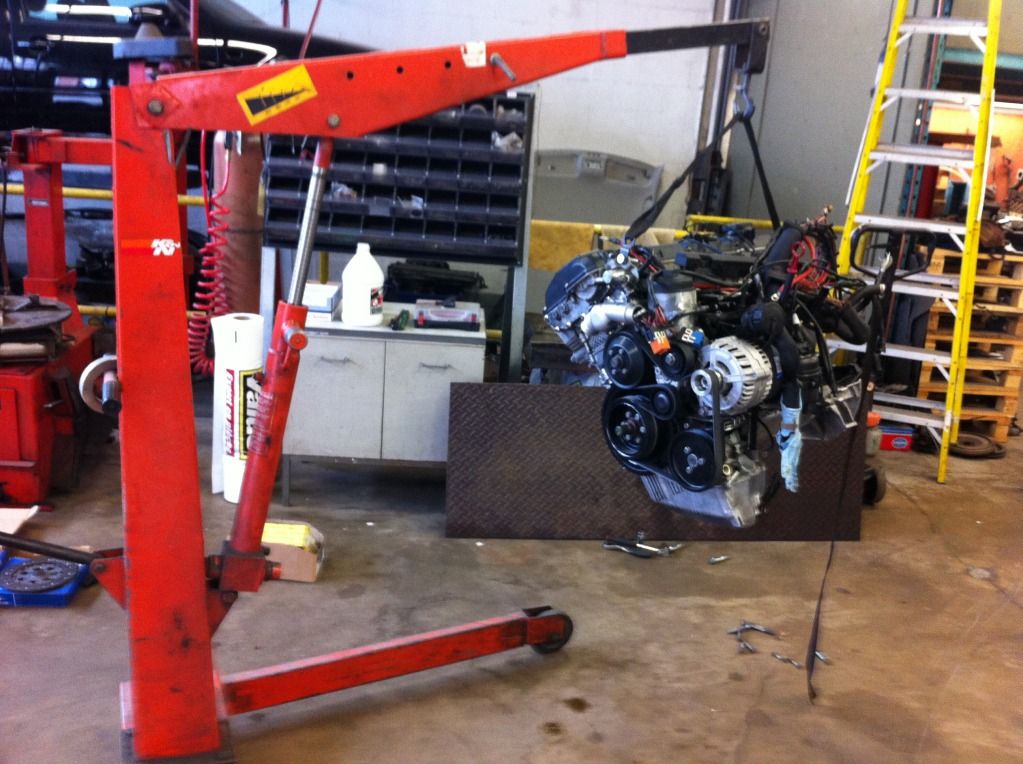
    Quickly pulled out the tools and started to strip this thing.


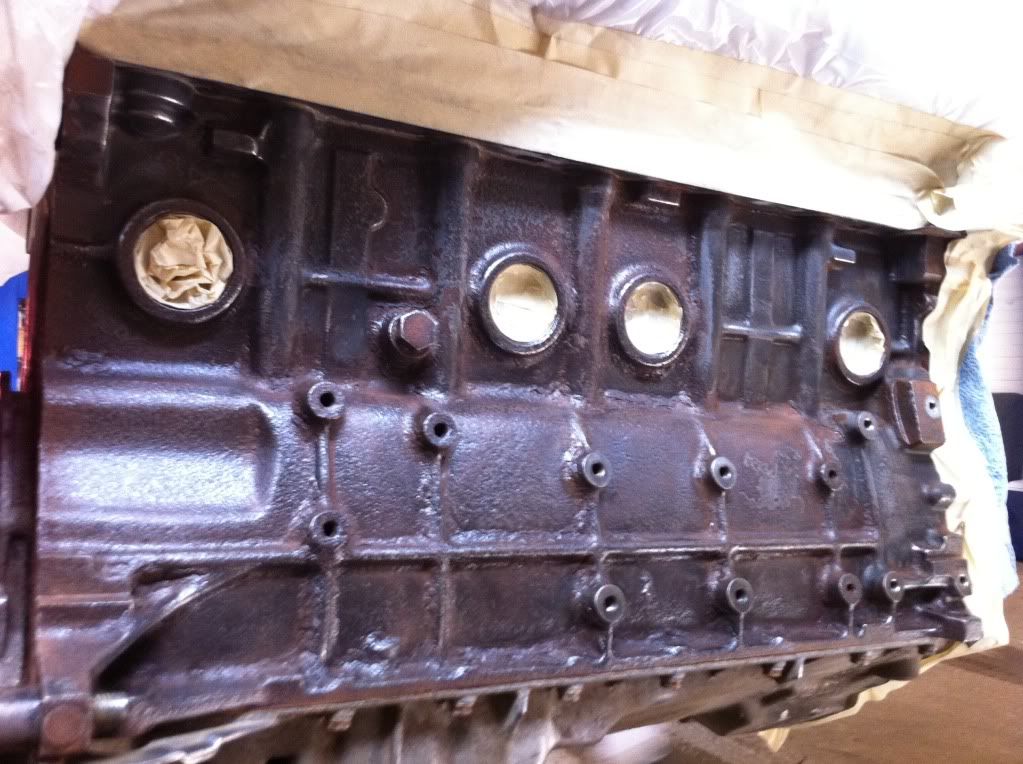
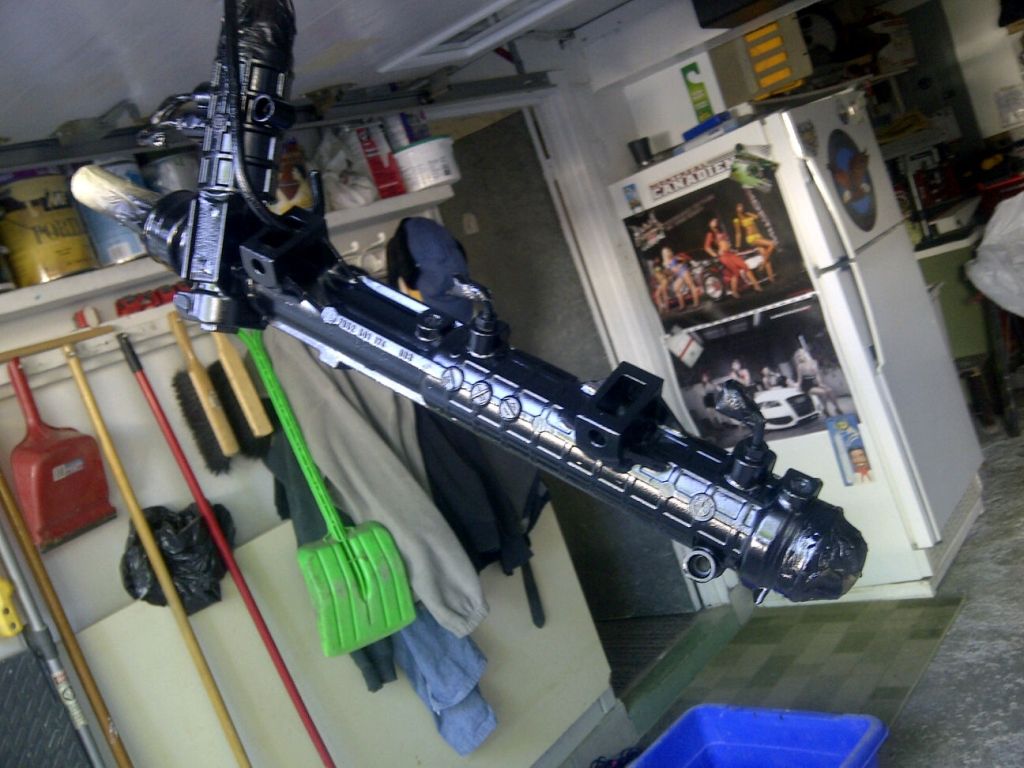
    A little clean up with the wire wheel


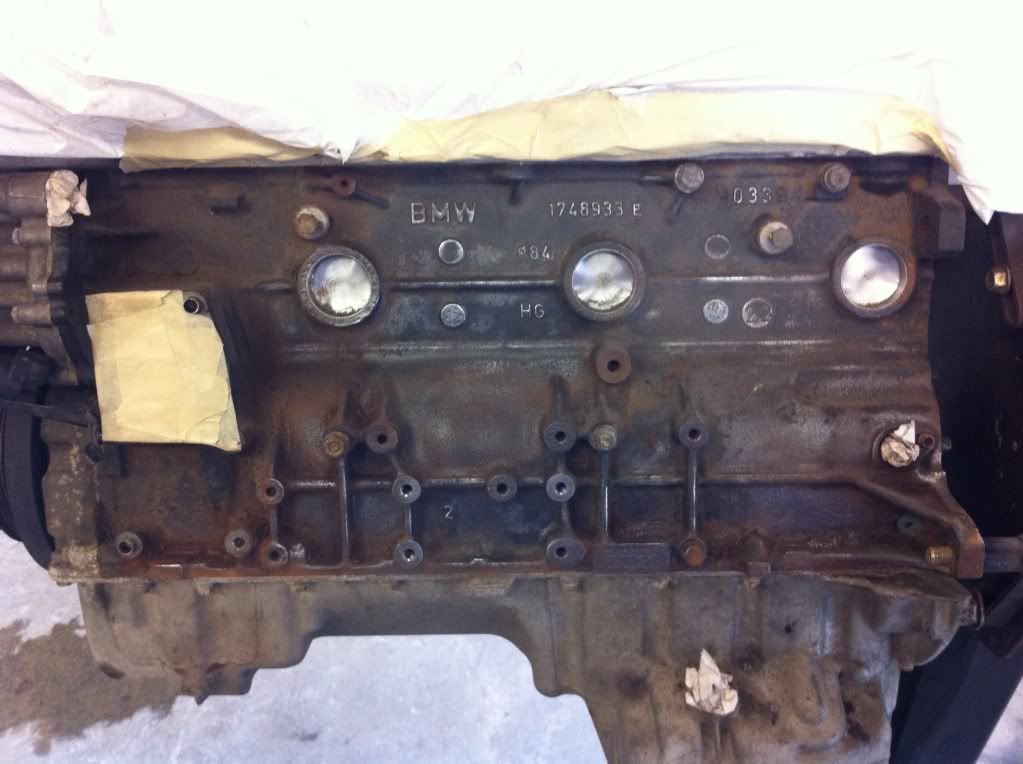
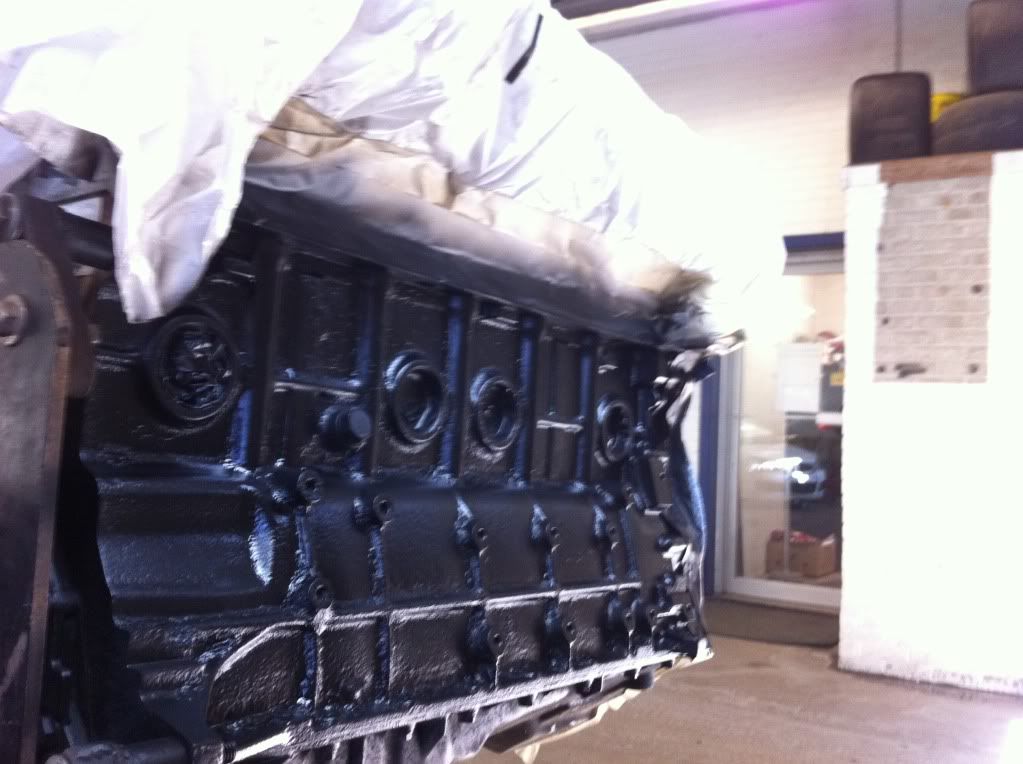
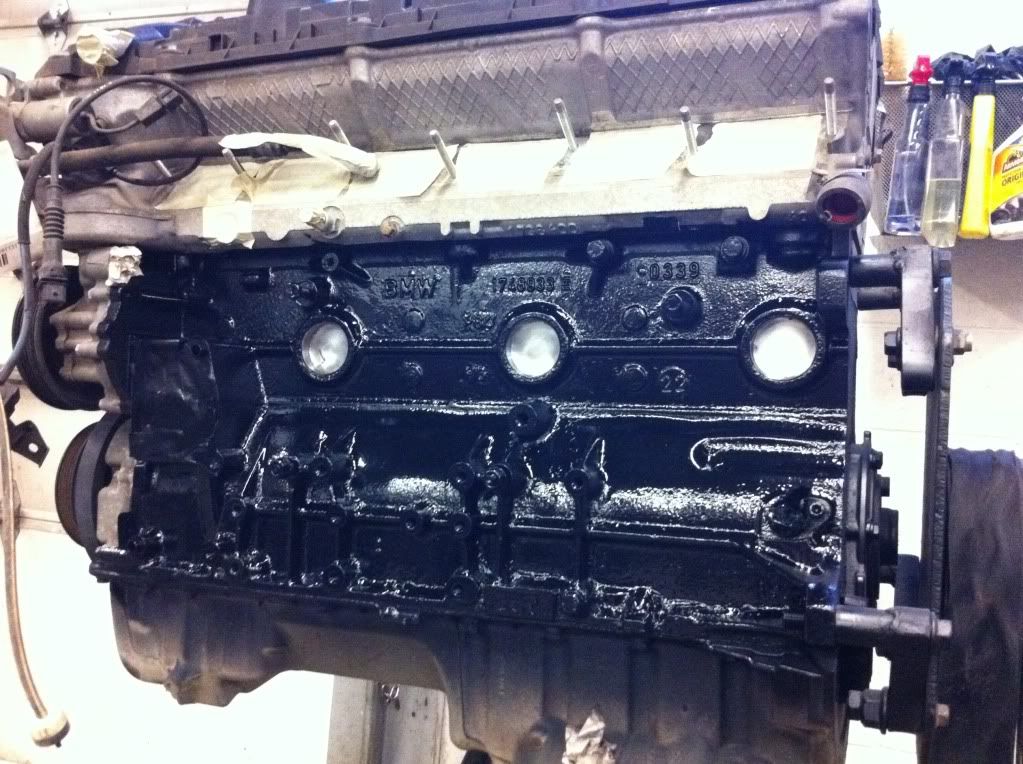
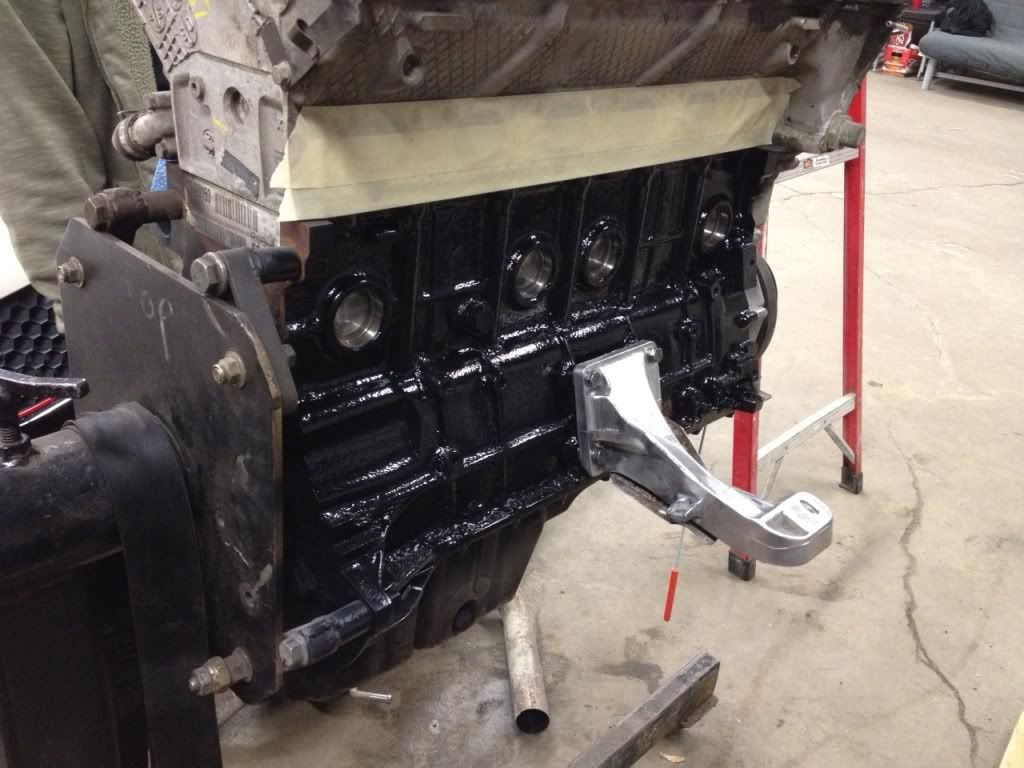
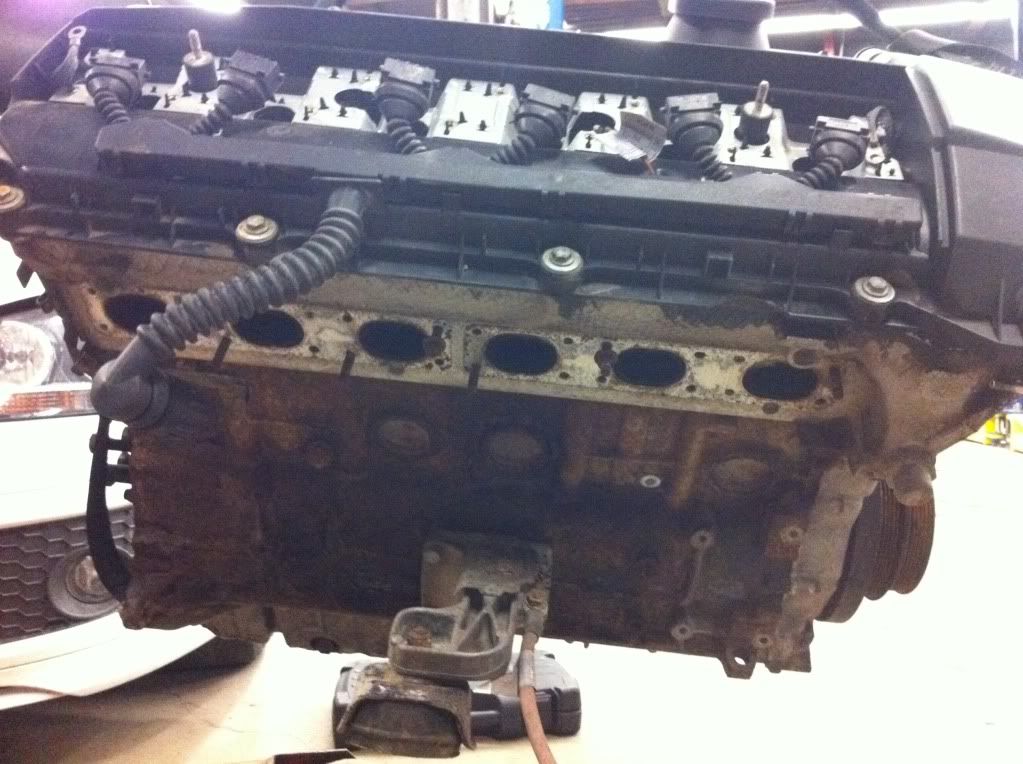
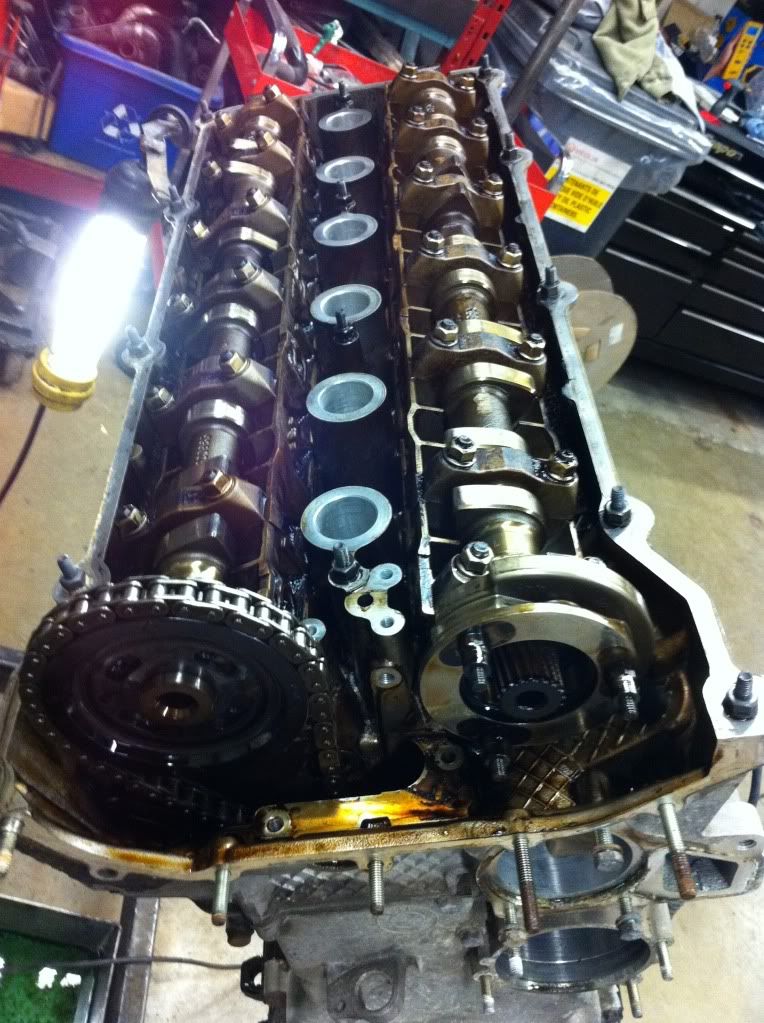
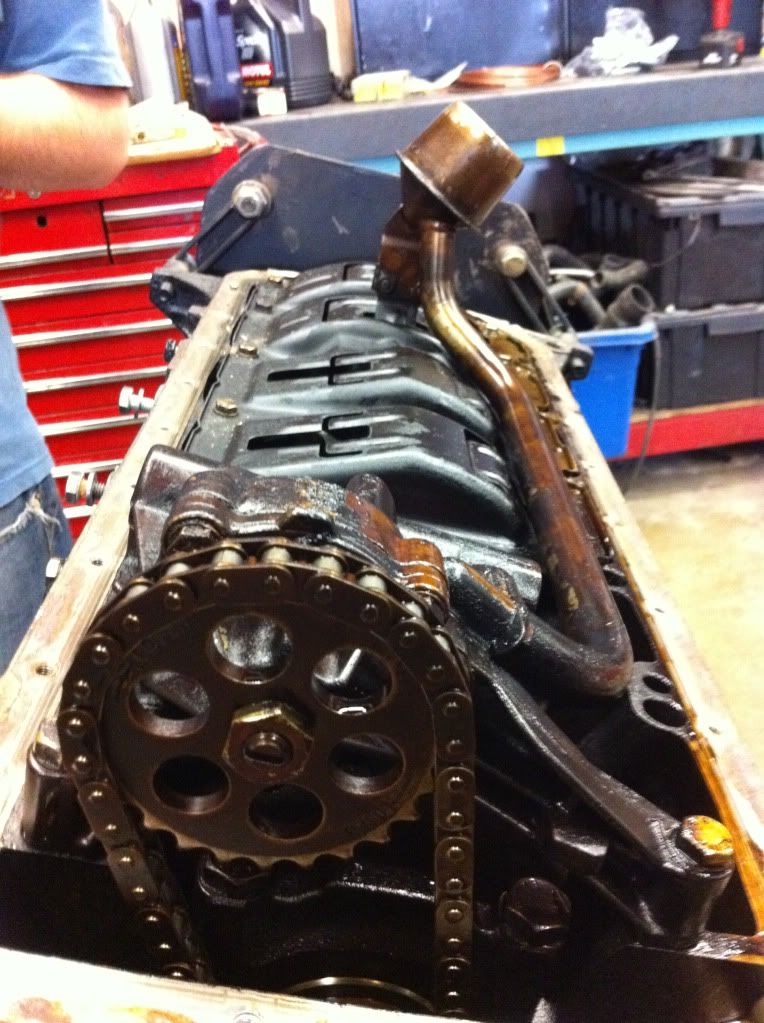
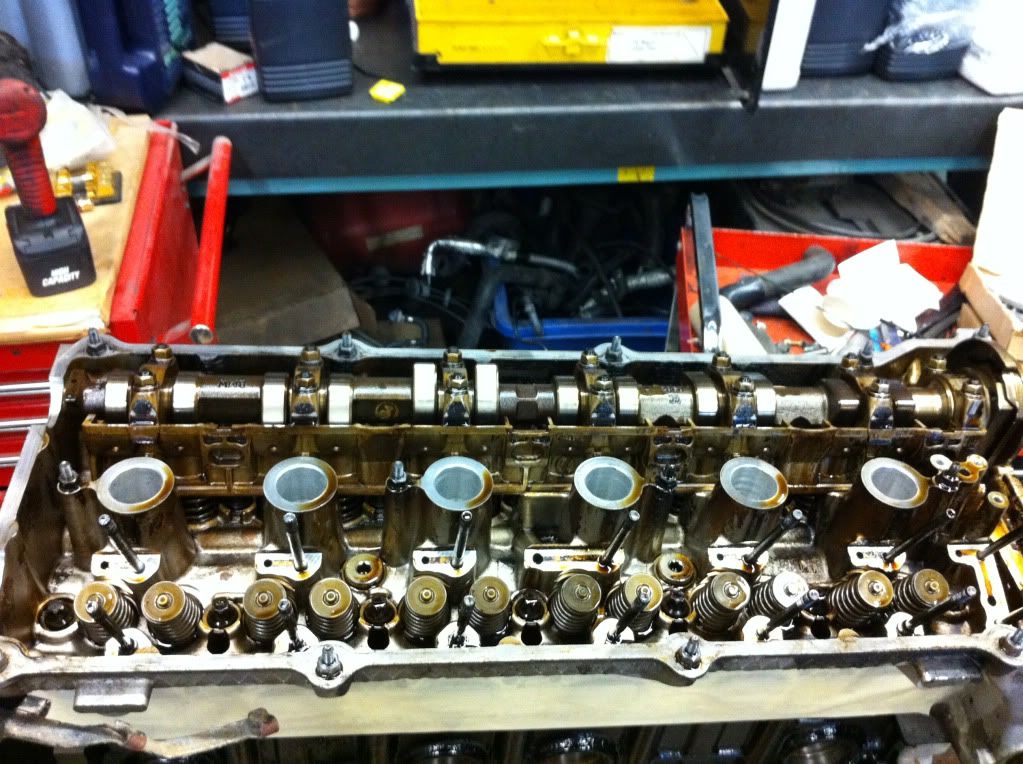
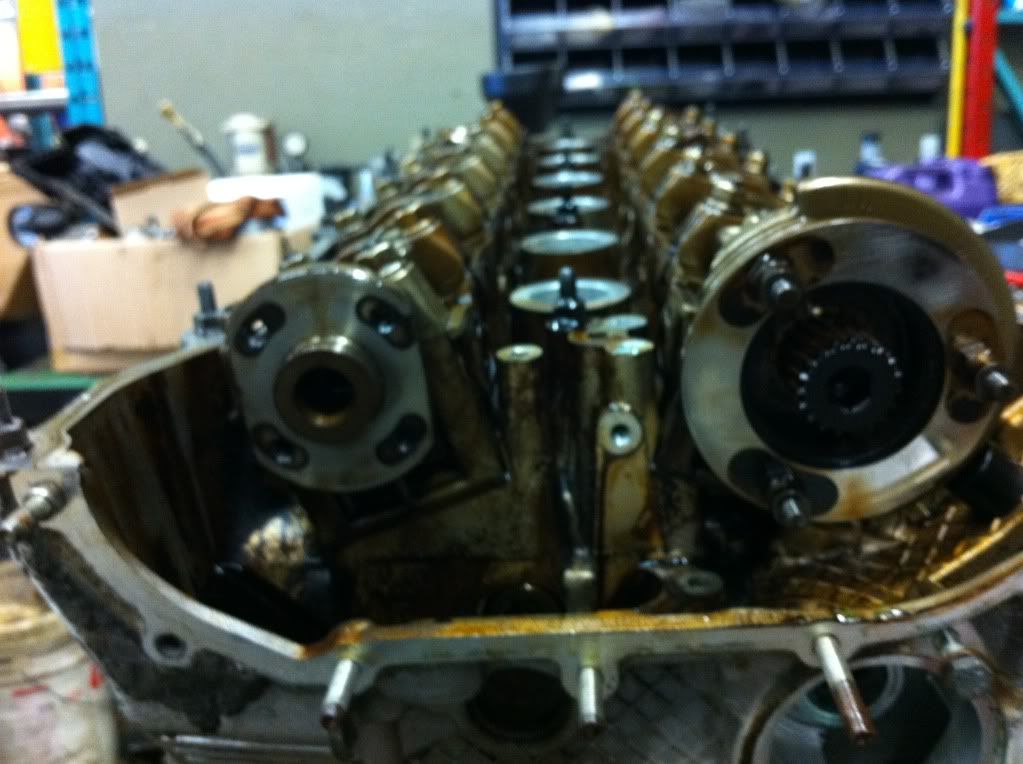
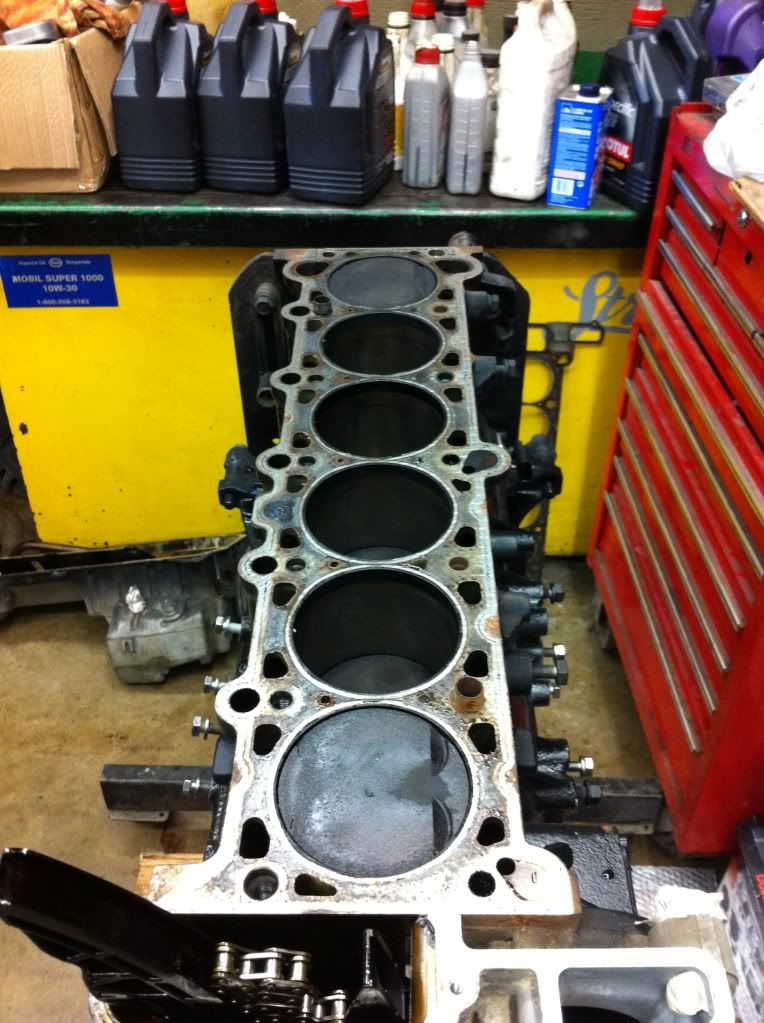
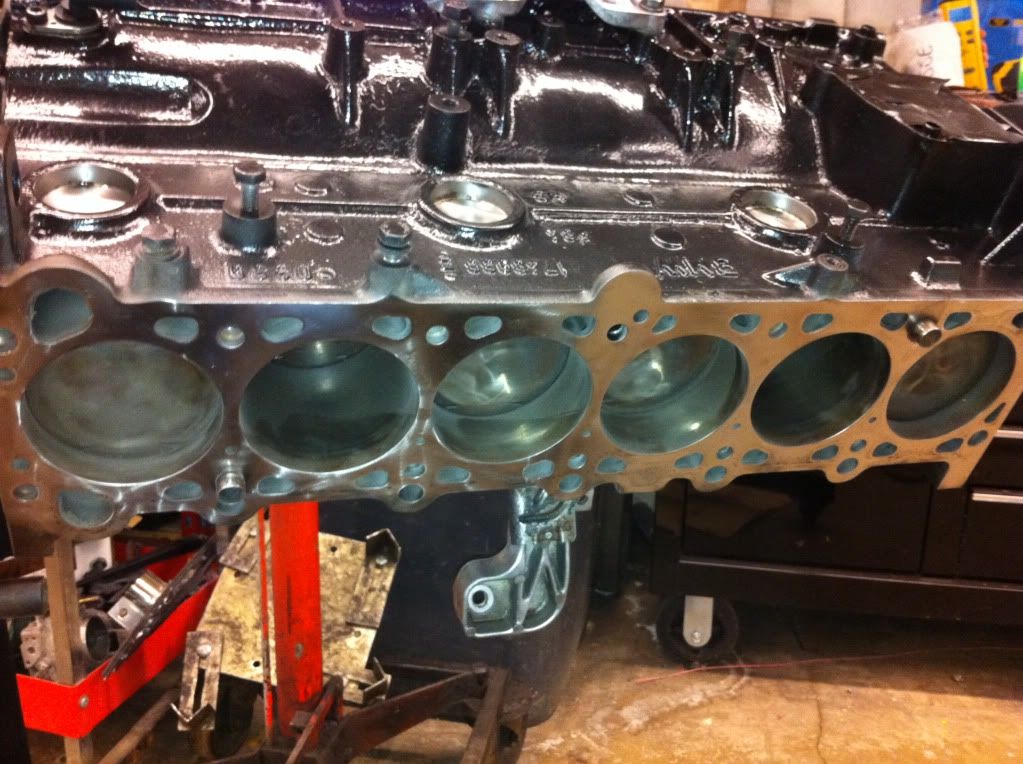
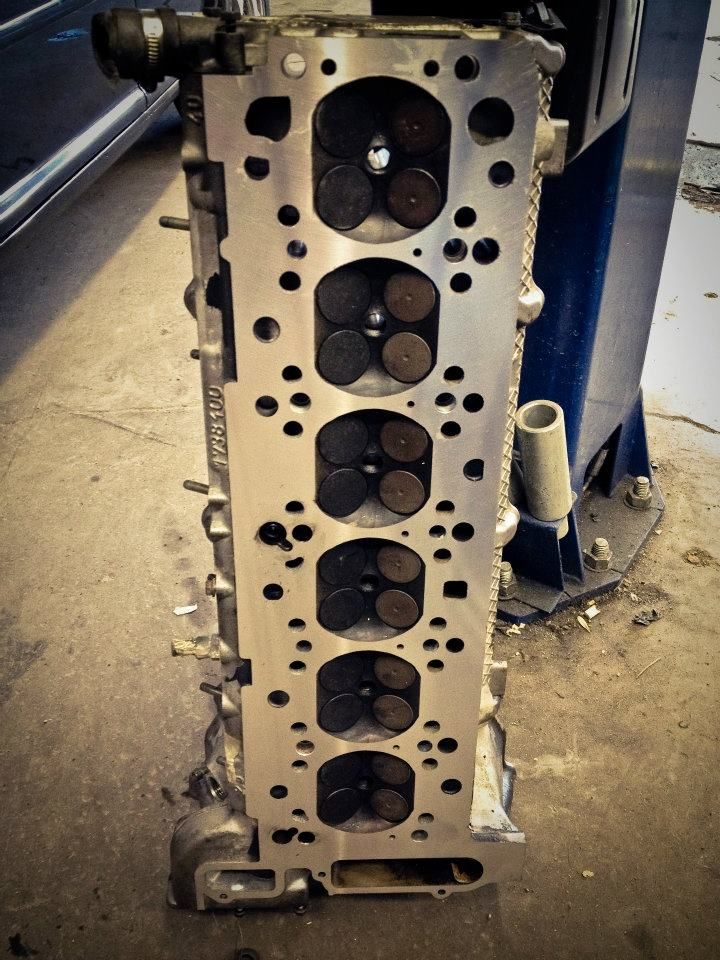
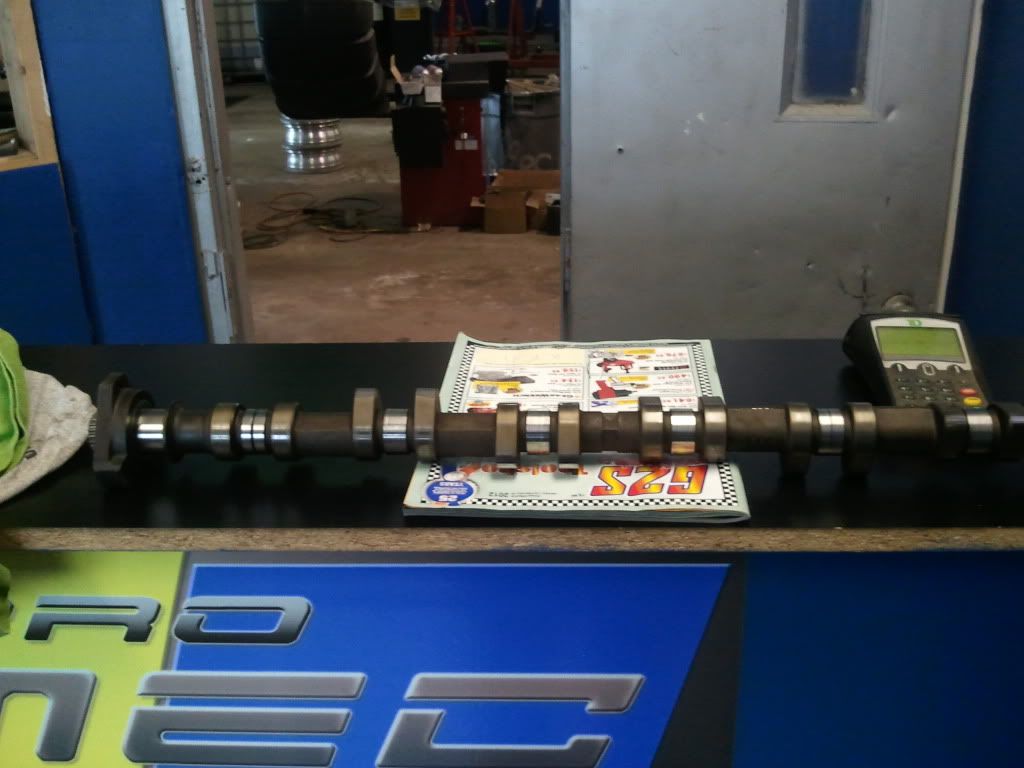
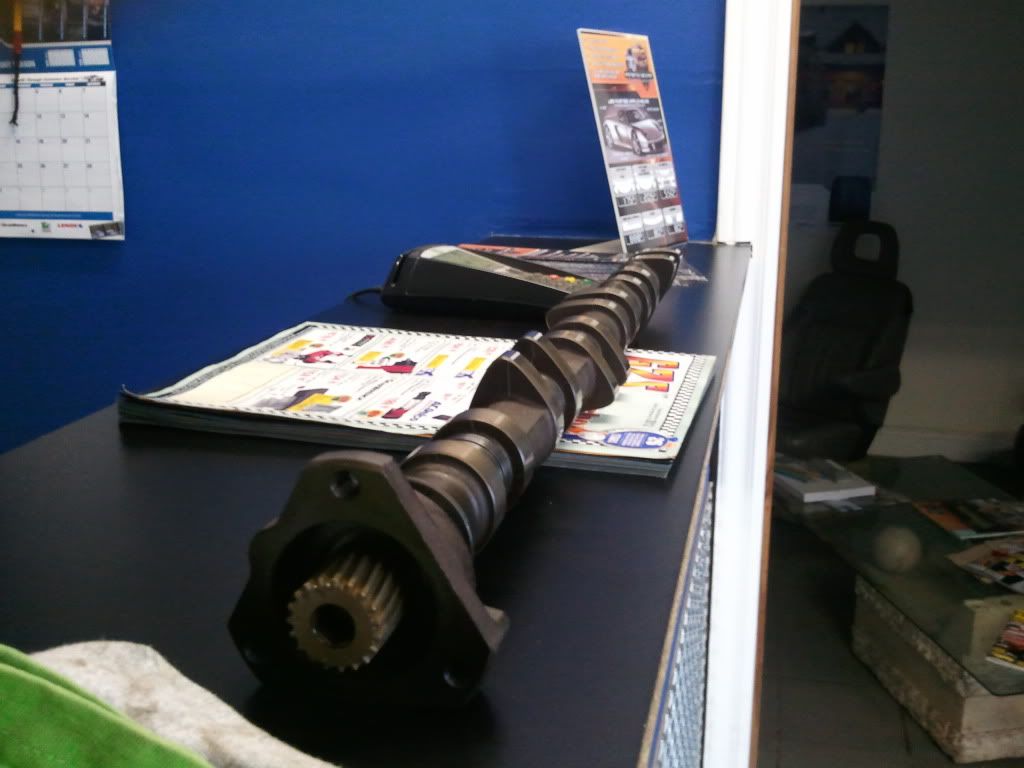
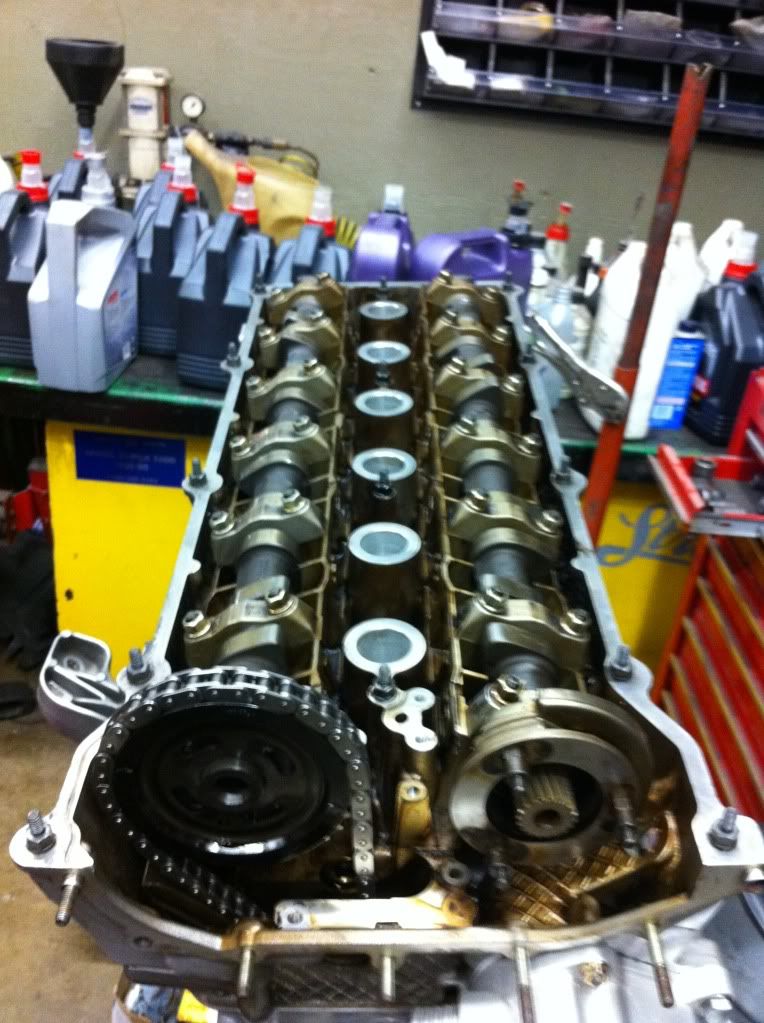
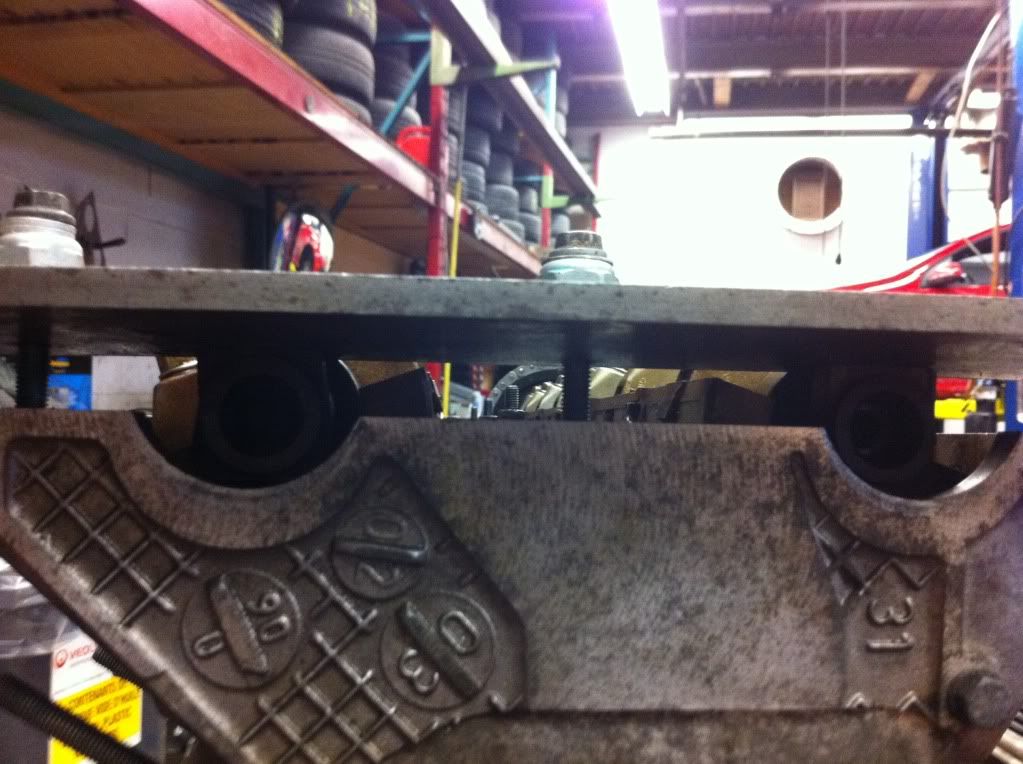
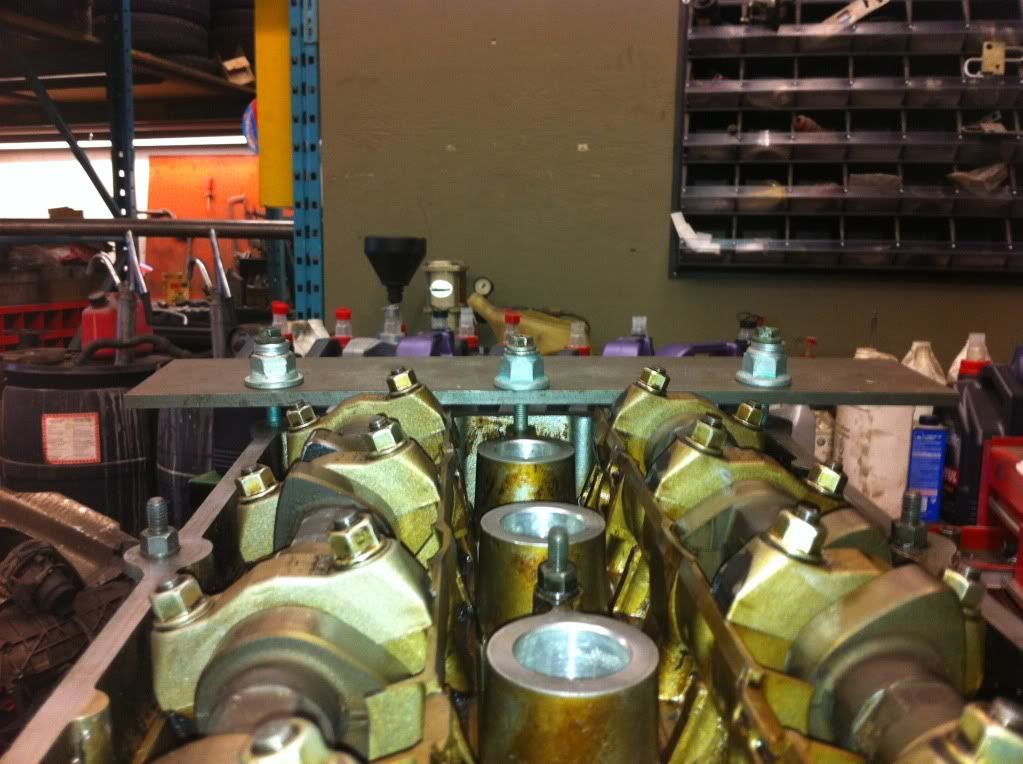
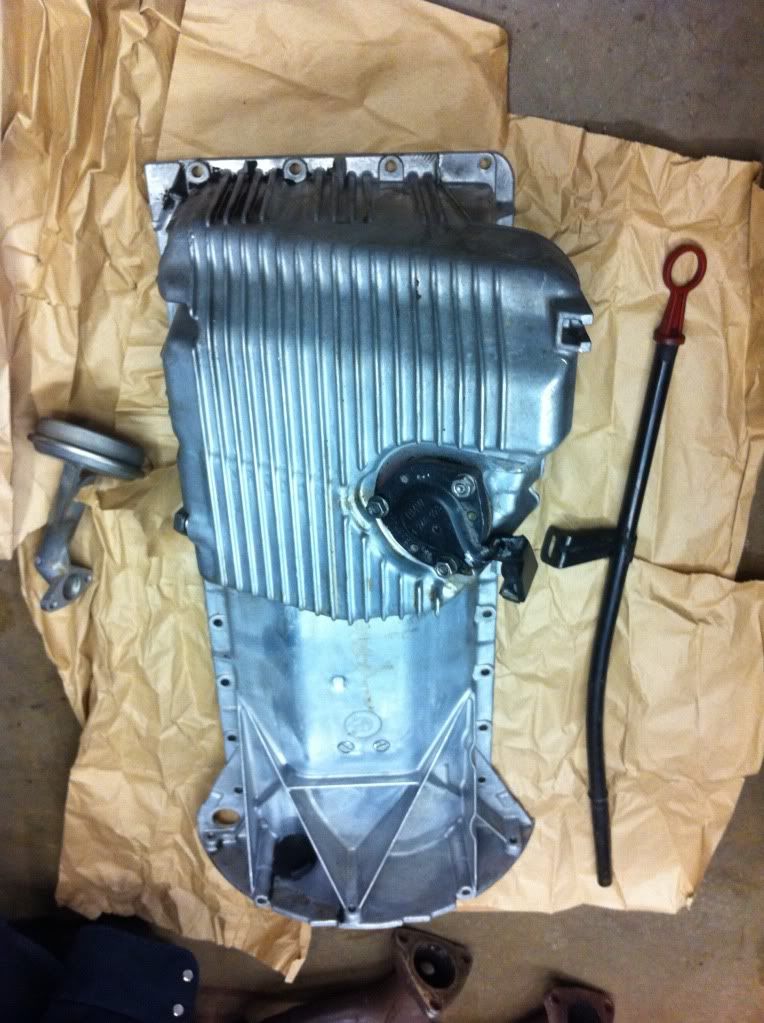
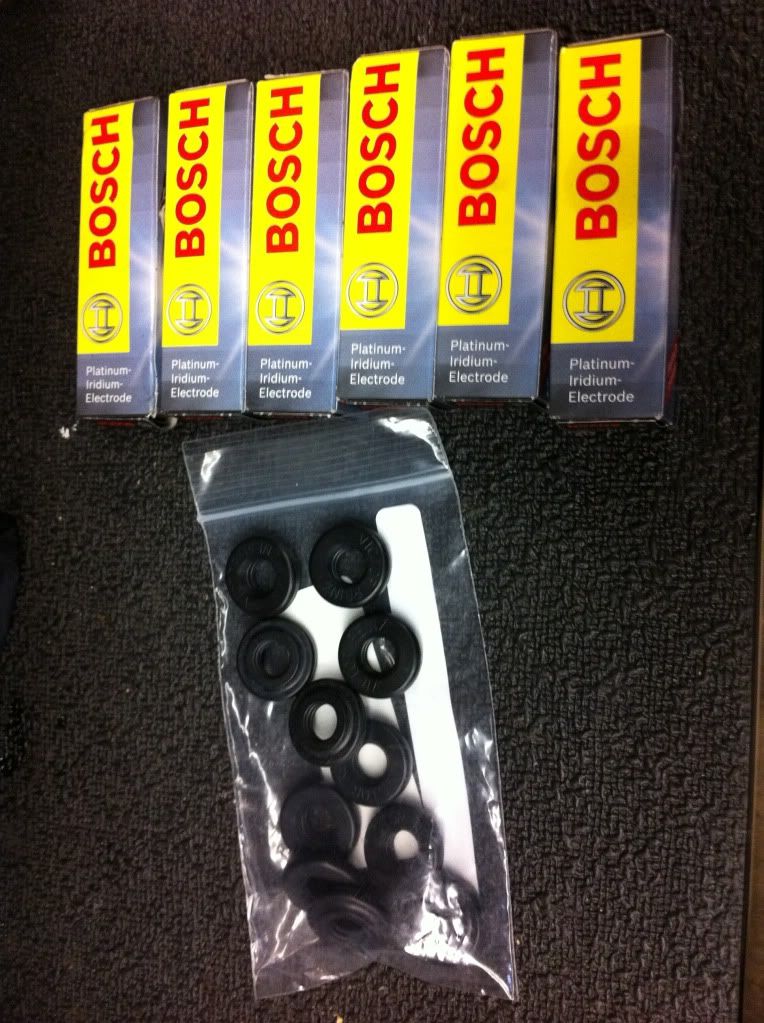
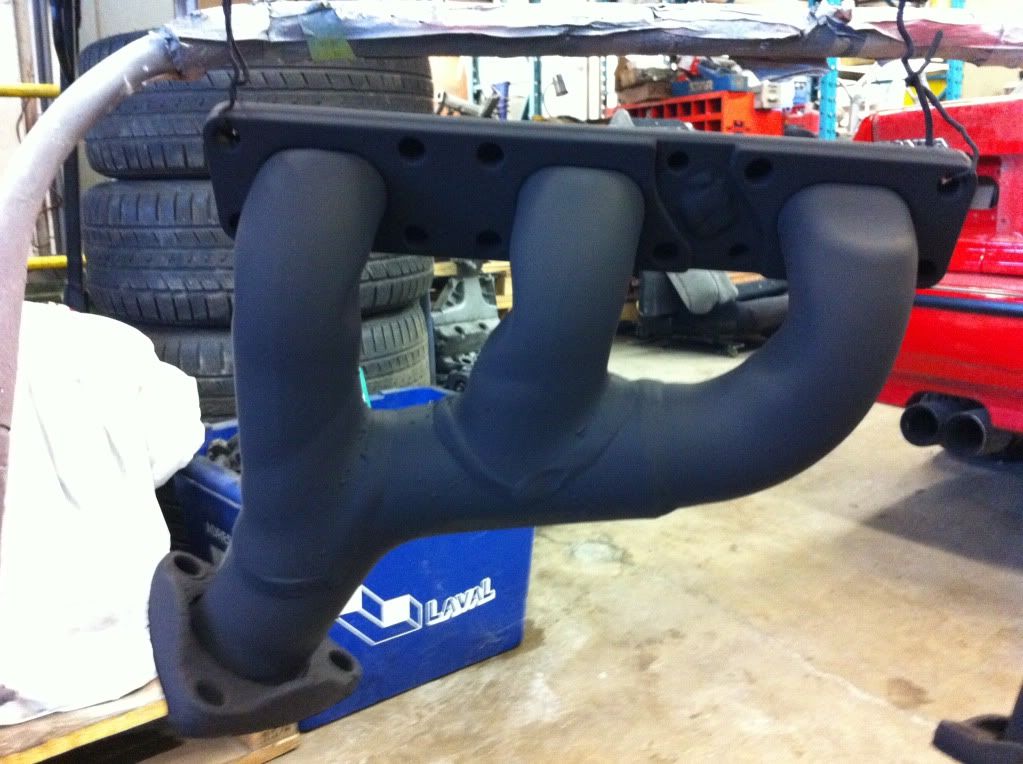
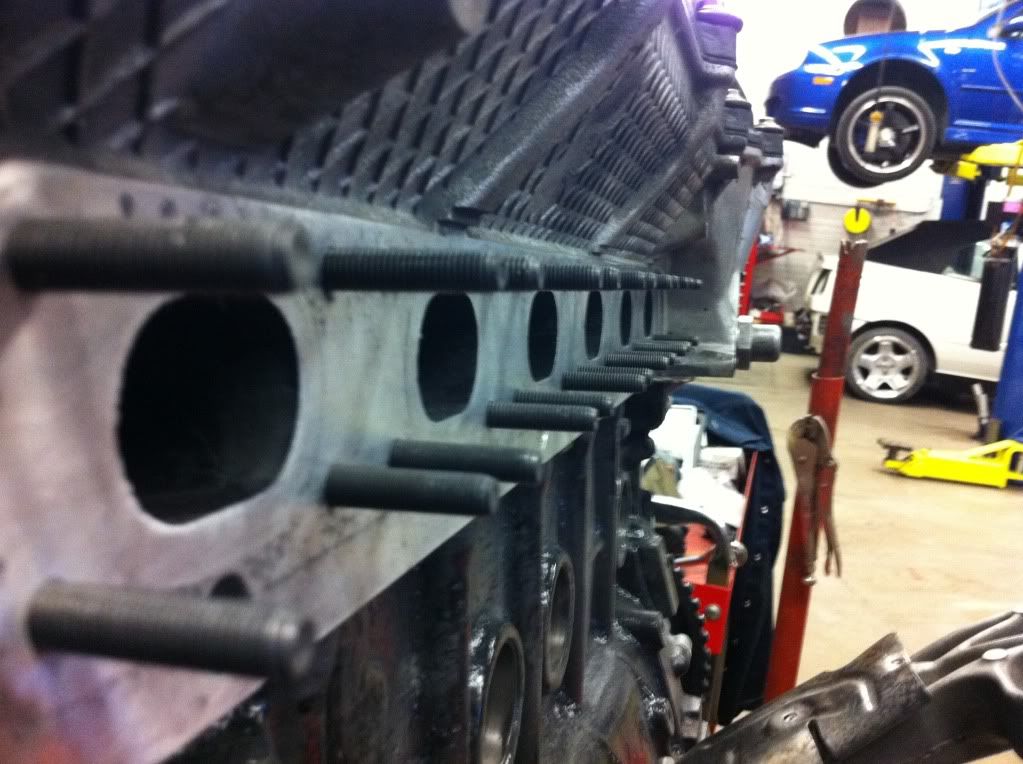
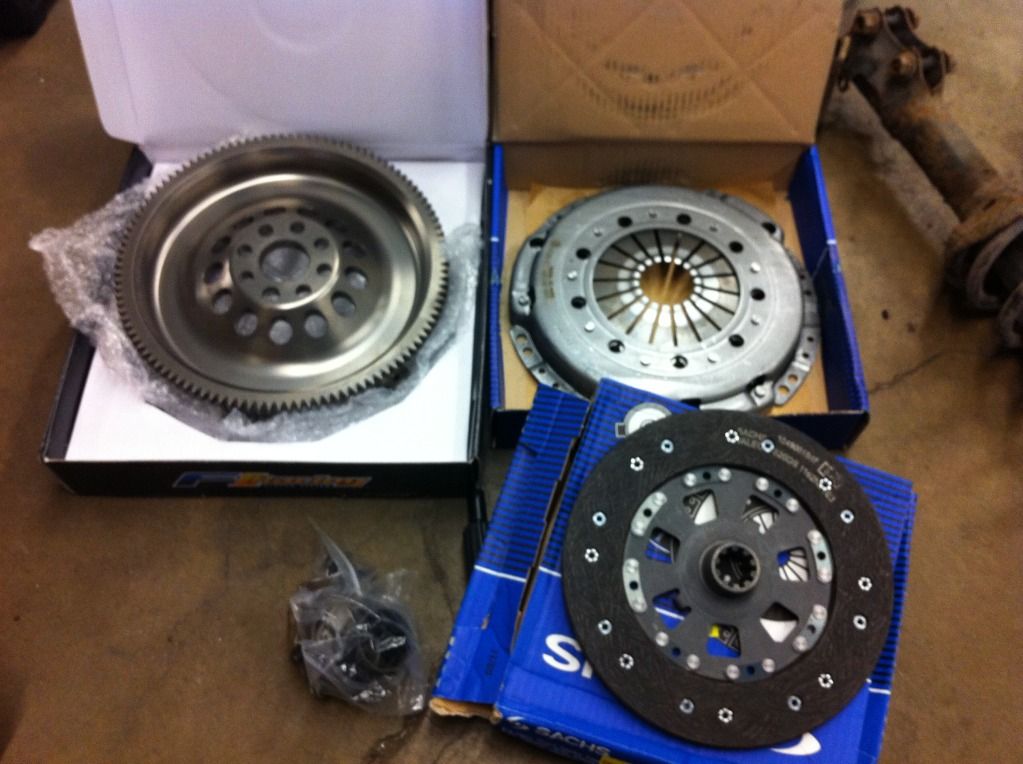
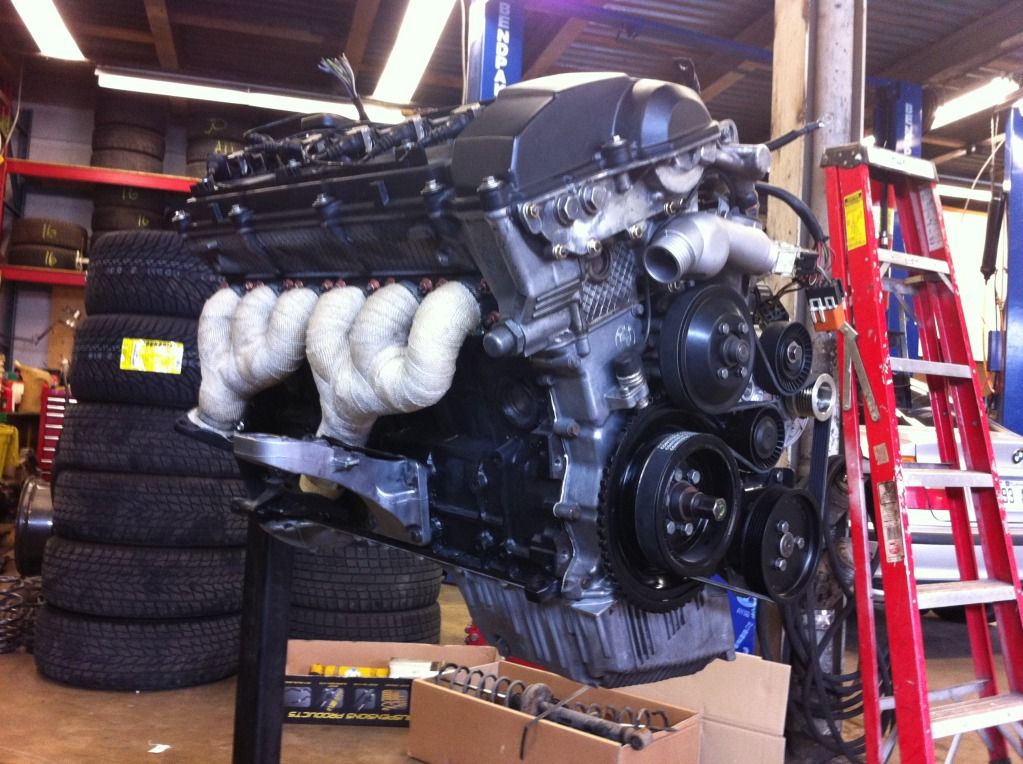
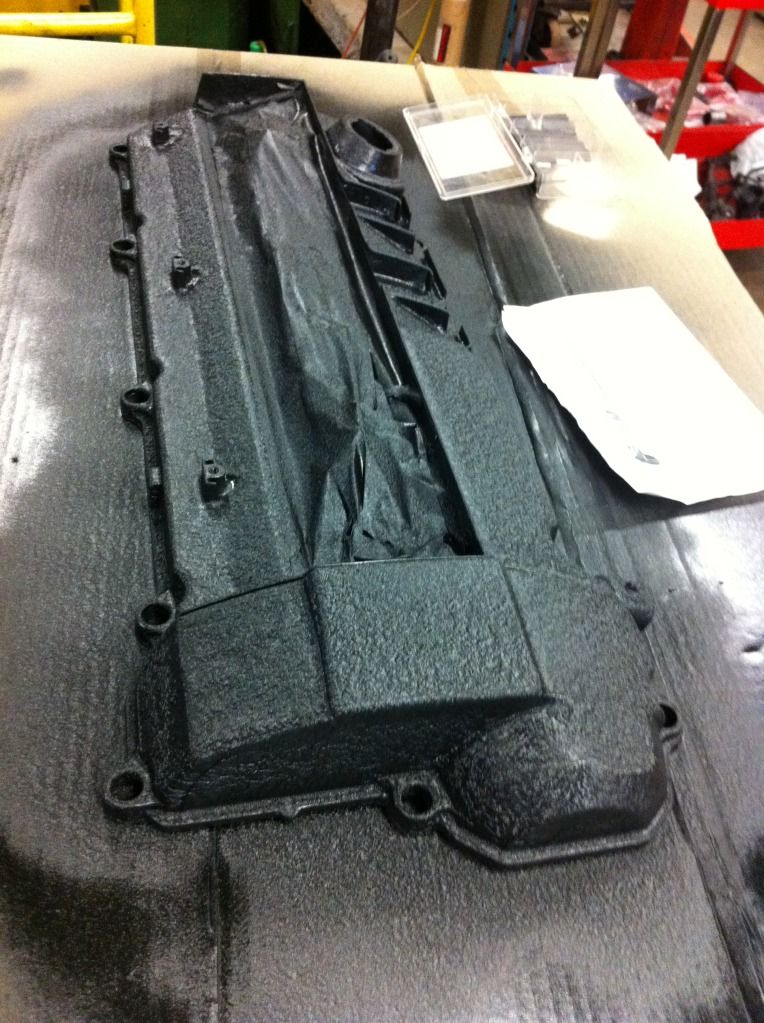
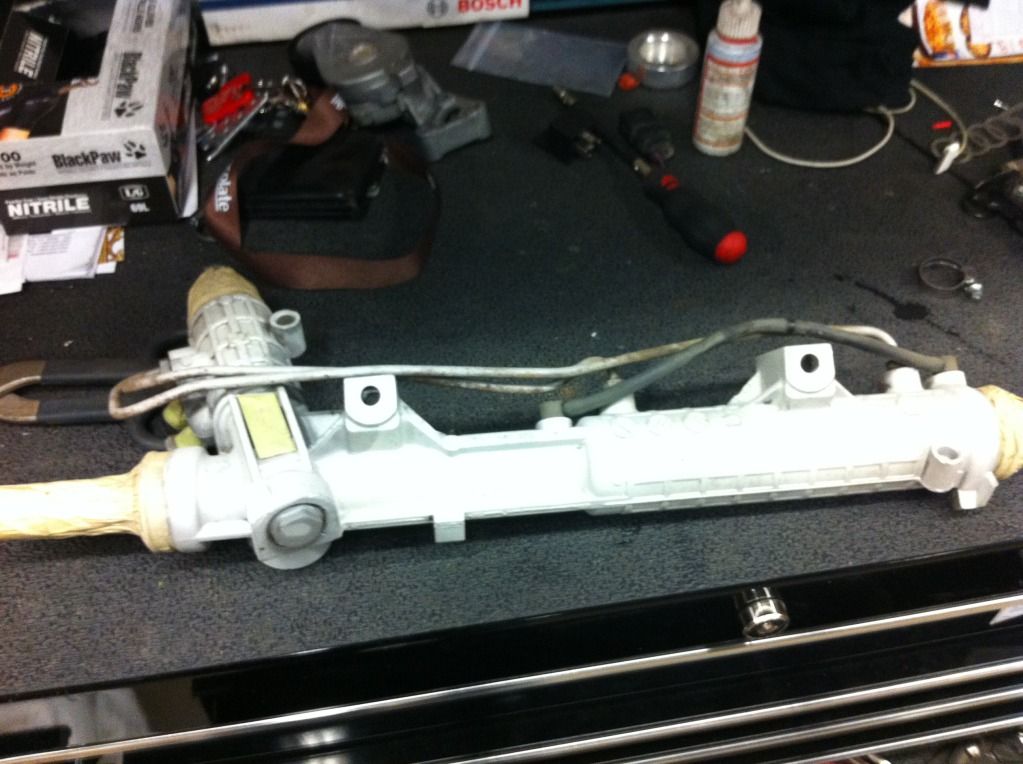
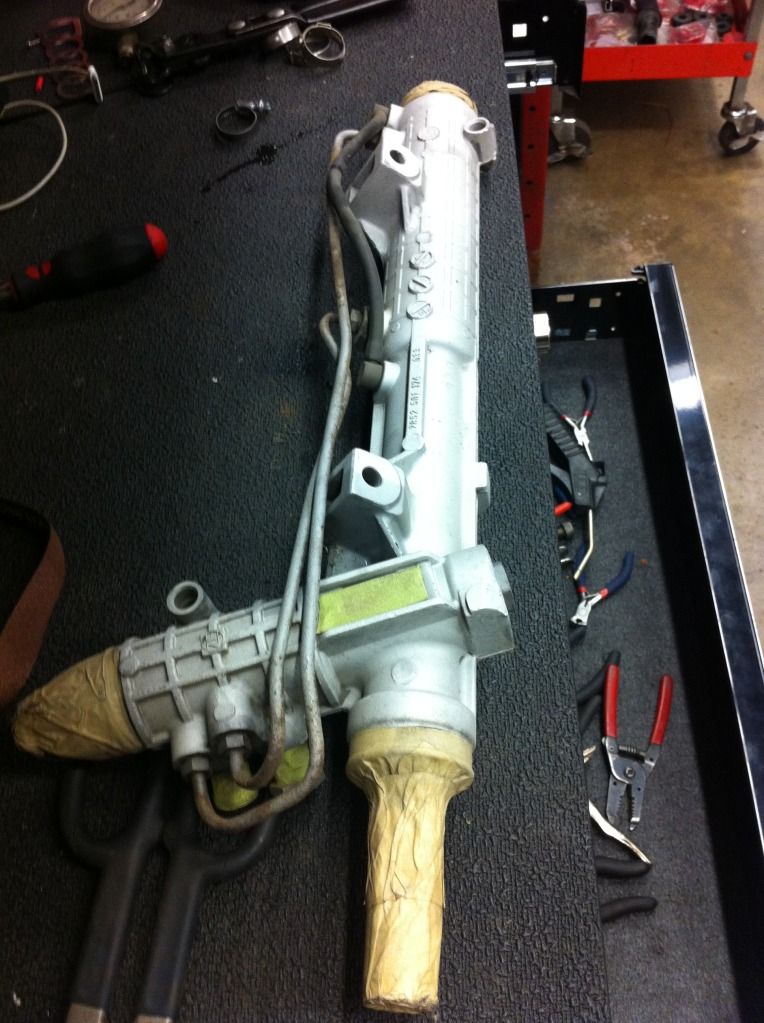
    Having the head rebuilt.


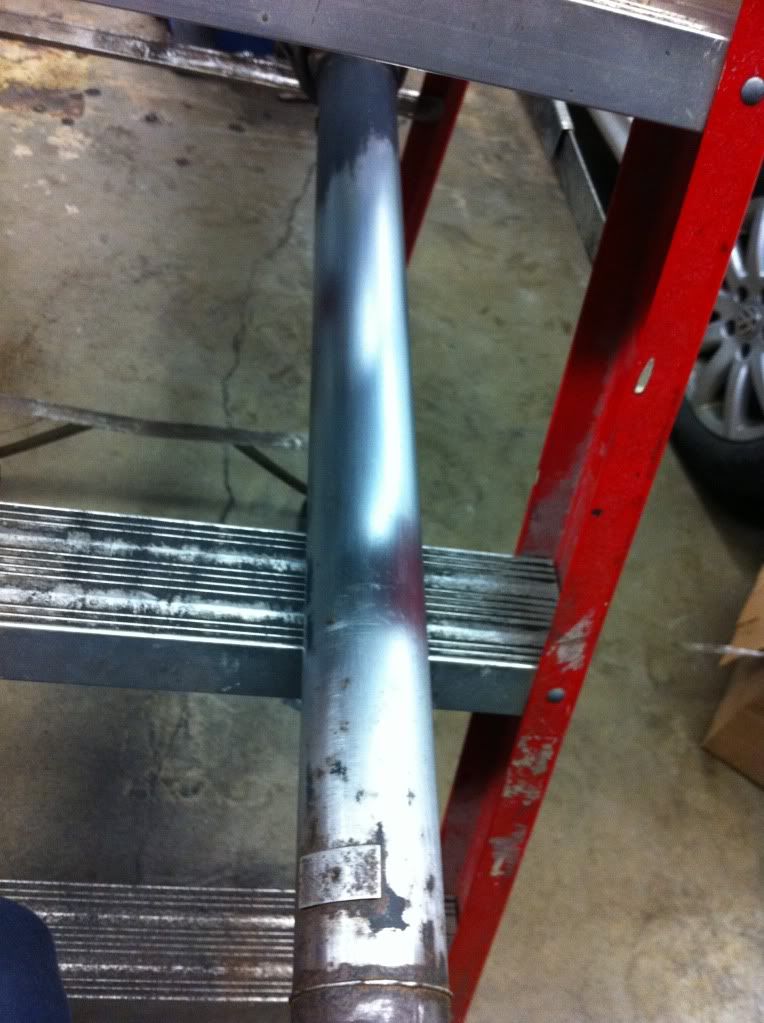
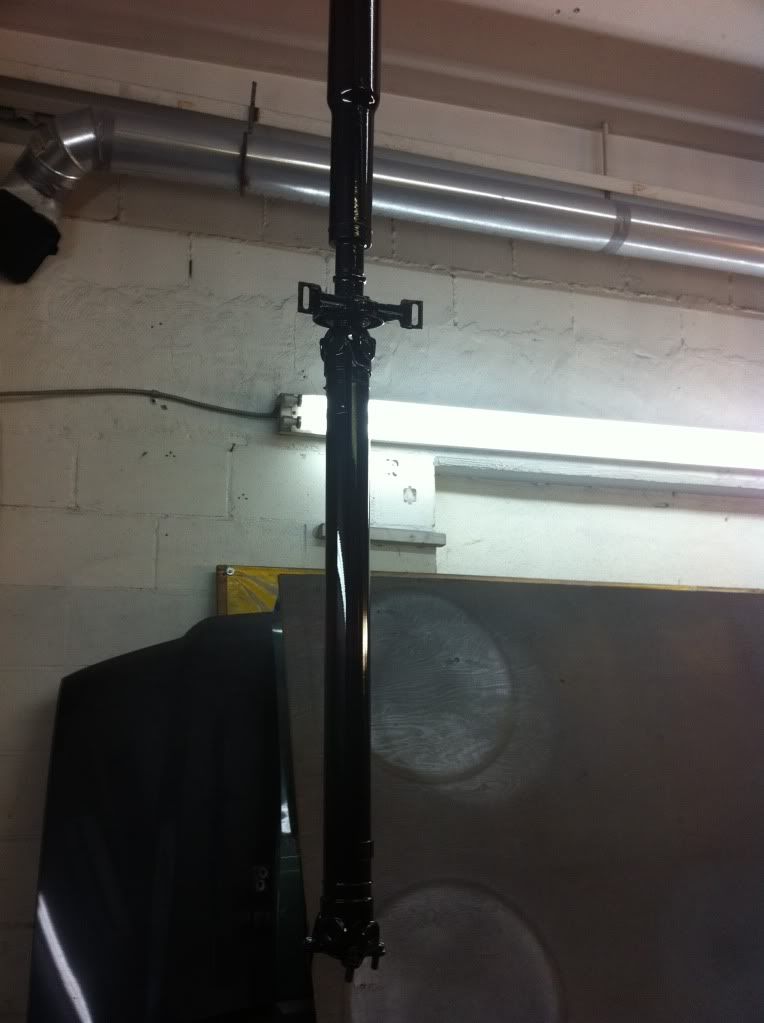
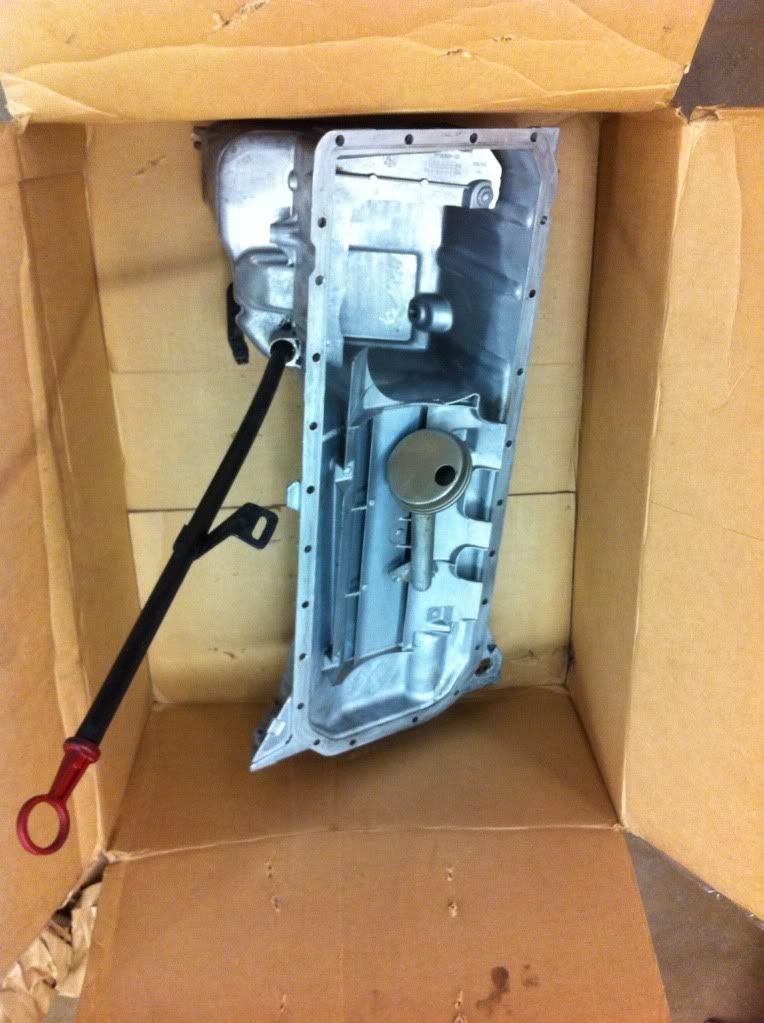
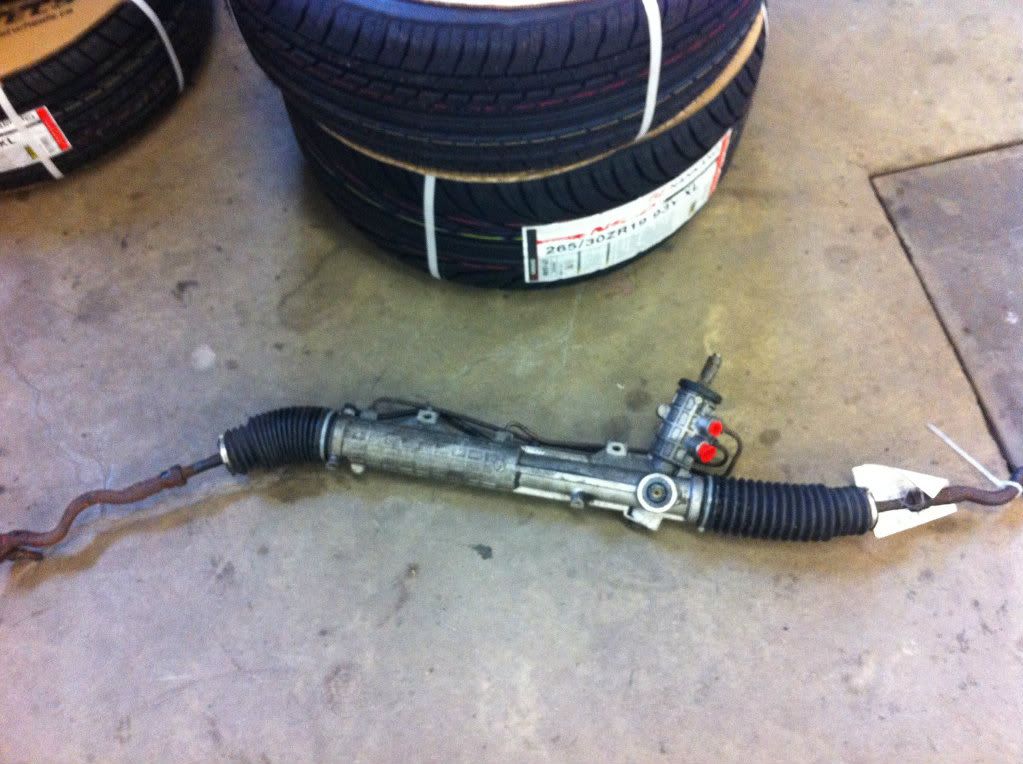
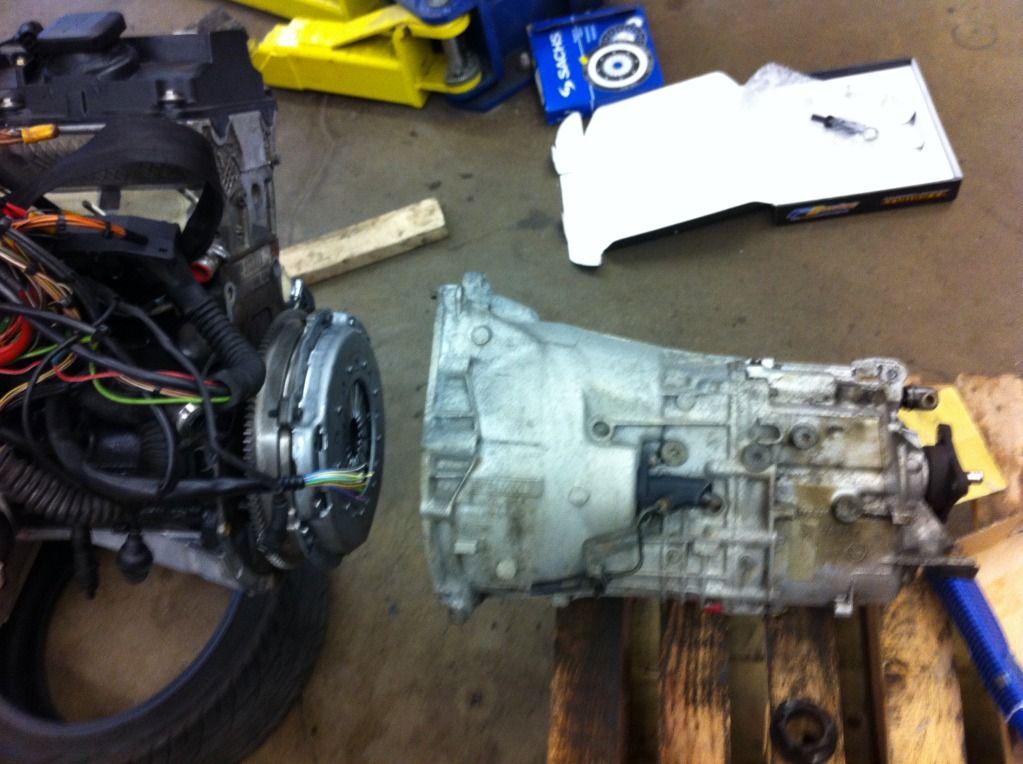
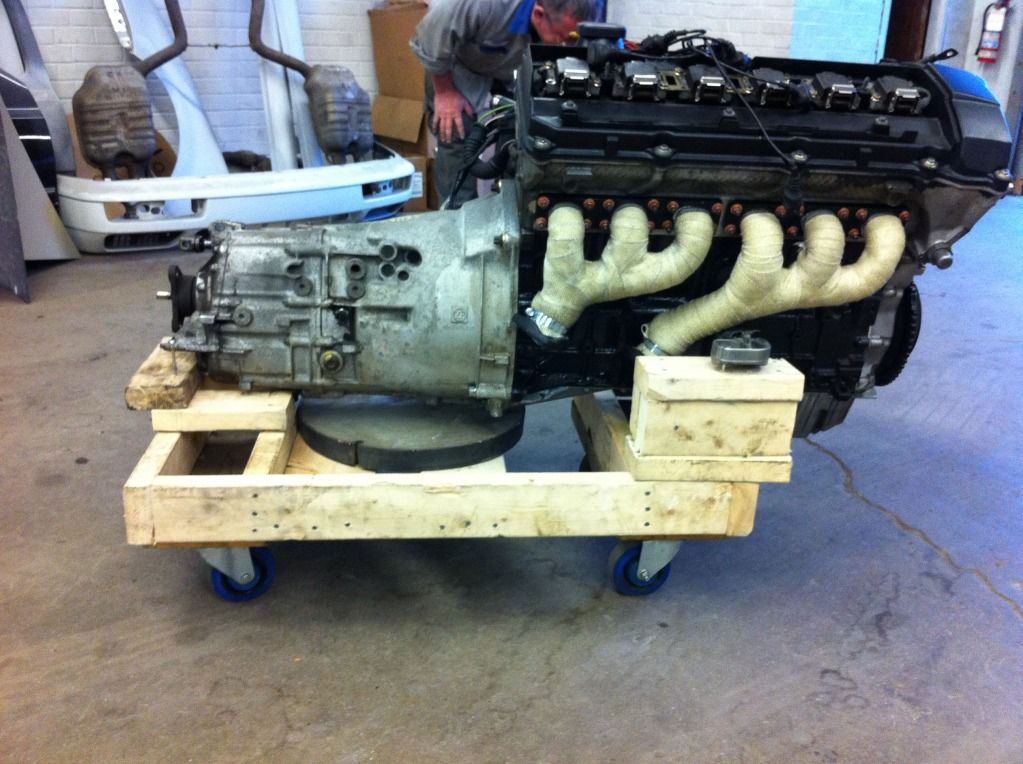
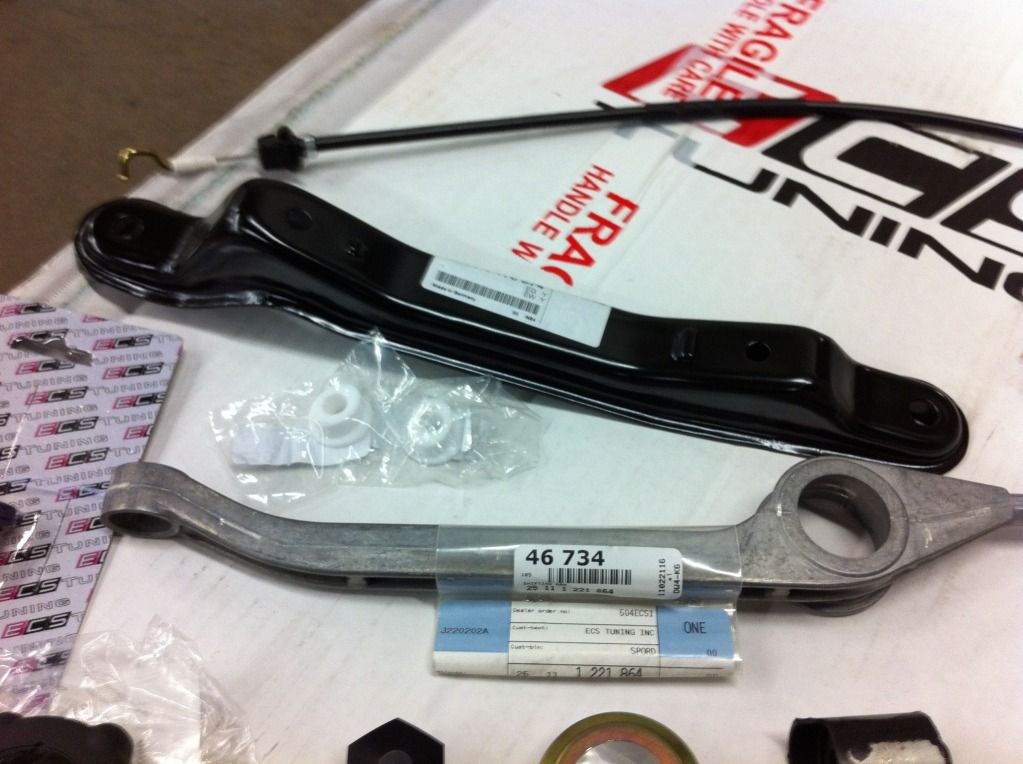
    Got a 97 328 driveshaft since Ill be going with 97 M3 transmission (on its way)


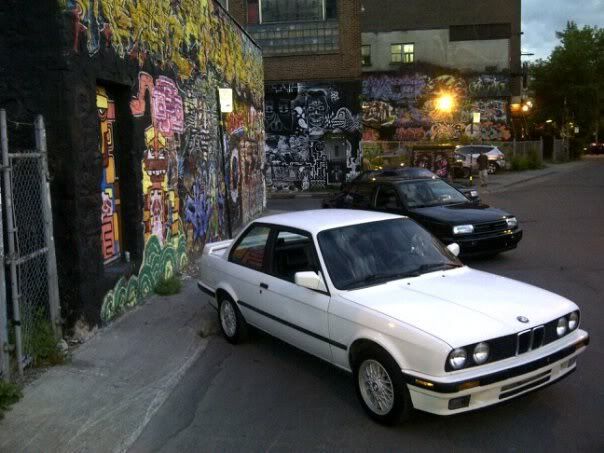
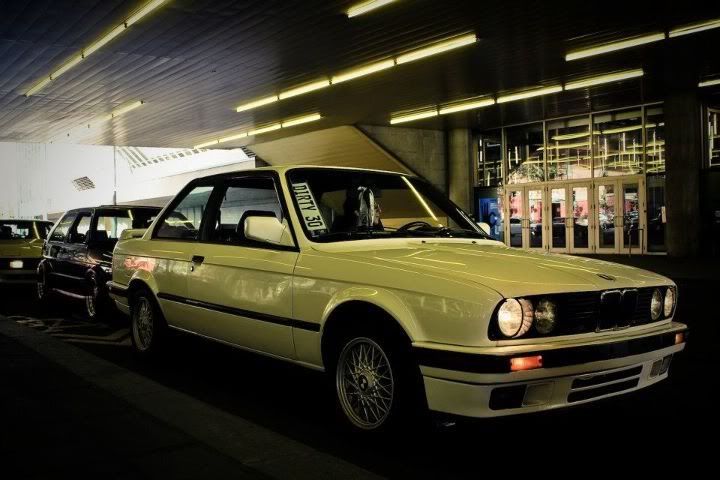
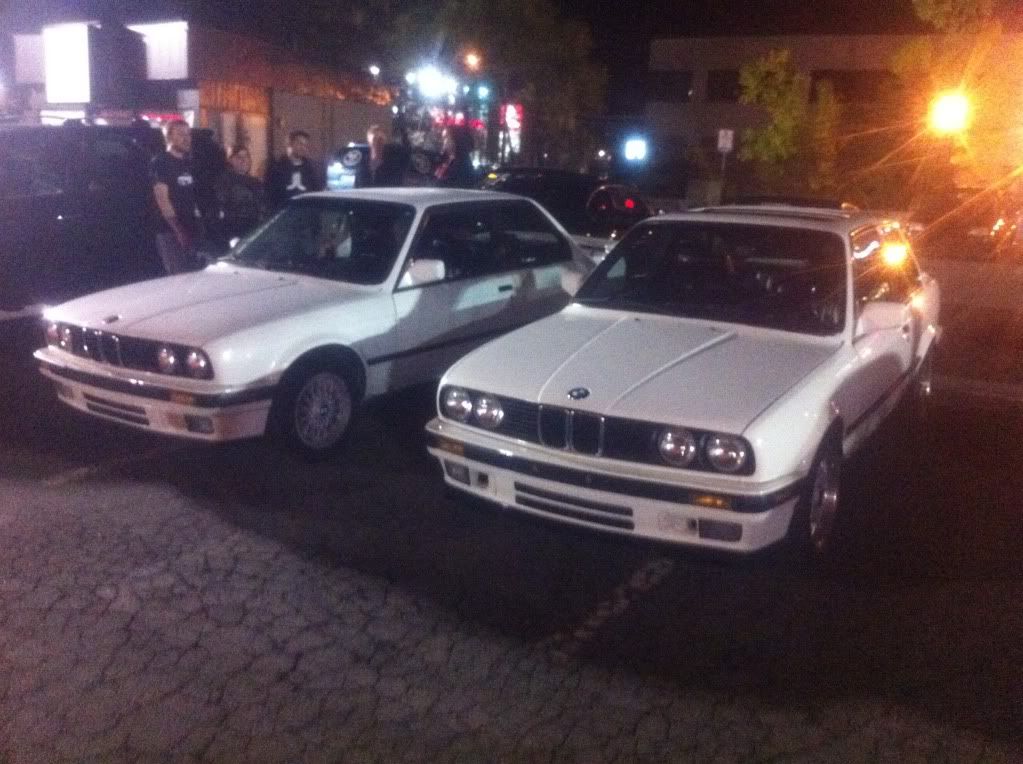
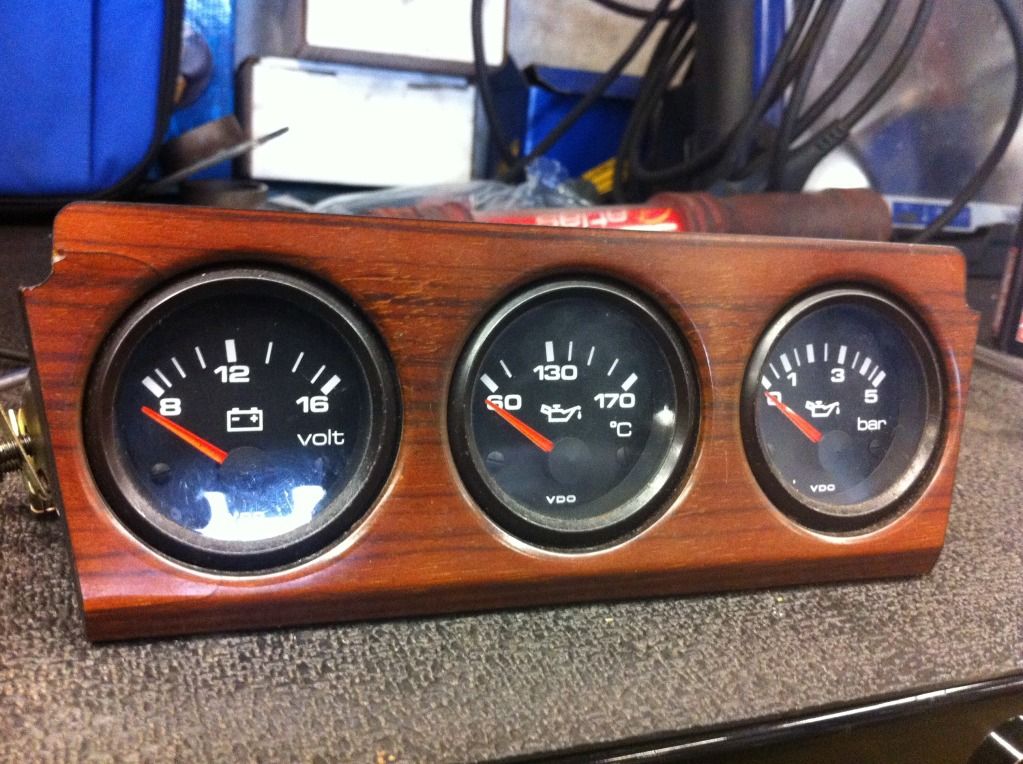
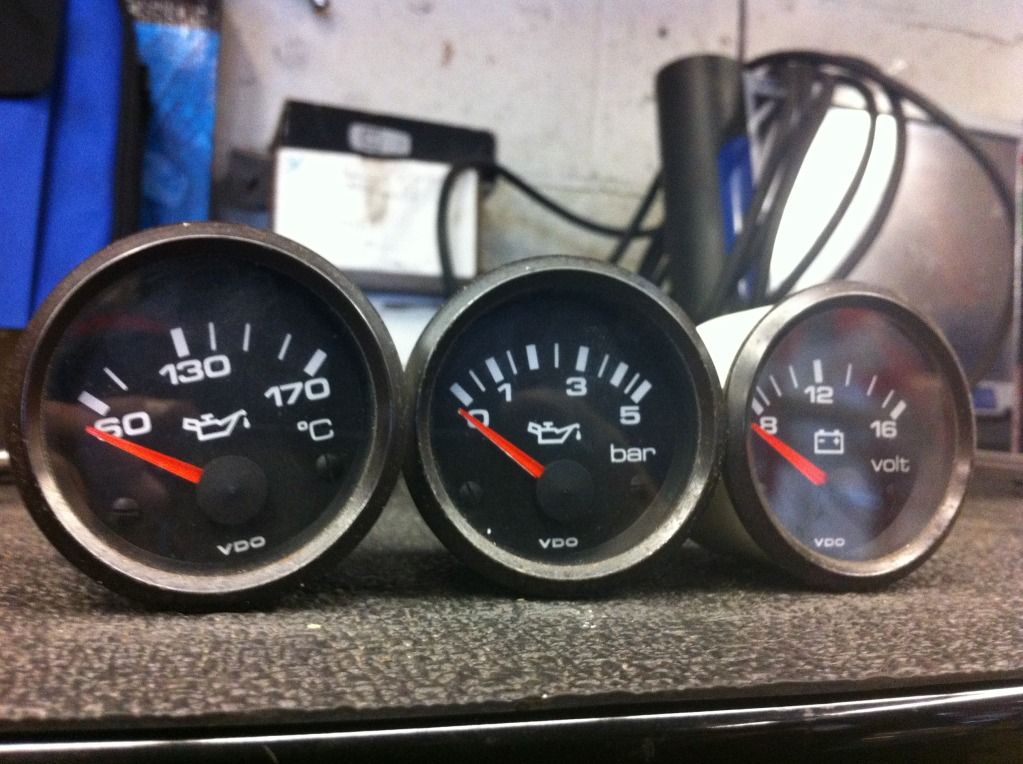
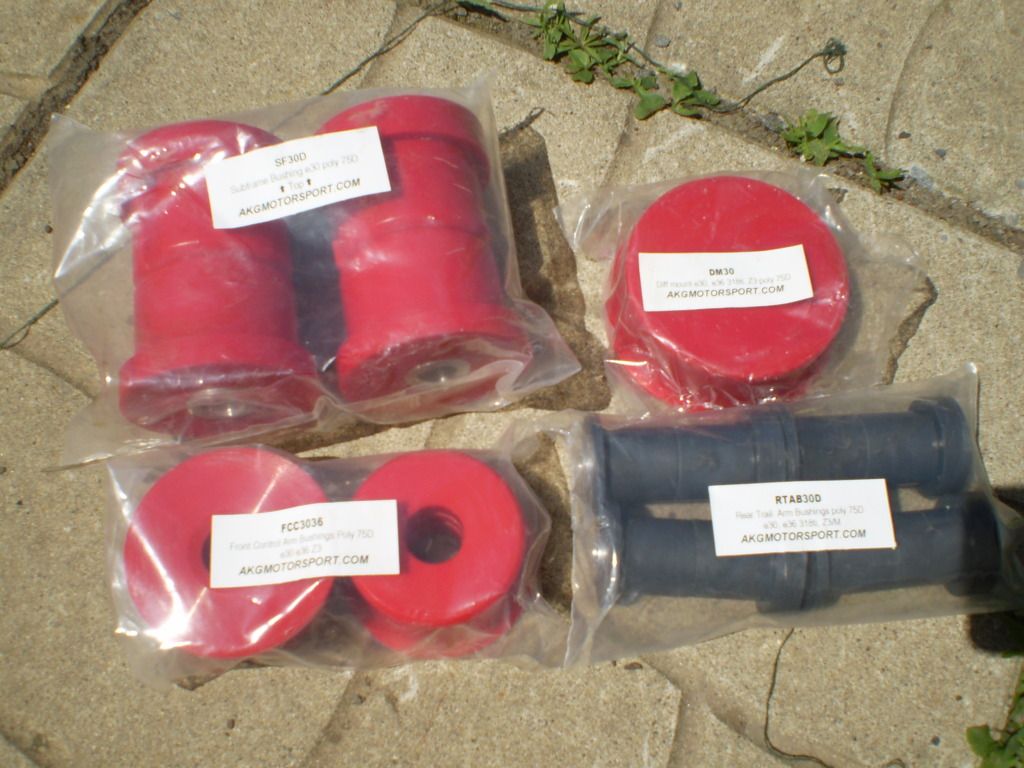
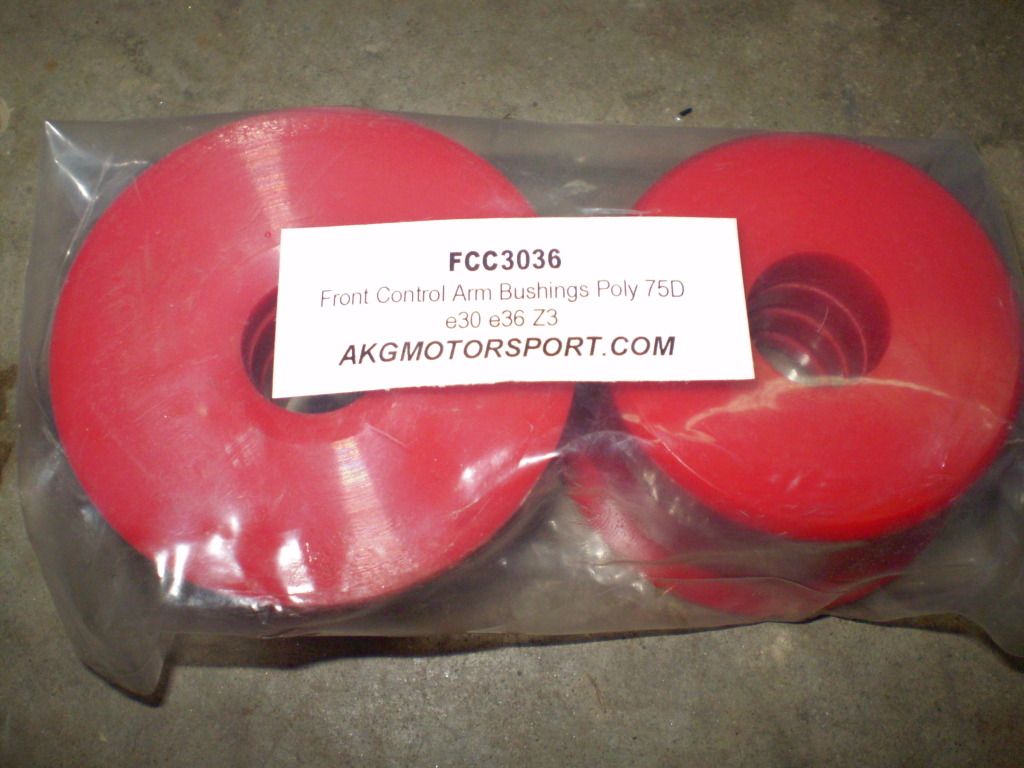
    I pretty much gave the most important this build. More to come. Here are some random pics from the summer.


    Last edited by mtlbloodshot; 11-04-2012, 09:34 AM.

  • #2
    Monday afternoon, I got to the garage with determination to remove the head from the block. Started by removing the cams and then the timing cover. The pistons look pretty good. The head is gonna be sent out to be rebuilt. Also ordered about 400$ of major parts.
    - Chains with Guide Rails and Tensioner
    - Head Gasket Kit, Head Studs
    - Timing Cover Seal
    - Timing Cover Gasket
    Will have some pics up once I recieve the parts.


    M50 Valve Cover Gasket for ODB1 Valve Cover
    M52 Head Gasket
    Rear/Front Crankshaft Seal
    Chain Tensioner Piston
    Timing Chain/Oil Pump Chain --- One Chain on back order
    Head Bolt Set
    All three Timing Guides
    All three Timing Cover Gaskets
    Timing Chain Tensioner Camshaft

    More parts coming in soon and the head will be sent out ASAP
    Head has been sent out, just waiting for it be ready but in the mean while this is what I did with some help.


    Its alot better than when I recieved it
    Got the head back today, resurfaced with new valve seals. Got the chains and guides installed.

    Thinner profile gasket to bring up the compression


    Comment


    • #3
      I forgot to mention that I picked up some S52 CAMS.


      This Monday was a big day for me as I set off to get the engine timed. Instead of buying the cam locking tool, I decided to fabricate my own. Using a steel plate, 3 holes and 3 bolts, I was able to lock the cams in the top dead position. Since, my buddy and I have never timed a BMW engine, we used pelicanparts.com as our step-by-step guide to do it right. Also, a E34 pan arrived. In the box was the pan, suction pipe, dipstick and dipstick tube. Went to visit my baby in storage just to let her warm up.


      I chose to keep the stock M52 exhaust manifolds instead of buying the long tubes as I read that they create problems. I had that Air Intake tube holes welded. Sanded and prepared the headers for High Heat Header Paint.


      Once those were ready I waited for a nice package from GUTEN to arrive at the my door. The order was brand new studs and copper bolts. The headers were heat wrapped by me just for the look.


      So update for today, I needed most of the stuff for the ODB1 swap and instead of buying everything, I found a M50 VANOS for 500$... The block and head wont be needed as all the pulleys. The motor will be stripped ASAP. I also have a red label 413 for sale.


      So, today the update consists of the M50 being stripped and the wiring harness cleaned with a rag and degreaser. All the sensors are installed and connected to the harness. The brackets that are used for the ODB1 harness was sanded and painted. Enjoy


      Coil Packs Installed

      Nice package from TMS


      The intake manifold was repainted


      Comment


      • #4
        April 2,2012..
        Progress today as I am itching closer and closer, I ordered-
        - Brand new Alternator
        - Brand new Starter
        - Fuel Injector seals (12)
        - Throttle Boot
        - E30 Brown top Cluster Temp Sender.. threaded it to a M12
        - Drive belt
        - Intake/Throttle Body Seal


        Just a minor update for today. I needed to fabricate a bracket to hold the E34 dipstick. Sheet metal and got to measuring, cutting. I know its not the prettiest thing in the world but it does the job. Also purchased a 97 M3 S5D 310 Transmission. 120 000KM on it. Looks mint. Turns nicely too.


        Began the Fuel Rail Beauty Cover.. Sanded and taped off for the stripes.. More to come on the status on this cover. Thanks to MAXBELL for the cover.

        Comment


        • #5
          Tuesday, March 24, 2012 -

          Last night I mounted two of tires on my wheels.. 195/45/16 on the 7.5s.. SDRIVES..
          Not looking to go for stretch, just want good tires


          M3 Steering rack purchased ---


          Finally finished the Fuel Rail Beauty Cover.. I think it came out pretty top notch


          In the mail came the M3 Wire Harness covers from Dave at MARKERT MOTOR WORKS


          This weekend, I'm passing a order for a M3 Sachs Clutch Kit and a F1 FLYWHEEL.. I've read good things about it so hopefully it'll hold up!
          More updates to follow!

          May 3, 2012---

          After a week of waiting, the brown truck brought a nice box. A M3 CLUTCH & PRESSURE PLATE along with a F1 16lbs FLYWHEEL. They offer there own clutch kits but I wanted OEM so without a doubt got the SACHS KIT. The Flywheel looks great. I've read good things about it, why not give it a try!


          May 4, 2012 ---

          After the clutch came in, I was pumped to get everything together and the transmission on. It was a good month that motor wasn't touch and I've been itching to do something to her. Enjoy these pics. More parts coming, More Updates coming!


          Comment


          • #6
            now thats what i call a build! very cool! Welcome!

            why didnt you spray the cyl head silver while it was off ? everything is so clean but the cyl head looks gunky.
            Last edited by Bystrov; 08-17-2012, 10:20 AM.

            Comment


            • #7
              May 16,2012
              While waiting for a HUGE shipment from ECS.. I kept thinking about what I was going to do about the famous brake booster.. At first, the booster was gonna be moved over 1/2 inch blah blah. After researching, I found out that a AUDI A4 brake booster could be used by shortening the push rod and modifying the E30 clevis. Good news for me is that my buddy had just what I needed.. Mint booster with a MC and the res. Also went to local scrap yard and found this beautiful VDO gauges in a Audi Quattro. They came surrounded by a wood panel. That will be changed. Got all three for 5$. As soon as the ECS shipment arrives, pictures will follow....


              May 31, 2012
              ECS has been waiting for my UUC DSSR so every thing has been delayed for shipping. Their expected ship date is for tomorrow (June 1) Hope they are correct. Anyway, like Ive said before, once that comes in, I'll have a large amount of photos to share. For now, I picked up an amazing deal on AKG bushings. The guy started a 318IS project but decided to give up on it so put this for sale... I picked them up right away. Drove about 90 mins to meet him but well worth the drive..Enjoy and stay tuned!


              June 6,2012

              Well the ECS shipment arrived and got a lot of shift related parts with a few drive shaft parts..
              Shifter Carrier
              M Oil Cap
              Magnetic Drain Plug
              Fan Delete Nut
              Teflon Bushings
              Dust Covers
              E34 Throttle Cable


              Still waiting for the UUC DSSR which is back ordered and will be sent to me ASAP
              Also got a E30 CSB and my buddy made me a Engine Ground. Ignore the transmission mounts. I got them but then decided to get AKG mounts soon.


              After seeing one of my buddies valve cover on his VR6, I took mine off and painted it with a VHT High Heat Wrinkle. I really like the out come..


              As she sits right now

              Comment


              • #8
                June 16, 2012

                Had nothing else better to do.... So I stripped my steering rack, got it sand blasted and was going to powder coat but my buddy didn't want to risk scrapping his enough with the PS fluid that was left inside the rack. Anyways, I painted it myself. Wasn't the first time. Im glad with the over all result.


                Comment


                • #9
                  Tuesday, July 17, 2012

                  Well since my last update, a lot of stuff was done on the car. I finally took the hit and made the AKG purchase. I was going to use the e28 green mounts but like my buddy says, might as well put the good stuff while you're there (Levent). Remember back I found the deal on the AKG bushings for extremely cheap, well having everything AKG is a great idea. Here's the purchase.
                  -M5X Engine Mounts
                  -Non Airbag Steering Rack Kit
                  -Flex Shaft Coupling
                  -E30 Transmission Mounts


                  This weekend, the car was brought in where it's gonna spend the rest of the summer, fall and winter. Its only coming out next summer (2013). Who knows, it might even get painted.
                  Stripping the machine began. The interior was very very easy but the front end wasn't so fun. Rust sucks. Luckily I have fenders, hood and front bumper. Have to change both rockers and rear outer wheel wells. Going to pick a valance when the time comes. All the wheel well liners are off, exhaust is off. More updates to follow. Enjoy


                  Comment


                  • #10
                    Tuesday, July 24, 20123.23 LSD!!!
                    Last night I found an amazing and rare deal on a local differential from a 2000 Z3M Roadster. Long story short, the gentlemen was told by a dealership that the diff had to be replaced. He purchased himself another diff to have the same "ticking" noise. Went to get a second opinion and found out that there was no problem with it. Stuck with two 3.23, he sold the car and decided to put the original one for sale. Found it, called him and tonight went to pick it up. It turns very freely, beautiful inside with 50 000 Miles on it. Never really abused he said. Sadly, it didn't come with the cover. I'm planning on using a E30 cover or saving up the loot and getting the finned. Time will tell. As for work on the car, I removed the front sway and found out that both are Suspension Techniques bars which was a big bonus for me. I sanded lightly and gave the front a new fresh coat of the original lime green look.
                    Pictures off the finished product to follow.


                    Thursday, July 26, 2012 -

                    As promised, this post will be pictures of both sway bars, fully repainted lime green. I know why repaint them the same color. They didn't need to be resprayed but I'm trying to base myself on a self satisfaction theory. Removing the rear bar was a PITA but after speaking with a buddy, he told me to drop one of the springs and it came out easily. One of the rear sway bar tabs broke so that will be have to be welded back. Here are some pictures. Next thing to do on my list is remove the coolant and the rad that way I can remove the engine soon, but before that I will remove the quarter windows and doors. Stay tuned!


                    Full wrapped up with bubble wrap


                    Comment


                    • #11
                      Thursday, August 2, 2012 -

                      Last week a nice order was made with ECS and today, the package arrived. To start, they had a FRONT BUMPER MOUNTING KIT including every single bolt, nut, washer, bracket that has to do with the front bumper. Good deal. Since, the order was being made, front and rear discs were purchased. Brembos and for the pads, EBC "green stuff". There was a mix up with the order so the front pads didn't arrive and I'm still waiting for my UUC DSSR. When the M3 steering rack was stripped for sandblasting and powder coat, the lines that are on the rack had to be scrapped so those too were ordered. Enjoy


                      Friday, August 3, 2012 -

                      Tonight, I made little progress. I found a diff cover from a local scrap yard. Wasn't much fun removing it. Every bolt was rusted and jammed, but I managed.
                      Burnt the crap out of the bushing so it can go for a nice sandblast. Once it's back, the AKG bushing will be popped it.


                      Painted the S50 Beauty Cover all black. Was trying to give it a brand new look with the white but it wasn't happening for me. It turned out better than I imagined.


                      Here's all the beer we've drank at the shop after hours

                      Comment


                      • #12
                        Monday, August 6, 2012 -

                        Took action in cleaning up the Z3M diff and painting. I used low gloss engine enamel. Came out fantastic. Looks brand new external to match the clean internals.


                        After


                        Wednesday, August 8, 2012 -

                        This morning I mounted TOYO TR1s to my back wheels. I personally don't like the idea of mix matching tires (front and back) but since my buddy had these in his shop, they will be used. He had them on his car for about 1 or 2 months. They're brand spanking new. 215/40/16. Very minimal stretch, exactly what I wanted.

                        Comment


                        • #13
                          how many people involved in this project?

                          Comment


                          • #14
                            95% has been done by me. My mechanic (good friend) owns the shop so he gives me the freedom to work on my stuff. This project started the first week of January 2012.

                            Comment


                            • #15
                              thats pretty impressive mate! well done , i posted a reply above but doubt u can find it with all the pics haha, my question was, why didnt you paint the cyl head? in one of the pics the motor is all together and looks clean but the cyl head is all greasy and dirty. made me sad

                              Comment

                              Working...
                              X