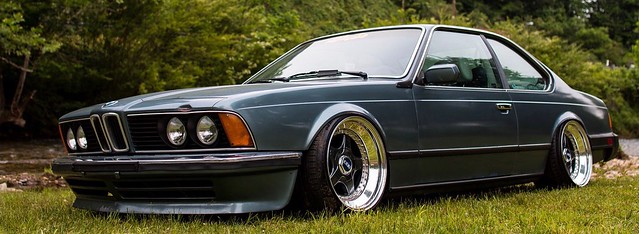
looking great. carpet turned out very well.
Announcement
Collapse
No announcement yet.
Touring International
Collapse
X
-
Comment
-
Comment
-
Fuck..
You're going to town now mate!
Not looked for ages (cos I couldn't find it )
)
I still liked in the tan though!
Comment
-
Thank you=) I think the black will suit it much better in the end
Comment
-
Thank you. Honestly, I don't even have the patience lol. This car is killing me=POriginally posted by floatingdino View Postdang Earl, that interior is pimpin as heck, and those center caps are pretty gangster too. I for sure would not have the patience to do this much fiddly small stuff on my car.
Thanks man=) Glad ODB made it to Cali without anything too catastrophic happeningOriginally posted by theseeker411 View PostDamn you're just killing bro.
Thank you=)Originally posted by Charlie View PostI have just read all 27 pages and I'm feeling inspired!! Great build thread, keep it up and I can't wait to see it finished
Thanks. That means a lot. Compacts have so much potential and I am happy that my build inspires people and lets them see thatOriginally posted by Falco_e36 View PostYour thread makes me want to keep and work on my 316 compact.
Love your work and motivation!
Hi Allen=POriginally posted by Evil Panda View Post<3
I have a little to update with what got done yesterday. It is a big step in the right direction=)
Comment
-
Takes too long doing photobucket links on the phone haha
Comment
-
Thursday I arrived to the shop to see how the fuel rail turned out.

I also installed a little more hardware from Fastenal.

Before

After

They gave me an m10 nyloc nut instead of an m12, so I had to put the old diff bolt back in until they get that sorted.
I went to Summerfest Thursday as well and saw this


I wanted to take it for a ride so bad=)
Saturday I decided to make it my goal to get the car back on all four wheels. With me patiently awaiting my quote, I figured that the car needs to be ready to roll as soon as possible.
With that I started by priming the front subframe and control arm mounting areas. I wanted to make the surfaces as nice as possible to keep from dirtying up my new parts. I didn't want to install any of this until the entire front end was cleaned up and undercoated, but they will be doing that when they paint so I will be dropping this all once it gets to the bodyshop anyways=)
I started by laying everything out (I didn't lay out the struts and calipers since the cardboard was too small)

I then installed the front subframe


After that came the control arms and Treehouse Racing mounts


I then bolted the front knuckles to the struts and then installed them on the car.


Comment


Comment