If this is your first visit, be sure to
check out the FAQ by clicking the
link above. You may have to register
before you can post: click the register link above to proceed. To start viewing messages,
select the forum that you want to visit from the selection below.
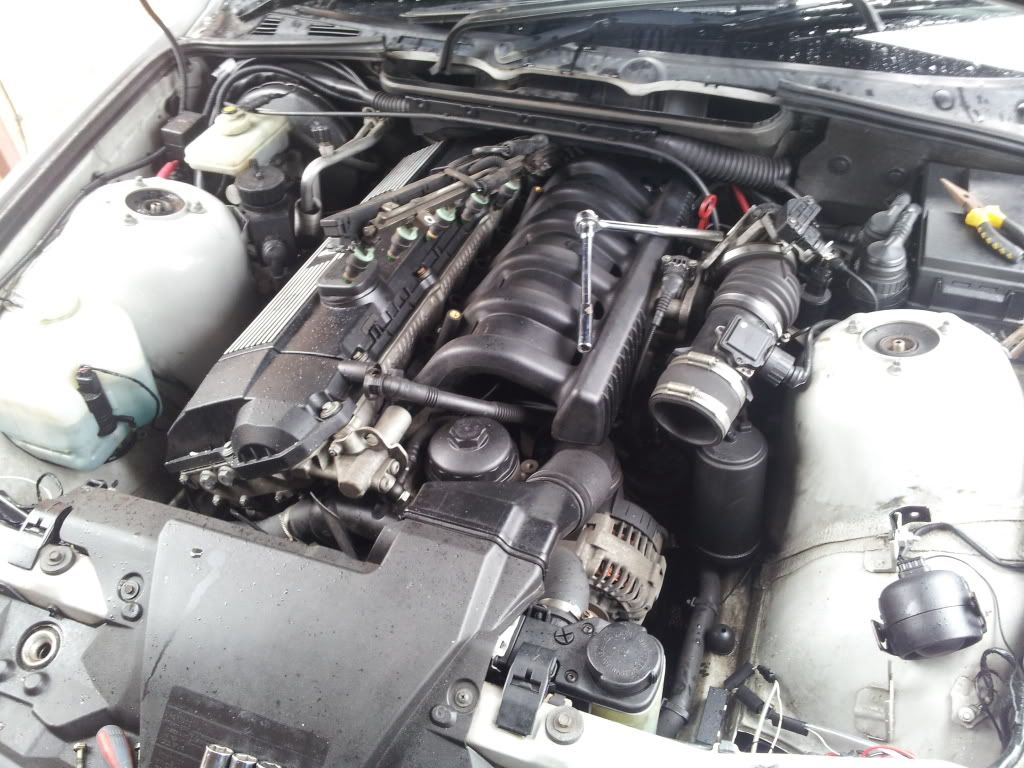
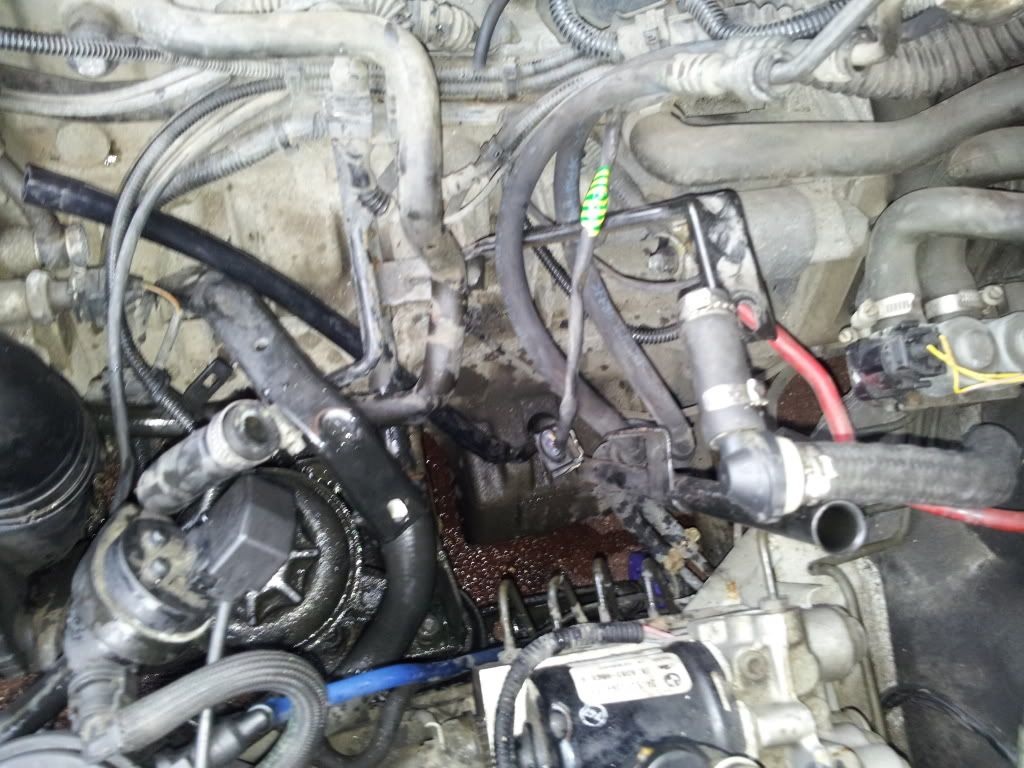
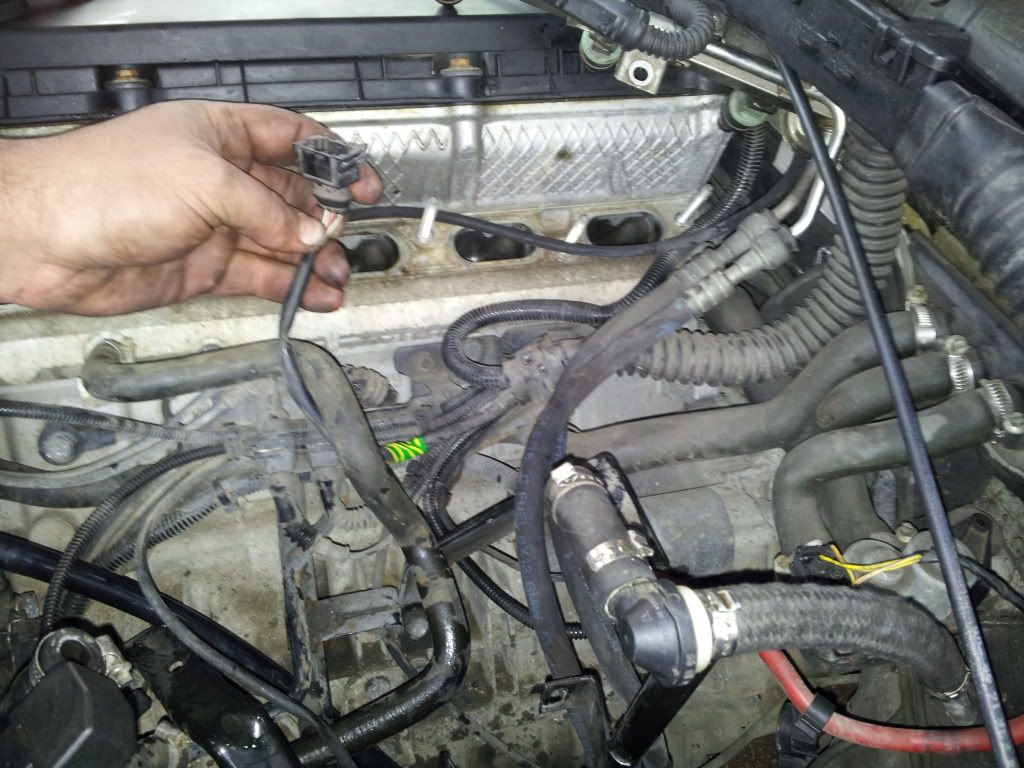
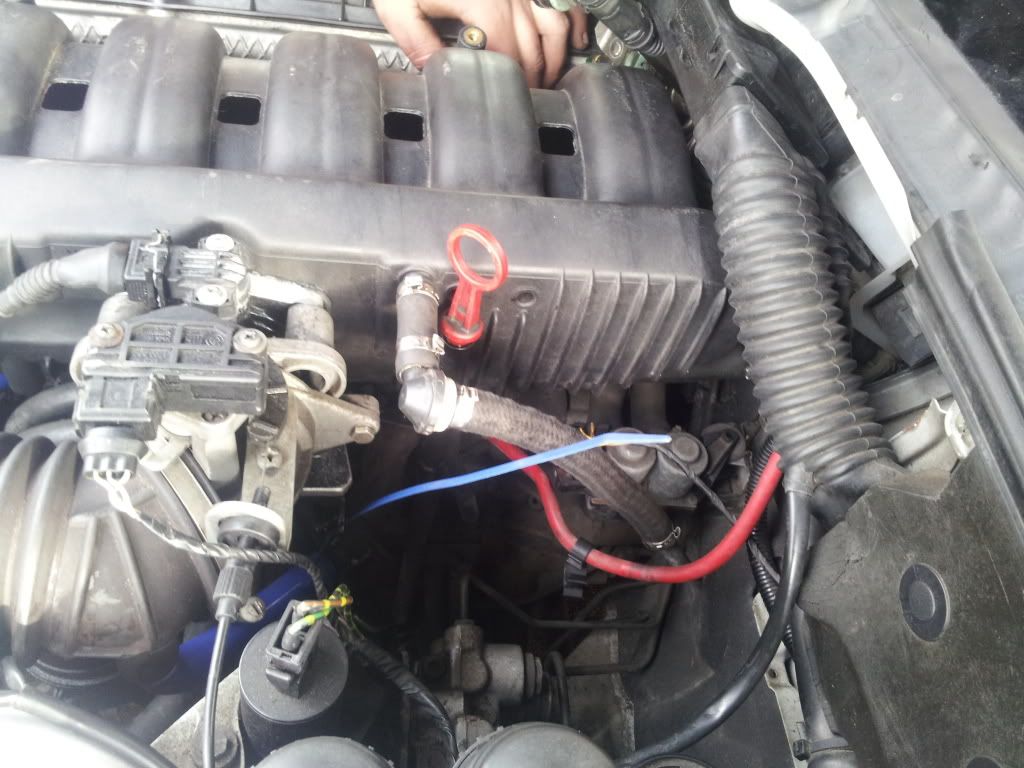
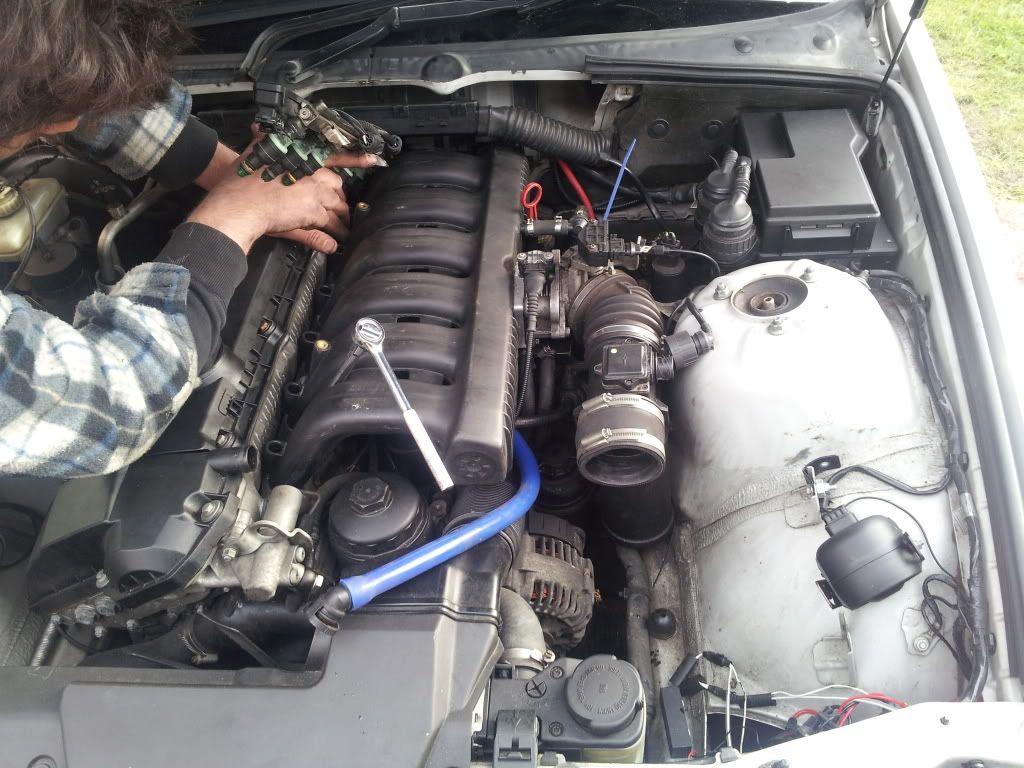
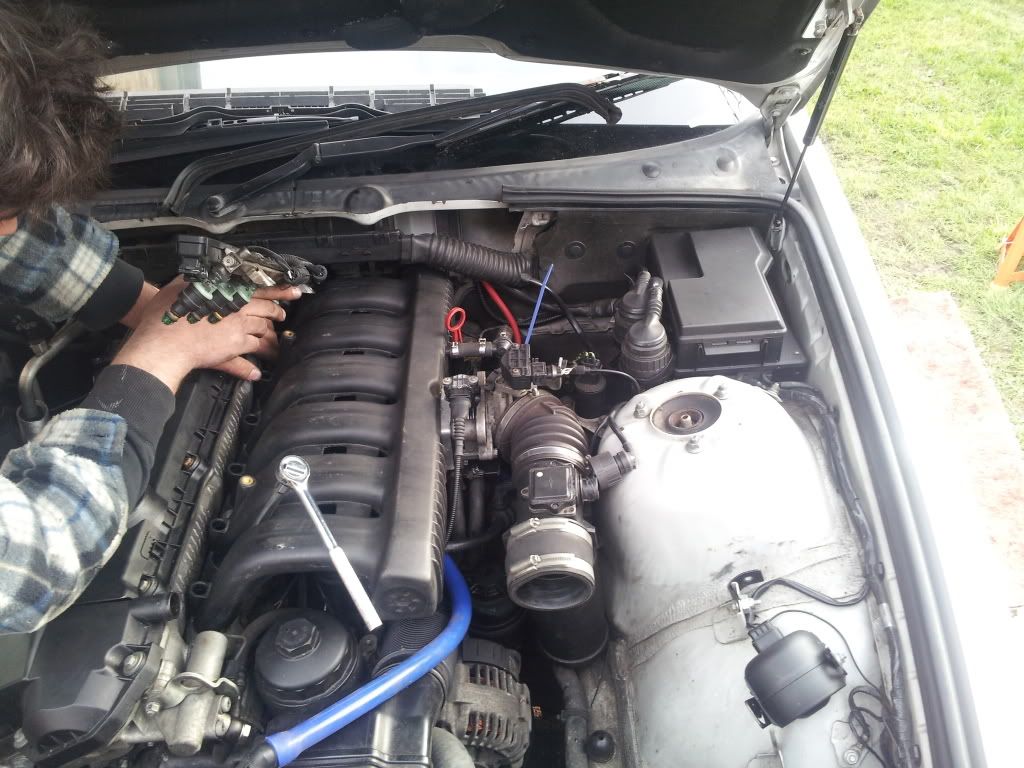
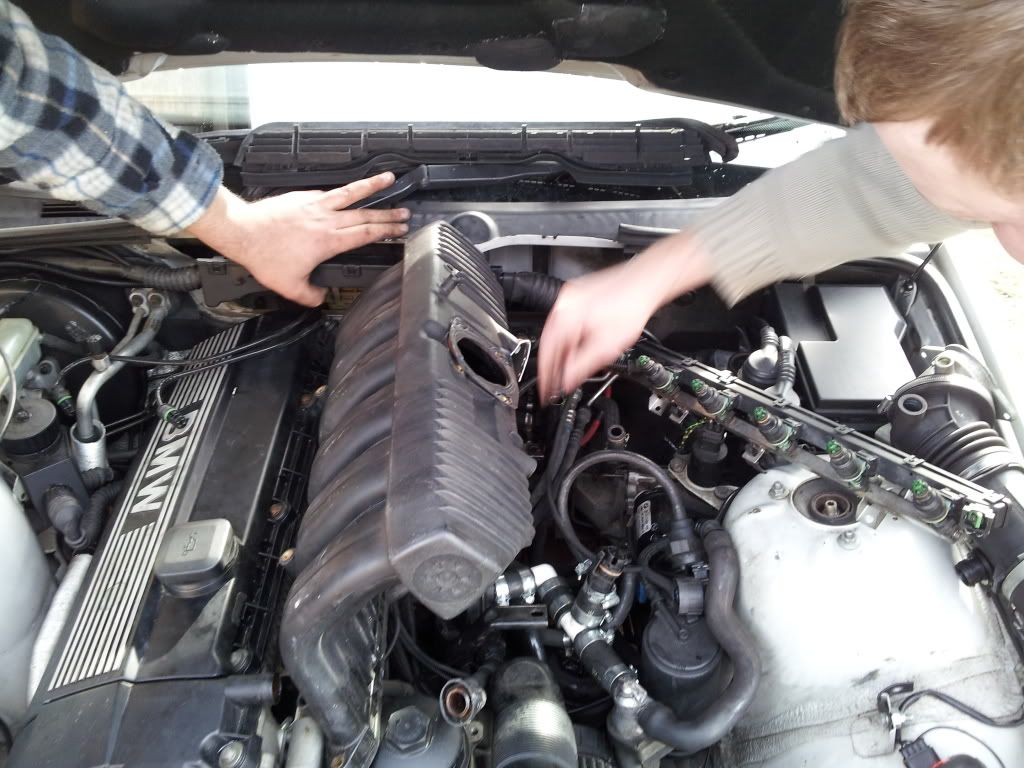
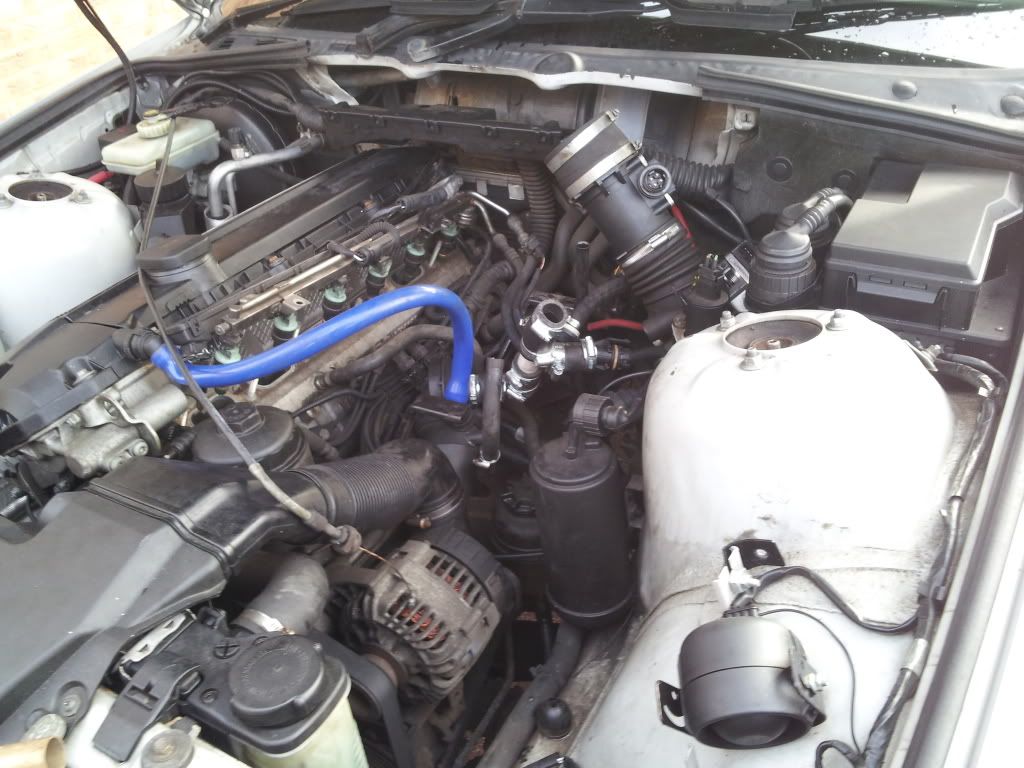
Let me say i never want to do another one and im sure some of you see on my facebook page the hassle we had fitting it but yes its finally on and thanks to kev rout,rob martin,aaron,steve,mark,kev cataclysm and basically loads who guided us through it because its a complete nightmare to do first time out.
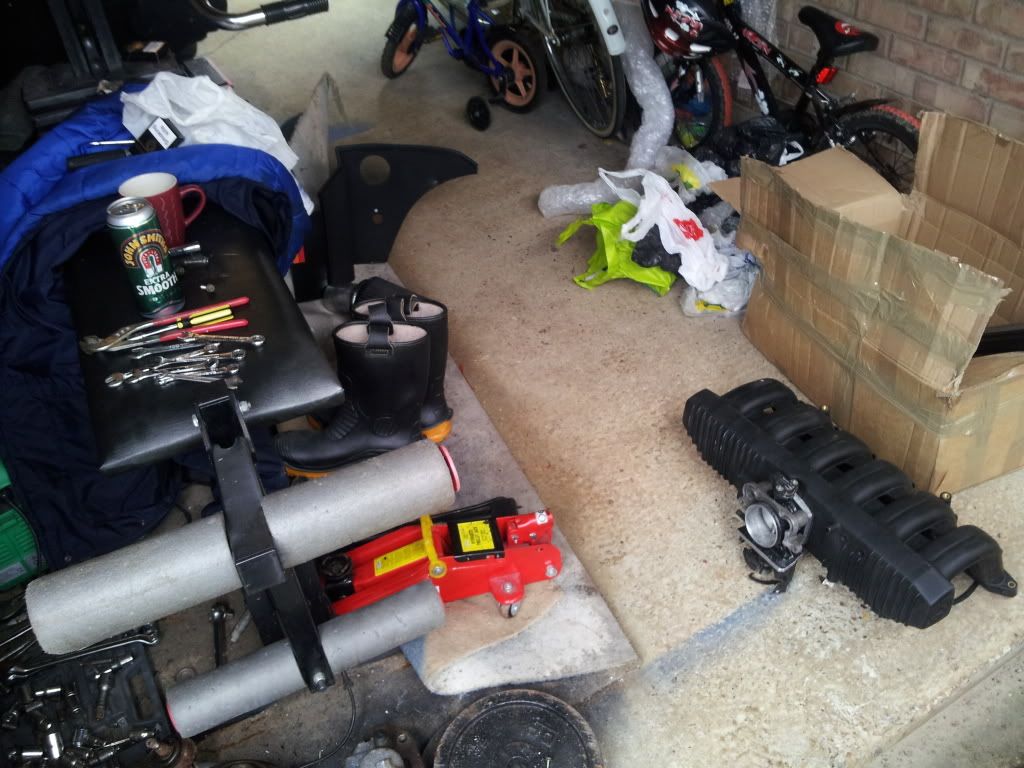
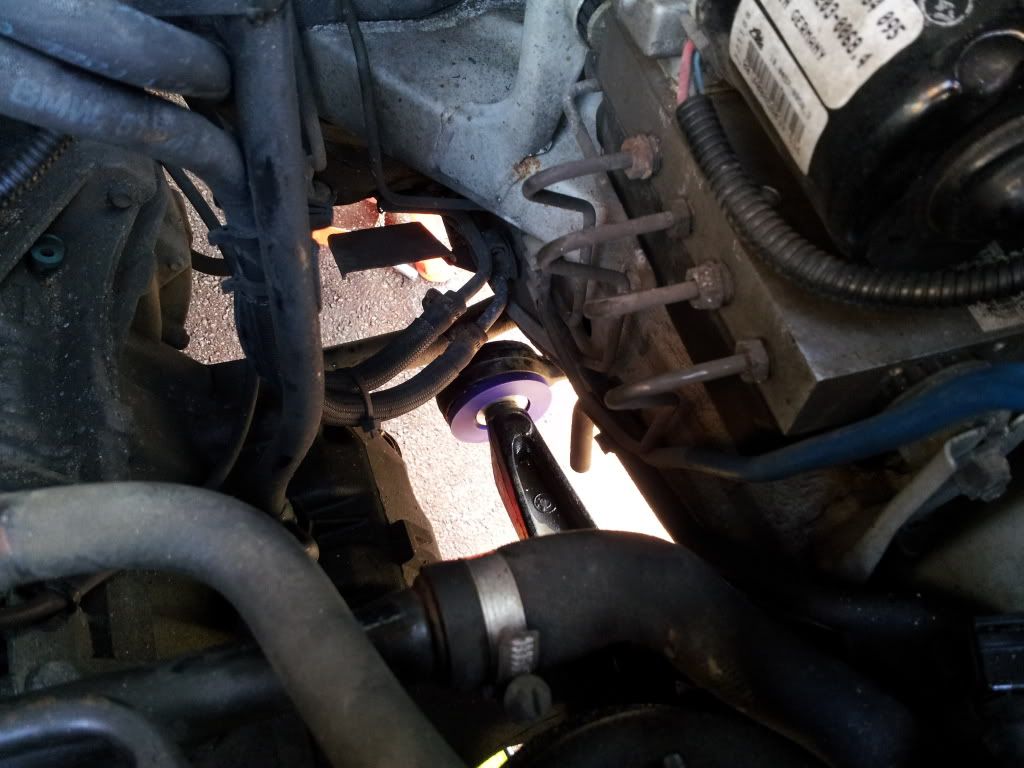
future points is-buy a decent fitting kit mine was shit
make a note of what goes where its easier refitting trust me
take your time
do your homework
check and recheck everything twice
be prepared for it
buy 60 fags you will need it
buy loads of beer it helps
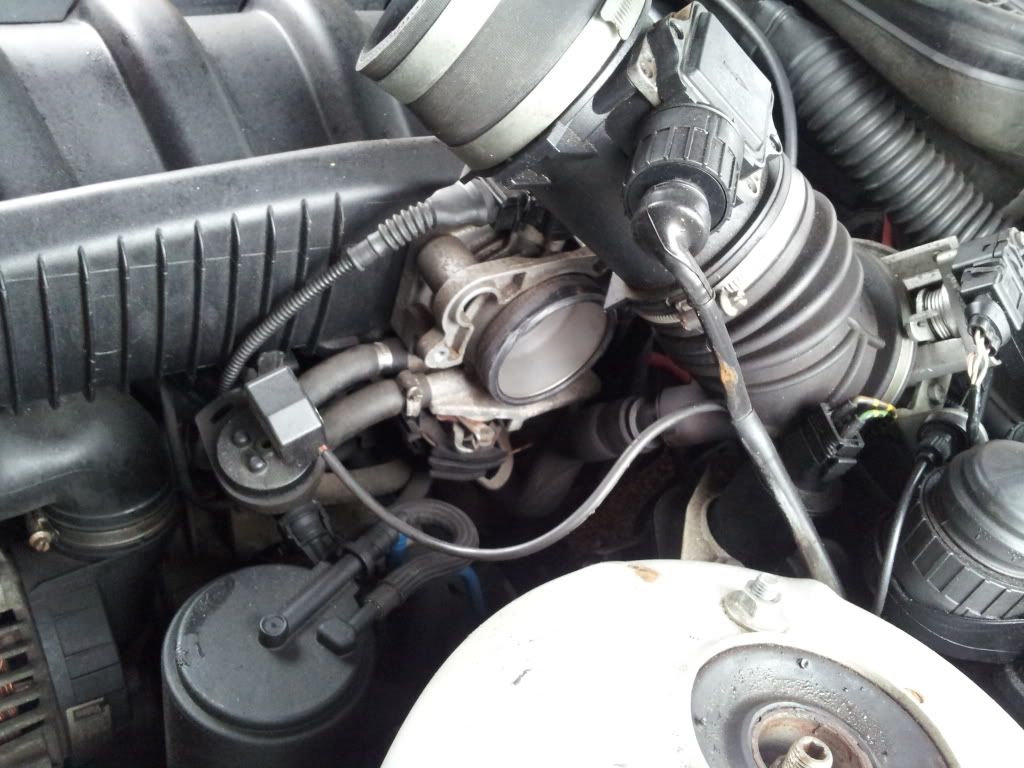
the top cover doesnt fit afterwards you need to trim it
make new fuel rail brackets
if your not confident dont do it get someone who is i never want to do it again
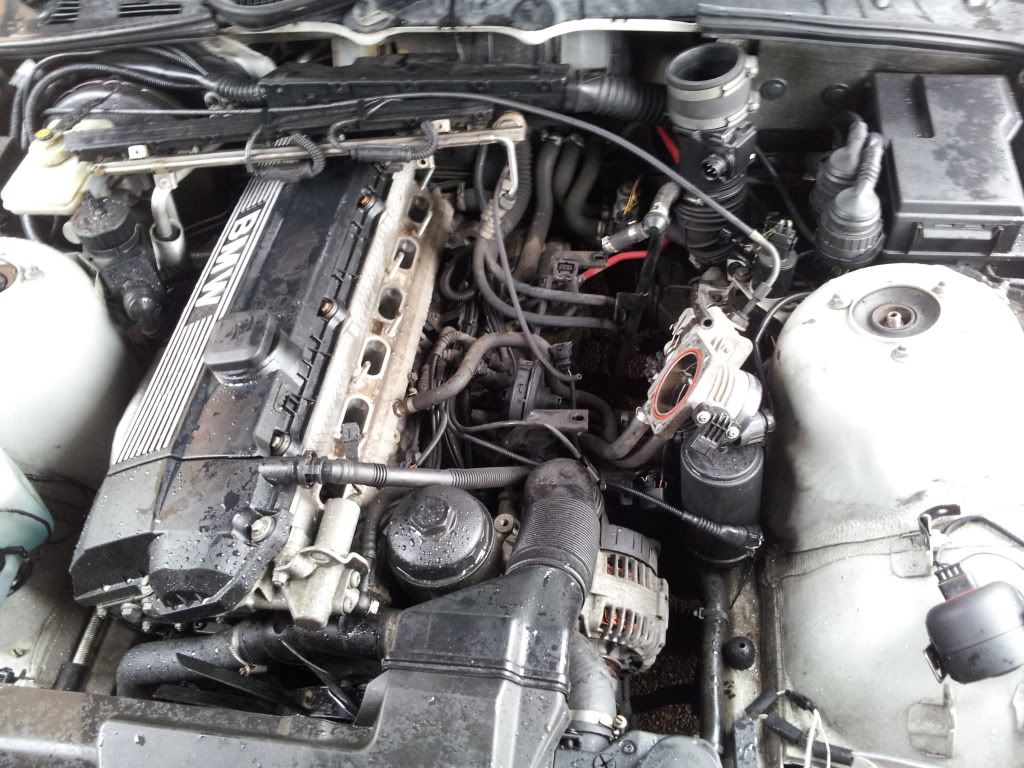
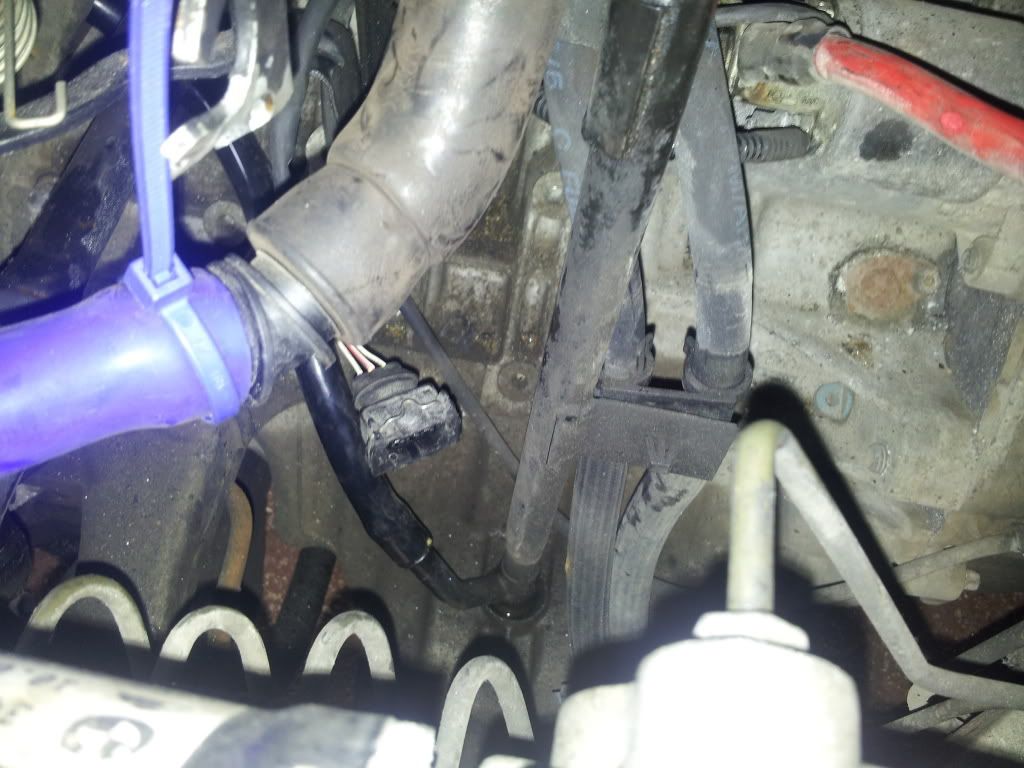
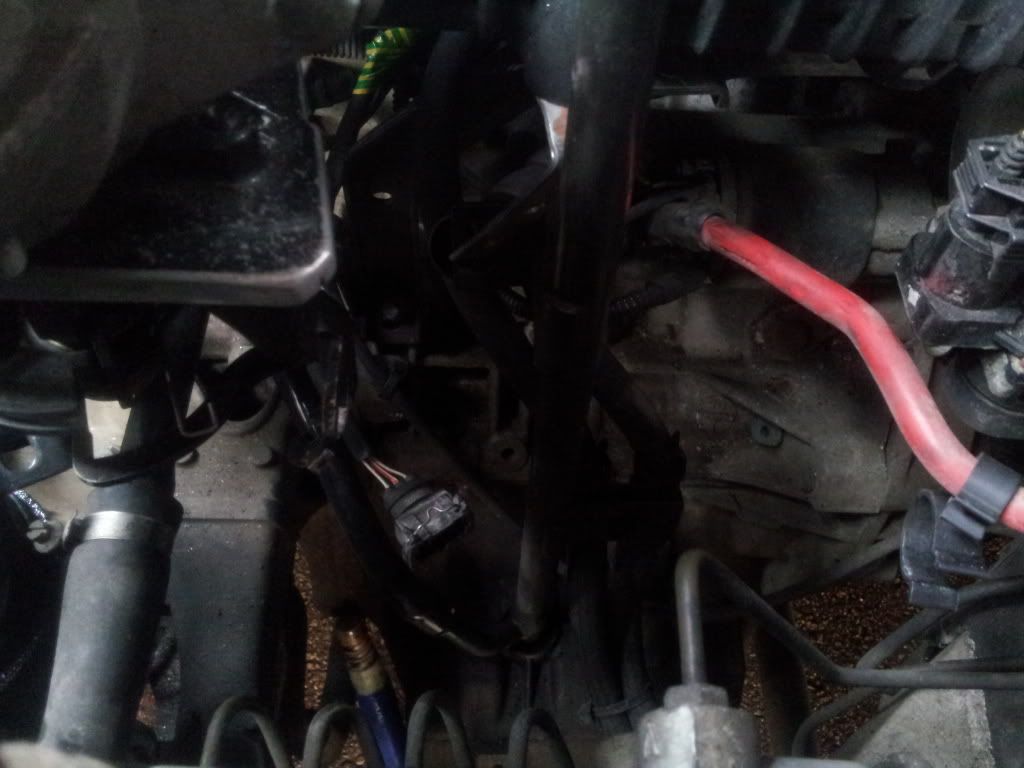
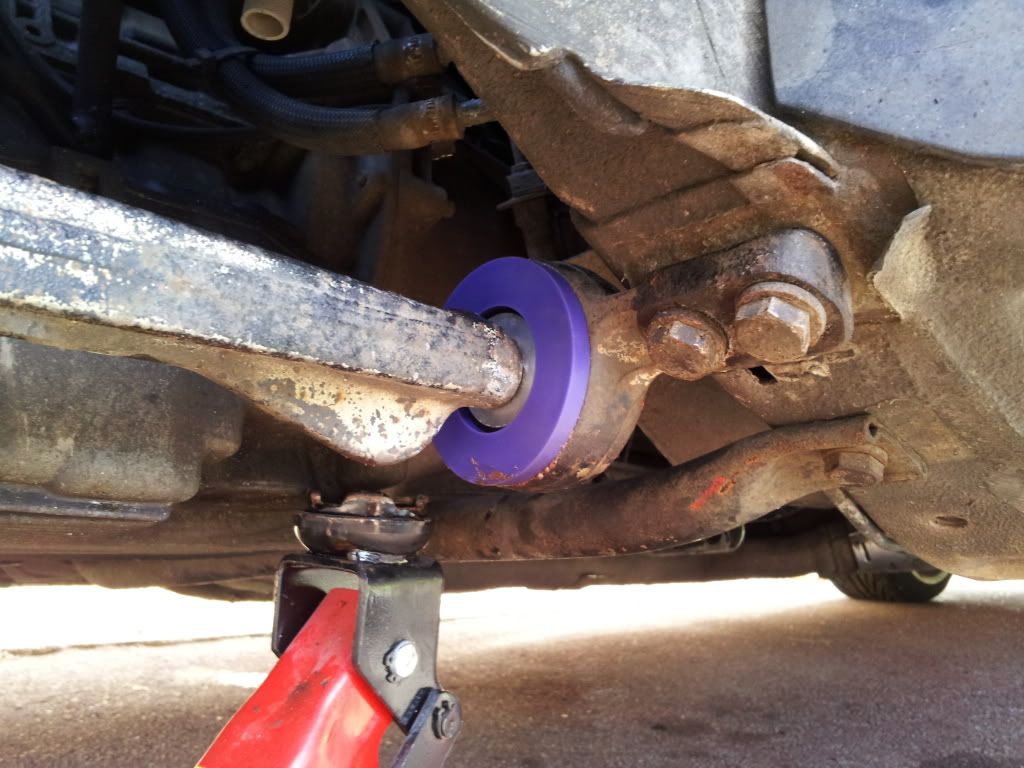
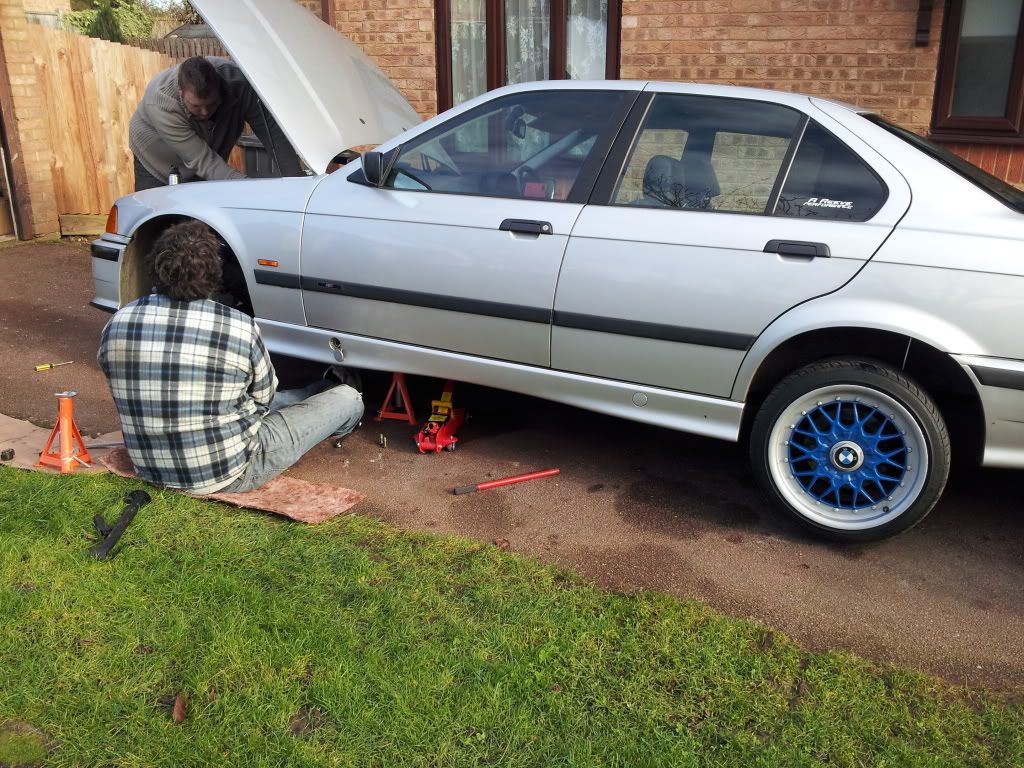
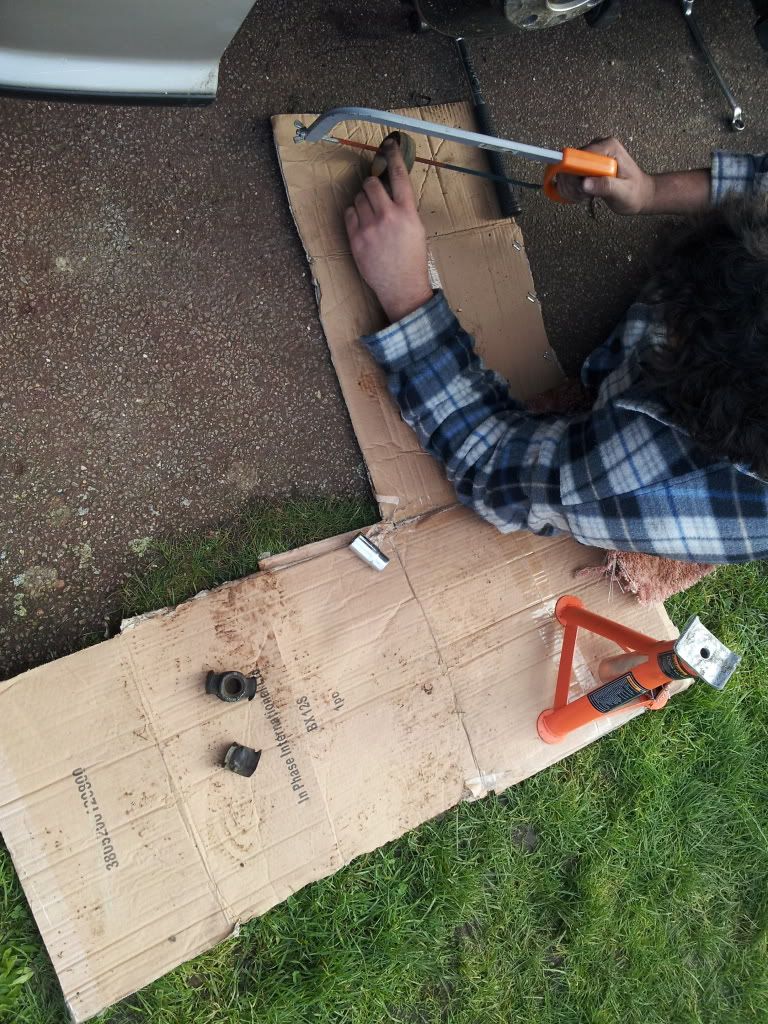
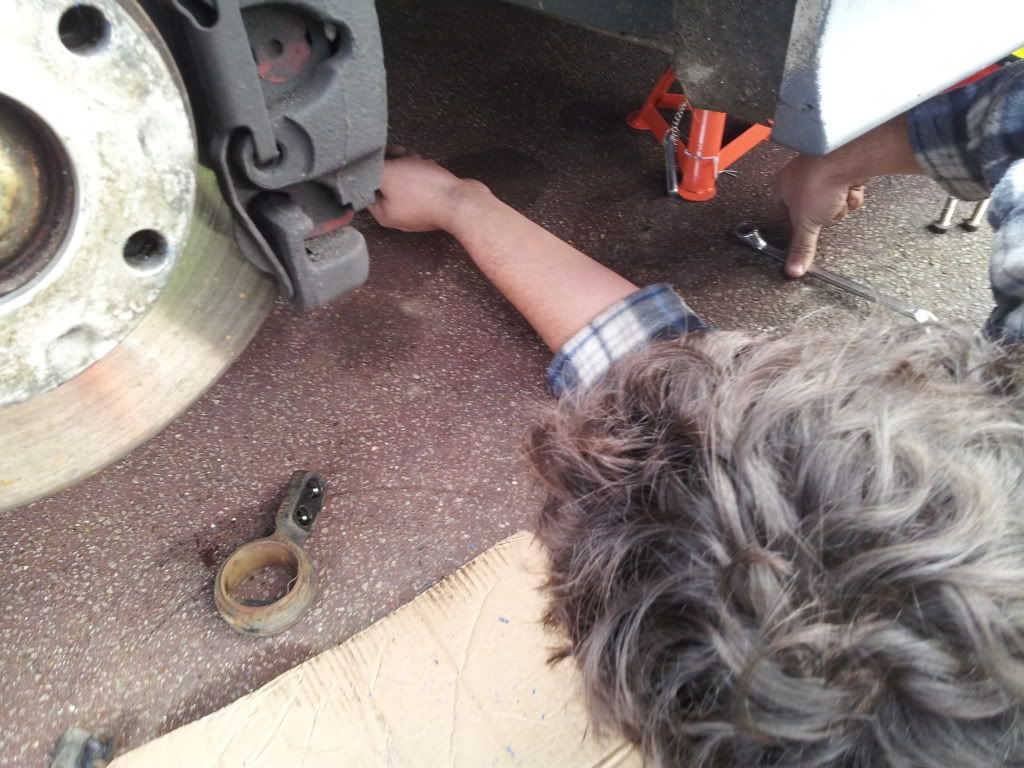
Anyway also fitted the other polybush on passenger lolypop and that basically fell to bits the minute we removed it
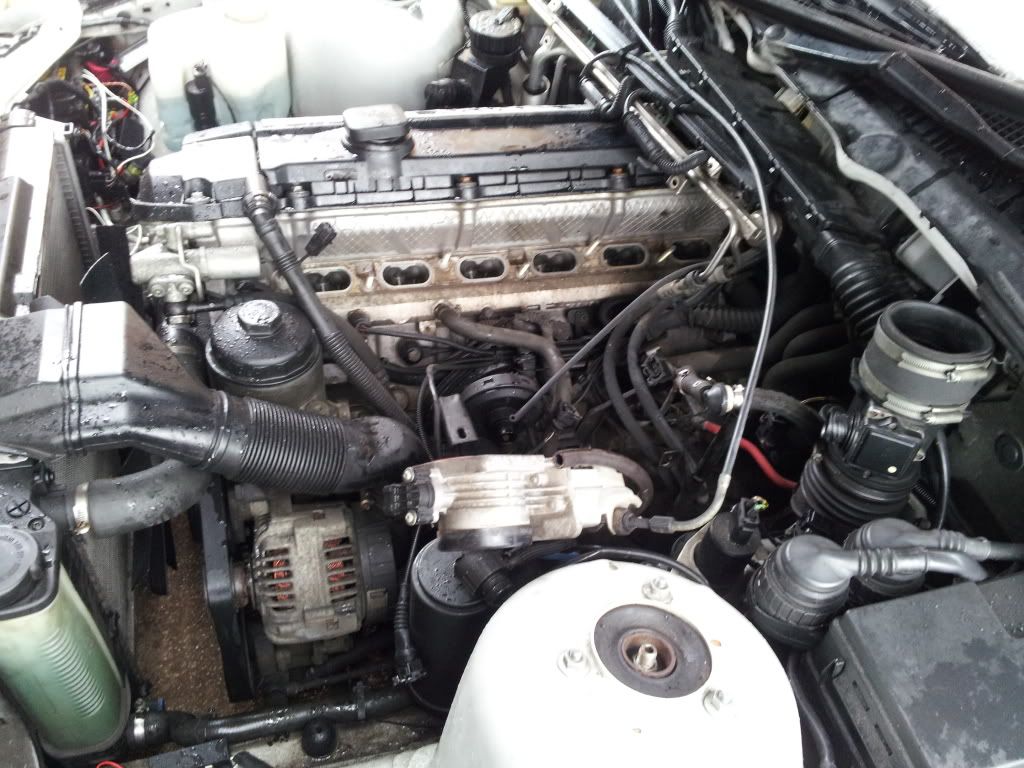
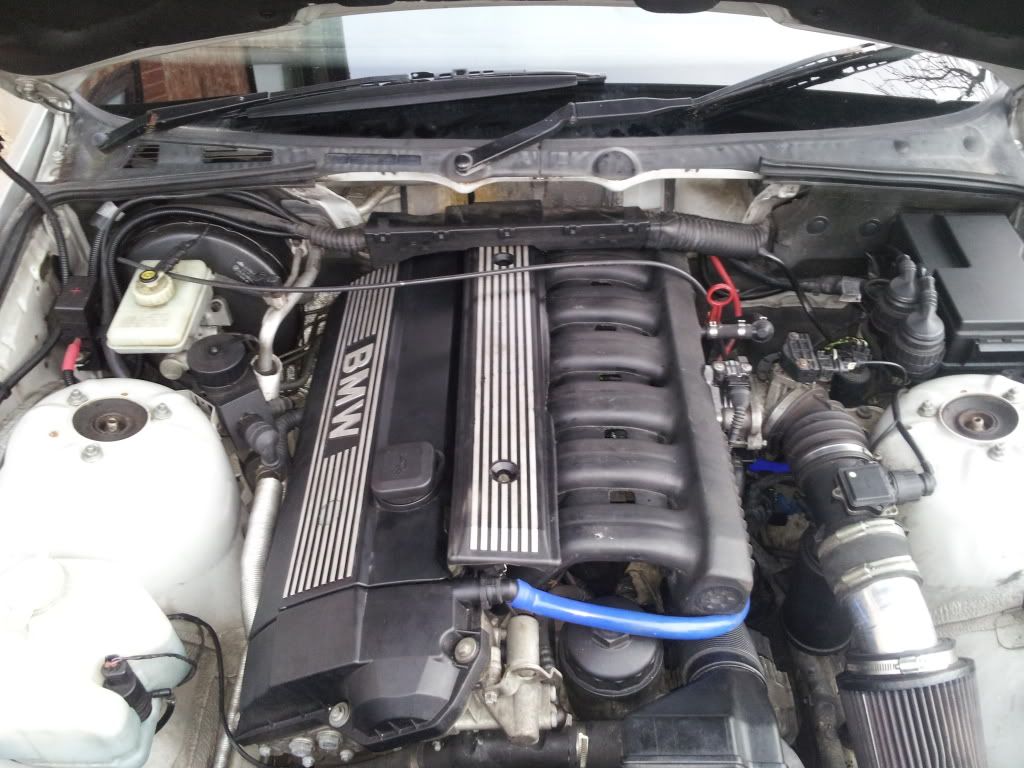
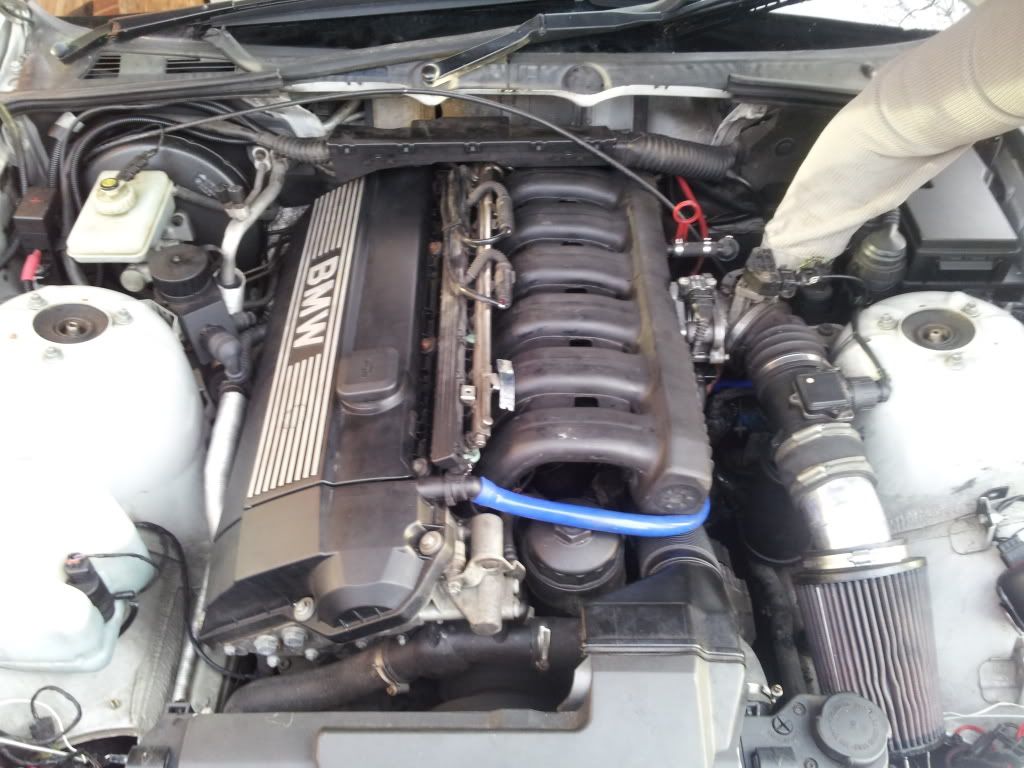
Anyway heres the pics and two days of extreme pissed off lads and total head scratching and yes it does make a big big difference and yes you do loose some low down torque but im having it remapped very soon and will iron out any problems
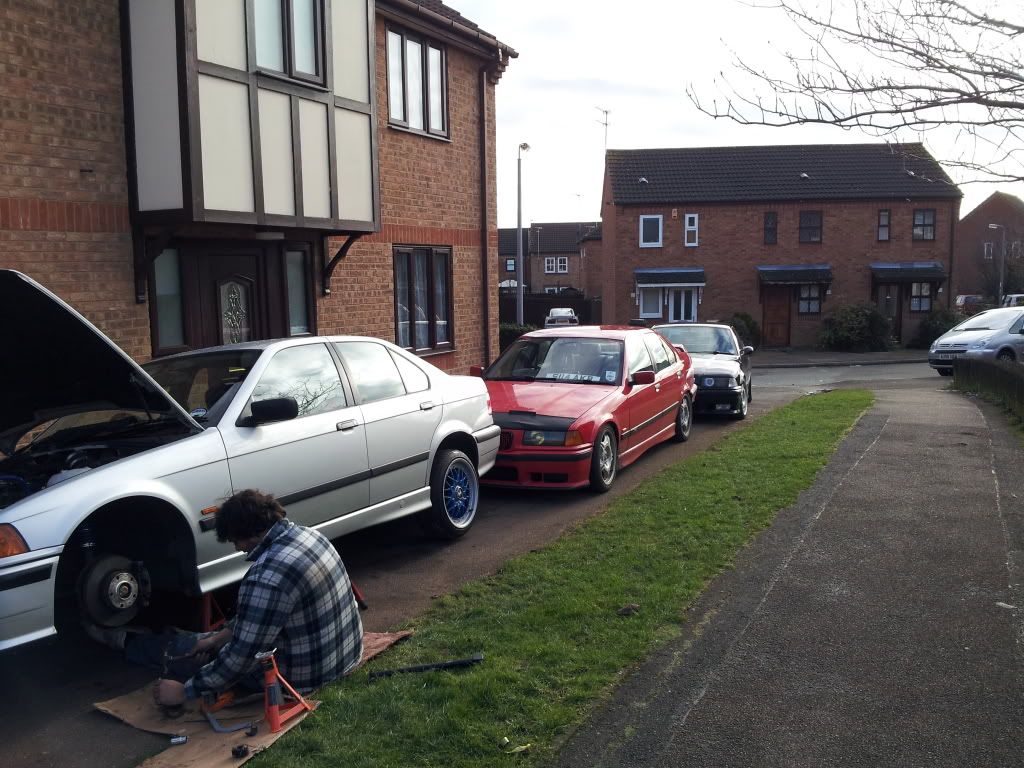
Once again the norfolk crew came to the rescue as we all like to help out each other and shit got done
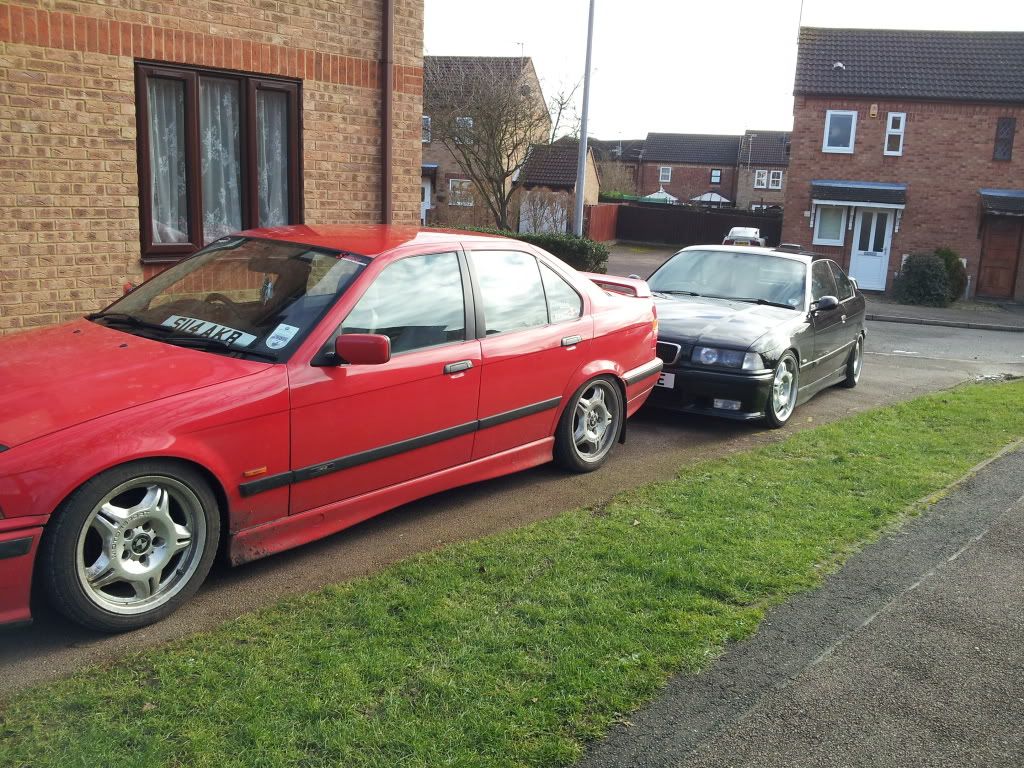
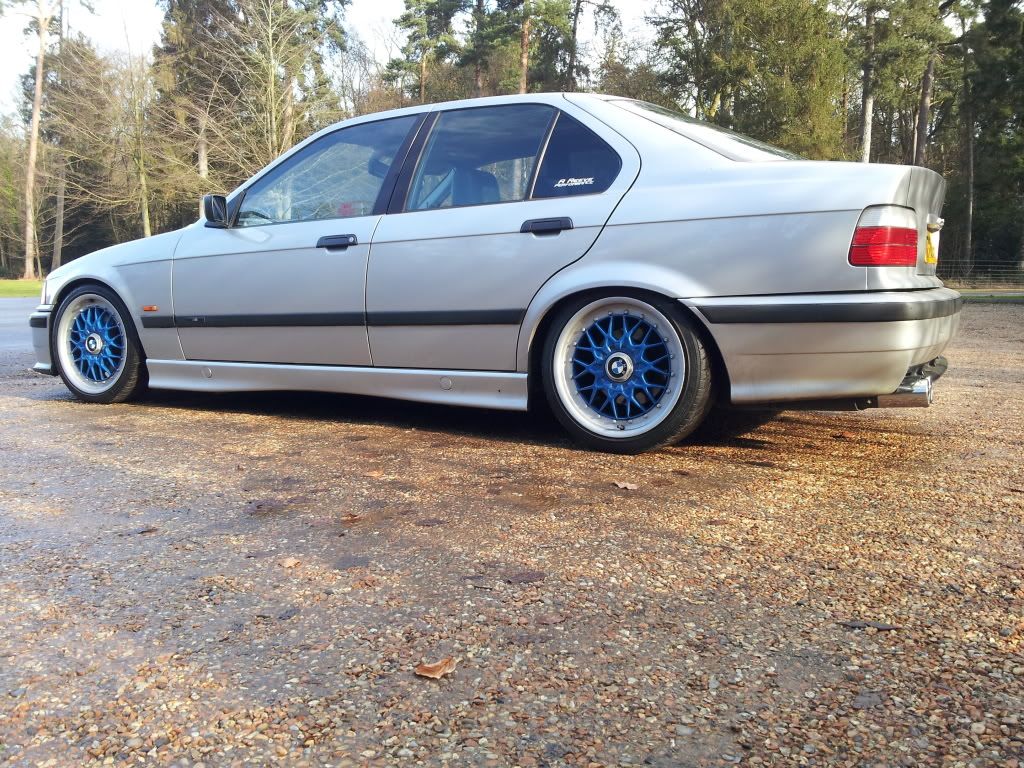
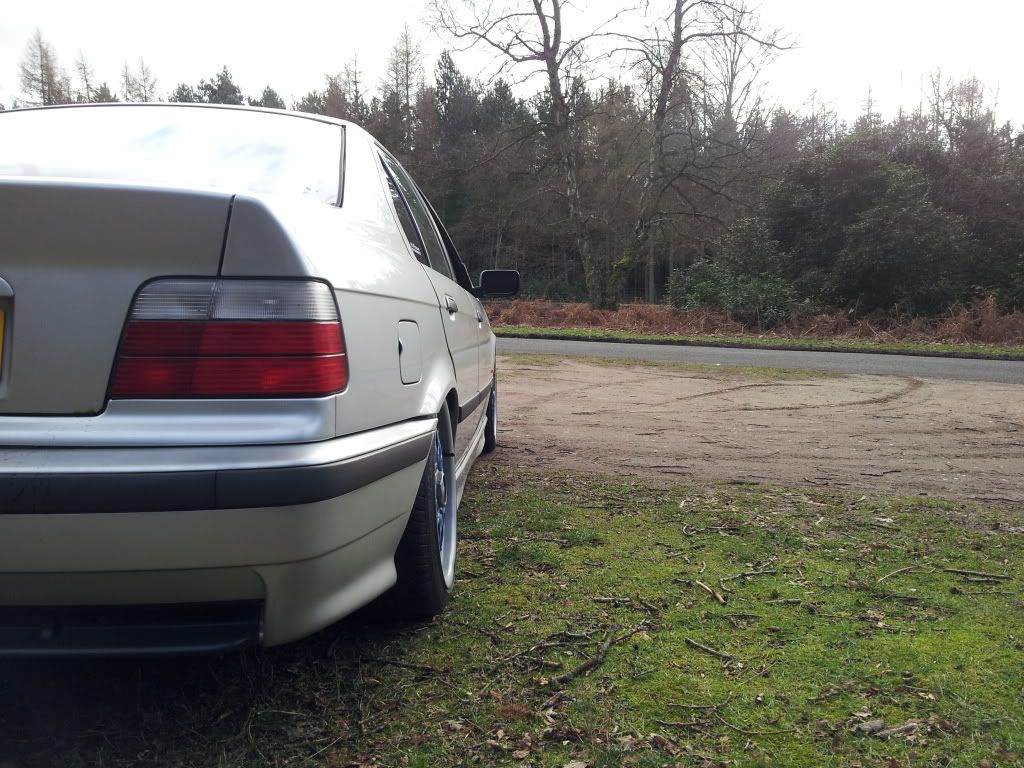
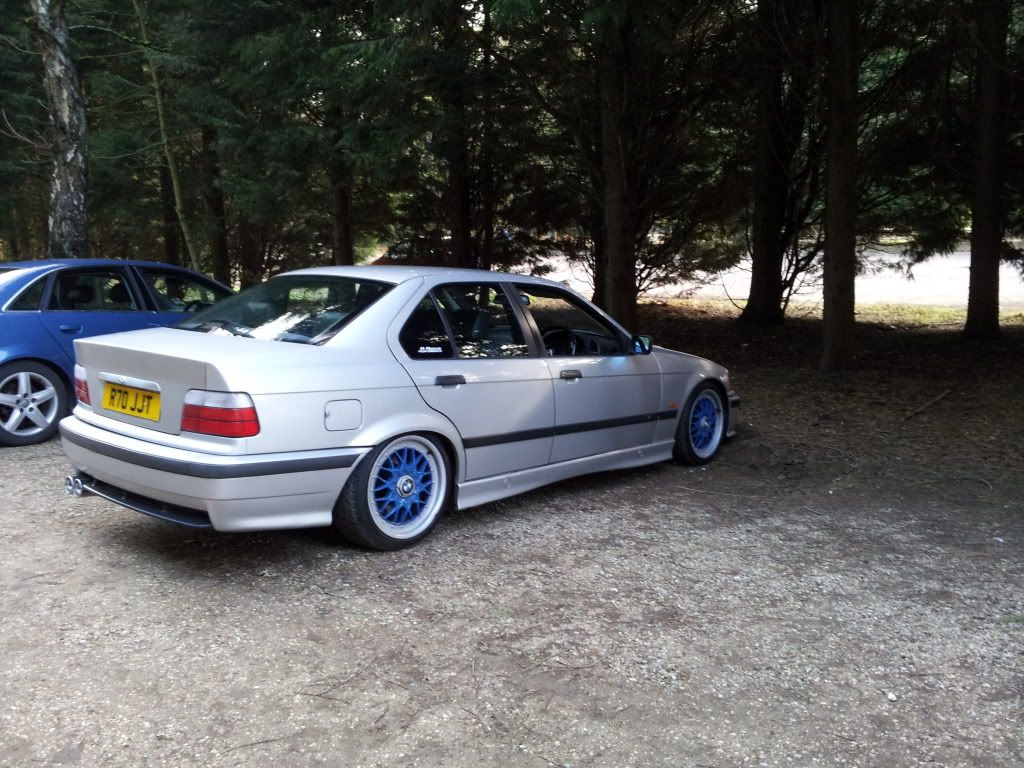
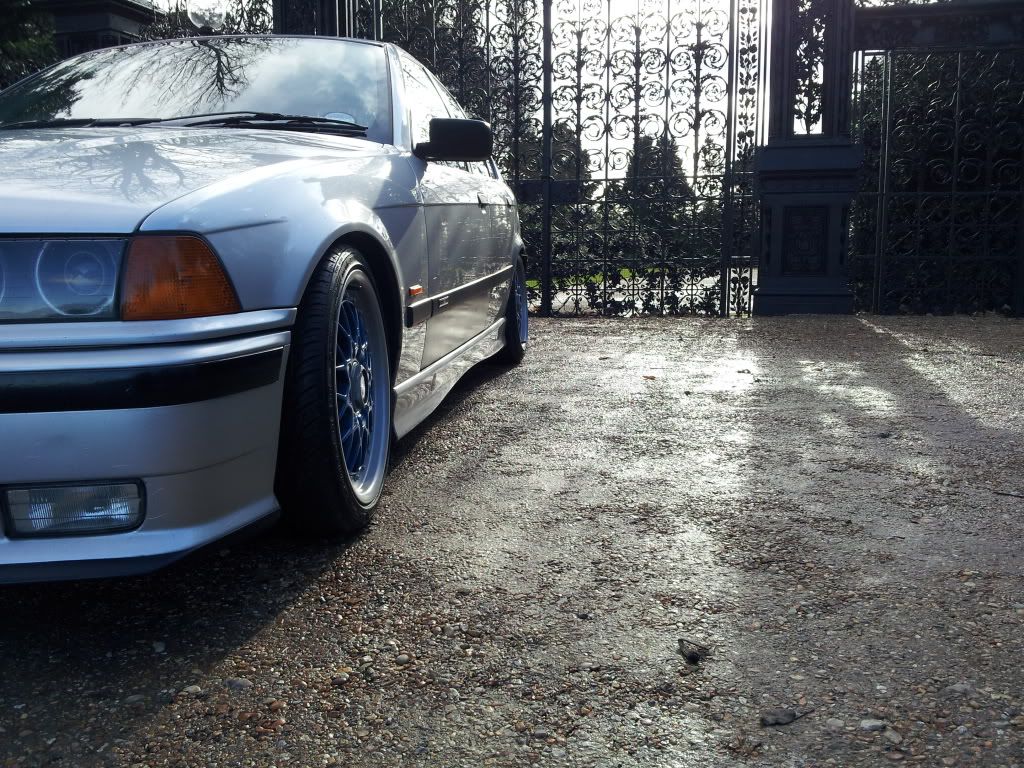
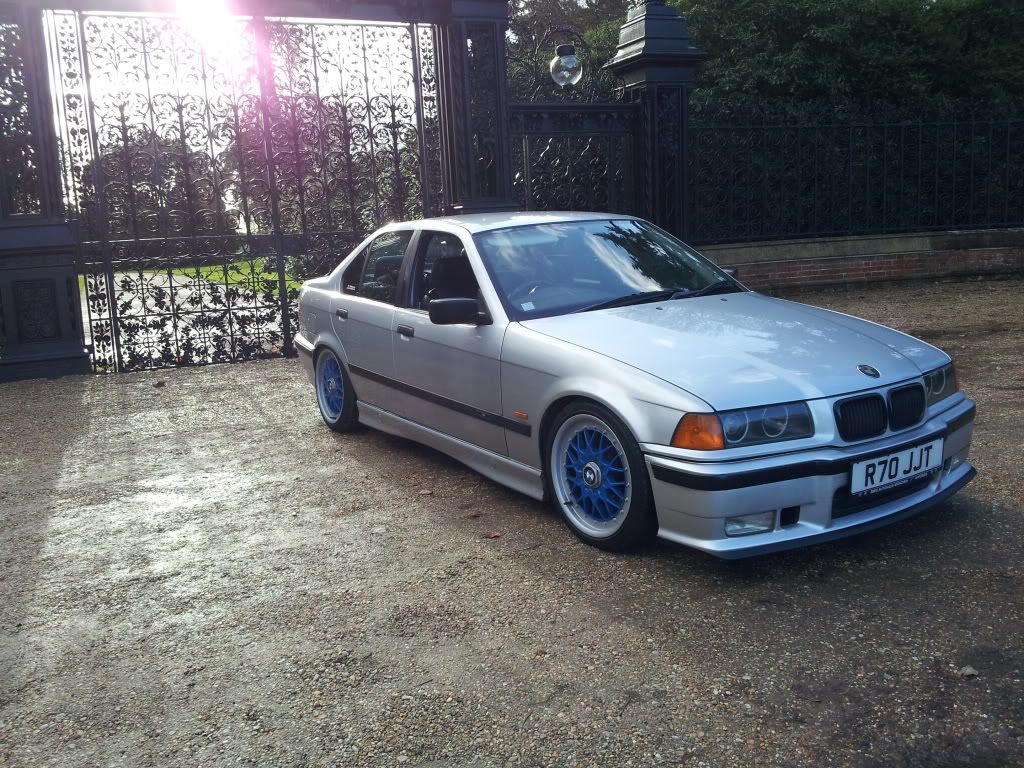
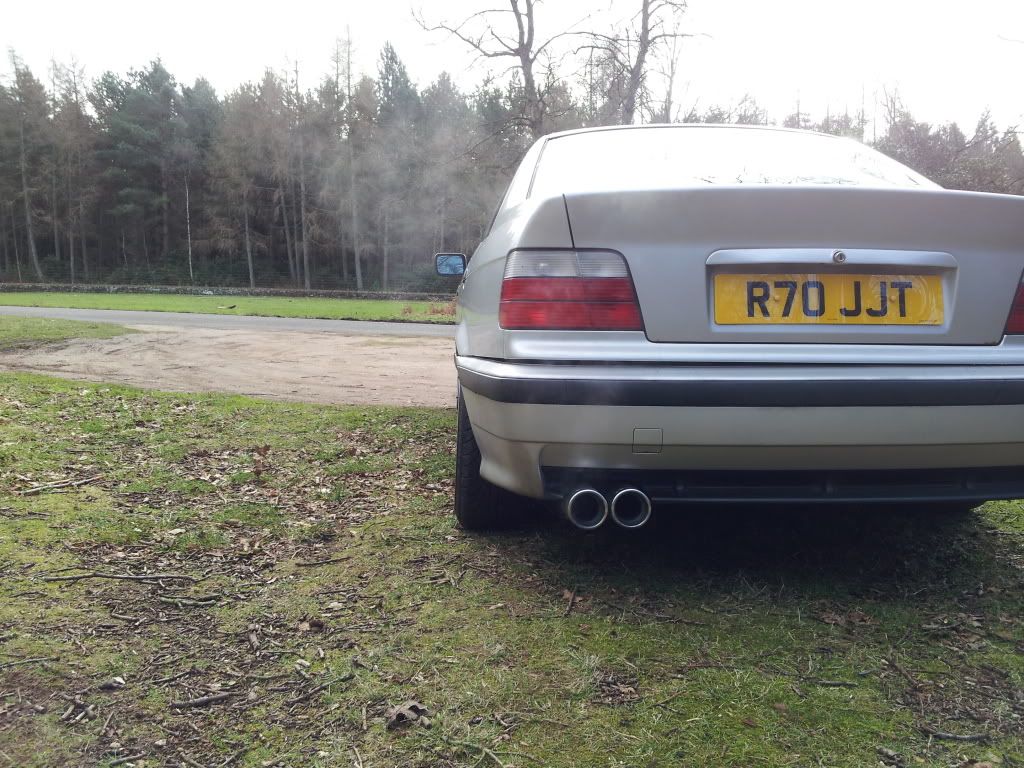
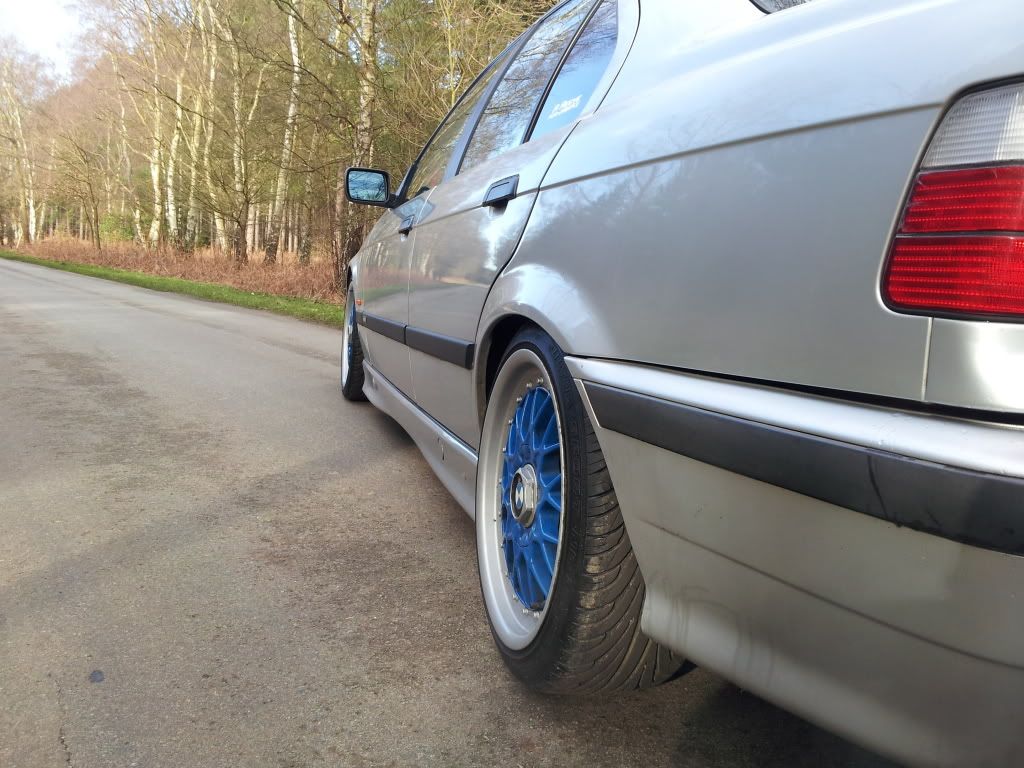
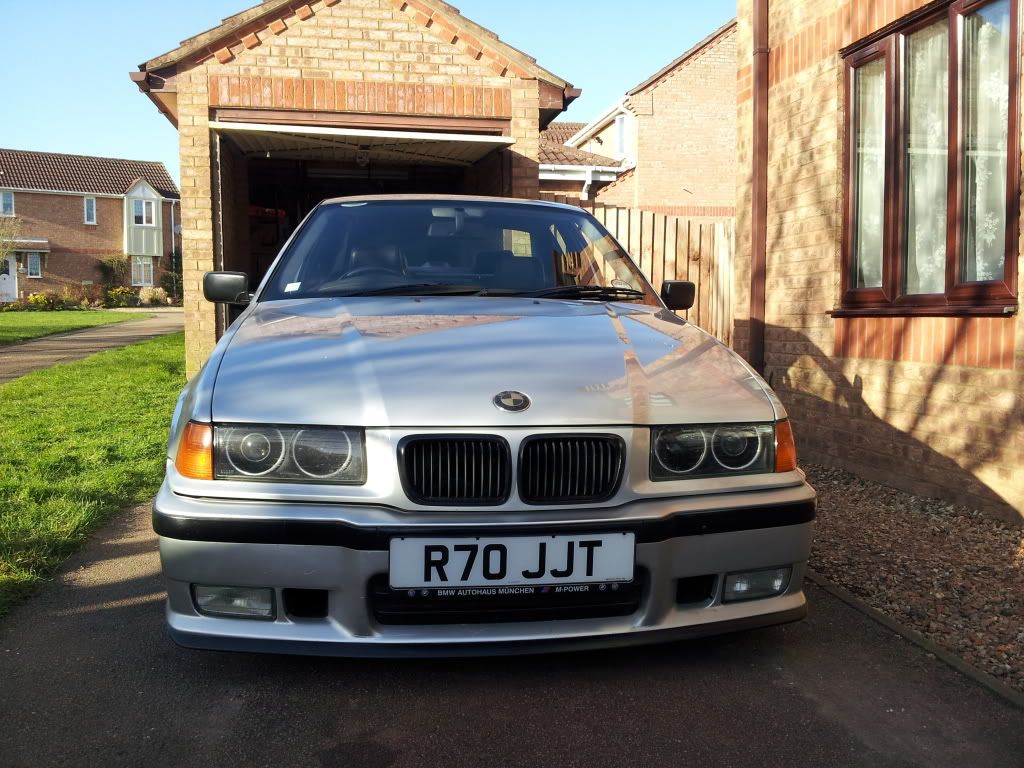
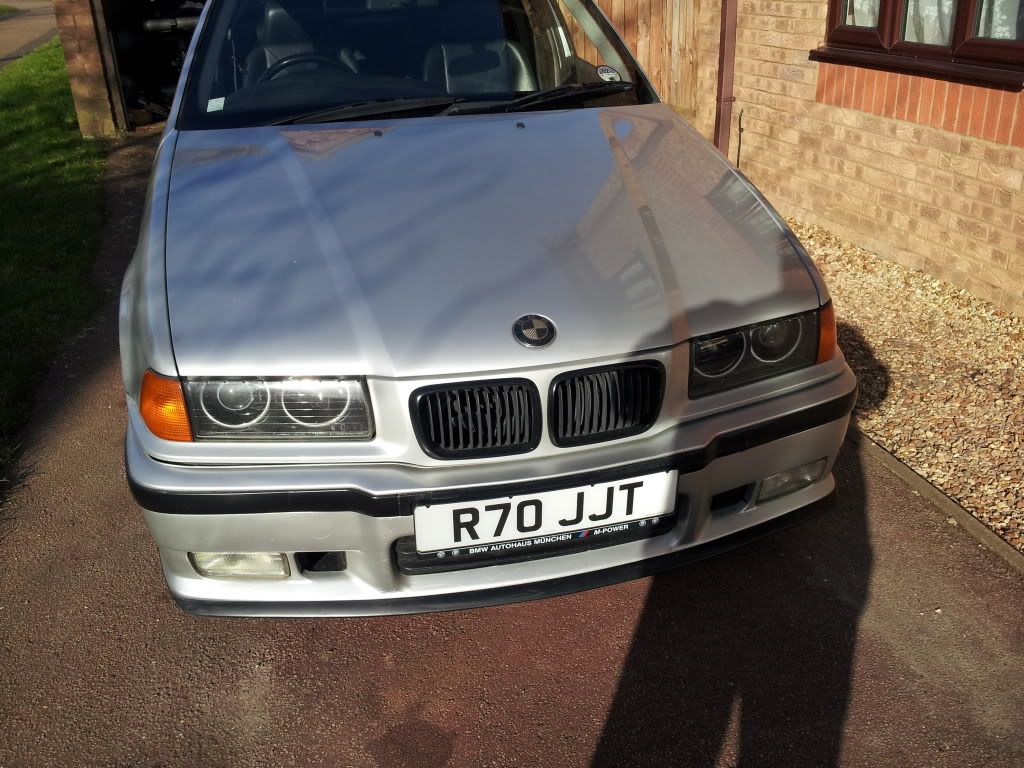
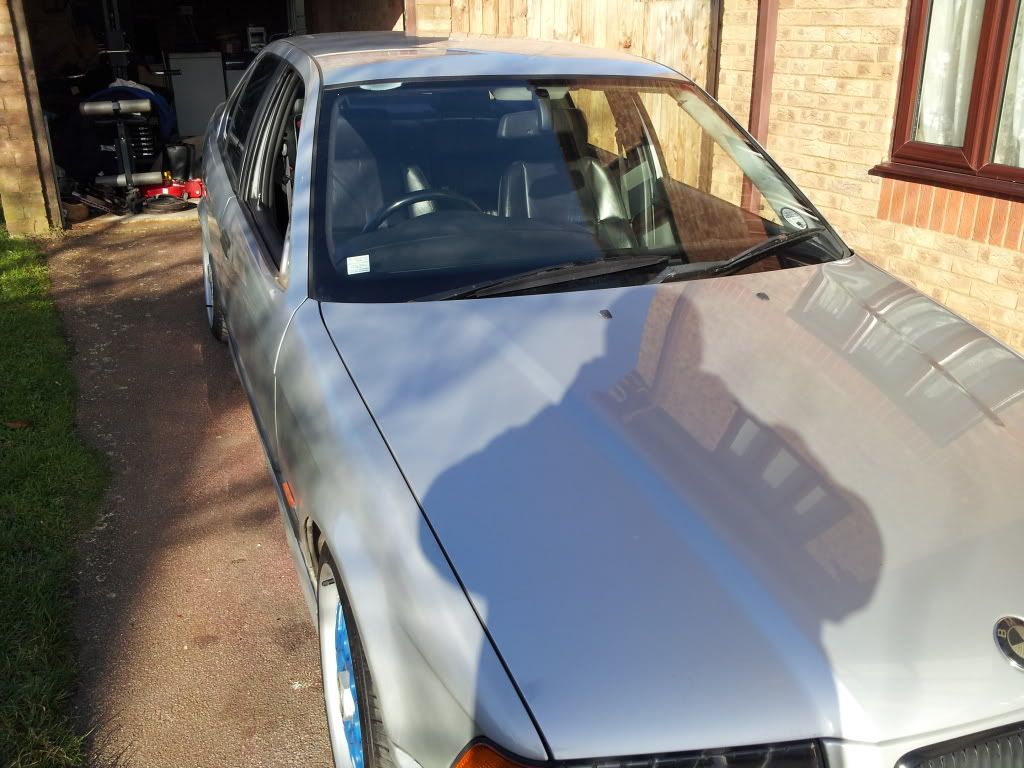
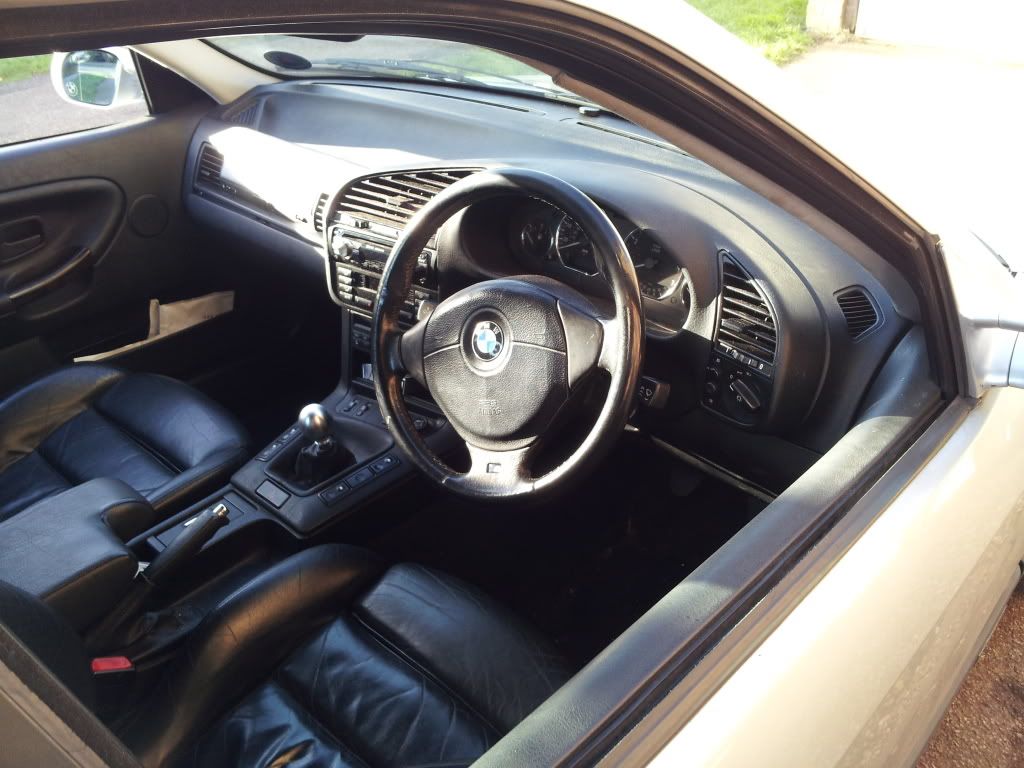
Thought i would take some pics of the loon and decided sandringham was a good location using my s2 phone and the last pics for a while till i change a lot of bits so here they are the final pics of the current look.
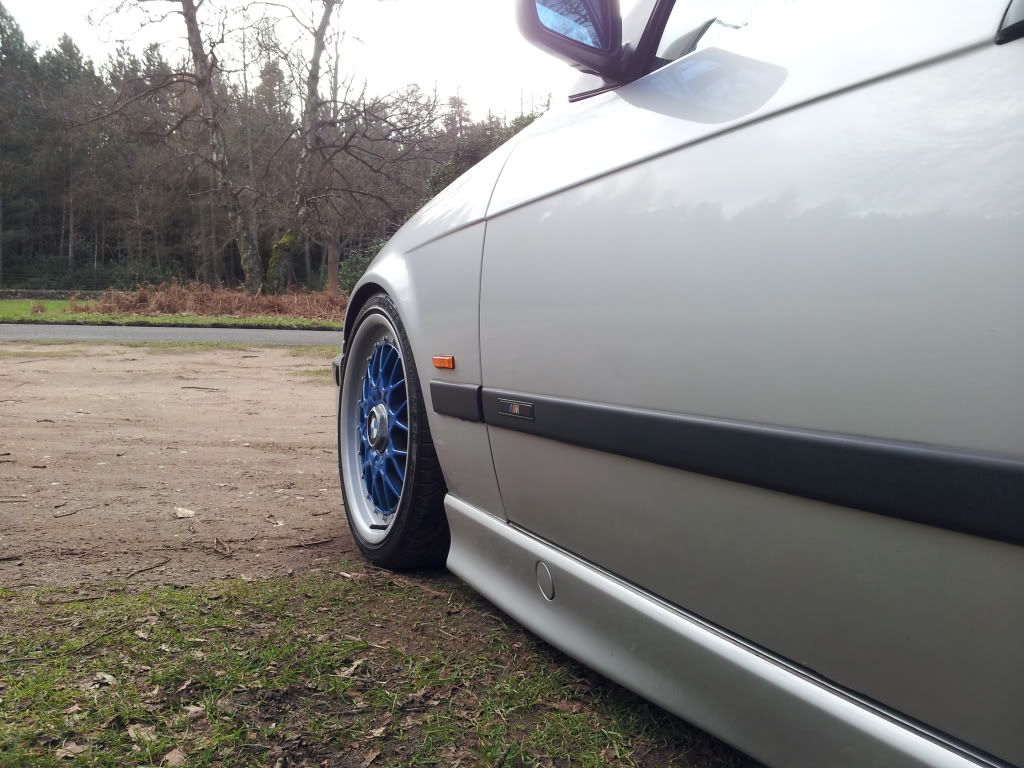
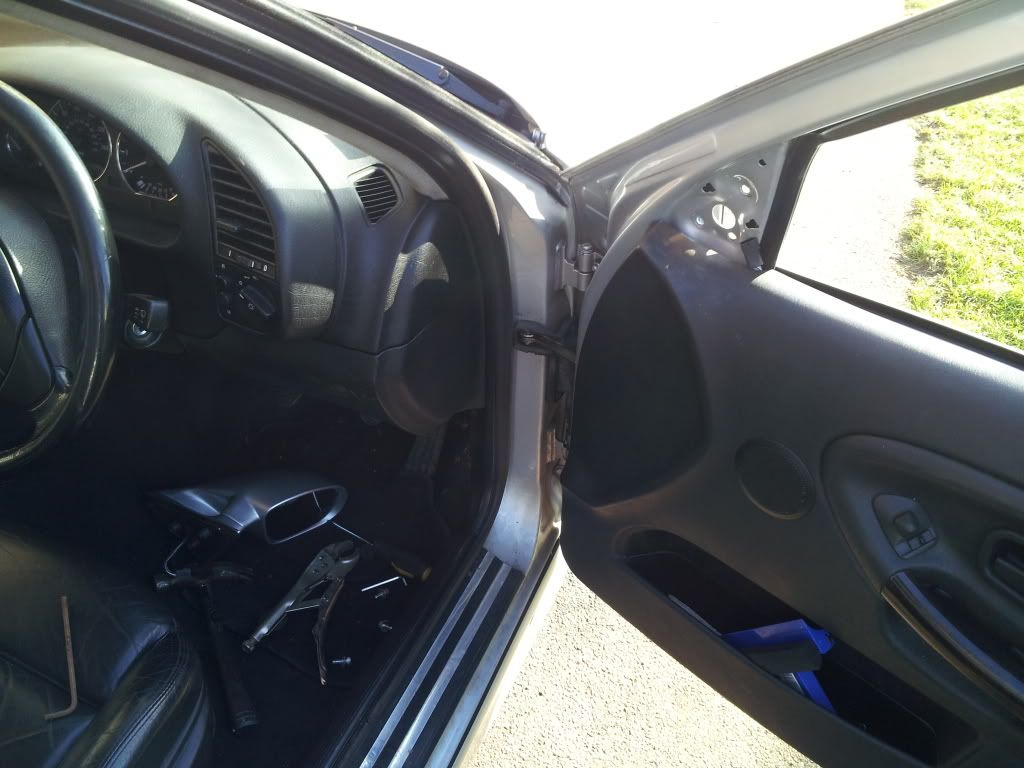
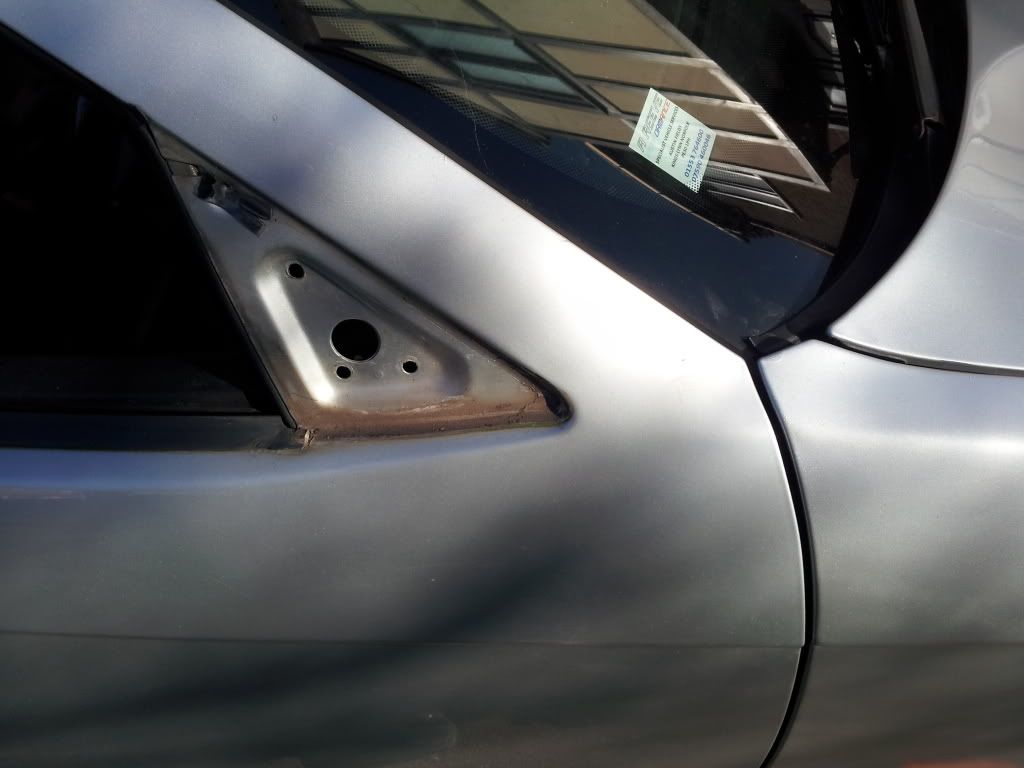
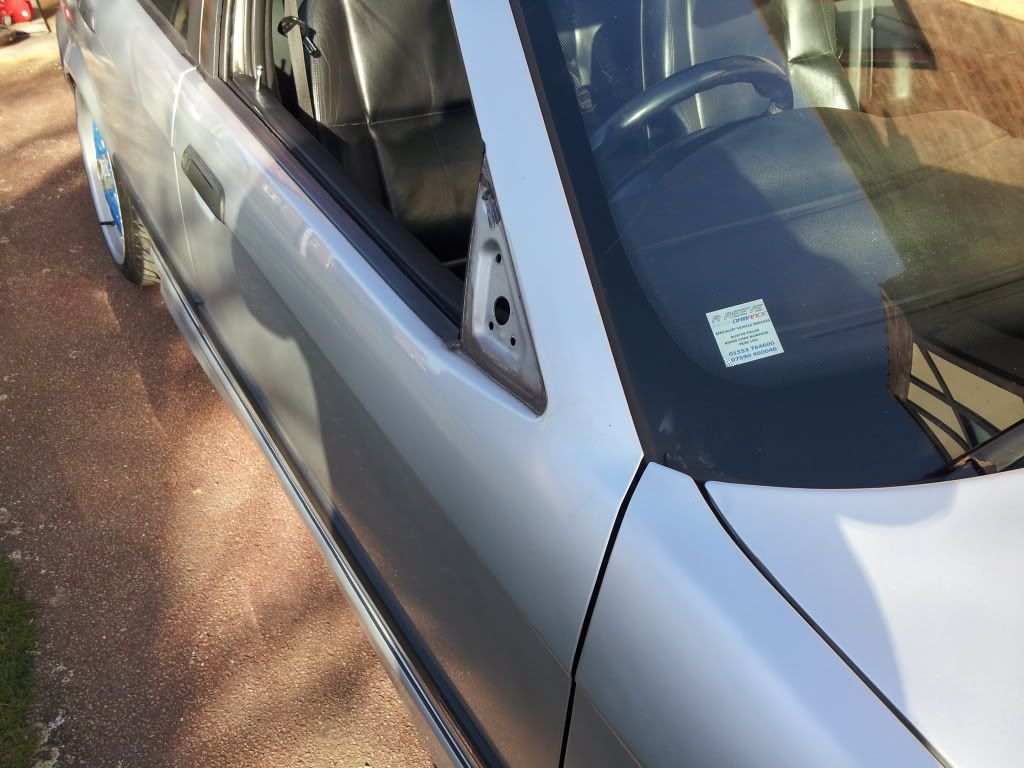
Say goodbye to the m3 mirrors they are well forgotten to move away from its current look and the ambers are back on with new oem rears coming from lukes accident damaged loon and some wheels are replacing the bbs rims as ive done a deal with a lad over bits i wanted and money my way and std black mirrors for now which are growing on me(disco stu has the same)
its not an m3 nor do i ever want an m3 rep i do my own thing as people know and this season a step up from before.
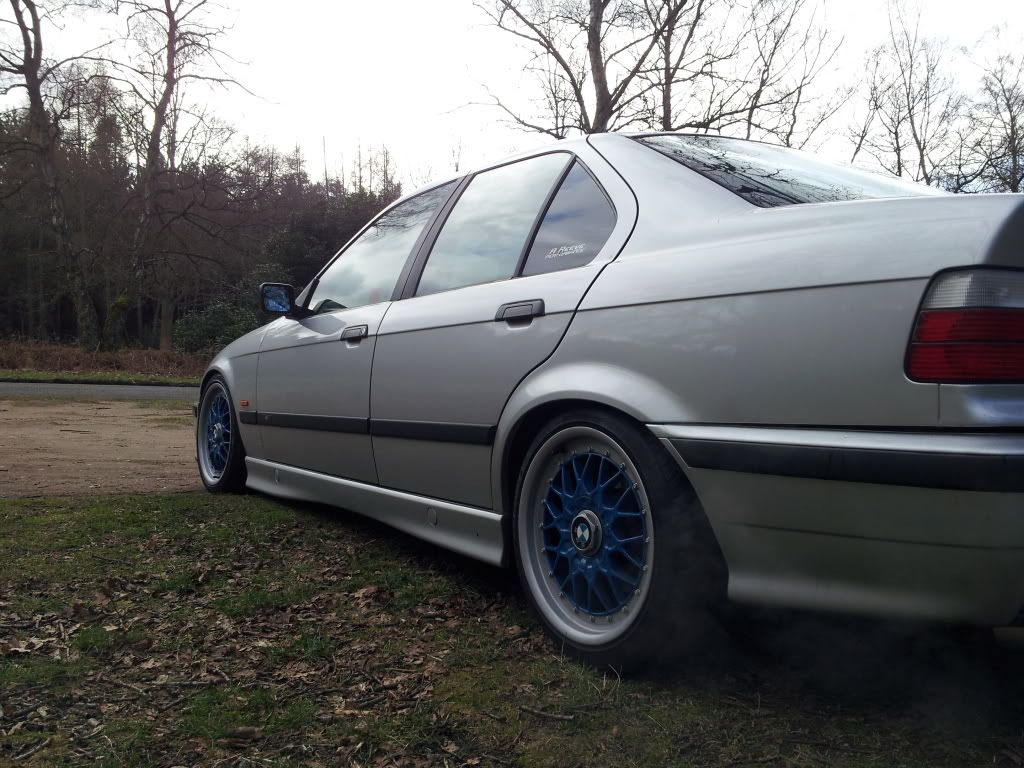
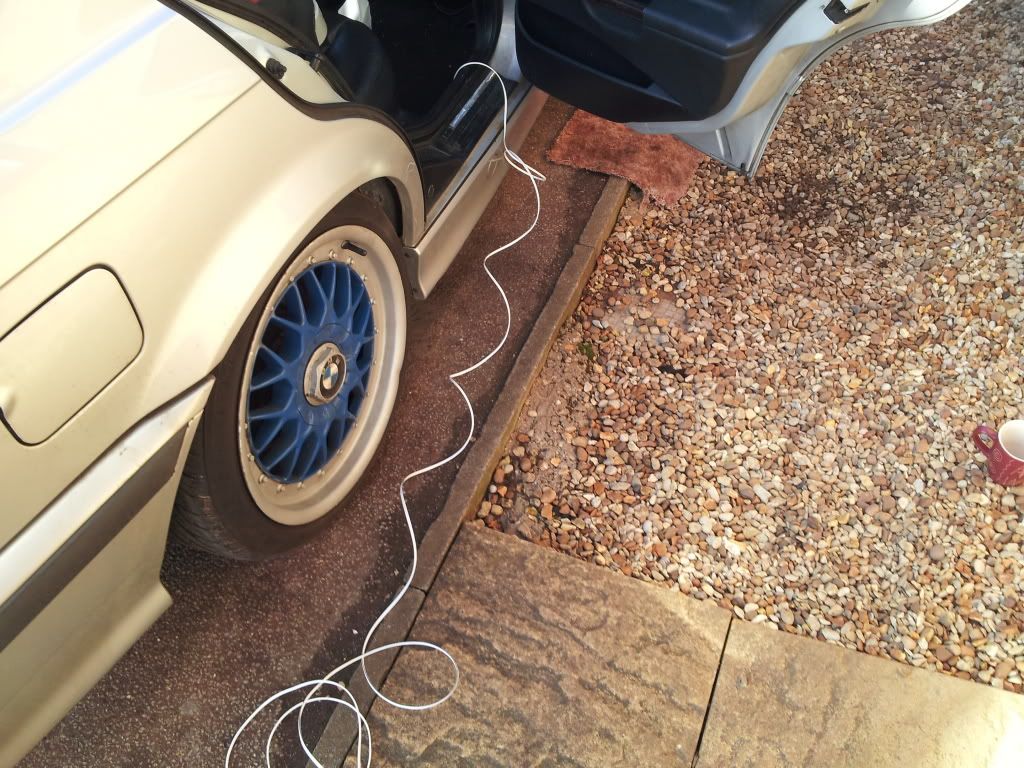
these are the wheels replacing the bbs rims till i buy the show set and will end up being refurbed and resprayed when they are off again as i cant bare the bbs rims anymore and want something different
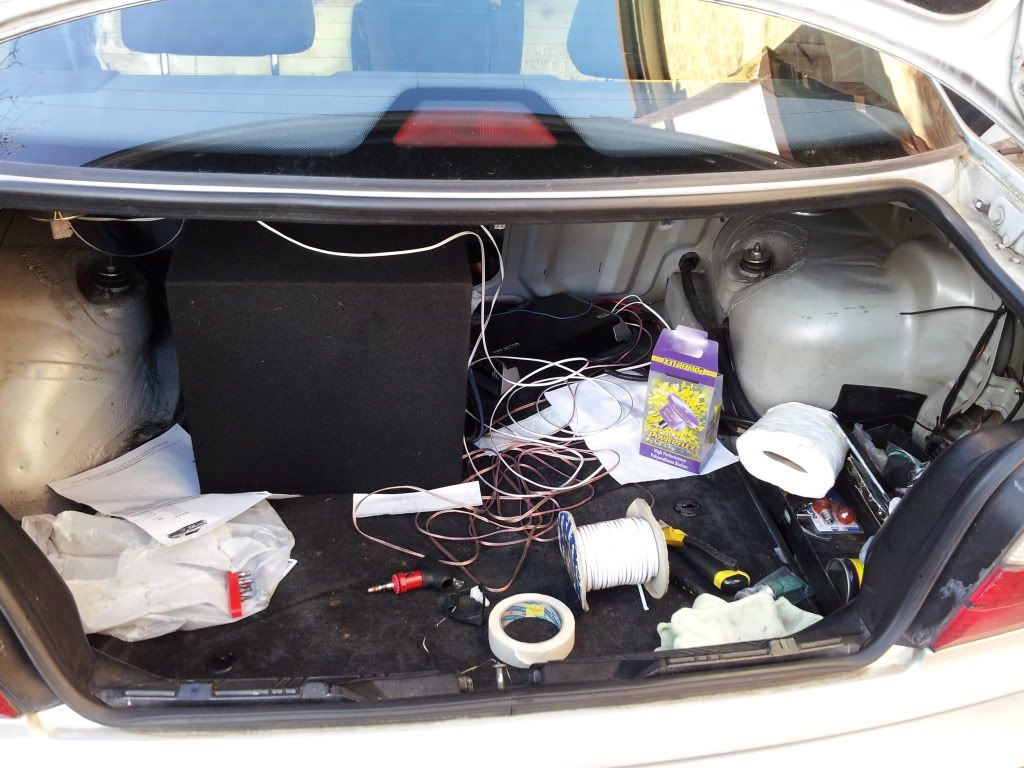
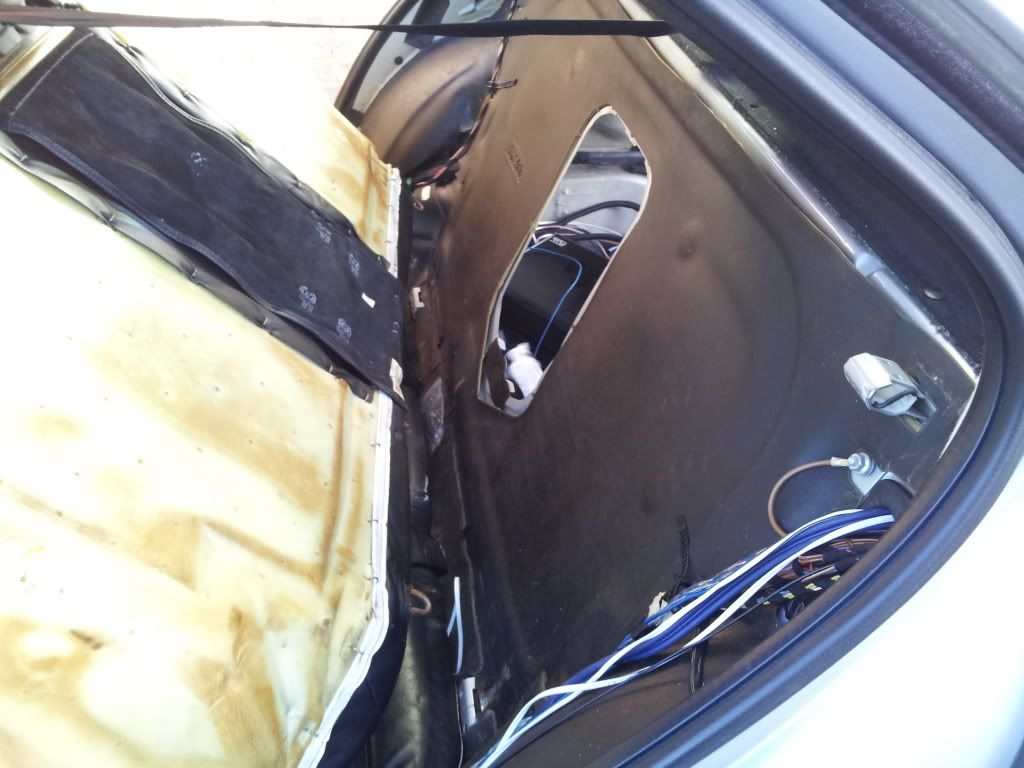
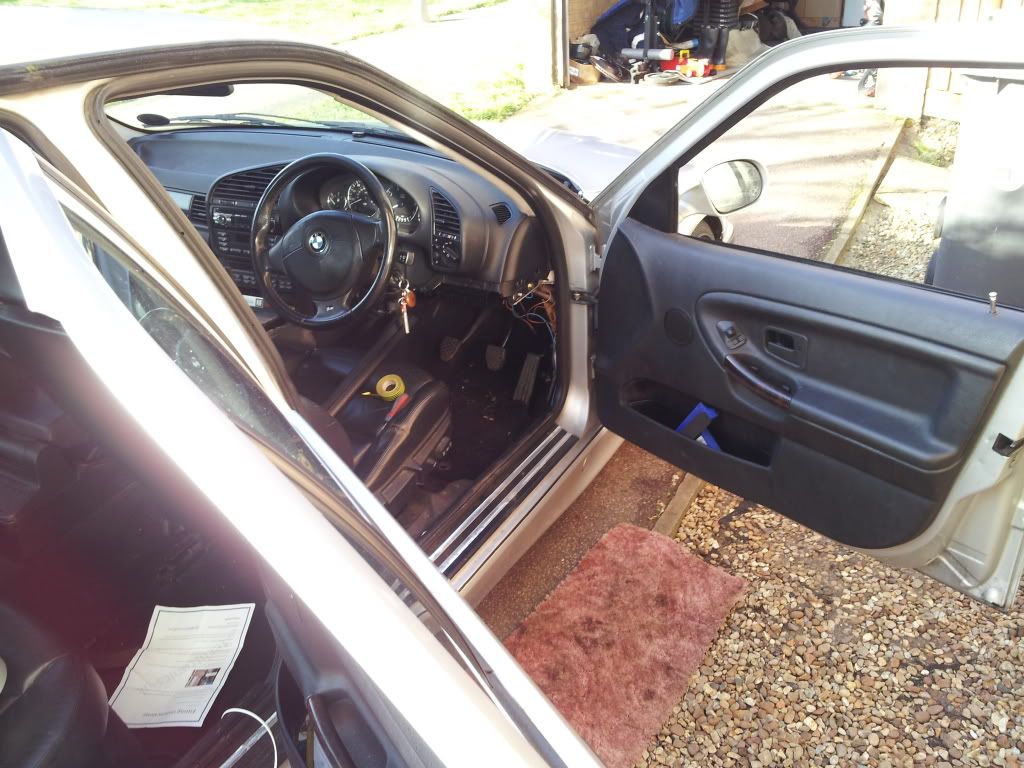
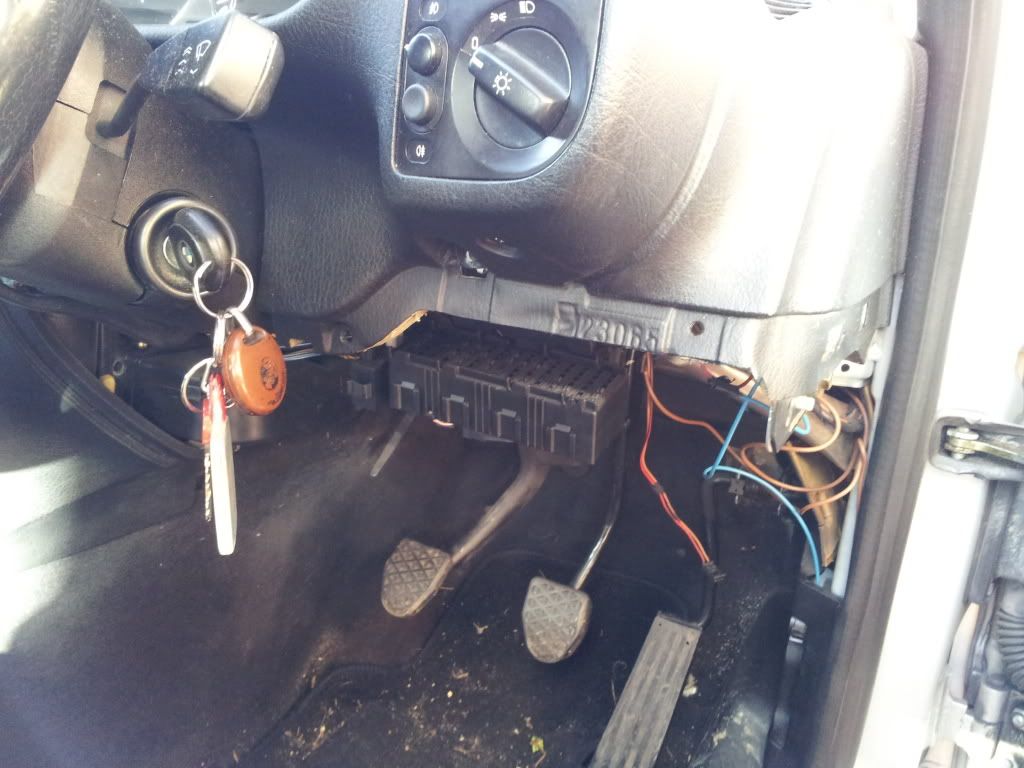
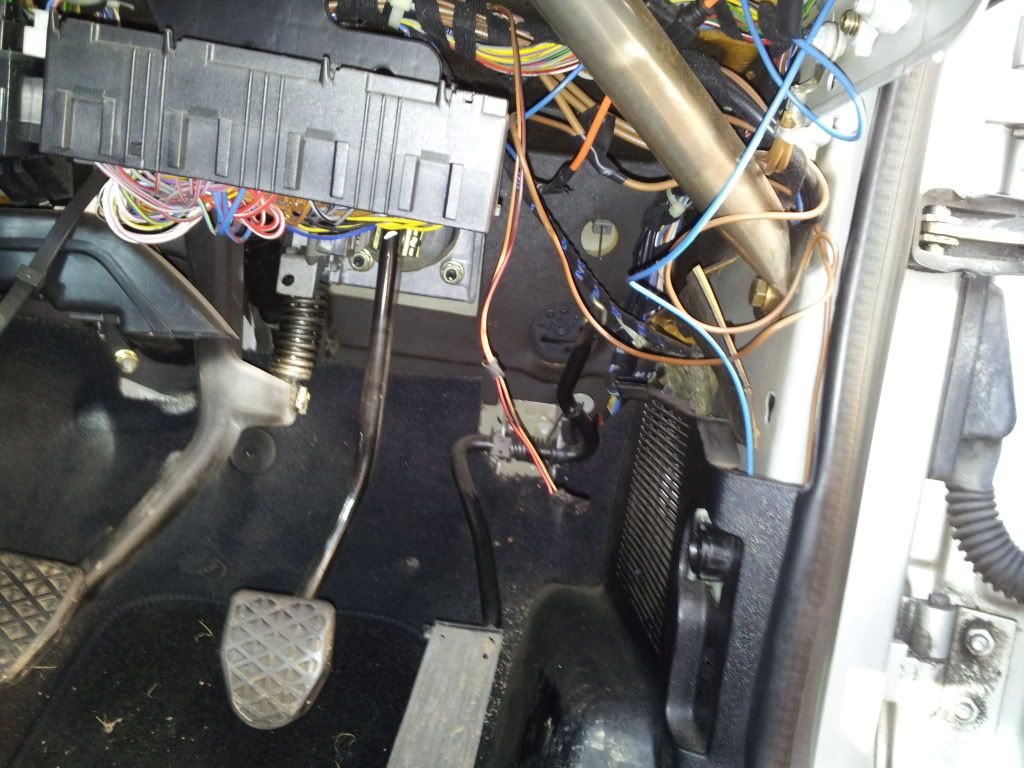
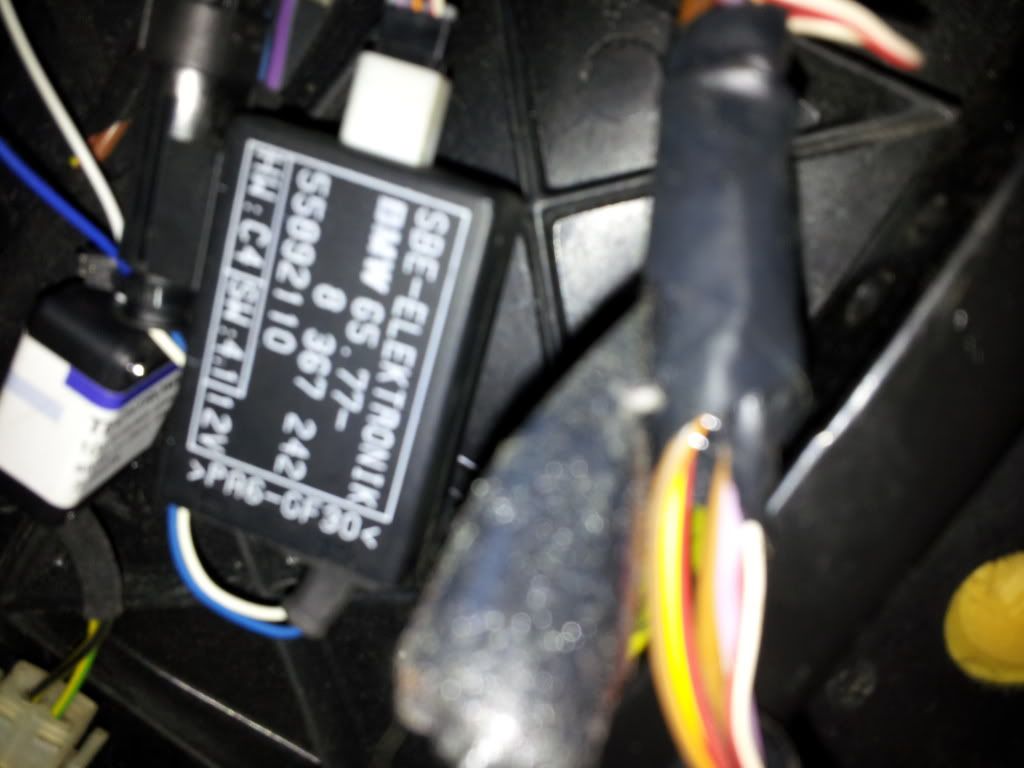
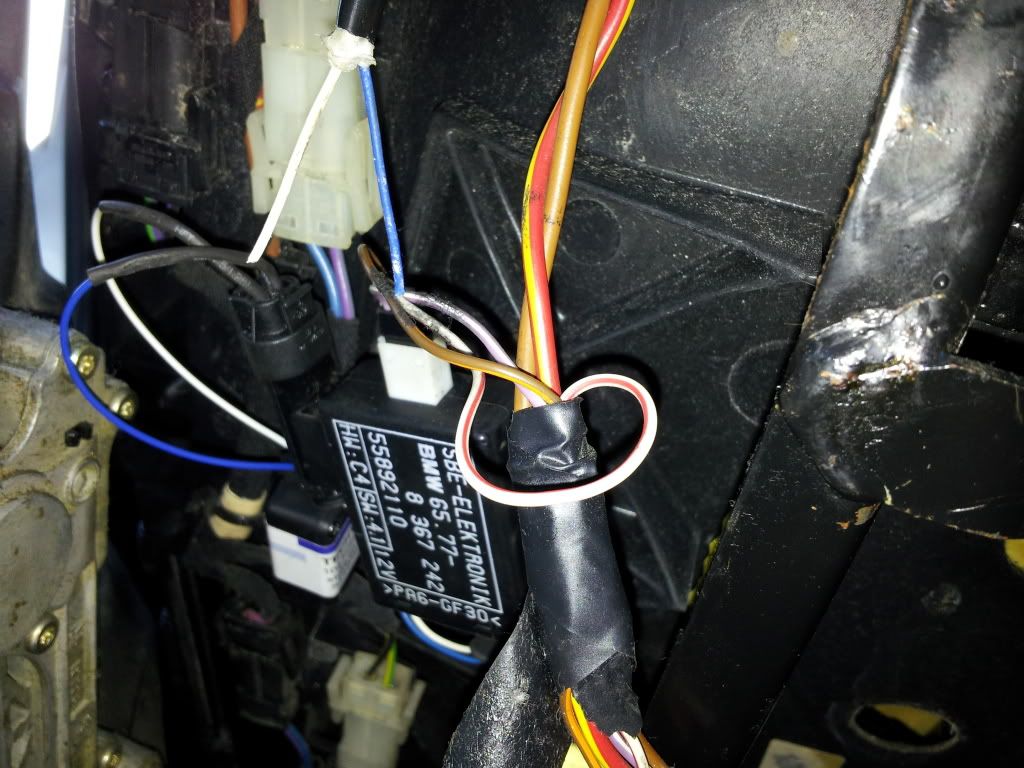
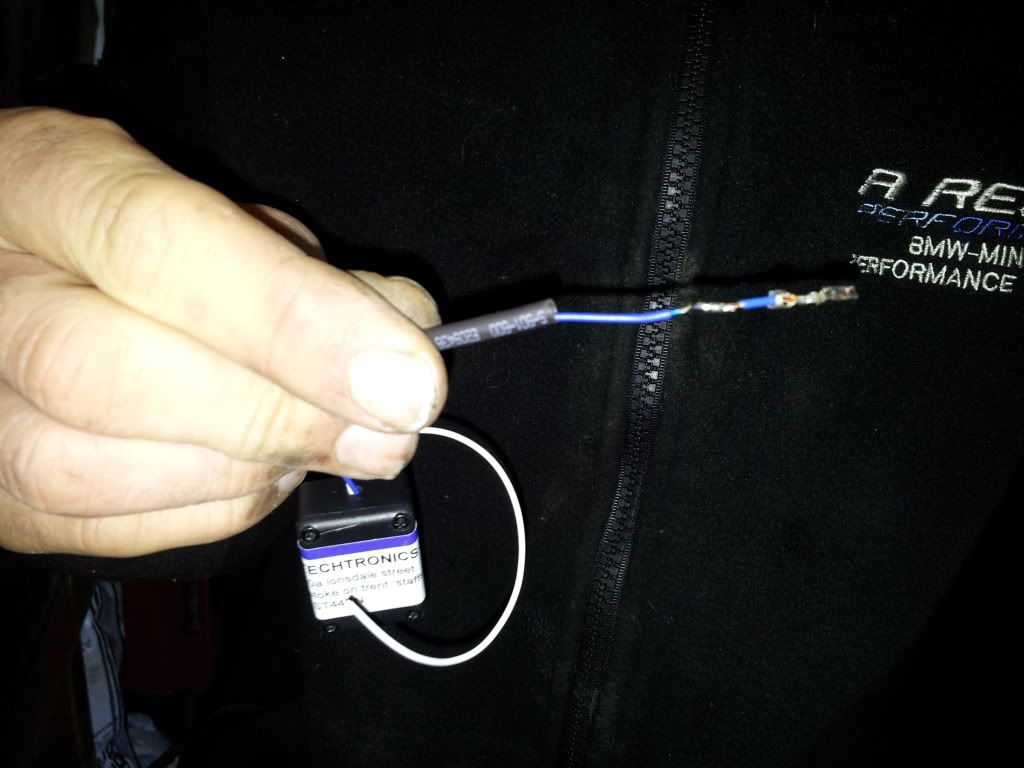
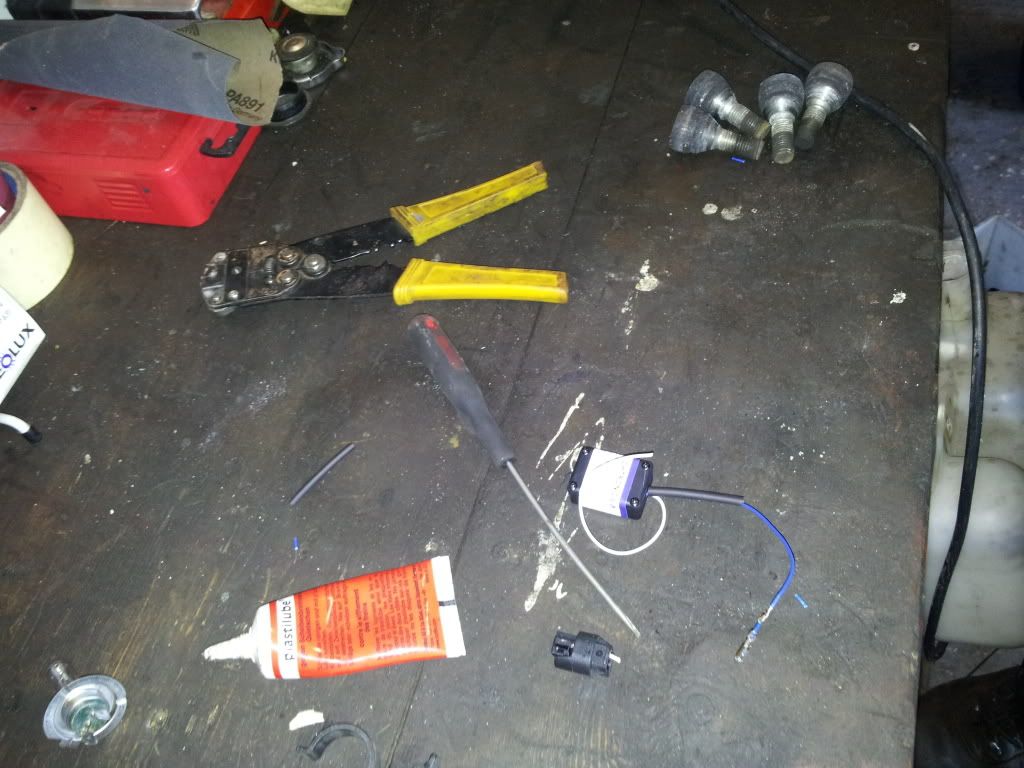
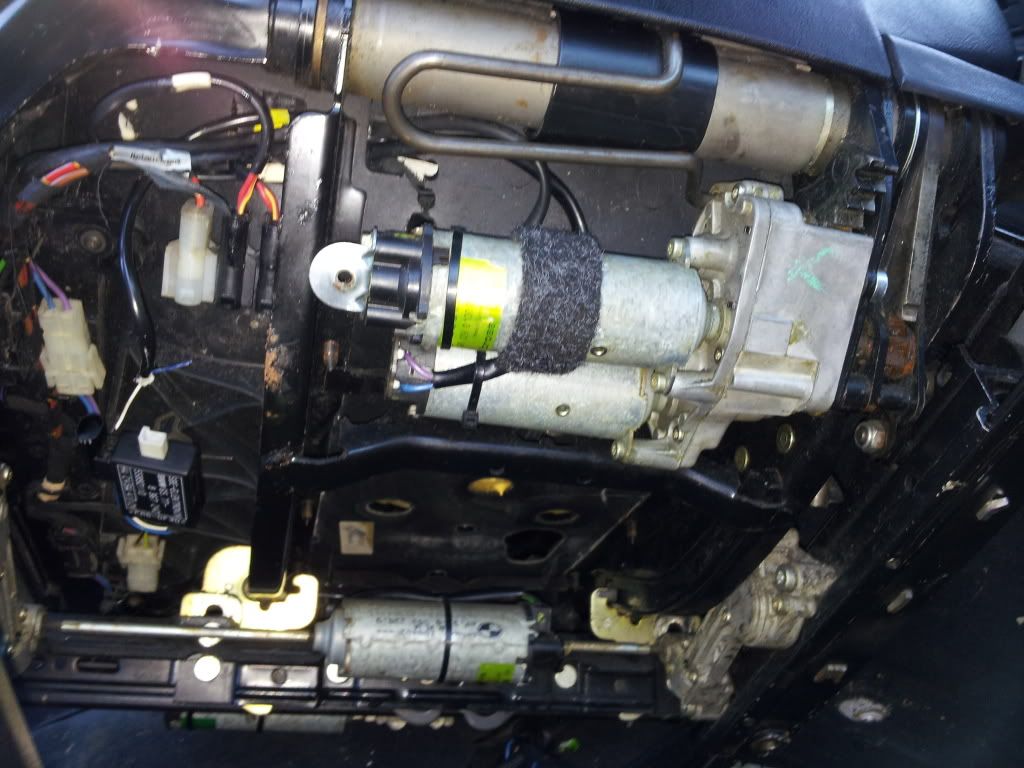
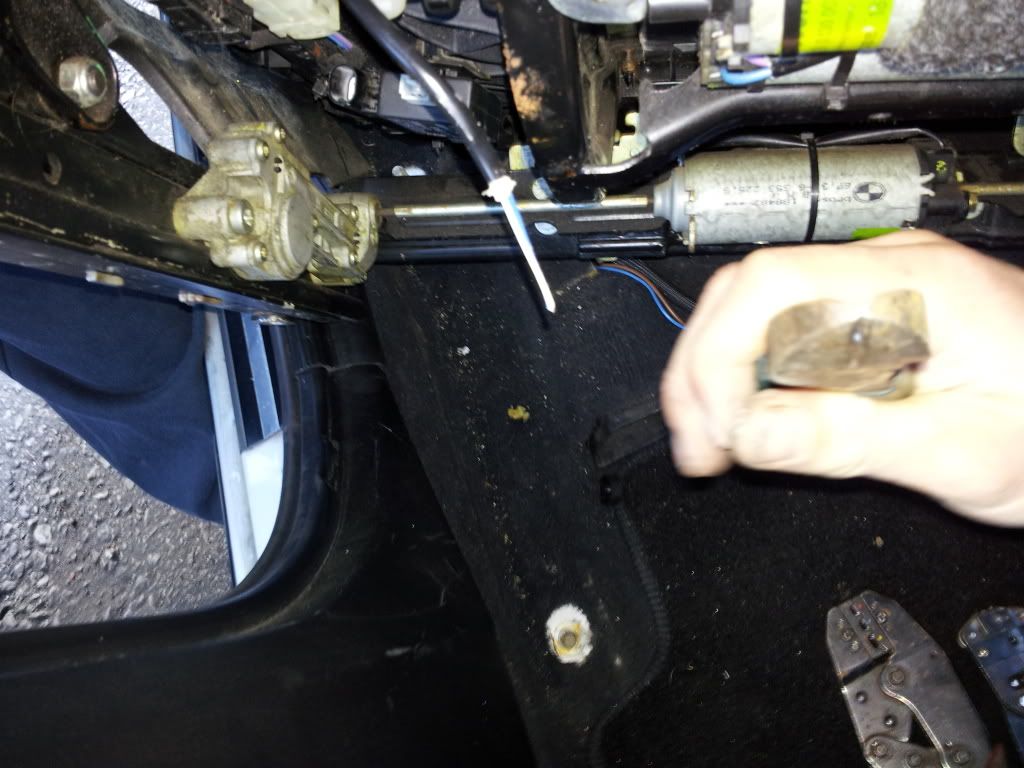
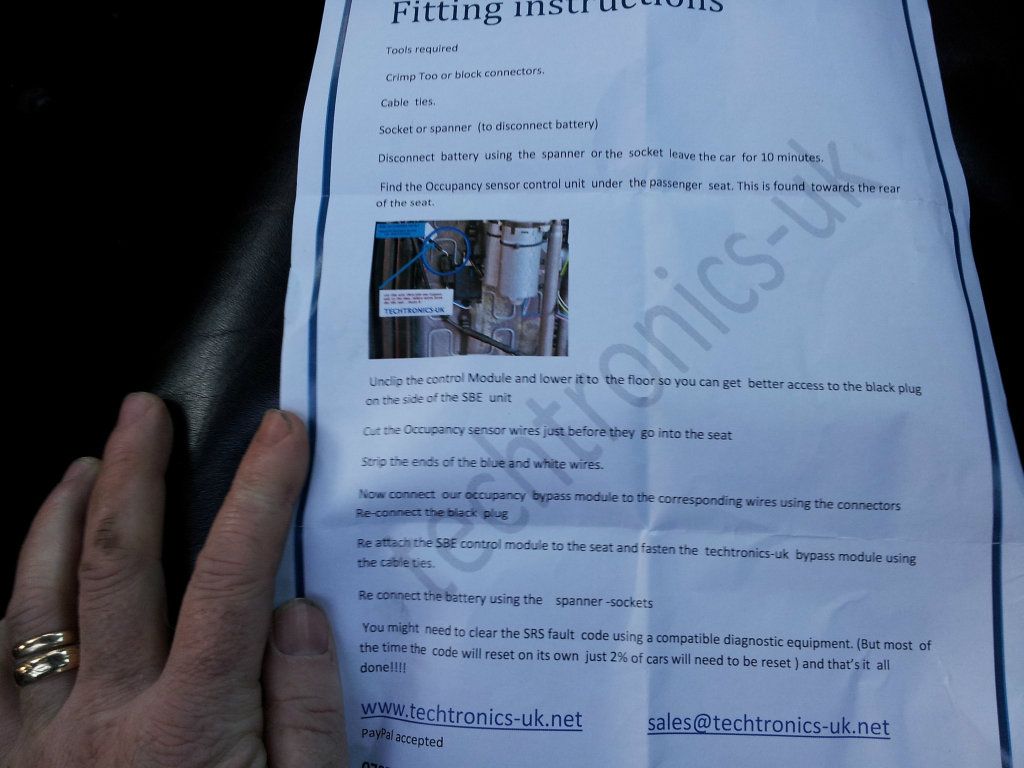
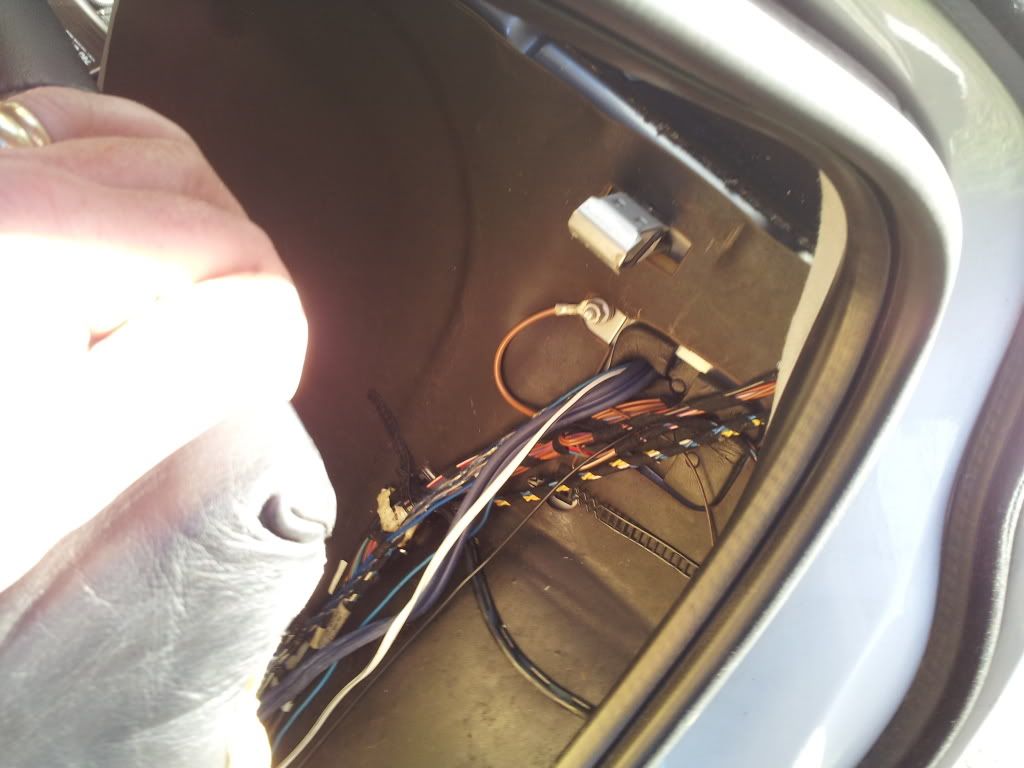
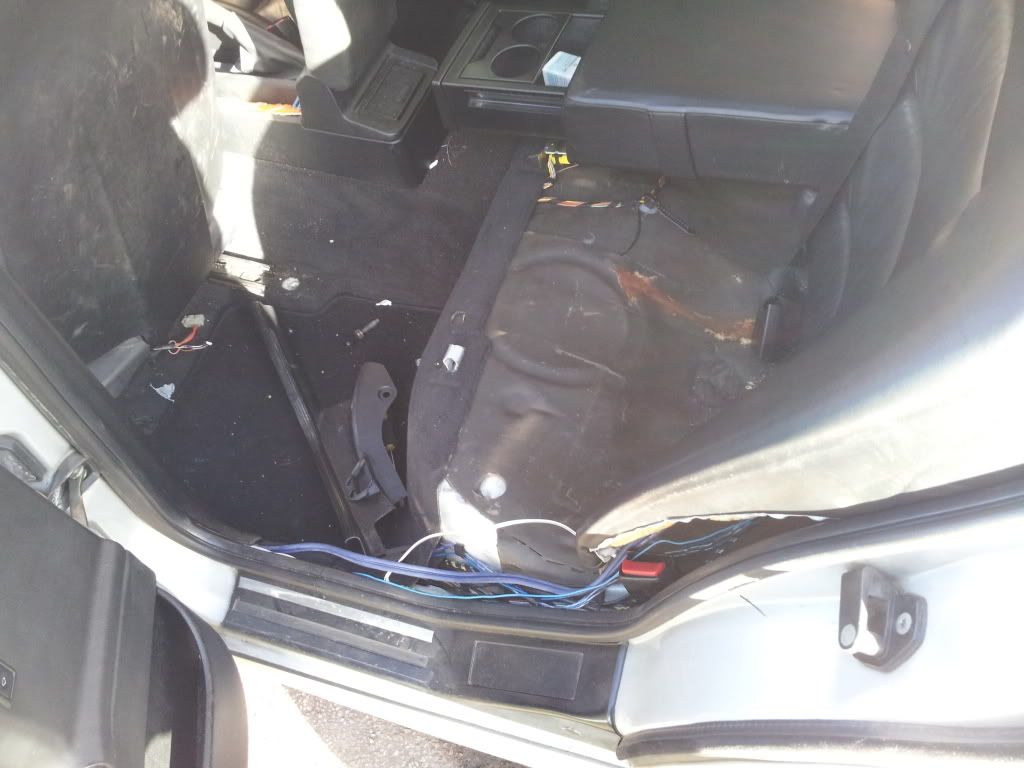
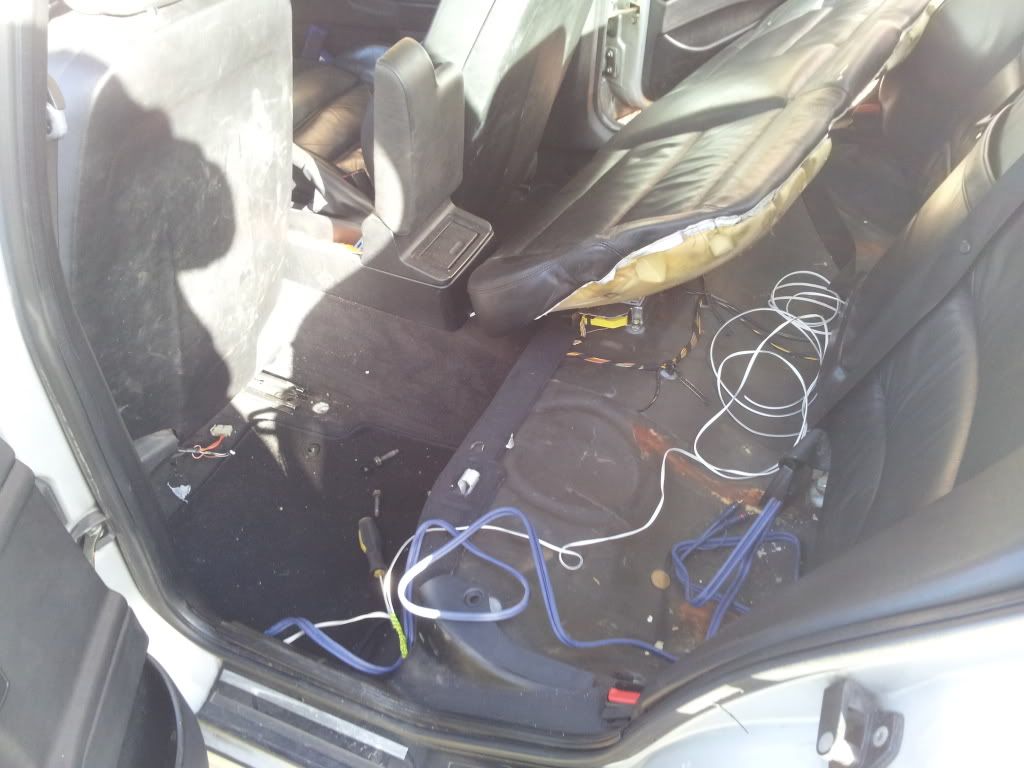
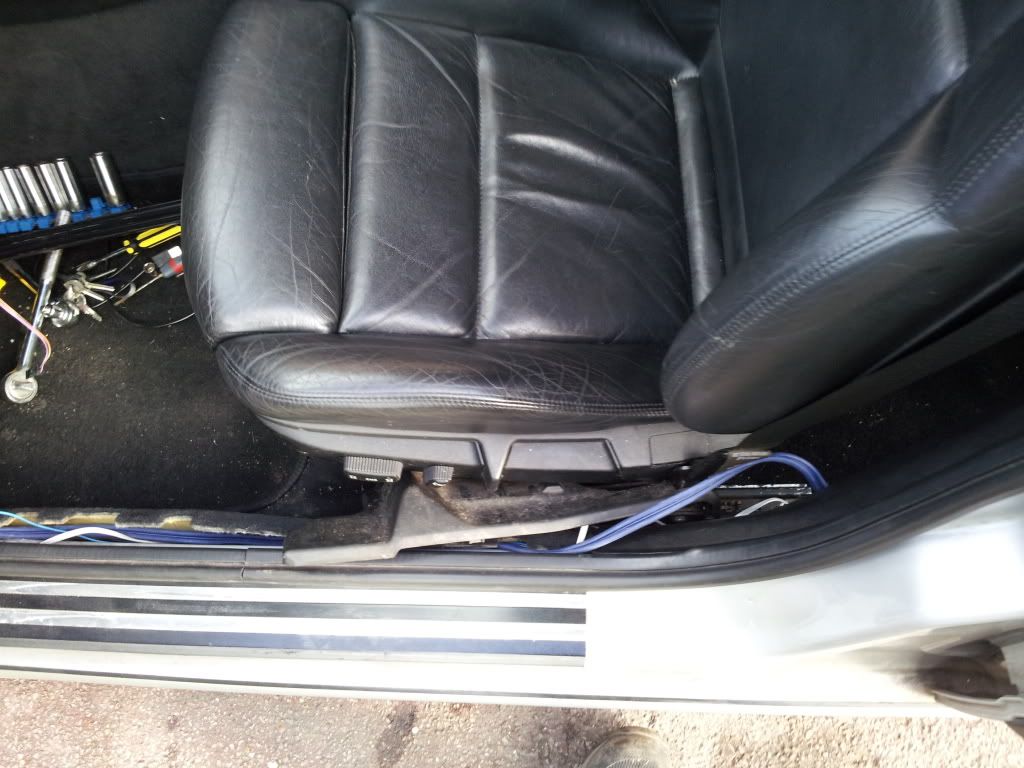
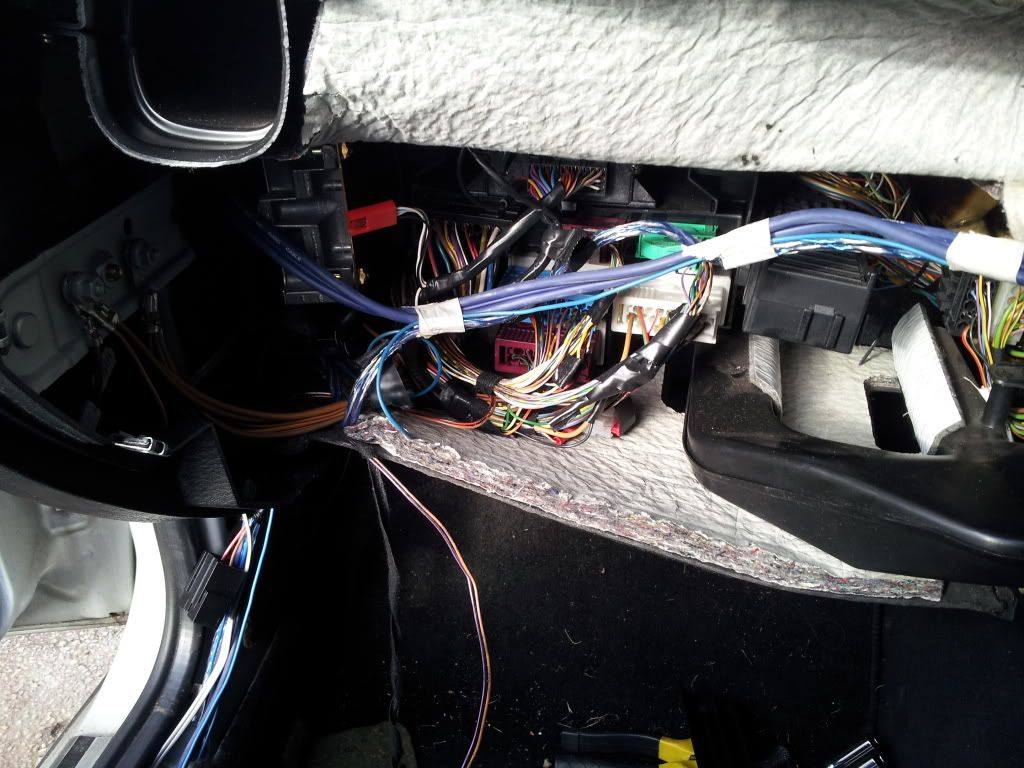
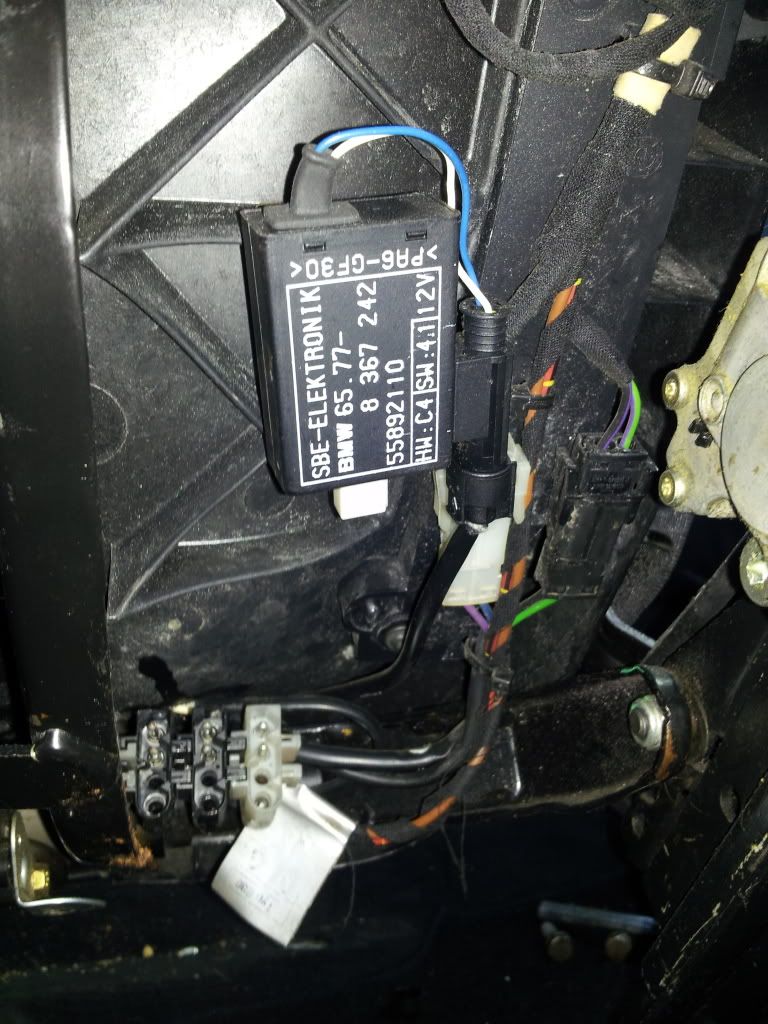
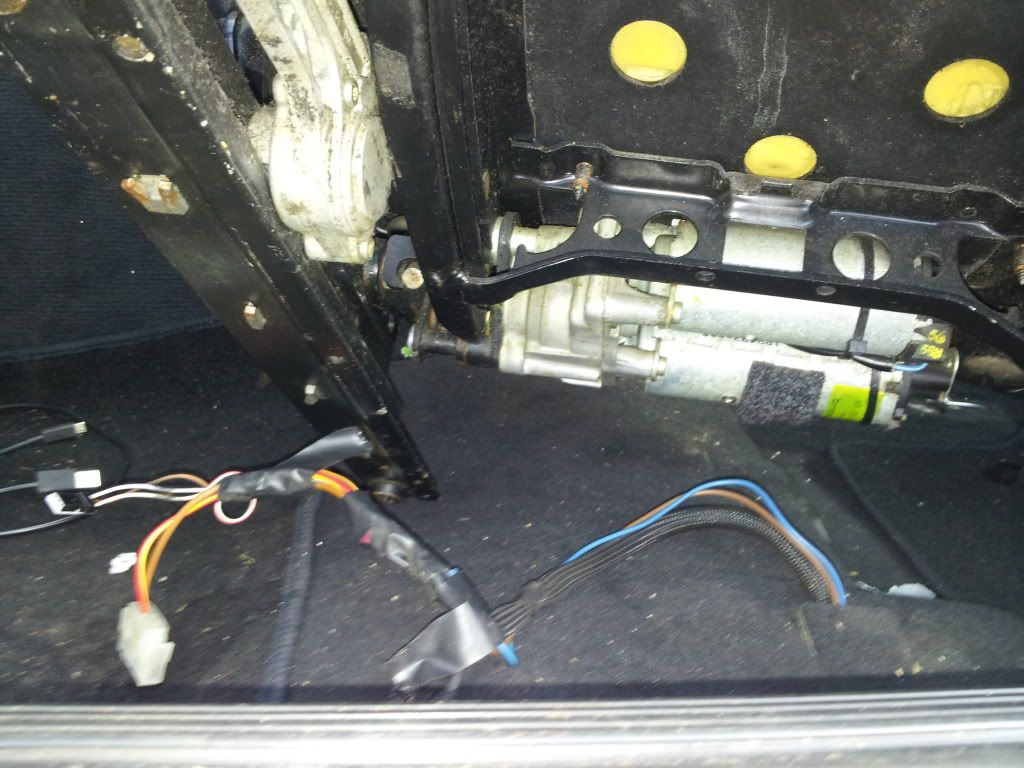
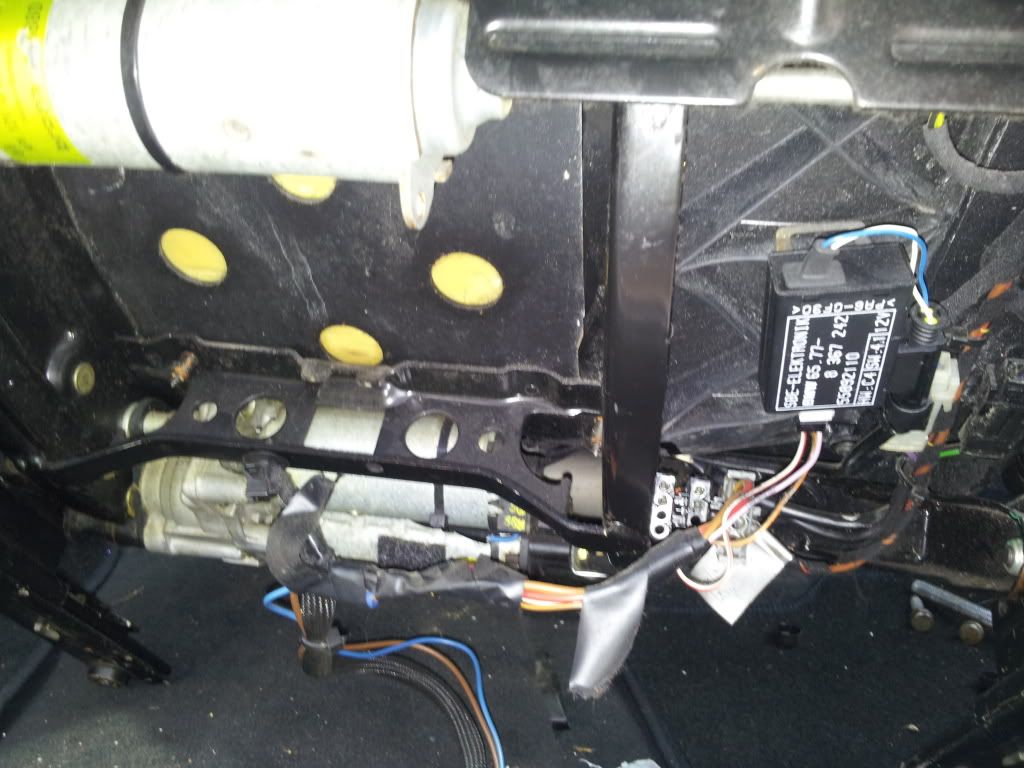
Dont like sitting around so cracked on amping the front speakers and left side done and new rca wires ran through the car with just the drivers side to finish and passenger seat removed ready to fit the airbag bypass which turned up ten minutes after i packed up for the day
THIS UNIT I CHOSE BECCAUSE OF ITS BLUETOOTH FEATURES AND 3 RCA OUTPUTS PLUS ITS EASY TO USE,THIS WILL BE REPLACED BY A MUCH BETTER ALPINE UNIT AT SOME POINT IN THE FUTURE
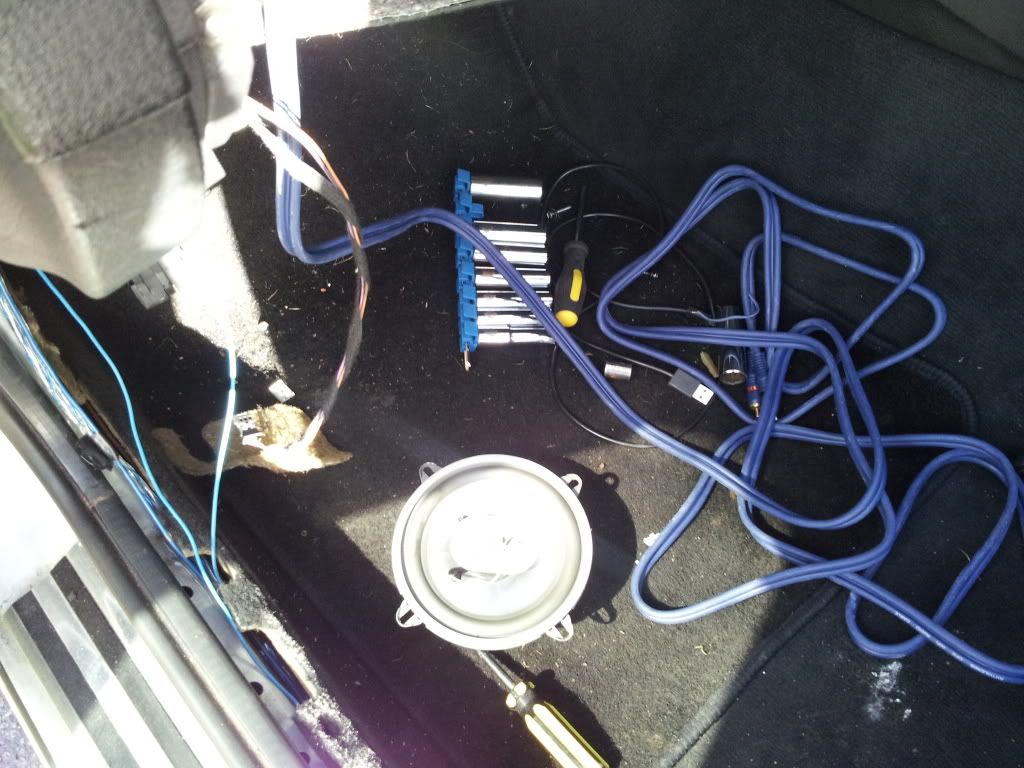
these were chosen as they are straight fits and cheap(180 w)and are soon to be replaced by custom 17cm adapters to fit infinitys or focal speakers once my guy has finished making them for me
rear speakers
jbl 180 w 6x9s in custom adapters in parcel shelf
amplifier wiring kit is 1200w phoenix gold
Amplifiers x2
main one in use is just a fli 720w 4 channel amp at the moment powering the front speakers and single 12 inch sub as a temp measure as my sub amp needs a repair to a circuit board(i might run a fusion amp again for this at some point)
subwoofer
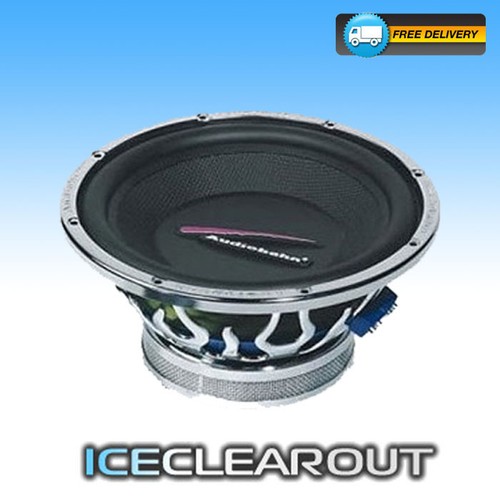
Audiobahn AW1251T 12' subwoofer features:
12' natural sound subwoofer with dual 4-ohm voice coils
2 or 8 ohm operation
400W RMS Power Handling
1400W Max Power Handling
Frequency Response: 24Hz - 1000Hz
Efficiency 92.1dB
Poly coated 2 layer non-pressed paper cone
Non-pressed, Non-Transfer Paper cone
2' 4-layer ASV Voice Coils
PHAT Foam Surround
Bumped and vented polished T-yoke
KM3' Coated for virtually No Cone Distortion
Multi-connect Lug Lock Terminals
Chromed gasket and magnet mesh cover
45 oz Strontium magnet
Mounting dimensions - Depth: 5 1/4' Hole: 11 1/4' Diameter: 12 1/4'
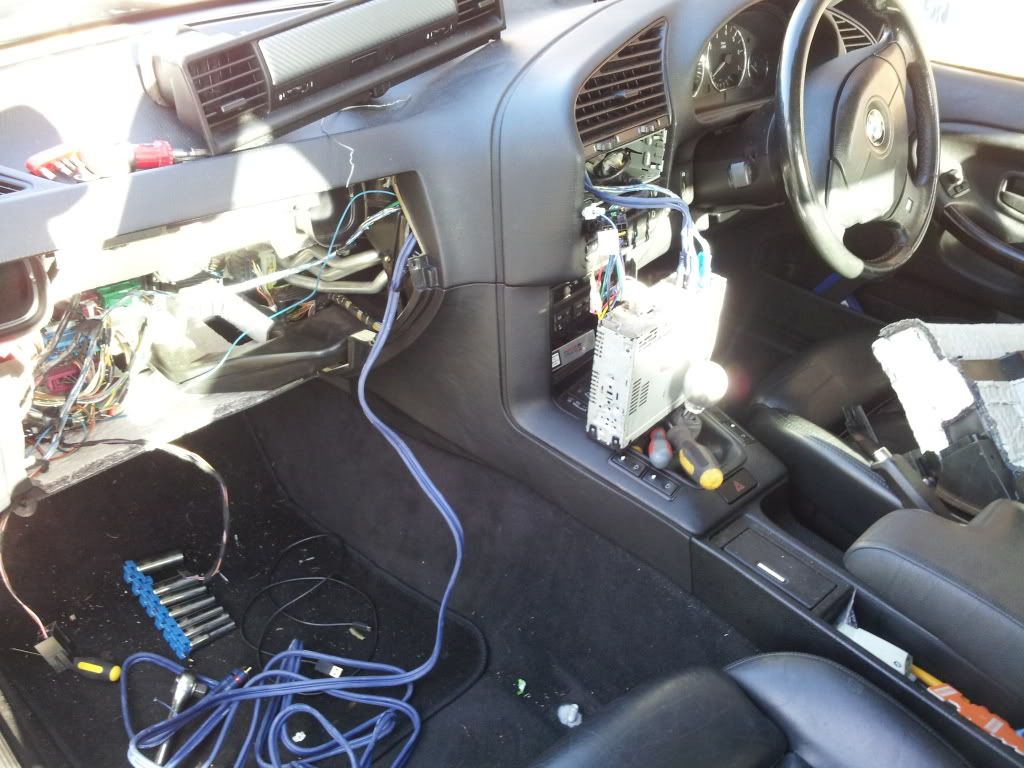
The aim is to get a clear sound without ridiculous power figures on a nice easy budget and so far so good i think.
bare in mind its still far from finished so look a mess at the moment and wiring everywhere and will be a false floor etc etc at the end


Leave a comment: