 Tweet
Tweet
Wow. Ridiculously epic. As if the is wasnt a work of art.
Seriously skilled
Sent from my iPhone using Tapatalk
Seriously skilled
Sent from my iPhone using Tapatalk
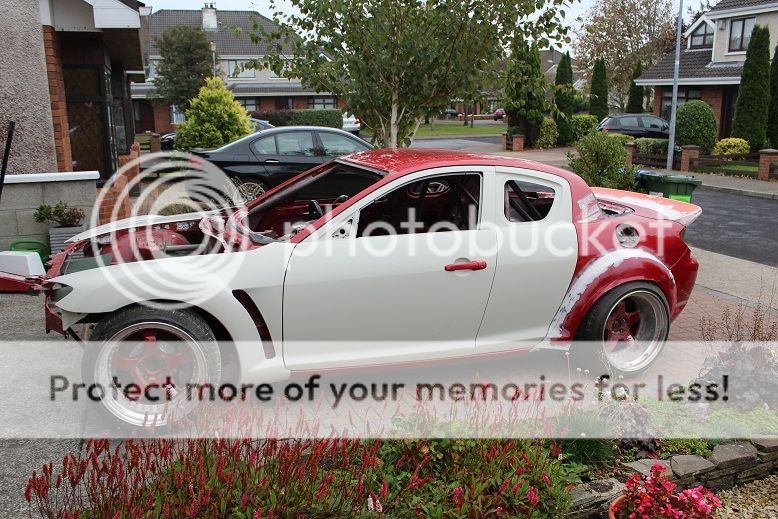

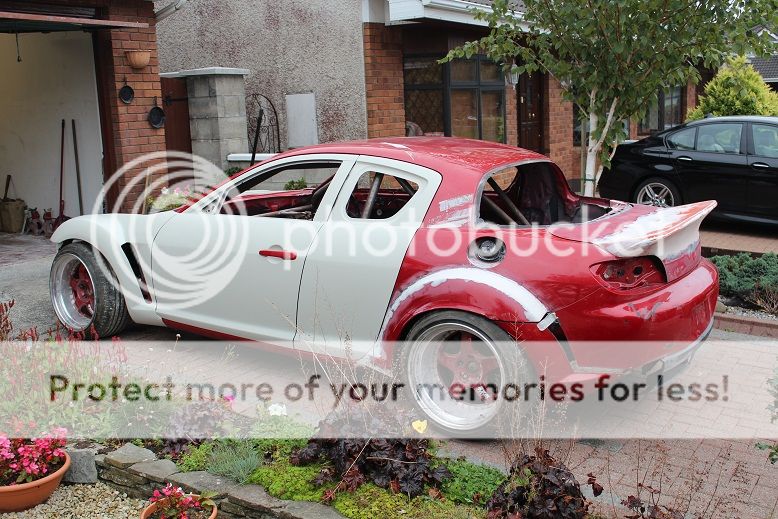


 Will look sinister when done.
 Instagram@jdjurhuus


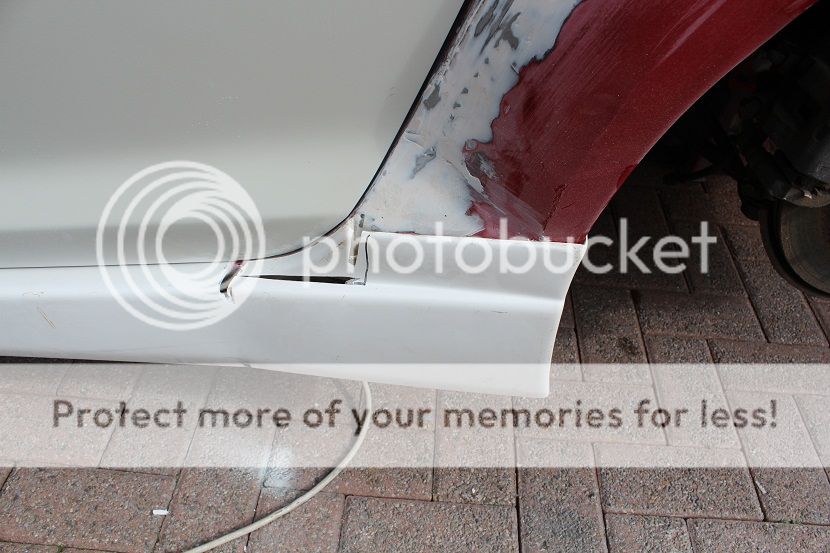
 in the form of the oasis blocks that are used for displays. These blocks can be sanded with very little effort and weigh nothing. So with some impact adhesive I glued in three blocks and a bit of masking tape for 15mins until it set.


Comment