Announcement

Collapse
No announcement yet.

1991 Mini - Project Trig

Collapse
X
 
  • Filter
  • Time
  • Show
Clear All
new posts

  • Mini 360
    replied
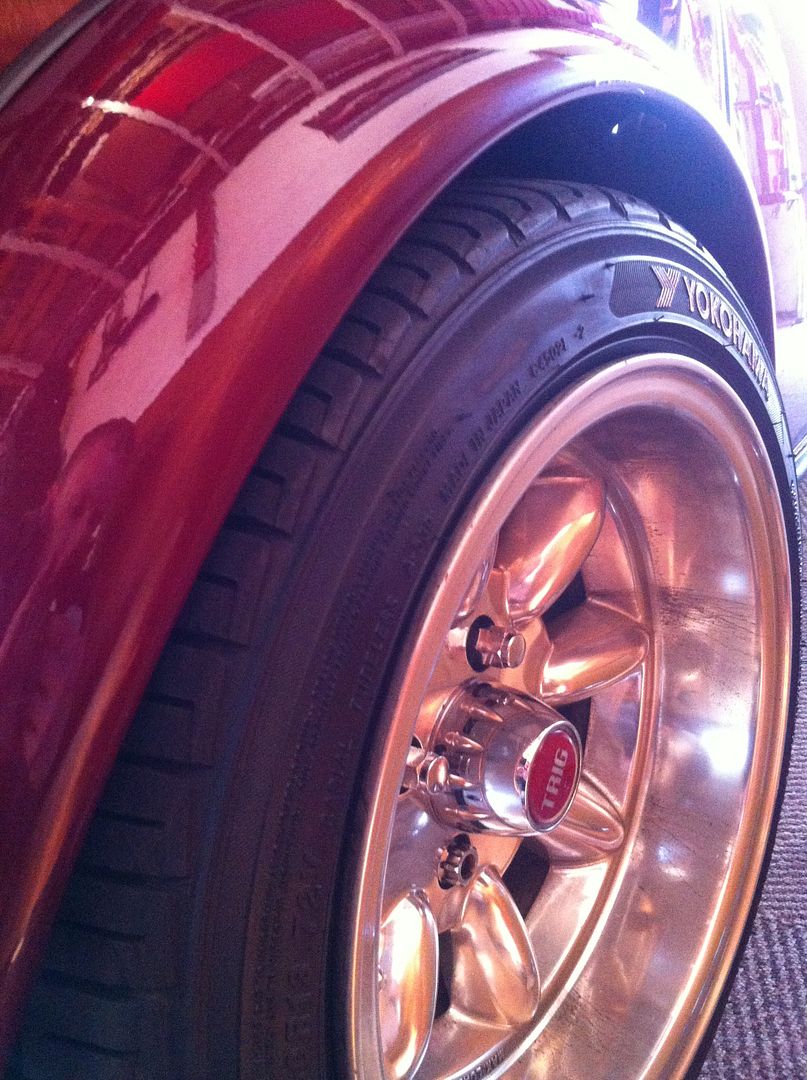
    Had to take pics of the car for insurance. THey didnt want a 3/4 view so you can have it instead Need to sort rear ride height.....


    IMG_9705 by Andrew Forbes Photography, on Flickr

    Leave a comment:


  • Mini 360
    replied
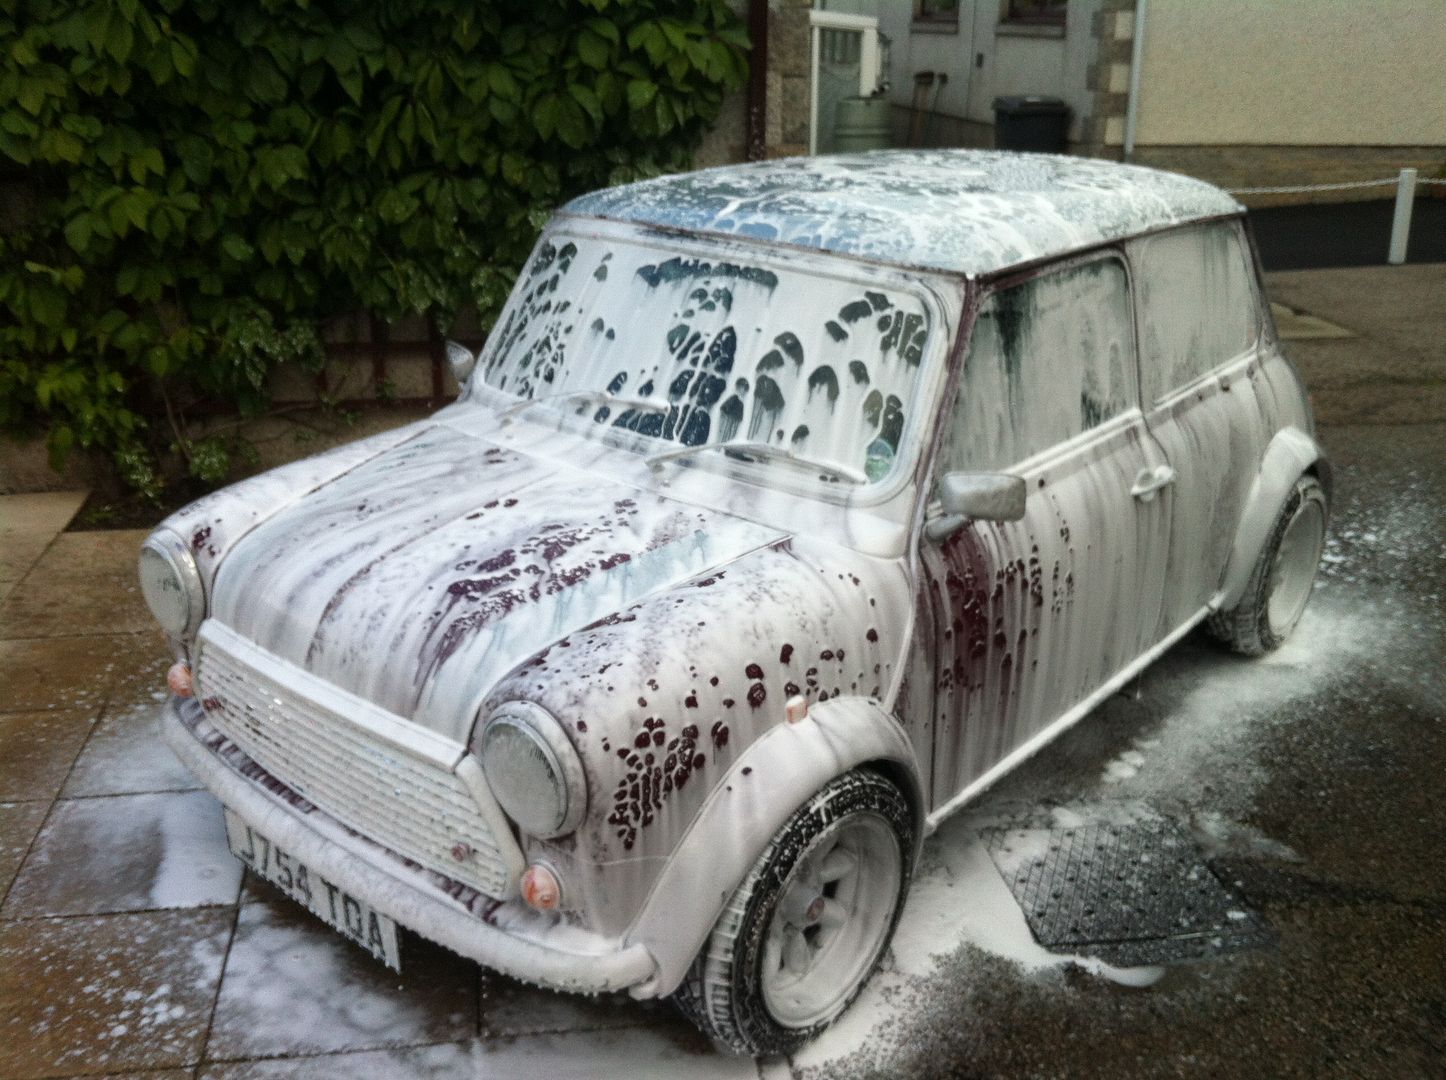
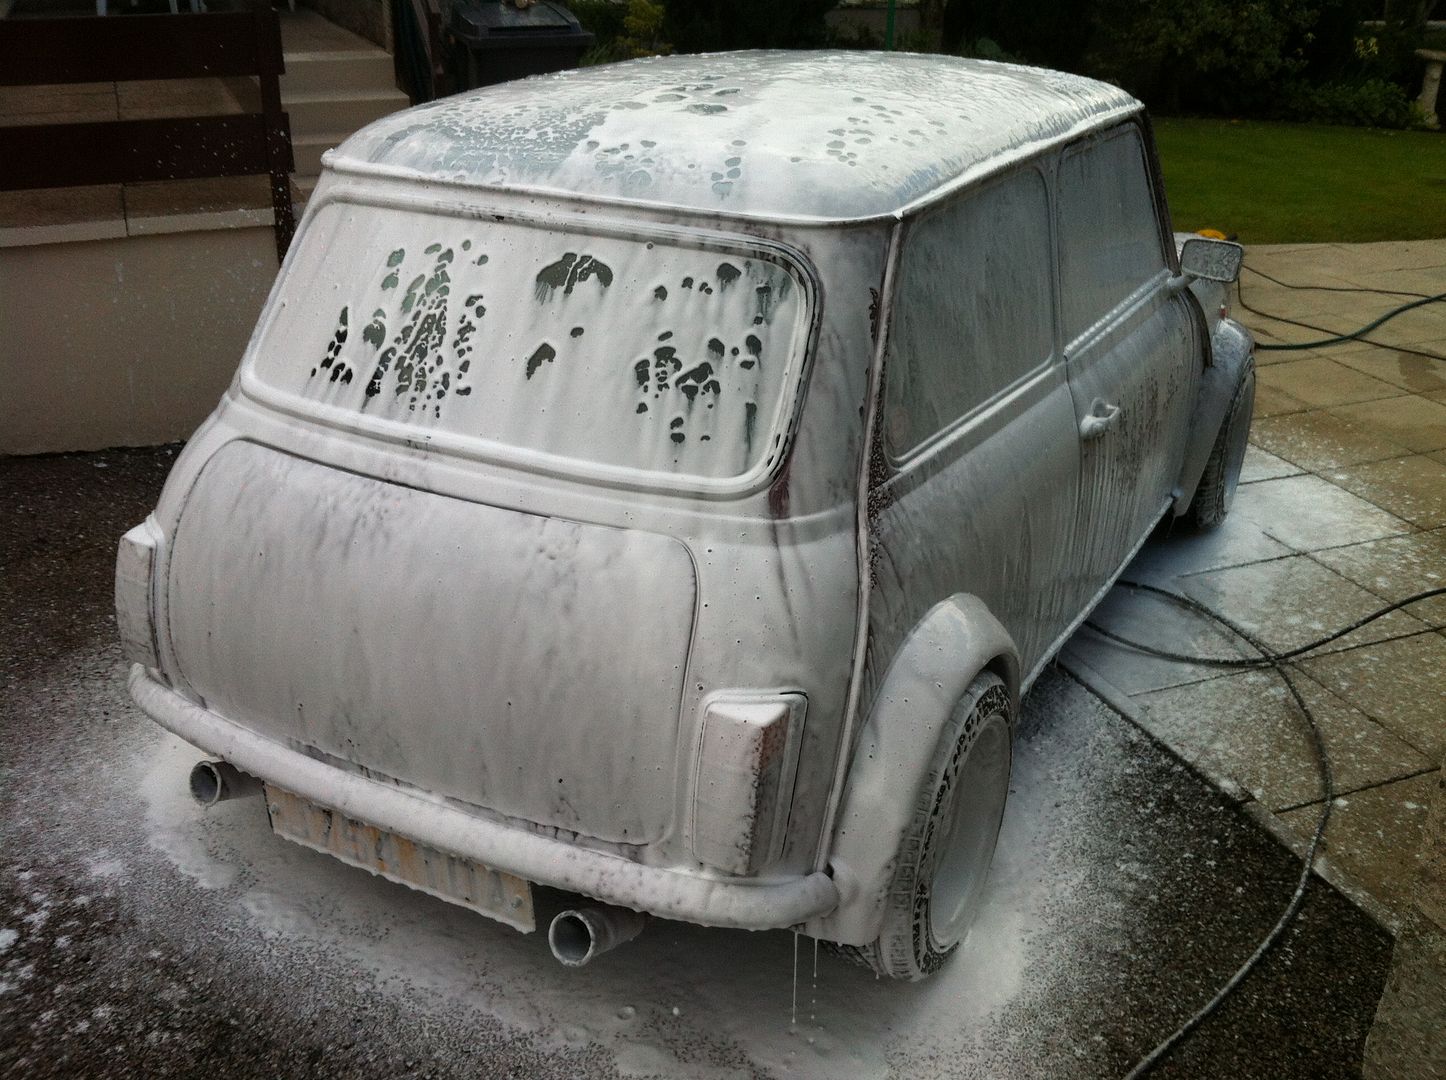
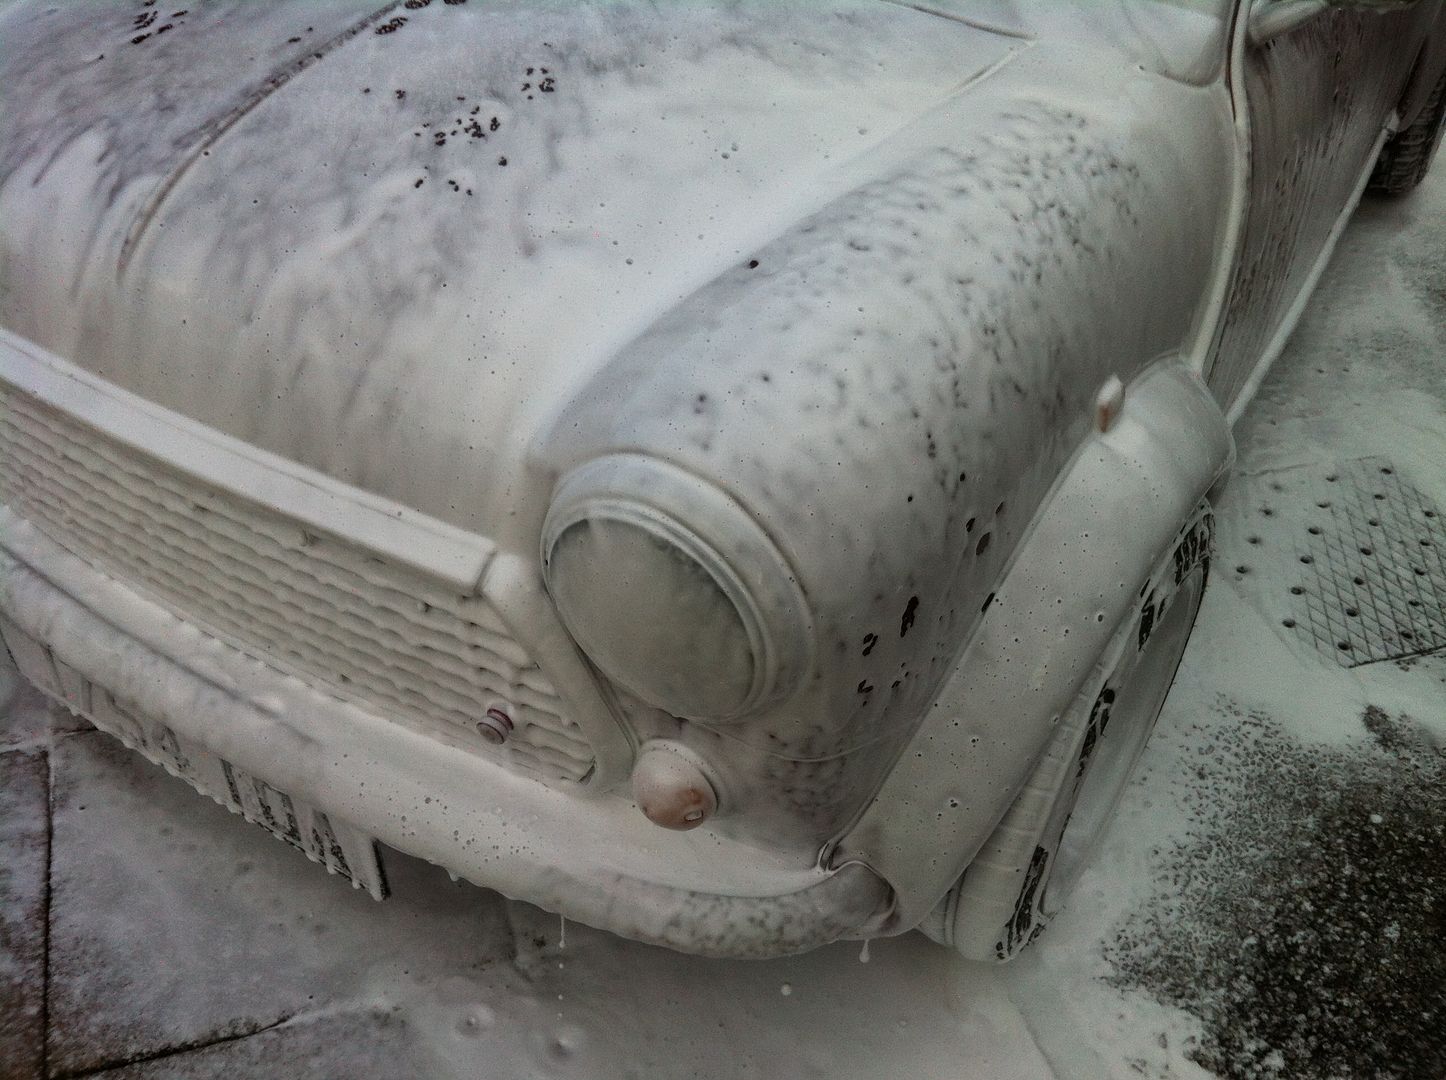
    So I needed to take pics of the car for insurance so they could confirm agreed value I have requested for the car. Needed a wash after Tain though so finally got a chance. Thankfully it wasn't too bad but a fair amount of dust had settled on it from the garage so the foam came out to play.


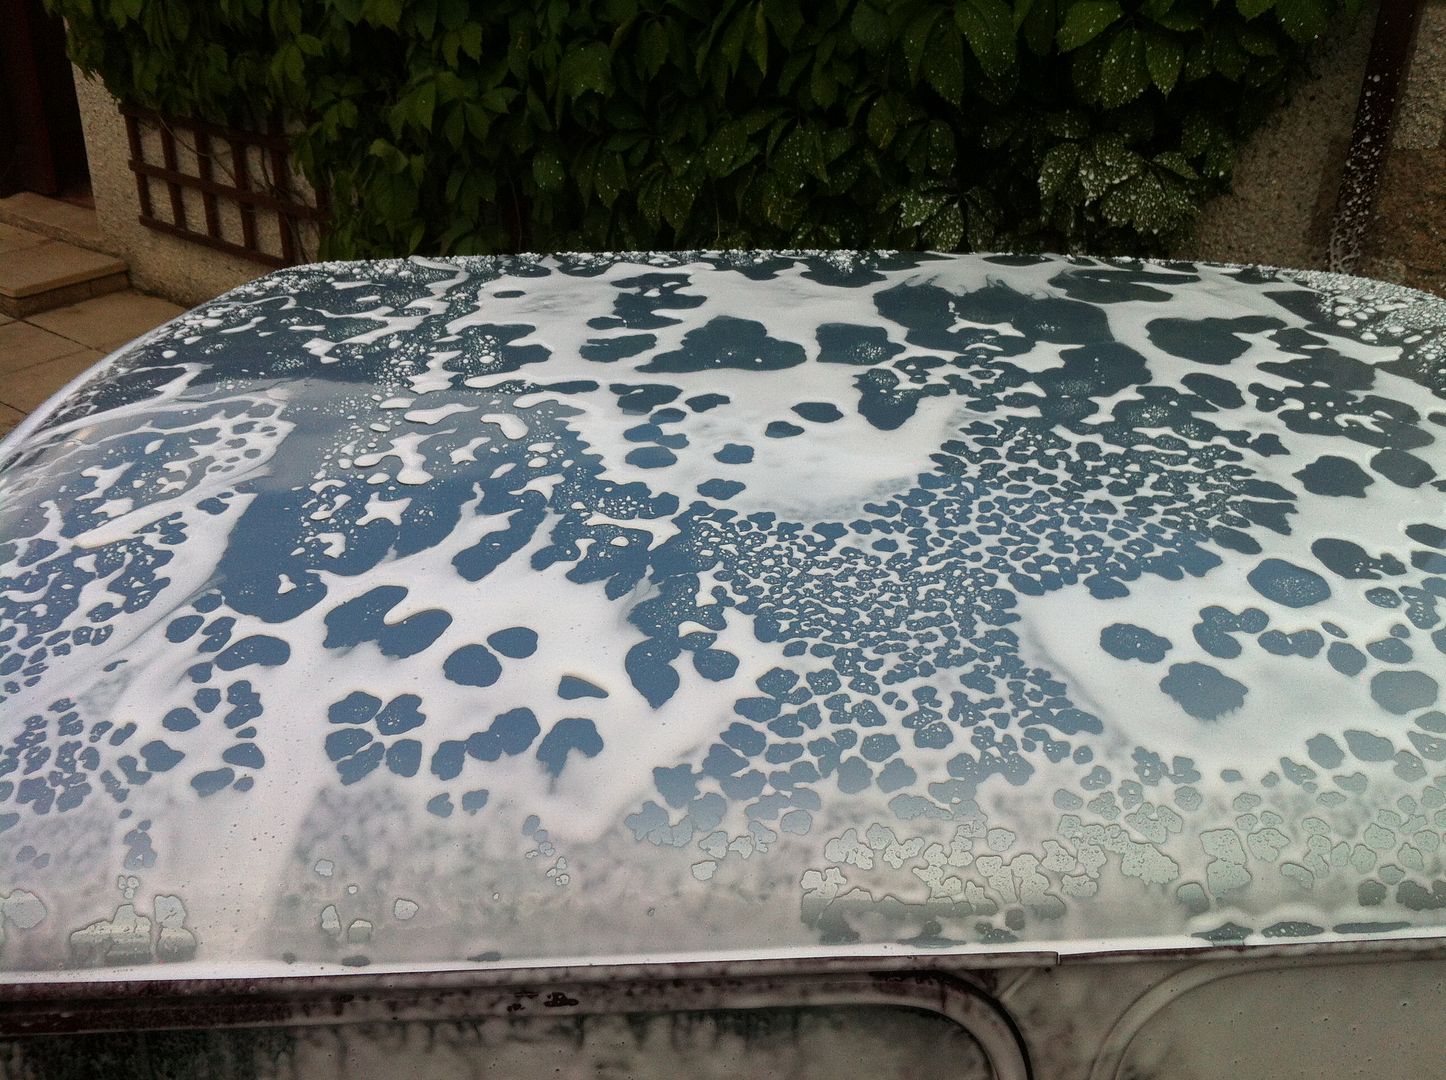
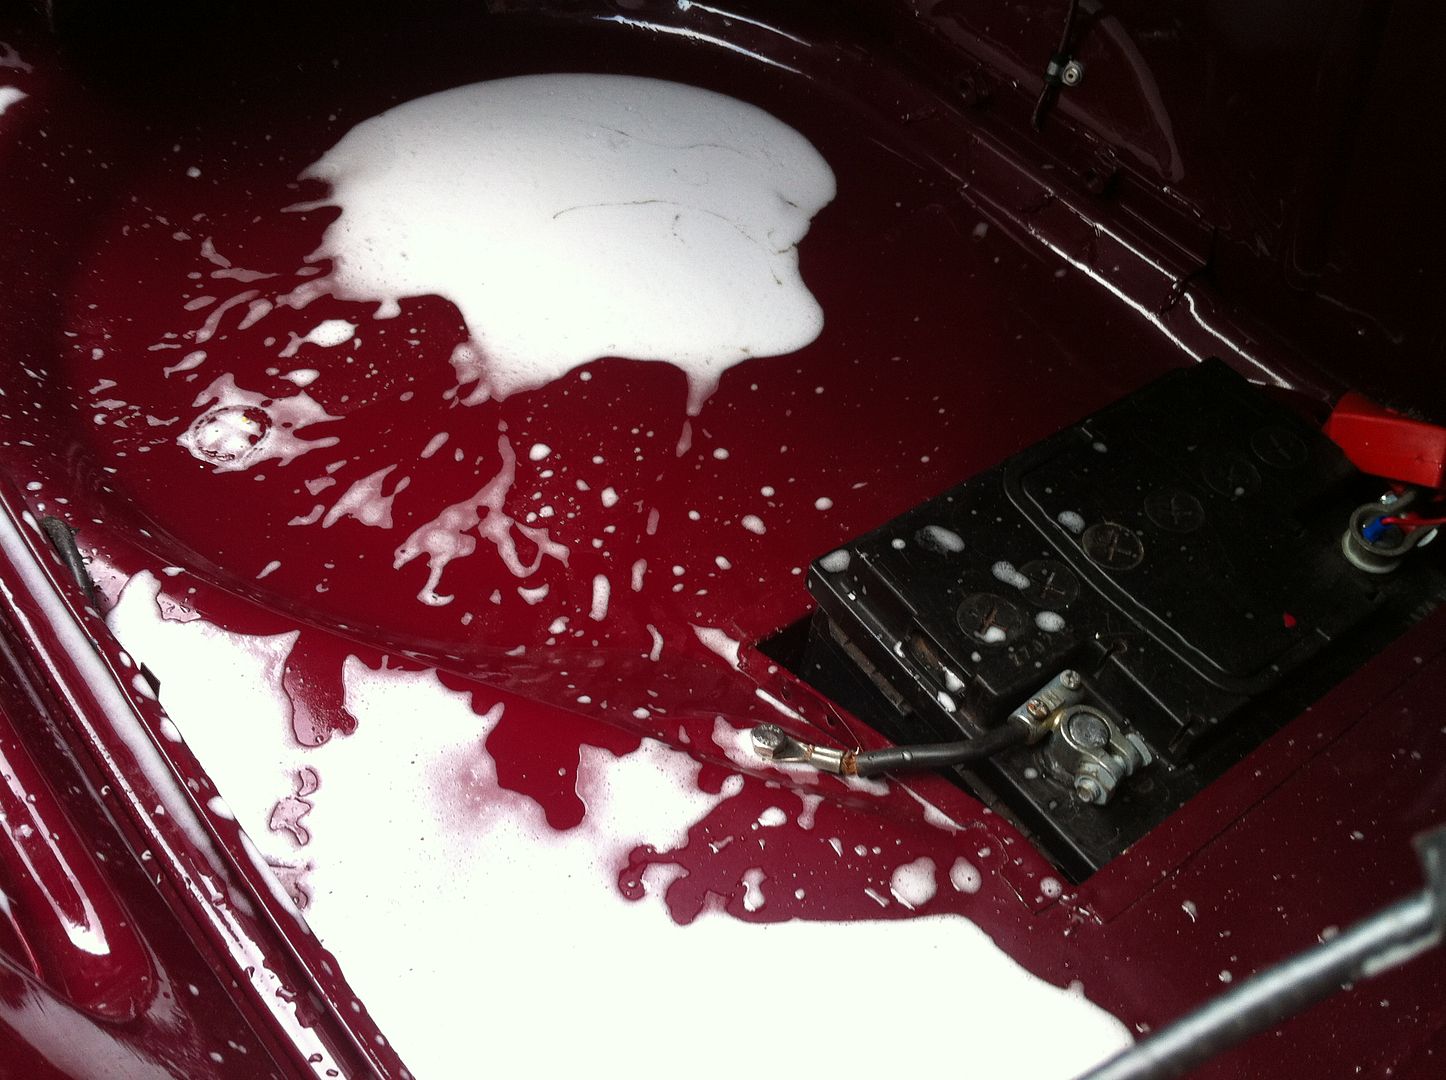
    Problem with having a car with ace paint and a well protected finish? Snow foam doesnt want to cling onto it......


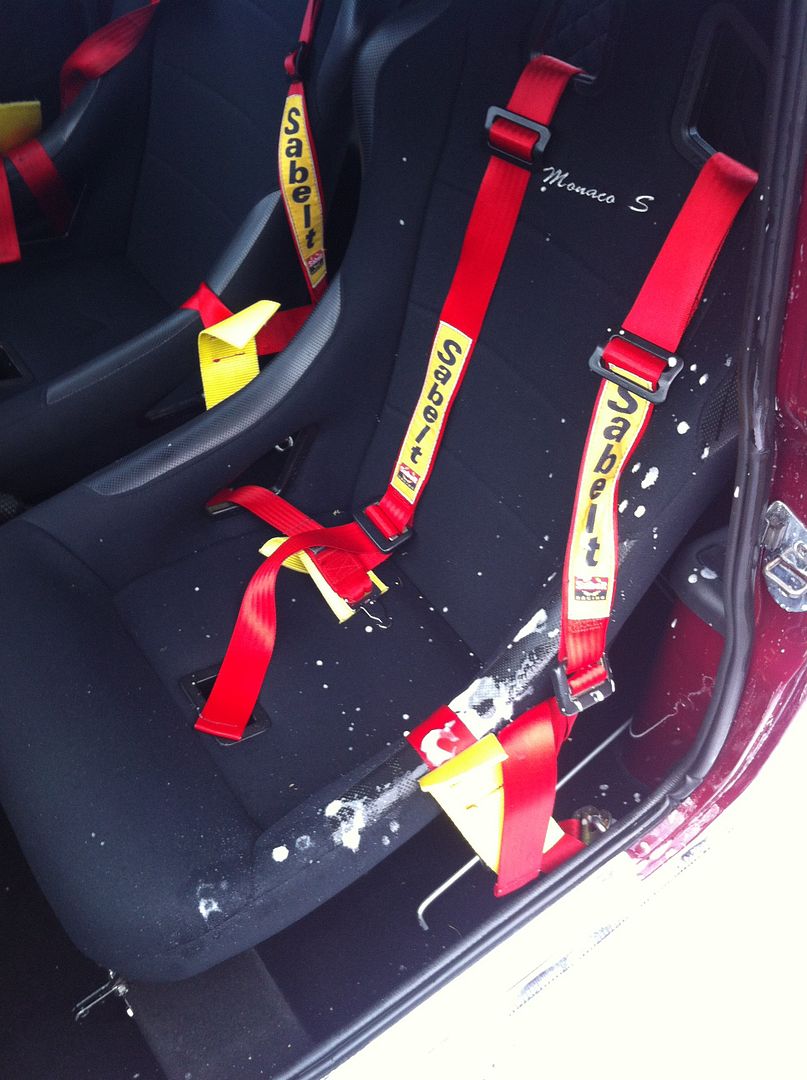
    Identified a few issues......top of the passenger door doesnt touch the seal it would seam....


    and not fitting a boot seal has its downsides....


    Just as well it's not an all weather car! Sadly the rain came on so no photos tonight but will hopefully get some done tomorrow!

    Cars leak is fixed, still got a wee drip from somewhere but it is minimal which is fine. Its a mini after all. They leaked as standard from the factory :lol:

    Leave a comment:


  • Mini 360
    replied
    Rough ride quality issue solved! Thanks to '78 pickup' on scottishmini.co.uk it was pointed out my shock mounts were in fact on the wrong sides of the car....thus limiting the travel of the shocks by 50% as they were half compressed standing still! This also meant it was raised far too high even on lowest Hi-Lo setting!

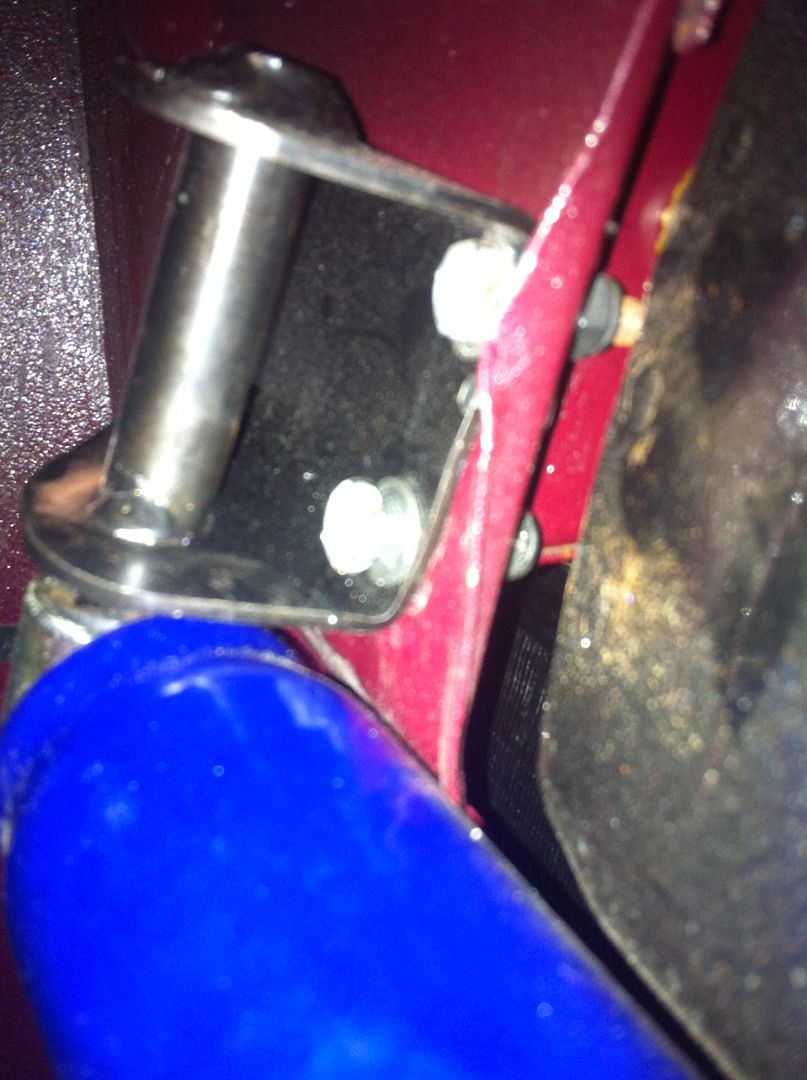
    So set about swapping them over. Bolts were easy to undo but these two weren't so willing to come out. The threaded block behind the panel was rusted out at rebuild so we drilled it out and put a nyloc nut on the back. Never thinking we would have to remove them again......

    With some persuasion of the panel and a thin spanner they were oot!


    Swapped over the mounts, shocks back on and down on the ground again. Vast improvement!


    And with jumping up and down on the door step....


    We achieved our ride height MUCH better! Took it out a wee test run and the ride is 10x better. Need to now stiffen up the fronts as they roll a little bit in the bends but that will come with time and fine tuning

    Leave a comment:


  • Mini 360
    replied
    So you may have noticed theres bee little to no updates since the initial MOT failure last week. Well thats because I've been a bit busy!

    With the MOT failed on emissions, headlight alignment and horn not working, I got it sorted and my dad took it for a retest on Thursday which is passed with no advisories. Ready to go!

    With MOT and tax in hand I got going with the show prep. The rear wheels had been done a while back but the fronts still needed a lot of attention. One had pitted quite badly, so it was out with the wet and dry and I set to work fixing it.


    it soon came up to a mirror sheen again after using autosol by machine and a final once over with mothers. Protected with GTechniq C5 wheel armour as per the rear wheels.


    The rest of the car was showing signs of pollen drop, so I gave it a quick wipe down with AutoFinesse Finale to remove it. Then I put on some sealant to protect it for the journey to tain, whatever the weather brought!

    Wax on...wax off.....


    which resulted in this finish all over. Happy with that!


    And with the final prep work done, tucked it into bed for the night before its big day. :lol:


    The following morning (6.30am on a Sunday!!!) I met up with some local Minis from the Aberdeen Mini Owners Club and we set off to Inverness where we met up with the Inverness Mini Owners Group to make a final convoy into Tain itself but we needed a Burger King breakfast first though


    We got there about 10.15 with no issues. Relieved! Thanks to the well organised events team, we were distributed to our relevant classes within minutes. I entered in the custom class as so much of the car features one off pieces. It didnt really fit into the classic classes given its only 21yrs old and not to original spec.


    Within seconds the car had folk round it but I busied myself cleaning the grime off and got it to its fully open state.


    Popped a couple of 'before' photos in the screen to show what it once was like. So many people didnt believe it was the same shell!

    Spent most of the day talking to interested folk and the majority had one 'back in the day' so it was good to hear all their stories. Kids loved it and a few got their photos taken in it. Happy families all round. Its what car shows are all about

    The judges came round, asked a few questions and later on in the day one came back and handed me this.....


    We won the class! I was over the moon after all the hard work over the past three years. It made it all worth it.

    I had to go into the show ring at the end of the day for the prize giving and this Ferrari 360 was alongside. Owner talked more about my car than his which was nice considering what he had!


    and heres the little trophy I got! Ace!


    Also got another rosette as we entered the show.


    Drove home and got caught in a pretty bad rain shower and the car got pretty mucky. Ran without fault though so I know the electrics are in good condition! Helps its been converted to electronic dizzy though.


    Wont take much to clean as it was so well protected but will leave that for an evening this week.


    The car did develop a minor oil leak which I believe is coming from the speedo drive housing on the side of the gearbox but will investigate that tonight.

    So just shy of 250 miles round trip completed straight after rebuild, with no issues. I would say thats pretty good going! Loved driving the car all day and had a perma-smile throughout. It sounds brilliant, with lovely little pops and bangs on over run after a bit of heal and toe action.

    Need to edit my photos from the day sop expect better ones soon.

    Thanks to everyone for all the help, advice, banter and enthusiasm throughout the build. It helped me no end and I wouldn't have got it all done without you. So thanks!

    Oh and its now taking pride of place on my work computer desktop

    Leave a comment:


  • Mini 360
    replied
    Originally posted by Minuki View Post
    Not a better idea to let the suspension settle a little bit before adjusting?

    Looking great Andy. I can't wait to shoot it.
    Yeh I've now fully softened up the shocks to let them settle as quickly as possible. Either can i dude! Shouldnt be too long hopefully!

    Originally posted by DC Customs View Post
    Congrats on getting it going man. Looks really good. Im sure you will get the MOT figured out and be driving it soon.
    Thanks! Heres hoping!


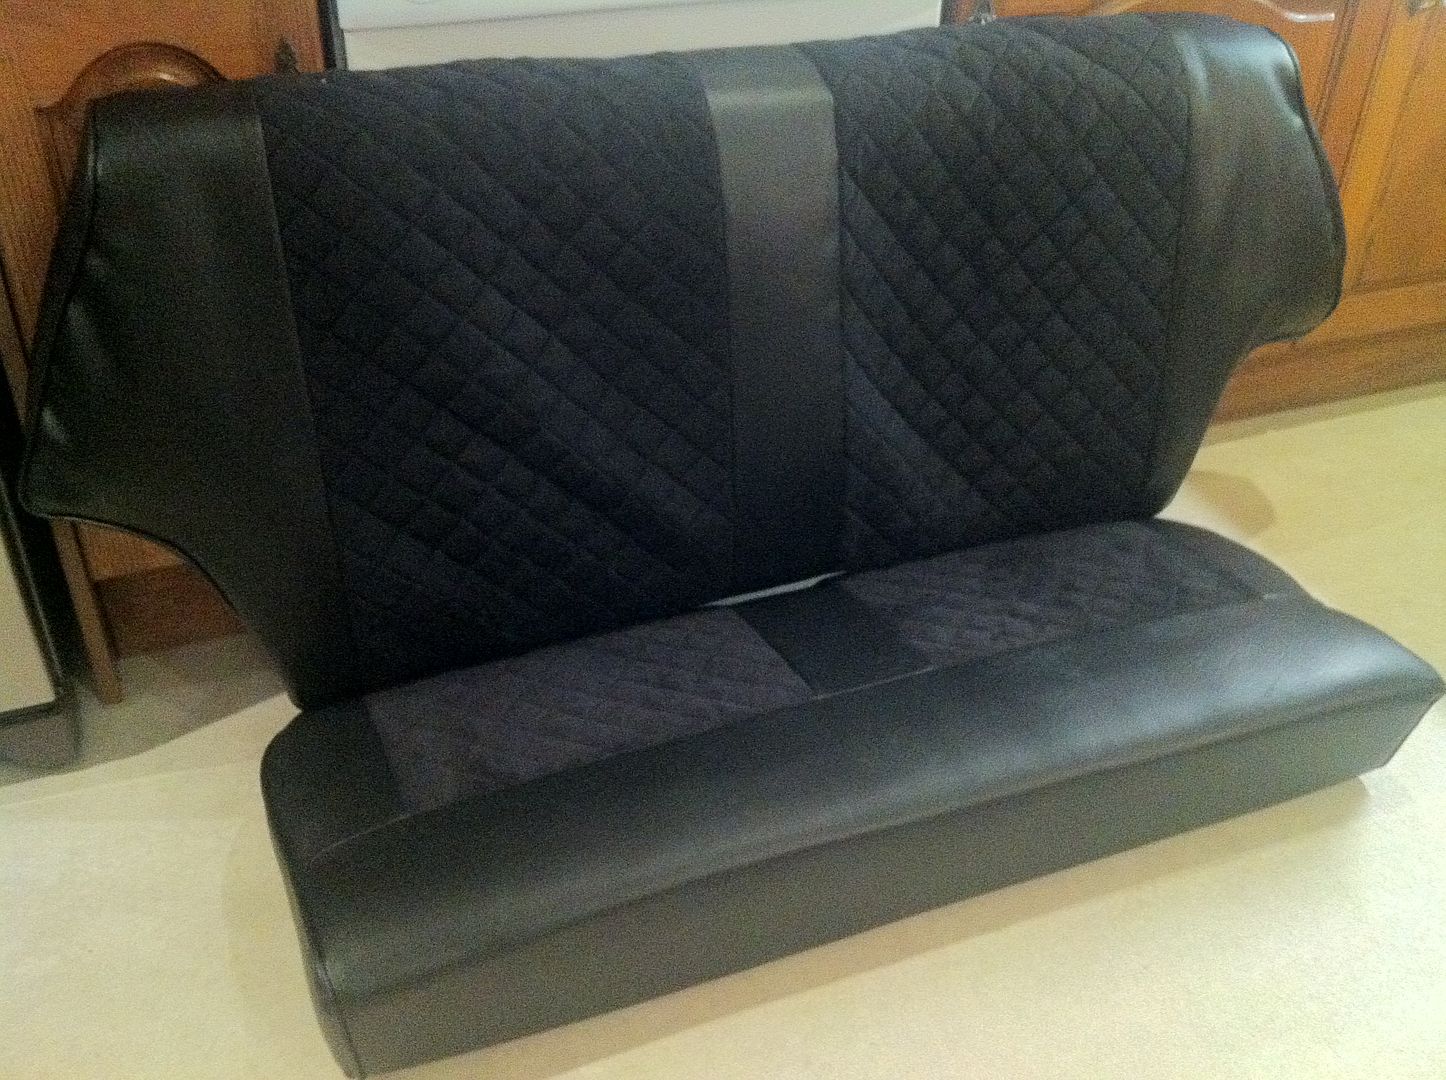
    Wee update. Awaiting parts to arrive to solve issues so its getting rather close to the wire but not giving up hope yet! Mums been busy though! Rear seat almost done, just needs clipped onto the frame again hence why its slightly saggy in the photo. All good when clipped up


    Hopefully more news tomorrow if Mr Postie plays along.....

    Leave a comment:


  • DC Customs
    replied
    Congrats on getting it going man. Looks really good. Im sure you will get the MOT figured out and be driving it soon.

    Leave a comment:


  • Minuki
    replied
    Not a better idea to let the suspension settle a little bit before adjusting?

    Looking great Andy. I can't wait to shoot it.

    Leave a comment:


  • Mini 360
    replied
    So today was the day. MOT time. Got the car running again last night. Stupidly I had blocked off a pipe on the carb that shouldnt and tada it ran fine again. Timing/carb way off but ti ran well enough to take it to Jim King about 3 miles away.

    So here it is ready to go. Fine day for a wee trip to the station.


    Arrived very early but got the company of this guy. Ace garage dog!


    You will notice the steel wheels. The 13s arent finished yet so threw these on to get it through the test. Looks horrible but will do the job!


    Commence test


    Test complete and here the view of the cars they deal with while I awaited the full results. MK1 Escort RS2000, Pontiac Trans am Firebird (yes the smokey and the bandit one), a Lotus Eclat (I believe) and of course Trig


    As I expected, it failed. Emissions were through the roof and blocked the machine. Should be 3.5% CO2 for this age of car but Trig was reading just shy of 7%. Good lad! :lol: Also failed on non funtioning horn and headlights out of alignment. That was it! Very happy with that considering its been nut and bolt rebuilt by myself with help from friends and family.

    Going to order upo a new stalk for the horn/flasher side as neither of these work and the wiring all seems fine, as do earths etc. If that doesnt fix it, god knows whats wrong with it! Hopefully if that arrives later this week it will have its MOT ready to go to Tain.

    The suspension is solid and I mean SOLID! The car was bouncing all over the shop so I think I need to tweak that a fair bit as there is next to no travel in the shocks at all. Other than the above, its great and Jim was very impressed given my previous experience (none...). Even went as far to say he's seen cars built by garages done to a far far lower standard than mine. Happy with that! Felt good to just drive a Mini again too!

    Leave a comment:


  • Mini 360
    replied
    Update time! LOADS done today! (not all mentioned though) It looks like a car again!

    First up we tried to fit the bonnet. And came across our first issue! The bonnet pin was from the old bonnet and before the paint went on, it was tried out for bonnet fitment after welding. Problem being it was still slightly rusty and then it got painted over.....and as a result it was jammed SOLID into the captive nut welded onto the bonnet. Not a great issue until you realise the bracket its located into is paper thin and spot welded to the bonnet face. Slightest torque on it and instant bonnet damage. So we sourced one from a mate and cut the cold one off, drilled out the stud and fitted the new one. Nightmare and nerve wracking with paint so close but we did it!

    This is the old one....unable to be adjusted.


    Then we went to fit the dreaded bootlid. Warmed up the seal for a while to ease application


    Cleaned up the boot a bit and saw this angle so had to shoot it


    and fitted it. Win! ITs fitted without the seal as its pushing the lid out far too far but it closes firmly. Will try the seal another day but didnt have time to waste on it today.


    Shiny? You bet


    The lid does open but not far. If it opened any more than this, it would hit the bumpers top edge. Typical me being awkward and wanting the smooth internal hinges. Been a huge pain in the build! Enough to fit a crate of beer in though which is all thats needed


    We had loads of boot stays kicking about but all were obviously too long. Adapted one and made up this one. Works a treat!


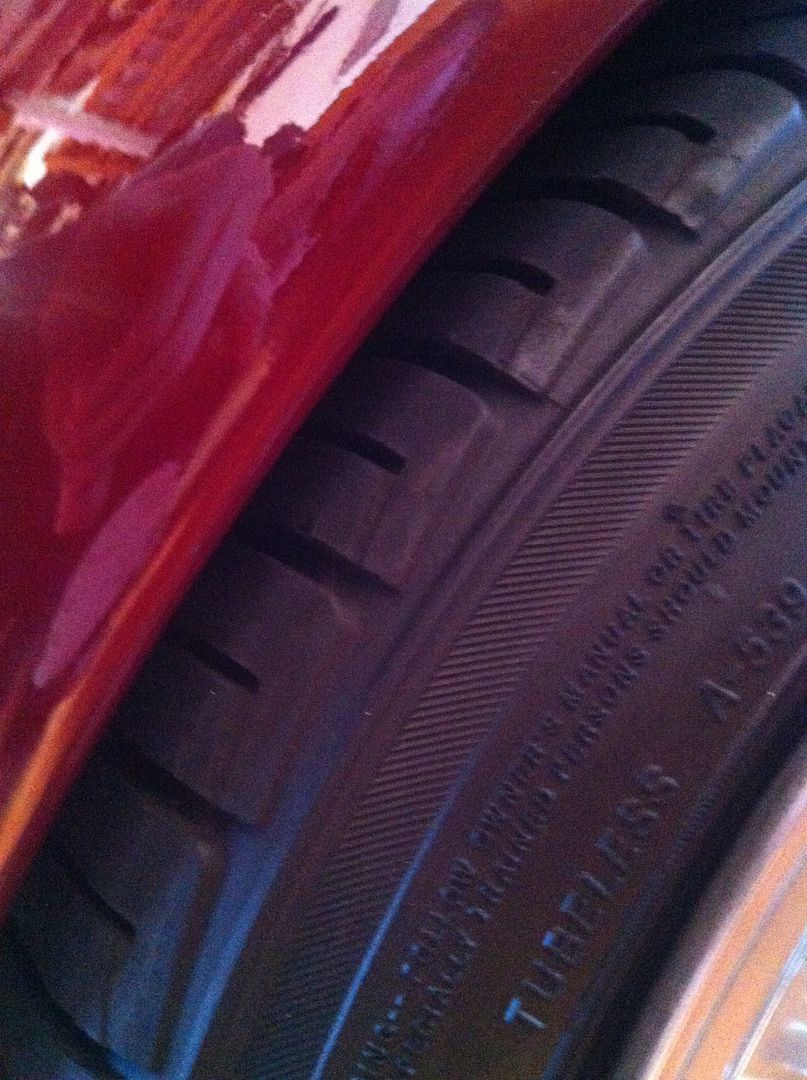
    Front wheels still need cleaned and polished. Rears are done though.


    More tomorrow as I've got the day off work.

    Leave a comment:


  • Mini 360
    replied
    Today then! Got the seats in! Changed the brackets since this photo so they are more upright. Much better.


    Got the drivers door on. Couple shims on the lower hinge. Perfect alignment and slams 'like a golf' :lol:


    Uniform Mini panel gap. Kinda big but no Minis perfect.


    Passenger door on. Still needed adjusting of the slam panel bracket here hence slightly dodgy gap at the rear. Sorted now.


    Bonnet placed on. Hinges arent acting as they should.....no idea whats going on but temps dropped as did the light so ended for the day. Got a lot more done than pcis suggest (checking over torques on bolts etc) but all needs done for MOT time!


    (again door got adjusted after this...)


    LOADS to do tomorrow but good weather forecast so fingers crossed we get through all the little niggly jobs!


    Also cars STILL not running right. Fires for about 3 seconds then dies no matter what throttle or choke you put on it. No idea whats happening so any ideas??? Getting worried by it!

    Leave a comment:


  • Mini 360
    replied
    So after a 9day 48hr delivery from Wood & Picket.....my bumpers finally arrived today.


    No sooner said than fitted! Ace!


    Also got my harness bar installed. No rear seat going in for MOT as there arent any mounting points for the belts anymore. Will go in again after MOT but wont be useable because of the bar and harnesses for the front seats.

    This will be getting covered in the end but not point doing that now when it needs to come out again to fit the seat underneath!


    Tried running the car again. It fires and runs for about 3 seconds and cuts out. Need to investigate this over the weekend as it was running totally fine before......!

    Mums been busy quilting yet more suede to get the rear seat and final doorcard done and dads been touching up bits of paint in the engine bay and prepping the MOT special steel wheels

    Leave a comment:


  • Mini 360
    replied
    Update again!

    While I was at work mum carpeted the crossmember and then once I was home managed to get the carpet in after I had checked the reverse light worked and no extra wiring was required.

    So a photo of that....


    Had these kick plates fitted before. Still not decided if they will stay but they are on for now.


    Also after trimming the doorcard to clear the rear arch (tubbed arches mean non standard shape which we forgot about before the card was made....) we got it fitted! VERY happy with it! Fits perfectly and with the doorbin its finished off nicely. The other card is awaiting fabric to arrive and then the backrest of the rear seat needs made up. So close and its looking amazing! Just need to paint the screw heads to let them blend in a bit better than they do here...


    and with the carpet in we got the gearstick gaitor in! Getting the weather gaitor underneath the carpet and getting that aligned with the carpet, gaitor and gaitor plate took a while but we got there! Just need to aint the heads of the screws.


    And seeing as I dont have standard belts and therefore dont need the holes in the doorbins, mum made up a couple of blanking plates. In suede of course.


    and I think the DVLA know its almost ready too. My Tax/Sorn reminder came in today. Will make it easier to tax next week


    Dad got a couple of bits of interior trim painted up (steering cowl, rear bench lip trim etc) so they are being left to fully dry overnight. Next up now that the interiors pretty much done is doors, bonnet and the dreaded bootlid! Need to play about with the carb too as the cars not idling. Idle screw issue I think!

    Leave a comment:


  • Mini 360
    replied
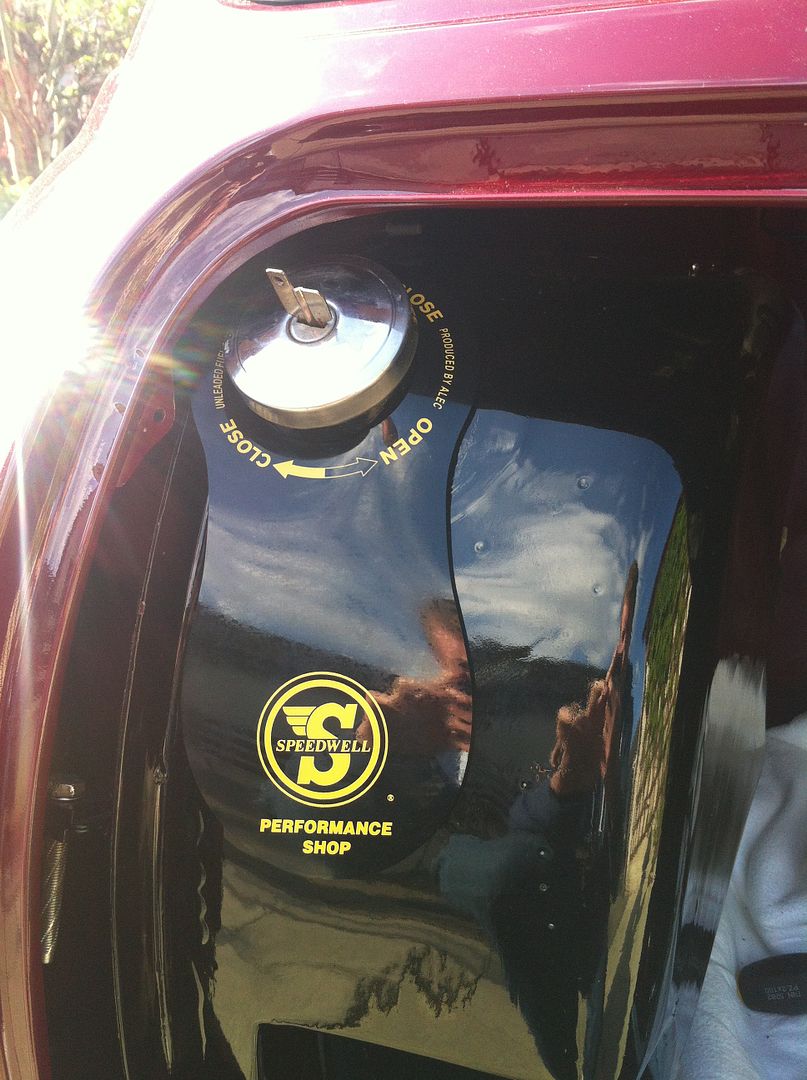
    I did get a couple of deliveries yesterday. Unfortunately not MOT dependant ones.....oil pressure capillary fibre washers and a Speedwell (old 60s Mini tuning company) fuel bib to protect the paint on the tank from potential splashes! Looks better in the flesh now Ive put it on properly....(not pictured)


    However I also got my fresh air ducting fitted up after it arrived the other day.


    and got my rear window in! Need to fit the metal strip at the top but temperatures dropped and the seals hardened up. Leave it for sunnier times.


    Tomorrow my mums going to fit the carpets again and then we can get the doors on etc after. So close.....!

    Oh and my Tain entry arrived. Its only 10 days away......

    Leave a comment:


  • Nuts
    replied
    Wow bud great progress.

    Leave a comment:


  • Mini 360
    replied
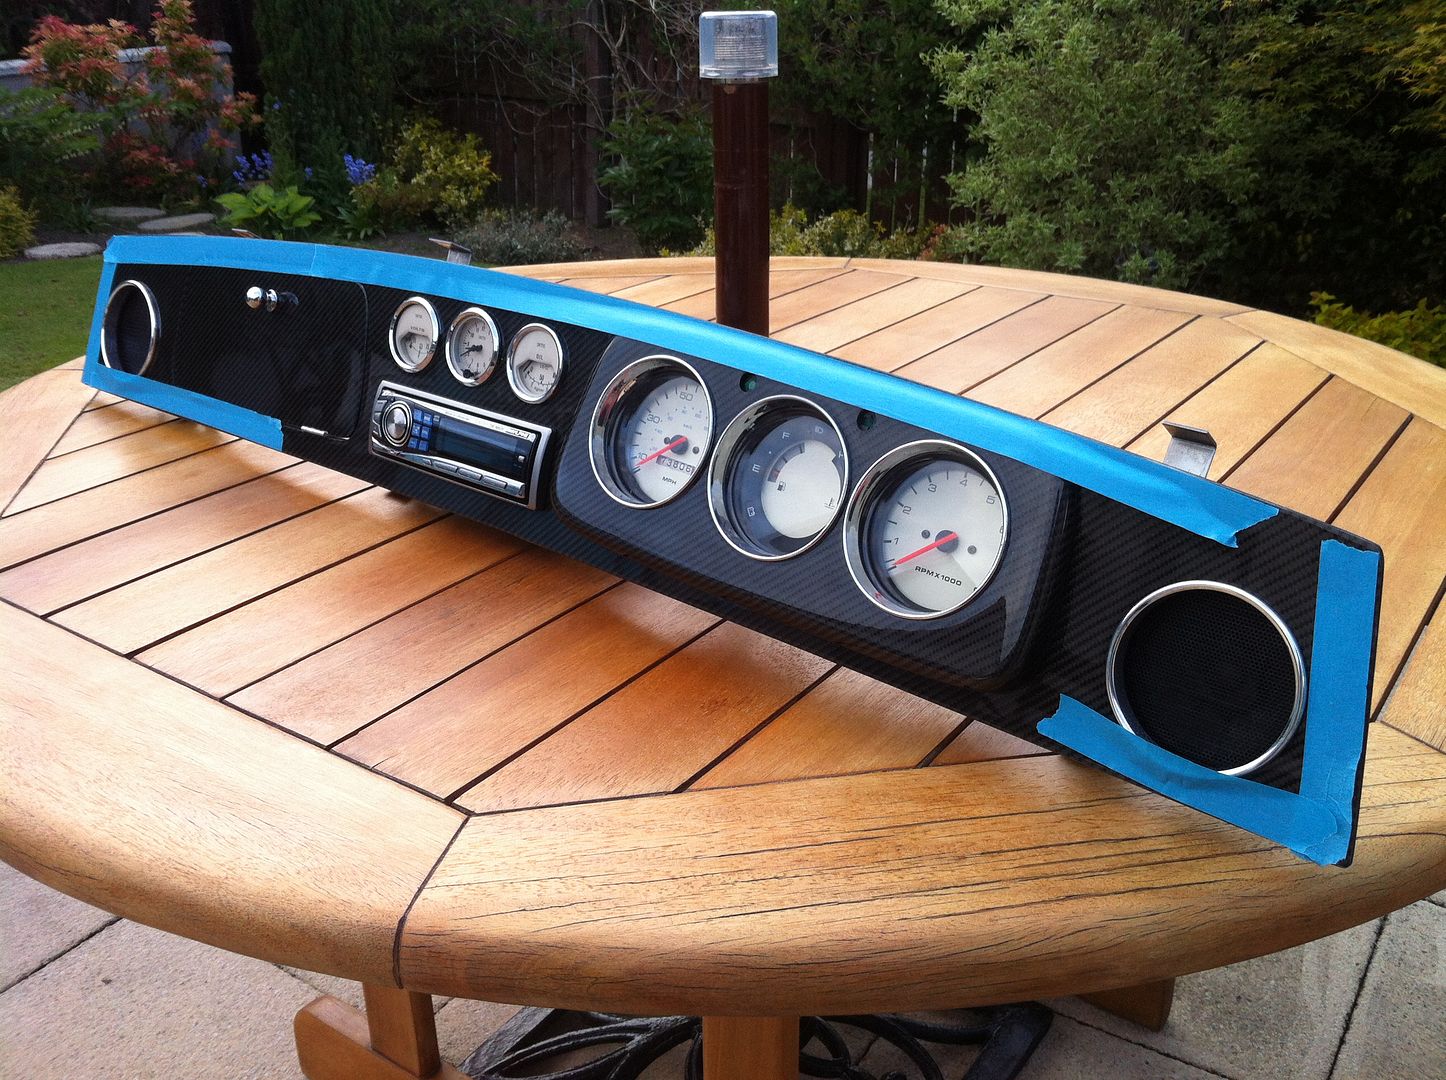
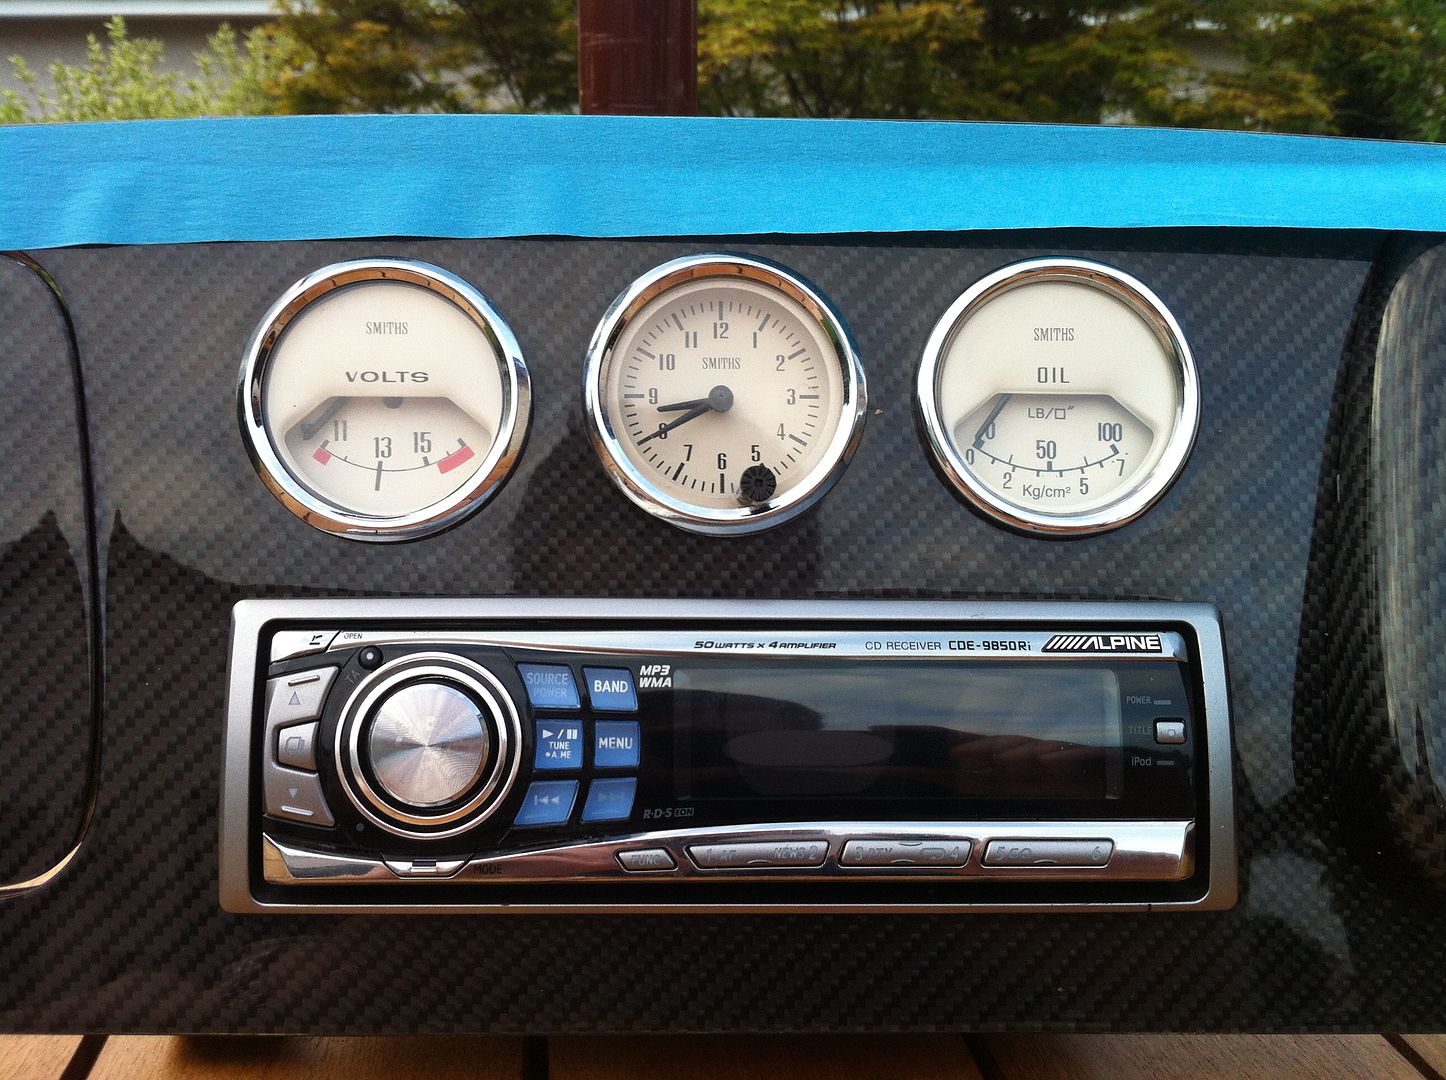
    Update time! Radio arrived in the post, nothing else did due to local holiday. Superb! But seeing as it was already wired into the car ready to go, I plugged it in and tada! Working headunit!


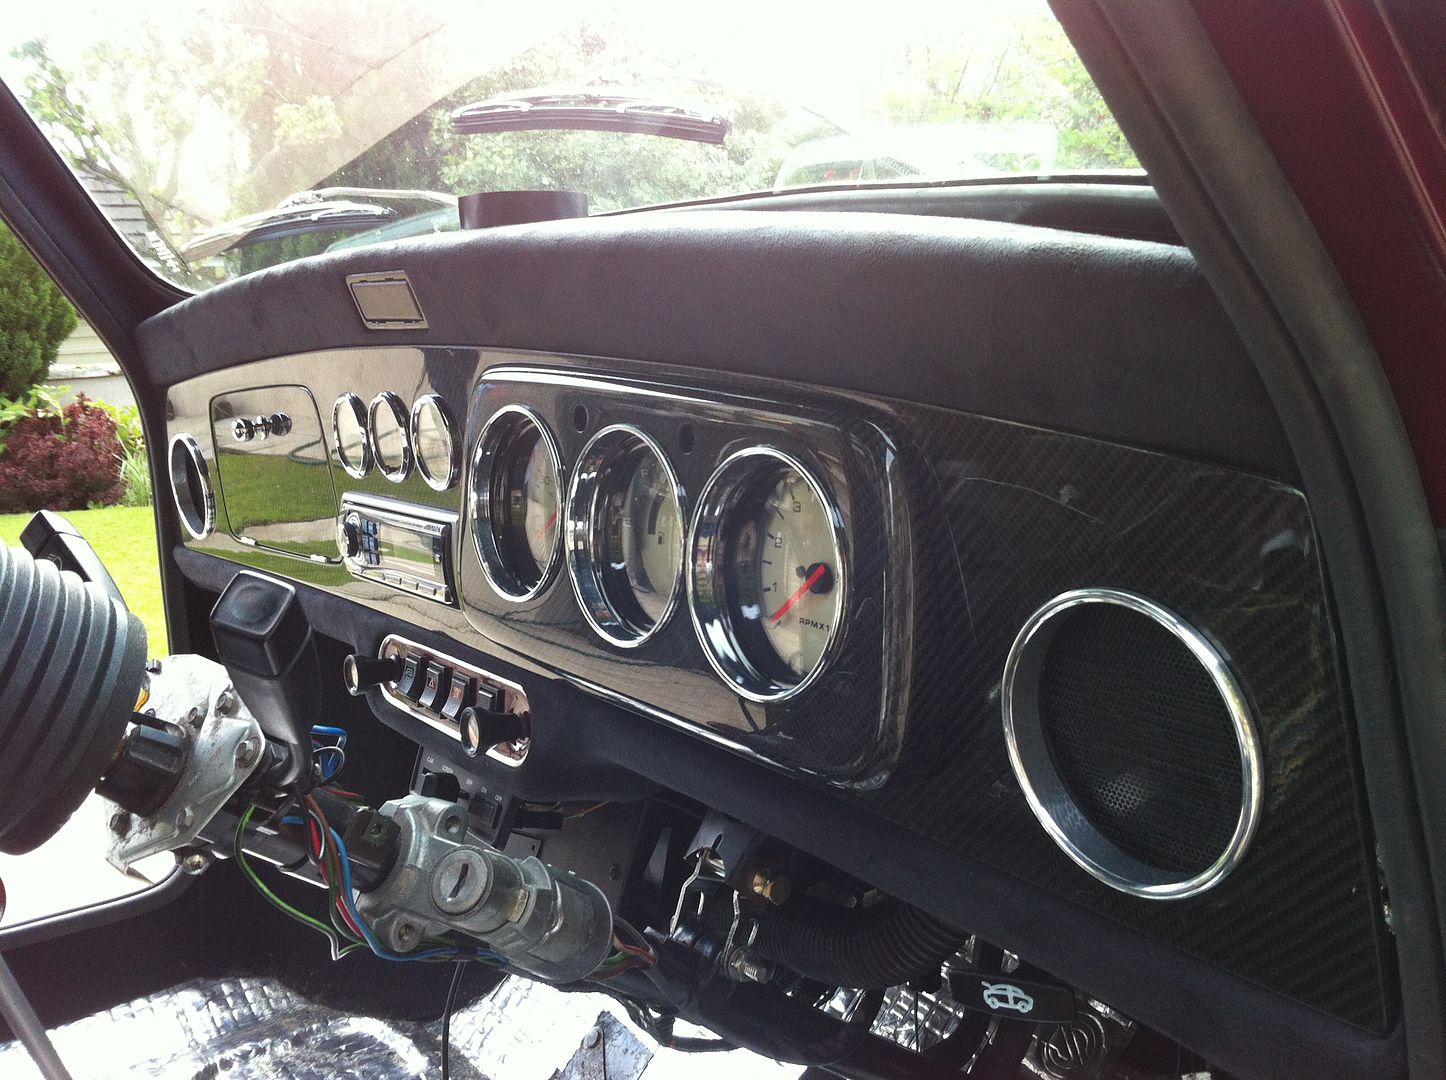
    With that tested and the speakers all working I fitted the dash together with everything in its final place. Blue taped up to prevent possible chipping on installation!


    Not a bad radio for £50 on eBay! Was circa £200-250 when i worked at Halfords 3 years ago.


    with a bit of fettling and adjusting it went in easily! Everything hooked up and working well. Ace! Looks so much tidier now!


    Perfect view of the gauges too which is nice :lol:


    Also painted up my rear speakers to make them look fresh. Much better!


    Tada!


    NExt up carpets, doors and bonnet and boot!

    Leave a comment:

Working...
X